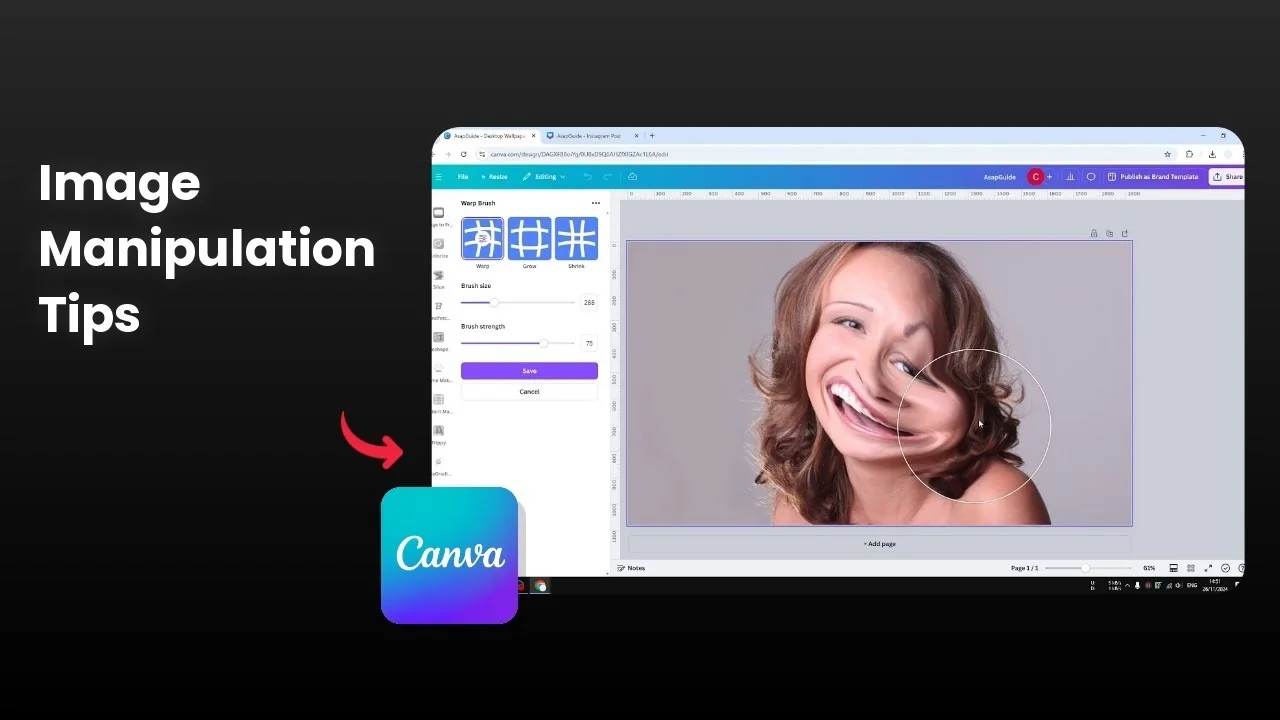
How to Warp an Image in Canva
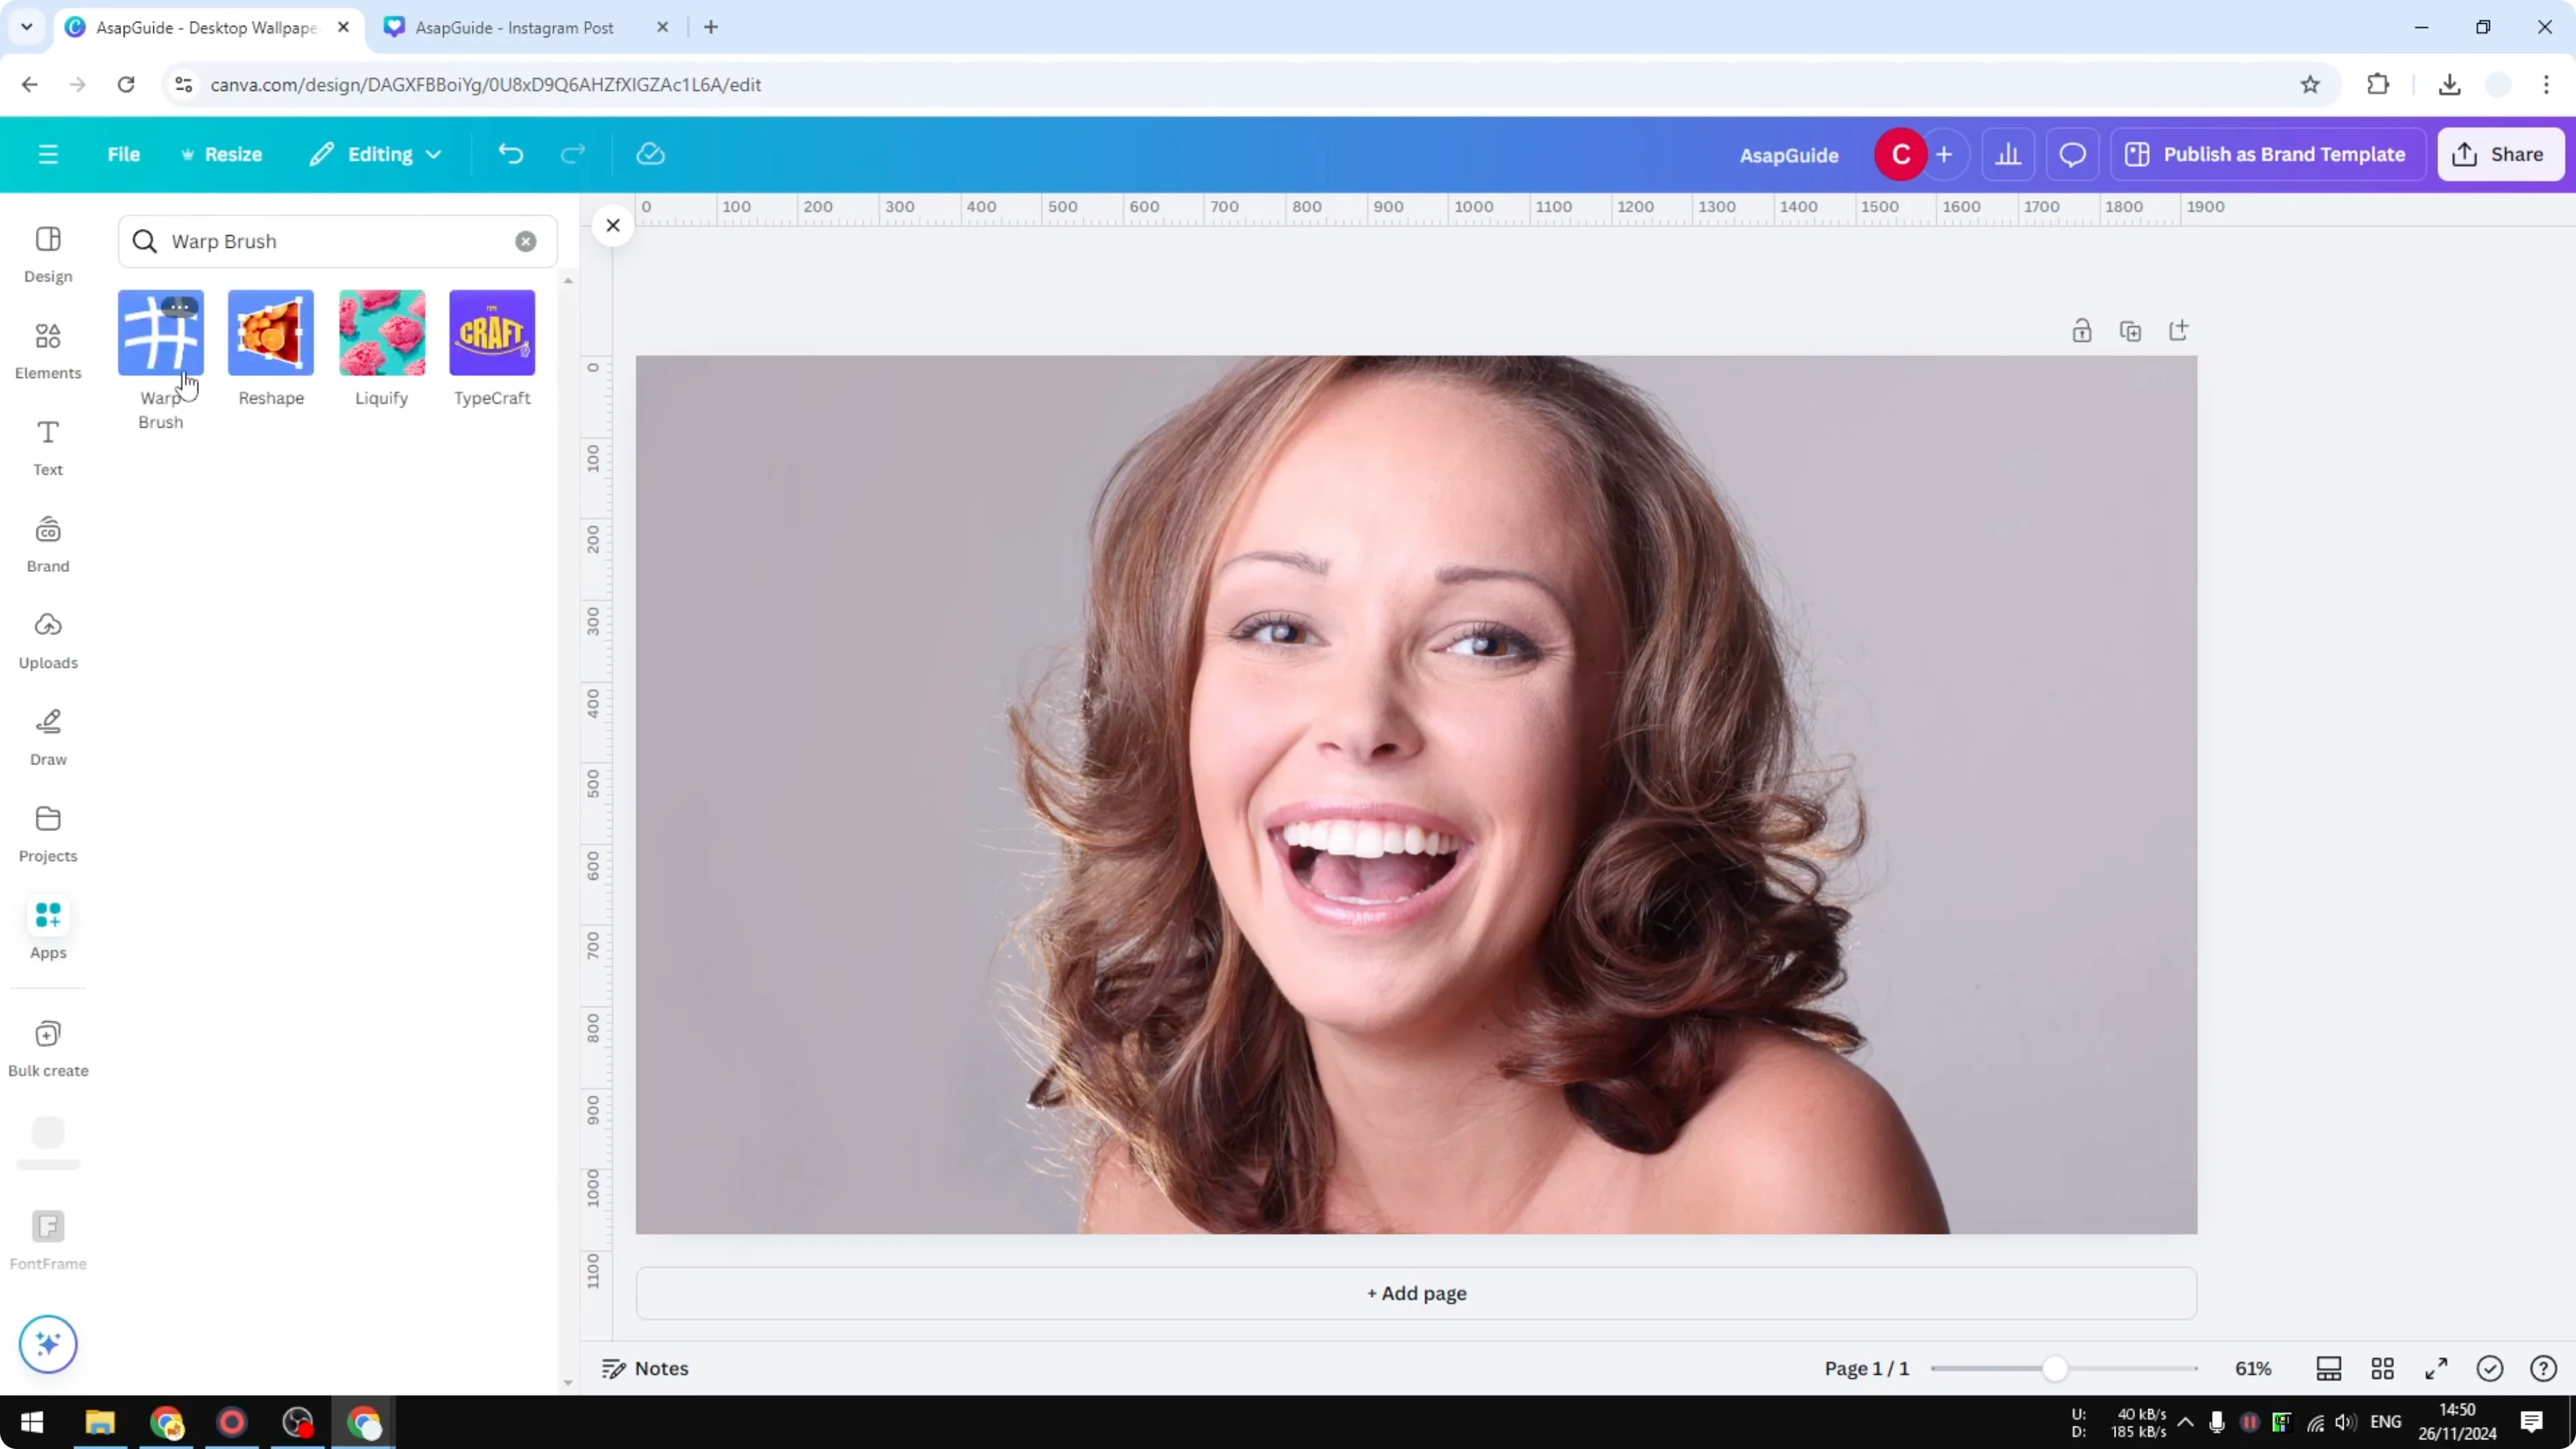
I’m going to show you how you can warp a picture in Canva. First upload a picture to your Canva document, or use a picture from the Canva library. After that, go to the Apps section and search for an app that is called Warp Brush, select it, and click Open.
If you want to tweak colors before you warp, see change color.
Warp an Image in Canva - setup
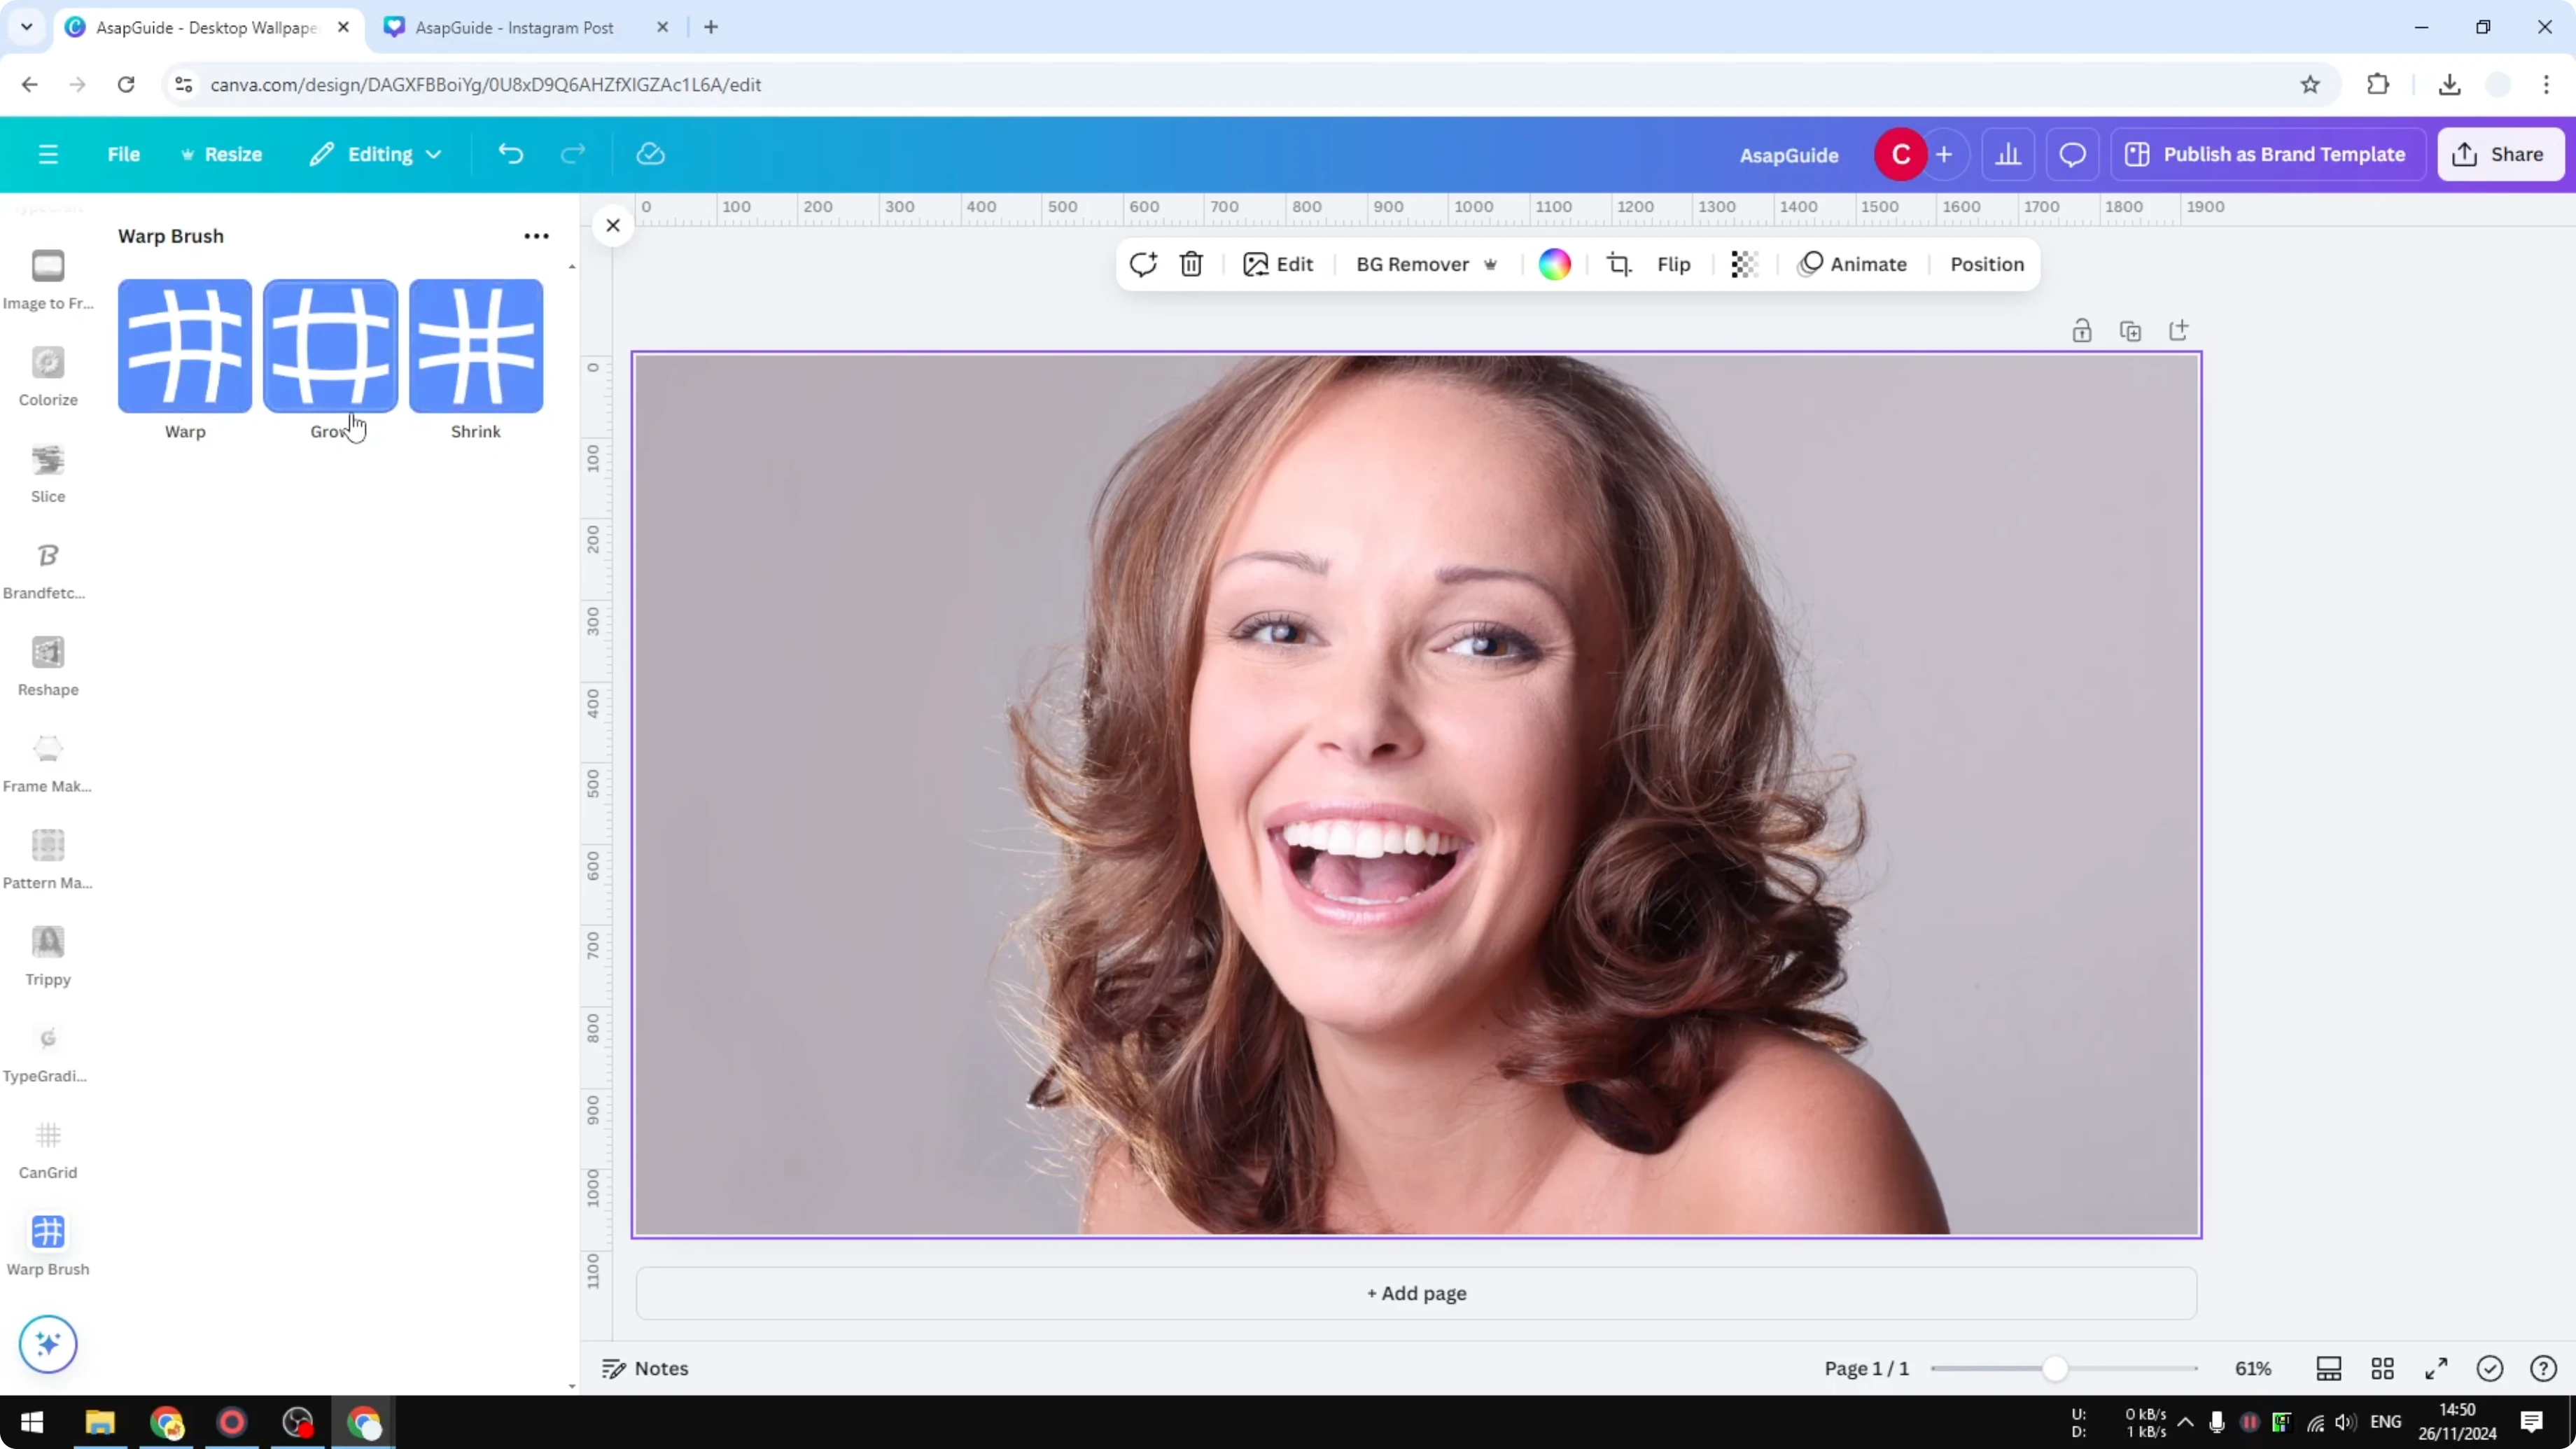
Click on the image that you want to modify, the one you want to warp. Select any of these three options. There are three options: the warp option, grow, and the shrink option.
The brush size is this circle you are seeing right now. This is the size of the brush. It can be small or really big.
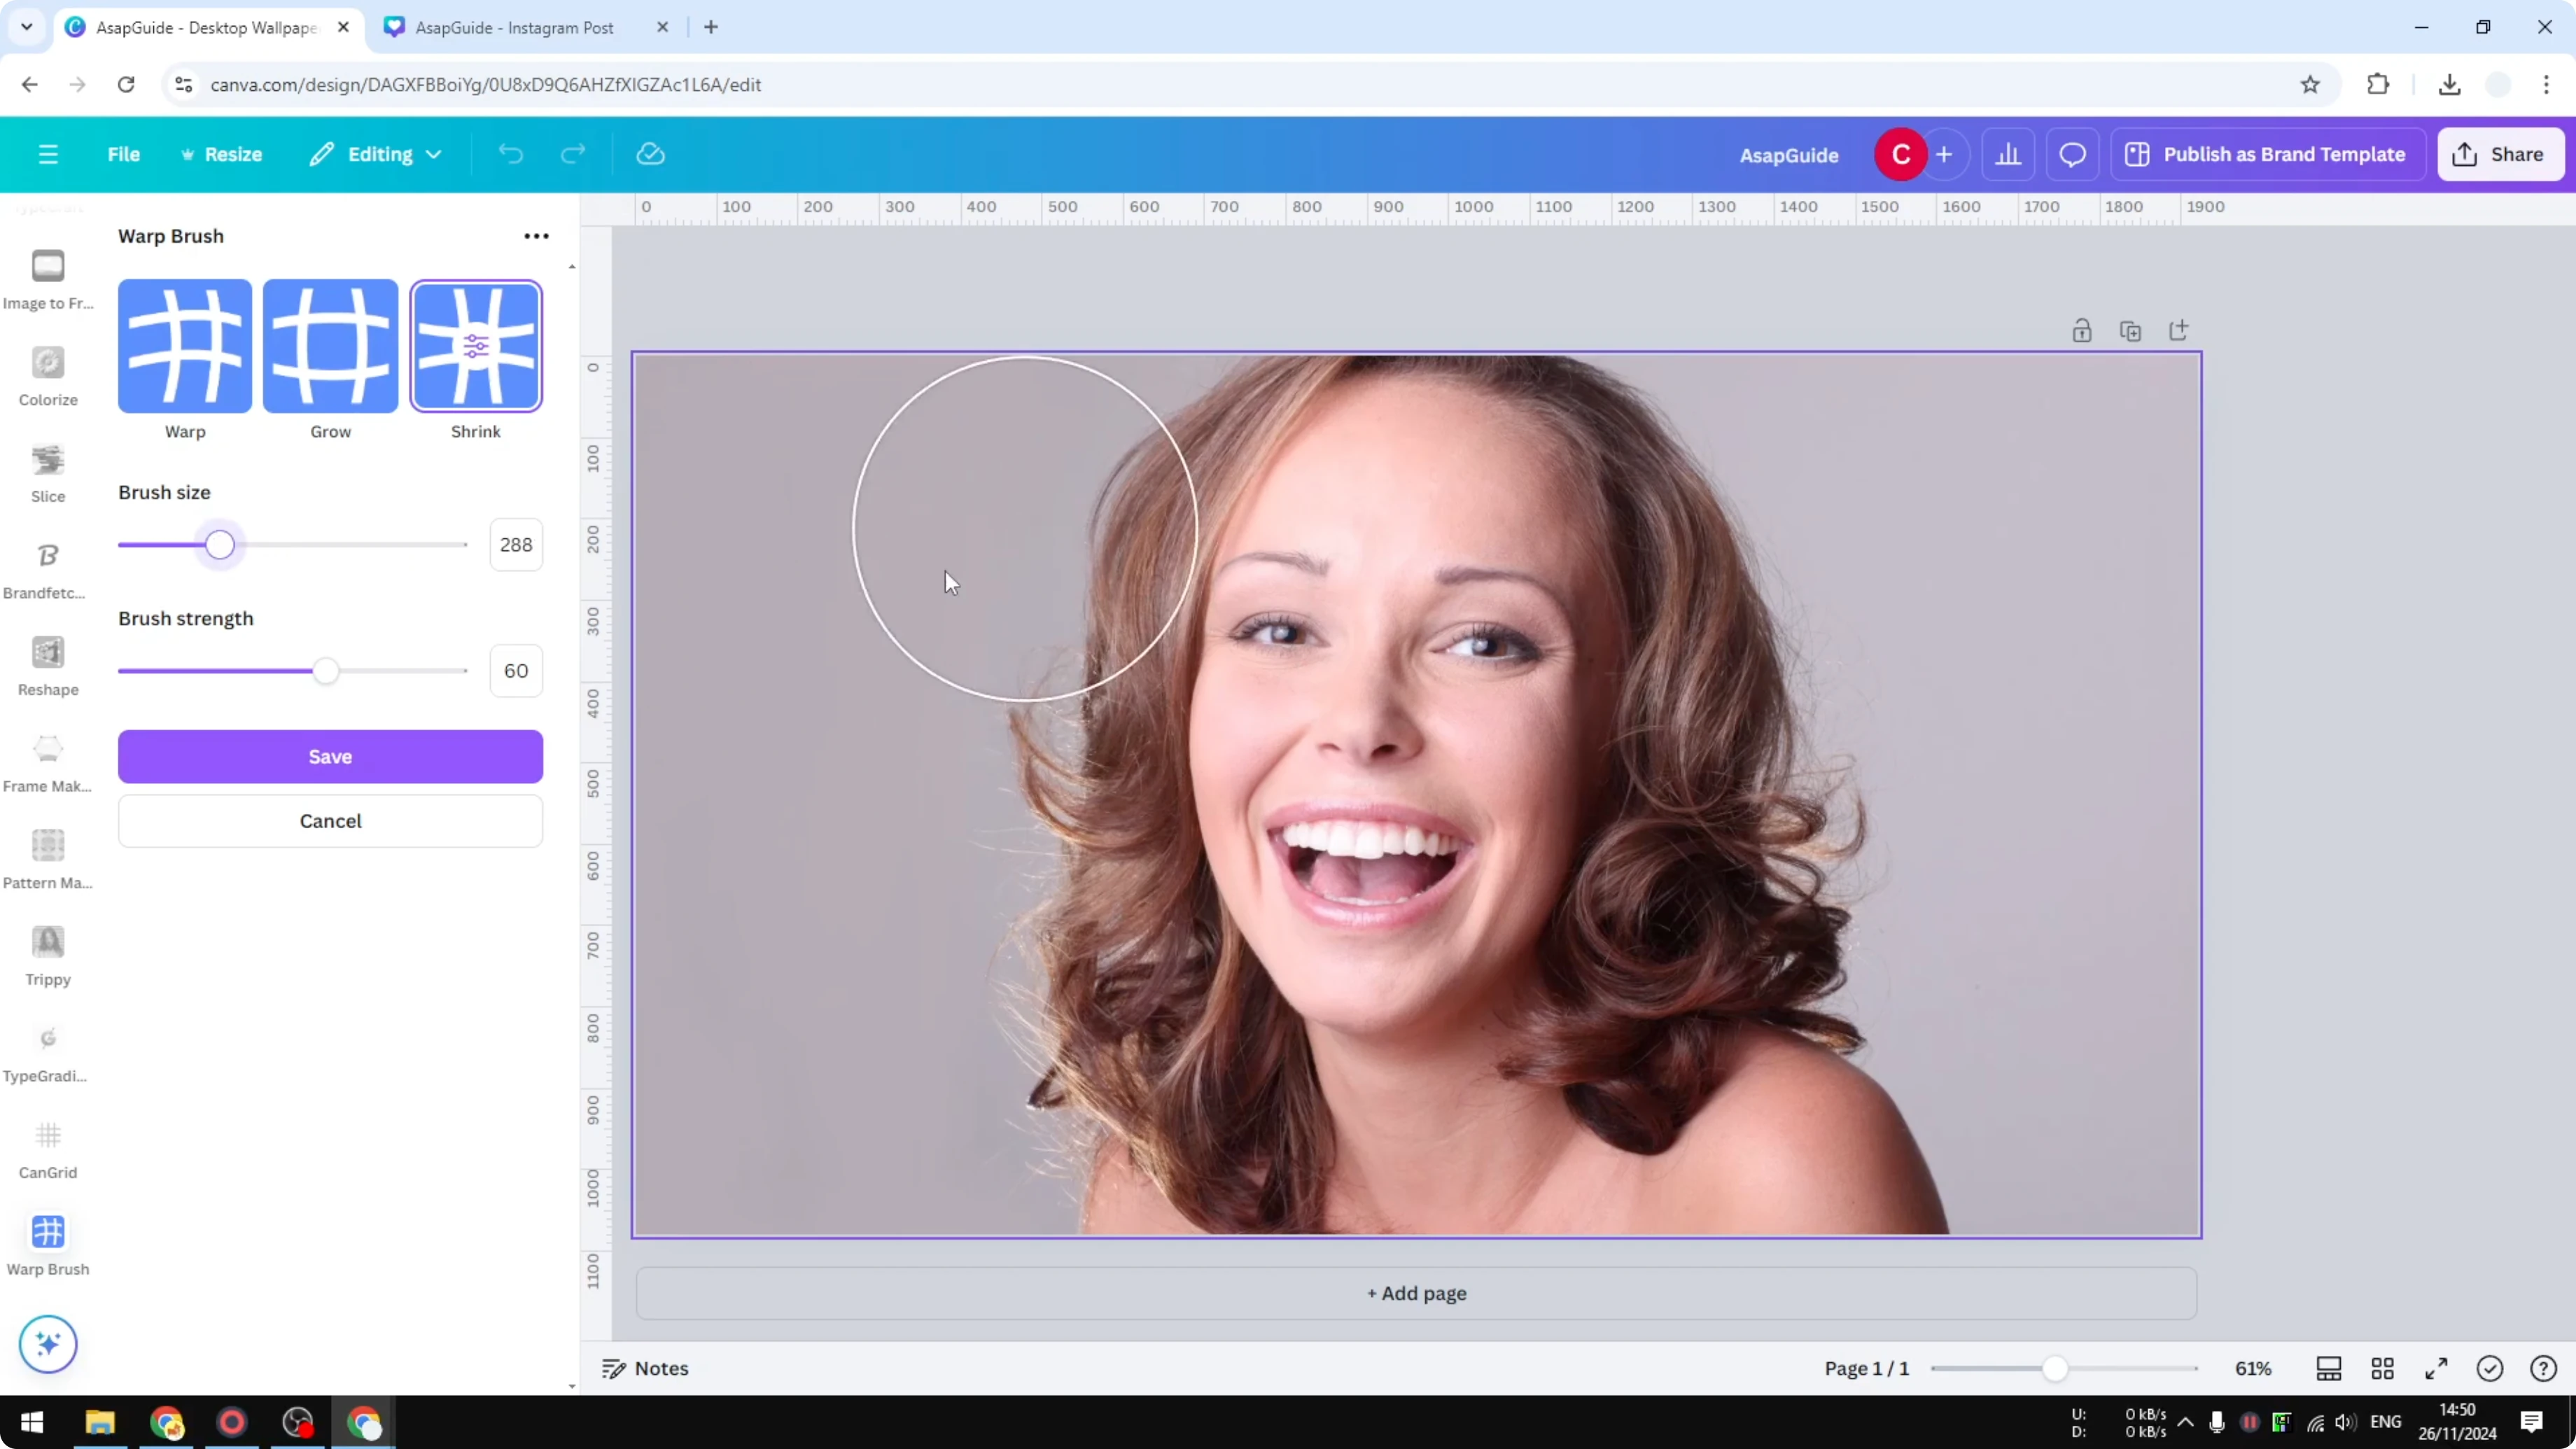
Strength is something that you cannot see immediately. You have to start warping the image so you can see the strength it represents.
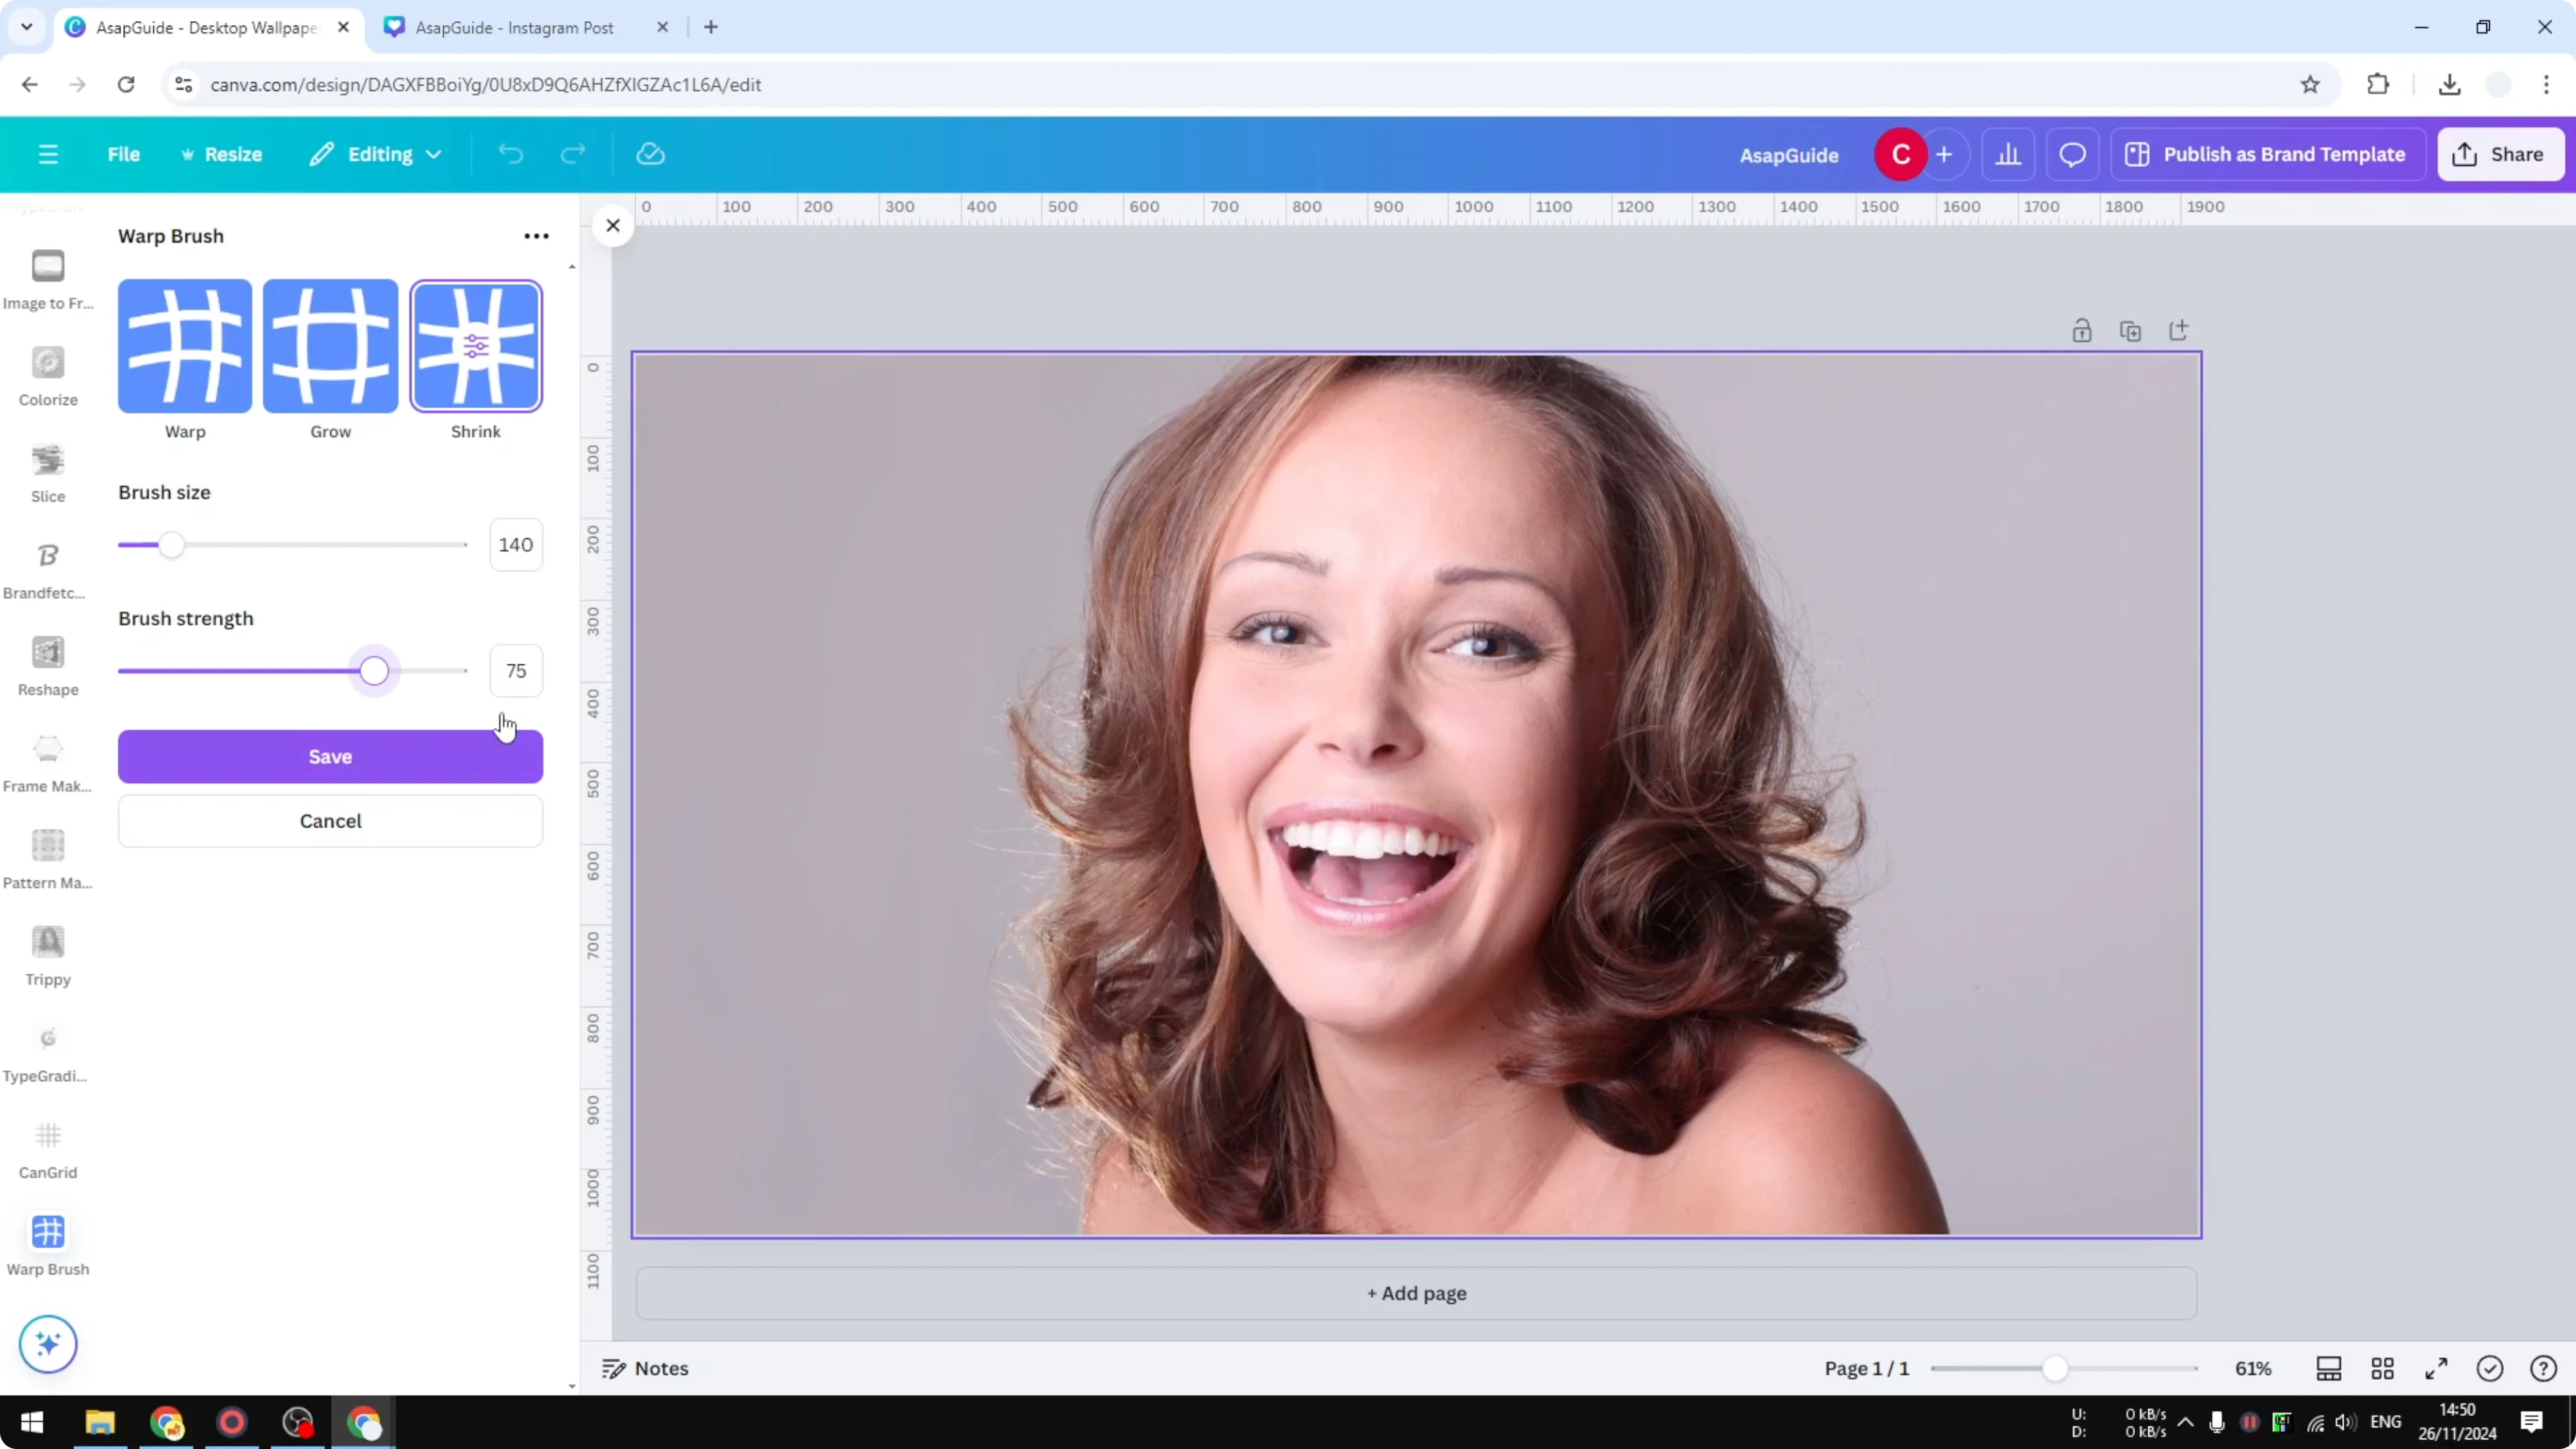
Warp an Image in Canva - choose a mode
I’m going to be using the shrink option. I’m starting with making her face look different by warping the image. This is basically going to shrink everything, and this is the result.

If you want to place elements creatively after warping, see text behind.
Shrink example
Start dragging on the areas you want to pull inward. Adjust the brush size if you need more precision or a broader effect. Keep an eye on how quickly the pixels move to gauge the strength you set.

Grow example
If you want to apply something else, you can do that. I’m going to try again, and this time I’m using the grow option. That might not be something you want to see in your dream, but that is how you can warp a picture in Canva.

Final thoughts
Upload your image, open Warp Brush, and choose between warp, grow, and shrink to shape your subject. Adjust brush size and strength as you work, since strength becomes clear only after you start dragging. When you are done, if you need a background-free export, see transparent download.
Recent Posts
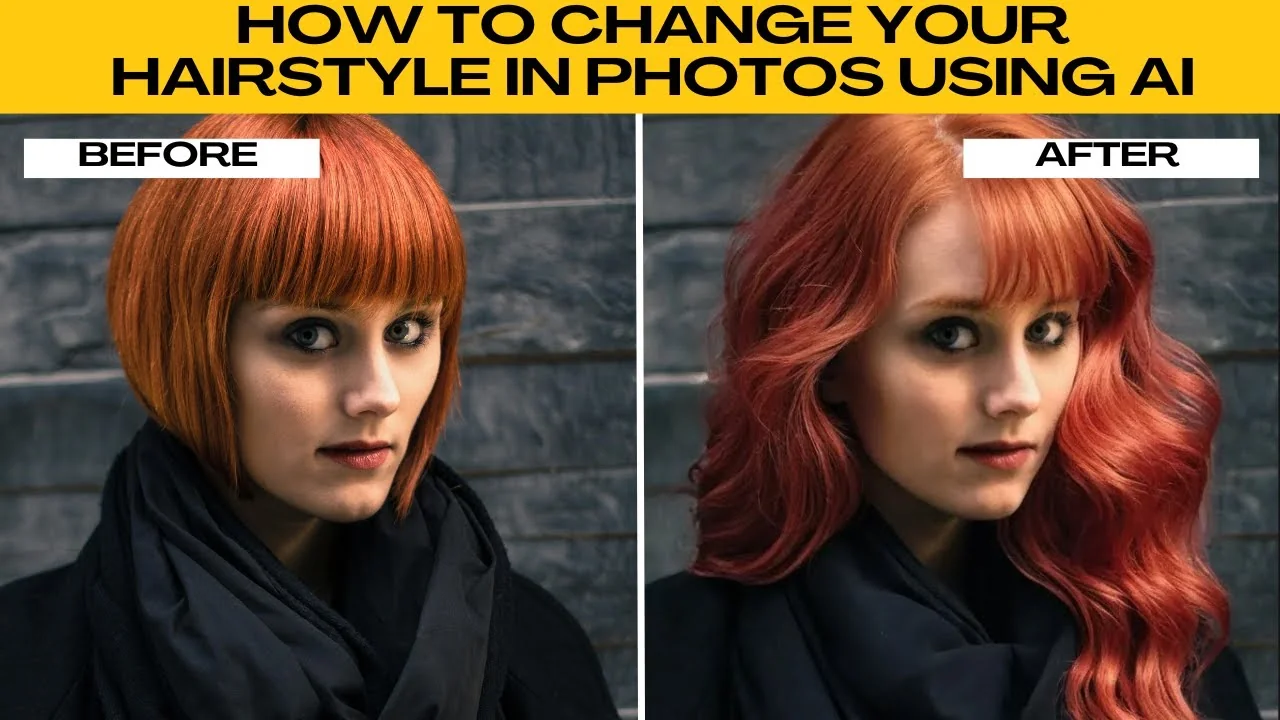
How to Visualize Different Hairstyles and Hair Colors with AI?
How to Visualize Different Hairstyles and Hair Colors with AI?

How to Transform Daytime Photos into Realistic Night Scenes with AI?
How to Transform Daytime Photos into Realistic Night Scenes with AI?
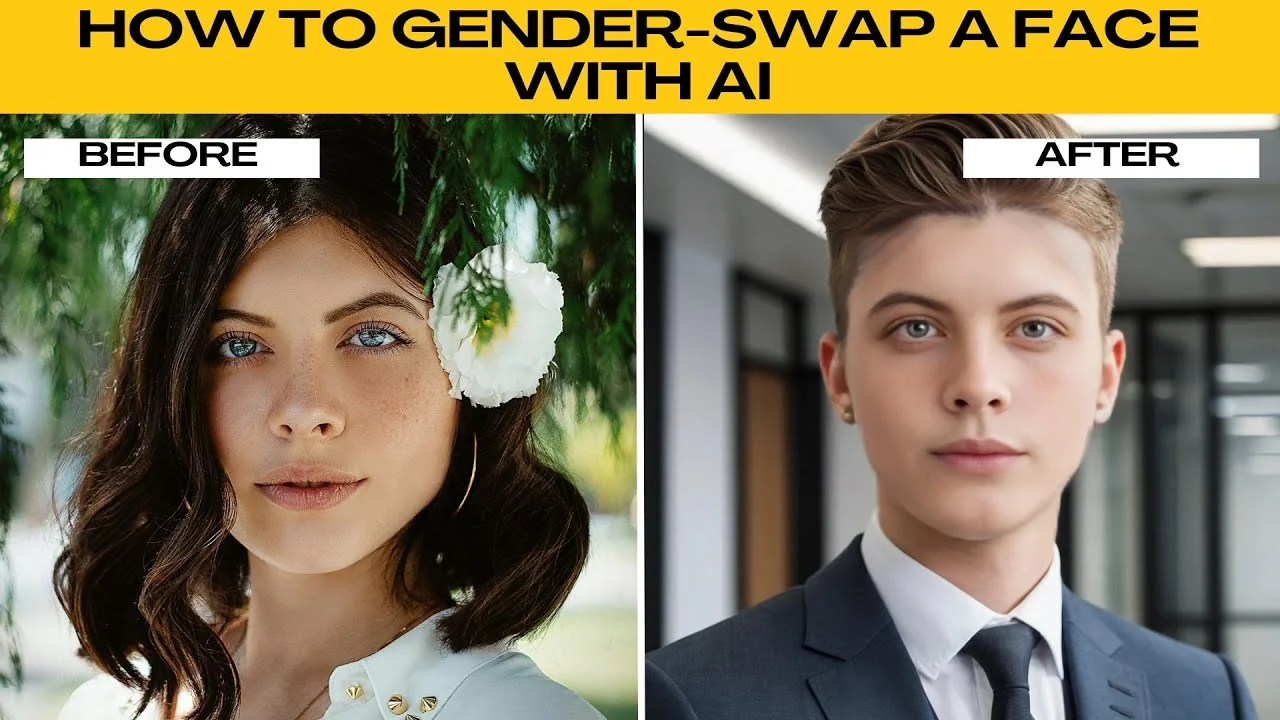
How to Visualize Yourself as the Opposite Gender with AI?
How to Visualize Yourself as the Opposite Gender with AI?