How to Create a VHS Text Effect in Canva
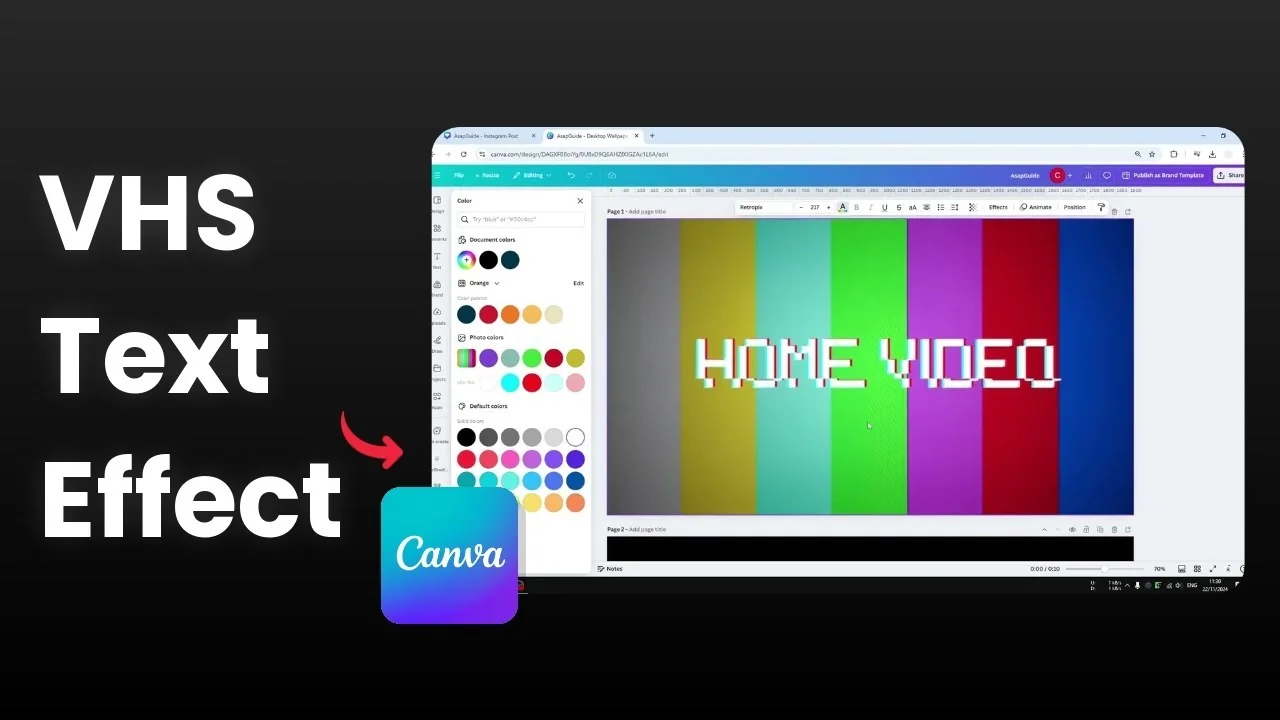
I’m going to show you how to create a really cool VHS text effect using Canva. This look will probably bring back some memories from a couple of decades ago, and it’s very easy to achieve. We won’t use any third-party tools, just what’s available in Canva.
Create a VHS Text Effect in Canva
Set up the text
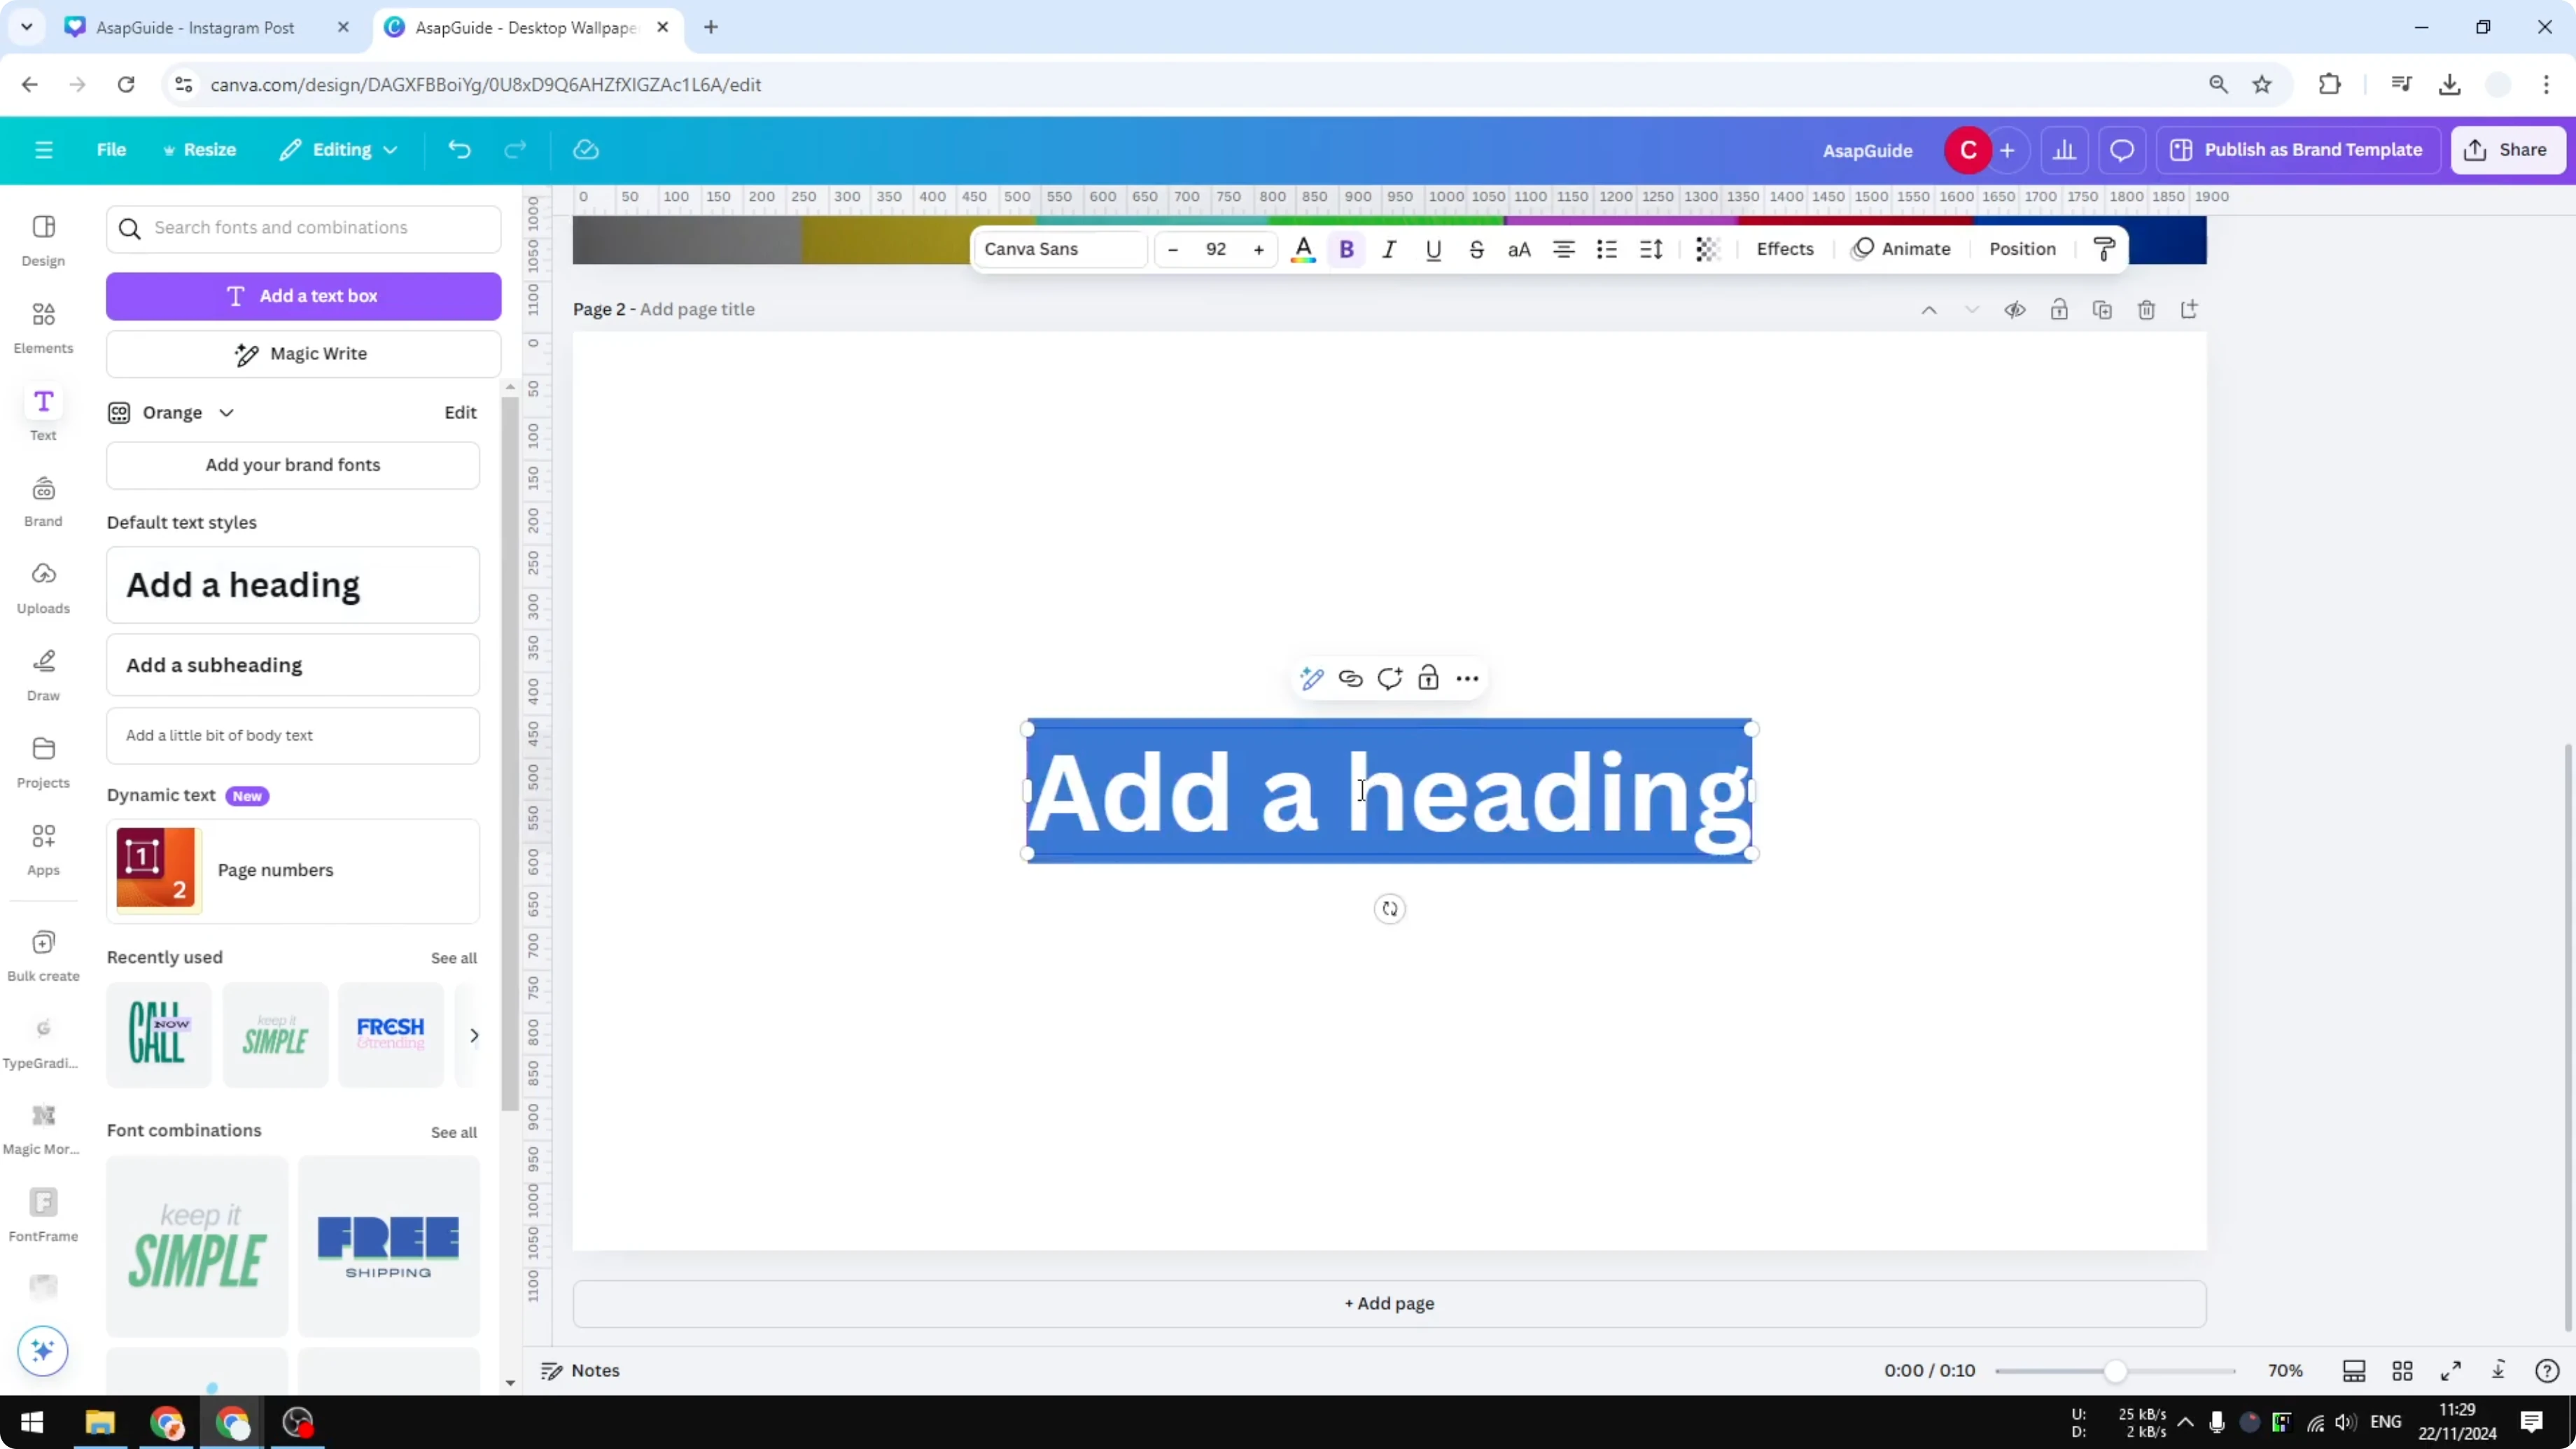
Open a blank new document or page. Go to Text and type the word or phrase you want to turn into the VHS text effect. I’m using “SUBSCRIBE.”
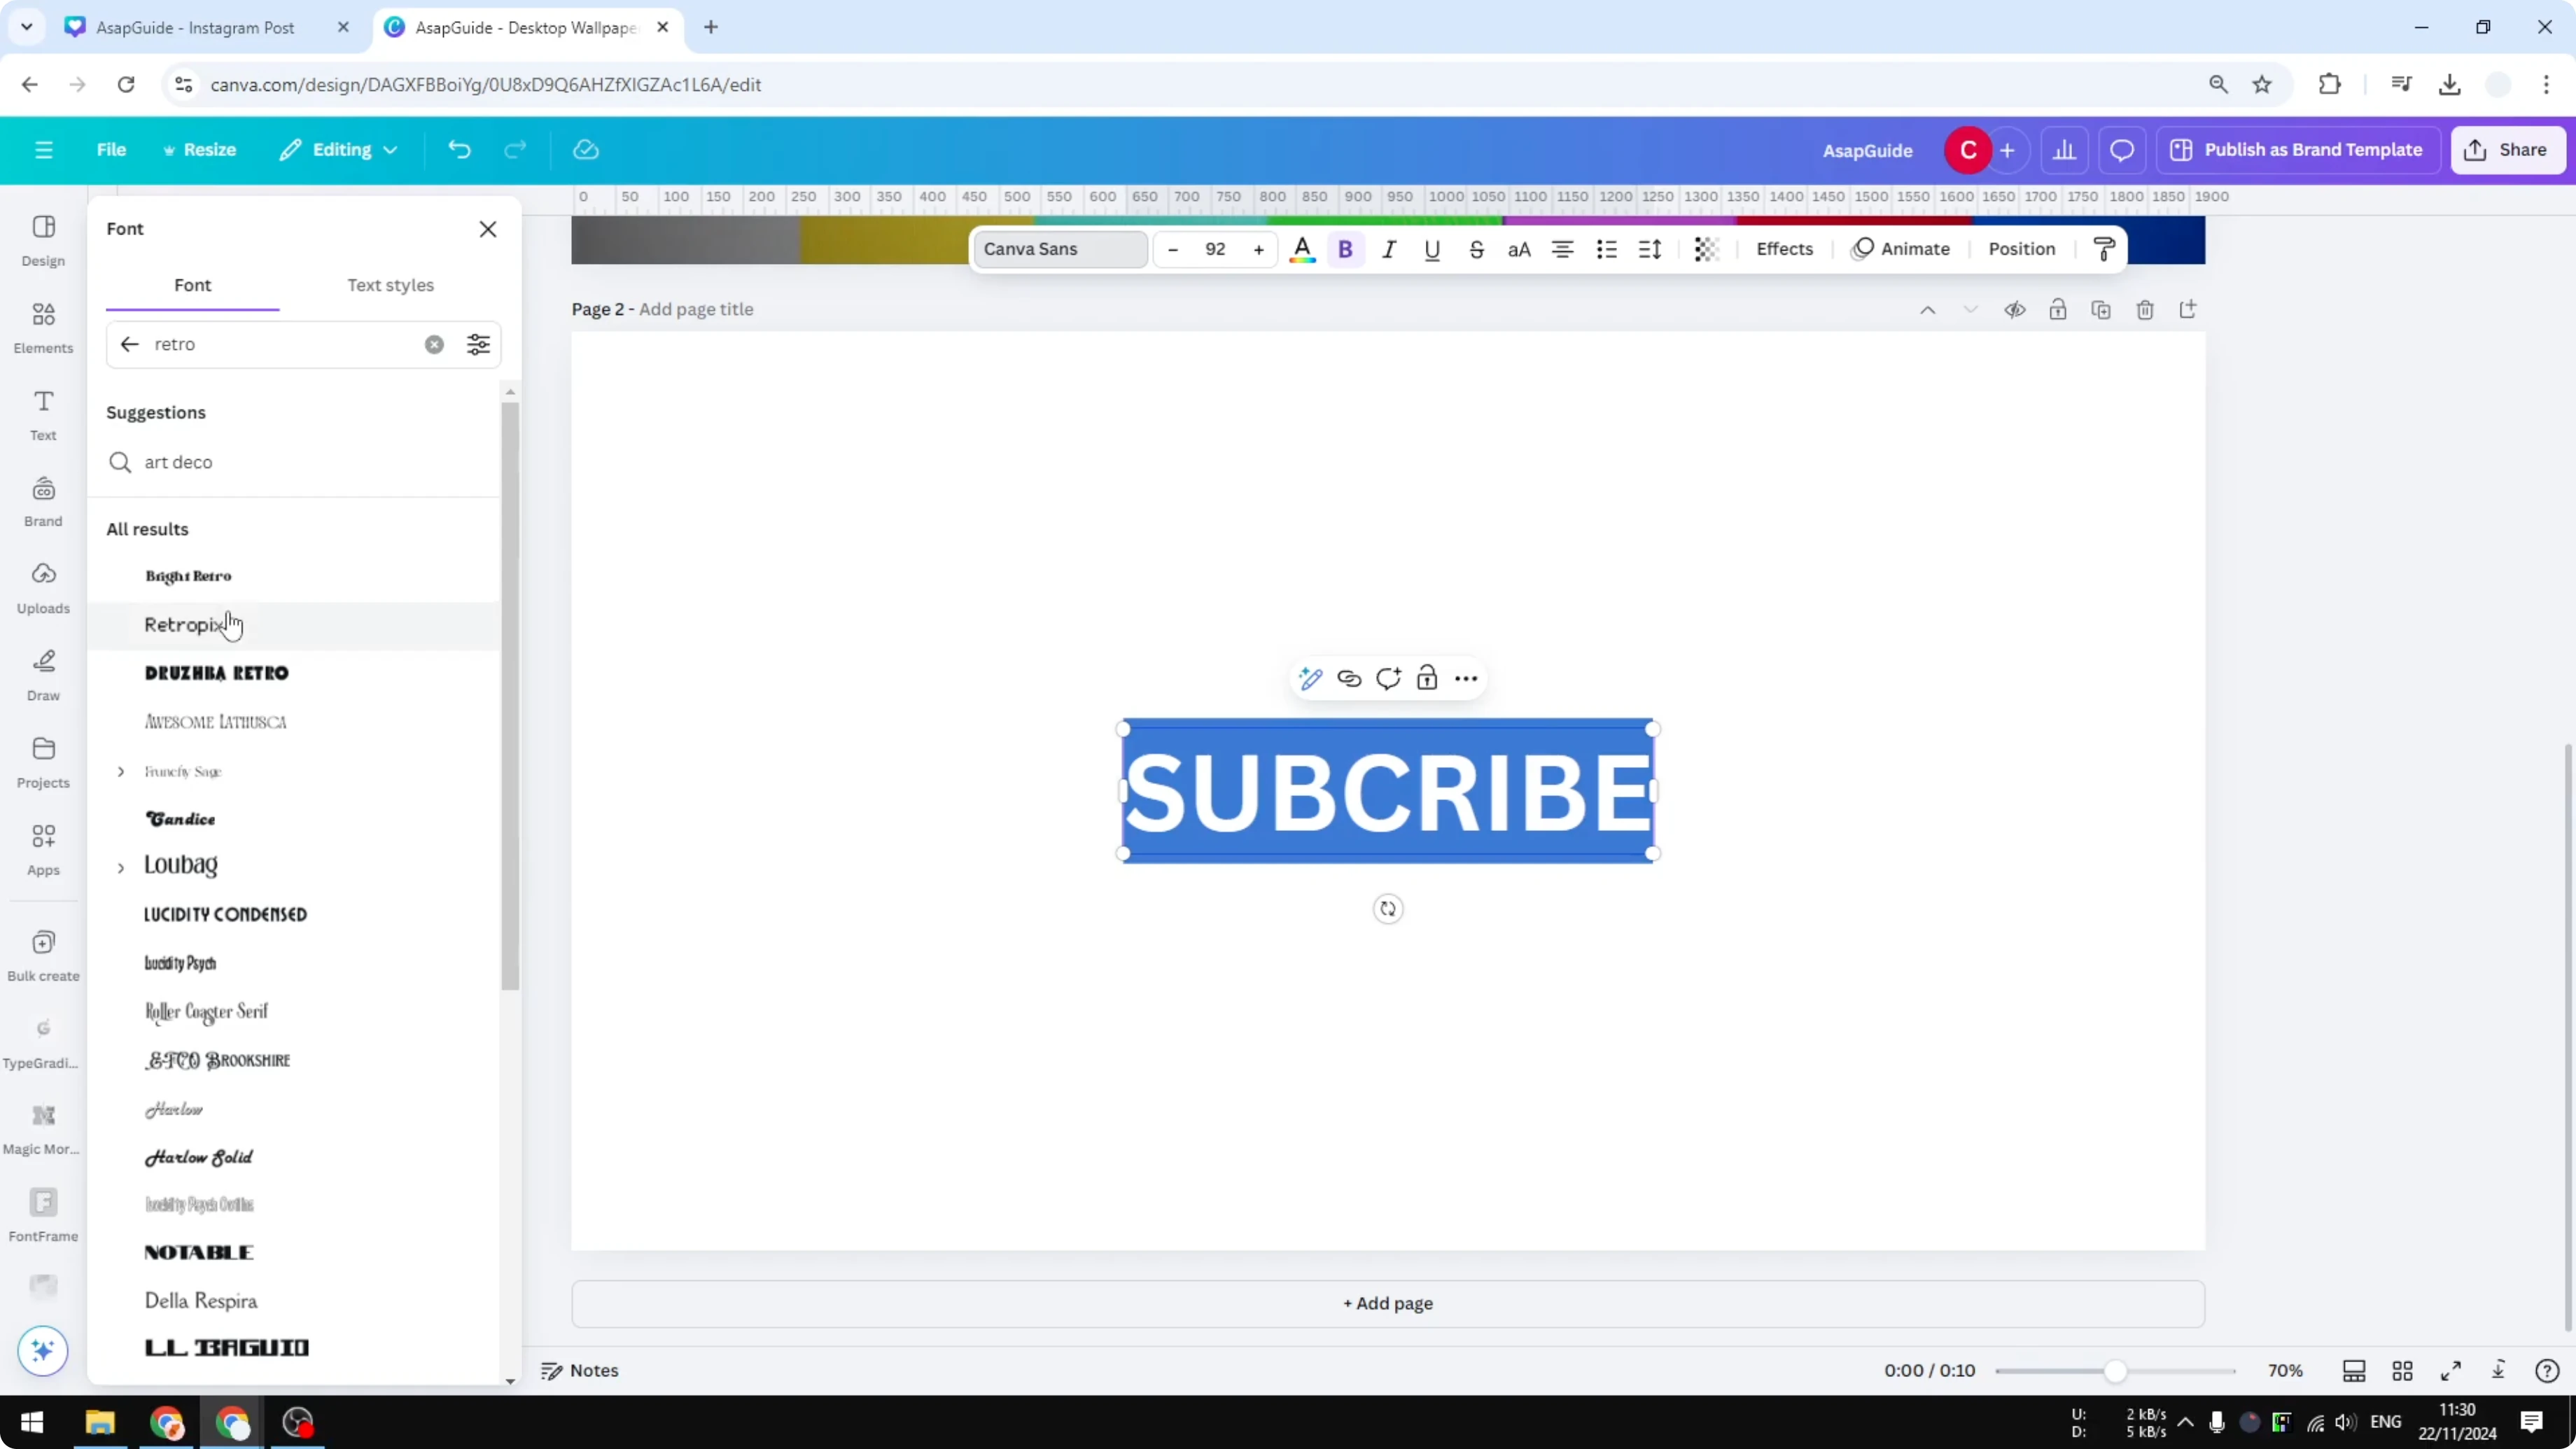
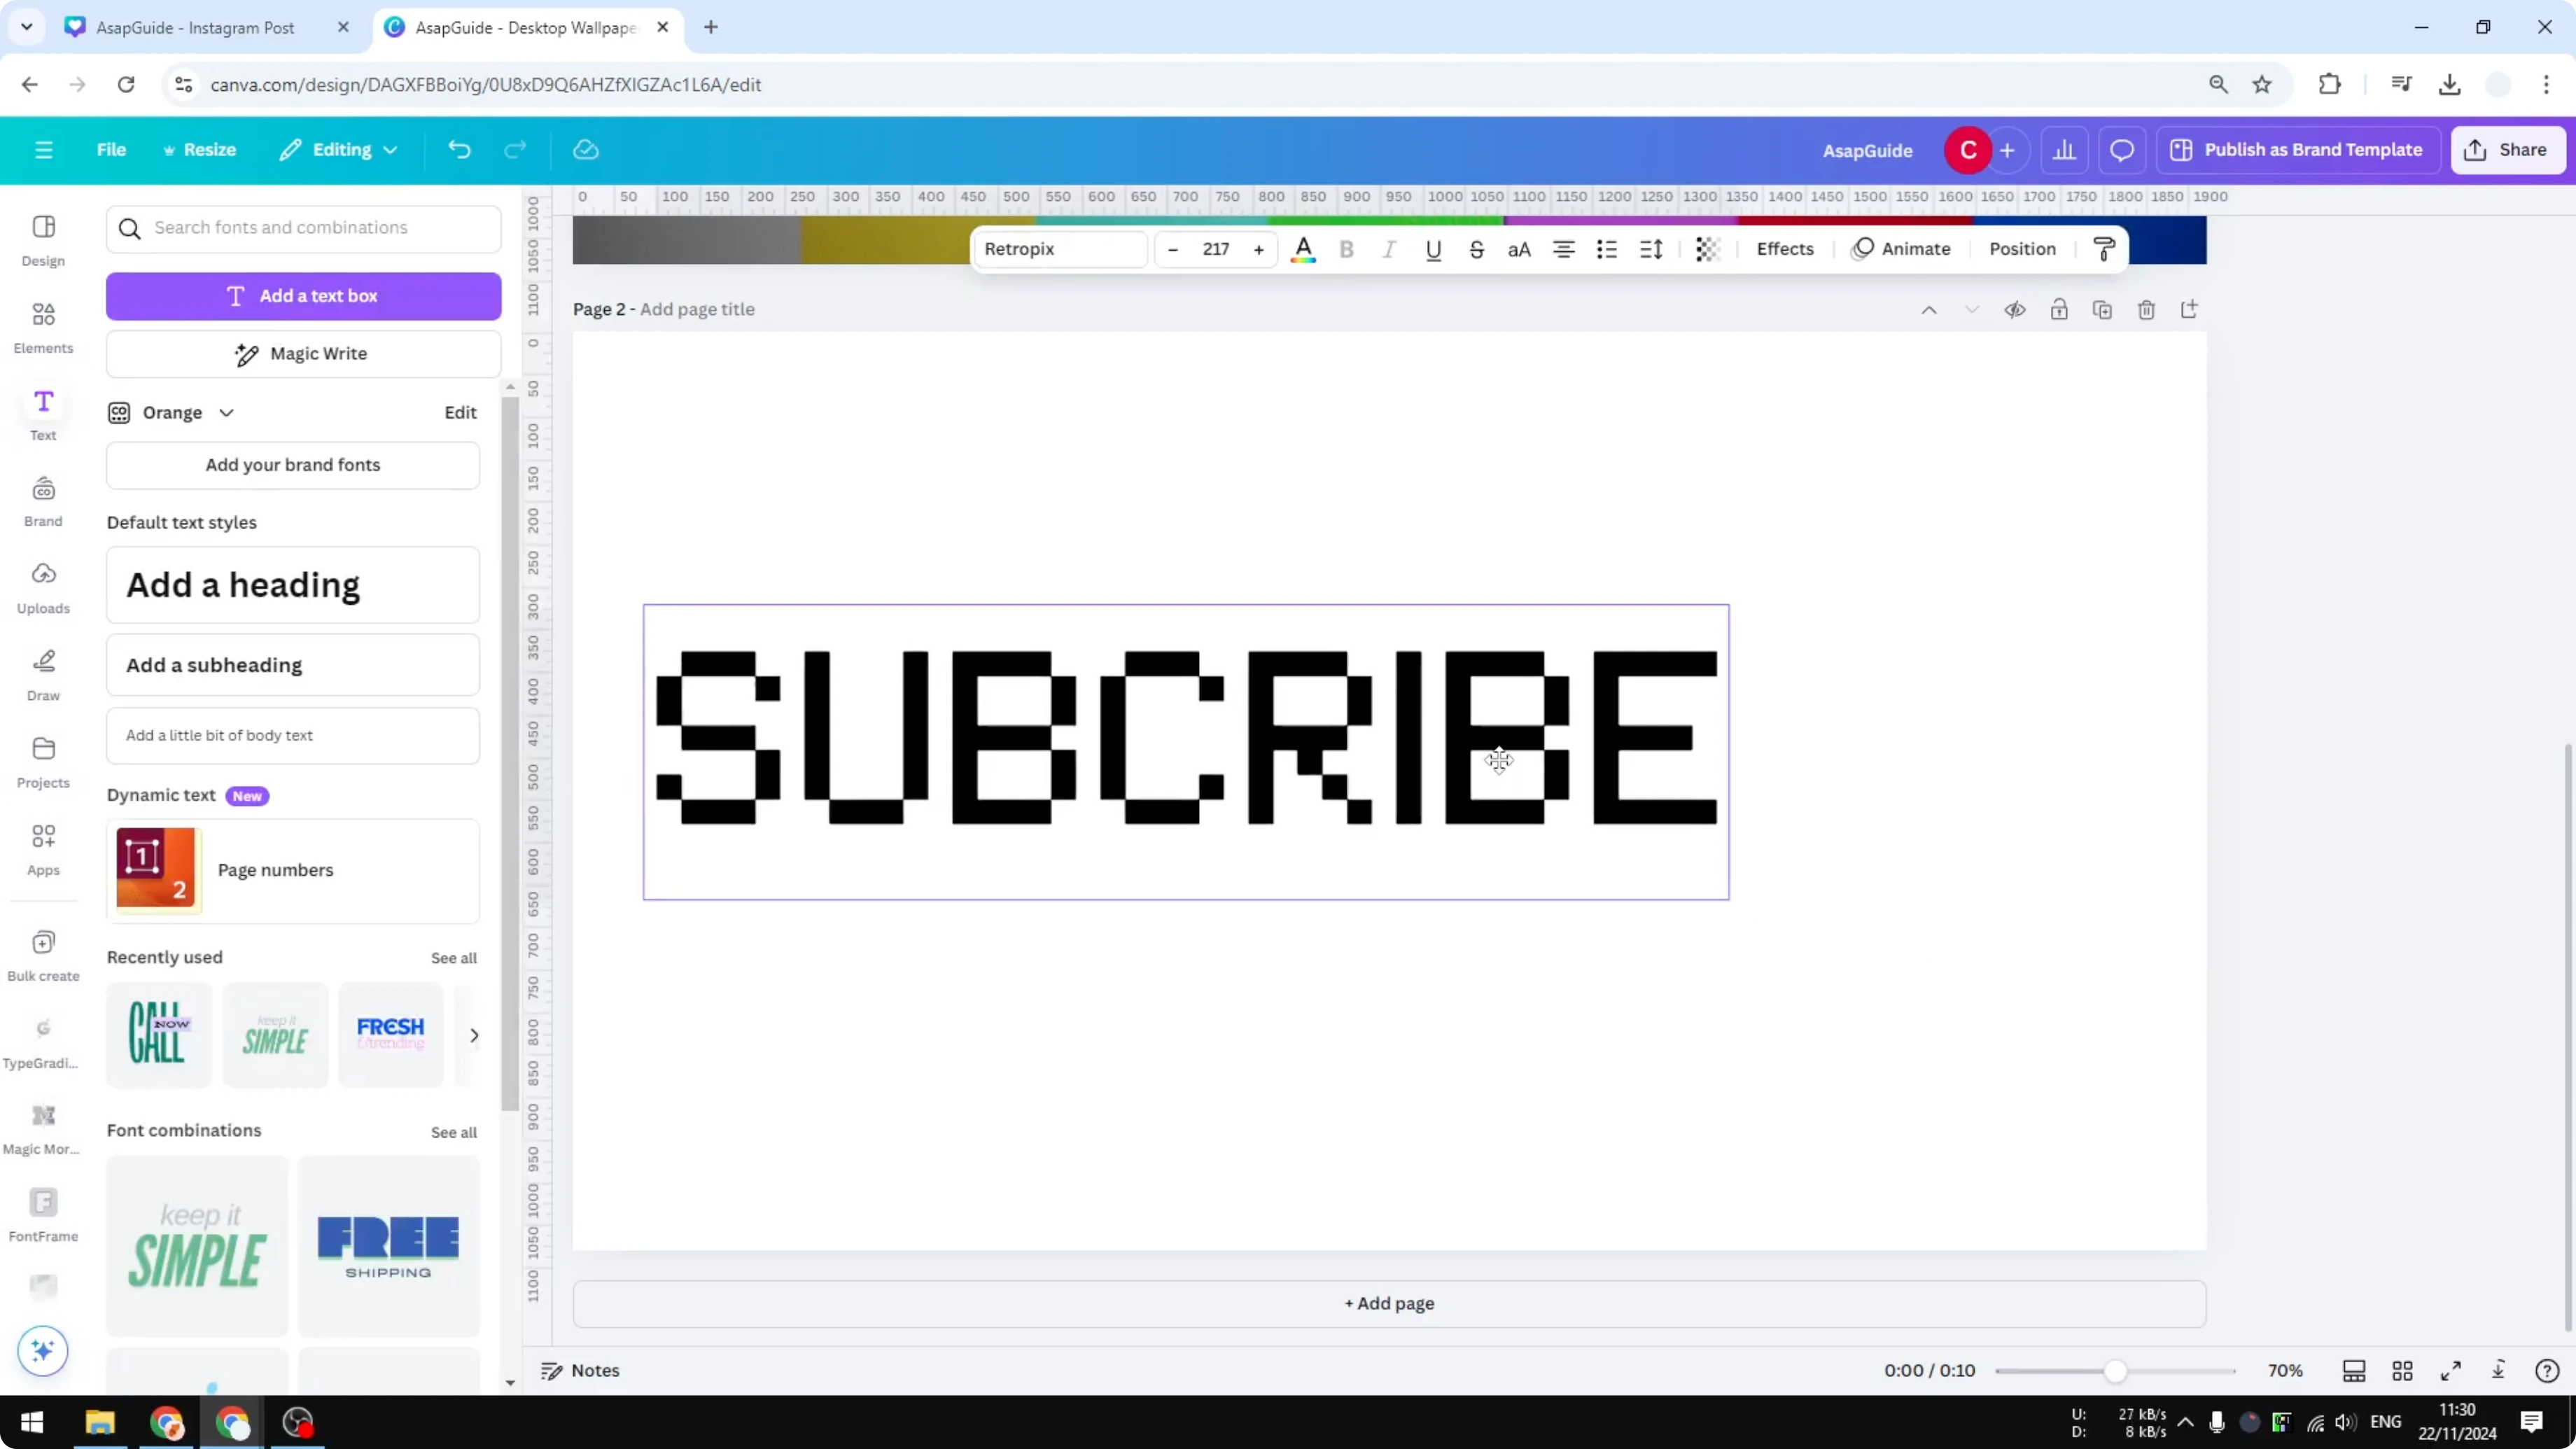
Change the font to something more retro. I recommend “Retro Pixel” from Canva’s font library. Make it big so the effect reads clearly.
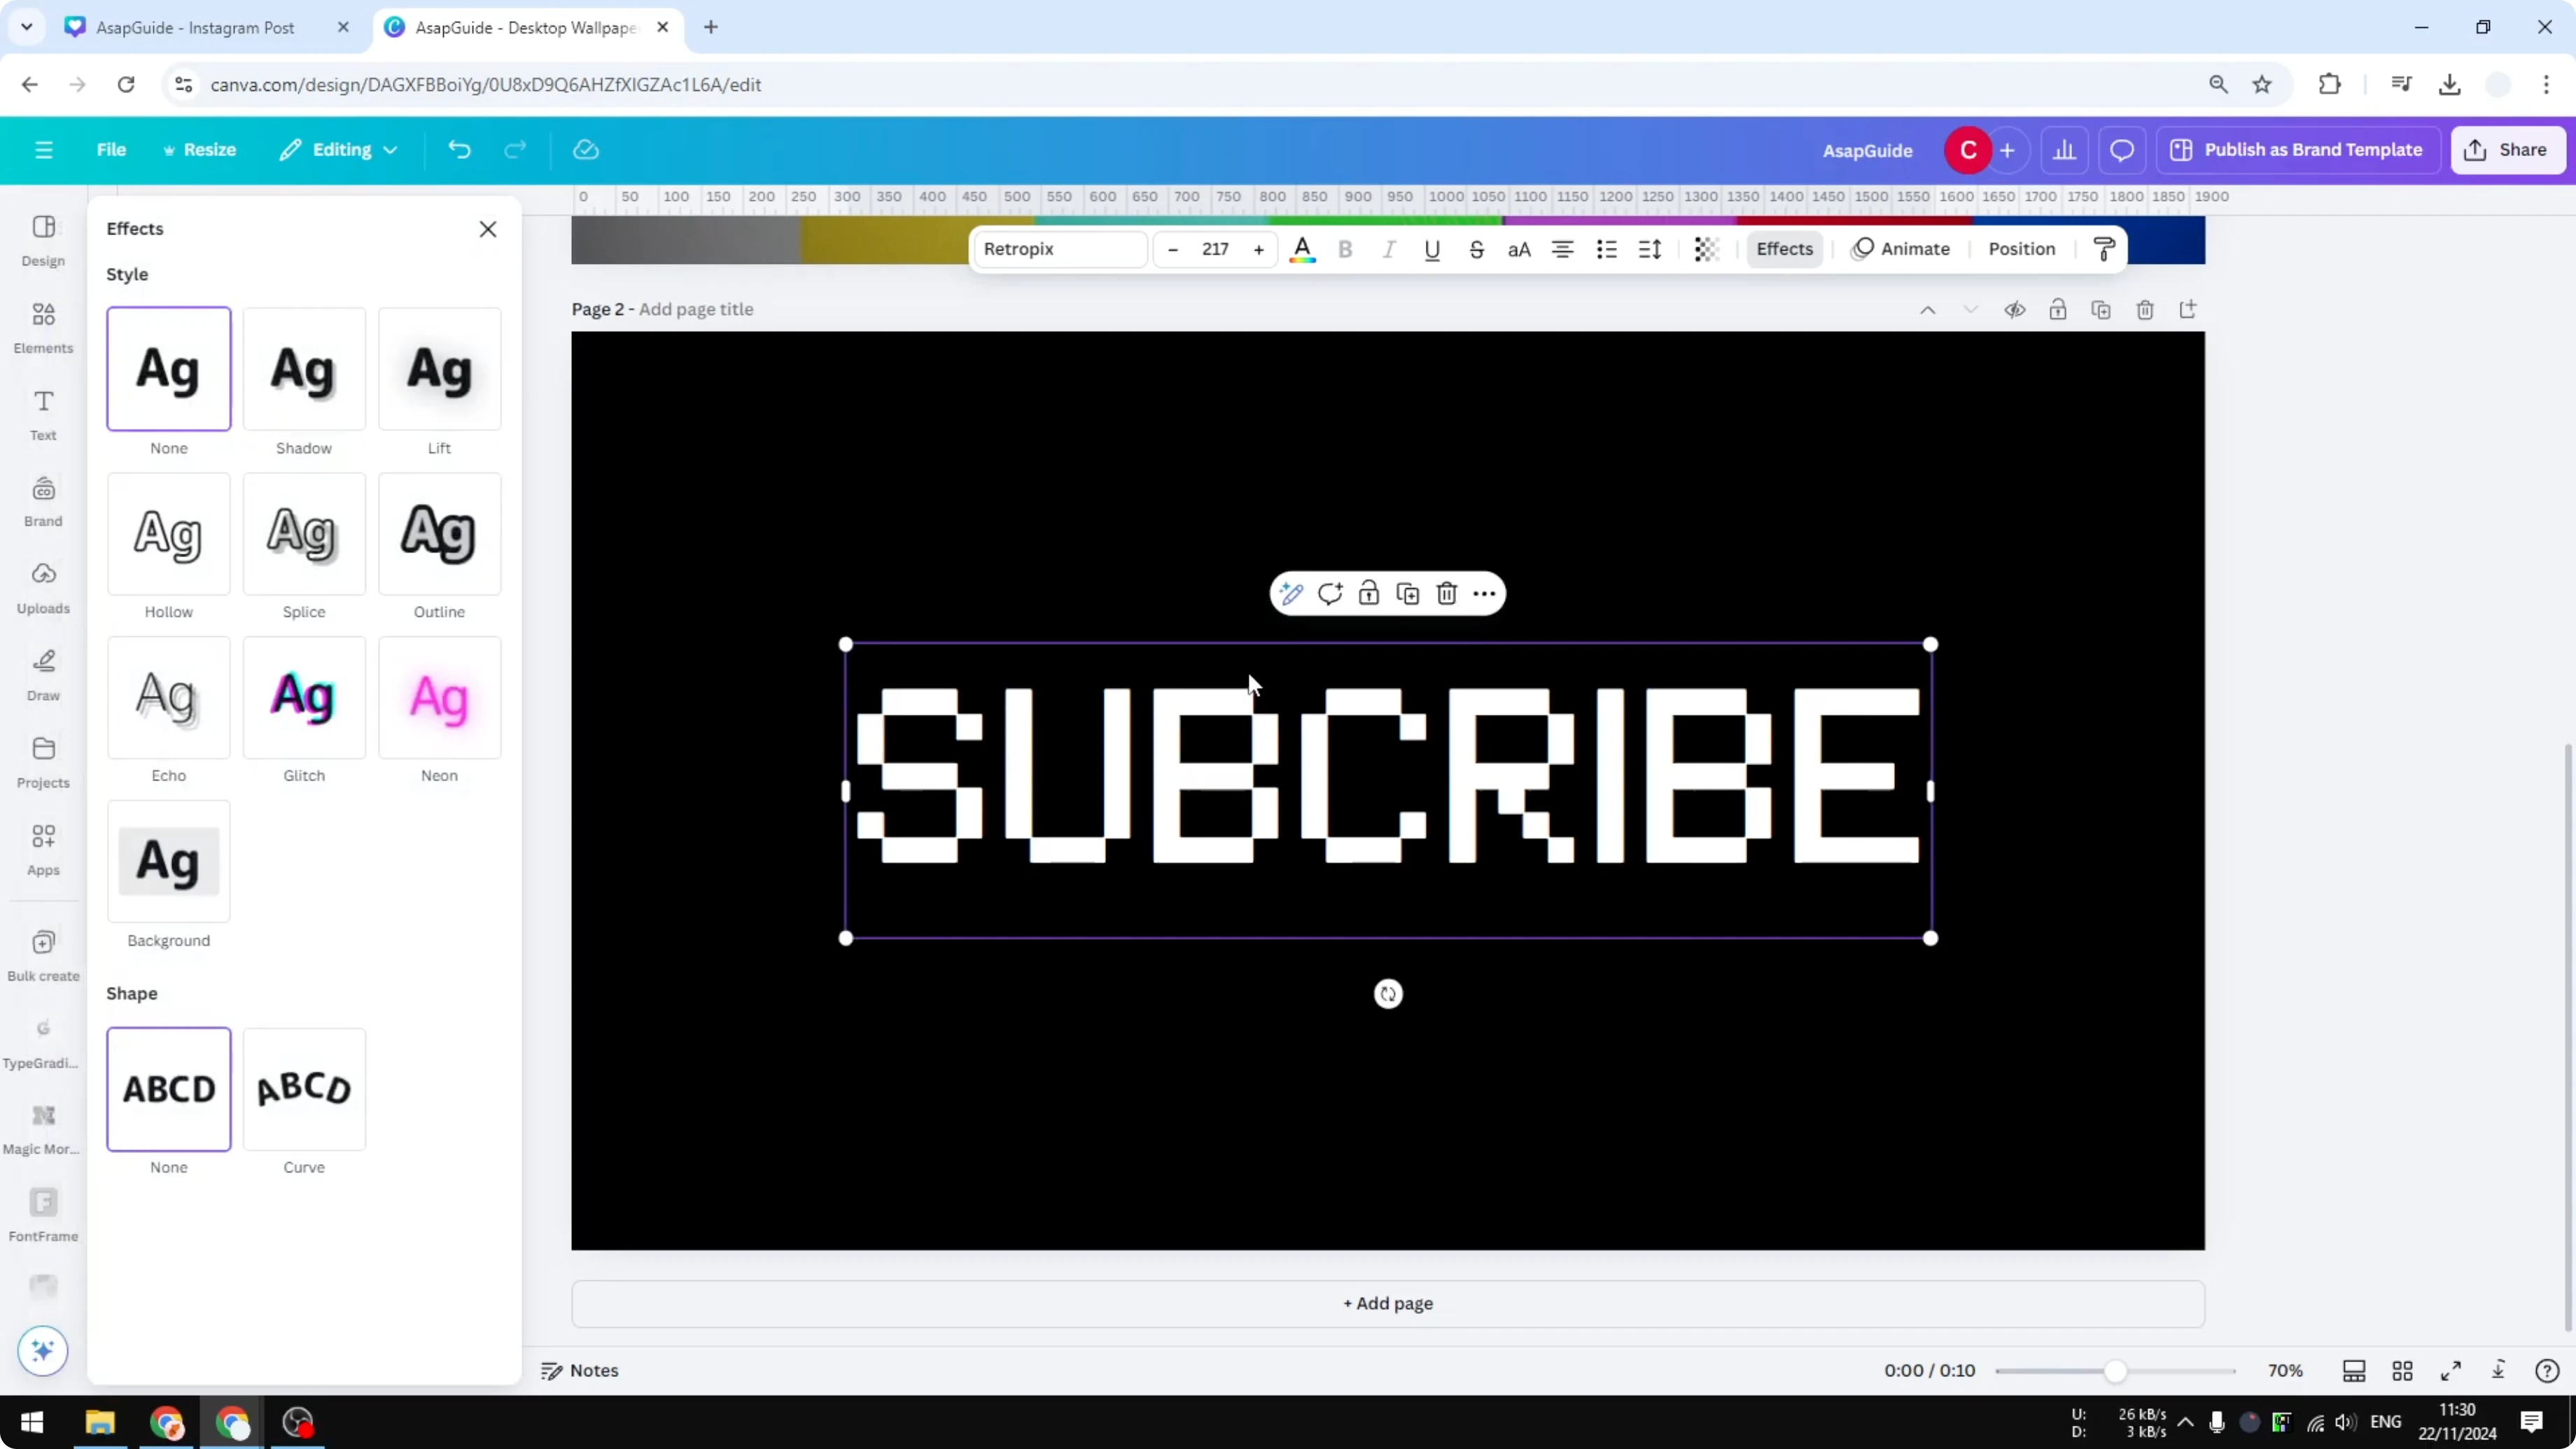
Make the base look
Turn the background to black or any dark color. This helps the text stand out. Change the text color to white, which is the most common screen text color from the ’80s and ’90s.
If you like distorted styles, you might also want to see this glitch text effect tutorial for more ideas.
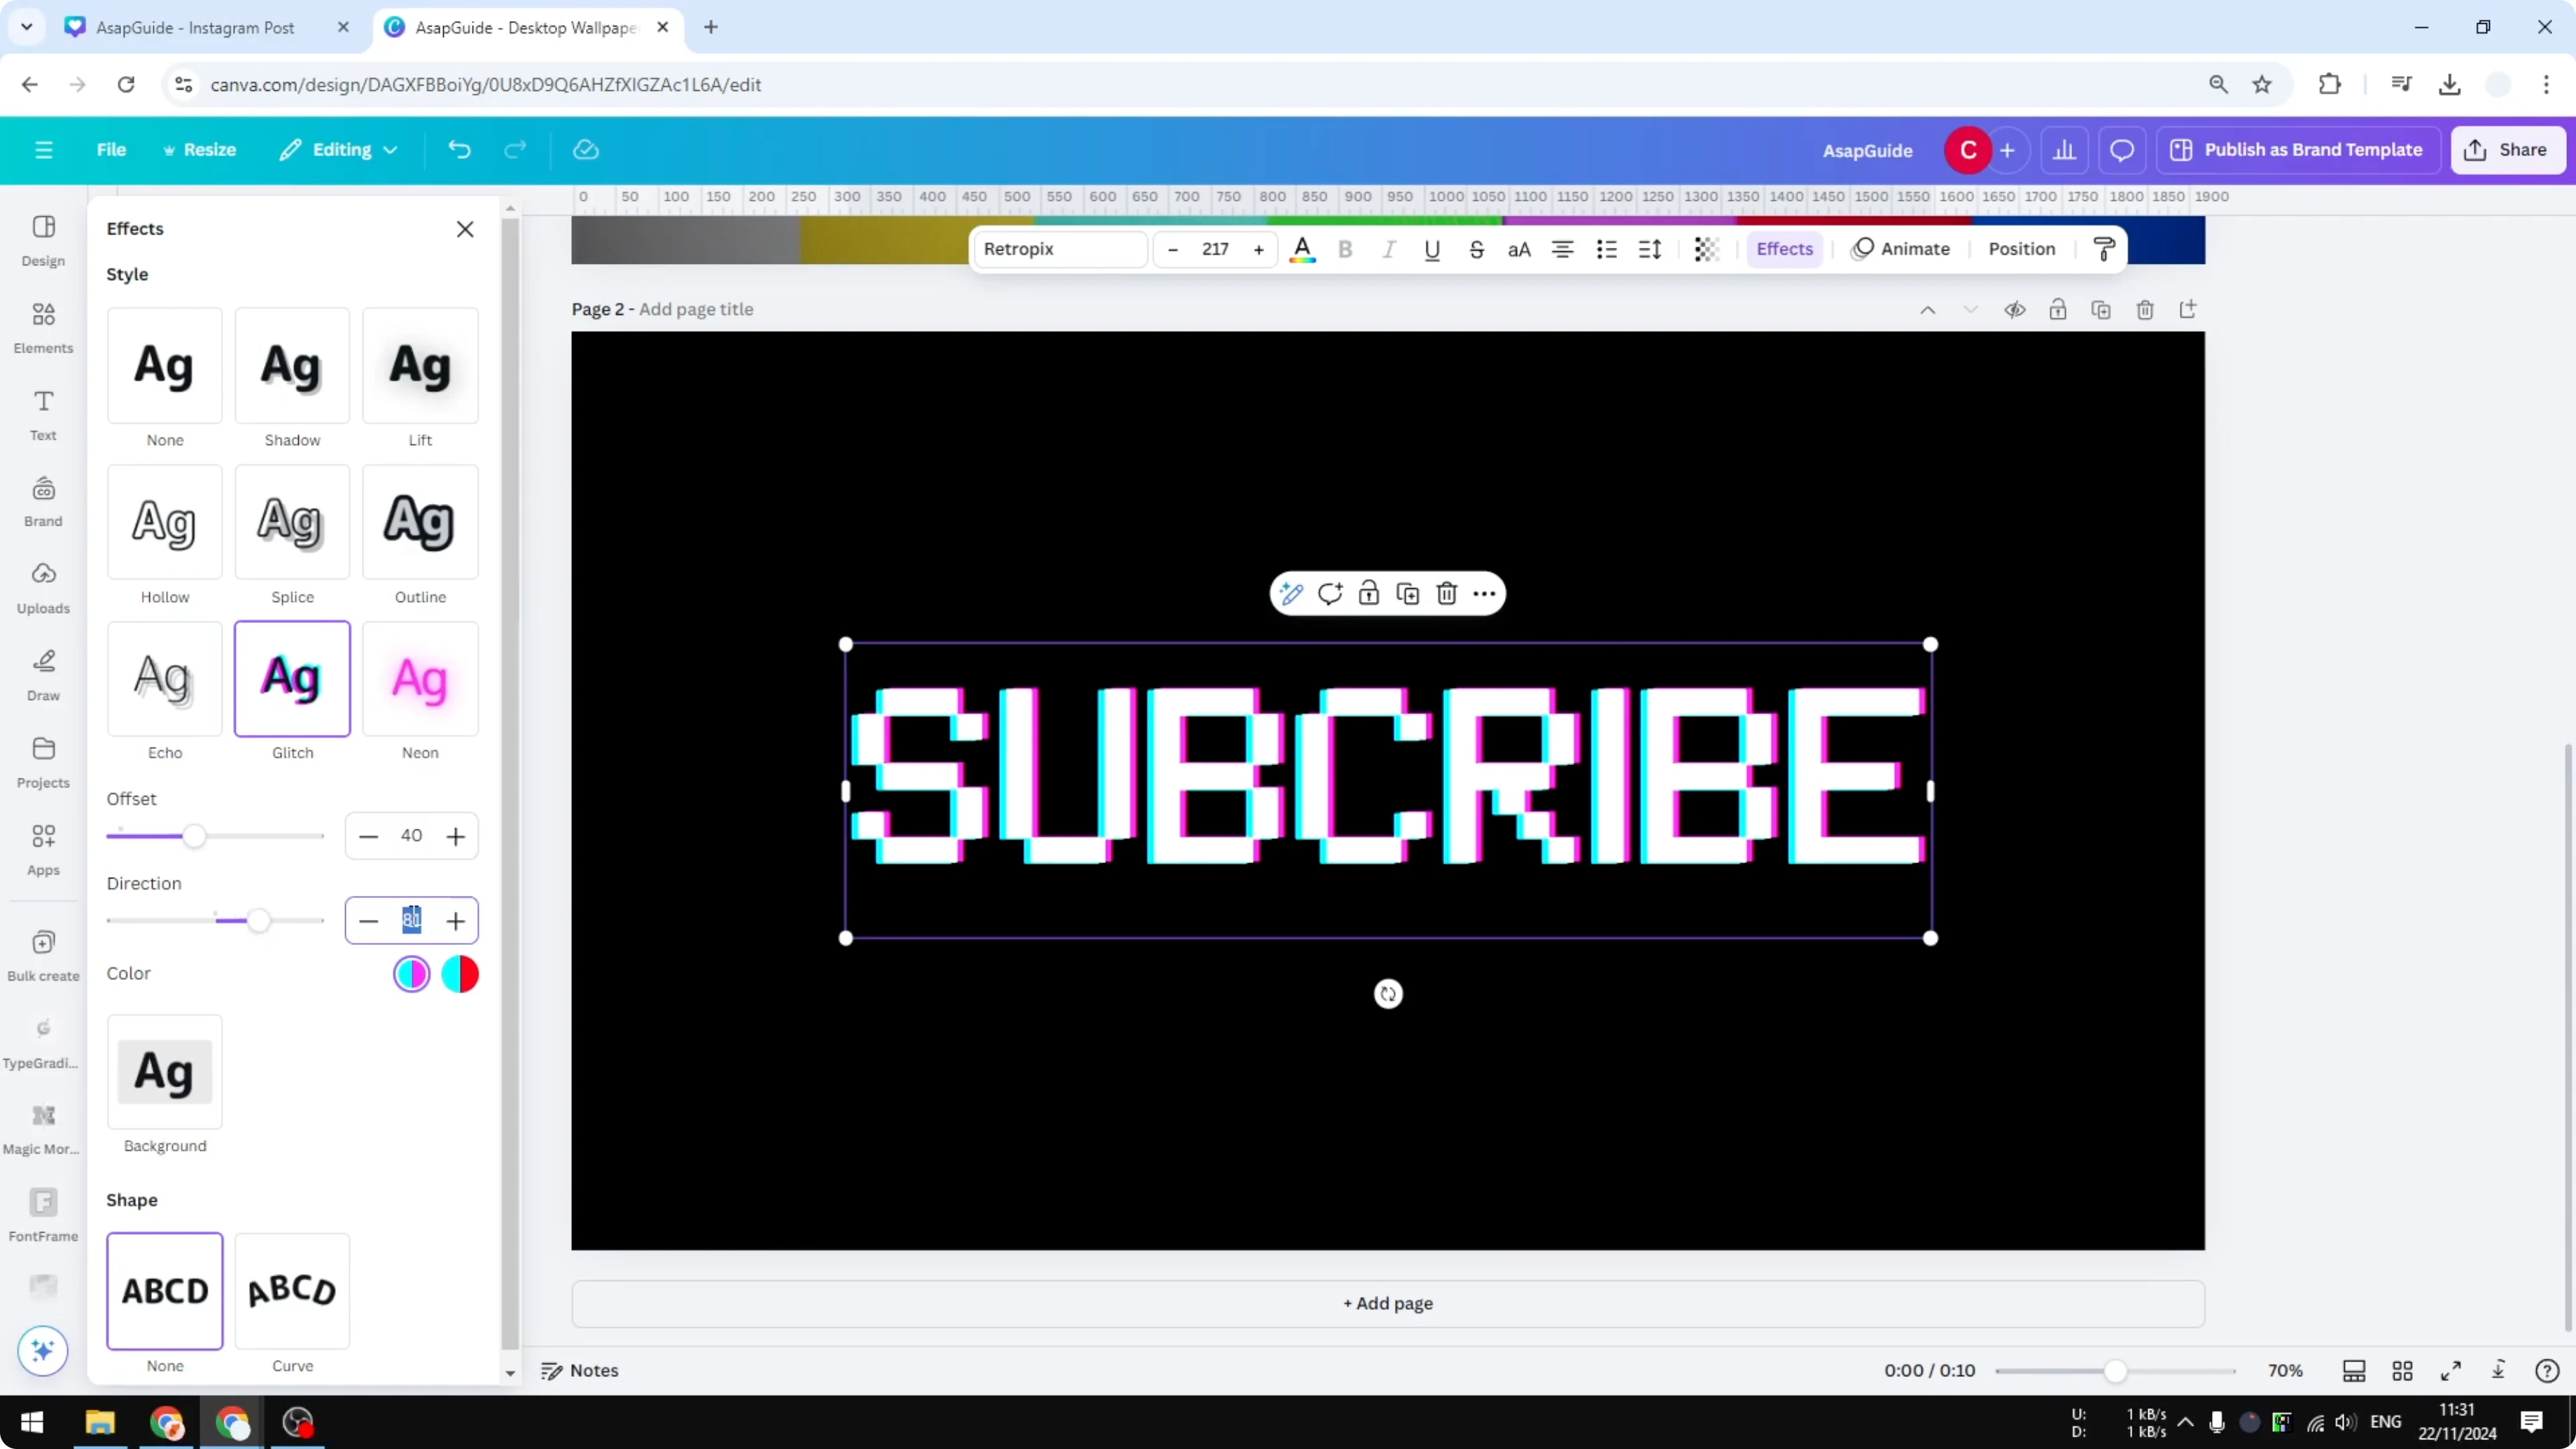
Apply the glitch effect
Select the text and open Effects. Choose Glitch. Set Offset around 30 to 40.
Keep Direction at 90 degrees for a strong horizontal shift. Set the colors to red and blue for that chromatic fringe that feels authentic. Adjust until it looks right, then move on.
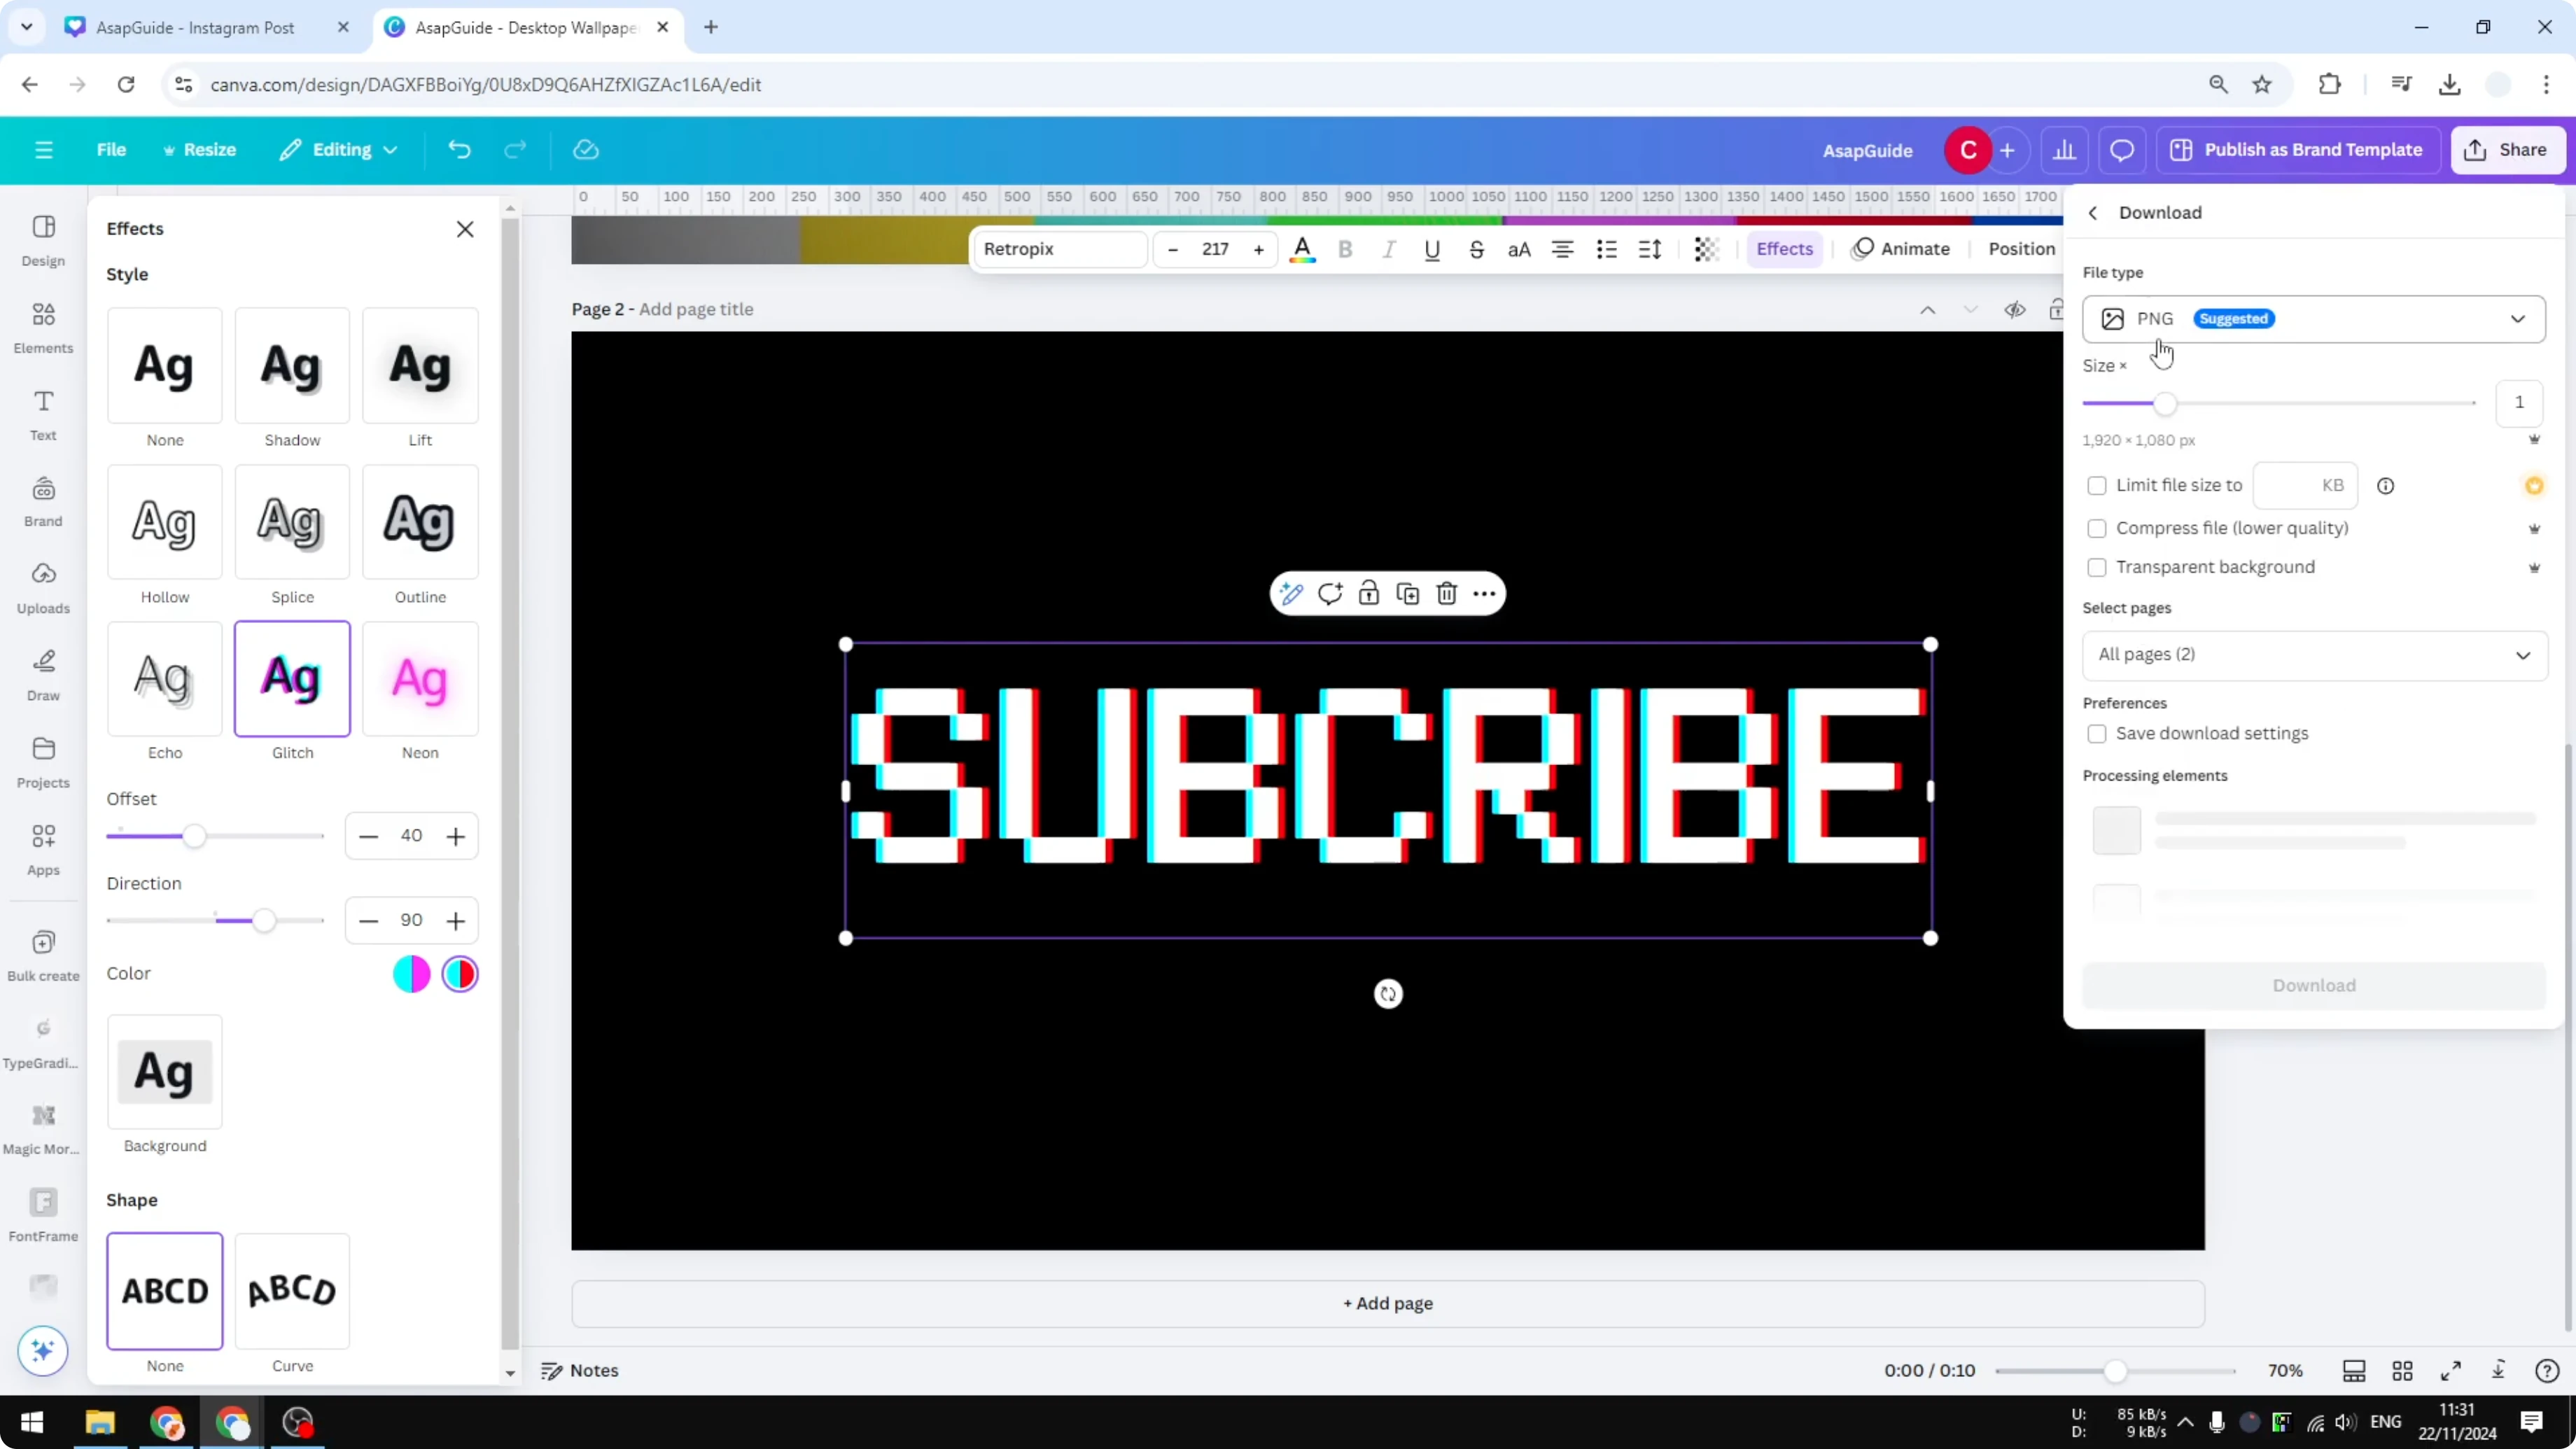
Export as a transparent PNG
Click Share and then Download. Set File type to PNG. Enable Transparent background and download only the page that contains the text.
You’re turning the text into an image so we can modify it further. This makes the next effects easier to apply. Upload the PNG back into your design.
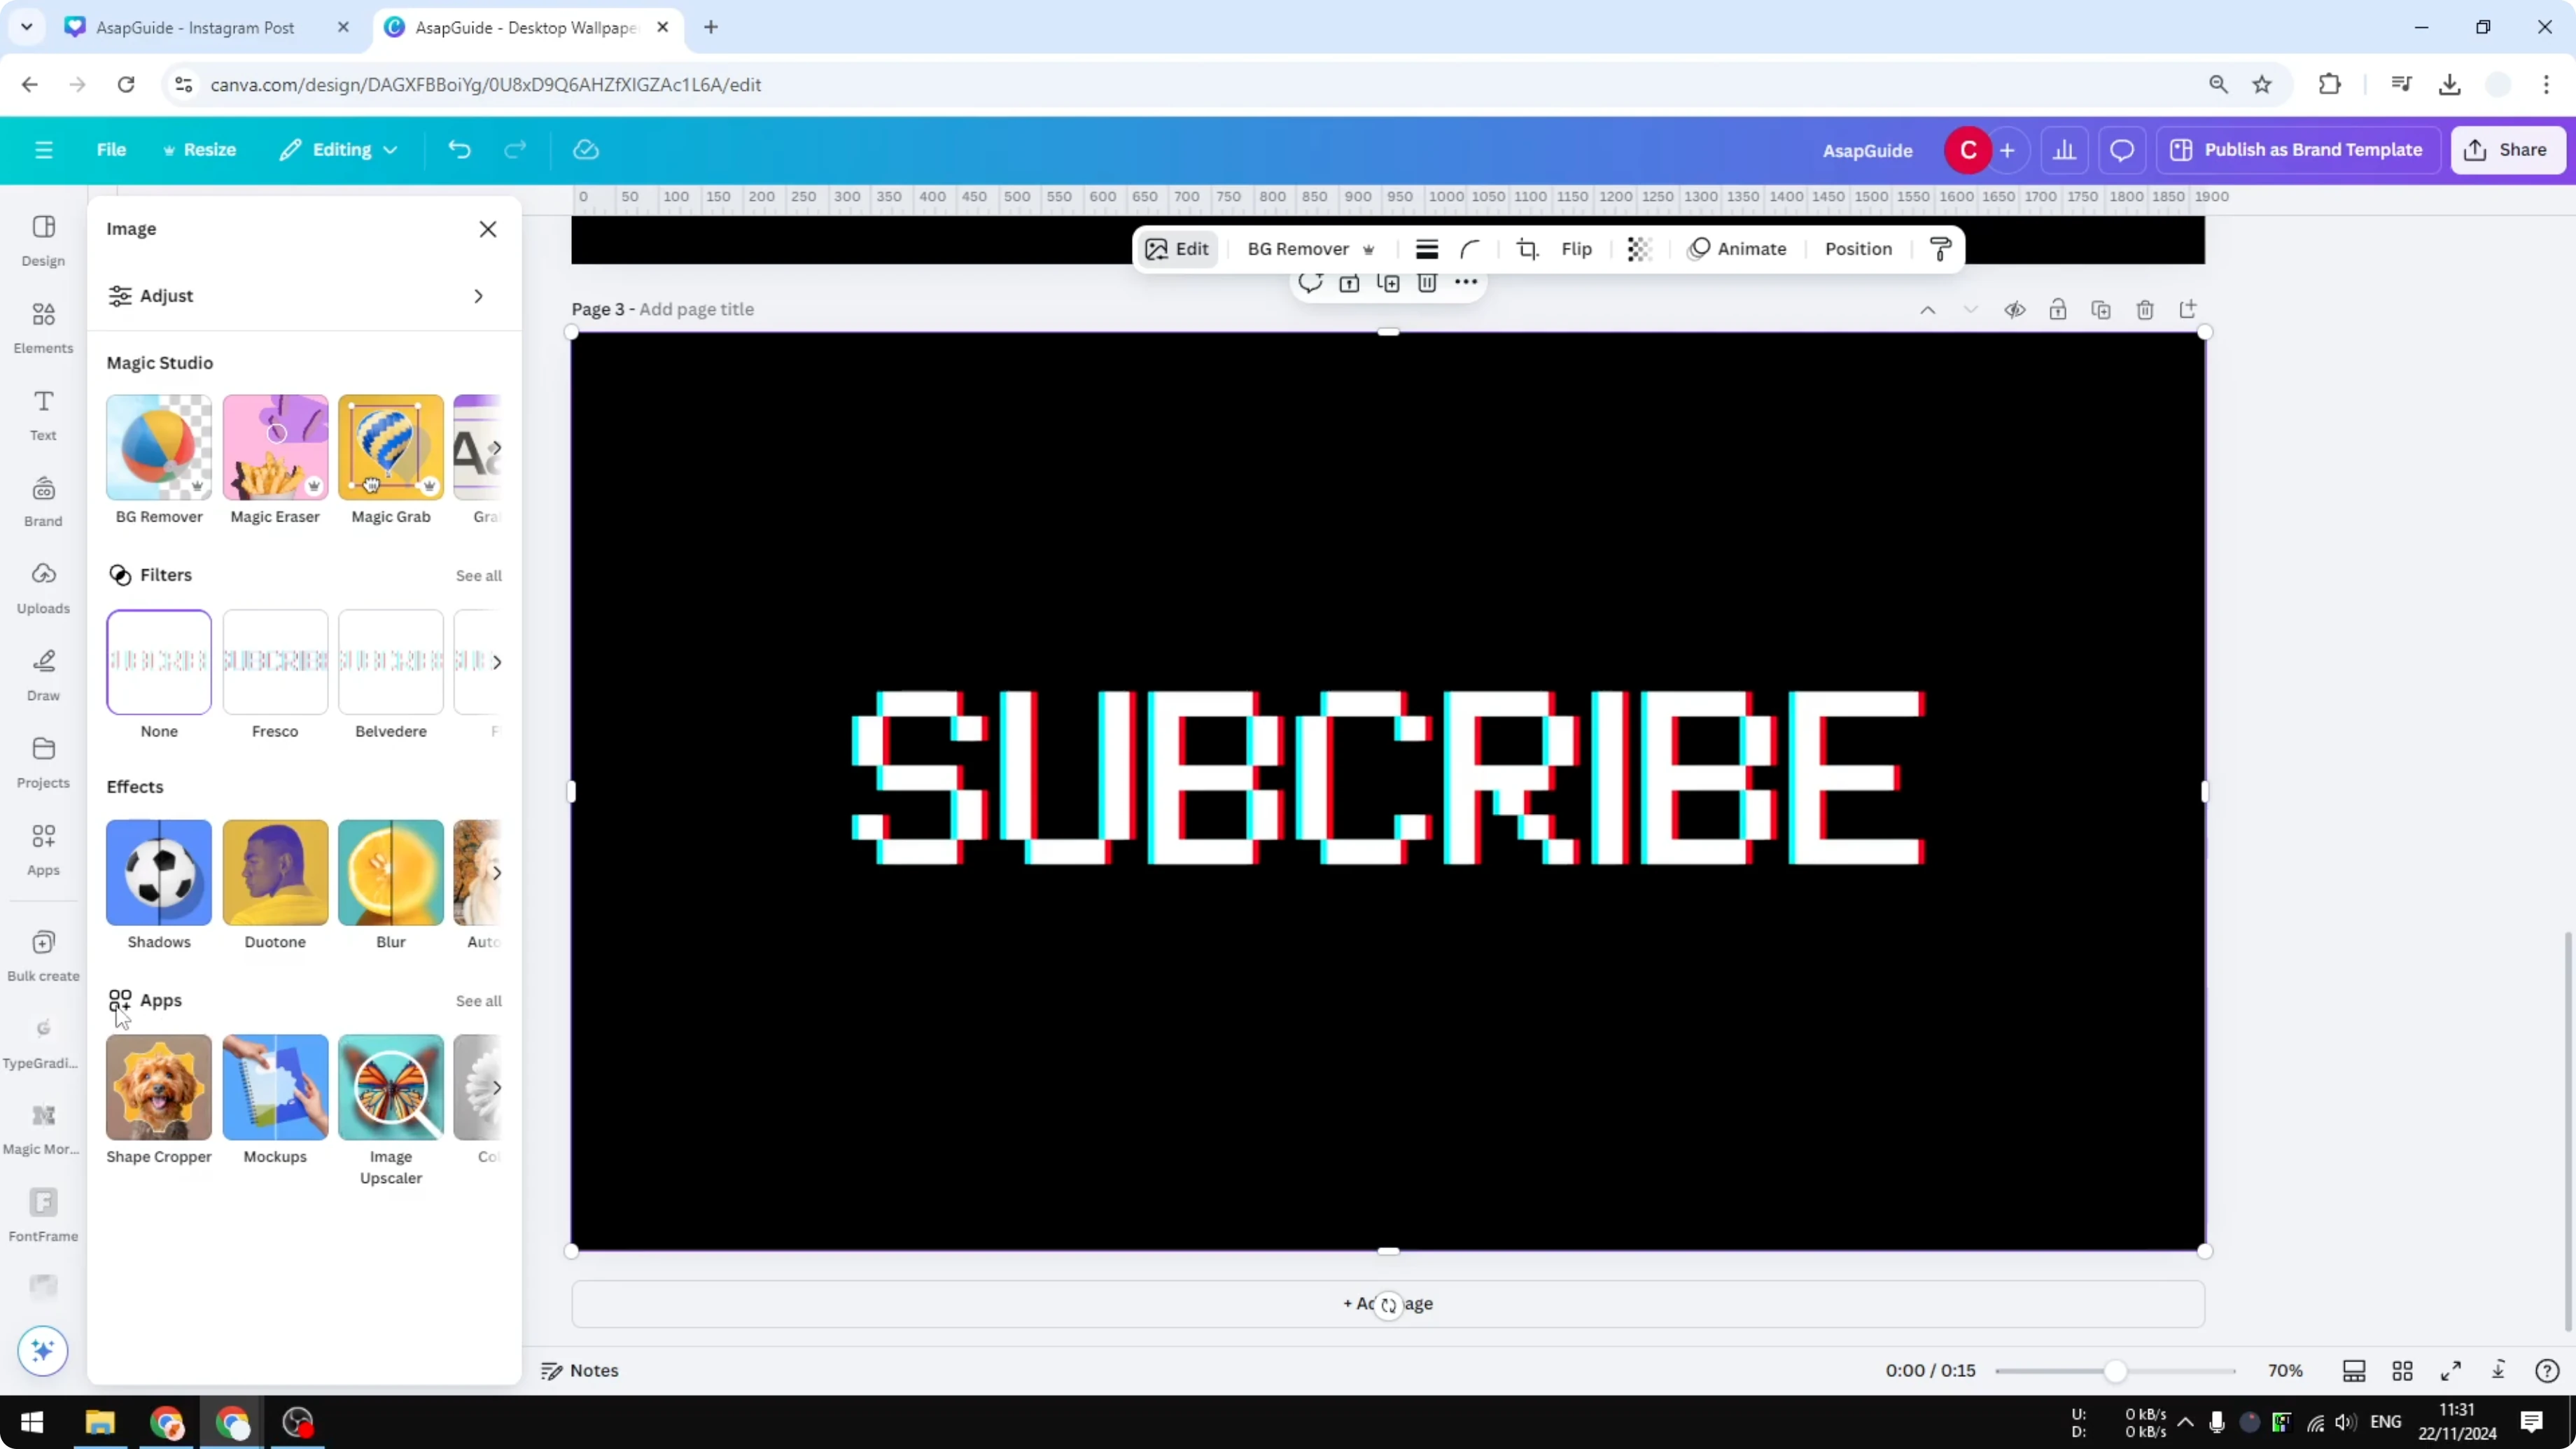
Slice the text
Add a new page. Insert the uploaded PNG and make it larger.
Click Edit. Open the Apps panel, search for Slice, and open it.
Choose the Slice effect. Reduce Size to around 0.5. Set Count to 3 or 4, then adjust Position until it looks right.
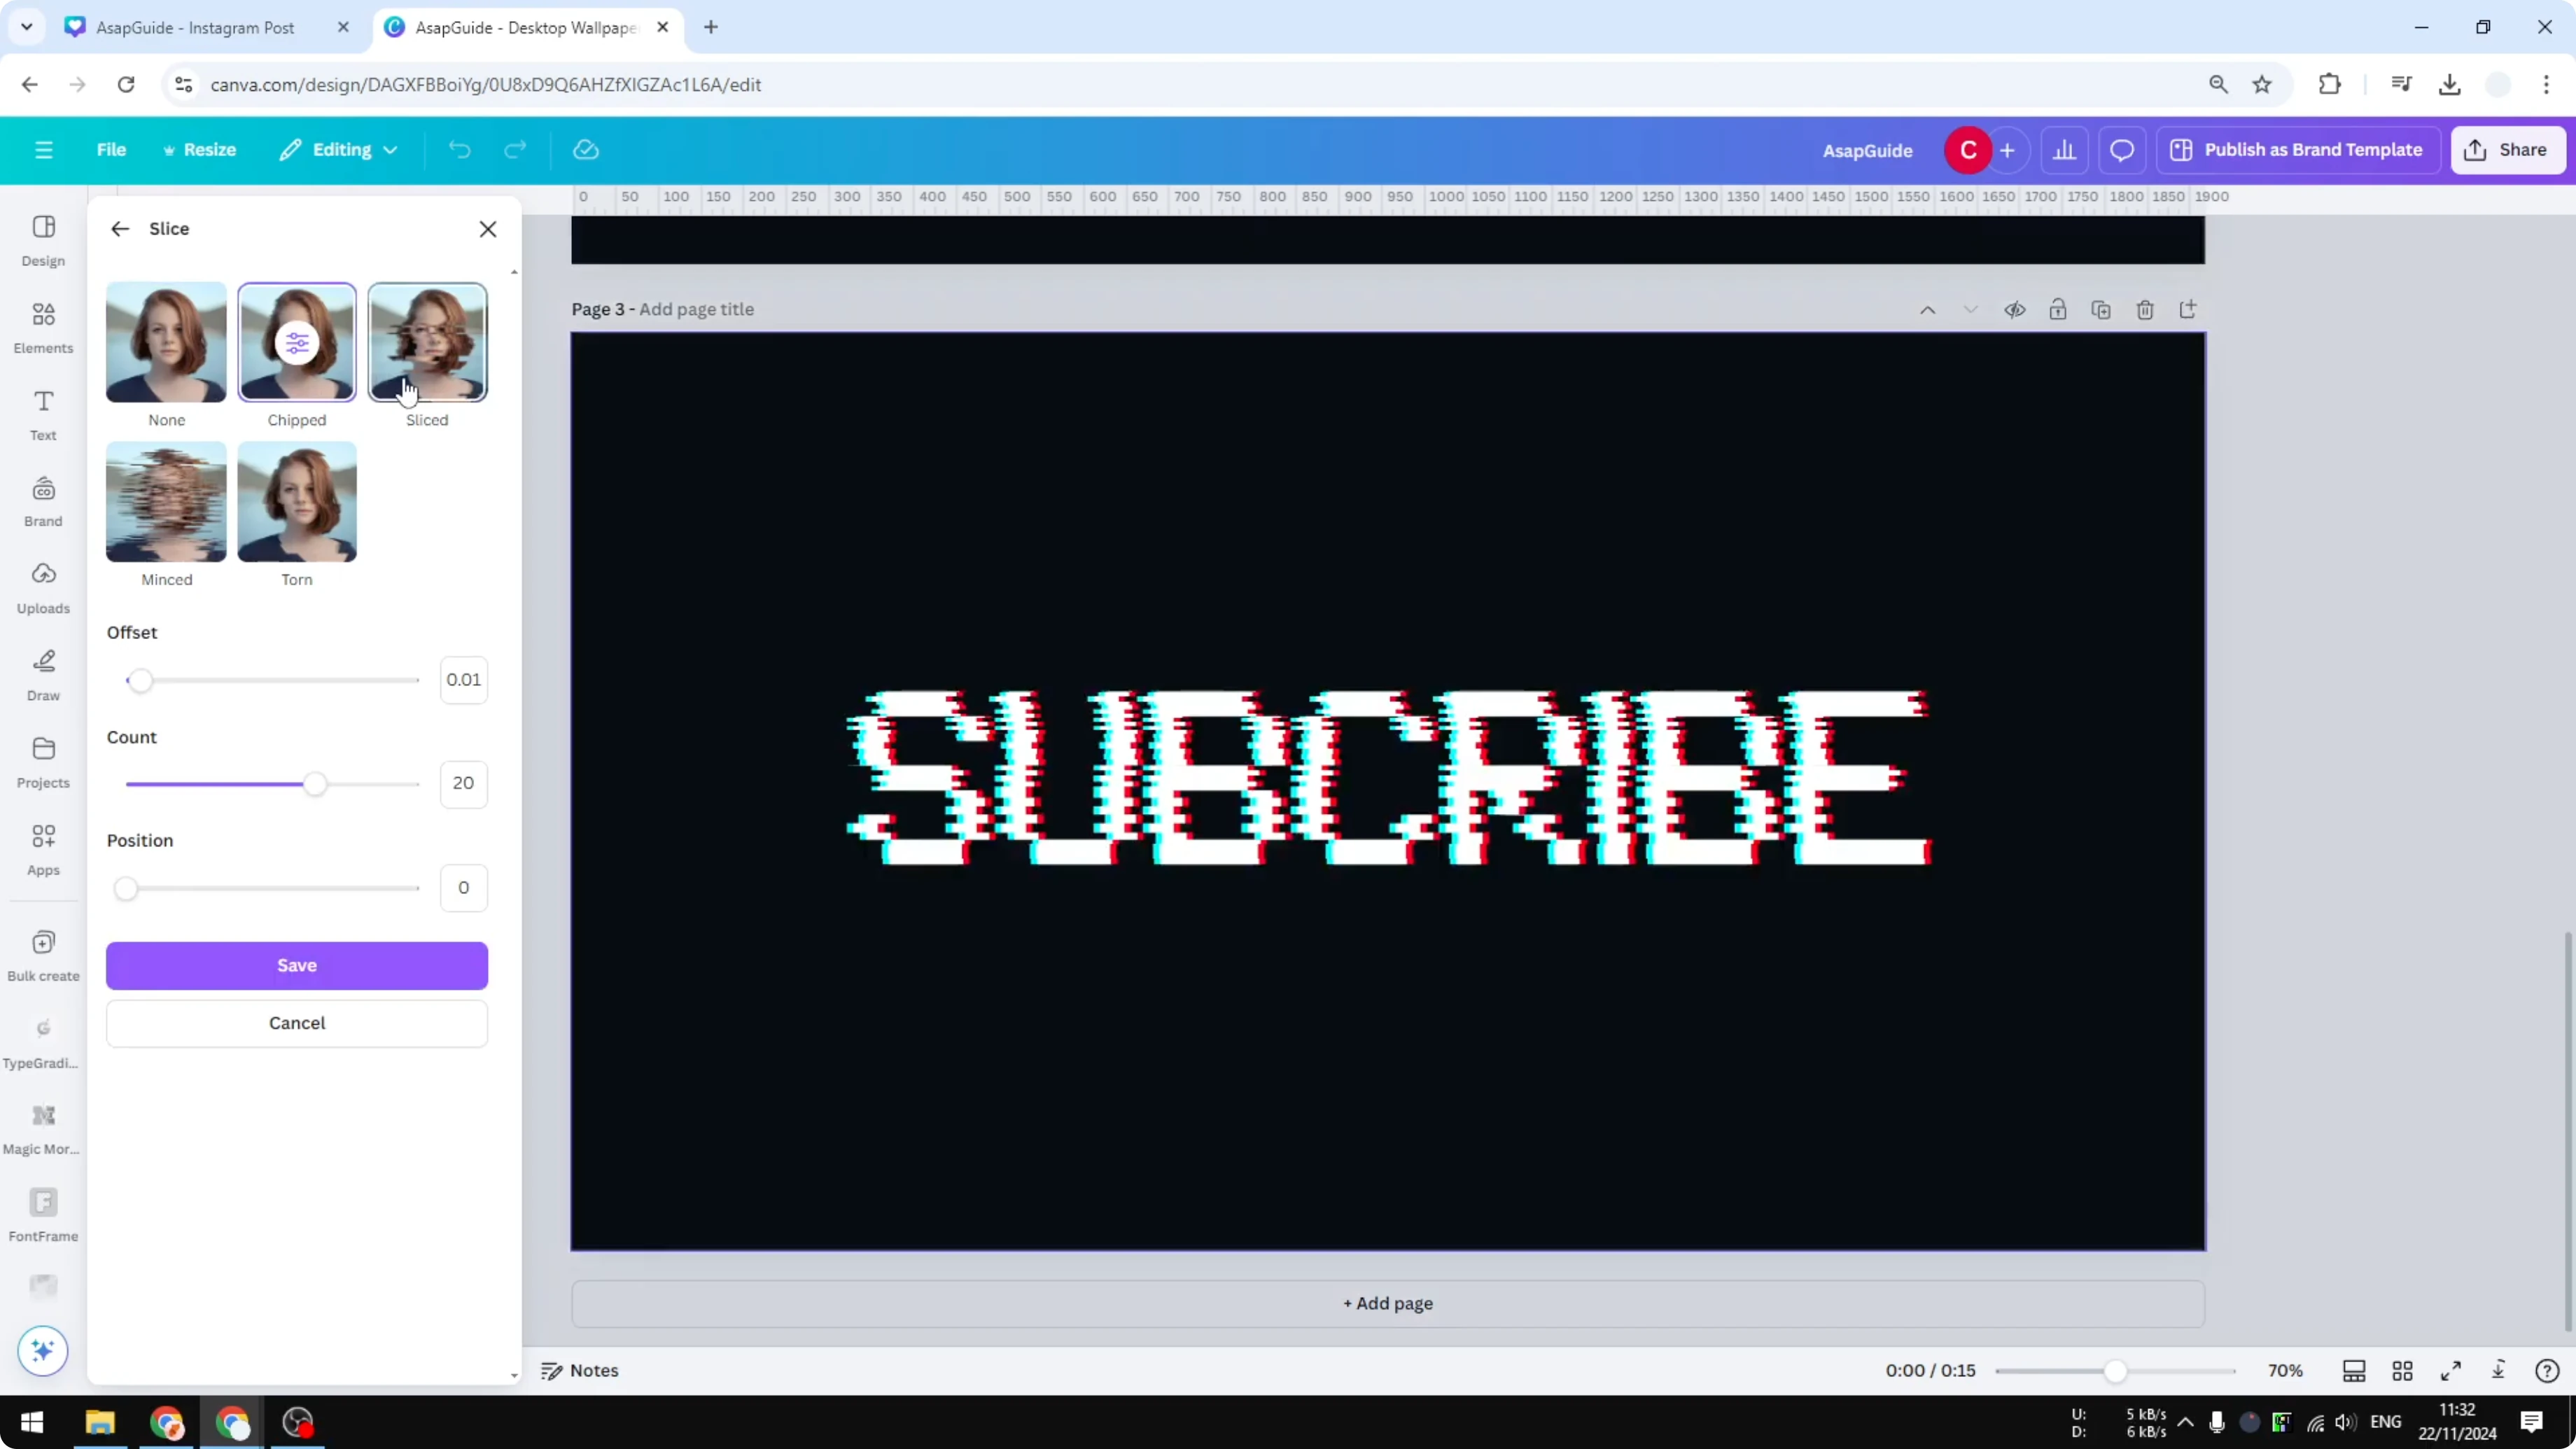
These settings are subjective, so you don’t have to follow my numbers. Save the effect to recreate and upload the processed image to your Canva account. Replace the original with this sliced version if needed.
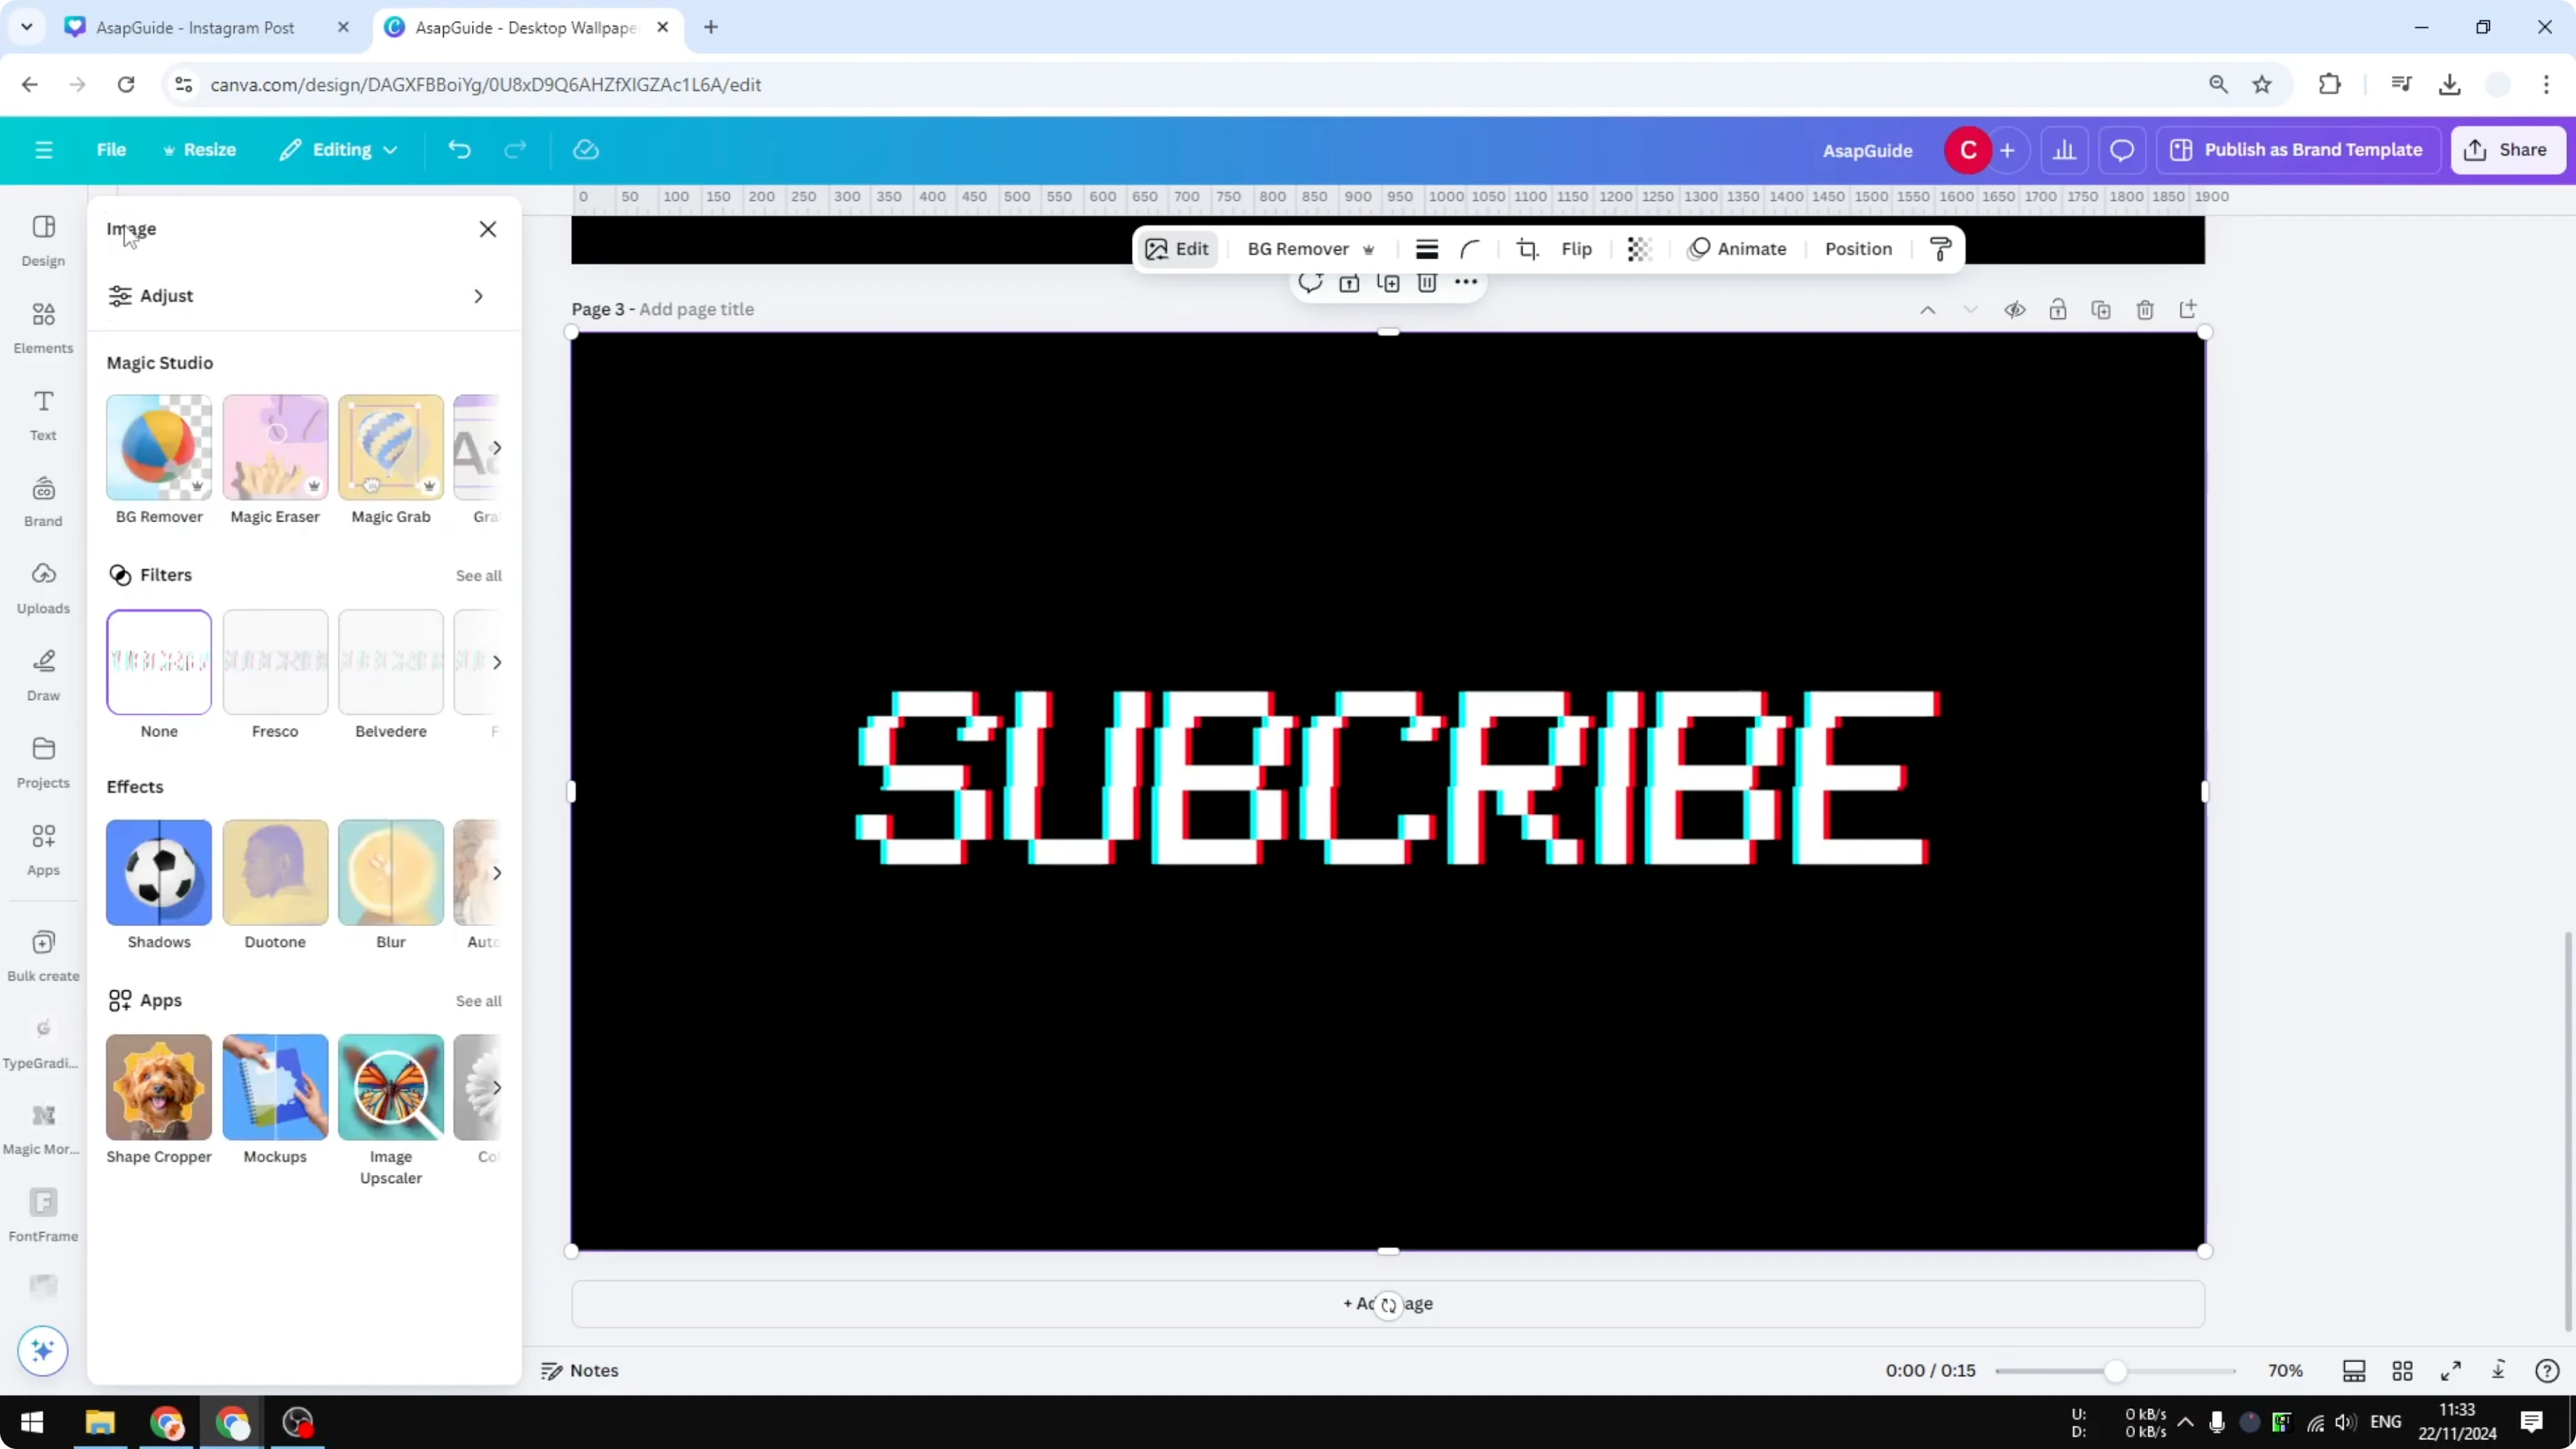
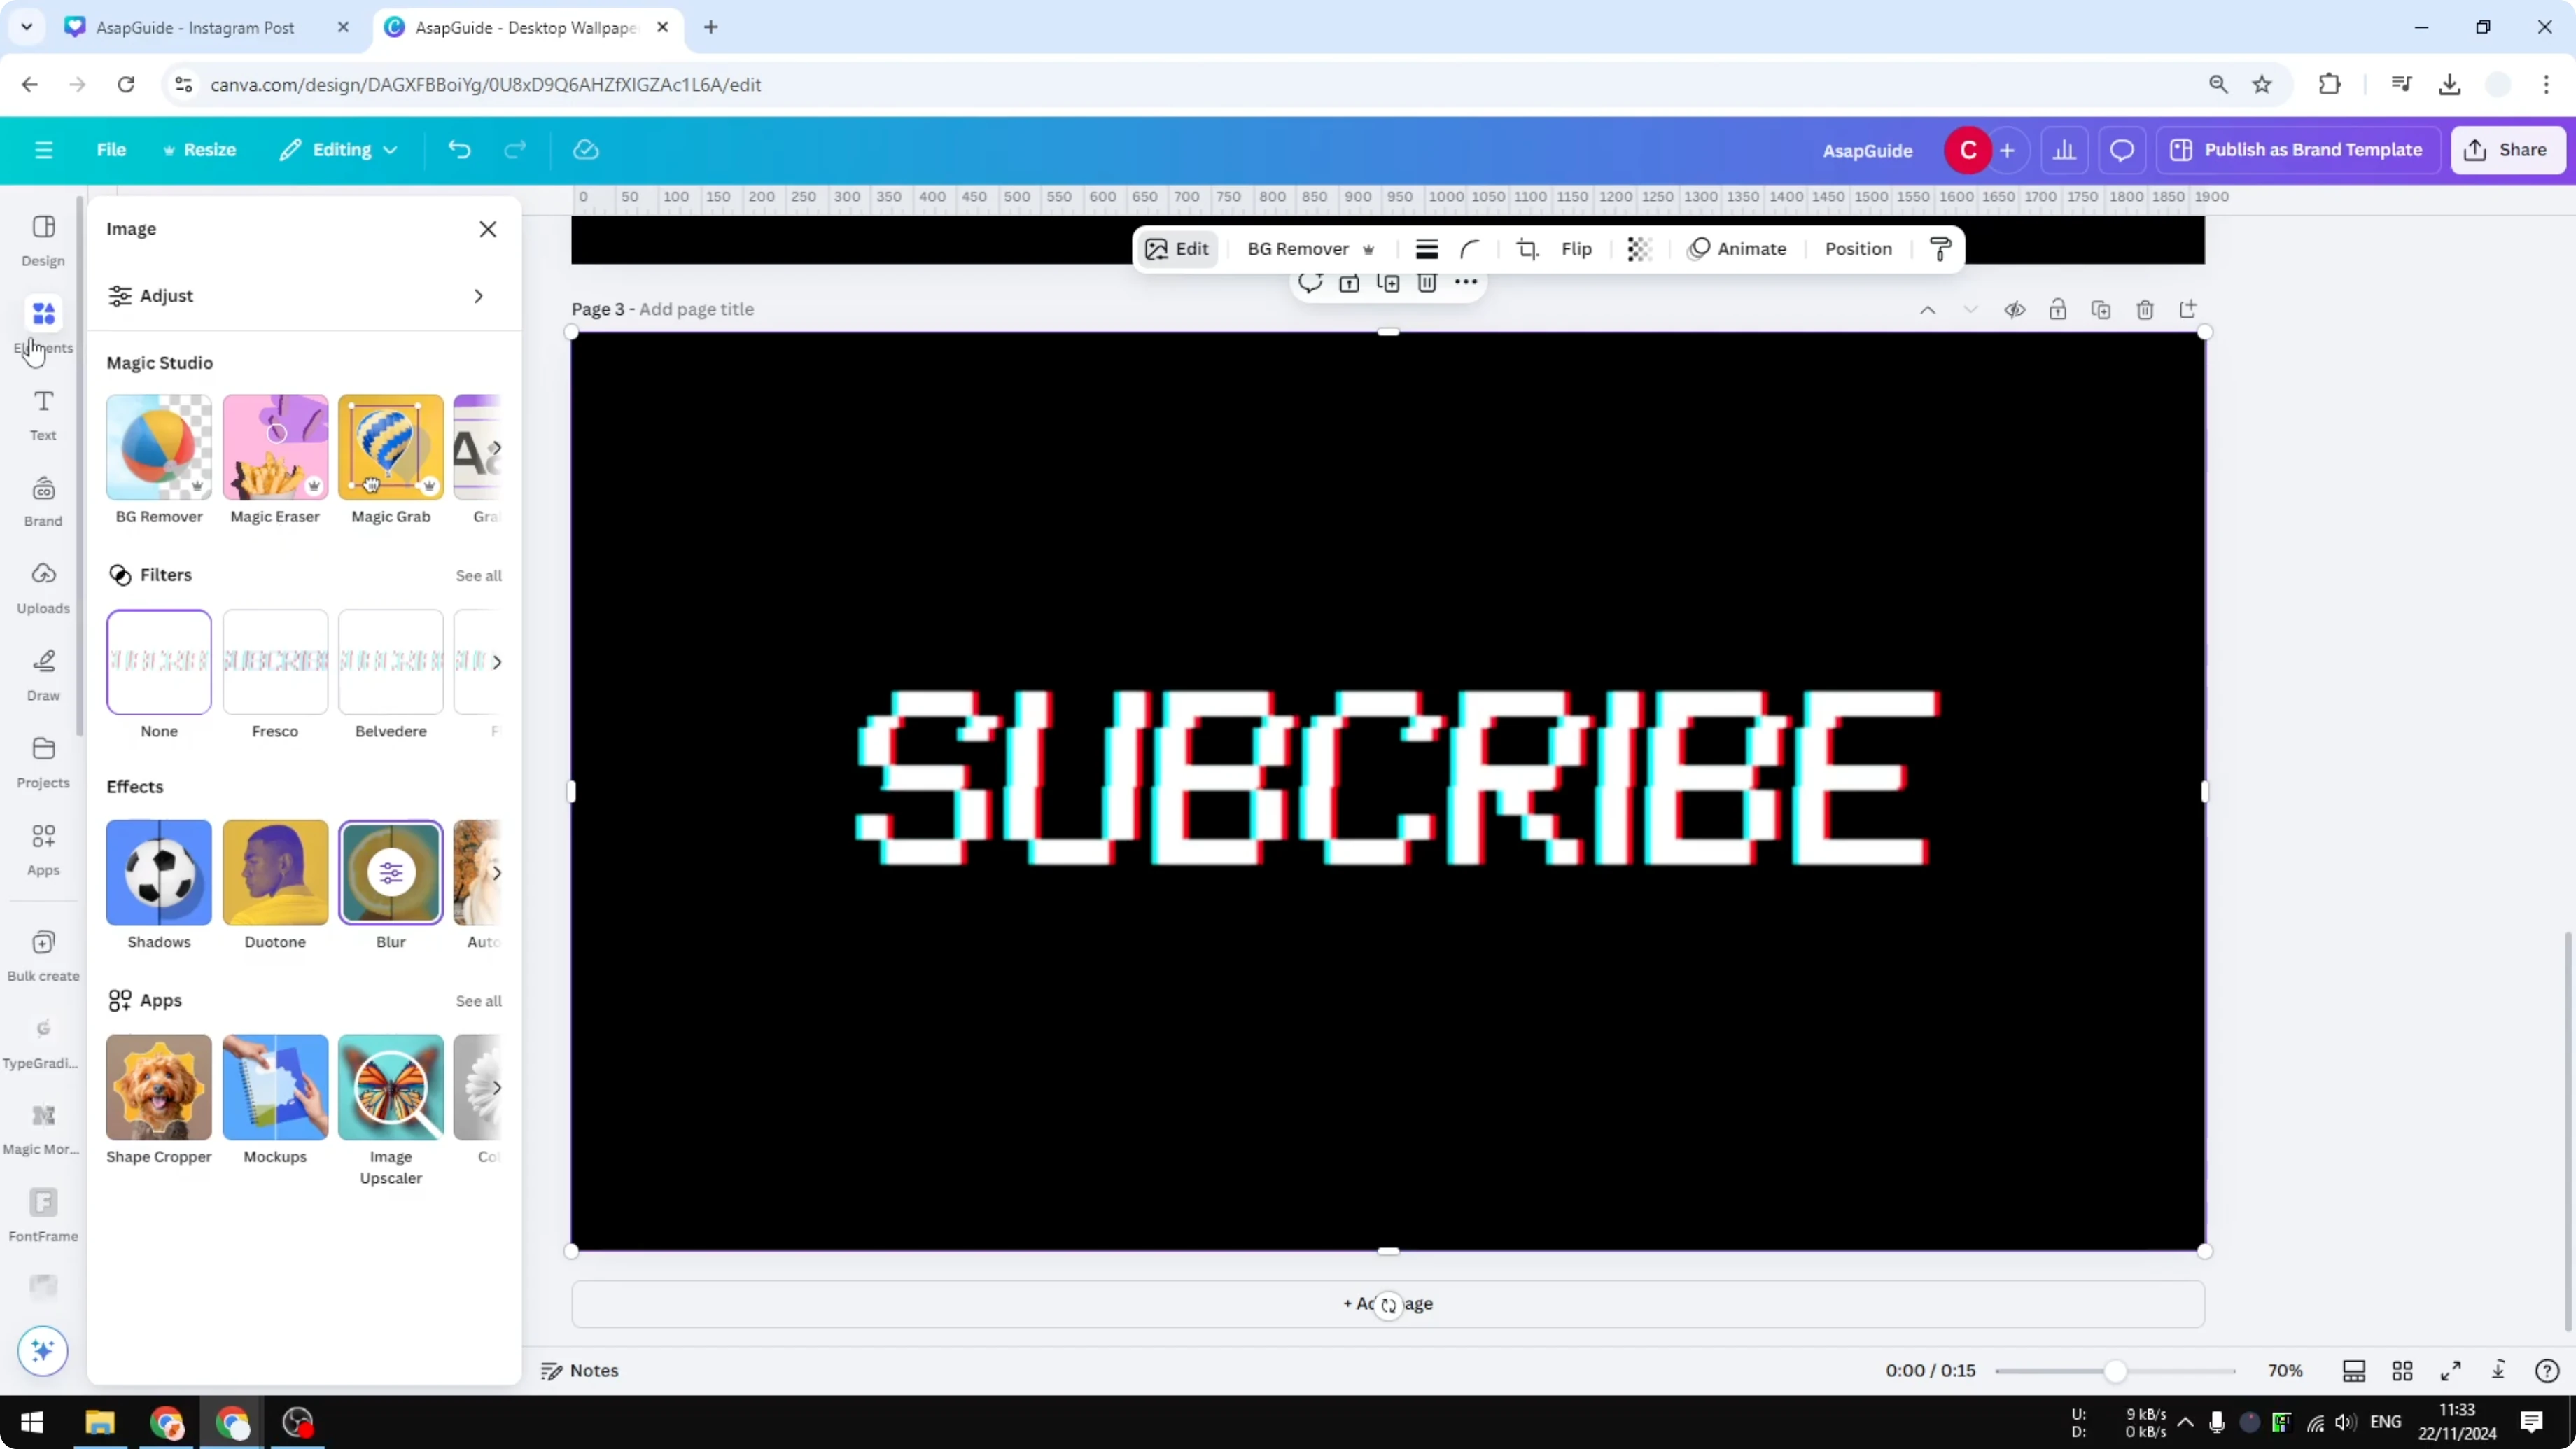
Add a subtle blur
Old TVs weren’t very sharp, and you’d often see soft edges on text. With the sliced image selected, go to Edit and apply a small Blur. Keep the intensity under 10 to maintain readability, and 6 works well for me.
If you also want a softer, worn look, check out this guide on creating a faded text effect.
Finish with background and vignette
Search for visuals like “old TV screen” or “TV static” to get that broadcast feel. Set a suitable texture or static image as your background. Adjust the composition so the text feels like it sits on the screen.
Select the background and click Edit, then Adjust. Add a vignette to darken the edges slightly. This final touch sells the retro screen effect.
If you want another playful texture-based style for your titles, try this grass text effect.
Final thoughts
You created a VHS text effect in Canva by starting with retro-styled white text on a dark background, adding a red-blue glitch, exporting a transparent PNG, slicing the text, and finishing with a light blur. A textured TV background and a subtle vignette complete the look. It’s a quick workflow that stays entirely inside Canva.
Recent Posts
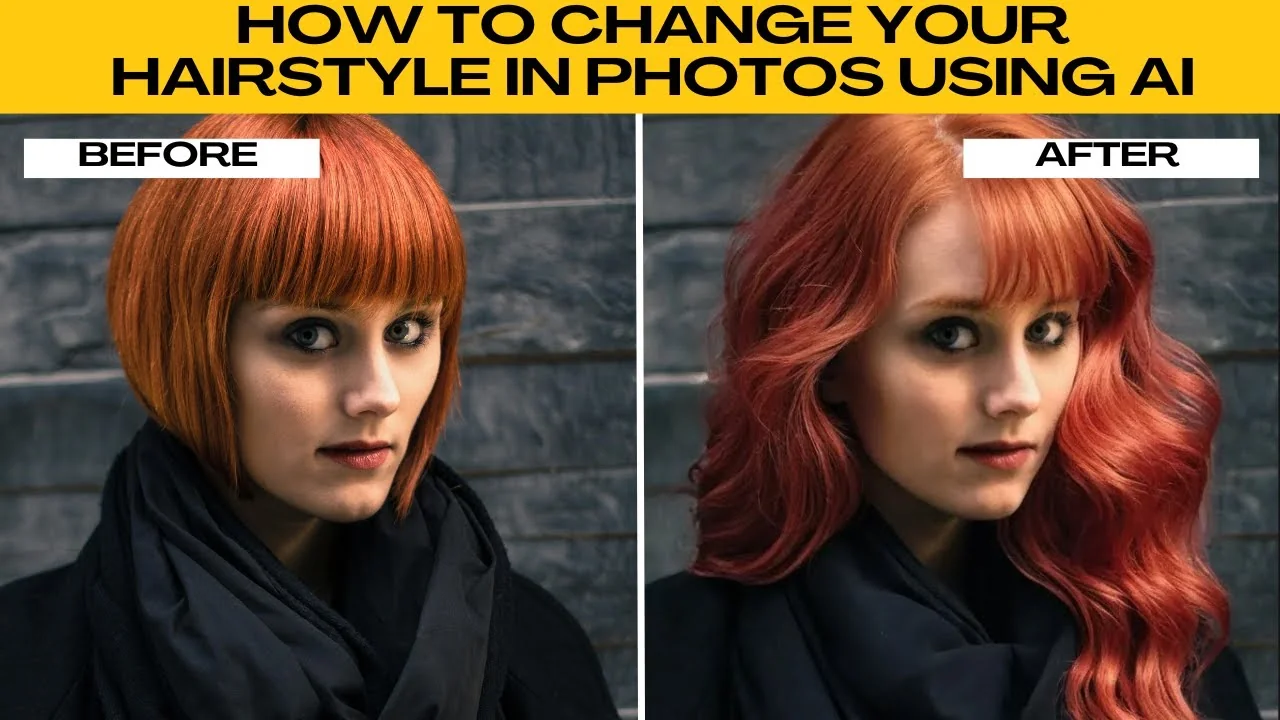
How to Visualize Different Hairstyles and Hair Colors with AI?
How to Visualize Different Hairstyles and Hair Colors with AI?

How to Transform Daytime Photos into Realistic Night Scenes with AI?
How to Transform Daytime Photos into Realistic Night Scenes with AI?
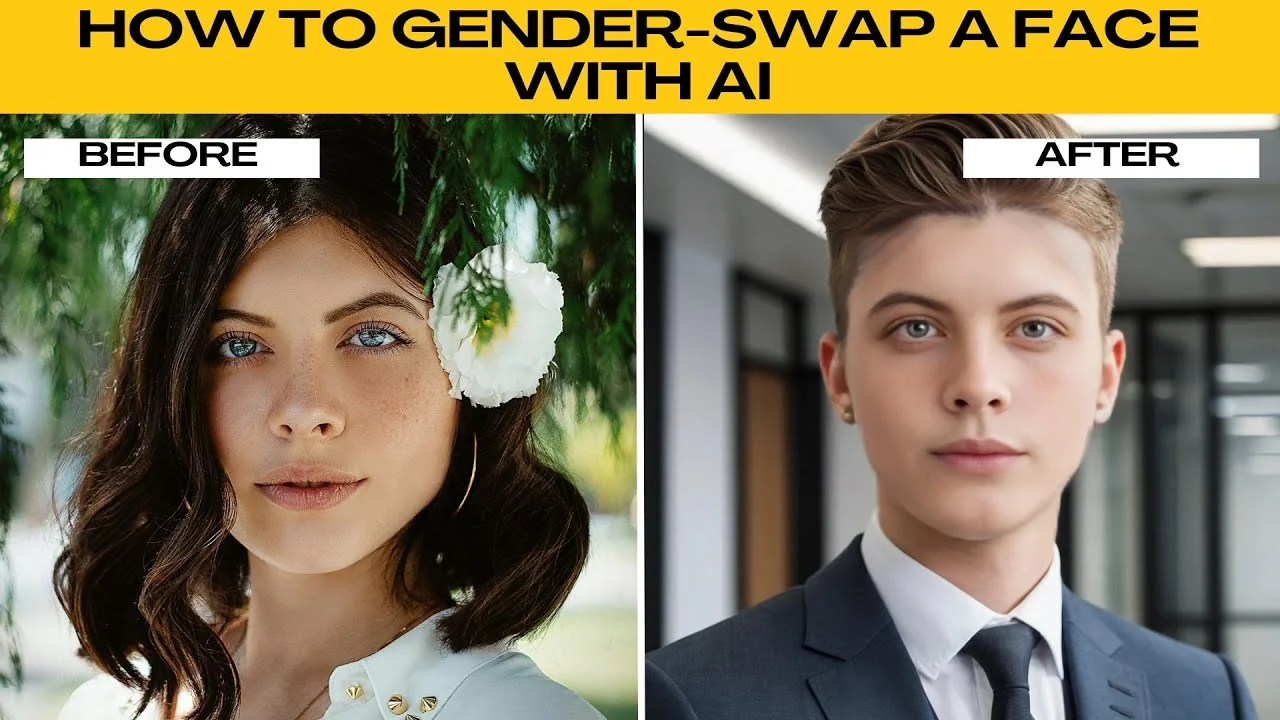
How to Visualize Yourself as the Opposite Gender with AI?
How to Visualize Yourself as the Opposite Gender with AI?