How to Create Faded Text Effect in Canva
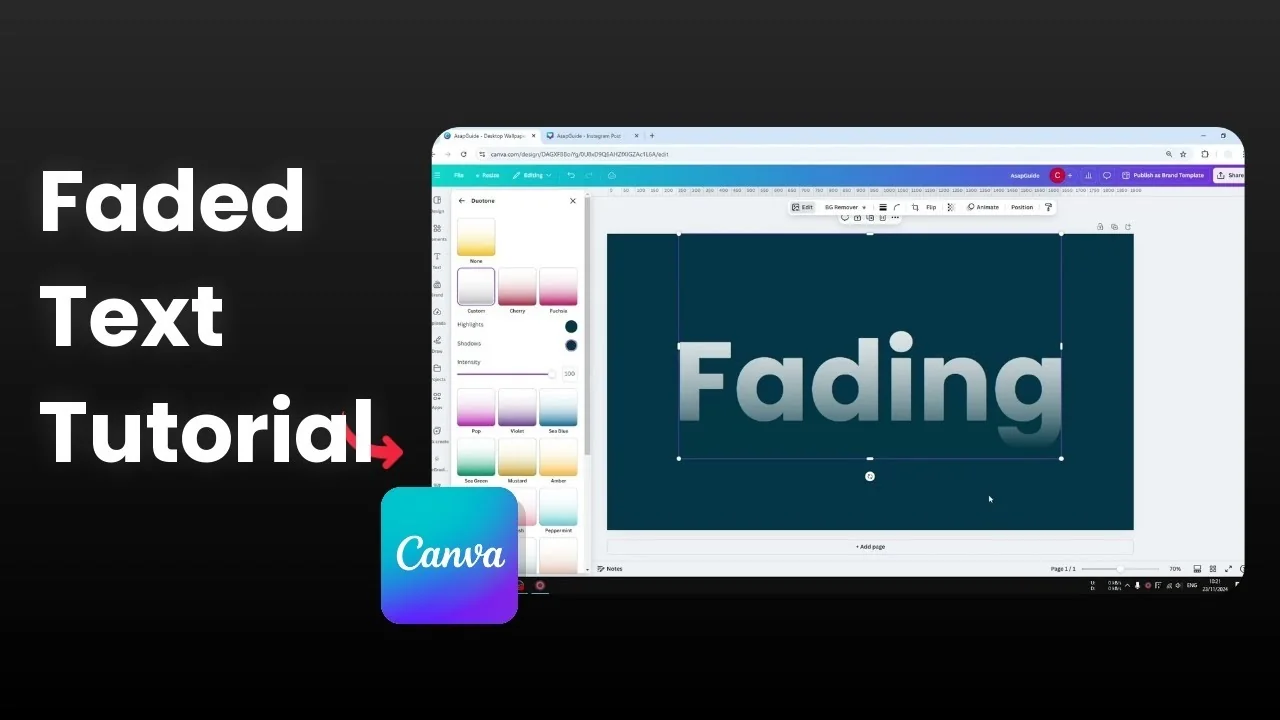
I’m going to show you how to create a faded text effect in Canva. This effect makes one side of the text gradually fade from invisible to fully visible. The lower part blends with the background or matches its color, and it looks really cool.
Create Faded Text Effect in Canva
This works best with big or bold text. You can apply it to headlines, titles, or any text you want to blend cleanly into the background.
If you want a related overlay look, check this guide to a transparent overlay text effect in Canva.
Set up your text
Insert a text box and type your text. Use a large size or a bold weight for a strong result.
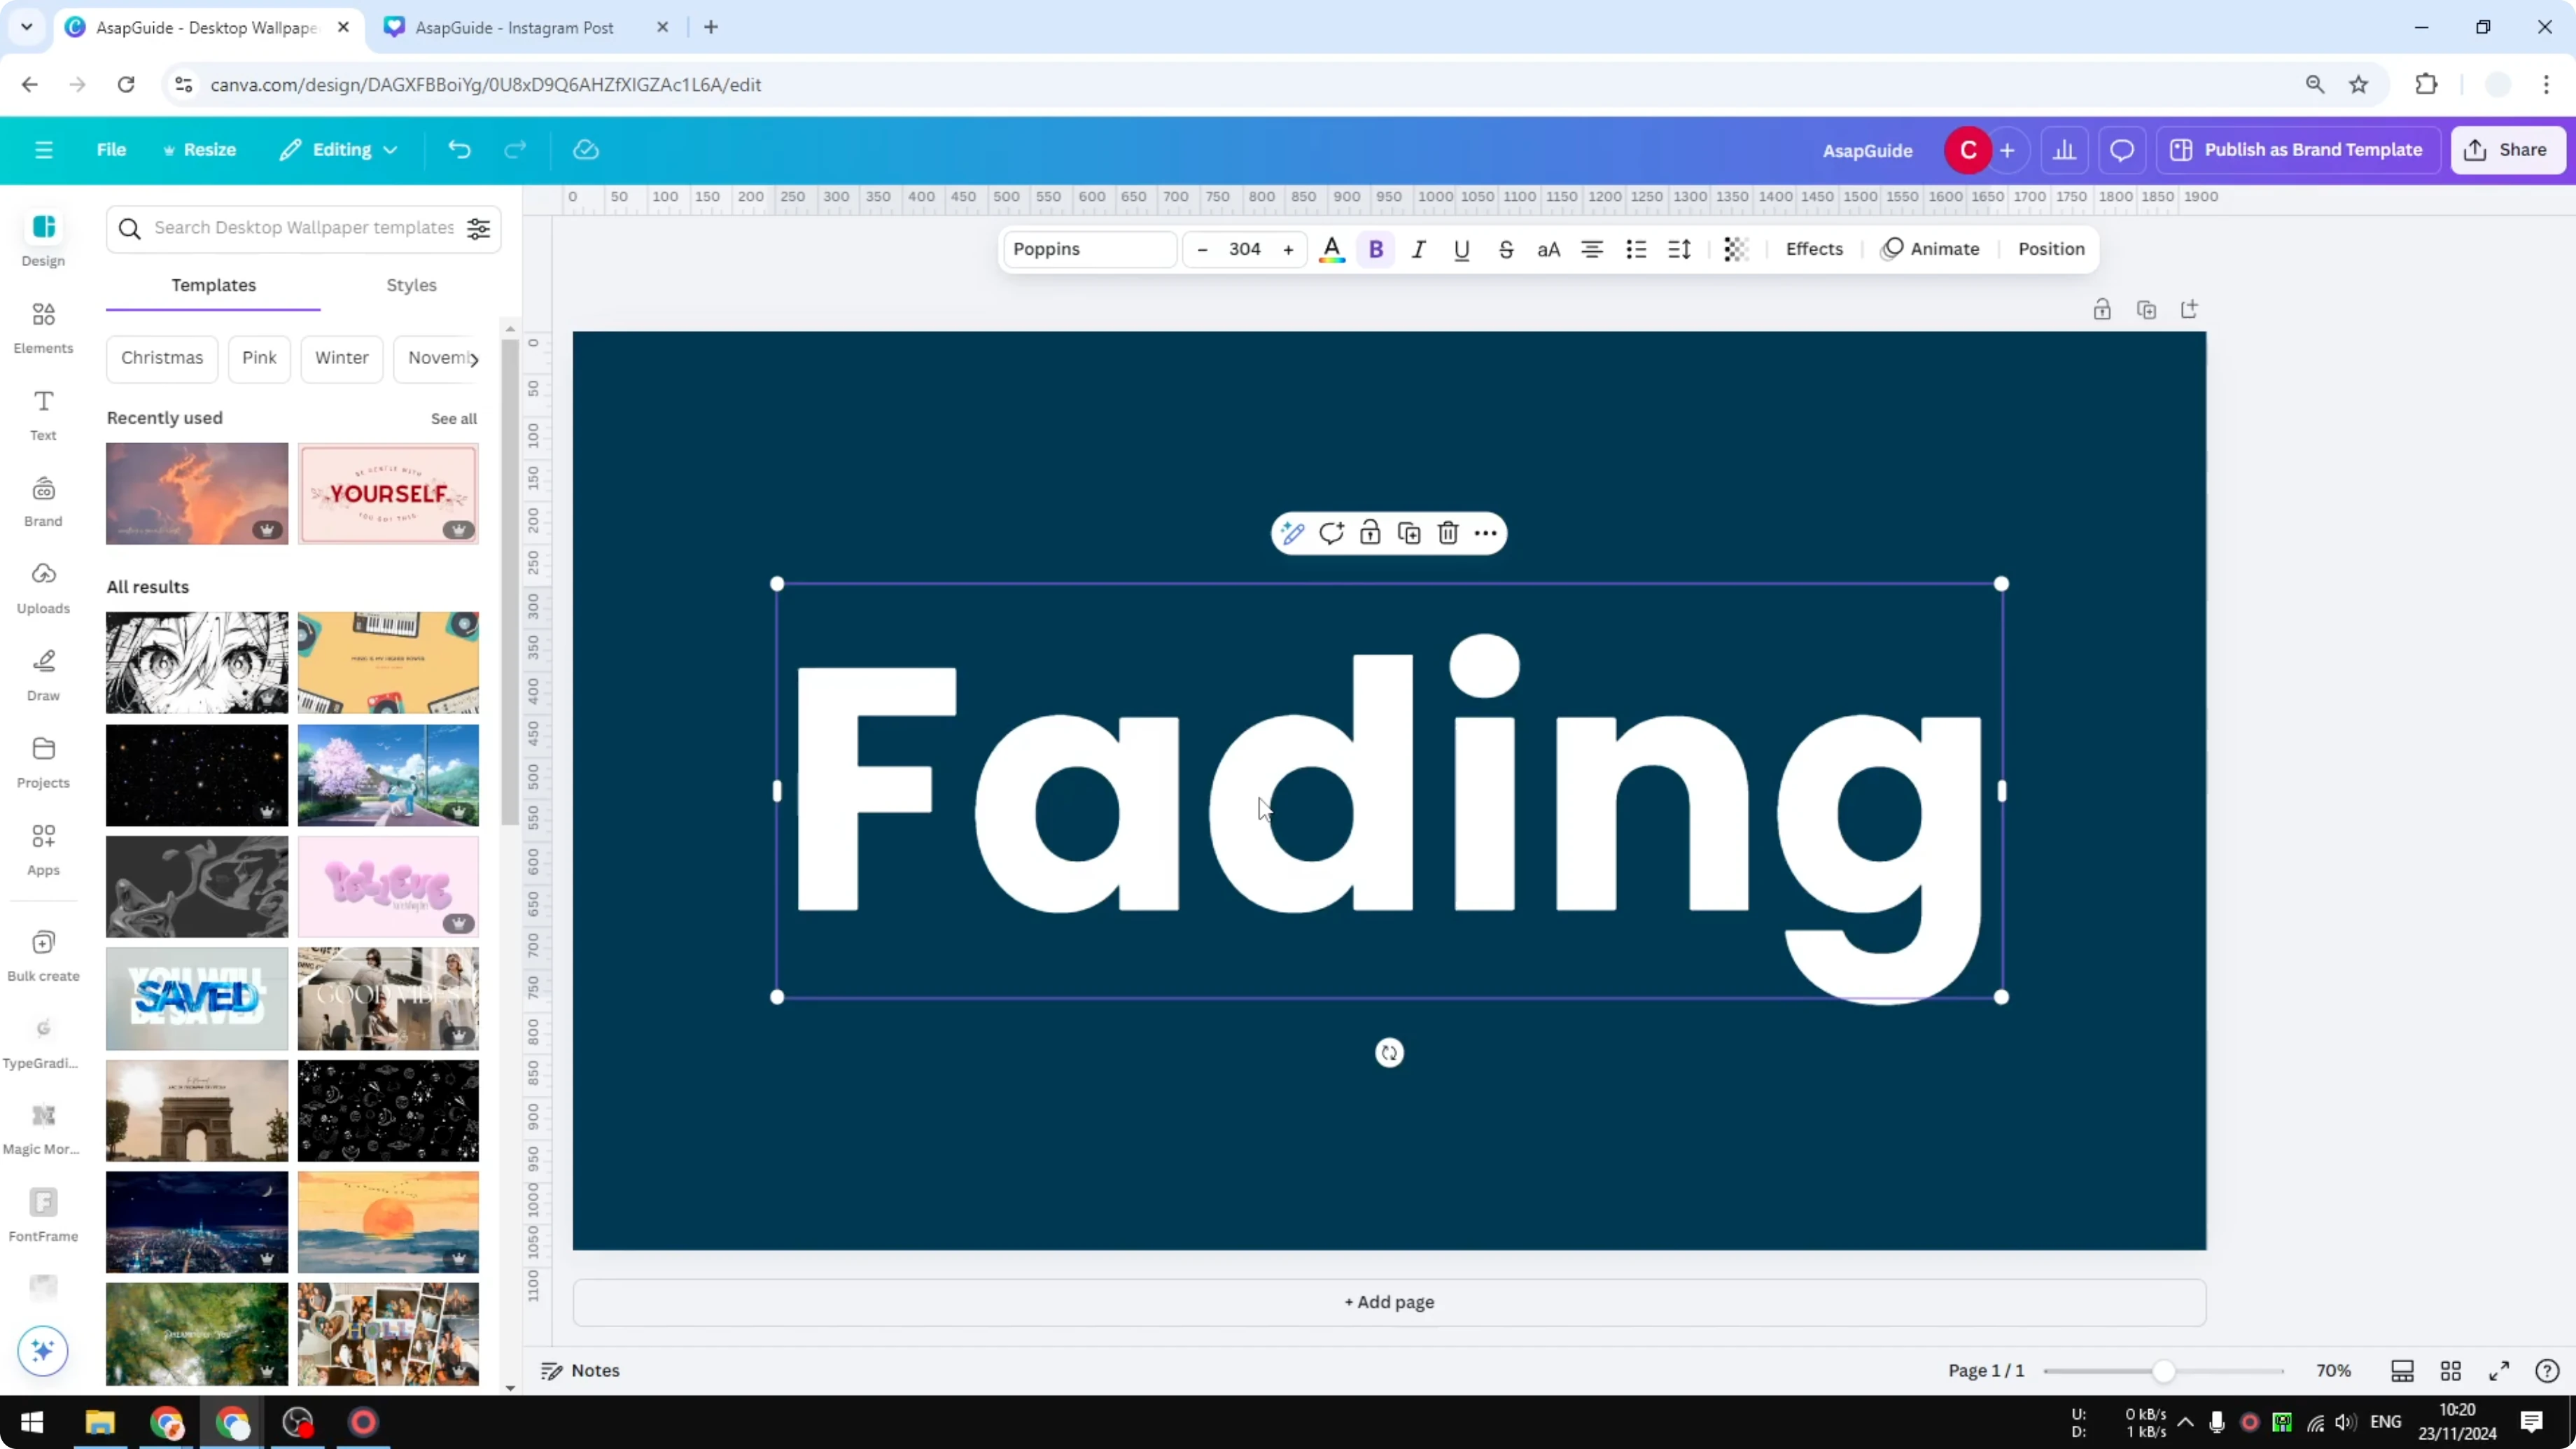
Position your text over the background color where you want the fade to happen. Make sure the background is set and final before you match colors.
Add the gradient
Go to Elements and search for “transparent gradient”. Open the Graphics section and pick any gradient you like.
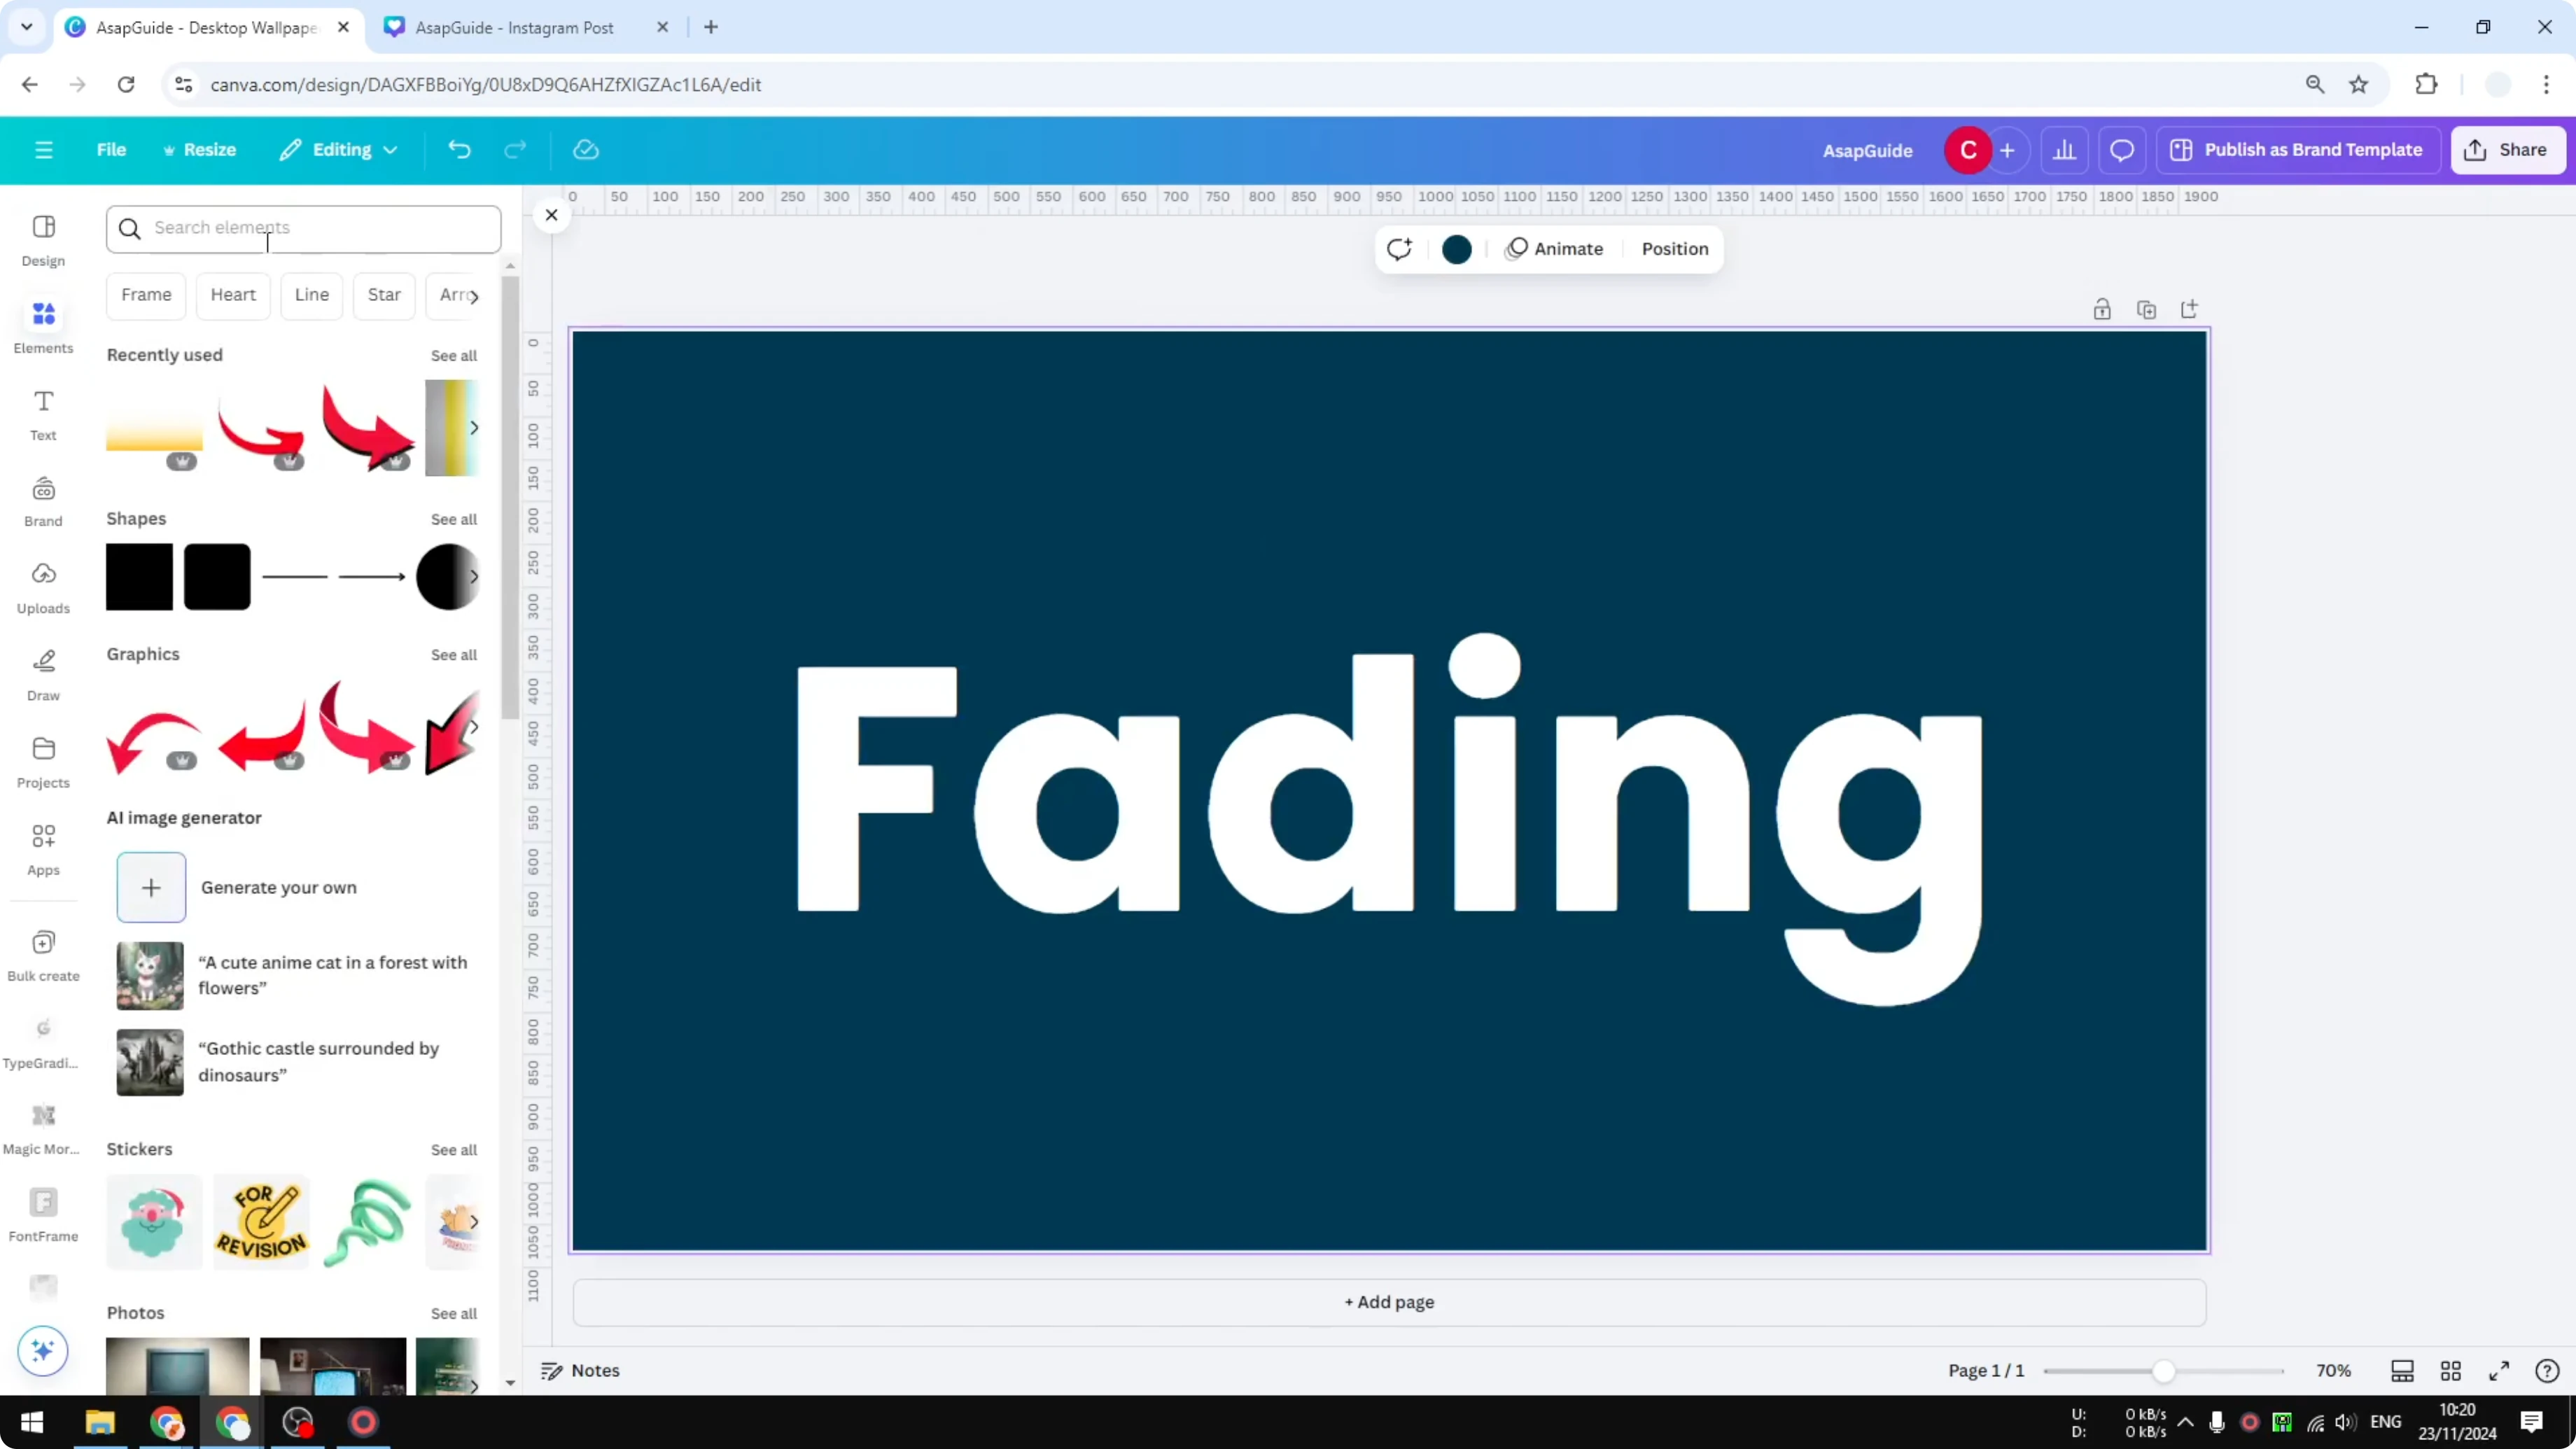
Place the gradient on top of the text and bring it forward so it overlaps the letters. Resize and position it to cover the side you want to fade, like the bottom or one edge.

If the gradient colors are different from your background, that’s fine. You’ll match them next.
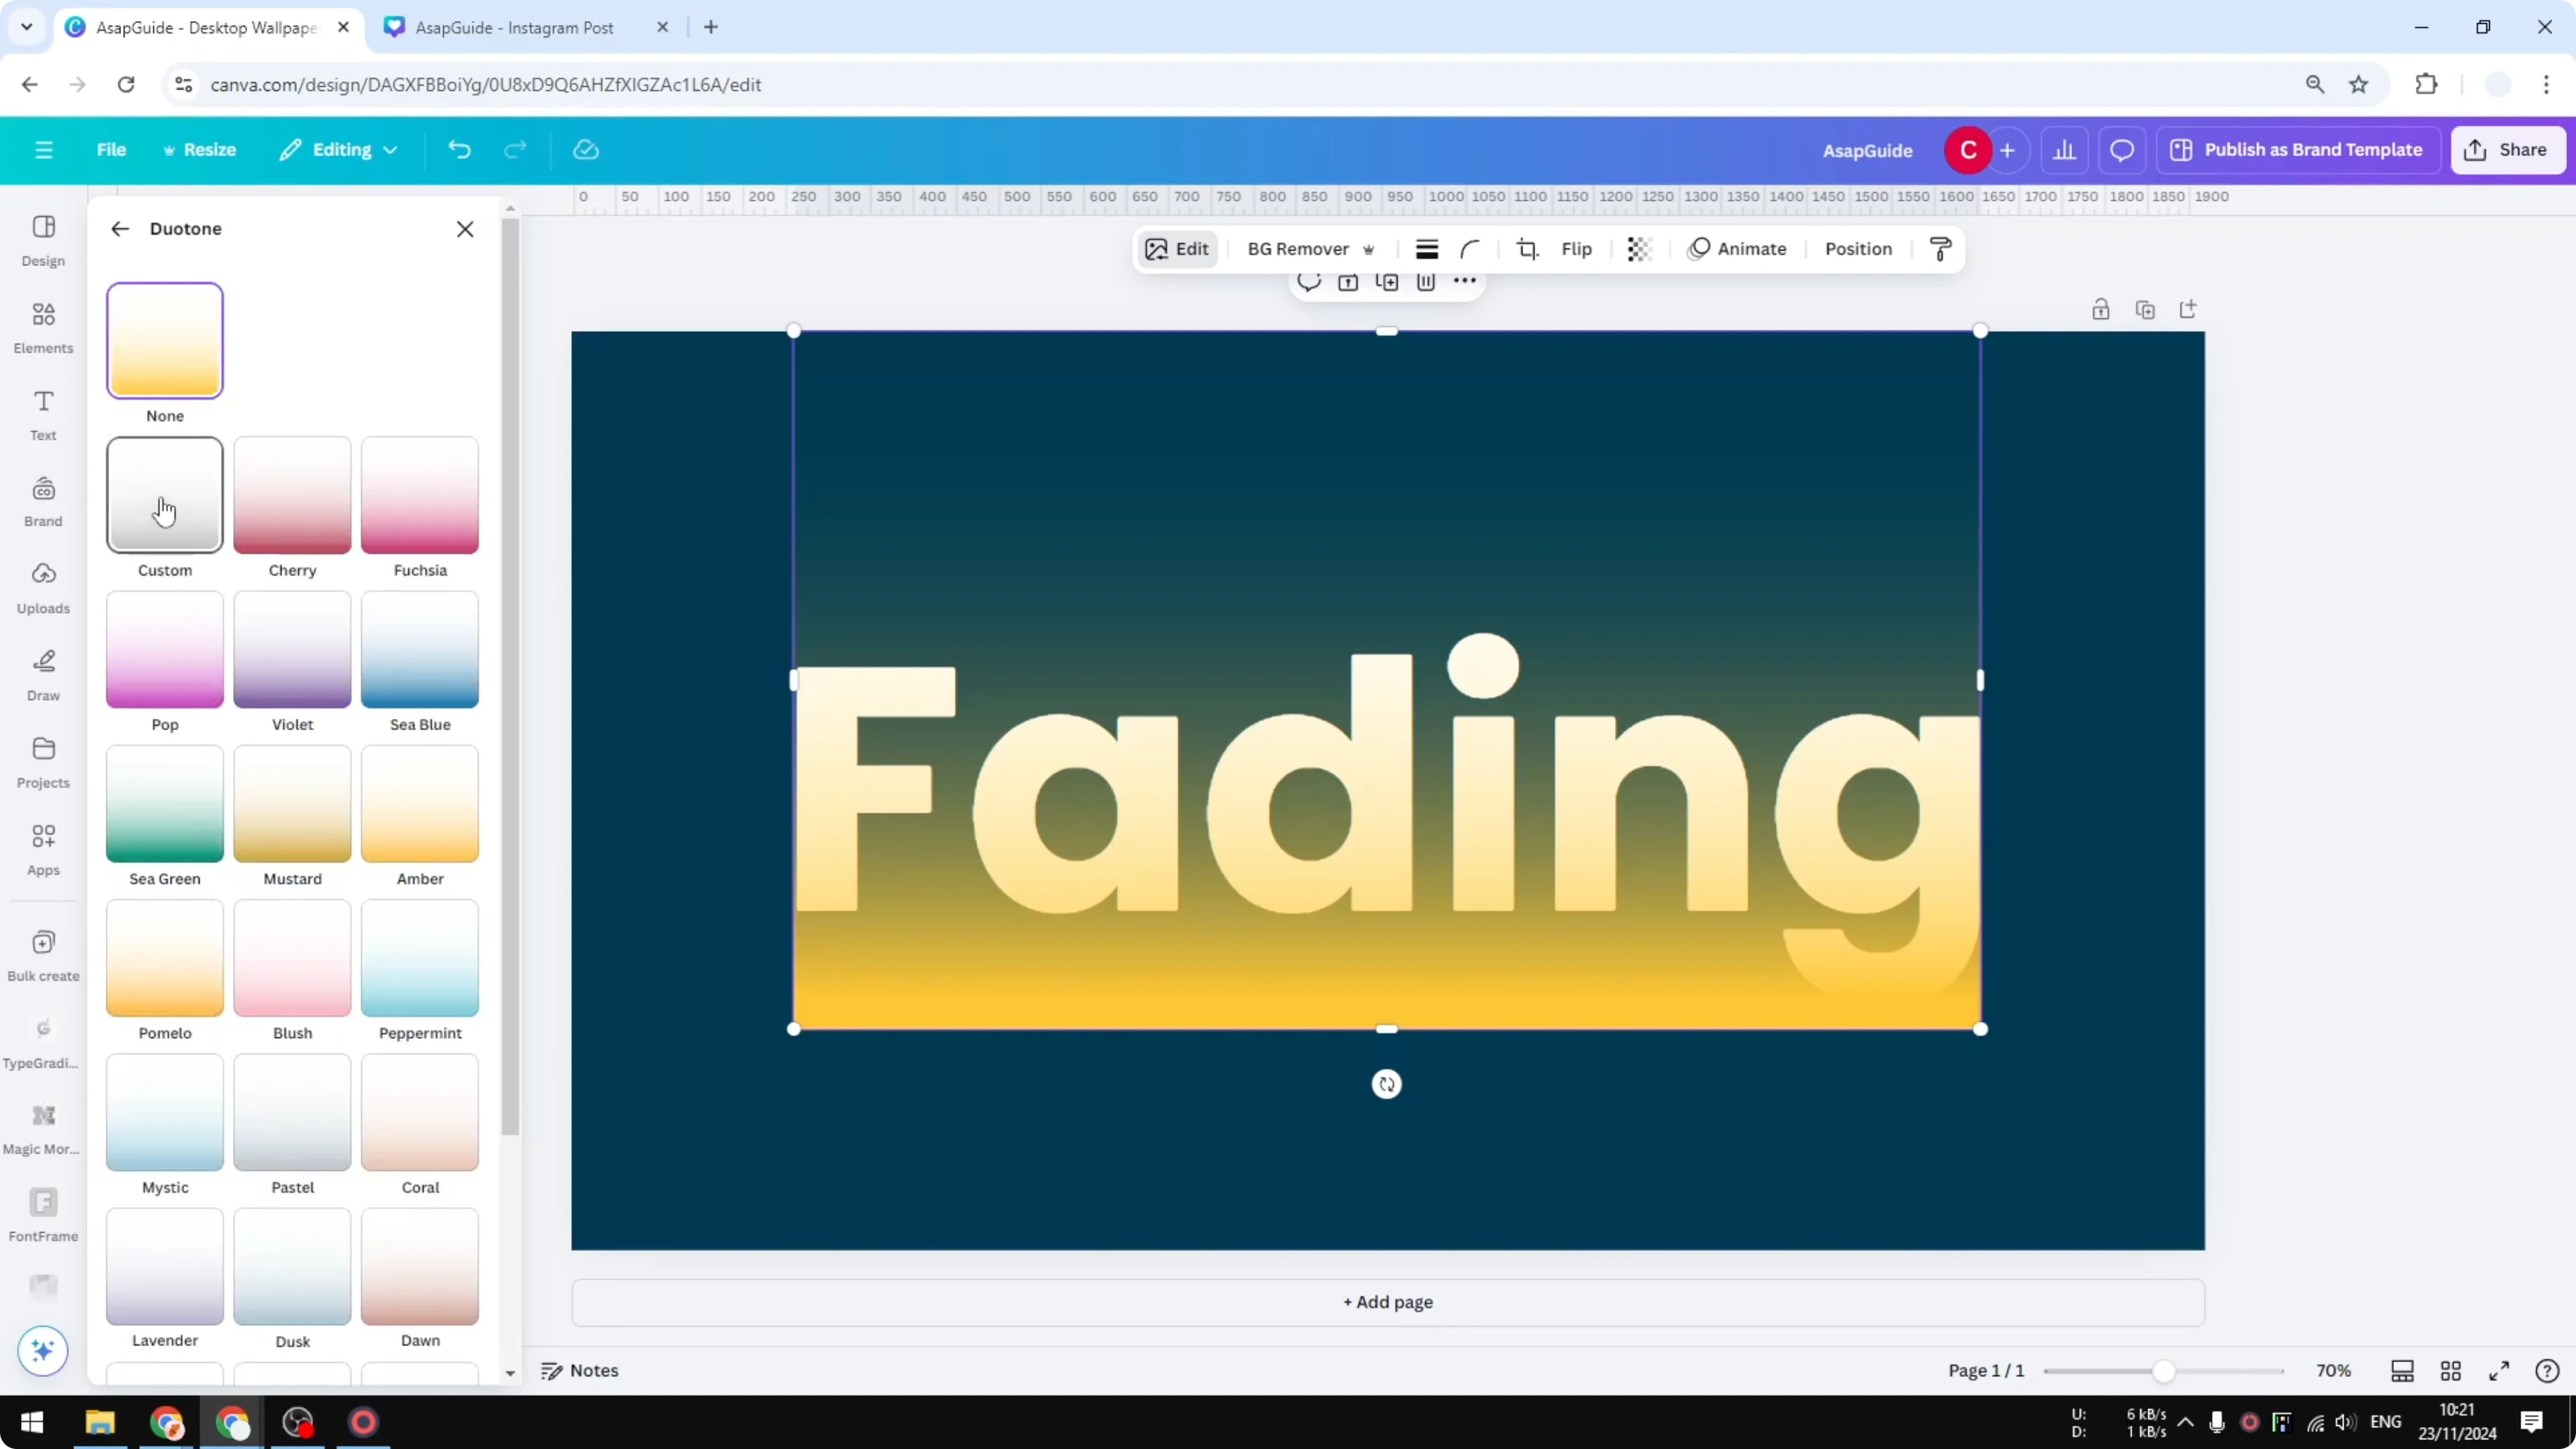
Color match with Duotone
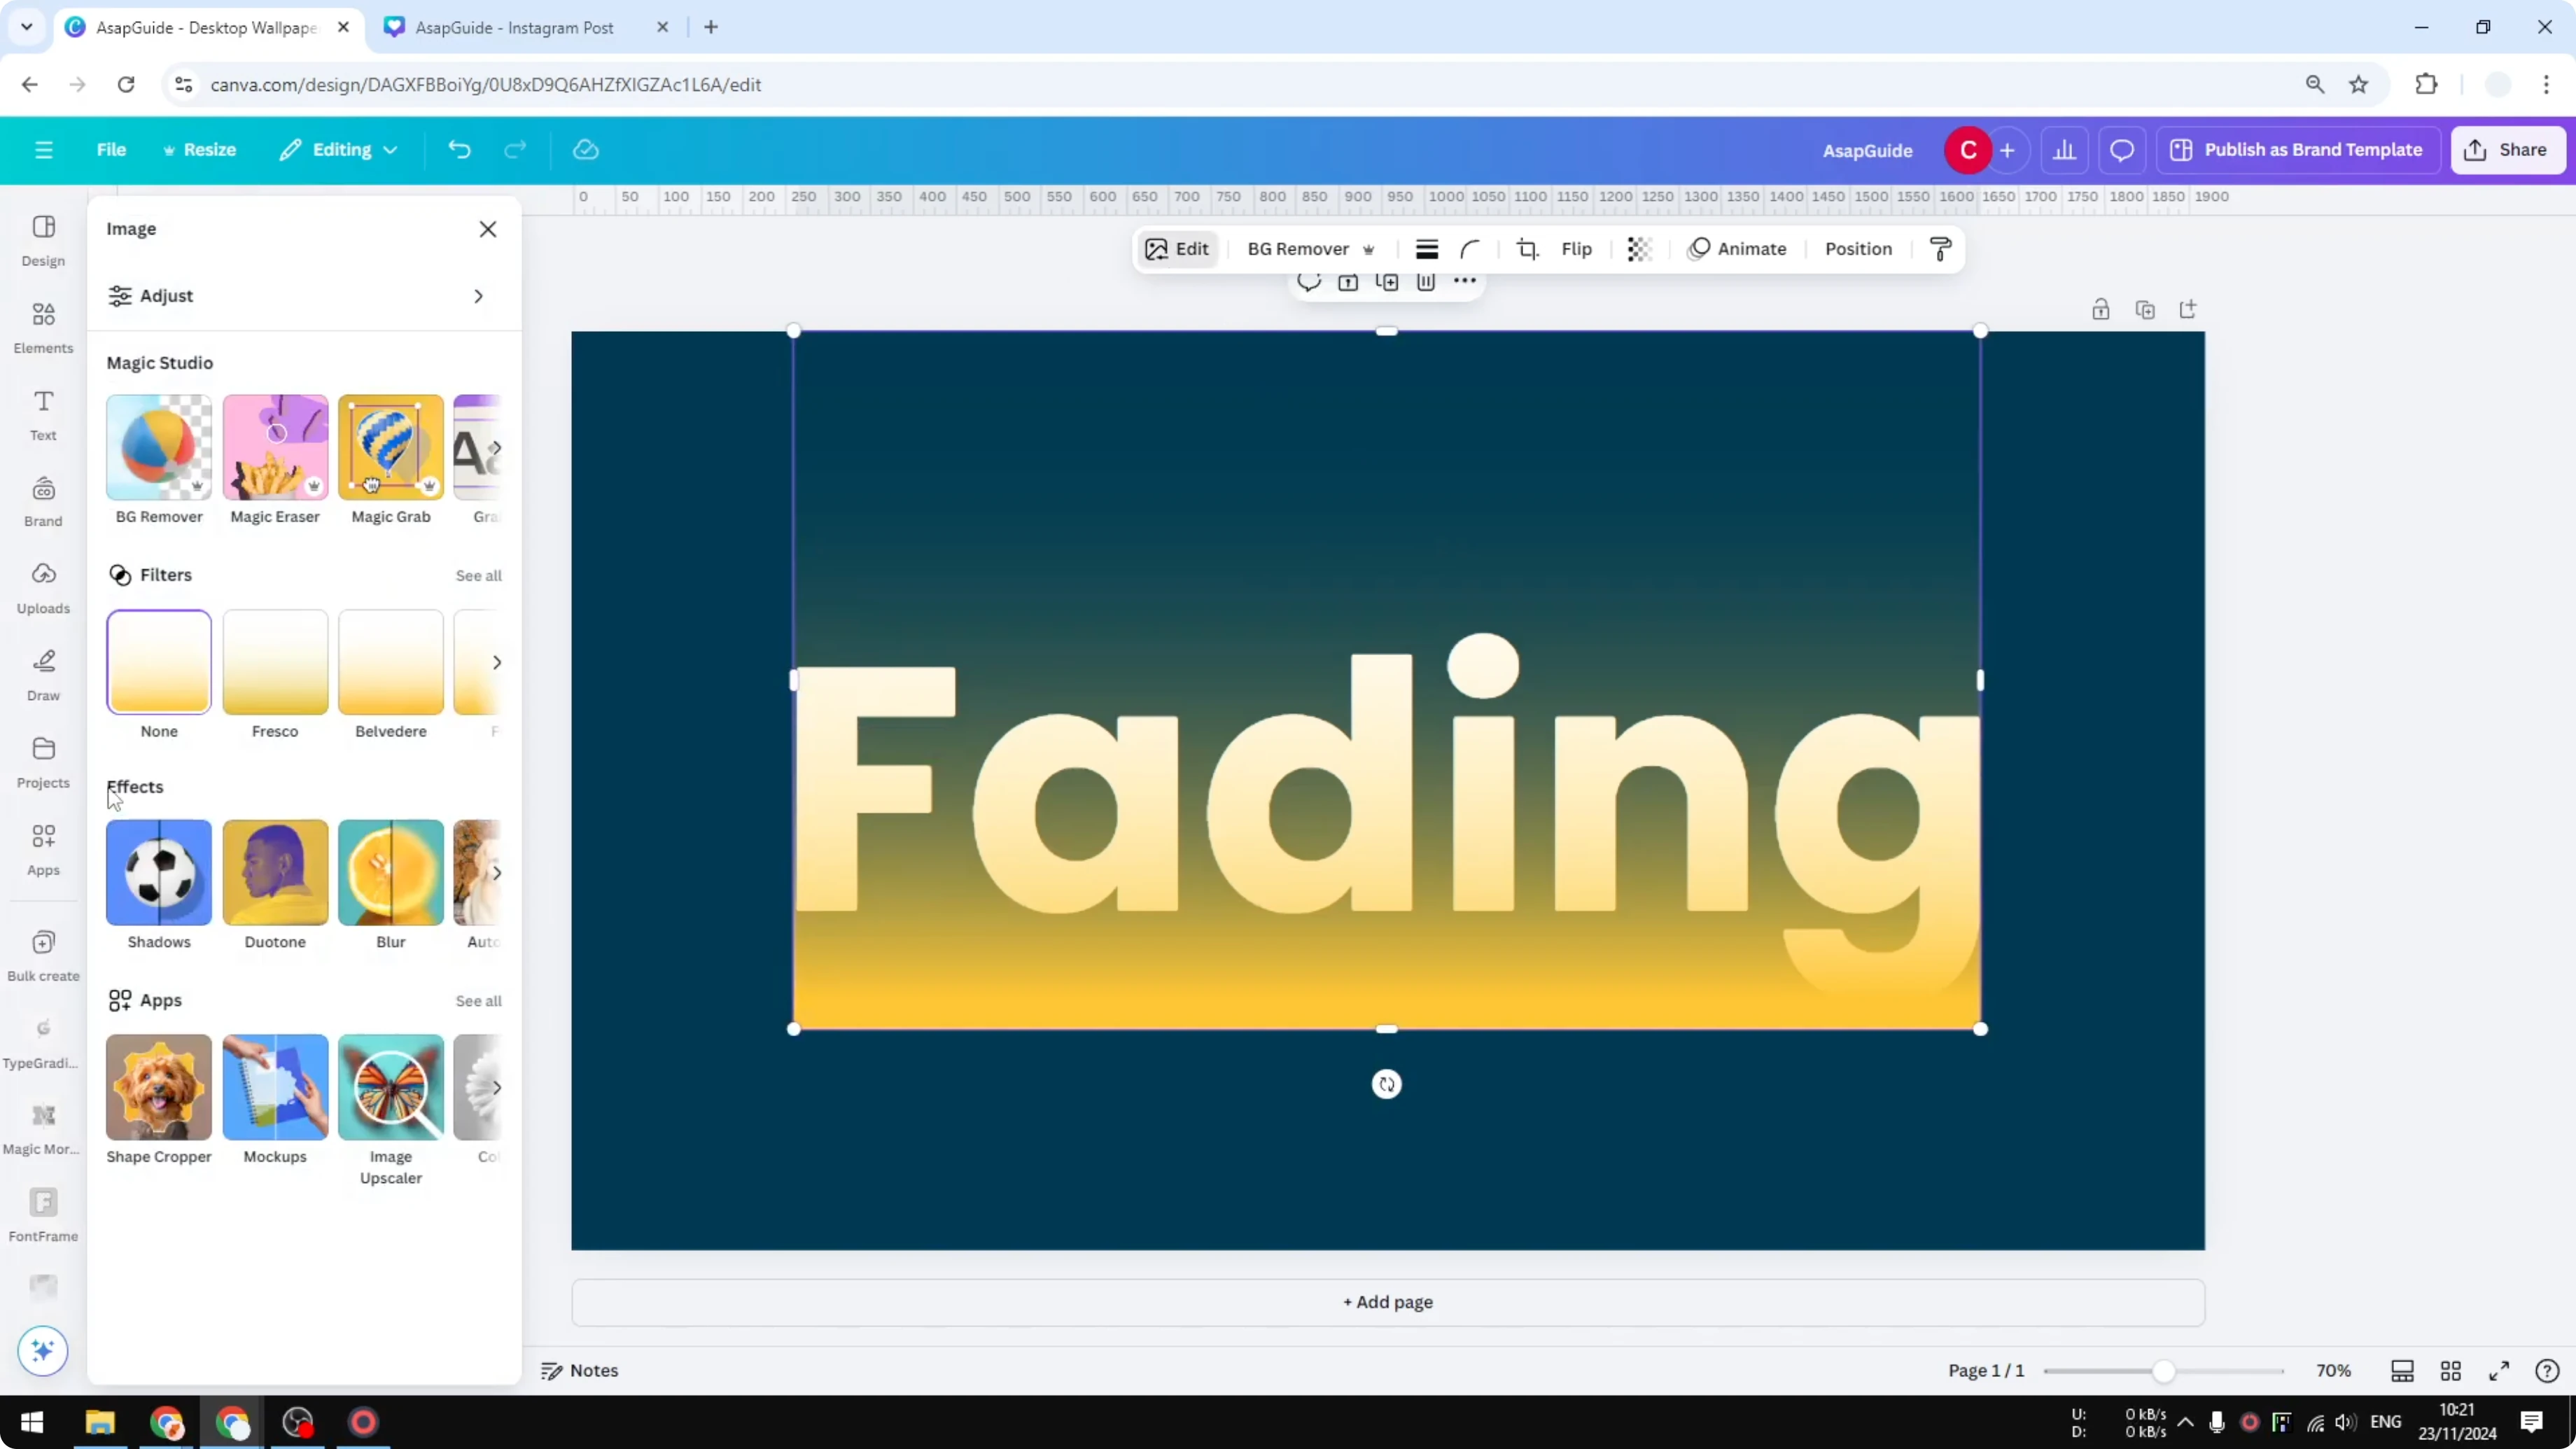
Select the gradient element and open FX or Edit Image. Choose Duotone, then select Custom.
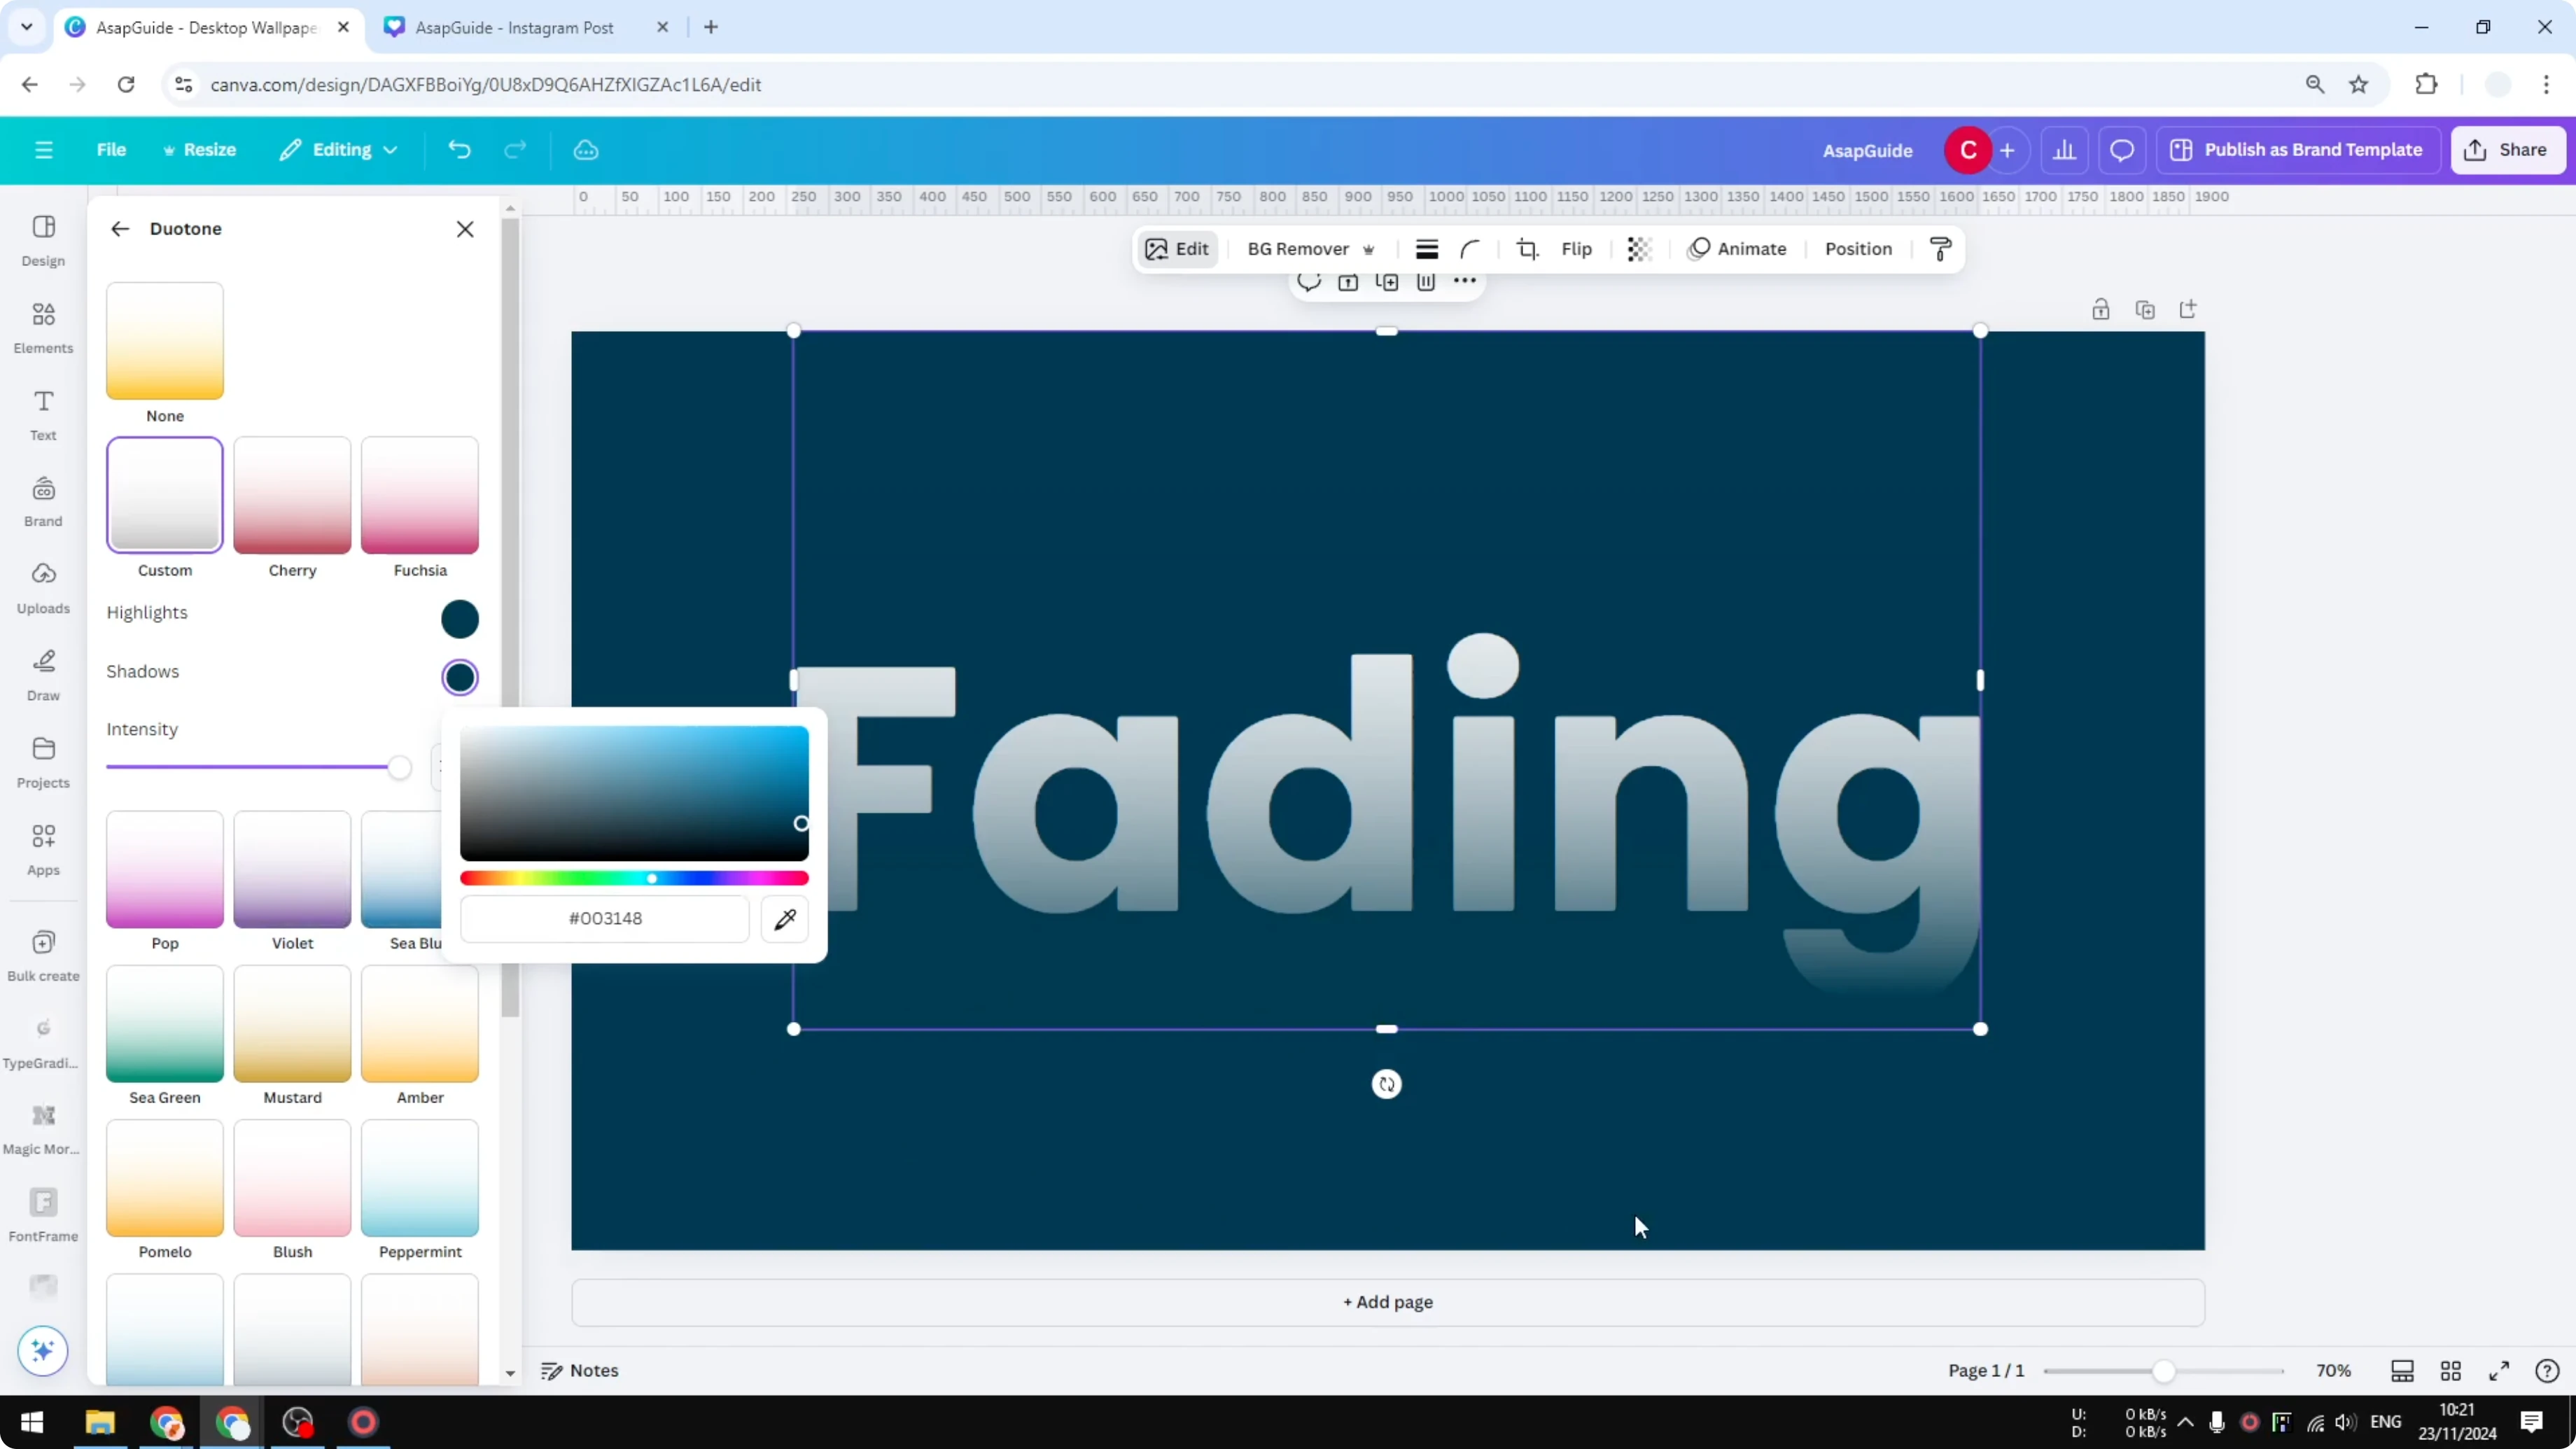
For Highlights, click the color swatch and use the color picker to sample your background. For Shadows, do the same and sample the same background color.
This makes the gradient match the background, so the covered part of the text fades into it. You’ll see a smooth transition from transparent to visible across the text.
Fine-tune the fade
Resize the gradient taller to create a longer, softer fade. Make it shorter for a tighter fade line.

Slide the gradient up or down to control where the strongest transparency sits. Rotate it to fade from the left or right side instead of the bottom.
For another fun style after you nail this effect, try a grass text effect in Canva.
Use it on images too
You can use the same approach on an image. Place the gradient over the lower section of the image and bring it forward.
Apply Duotone, choose Custom, and set both Highlights and Shadows to the background color with the color picker. The image will fade into the background just like the text.

If you’re polishing layouts at the same time, you can also create justified text in Canva to clean up body copy.
Final Thoughts
Insert your text, layer a “transparent gradient” from Elements, and match both Duotone colors to the background with the color picker. Adjust the gradient’s size, position, and angle to control how and where the fade happens. The same steps work for images when you want the lower section to blend into the background.
Recent Posts
How to Visualize Yourself as a Pixelized Character with AI?
How to Visualize Yourself as a Pixelized Character with AI?

How to Revive Faded Memories and Enhance Image Clarity with AI?
How to Revive Faded Memories and Enhance Image Clarity with AI?

How to Visualize Yourself as an Animal Crossing Character with AI?
How to Visualize Yourself as an Animal Crossing Character with AI?