How to Create Transparent Overlay Text Effect in Canva

I’m going to show you how to create a transparent text effect in Canva. A piece of text sits behind the subject, and the border of the text appears on top of the subject. The text looks like it is blocking part of the face, but the face stays visible.
This looks really cool and is simple to set up once you know the steps.
Create Transparent Overlay Text Effect in Canva
Prepare your image
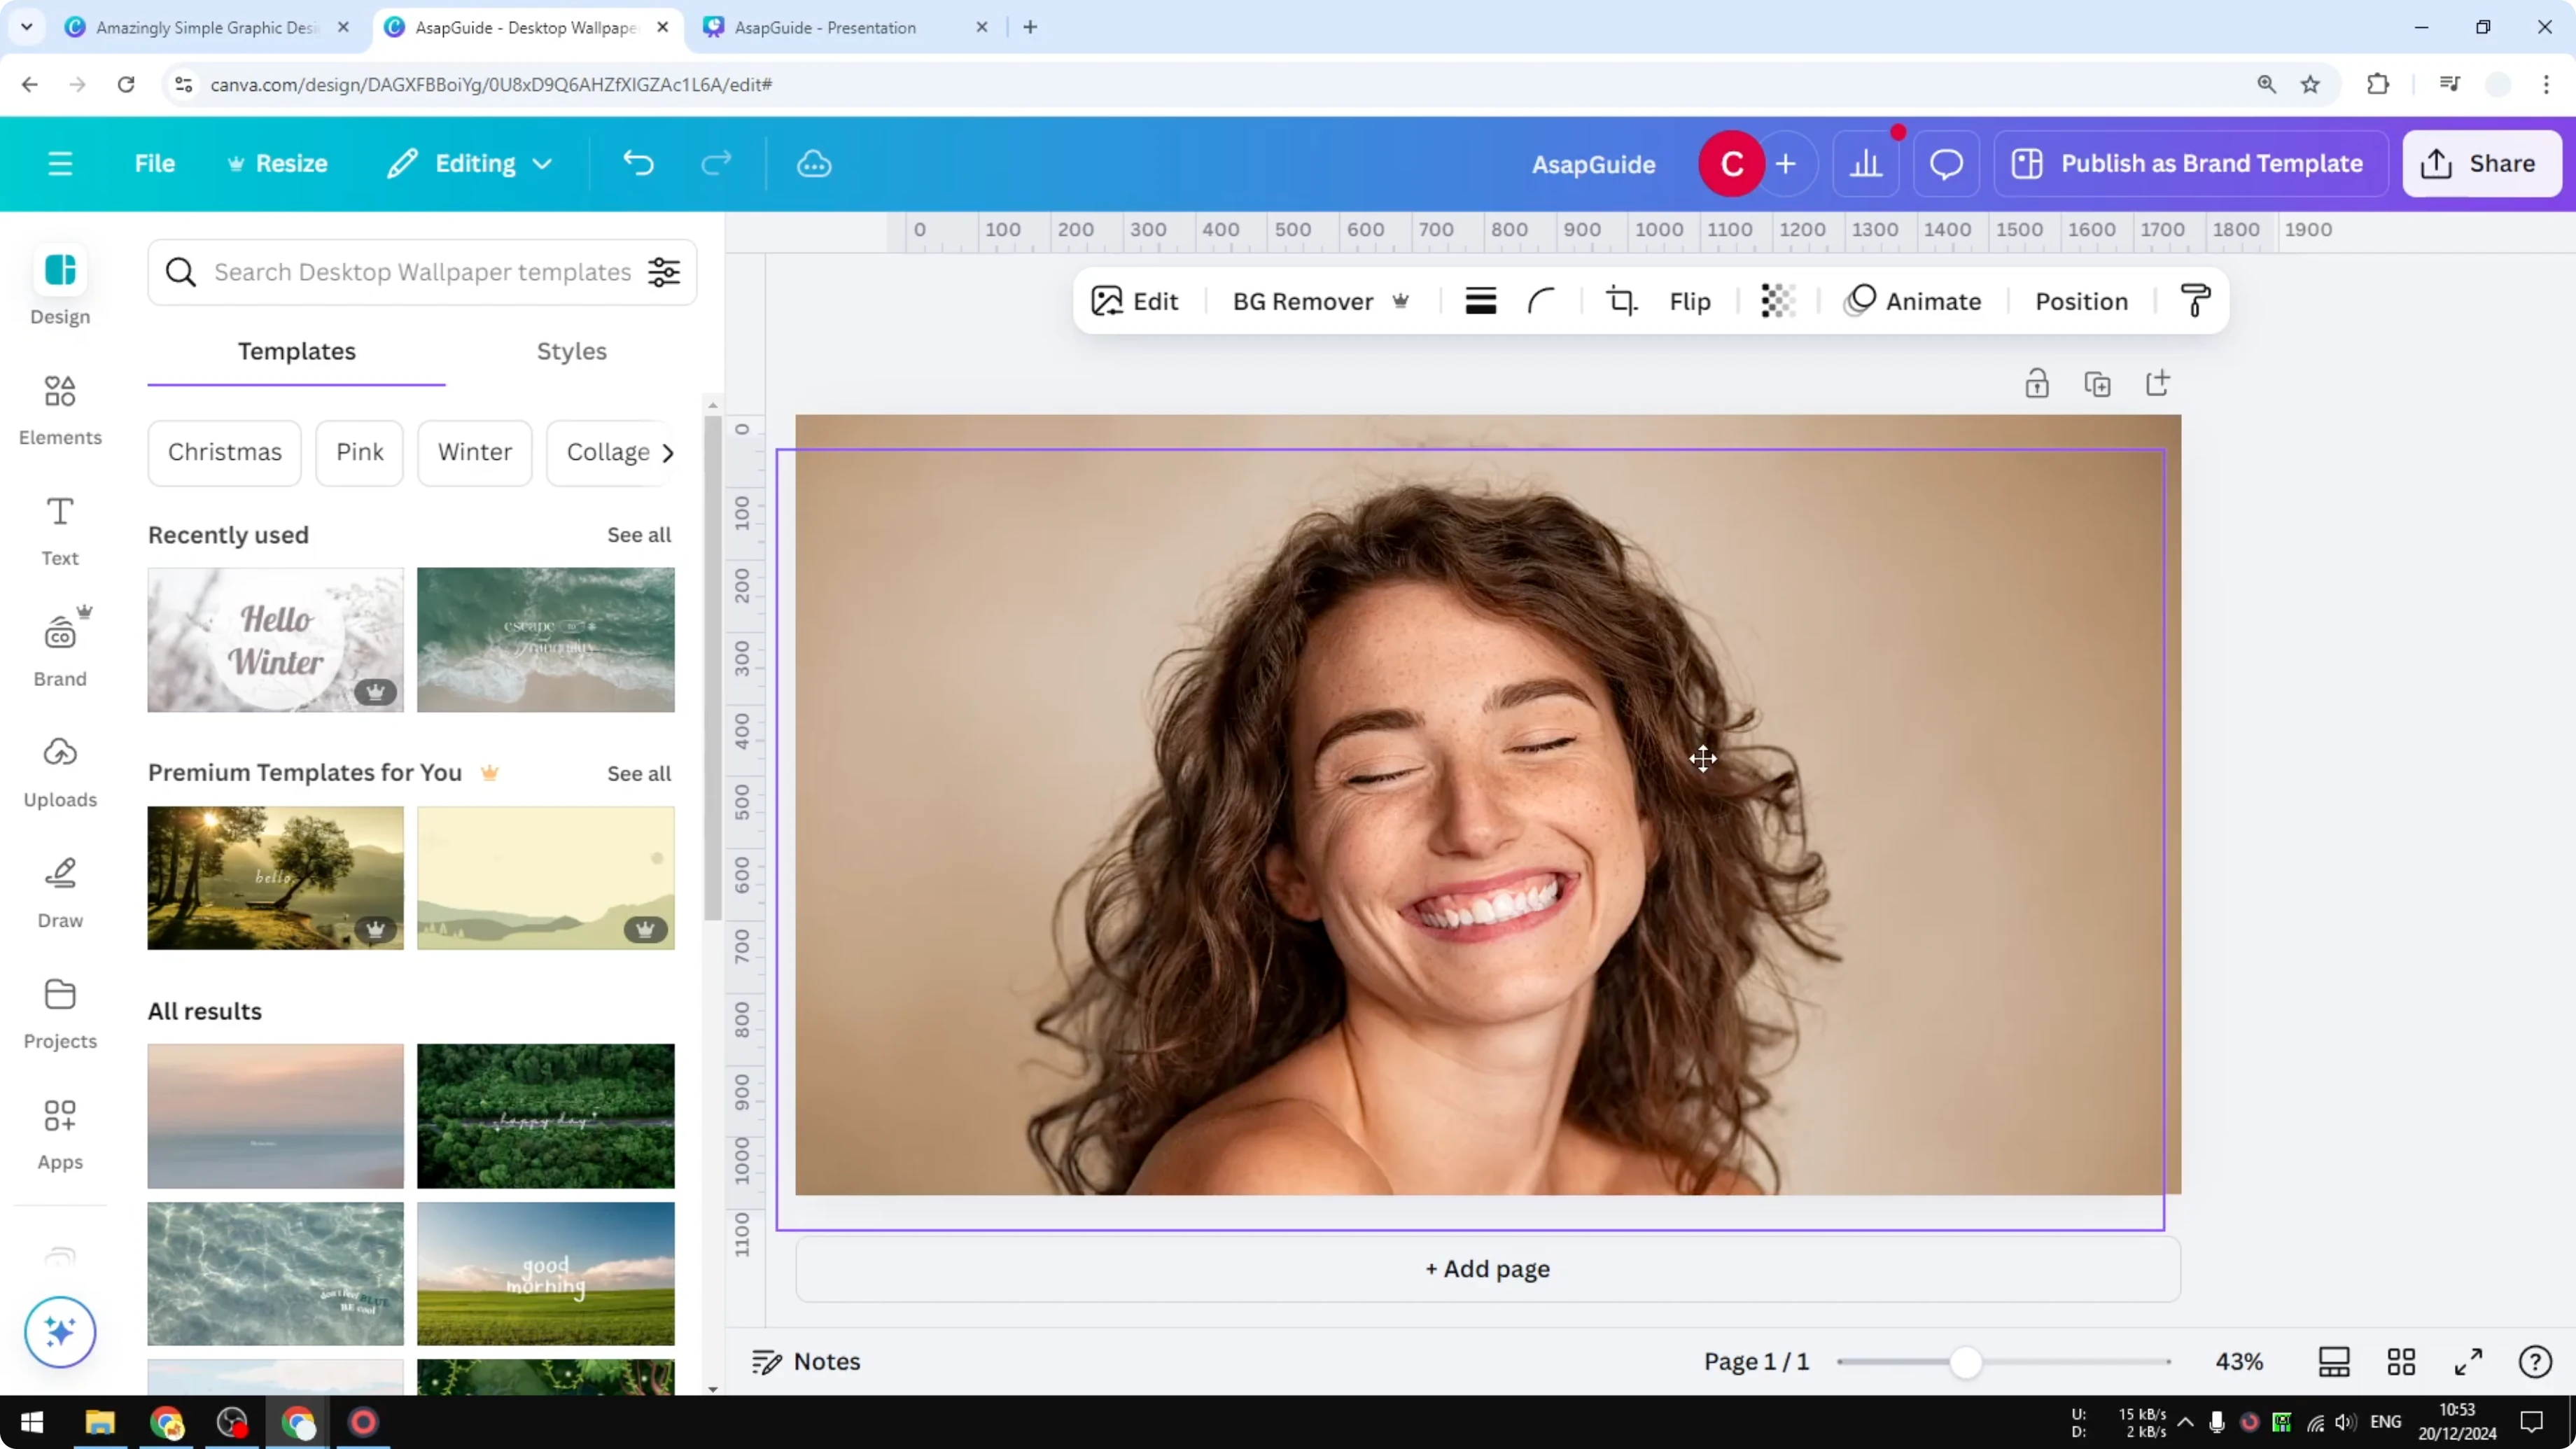
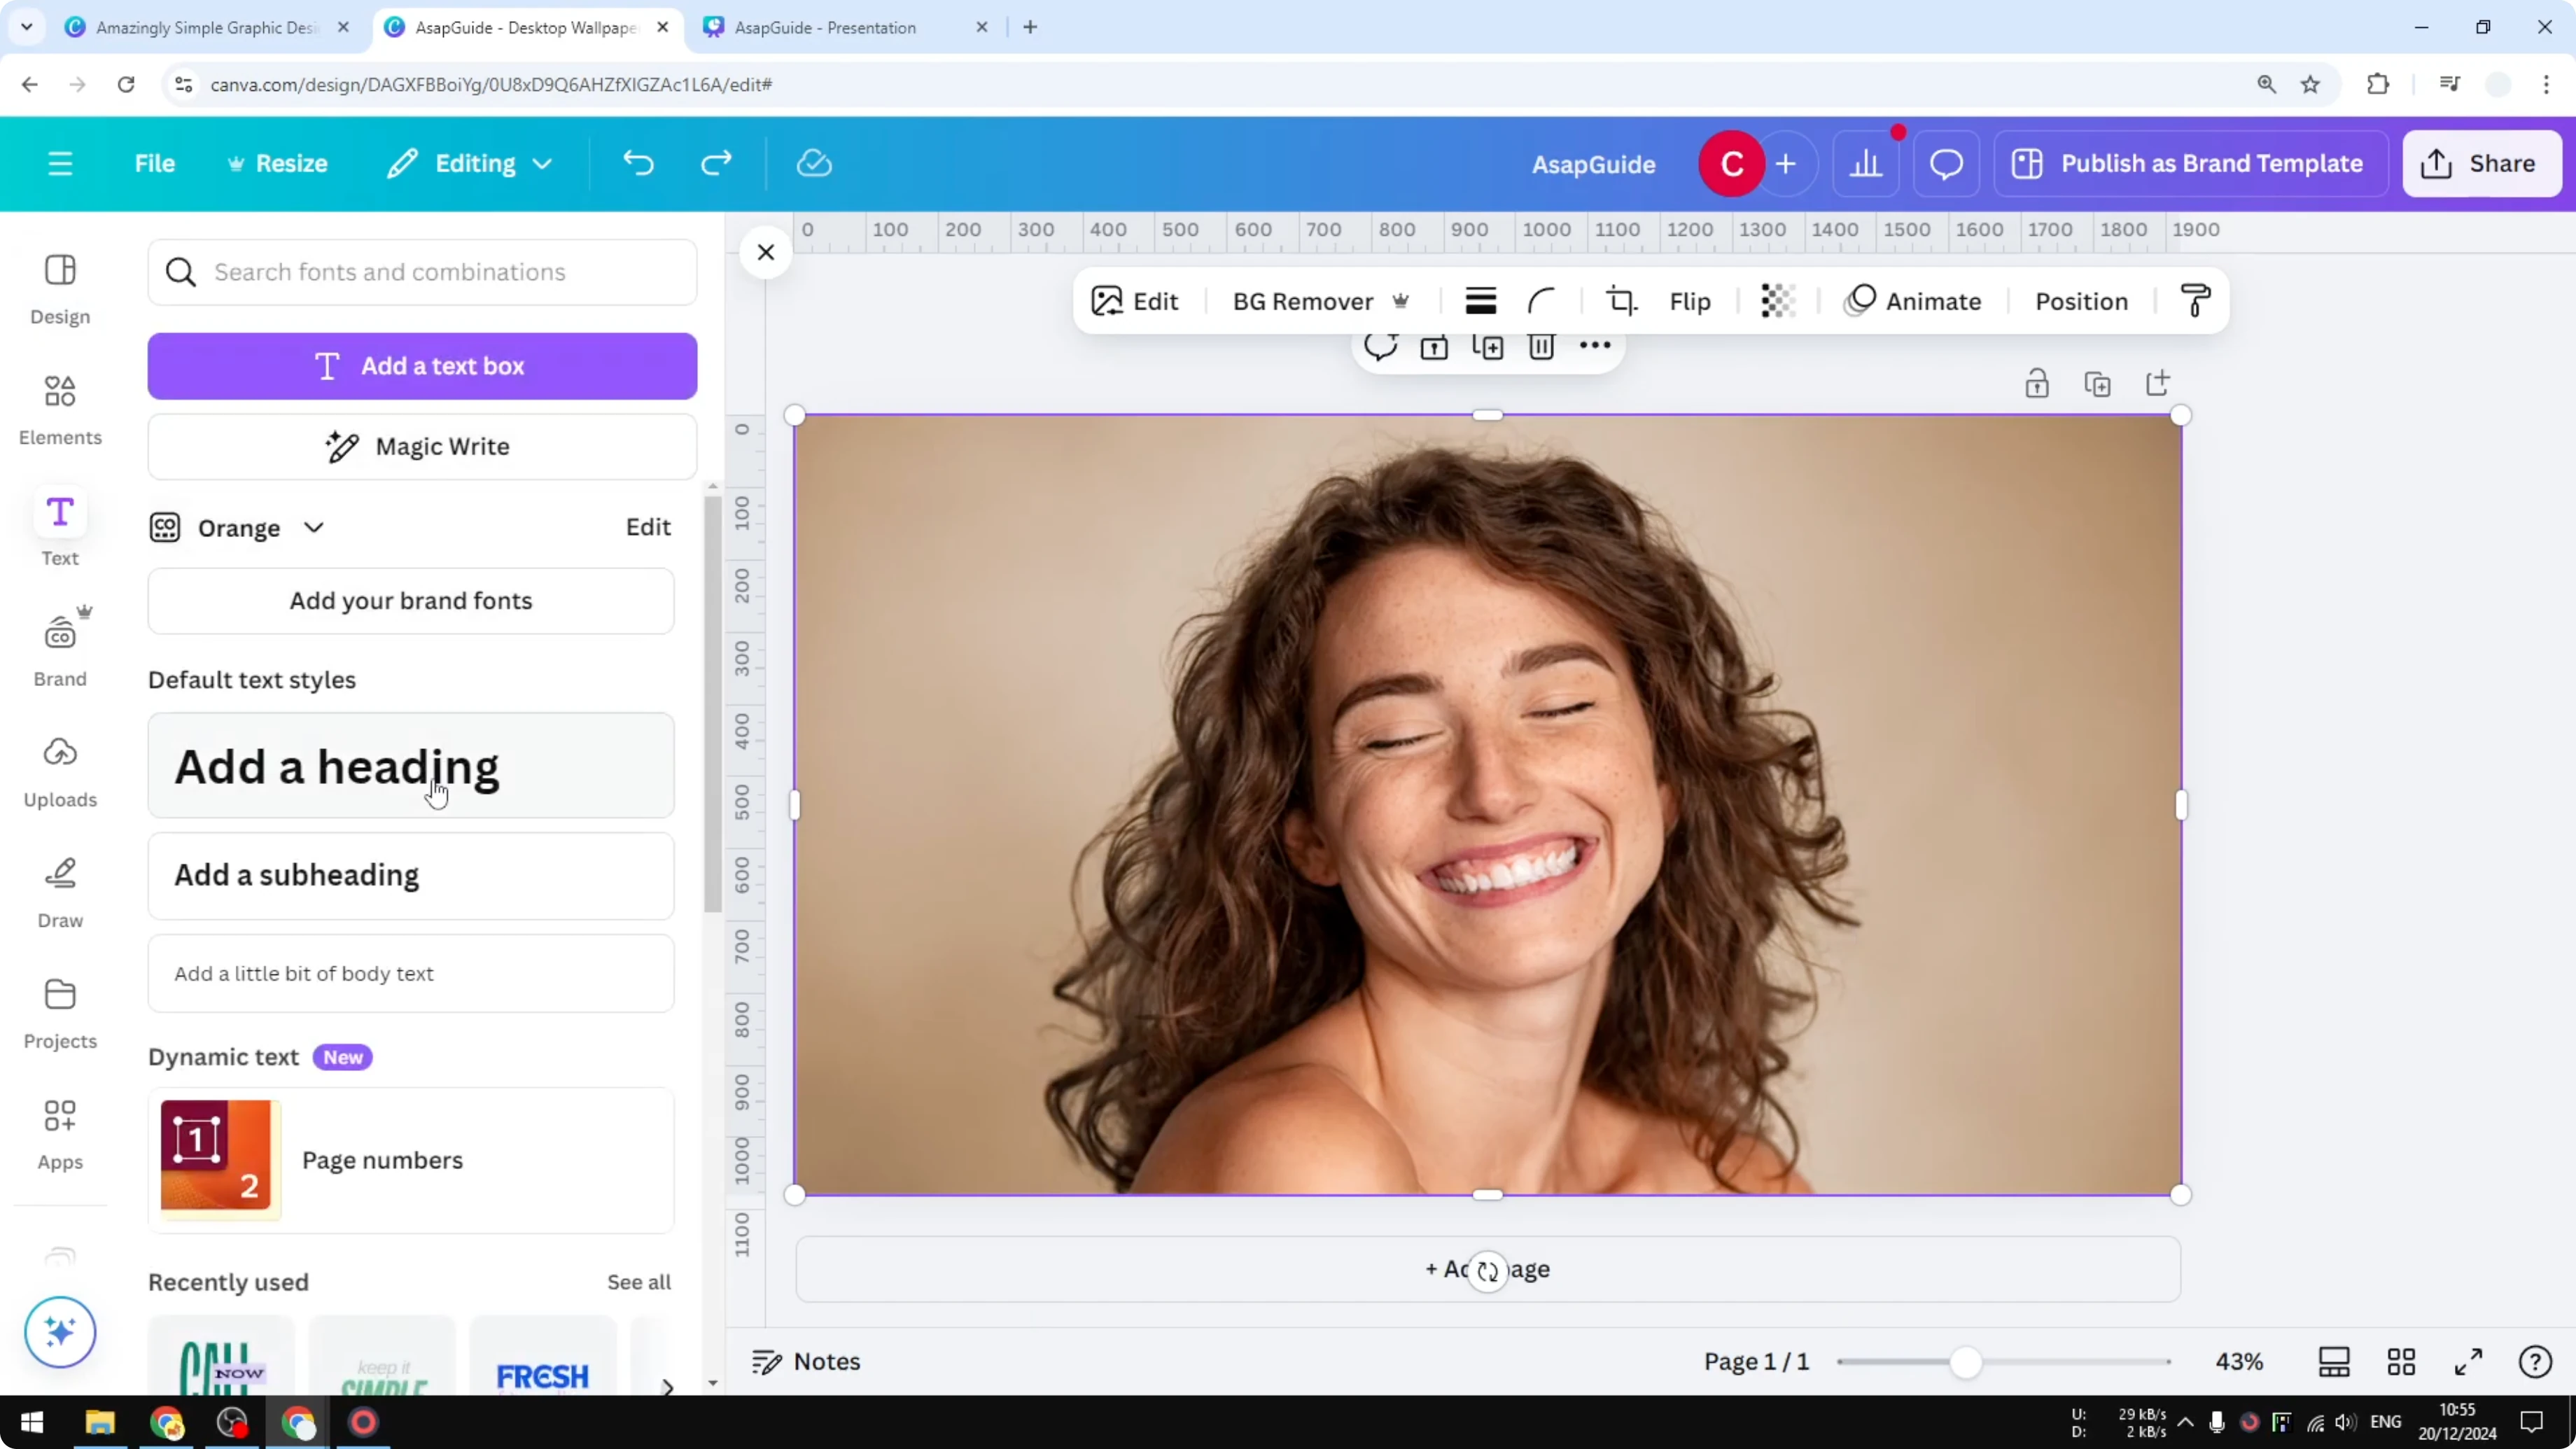
- Insert a picture into your Canva design. I picked a photo with a nice, simple background, and I recommend using a picture like that because it’s a lot easier to edit later.
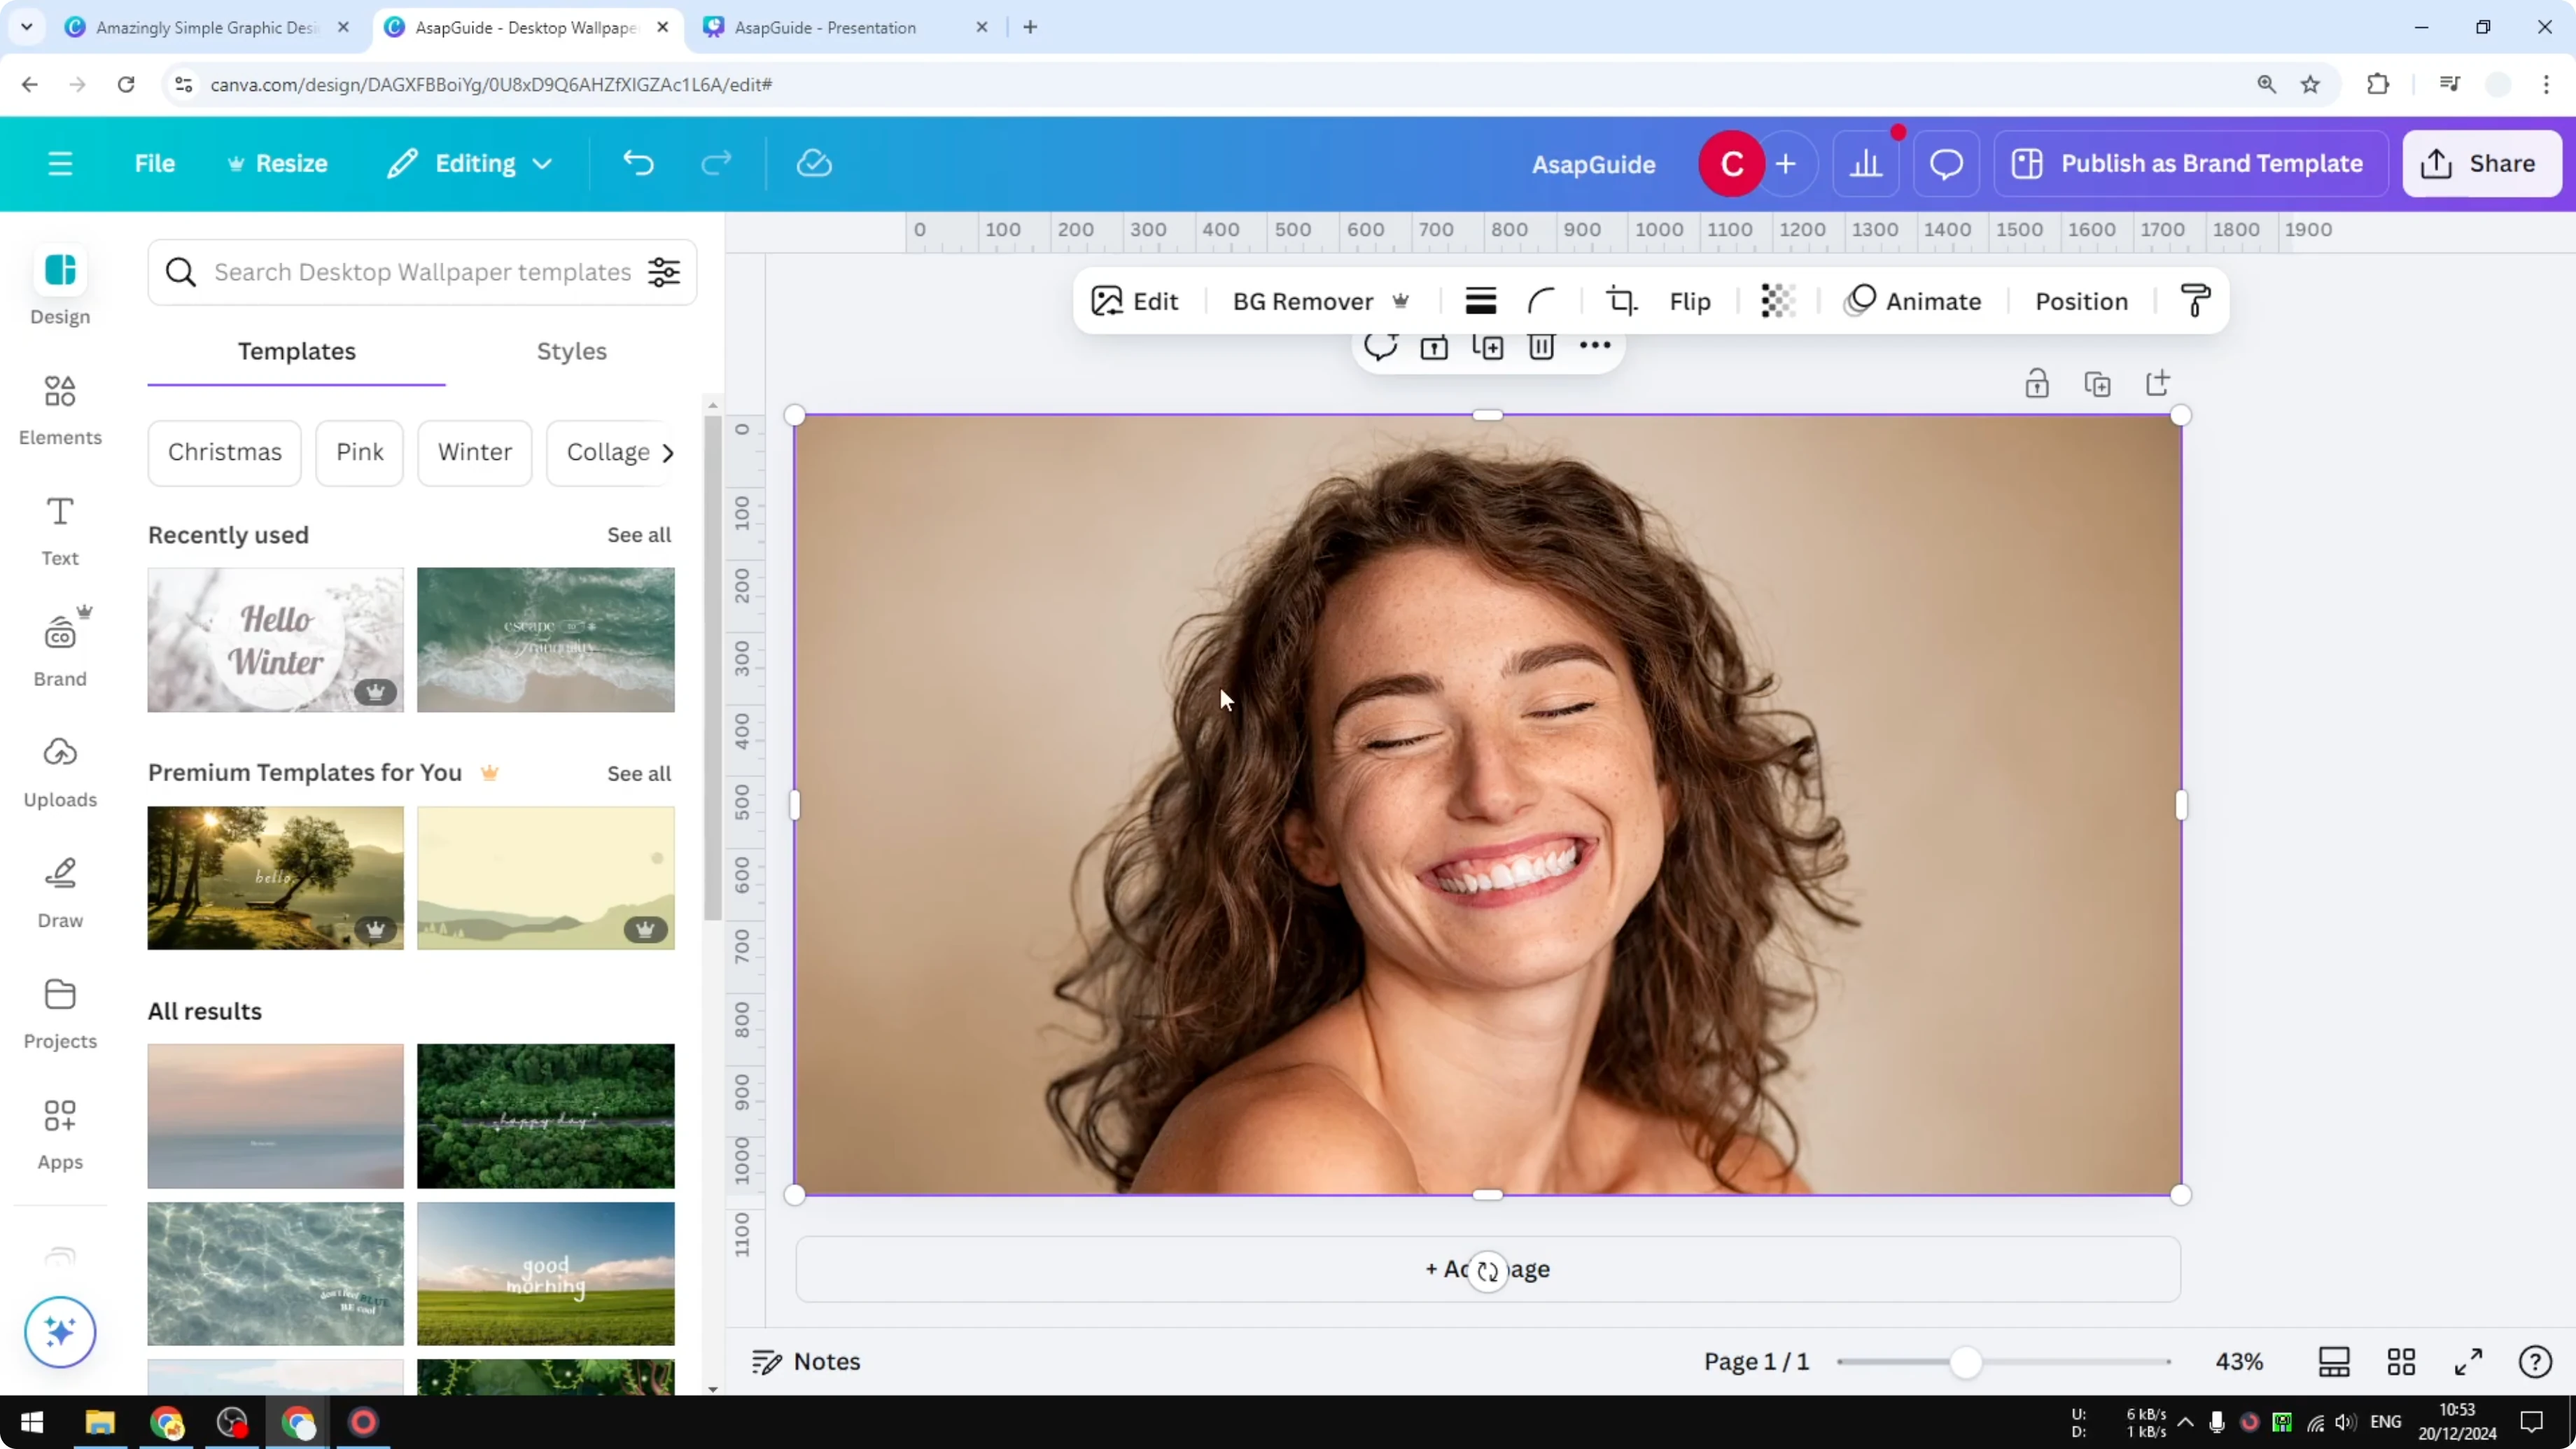
- Duplicate the picture. Click the menu or right click the image, then click Duplicate.
- Put the duplicated picture exactly on top of the original in the same location.
Remove the background from the duplicate
- Remove the background from the top photo. You can use Background Remover, or go to Edit and click the Magic Grab option.
- I like Magic Grab more because you can customize which part of the picture to include and which part to remove. You can use the brush to isolate the subject manually, or use AI to select the area you want.
- Select the subject and click Grab. Canva will use AI to eliminate the background, and you’ll get a clean cutout of the subject. The background is no longer part of the subject’s picture, which is the first thing we need for this transparent text effect.
- Wait for it to process. It usually takes less than 1 minute and finishes quickly.
- Do not move the subject from the original position. If you move it, undo and put it back exactly where it was.
- Remove the background that is no longer necessary, so you have the isolated subject ready to edit.

Add and style your text
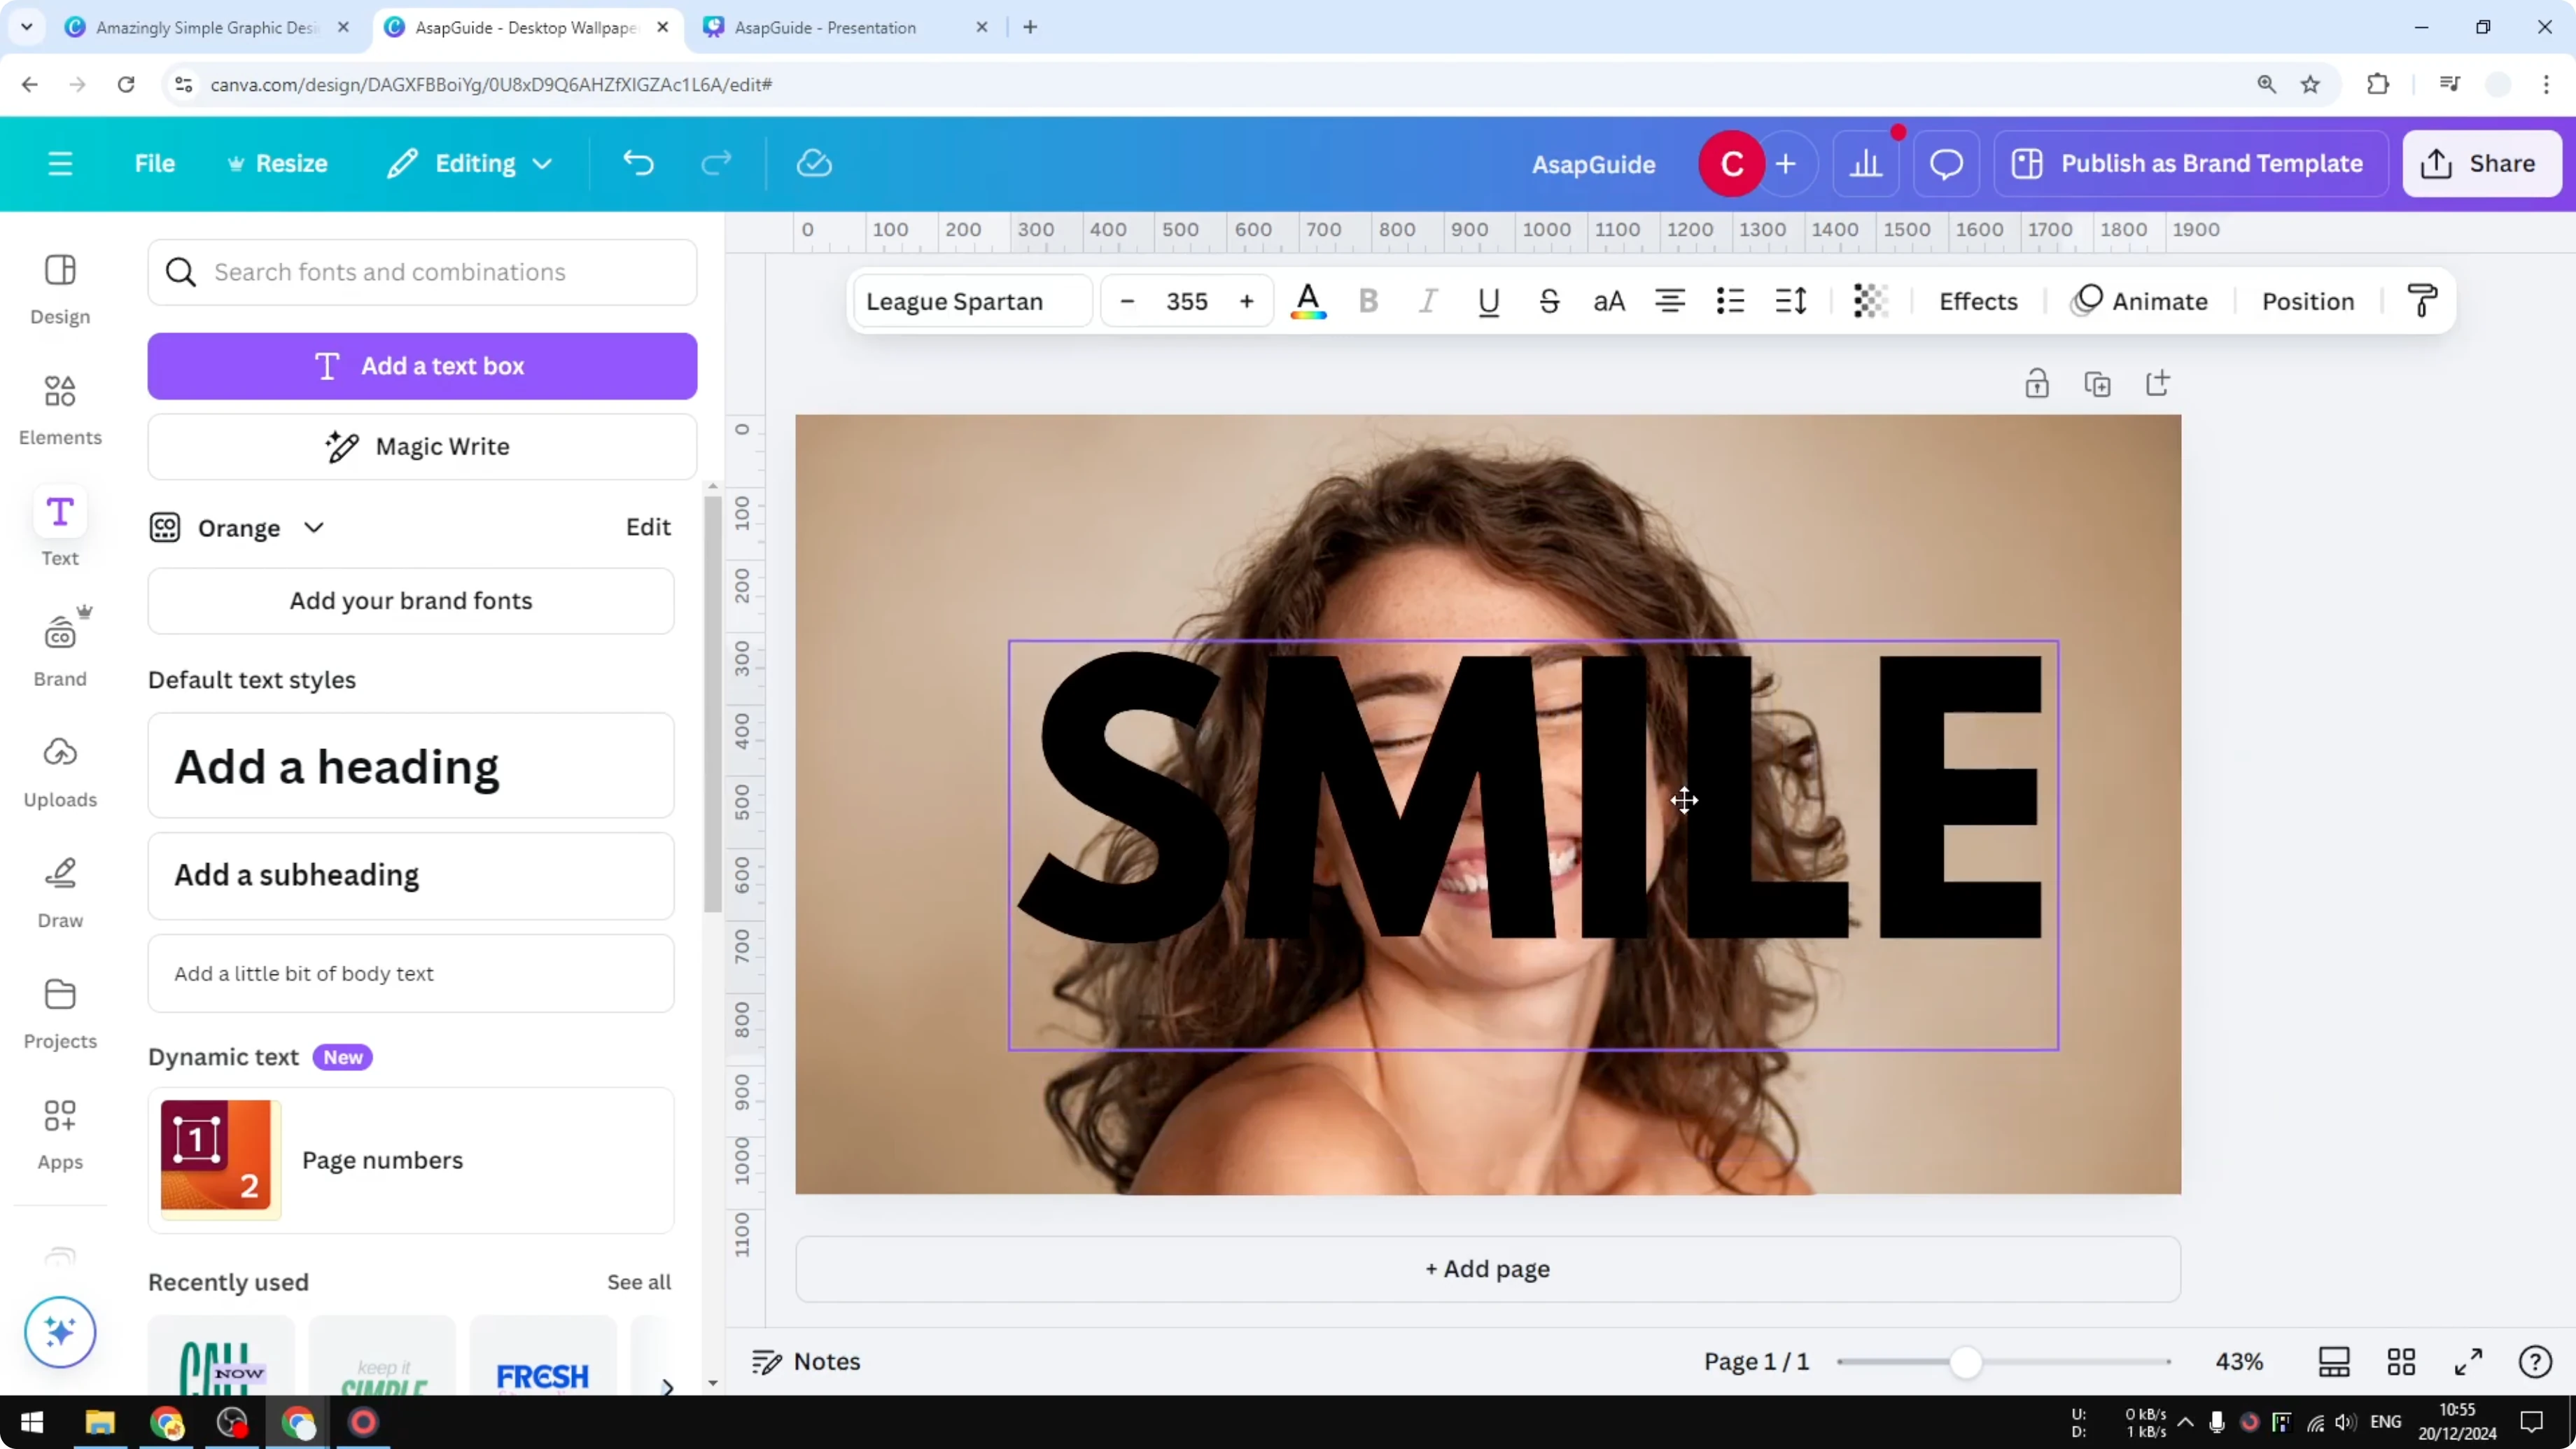
- Go to Text and add a text box. For this example, type “SMILE.”
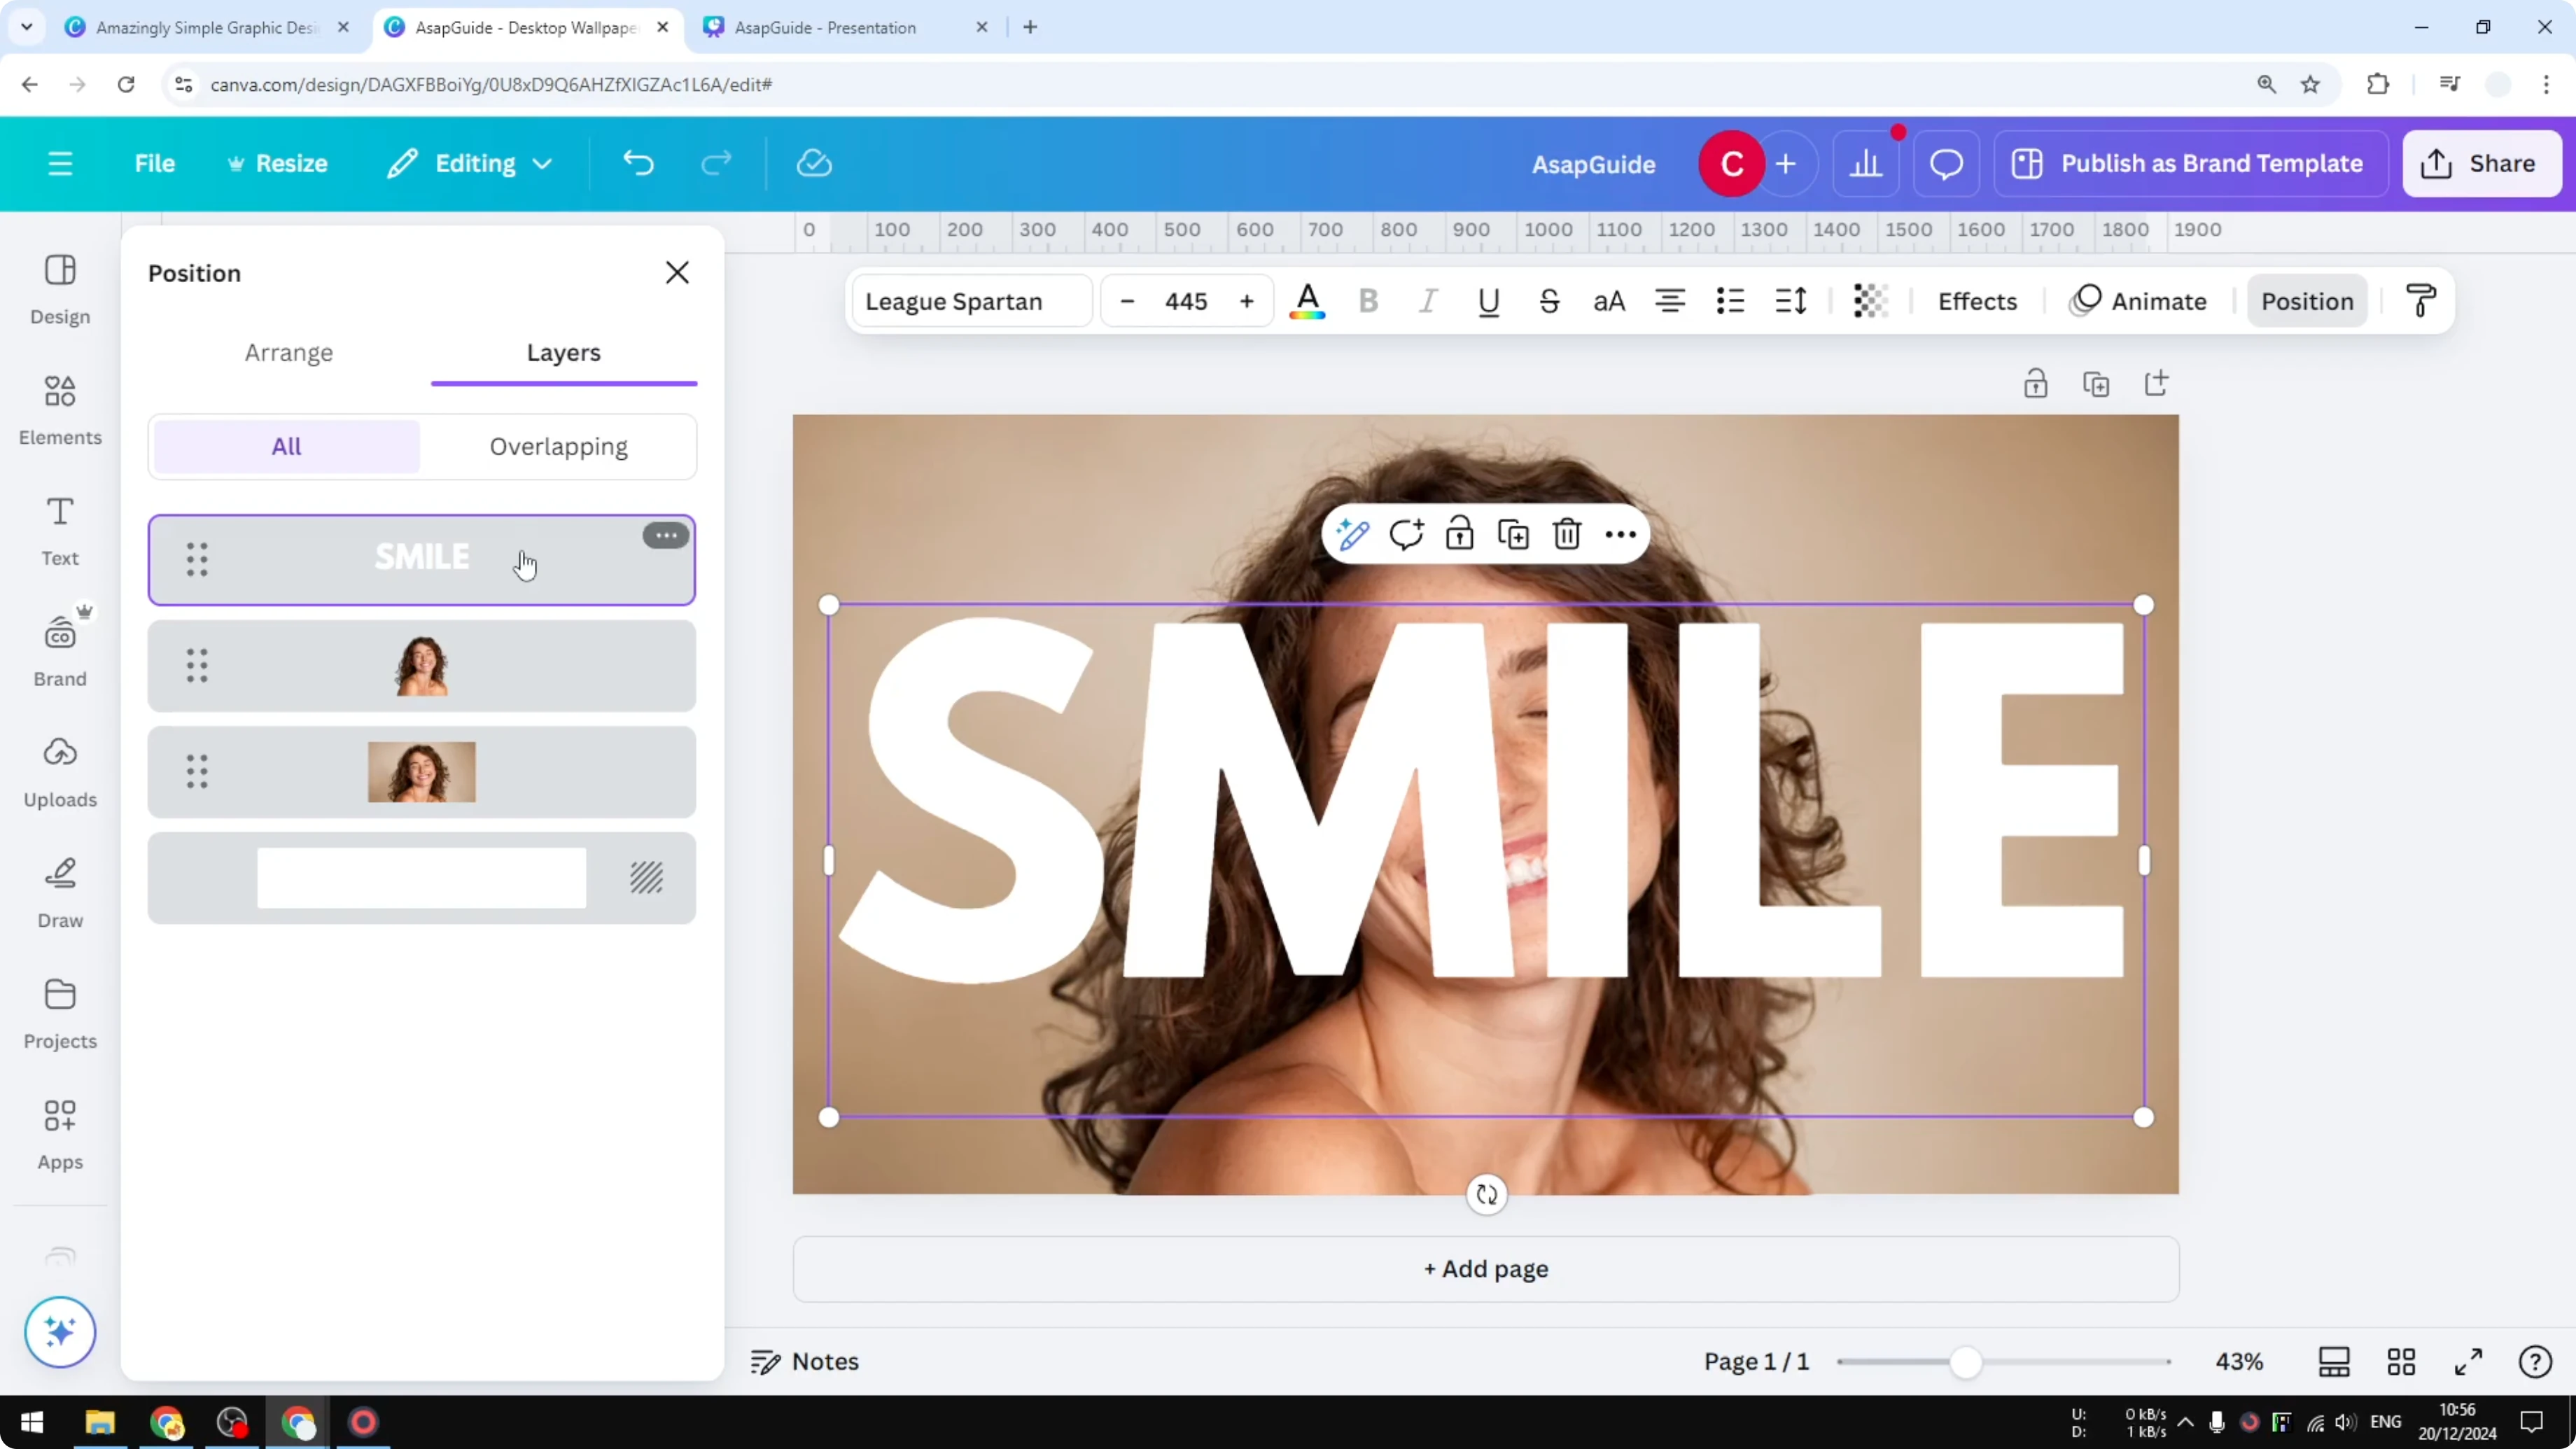
- Change the font to something bolder like League Spartan. That’s one of my favorite fonts.
- Increase the font size to make it as visible as possible. Place it roughly in the middle of the picture.
- Change the text color to something more visible, like white.
Position the text behind the subject
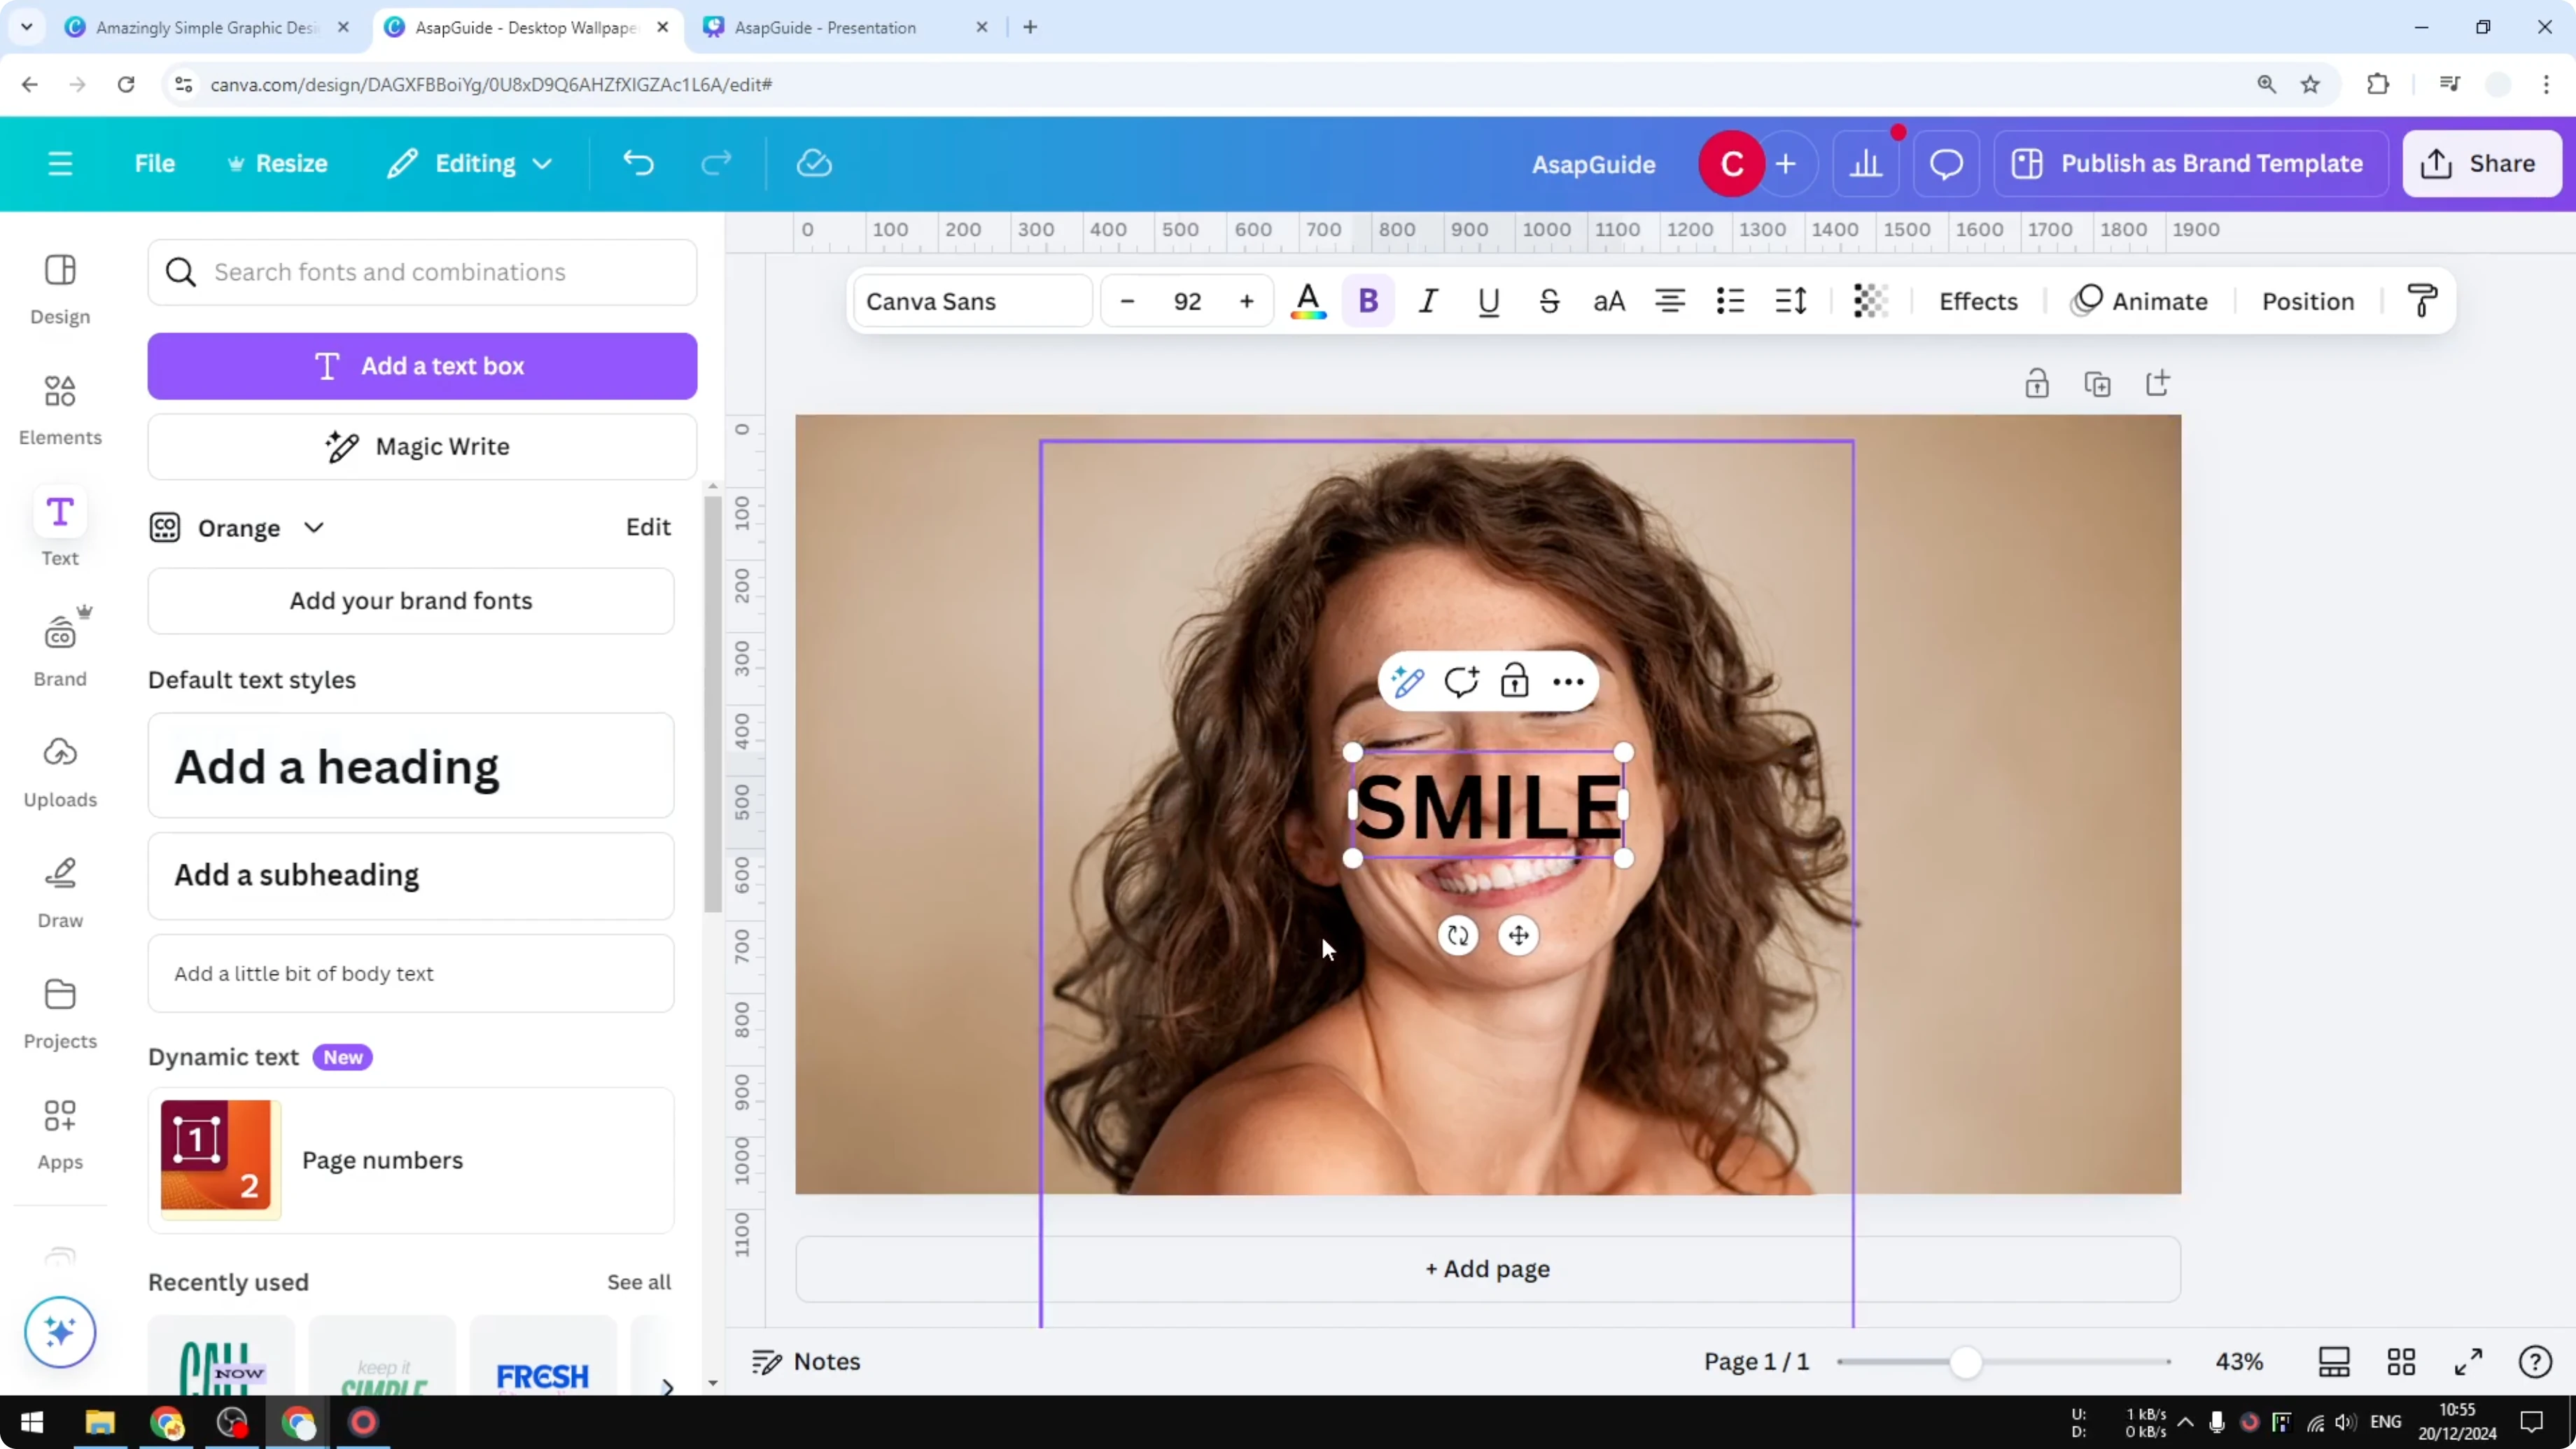
- Send the text behind the subject. Click Position, open Layers, and drag the text box behind the subject layer. It should sit behind the face but still be visible over the background.
Add the overlay outline on top
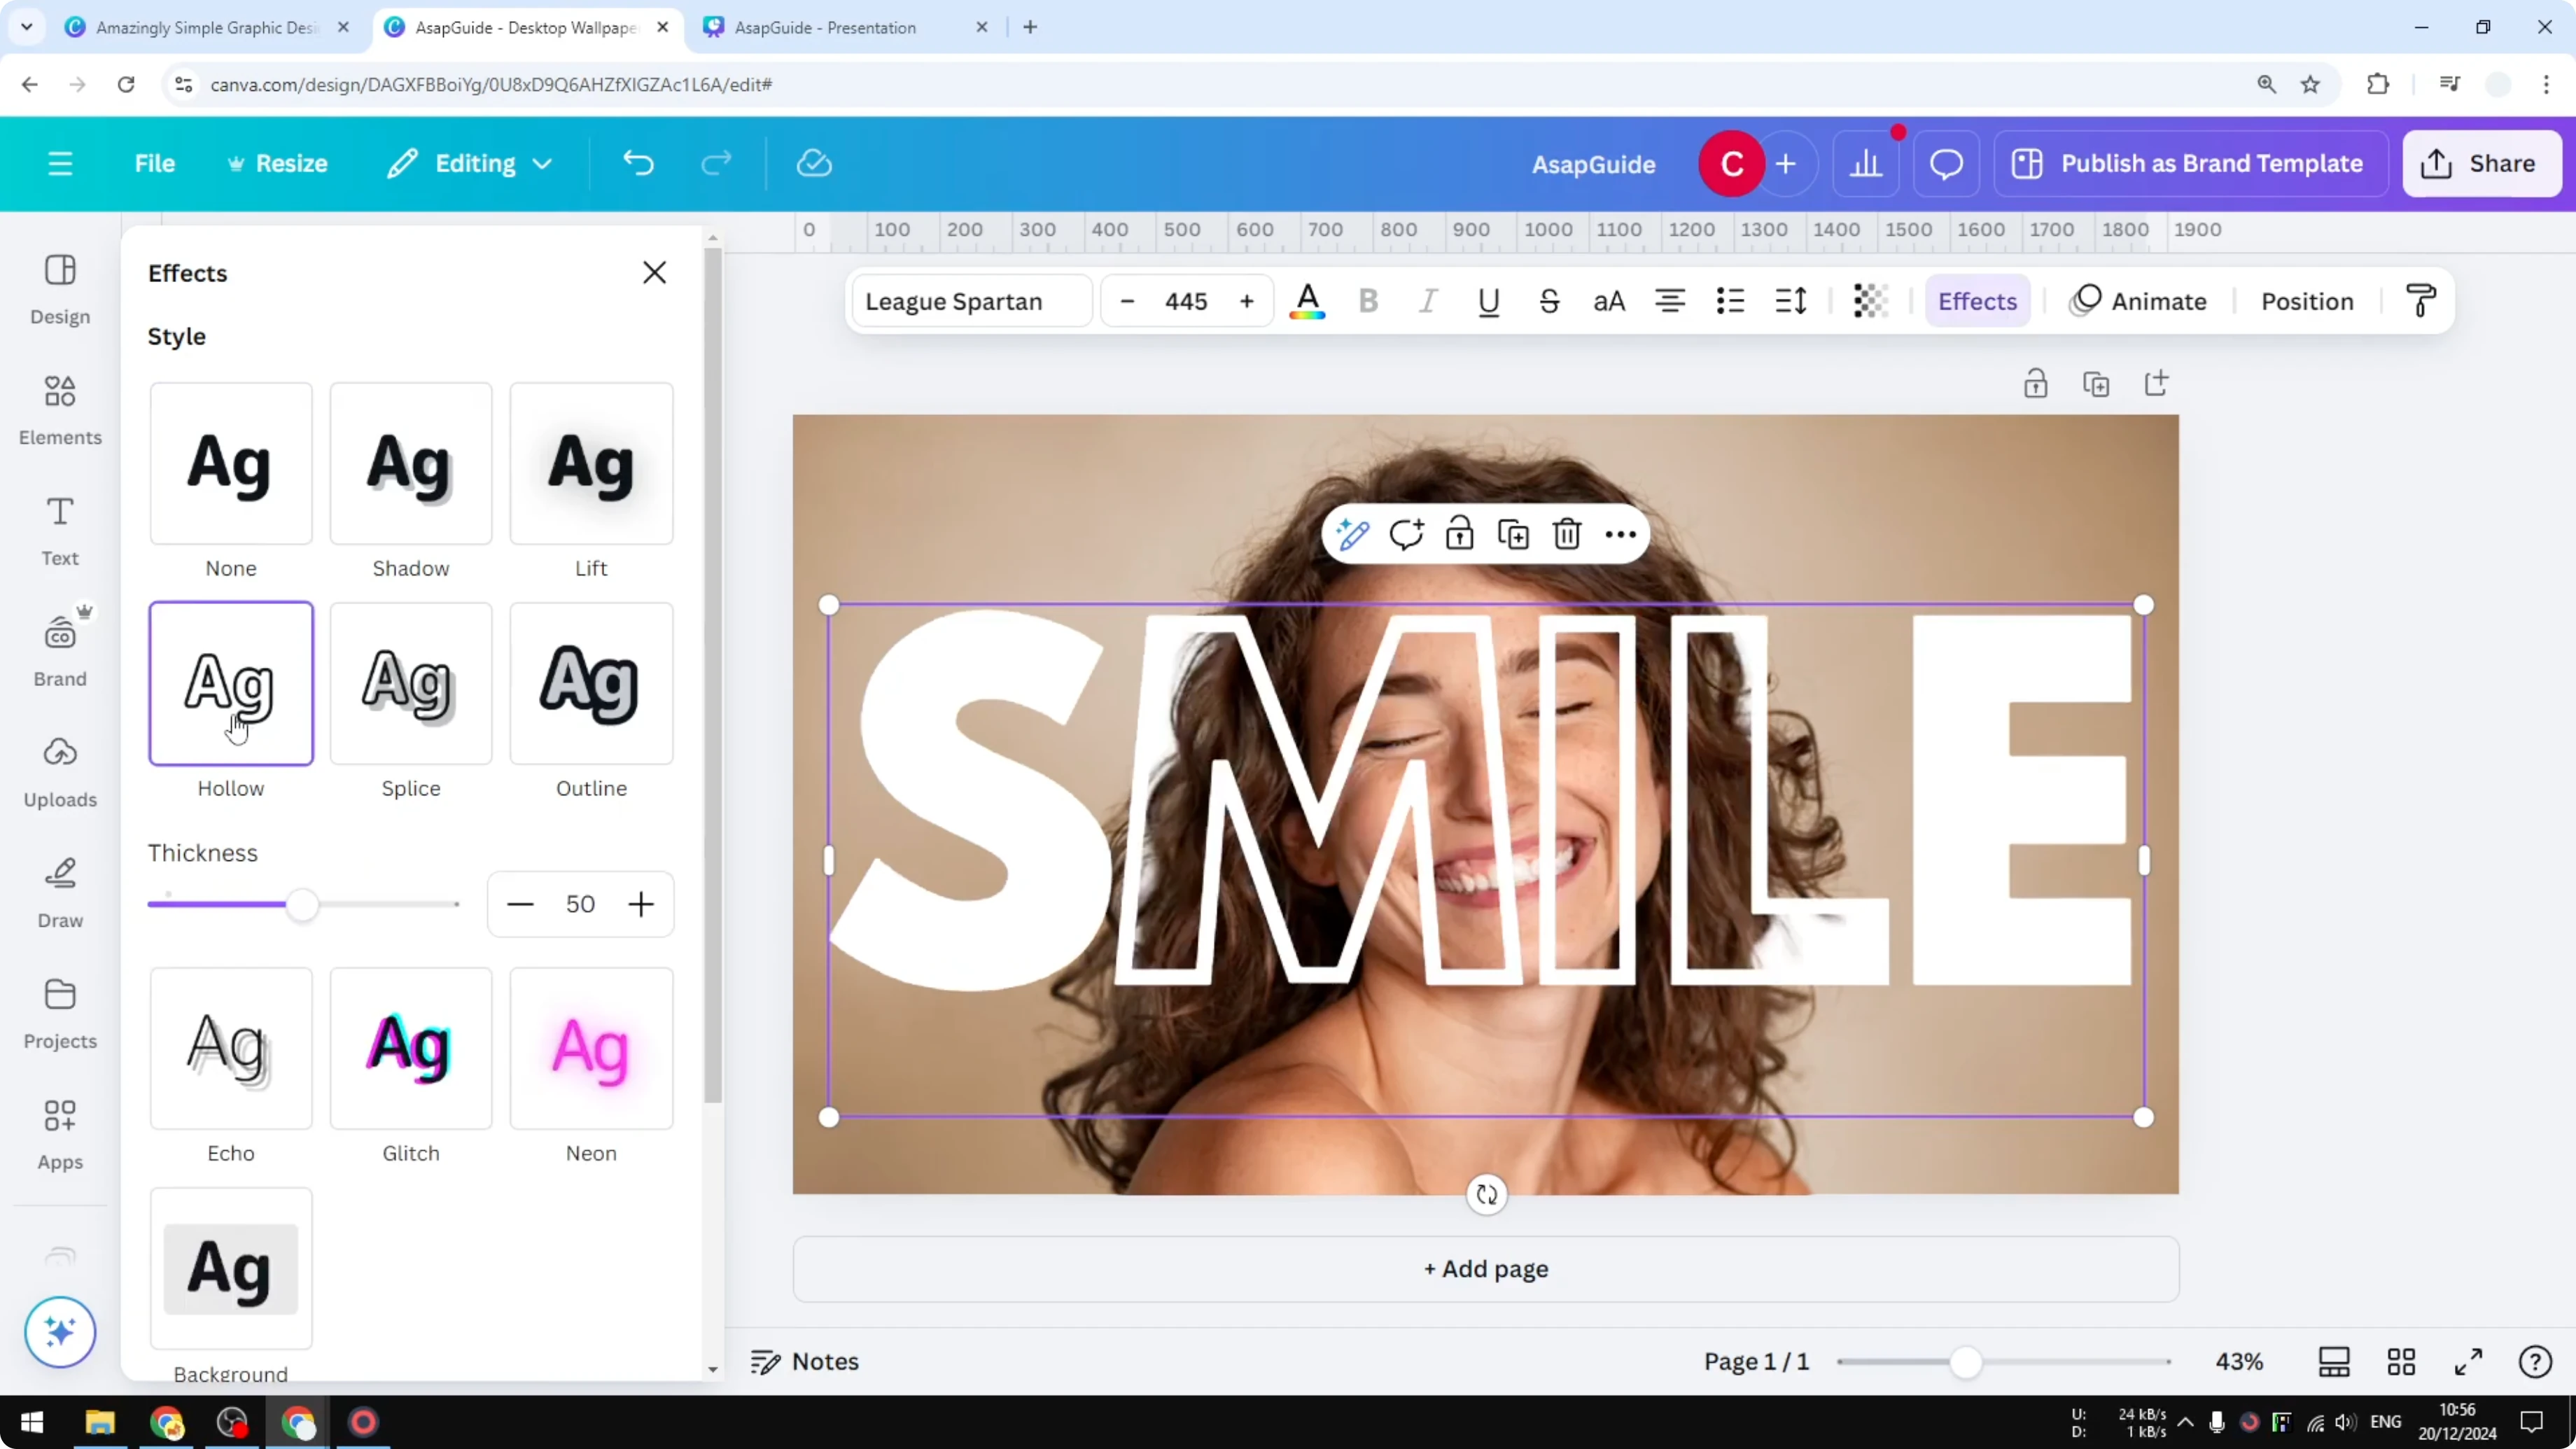
- Duplicate the text and place the duplicate exactly on top of the original position.
- This duplicate should be on top of the subject layer.
- Open Effects and click Hollow. Reduce the thickness a bit, to around 10. Anything less than 10 works well.
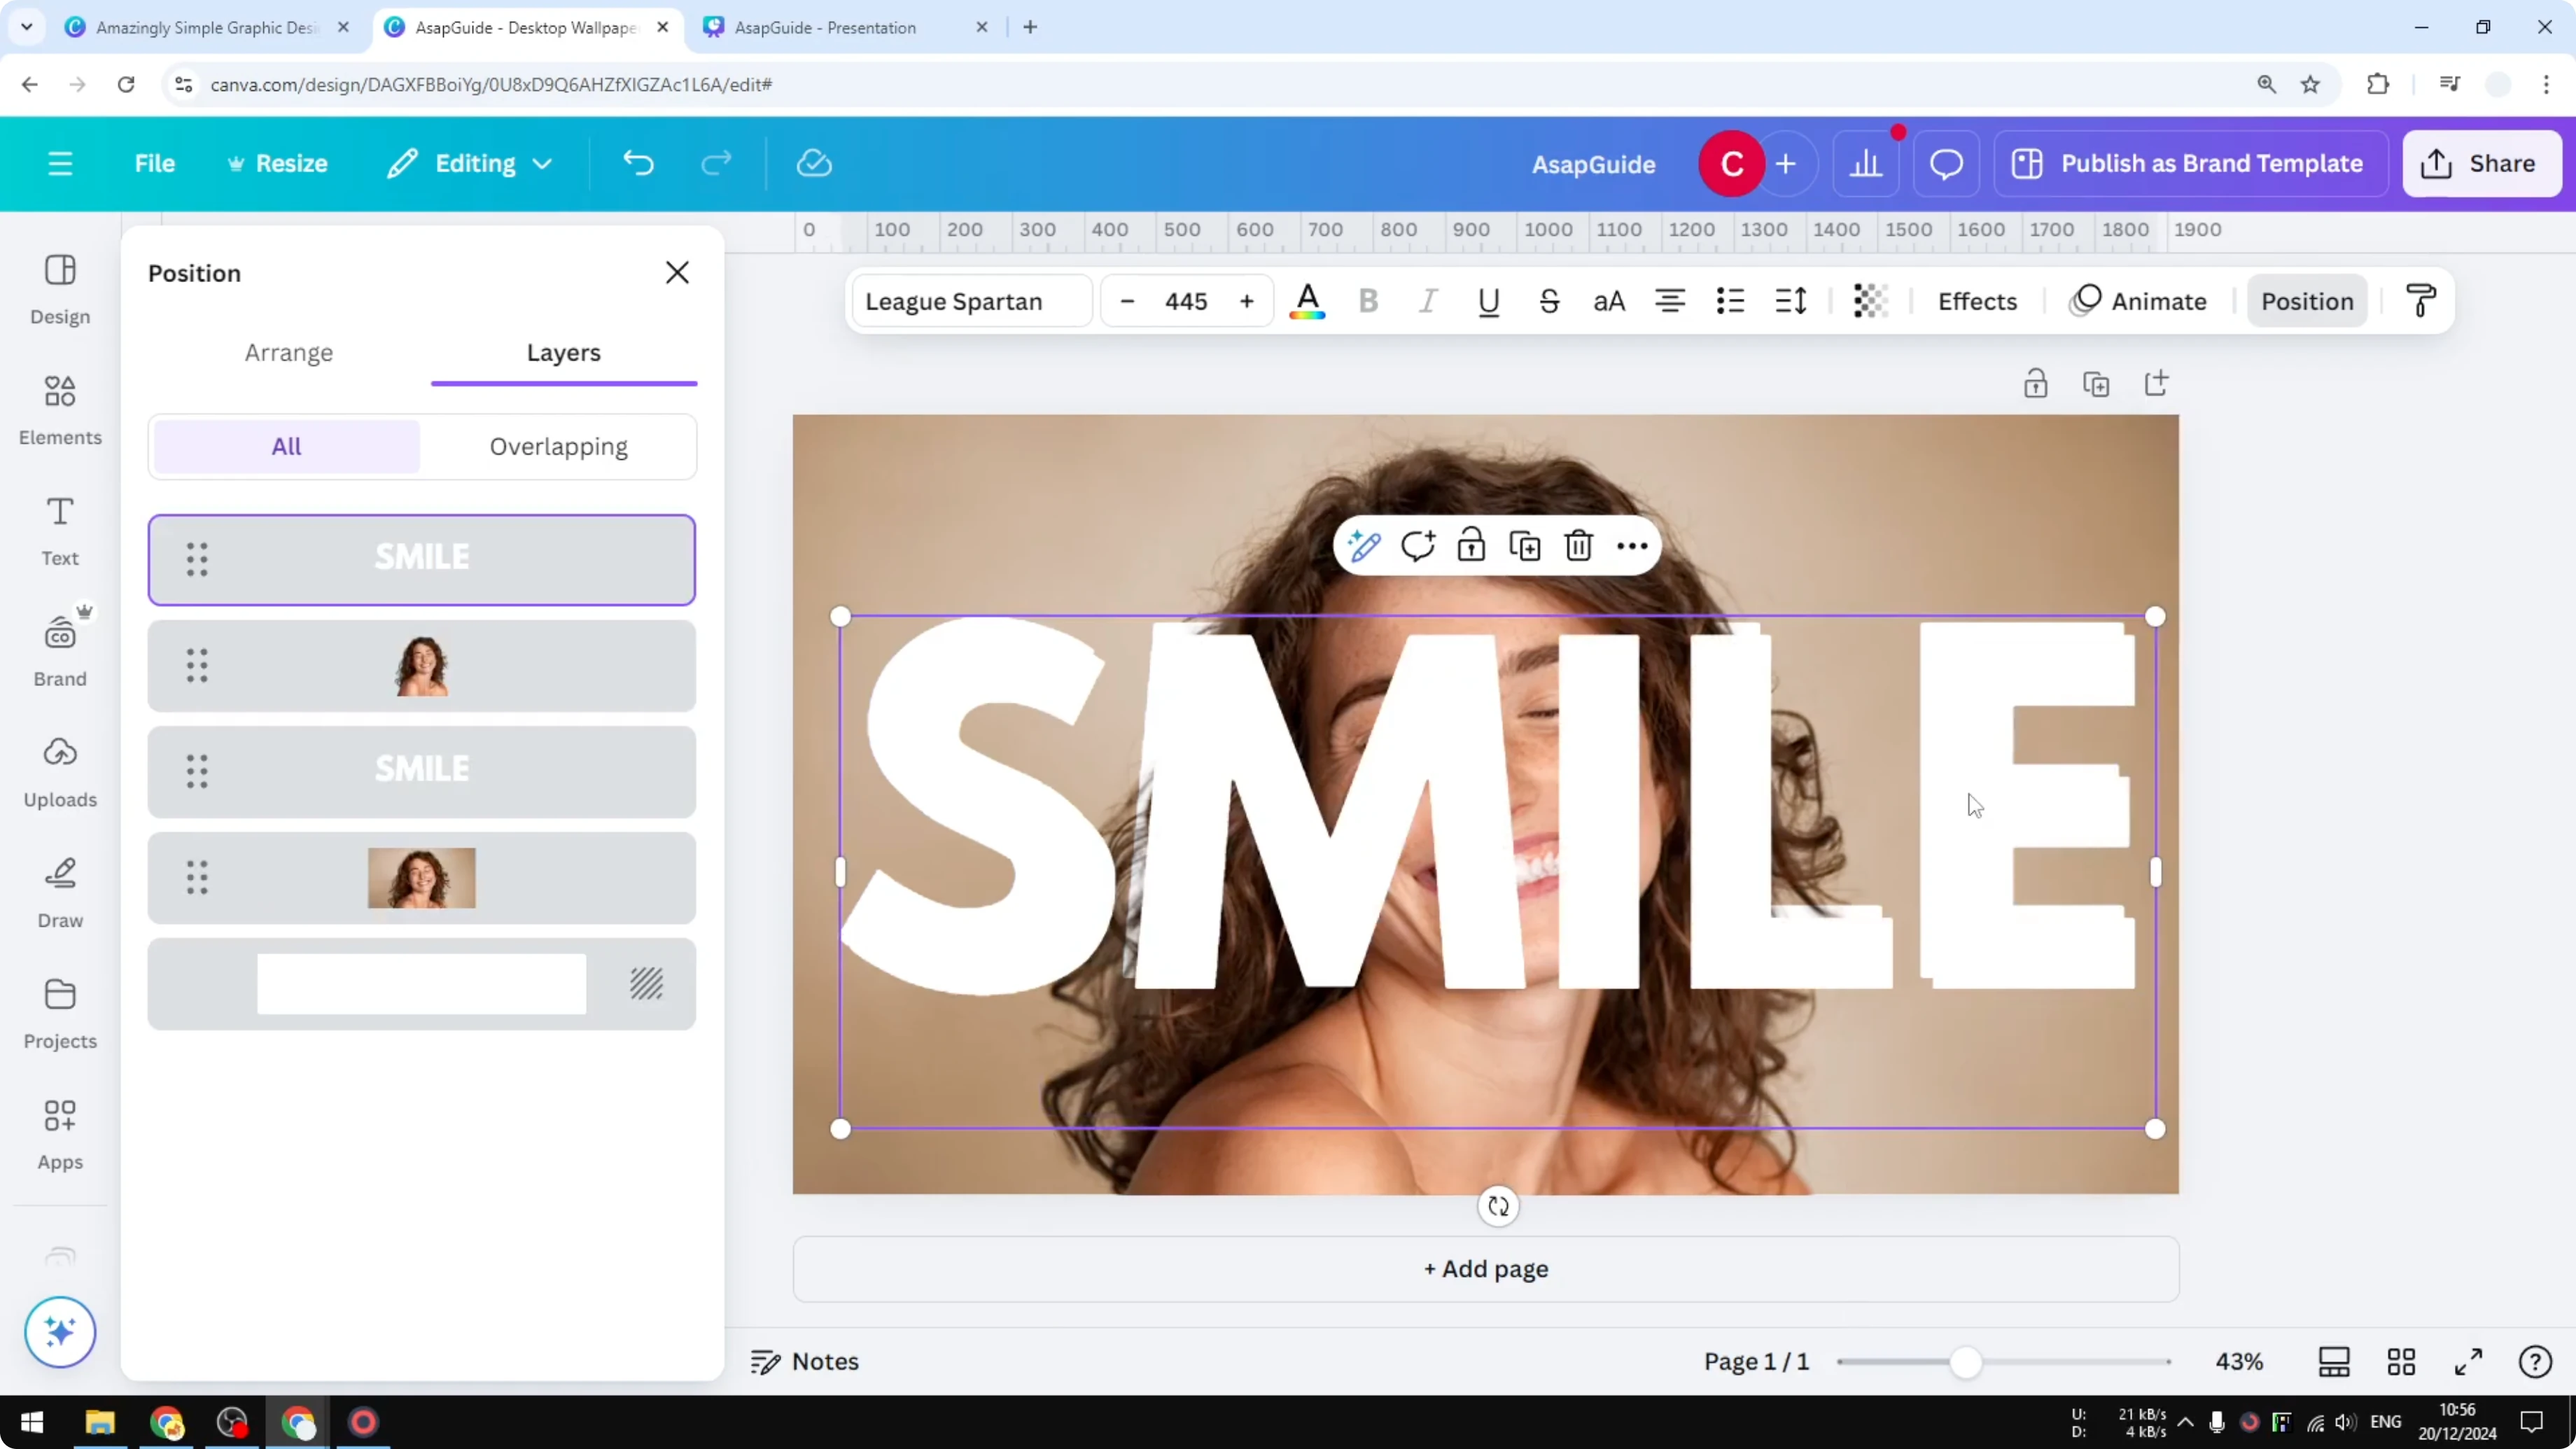
- The face stays visible, and the hollow outline gives you that transparent overlay look while the solid text behind the subject adds depth.
Final Thoughts
That’s how to create a transparent text effect that is partly positioned behind the subject while the text outline sits on top. Keep your duplicate subject perfectly aligned, use bold type, and set the Hollow thickness to around 10 or less for a clean result.
Recent Posts
How to Visualize Yourself as a Pixelized Character with AI?
How to Visualize Yourself as a Pixelized Character with AI?

How to Revive Faded Memories and Enhance Image Clarity with AI?
How to Revive Faded Memories and Enhance Image Clarity with AI?

How to Visualize Yourself as an Animal Crossing Character with AI?
How to Visualize Yourself as an Animal Crossing Character with AI?