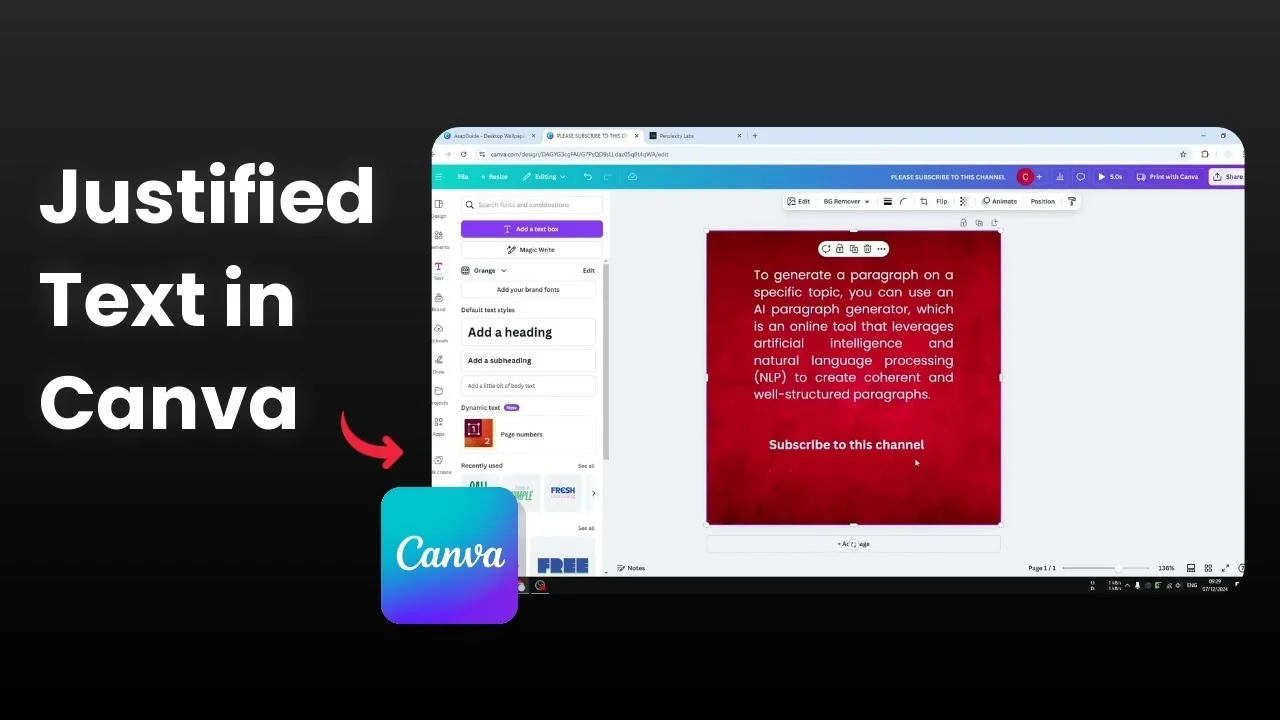
How to Create a Justified Text Effect in Canva
I’m going to show you how to create justified text in Canva. Insert a text box, add your paragraph, and switch its alignment so every line occupies the same width. This makes the content look more organized and matches the style used in many documents.
Create a Justified Text Effect in Canva
Insert a text box.
Type or paste your paragraph into the text box.
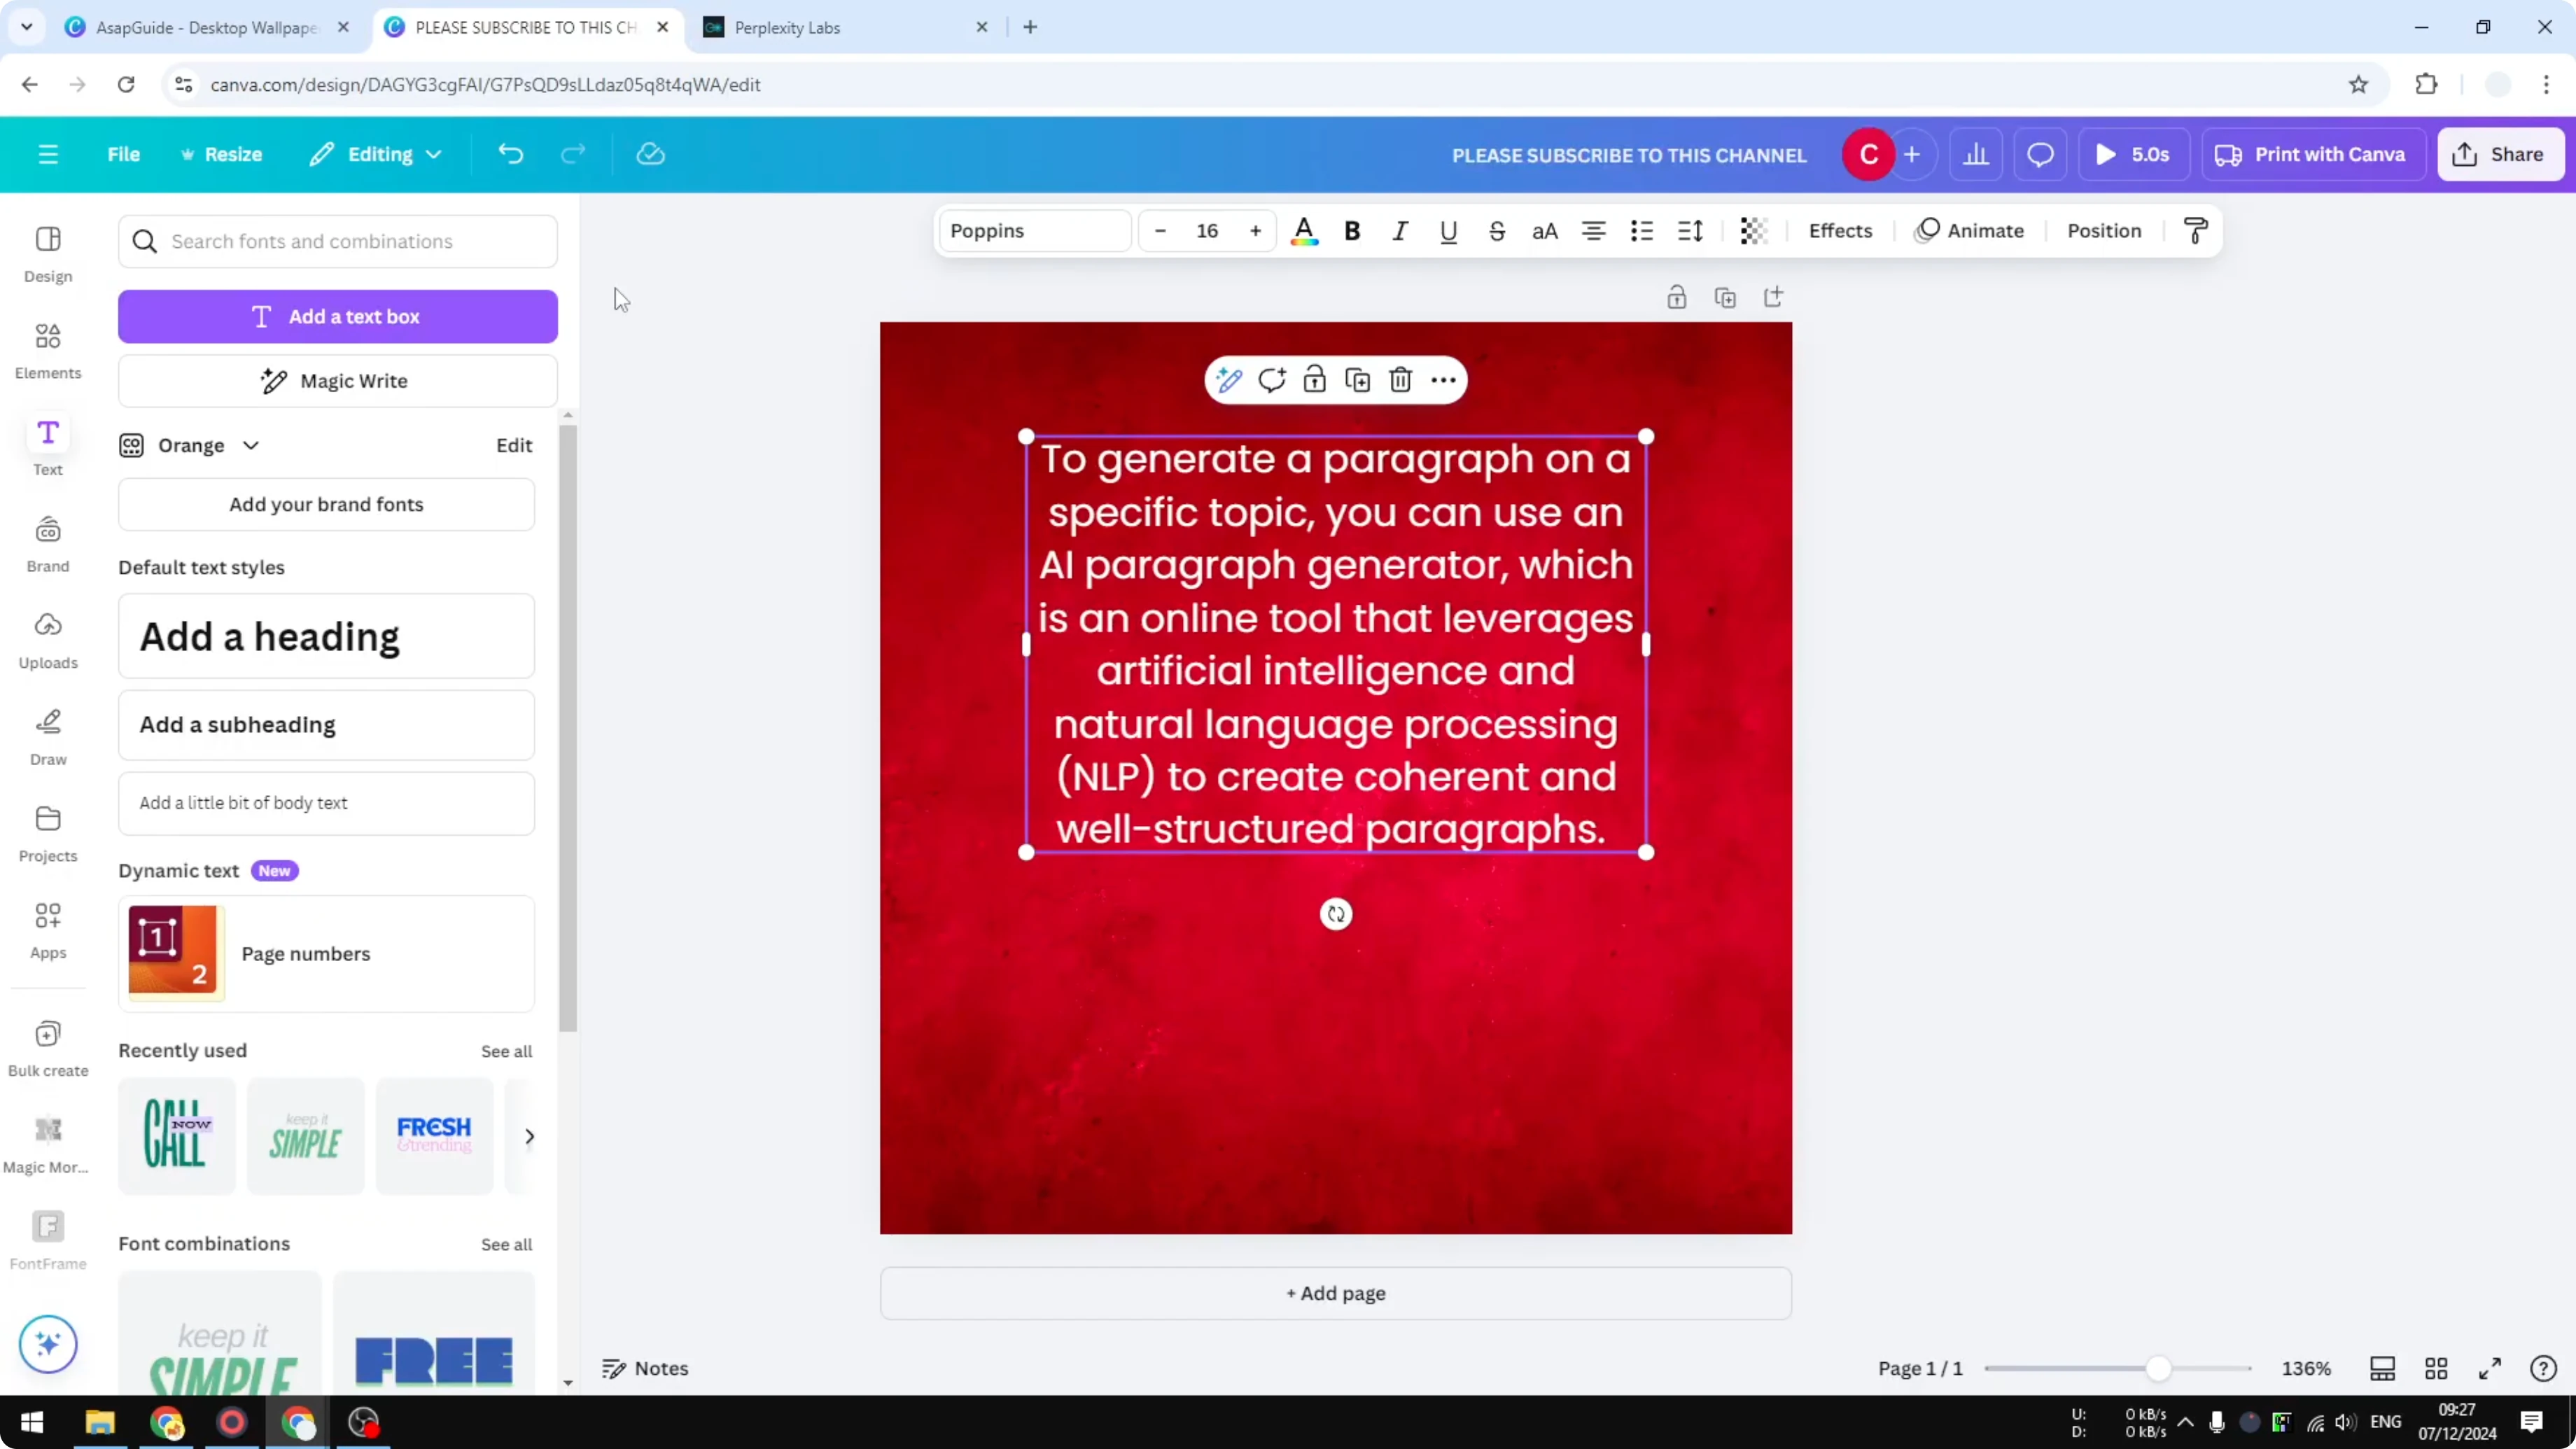
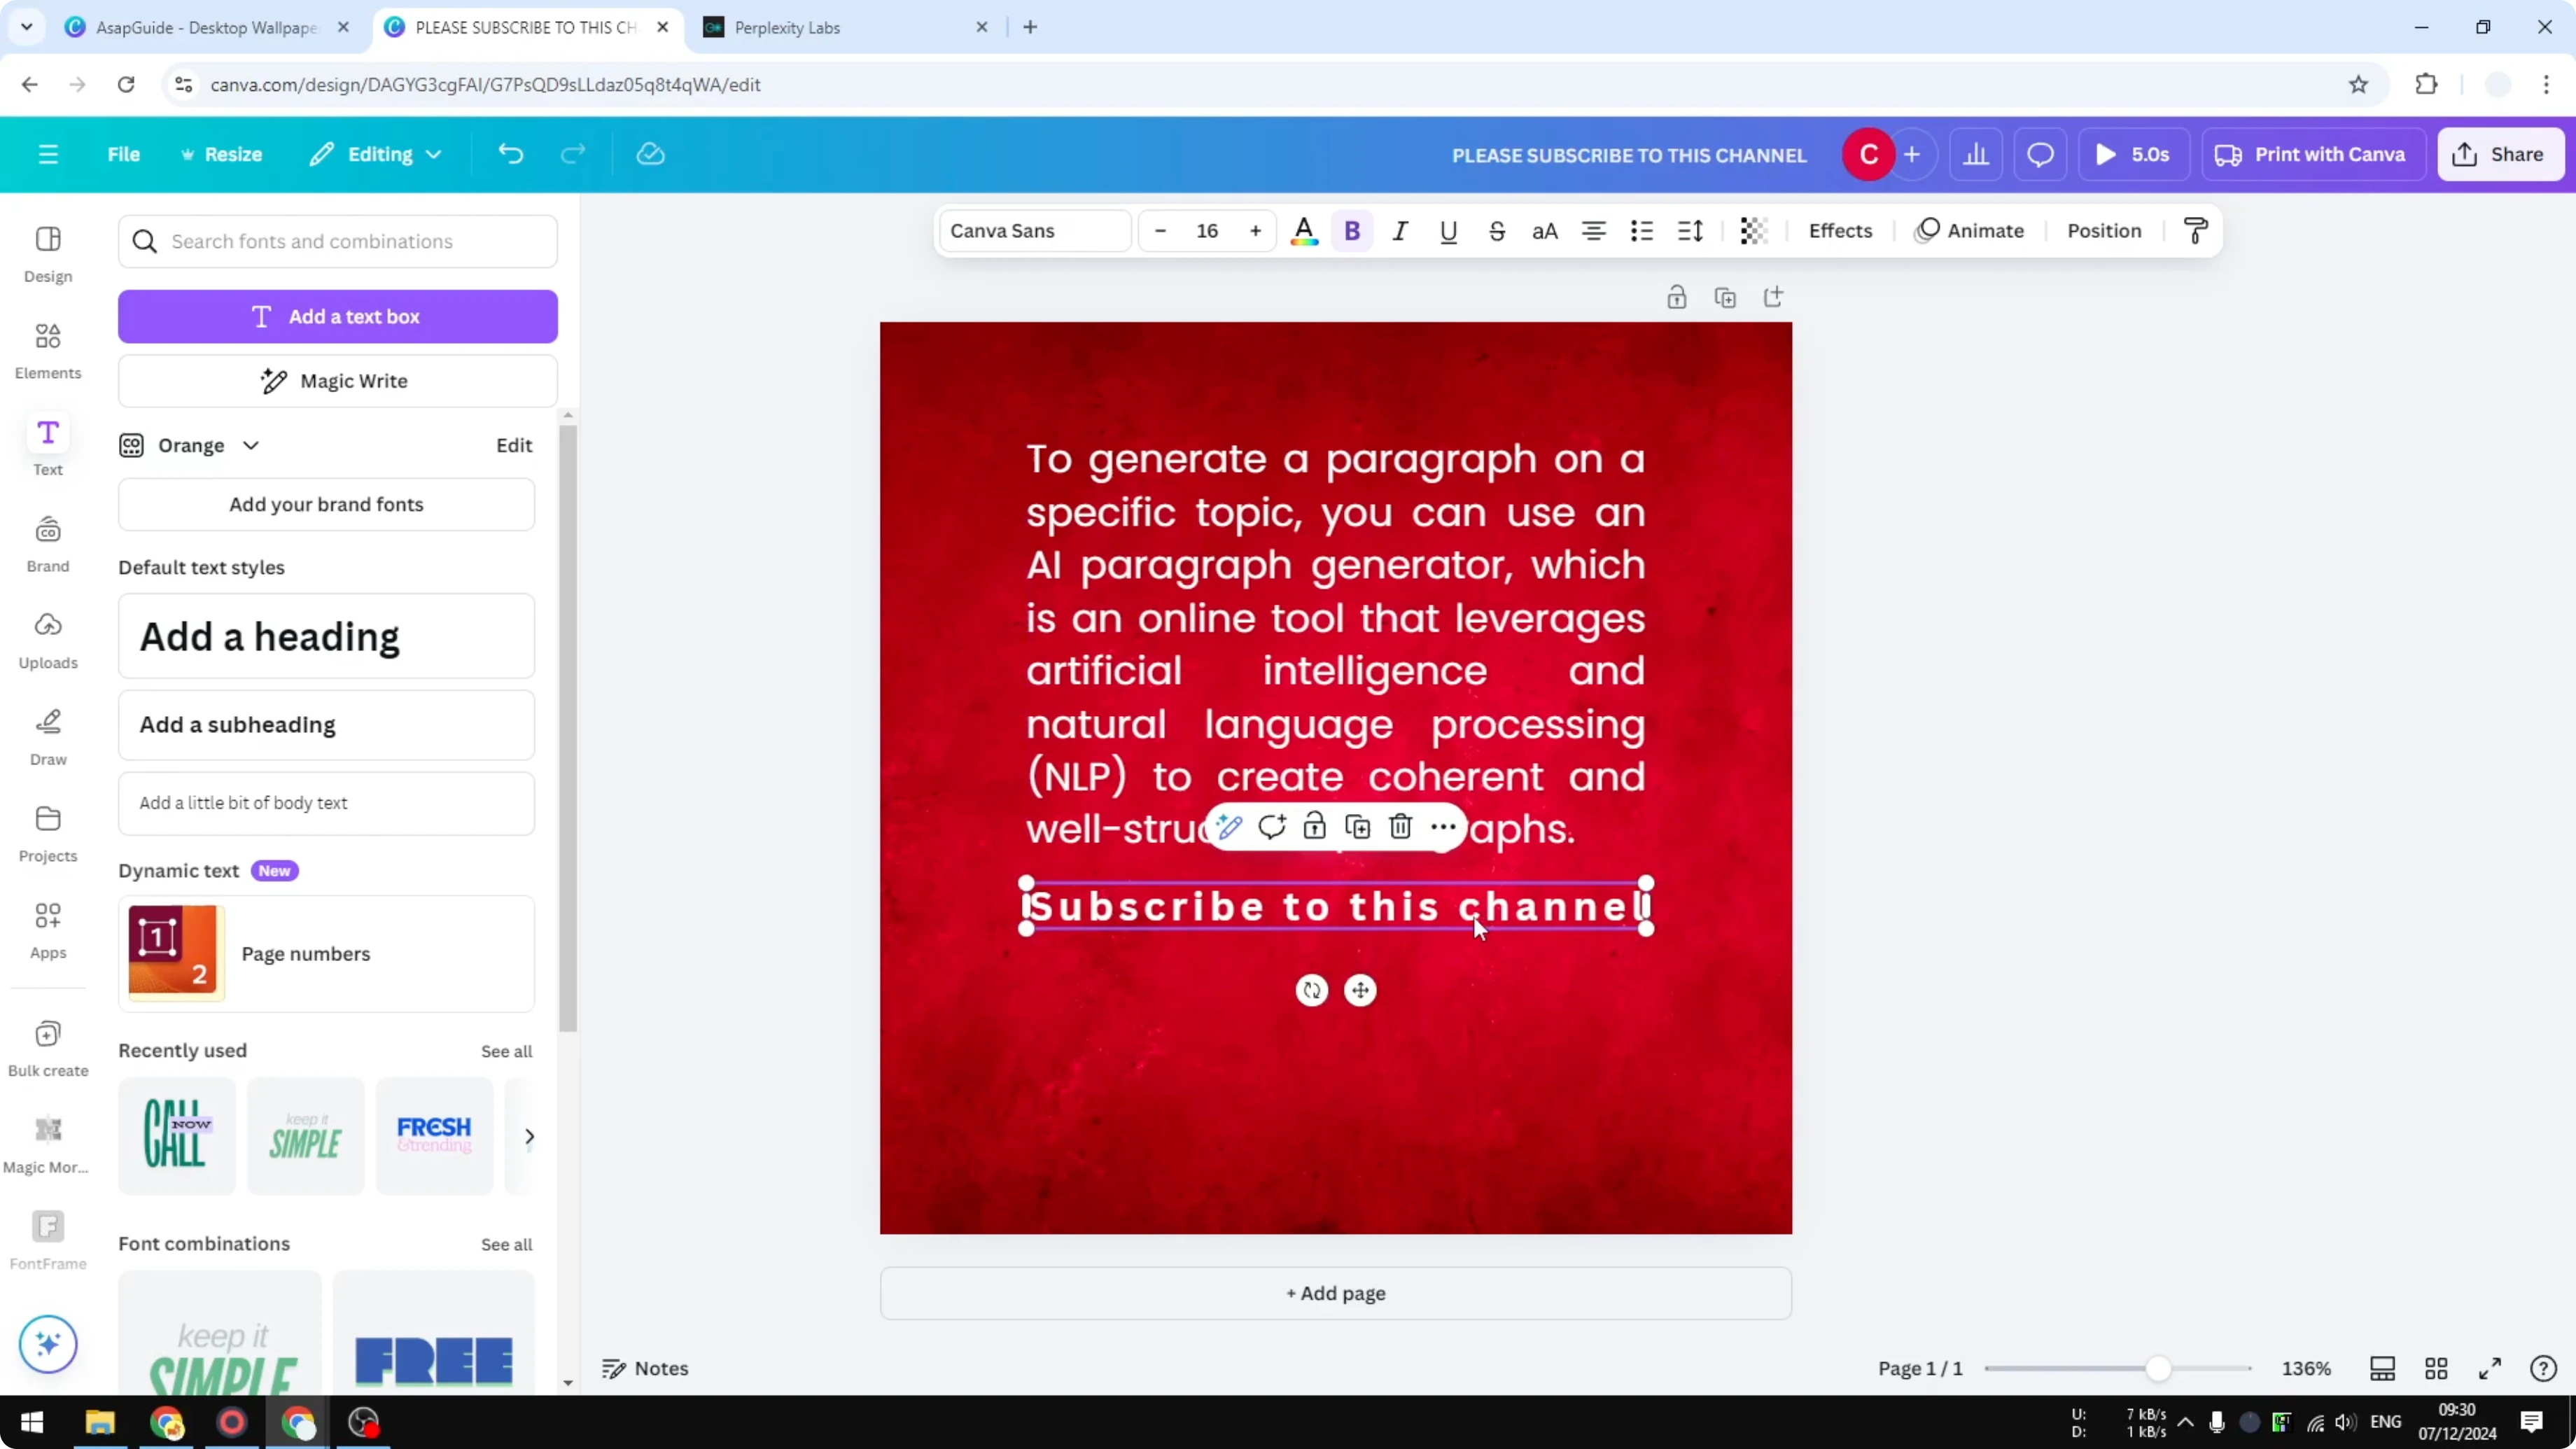
Click the text box to select it.

Click the alignment control and click again until you reach the justified setting.
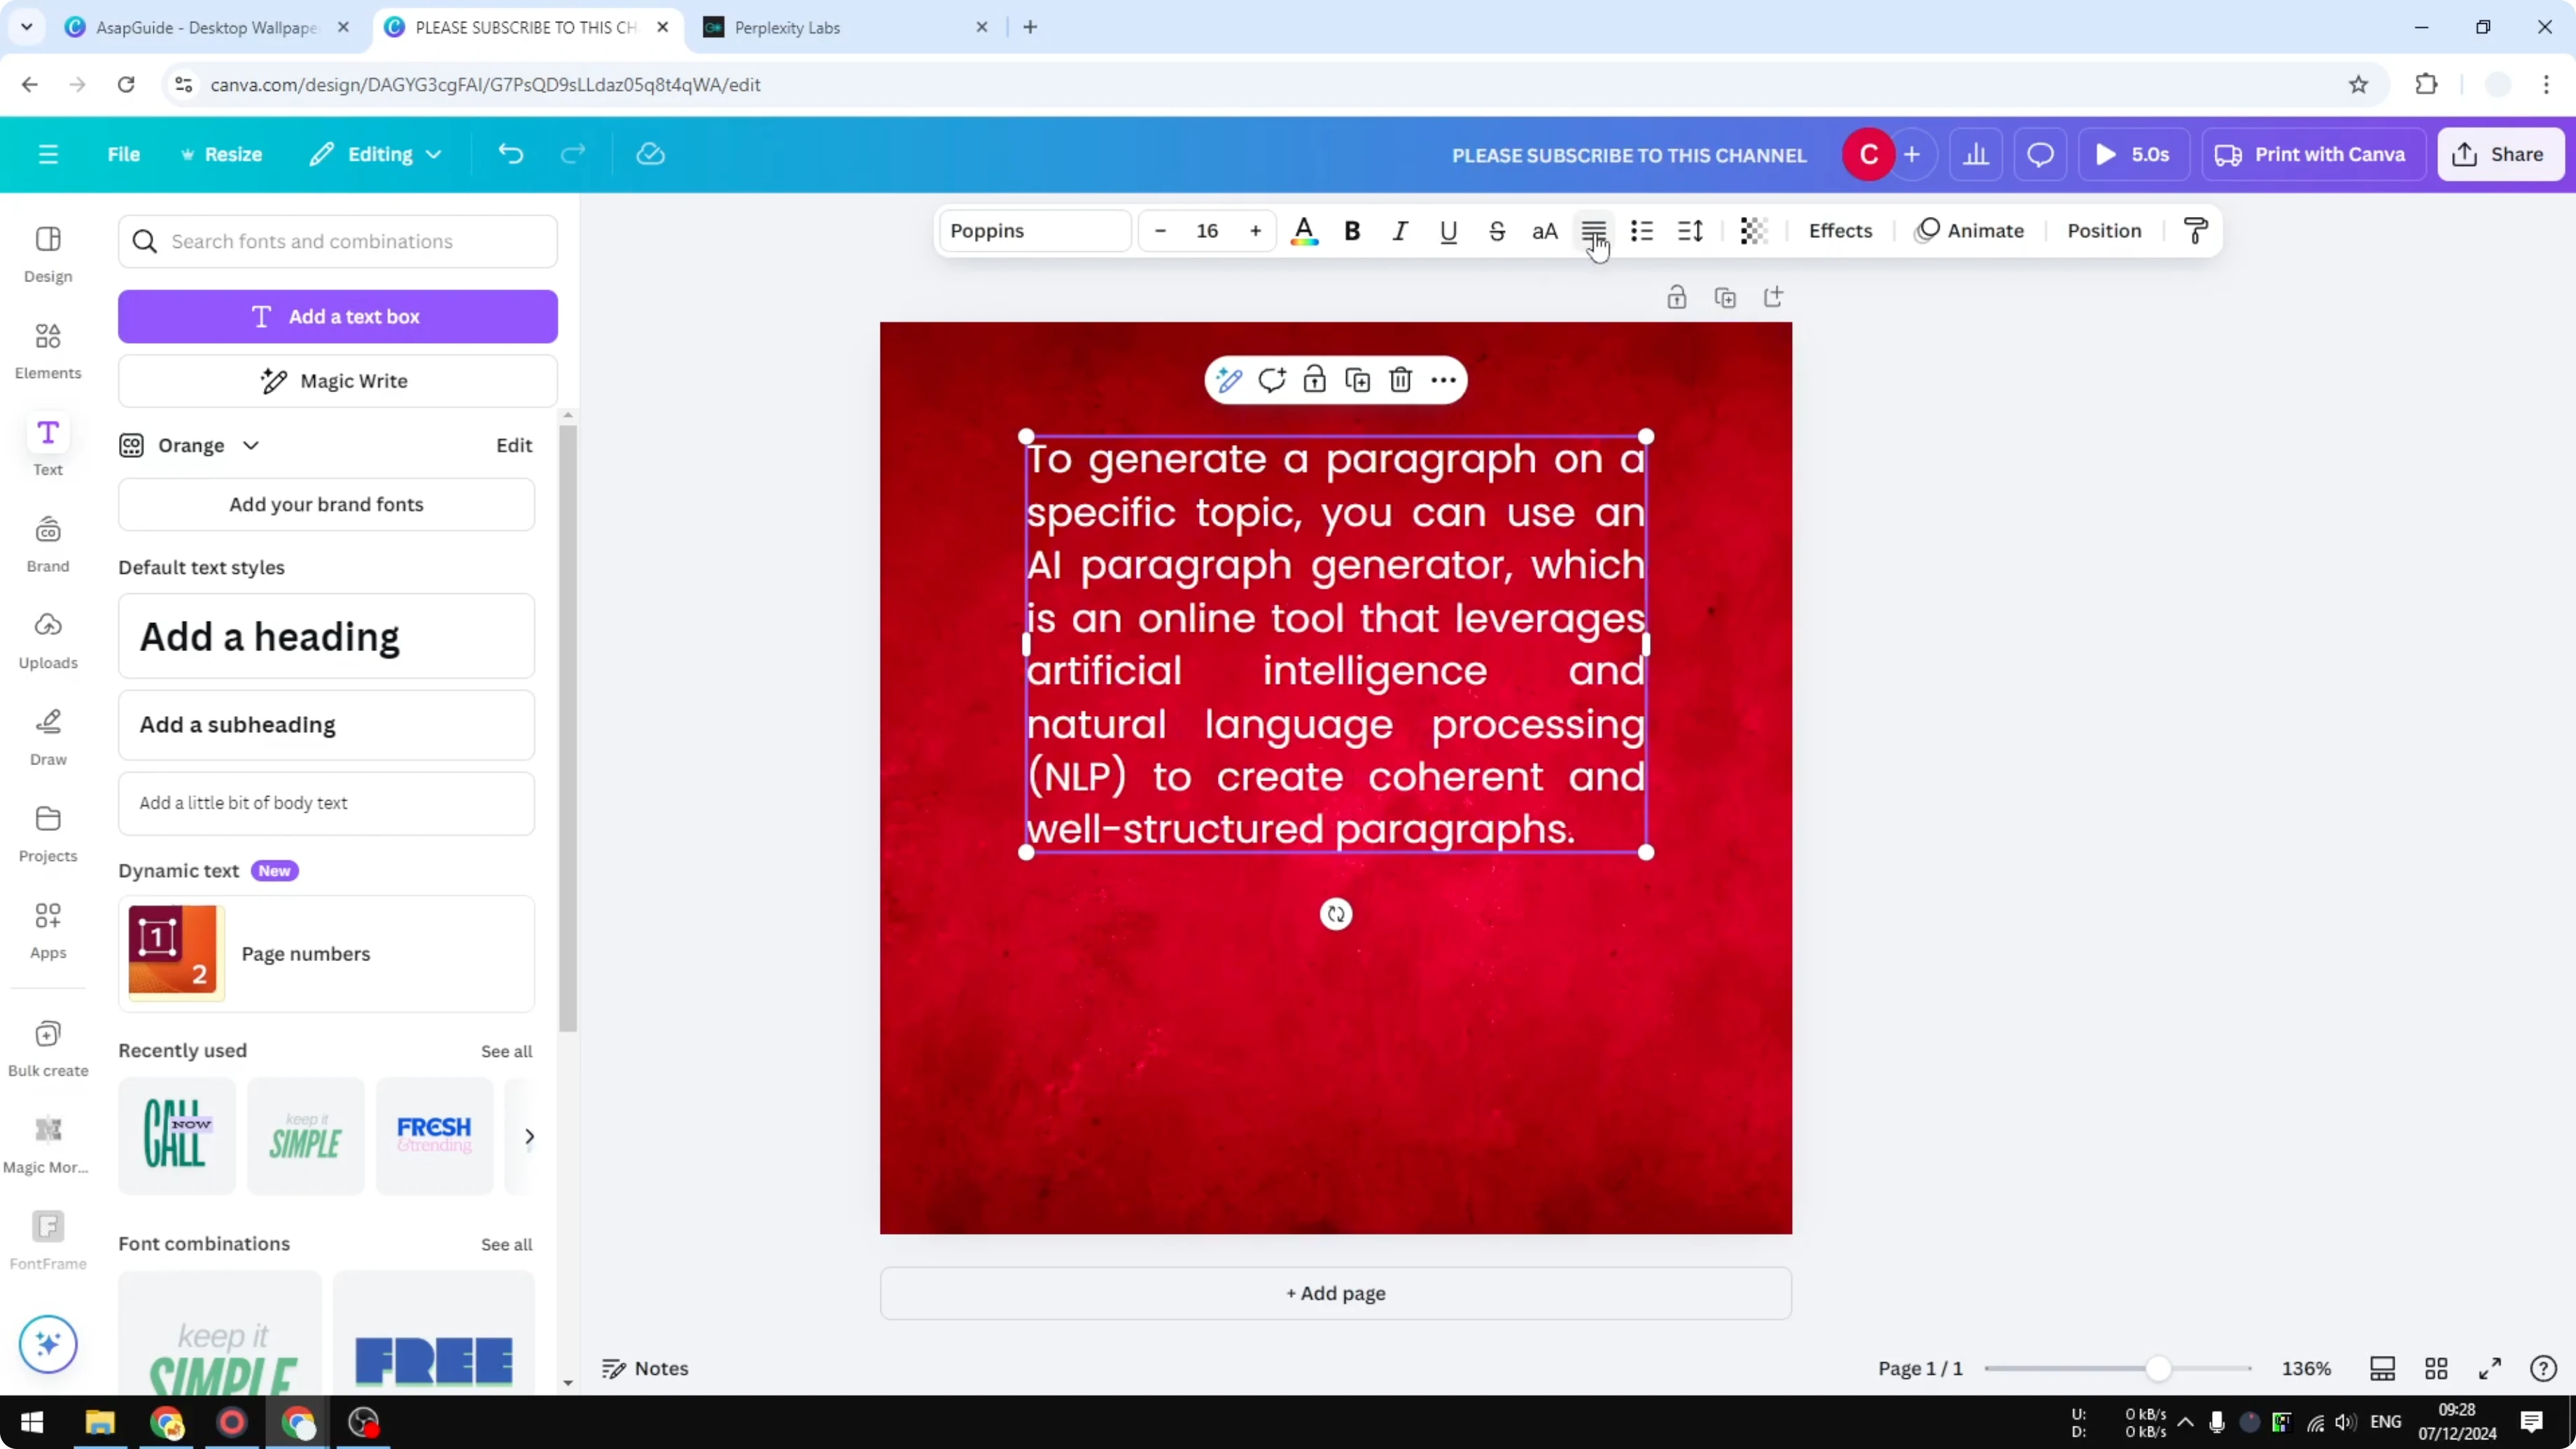
Each line of the paragraph will occupy the same horizontal space. This differs from left, right, or center alignment, where shorter lines leave uneven edges. For more layout ideas that change how your type reads on the page, see How To Create Vertical Text In Canva.

Per-line control
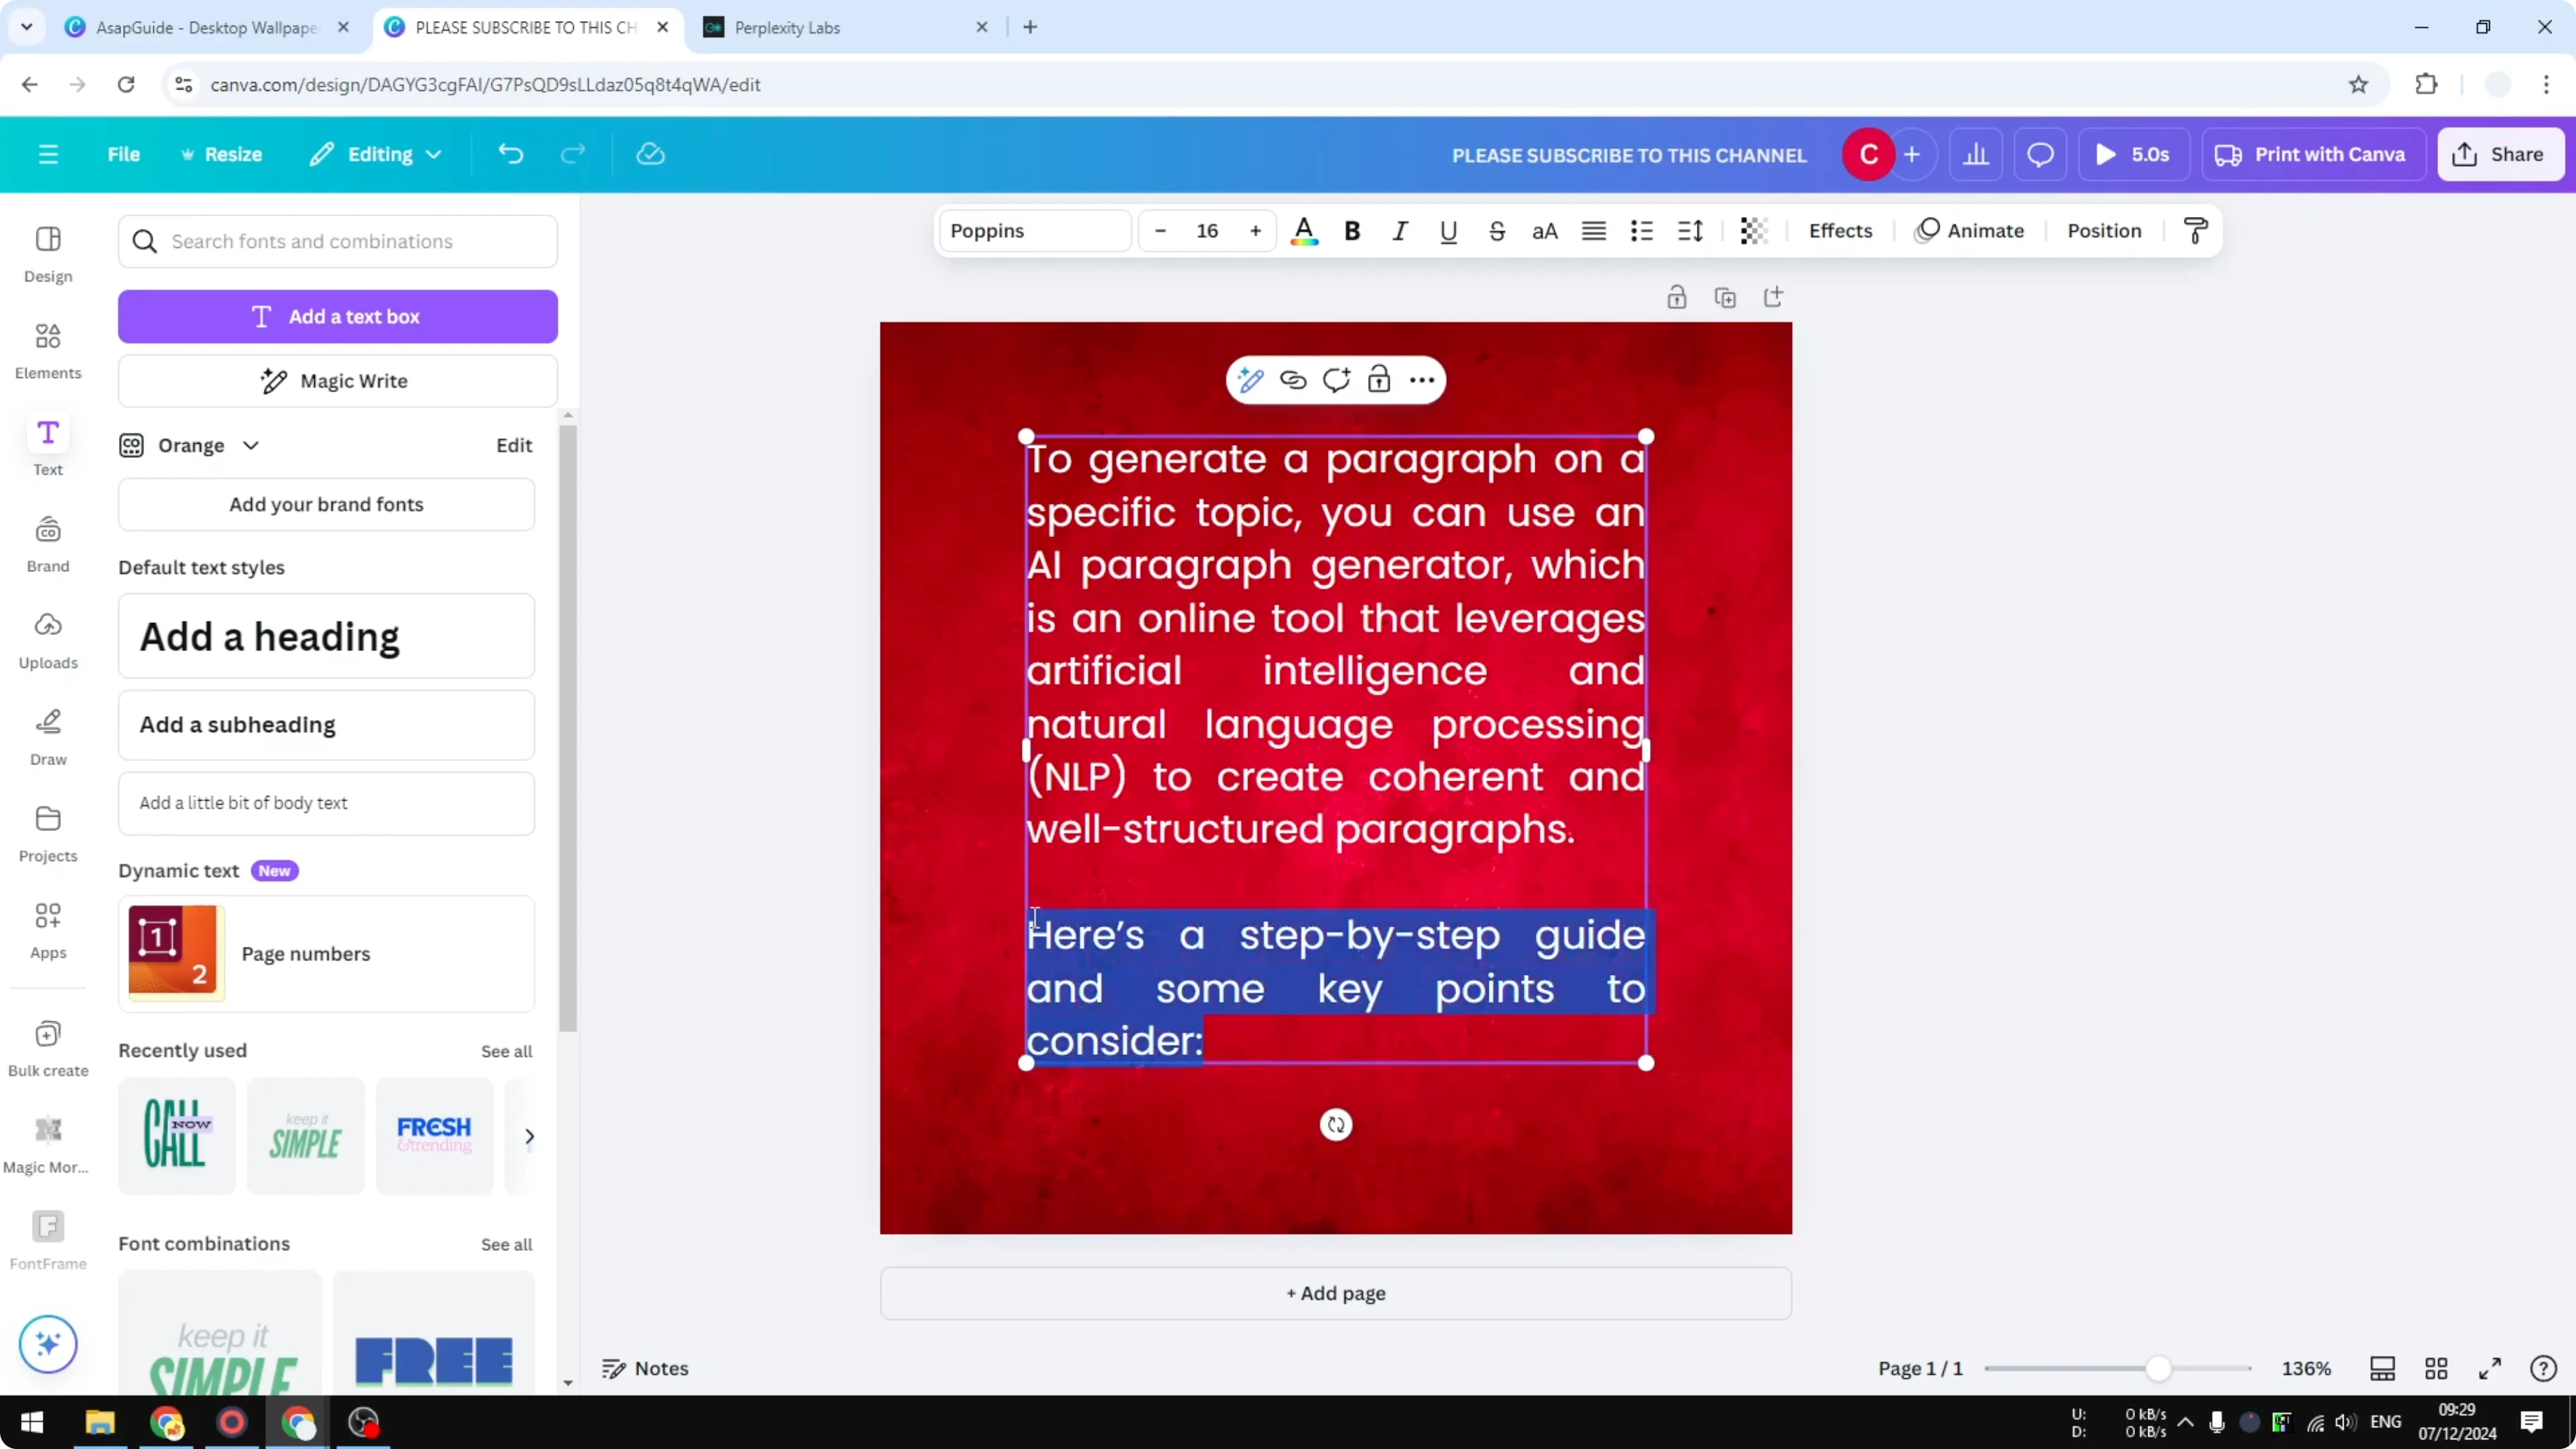
Add a new line or section inside the same text box.

Place the cursor on that specific line, then apply the justified setting to it. In one text box, you can have different alignment settings applied to different lines.
Multiple text boxes
If you add another text box with a smaller font, it may not match the width of your main paragraph. You might want everything to look as symmetrical as possible.
One option is to increase the font size of the shorter text box until it matches the width. If you want to keep the same font size, use letter spacing.
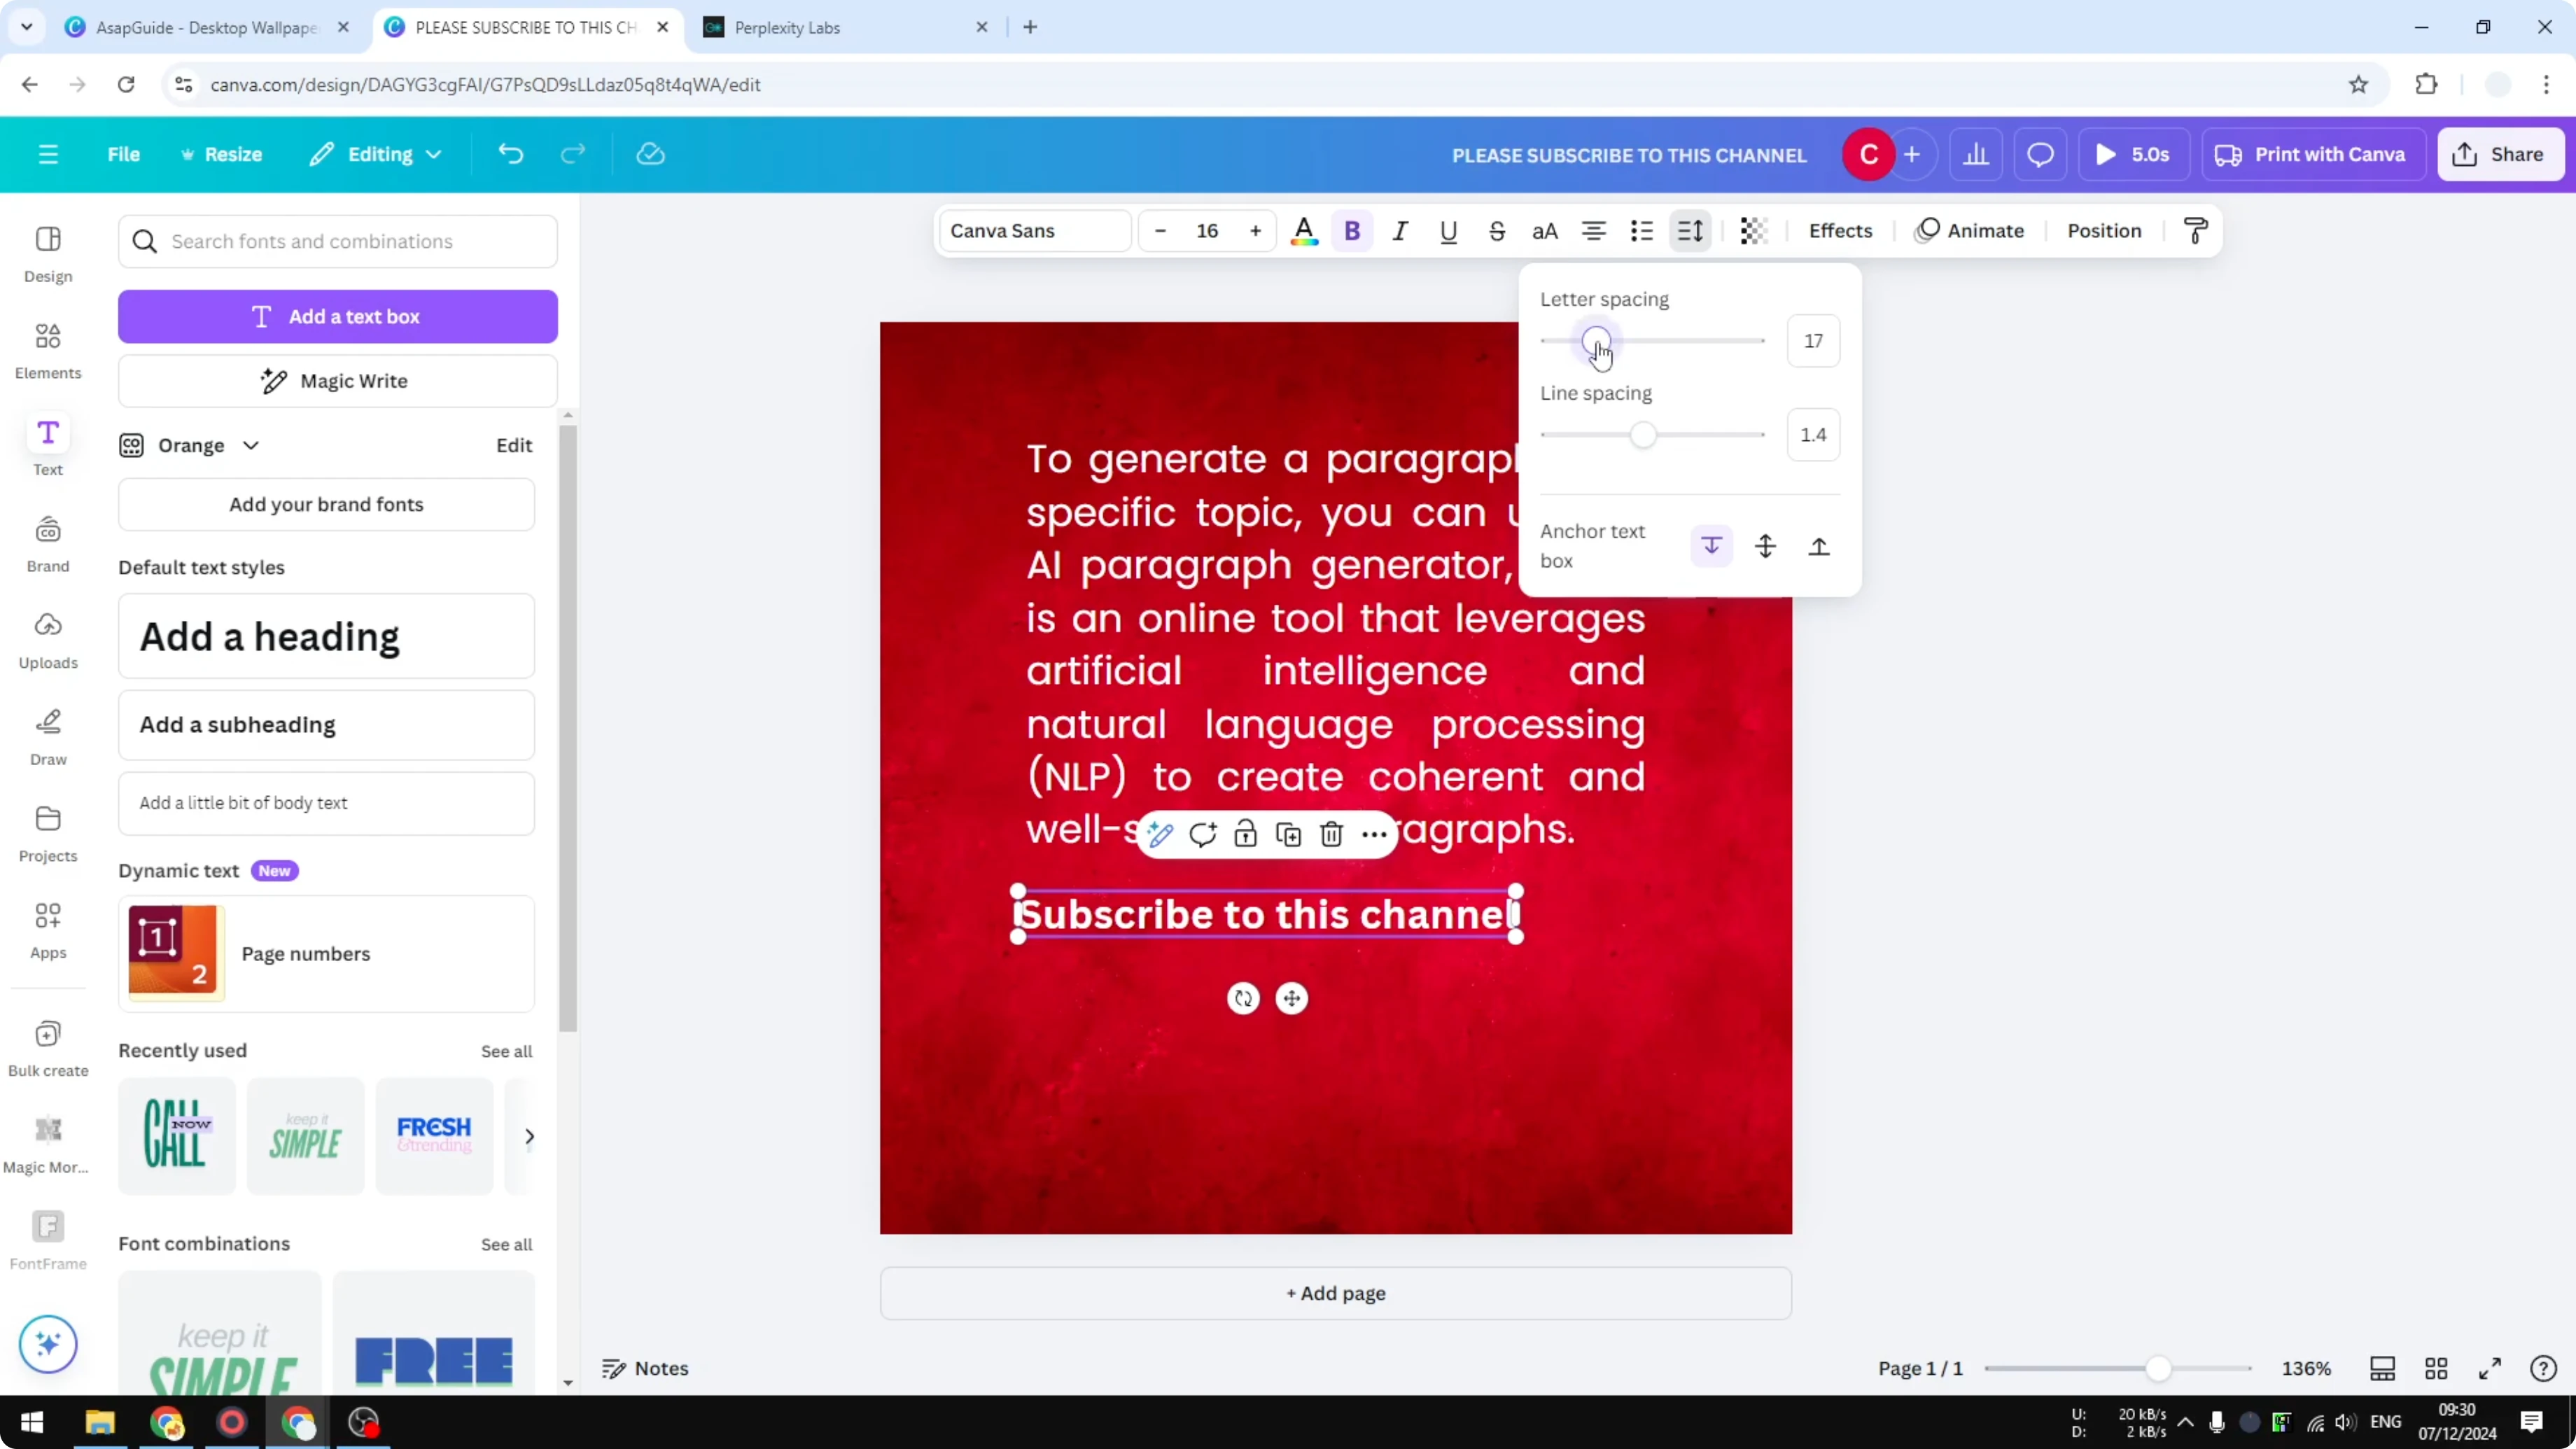
Select the shorter text box.

Open Spacing.
Increase the letter spacing until the width aligns with the main text box. Position it visually in the middle if needed. For a related styling trick that pairs well with typographic adjustments, check out How To Create Transparent Overlay Text Effect In Canva.
Final thoughts
Justification in Canva makes paragraphs look clean by giving every line the same width. You can apply it per line inside one text box and match widths across multiple text boxes with font size or letter spacing. If you want to expand into motion design after styling your text, see How To Create Stop Motion Animation Effect In Canva.
Recent Posts
How to Visualize Yourself as a Pixelized Character with AI?
How to Visualize Yourself as a Pixelized Character with AI?

How to Revive Faded Memories and Enhance Image Clarity with AI?
How to Revive Faded Memories and Enhance Image Clarity with AI?

How to Visualize Yourself as an Animal Crossing Character with AI?
How to Visualize Yourself as an Animal Crossing Character with AI?