How to Create Vertical Text in Canva
Here are several ways I create vertical text in Canva. Start with a simple text box, and use one of the methods below based on how precise you want the result to be and how much time you want to spend.
Create Vertical Text in Canva by Making the Text Box Thinner
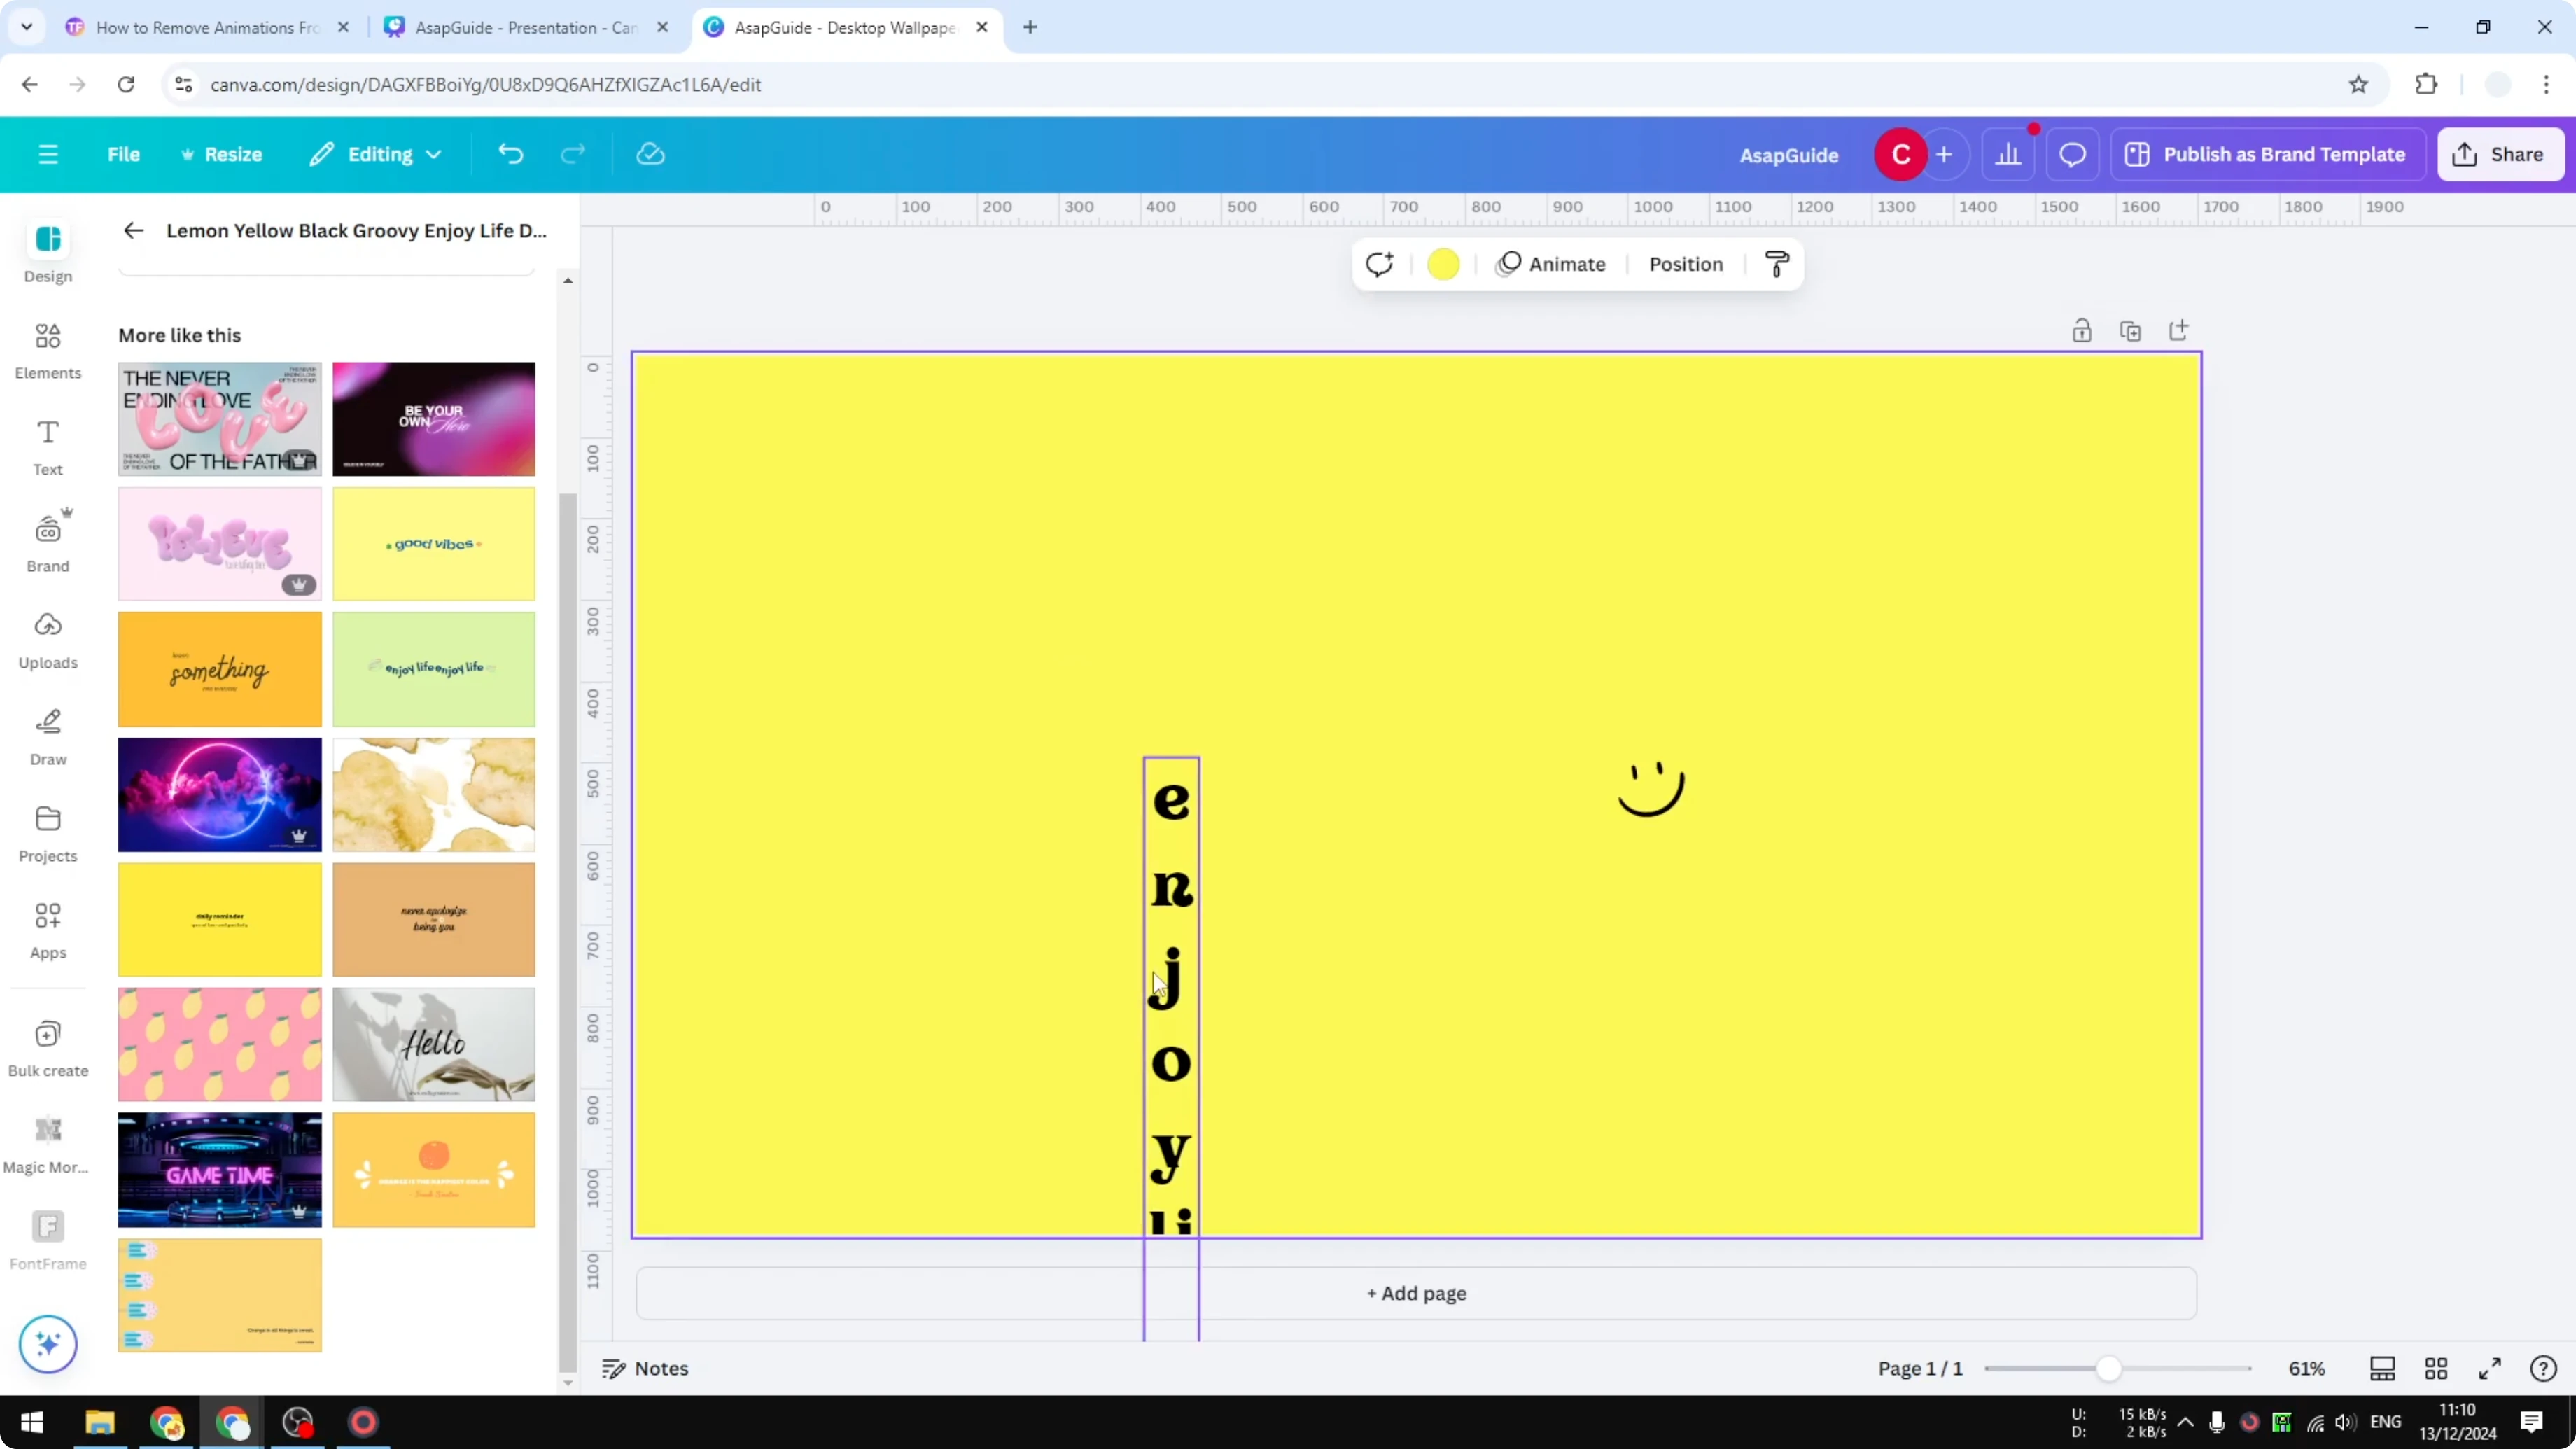
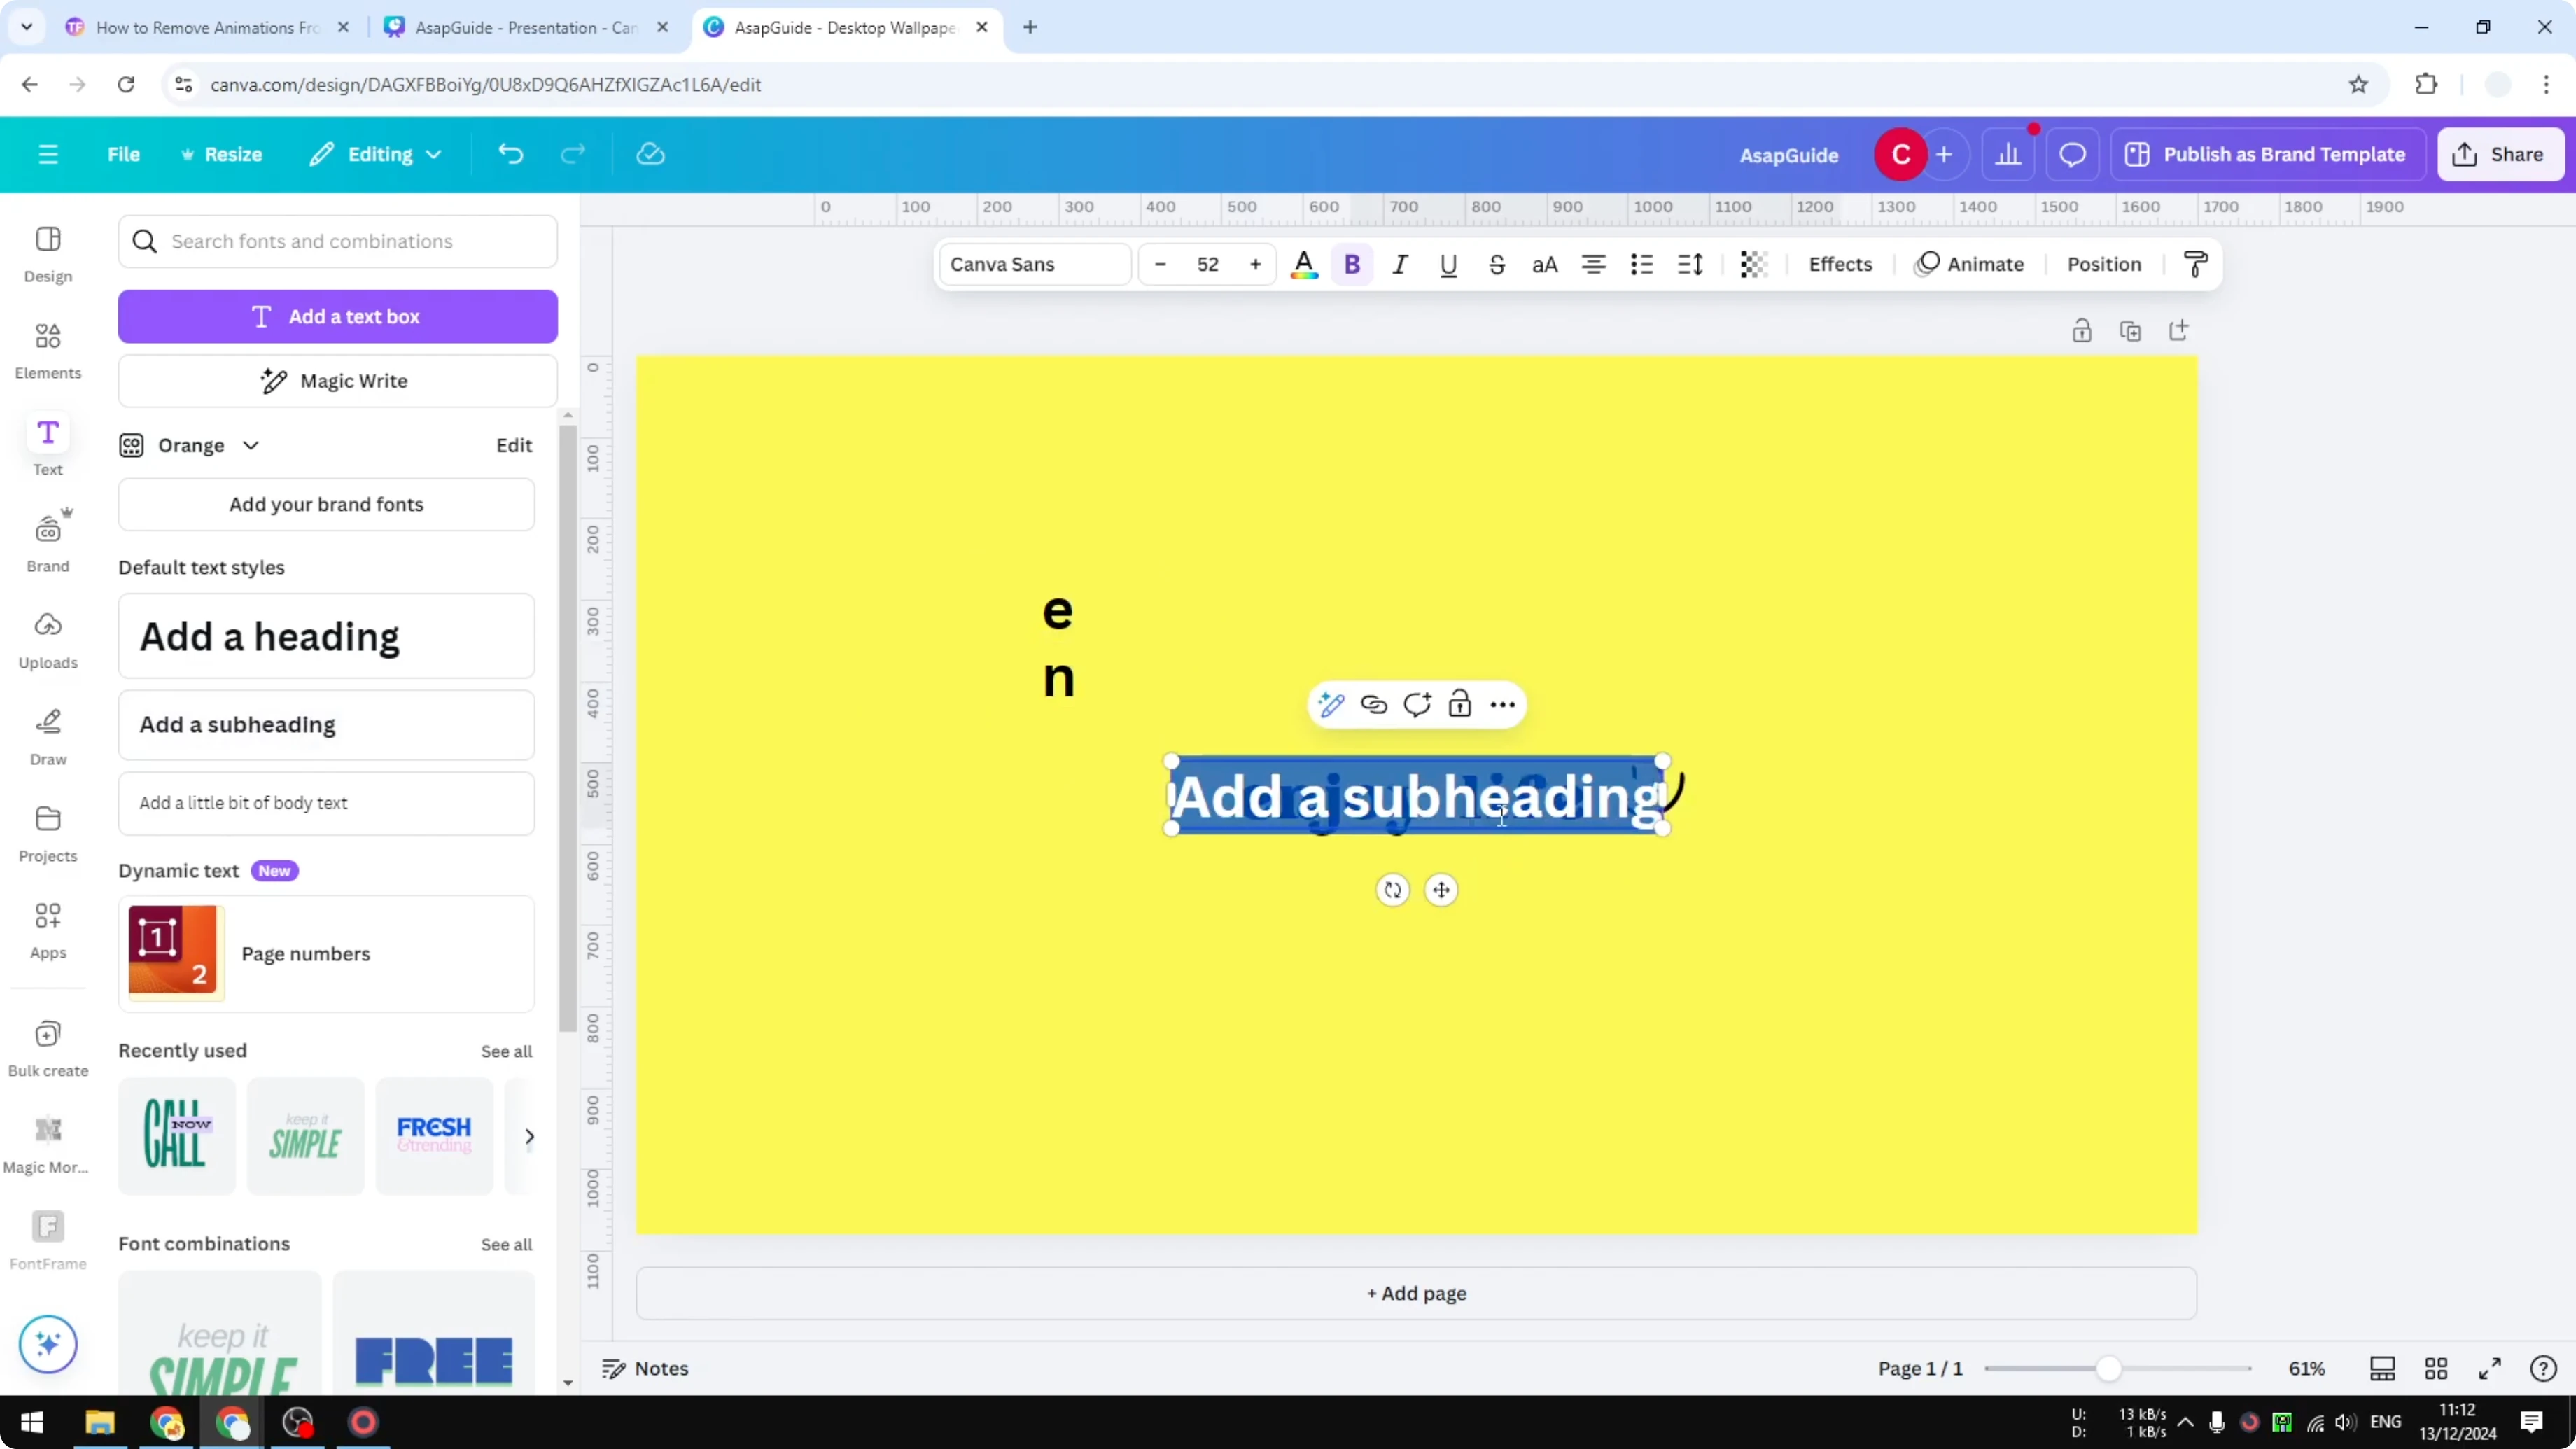
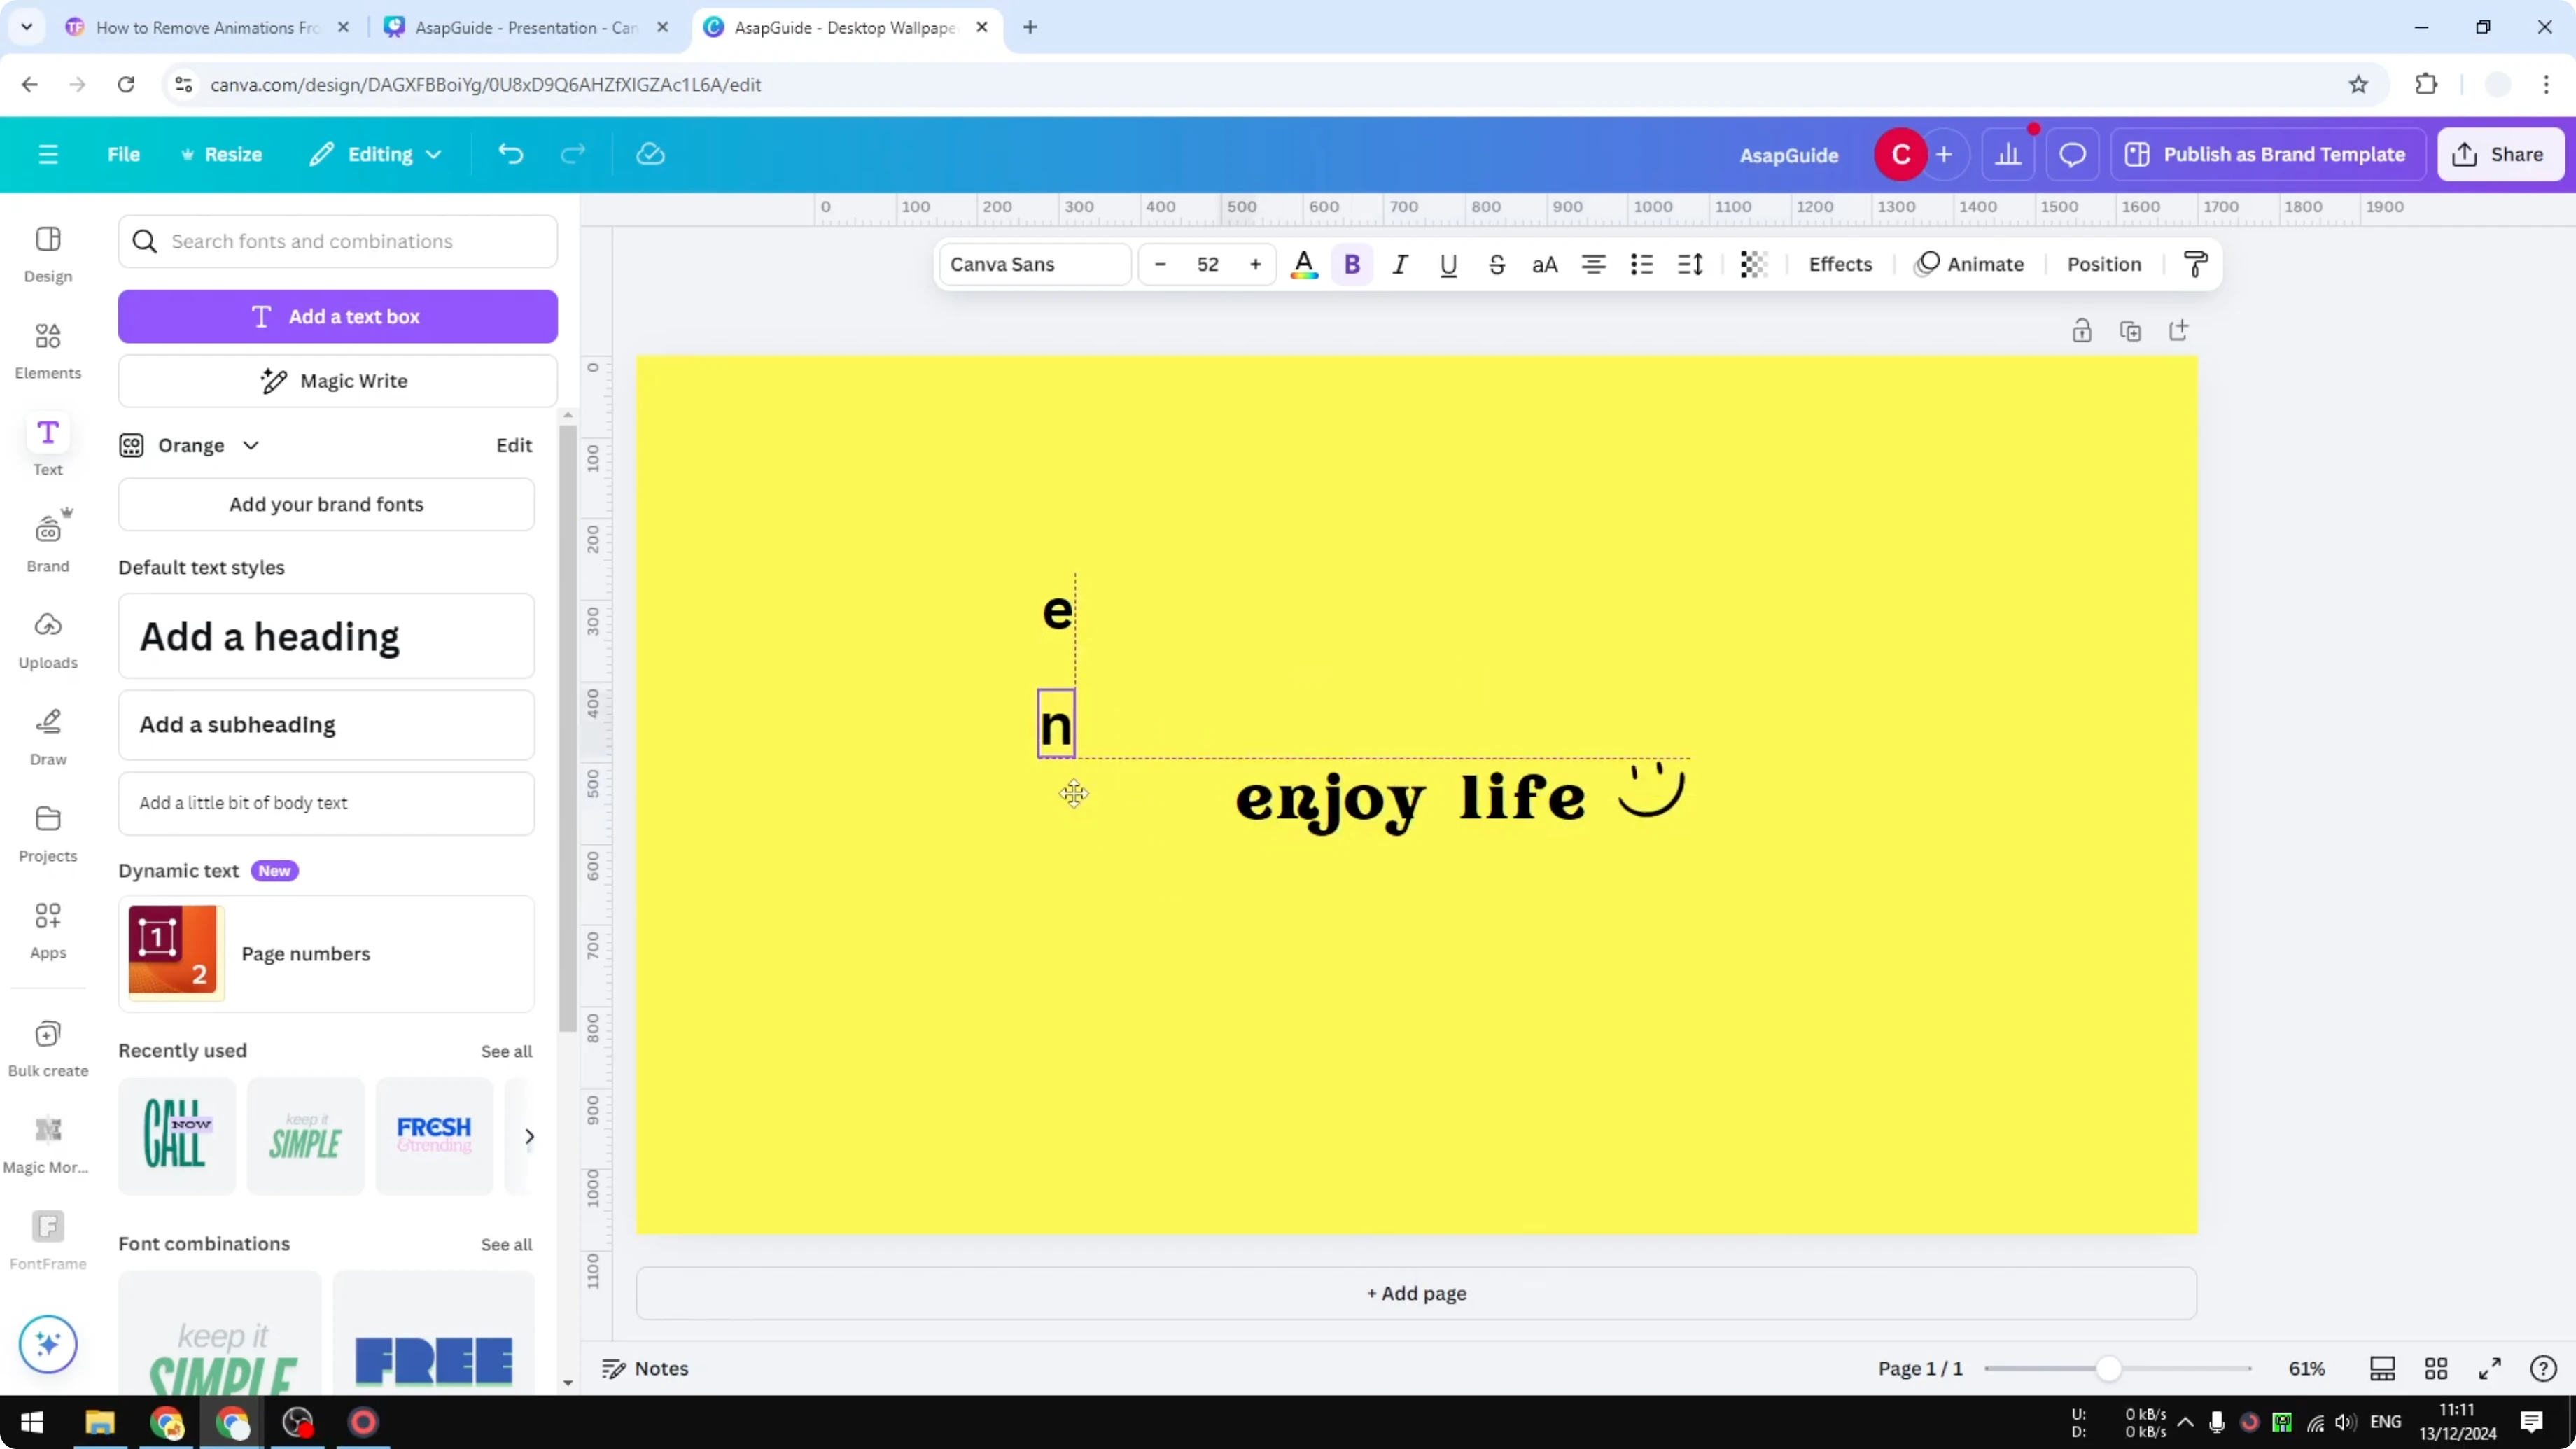
The easiest way to make a text box vertical is to make the whole text box a lot thinner. Canva will automatically notice that the text box is thinner and adjust the position of each letter.

Step-by-step:
- Add a simple text box.
- Click and drag a side handle to make the text box thinner. You can drag either side.
- Keep narrowing the box until each letter occupies a single line.
- If some letters still share a line, adjust the width again until everything lines up vertically.


Create Vertical Text in Canva with Manual Line Breaks
This method takes more time, but it can be useful in some cases. The idea is the same: let one letter occupy a single line.

Step-by-step:
- Click inside your text box.
- Place the cursor after the first letter.
- Press and hold Shift, then press Enter.
- Repeat for each letter until everything occupies one single line.
Create Vertical Text in Canva with One Letter Per Text Box
This is not my favorite, but it is something you can do. It is quite cumbersome, but may be useful in cases where you want to modify an individual letter.
Step-by-step:
- Add a new text box for the first letter.
- Add another text box for the next letter, and continue one letter at a time.
- Arrange the text boxes vertically until the word is formed.
Final Thoughts
To create vertical text in Canva, you can narrow the text box and let Canva adjust the letters automatically, add manual line breaks so each letter sits on its own line, or build the word with one letter per text box for more control. Choose the method that fits your project and the level of per-letter editing you need.

Recent Posts
How to Visualize Yourself as a Pixelized Character with AI?
How to Visualize Yourself as a Pixelized Character with AI?

How to Revive Faded Memories and Enhance Image Clarity with AI?
How to Revive Faded Memories and Enhance Image Clarity with AI?

How to Visualize Yourself as an Animal Crossing Character with AI?
How to Visualize Yourself as an Animal Crossing Character with AI?