How to Create Stop Motion Animation Effect in Canva
I’m going to show you how to create a stop motion animation in Canva. Stop motion is basically almost like a normal video except it has a very low frame rate. A stop motion video usually has less than 10 frames per second, which makes the movement a bit jaggy, and that is the style of the animation. You’ve probably seen that a lot in animation on television.
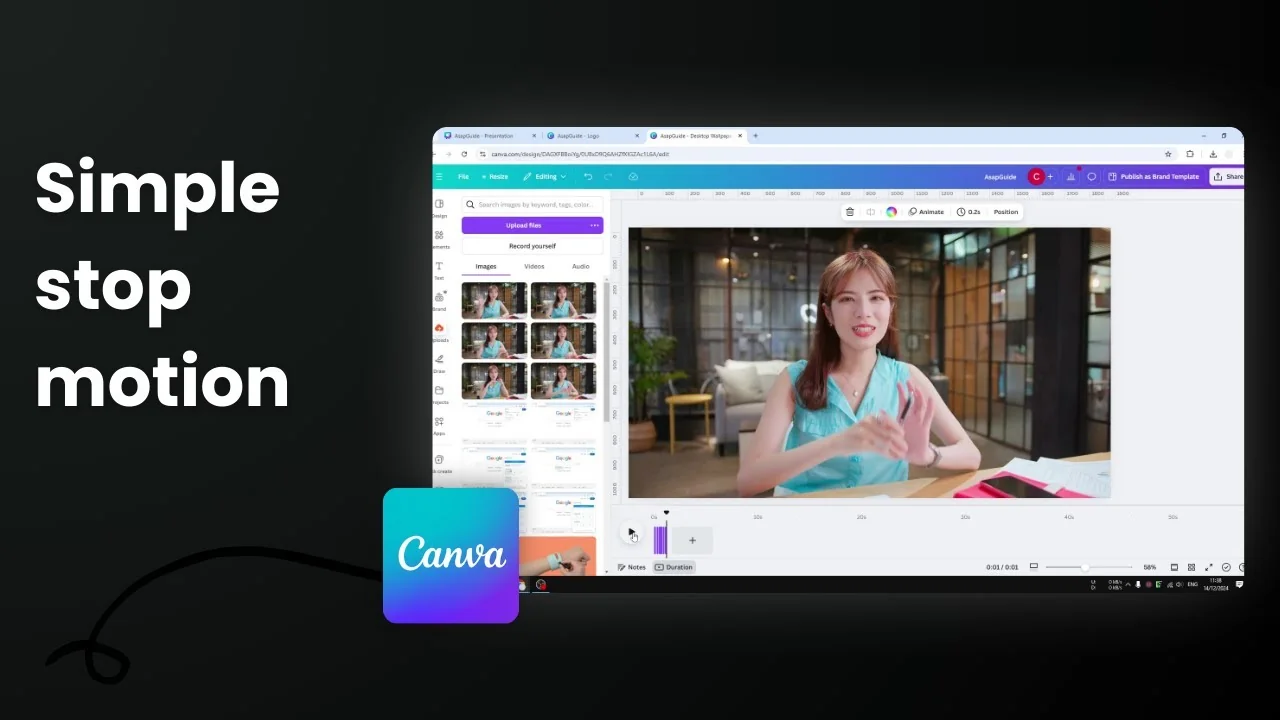
Here’s how I put one together in Canva.
Create Stop Motion Animation Effect in Canva
Prepare your frames
I started with a video I downloaded. I extracted a few photos or snapshots from the video to my computer. In my example I prepared six frames.
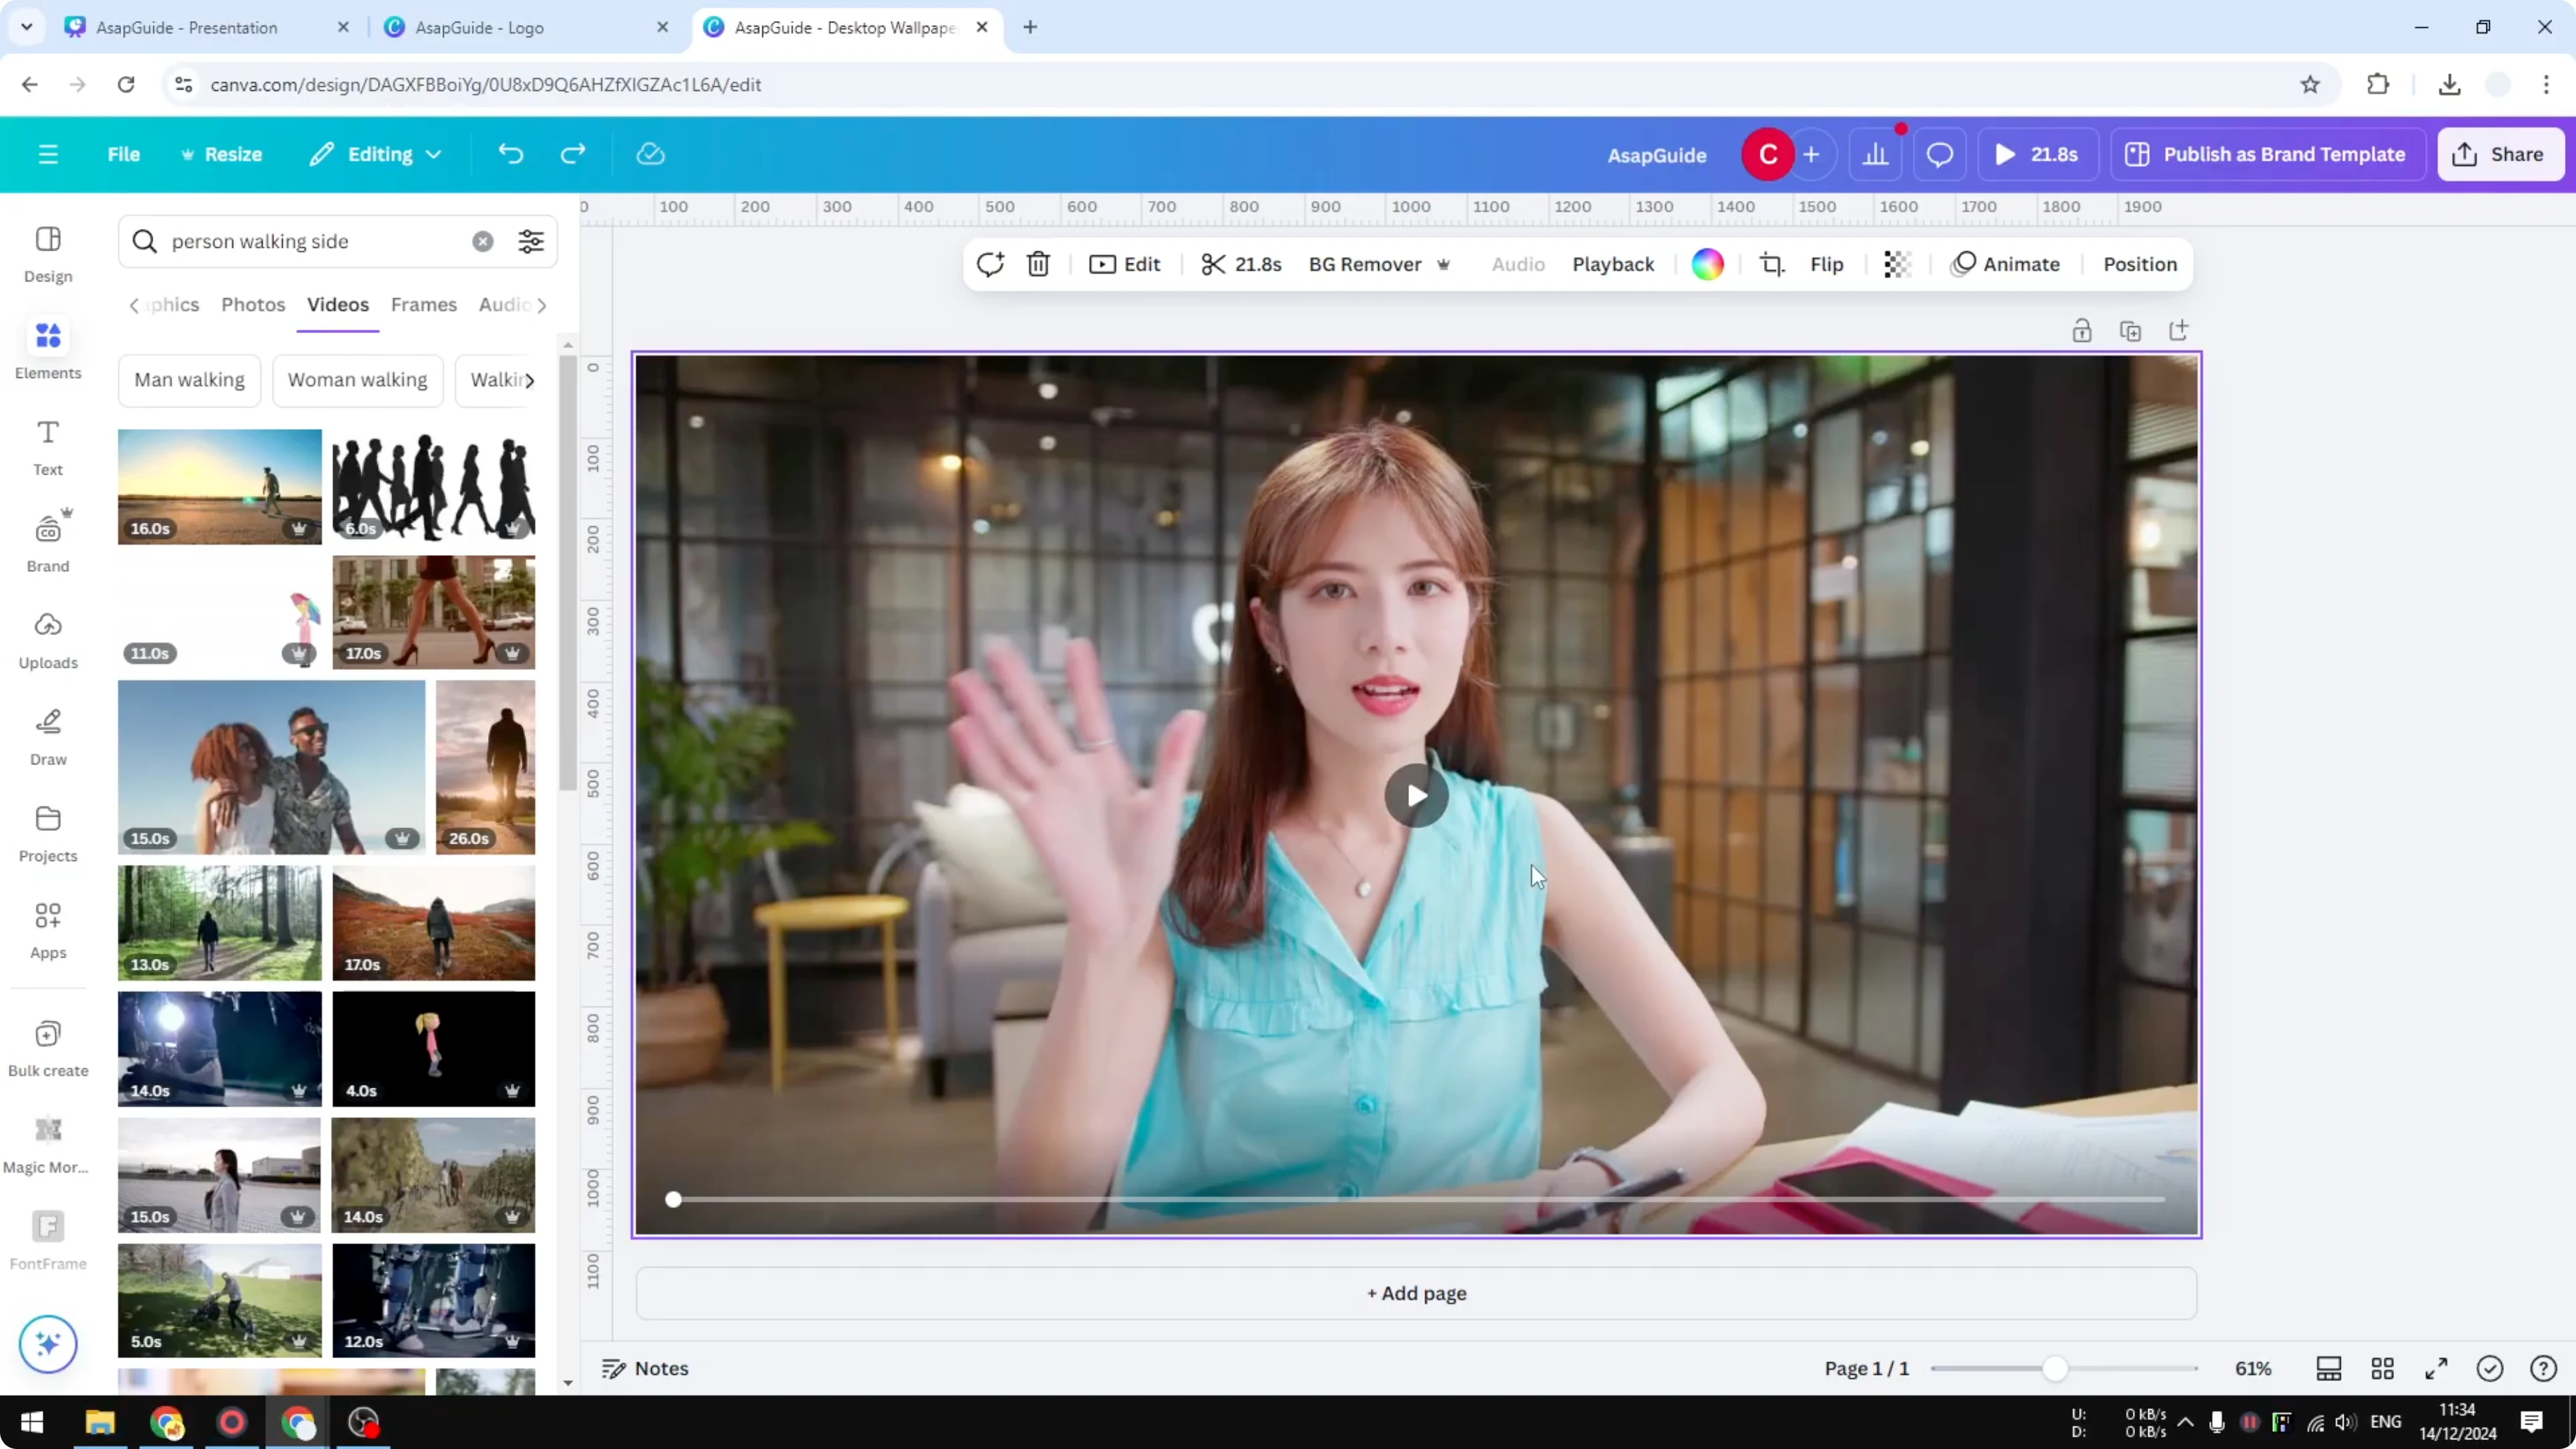
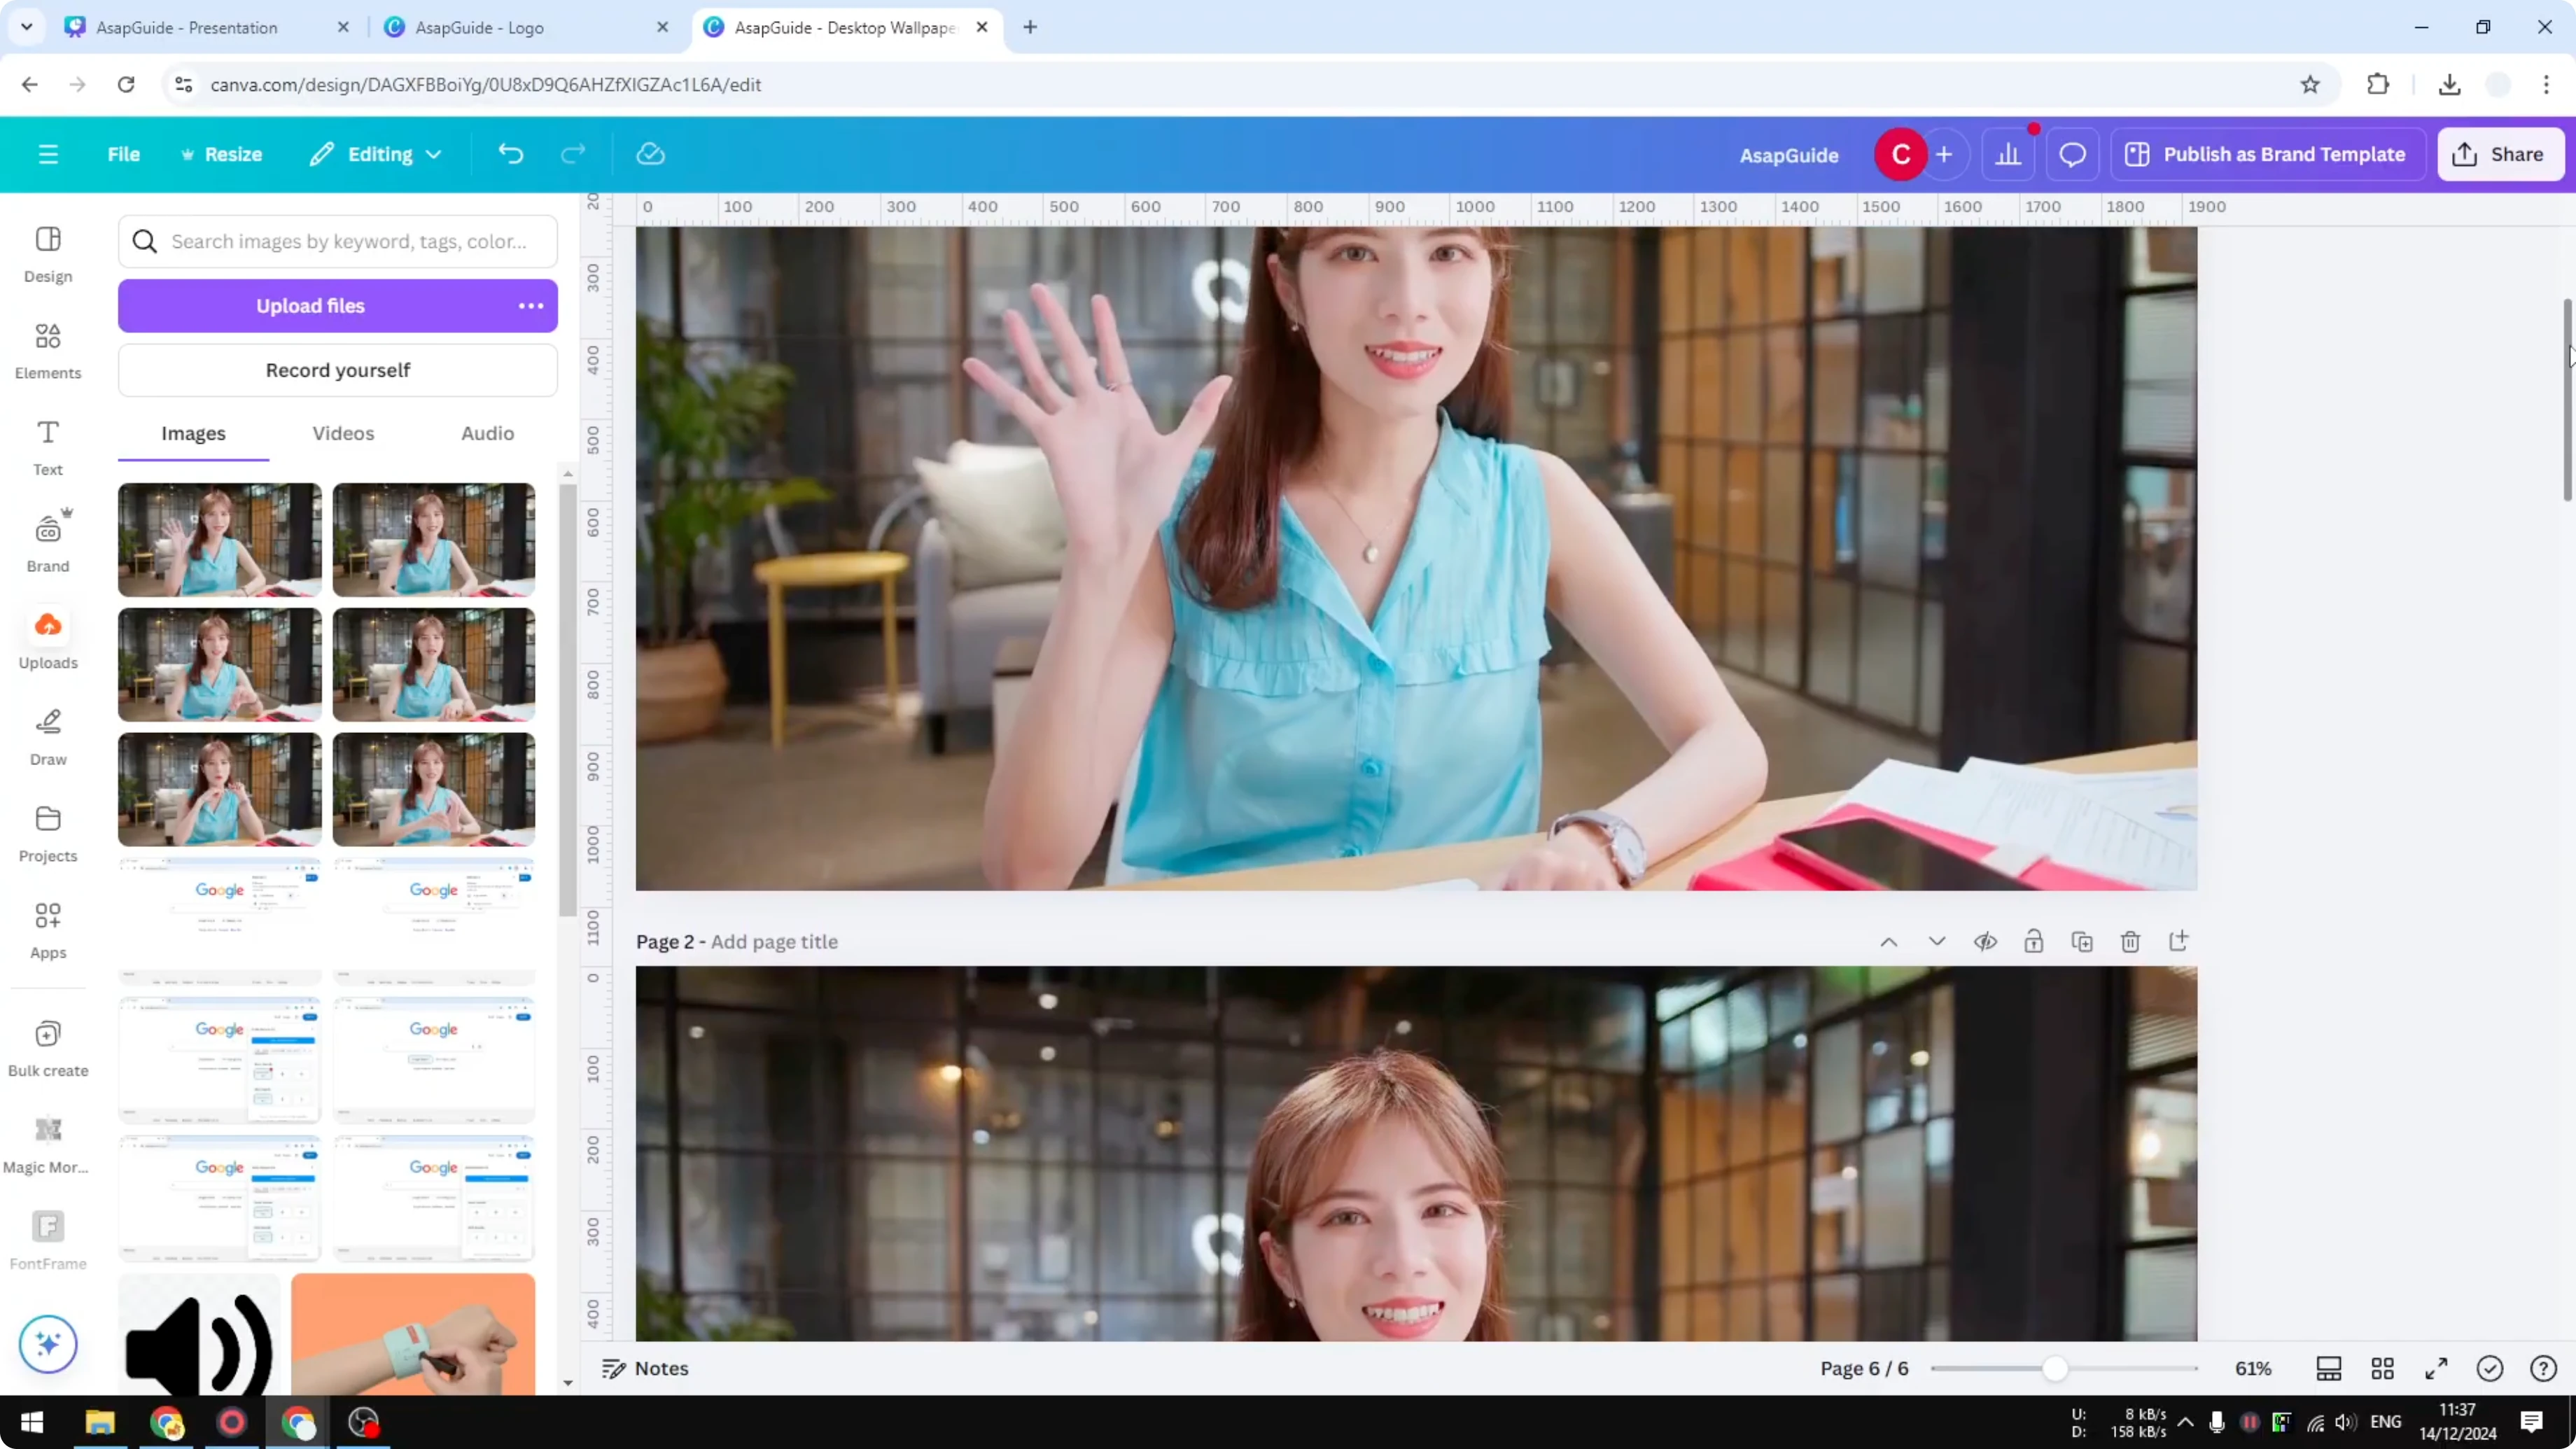
Upload the images to your project
Upload those photos to your Canva project and wait until all of them finish uploading.

Arrange each frame on separate pages
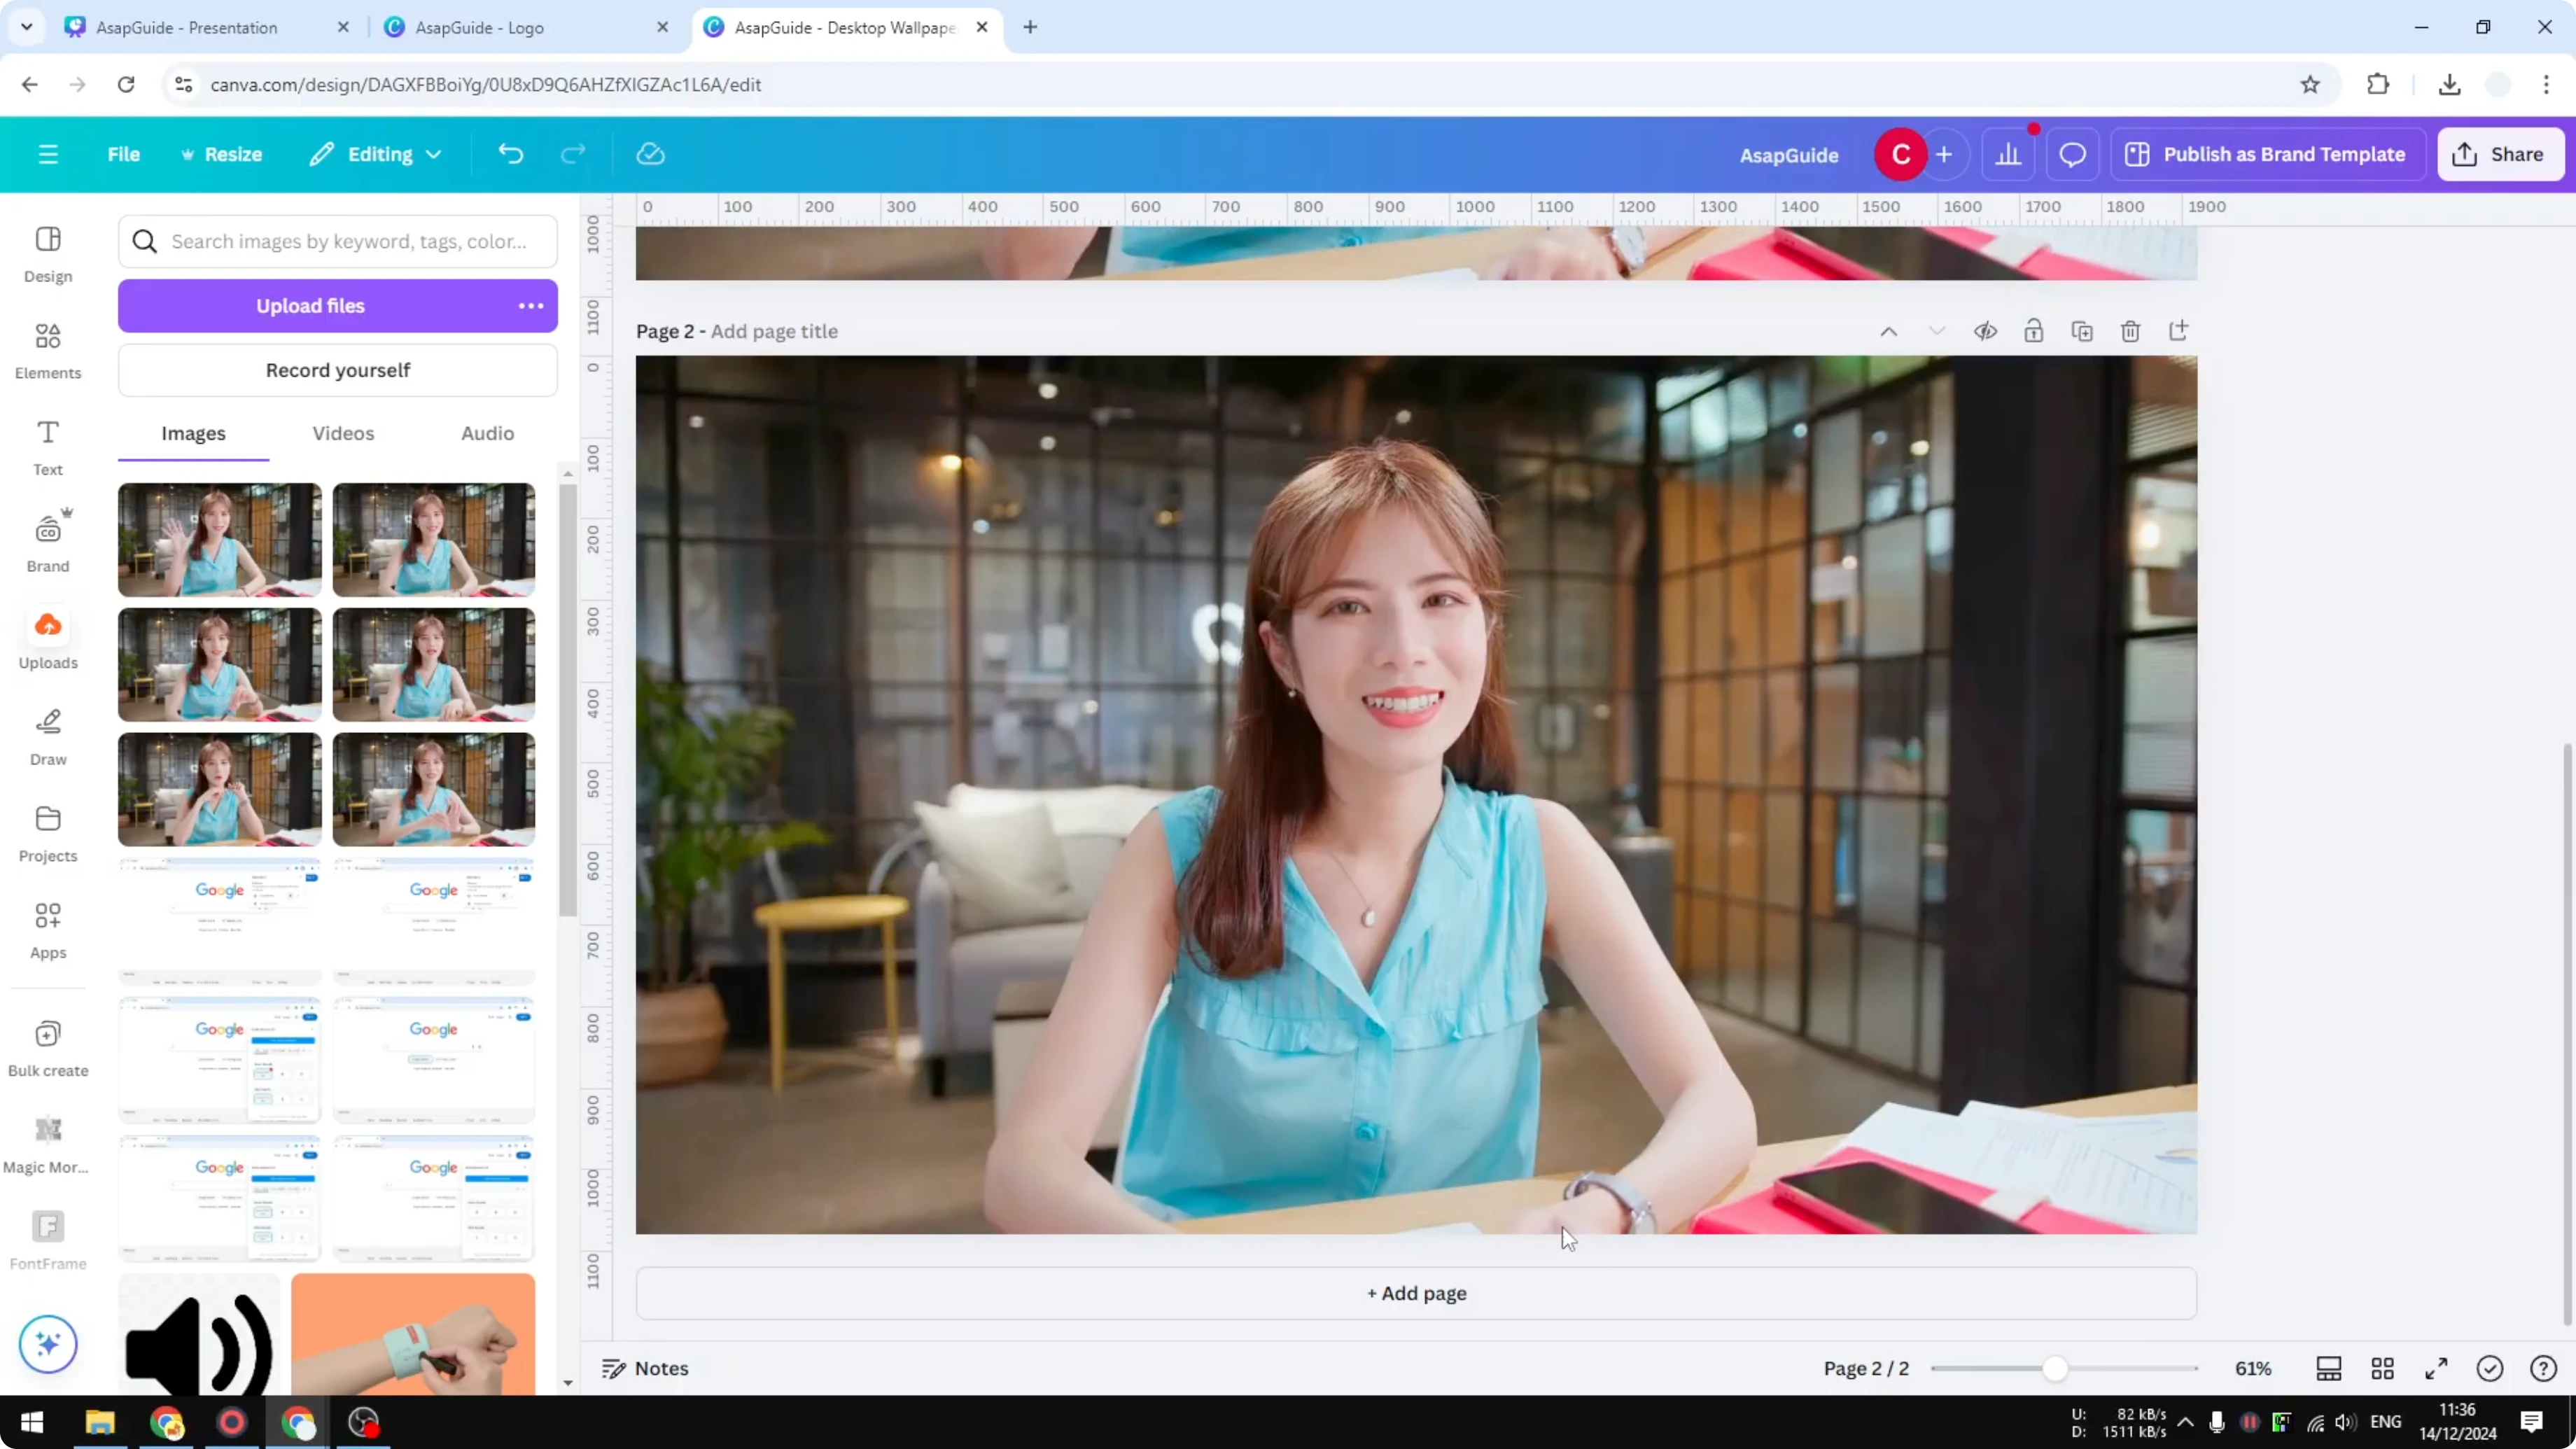
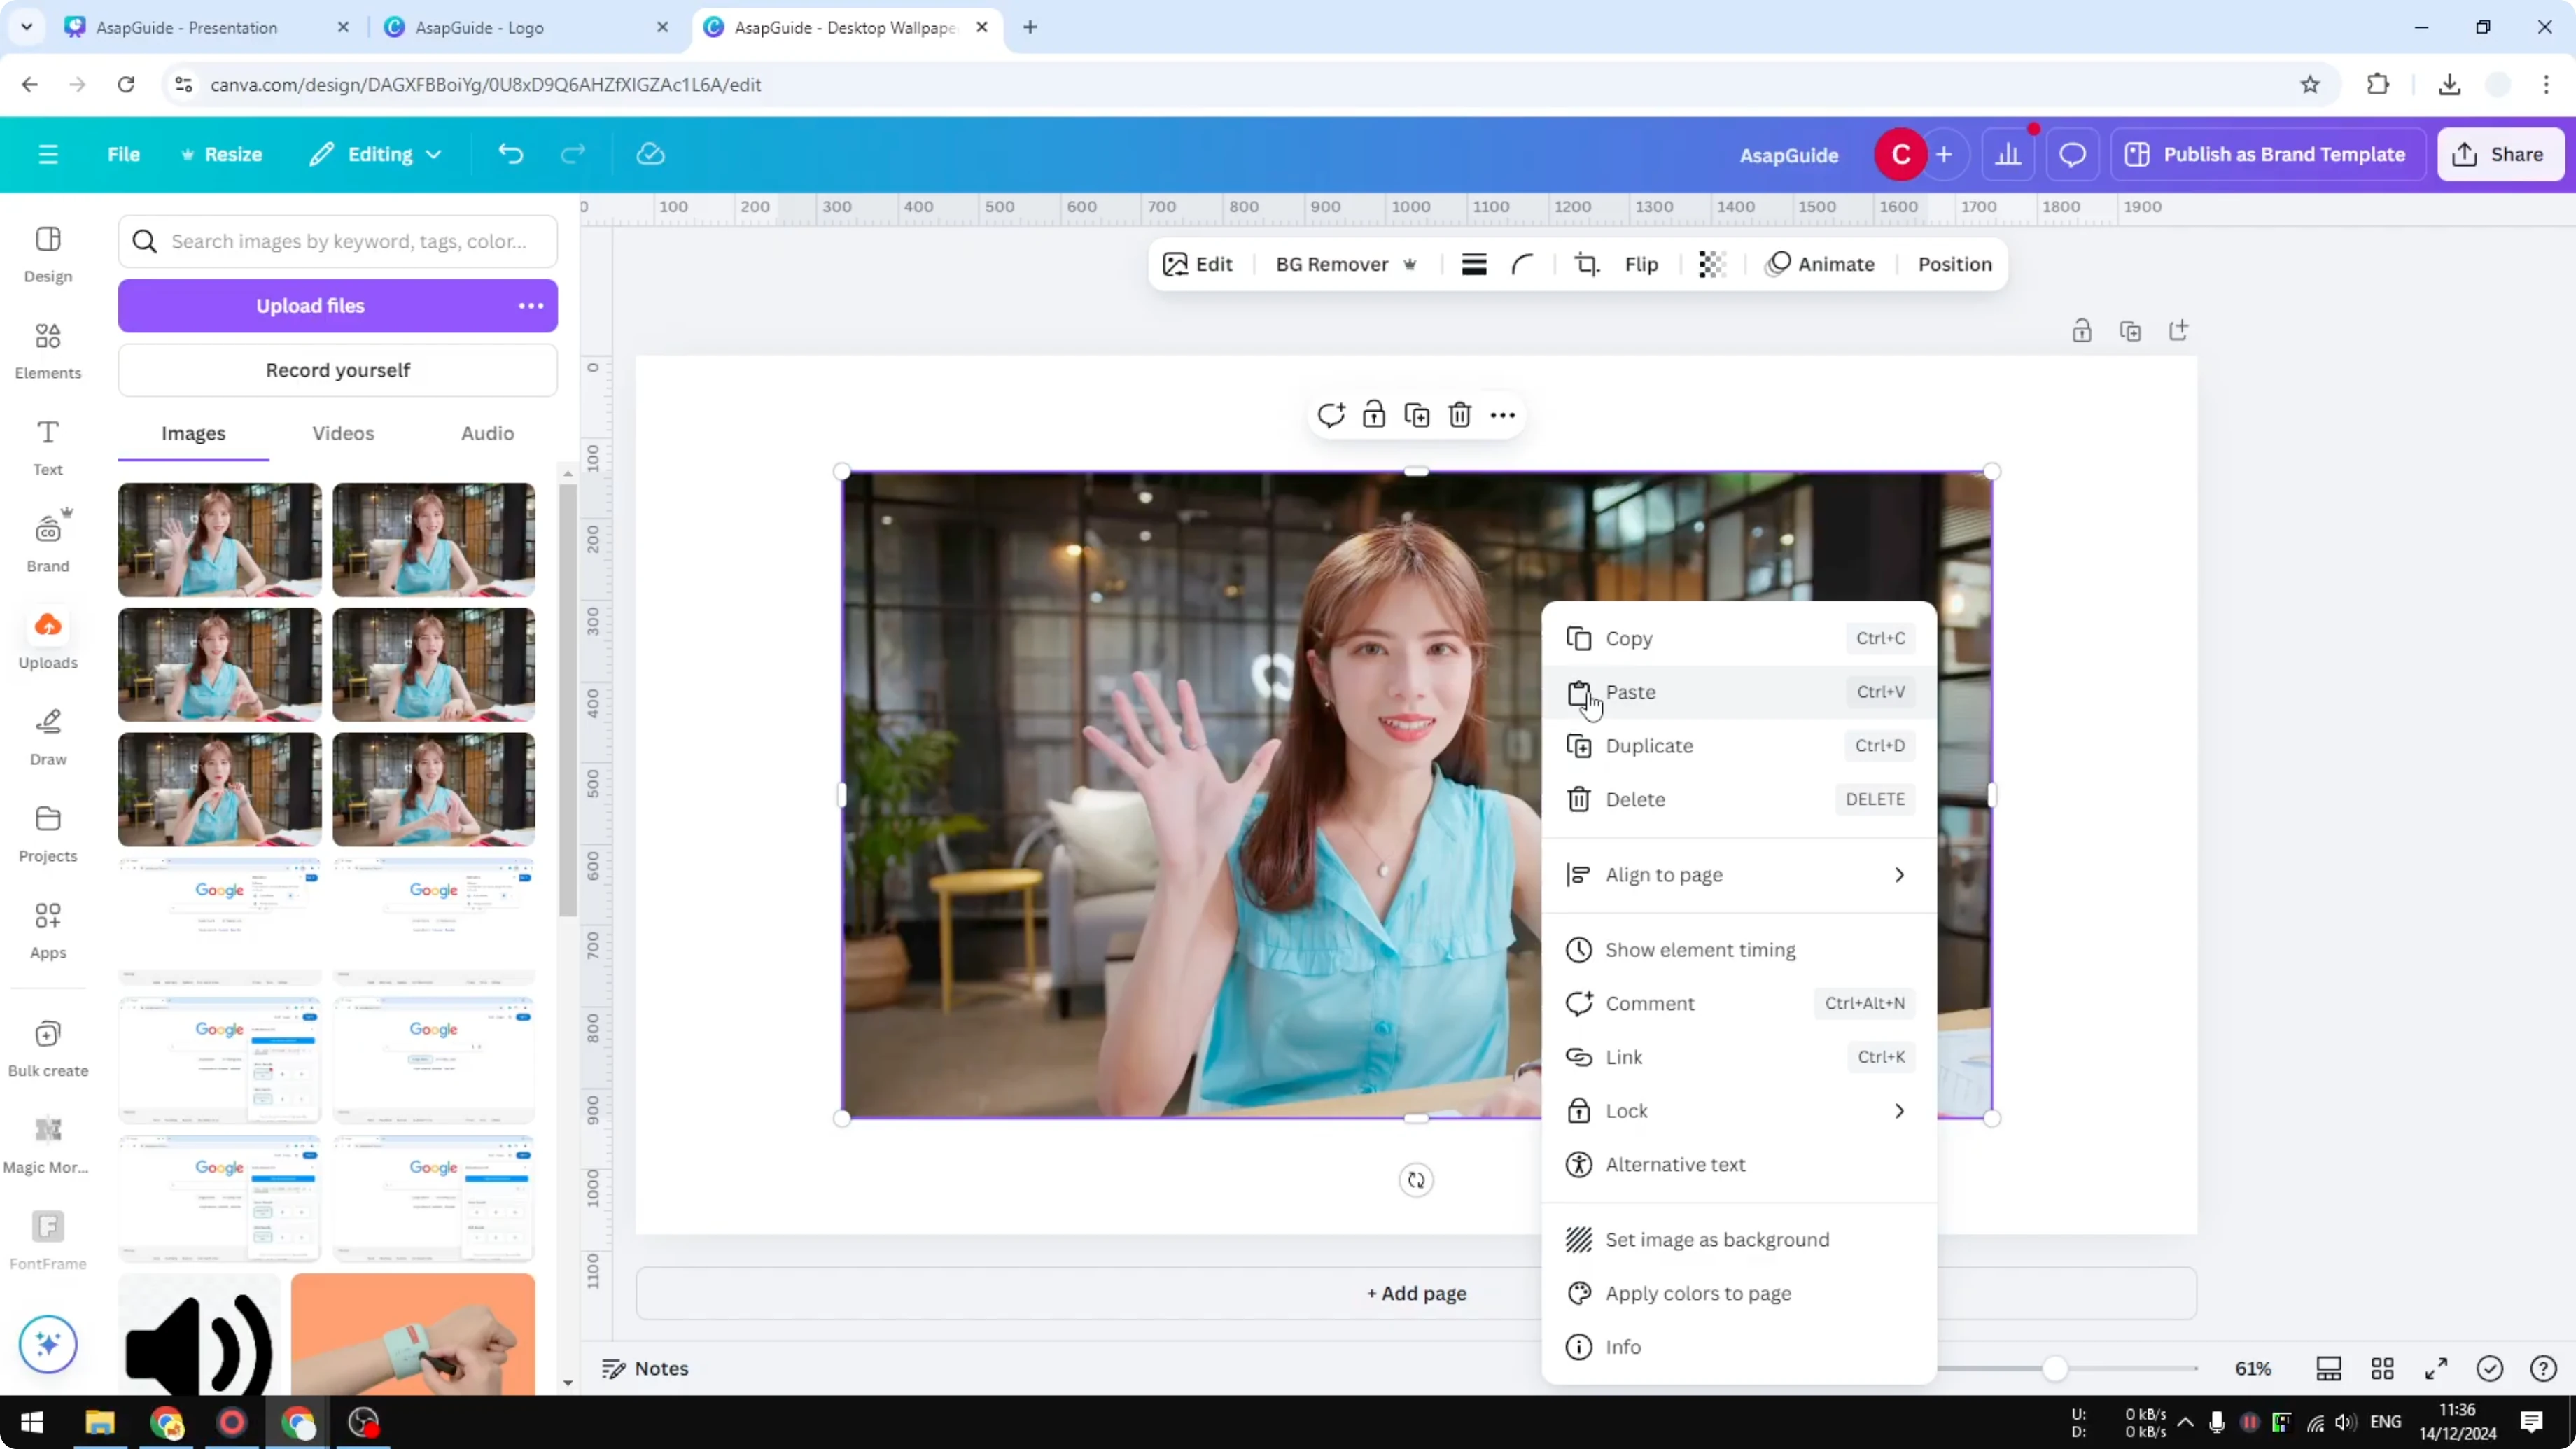
- Insert the first picture into the canvas and set it as the background so it fills the page.
- Add a new page and insert the second image. Set it as the background.
- Repeat this process until all frames are included in the project.
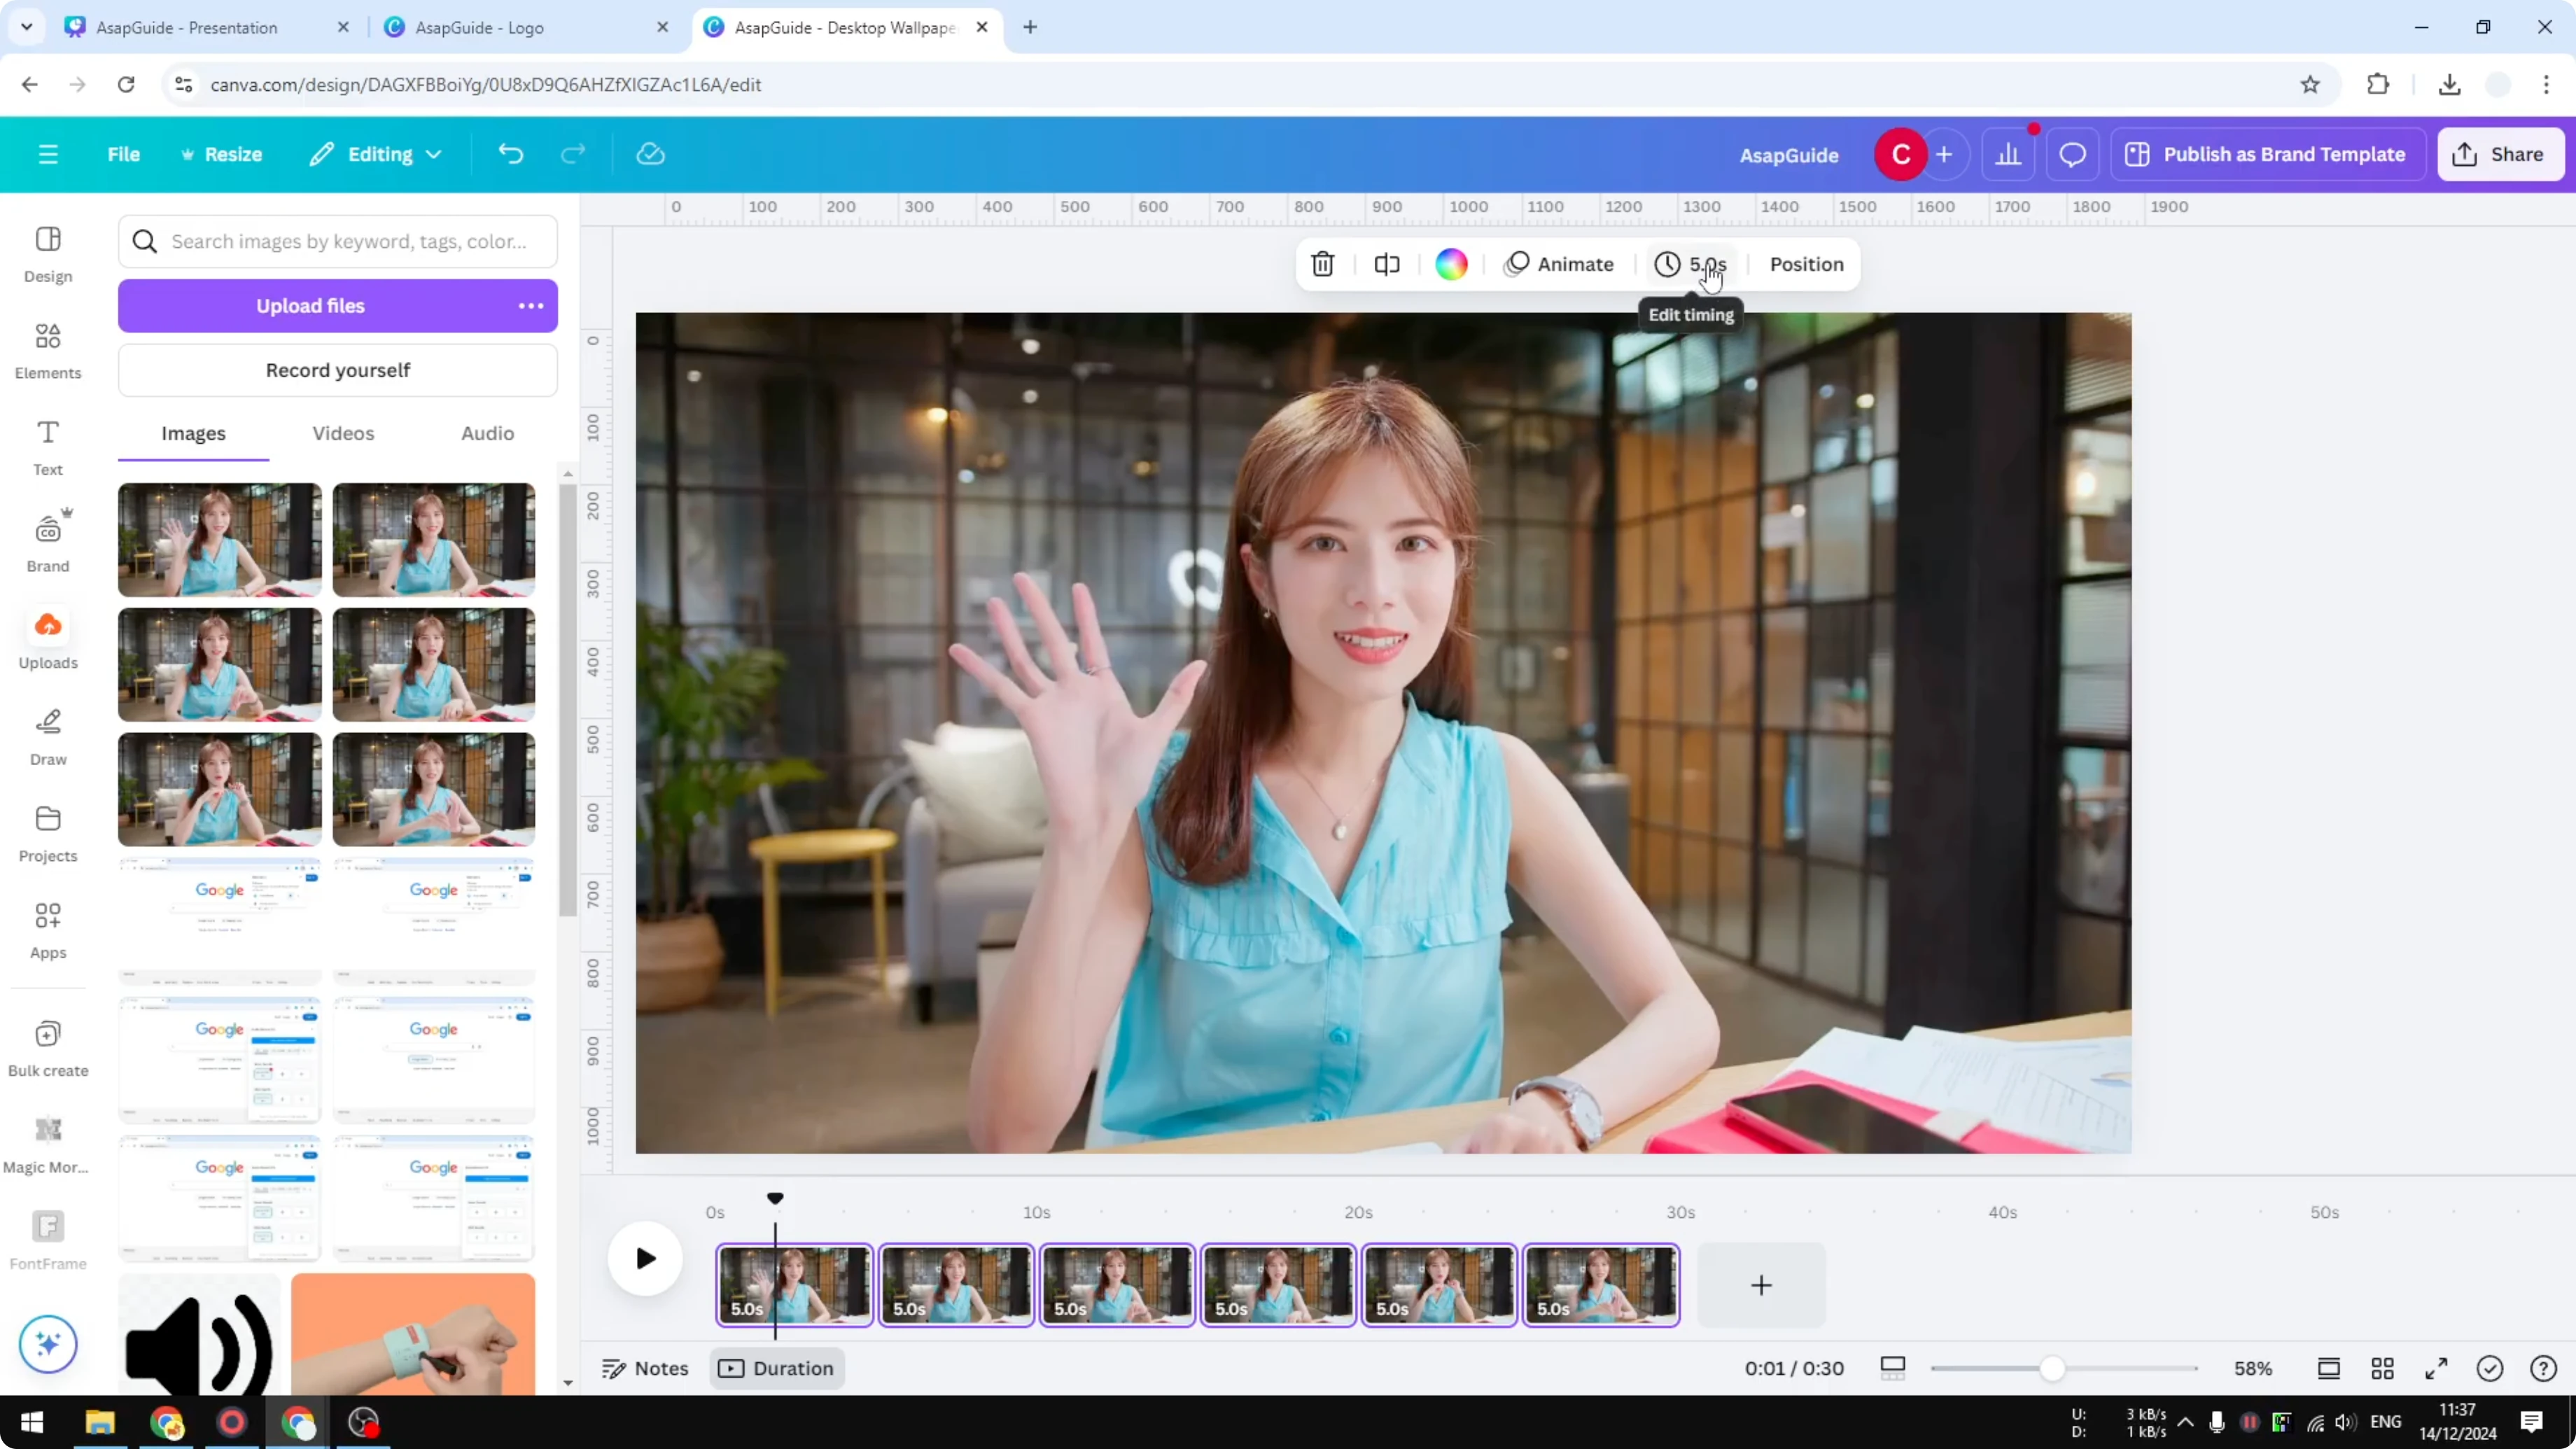
Set the timing for the stop motion effect
To make each frame appear for just a split second, apply a short duration to all pages.
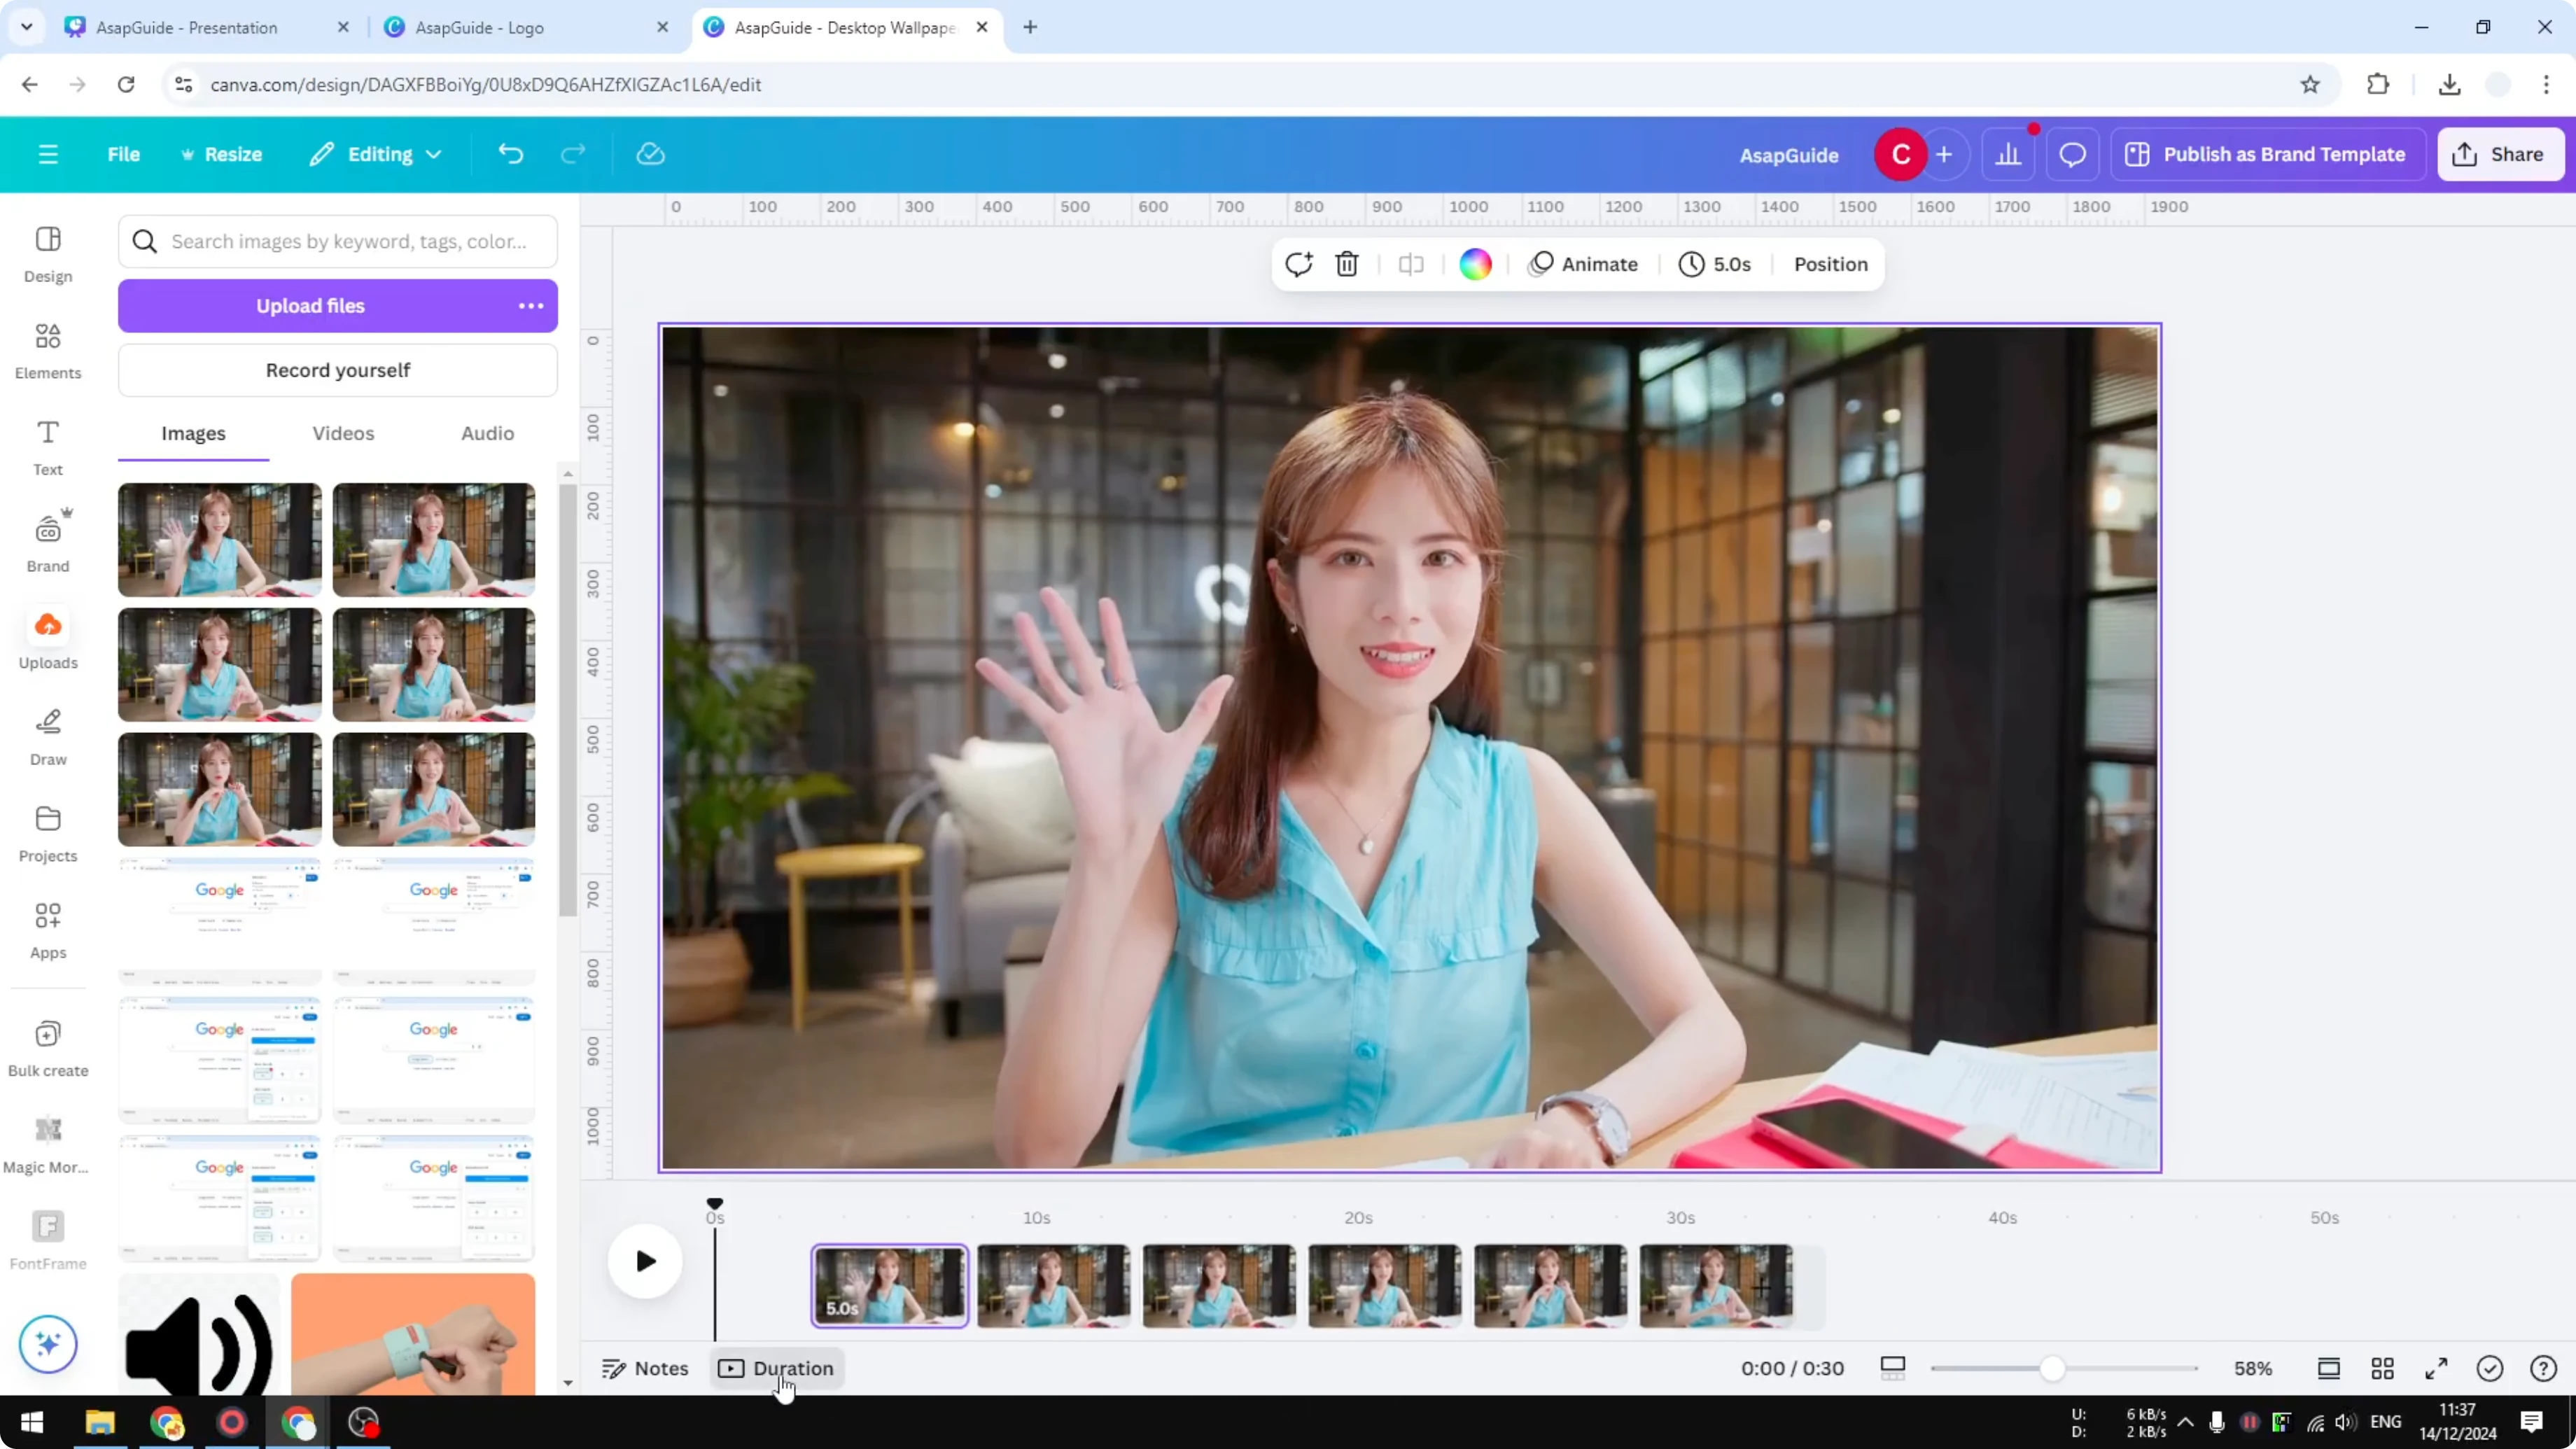
- Open Thumbnail view.
- Click on any slide, then press Ctrl+A (or Command+A on Mac) to select all.
- Click Edit timing.
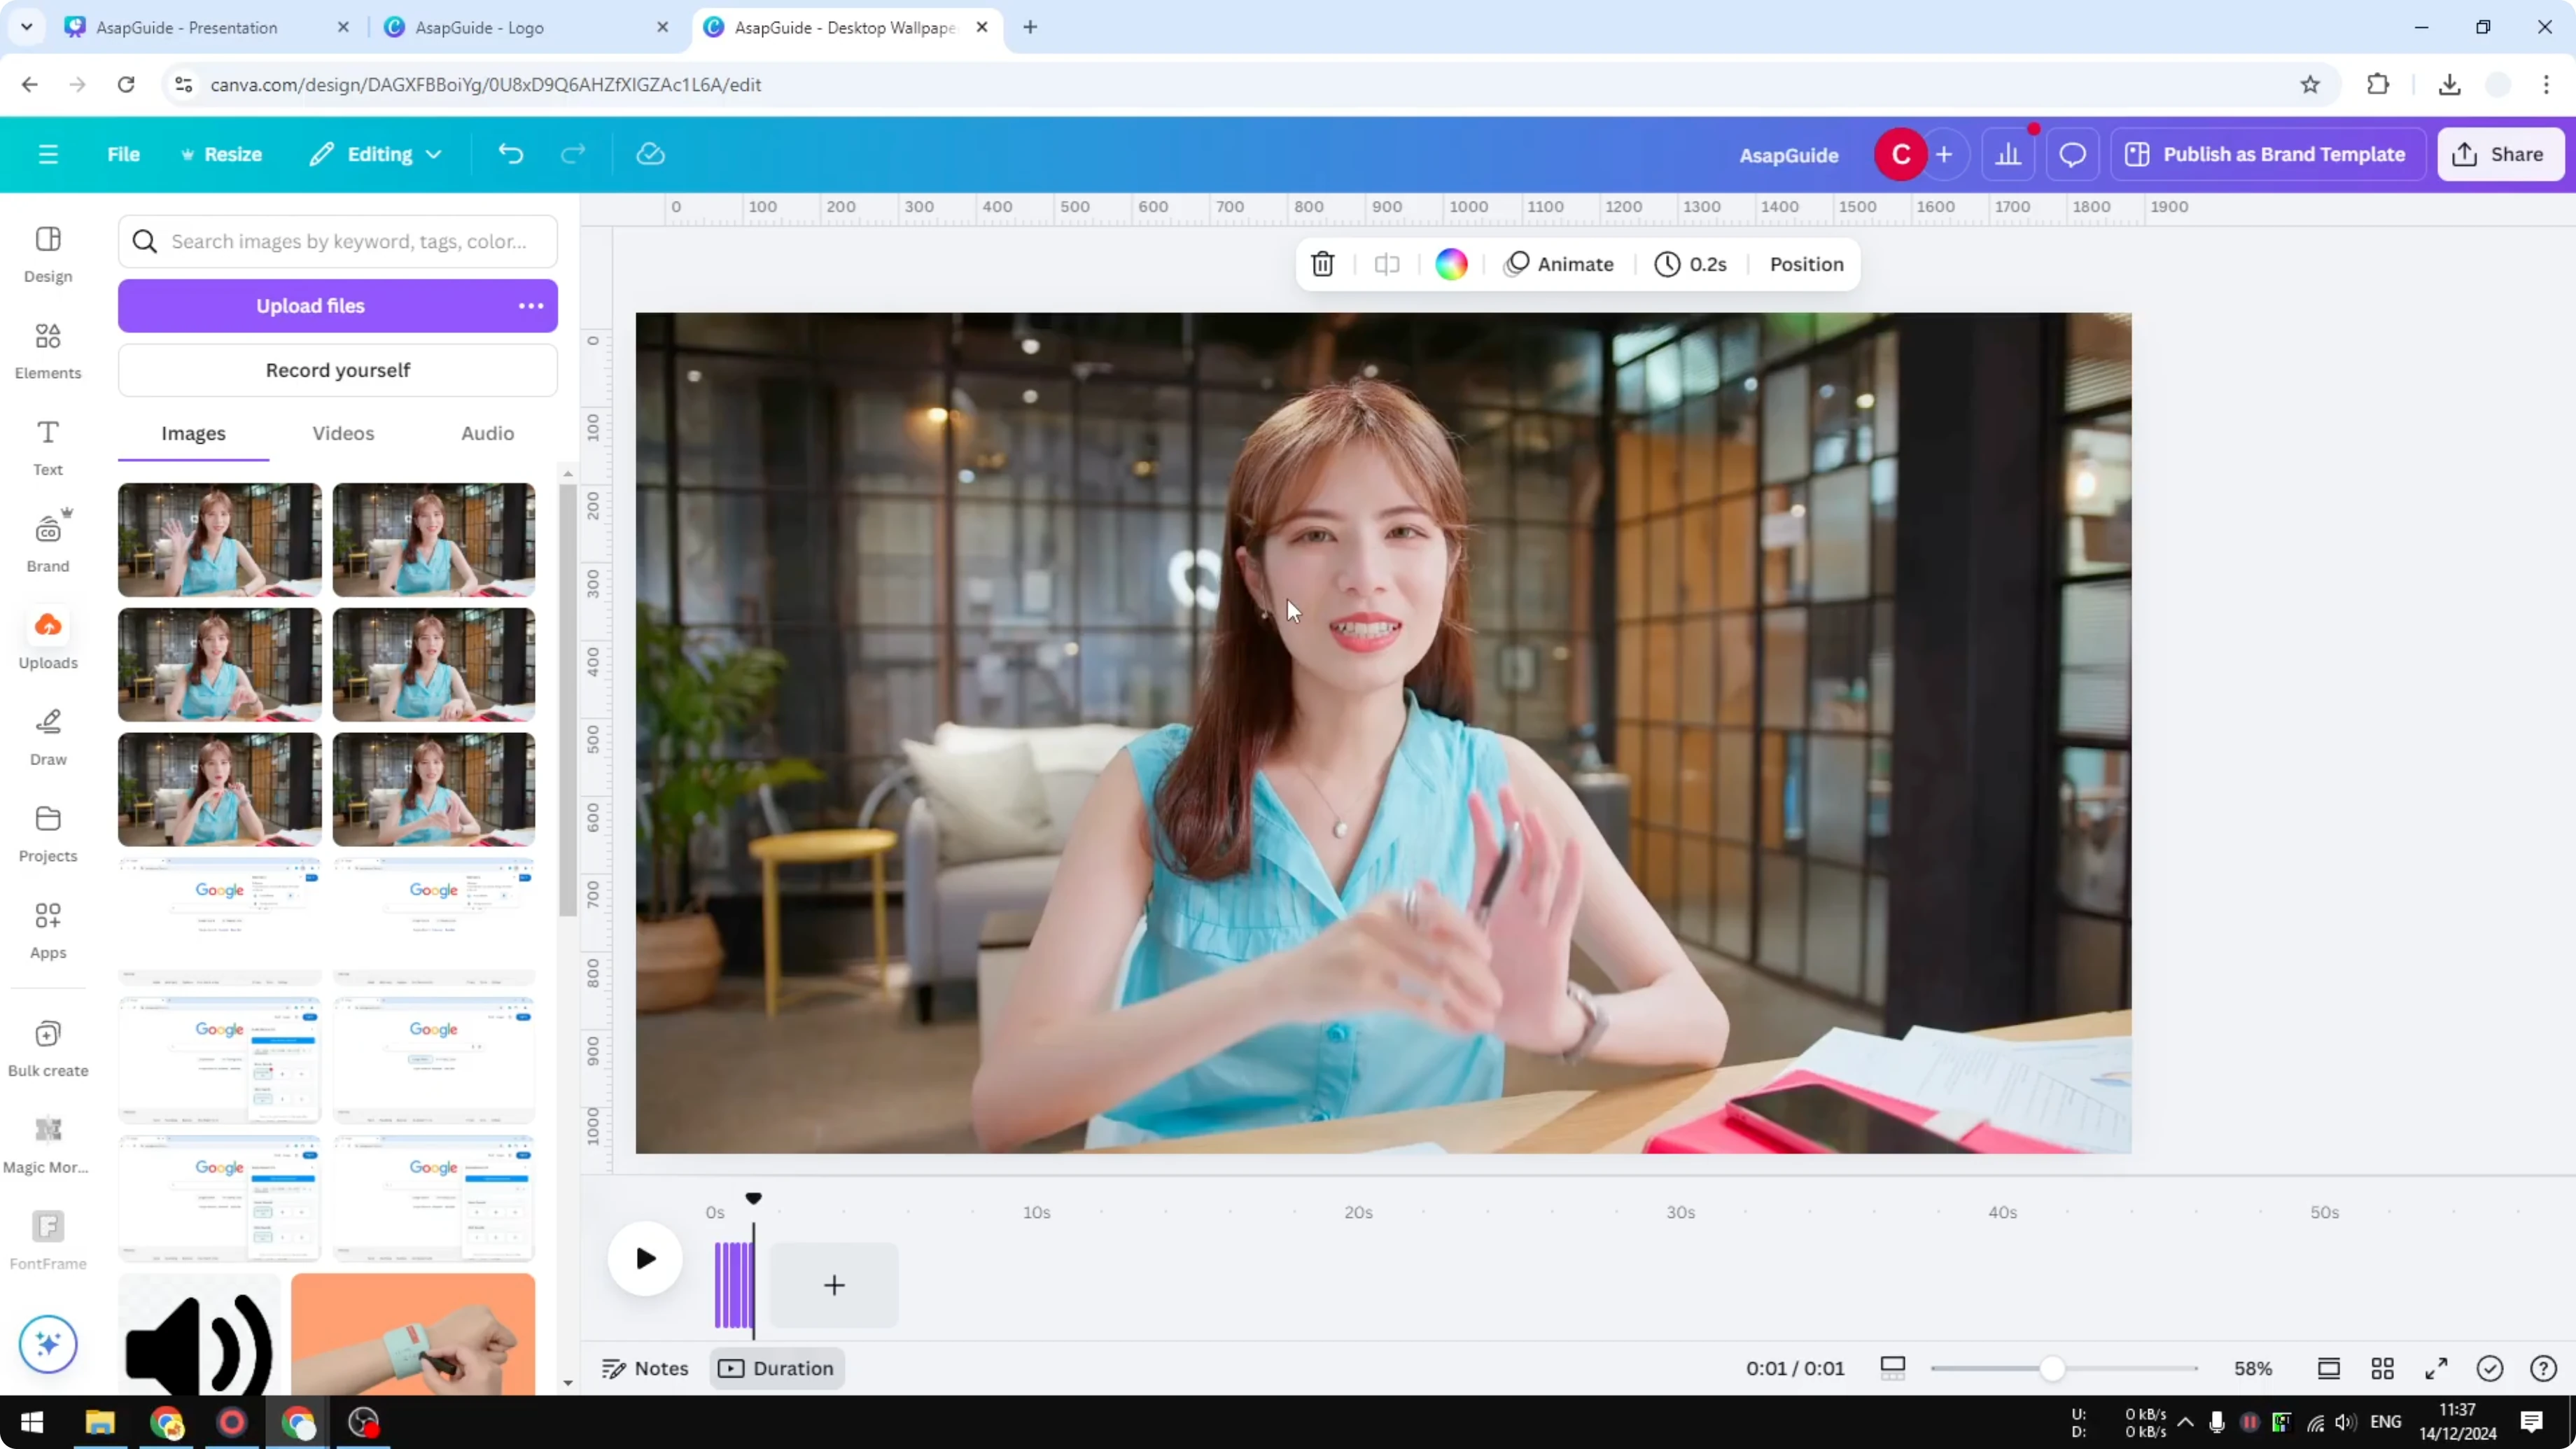
- Reduce the duration to less than 1 second. 0.2 or 0.3 seconds should be enough.
- Play the animation to see the result.
Notes on image quality
What I made here is not perfect because I got the snapshots from a video, which adds blur. Using real photos usually has less blur, and the result is going to be a lot better. This is just the basic concept of how you can apply the stop motion animation effect using Canva.
Final Thoughts
Stop motion in Canva comes down to preparing a series of frames, placing each on its own page as a background, and shortening the duration on all pages so the frames play quickly. Keep your frames sharp by shooting photos directly, and you’ll get a cleaner, more convincing result.
Recent Posts
How to Visualize Yourself as a Pixelized Character with AI?
How to Visualize Yourself as a Pixelized Character with AI?

How to Revive Faded Memories and Enhance Image Clarity with AI?
How to Revive Faded Memories and Enhance Image Clarity with AI?

How to Visualize Yourself as an Animal Crossing Character with AI?
How to Visualize Yourself as an Animal Crossing Character with AI?