How to Turn Photo to Video in Canva
I’m going to show you how to turn a simple photo into a video using Canva. I use two methods. The first is quick, and the second takes a bit more time but gives a prettier result.
If you need the reverse workflow at any point, you can turn a video into an image in Canva with a few clicks.
Turn Photo to Video in Canva
Simple method
Set up
Enable Thumbnail view and Duration view so you can see the track length clearly.
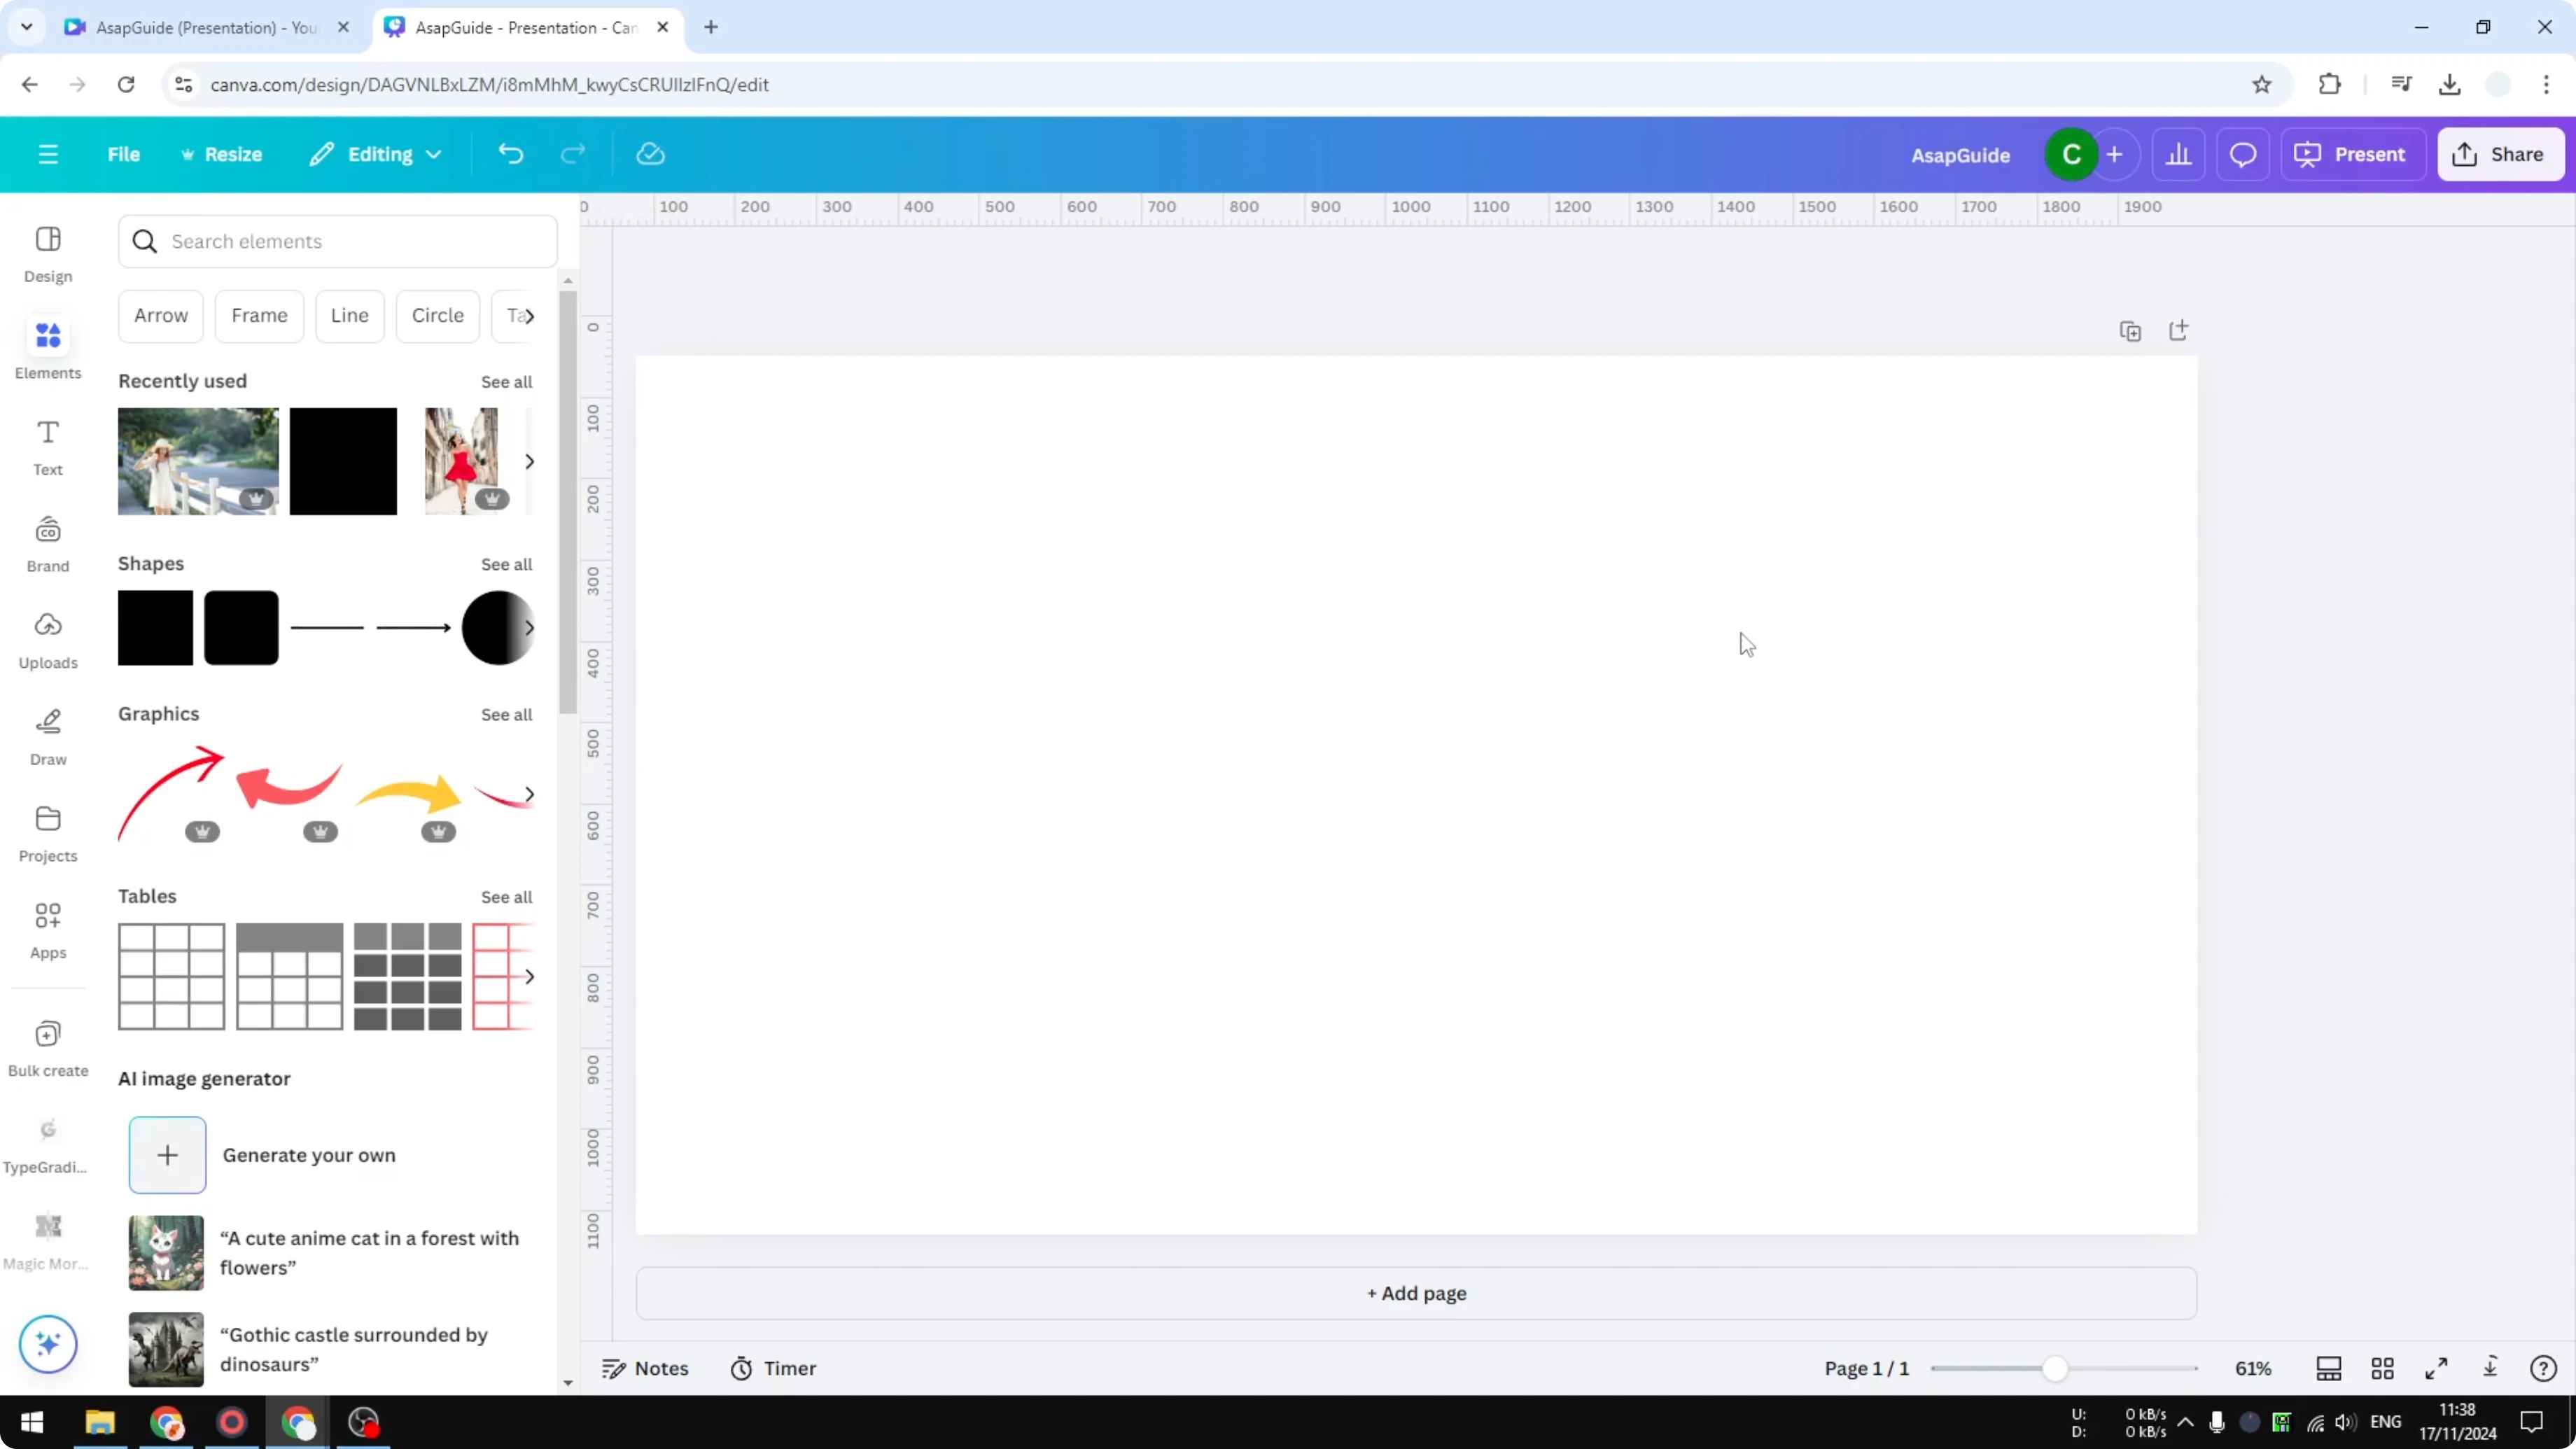
Insert your photo onto the canvas and set it as the background.
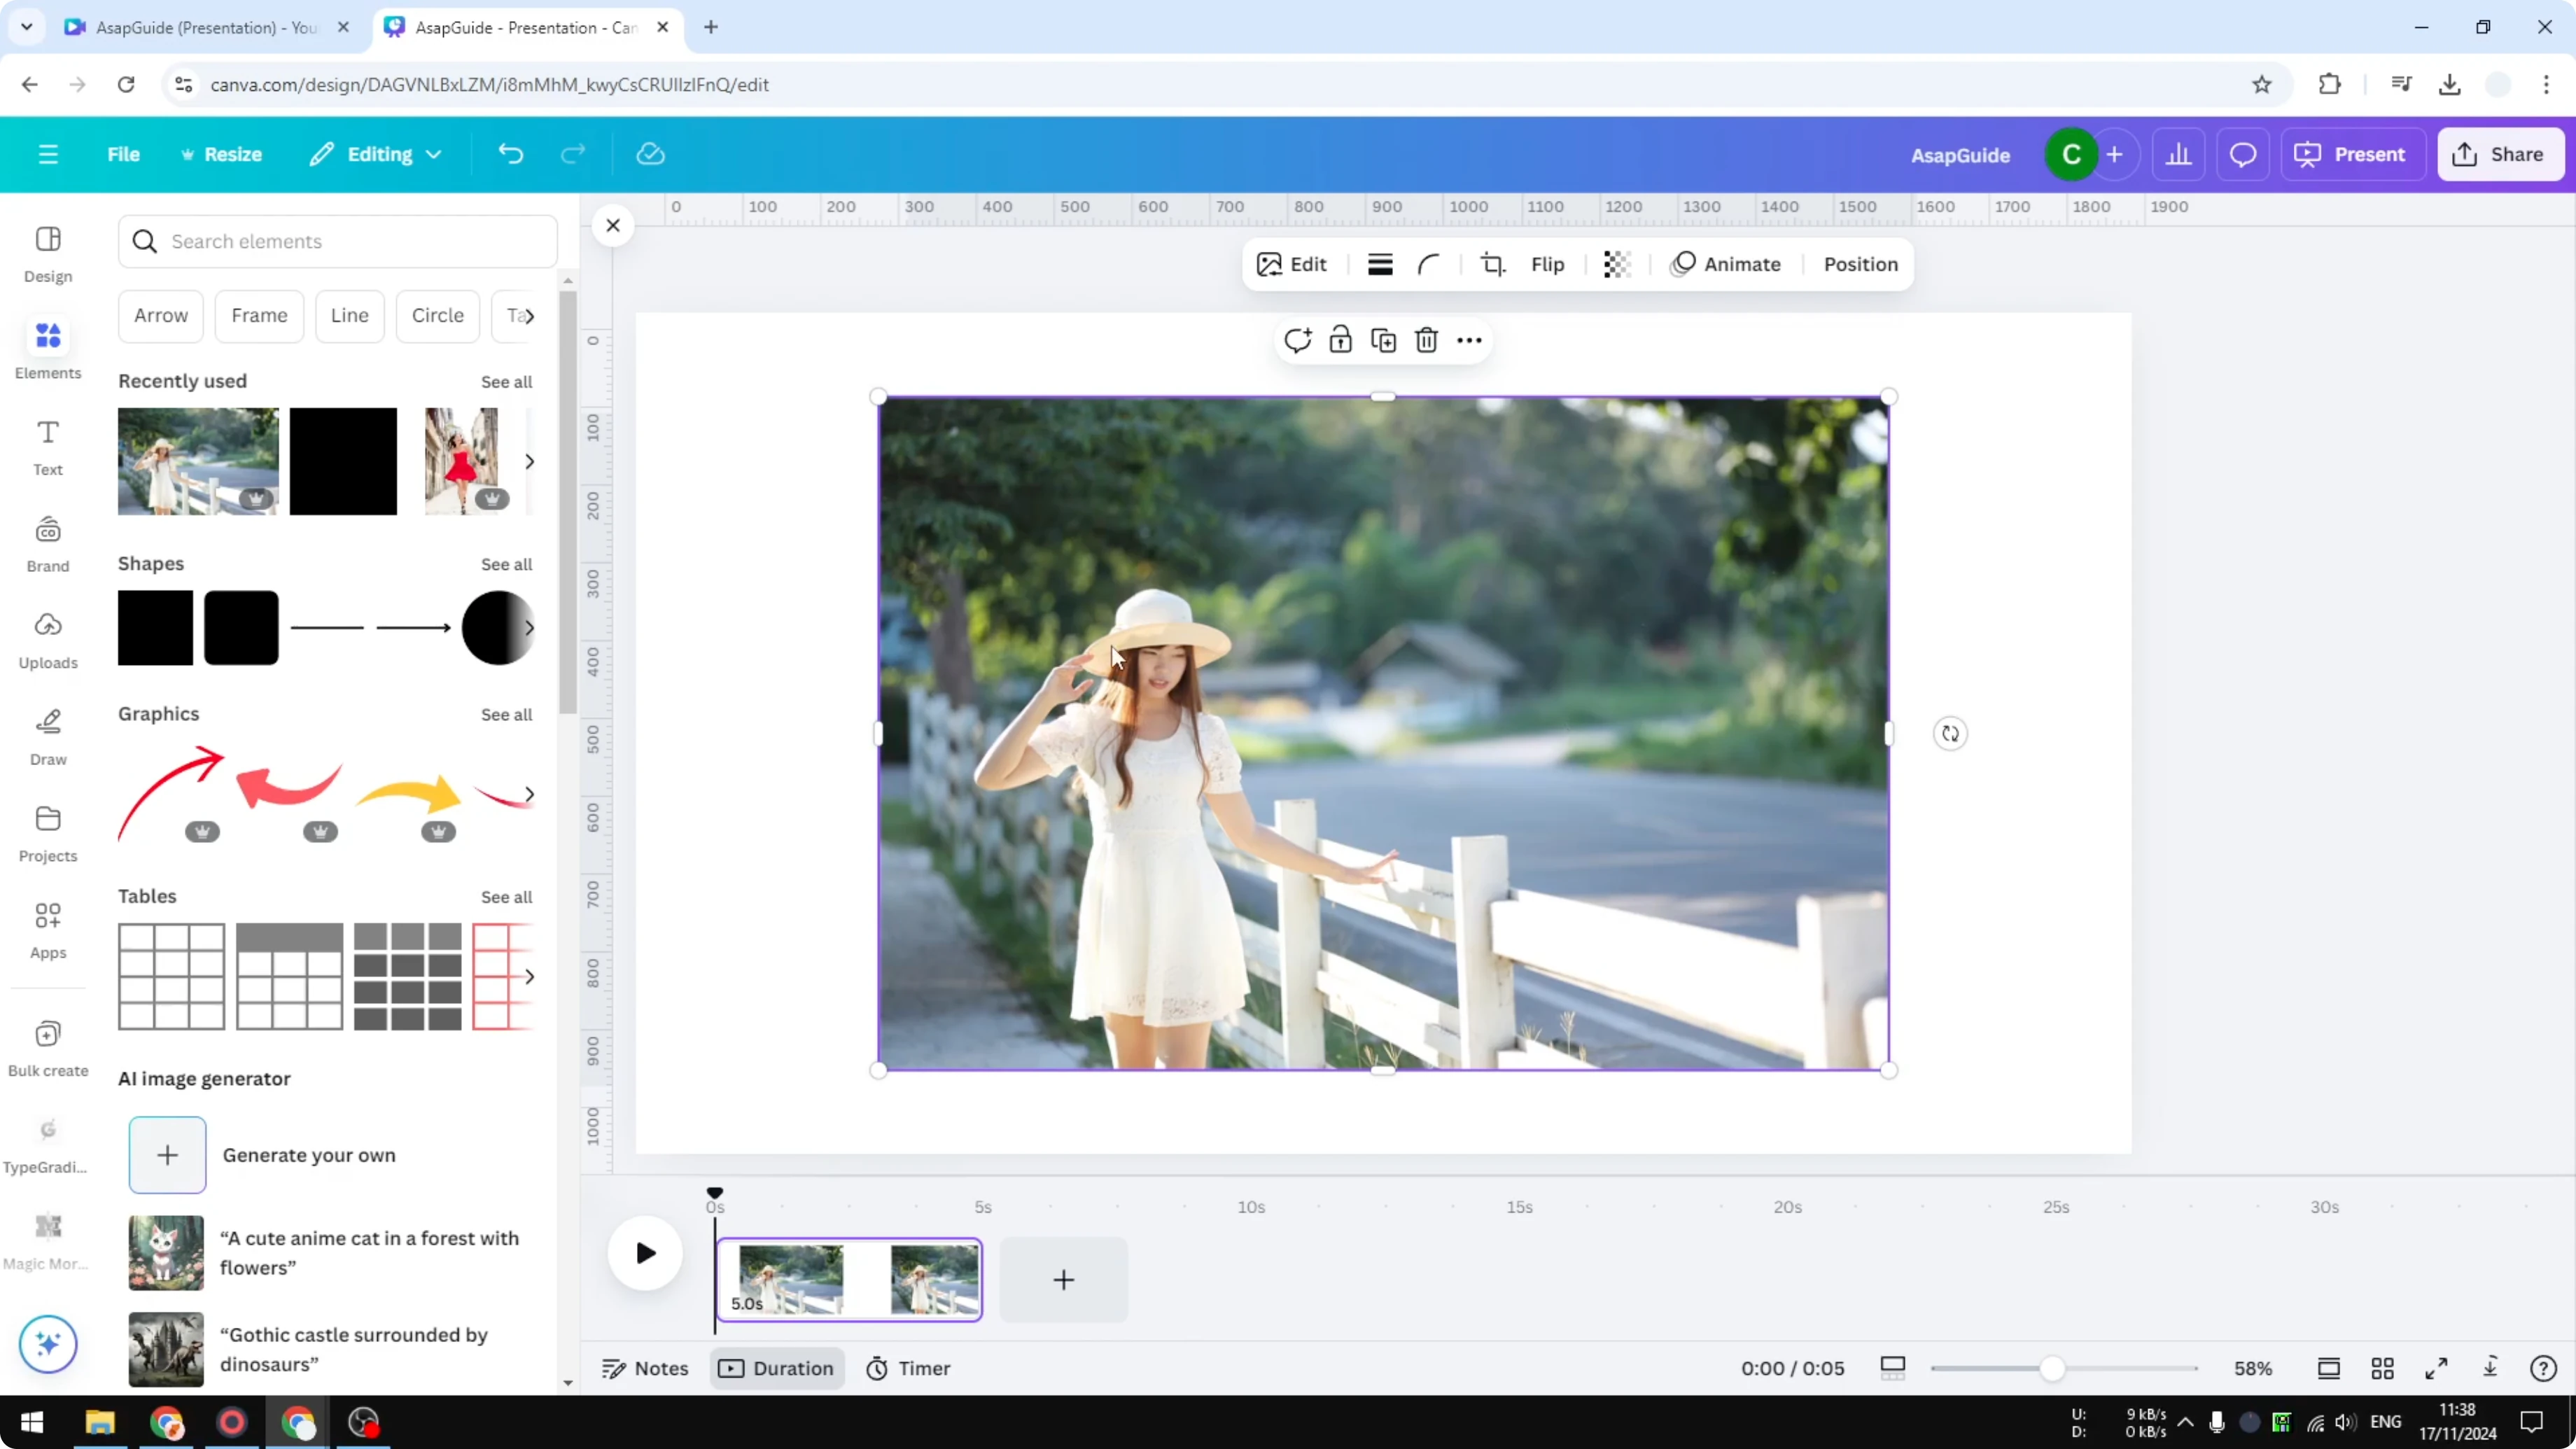
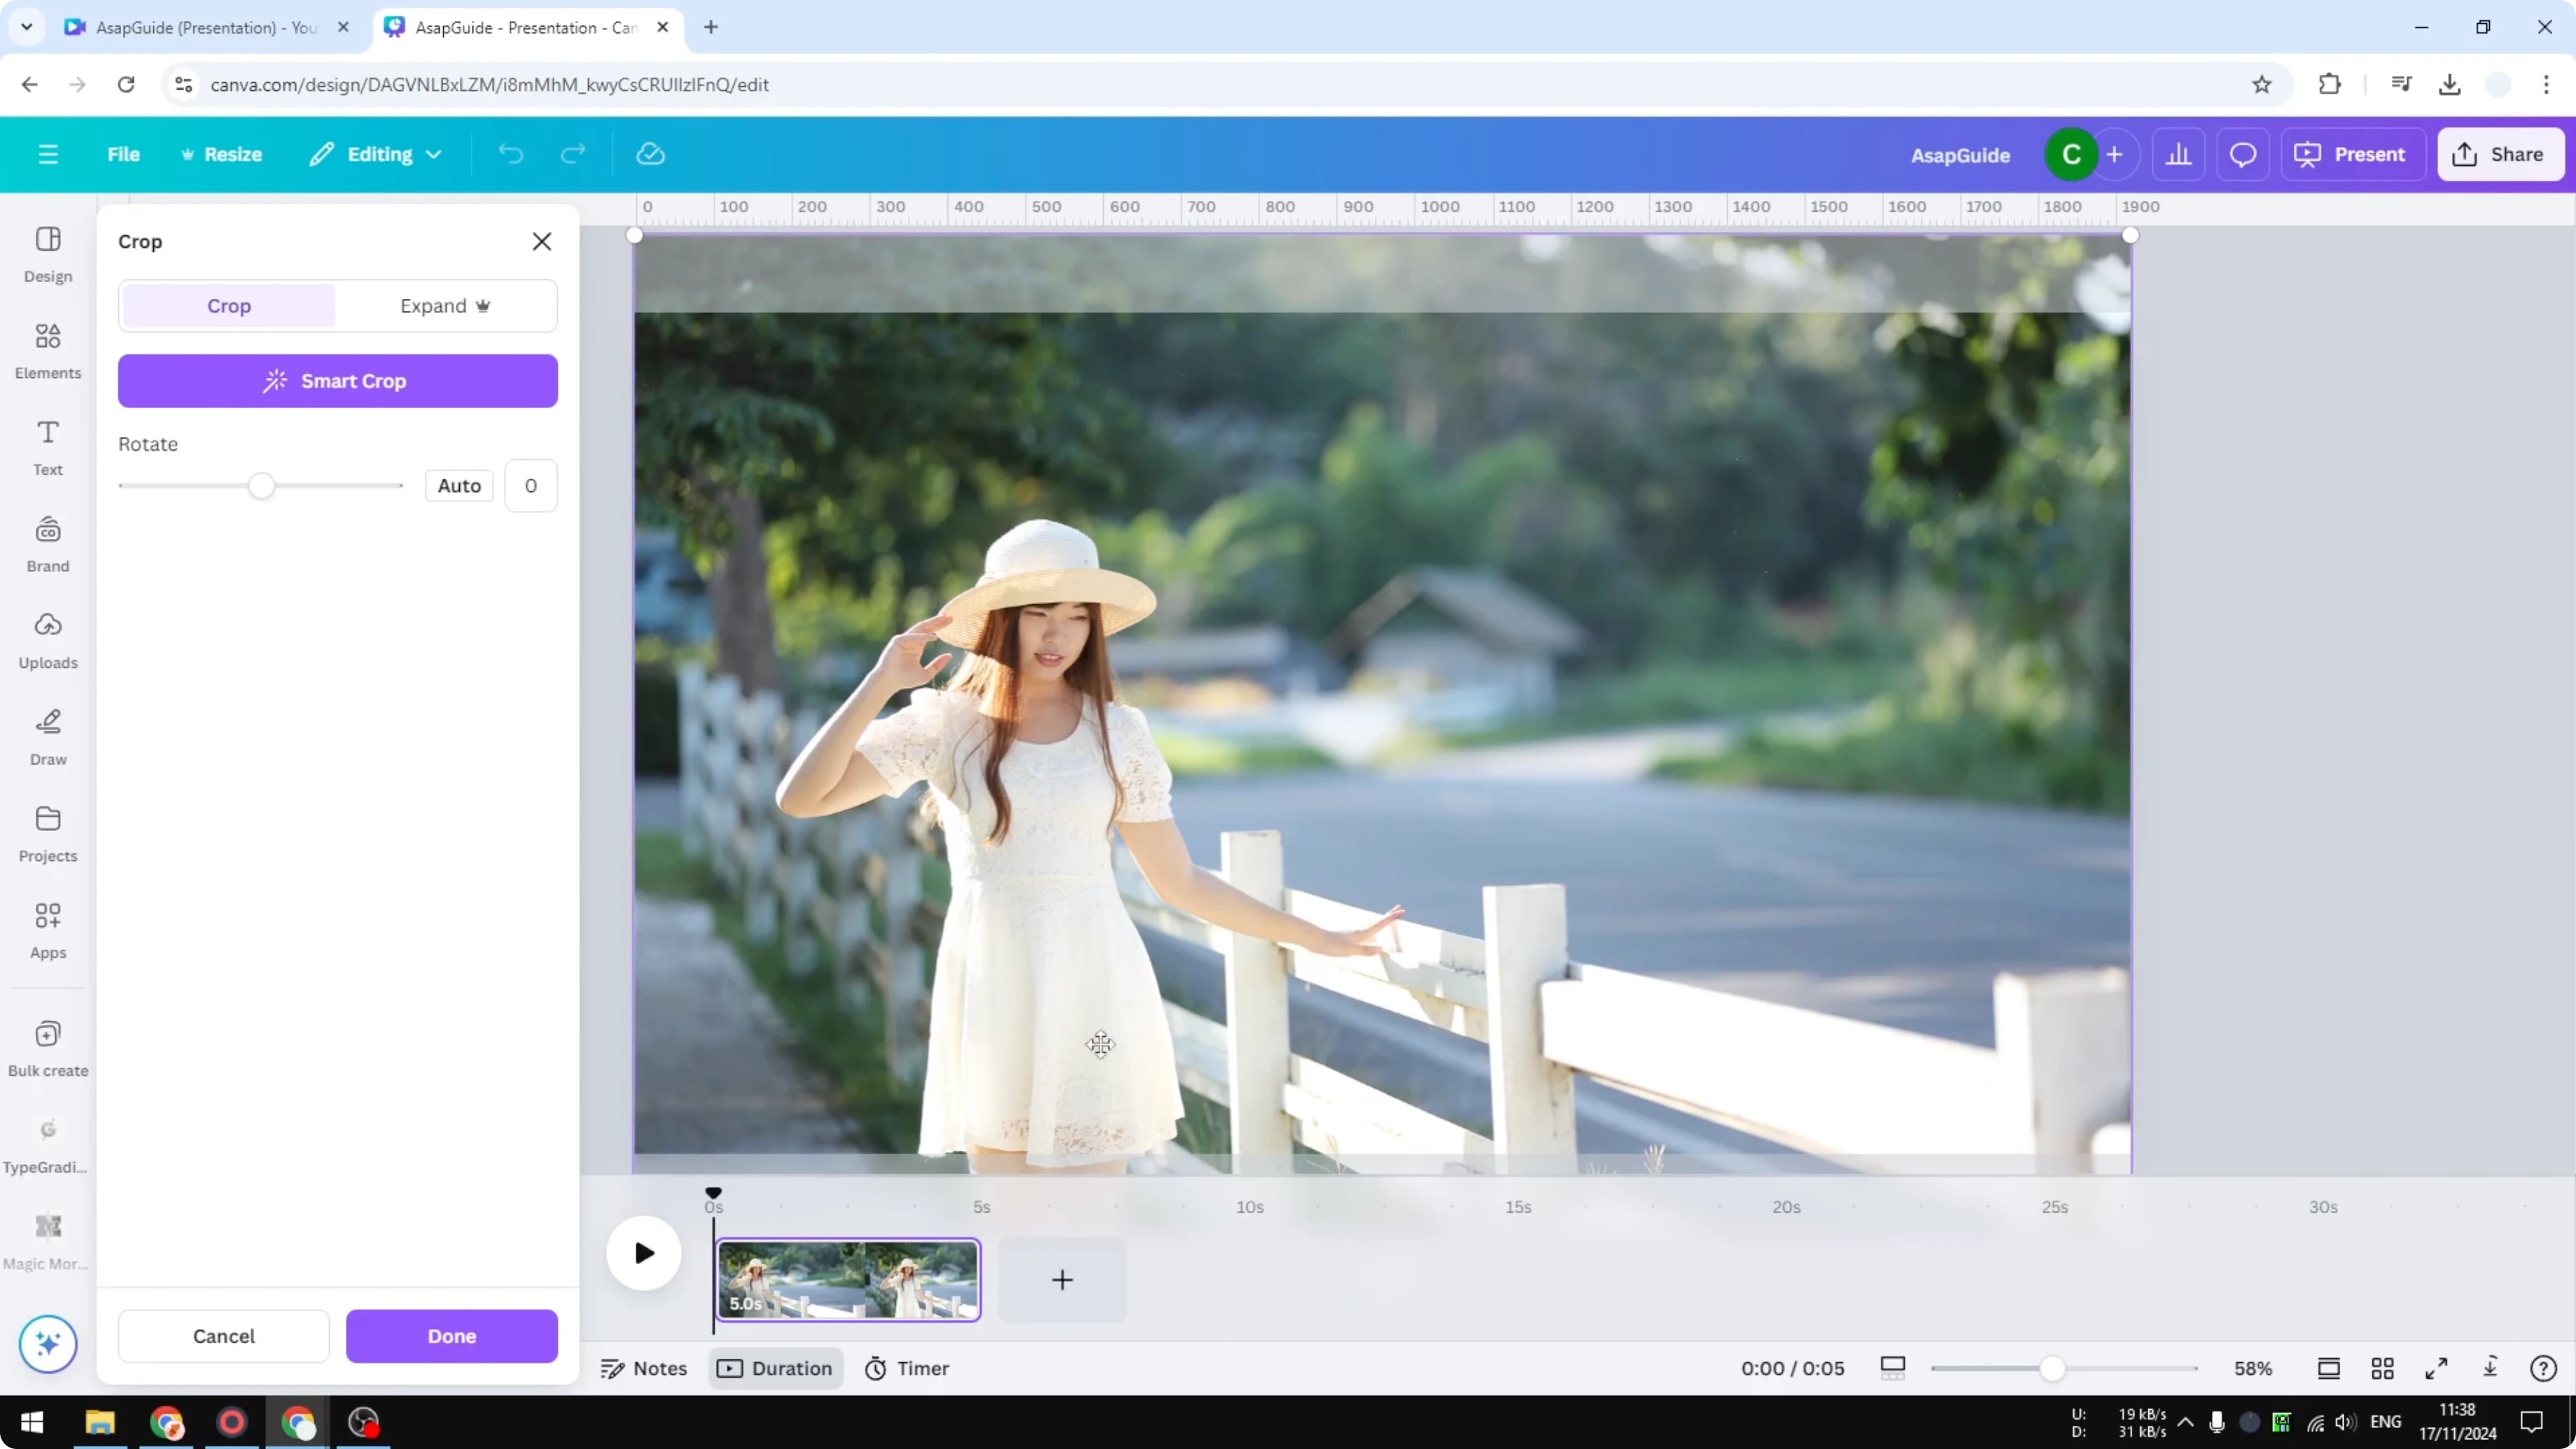
Double click the image and make sure the subject is fully visible in the frame, then click Done.
Animate
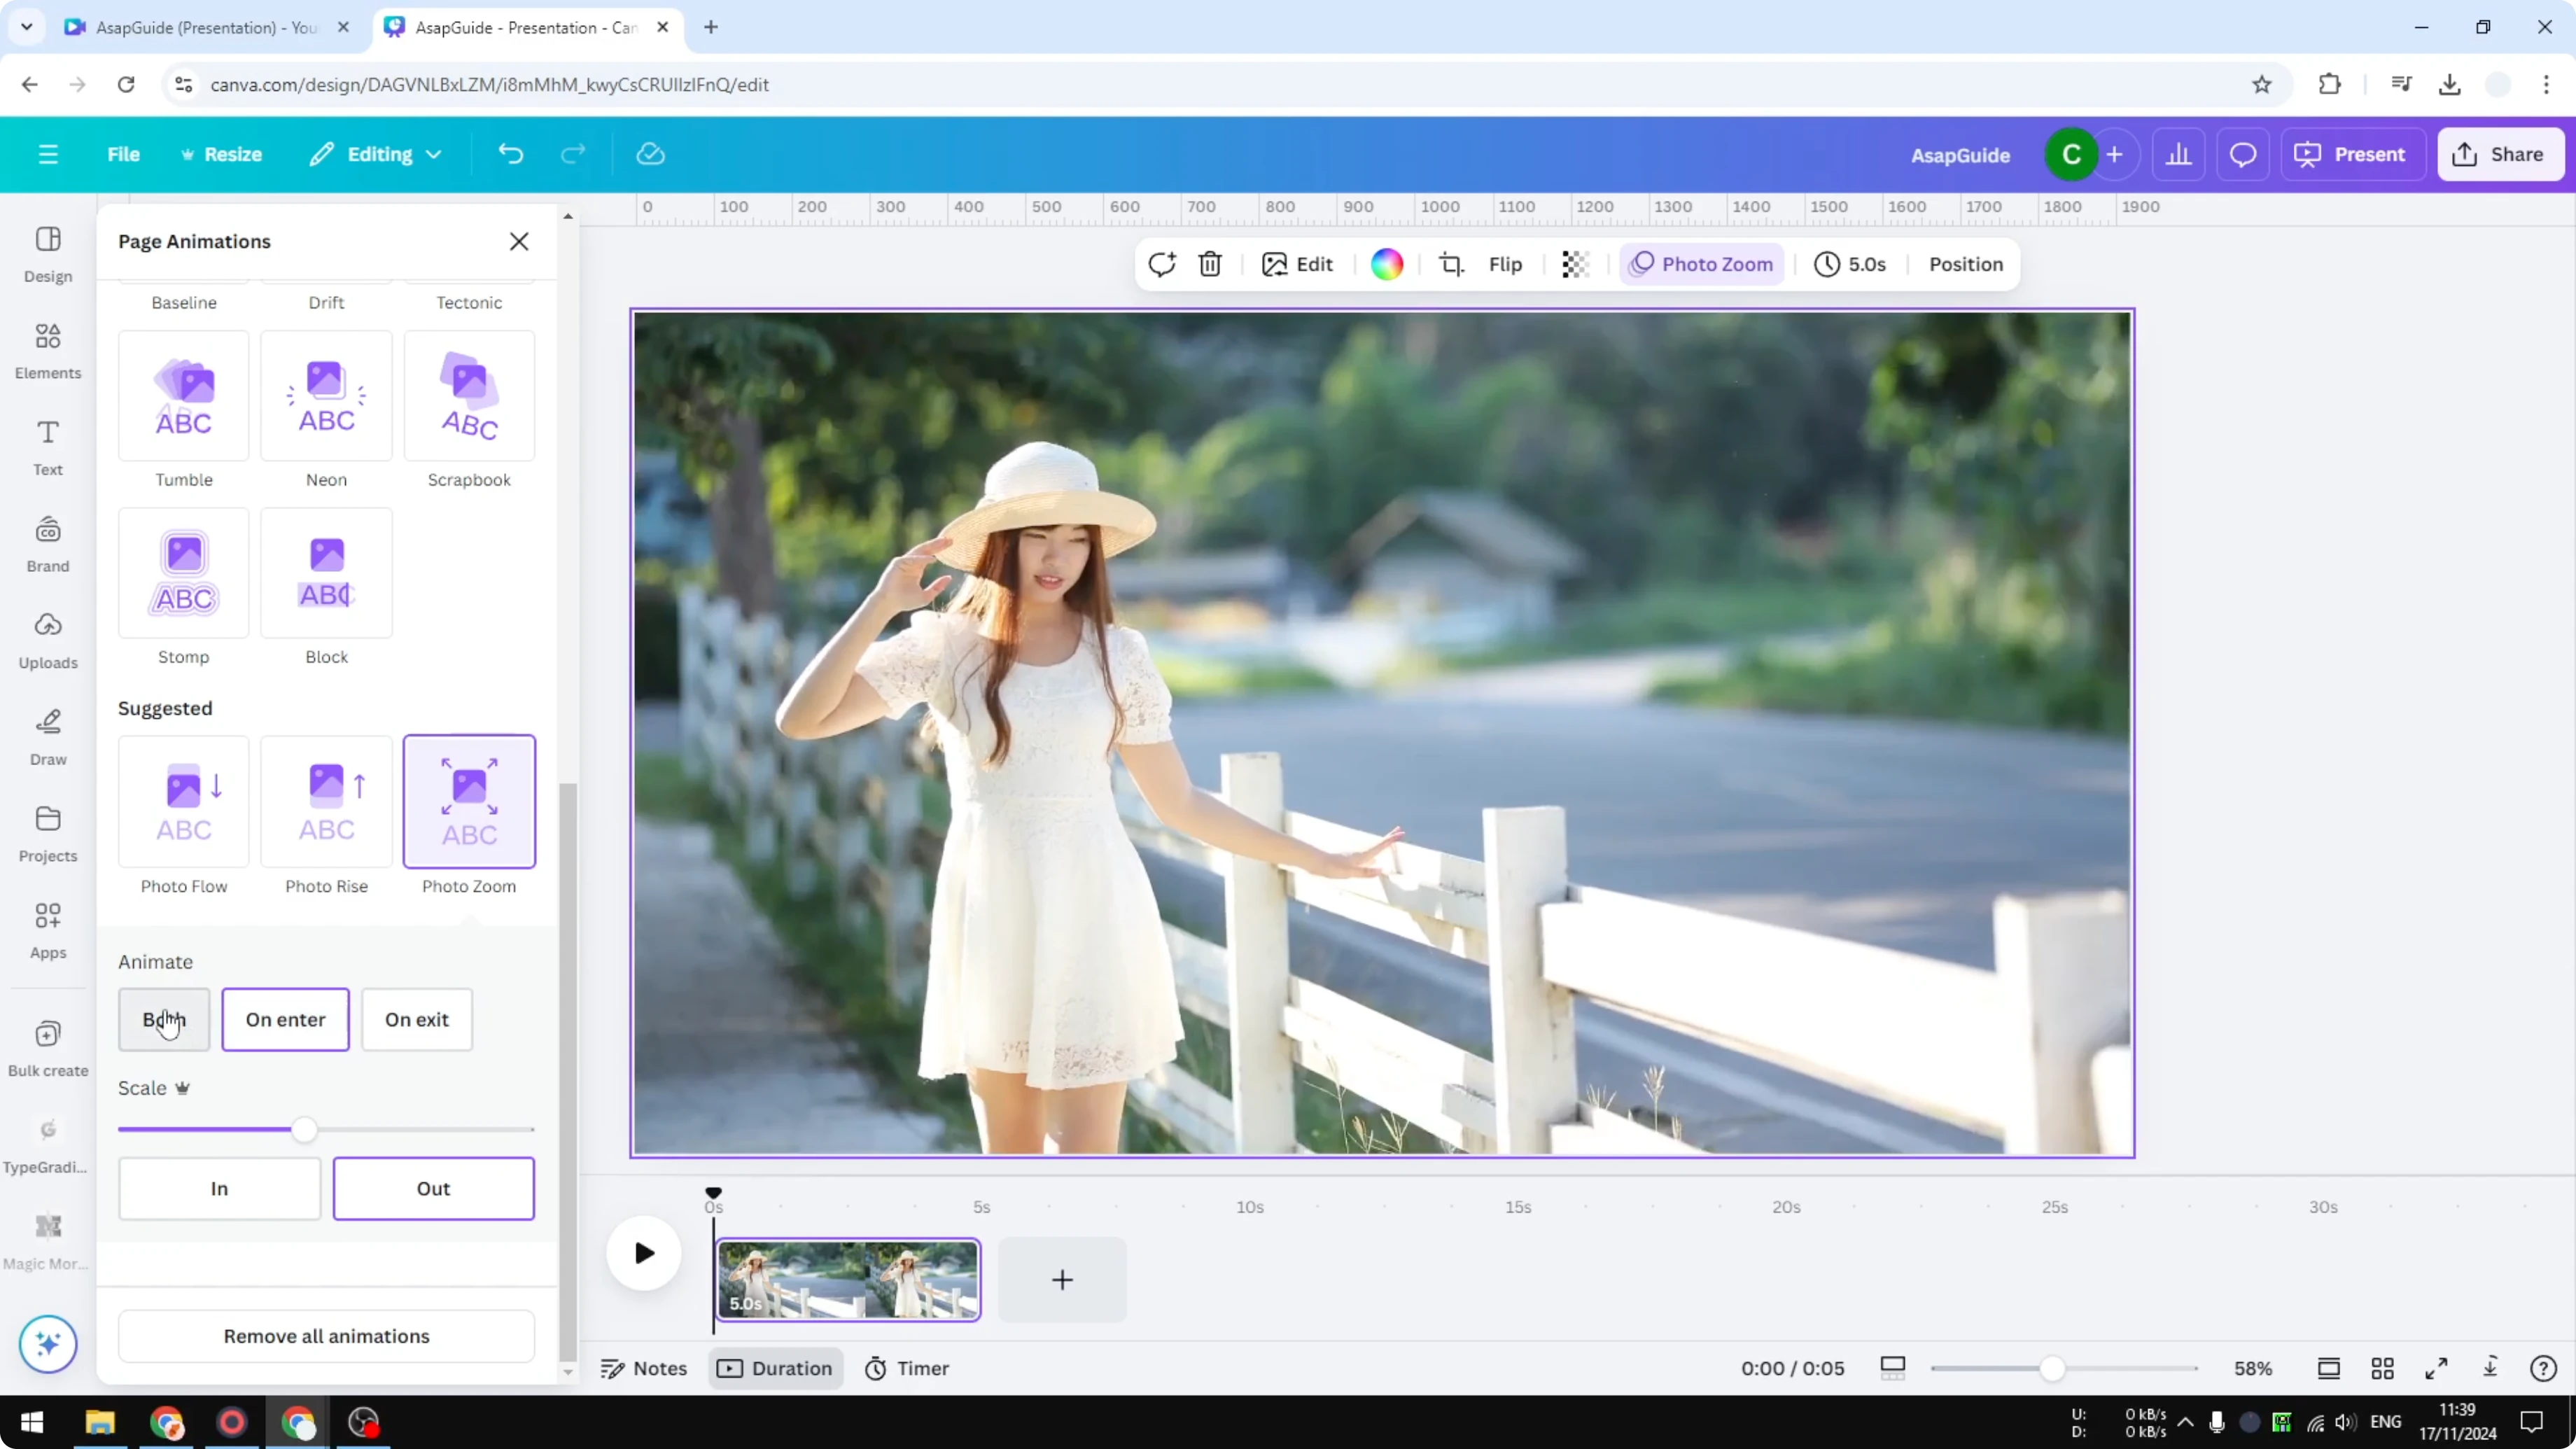
Click the background image, click Animate, and try styles like Drift, Photo Flow, Photo Rise, or Photo Zoom.
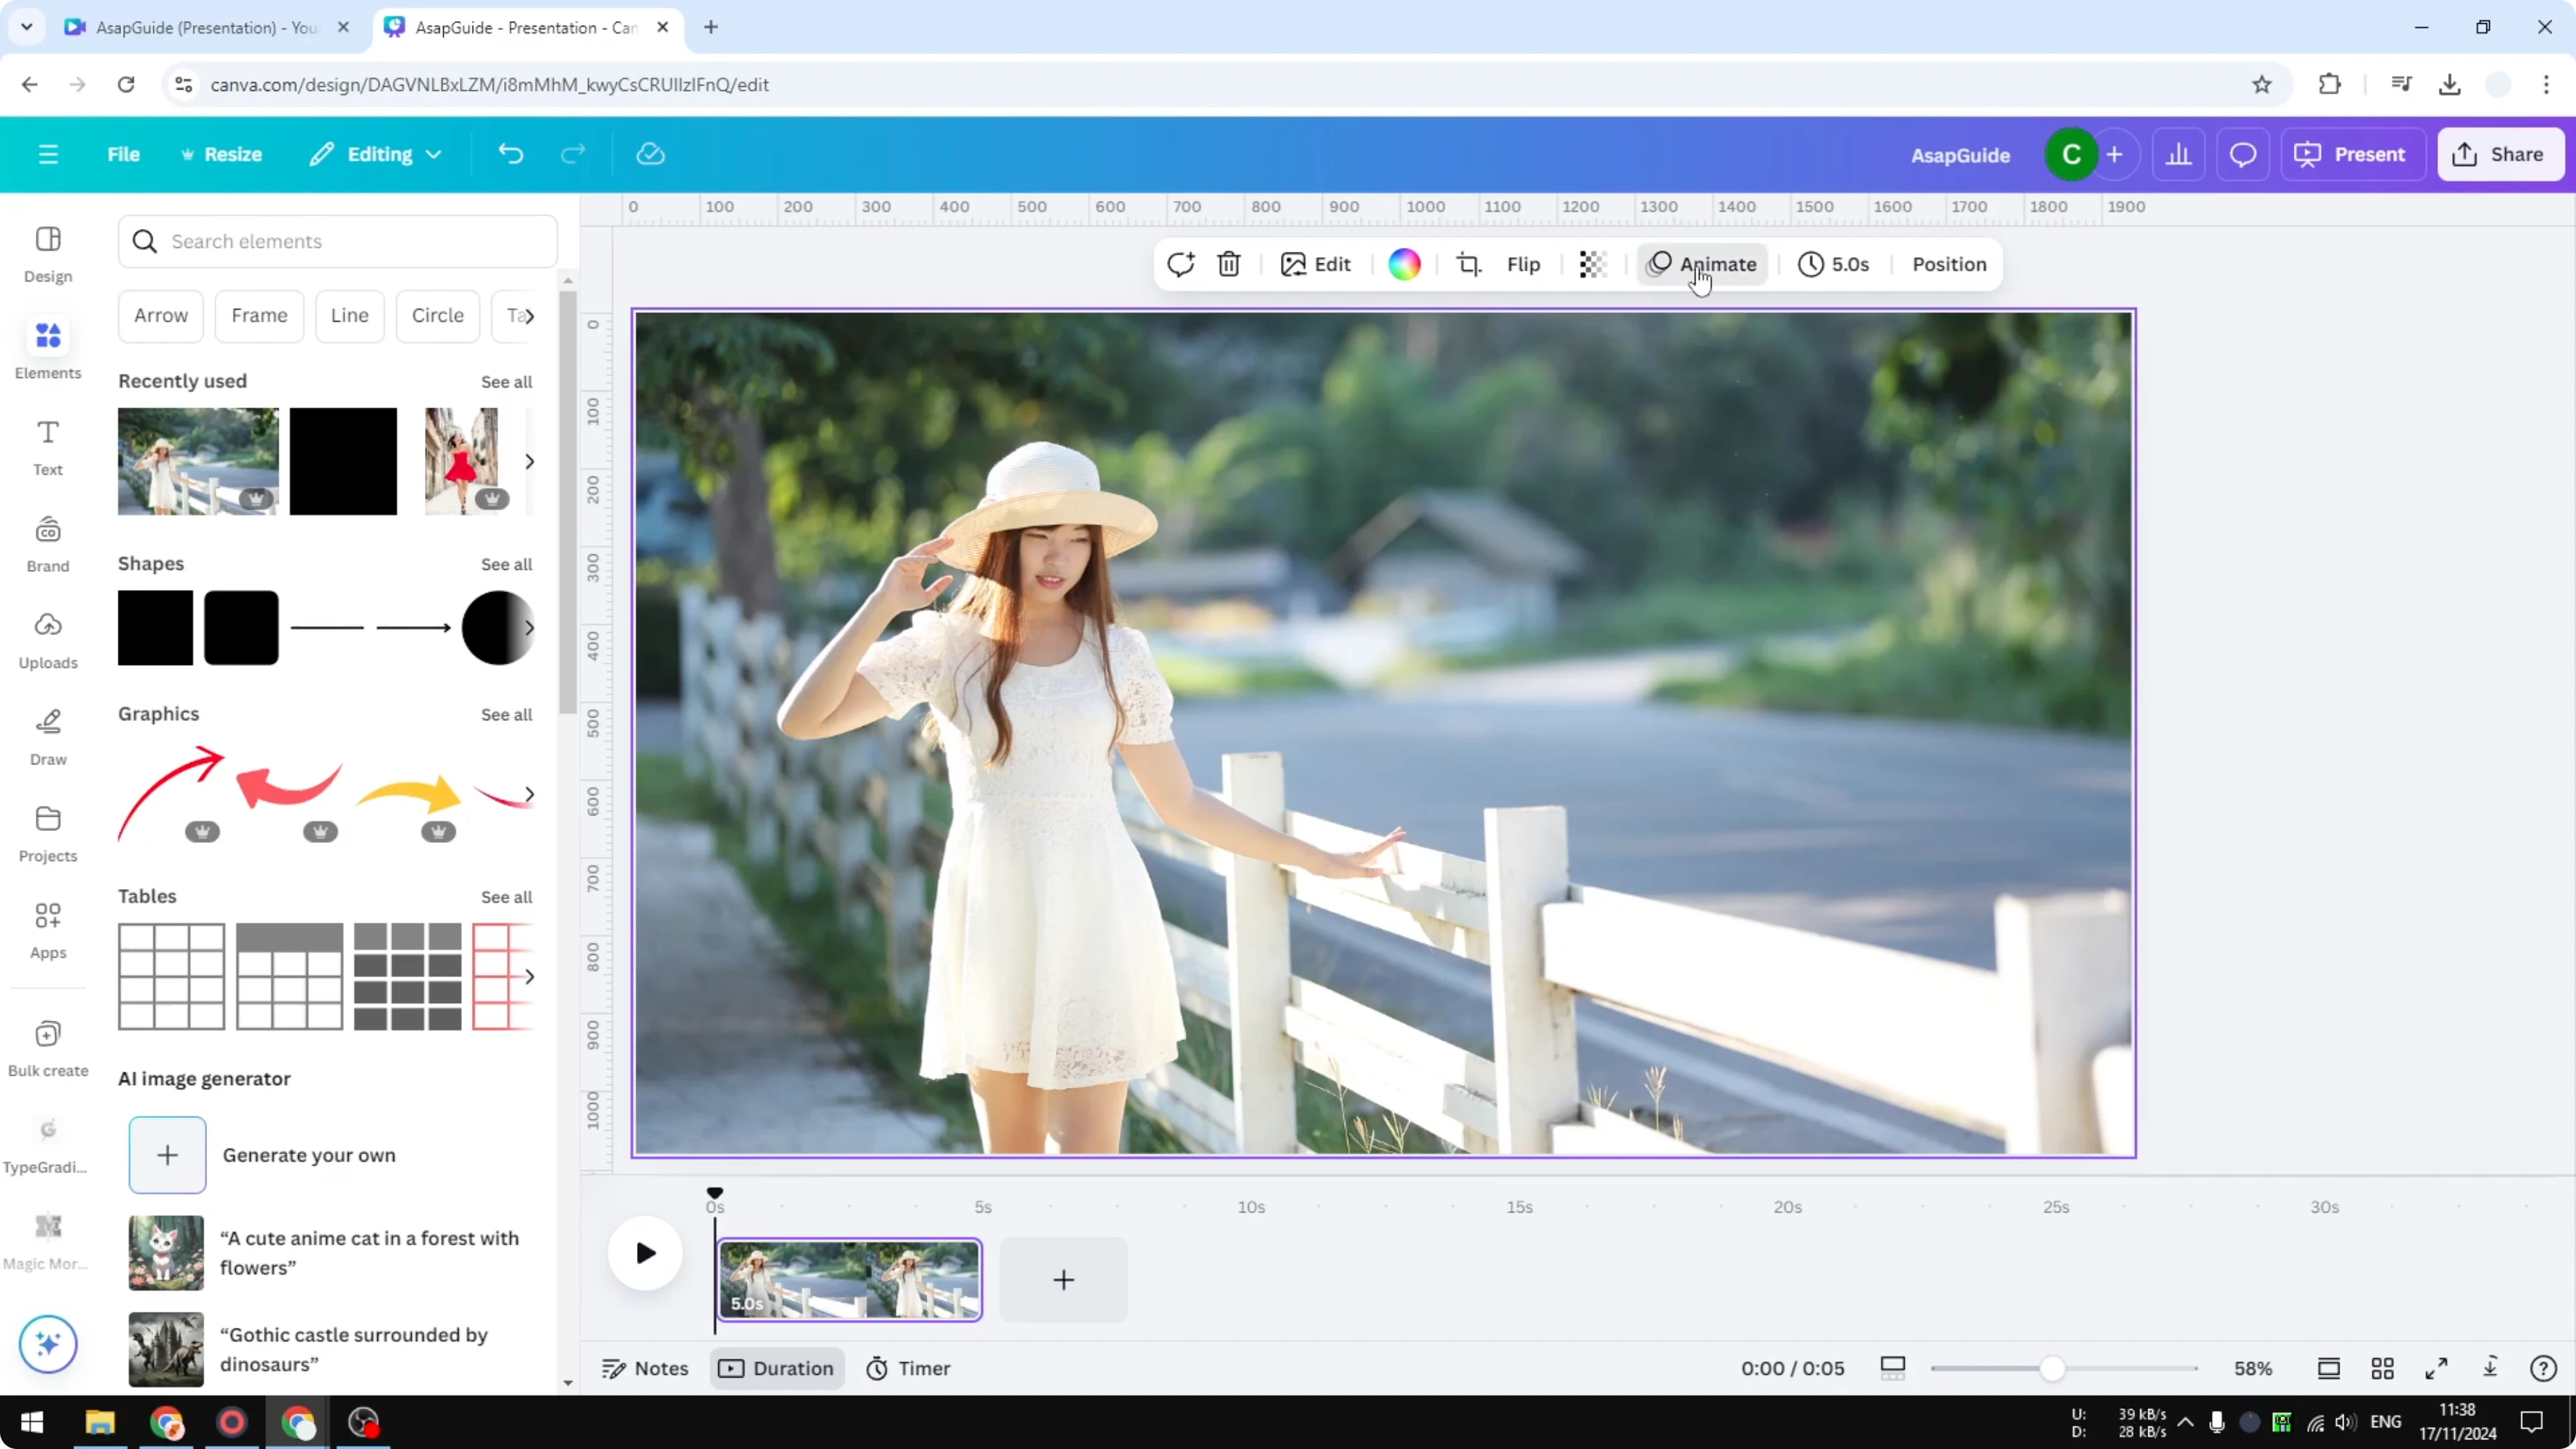
Photo Zoom is popular because it slowly zooms in or out.
You can set the animation to play on enter, exit, or both, and adjust the scale and in-out timing.
If you plan to give your final clip a stylistic treatment, you can also turn a video black and white in Canva after you export.
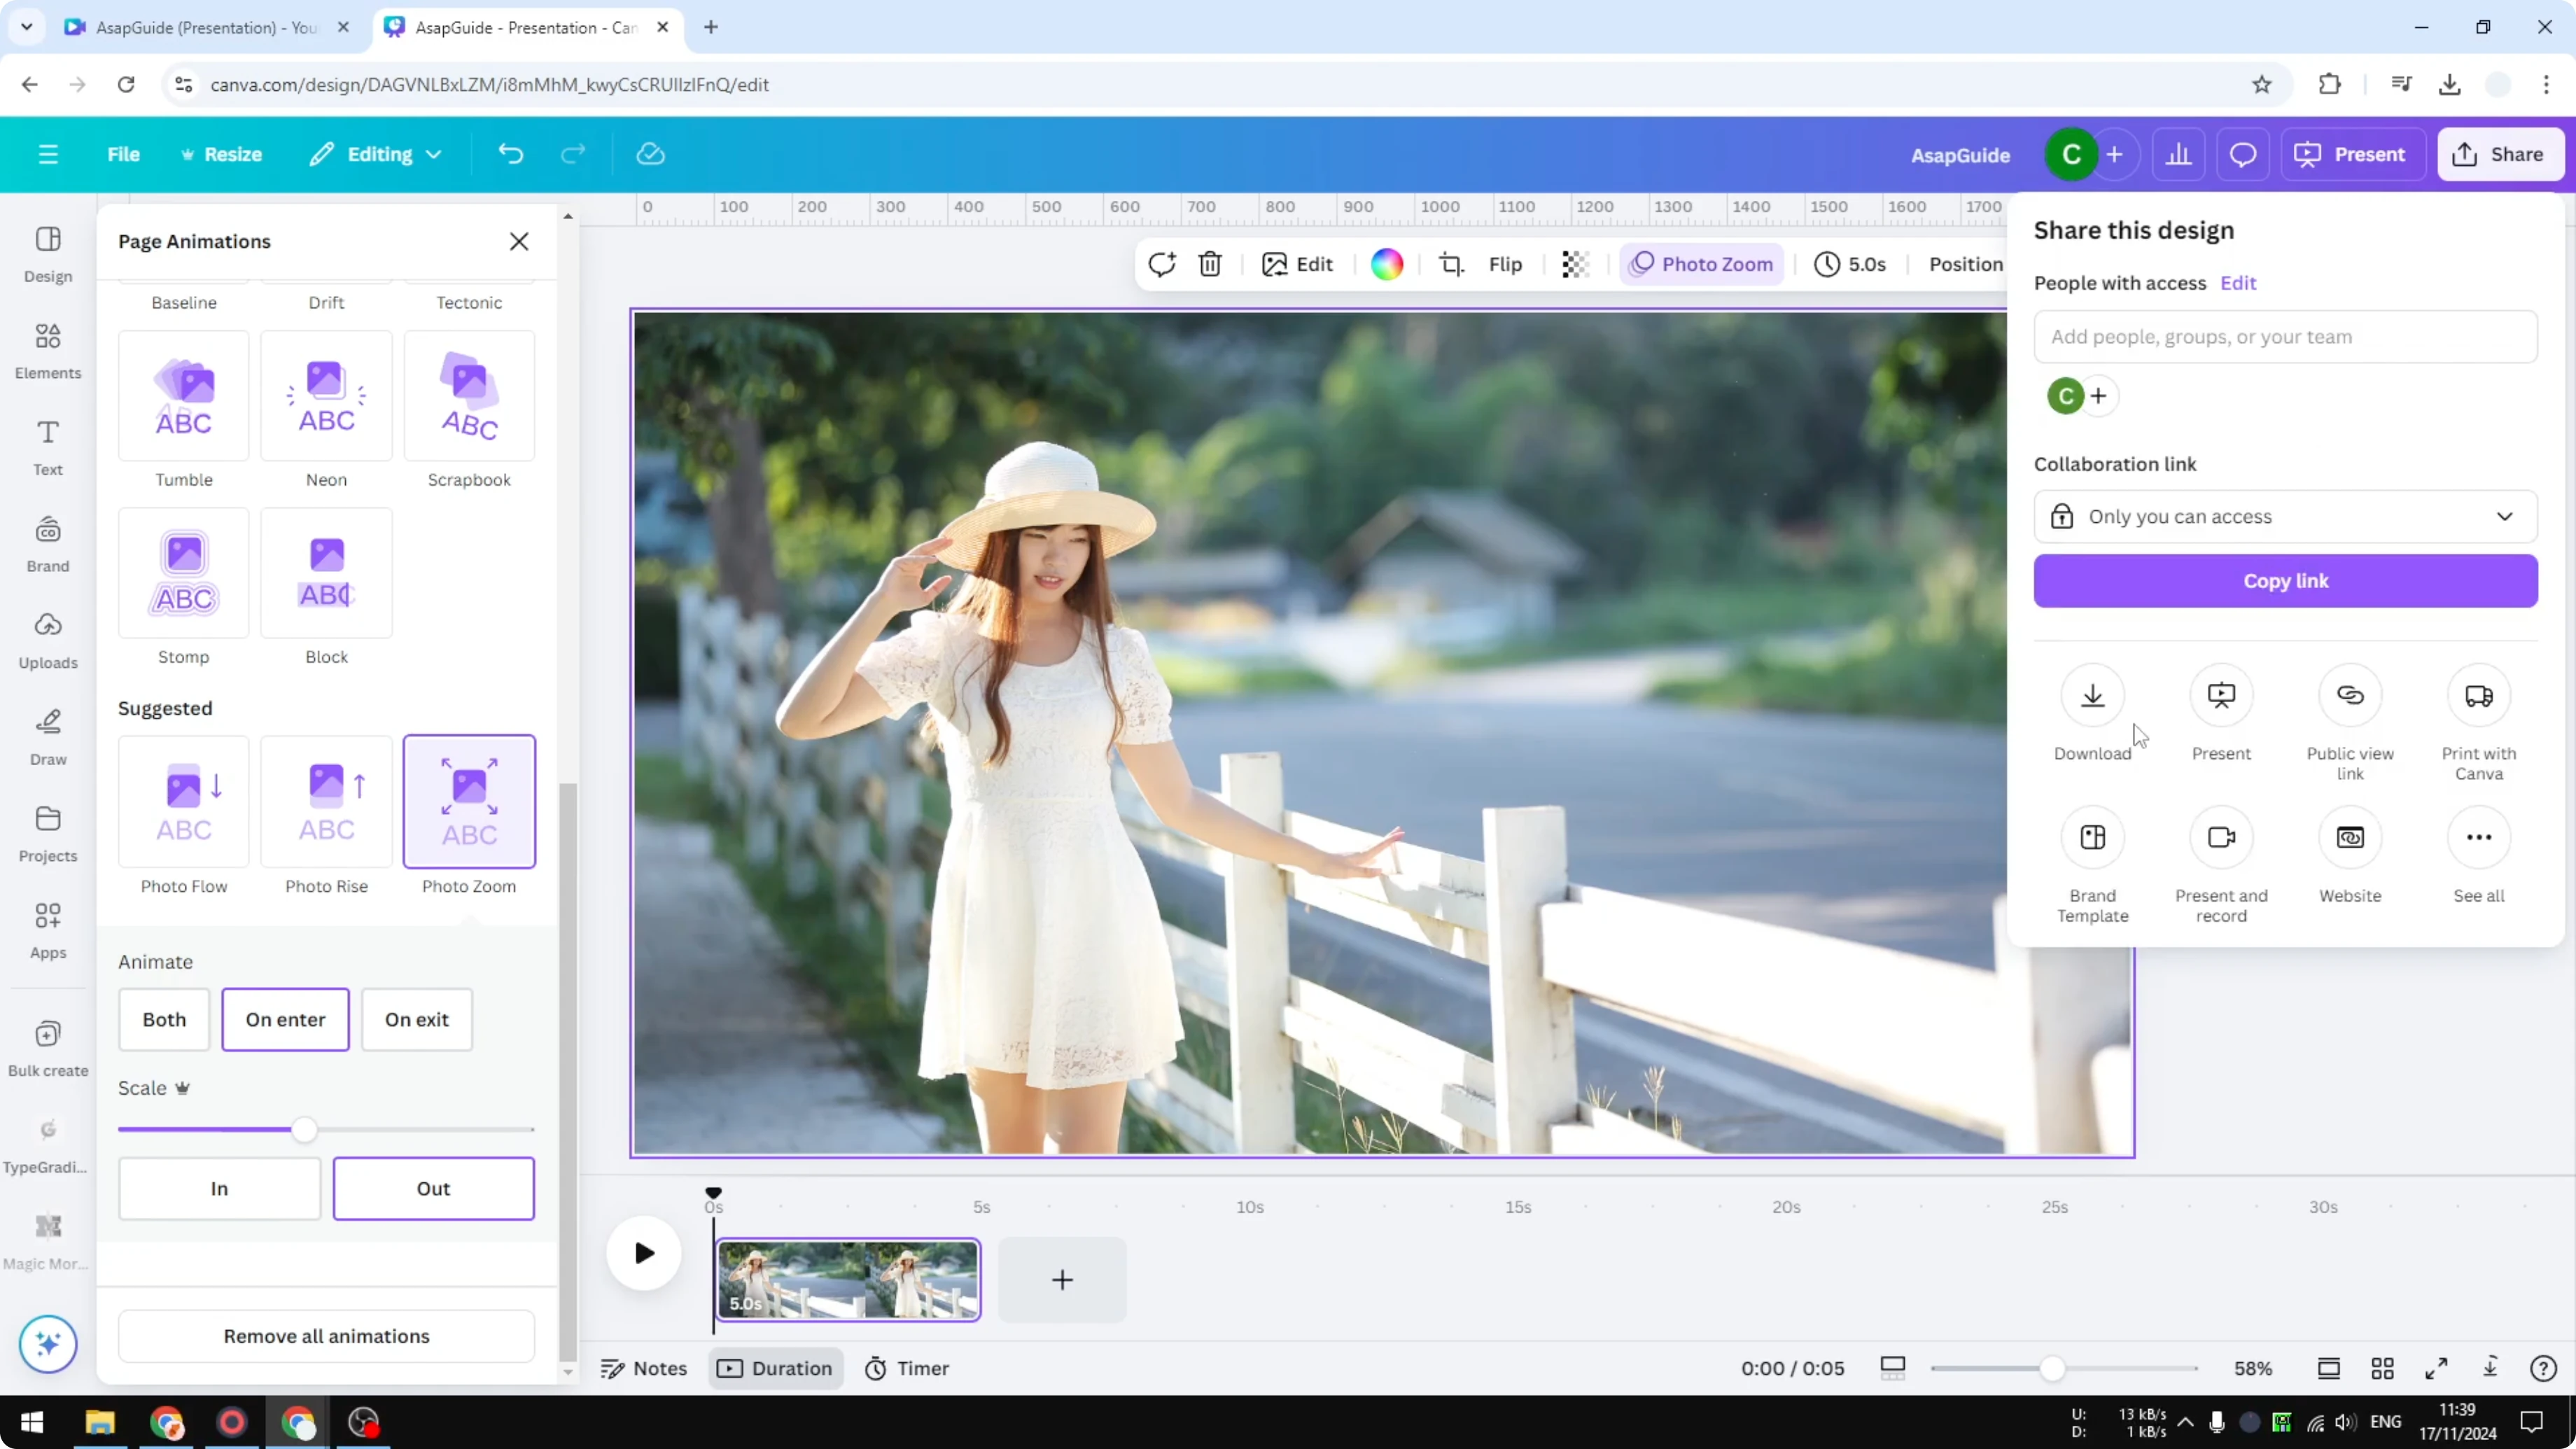
Export
Click Share, select Download, choose MP4 as the file type, adjust the resolution if needed, and export.
If you see a prompt related to premium content, add a simple shape to the canvas and set its transparency to 0 so it’s invisible, then try downloading again.
The default duration is 5 seconds, but you can shorten or extend it to fit your needs.
Result
The result is simple and attractive.
It’s the kind of motion you often see used as a subtle background or intro.
Everything moves together, which keeps it clean and quick.
Parallax effect method
Prep
Start with an empty page and insert the same picture again.
Resize it to be slightly larger than the frame so you have room to animate.
Remove any animations from this scene to keep full control.
If you want a stylized look in the process, try applying a cartoon style to your photo first with Canva’s AI cartoon effect.
Separate subject
Click Edit, then use Magic Grab to separate the subject from the background.

This makes it easy to animate the subject and the background independently.
This animation approach is called a parallax effect and it gives a subtle 2.5D look.
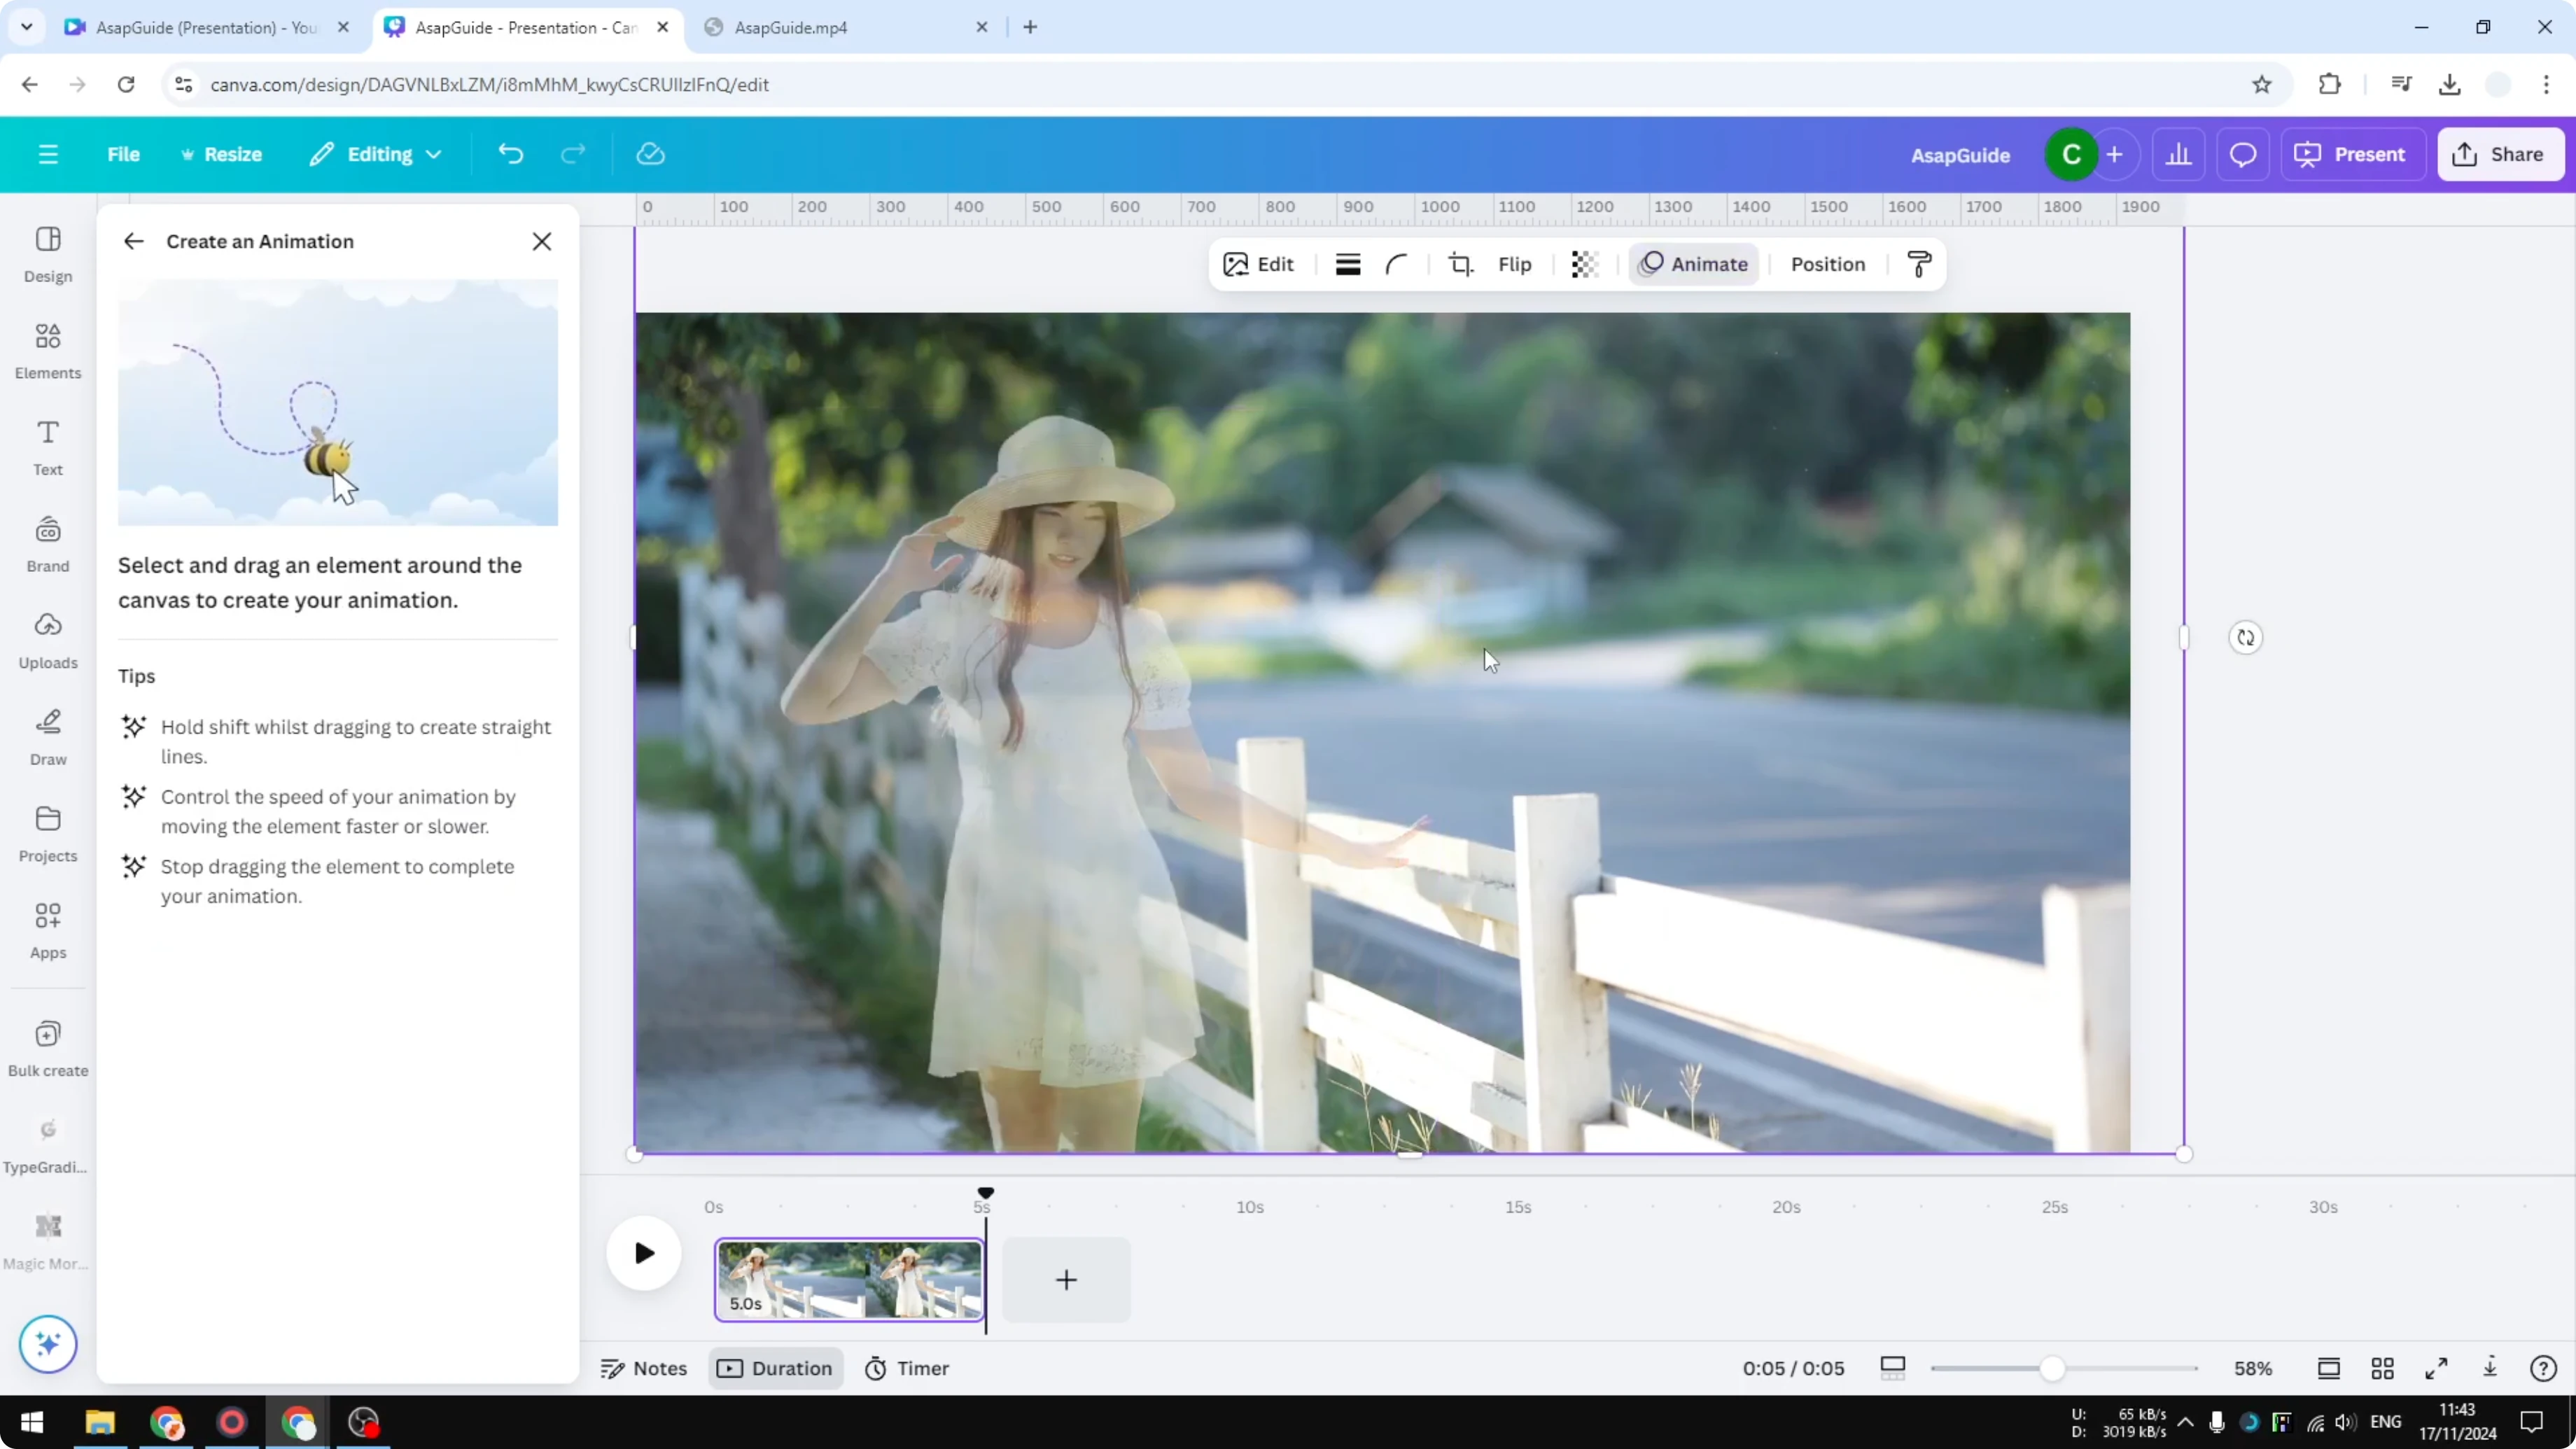
Create motion
Click the subject image, open Animate, and choose Create an animation.
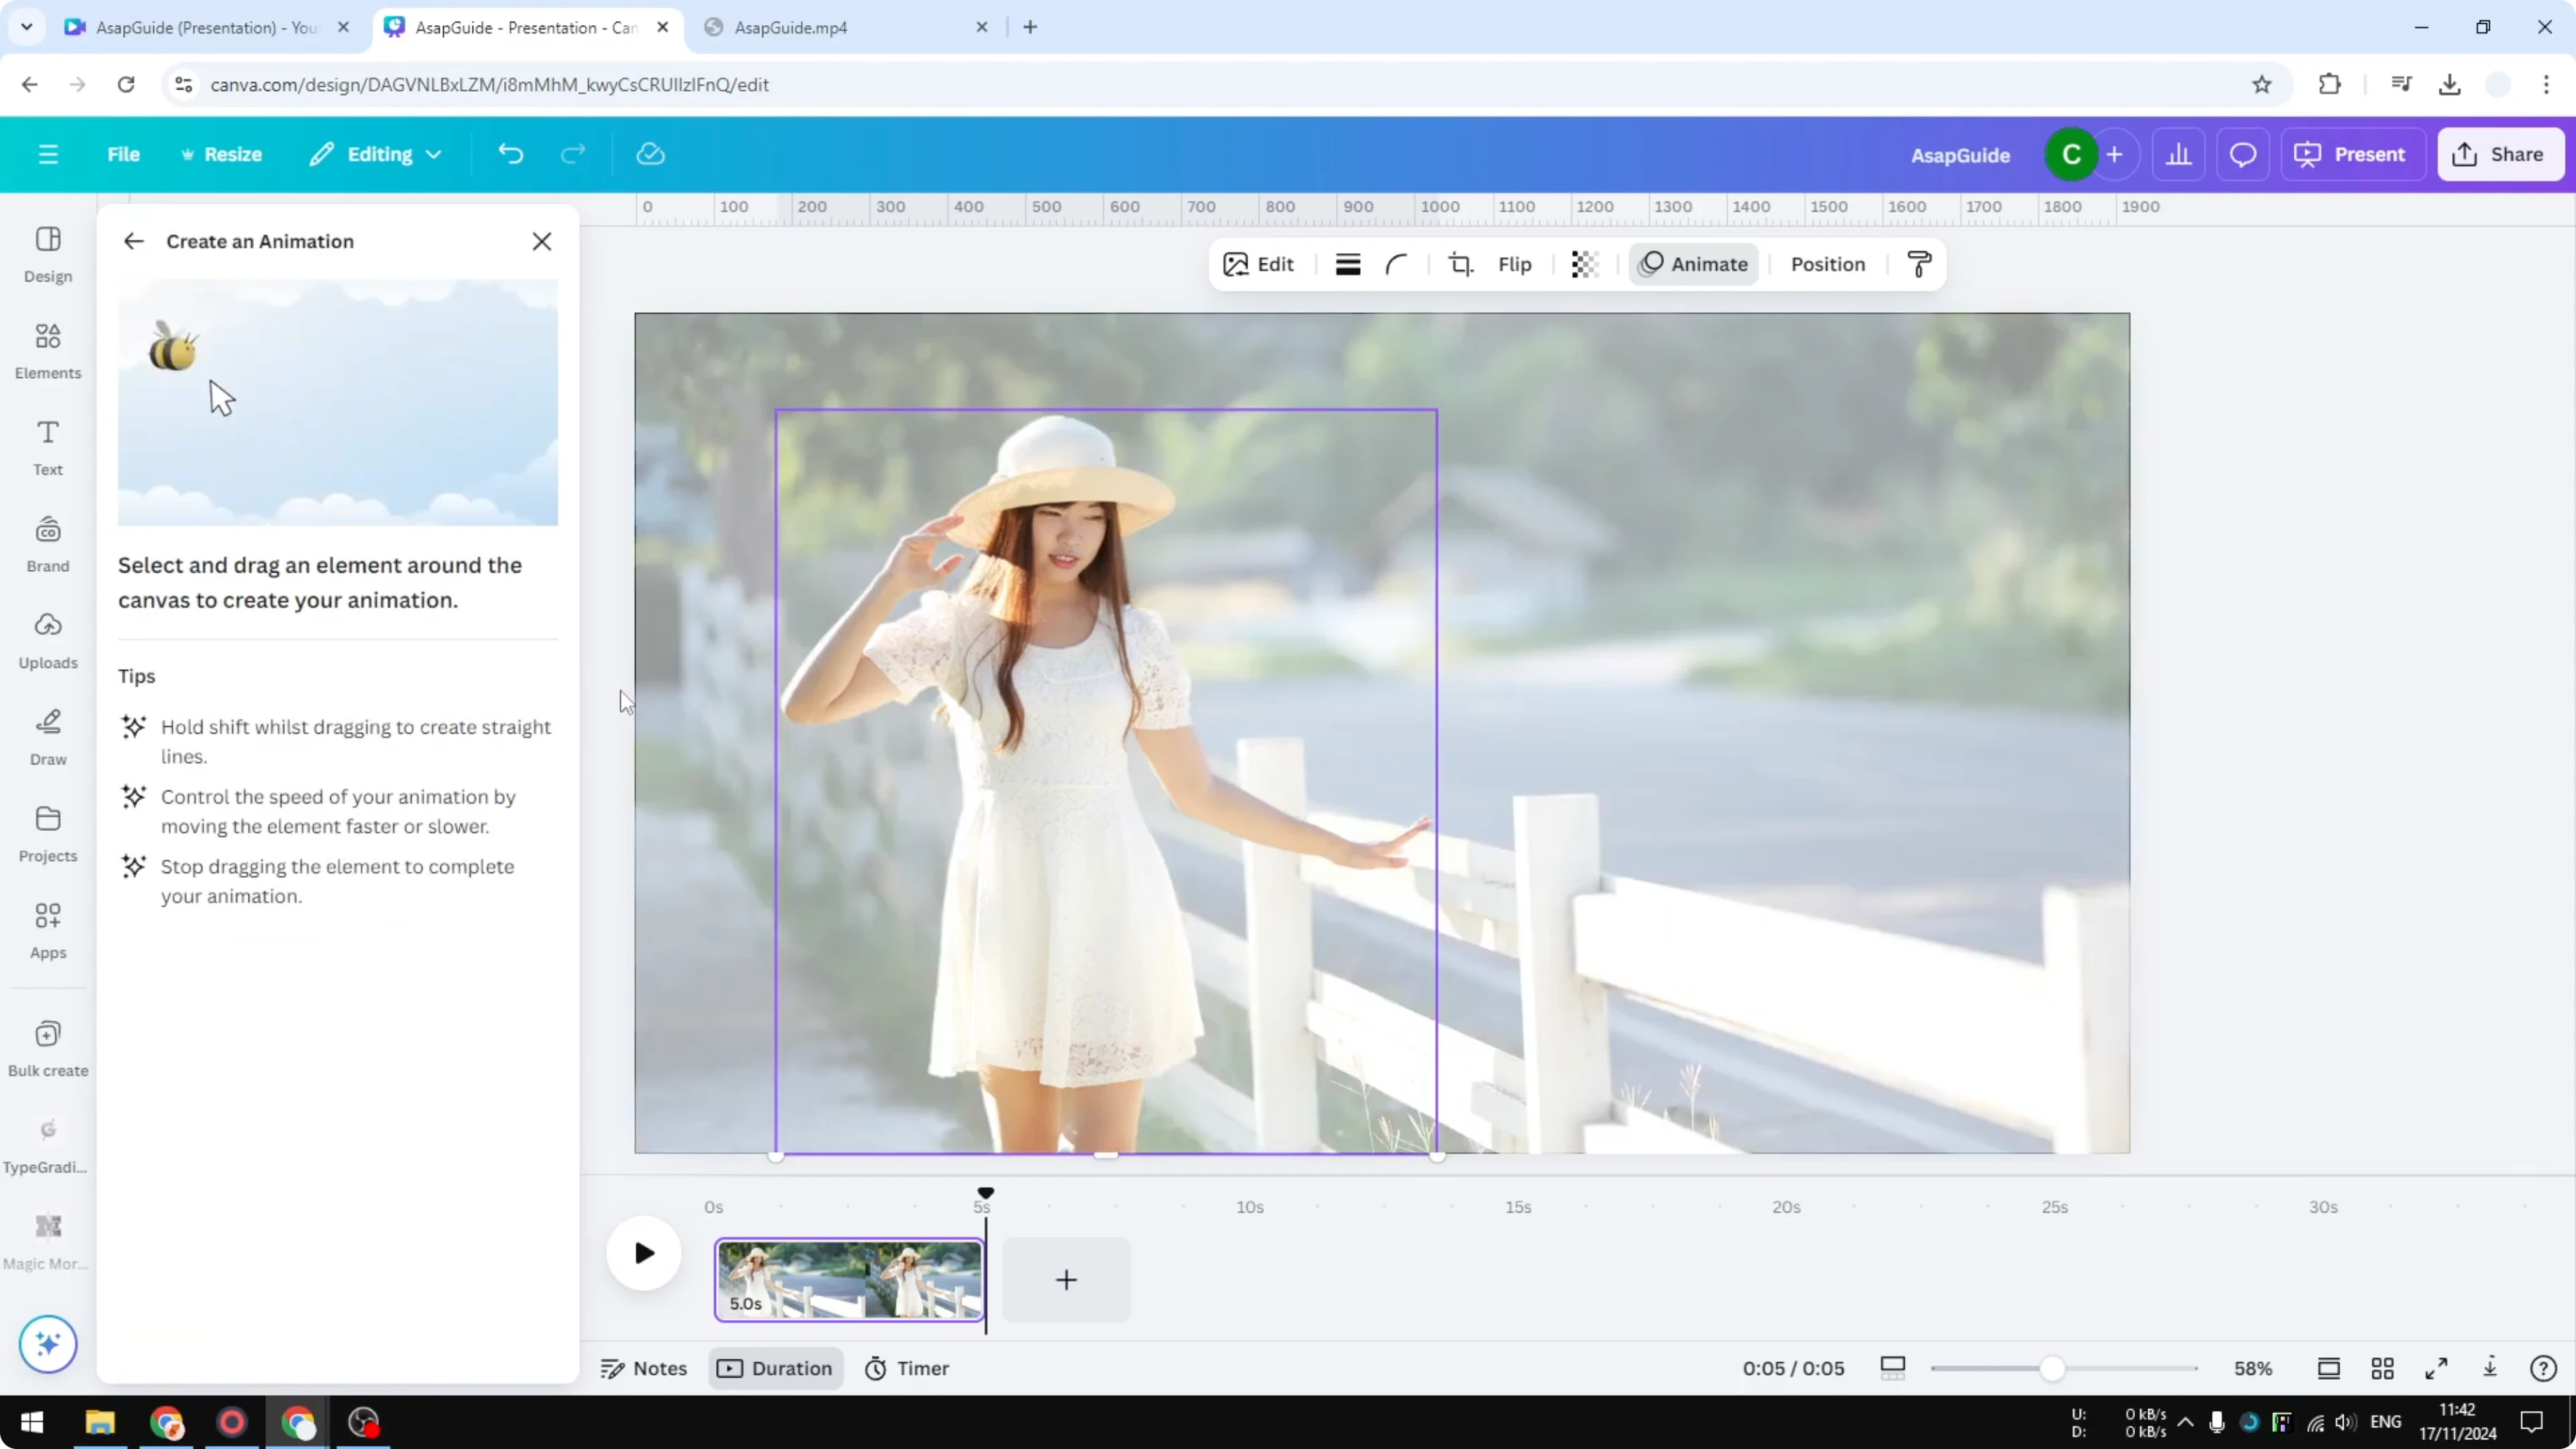
Hold Shift, then drag the subject slightly to the right to record the motion path.
Change Movement style to Steady and reduce the speed very close to zero for a smooth, subtle move.
Click the background, choose Create an animation, hold Shift, and drag the background slightly to the left.
Move the background in the opposite direction to the subject for proper parallax.
Reduce the speed near zero and keep the movement style set to Steady, then click Done.
Export and result
Export as MP4 at your preferred resolution.
The result shows a subtle, pleasing movement with multiple elements shifting in opposite directions.
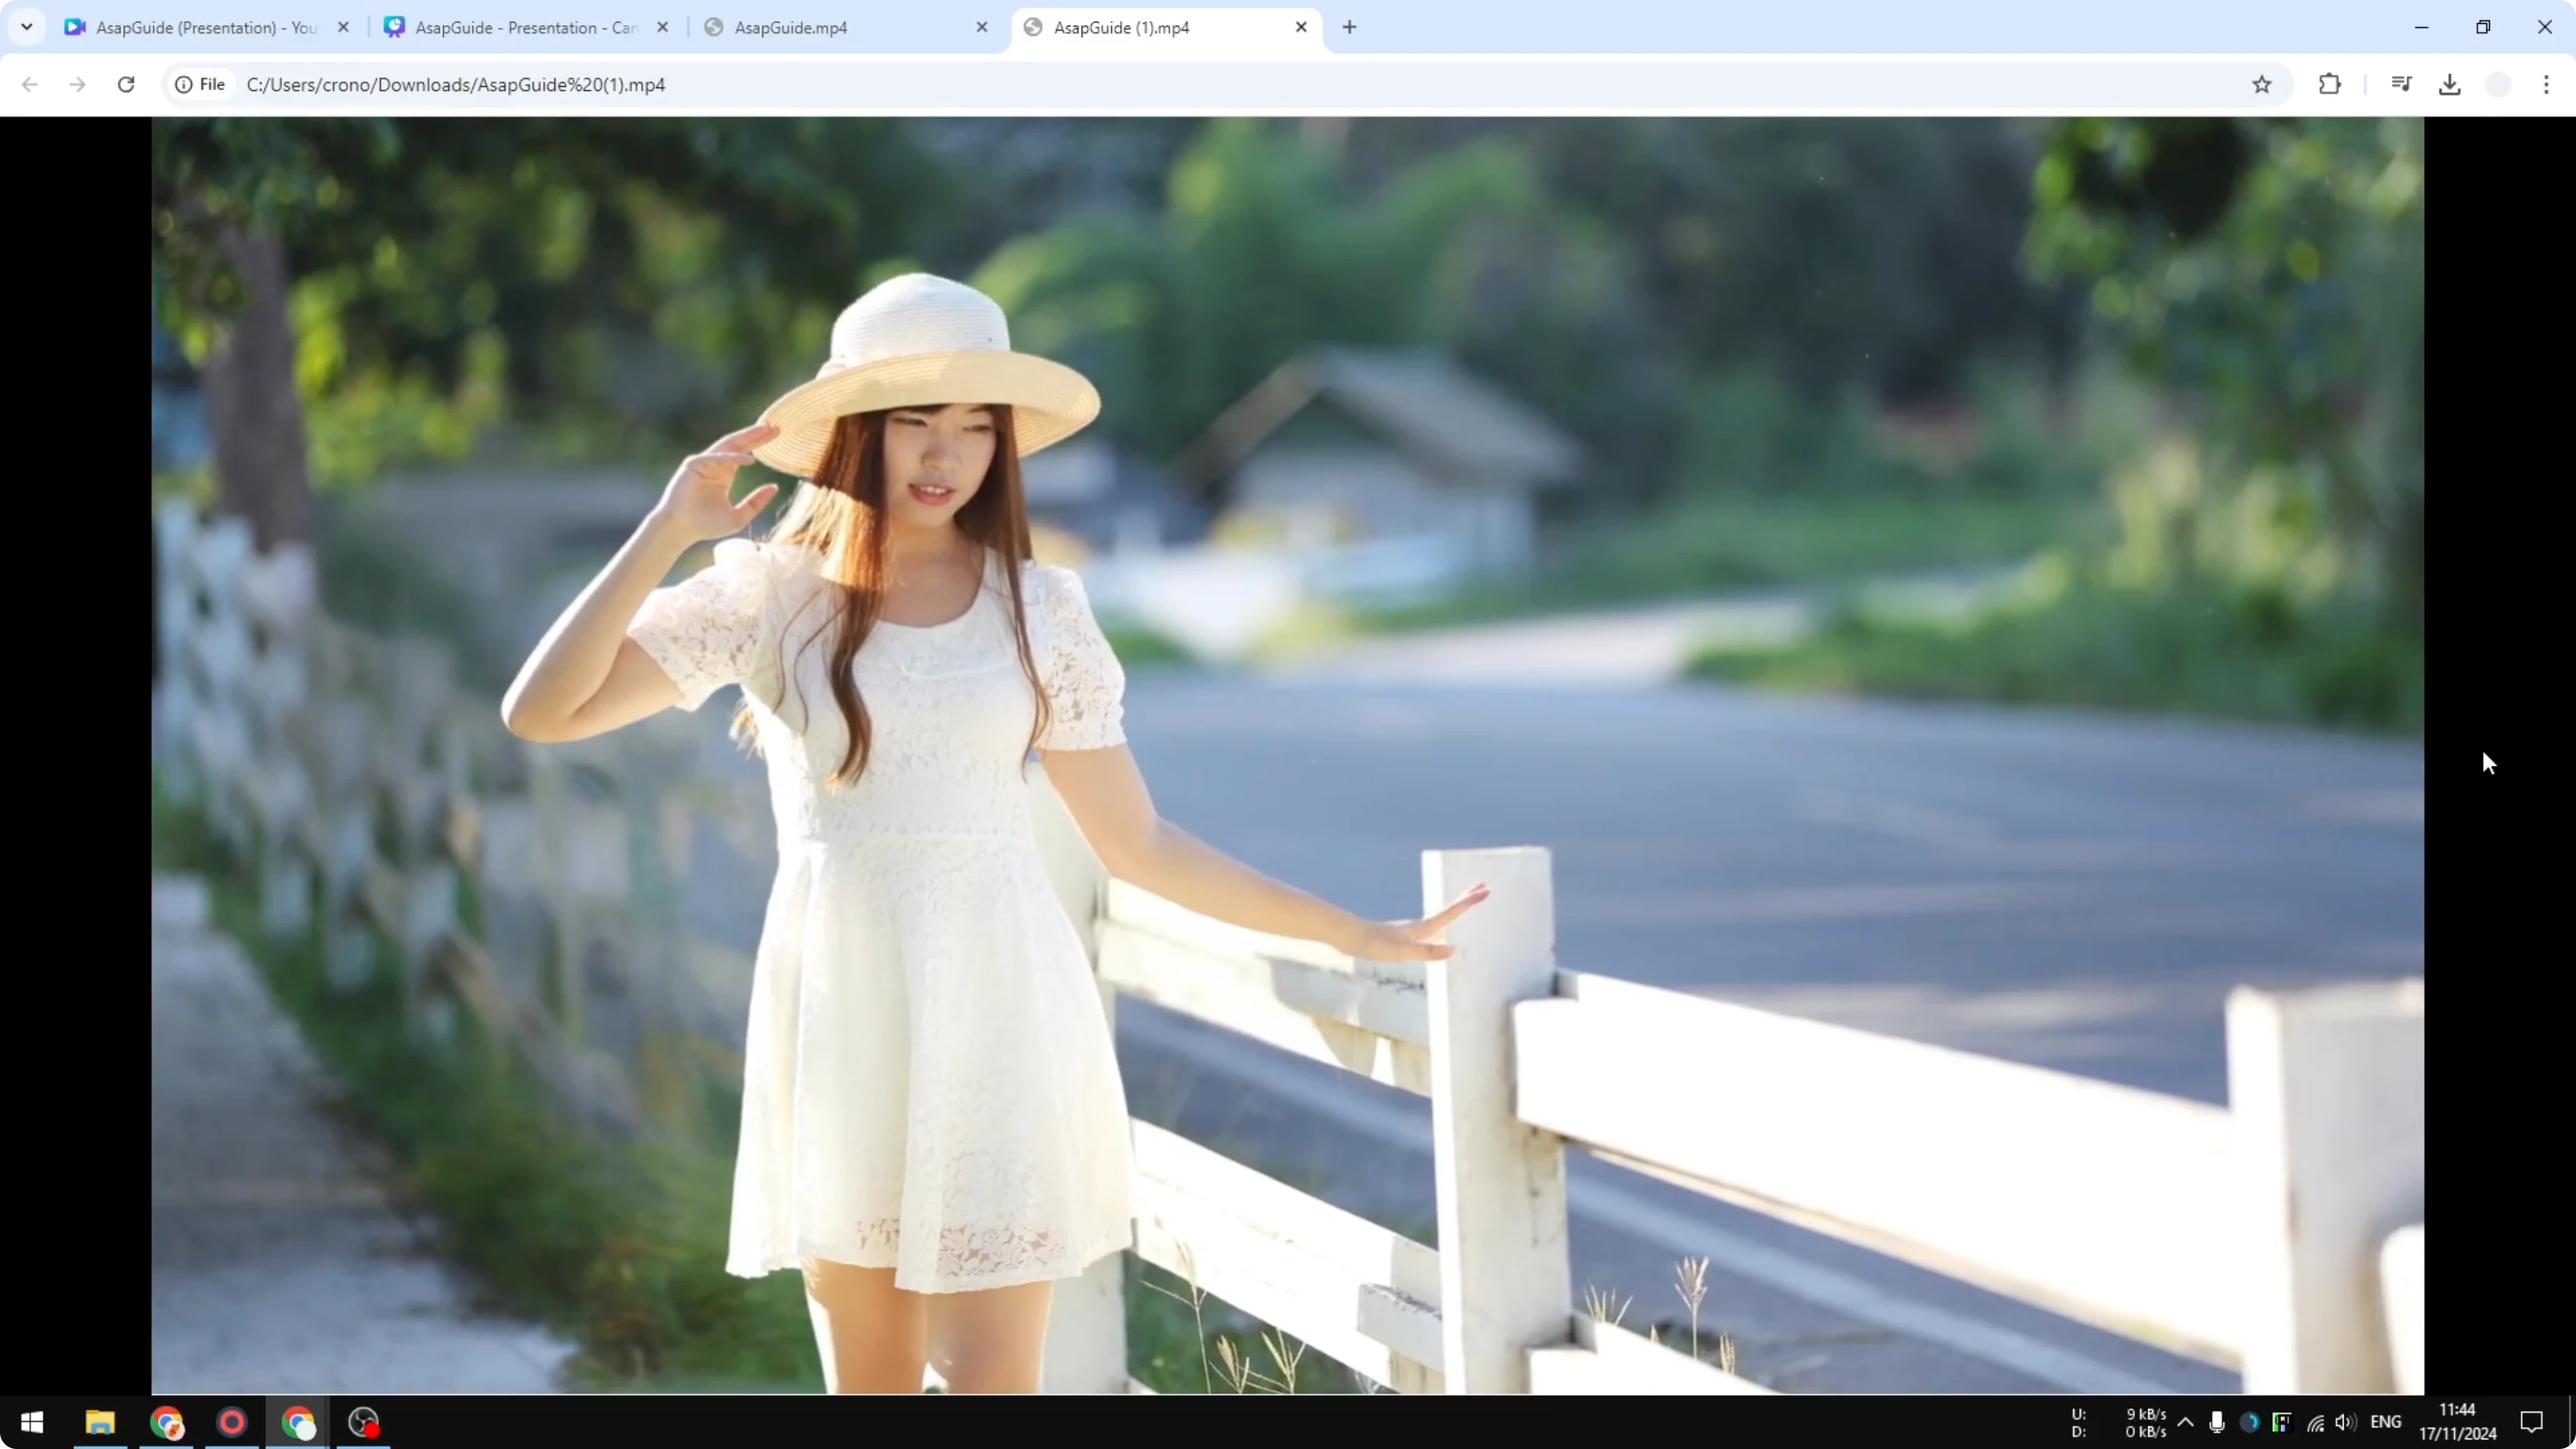
It looks more dynamic than the simple method because the subject and the background move independently.
Final thoughts
Method one is fast and clean.
Method two takes longer but adds depth by moving the foreground and background in opposite directions.
Pick the style that fits your project, and keep the motion subtle for the best result.
Recent Posts
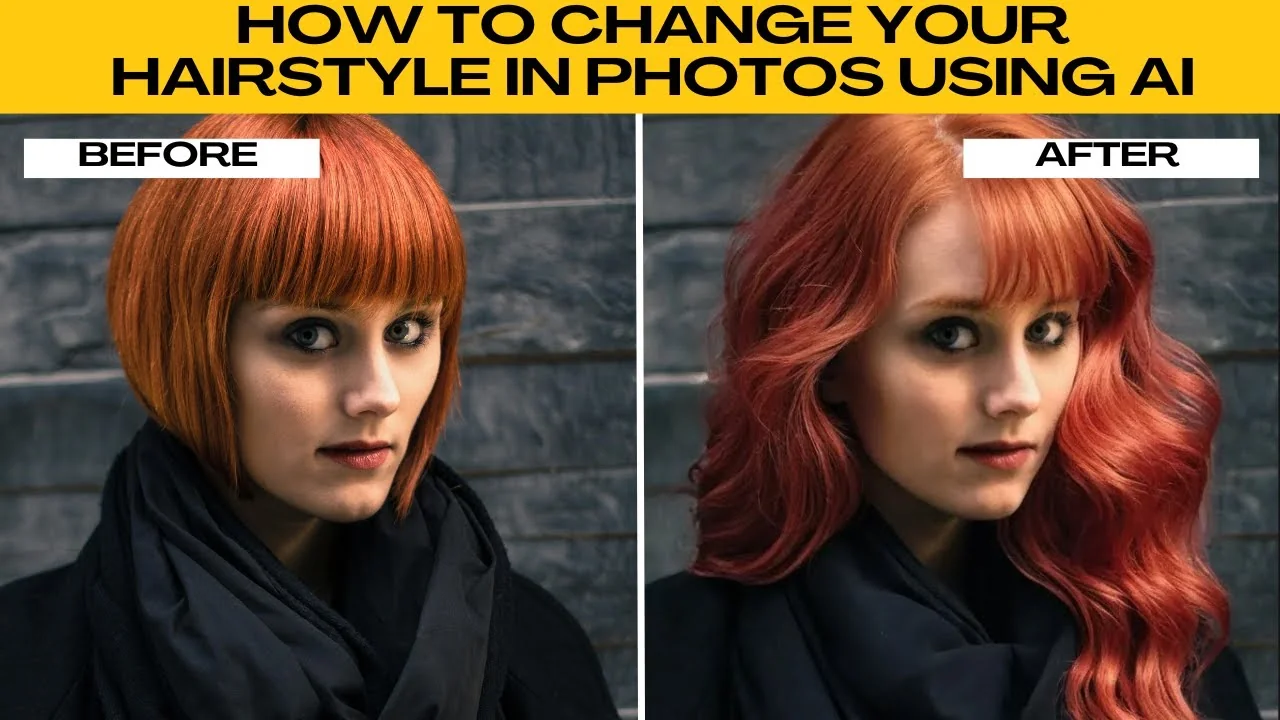
How to Visualize Different Hairstyles and Hair Colors with AI?
How to Visualize Different Hairstyles and Hair Colors with AI?

How to Transform Daytime Photos into Realistic Night Scenes with AI?
How to Transform Daytime Photos into Realistic Night Scenes with AI?
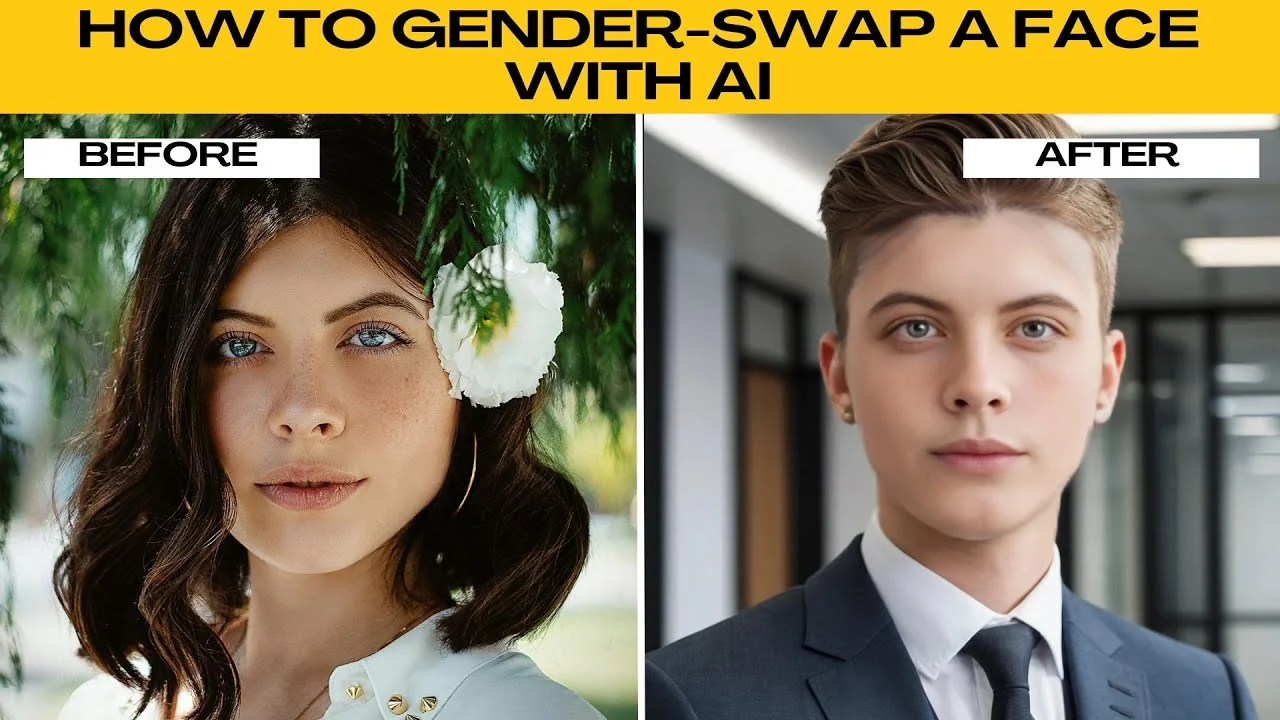
How to Visualize Yourself as the Opposite Gender with AI?
How to Visualize Yourself as the Opposite Gender with AI?