How to Trace an Image in Canva

I’m going to show you how to trace an image in Canva. Tracing is not a native feature in Canva at the moment. I use a third-party app inside the platform to make it work.
You can start with any image. Use a photo from your uploads or pick one from the Elements tab, which includes a large stock library. I’ll walk you through the exact steps I use.
Trace an Image in Canva: Prepare the Image
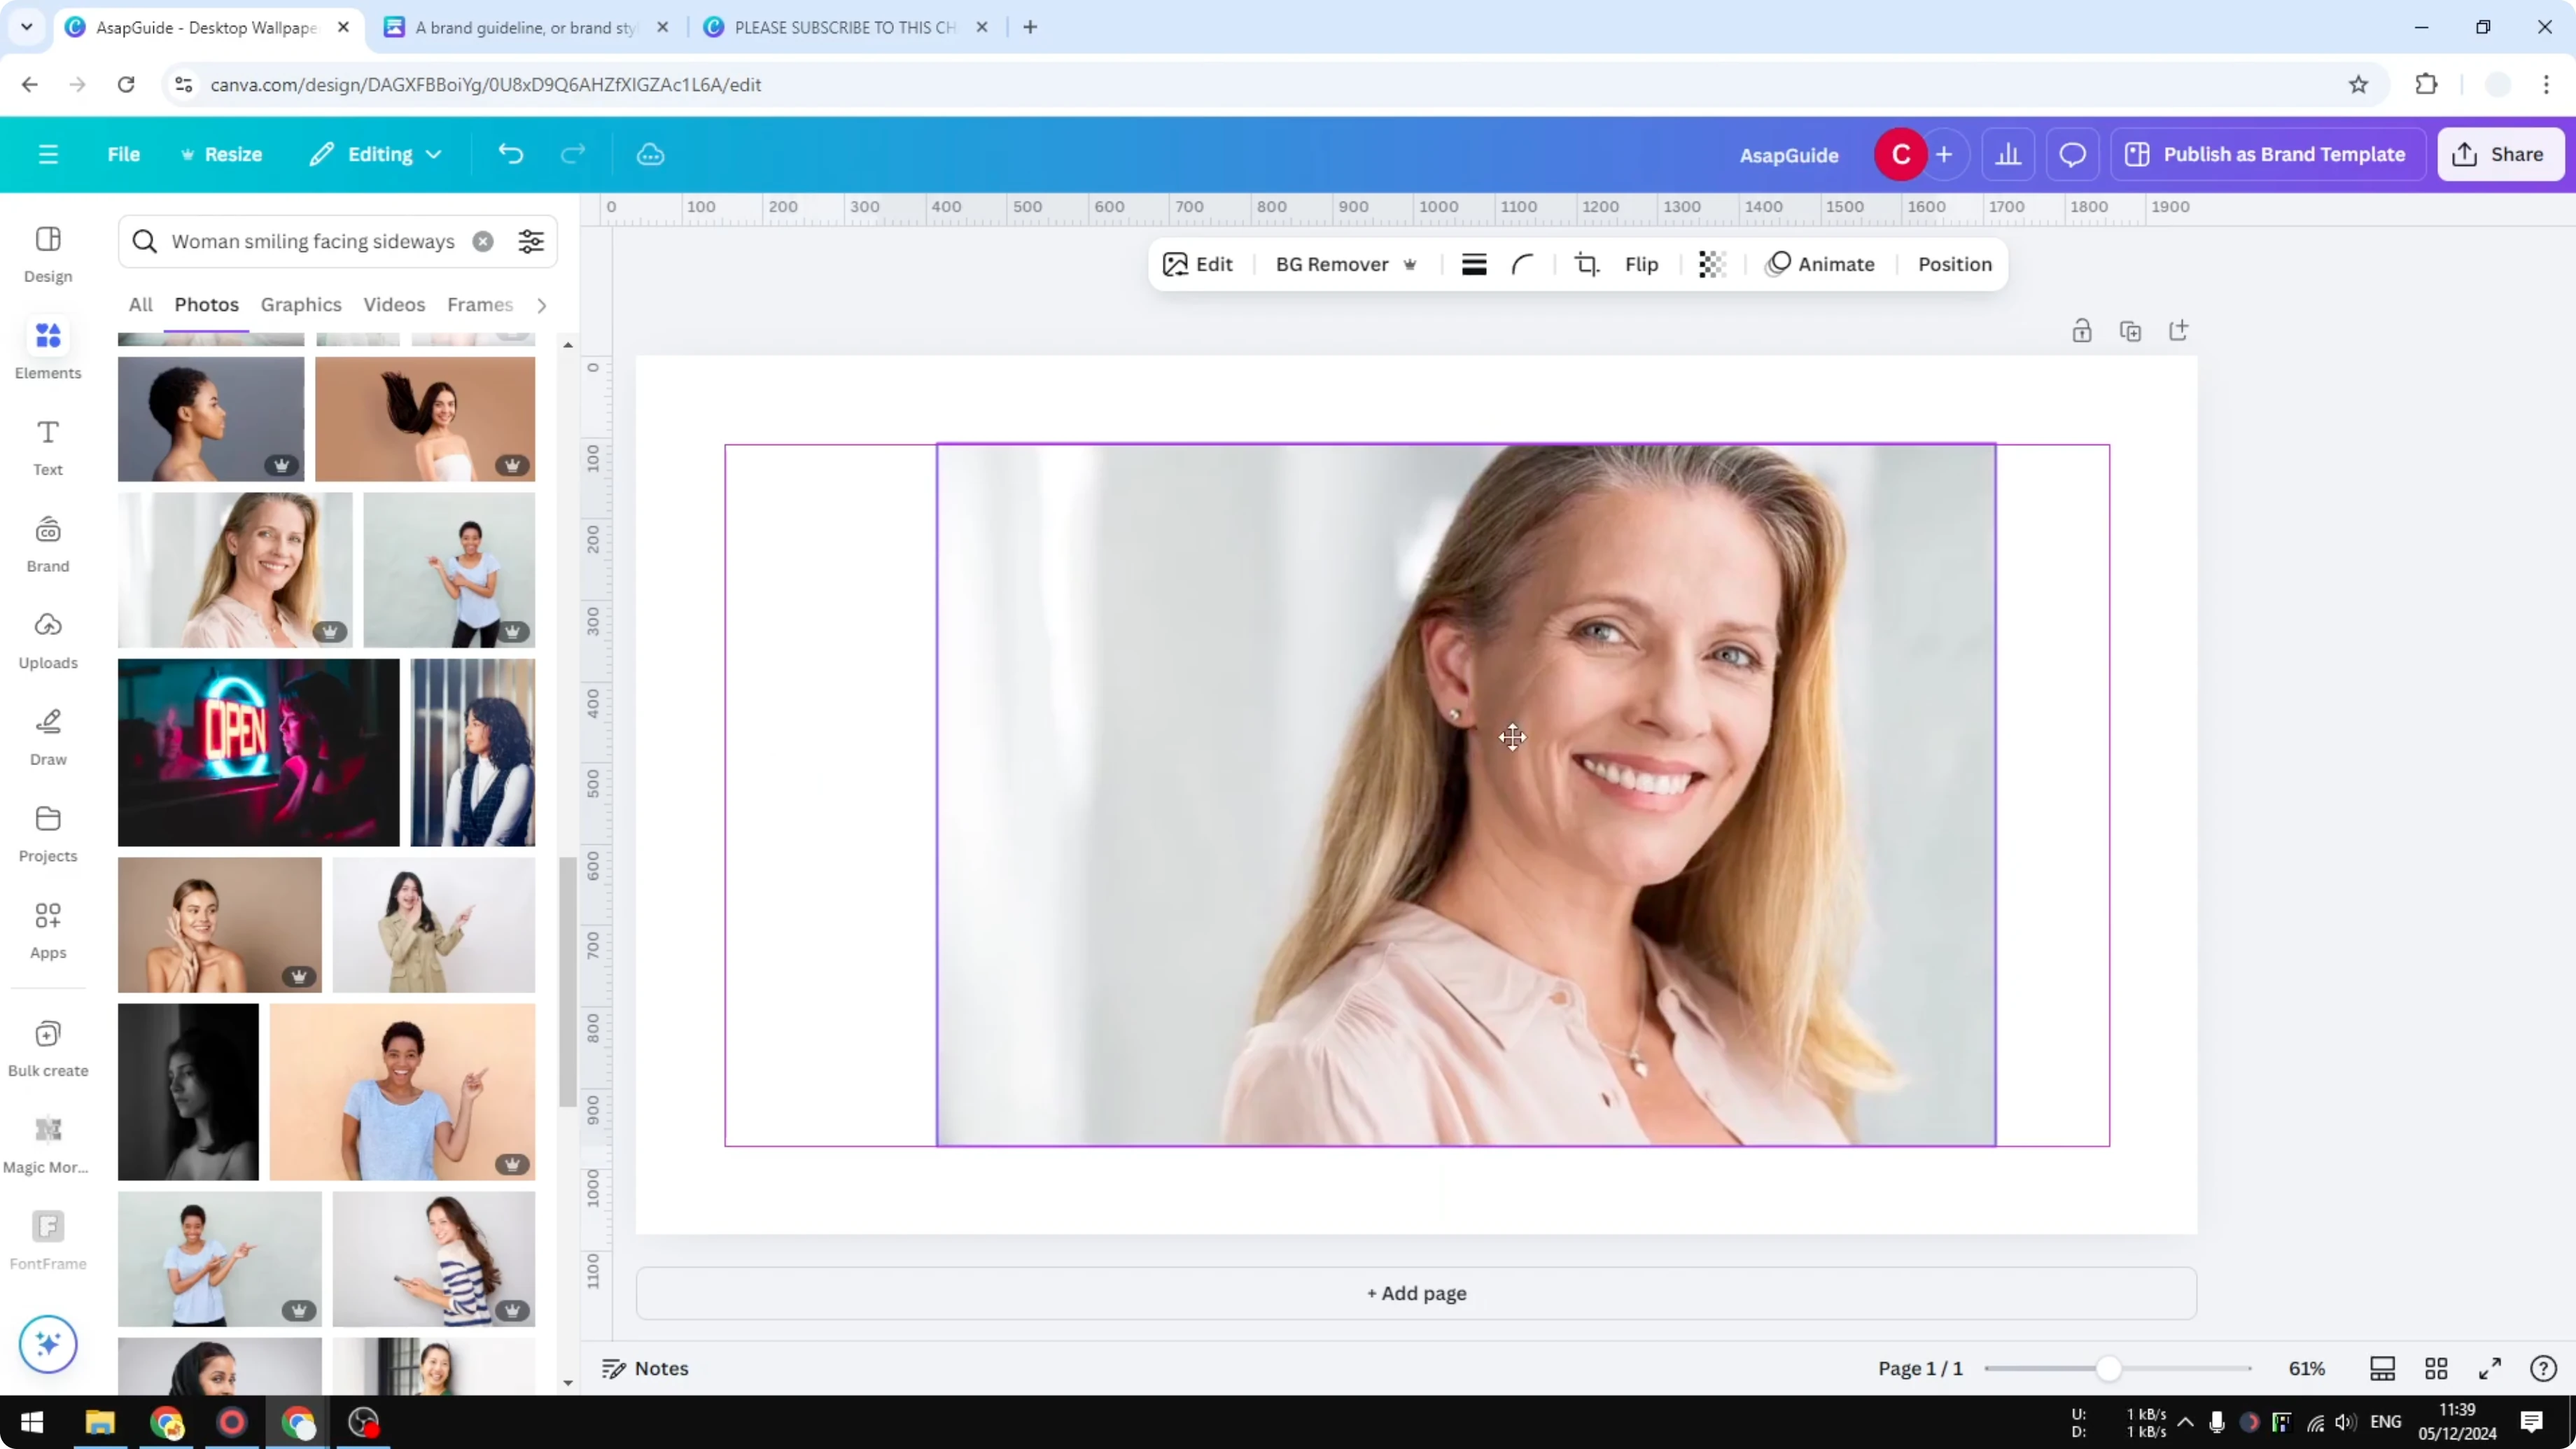
Insert your picture onto the canvas.
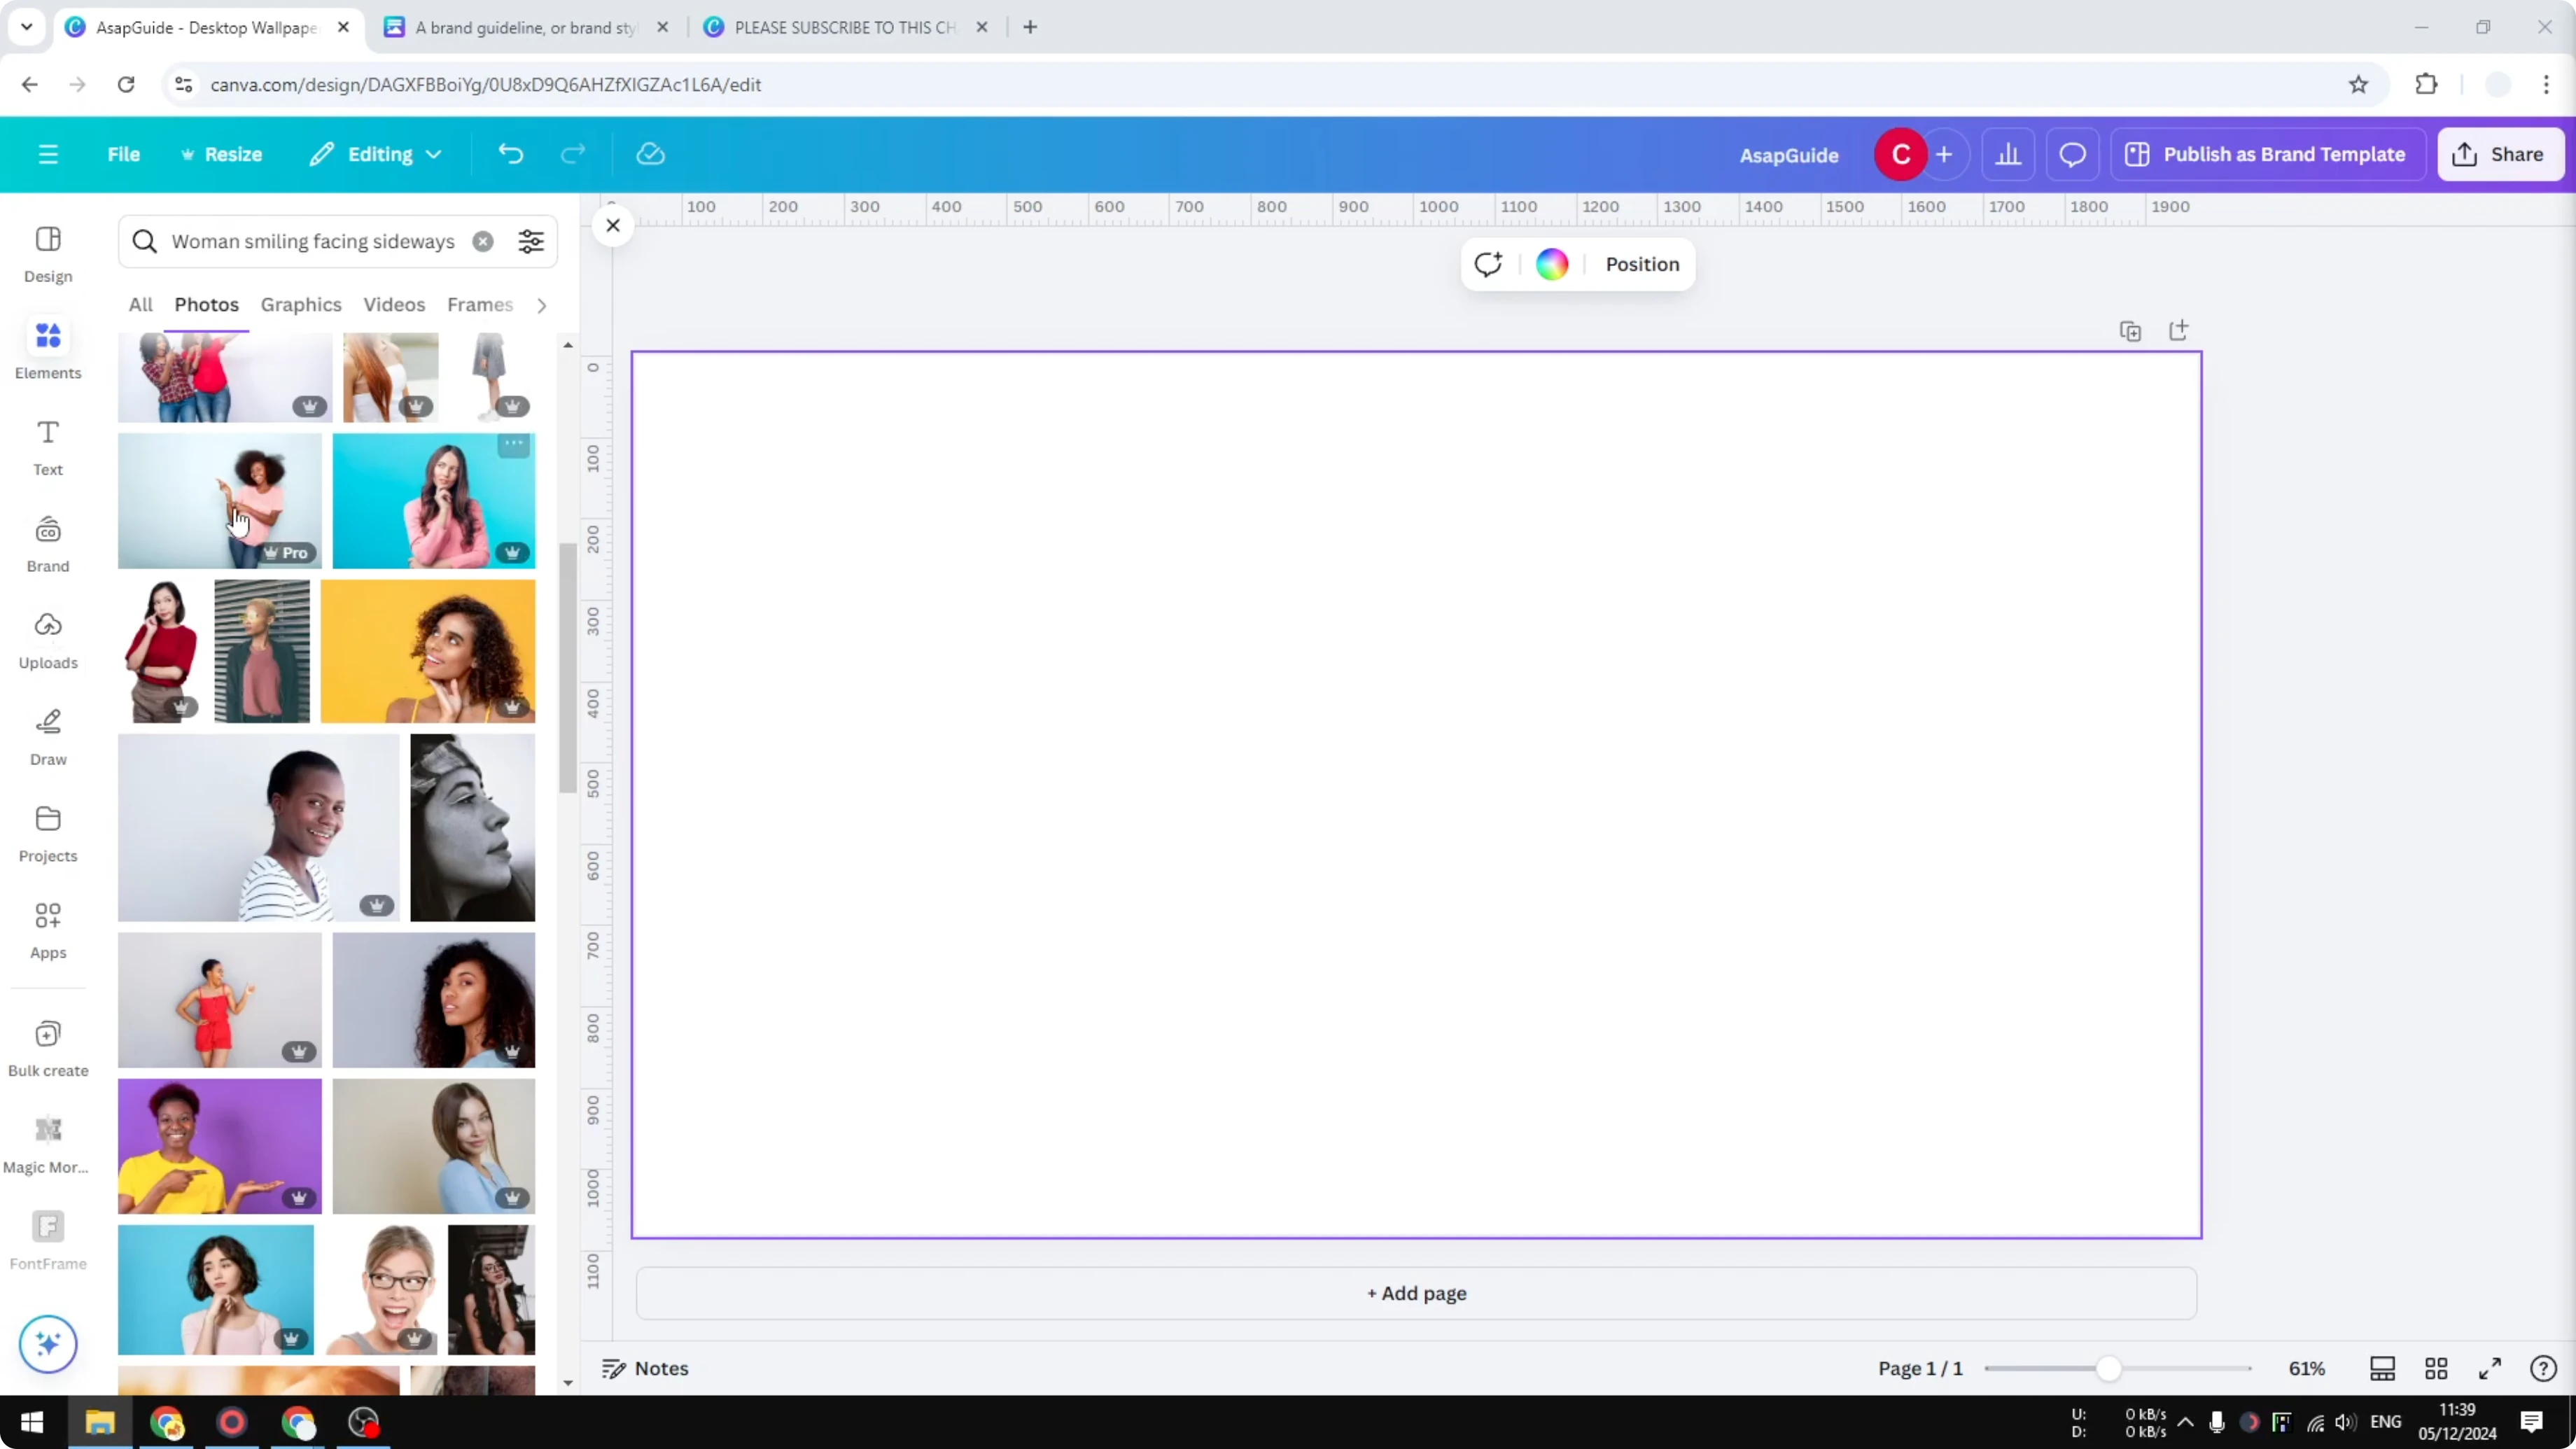
Resize it so you can clearly see the details you want to keep.
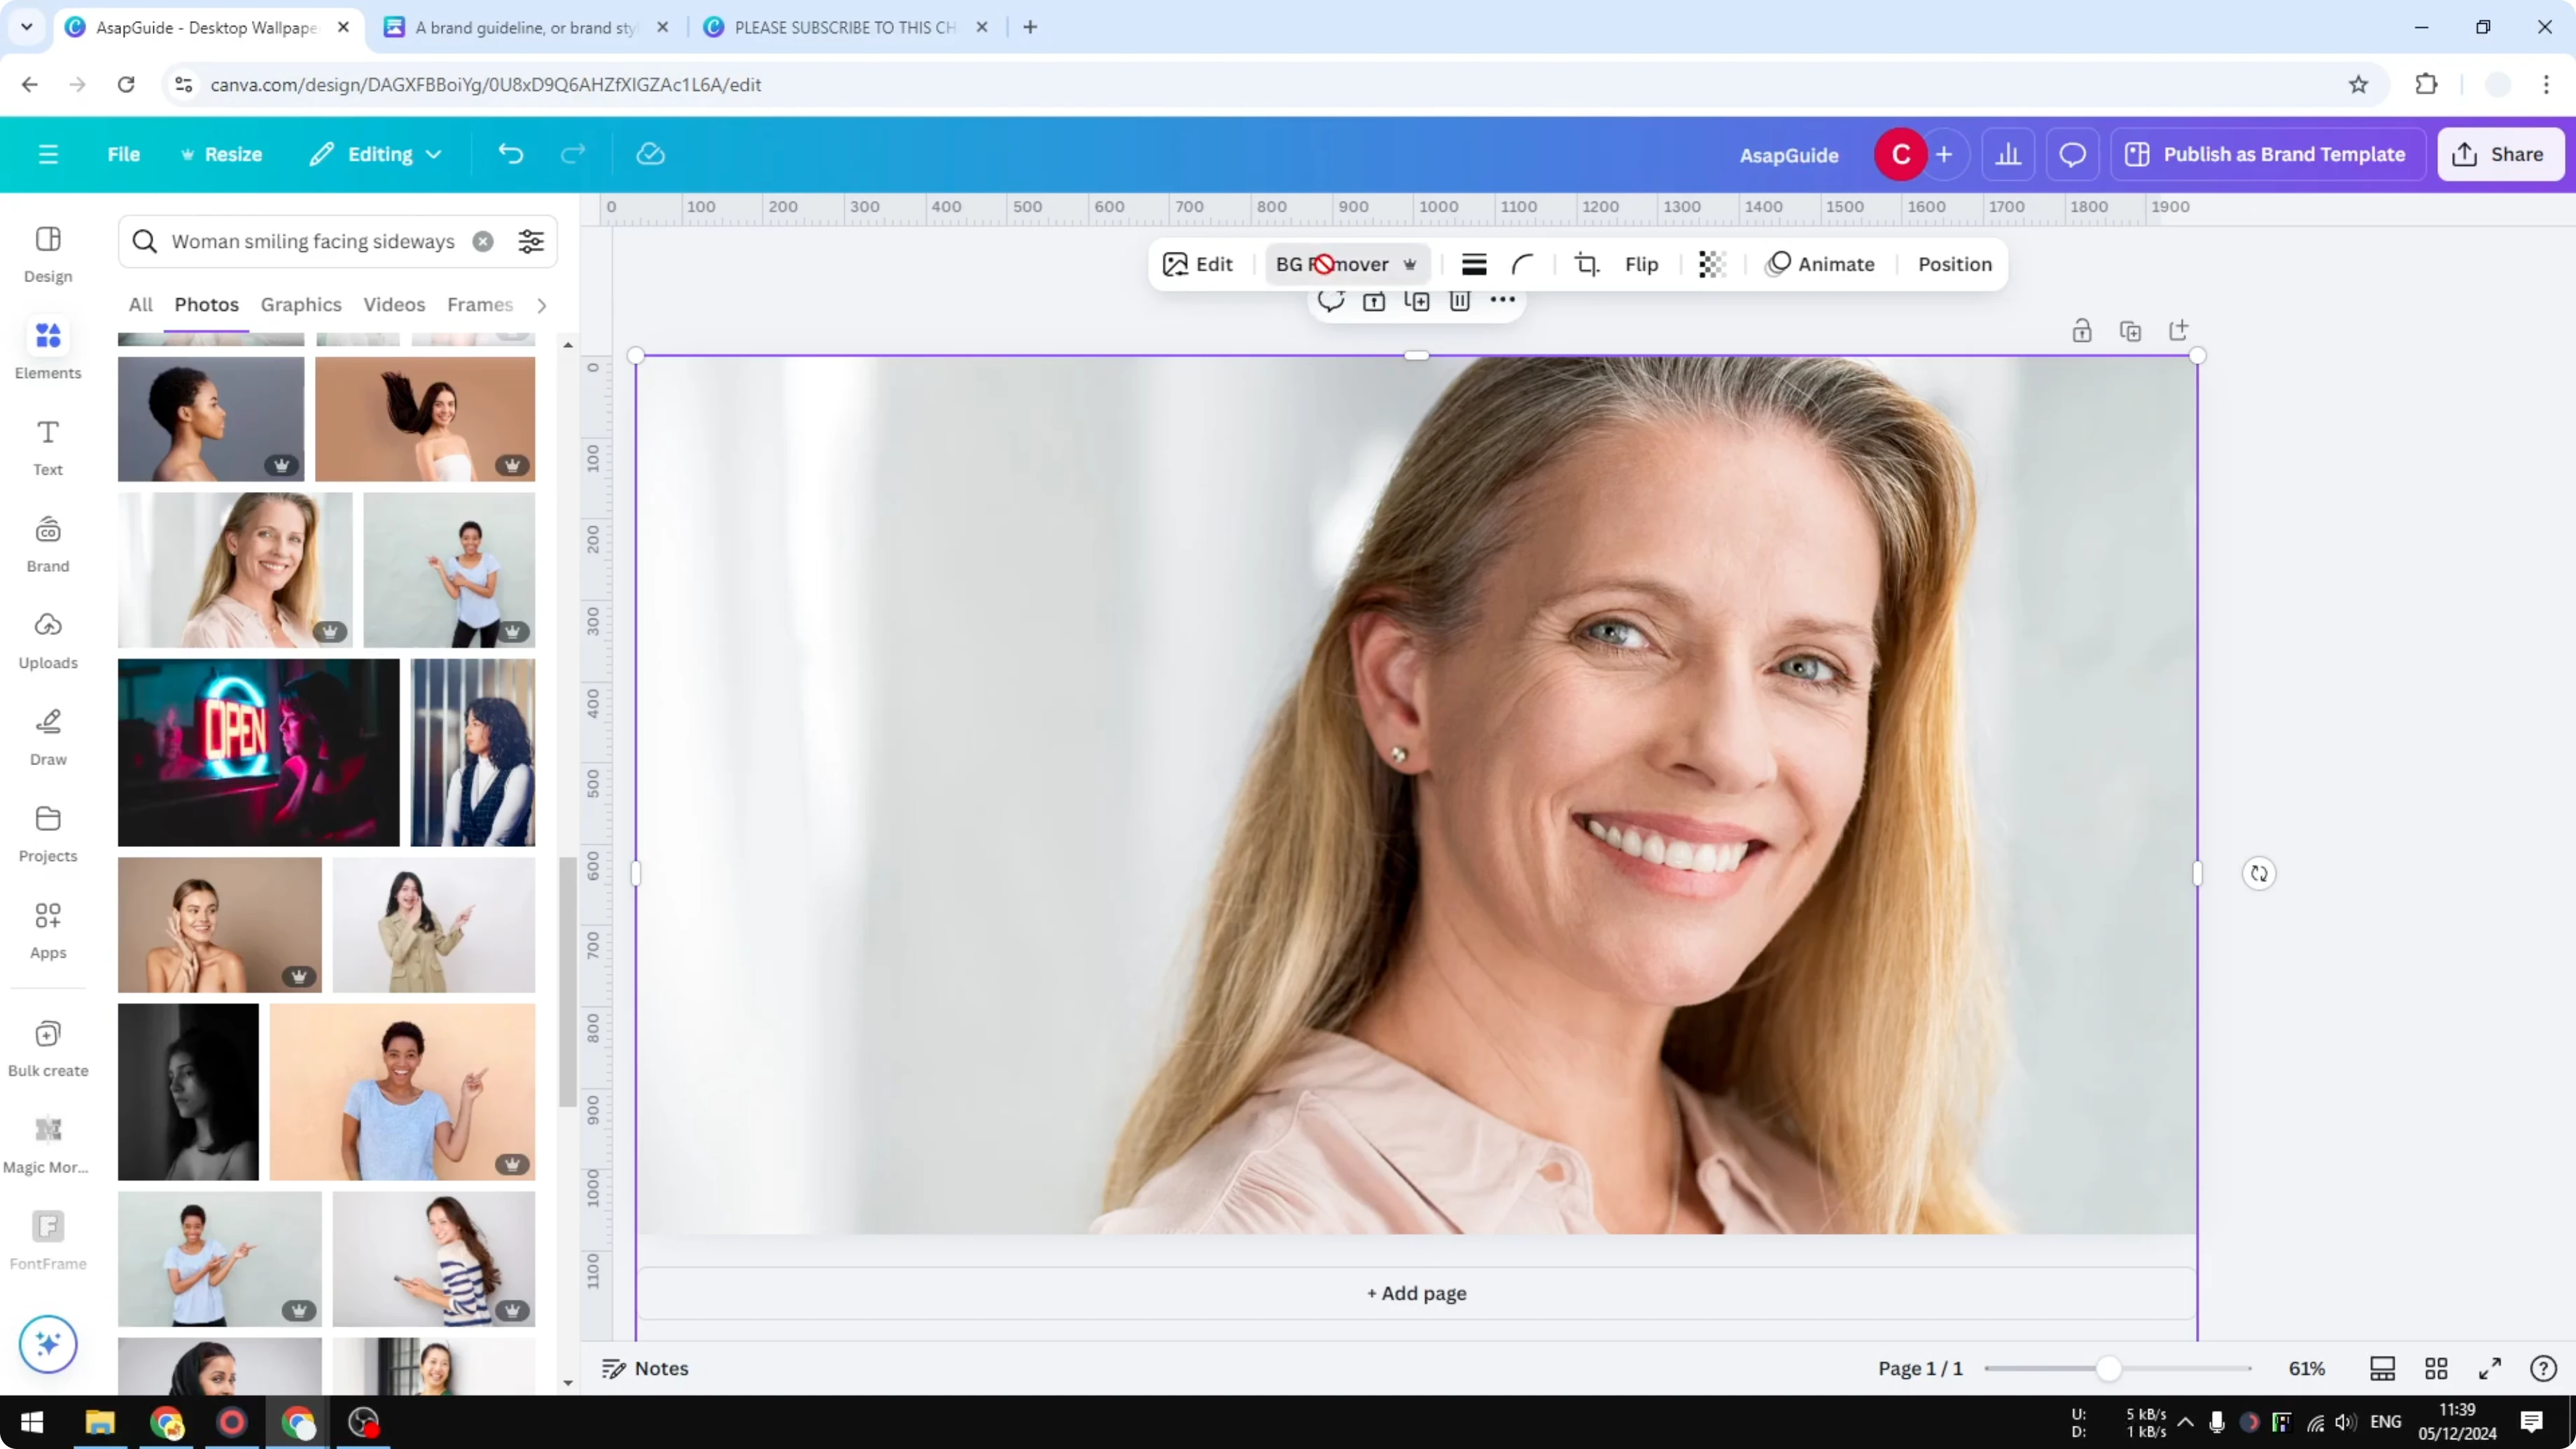
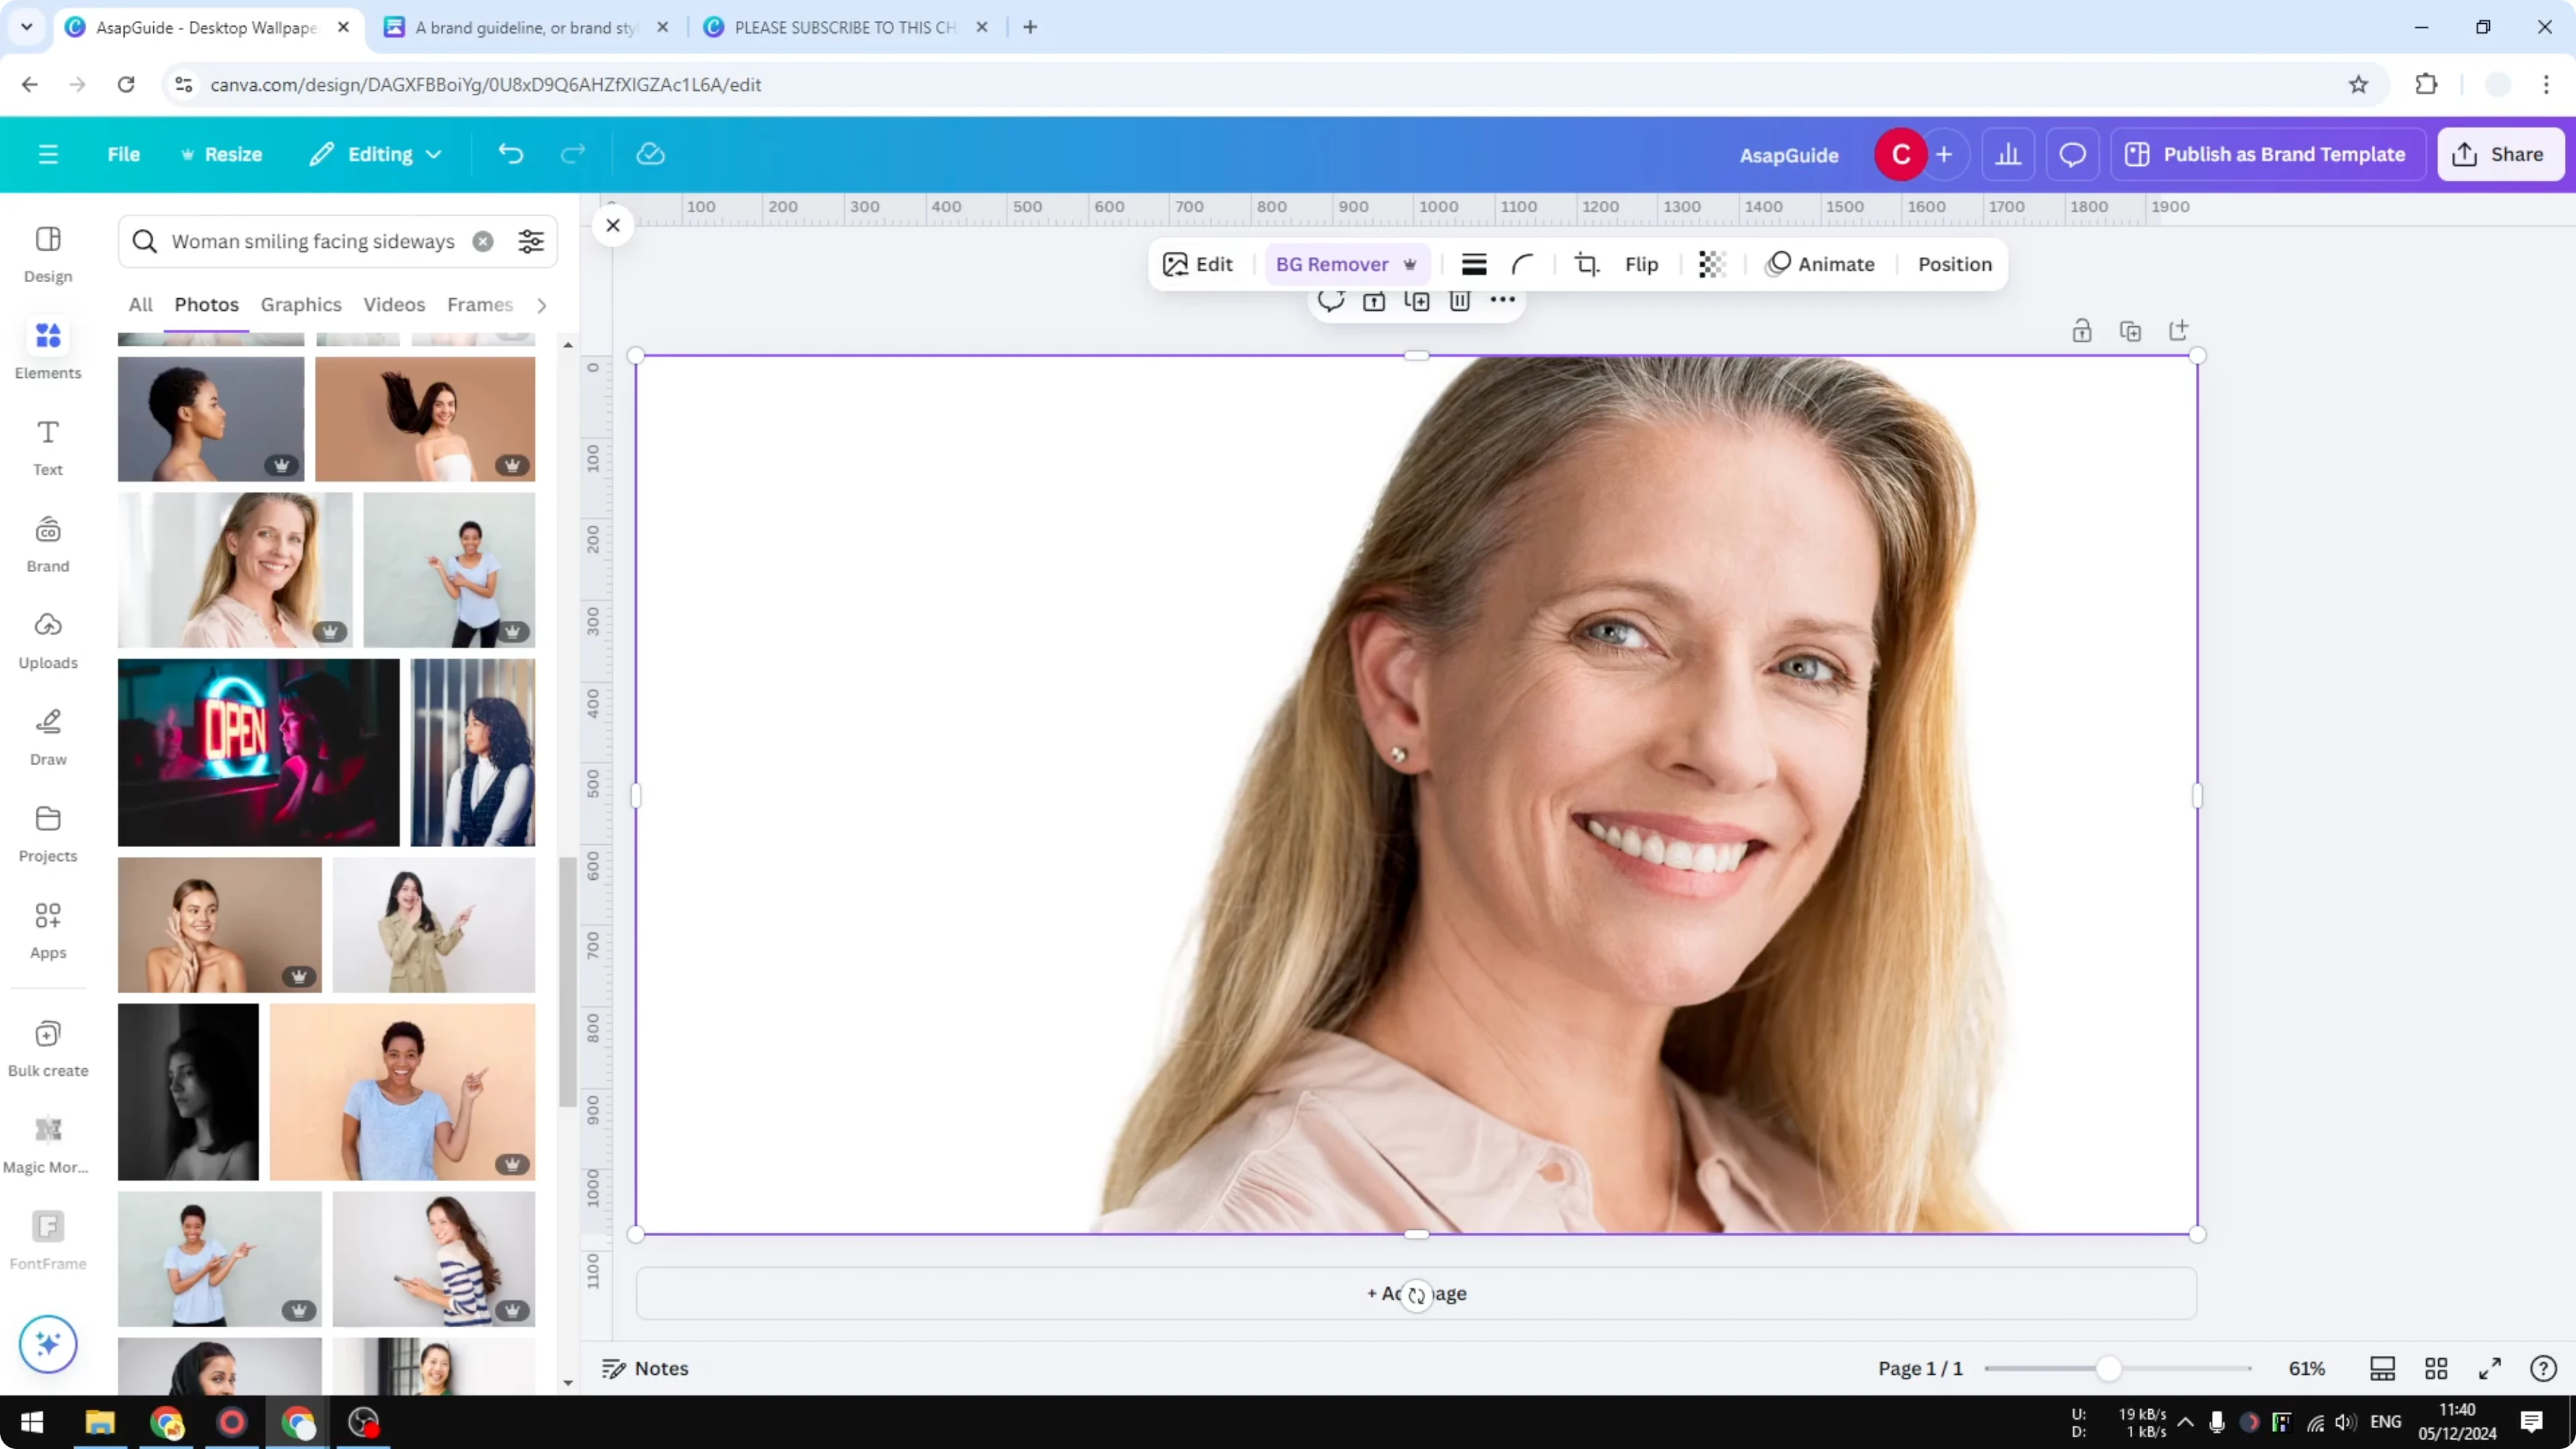
Remove the background to isolate the subject. This matters because the face or main subject is usually more important than the background for tracing. A clean subject also helps the tracer deliver better results and work faster.
Trace an Image in Canva: Run the Tracer
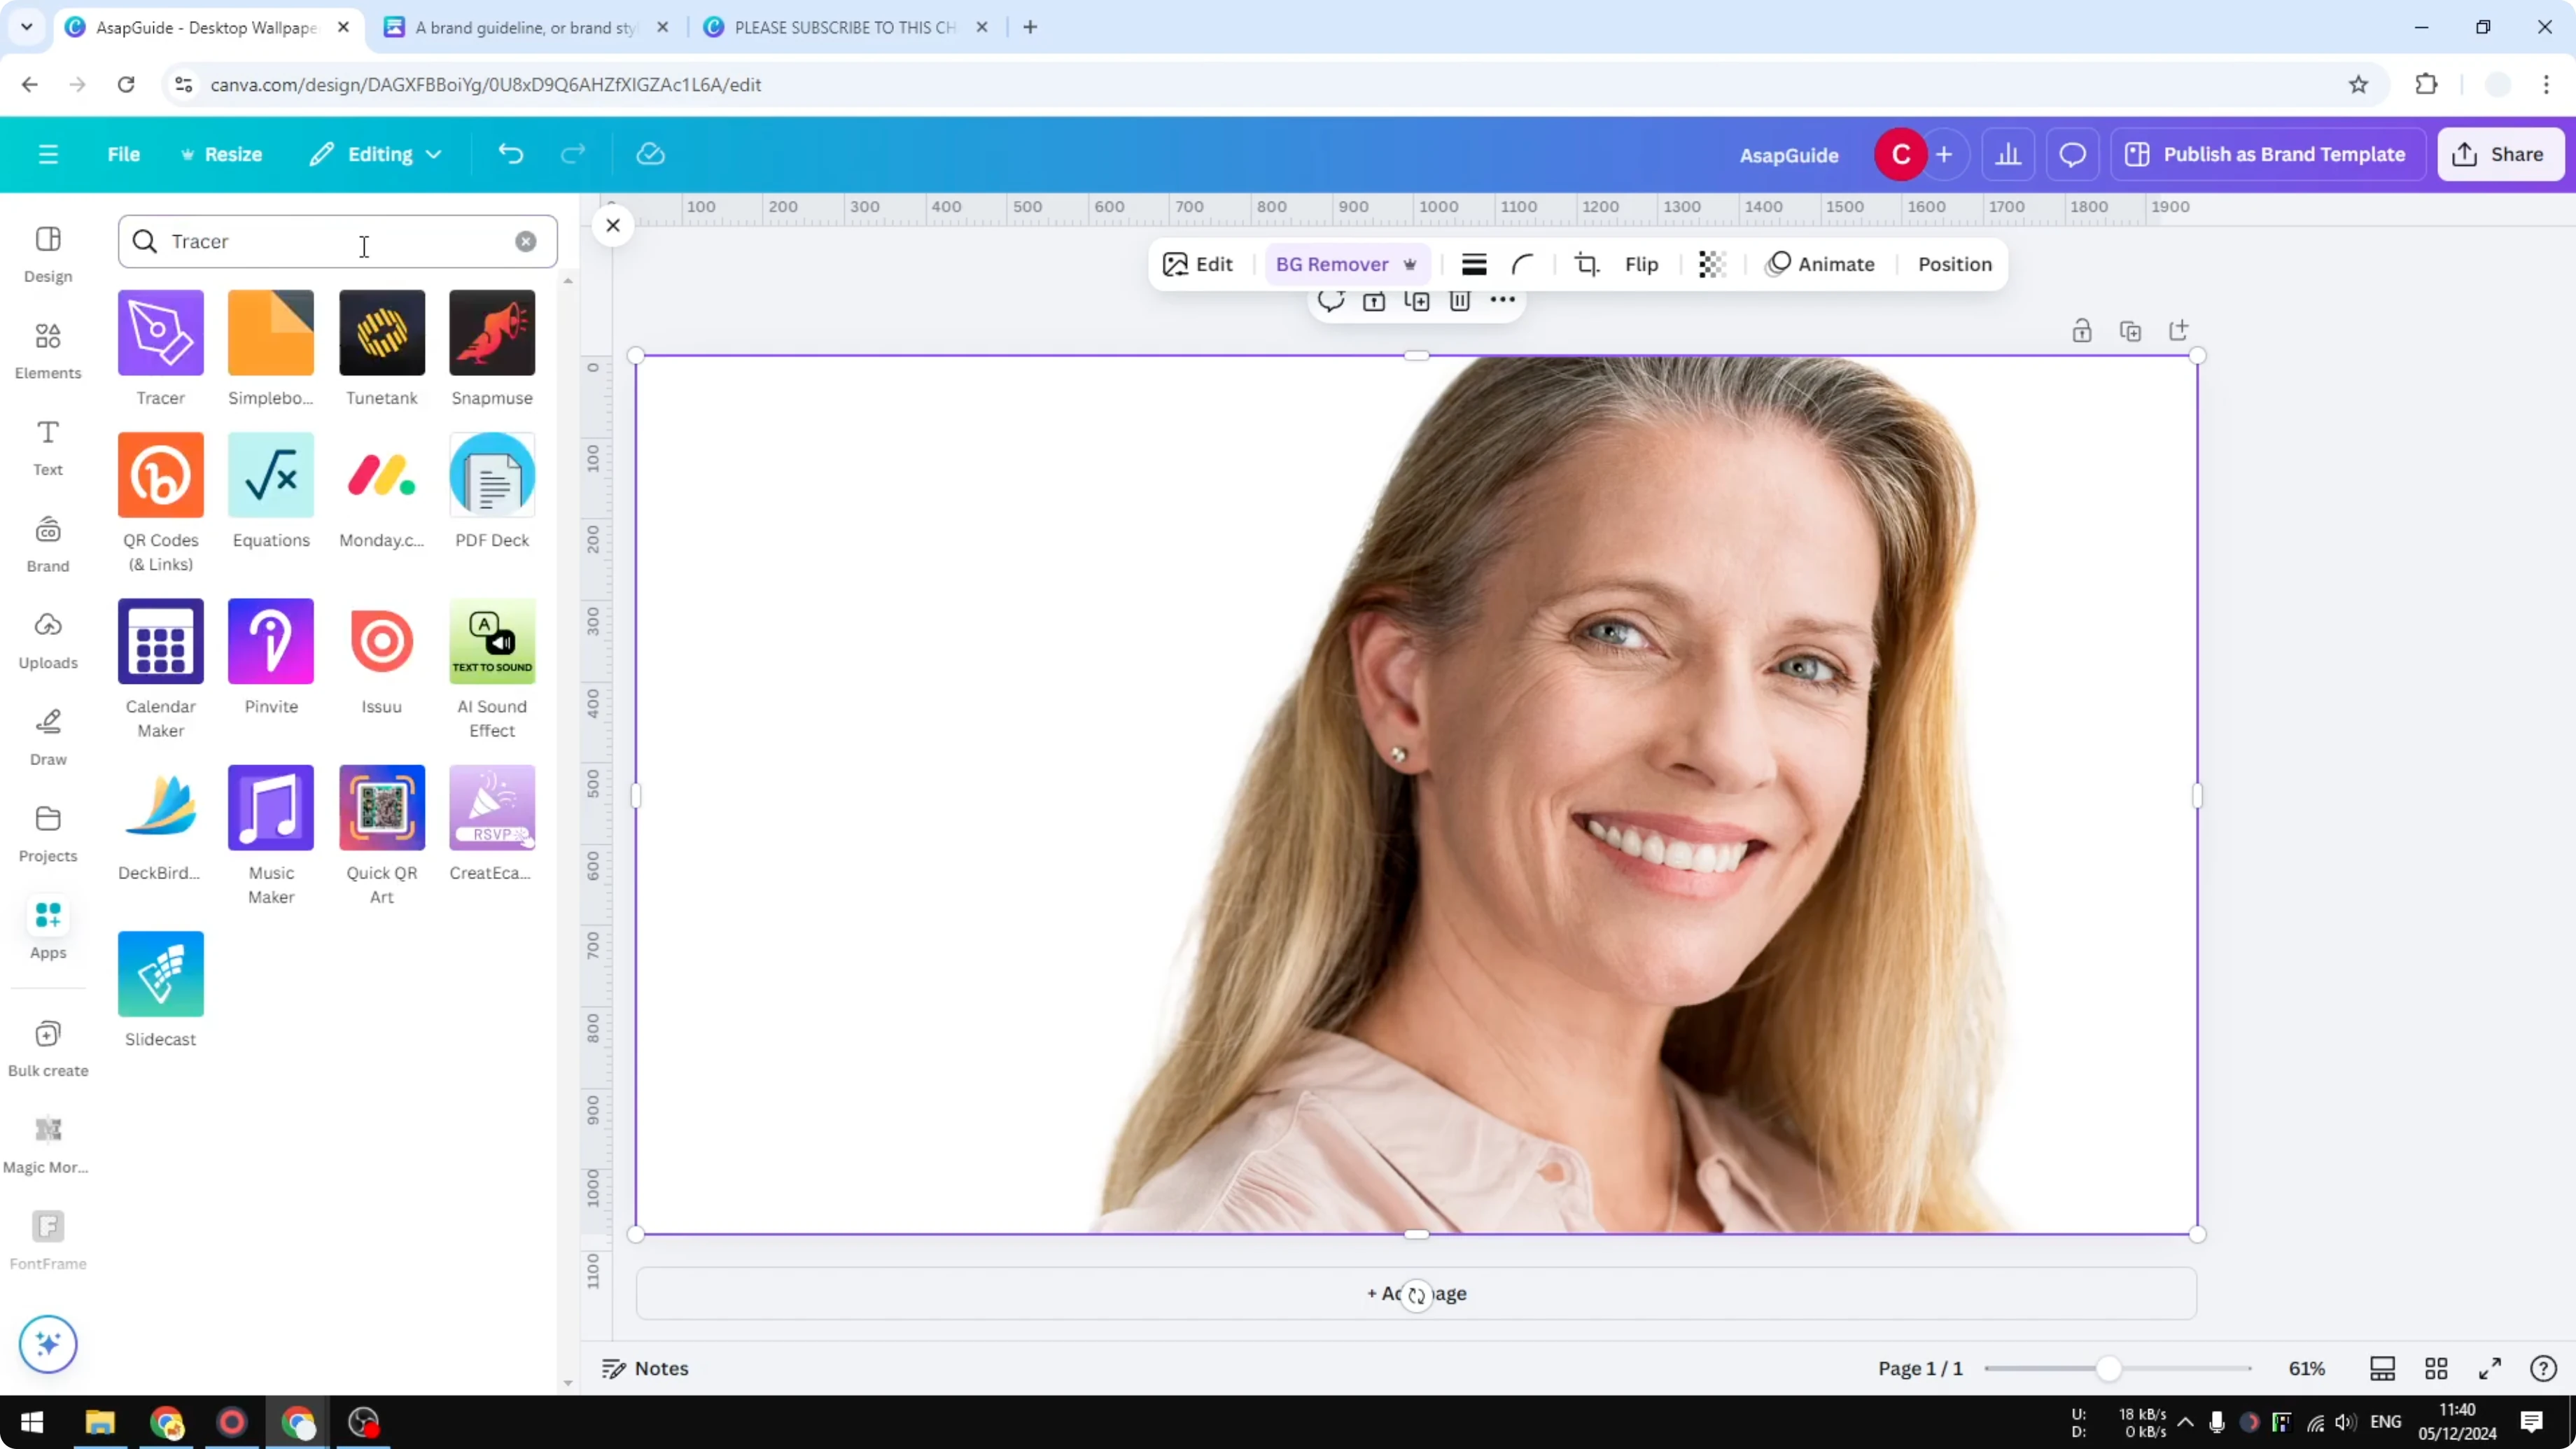
Open the Apps section in Canva.
Search for Tracer, select it, and click Open.
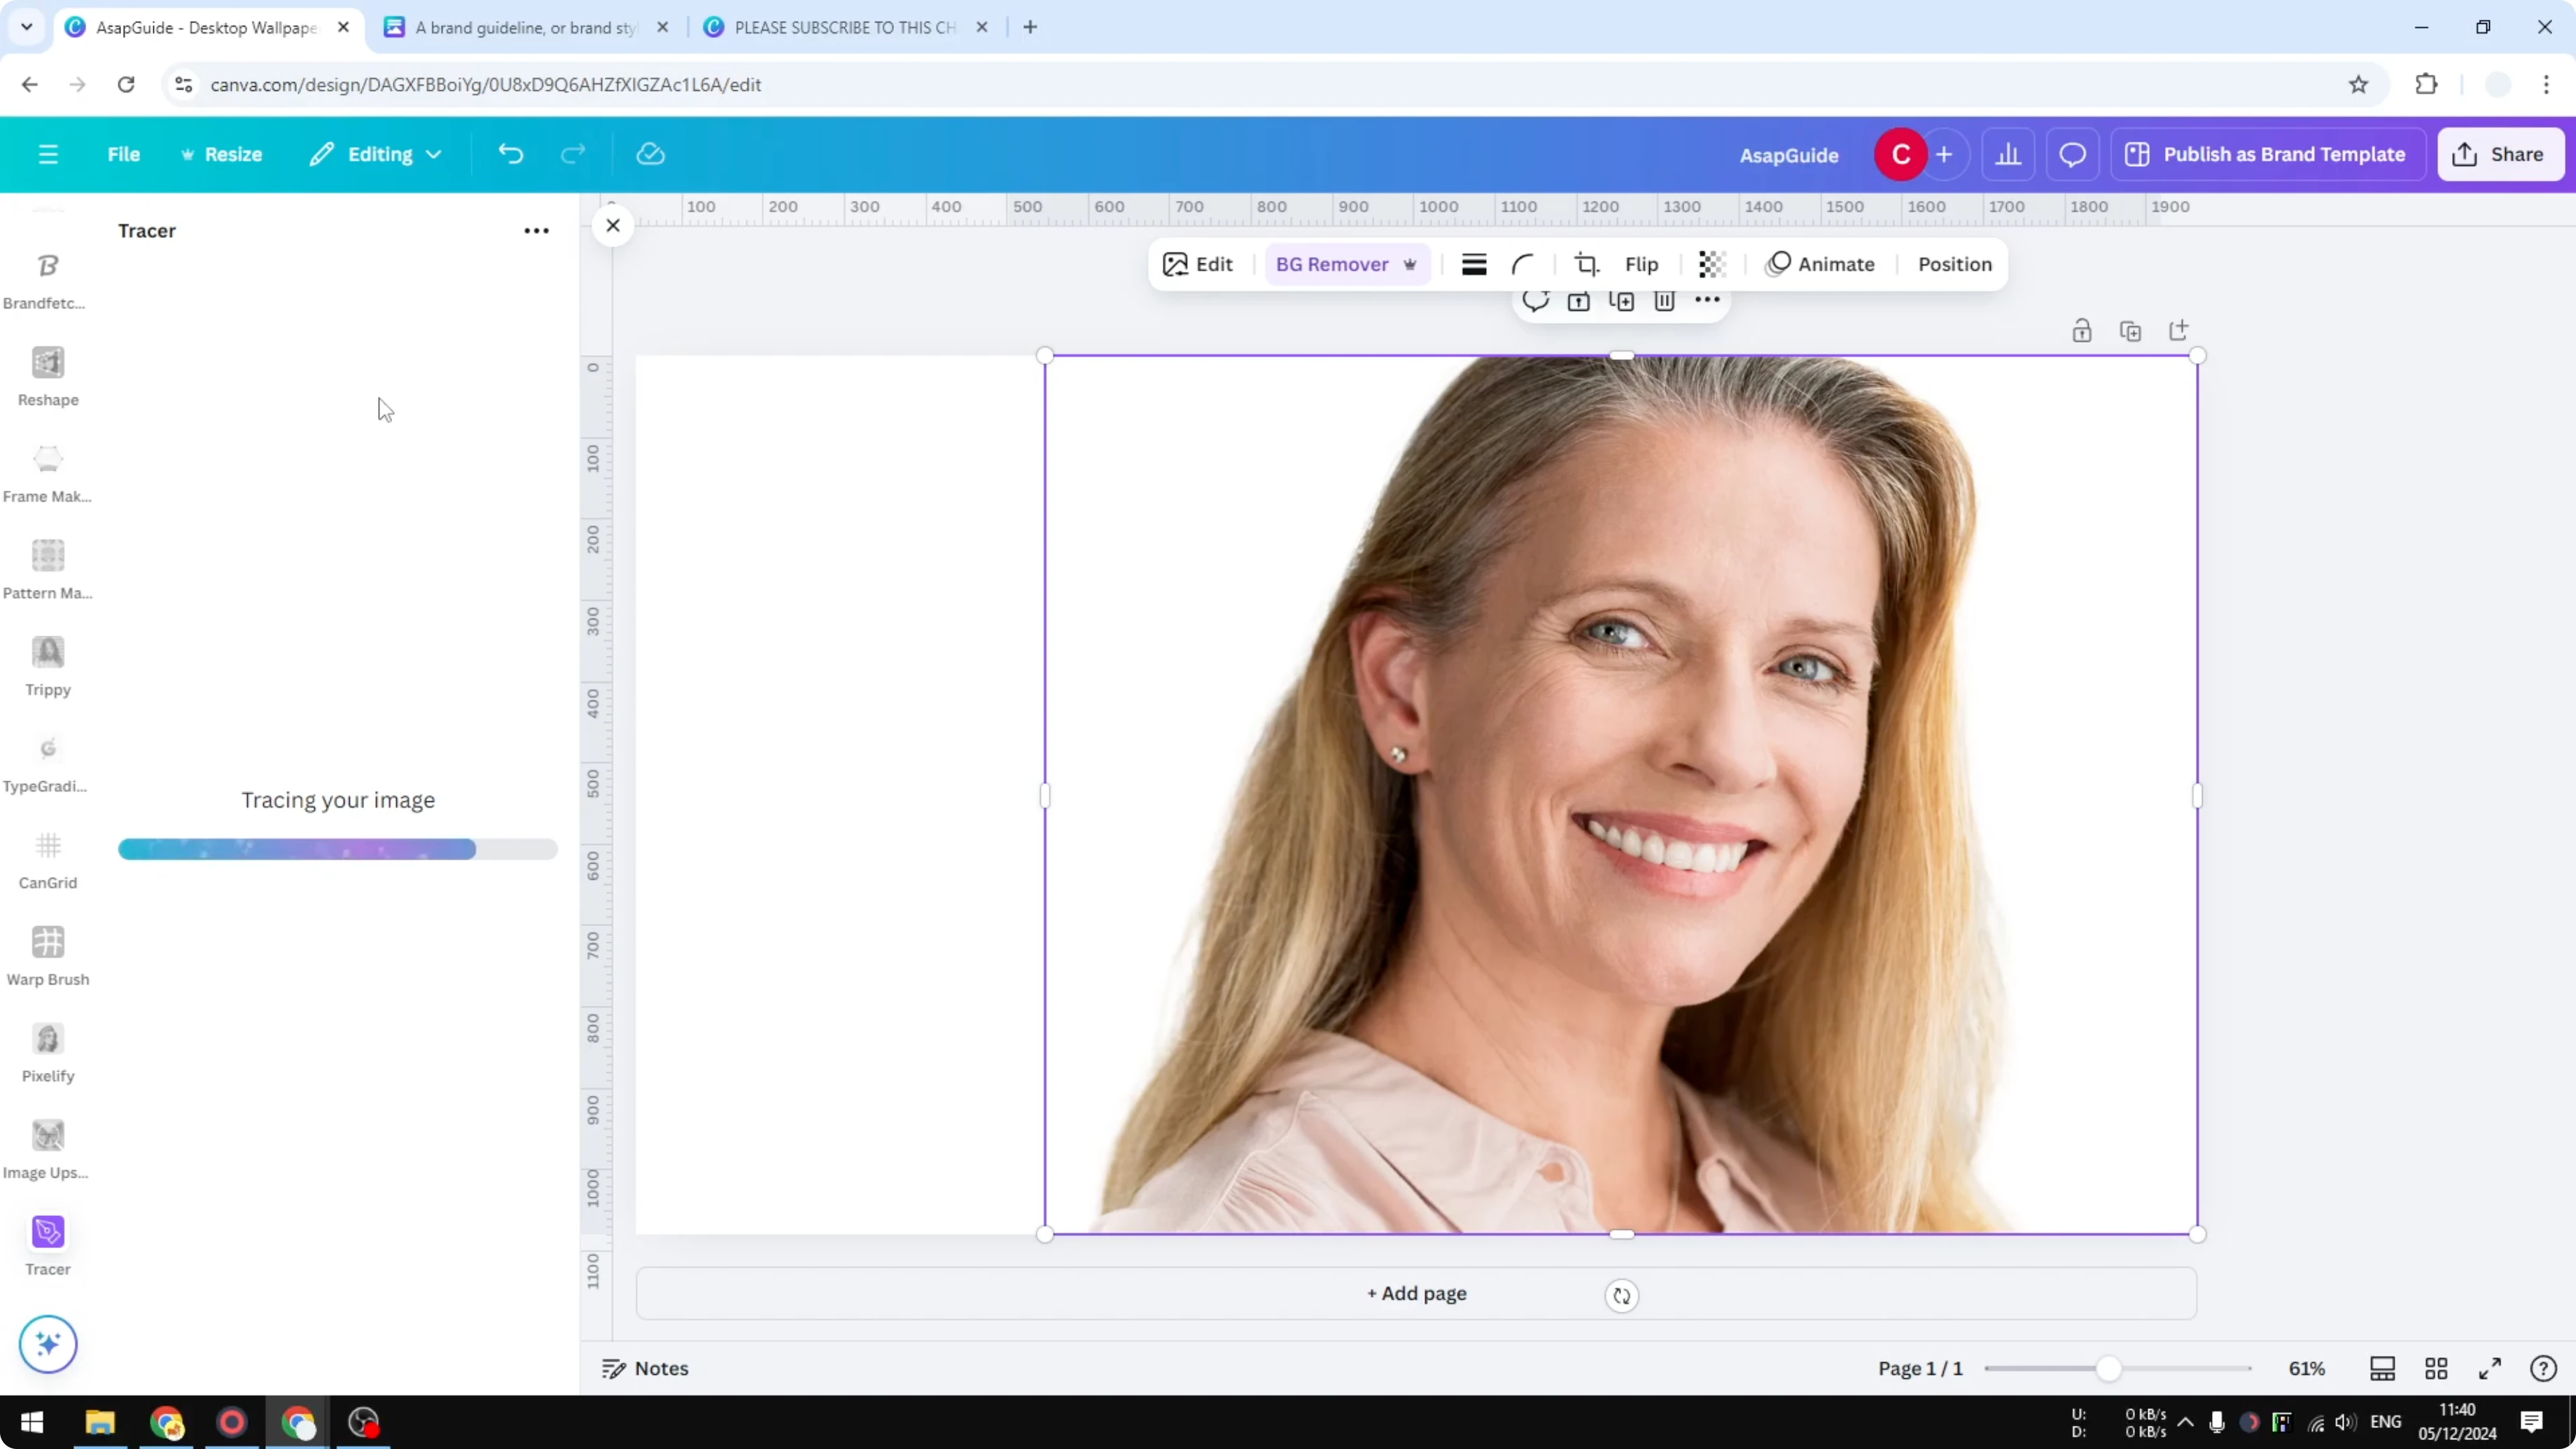
Select your image on the canvas, then click Trace selected image. Processing time depends on how busy the image is. If the background is empty, it usually finishes in under 30 seconds.
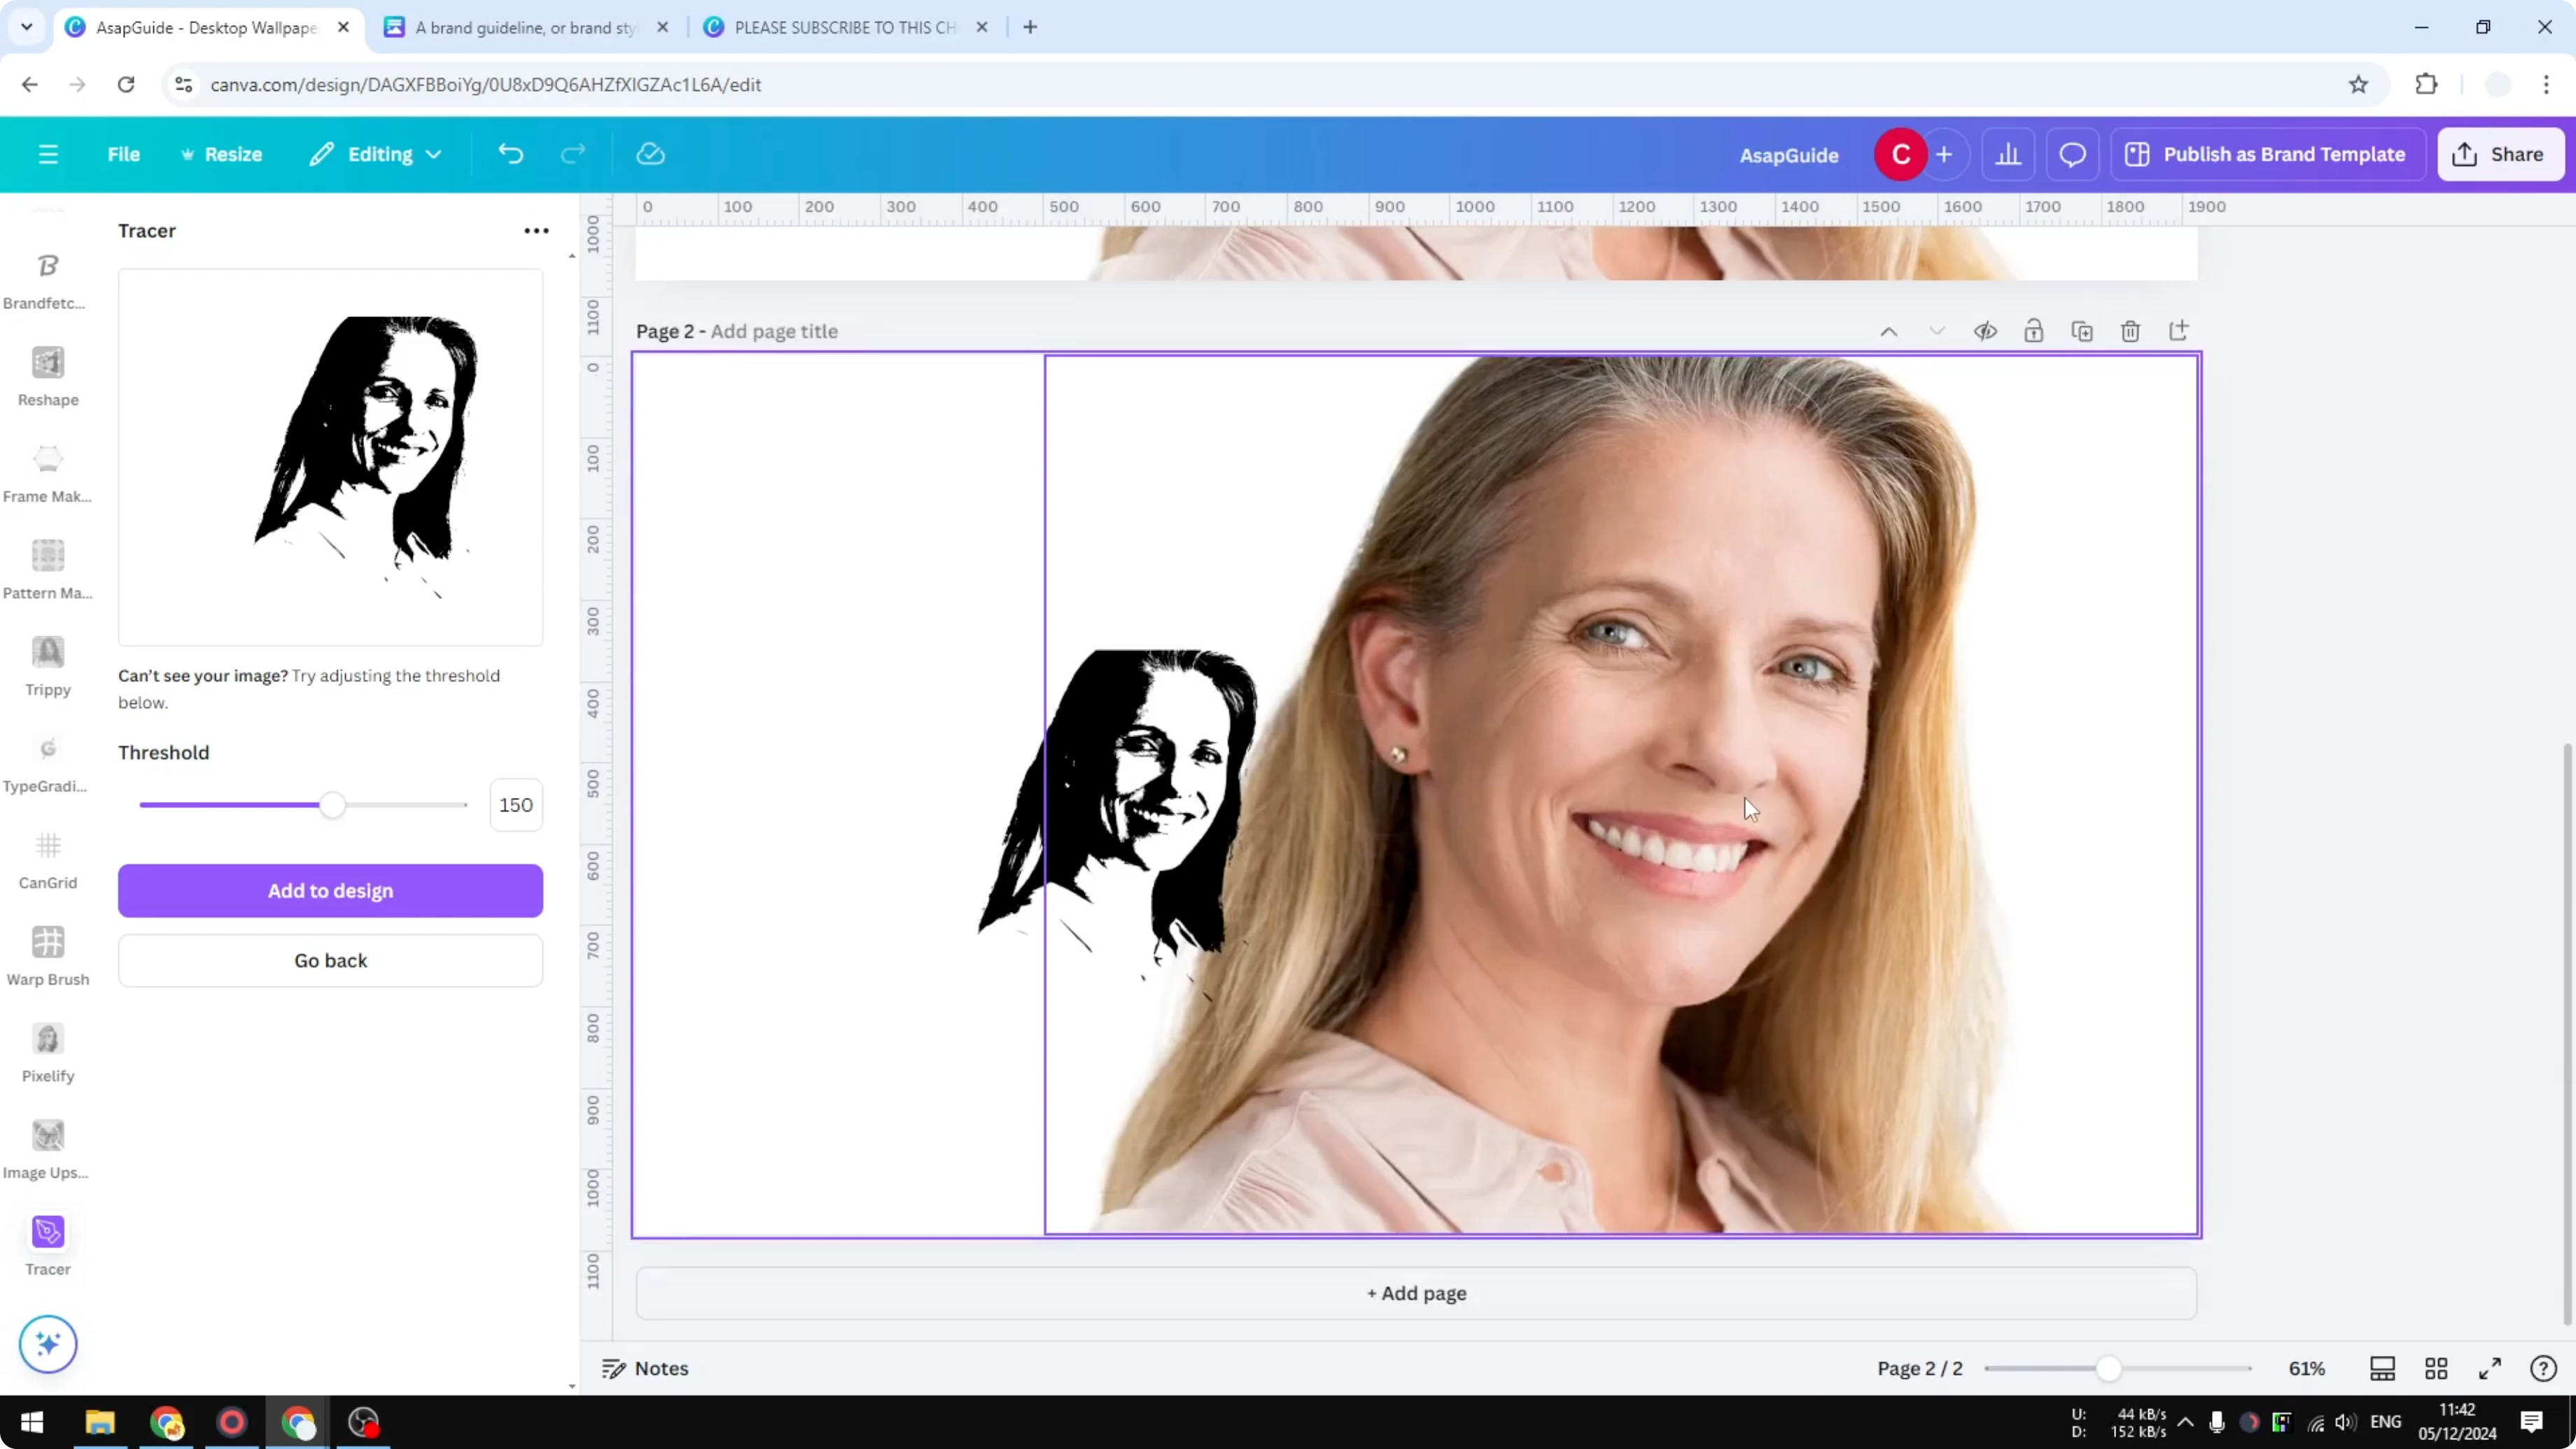
Adjust the Threshold
When the result appears, you’ll see settings you can tweak. The threshold controls how much detail gets included. Each image is different, so you need to test it manually.
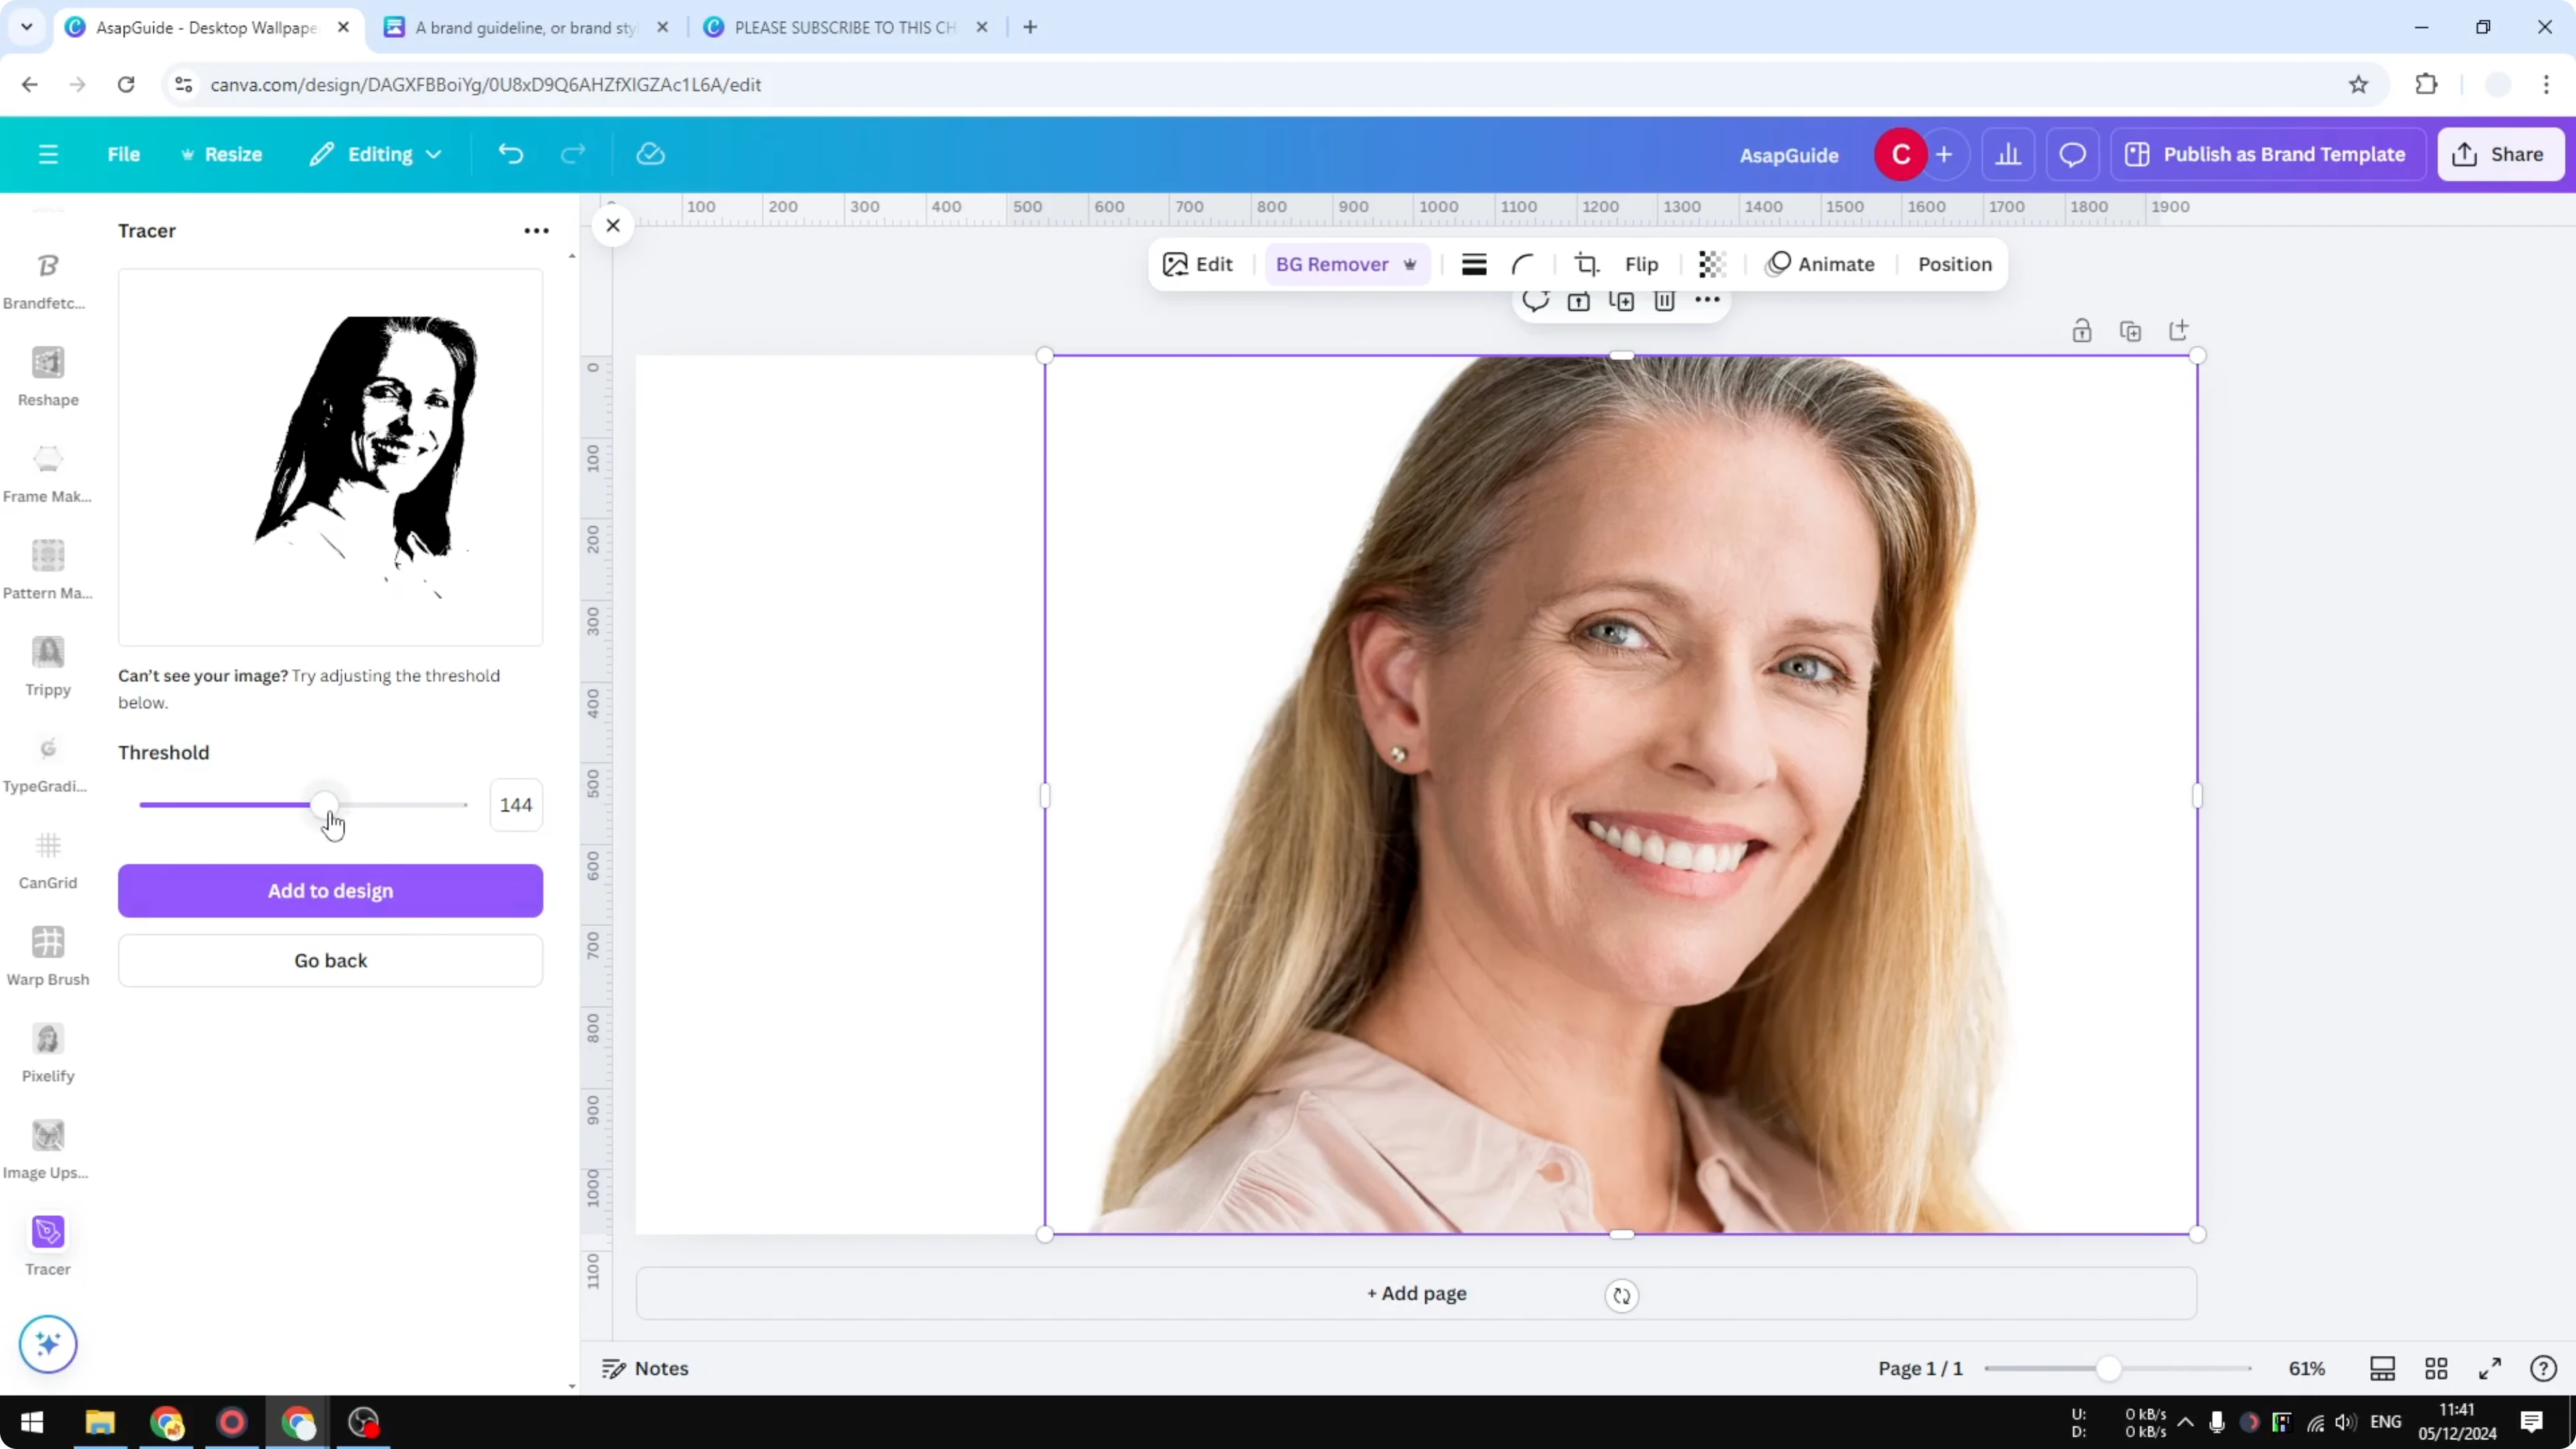
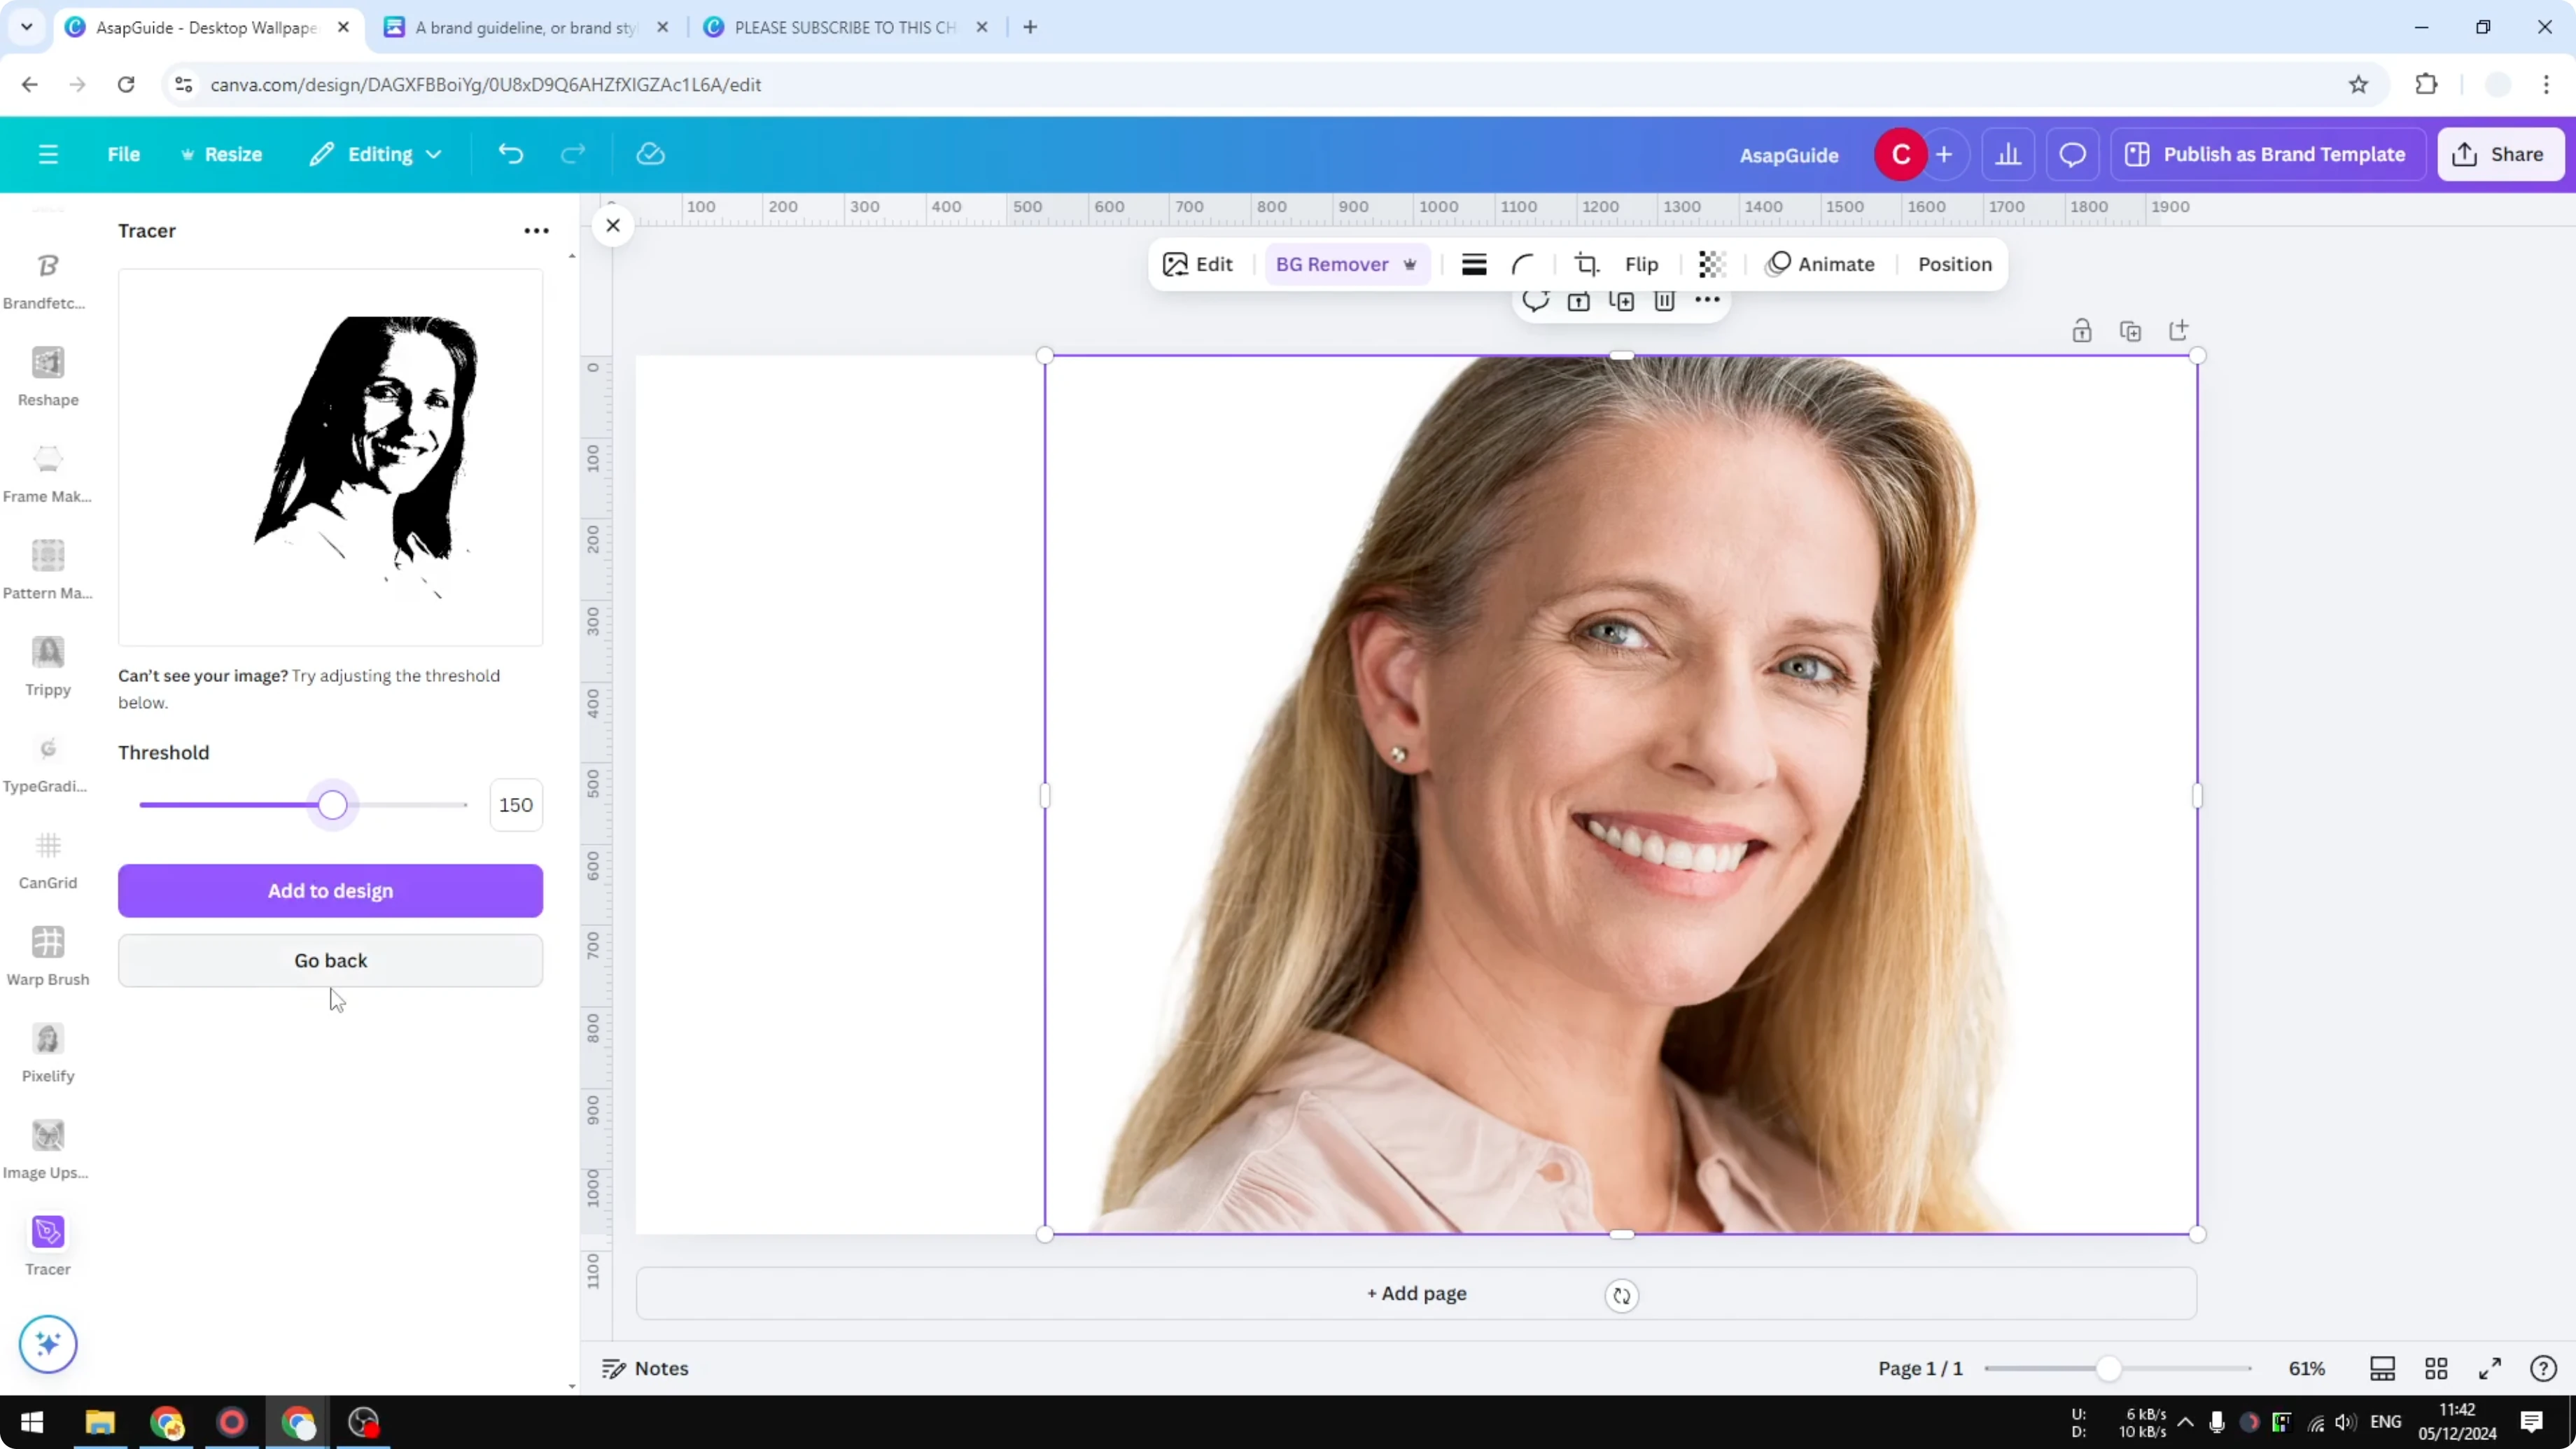
In my case, lowering the threshold removed too much detail. Pushing it up to around 175 was too aggressive and looked harsh. Bringing it down to around 150 kept the image recognizable with better contrast.
Aim to preserve the key details so the subject stays clear. Some fine detail may be lost. The goal is a traced image that looks clean and still reads instantly.
Trace an Image in Canva: Finish and Style
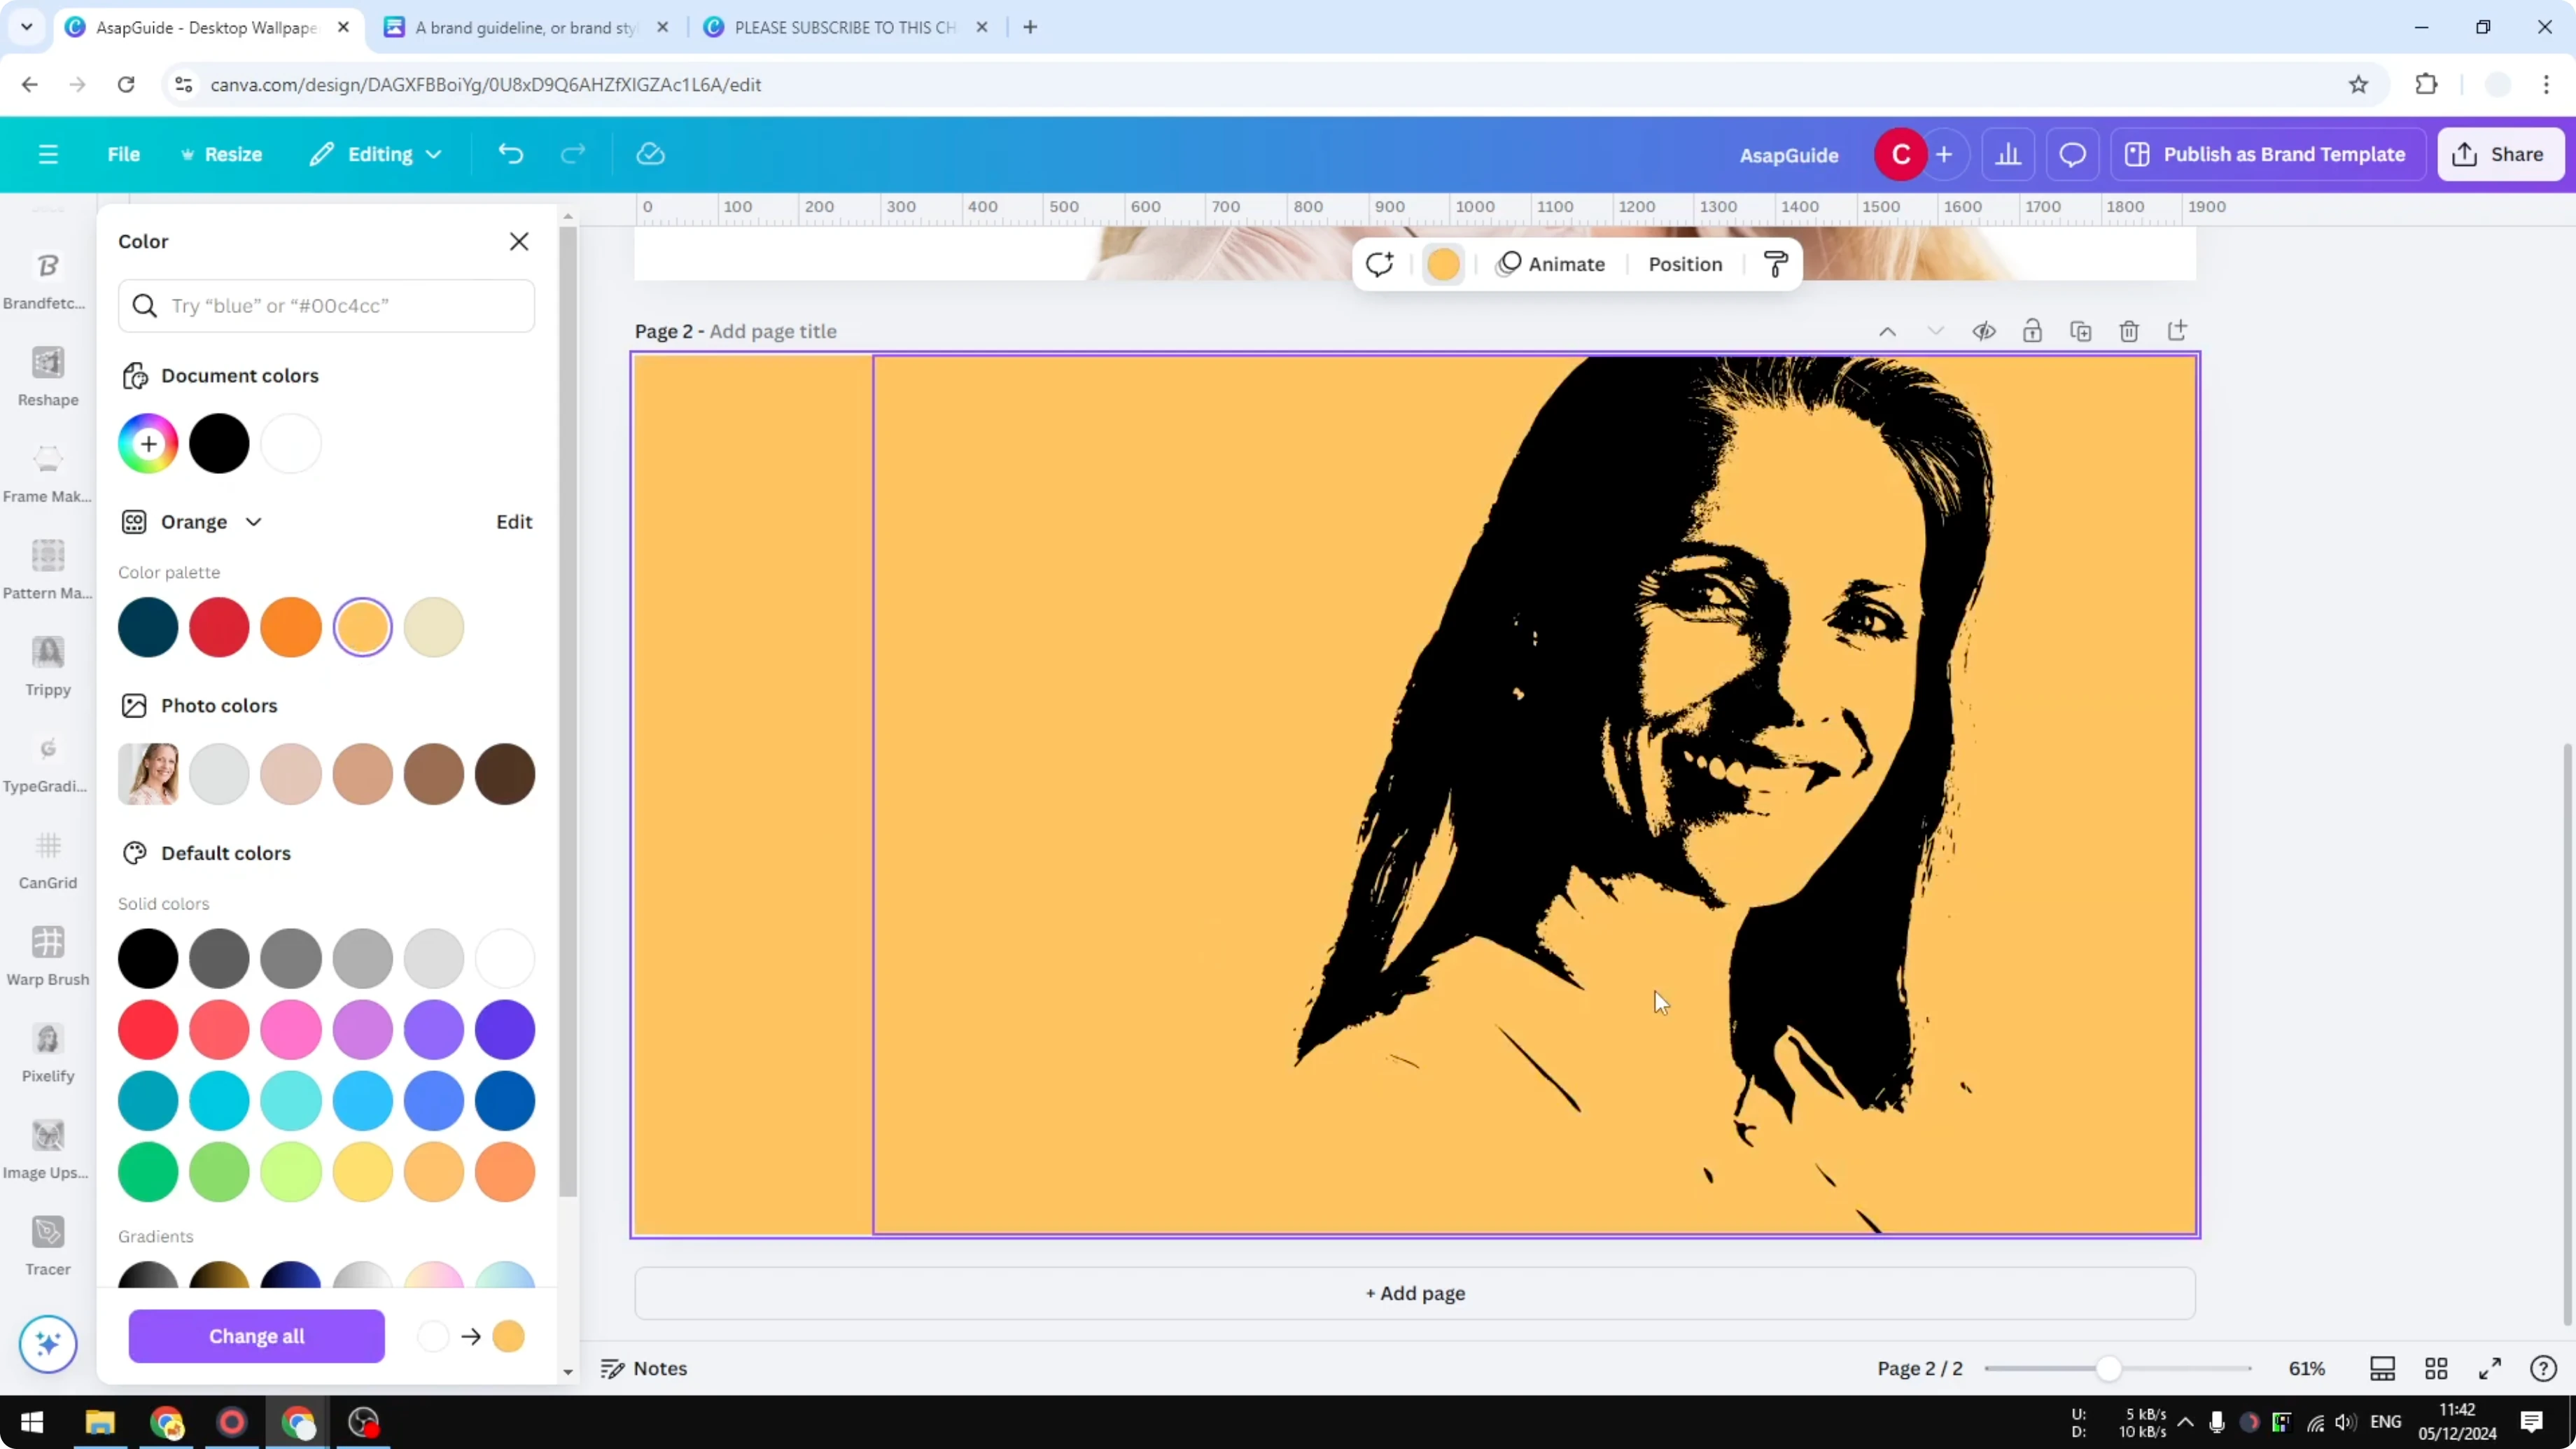
Click Add to design to place the traced version on your page.
Duplicate the page if you want to compare versions. Remove the original photo and keep only the traced image for a clean layout.
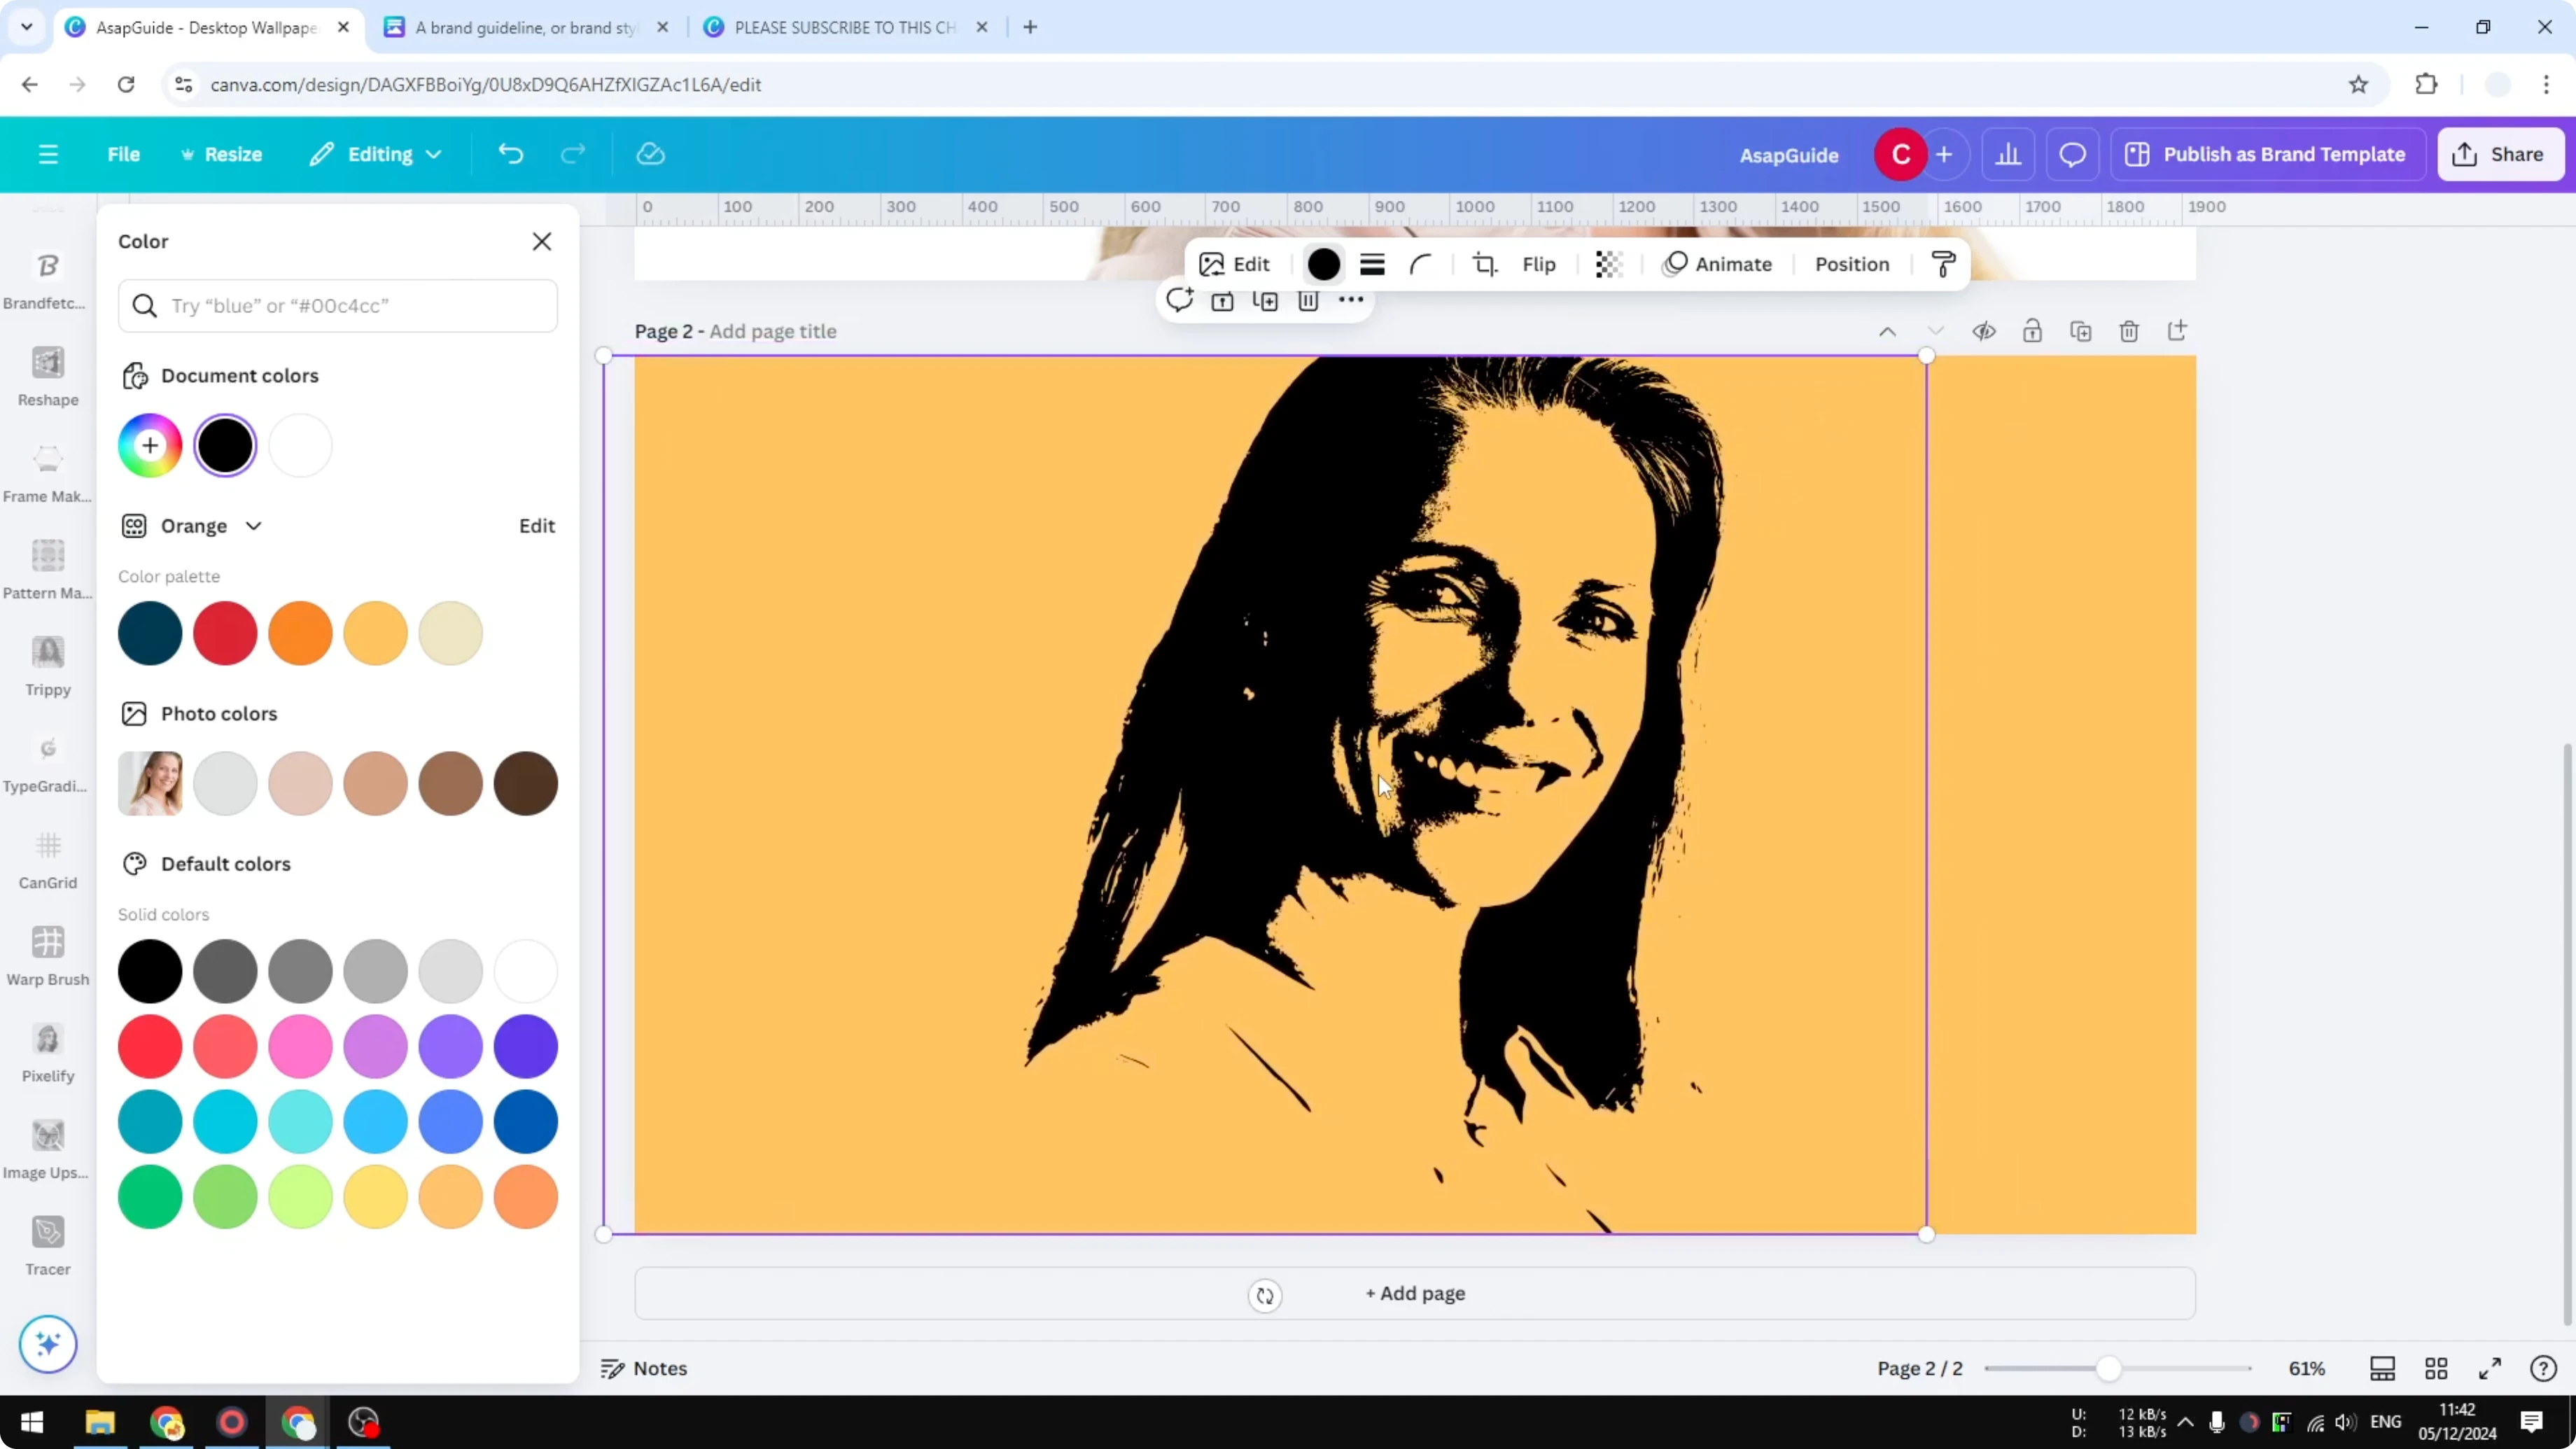
The traced result uses a single color for the subject, and the rest is transparent. Change the background to a different color to create a bold two-tone effect. If you need to export the result with transparency, see how to save a transparent image.
You can also tweak colors after tracing if you want a specific look or brand match. Learn quick ways to change color in Canva.
Read More: How To Add Text Behind Image In Canva
Final Thoughts
Tracing in Canva works well with the Tracer app once you isolate the subject and fine-tune the threshold. Clean backgrounds process faster and generally keep more usable detail. Add the traced image to your design, adjust color, and you’ll have a distinctive, high-contrast result.
Recent Posts
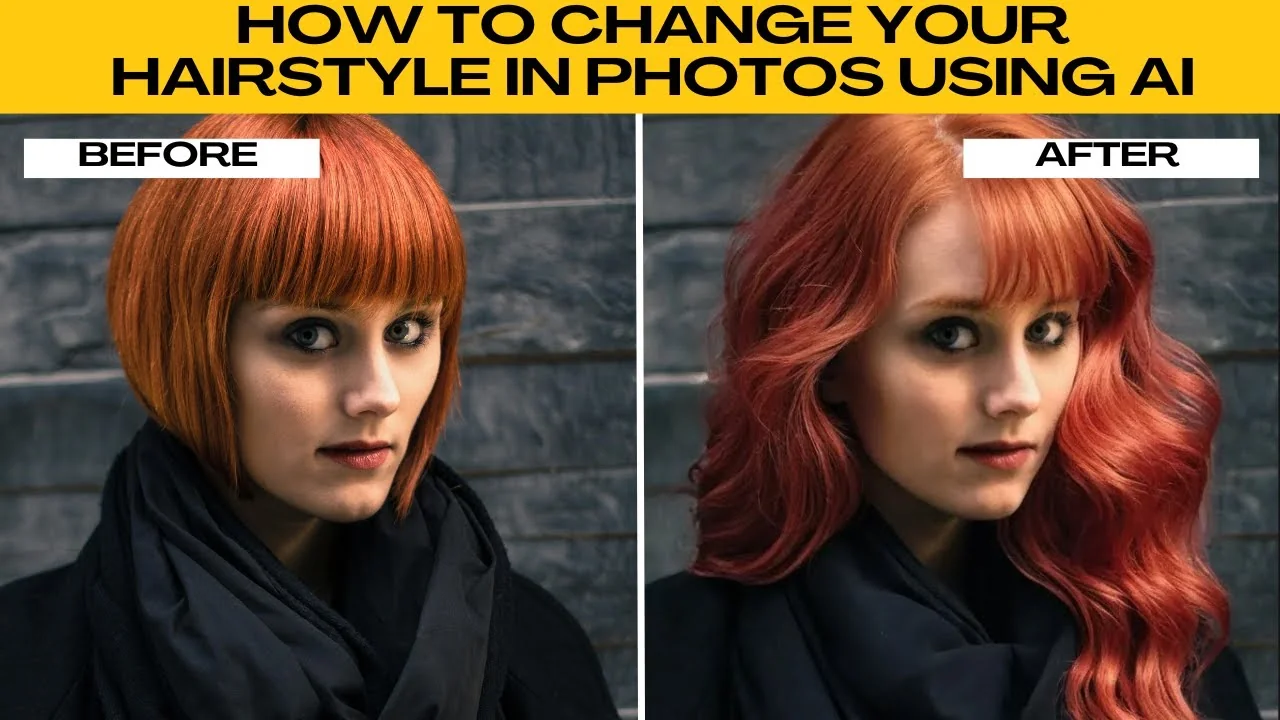
How to Visualize Different Hairstyles and Hair Colors with AI?
How to Visualize Different Hairstyles and Hair Colors with AI?

How to Transform Daytime Photos into Realistic Night Scenes with AI?
How to Transform Daytime Photos into Realistic Night Scenes with AI?

How to Visualize Yourself as the Opposite Gender with AI?
How to Visualize Yourself as the Opposite Gender with AI?