How to Tilt an Image in Canva
Tilting is essentially just rotating an image, usually only a few percent to make the orientation a bit better and more straight. I have this photo of a road in the city, and I can tell it needs a slight tilt. The direction of the cars looks like they are going down, although in reality this is a flat road.
I want to tilt the picture a bit to make everything more straight. The goal is a subtle correction that fixes the horizon and improves the feel of the shot. A small tilt can make a big difference.
Tilt an Image in Canva: Basic Rotation
Click on the image. Make sure the image is not locked.

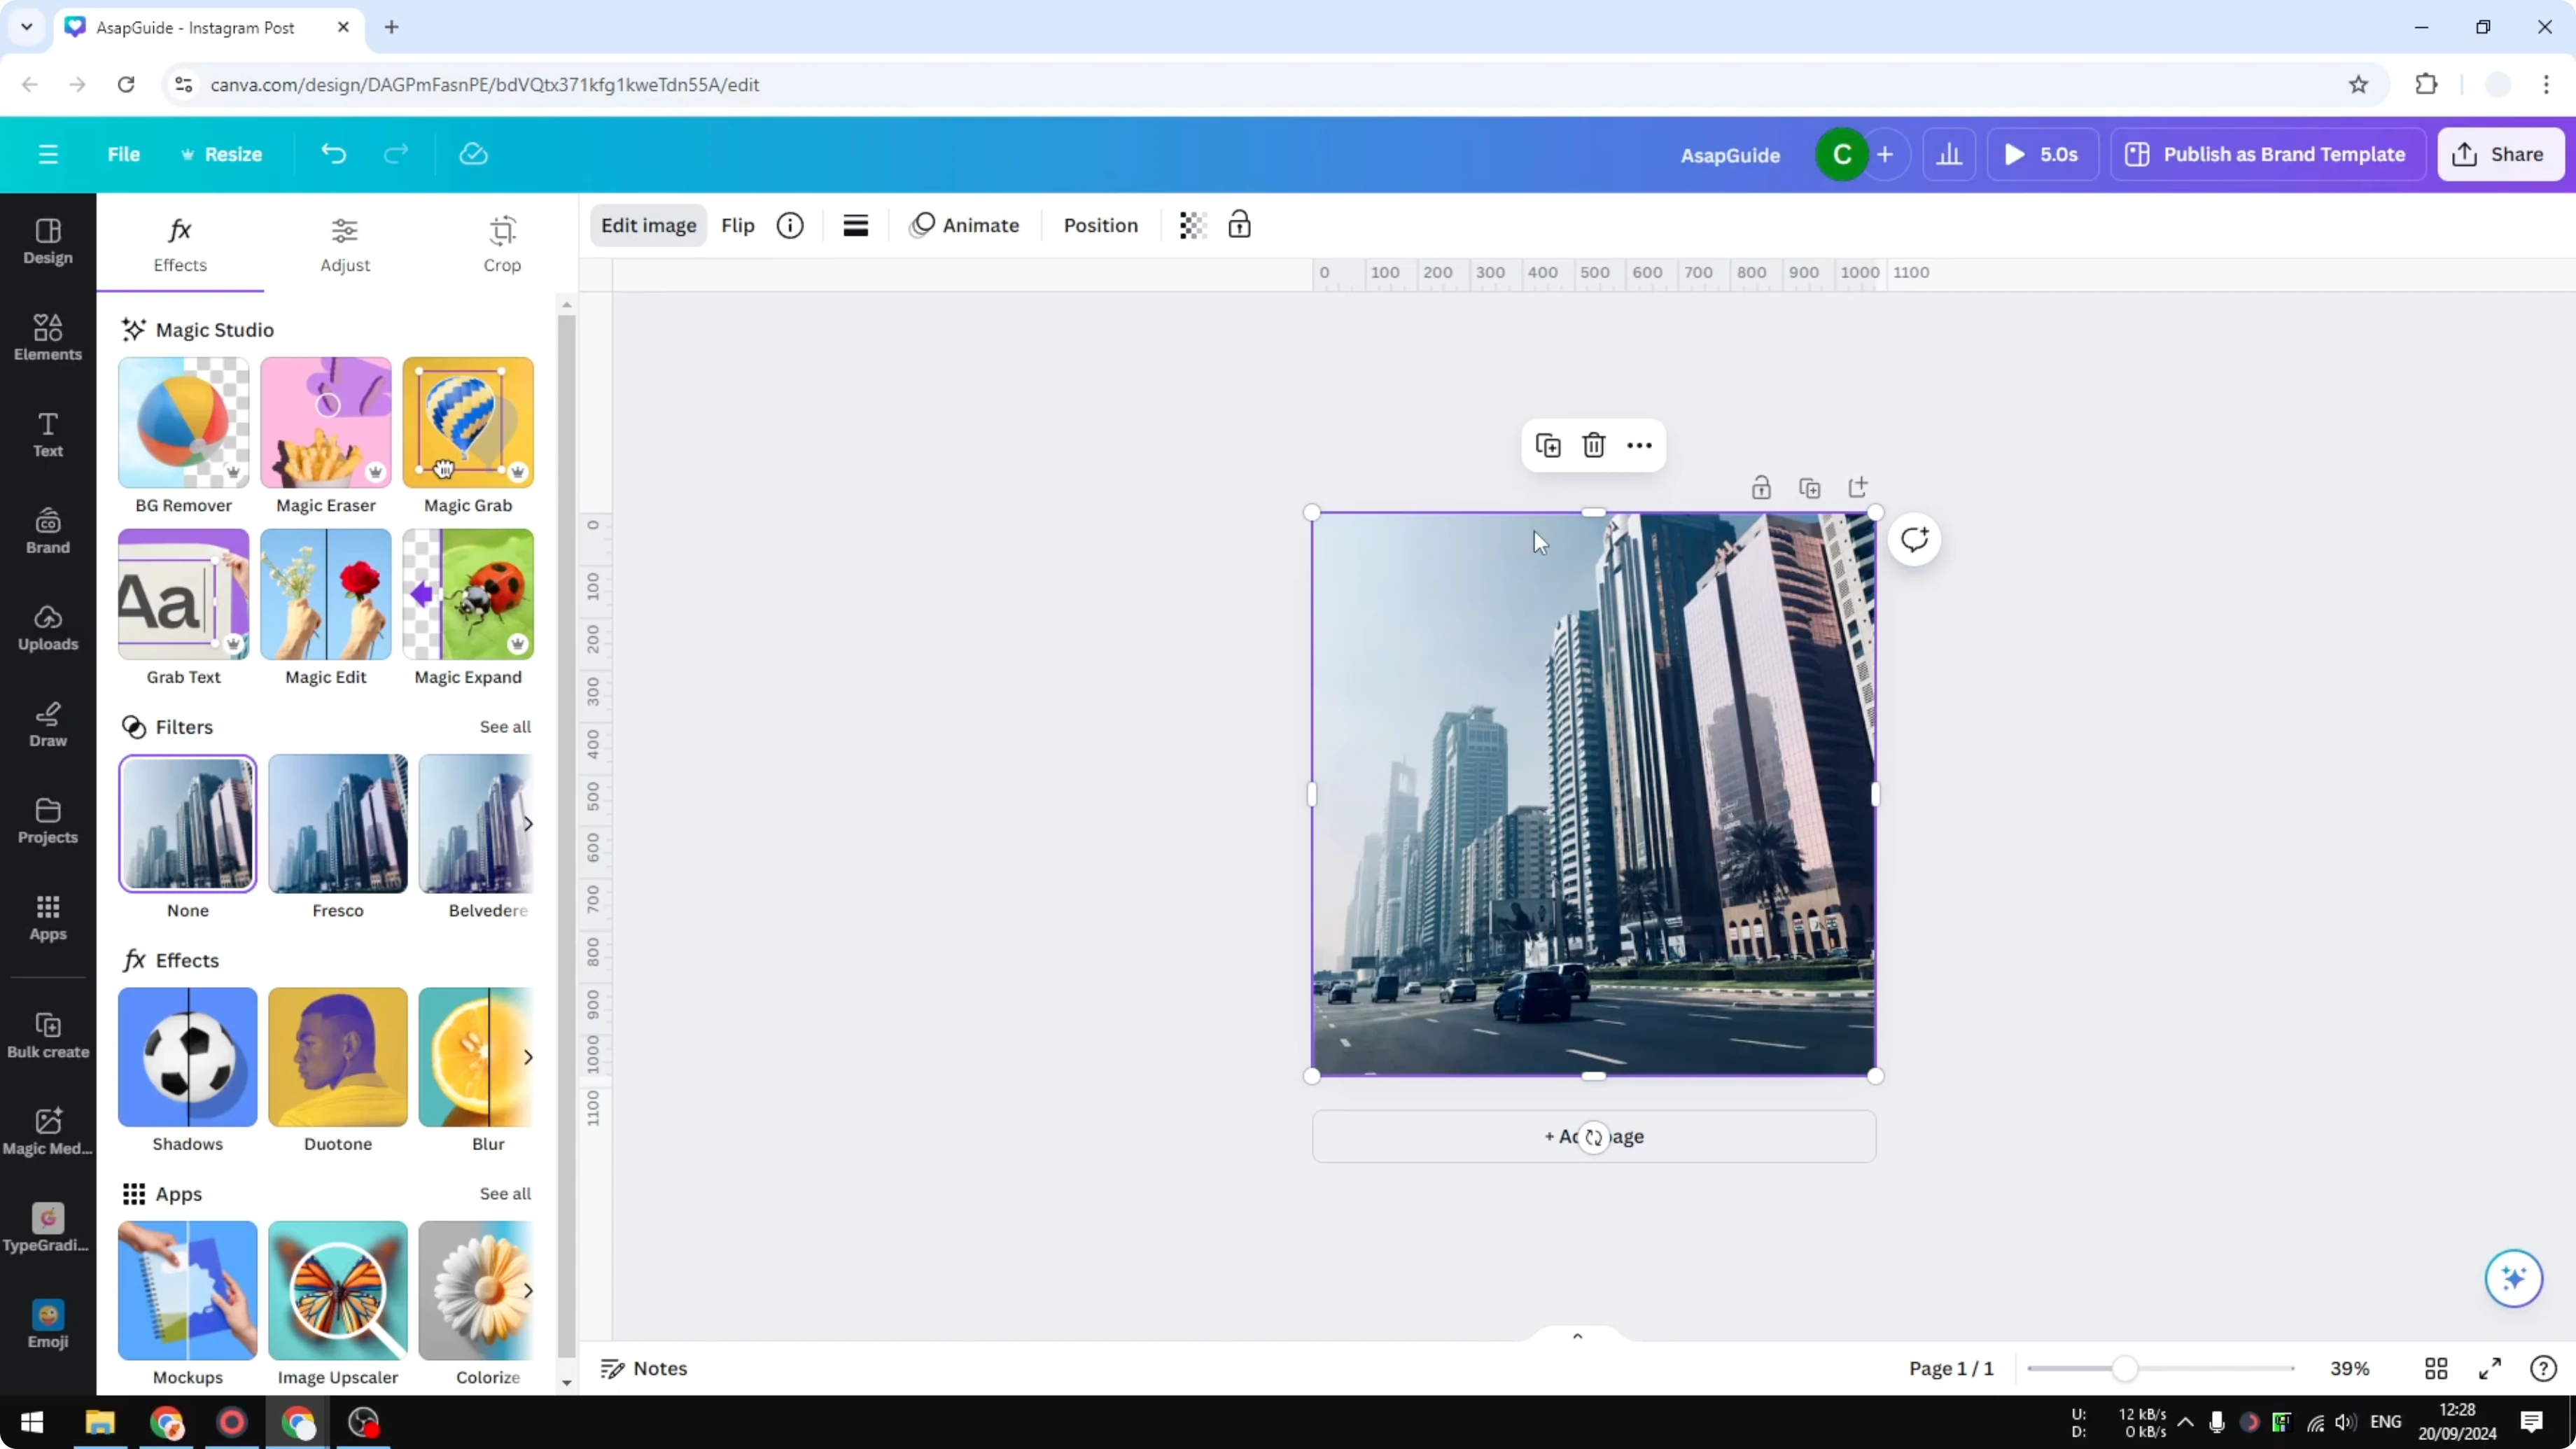
Look for the tiny rotate icon with arrows. It is usually at the bottom, but it can also appear on the left, right, or top of the image.
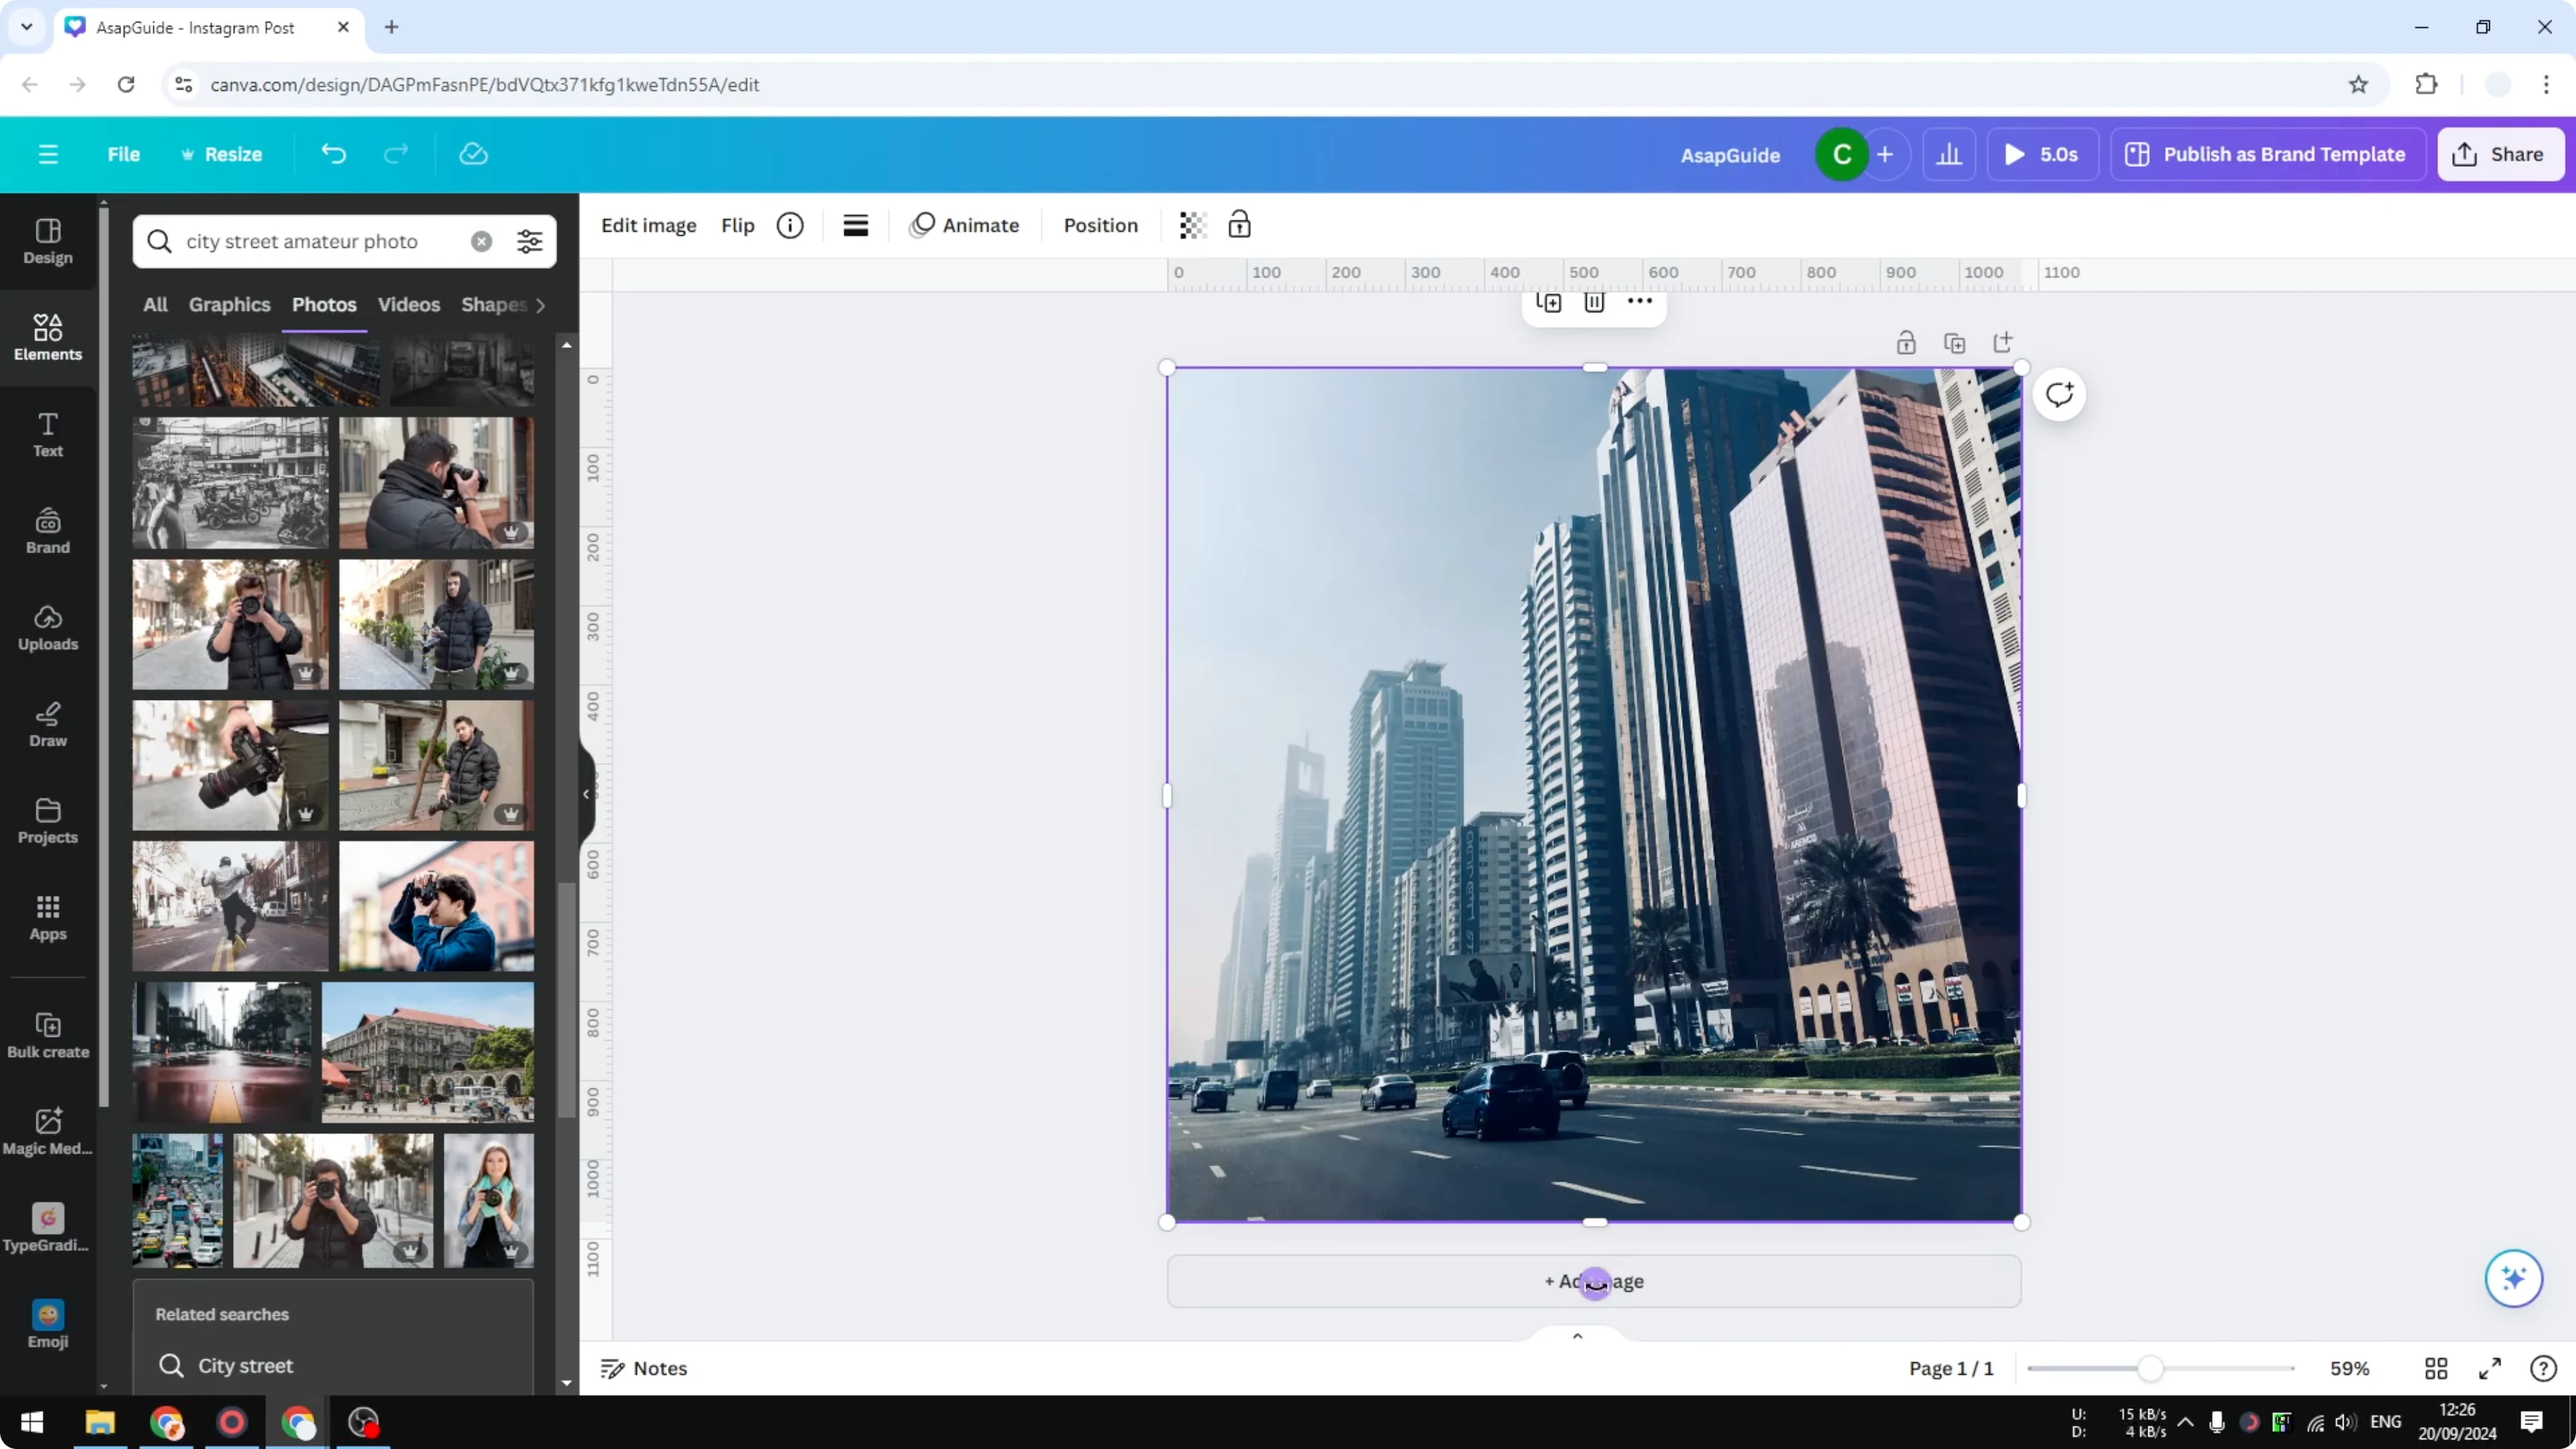
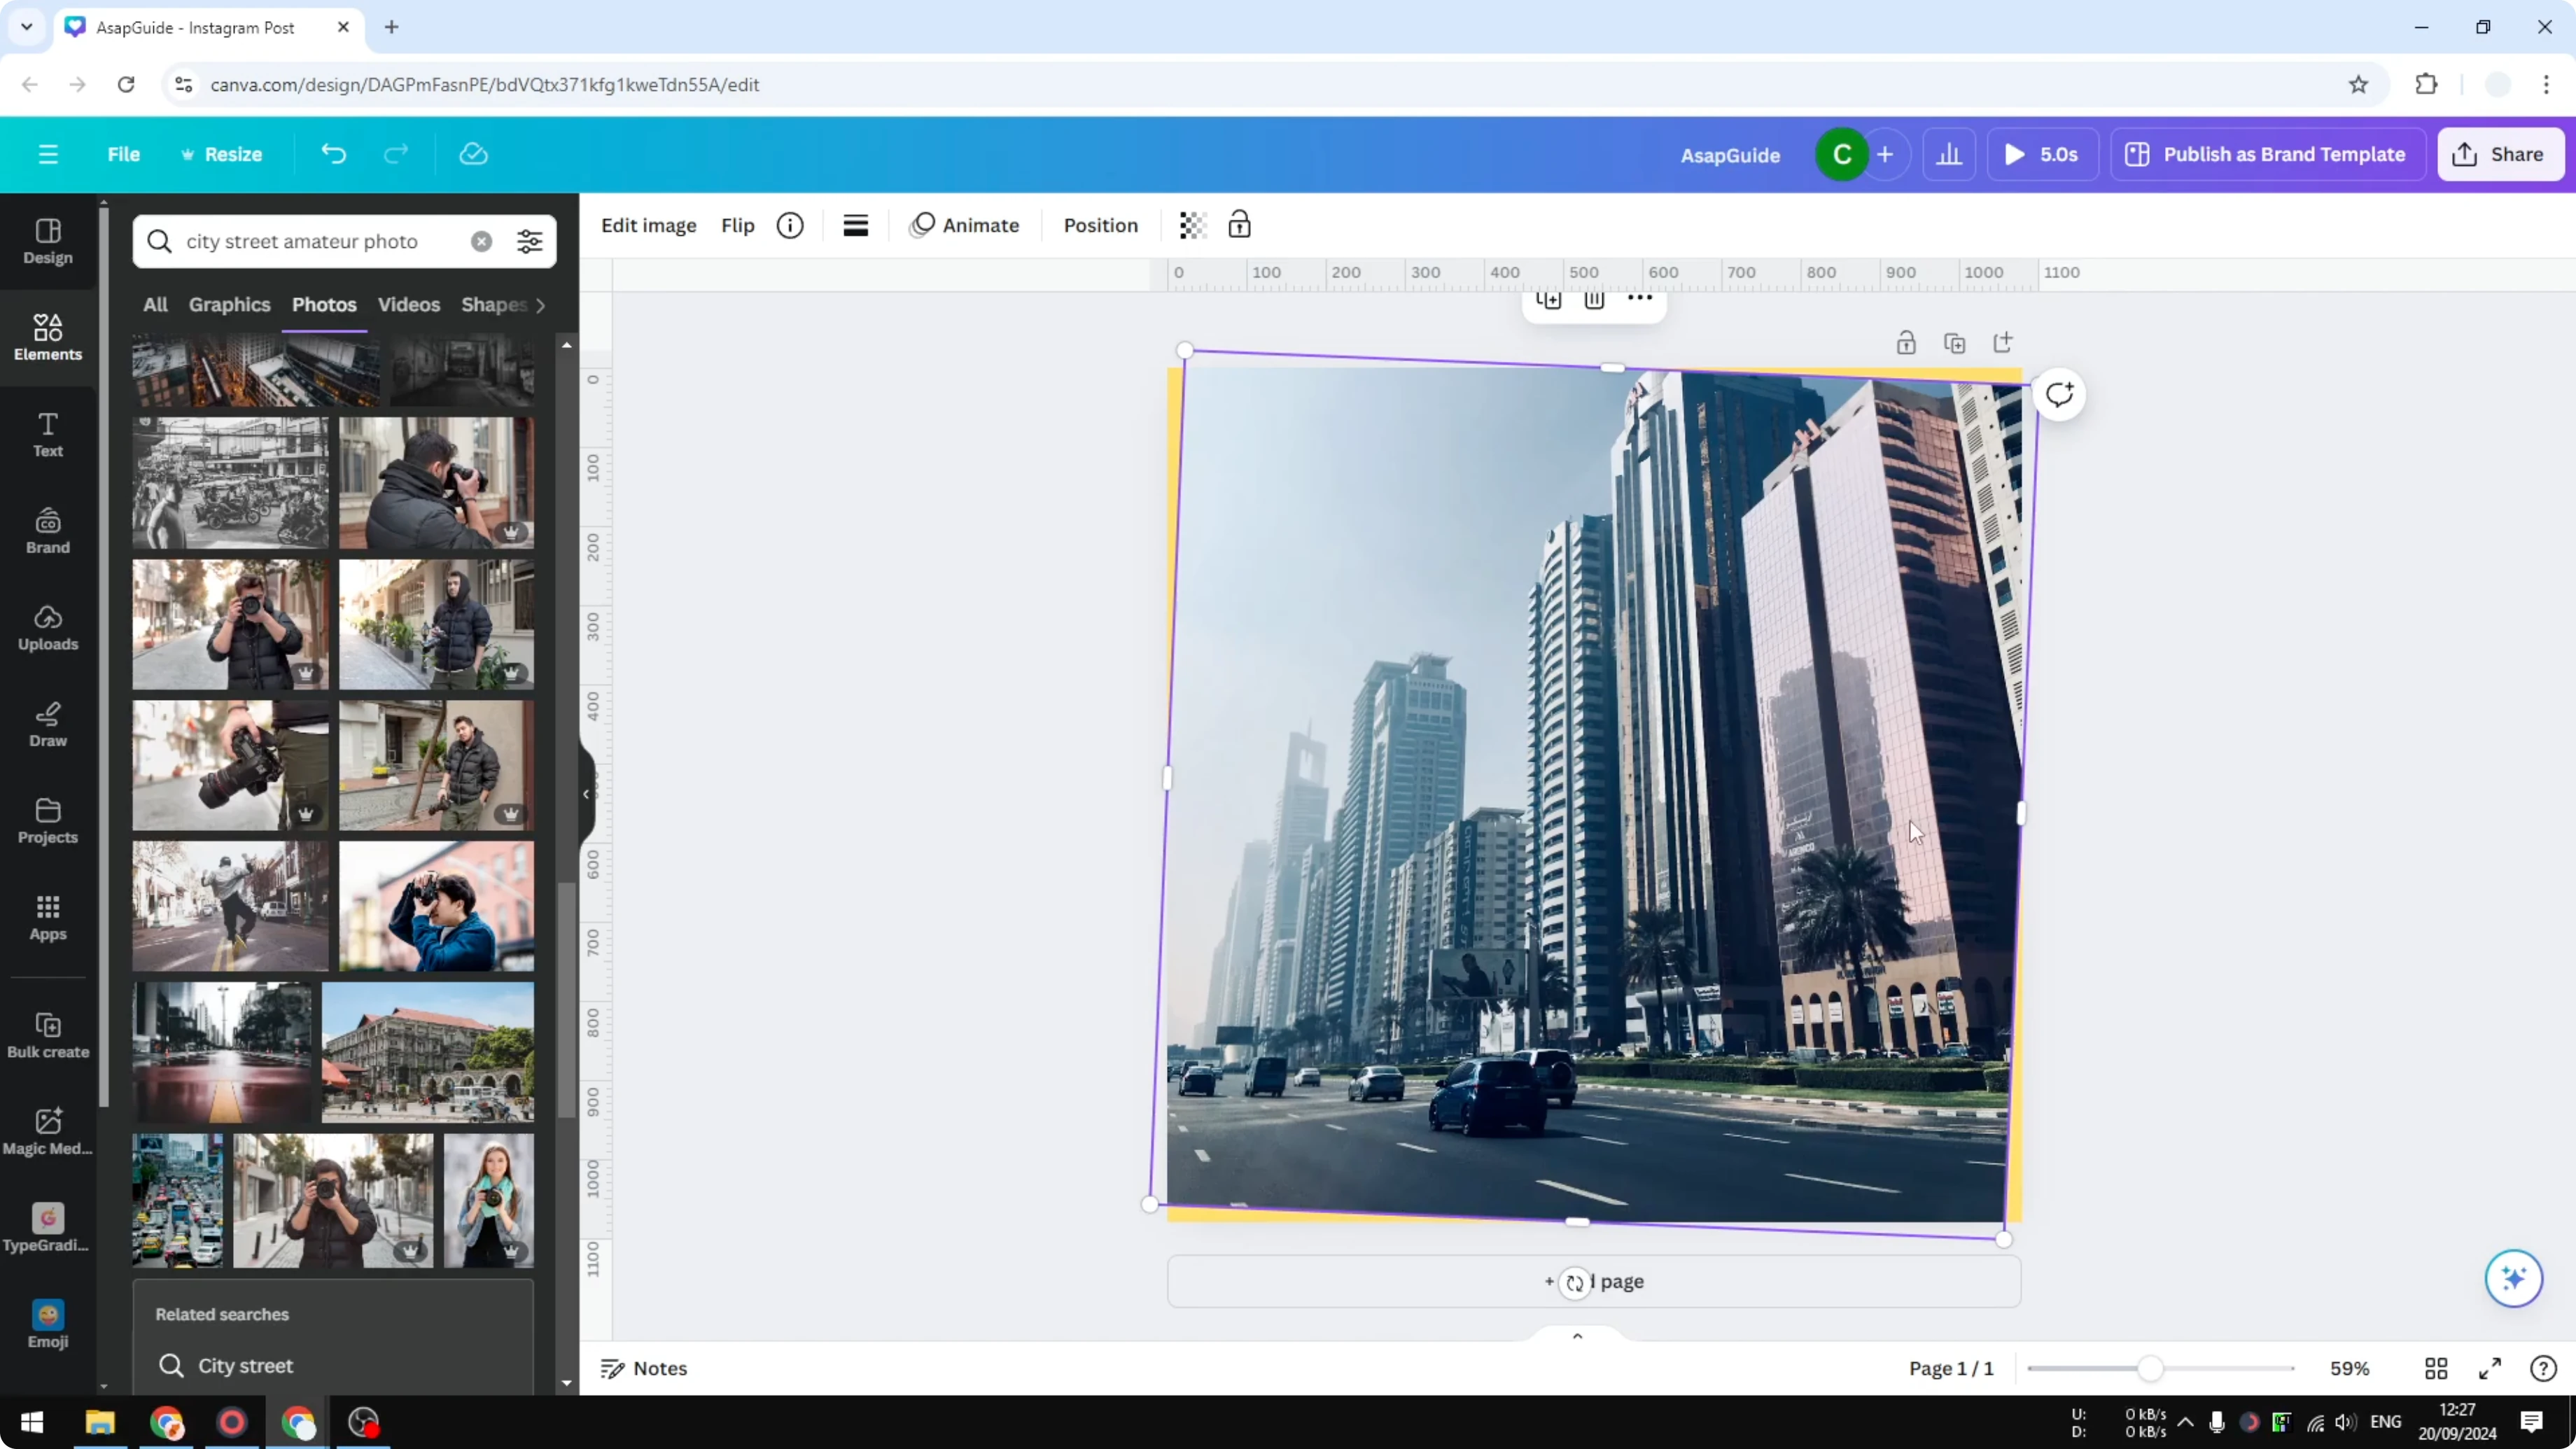
Click and drag the rotate icon to the left or right to correct the orientation. I usually tilt it by around 2 percent for a subtle fix. Release the click to set the angle.

You might notice a problem after tilting. Empty areas can appear along the edges where the image no longer covers the canvas. There are two ways to fix that.

Tilt an Image in Canva: Fix Empty Edges
There are two solutions that work well. You can make the image slightly larger so it covers the entire canvas. Or you can use AI to expand the image with Magic Expand before rotating.
Tilt an Image in Canva: Make the Image Larger
Zoom out a bit to give yourself room to scale. Drag a corner of the image outward until it fully covers the canvas.
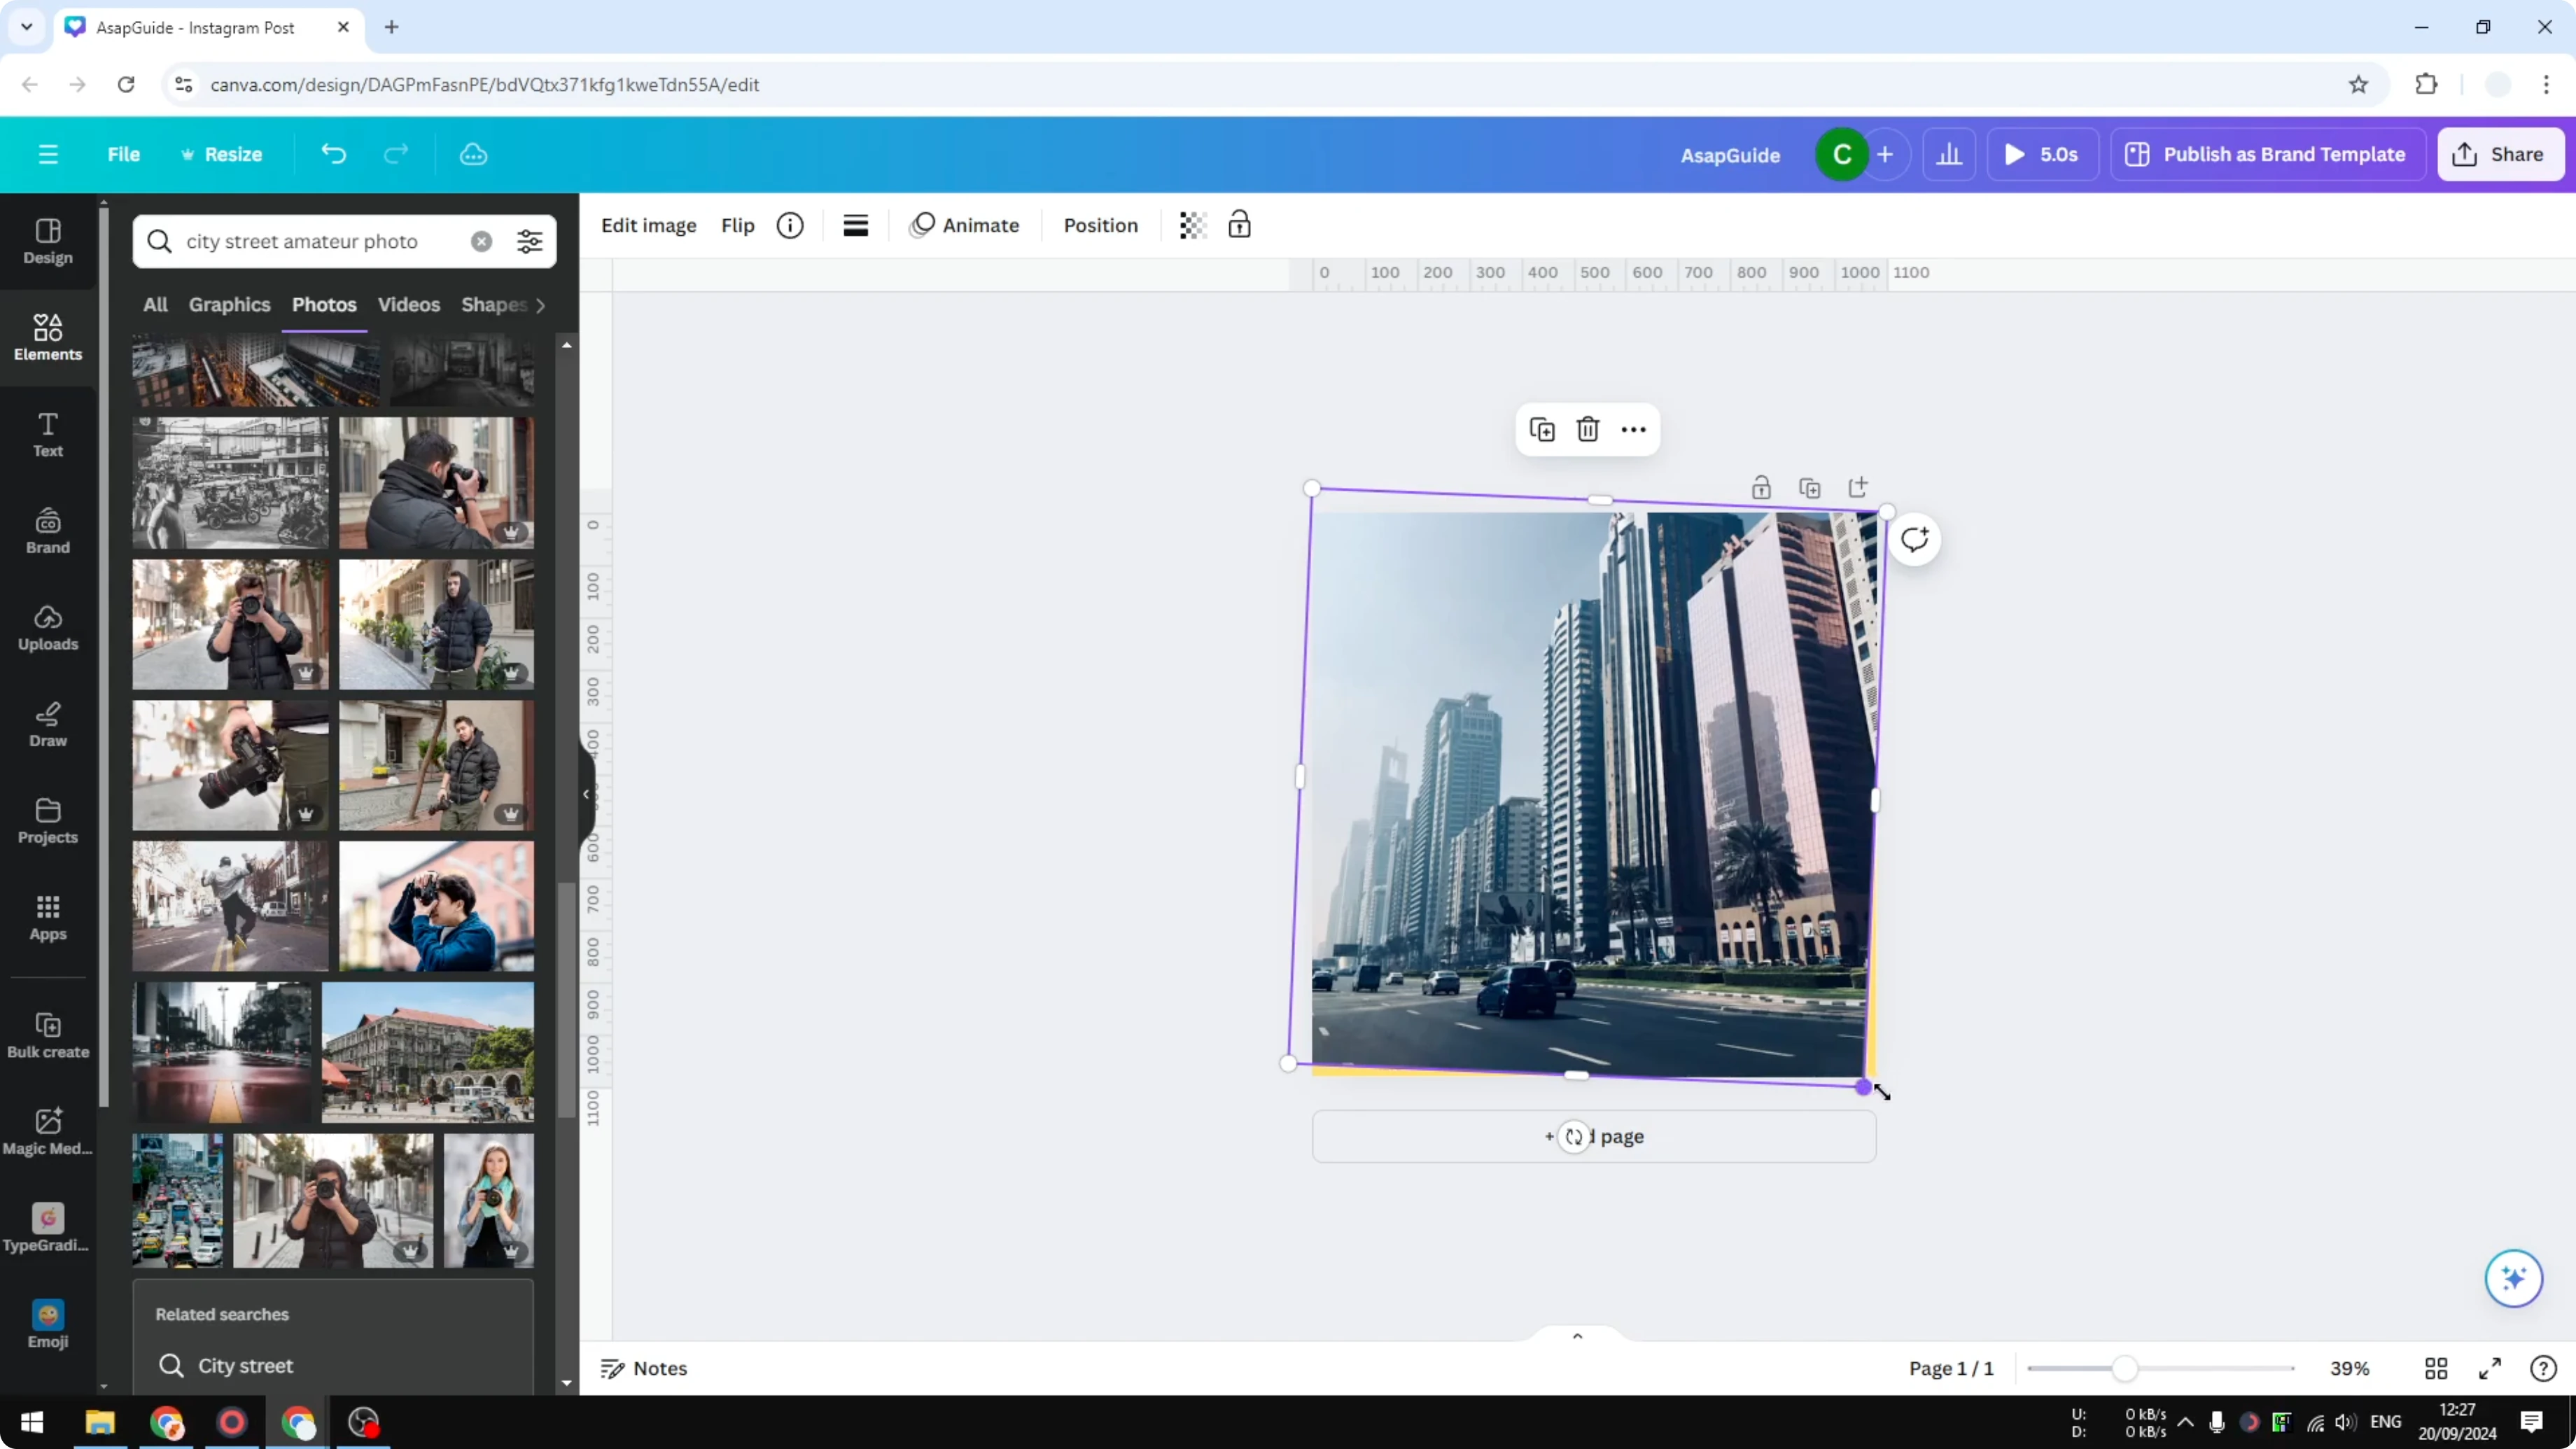
Check that there are no empty areas on the canvas anymore. This method is quick and keeps your edit simple.
If you are arranging multiple images, frames help you control placement and cropping. See how to work with placeholder image frames for cleaner layouts.
Tilt an Image in Canva: Magic Expand
Using Magic Expand works best if you apply it before rotating. If you already rotated, reset the rotation to default first.
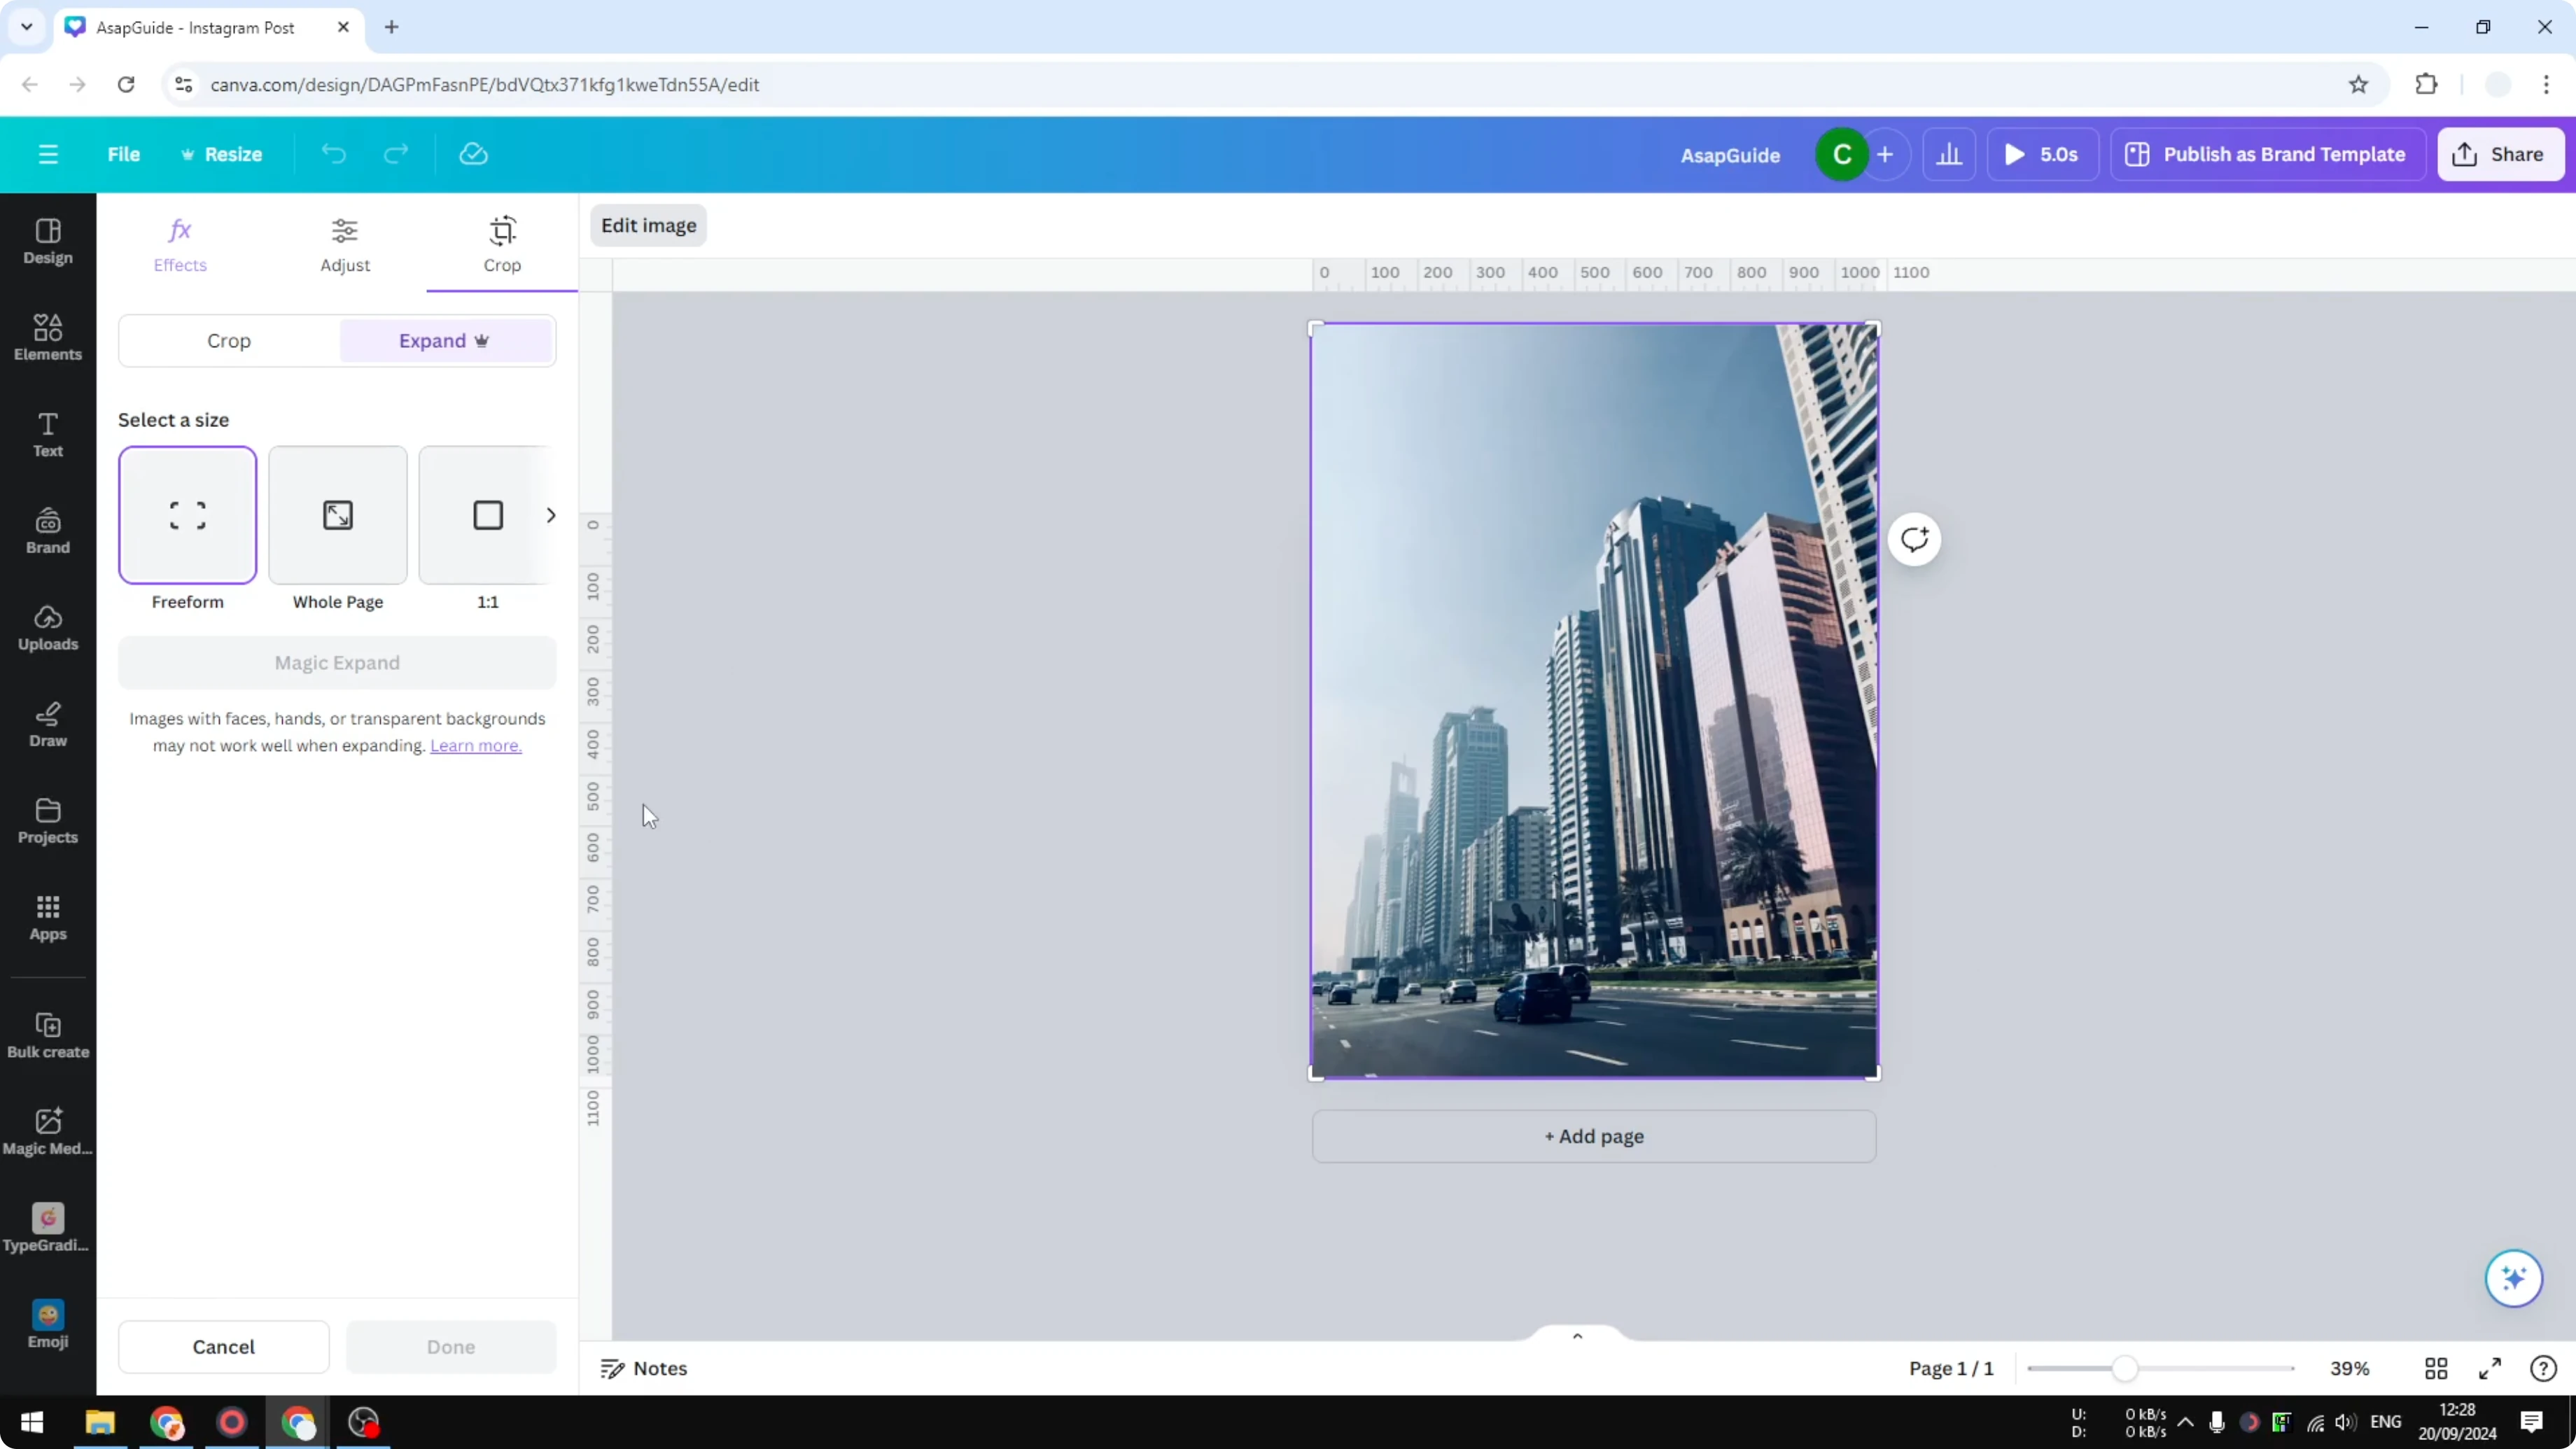
Click the image. Open Edit Image.
Find the AI options and choose Magic Expand. I prefer Freeform when I want the image slightly bigger, not extremely larger.
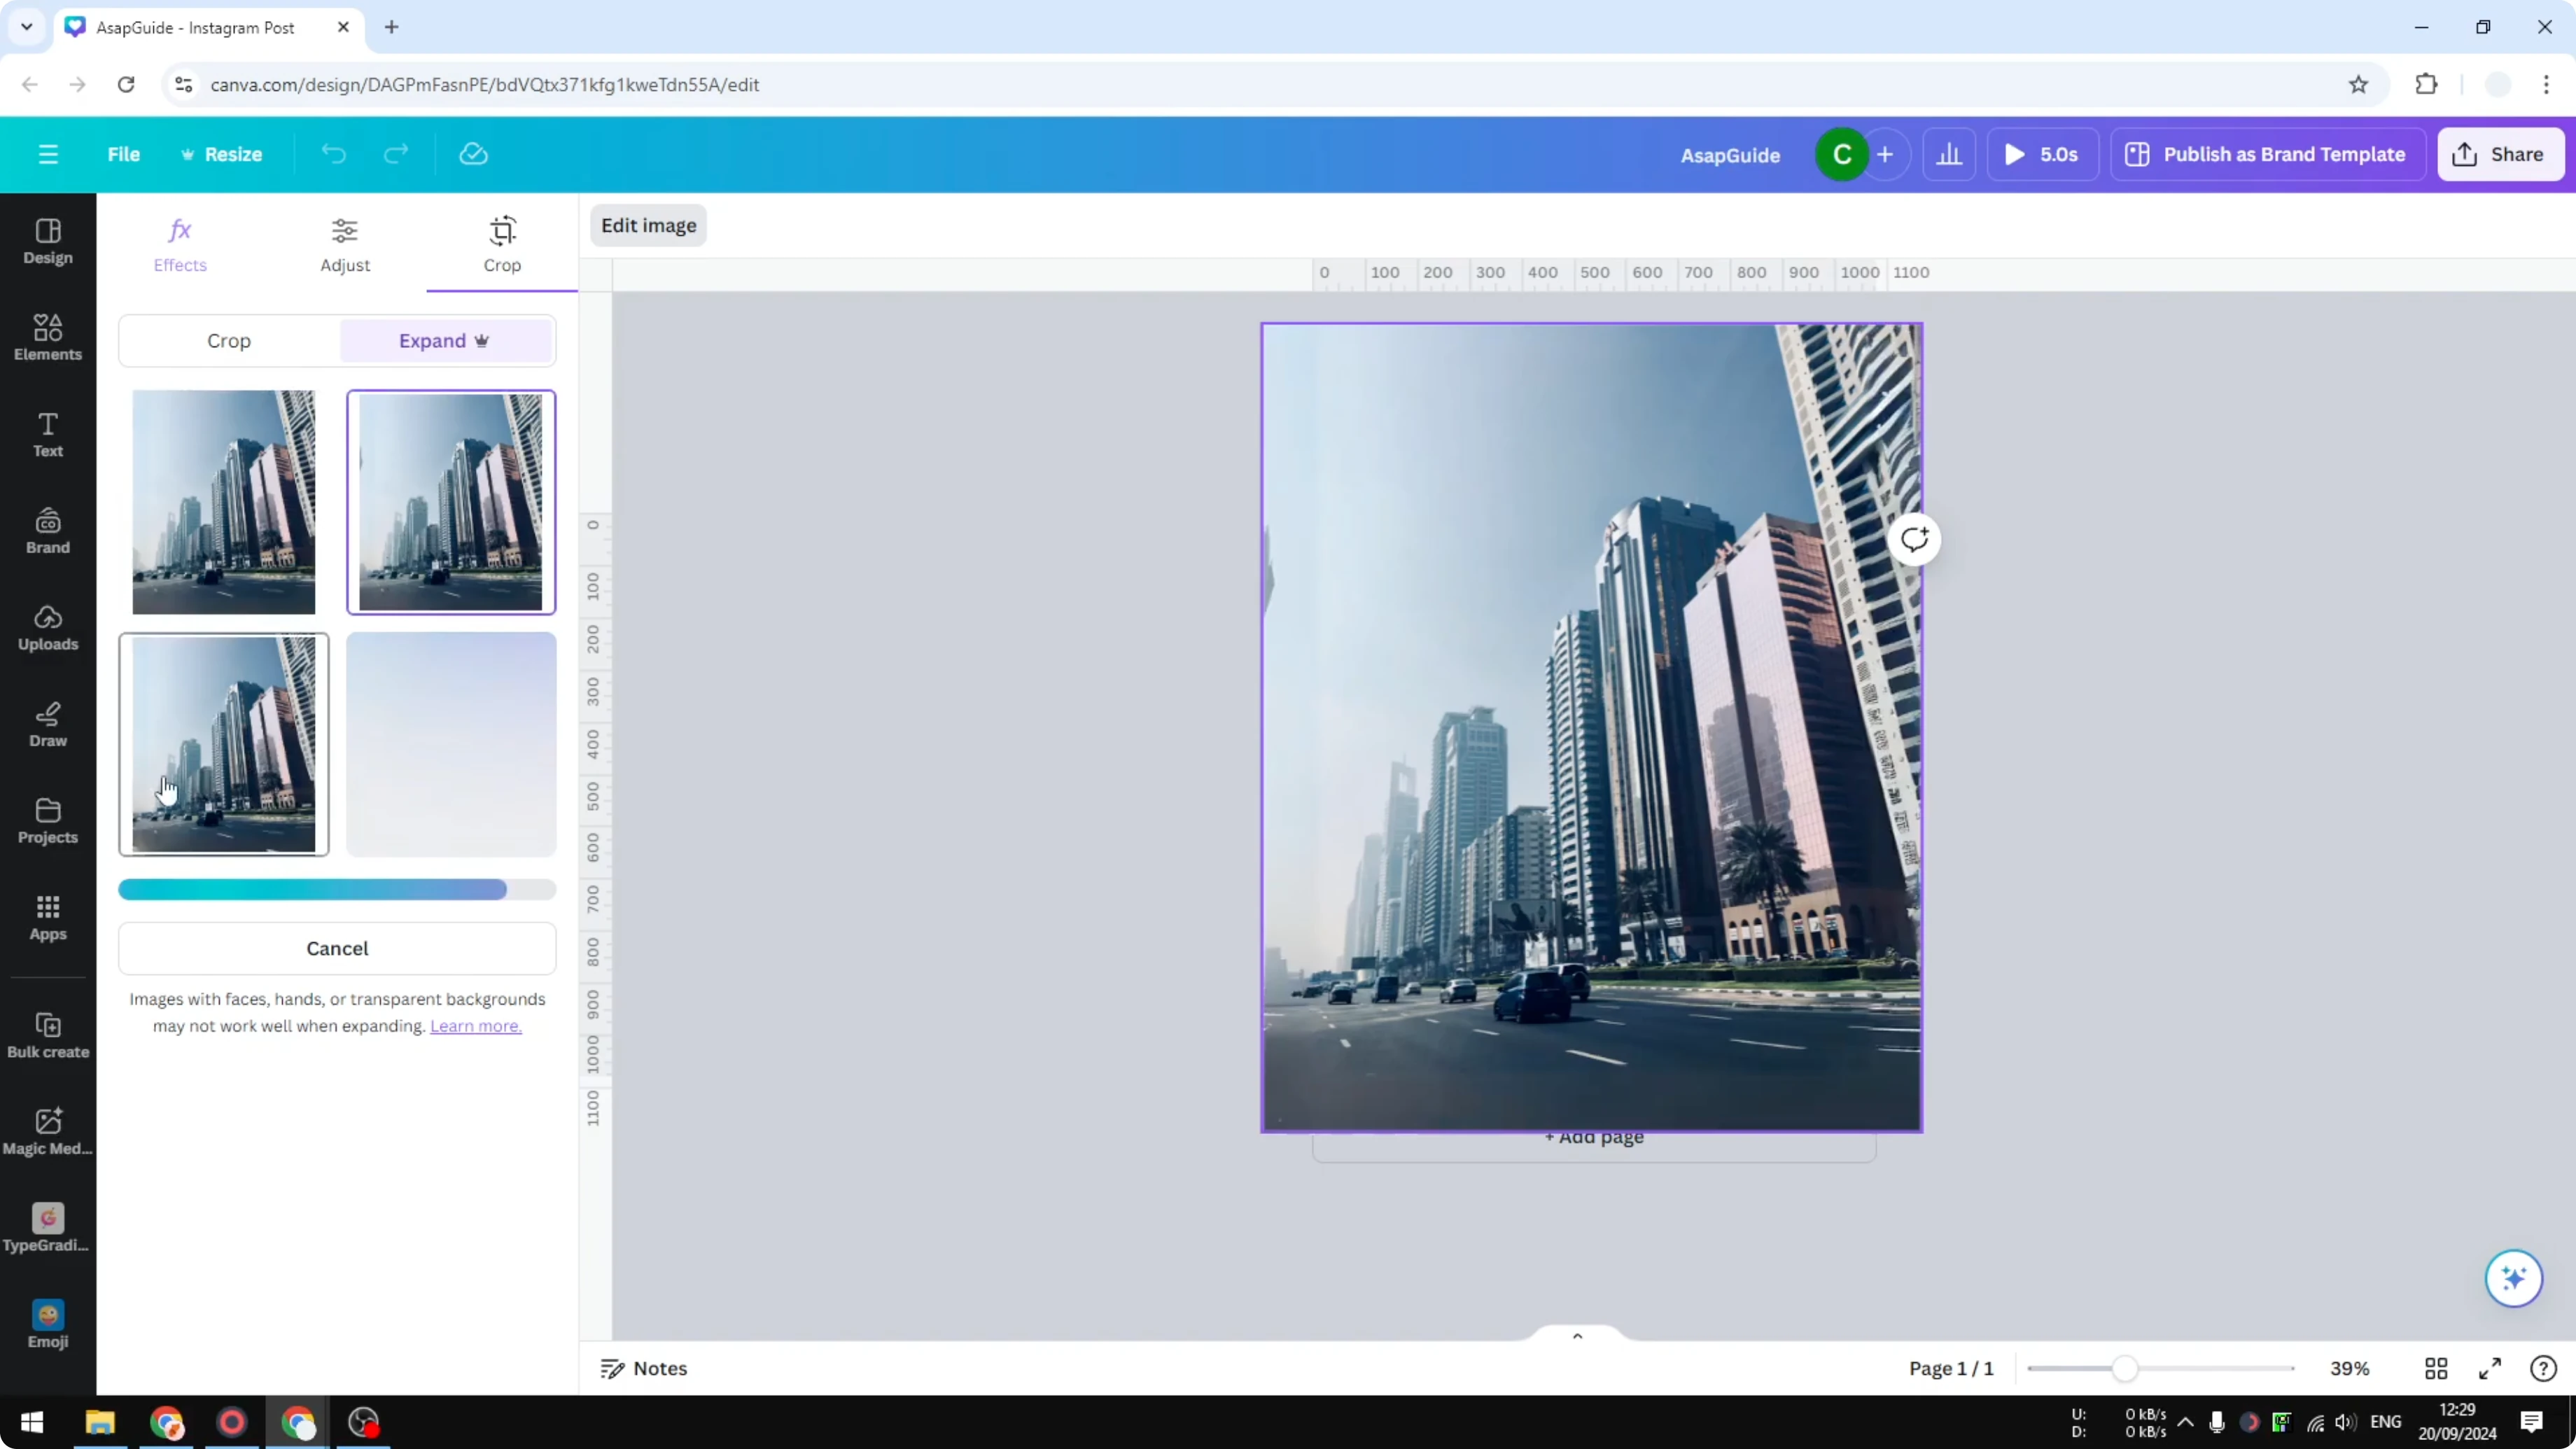
Click Magic Expand to process. This can take a few seconds, sometimes up to a minute or two, depending on the image size and complexity.
Review the generated options and pick the one that looks the best. I look for a result that cleanly extends the edges of the image. Click Done to apply it.
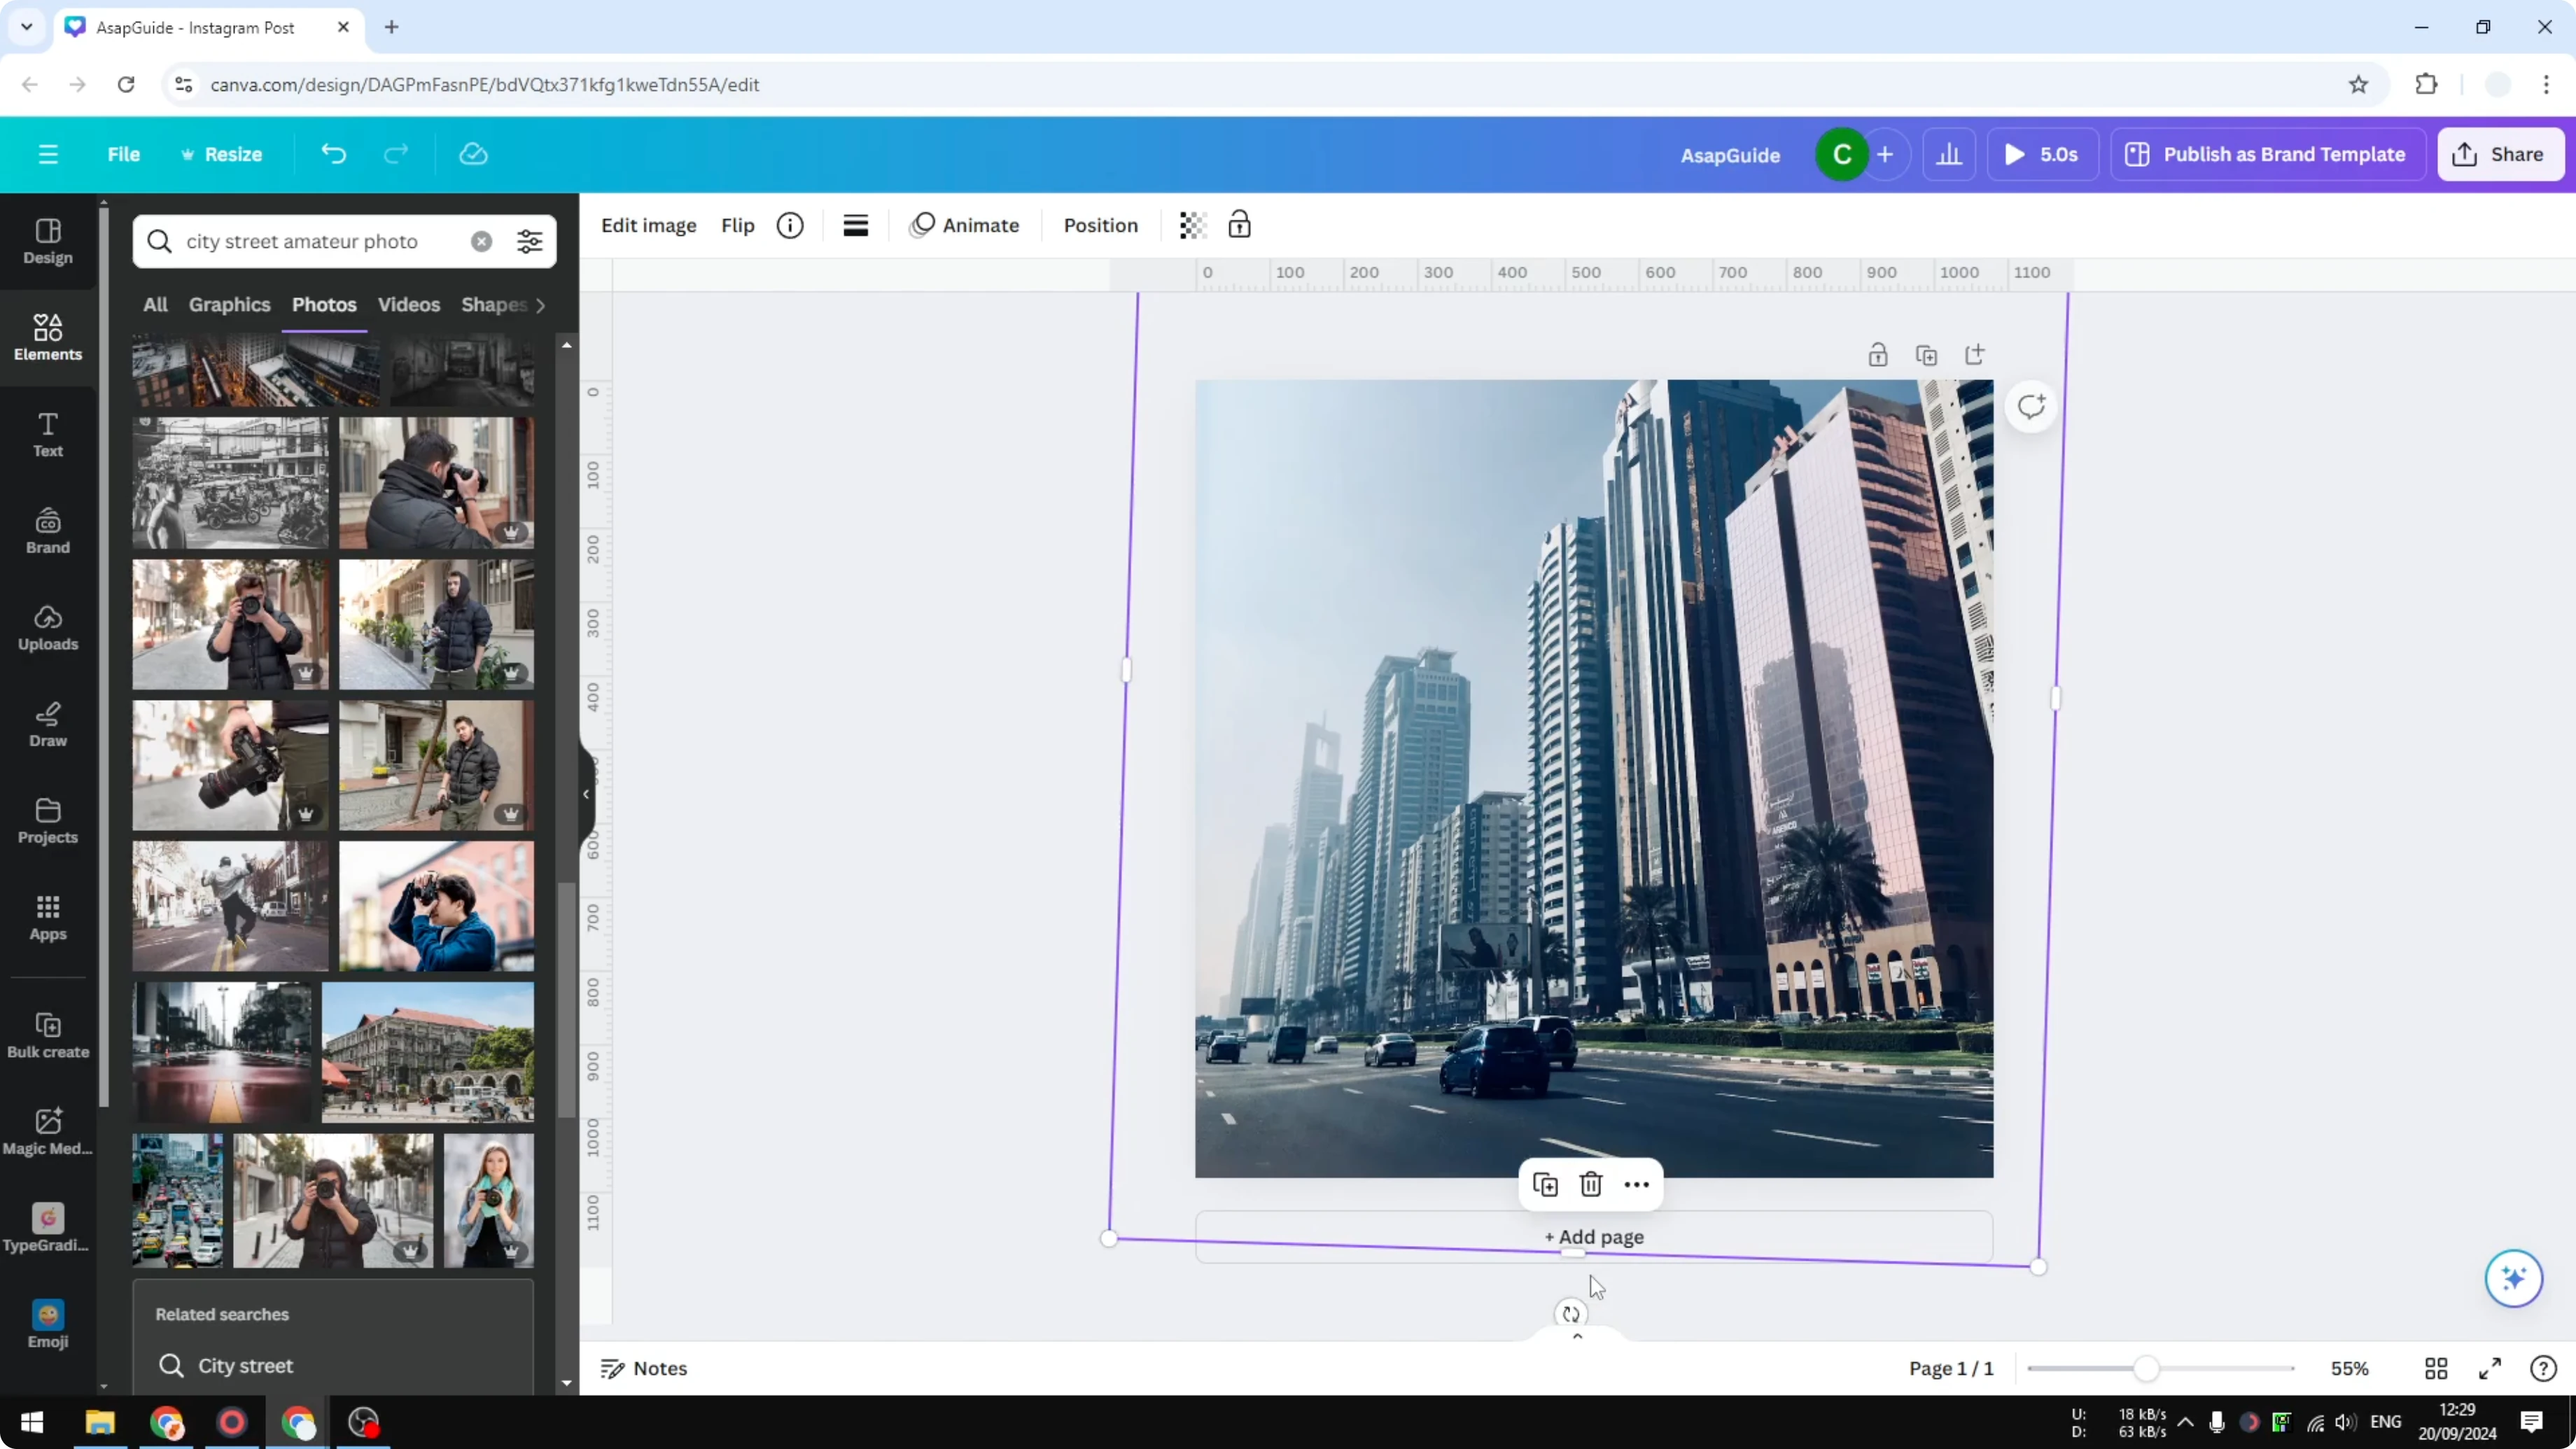
At this point the image has been expanded. You can safely tilt again without exposing empty areas.
Click the image and rotate it by about 2 percent like before. You should see that it covers the full canvas with no gaps. This gives you a straight image without losing coverage.
If the expanded edges look a bit dim, you can quickly brighten an image to match the original exposure. Color consistency also helps the blend look natural. For quick palette tweaks, try to change image color after expanding.
Tilt an Image in Canva: Final Thoughts
A slight tilt can correct perspective and make a photo feel level. If tilting exposes empty canvas, either scale the image up or use Magic Expand first.
Pick the approach that keeps your image quality intact. The goal is a straight photo that fully covers the canvas, with edges that look natural.
Recent Posts
How to Visualize Yourself as a Pixelized Character with AI?
How to Visualize Yourself as a Pixelized Character with AI?

How to Revive Faded Memories and Enhance Image Clarity with AI?
How to Revive Faded Memories and Enhance Image Clarity with AI?

How to Visualize Yourself as an Animal Crossing Character with AI?
How to Visualize Yourself as an Animal Crossing Character with AI?