How to Add Placeholder Image Frame in Canva
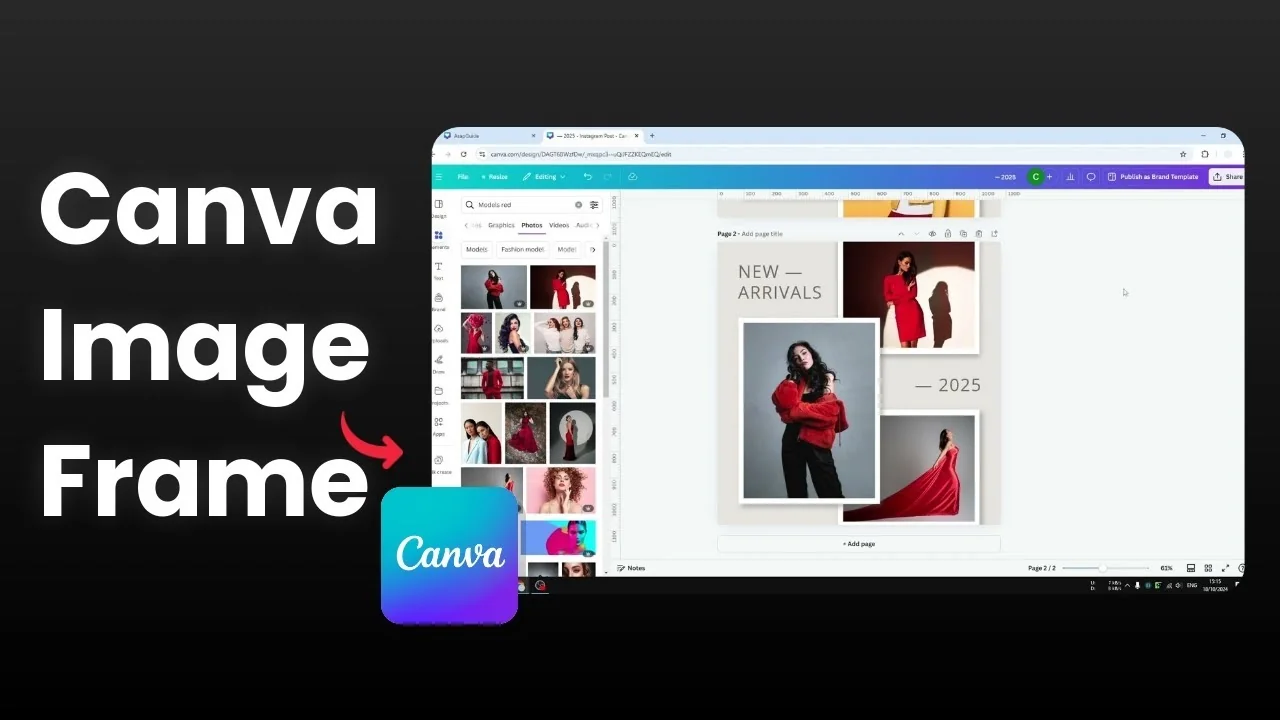
Adding a placeholder, also known as a frame, in Canva lets you instantly put an image into a design without manual resizing or moving layers. You can click and drag any picture, and Canva recognizes the content and snaps it into the frame. It is simple, quick, and very useful.
I like to set up a page with three frames, then drag images right into them. I can add one picture here, another there, and keep going without breaking the layout. This is especially helpful when you share a document so others can work on your template with less friction.
Why Add Placeholder Image Frame in Canva
On a page with no placeholders, placing an image becomes tedious. I have to manually resize the photo, change the position, and send it to the back so it blends with the rest of the design. That process takes time and the result might not be satisfactory.
You also end up tweaking tiny details like the number of pixels that fall inside a mask or behind other layers. Overall, that is not the best way to do it when a frame would fit the image in a snap. Put a placeholder first to keep the workflow clean and fast.
If you are working with layers and stacking order often, you may also want to see how to put text behind an image for more precise control.
Add Placeholder Image Frame in Canva
Insert frames
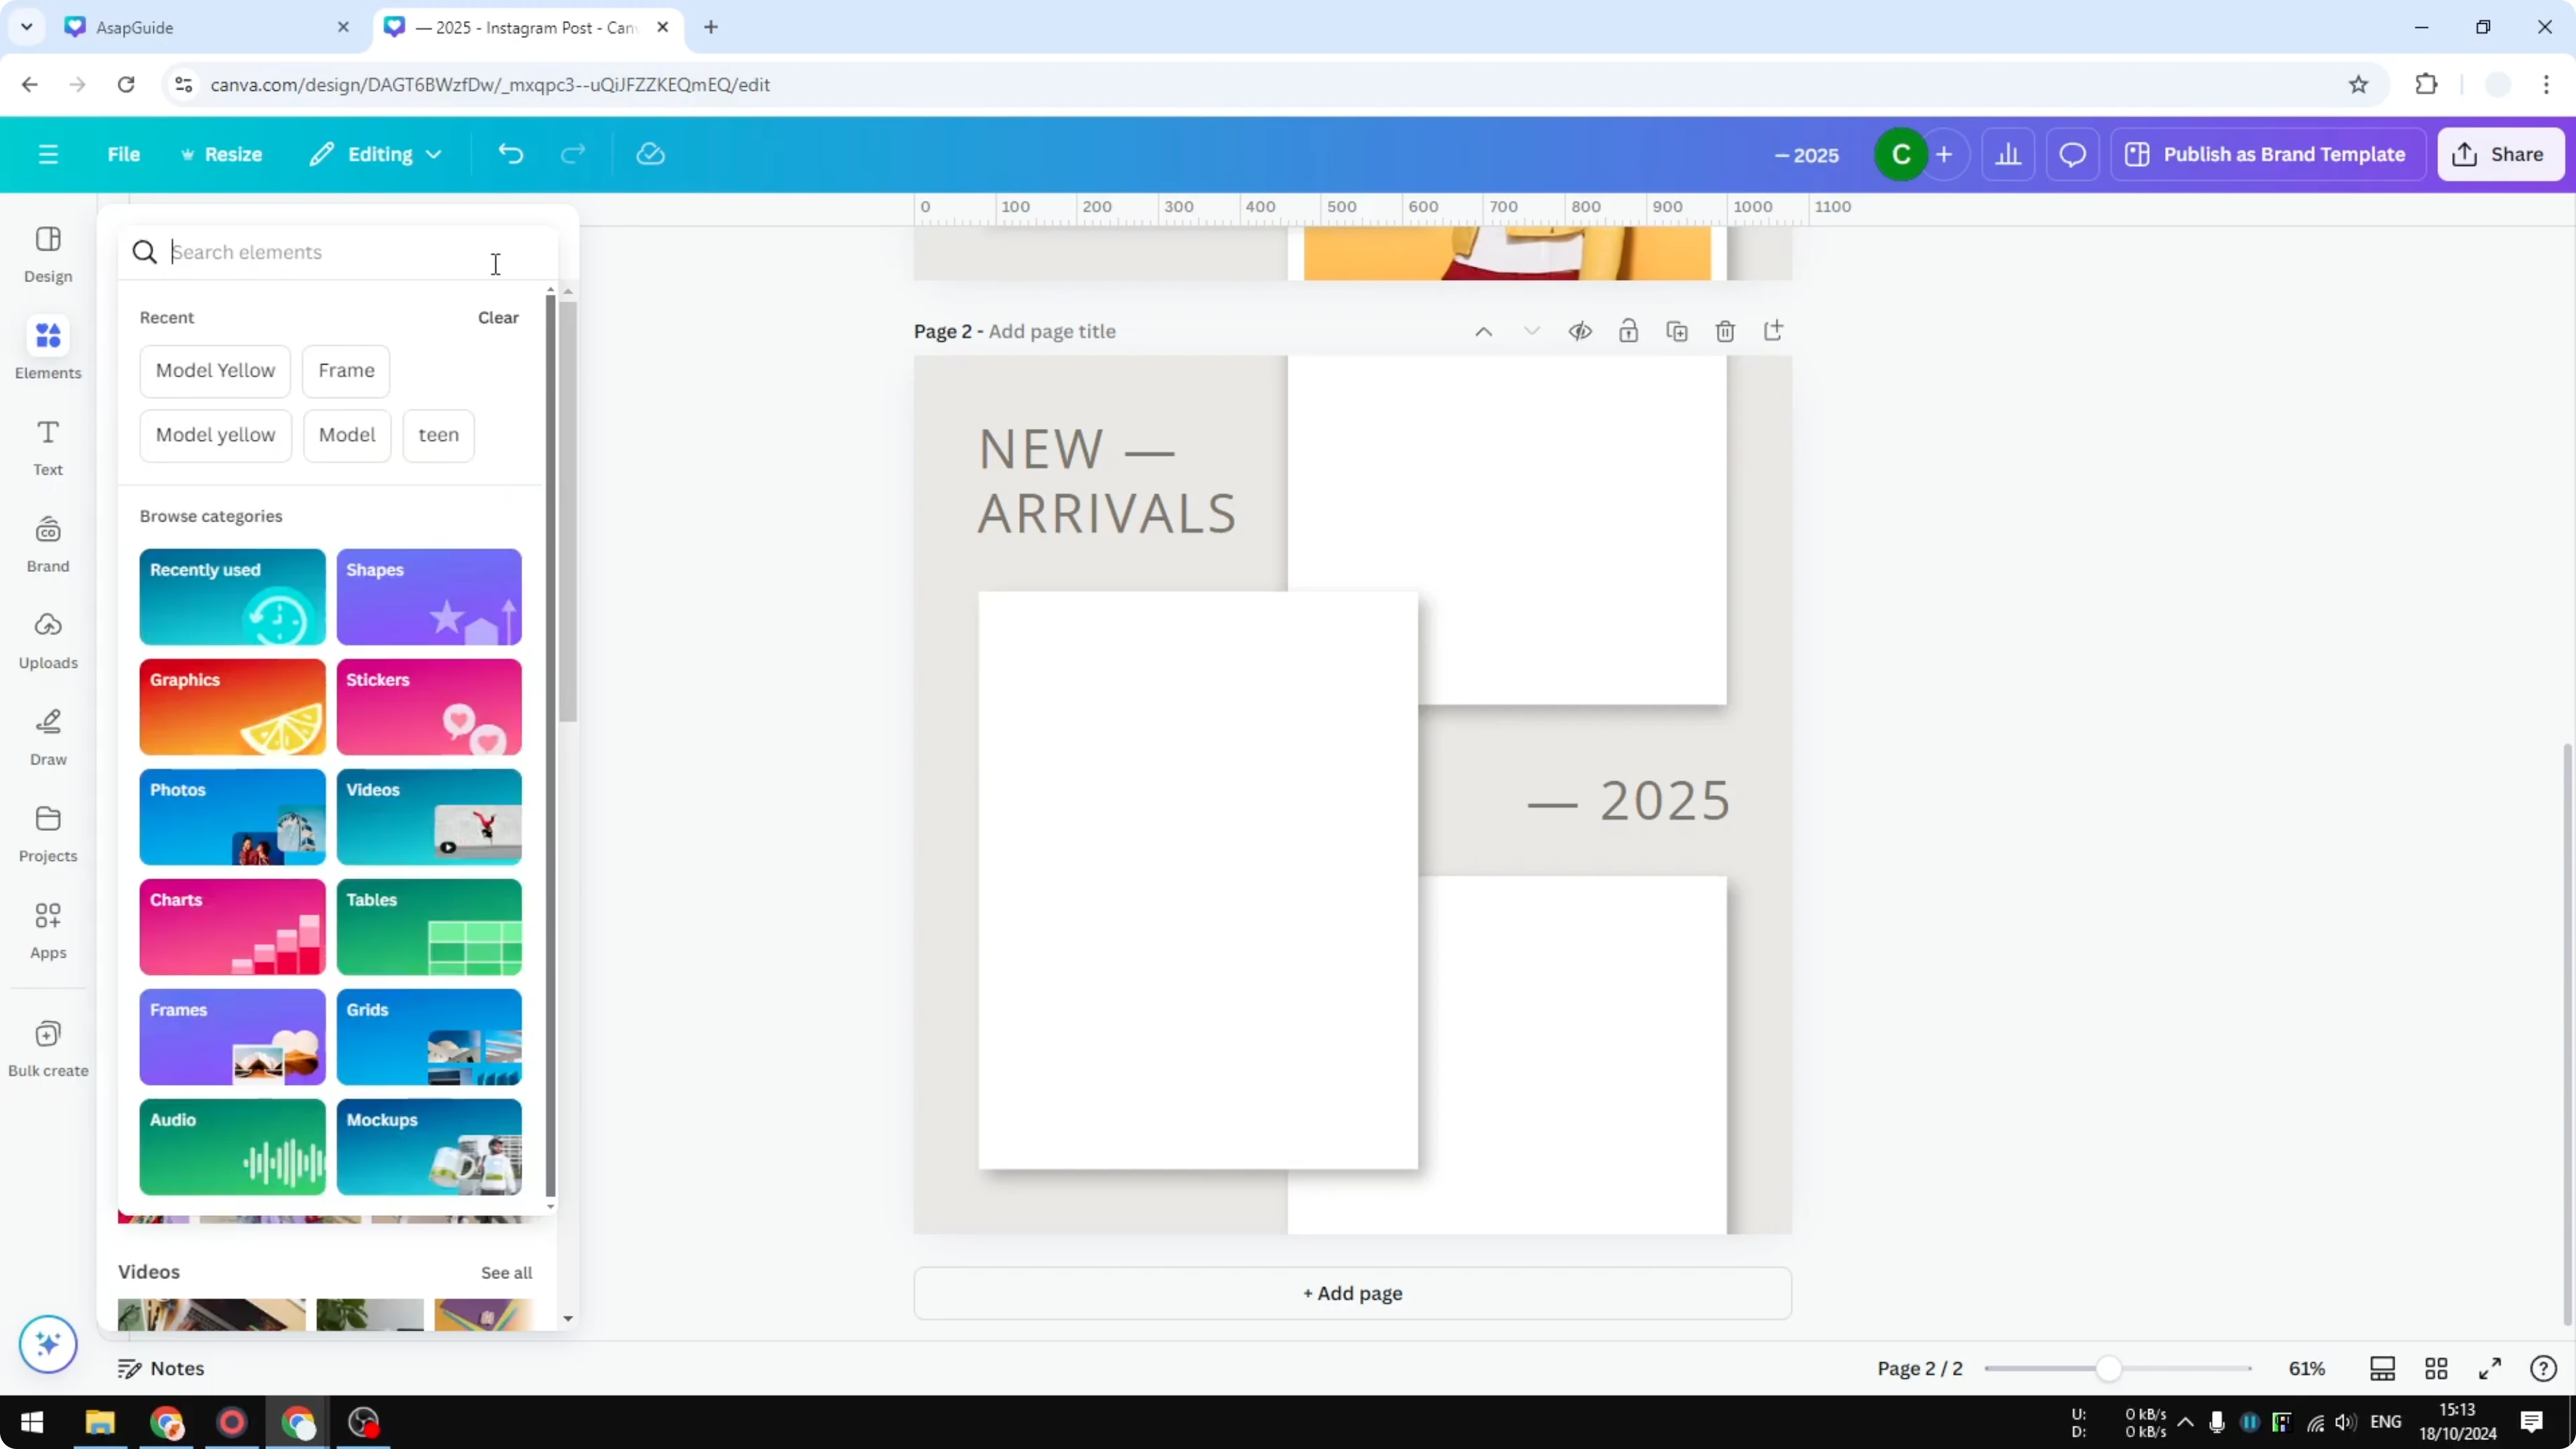
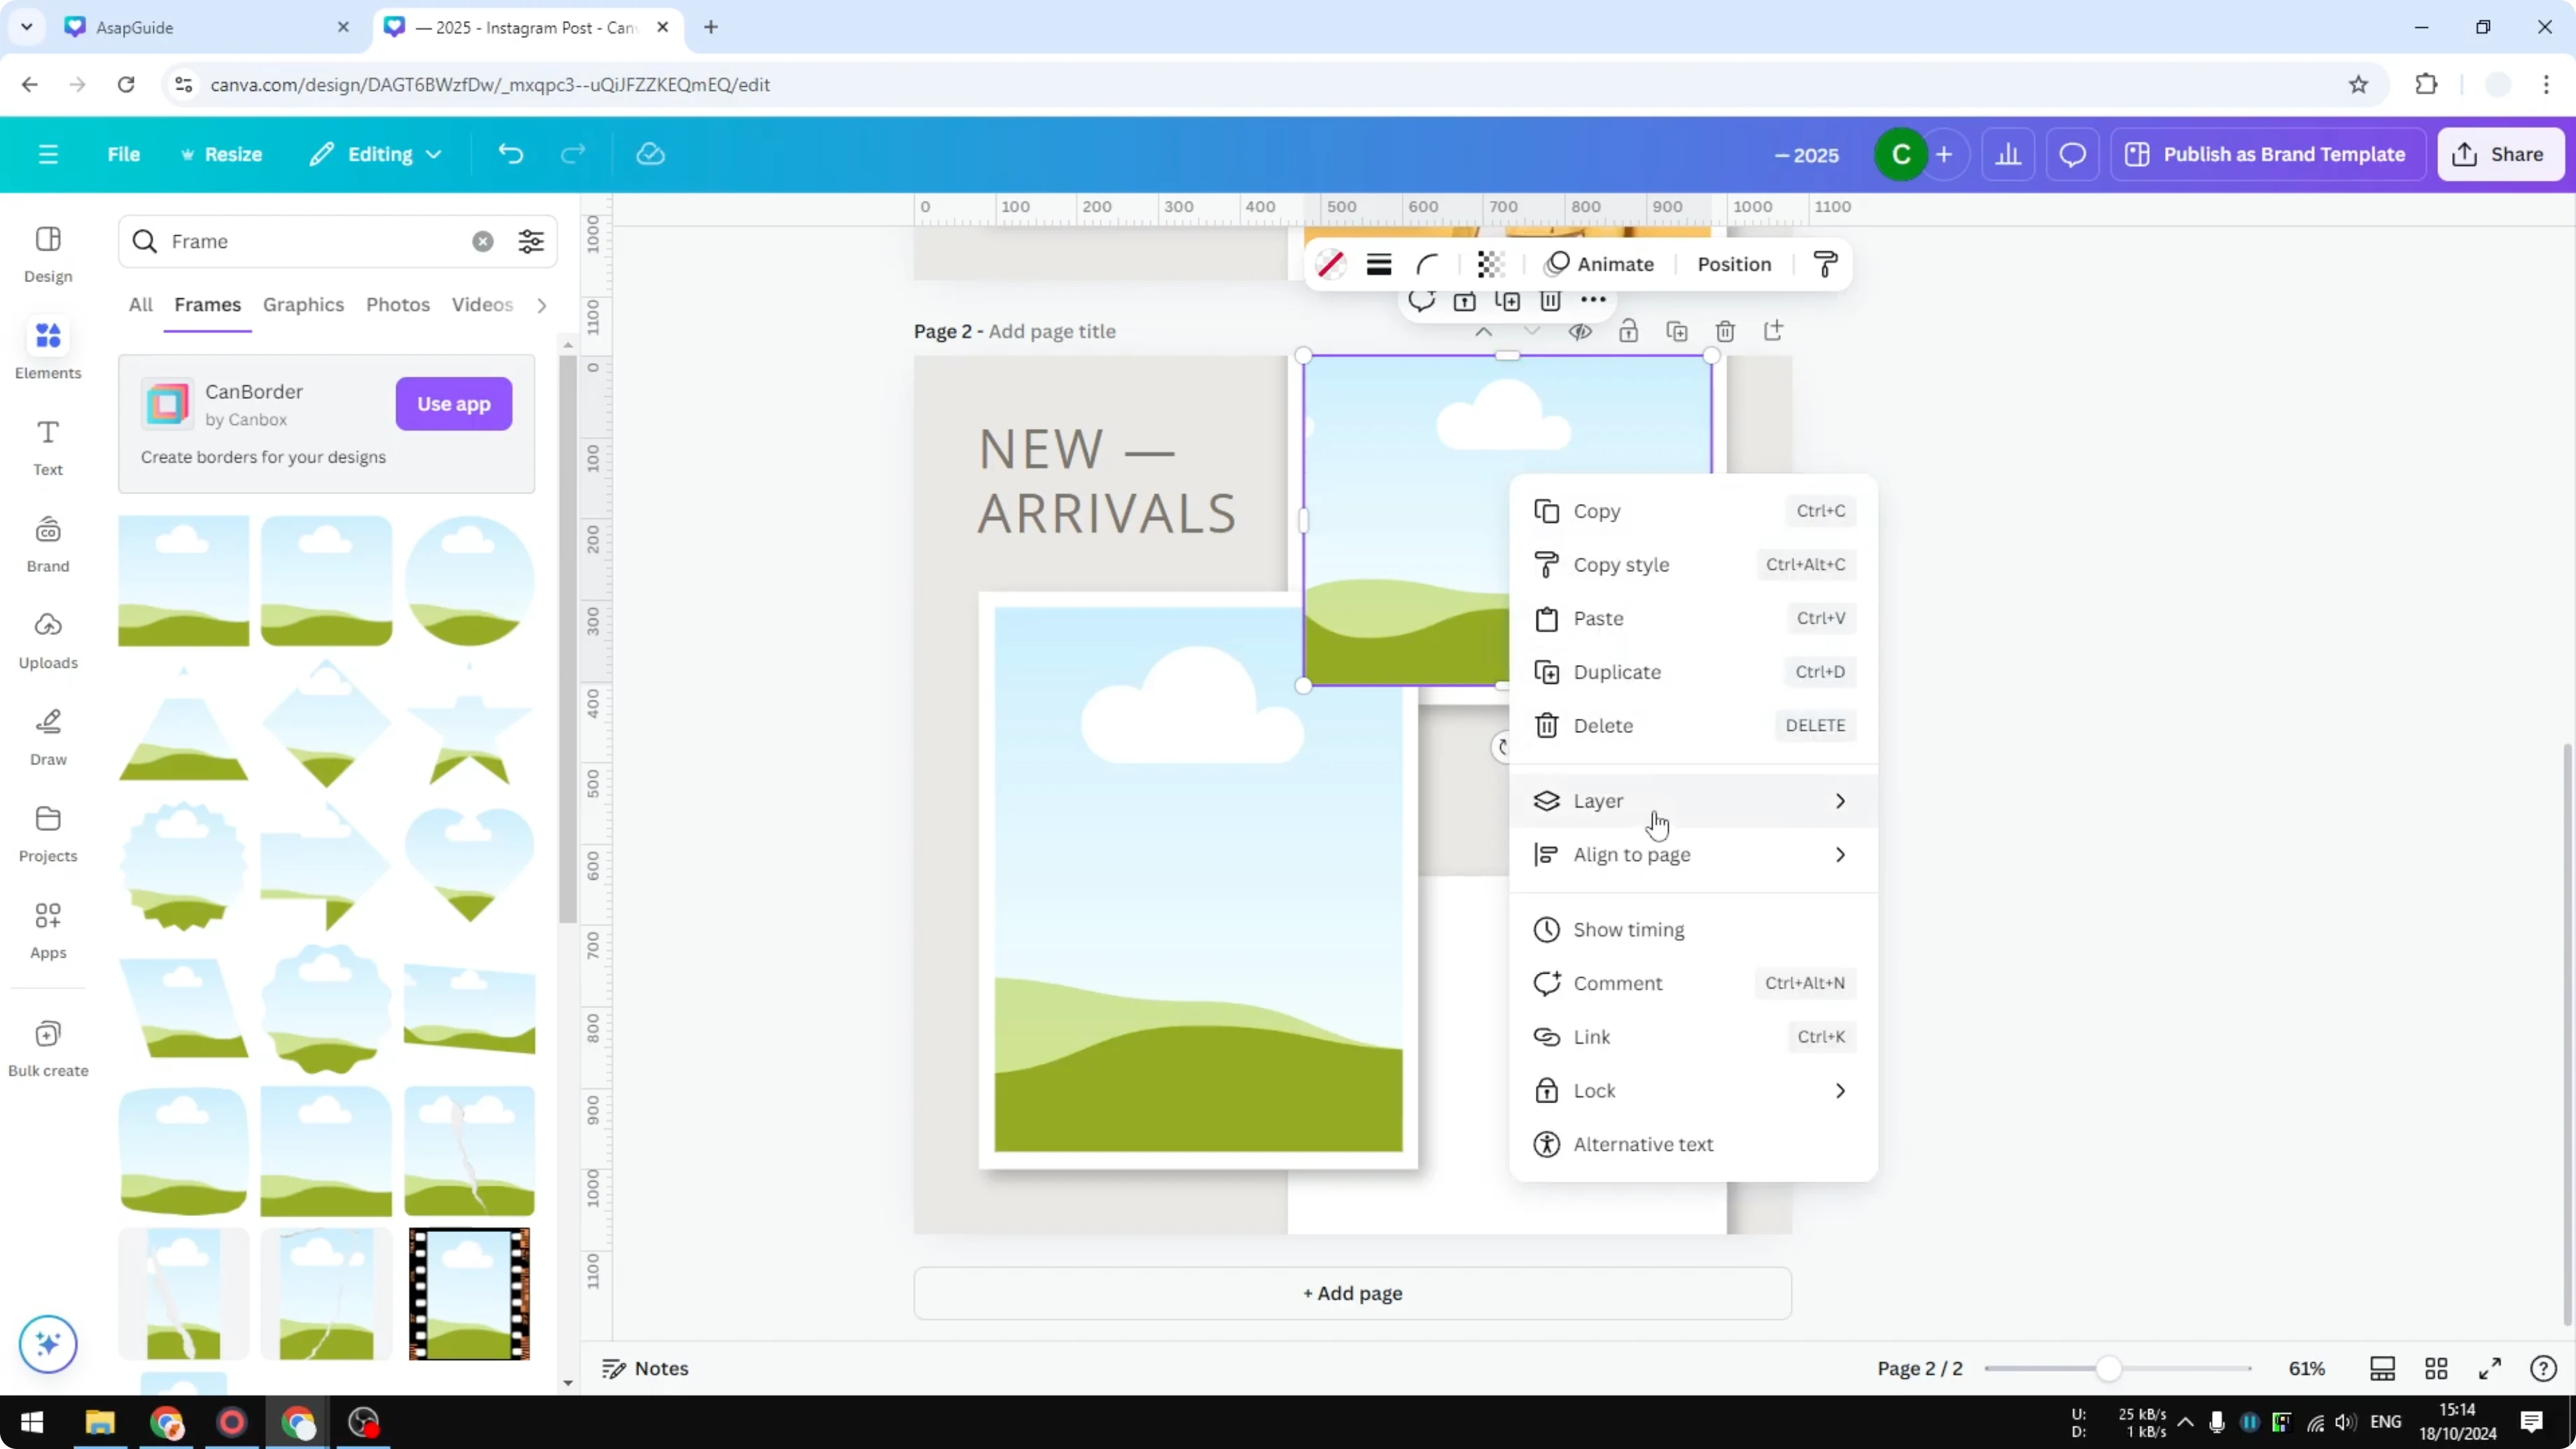
Step 1: Go to Elements.
Step 2: Search for frame.
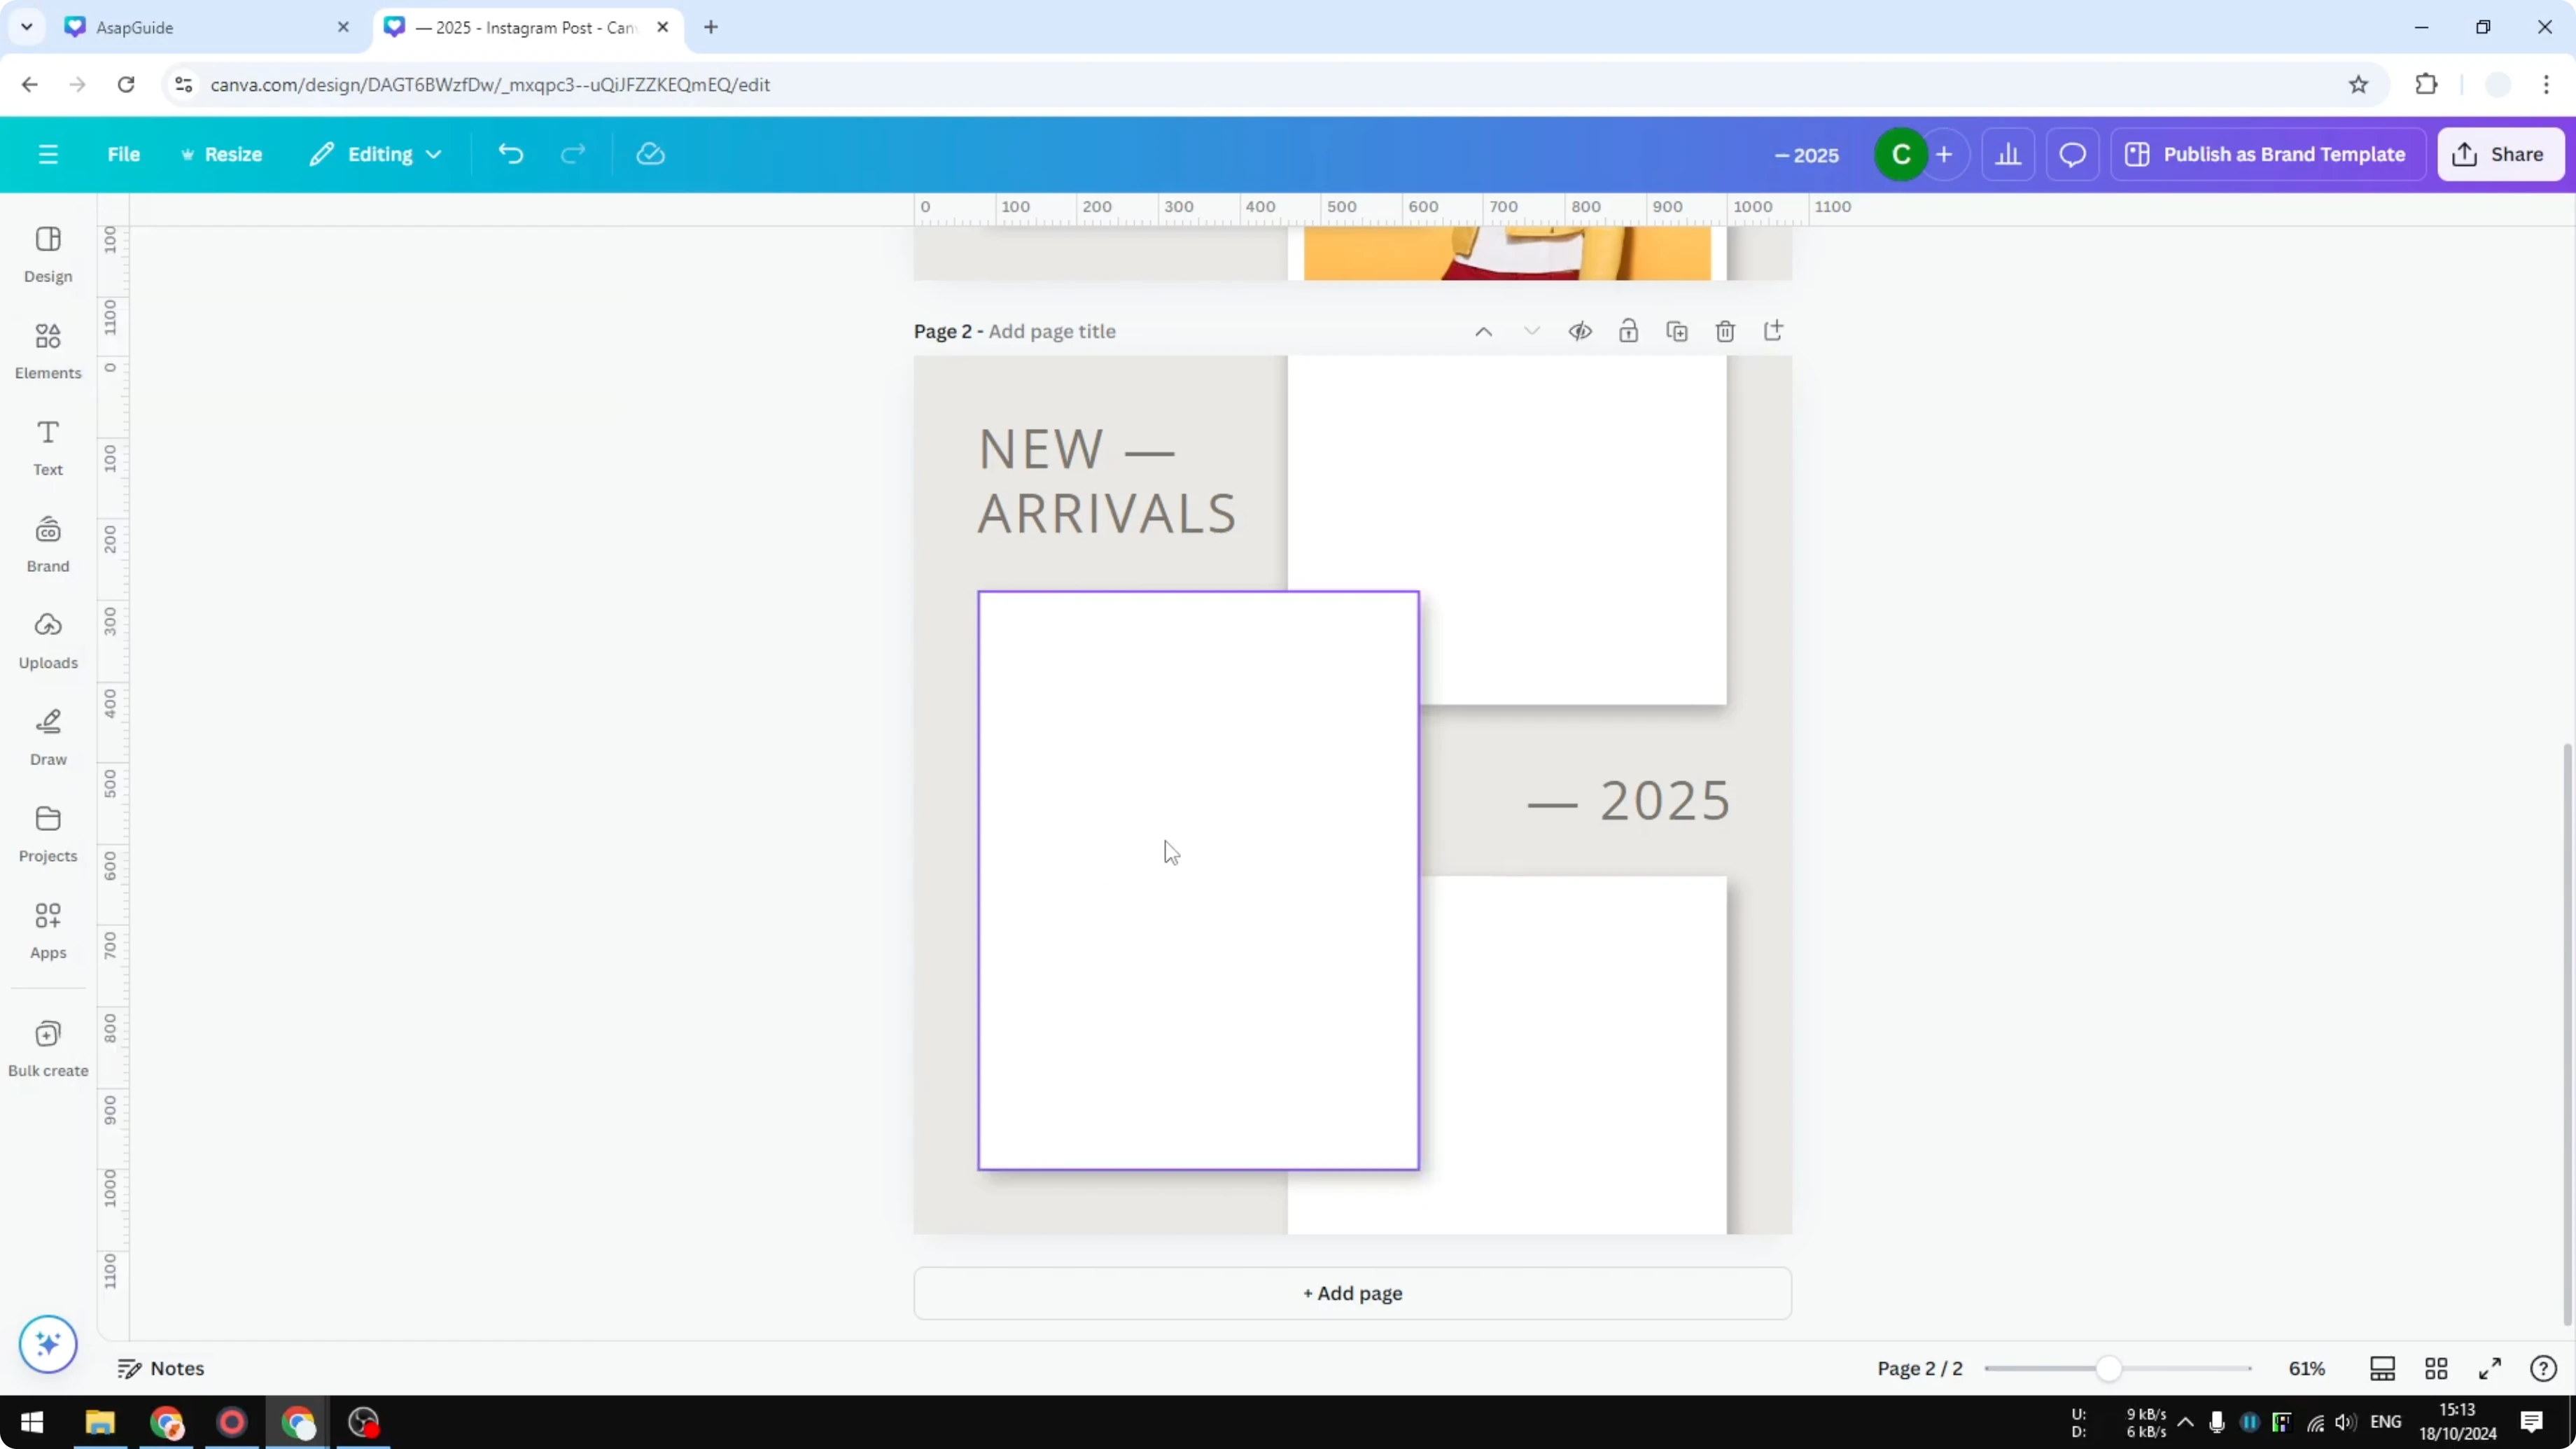
Step 3: In the Frames section, pick a simple square and place it on the canvas.
You will see many sizes and styles, but a square keeps things simple for a start. If you need elongated shapes later, take a look at working with rectangle frames for more layout options. Place the first frame where you want your image to live.
Arrange and duplicate frames
Try to keep the proportions consistent, but it does not have to be perfect. Copy or duplicate the frame to create the second and third spots. Make one a bit smaller if needed and position it carefully.
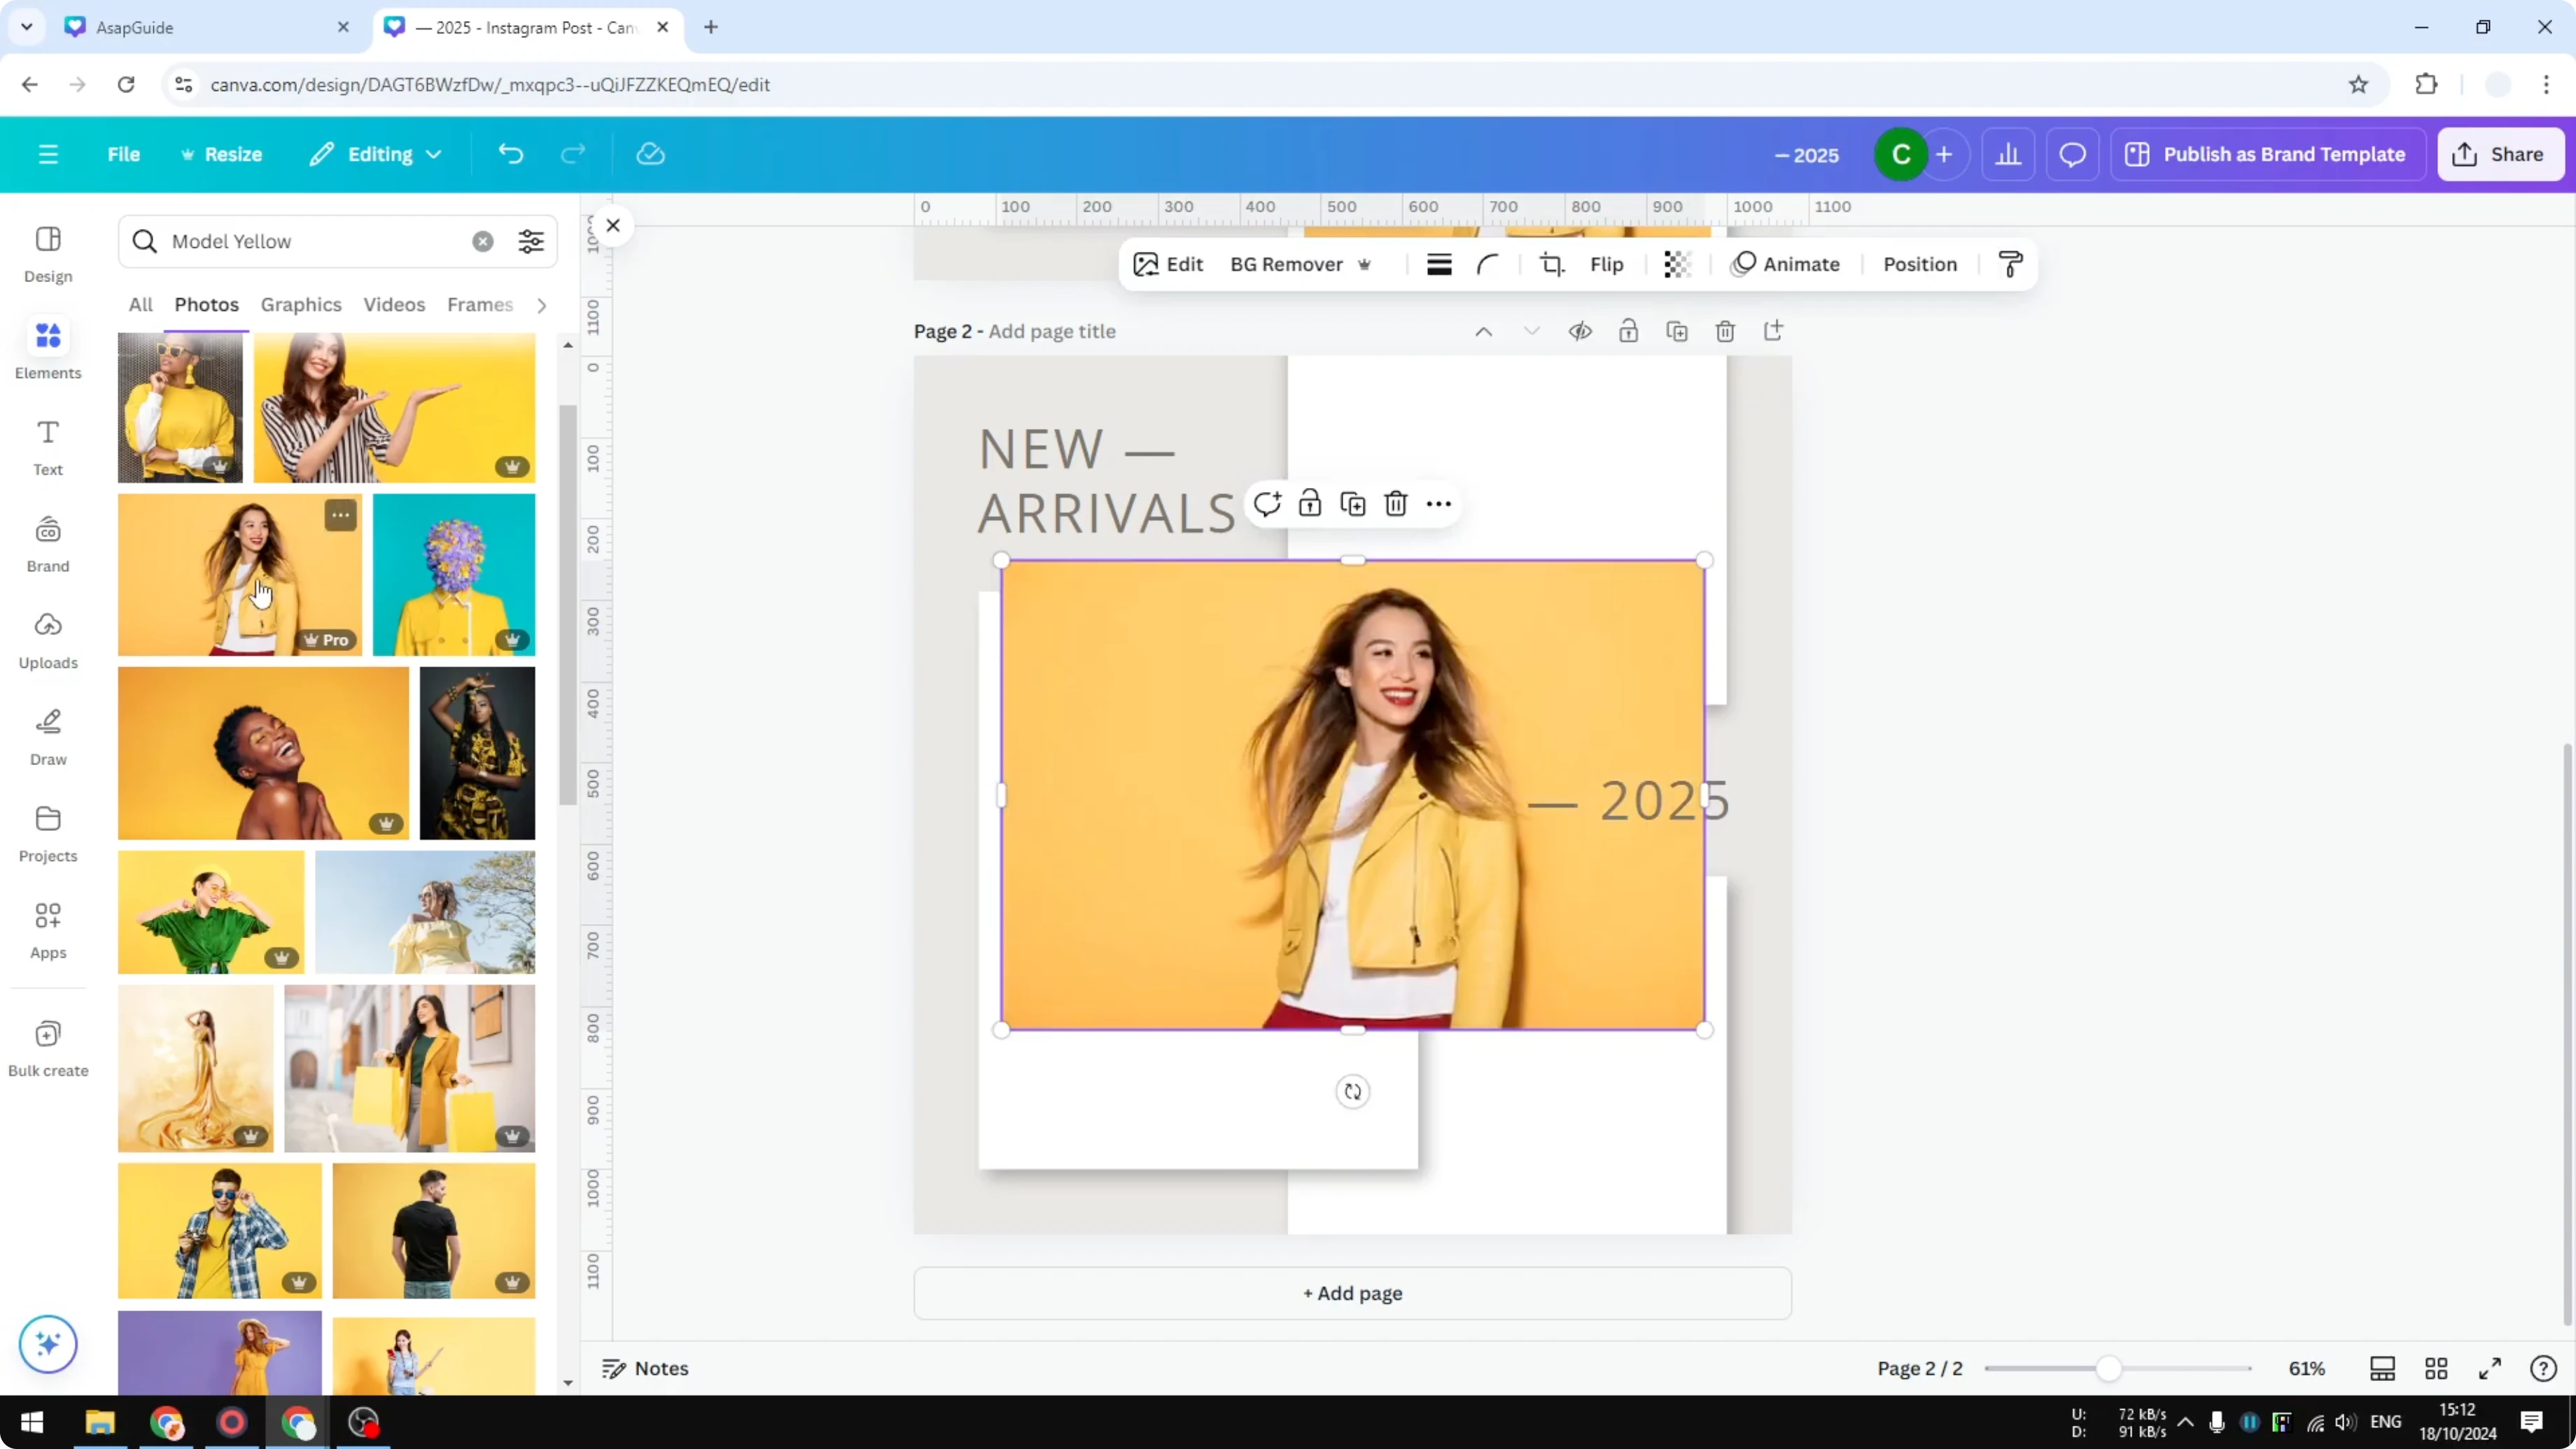
Send each frame to the back until shadows or overlapping elements look right. I often click send backward multiple times to reveal the shadow under the frame. Duplicate the layout to another page if you want variations and repeat the same steps.
If your layout needs a different angle, you can rotate an image frame to match the design flow. Rotating a frame first can save time before you drop photos in. Keep alignment tight so spacing stays consistent.
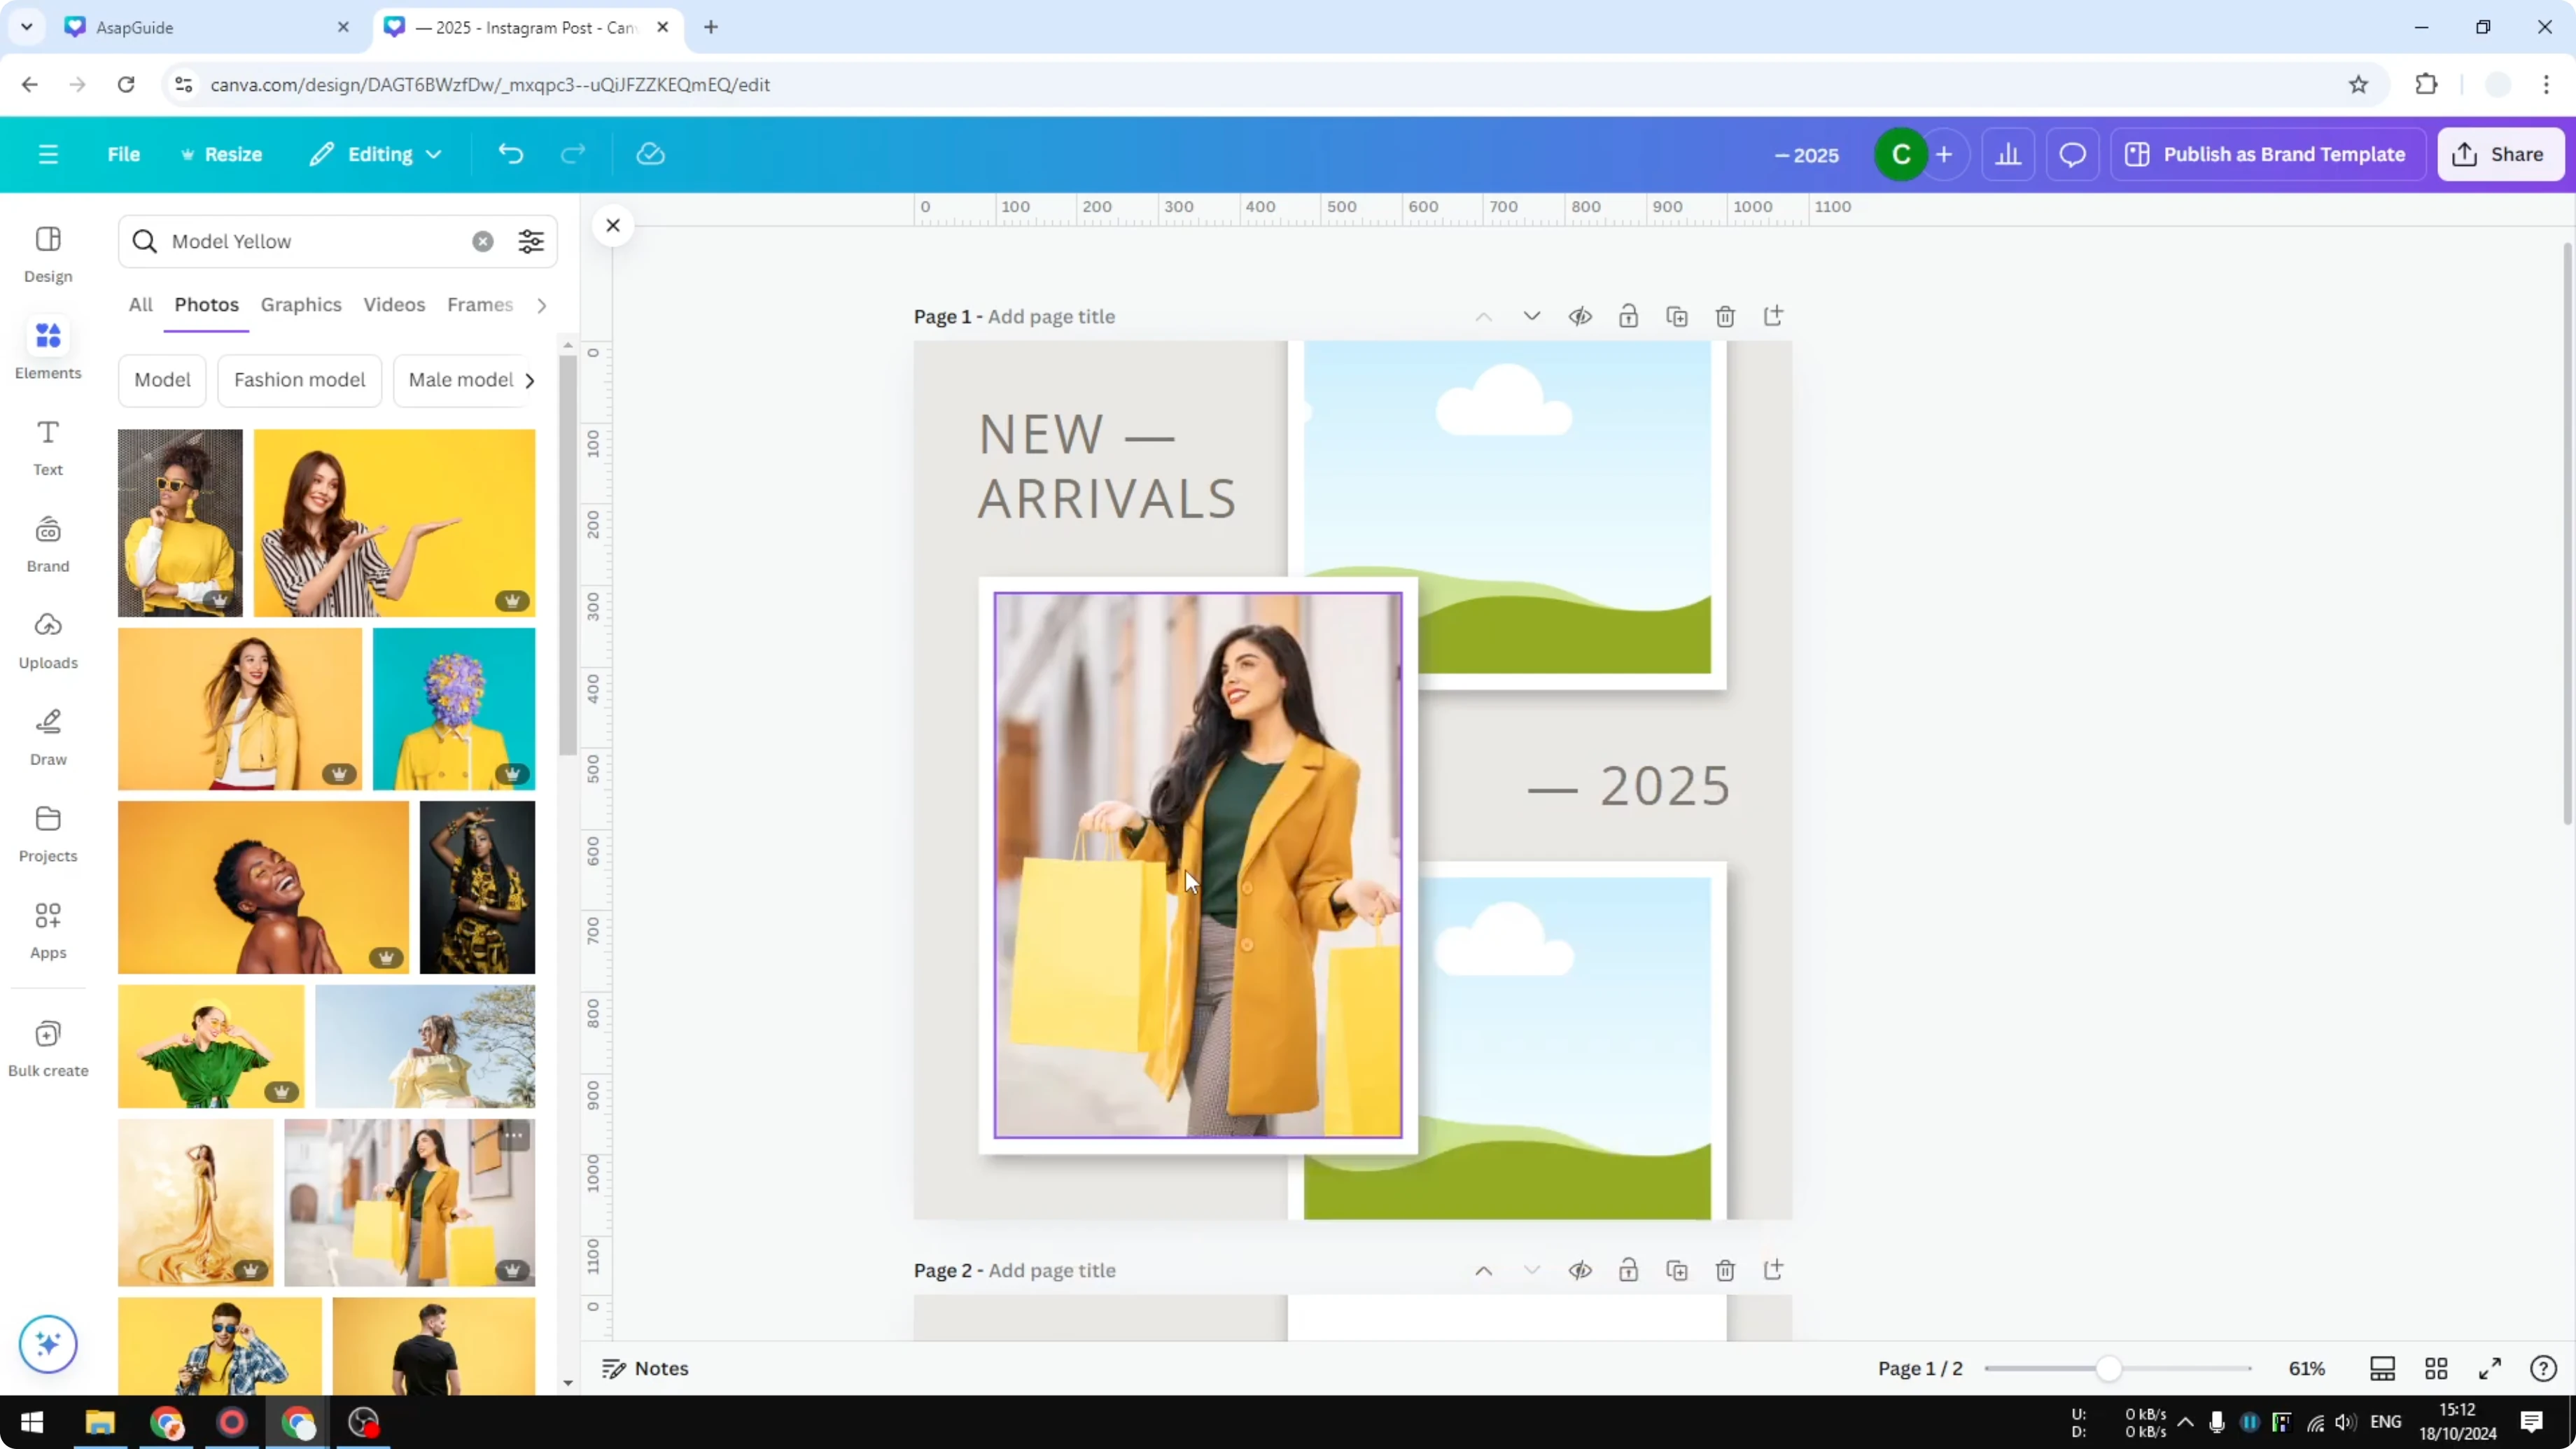
Add images to frames
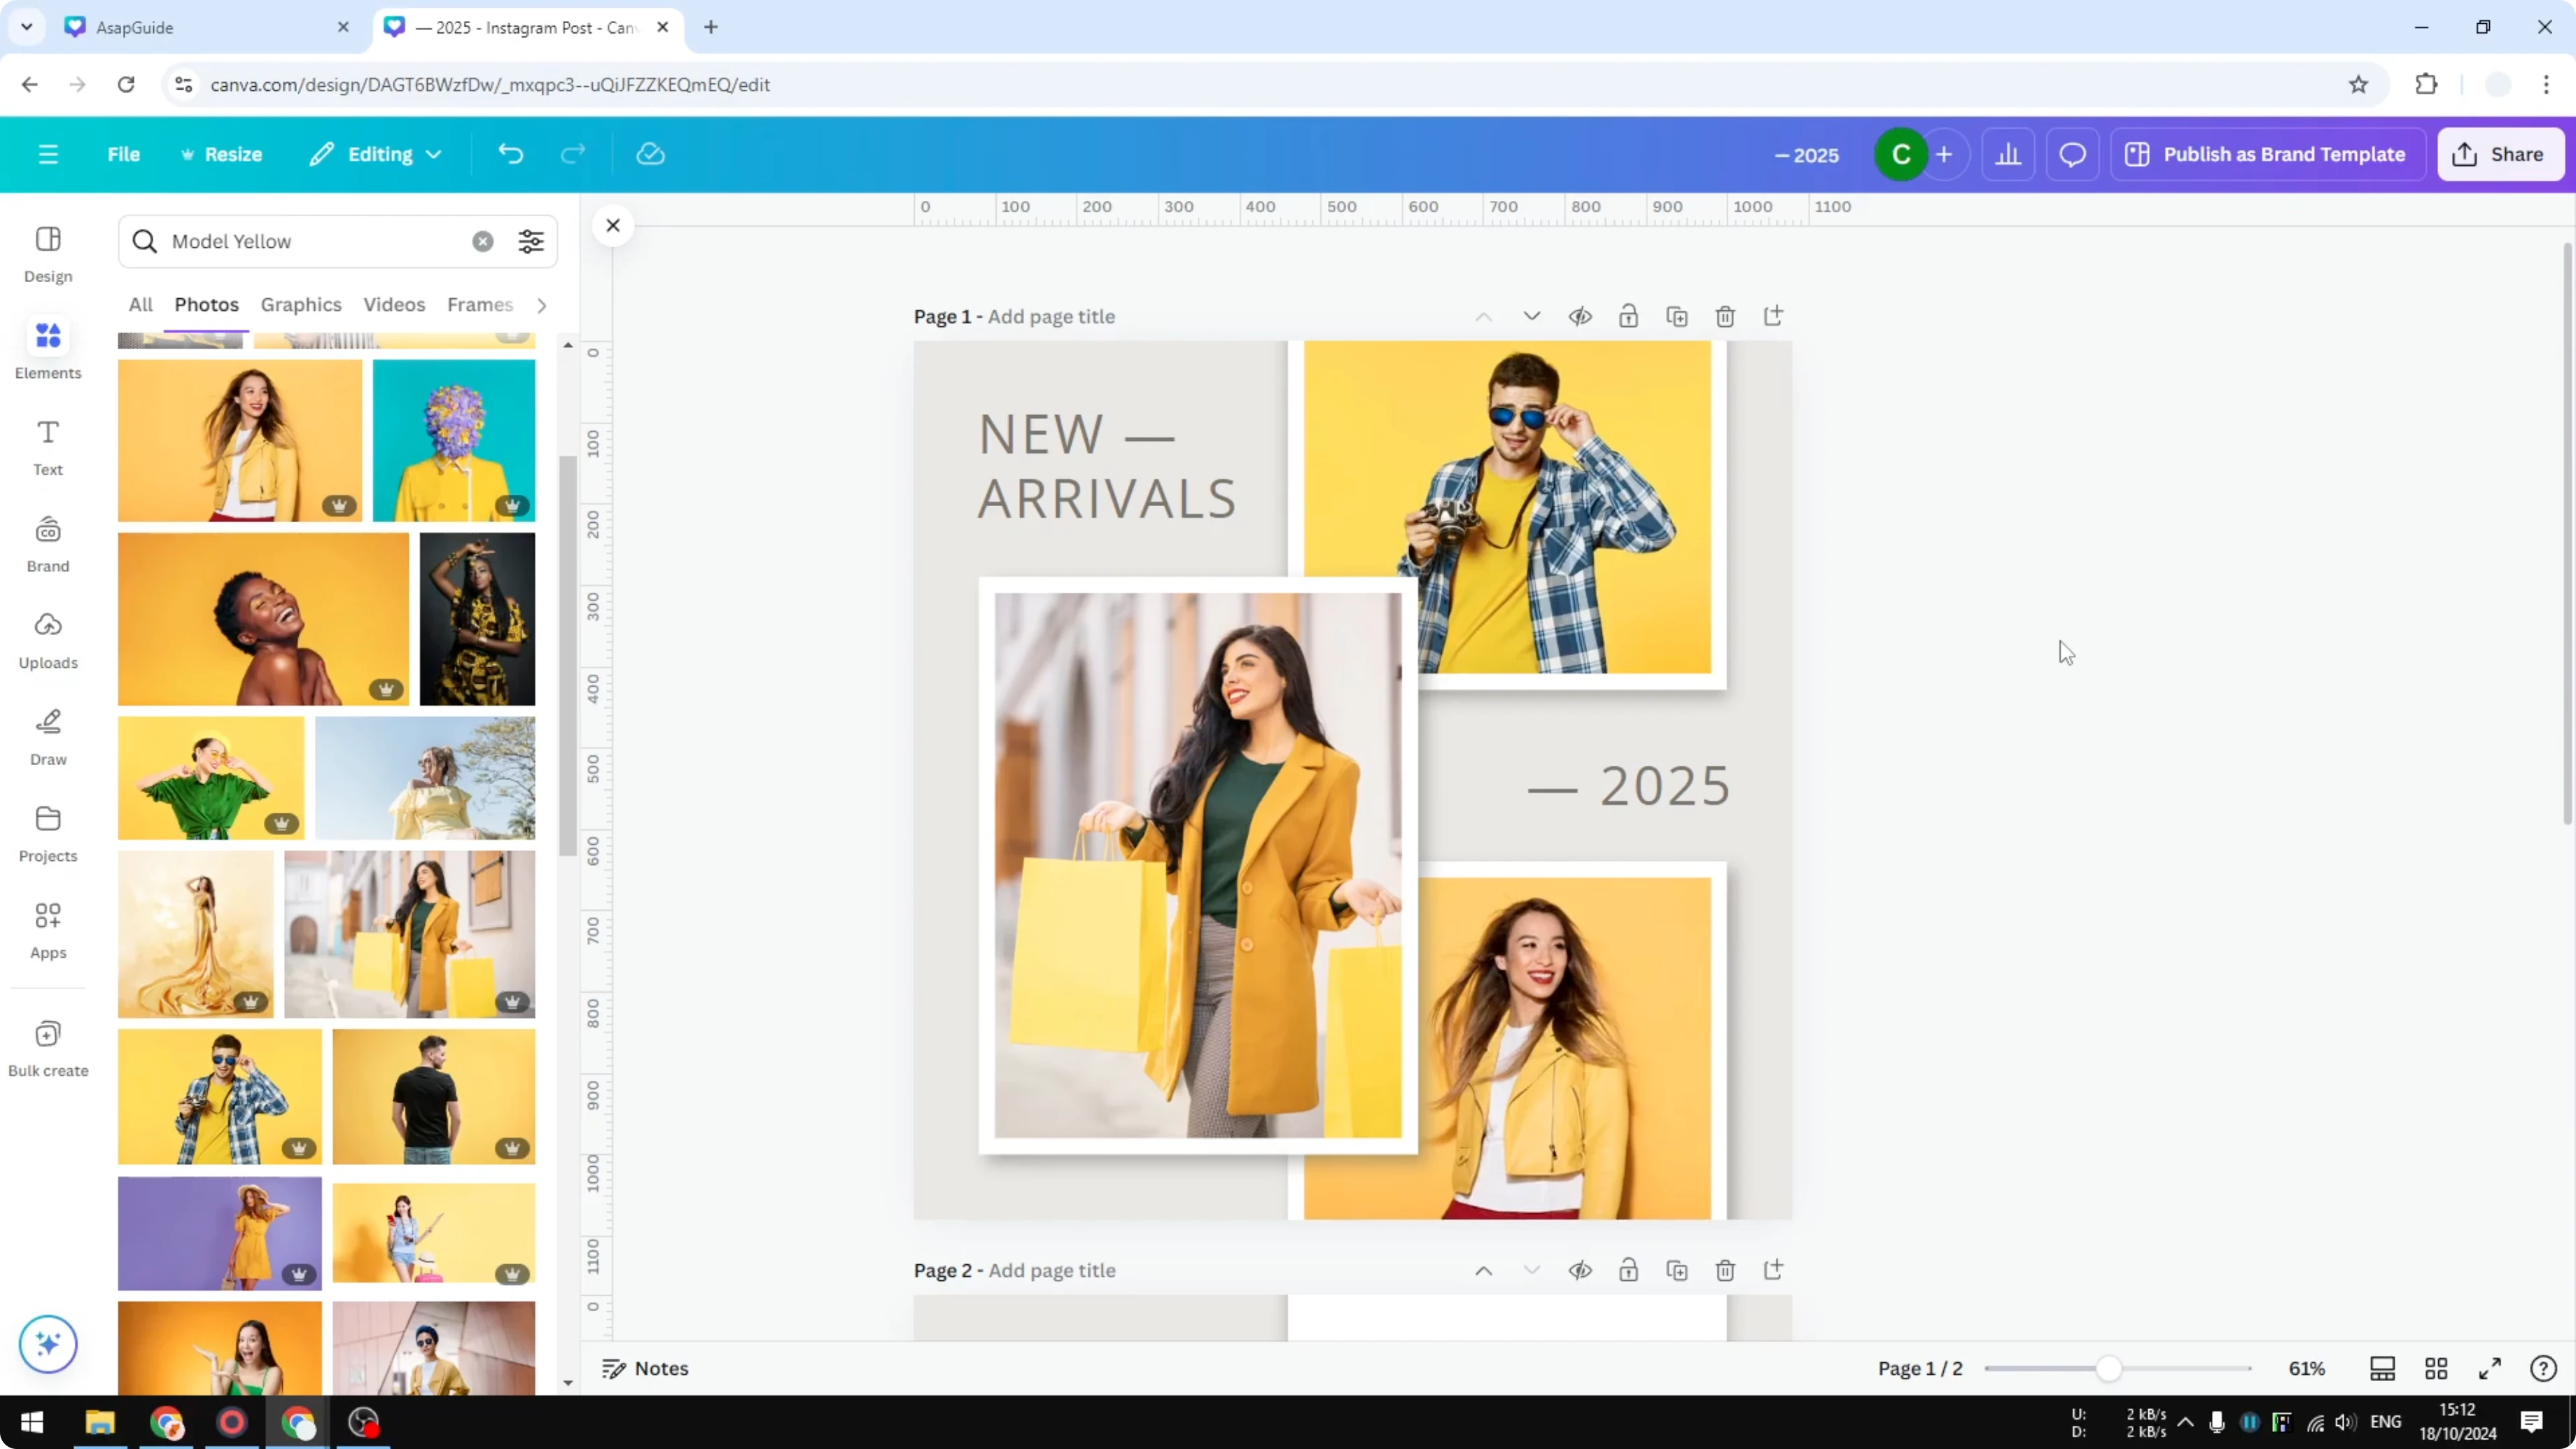
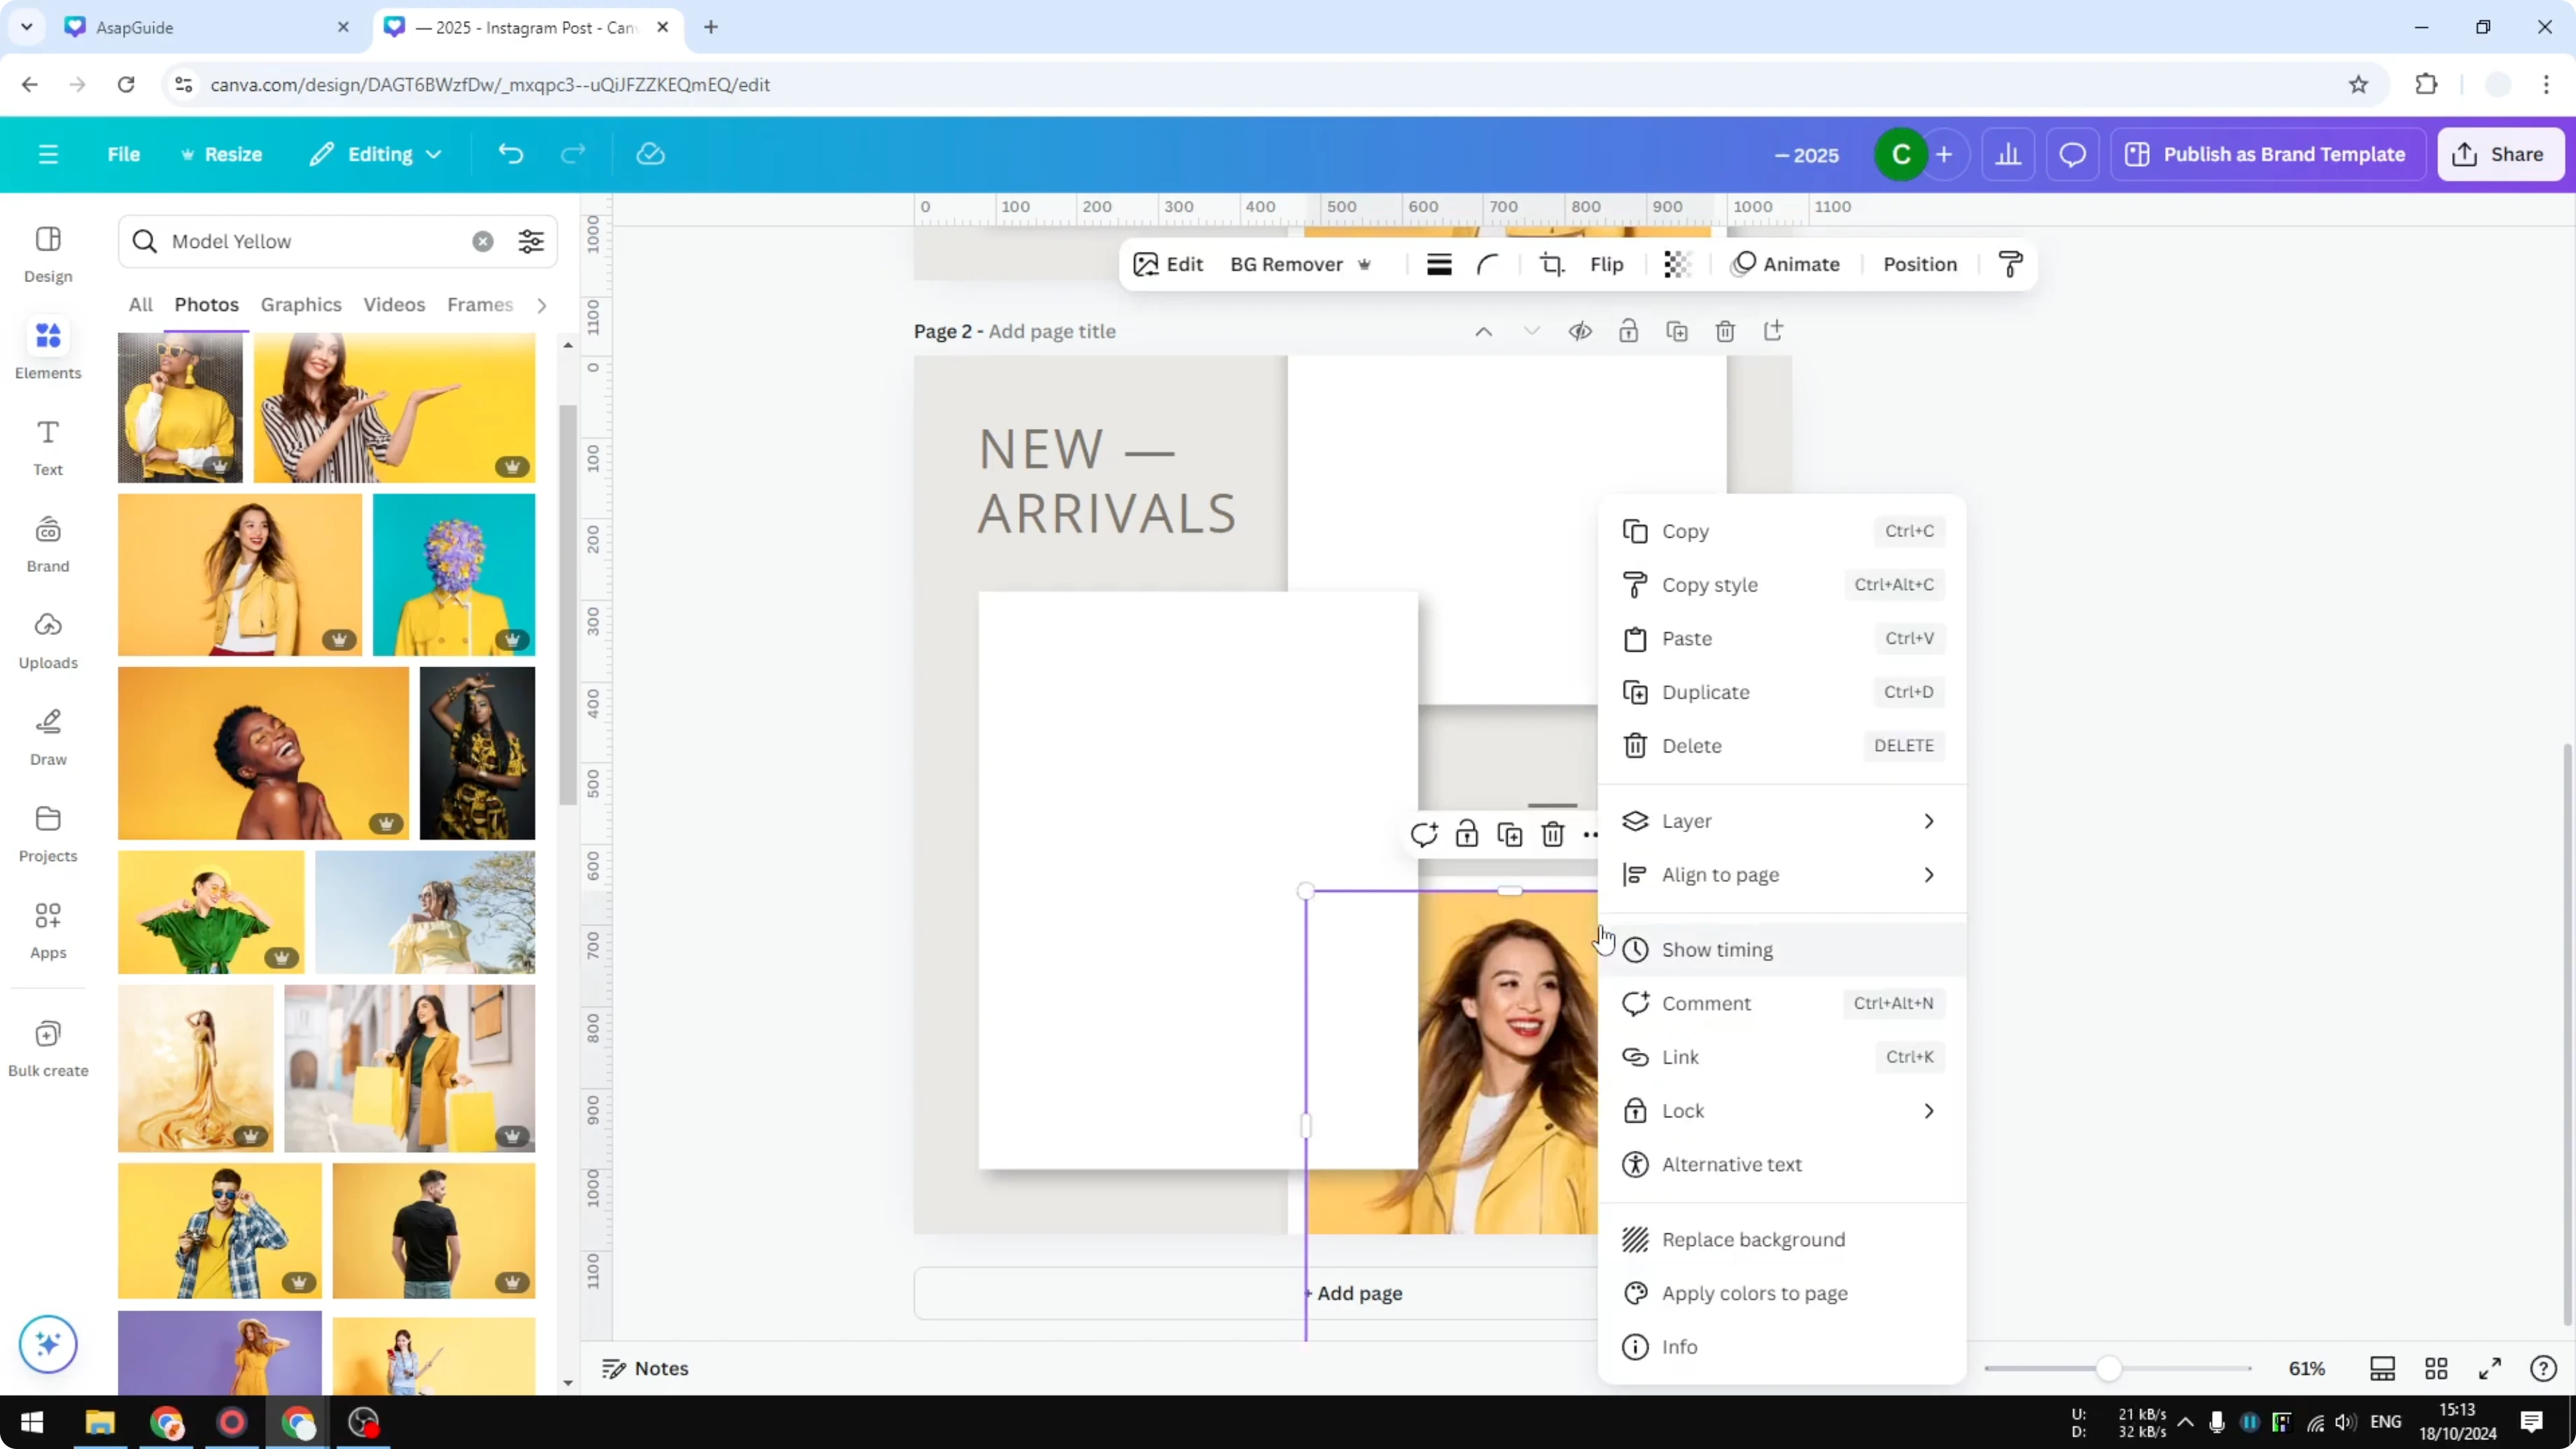
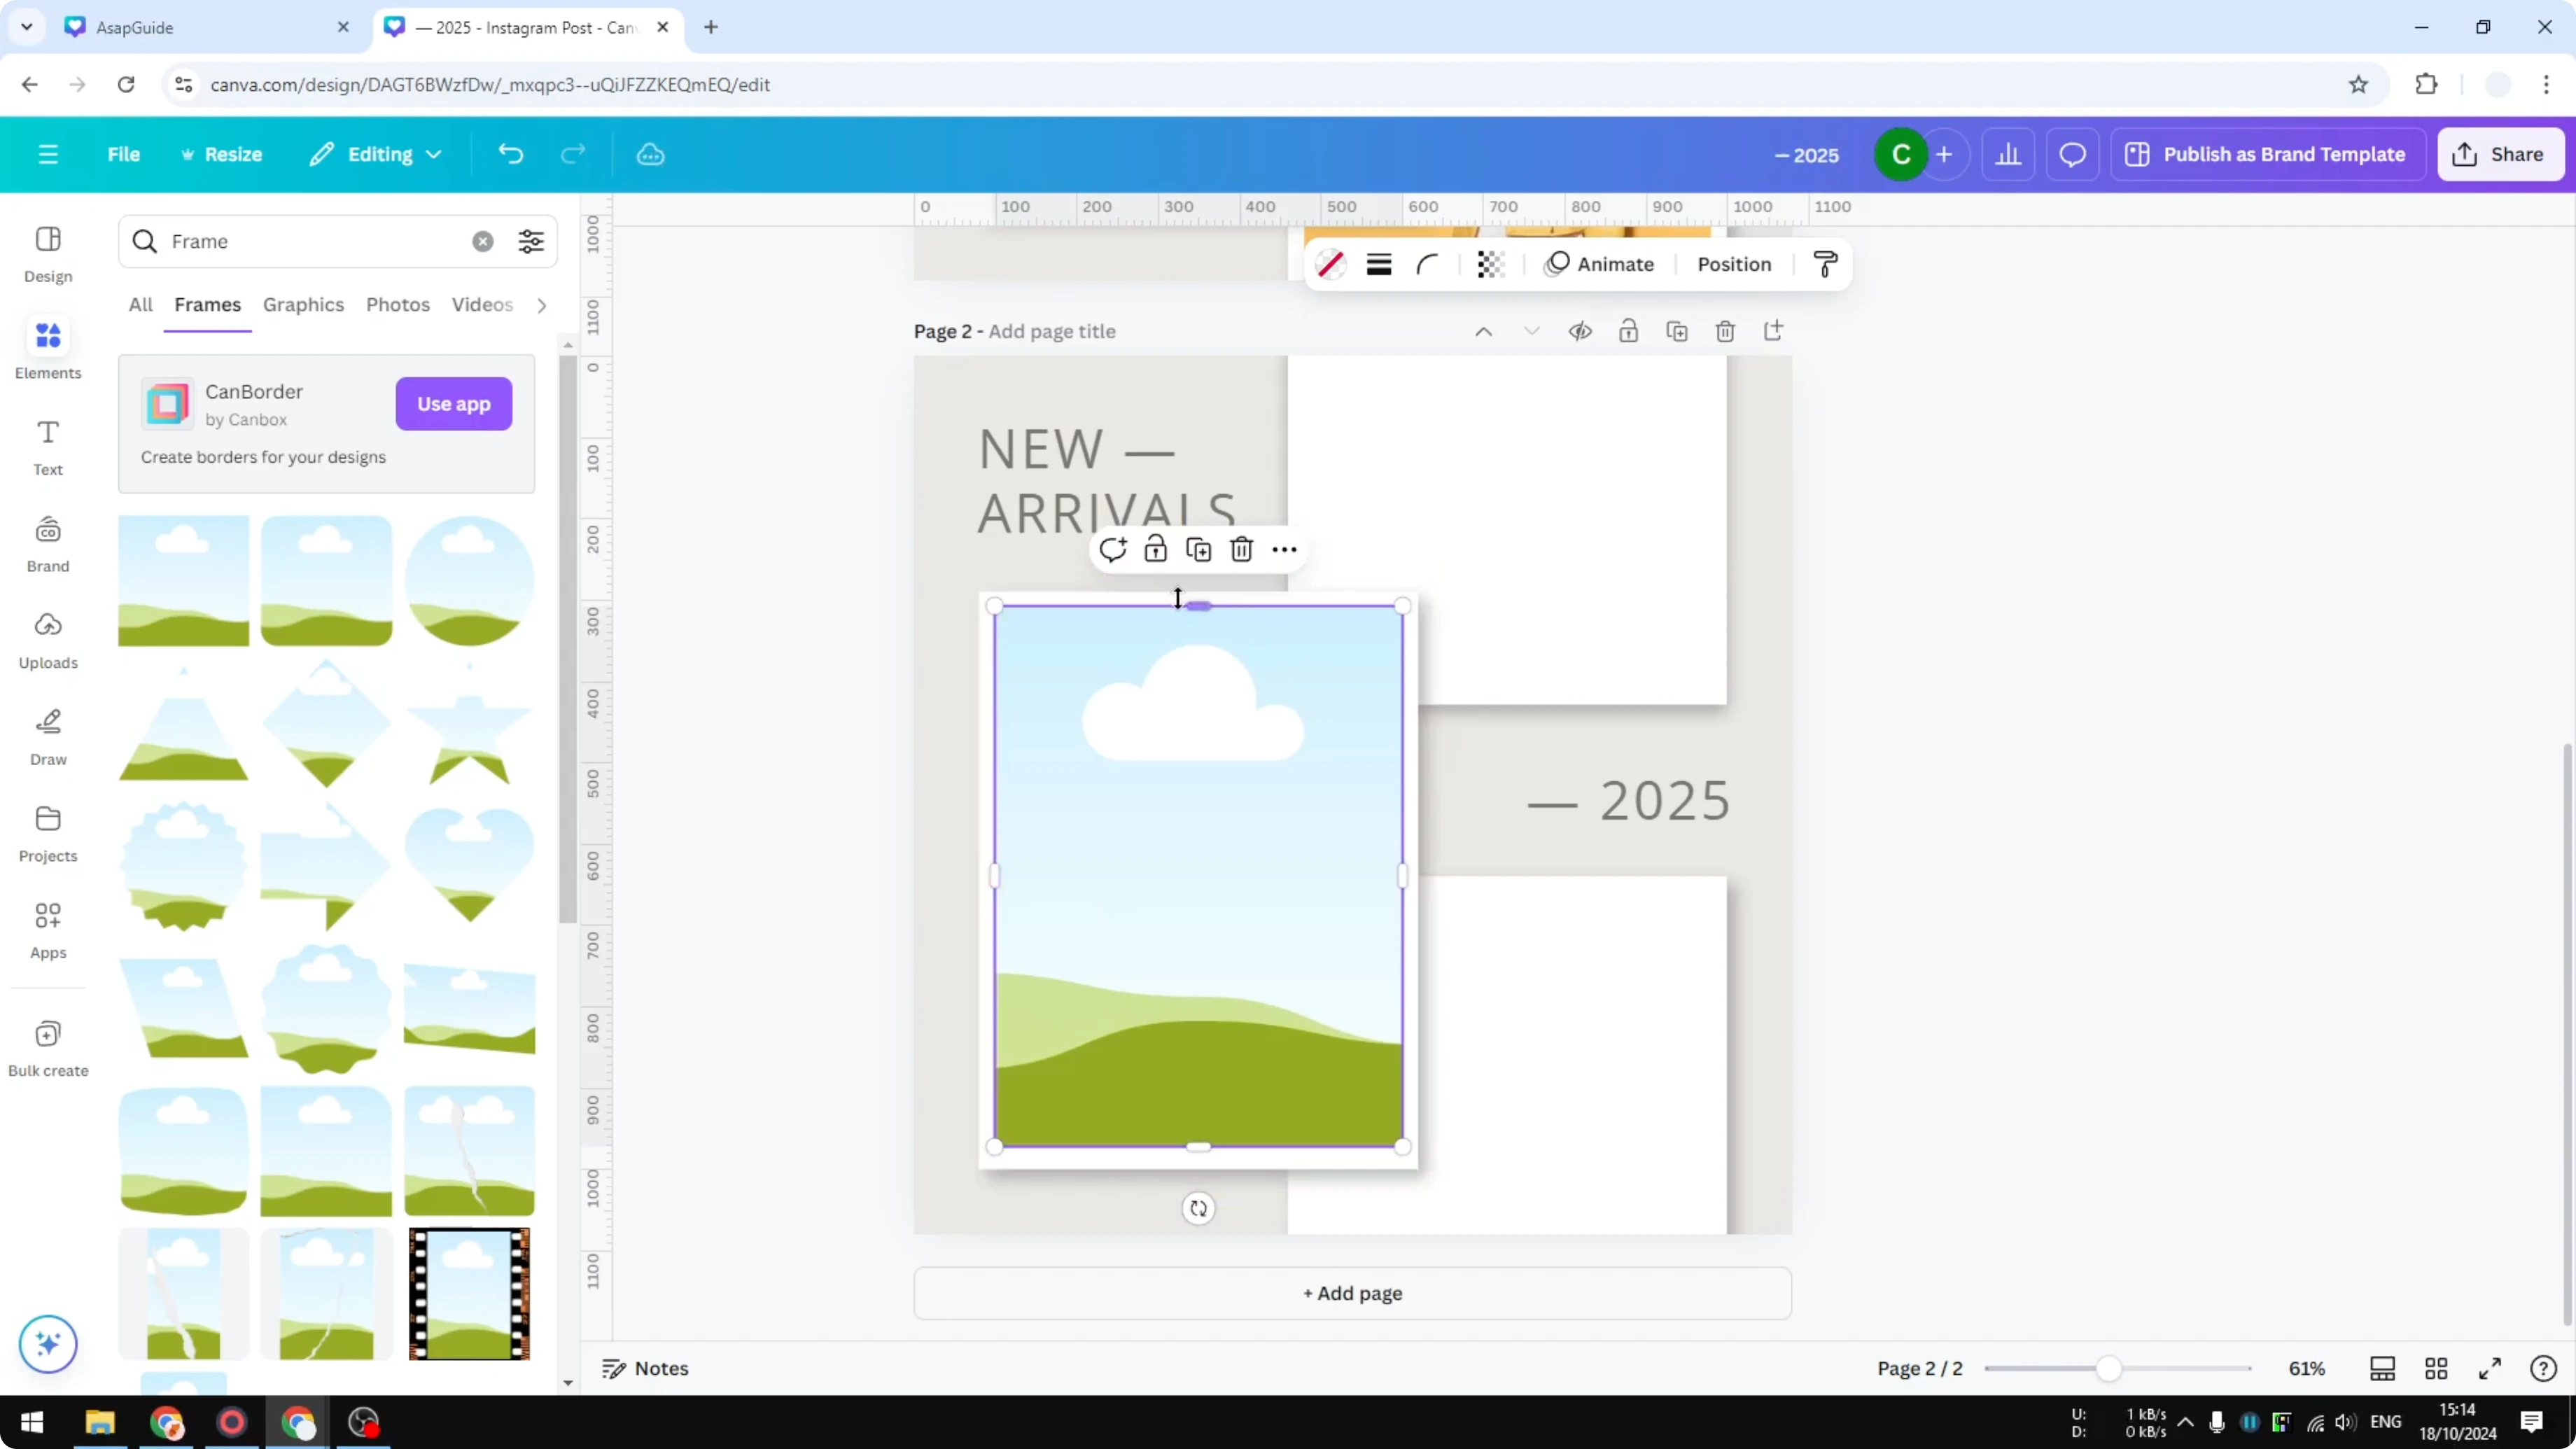
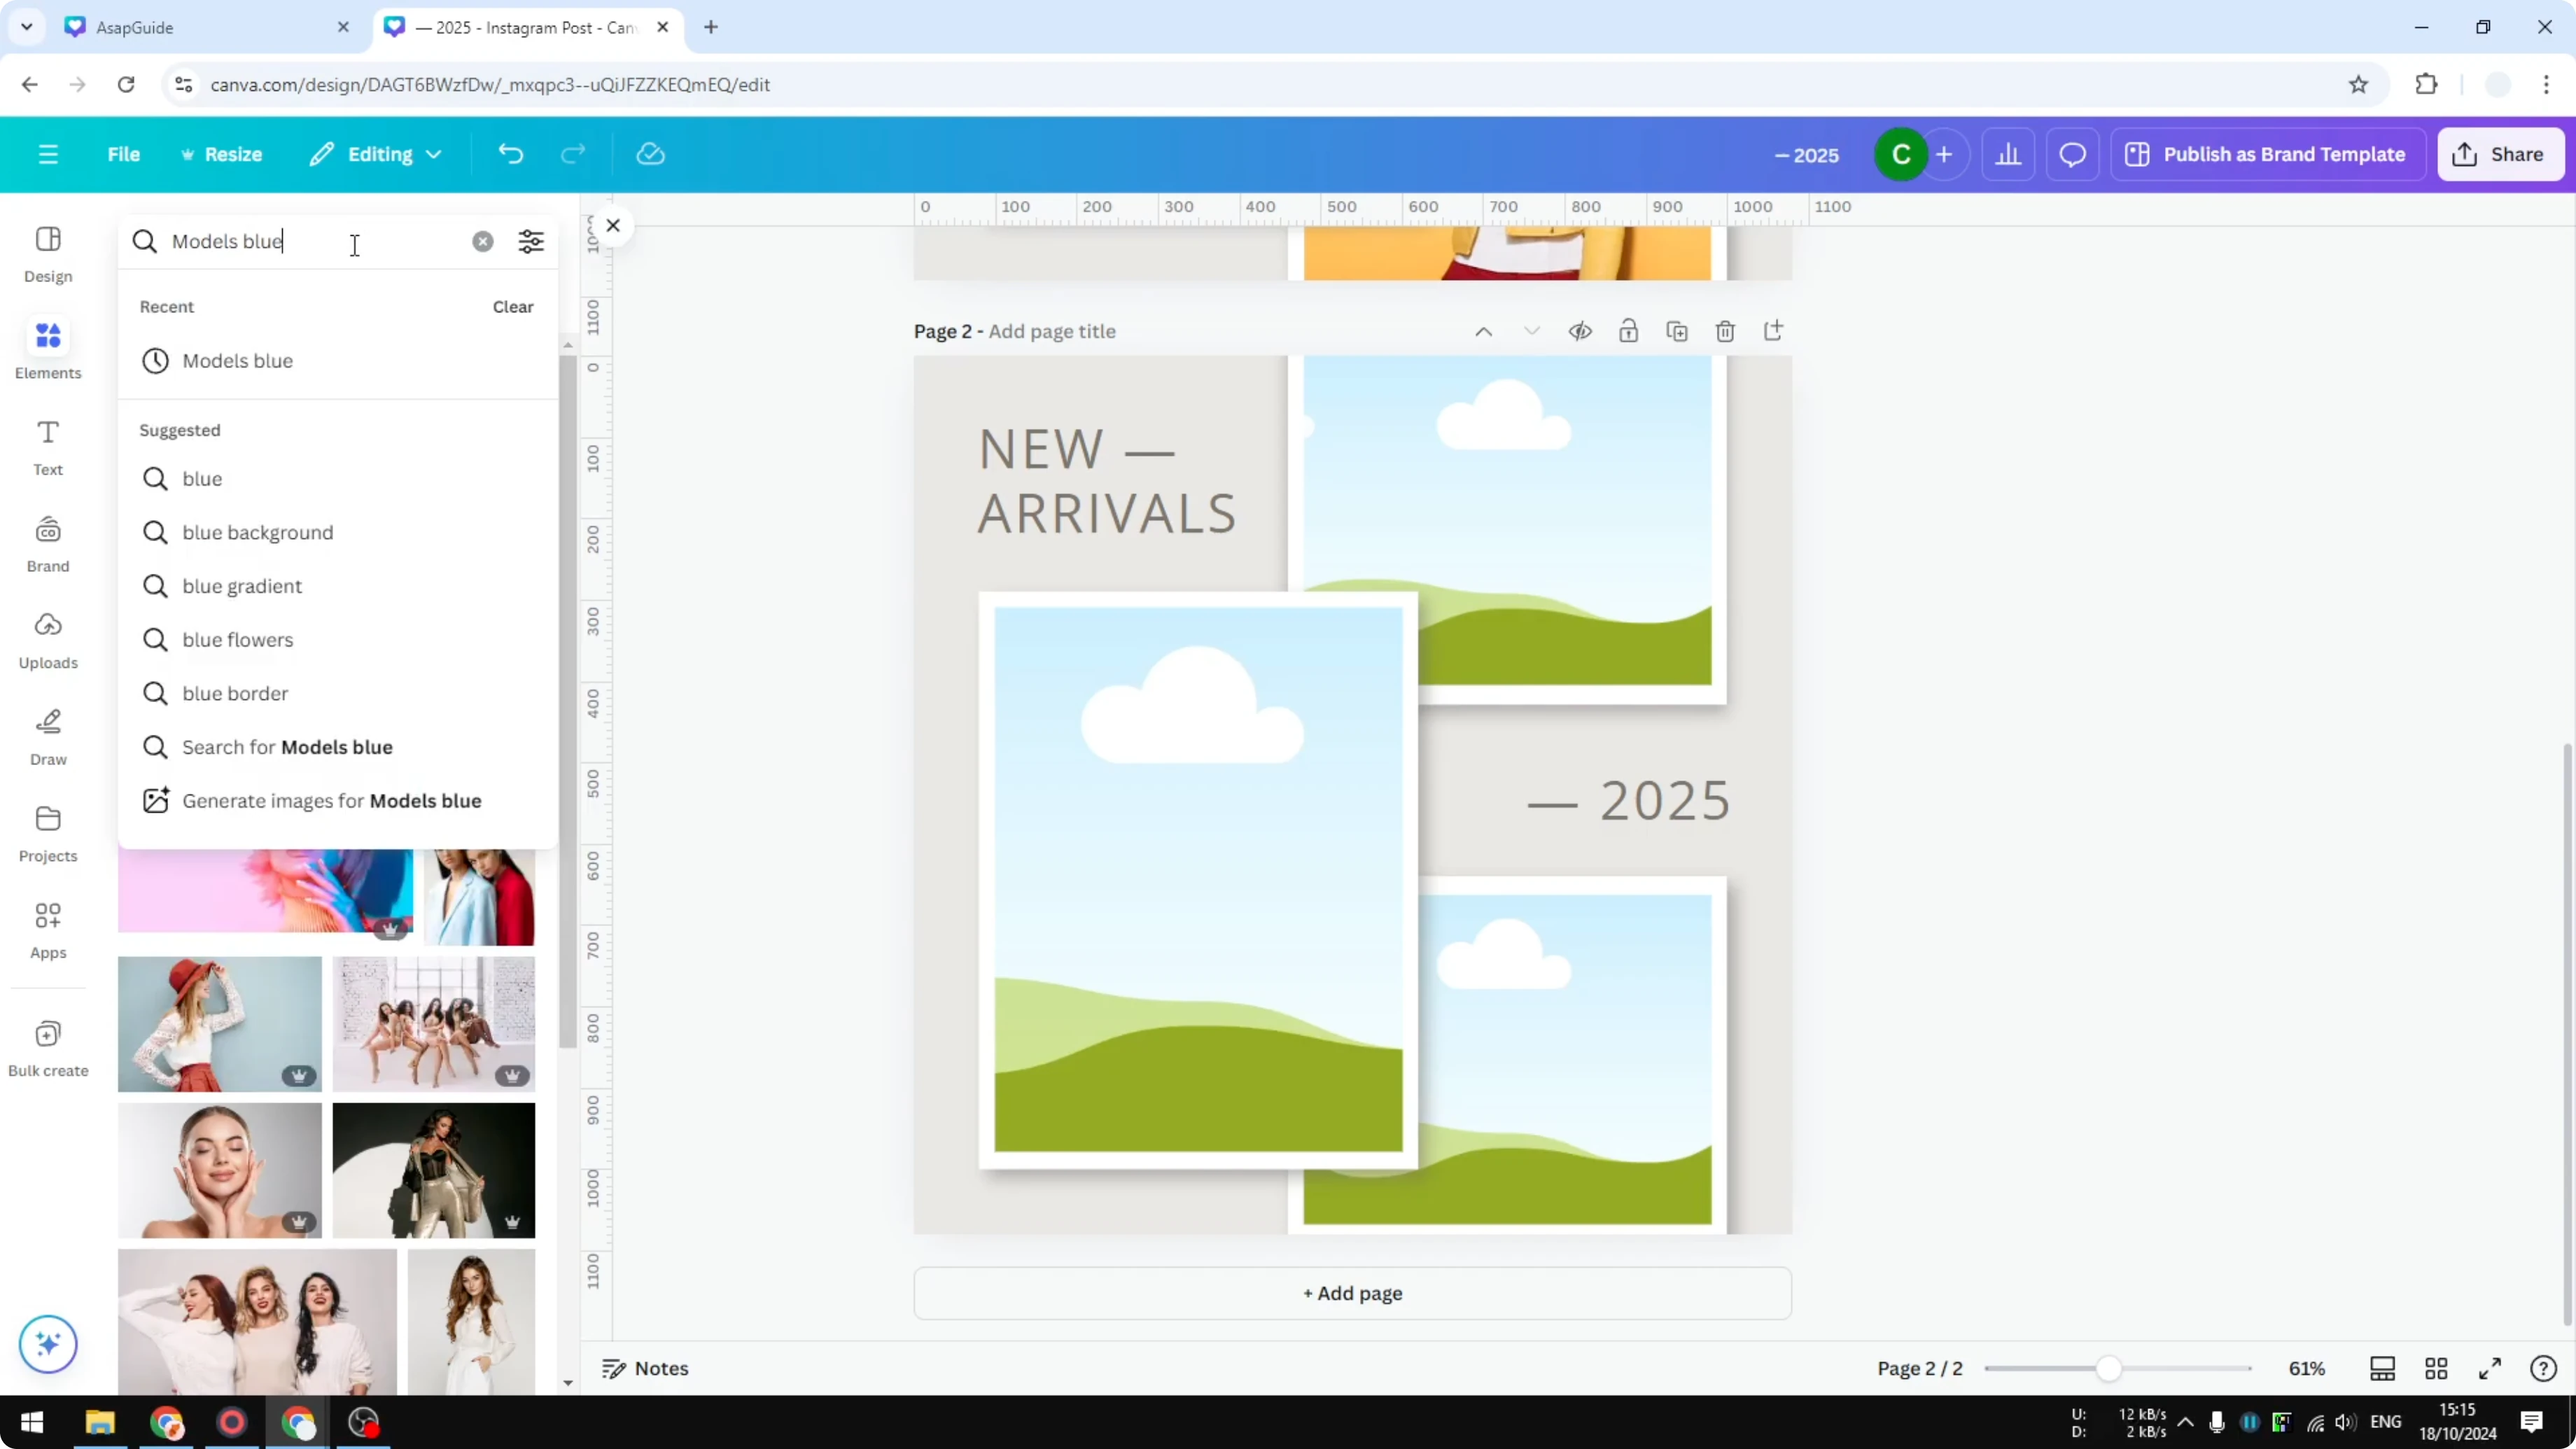
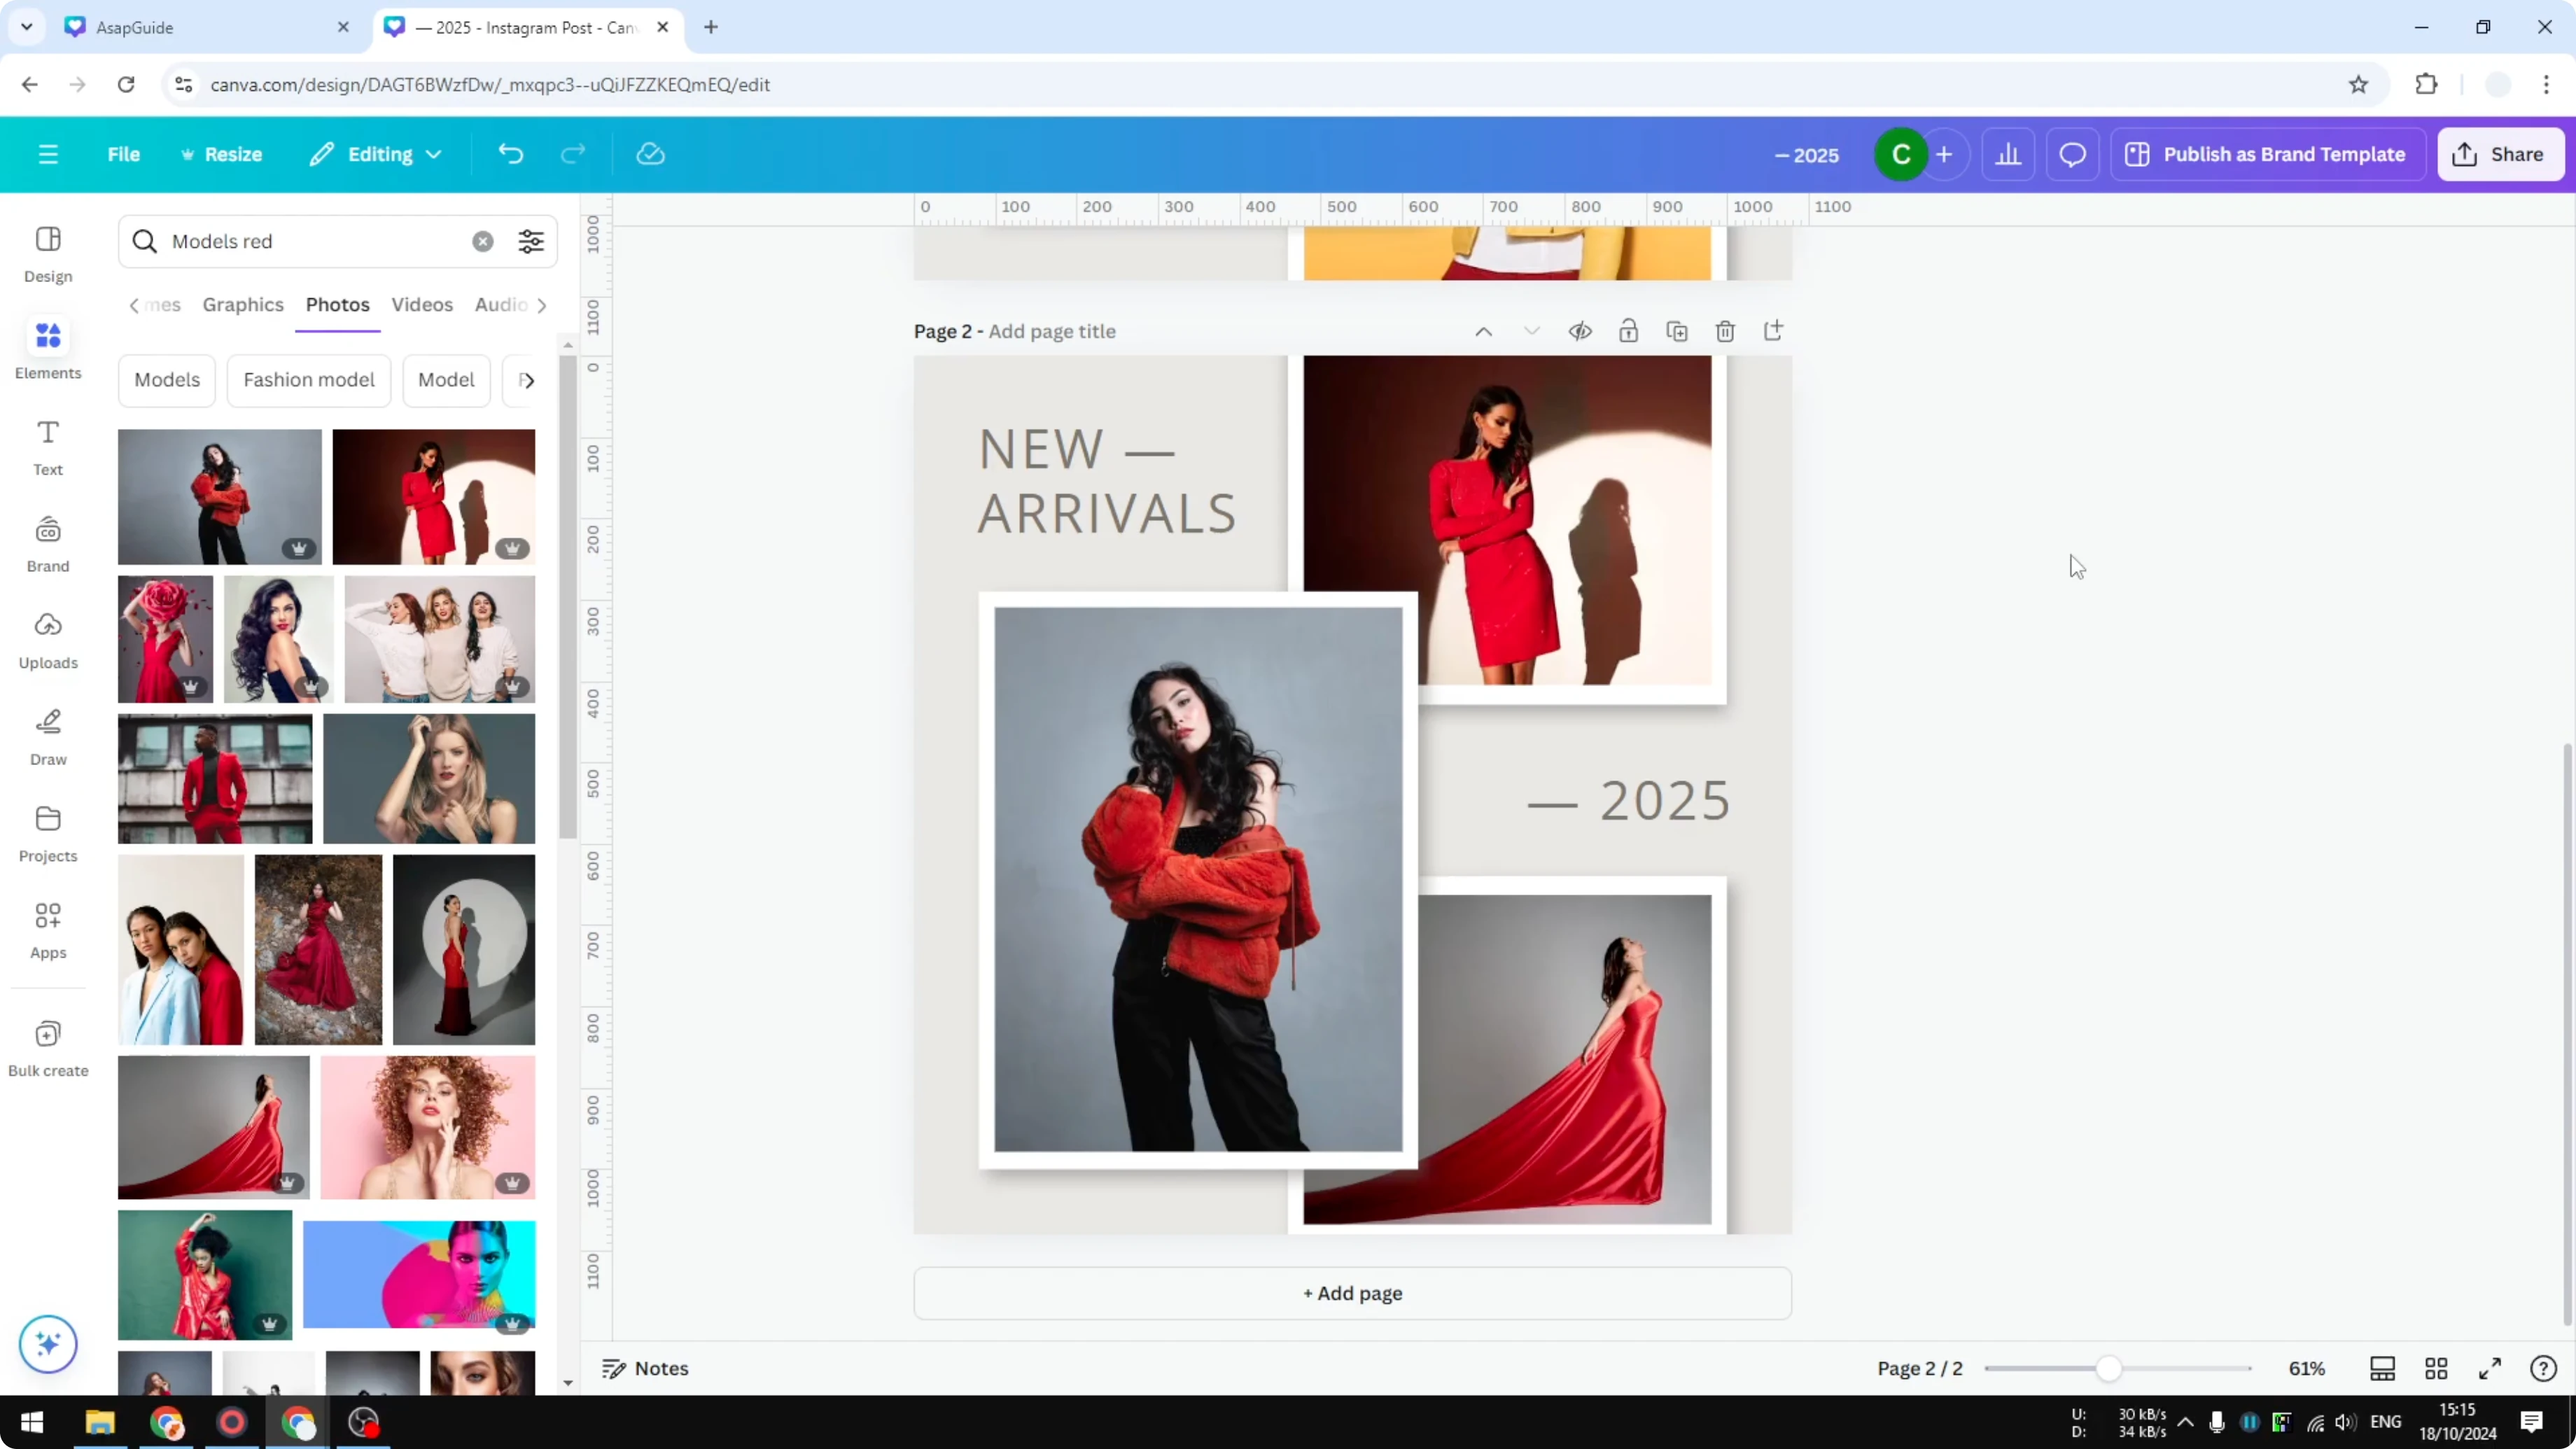
Drag and drop your photos directly onto each placeholder. If the first image does not feel right, try another until the composition fits the frame well. I often search for a theme like models and test a few options to see what looks better.
Place the image into the first frame, then into the second, and then the third. The layout gets prettier and it is easier to design because the frames do the fitting for you. This approach mirrors a polished template and keeps edits fast.
Final Thoughts
Frames let you place images instantly without manual resizing, layer juggling, or tedious pixel adjustments. Set up your placeholders first, duplicate them for consistency, and then drag in your photos for a clean result. With a few well placed frames, Canva layouts stay flexible, fast, and easy to update.
Recent Posts
How to Visualize Yourself as a Pixelized Character with AI?
How to Visualize Yourself as a Pixelized Character with AI?

How to Revive Faded Memories and Enhance Image Clarity with AI?
How to Revive Faded Memories and Enhance Image Clarity with AI?

How to Visualize Yourself as an Animal Crossing Character with AI?
How to Visualize Yourself as an Animal Crossing Character with AI?