How to Stretch or Squeeze Image in Canva
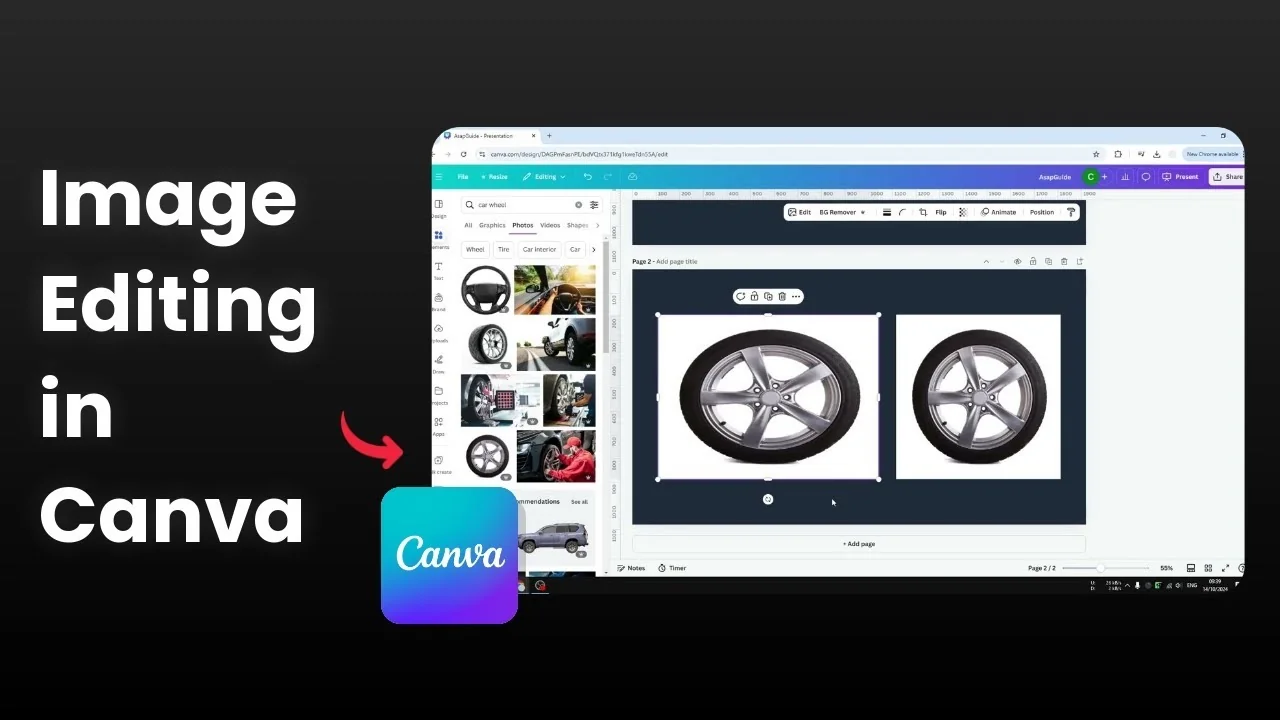
I will show you how you can stretch or squeeze an image in Canva. By default, resizing keeps the original aspect ratio. If you scale a square image larger or smaller the proportion stays the same.
In some cases you might want to stretch or squeeze the image. One version looks elongated because it is stretched, another looks compressed because it is squeezed. Canva does not directly allow this, but there is a simple technique.
If you want to place your photo neatly before edits, consider using image frame placeholders.
Why Stretch or Squeeze Image in Canva
Stretching changes the width or height without keeping the original proportion. Squeezing does the opposite and makes the content look compressed. I will show both methods using the same picture.
Stretch or Squeeze Image in Canva: Stretching
This is how you can stretch the image horizontally or vertically while editing.
Start the stretch in Stretch or Squeeze Image in Canva
Double click the image to enter the crop and transform mode.
Hover the cursor near a corner on the side you want to stretch. Hover just outside the image corner until the cursor turns into a two sided arrow.
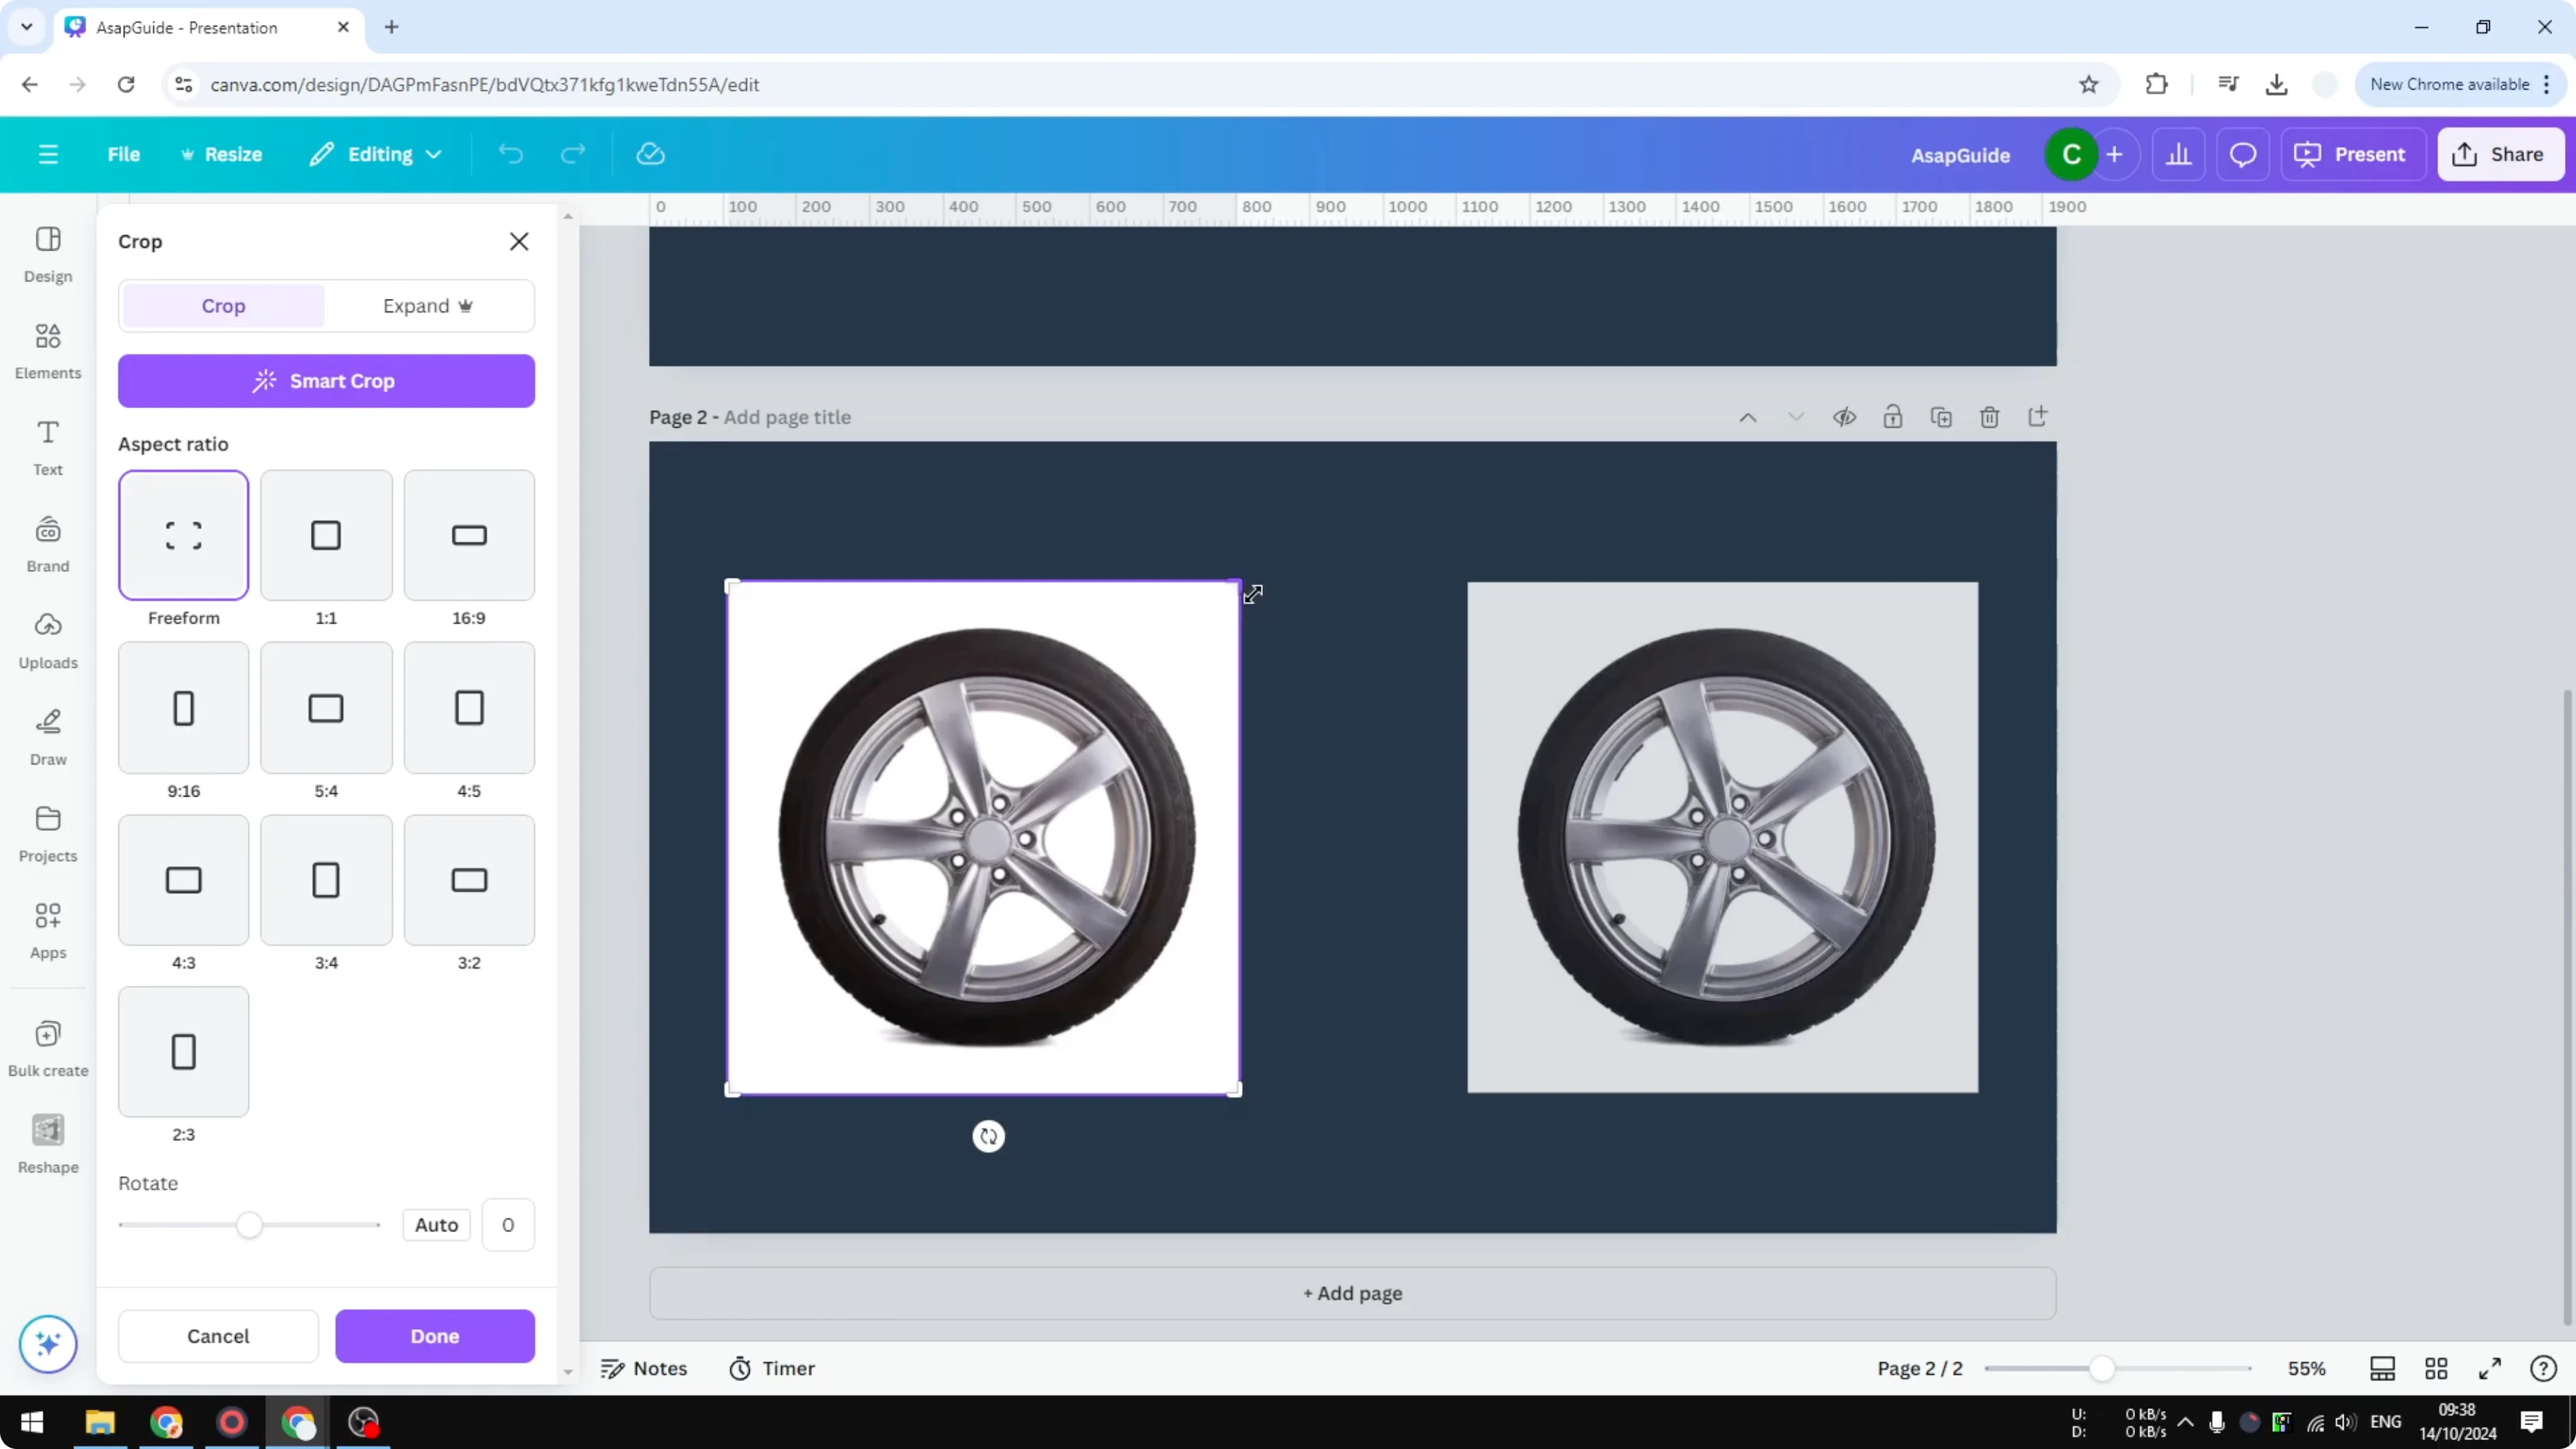
Click once to activate the transform handle.
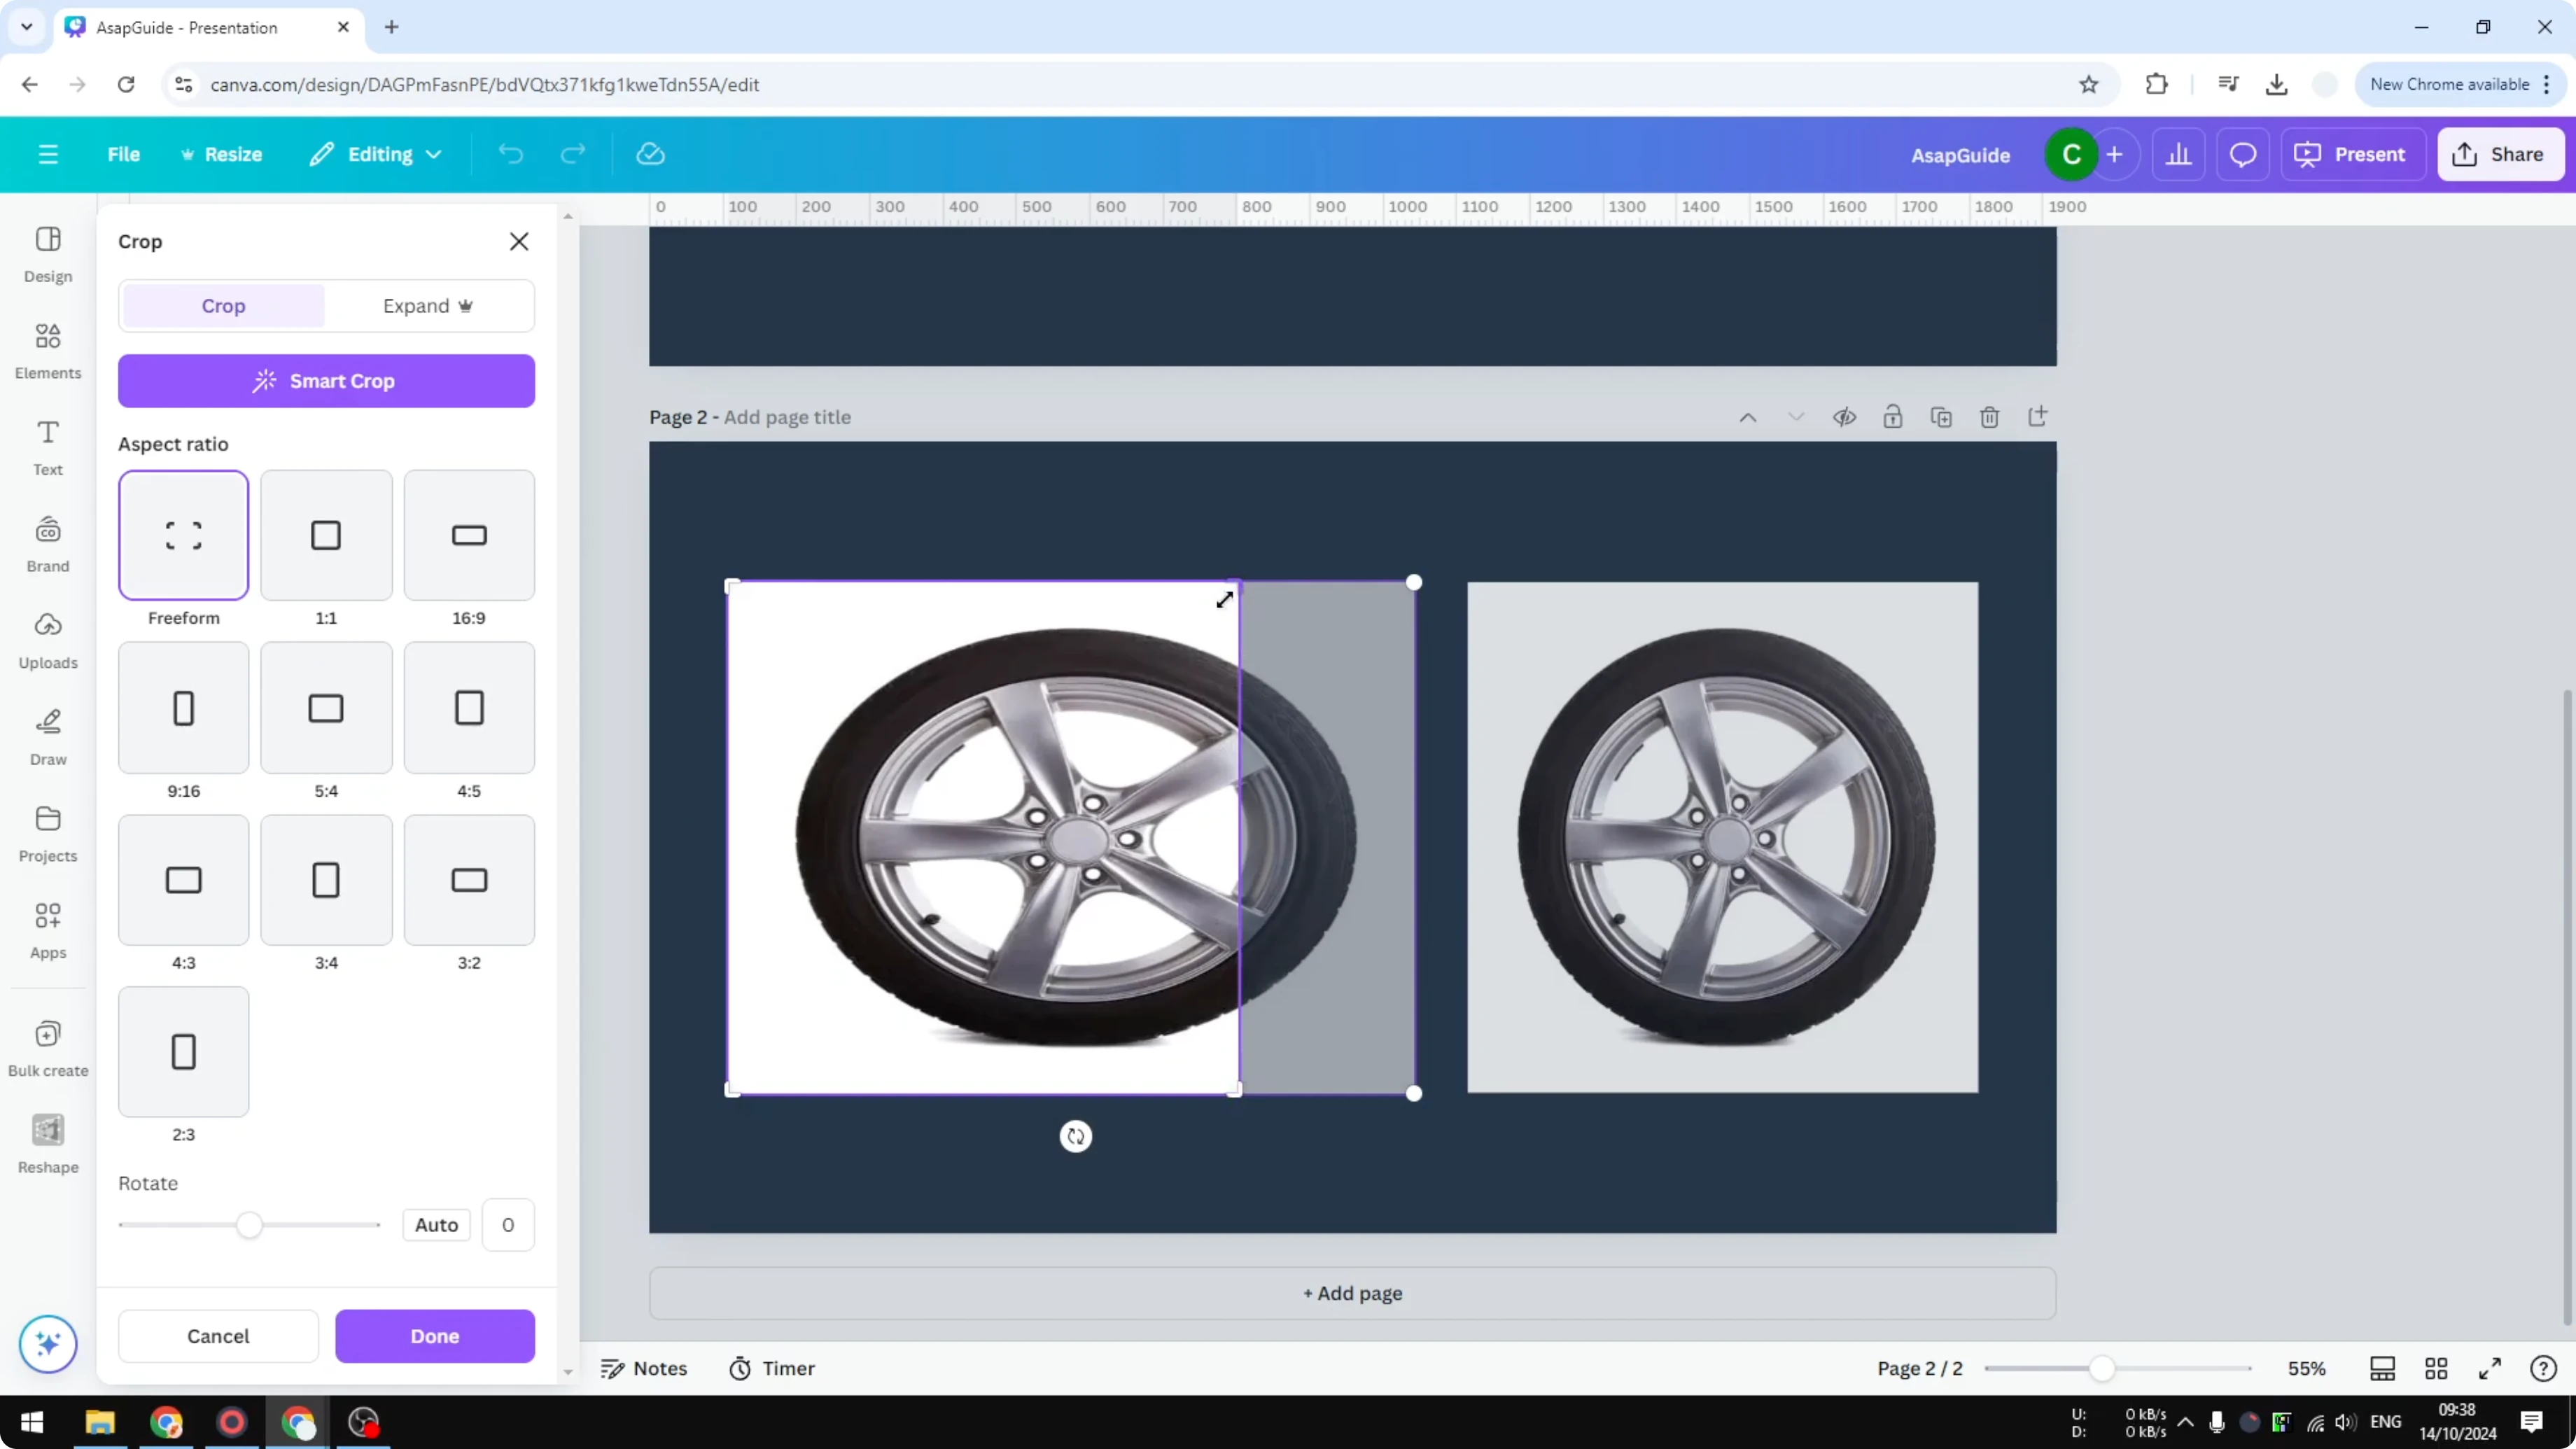
Press and hold the Shift key.

Click and drag the image to the direction you want to stretch, for example to the right.

Release the mouse, then release Shift.
Expand the visible area in Stretch or Squeeze Image in Canva
You are not done yet because the visible area may still be the old crop. This visible area is the box that defines what part of the image shows on the canvas.
Drag the edge of this visible area to expand it so it matches the new stretched content.
Click Done to apply the change.
After stretching, you might want to brighten the photo for clarity.
Stretch or Squeeze Image in Canva: Squeezing
This method makes the image look narrower or shorter by compressing it.
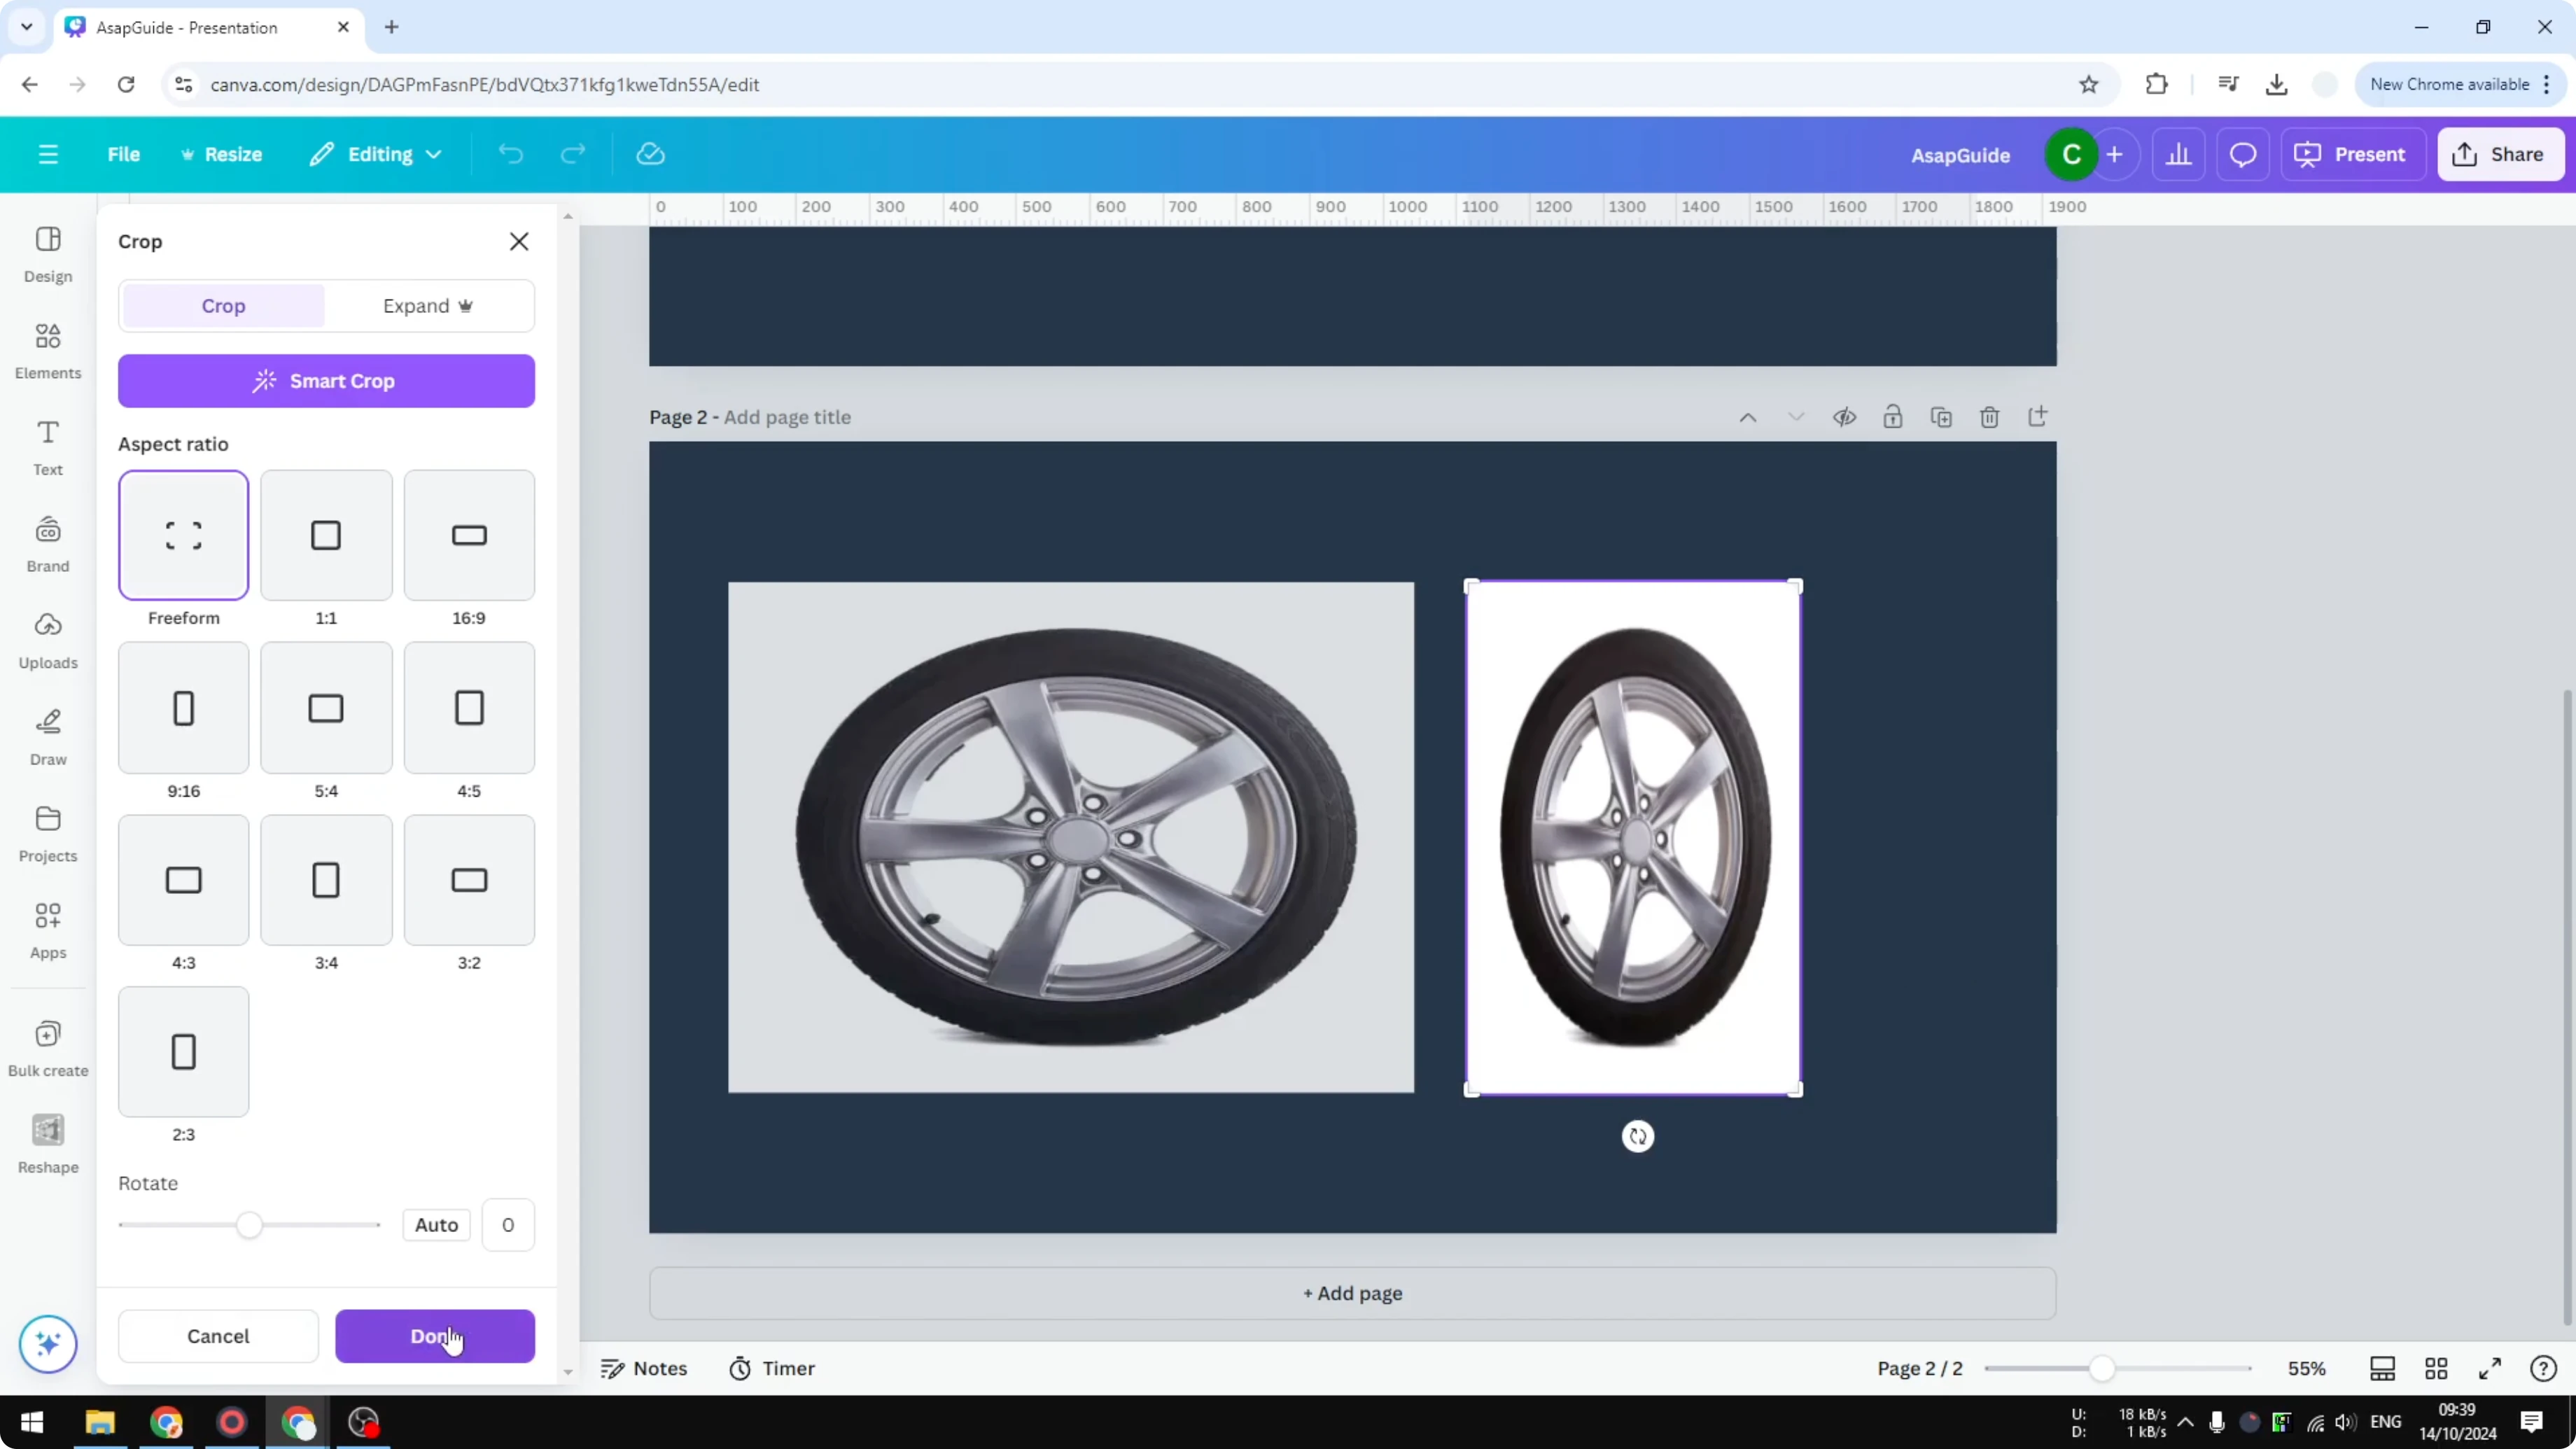
Prep the crop in Stretch or Squeeze Image in Canva
Double click the image to enter the crop and transform mode.
Before changing the image size, reduce the cropping area or the aspect ratio of the visible box.
Drag from a corner of the crop box to adjust it. The control points can overlap, and one is for cropping while the other is for stretching or squeezing.
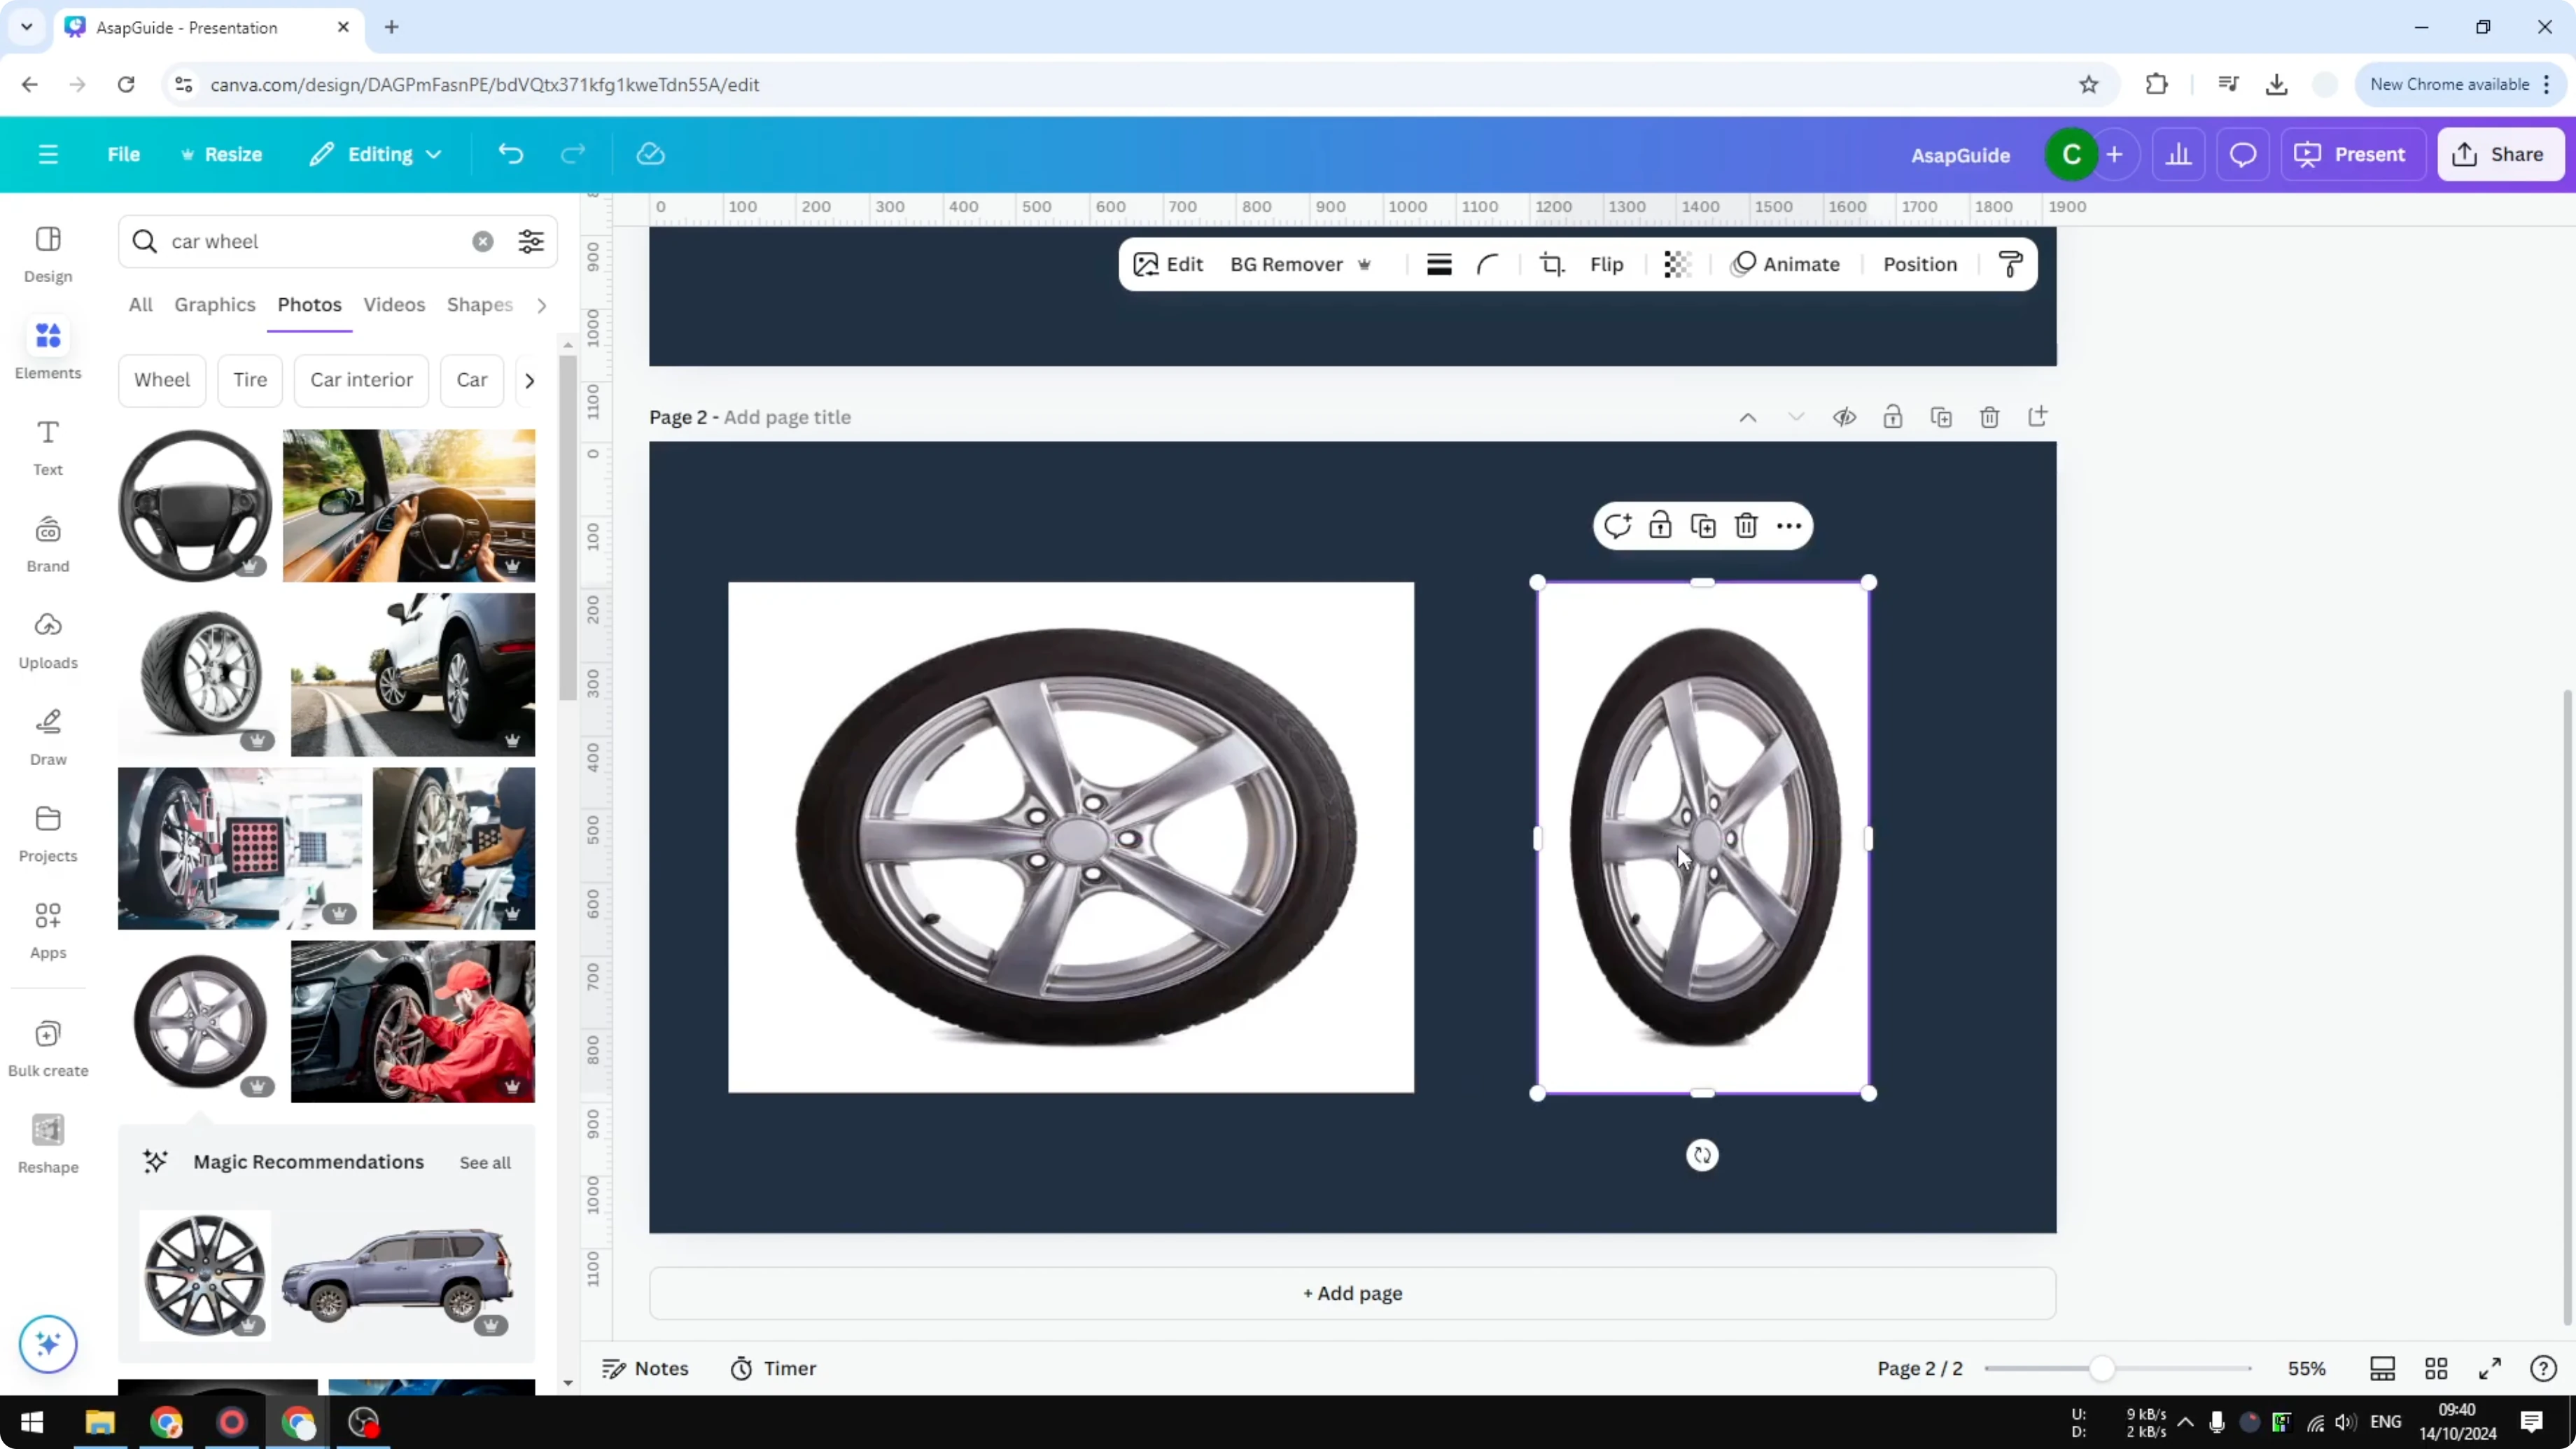
Apply the squeeze in Stretch or Squeeze Image in Canva
Select the transform handle, not the crop handle, at the edge you want to move.
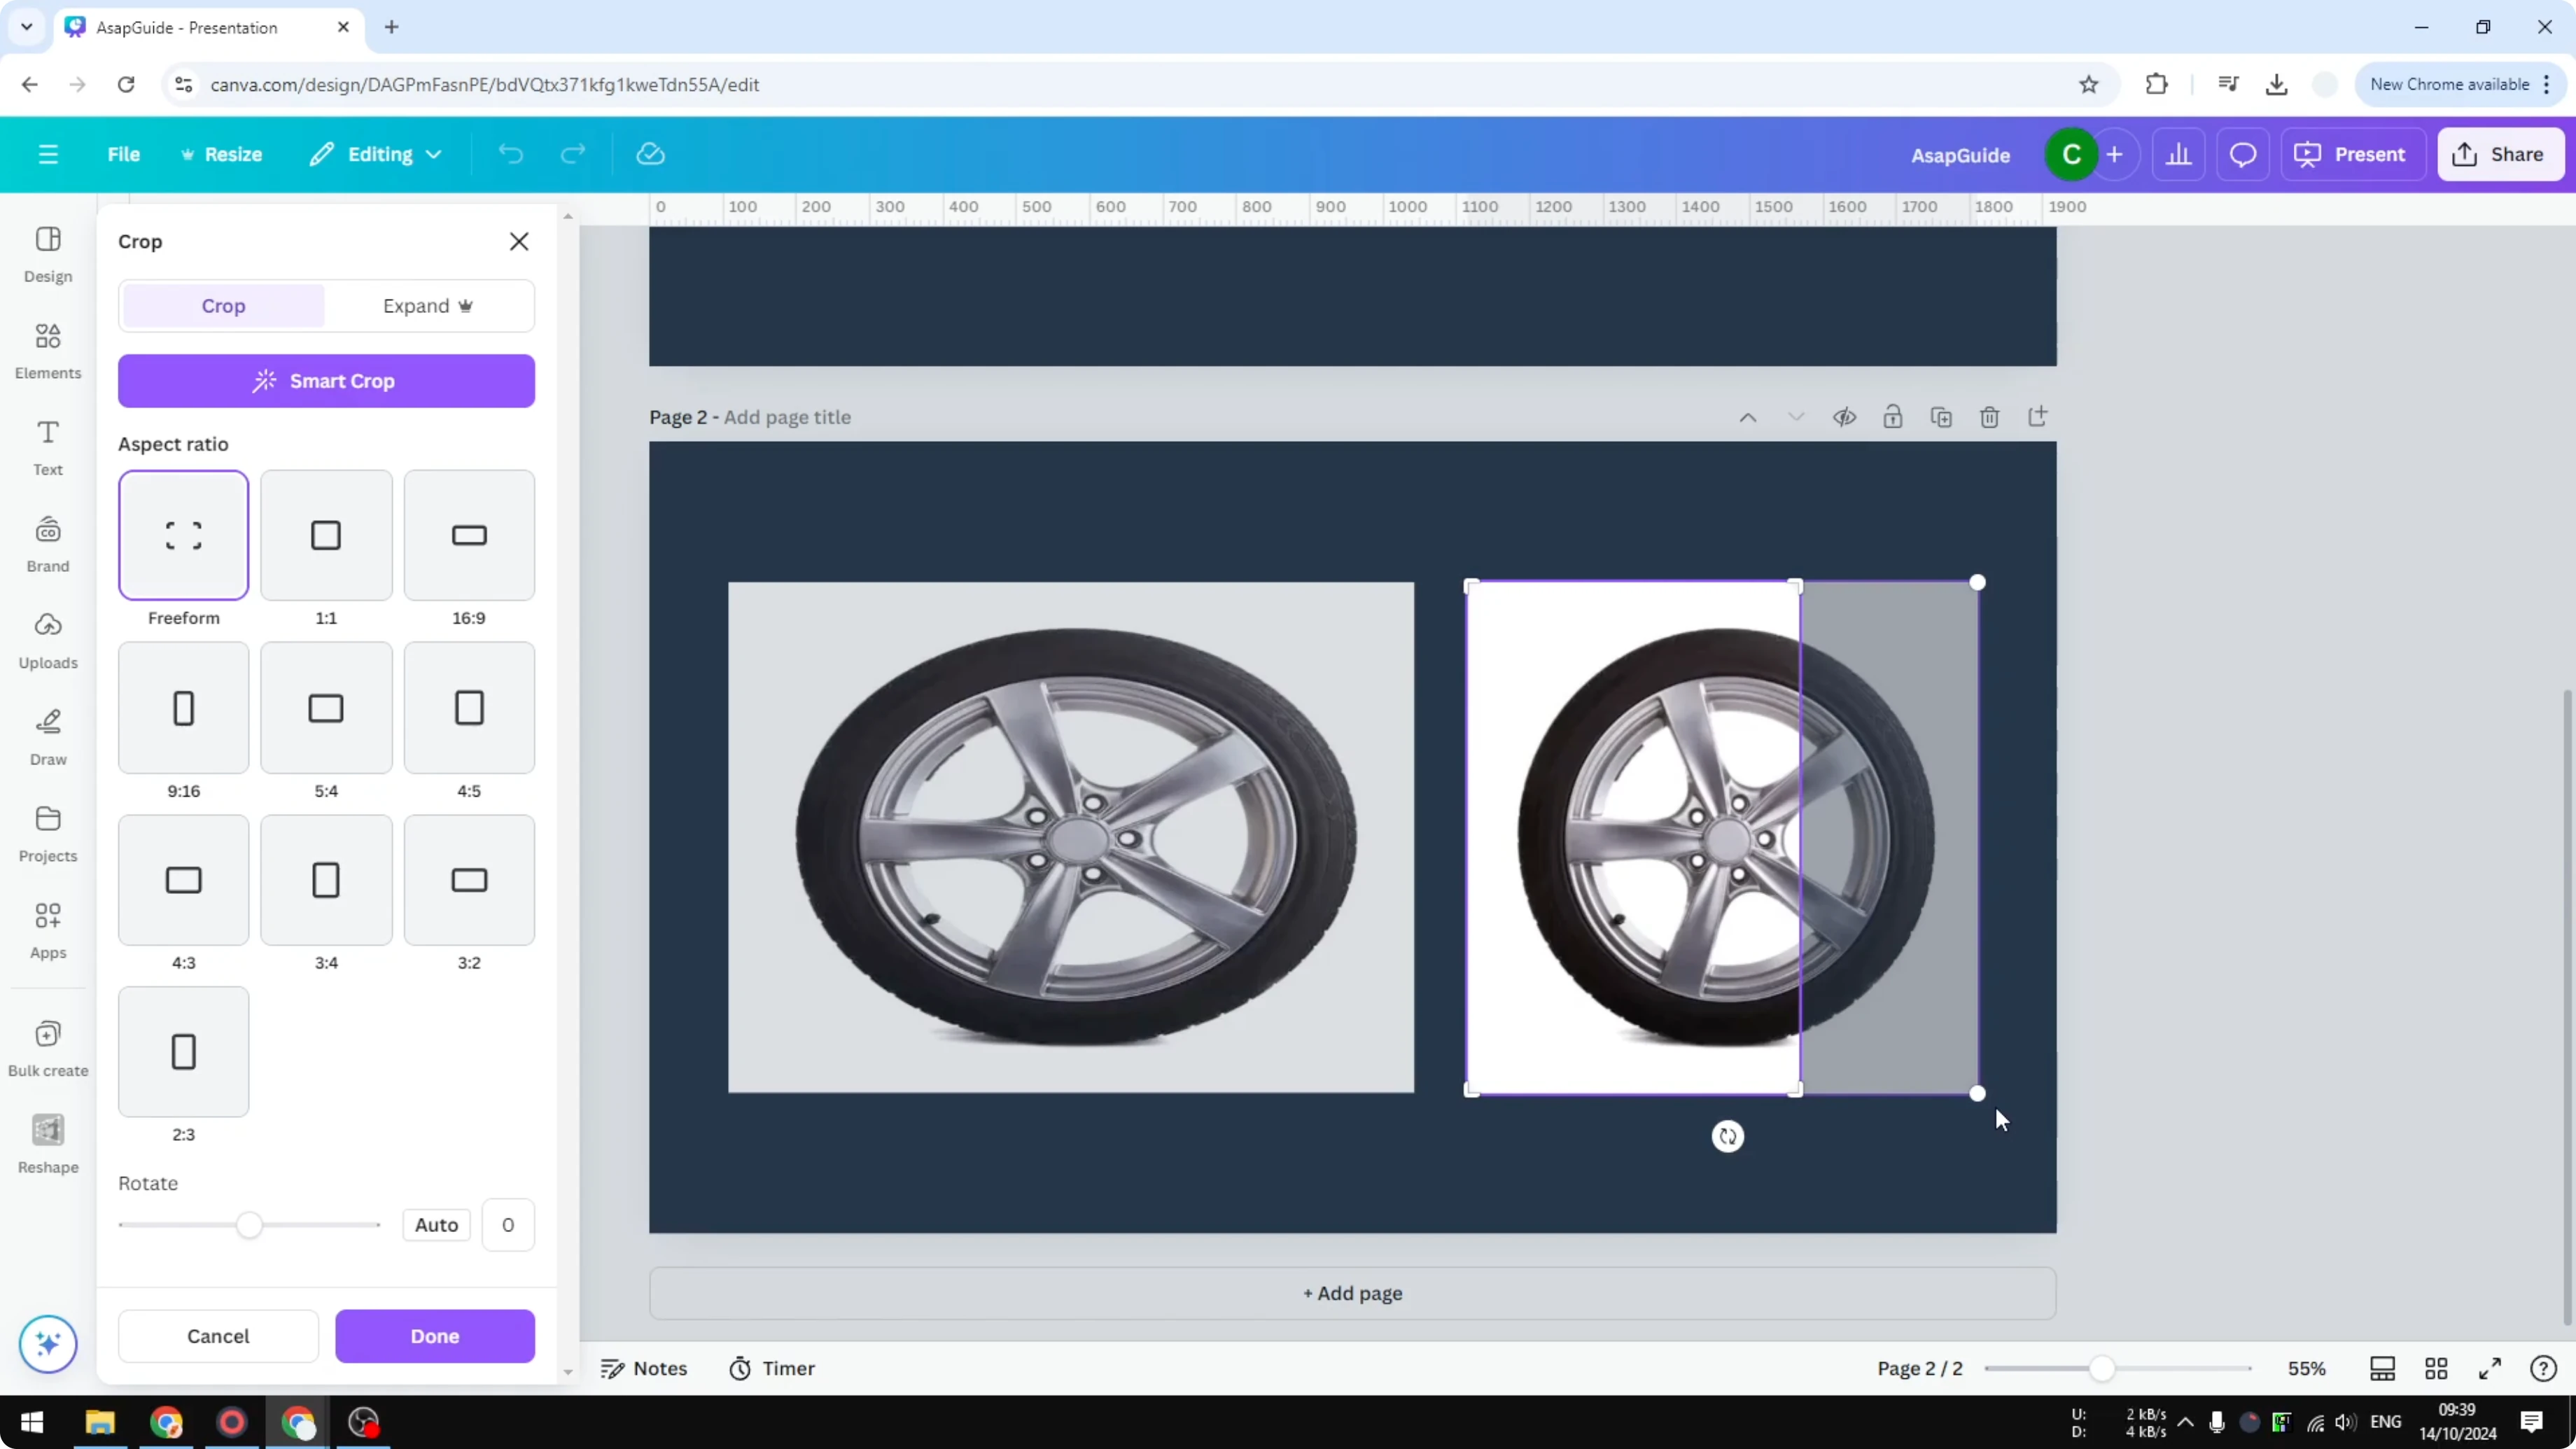
Press and hold the Shift key.

Click and drag toward the direction you want to compress, for example to the left.
Release the mouse, then release Shift.
Click Done to confirm.
You can also change the color tone of the image after squeezing.
Final Thoughts
Stretching and squeezing are possible in Canva by using the transform handle with the crop box and the Shift key. Hold Shift while dragging to force non proportional changes. Expand or reduce the visible area so the canvas shows the new shape correctly.
Recent Posts
How to Visualize Yourself as a Pixelized Character with AI?
How to Visualize Yourself as a Pixelized Character with AI?

How to Revive Faded Memories and Enhance Image Clarity with AI?
How to Revive Faded Memories and Enhance Image Clarity with AI?

How to Visualize Yourself as an Animal Crossing Character with AI?
How to Visualize Yourself as an Animal Crossing Character with AI?