How to Straighten Photo in Canva
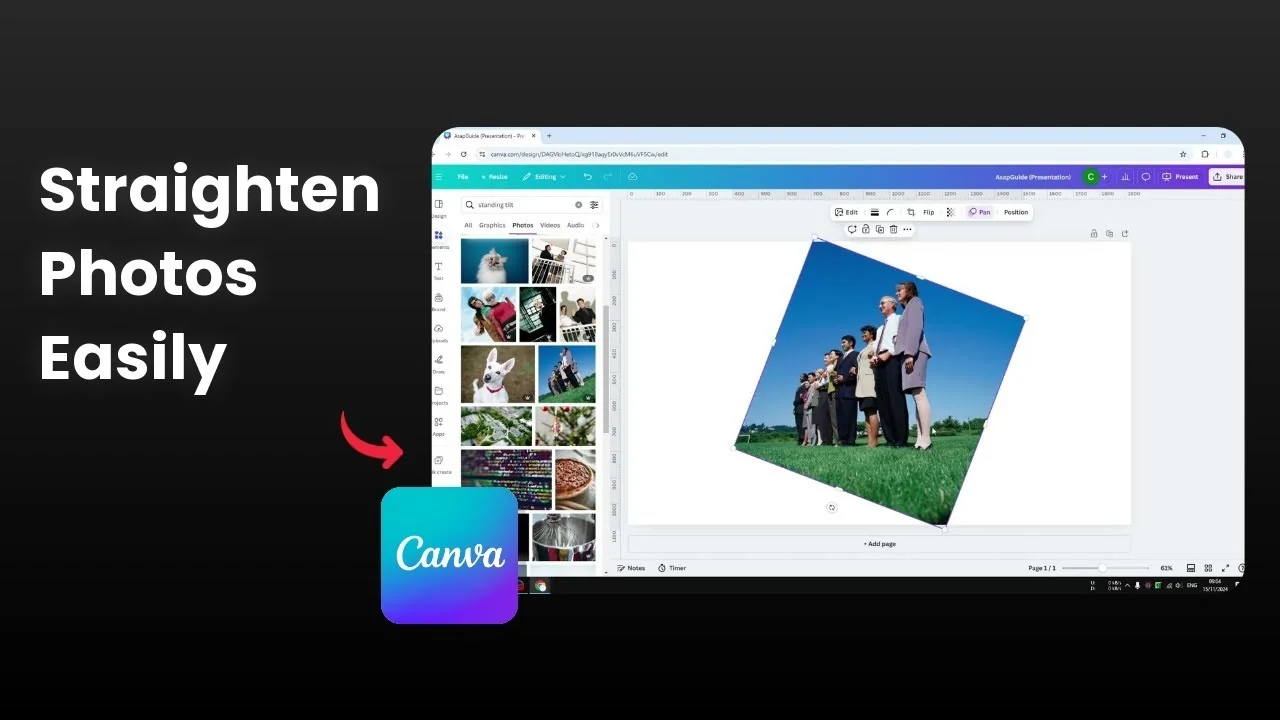
I’m going to show you how to straighten a photo using Canva. Let’s say you just took a photo with your smartphone and it came out tilted. The people are standing normally, but the angle makes everything look tilted, and I want the horizon to be a perfect straight line horizontally.
Quick fix - Straighten Photo in Canva
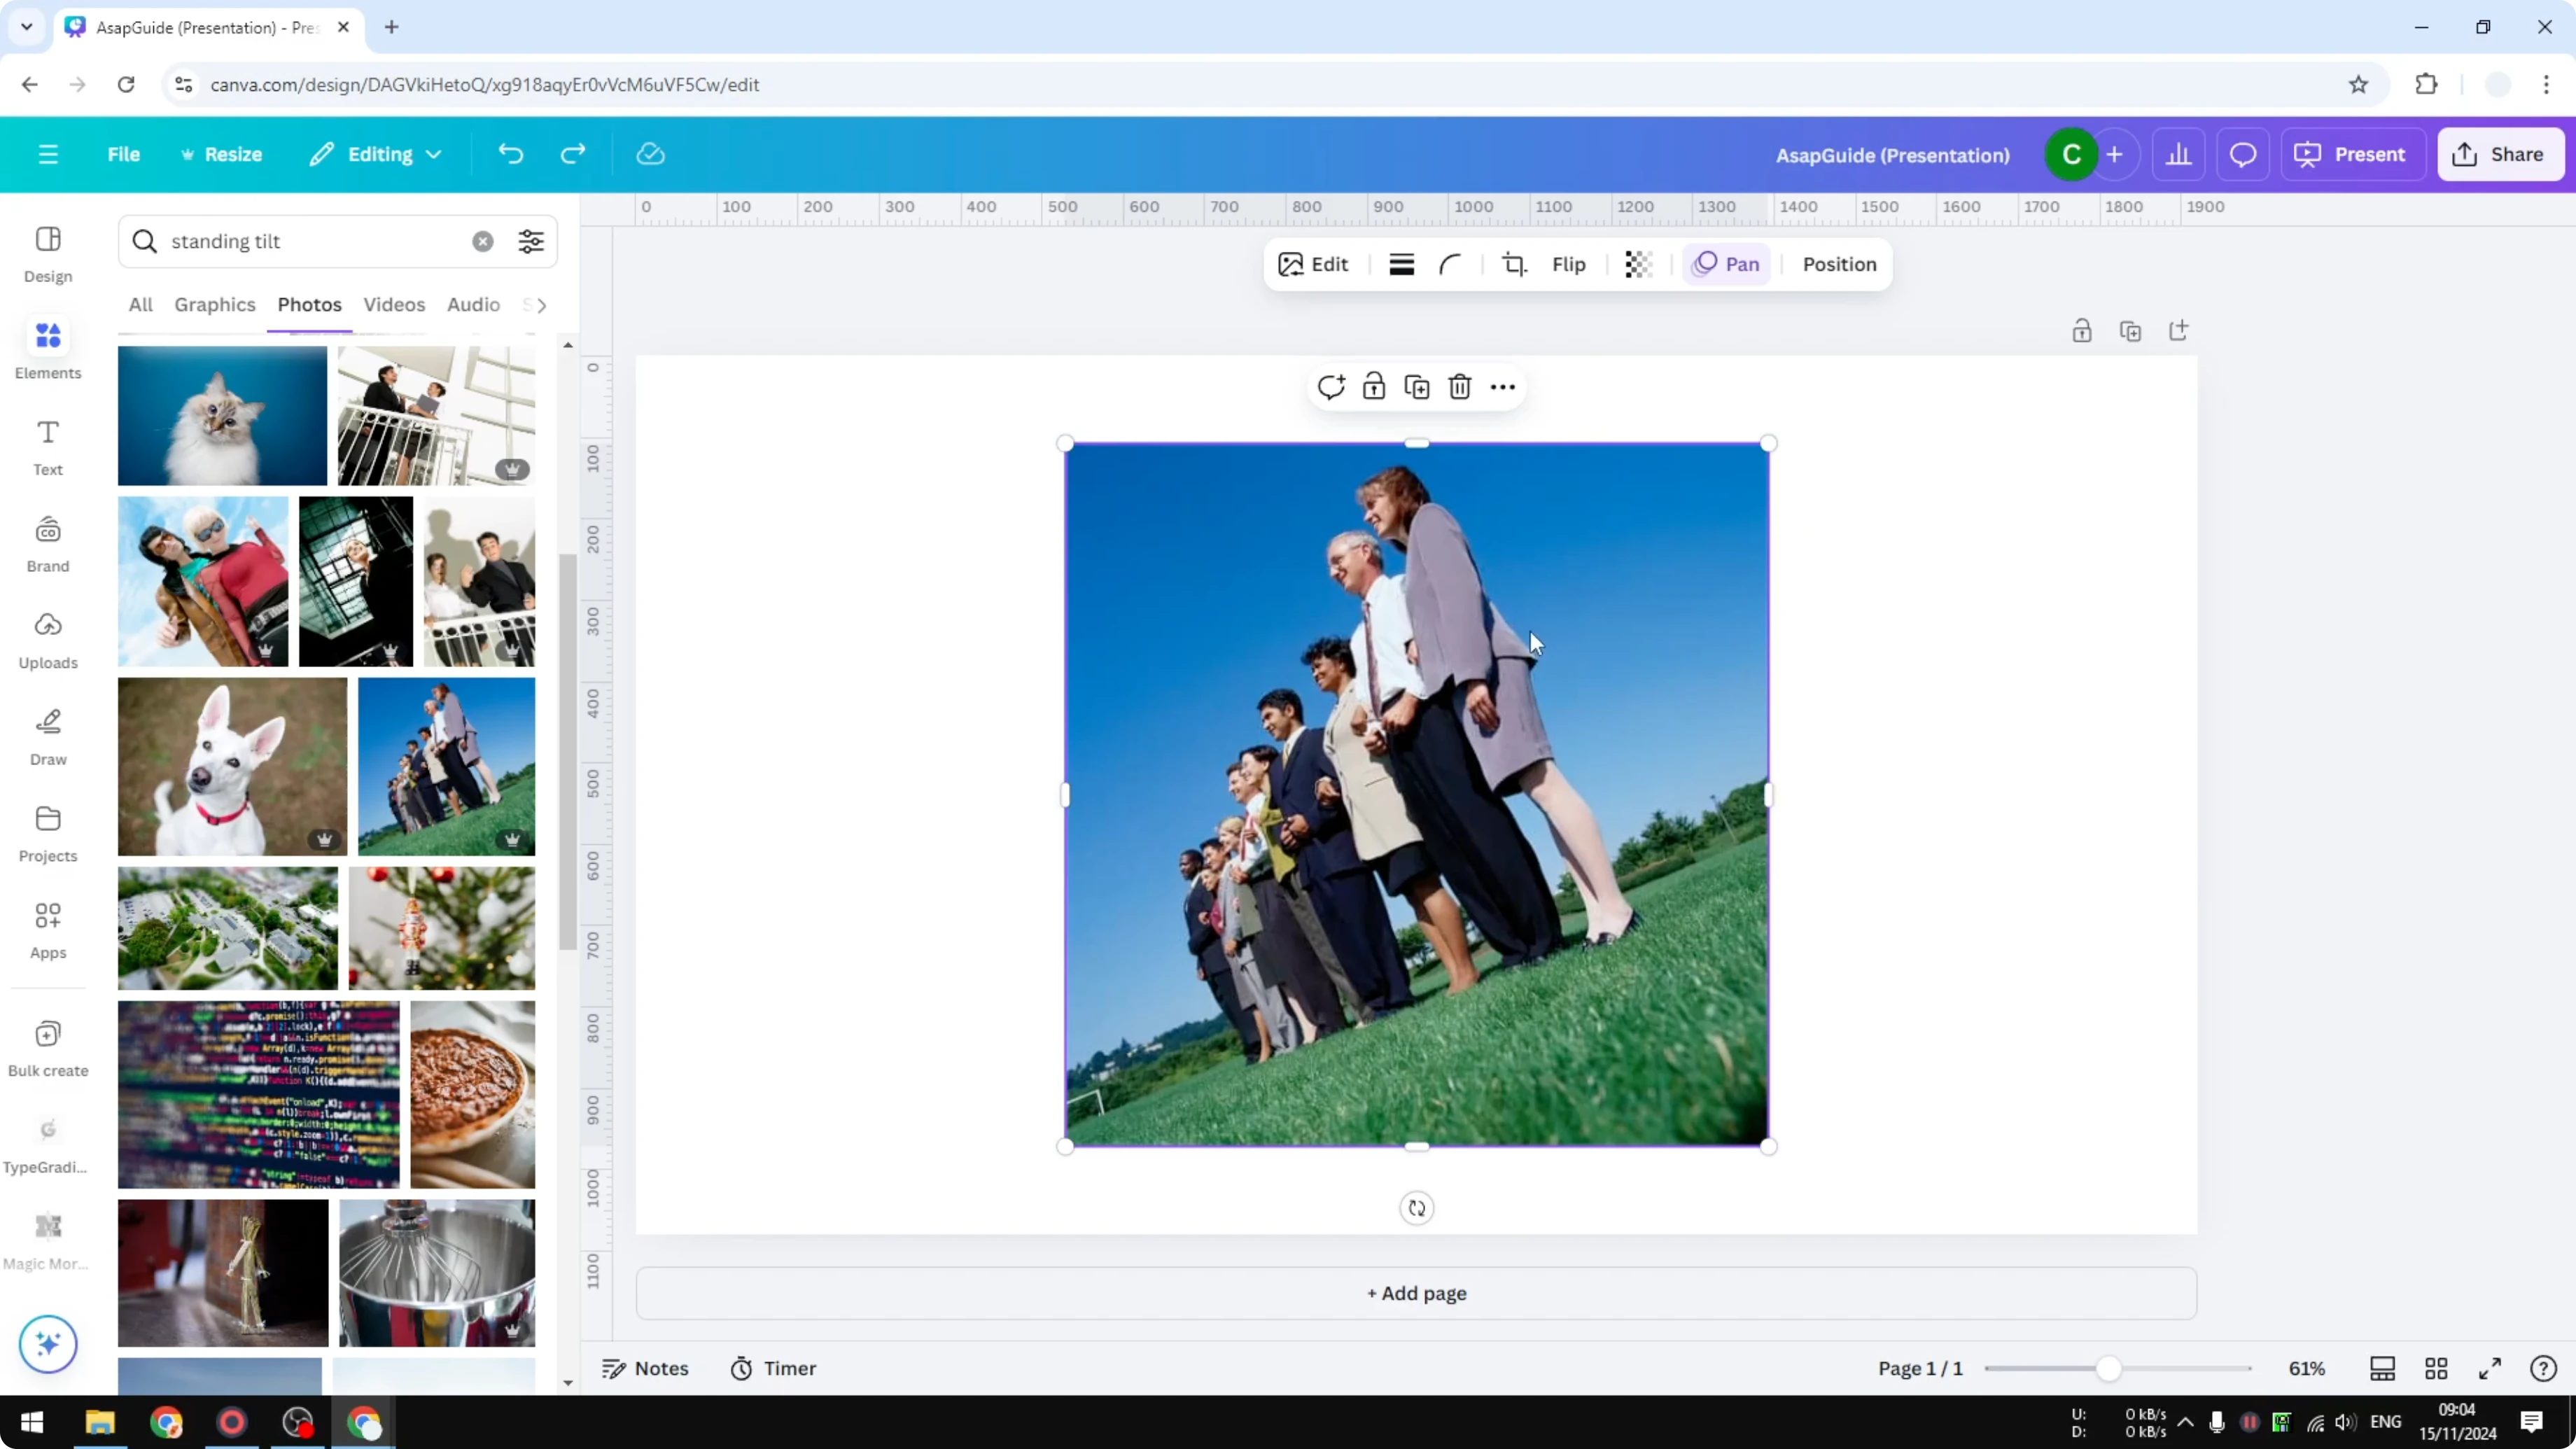
There are two methods to try. First, click on the image, click the rotate icon, then drag it to the left or to the right to adjust the angle for the photo. This gives a much better straight line and I think this is about right.

The only problem is that this is not a normal shape for a photo. Usually a photo uses a square or rectangular shape and this result is not common for posting. That’s why I prefer to use the second method.
If you also need to hide small distractions while you work, you can blur part of a photo in Canva for a cleaner result.
Crop + rotate - Straighten Photo in Canva
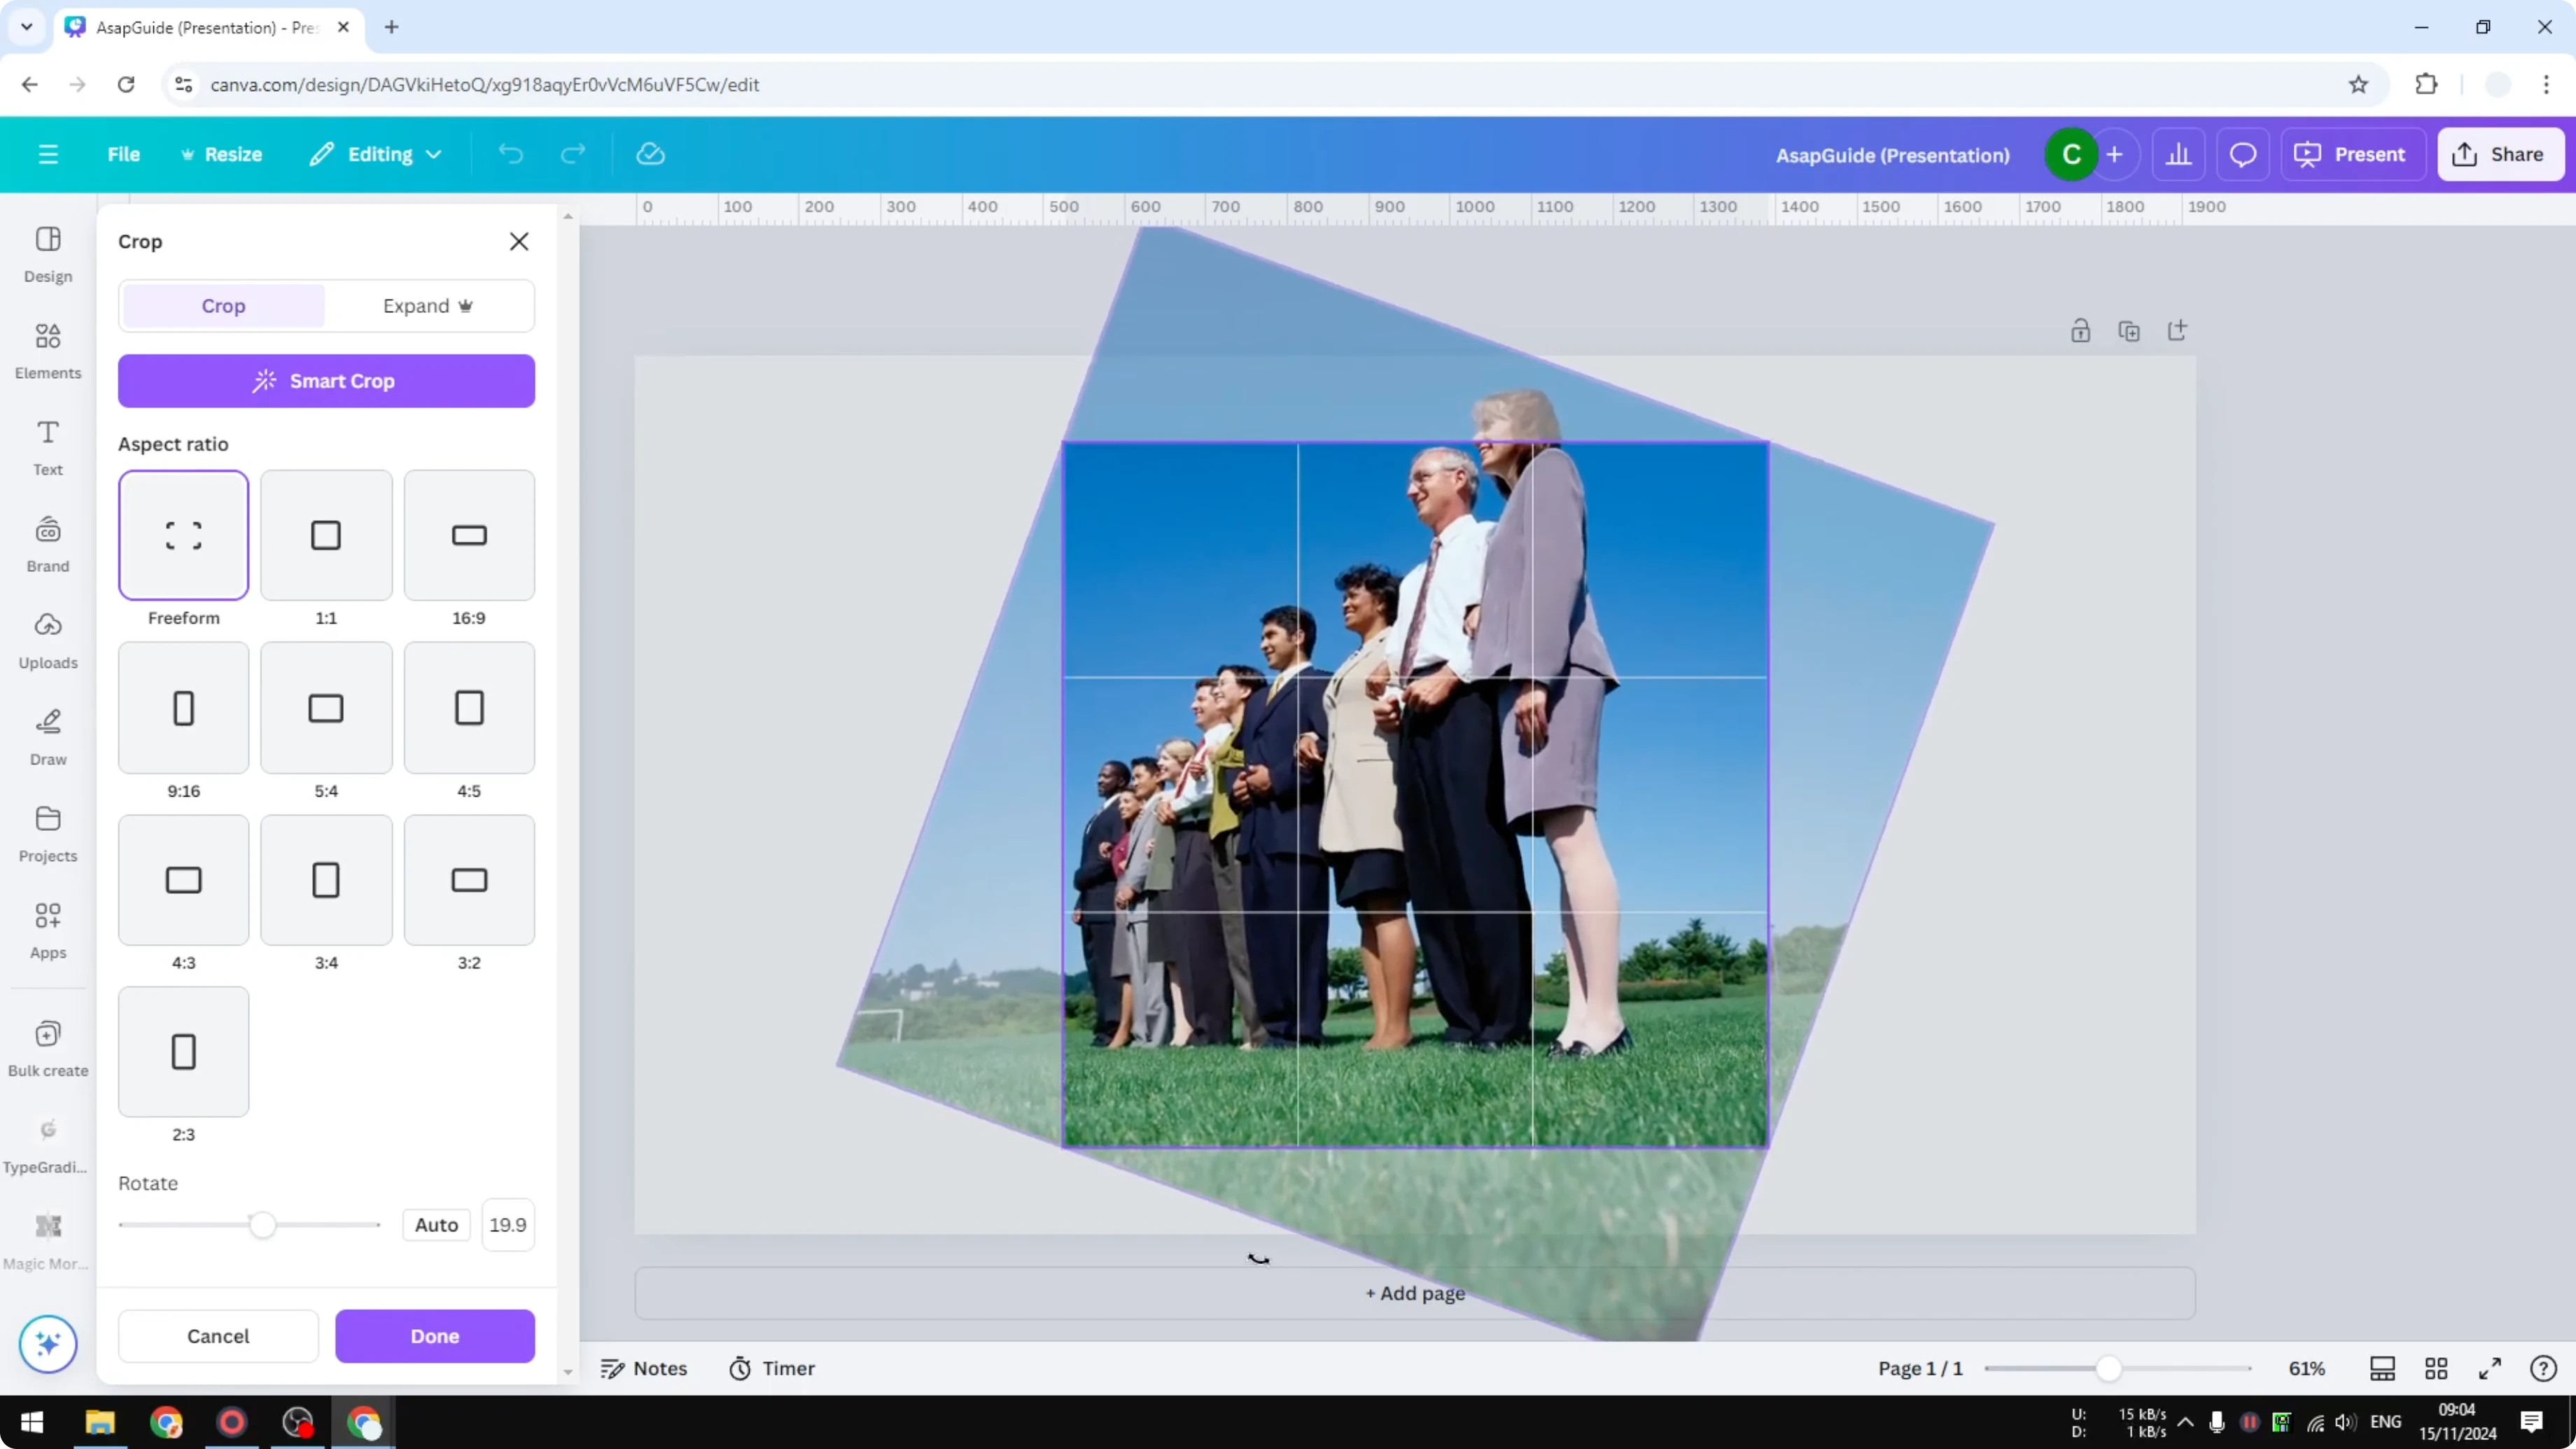
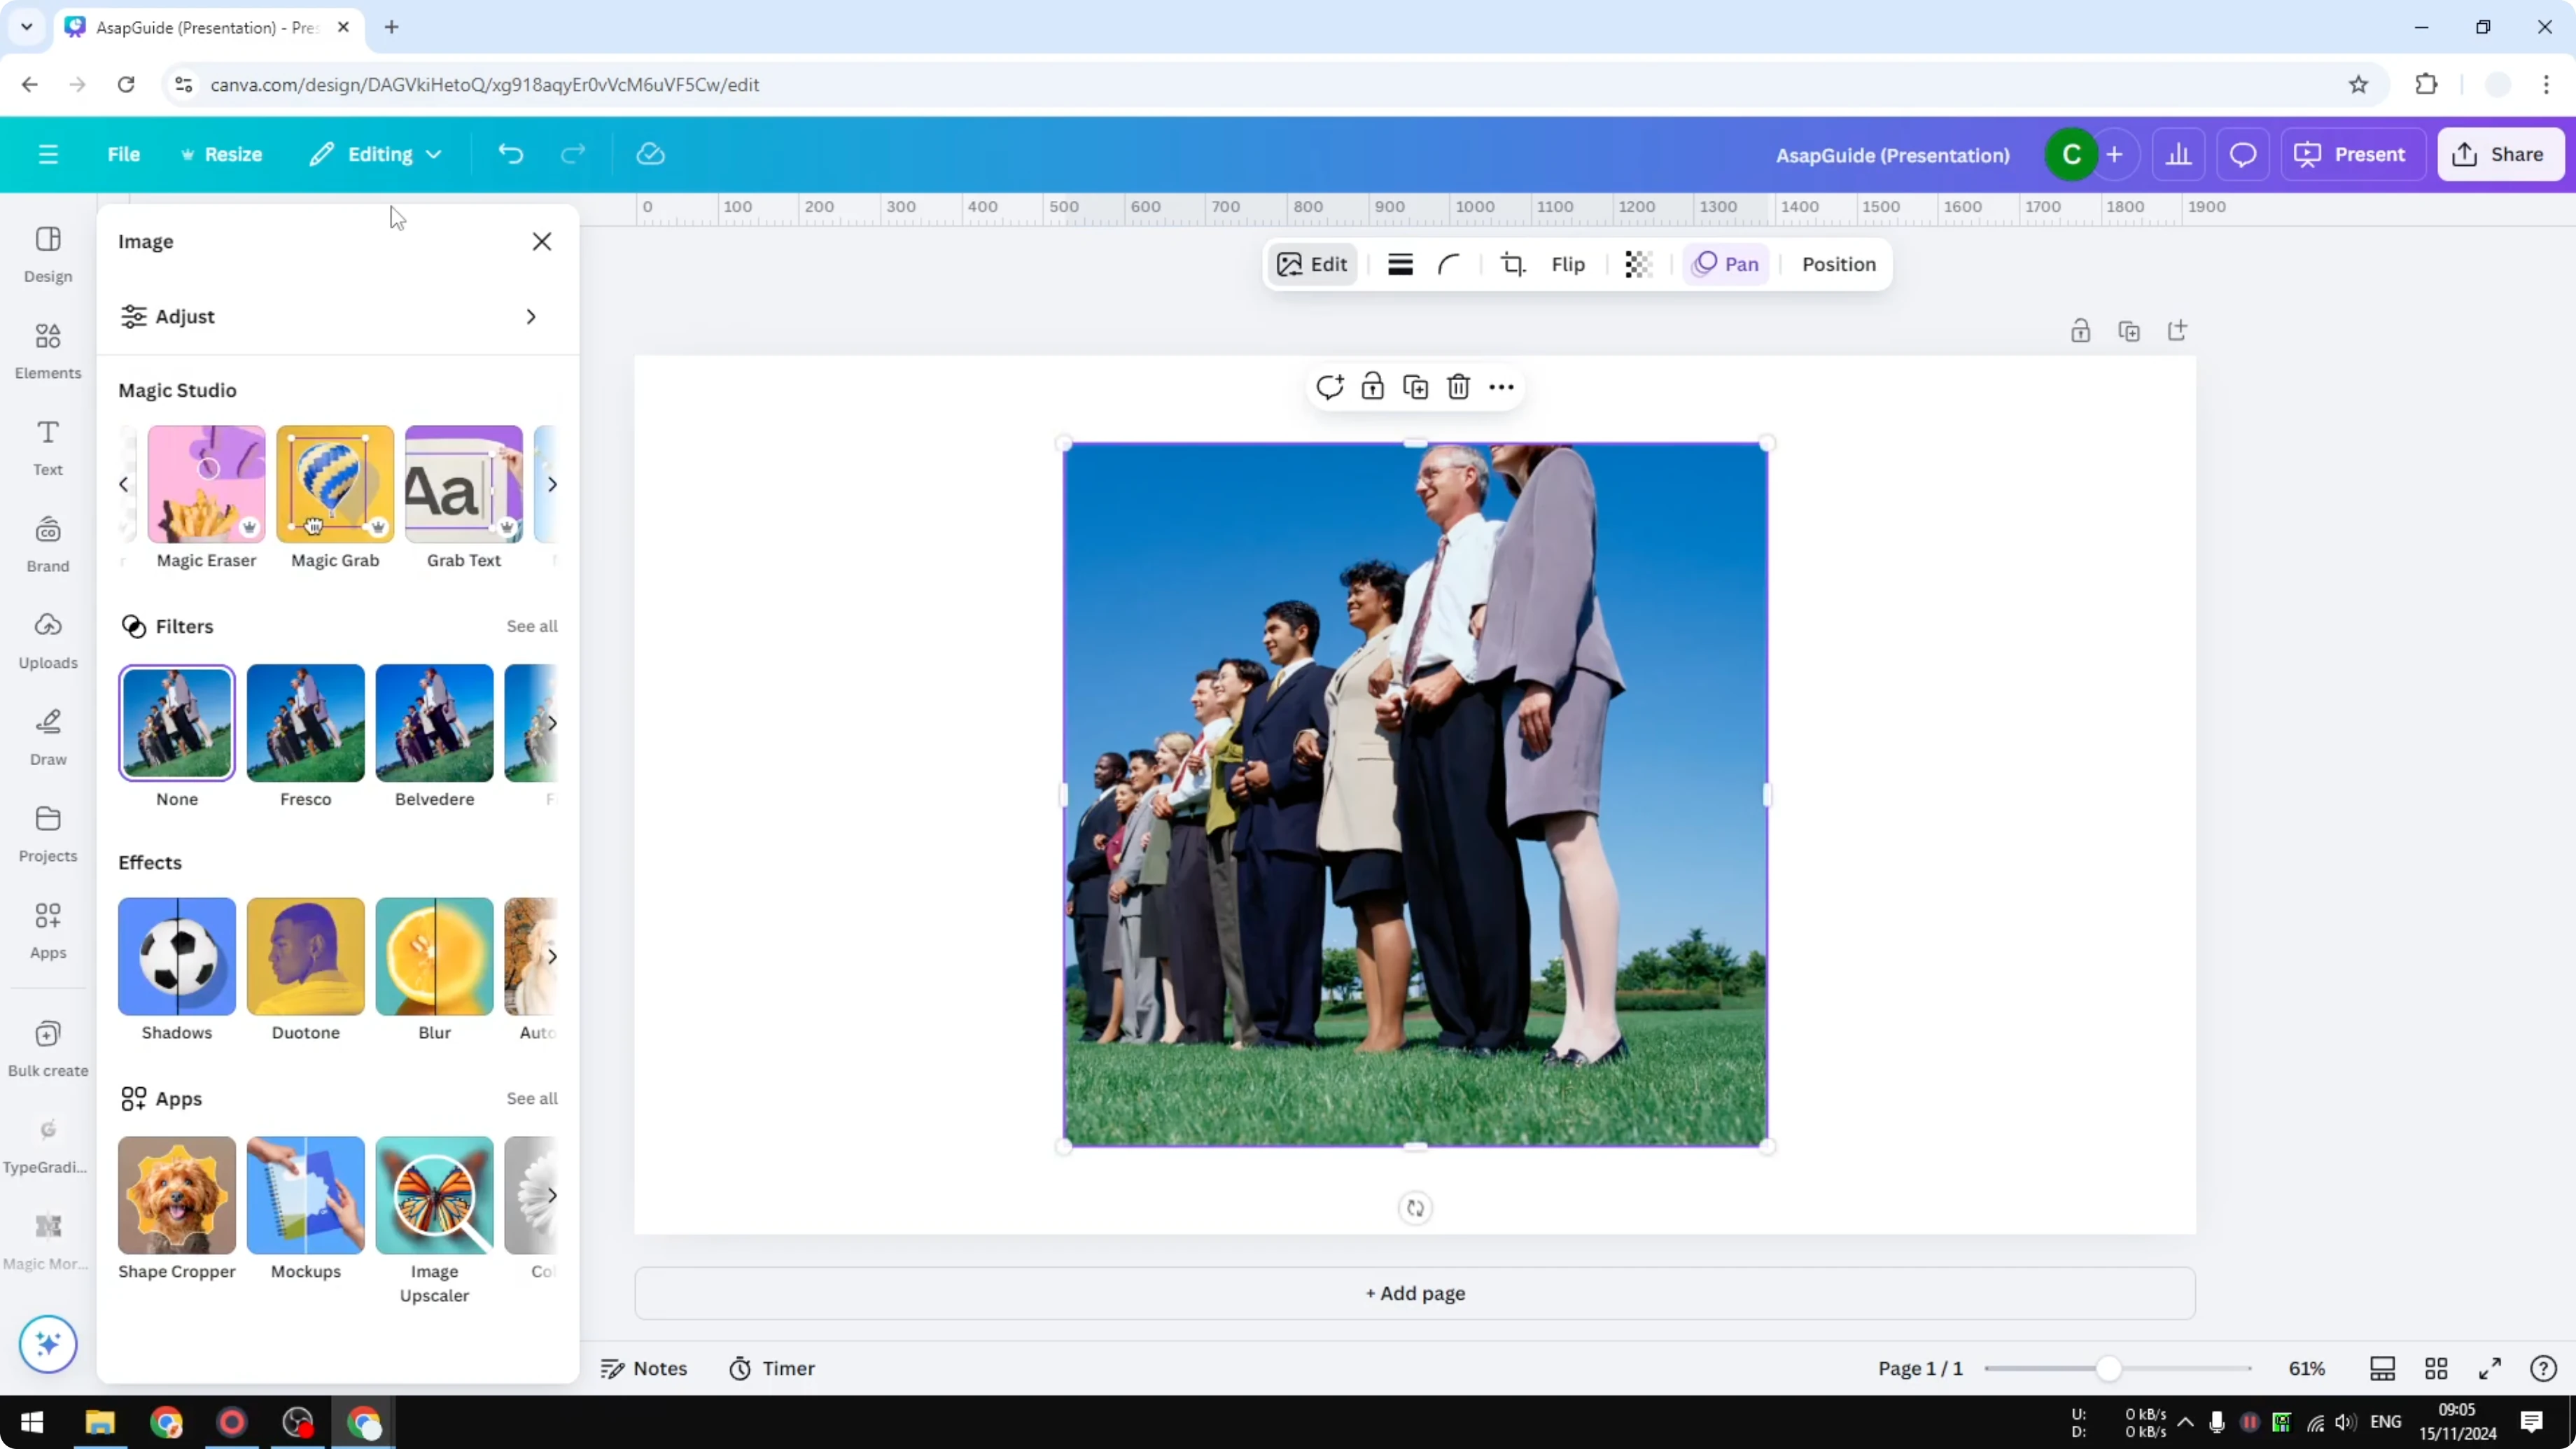
The second method combines cropping and rotating to make the photo straight. Double click on the photo and you will see the cropping menu at the bottom with a rotate section. Click Auto to let AI decide the best angle.
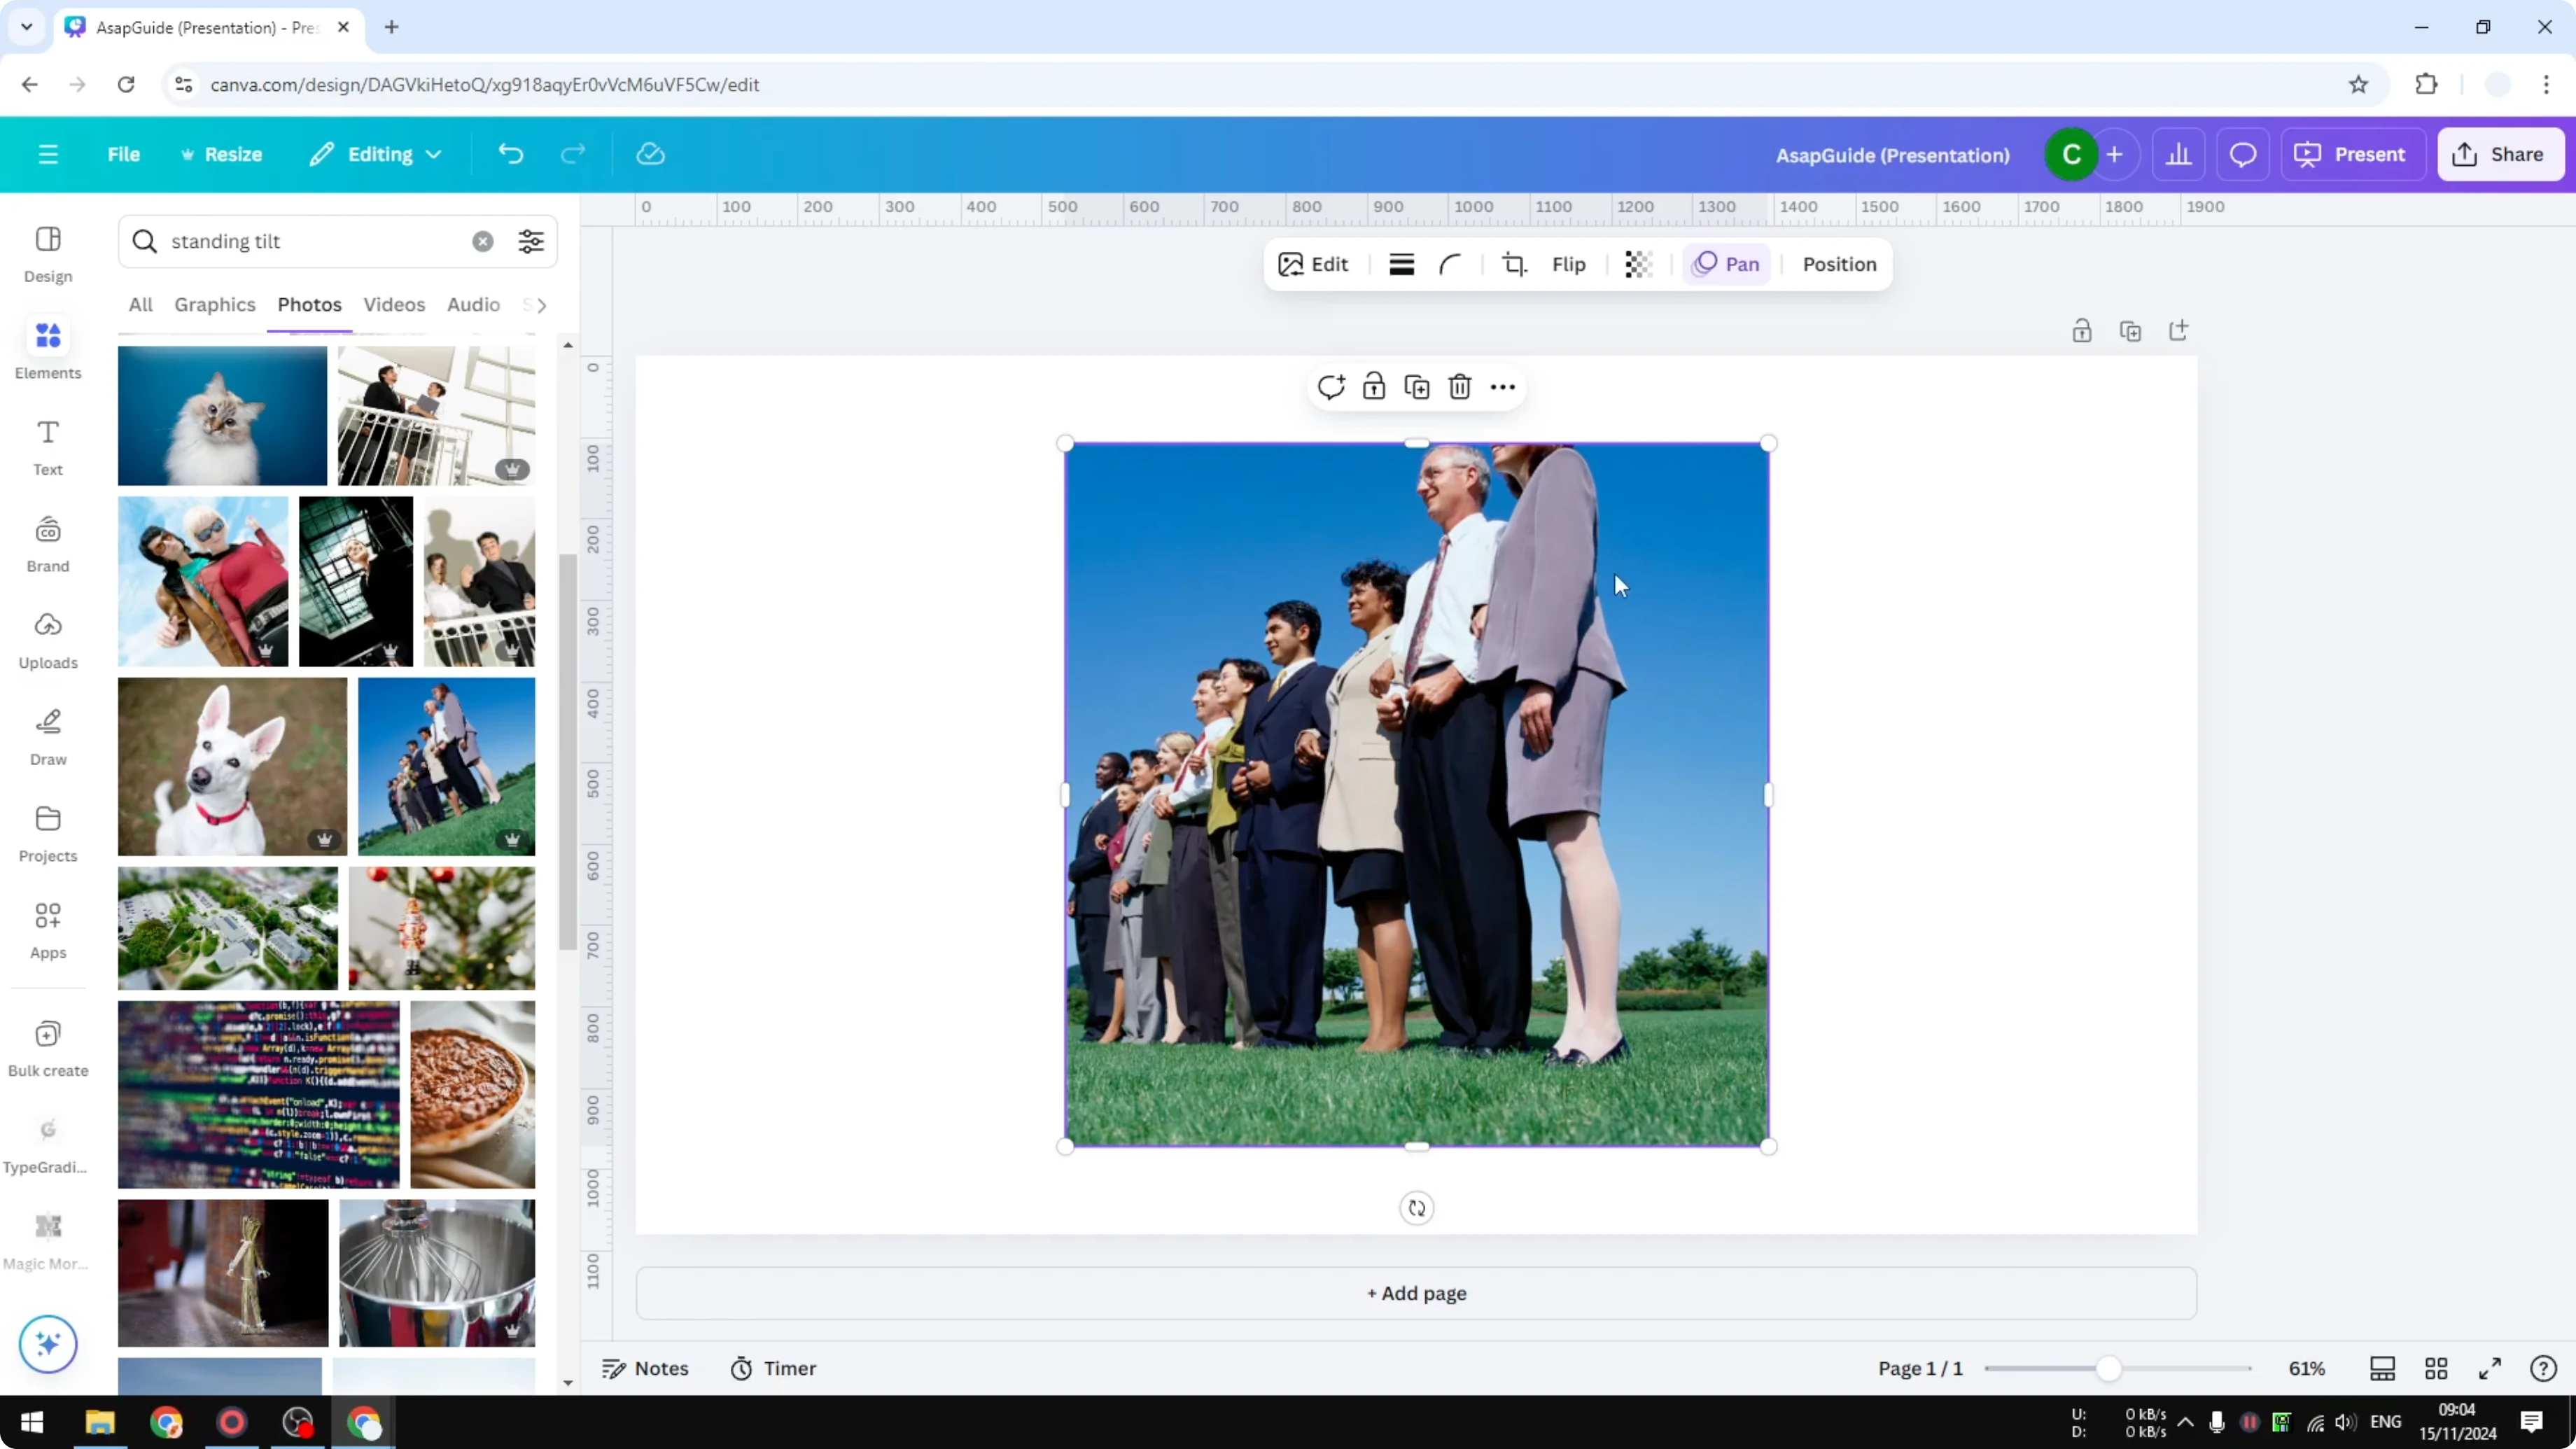
In my case it gives me 15 degrees, but this is still not a perfect horizontal line. Manually rotate the picture to around 21 degrees and that looks way better. Click Done to apply the effect.
This picture is definitely straight, but some elements might be missing after the crop. For example, a person’s face near the edge can get cut off because we just cropped a section of the image. If you don’t want that, expand the image using AI so you keep most of the photo while still getting a straight horizon.
If you plan to composite after straightening, you can also add a person in a photo in Canva to rebuild a fuller scene.
Magic Expand - Straighten Photo in Canva
I cannot use Magic Expand right after a crop and rotate, so I undo the changes first. I make the image slightly smaller because I’m going to rotate it again and I want some room around the edges. When that looks about right, I’m ready to expand.
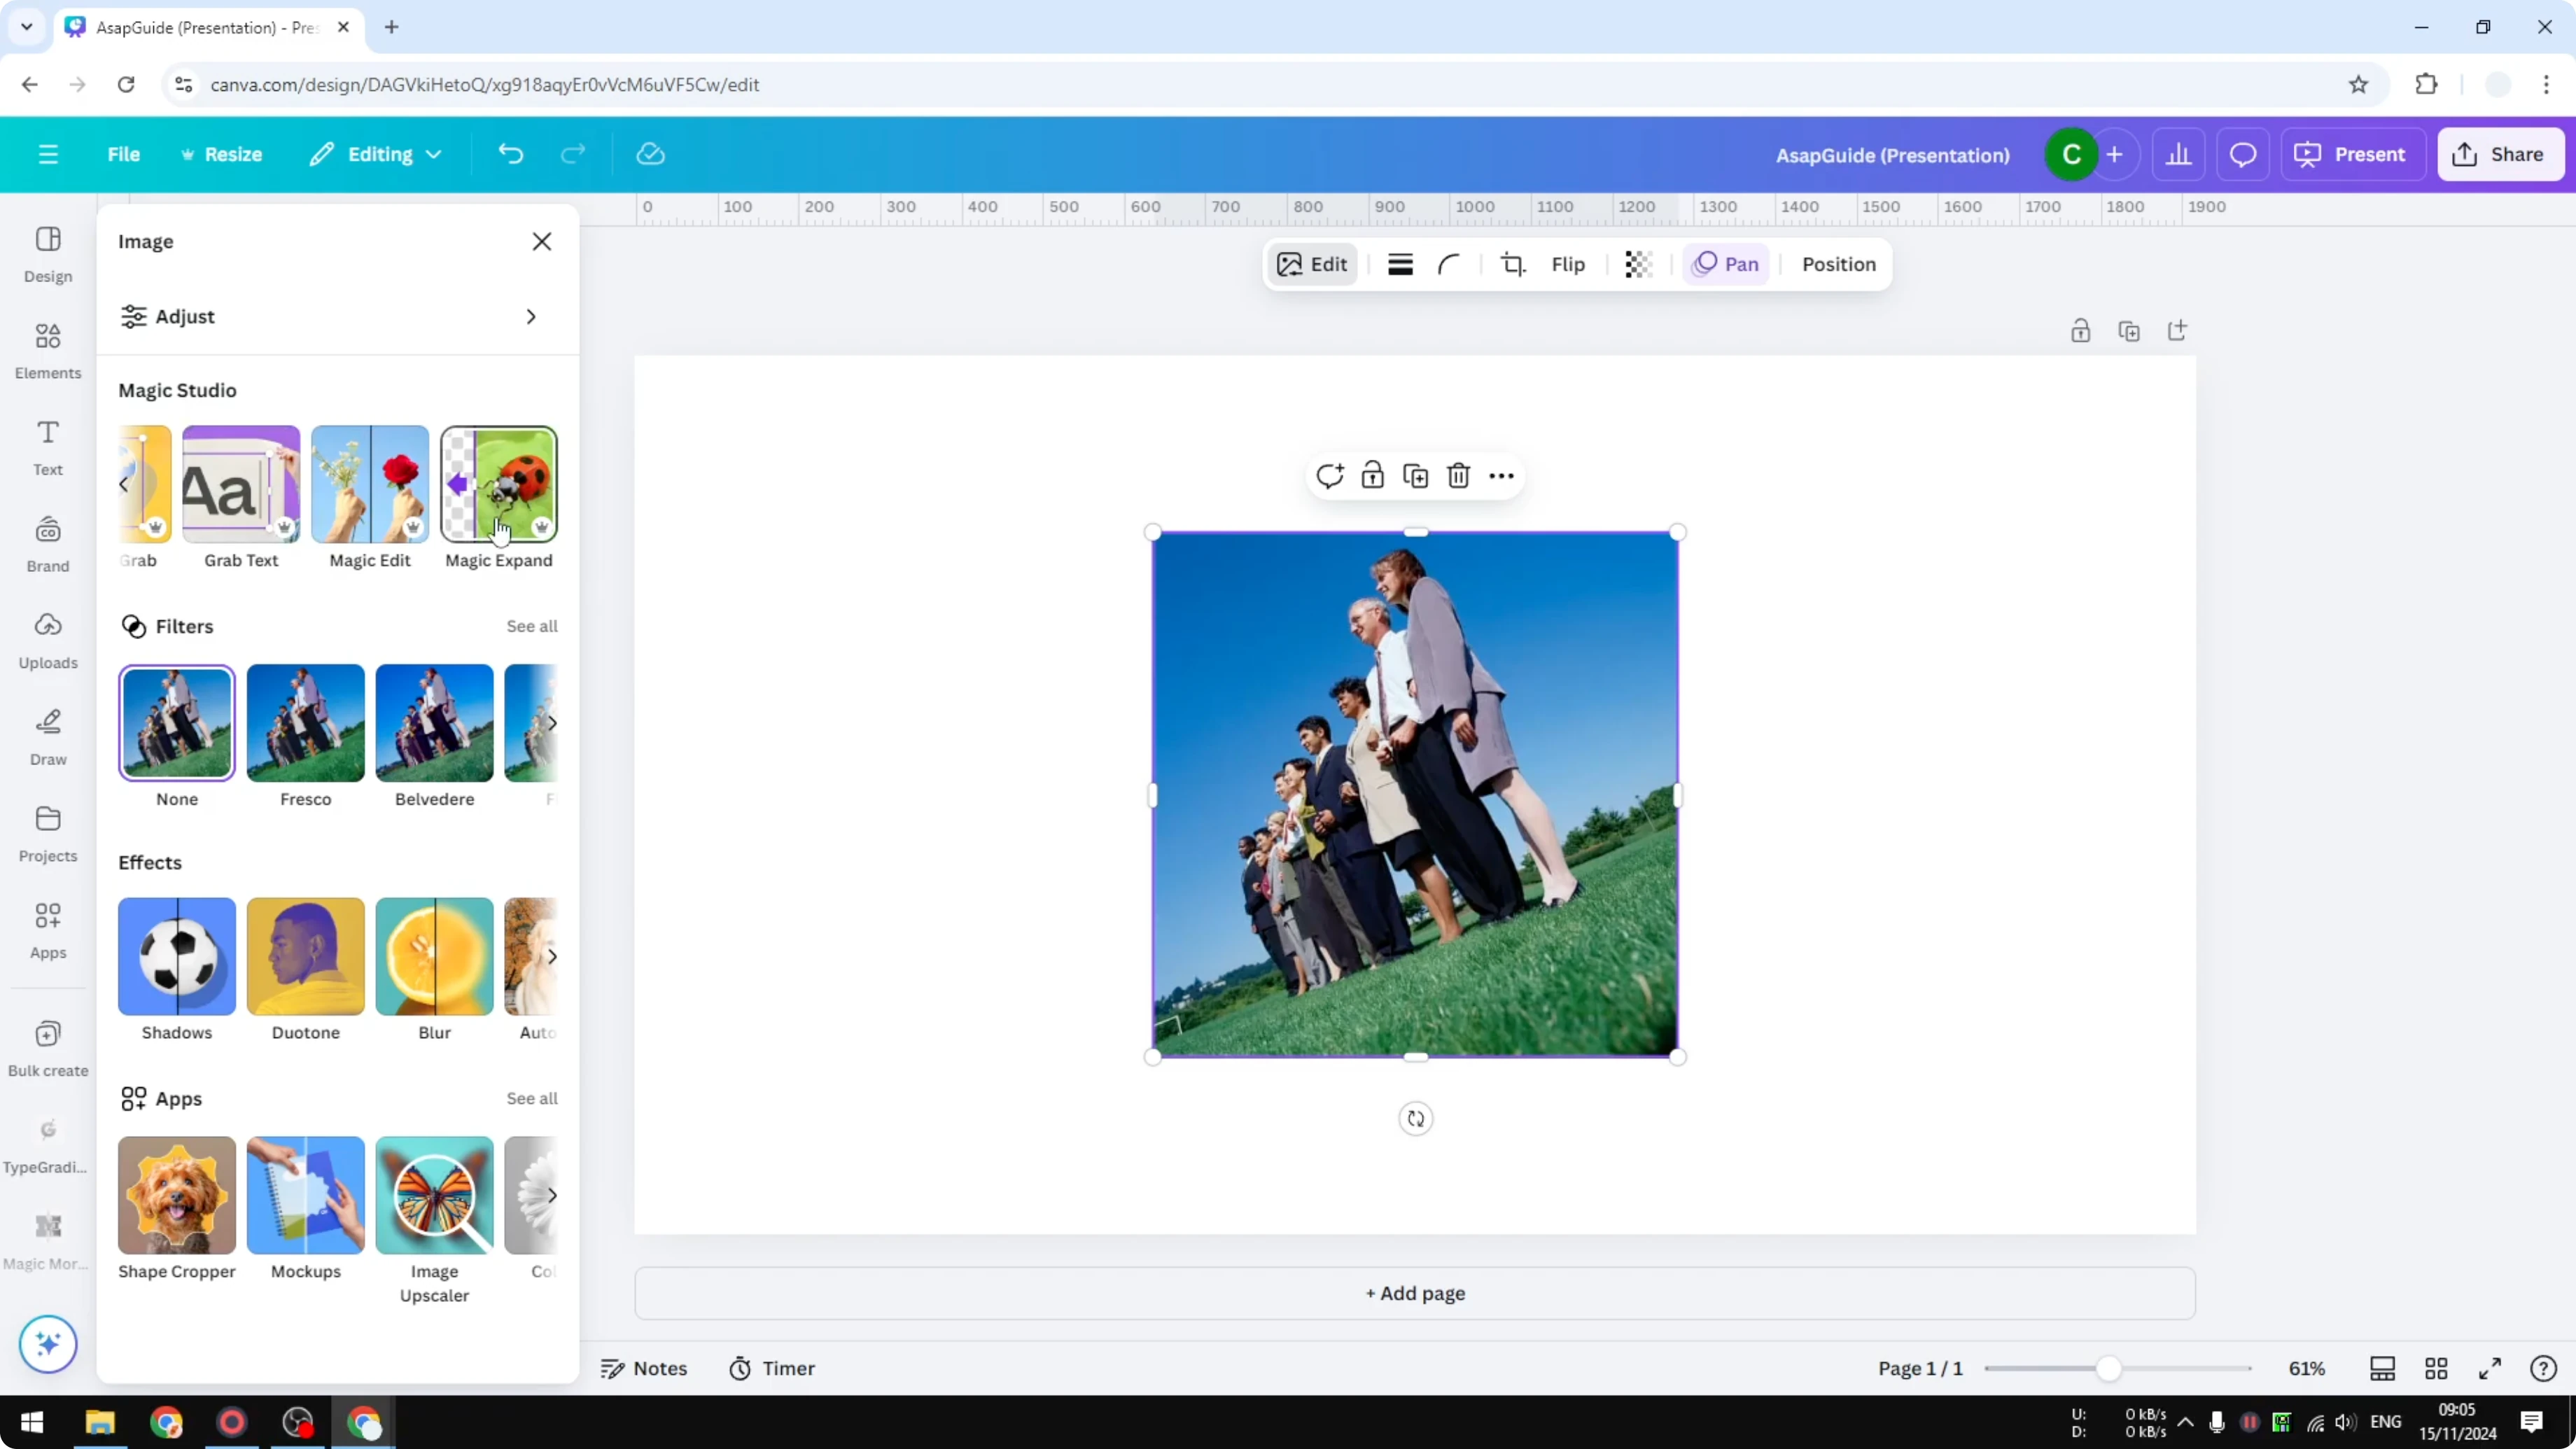
Click on the image, click Edit, go to Magic Studio, and click Magic Expand. Choose Whole page and run Magic Expand. AI will give you options to fill the white area on the canvas beyond the image.
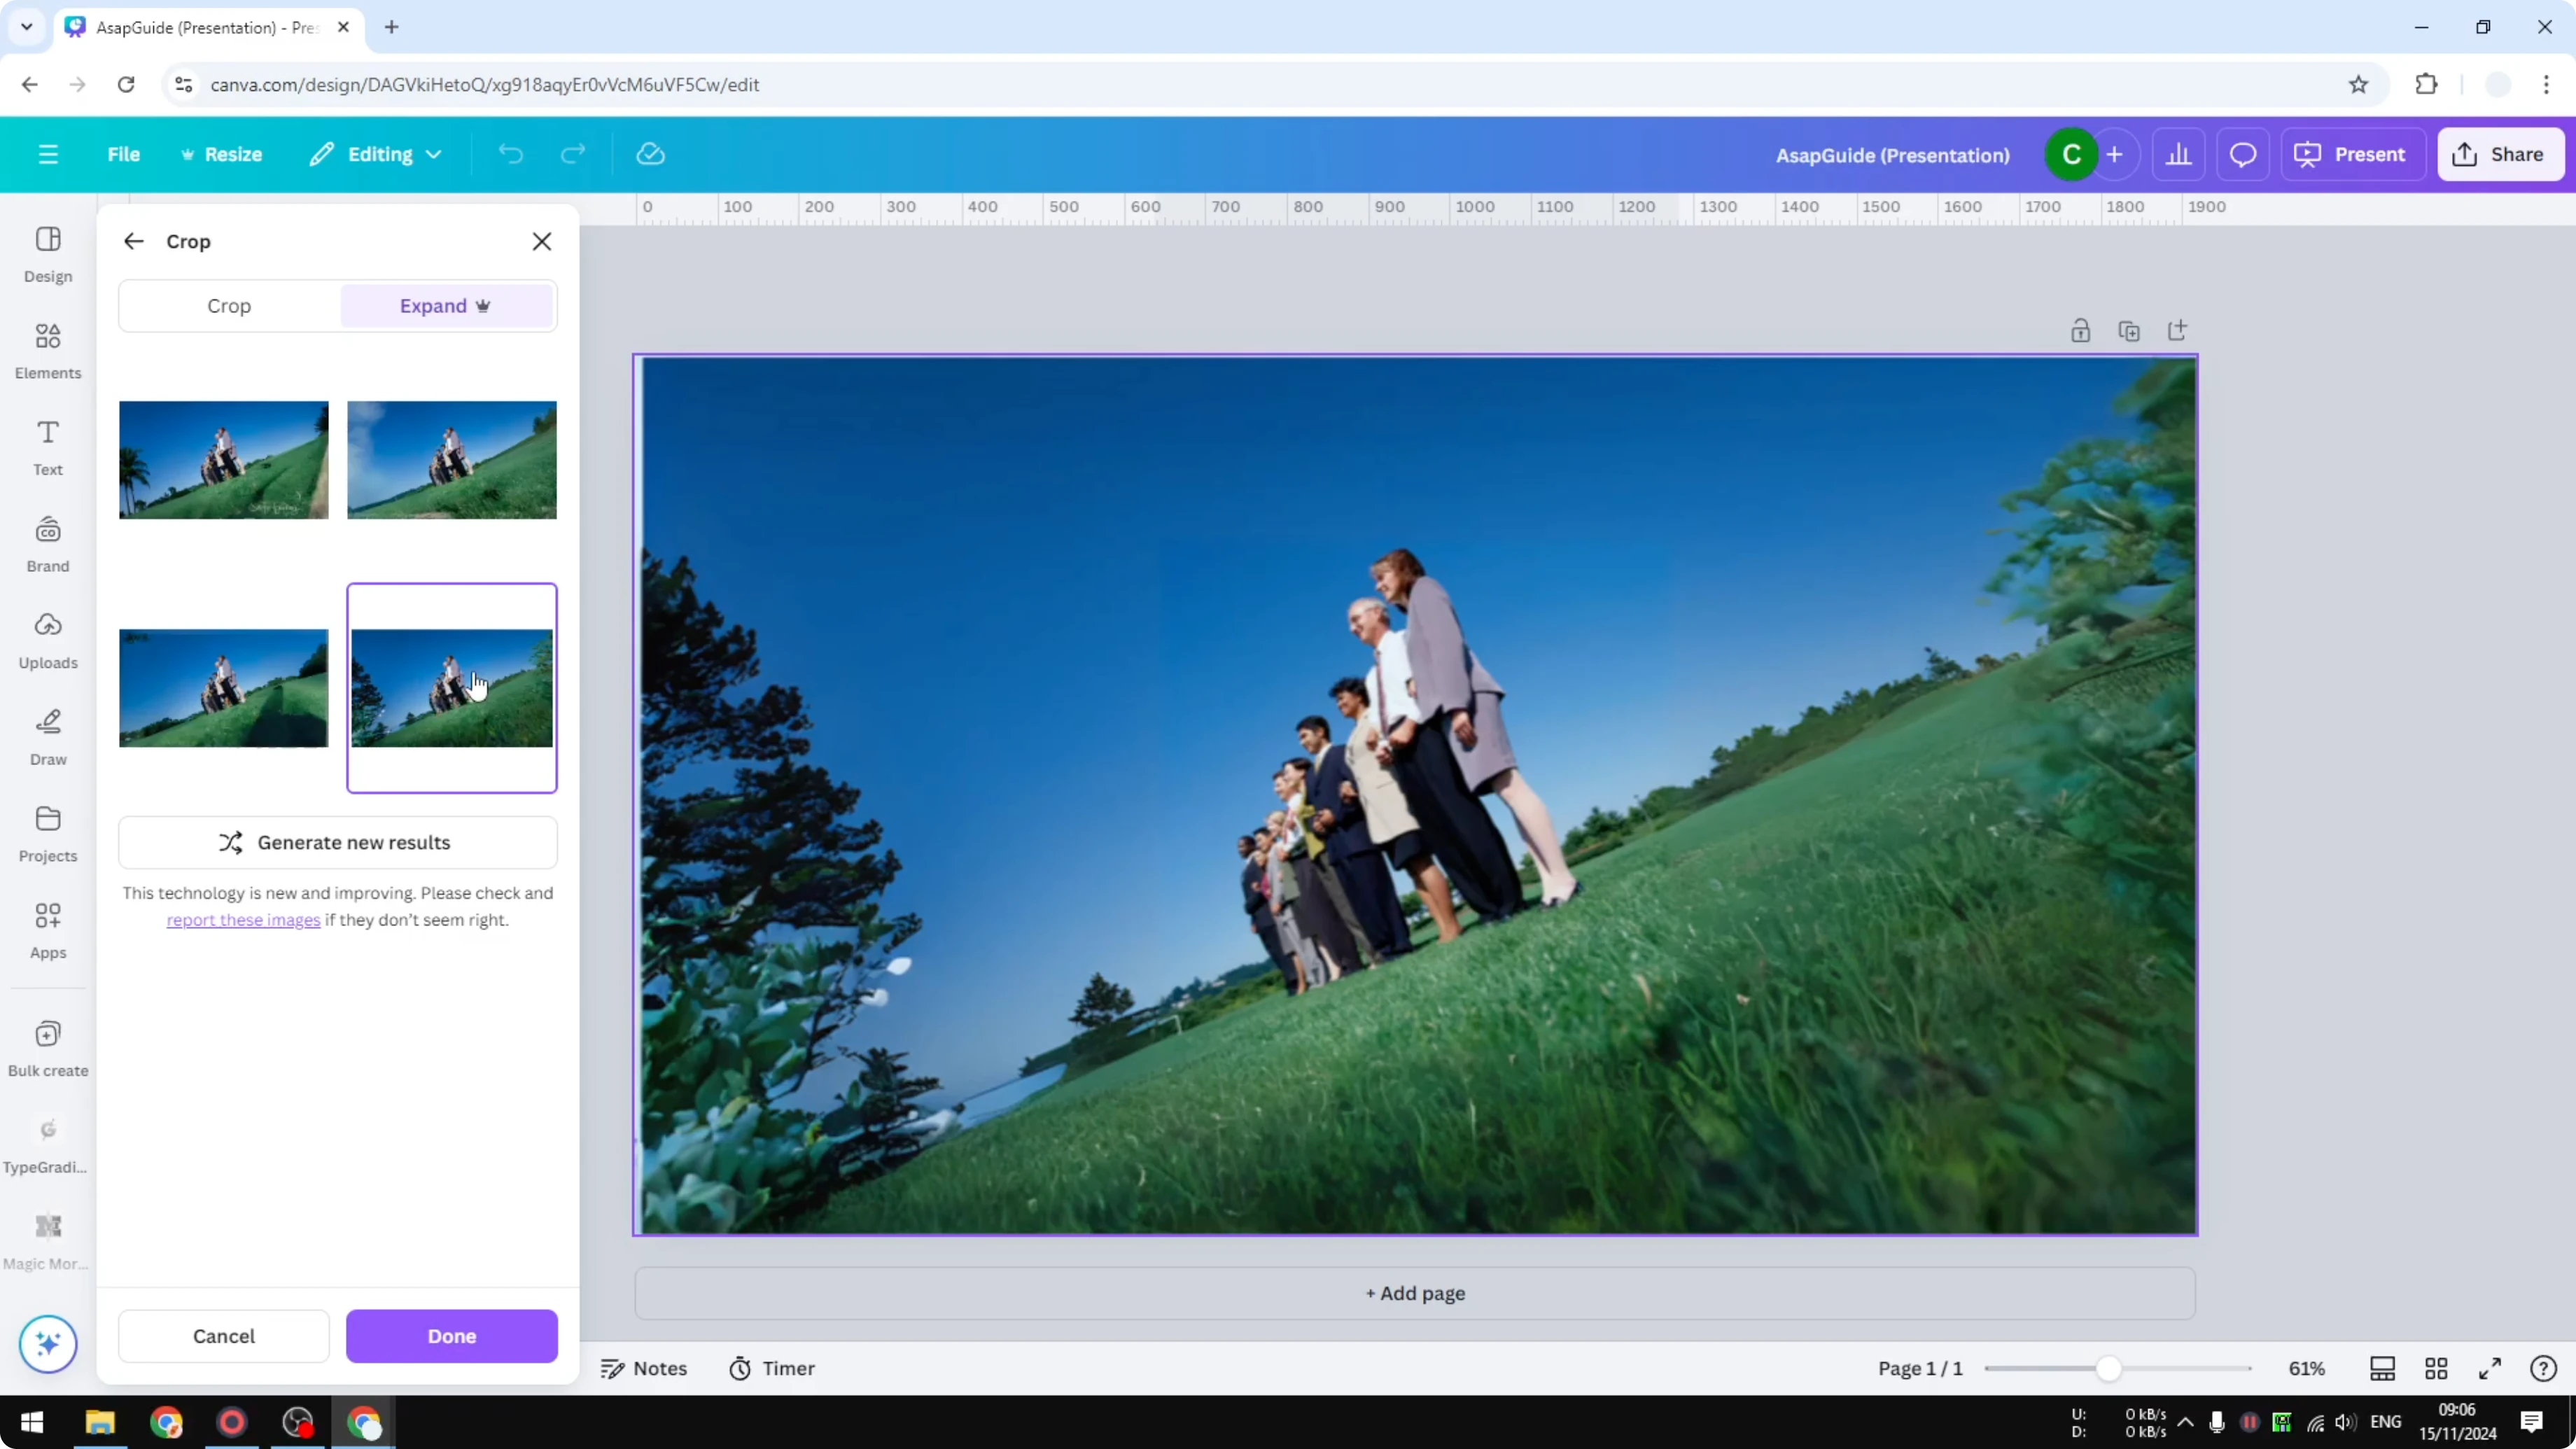
You will get different variations and this usually takes less than a minute. Pick the option that looks cleaner and click Done. I like the one that adds some trees, but the cleaner version works better for me here.
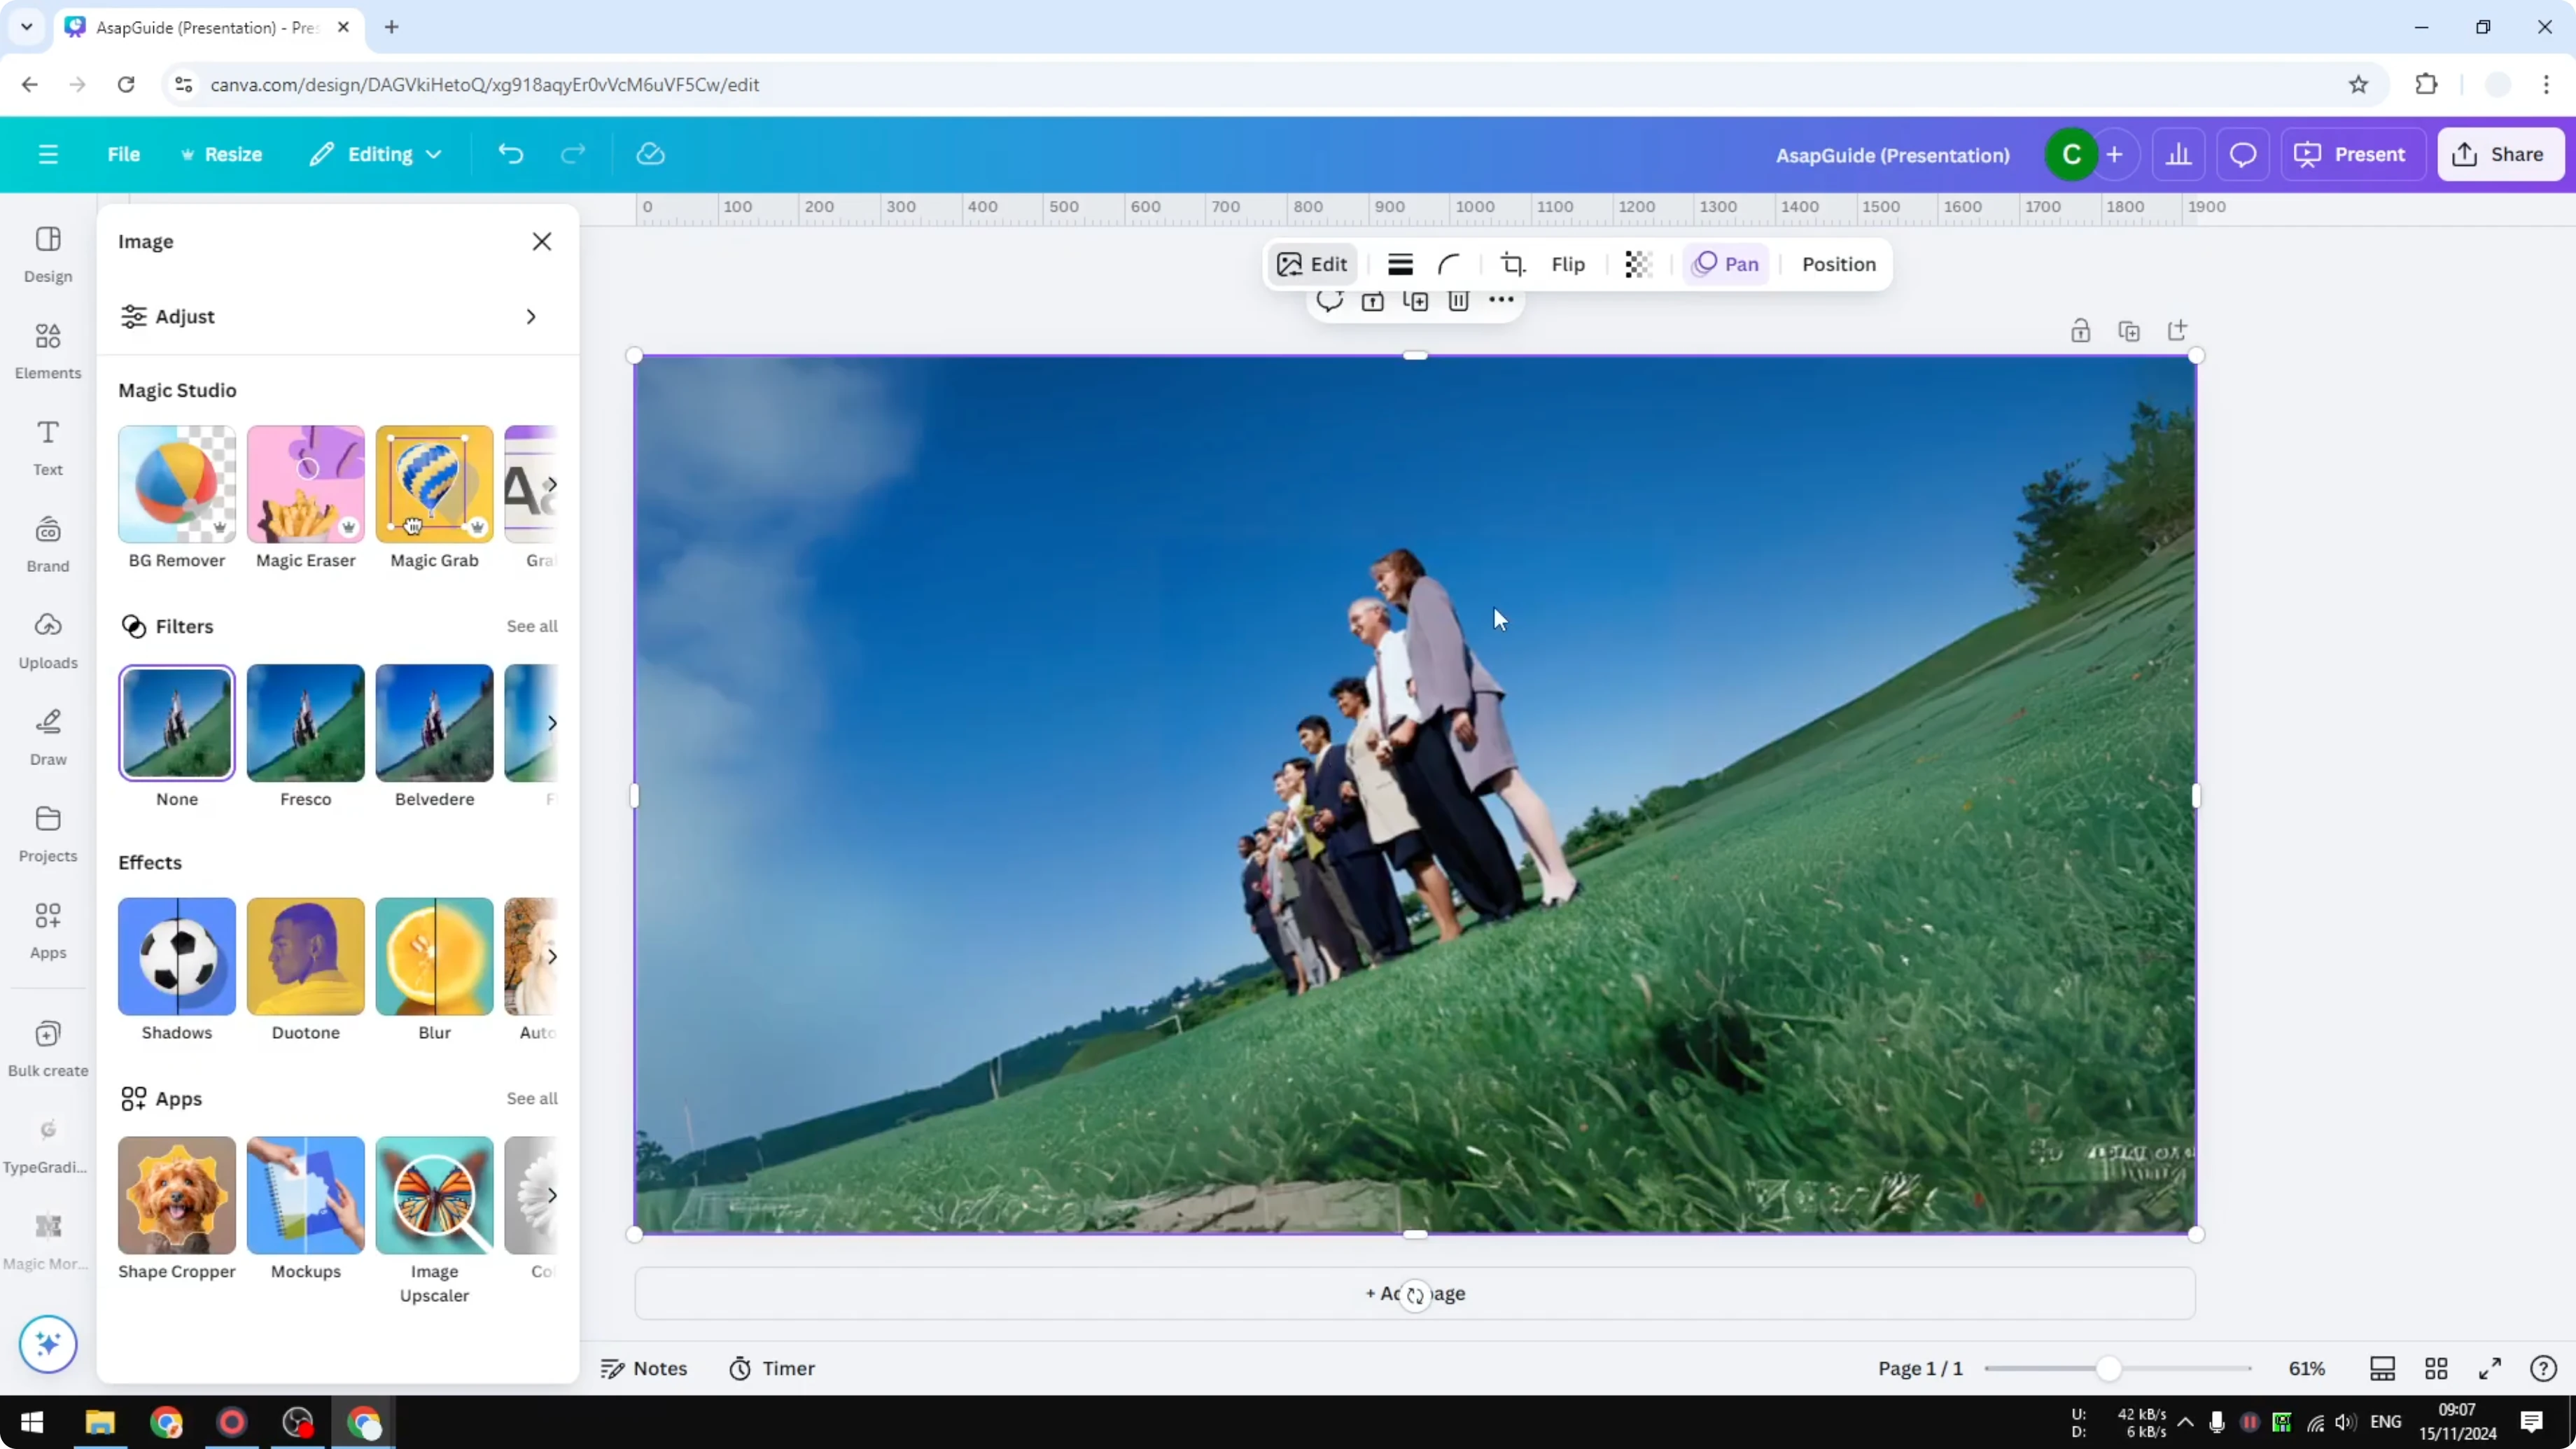
Double click on the picture again. Rotate it around 21 degrees as before, then set the number manually. Click Done and you’ve got a straight photo.
Final thoughts - Straighten Photo in Canva
Previously it was tilted, and now it’s straight with the important content intact. Using rotate alone is quick, but combining crop, manual rotation, and Magic Expand gives a cleaner, more shareable result. If you want a stylized finish after straightening, try applying an AI look with this guide to a cartoon effect in Canva.

Recent Posts
How to Visualize Different Hairstyles and Hair Colors with AI?
How to Visualize Different Hairstyles and Hair Colors with AI?

How to Transform Daytime Photos into Realistic Night Scenes with AI?
How to Transform Daytime Photos into Realistic Night Scenes with AI?
How to Visualize Yourself as the Opposite Gender with AI?
How to Visualize Yourself as the Opposite Gender with AI?