How to Slice an Image in Canva
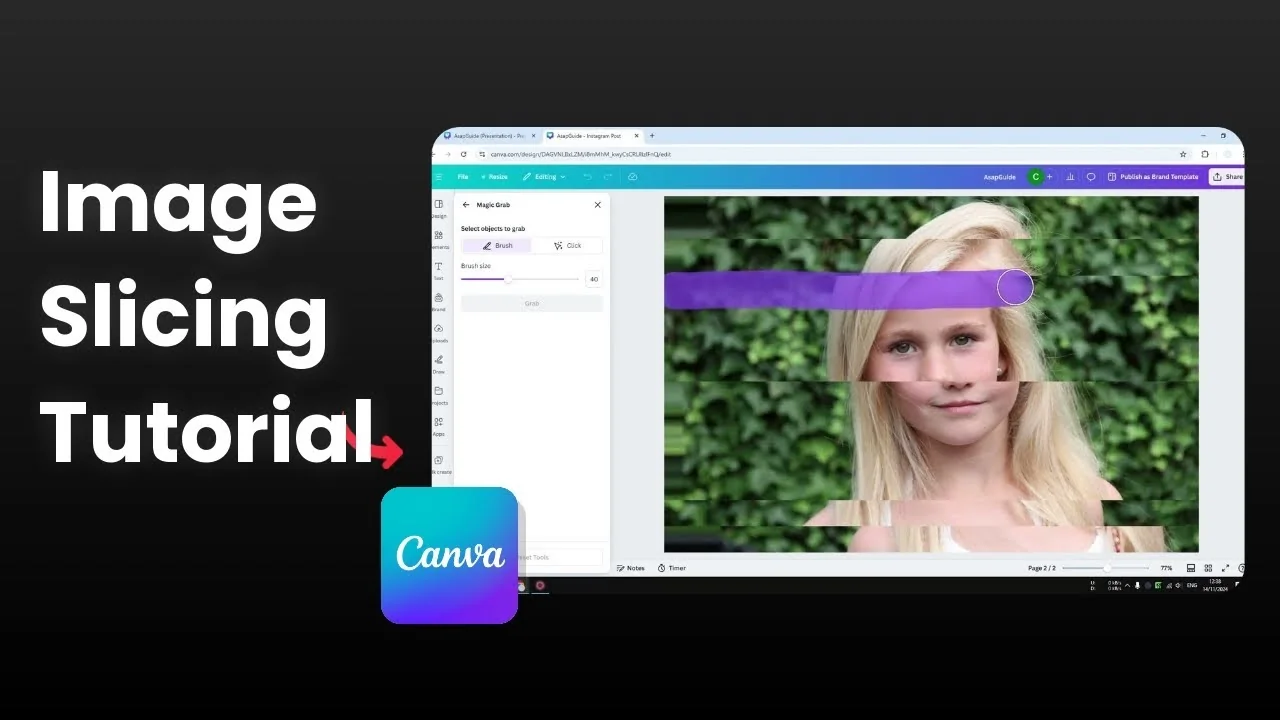
I am going to show you how you can slice an image in Canva. This slicing effect is available in Canva, and you can apply it to any photo easily.
I will walk you through the exact steps I use and a simple workaround that lets you control the placement of each slice.
Start: Slice an Image in Canva
Select the image and click Edit.
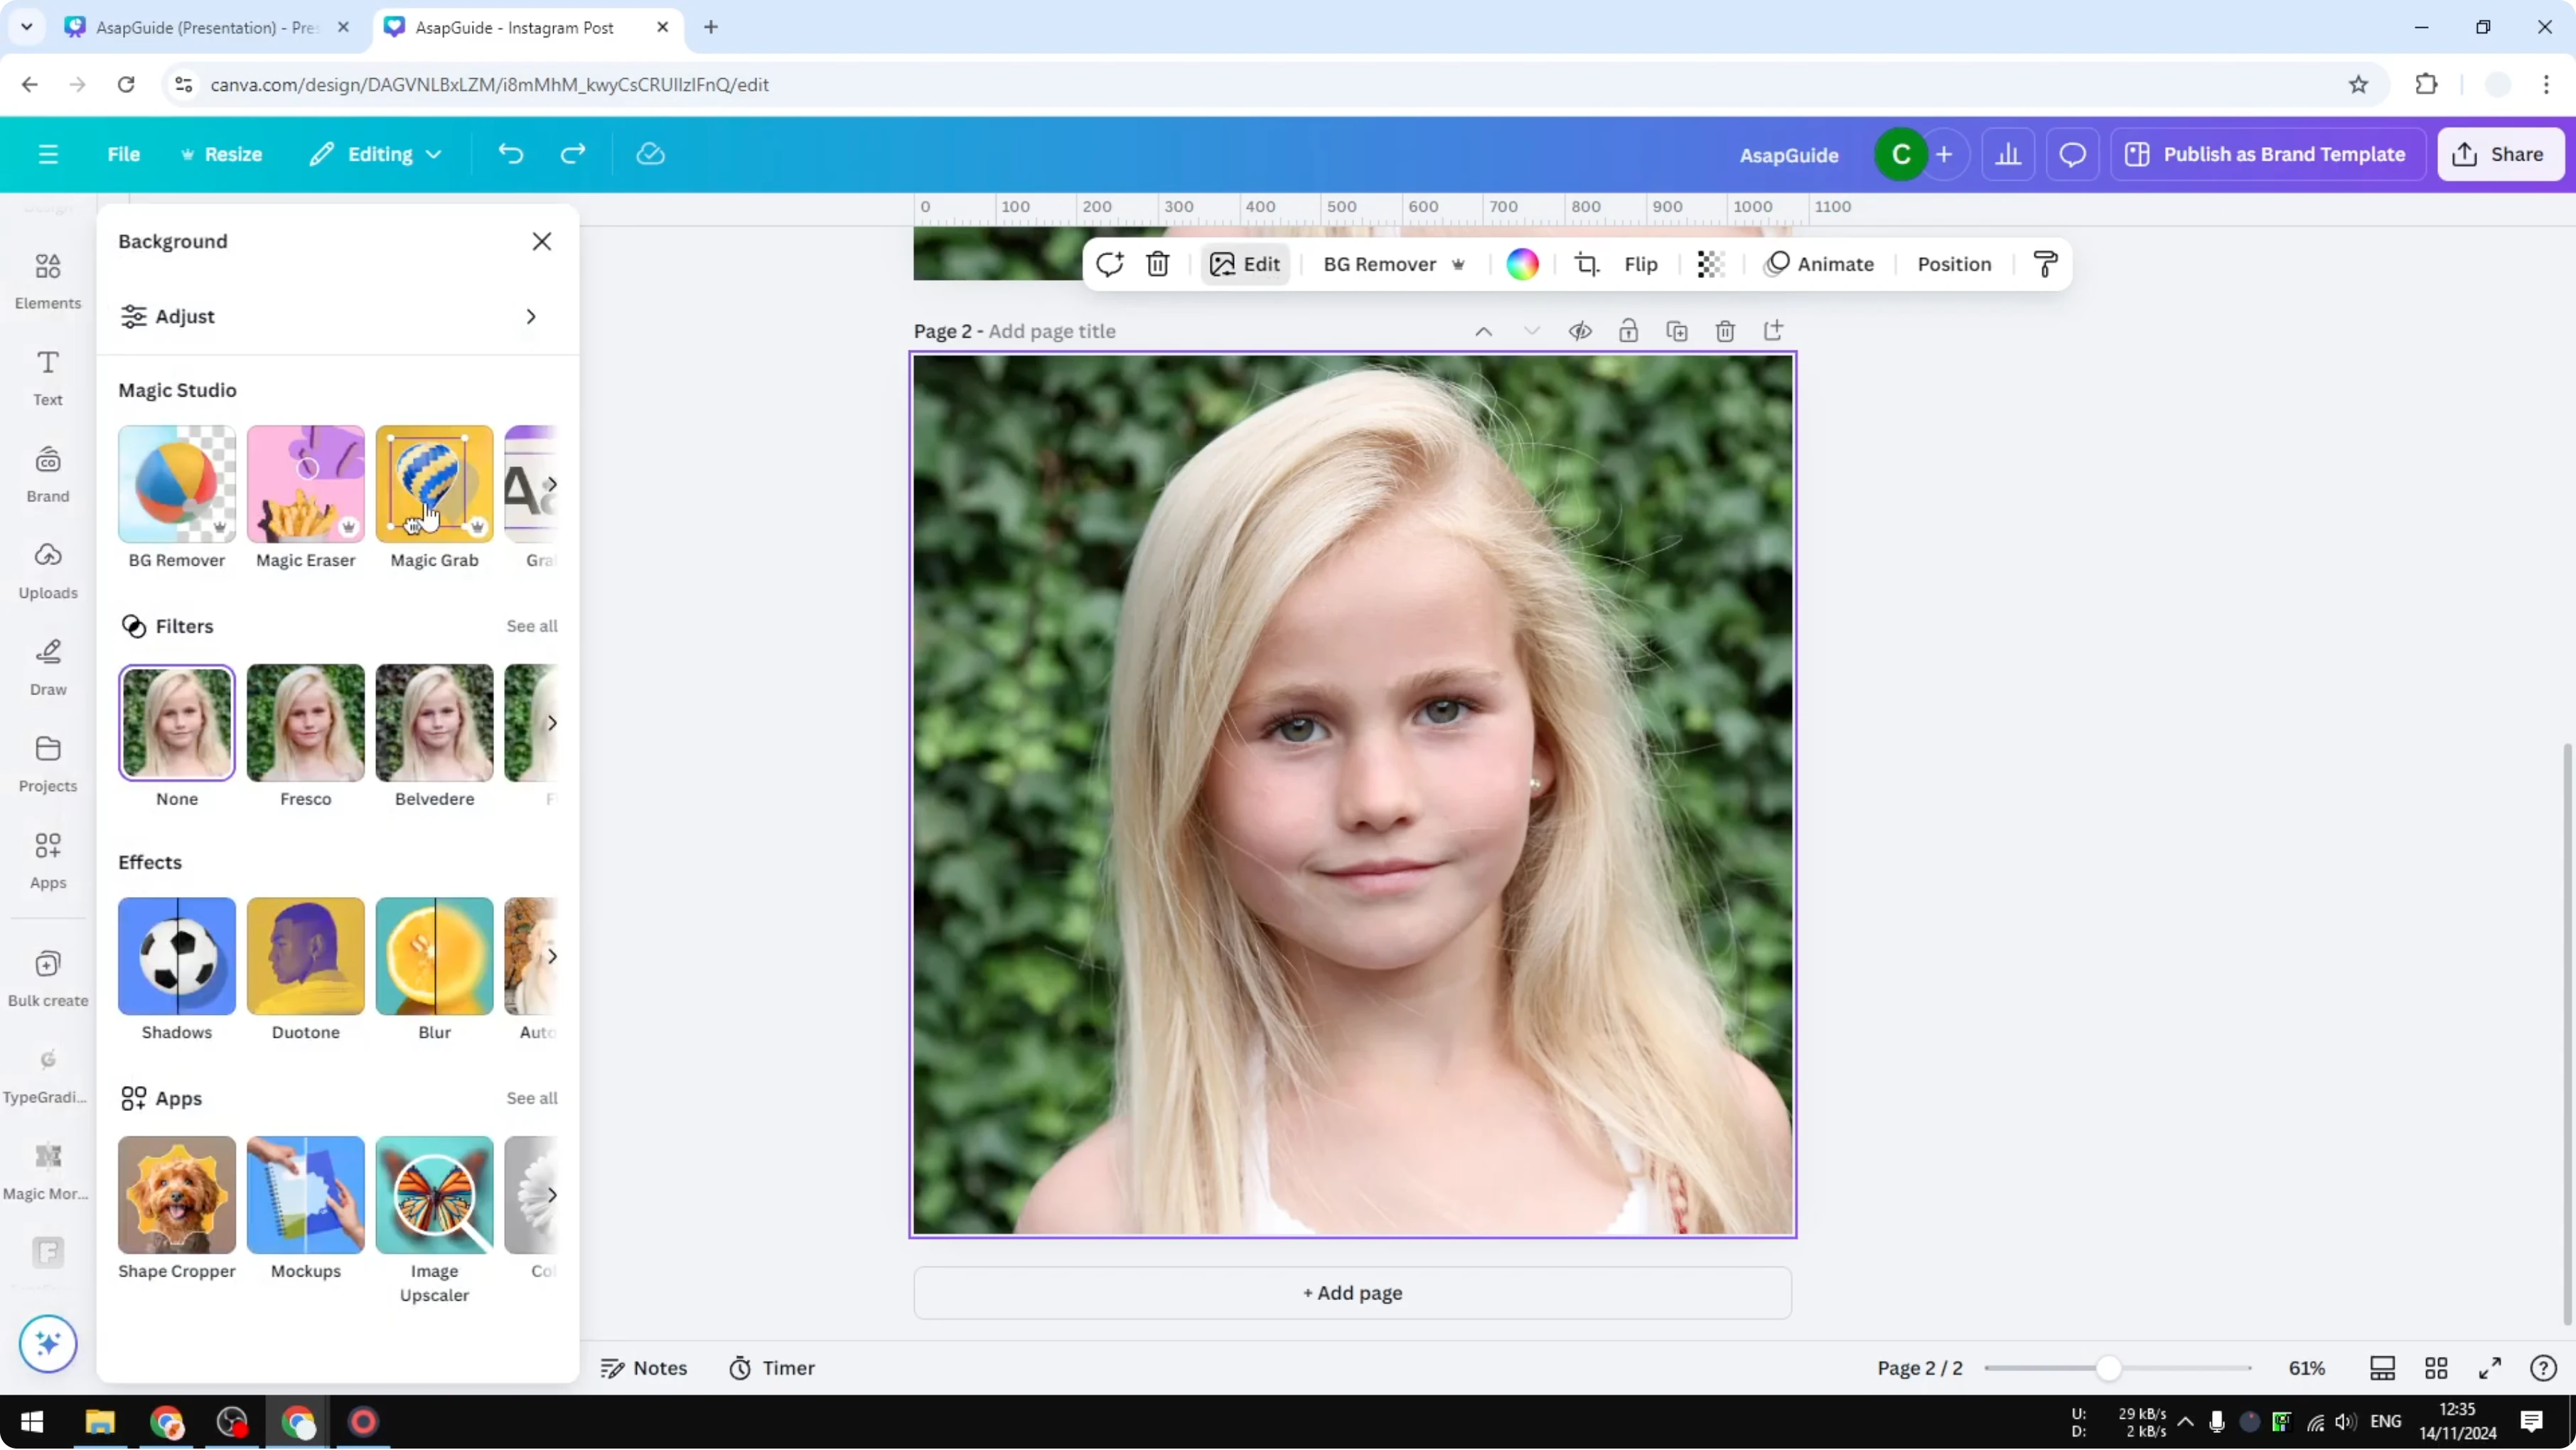
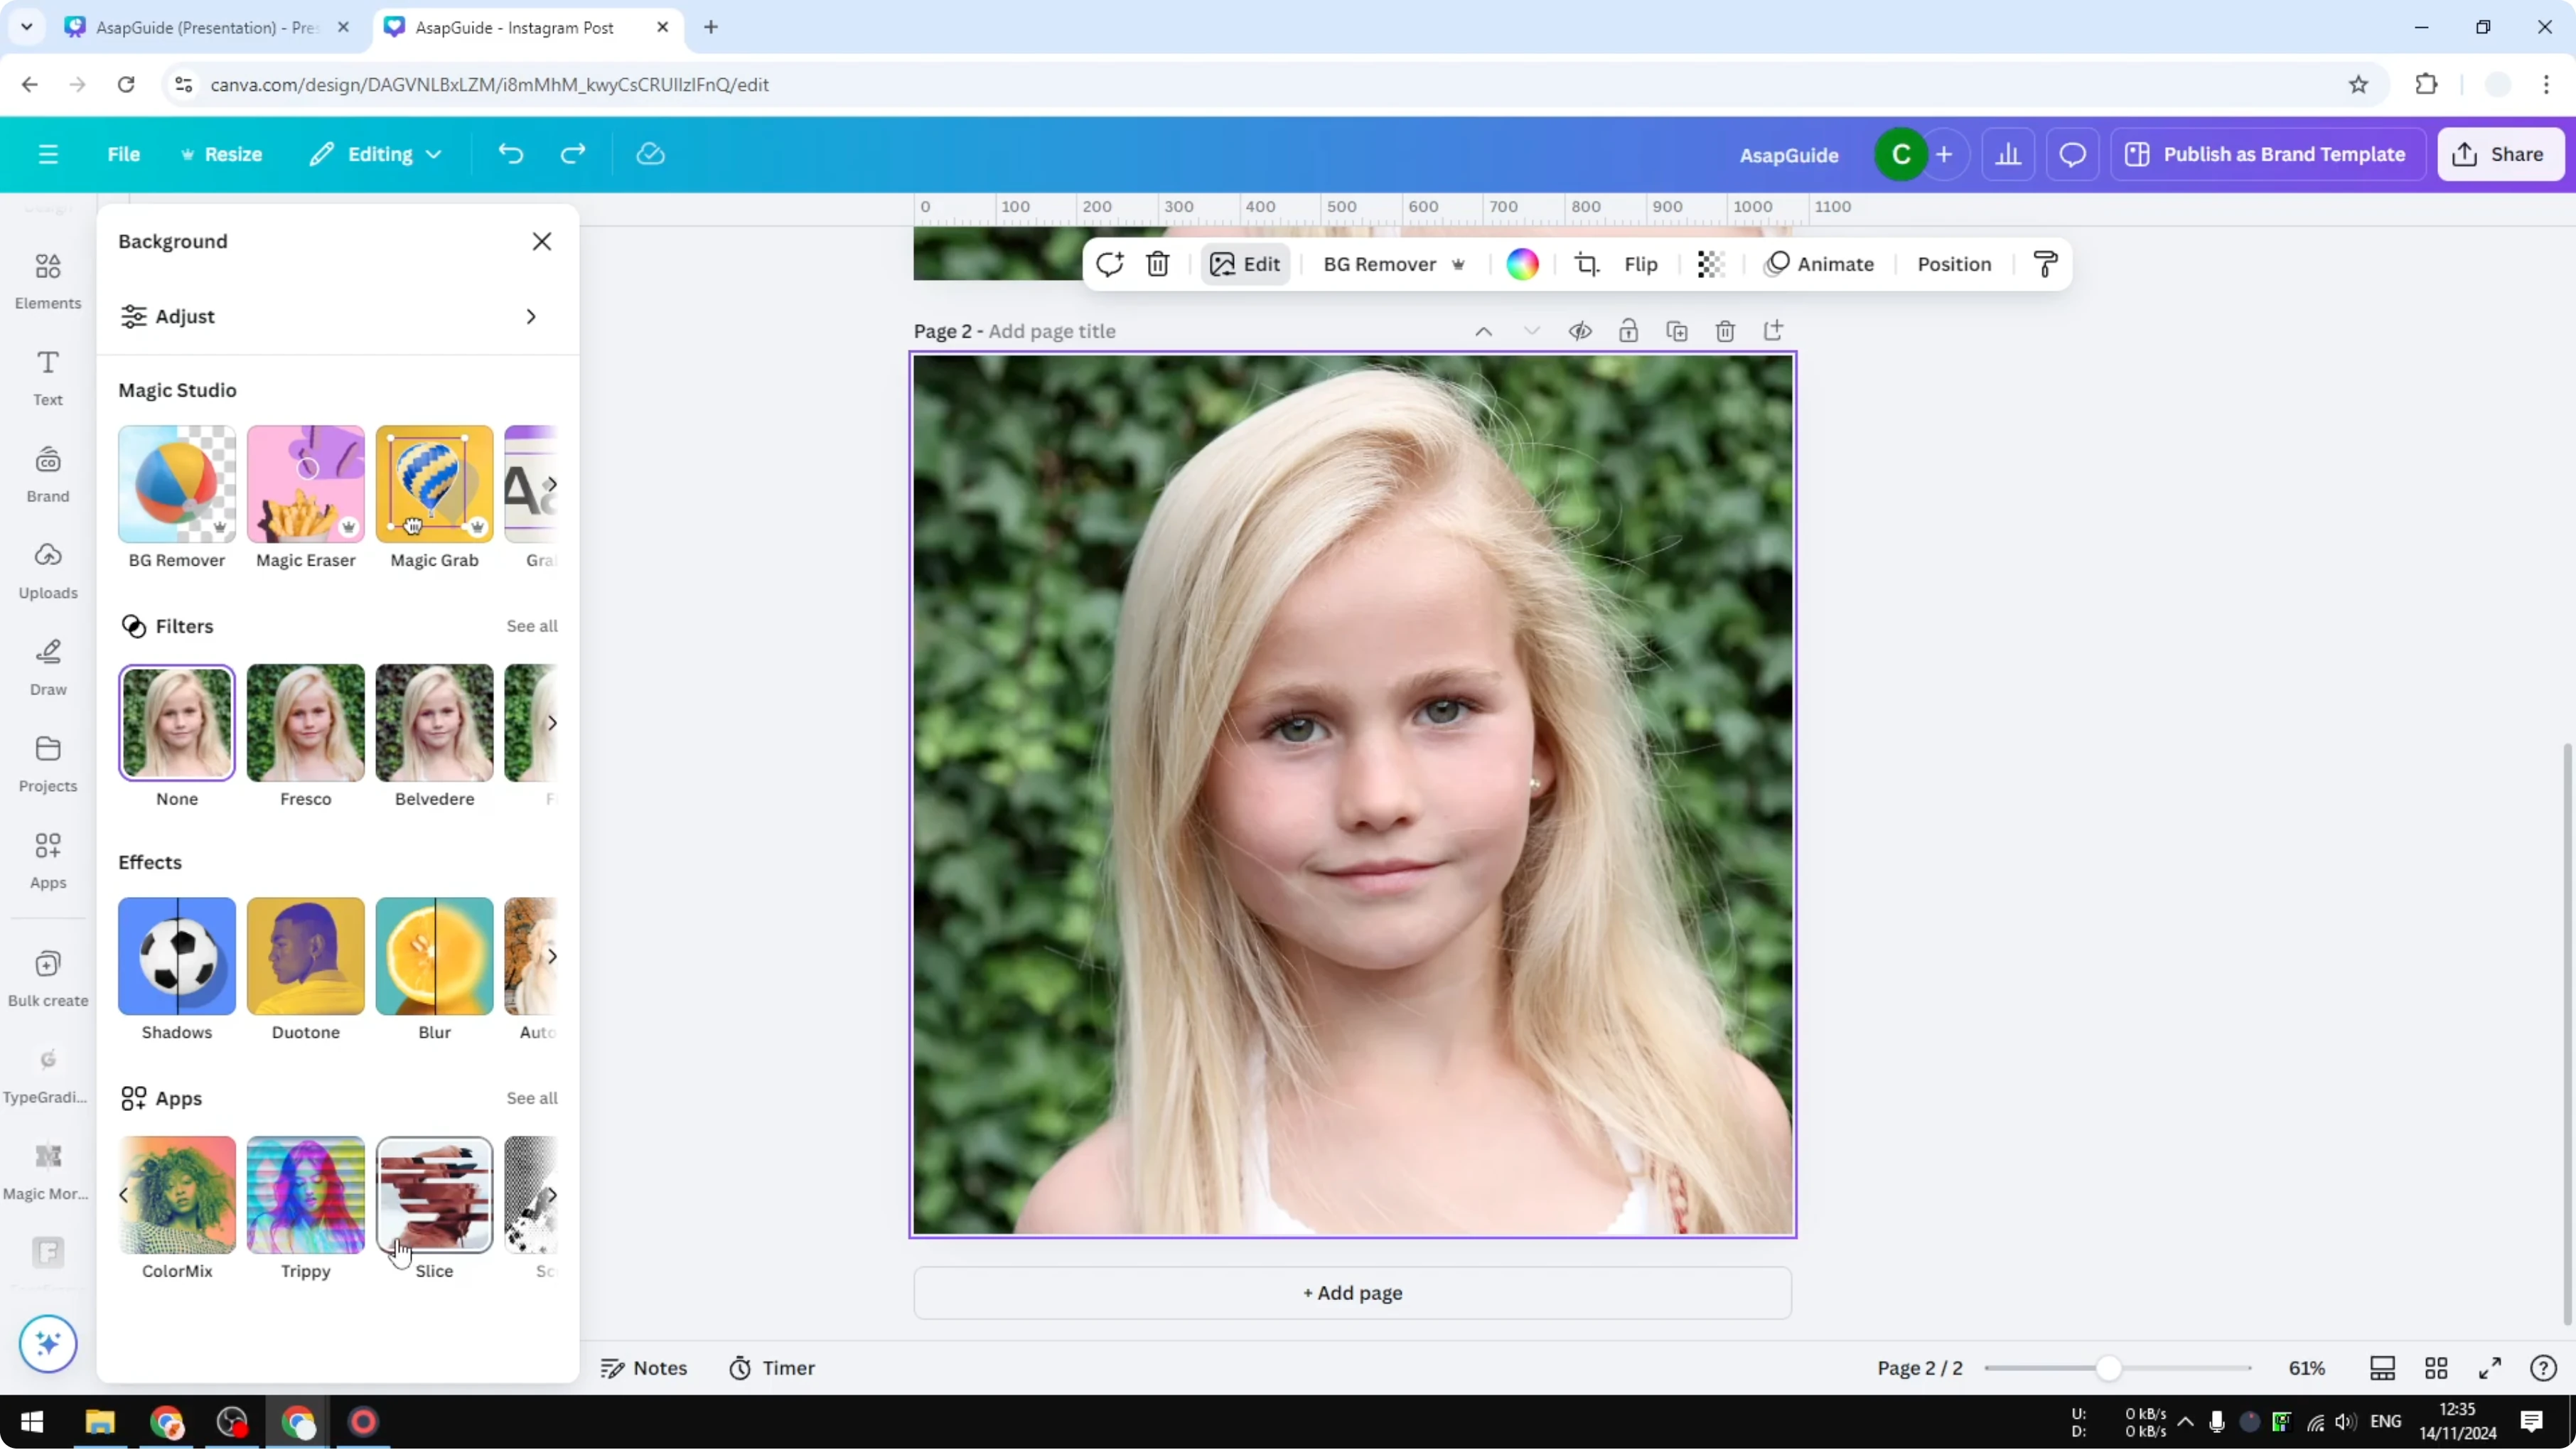
Go to the Apps section and scroll to the Slice option. If this is your first time, click Open to grant the app access to your design.
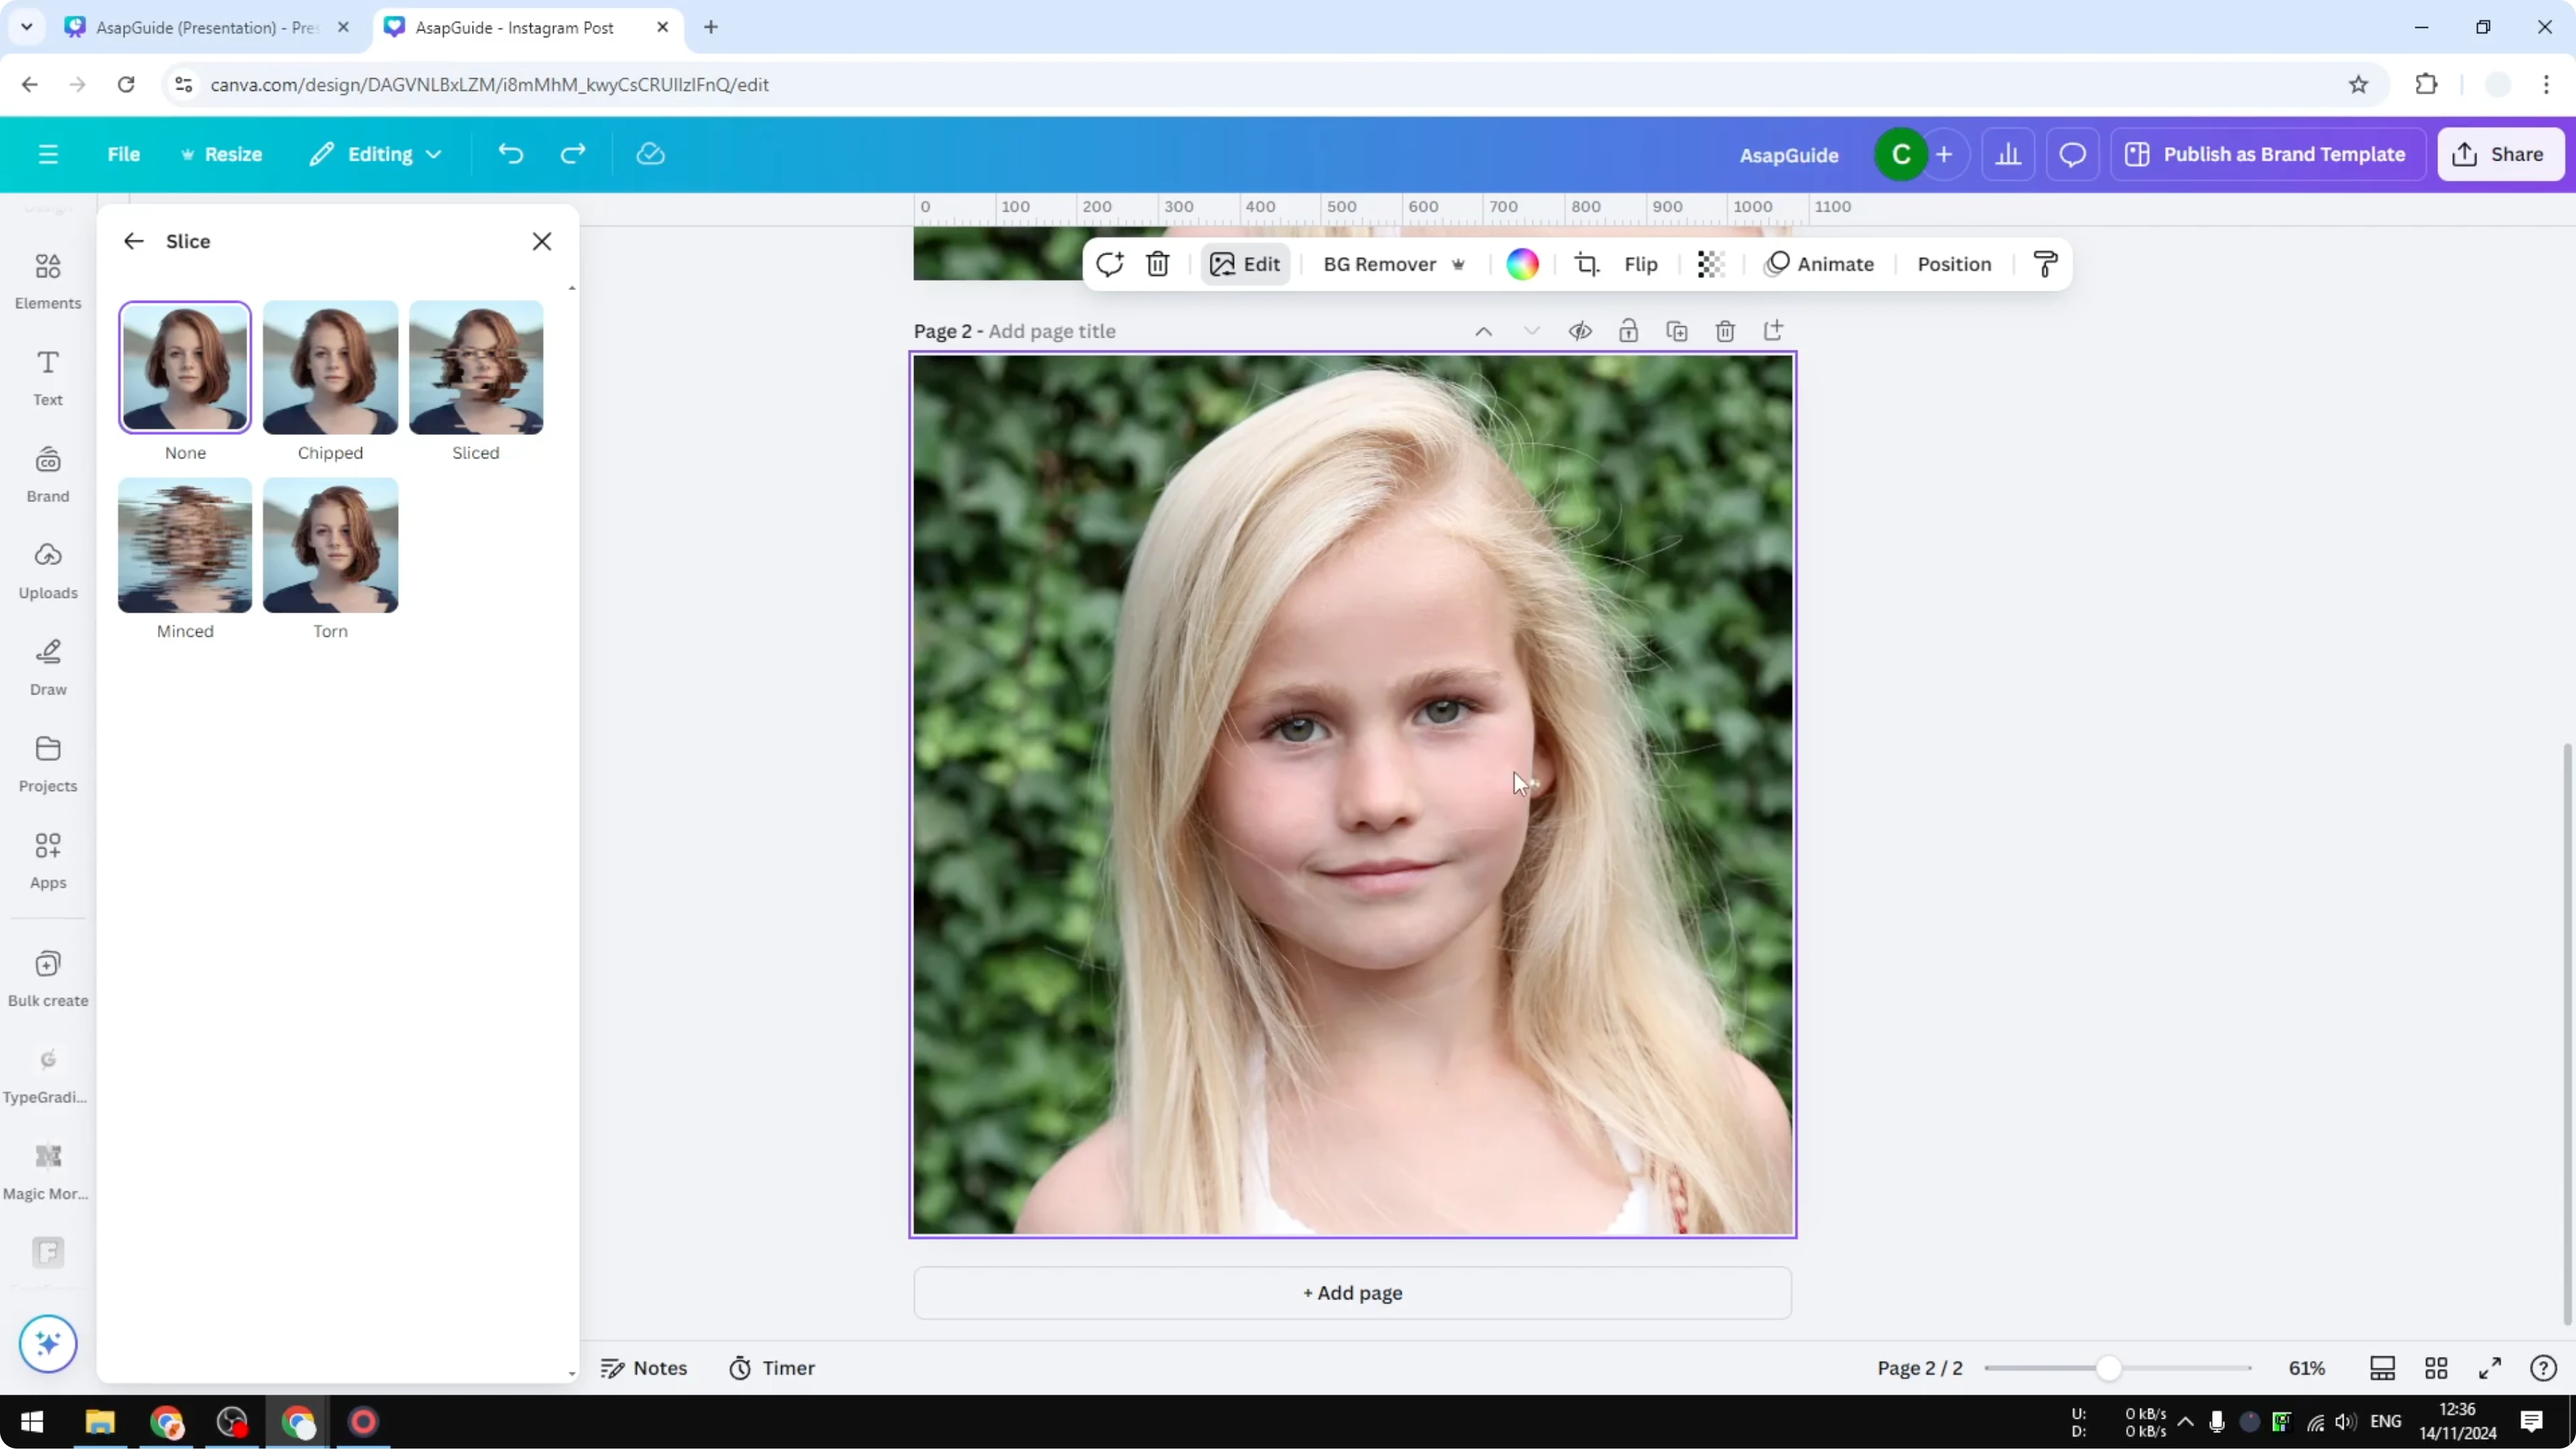
You will see four presets called Chip, Slice, Min, and Torn. They do the same thing with different parameter values, and you can adjust the numbers to get the look you want. I go with the Torn option and click Save.
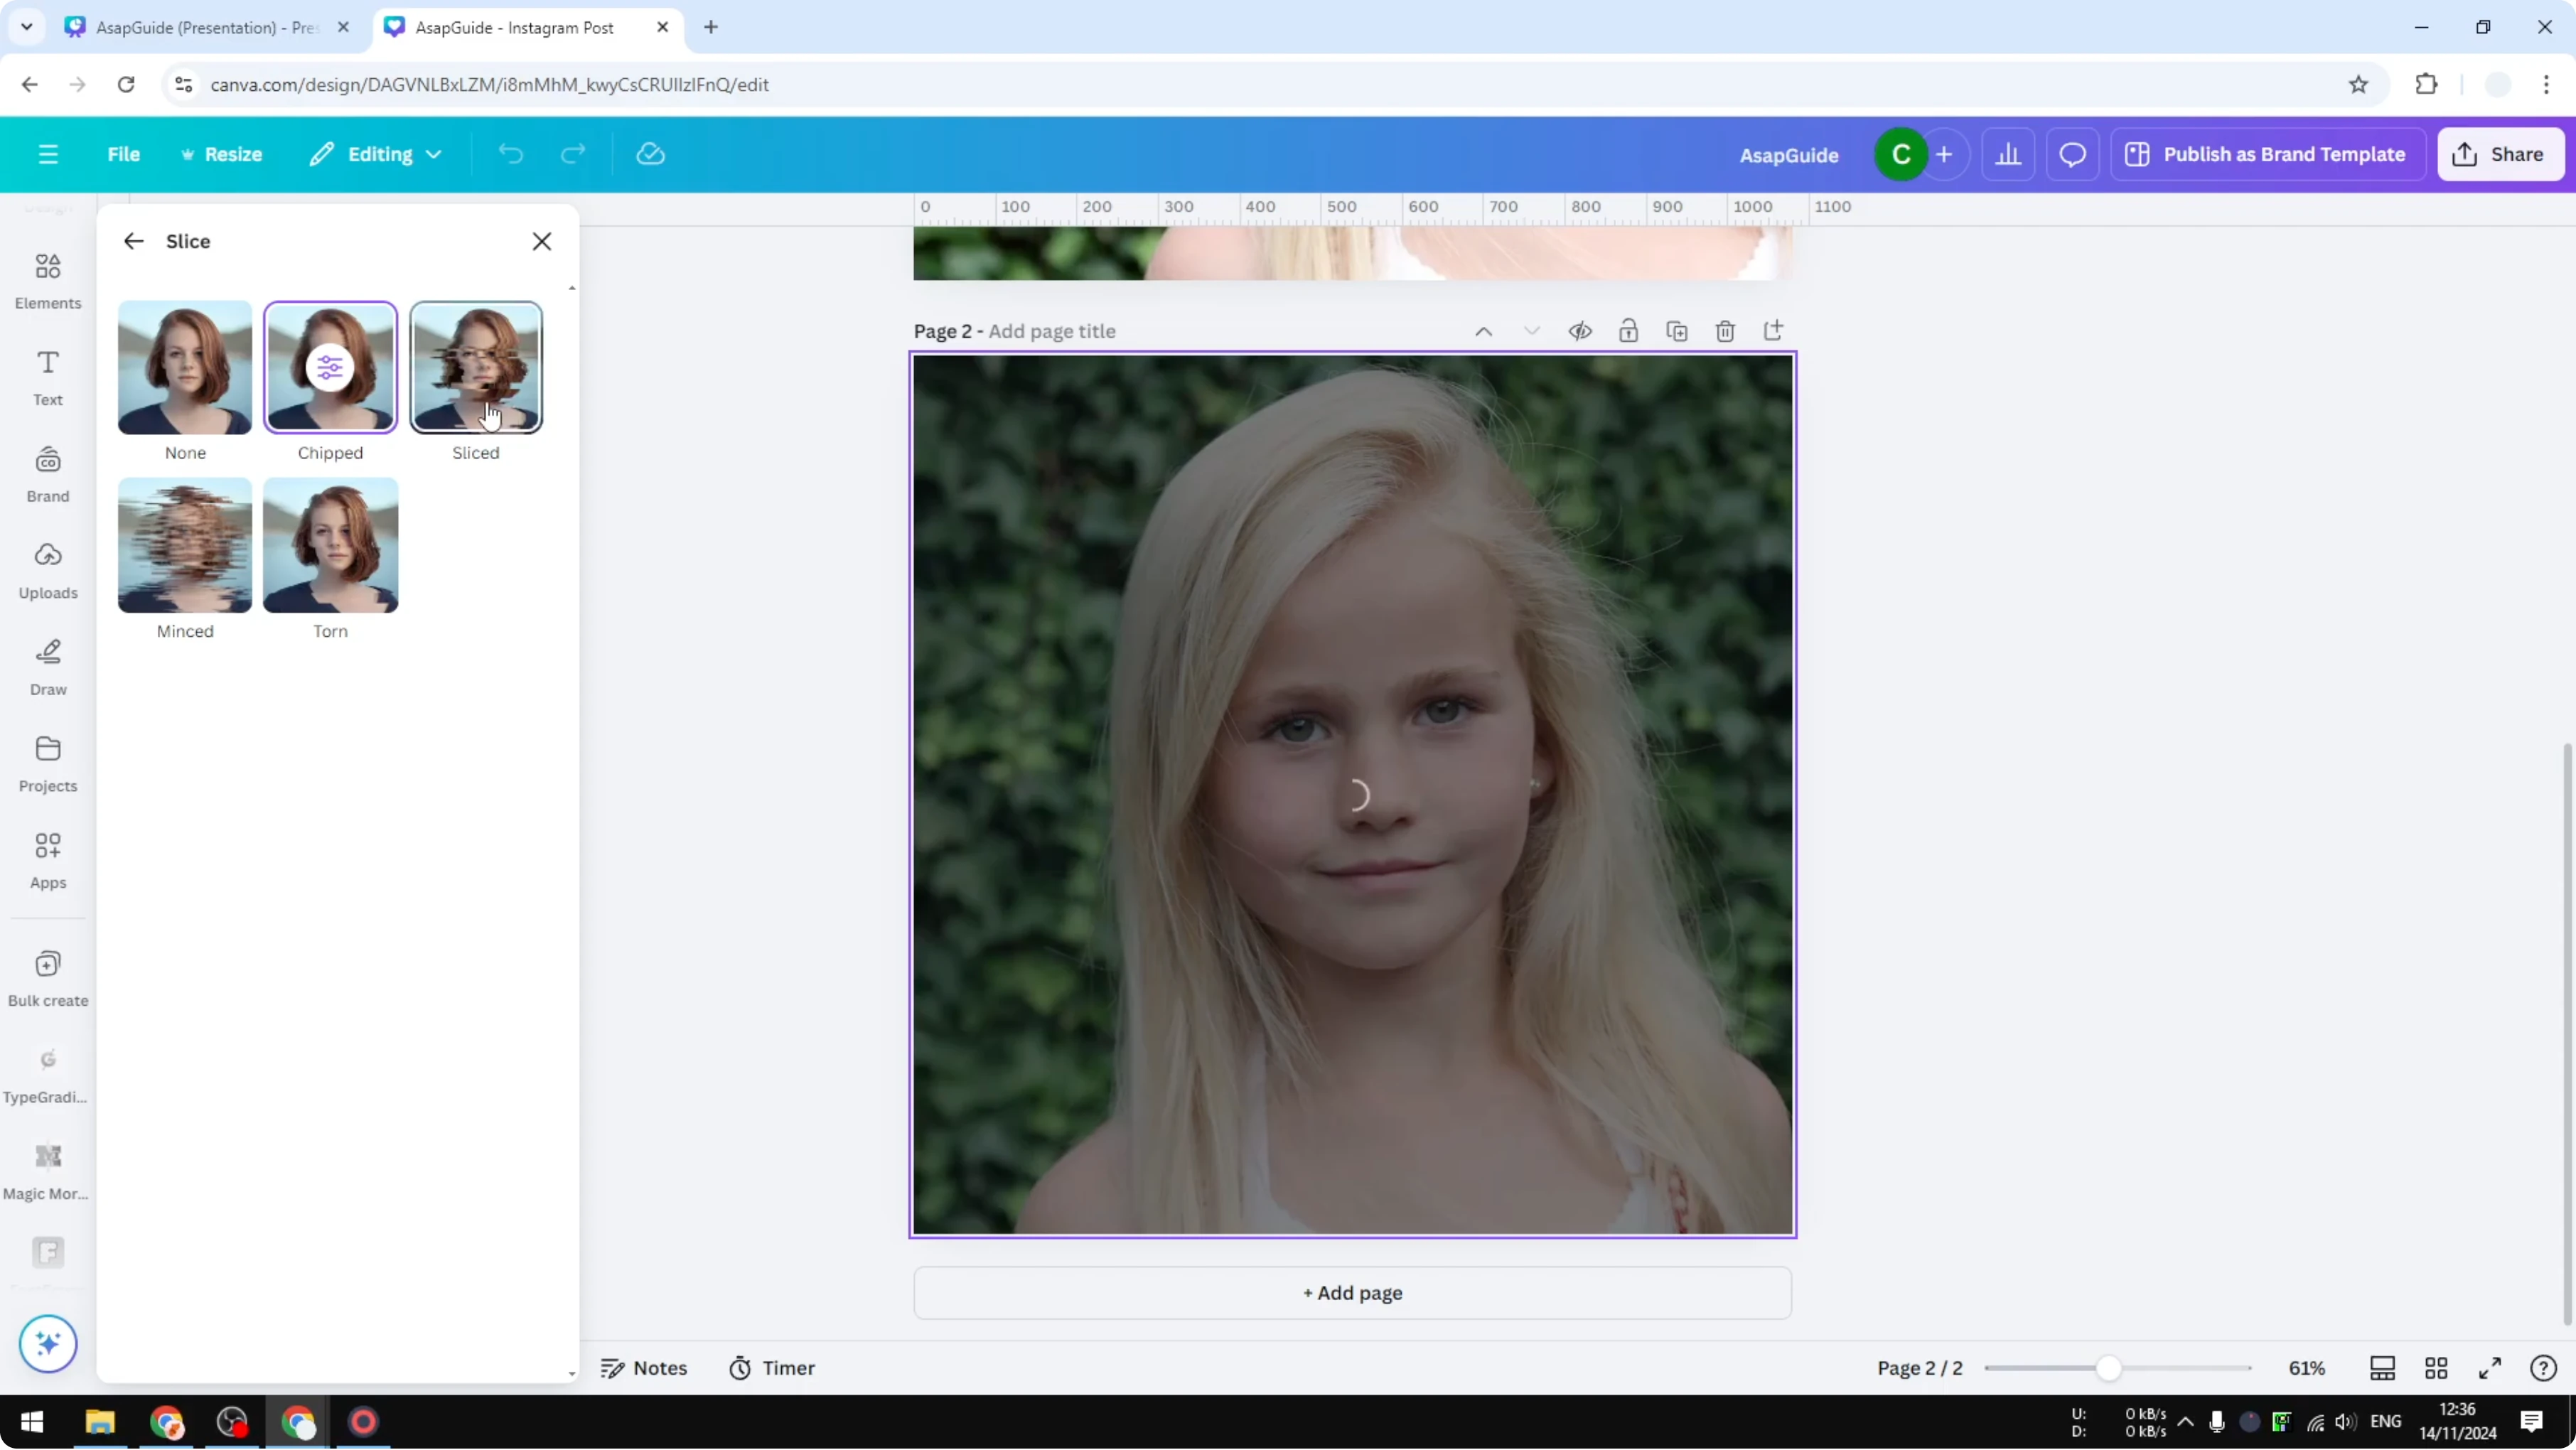
Processing in Slice an Image in Canva
Canva creates a copy of the photo, applies the slicing effect, uploads the new image to your account, and then displays it on your design.
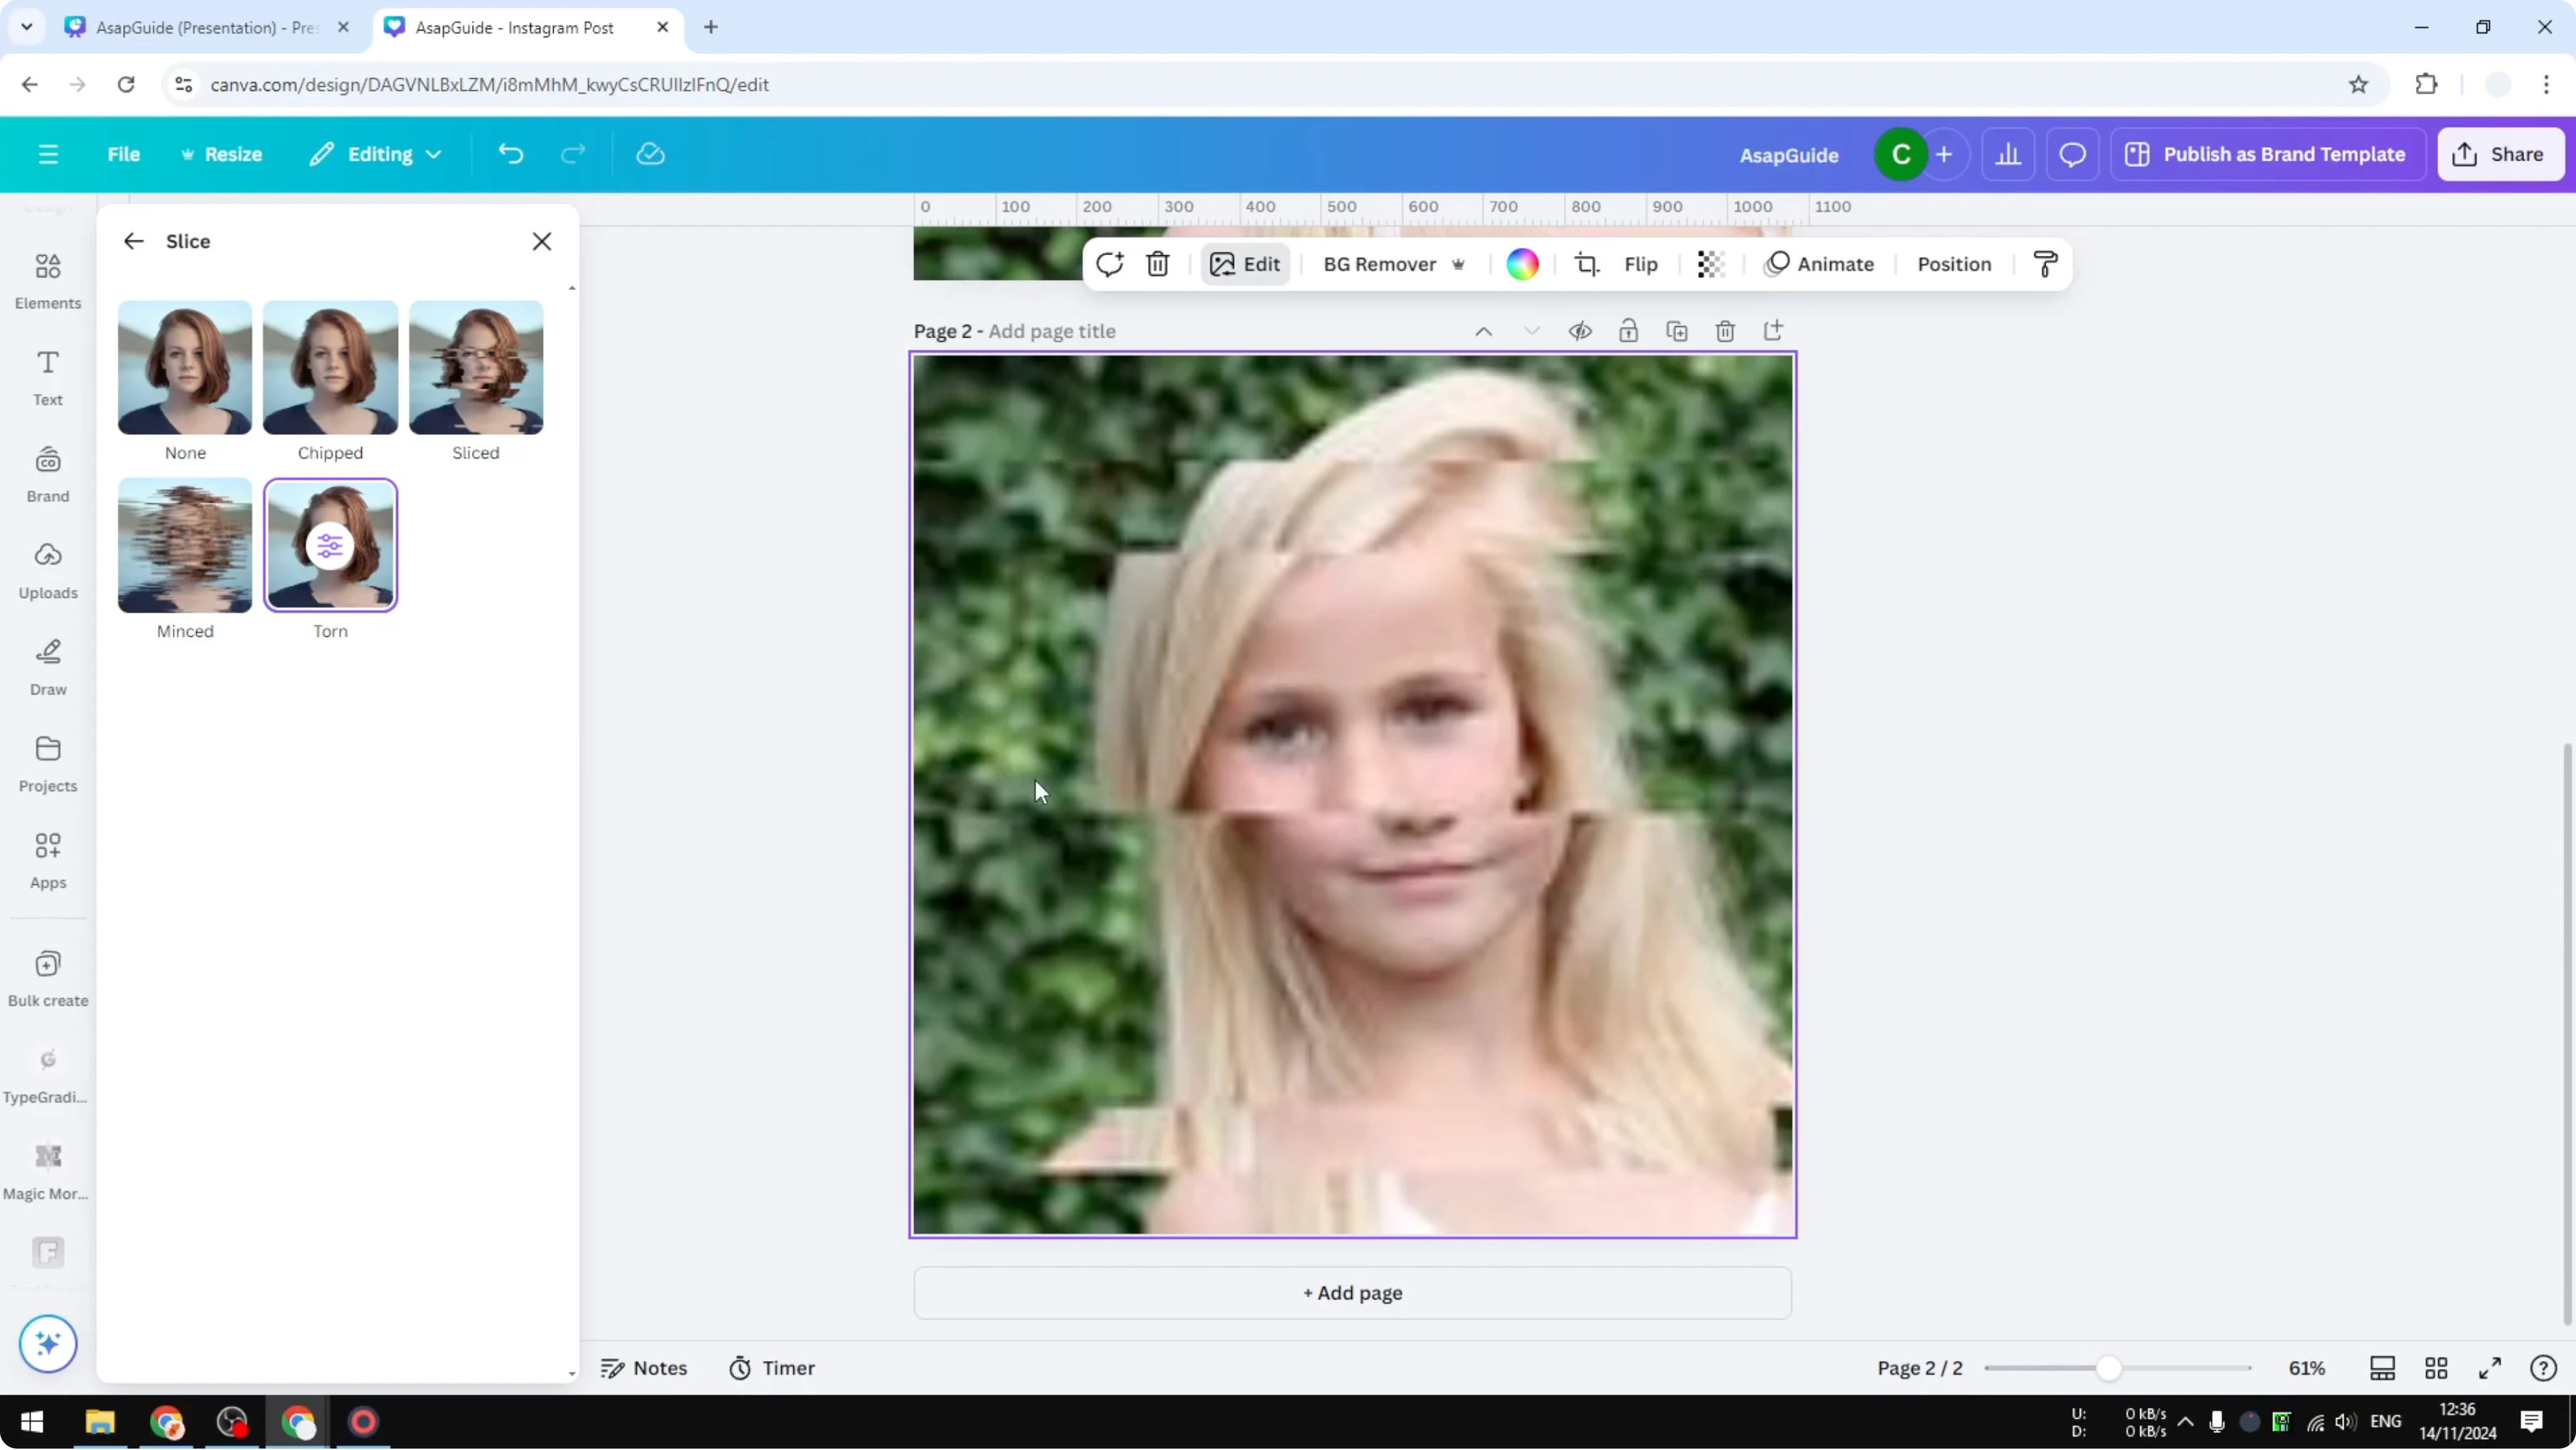
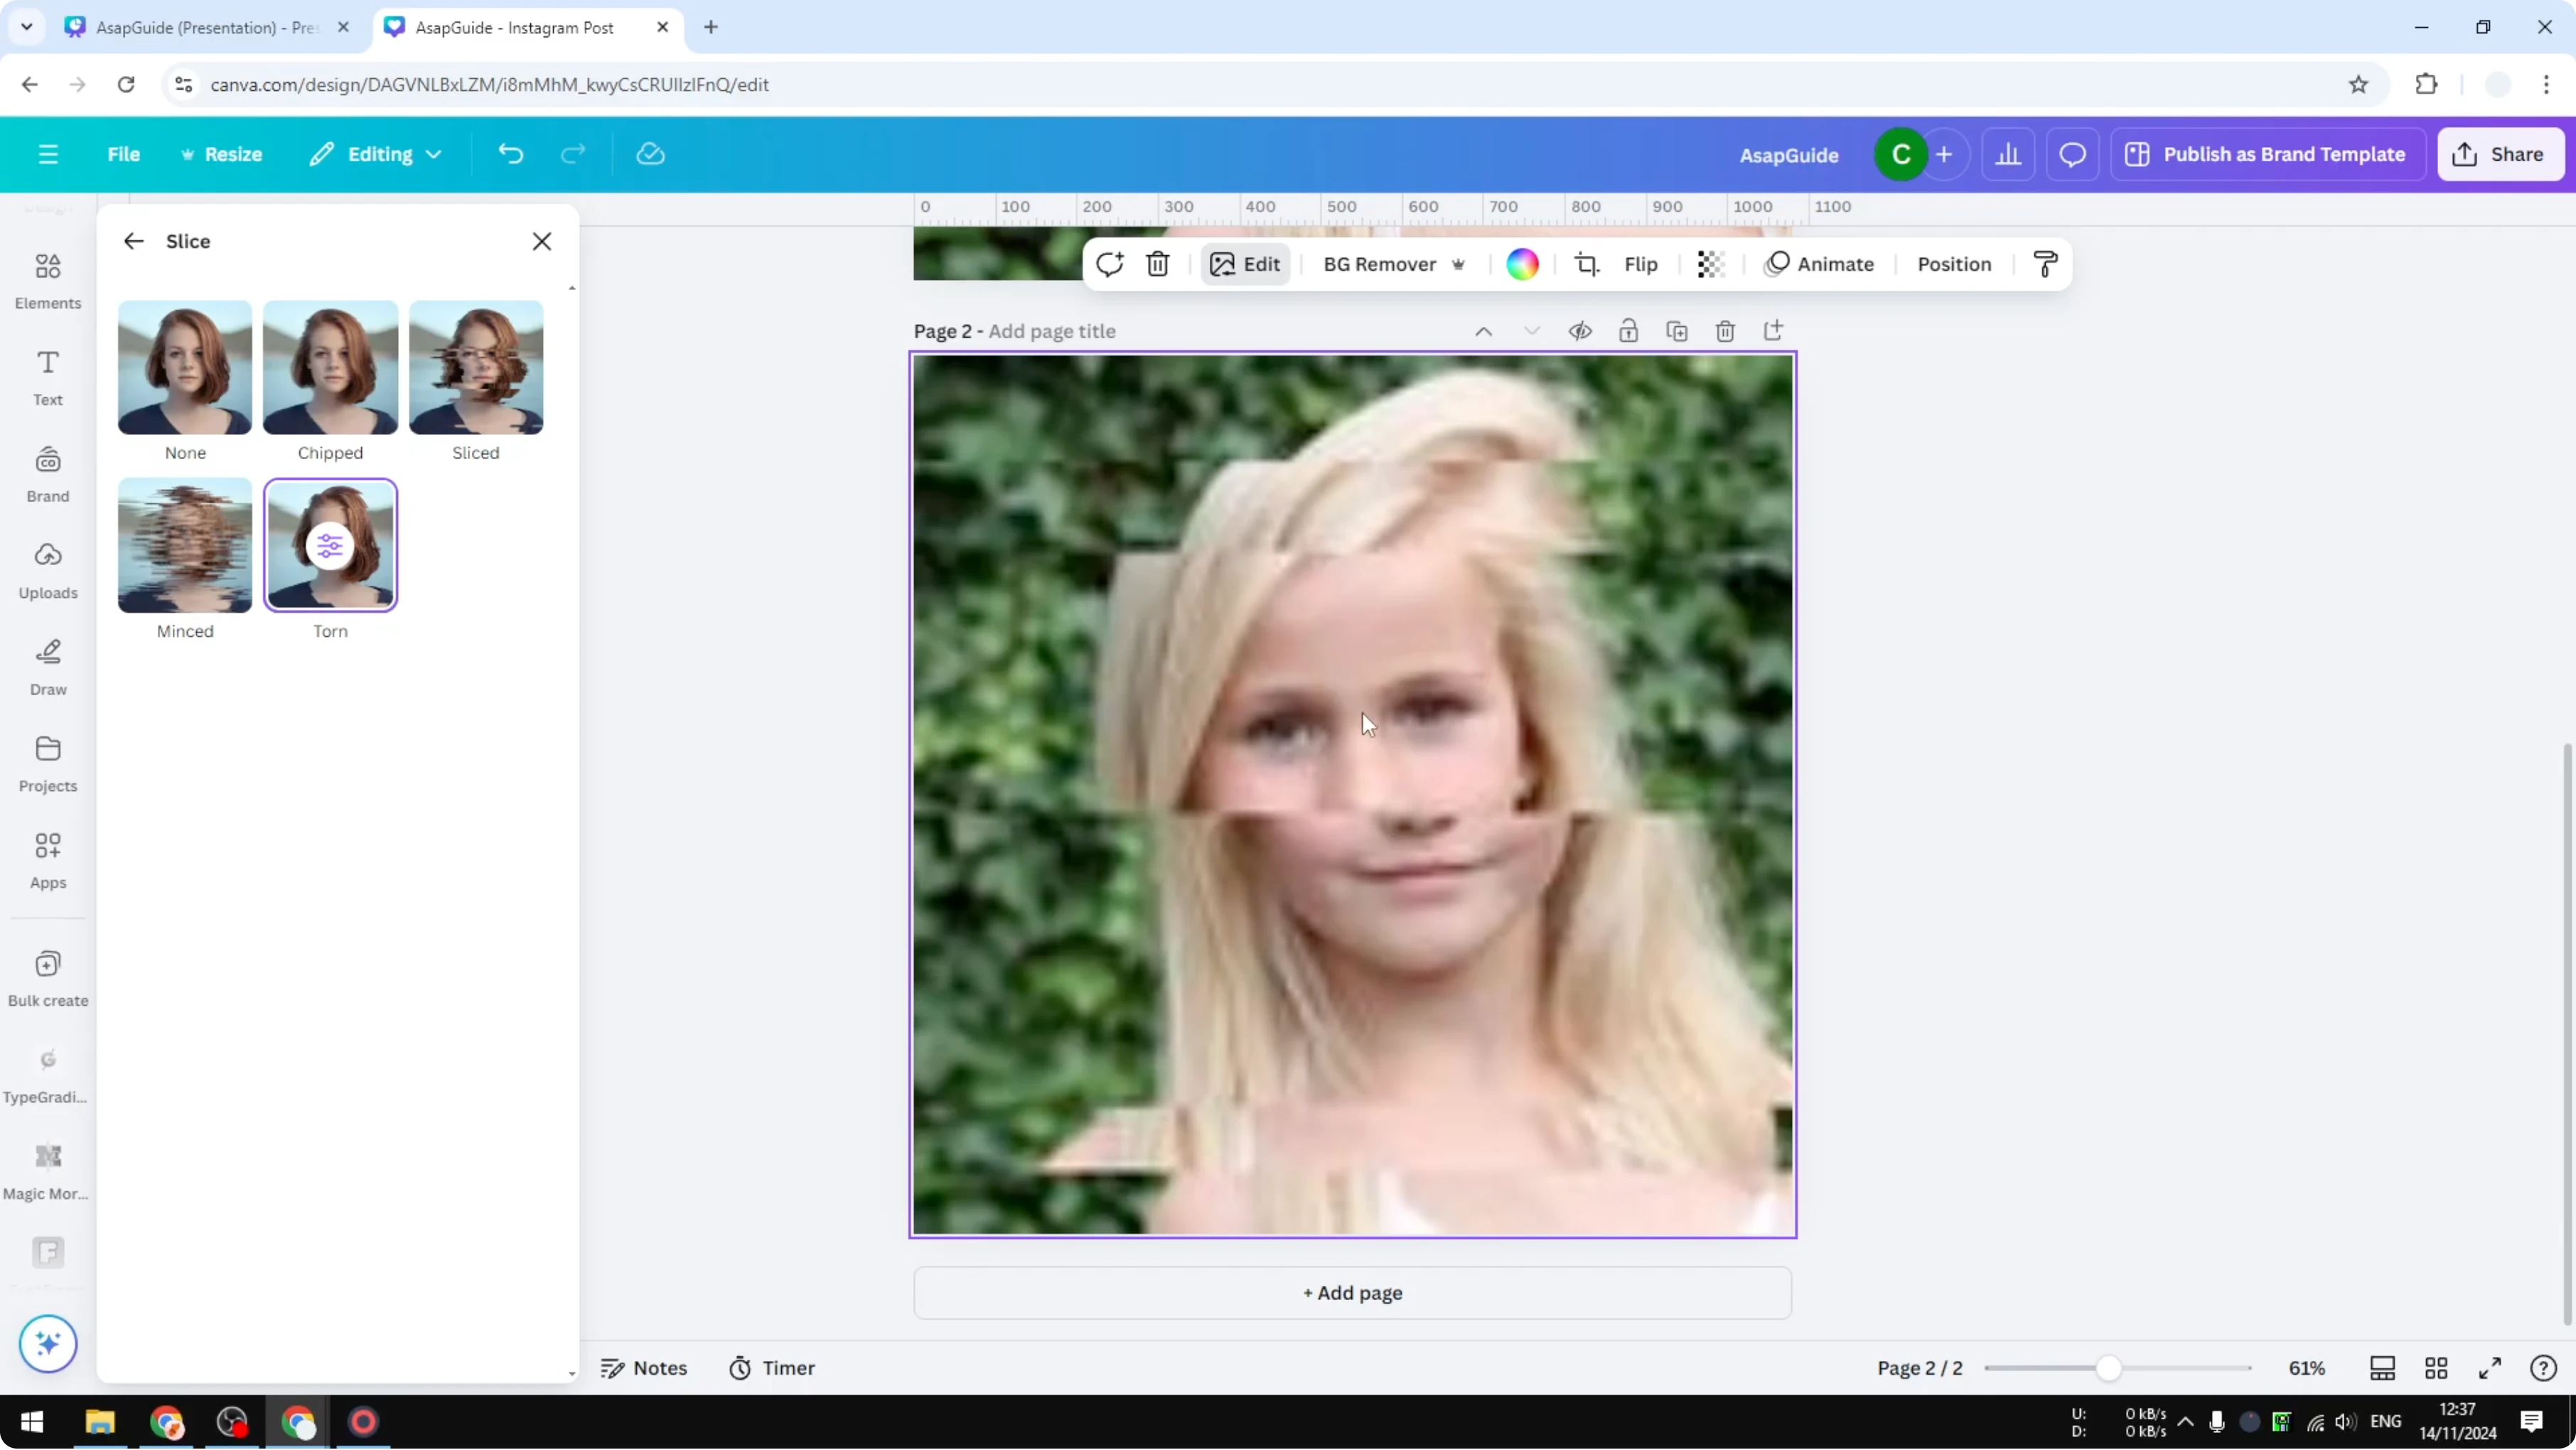
If the photo looks blurry at first, it is still loading. Wait a few seconds and it will look normal.
Read More: Brighten Image Canva
Limits of Slice an Image in Canva
You cannot move the individual slices after the effect is applied. You cannot nudge a section to the left or to the right, and that is not possible with this app.
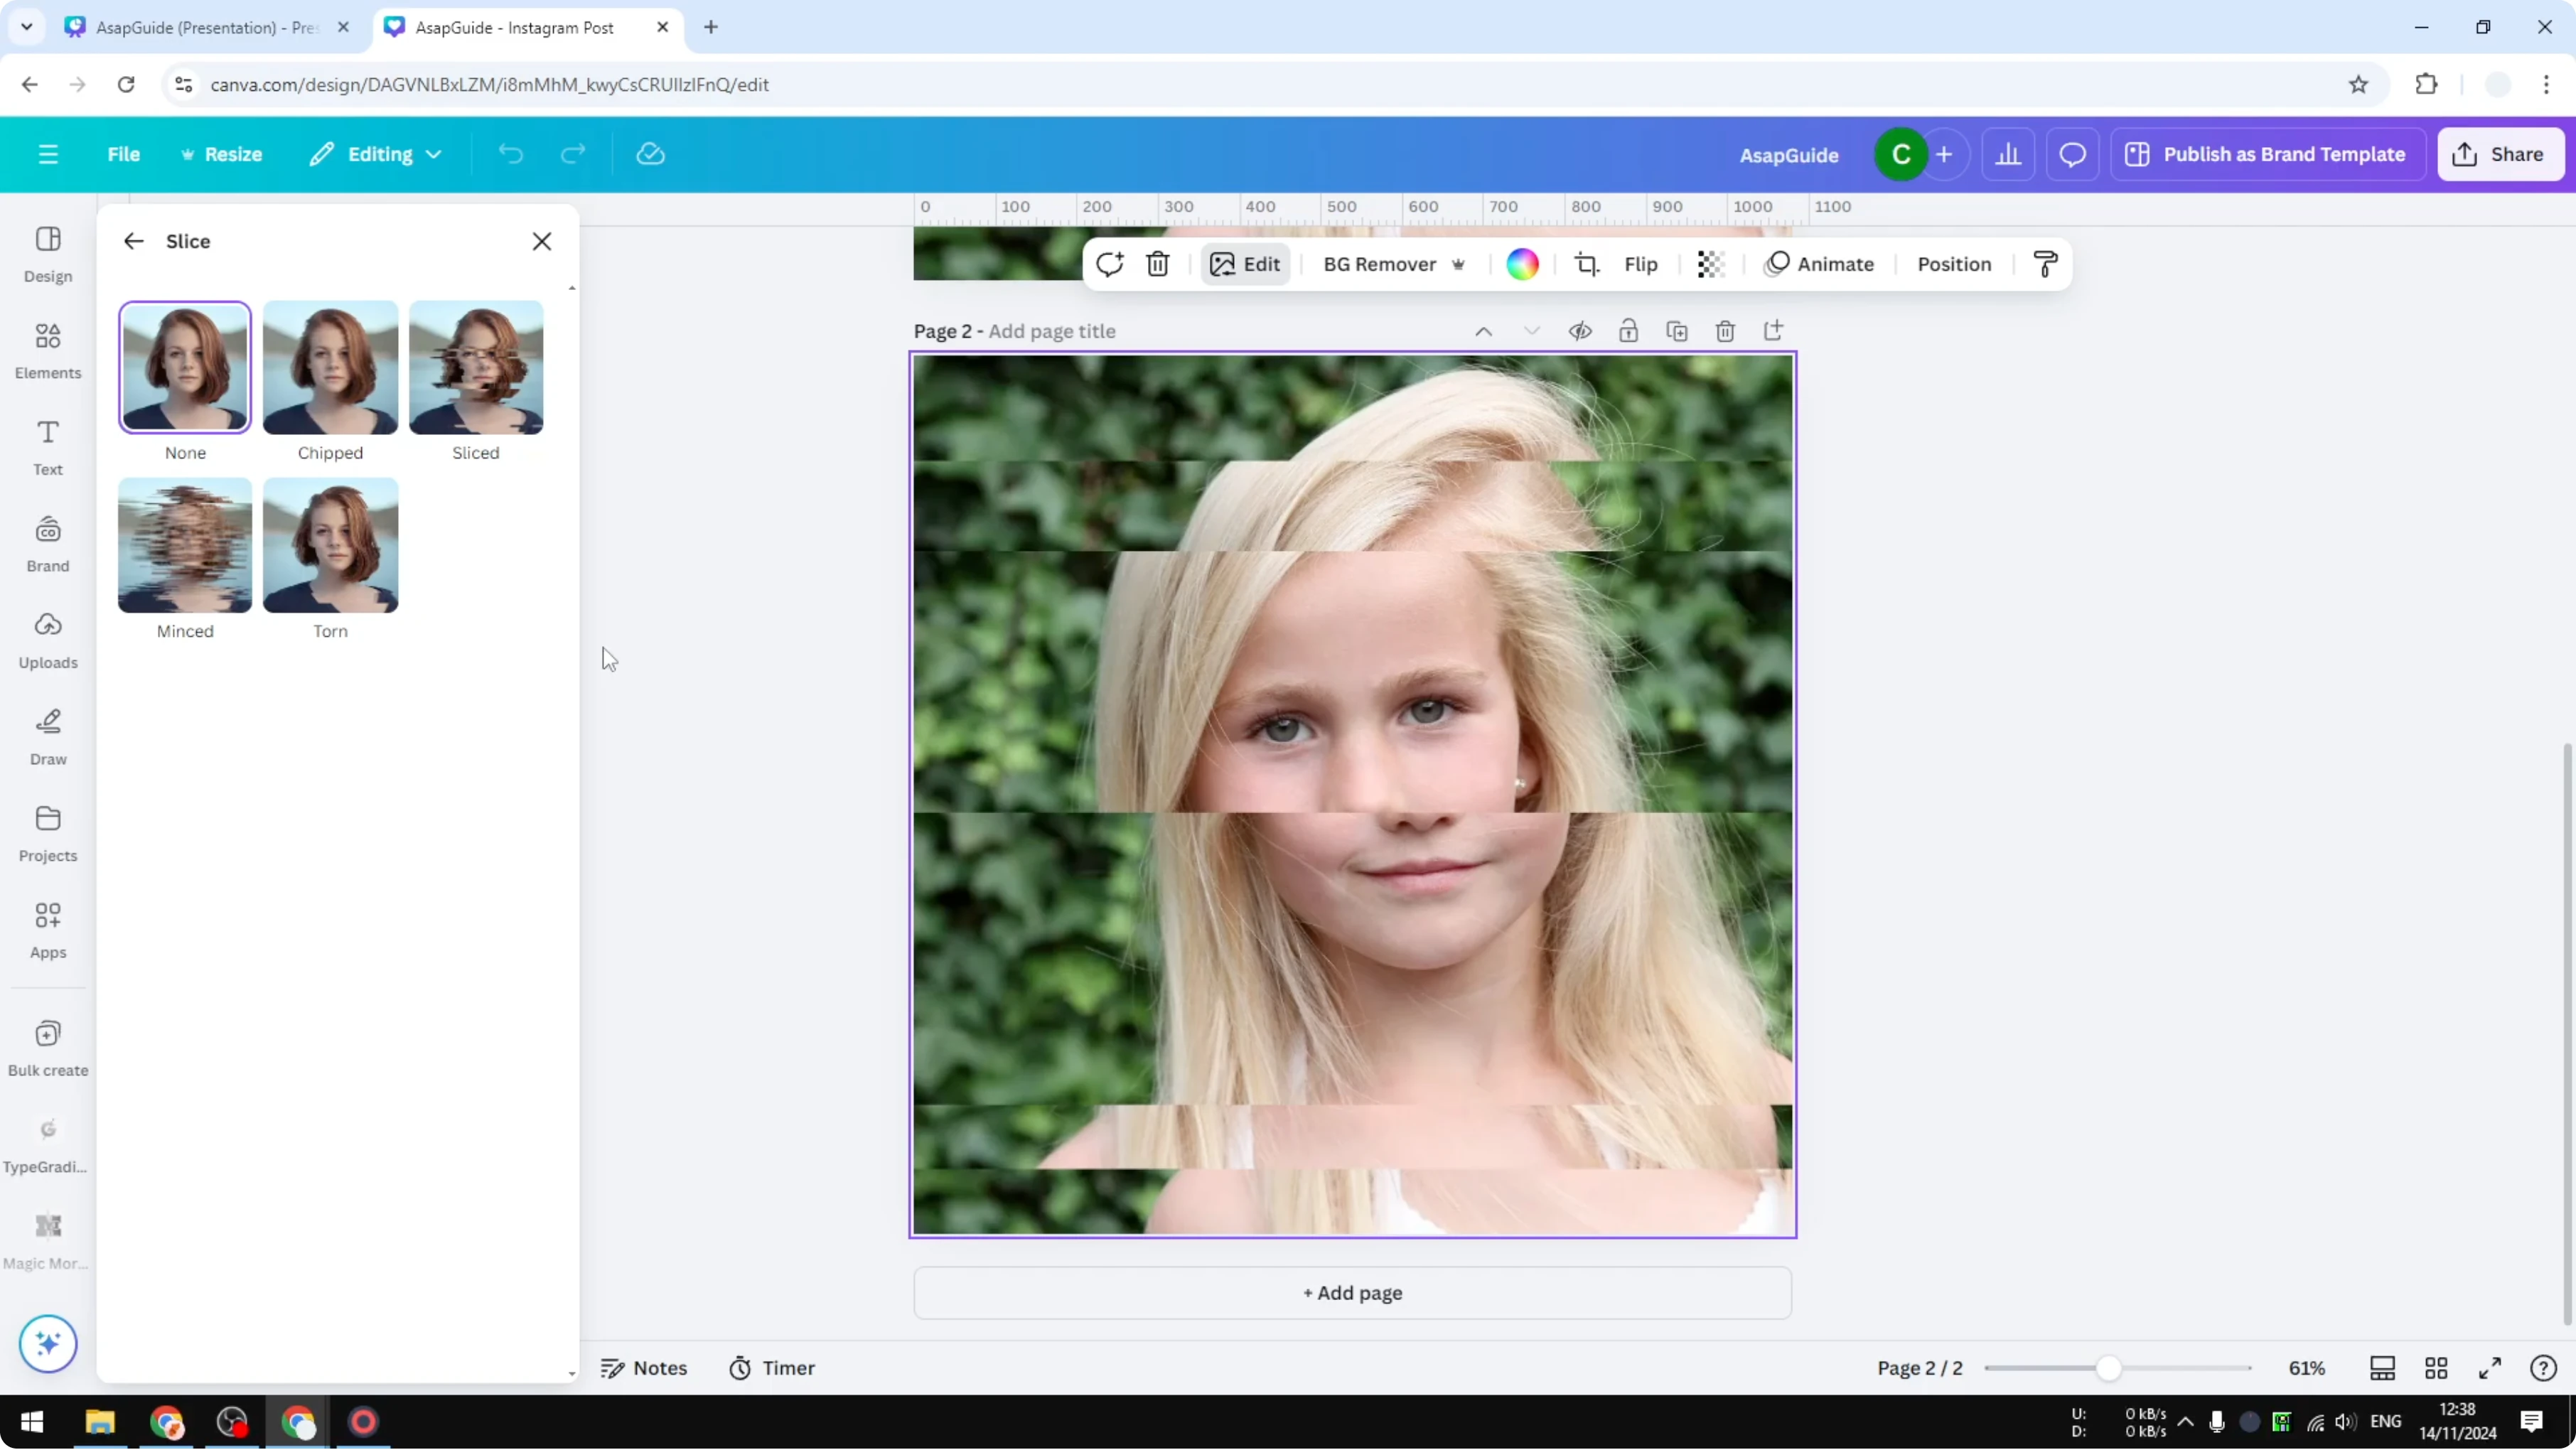
The Slice app randomizes the cut positions. If that is not the look you want, use the workaround below.
Read More: Change Color Image Canva
Workaround with AI for Slice an Image in Canva
Magic Studio for Slice an Image in Canva
Click the image and open Edit, then go to Magic Studio. The tool I use here is called Magic Grab.
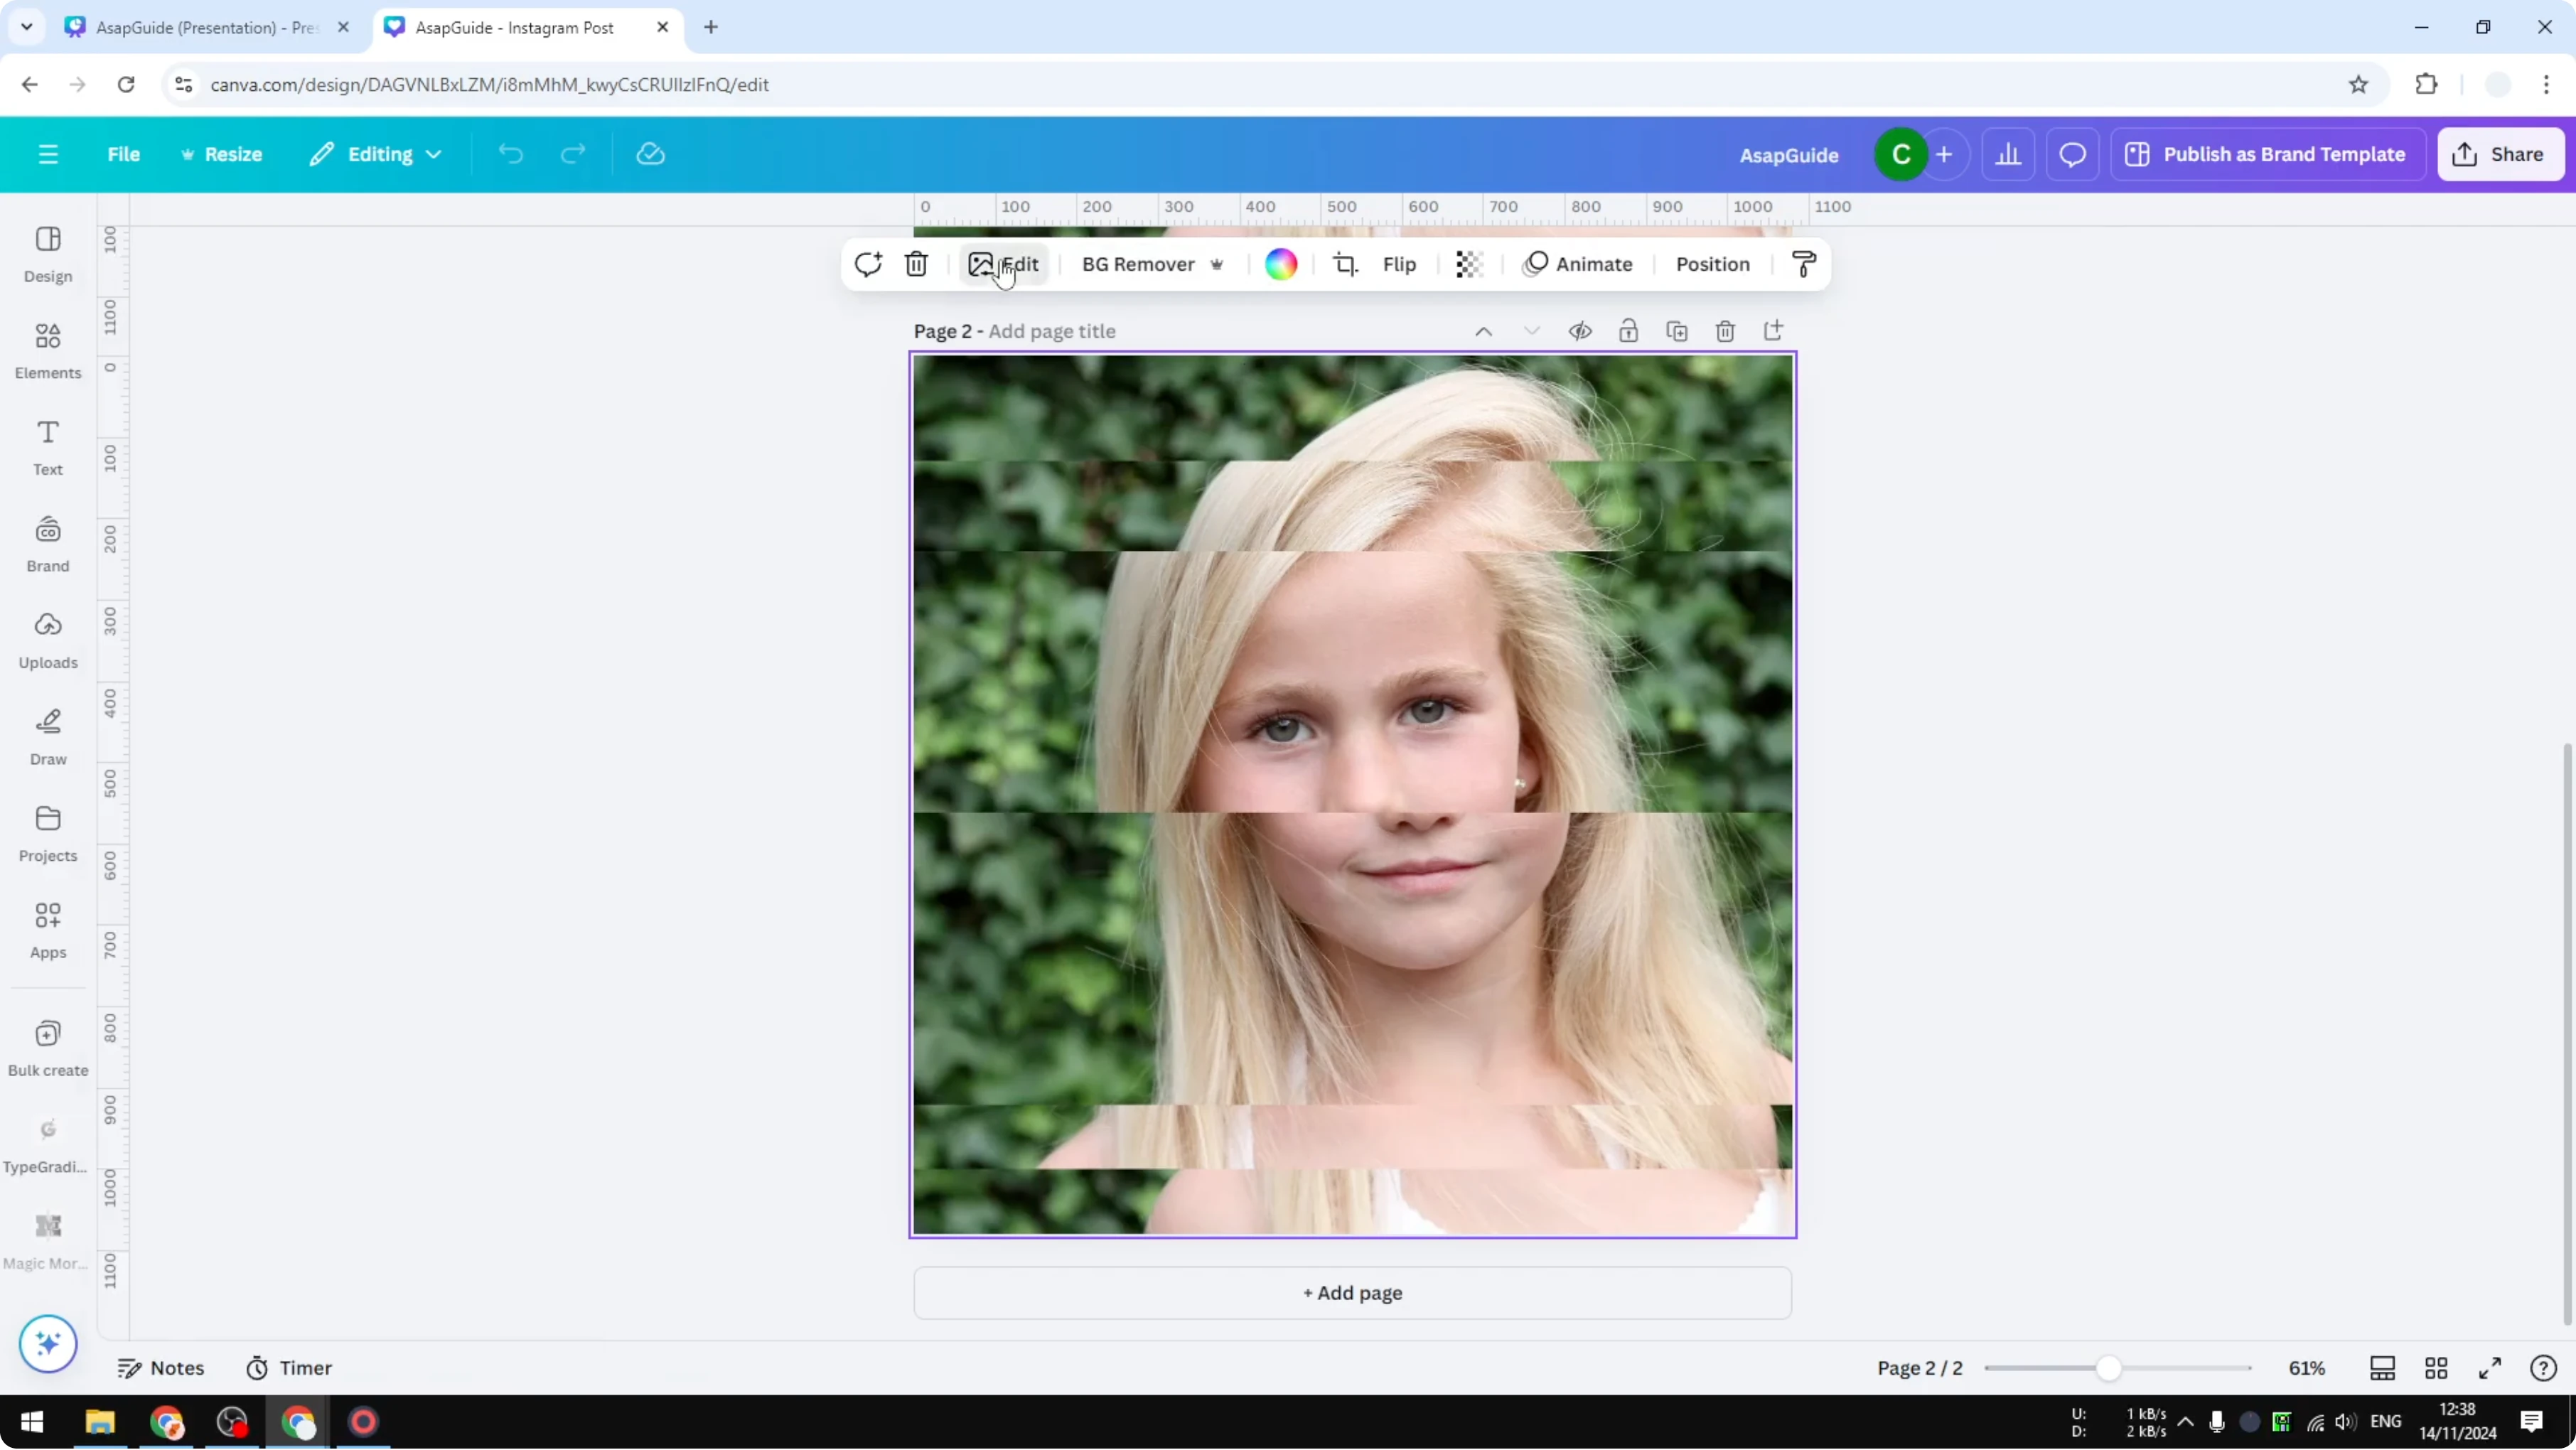
Canva may auto detect a face or another subject that you do not want. Ignore that and switch to the brush method.
Brush selection for Slice an Image in Canva
Brush over the section of the image you want to isolate. It does not have to be perfect, but try to be as close as possible to the line.
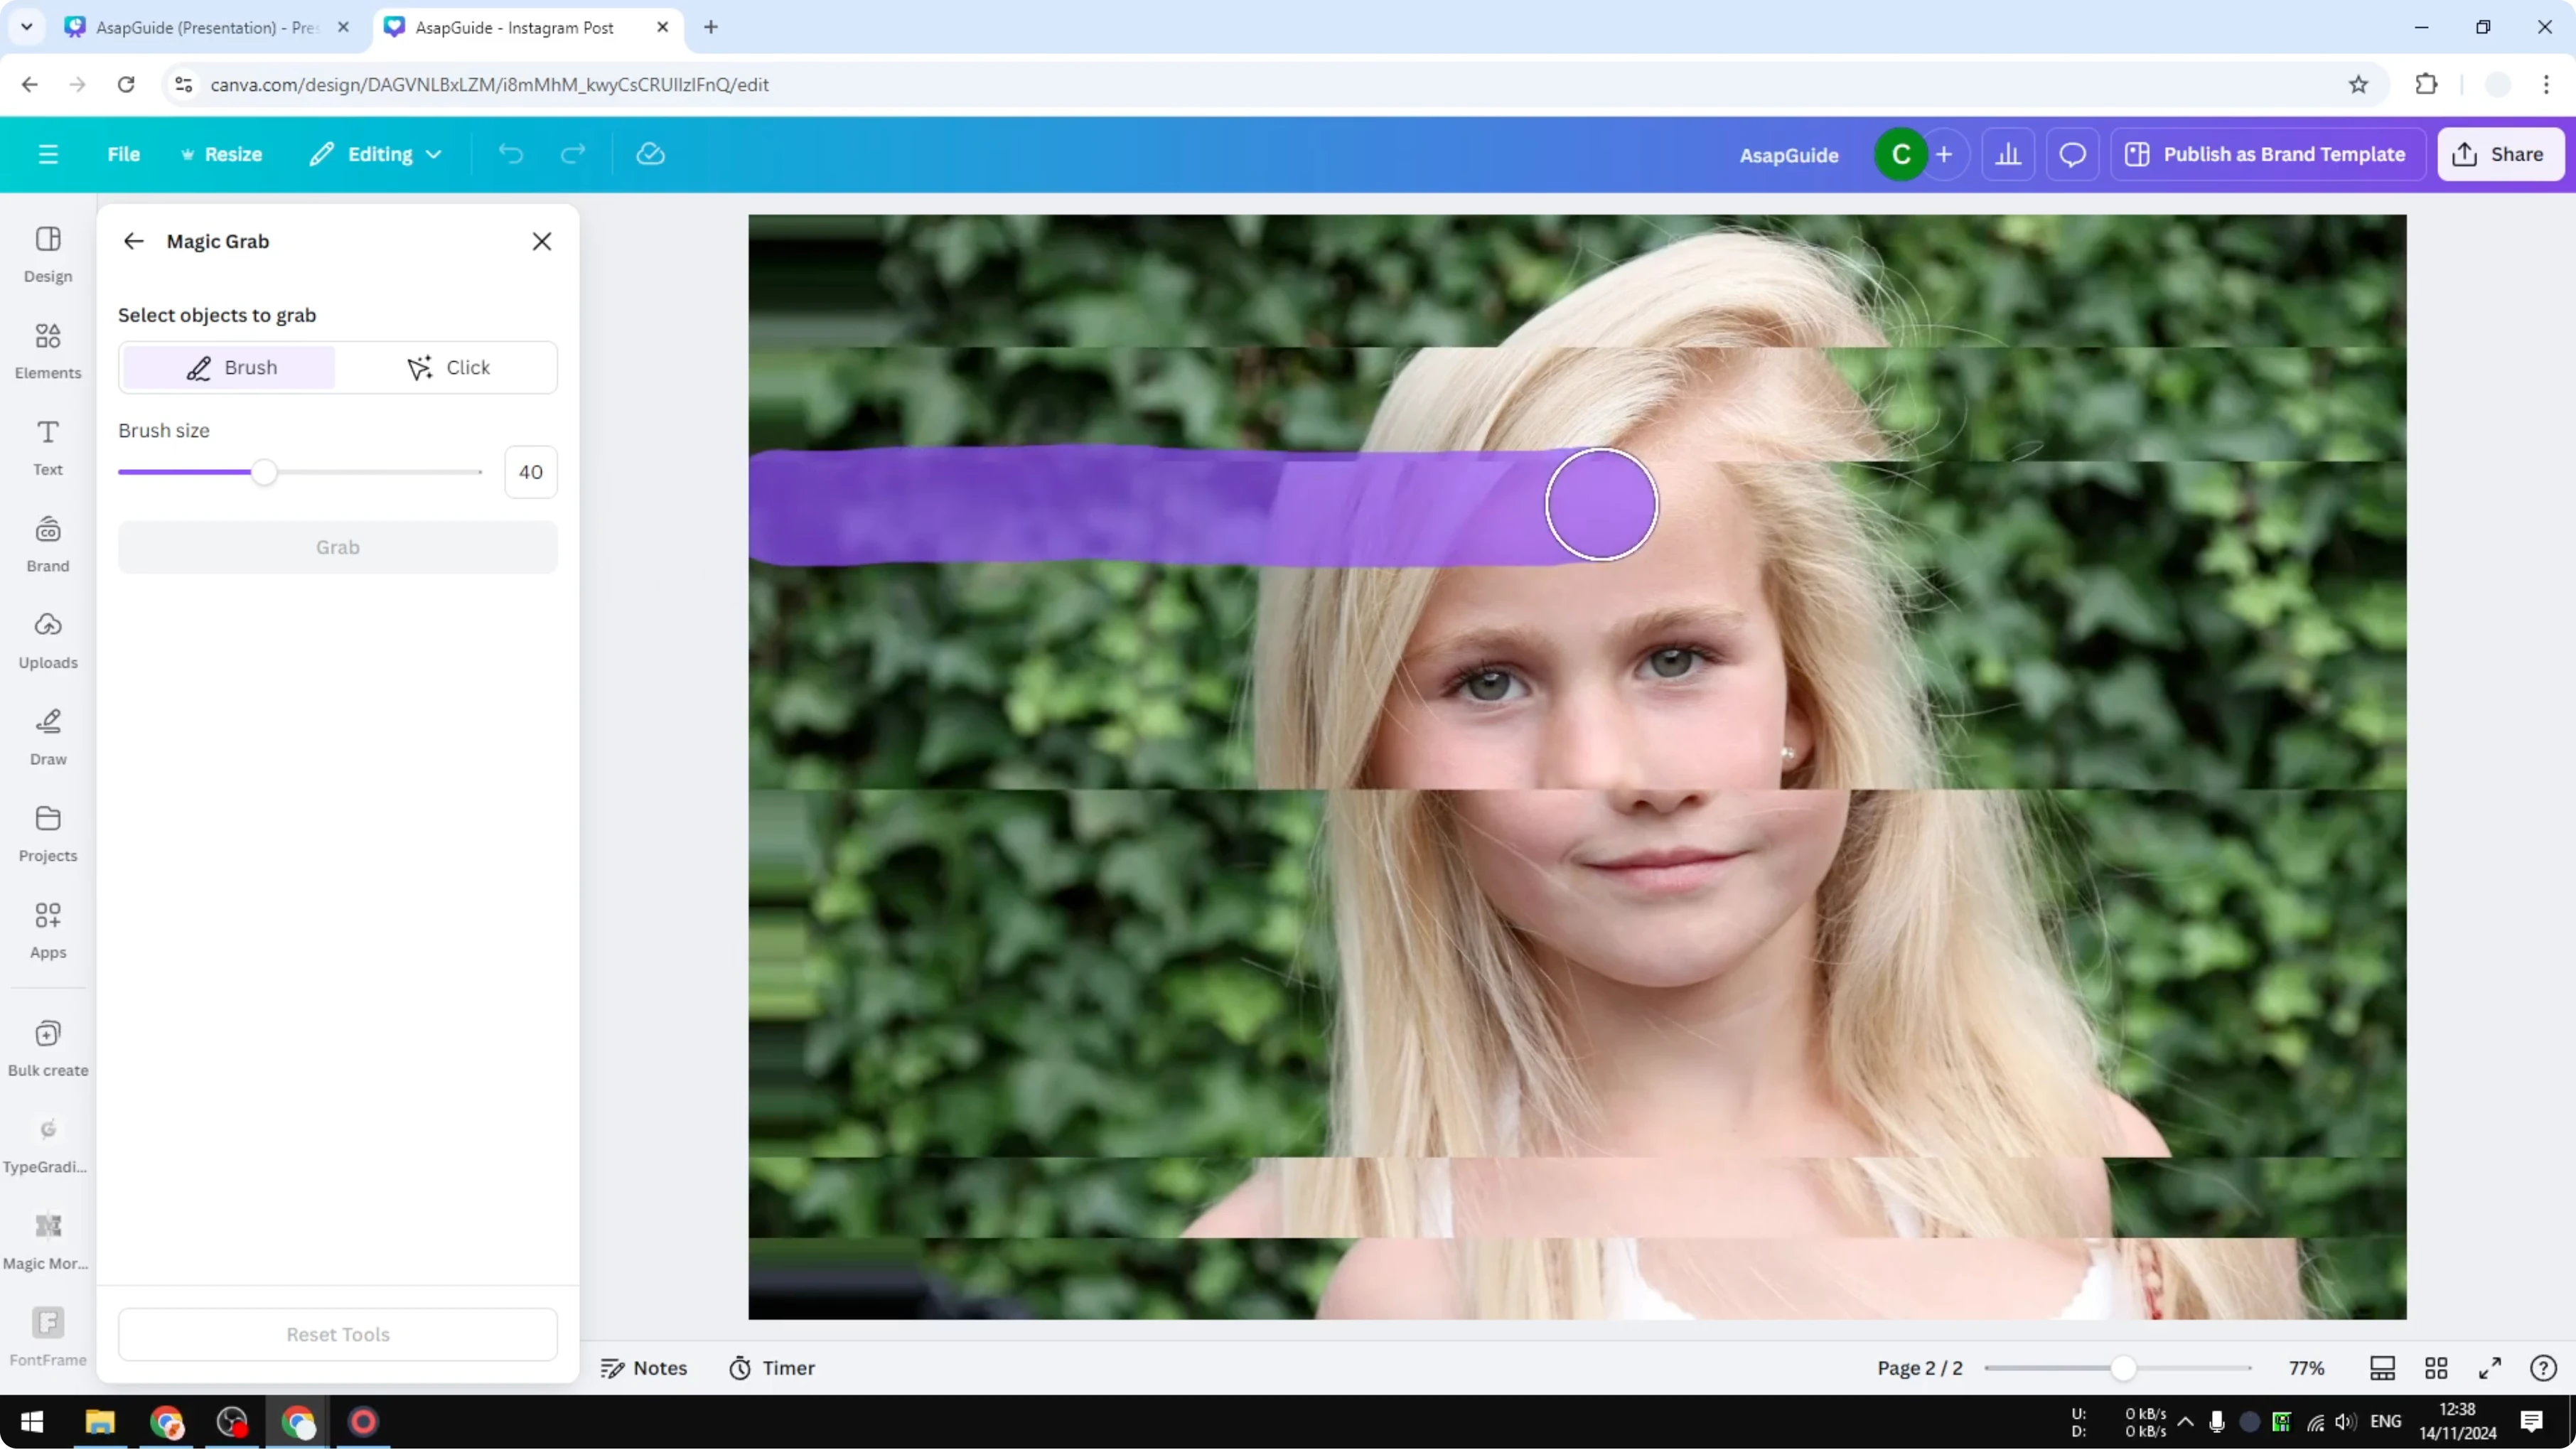
Fill the empty area around the selection as needed. When you are done, click Grab.
Reposition pieces in Slice an Image in Canva
Wait for the AI to isolate the selected section. You will get a separate piece that you can move it to the right or to the left.
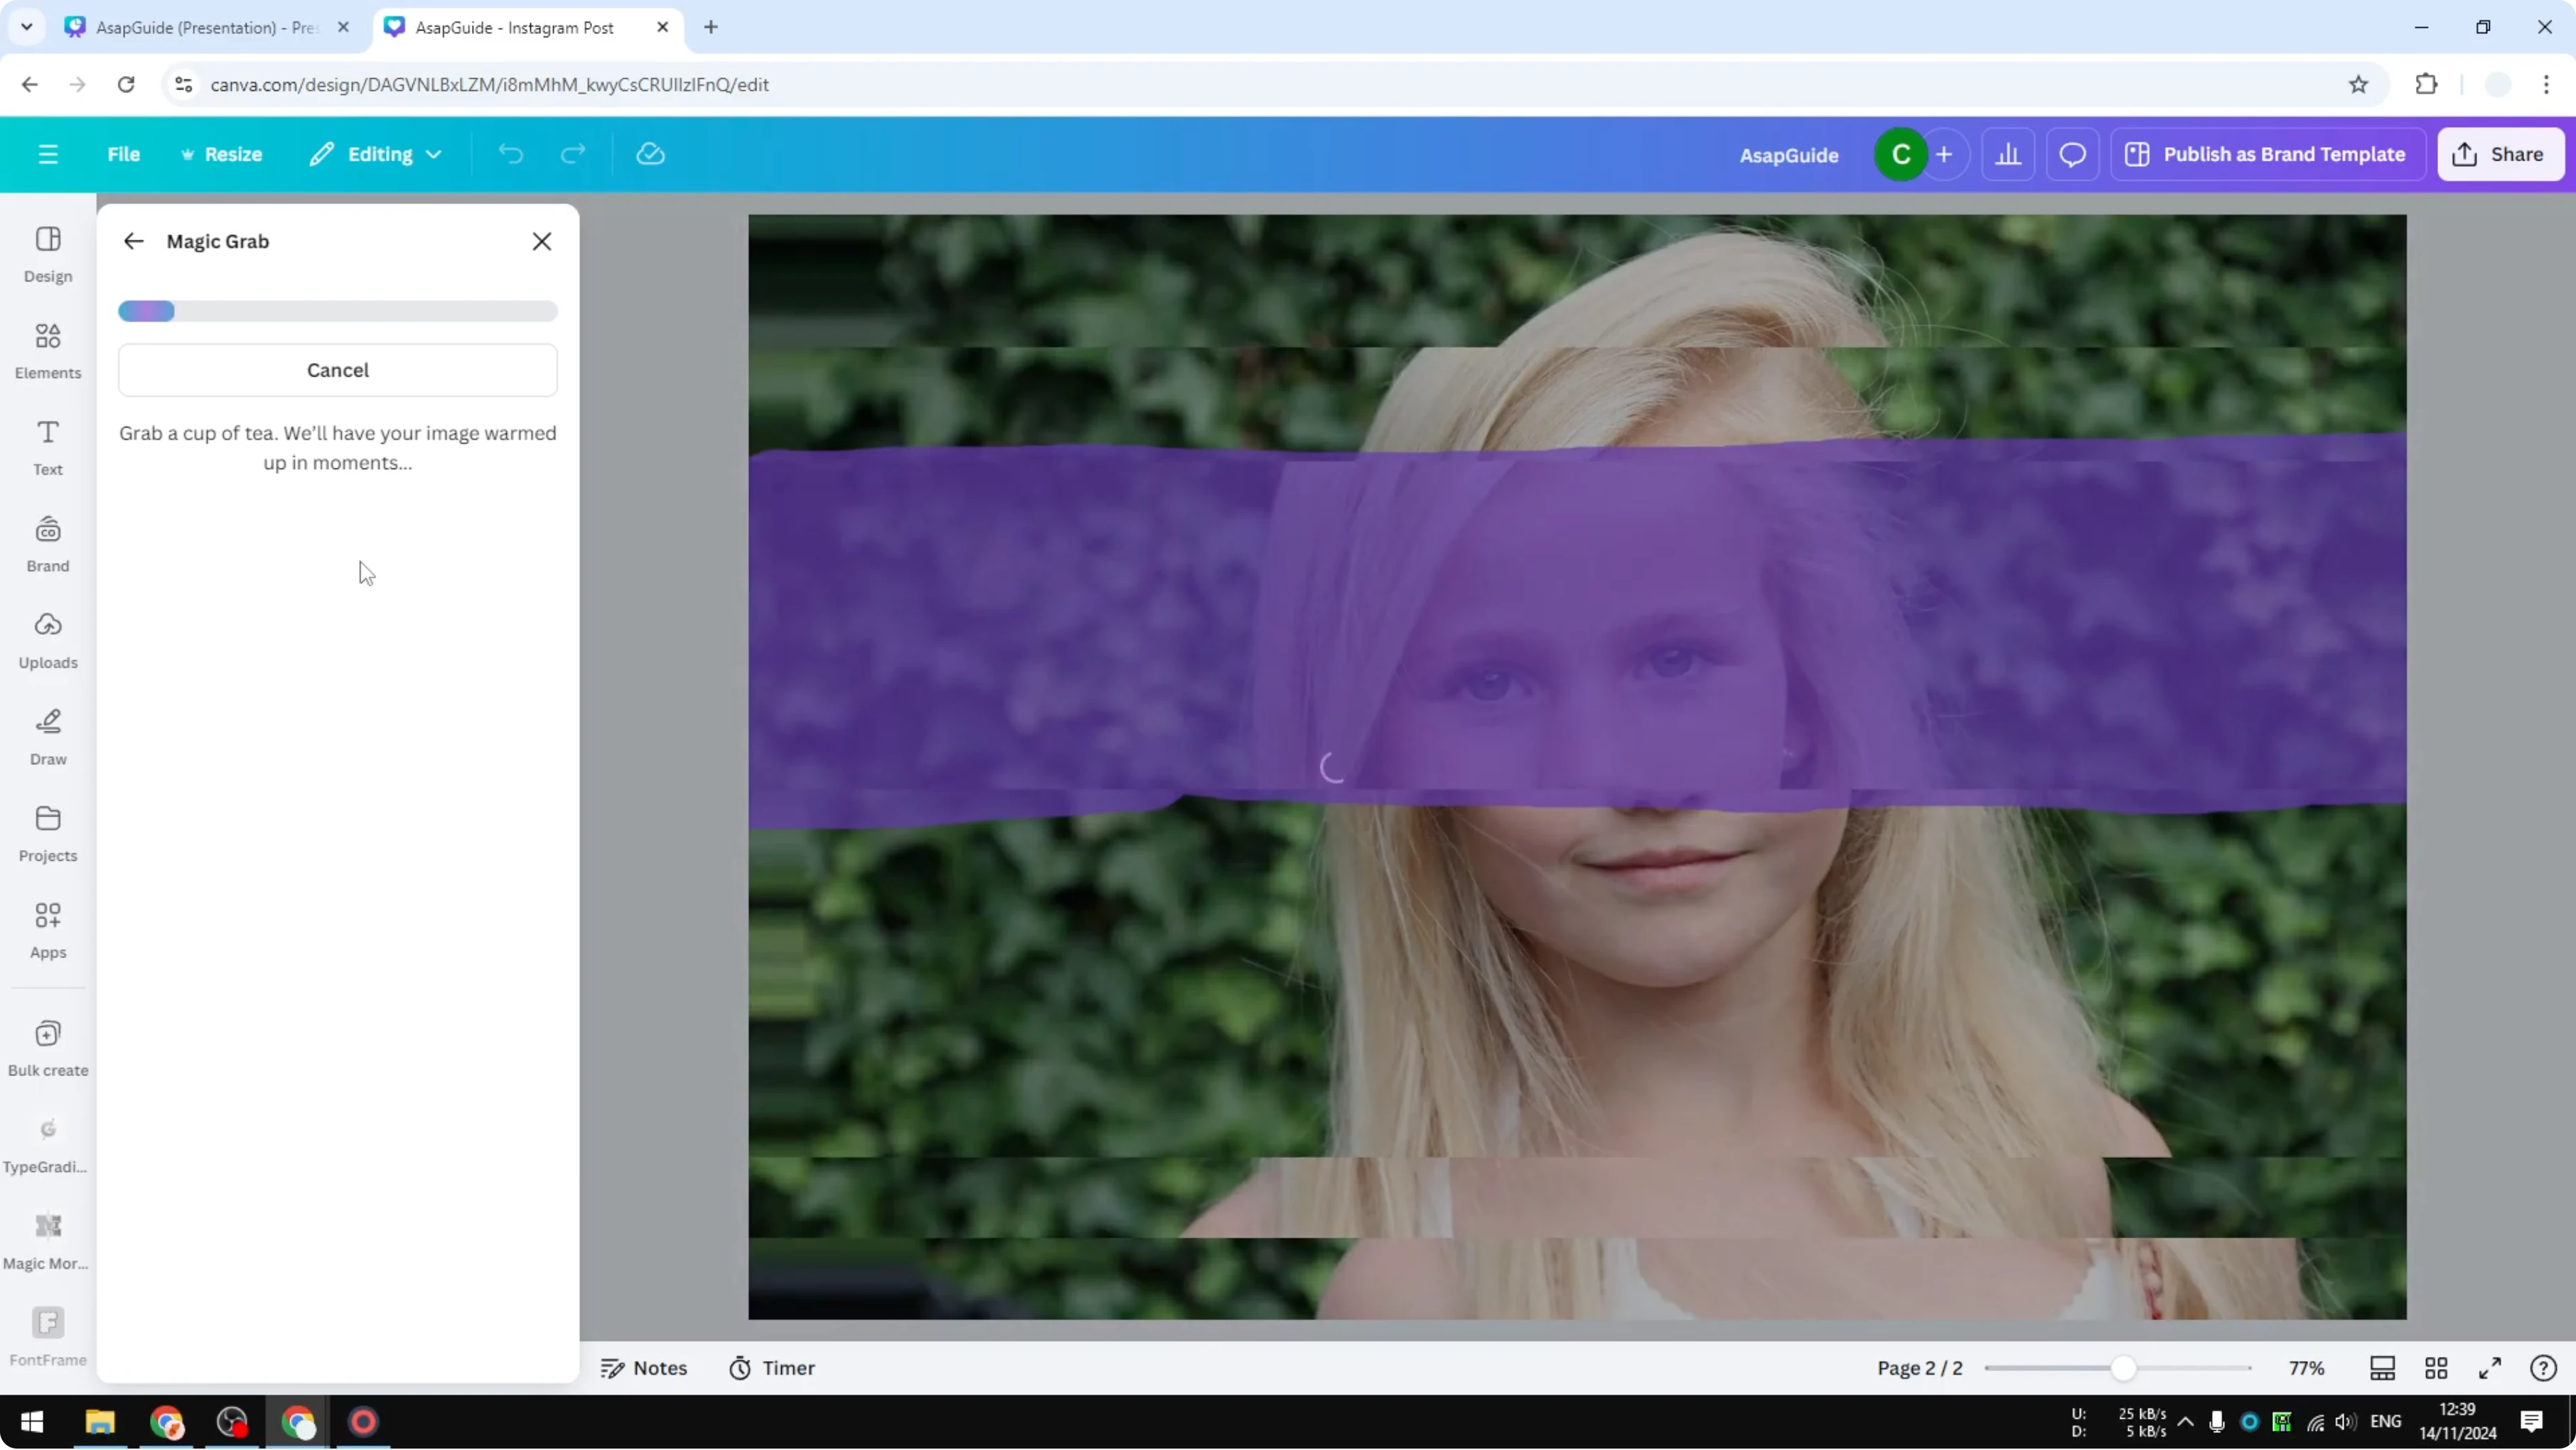
This gives me freedom to adjust the slicing of the image. I moved a piece from the left side to the right to get the layout I wanted.
Read More: Add Placeholder Image Frame Canva
Final thoughts on Slice an Image in Canva
The built in Slice app is quick and easy, but its cuts are random and not editable. If you want control, use Magic Grab to isolate pieces and reposition them for a custom sliced look.
Both methods are simple, and you can pick the one that fits your workflow.
Recent Posts
How to Visualize Yourself as a Pixelized Character with AI?
How to Visualize Yourself as a Pixelized Character with AI?
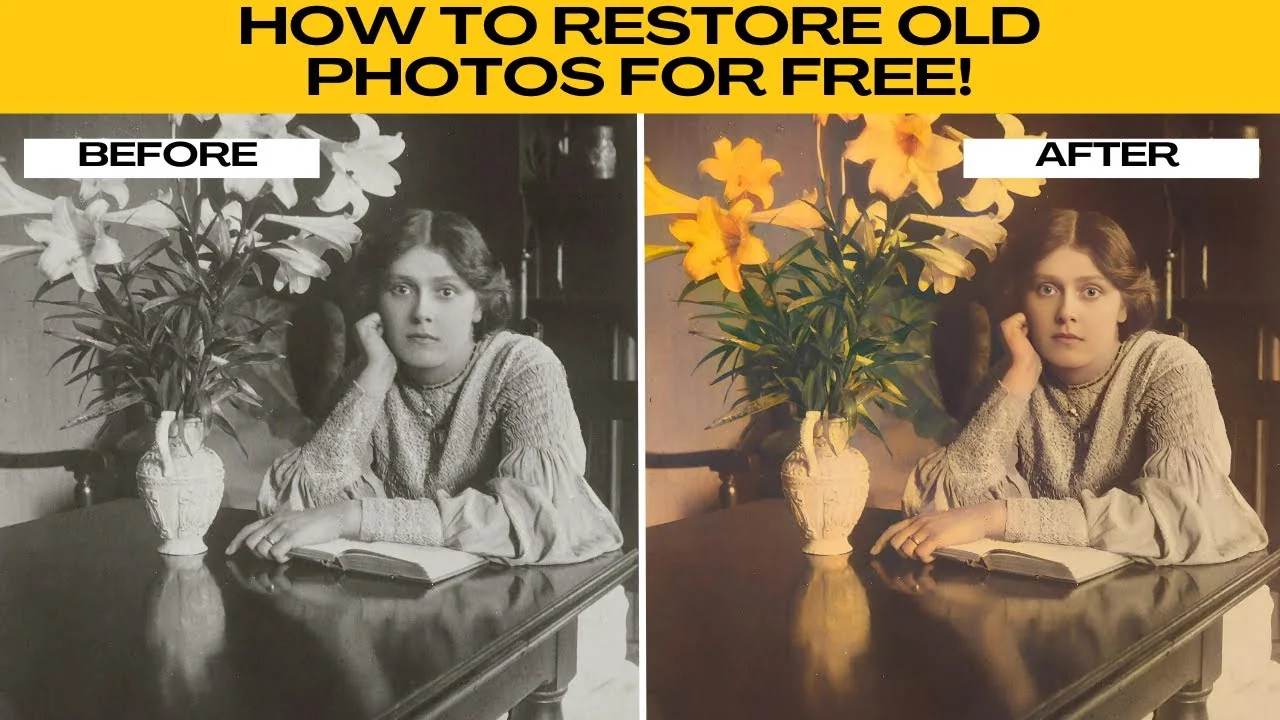
How to Revive Faded Memories and Enhance Image Clarity with AI?
How to Revive Faded Memories and Enhance Image Clarity with AI?
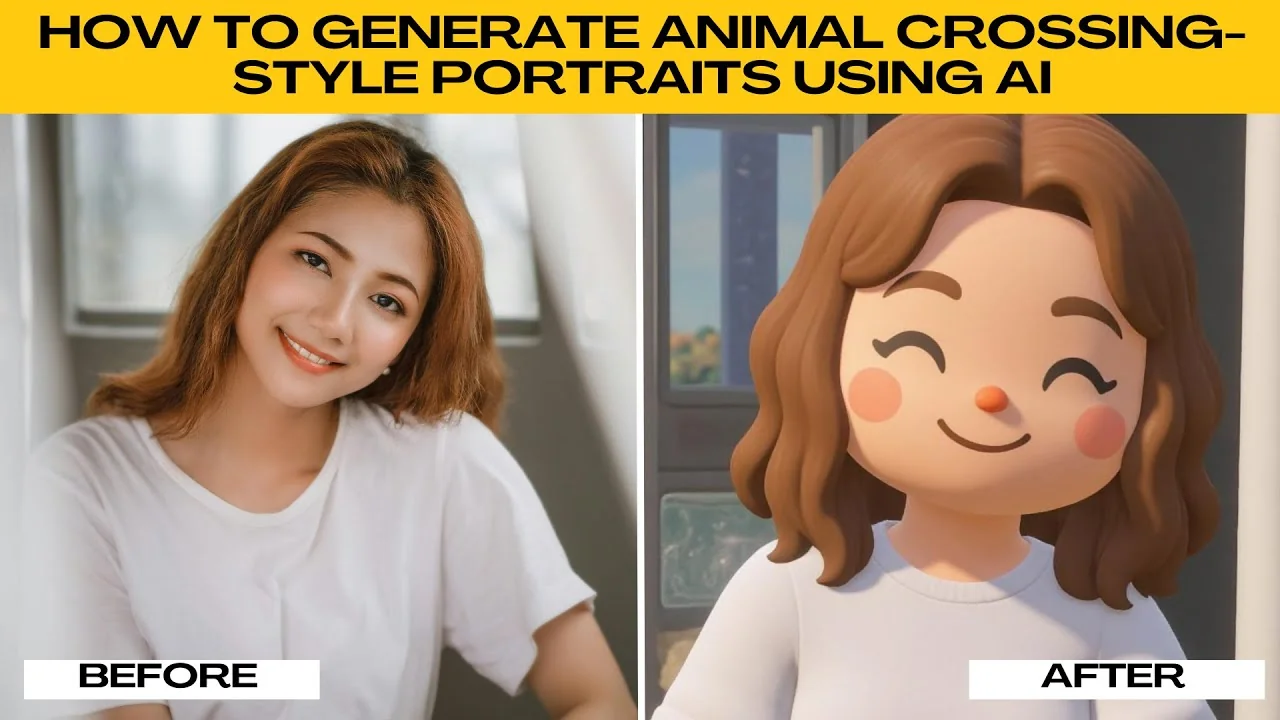
How to Visualize Yourself as an Animal Crossing Character with AI?
How to Visualize Yourself as an Animal Crossing Character with AI?