How to Sharpen Image in Canva
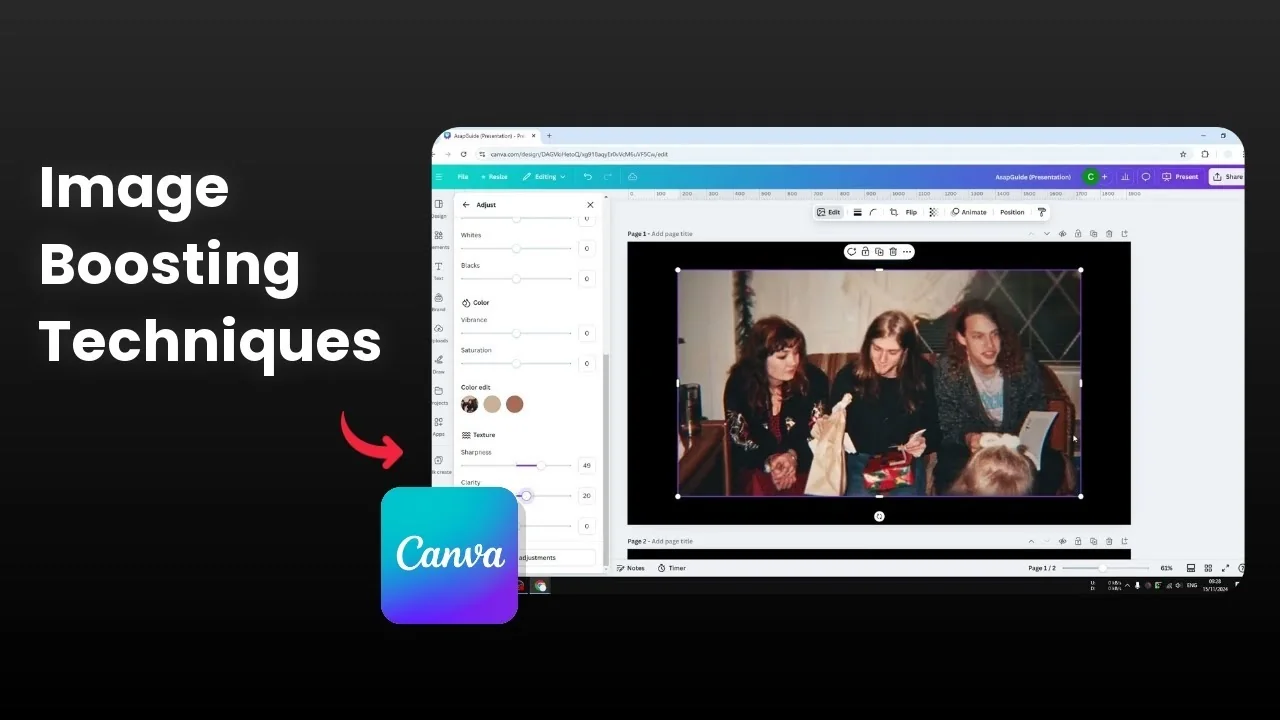
I’m going to show you two ways to sharpen an image using Canva. The first uses the basic Sharpen and Clarity tools, and the result is not disappointing. The second uses an AI upscaler to increase the dimension size, and shrinking it back can make it look slightly sharper.
If your photo also looks dark, you can brighten an image in Canva to help the details stand out before sharpening.
Sharpen Image in Canva: Basic adjustments
Sharpen Image in Canva: Controls
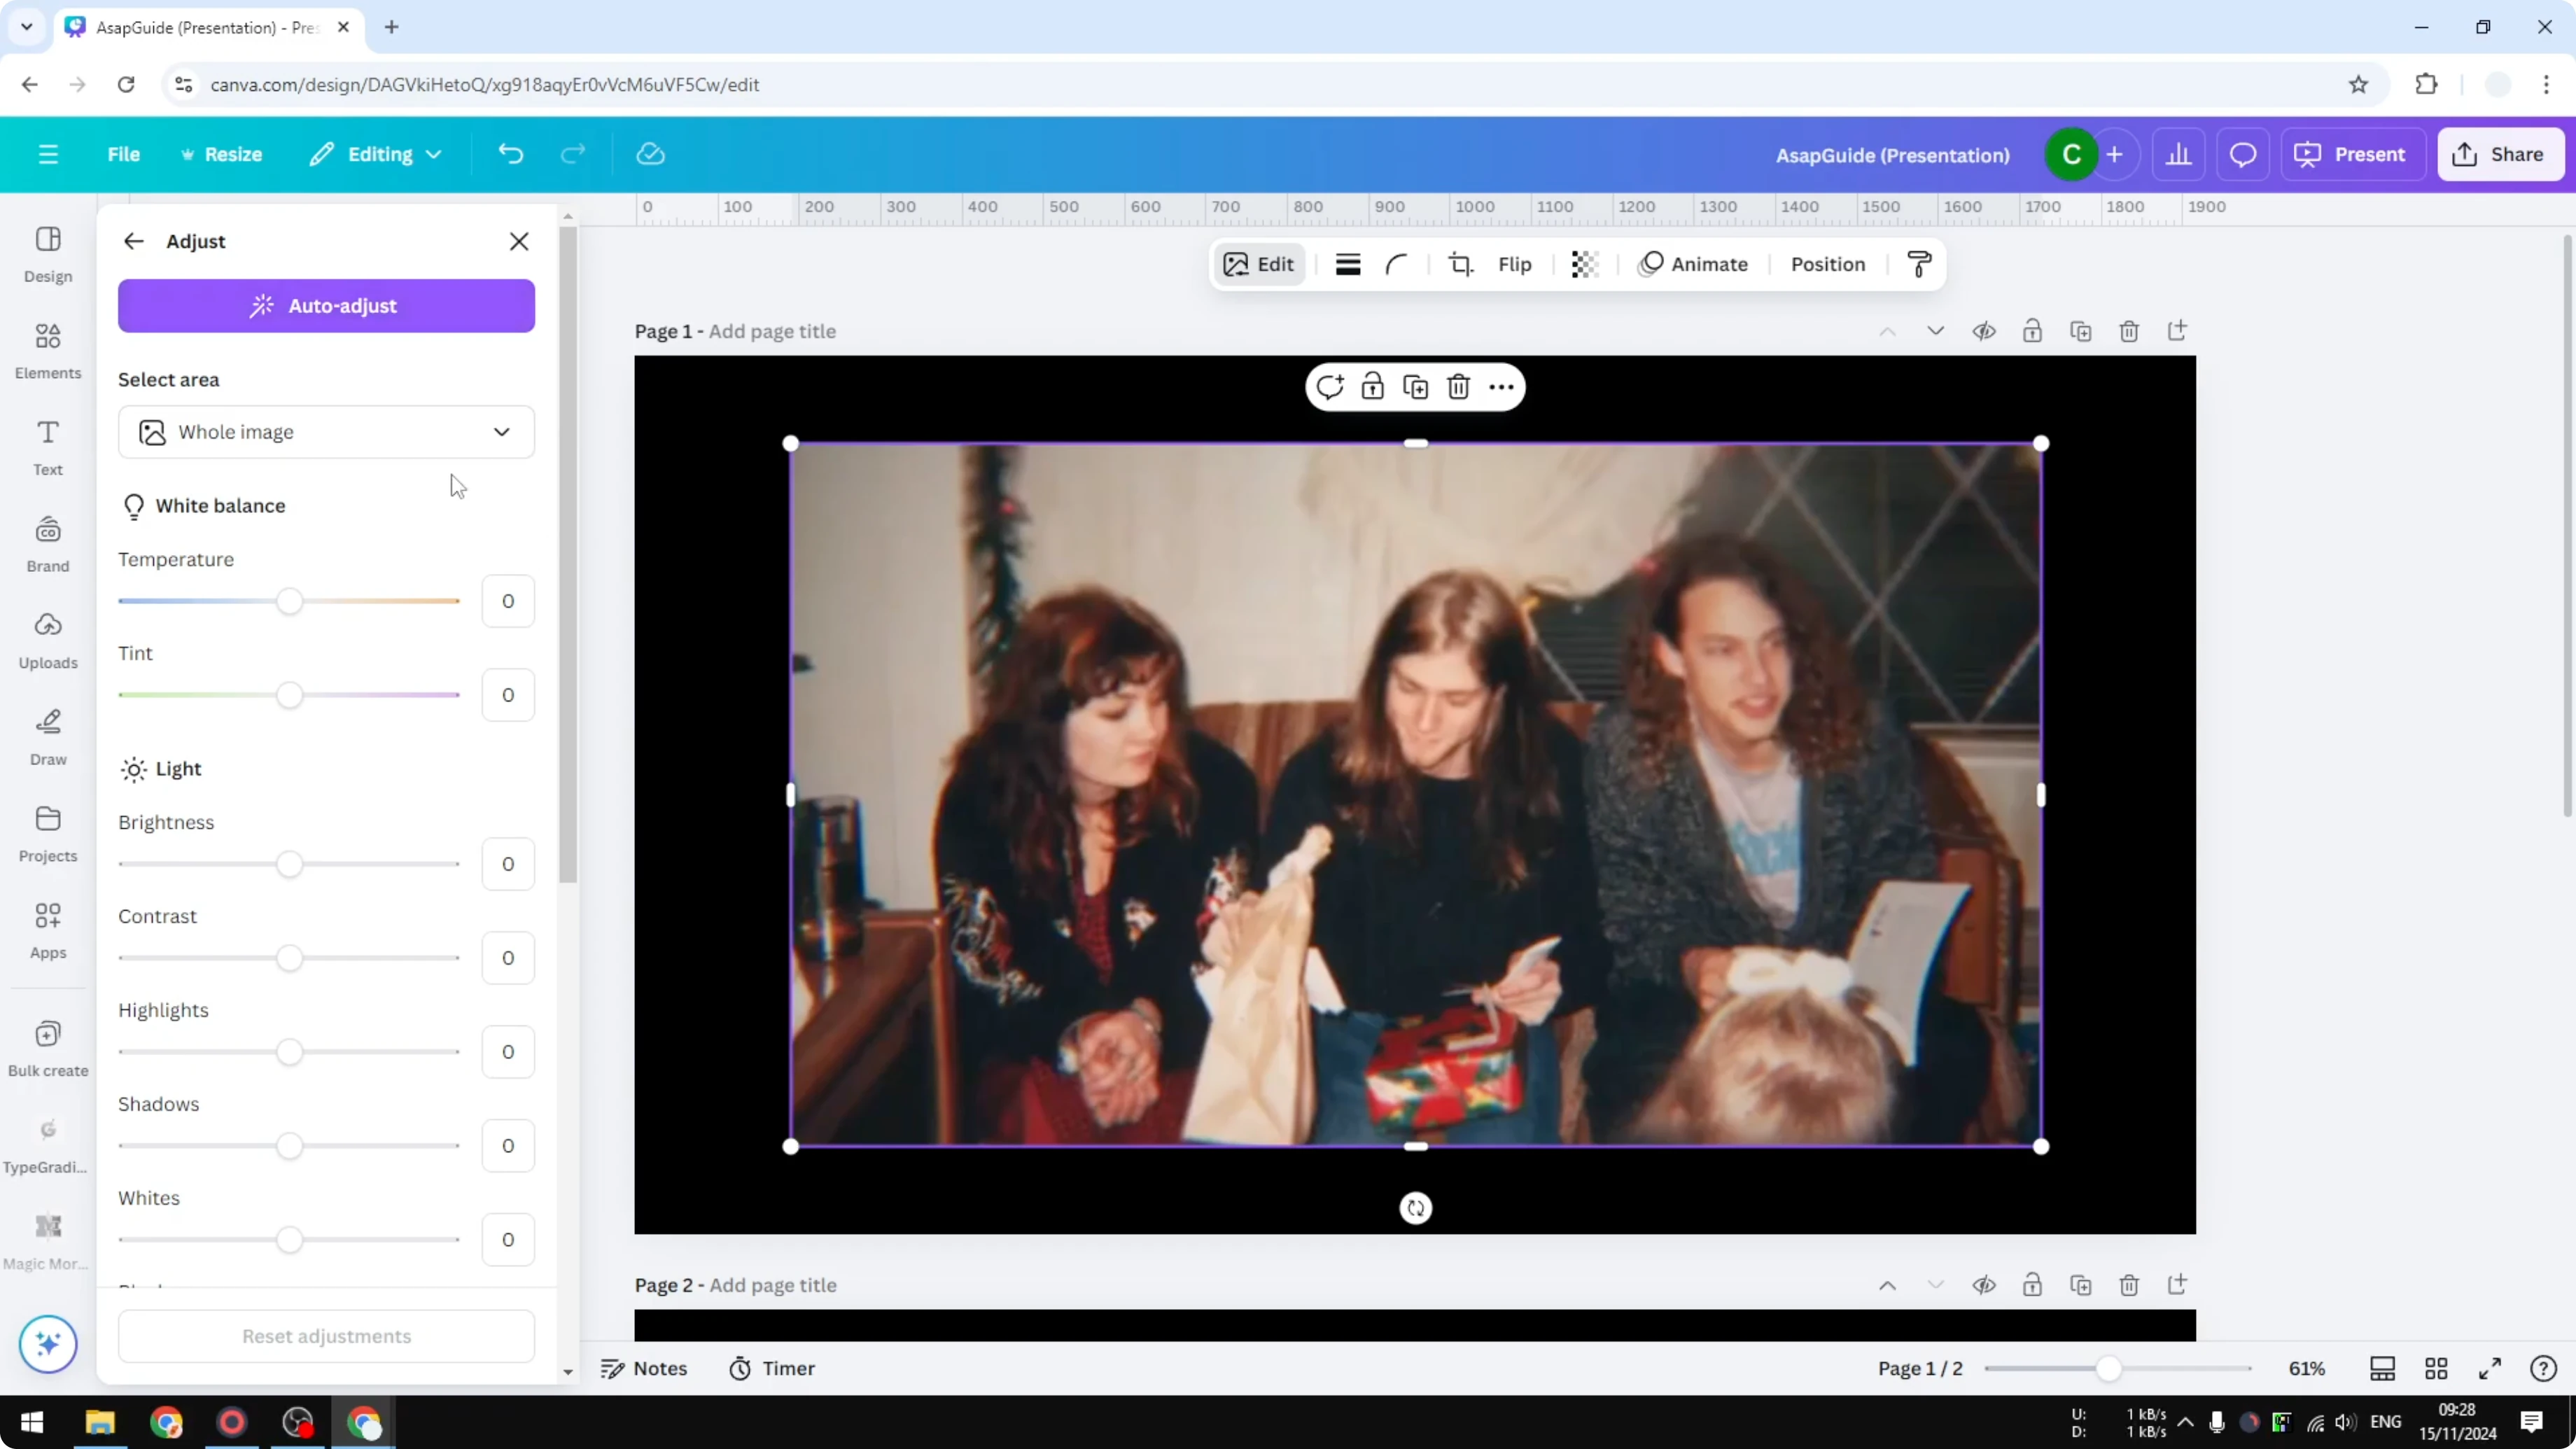
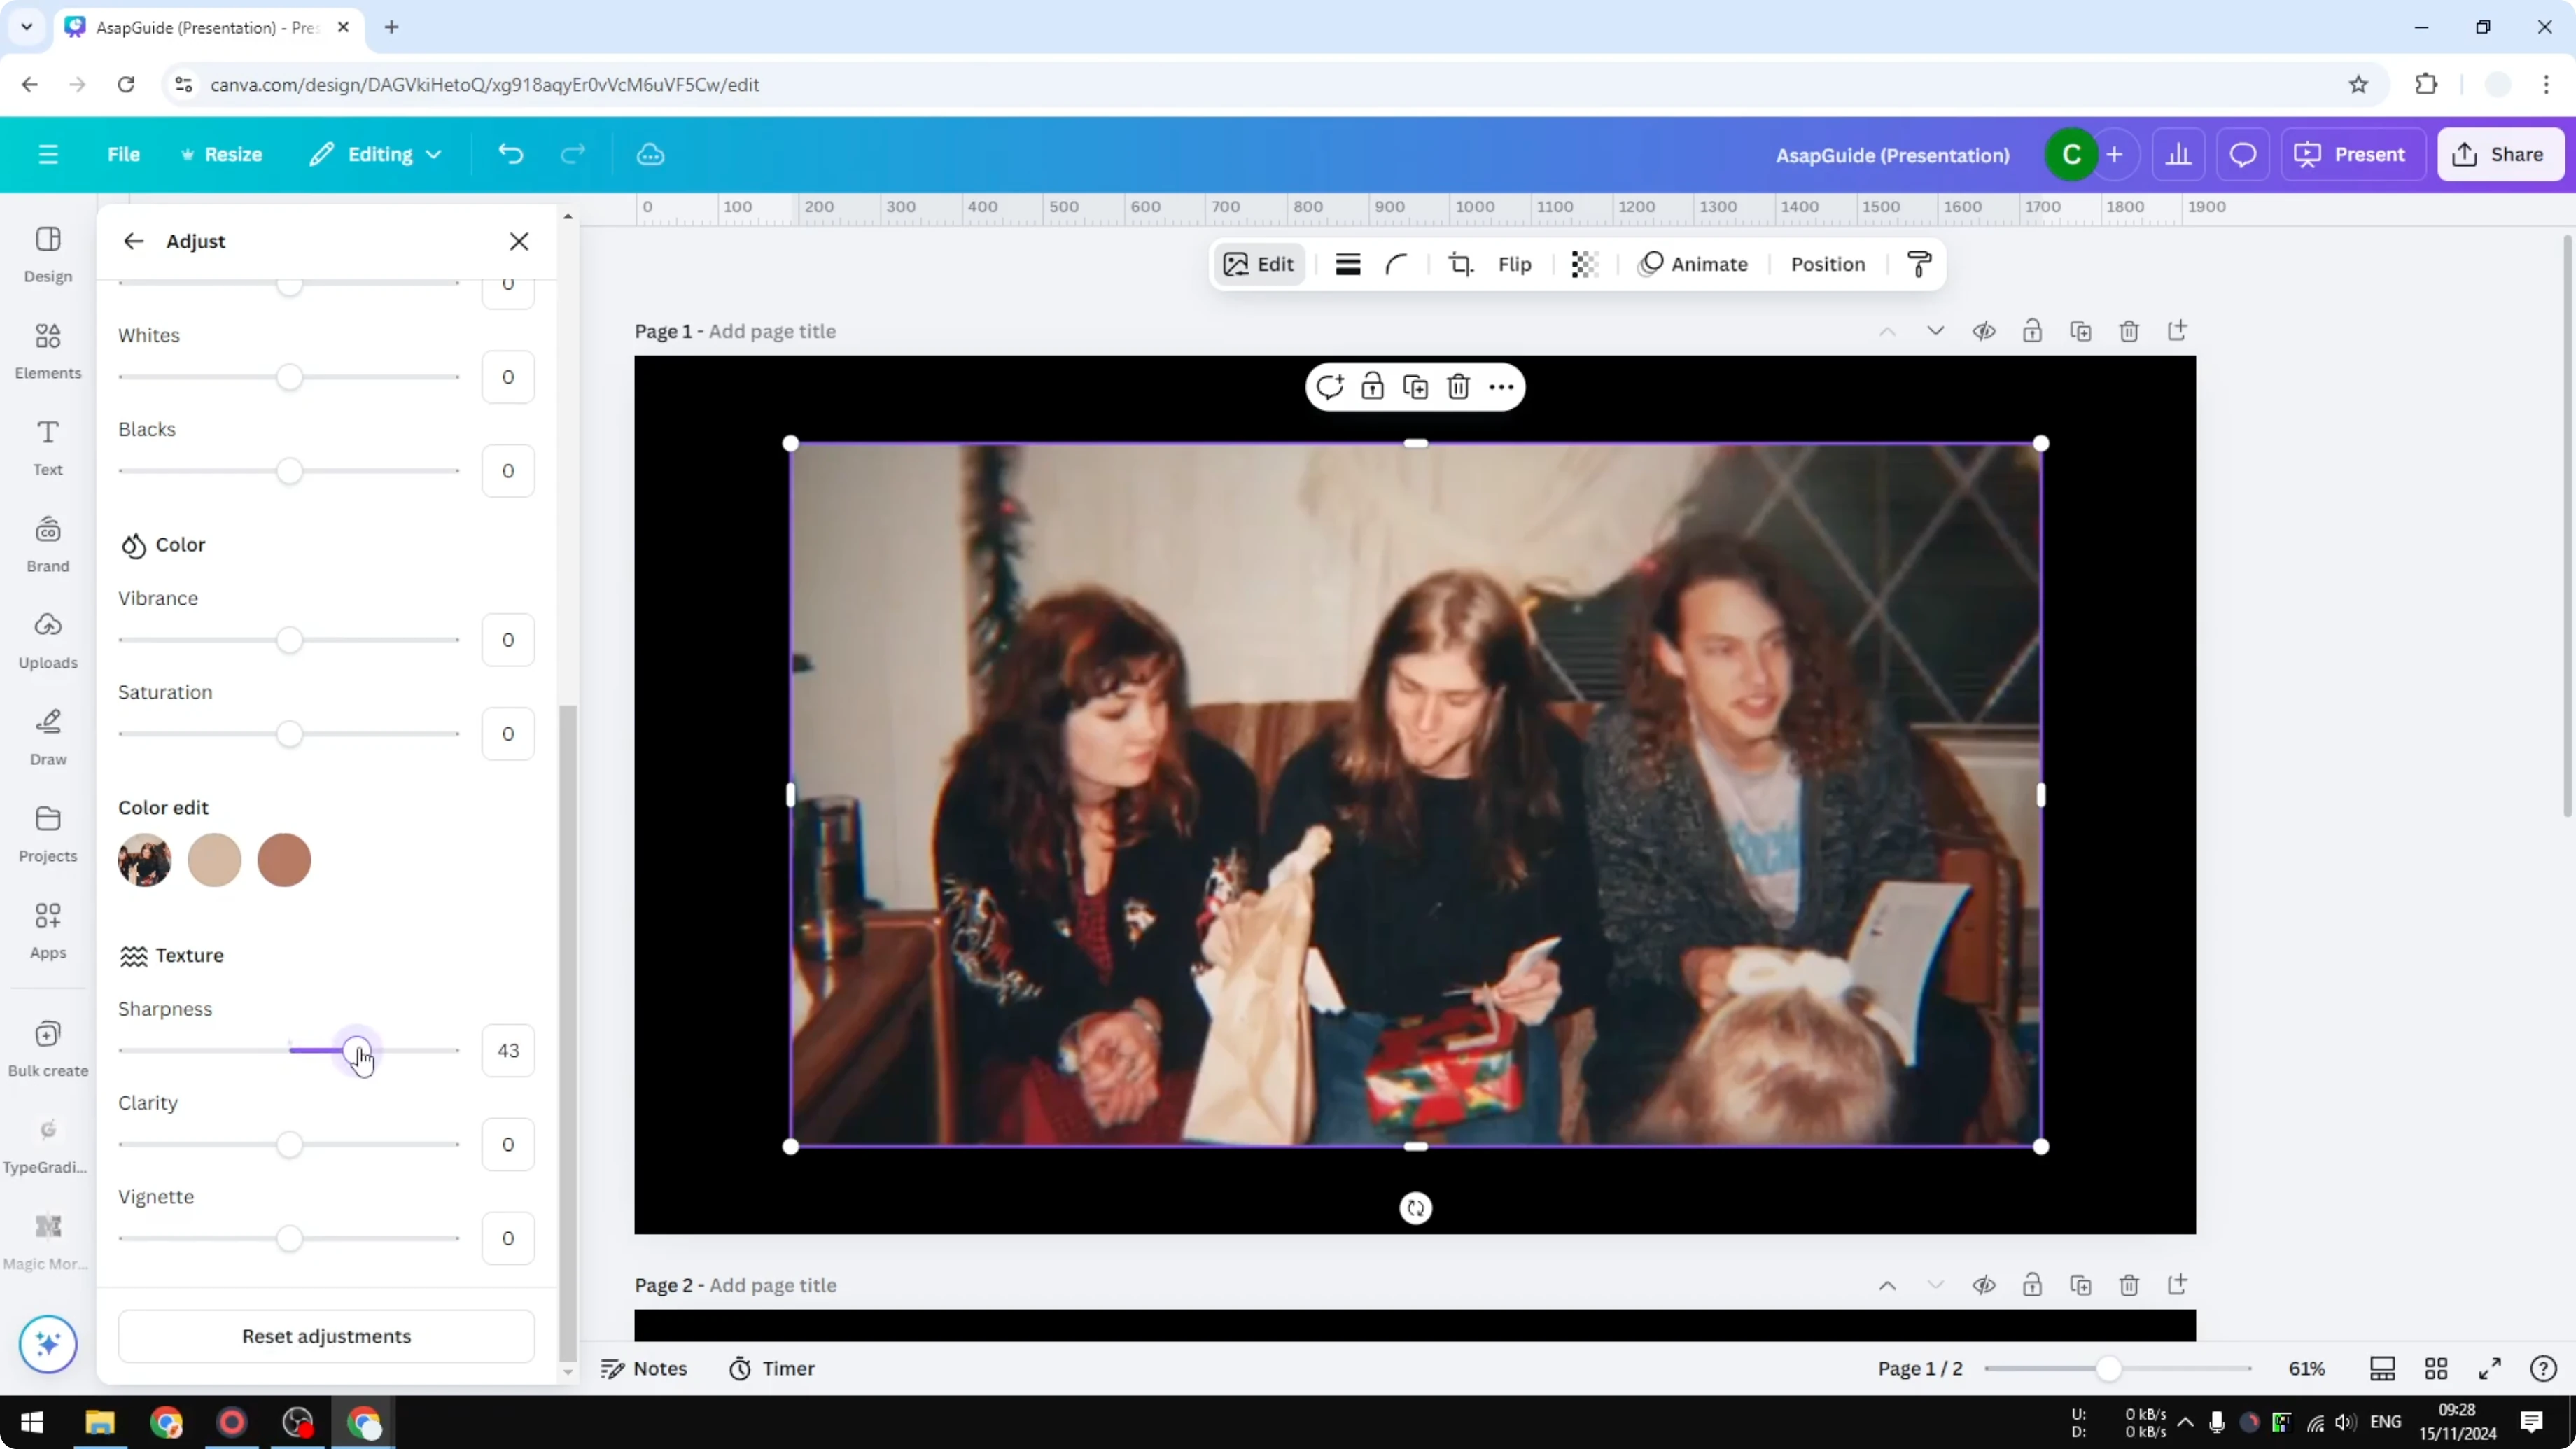
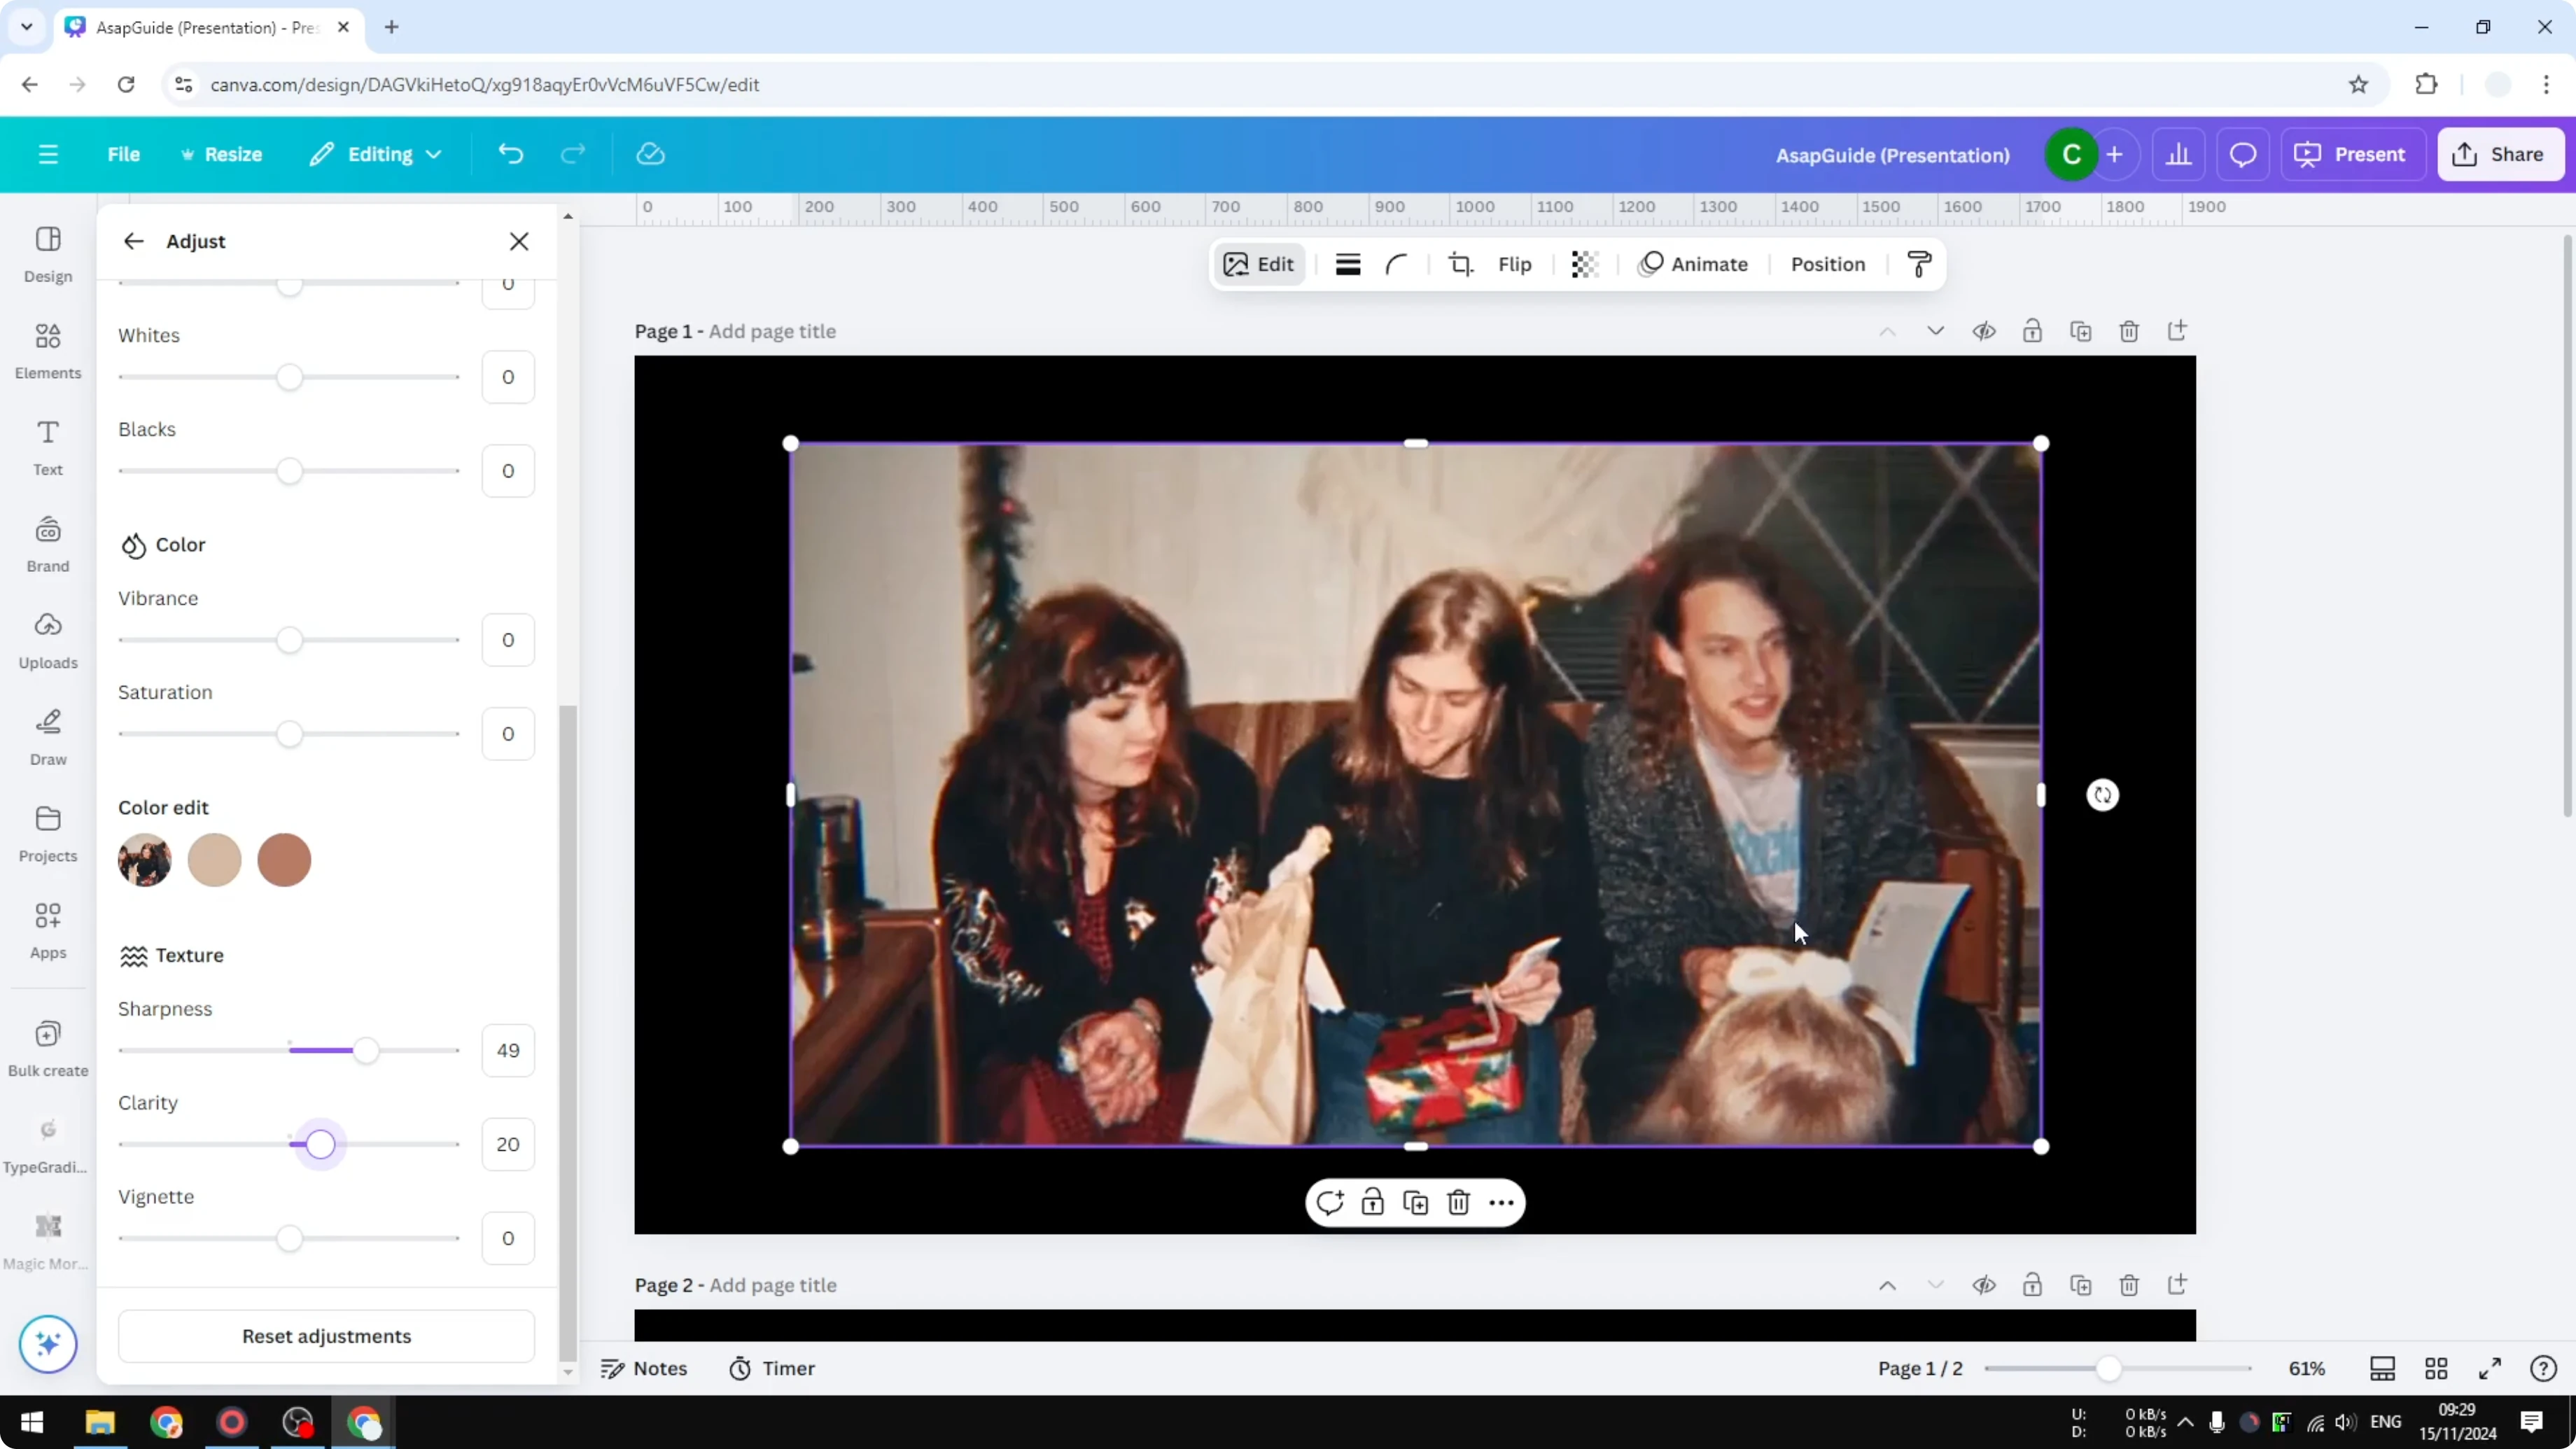
Click on the image and go to Edit. Click Adjust, then scroll to the bottom to find the Texture options. Play around with the Sharpness and Clarity parameters.
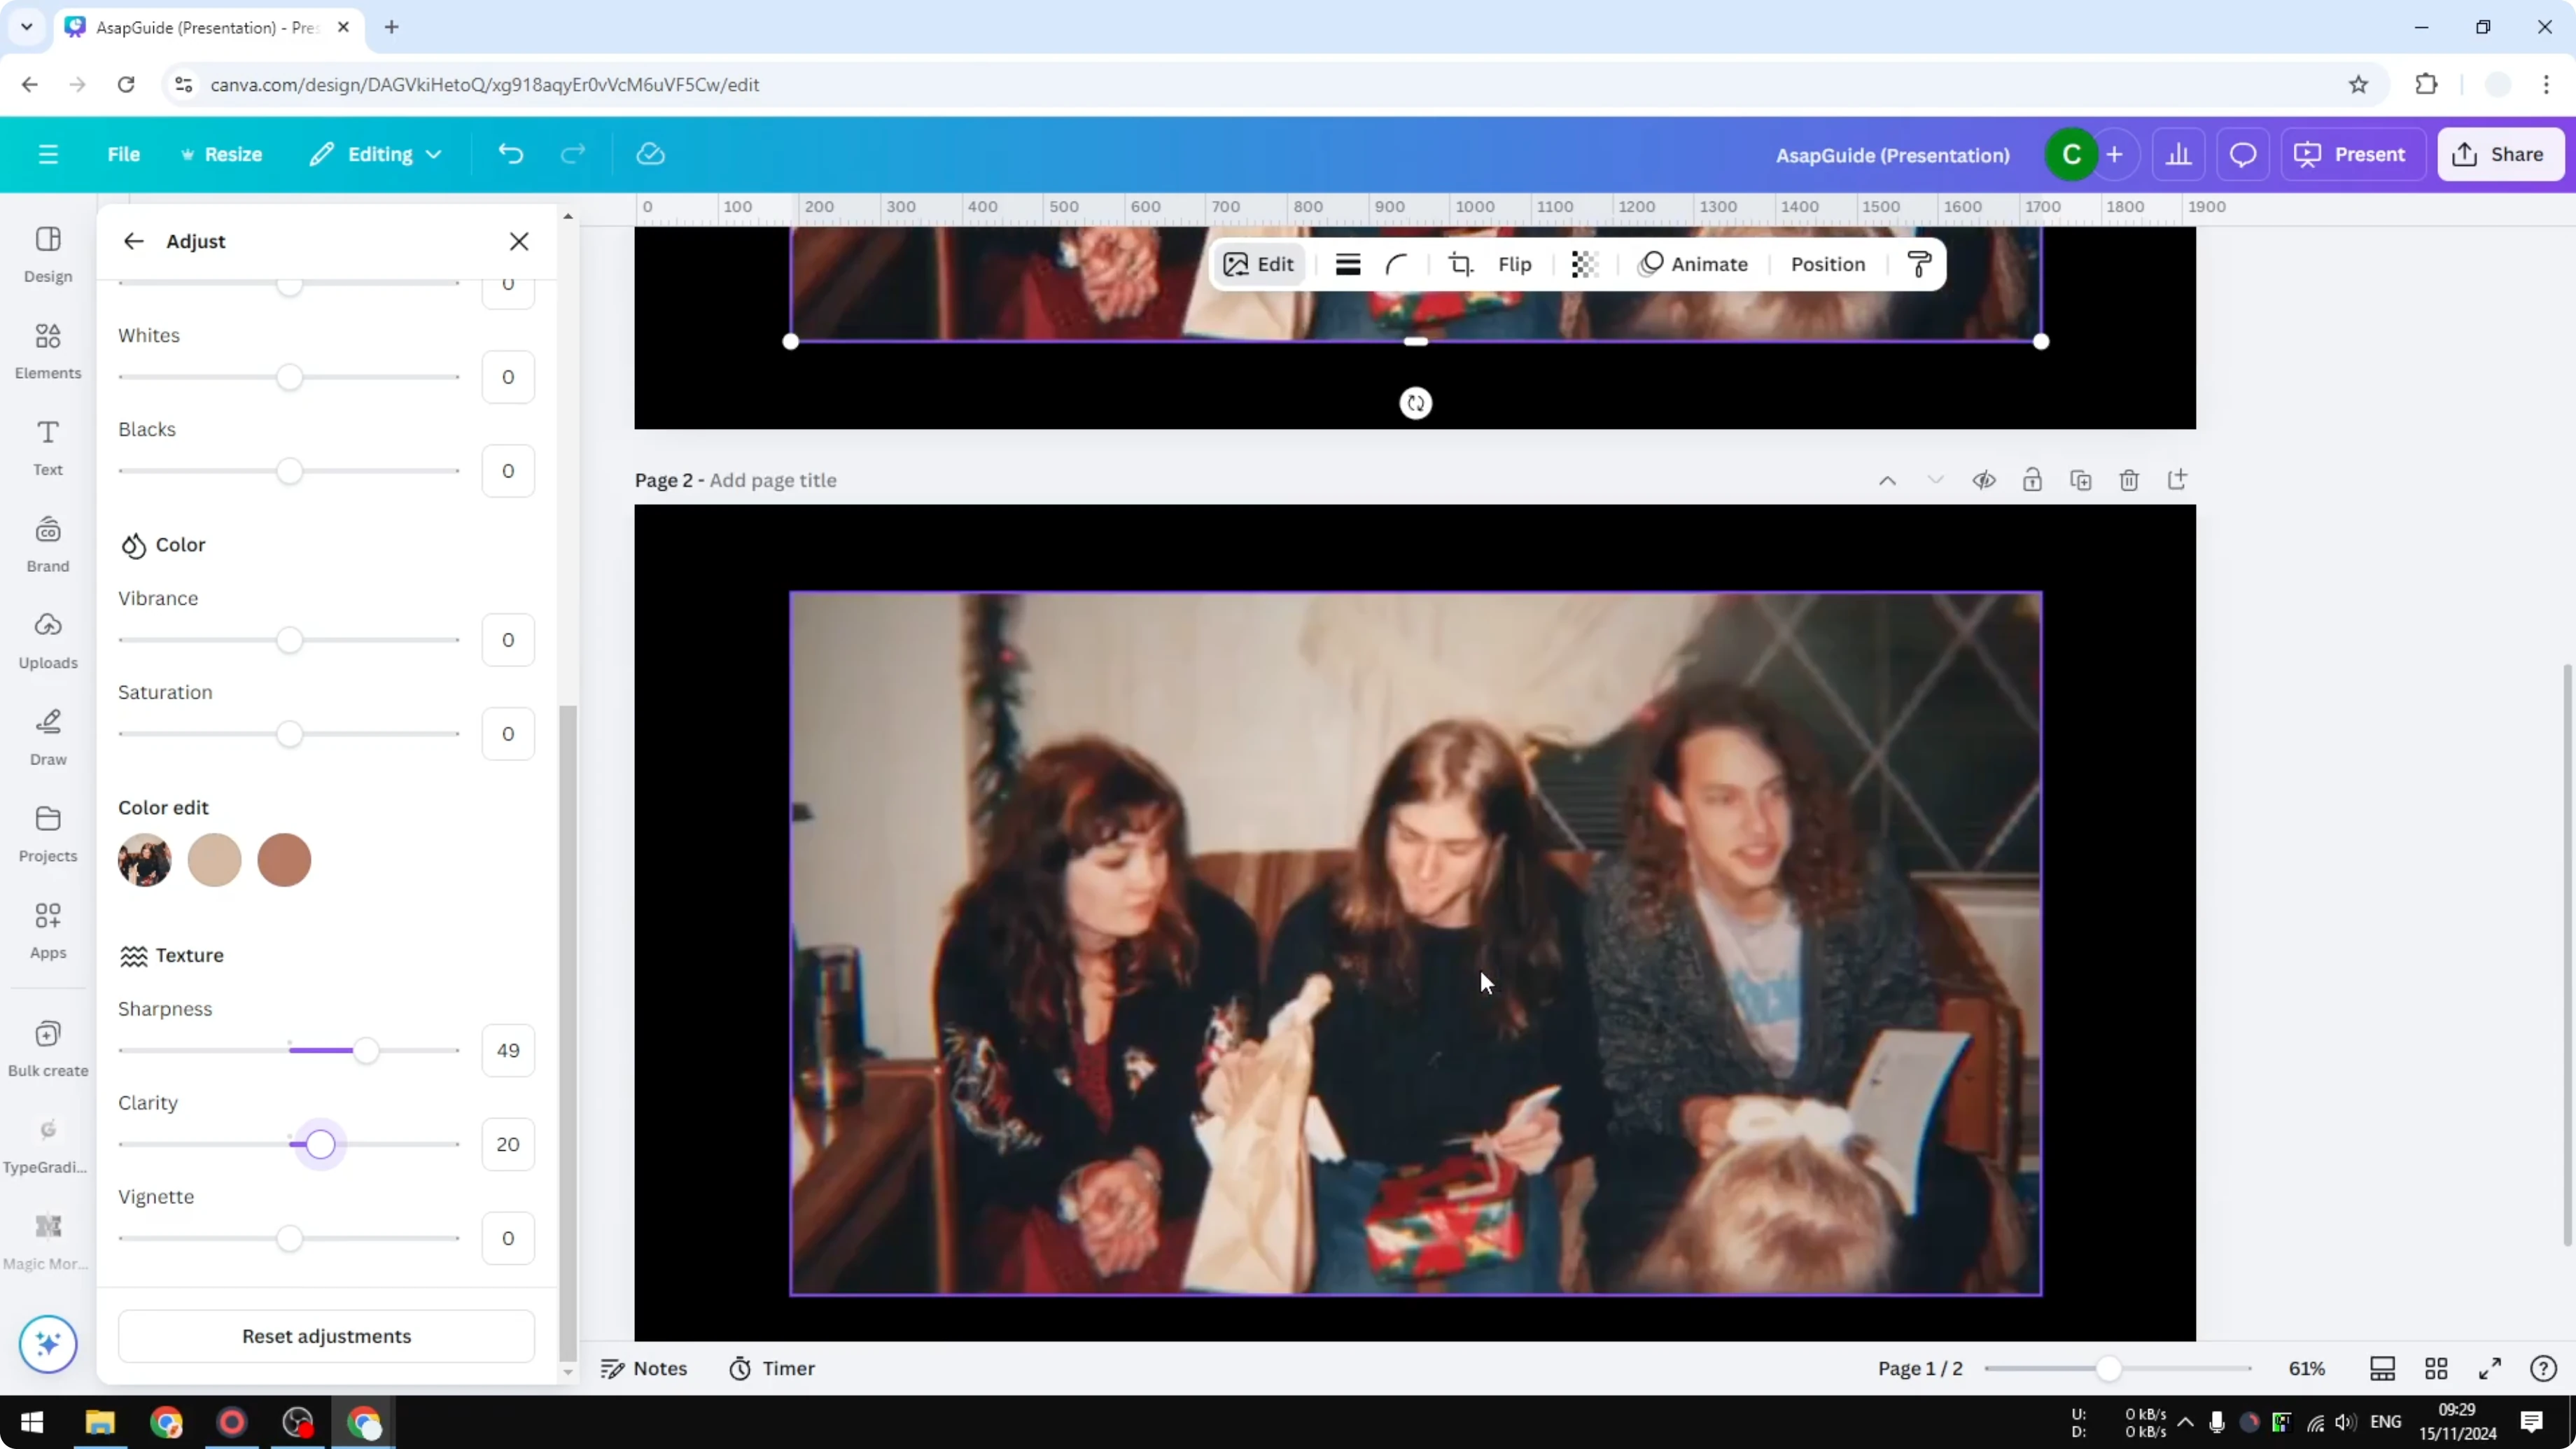
I increase Sharpness by around 40 to 50 percent, and I increase Clarity to around 20. There is no specific value you have to follow. You have to decide which setting works best for your photo.
Sharpen Image in Canva: Preview and compare
On the original picture the whole image is blurry. On the sharpened picture I can definitely distinguish the details on his face. It is a bit sharper compared to the original.
Sharpen Image in Canva: AI Upscale
Sharpen Image in Canva: Setup
The second method uses an AI tool, specifically an upscaler, to expand or increase the dimension size of the image. It is not meant to add sharpness to the image, but while upscaling it can introduce more details. When you shrink the image back to the original size, it is going to look slightly sharper than the original image.
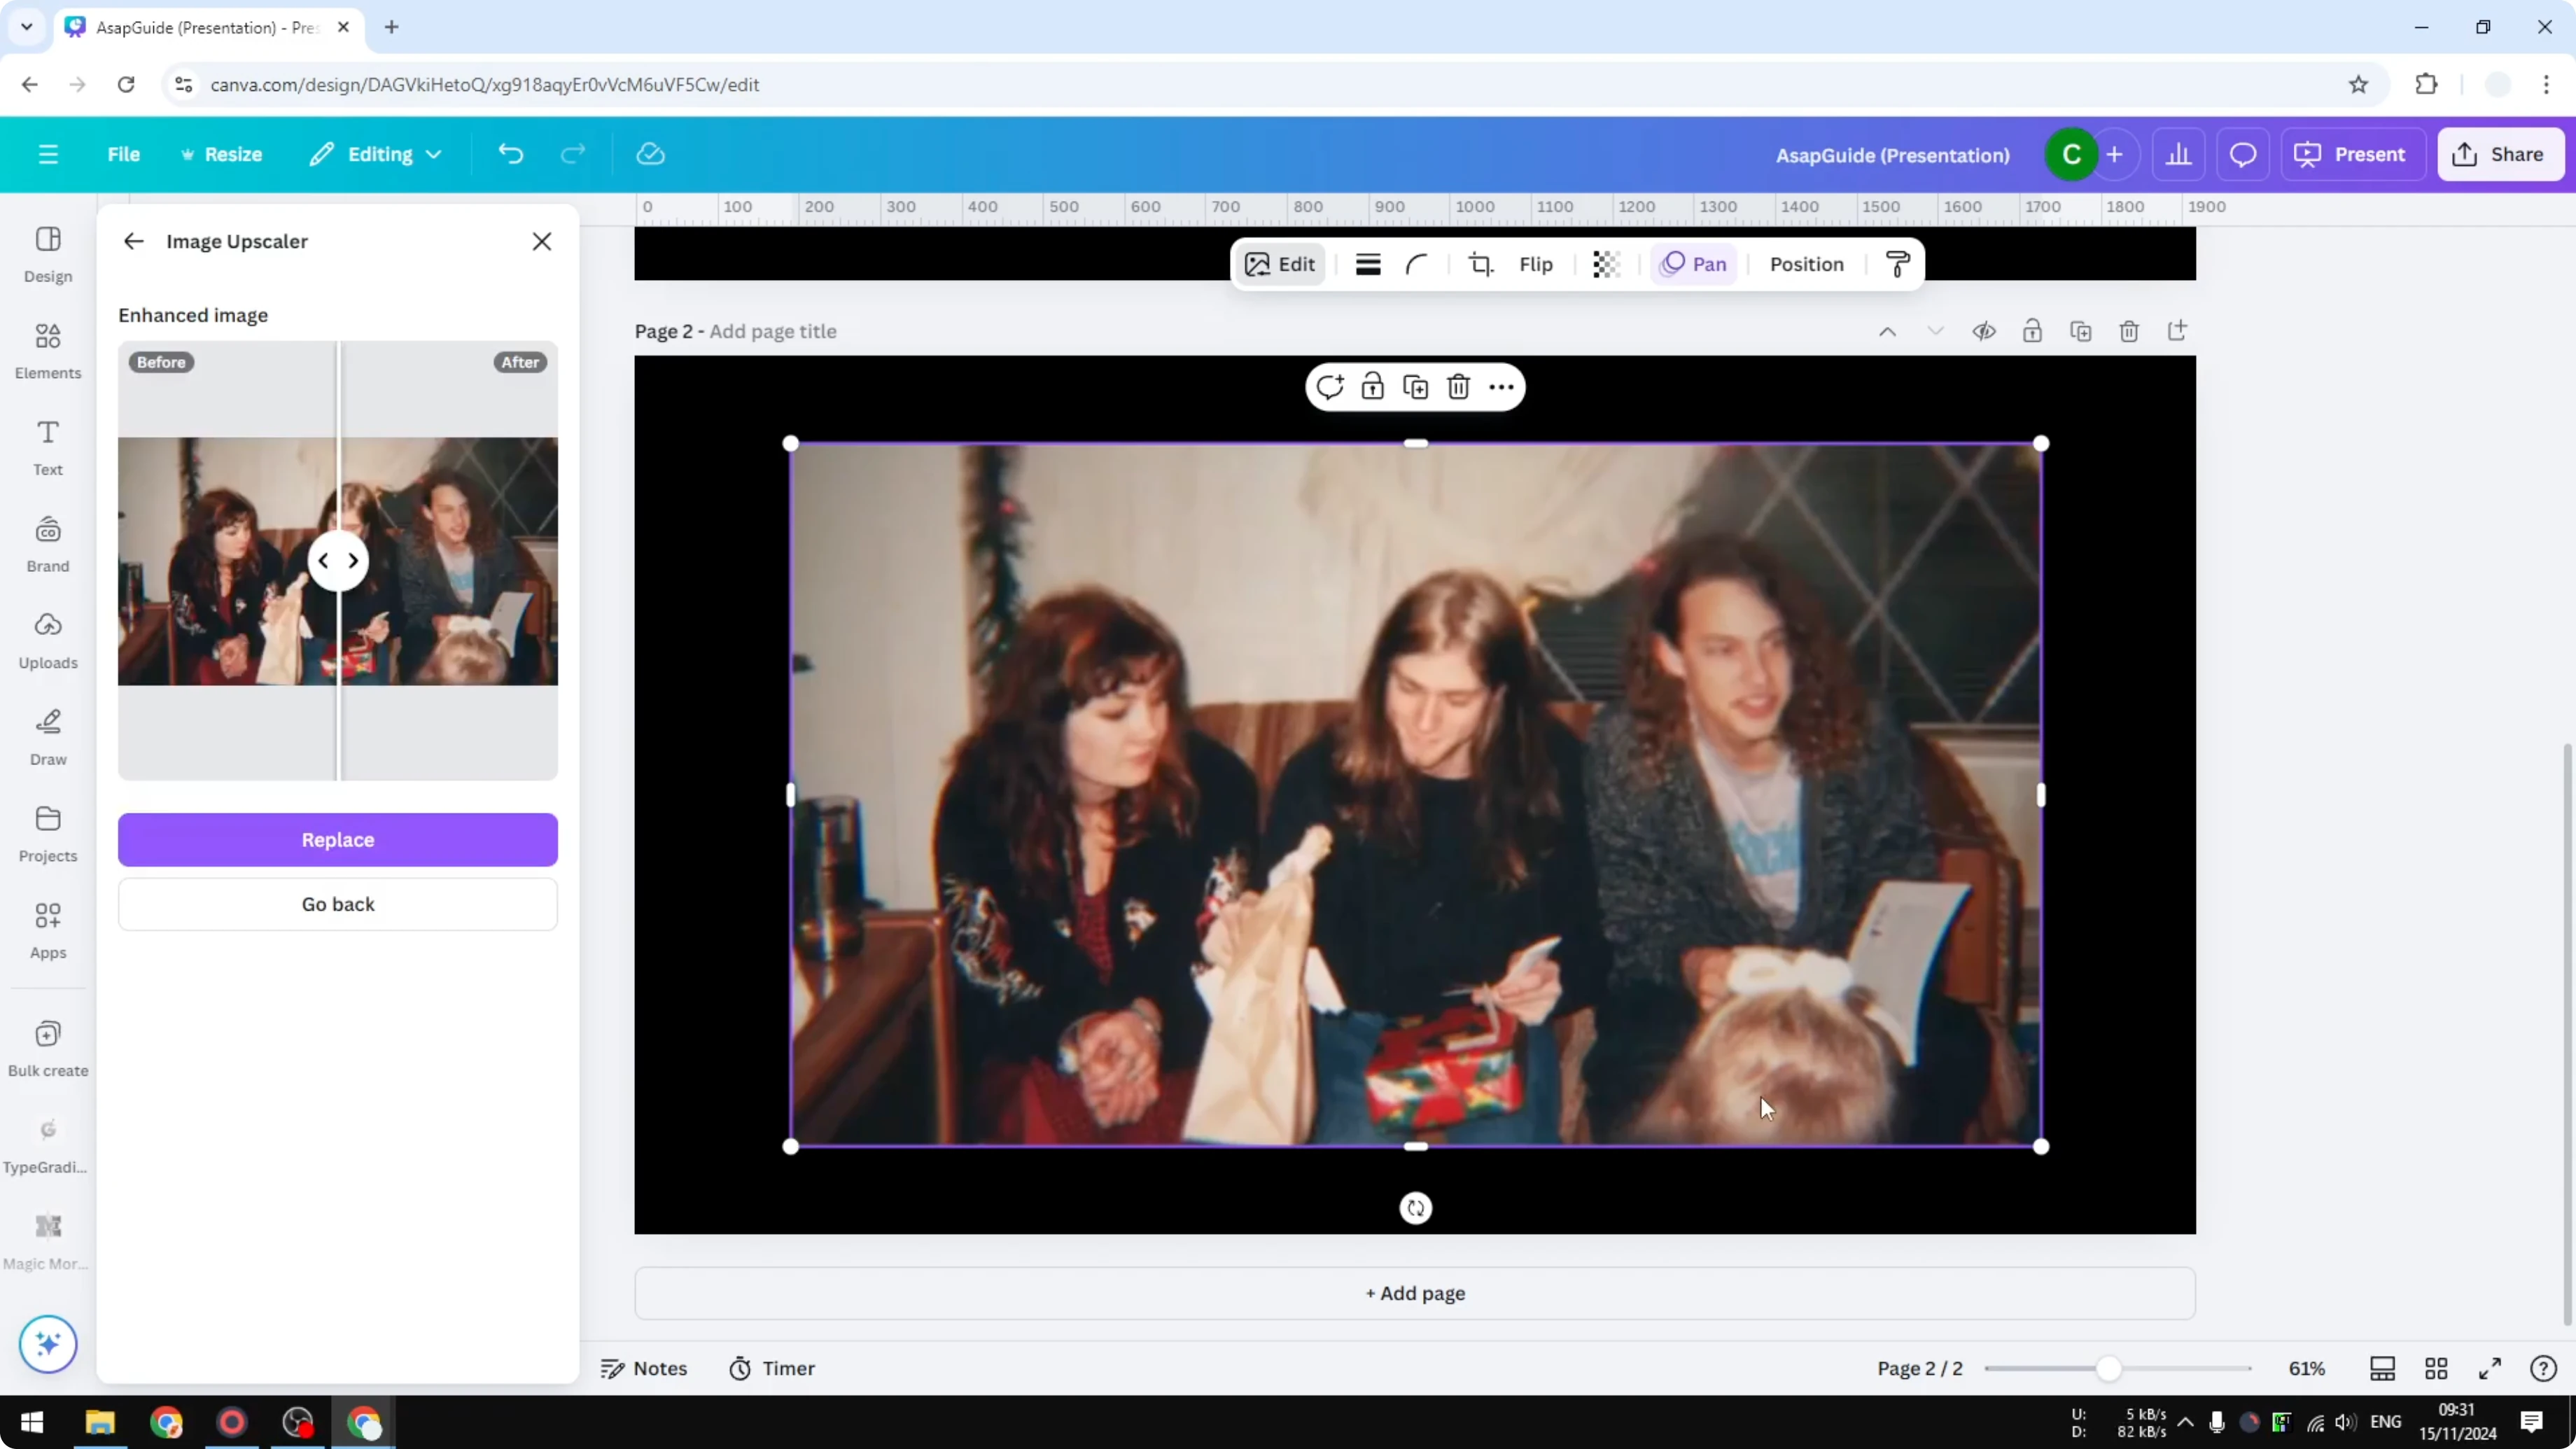
Click on the image and go to Edit. In the Apps section, click Image Upscaler. Set the upscale resolution to be twice and click Upscale.

Usually this process takes less than a minute. Click Replace to replace the image with the upscaled picture. You might not see much difference at first because the preview box is small.
If you also need to tweak hues after sharpening, you can change color in Canva to match your design.
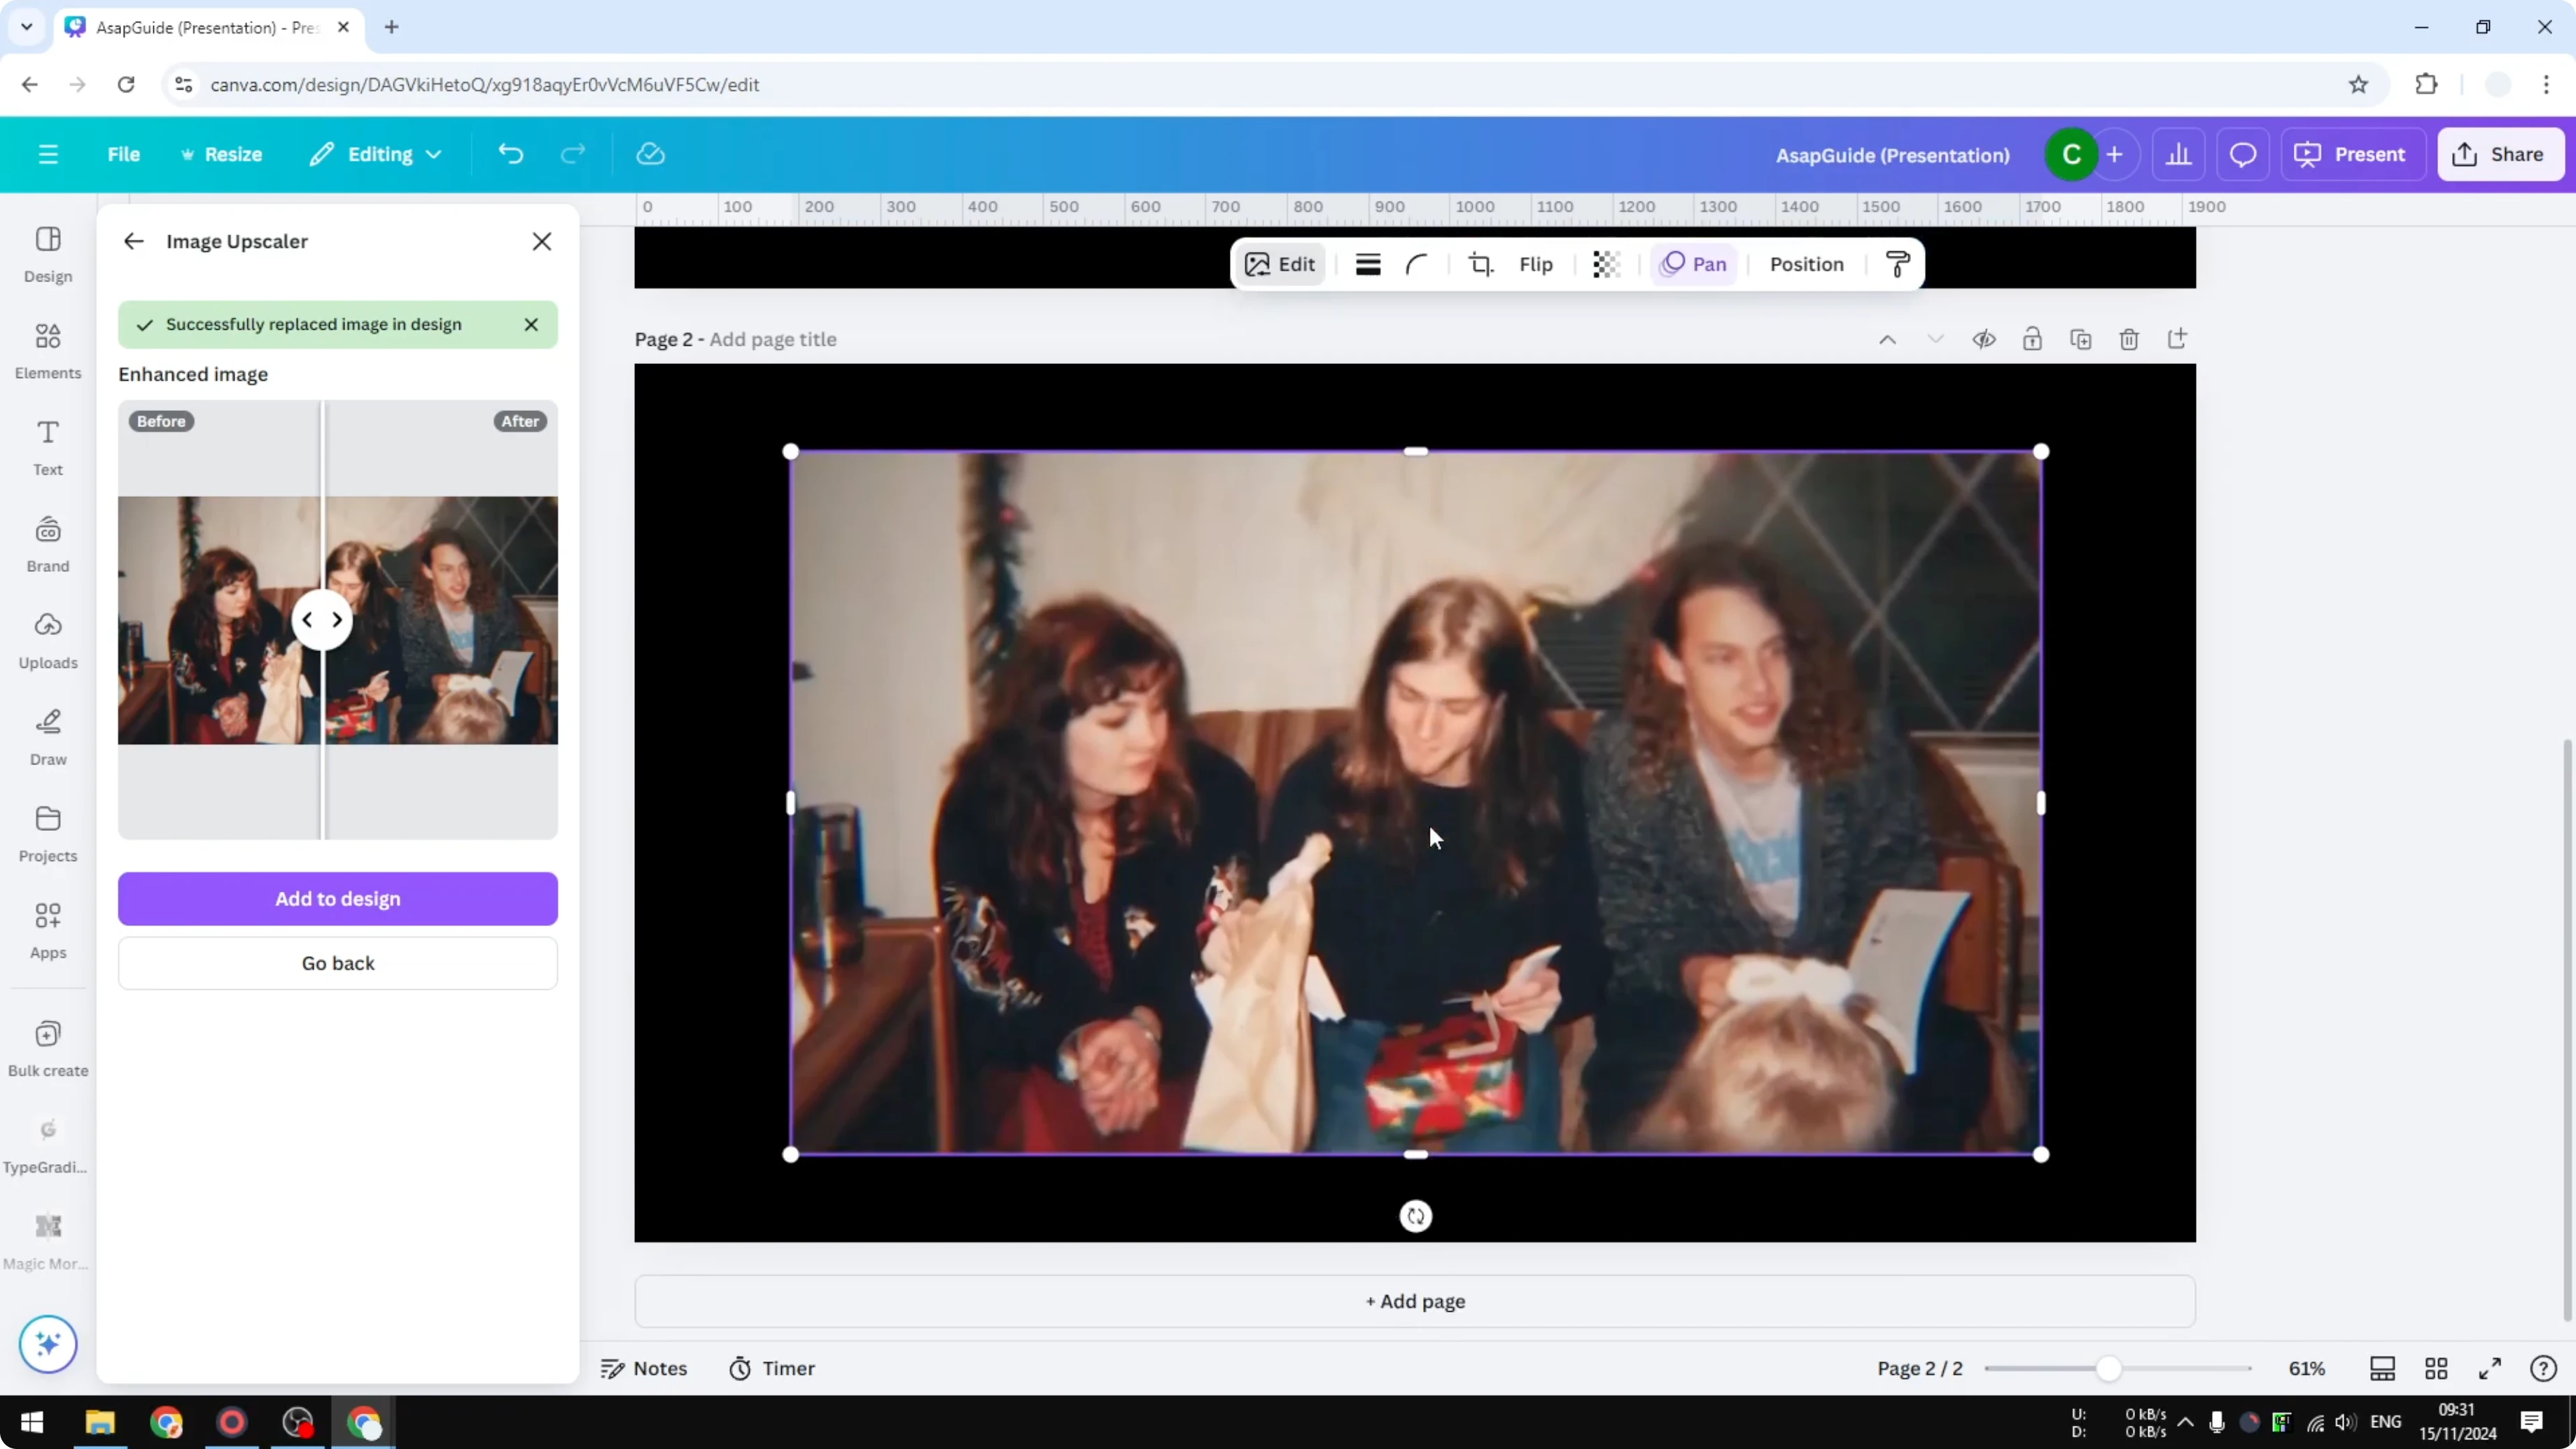
Sharpen Image in Canva: Replace and evaluate
It might be slightly sharper, but it is definitely not as sharp as the first method. The first method is way better because you are intentionally making the image sharper. The second method makes the resolution higher, but not necessarily sharper.
In some cases you may want to use the second method. Keep that in mind as you pick the right workflow for your photo. Test both and choose the result you prefer.
Sharpen Image in Canva: Final thoughts
Use the basic Sharpen and Clarity tools for the most direct improvement in detail. Try the AI upscaler when you also need a larger image and a slight perceived boost after resizing back down. If you plan to soften parts of a design after sharpening, you can fade an image in Canva for a balanced look.
Recent Posts
How to Visualize Different Hairstyles and Hair Colors with AI?
How to Visualize Different Hairstyles and Hair Colors with AI?

How to Transform Daytime Photos into Realistic Night Scenes with AI?
How to Transform Daytime Photos into Realistic Night Scenes with AI?
How to Visualize Yourself as the Opposite Gender with AI?
How to Visualize Yourself as the Opposite Gender with AI?