How to Remove Audio From Canva Video
I’m going to show you how you can remove audio from a video using Canva. Canva is not only useful for creating an entirely new video, but it can also be used to modify an existing video. For example, you can remove the audio content from the video.
There are two methods.
Read More: How To Download Video From Canva Library
Remove Audio From Canva Video: Mute Entire Video
The first method is the easiest.
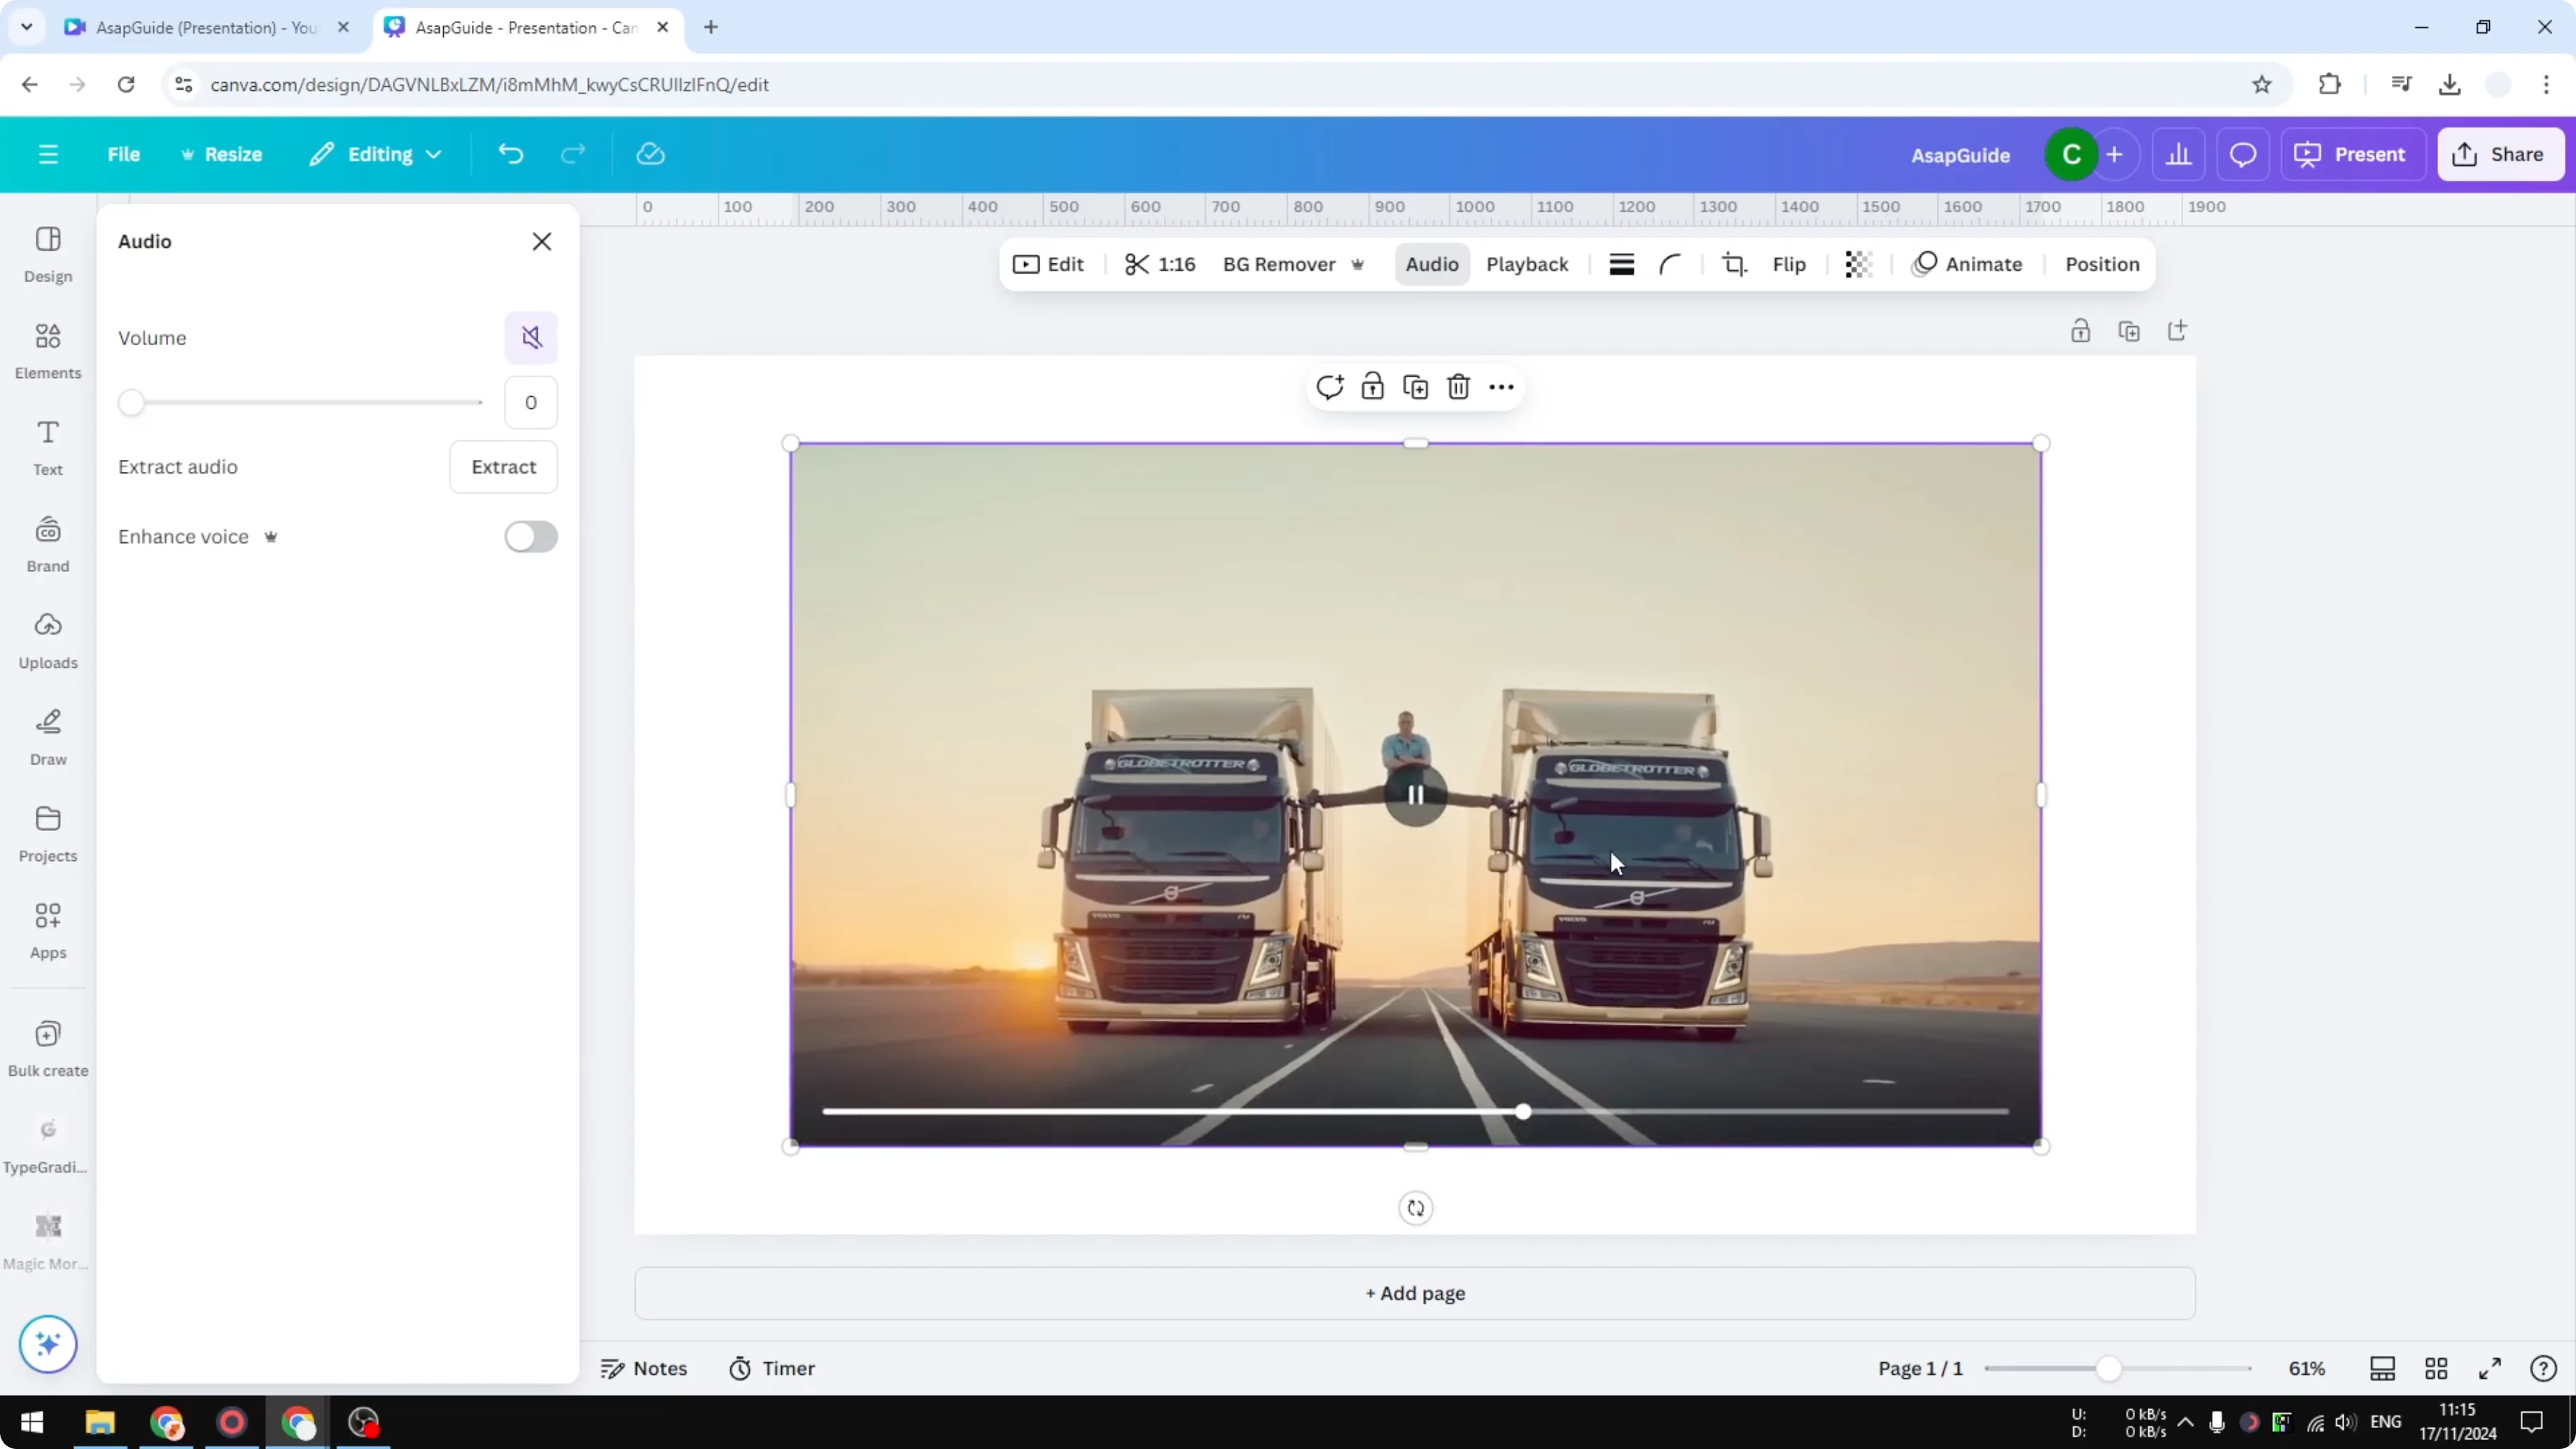
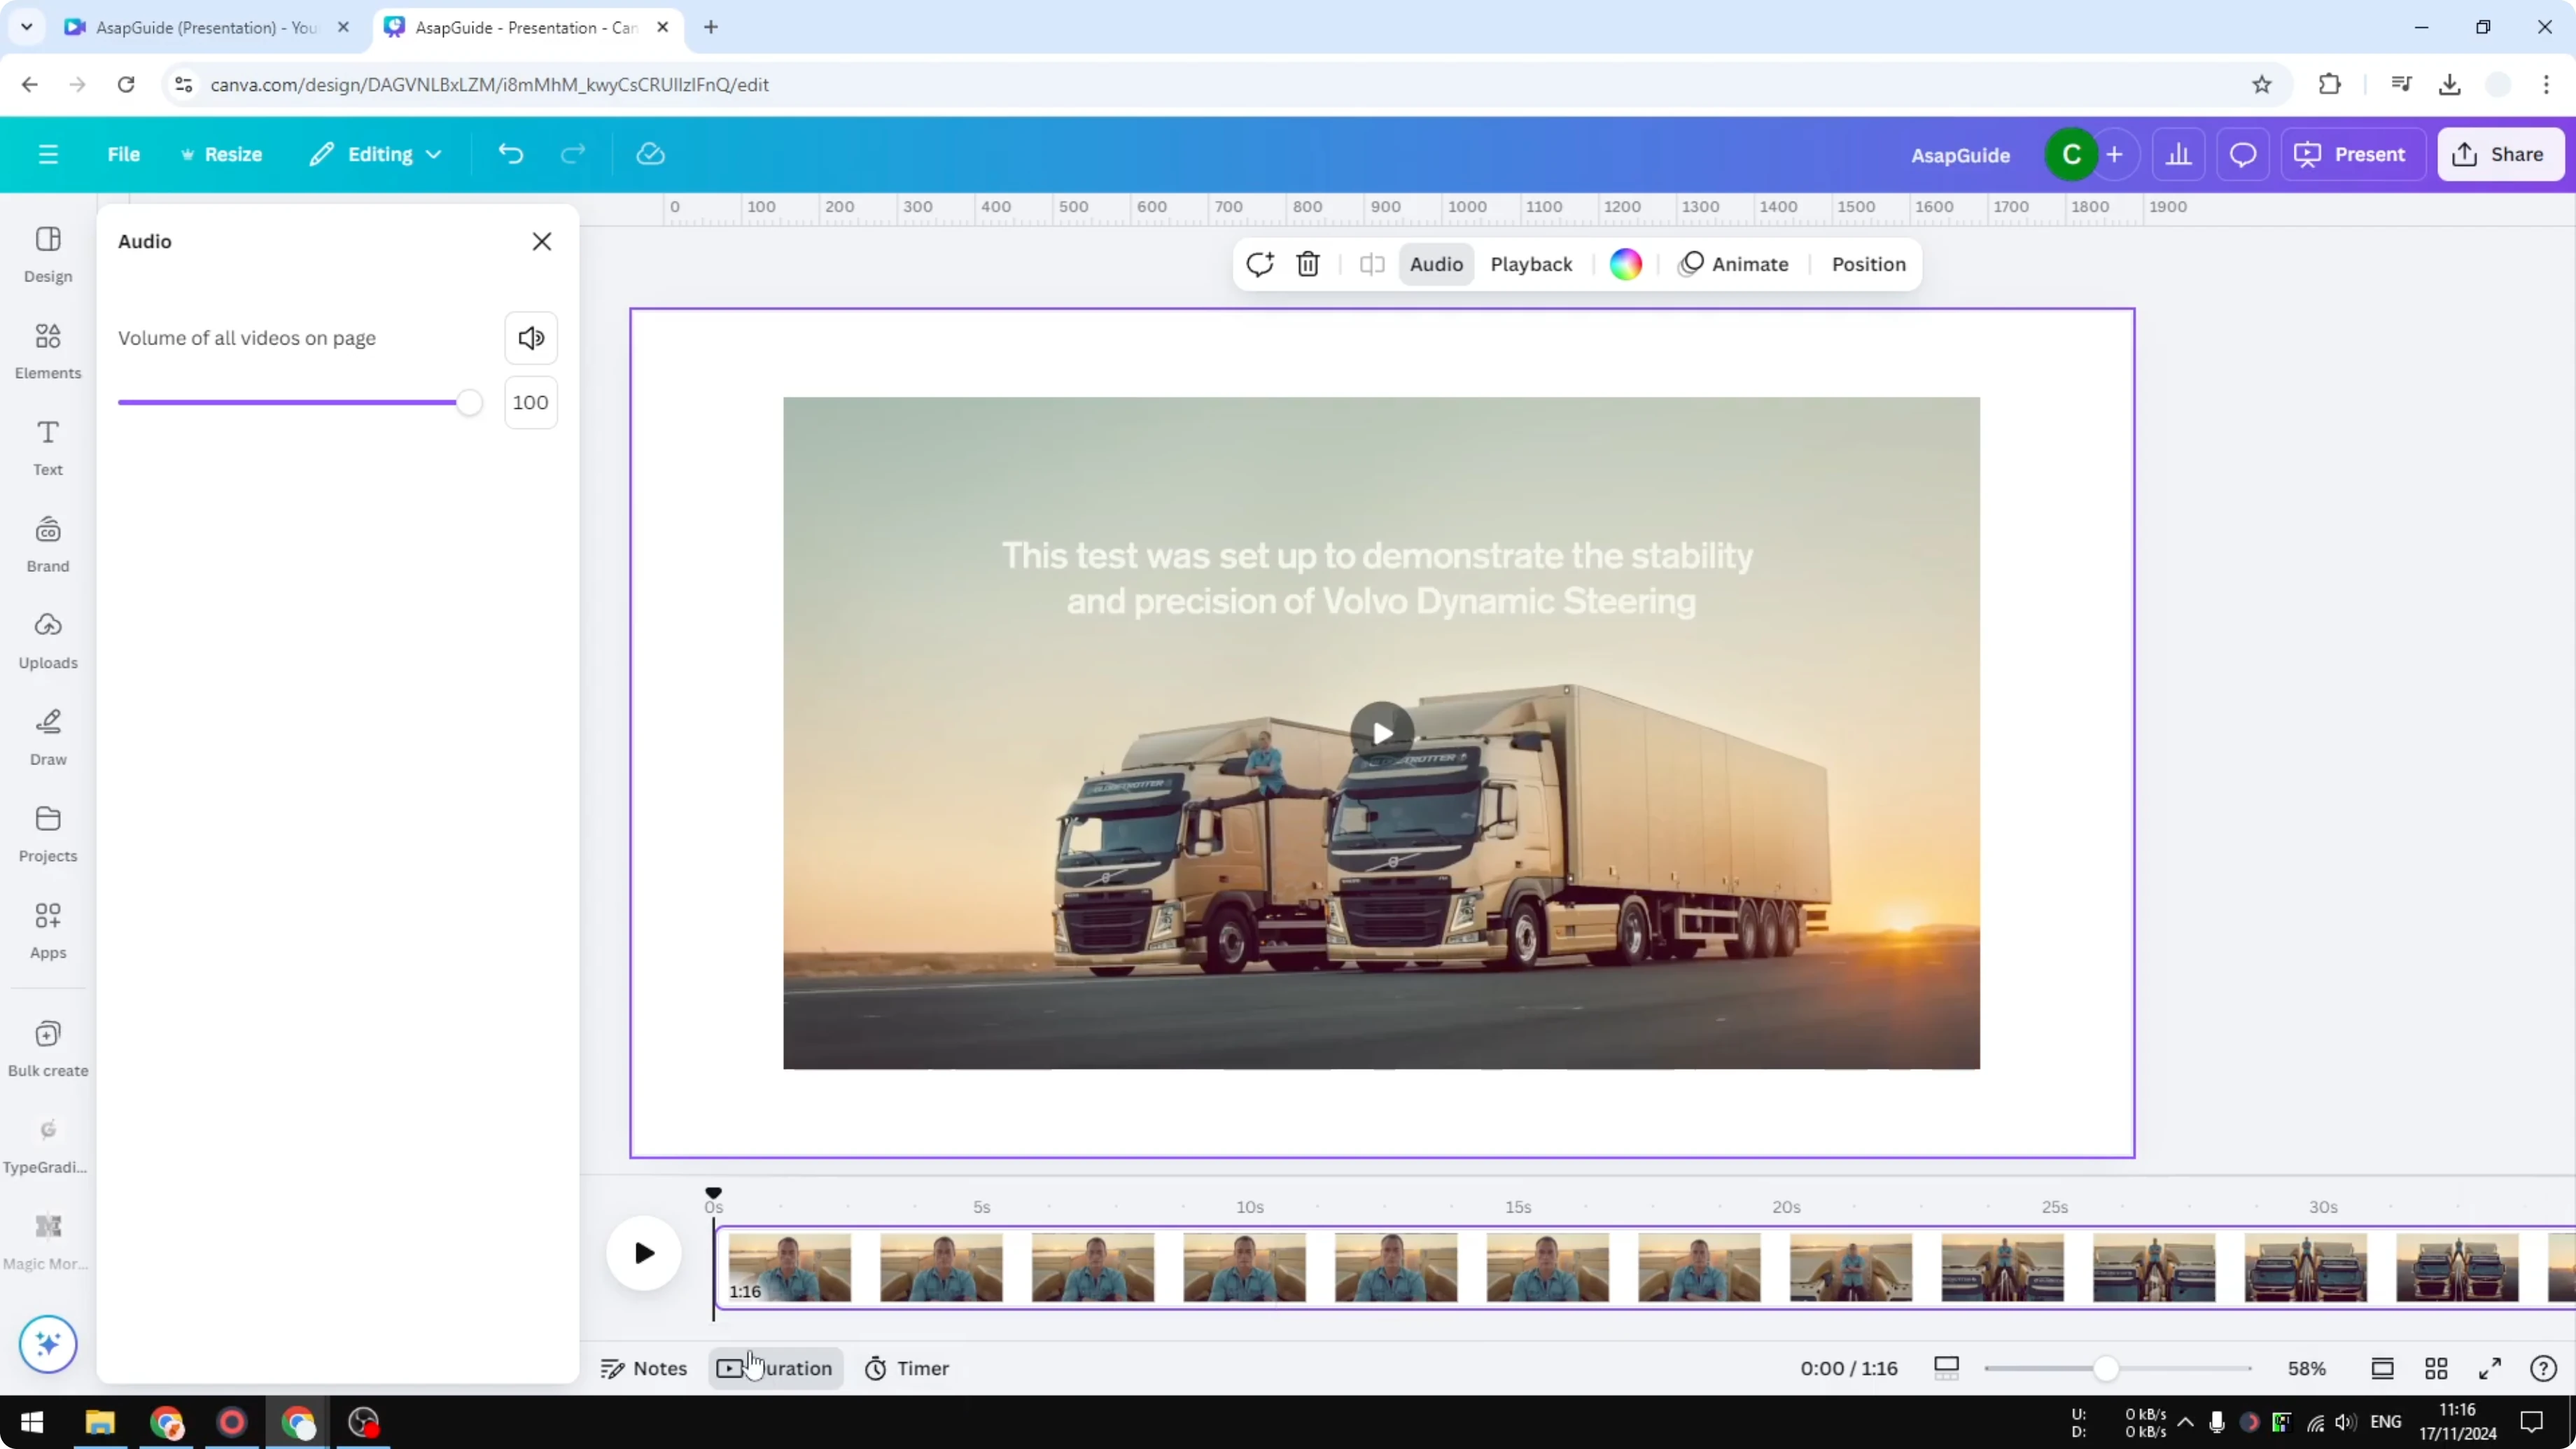
Select the video and go to Audio.

Disable the volume to mute the entire video.
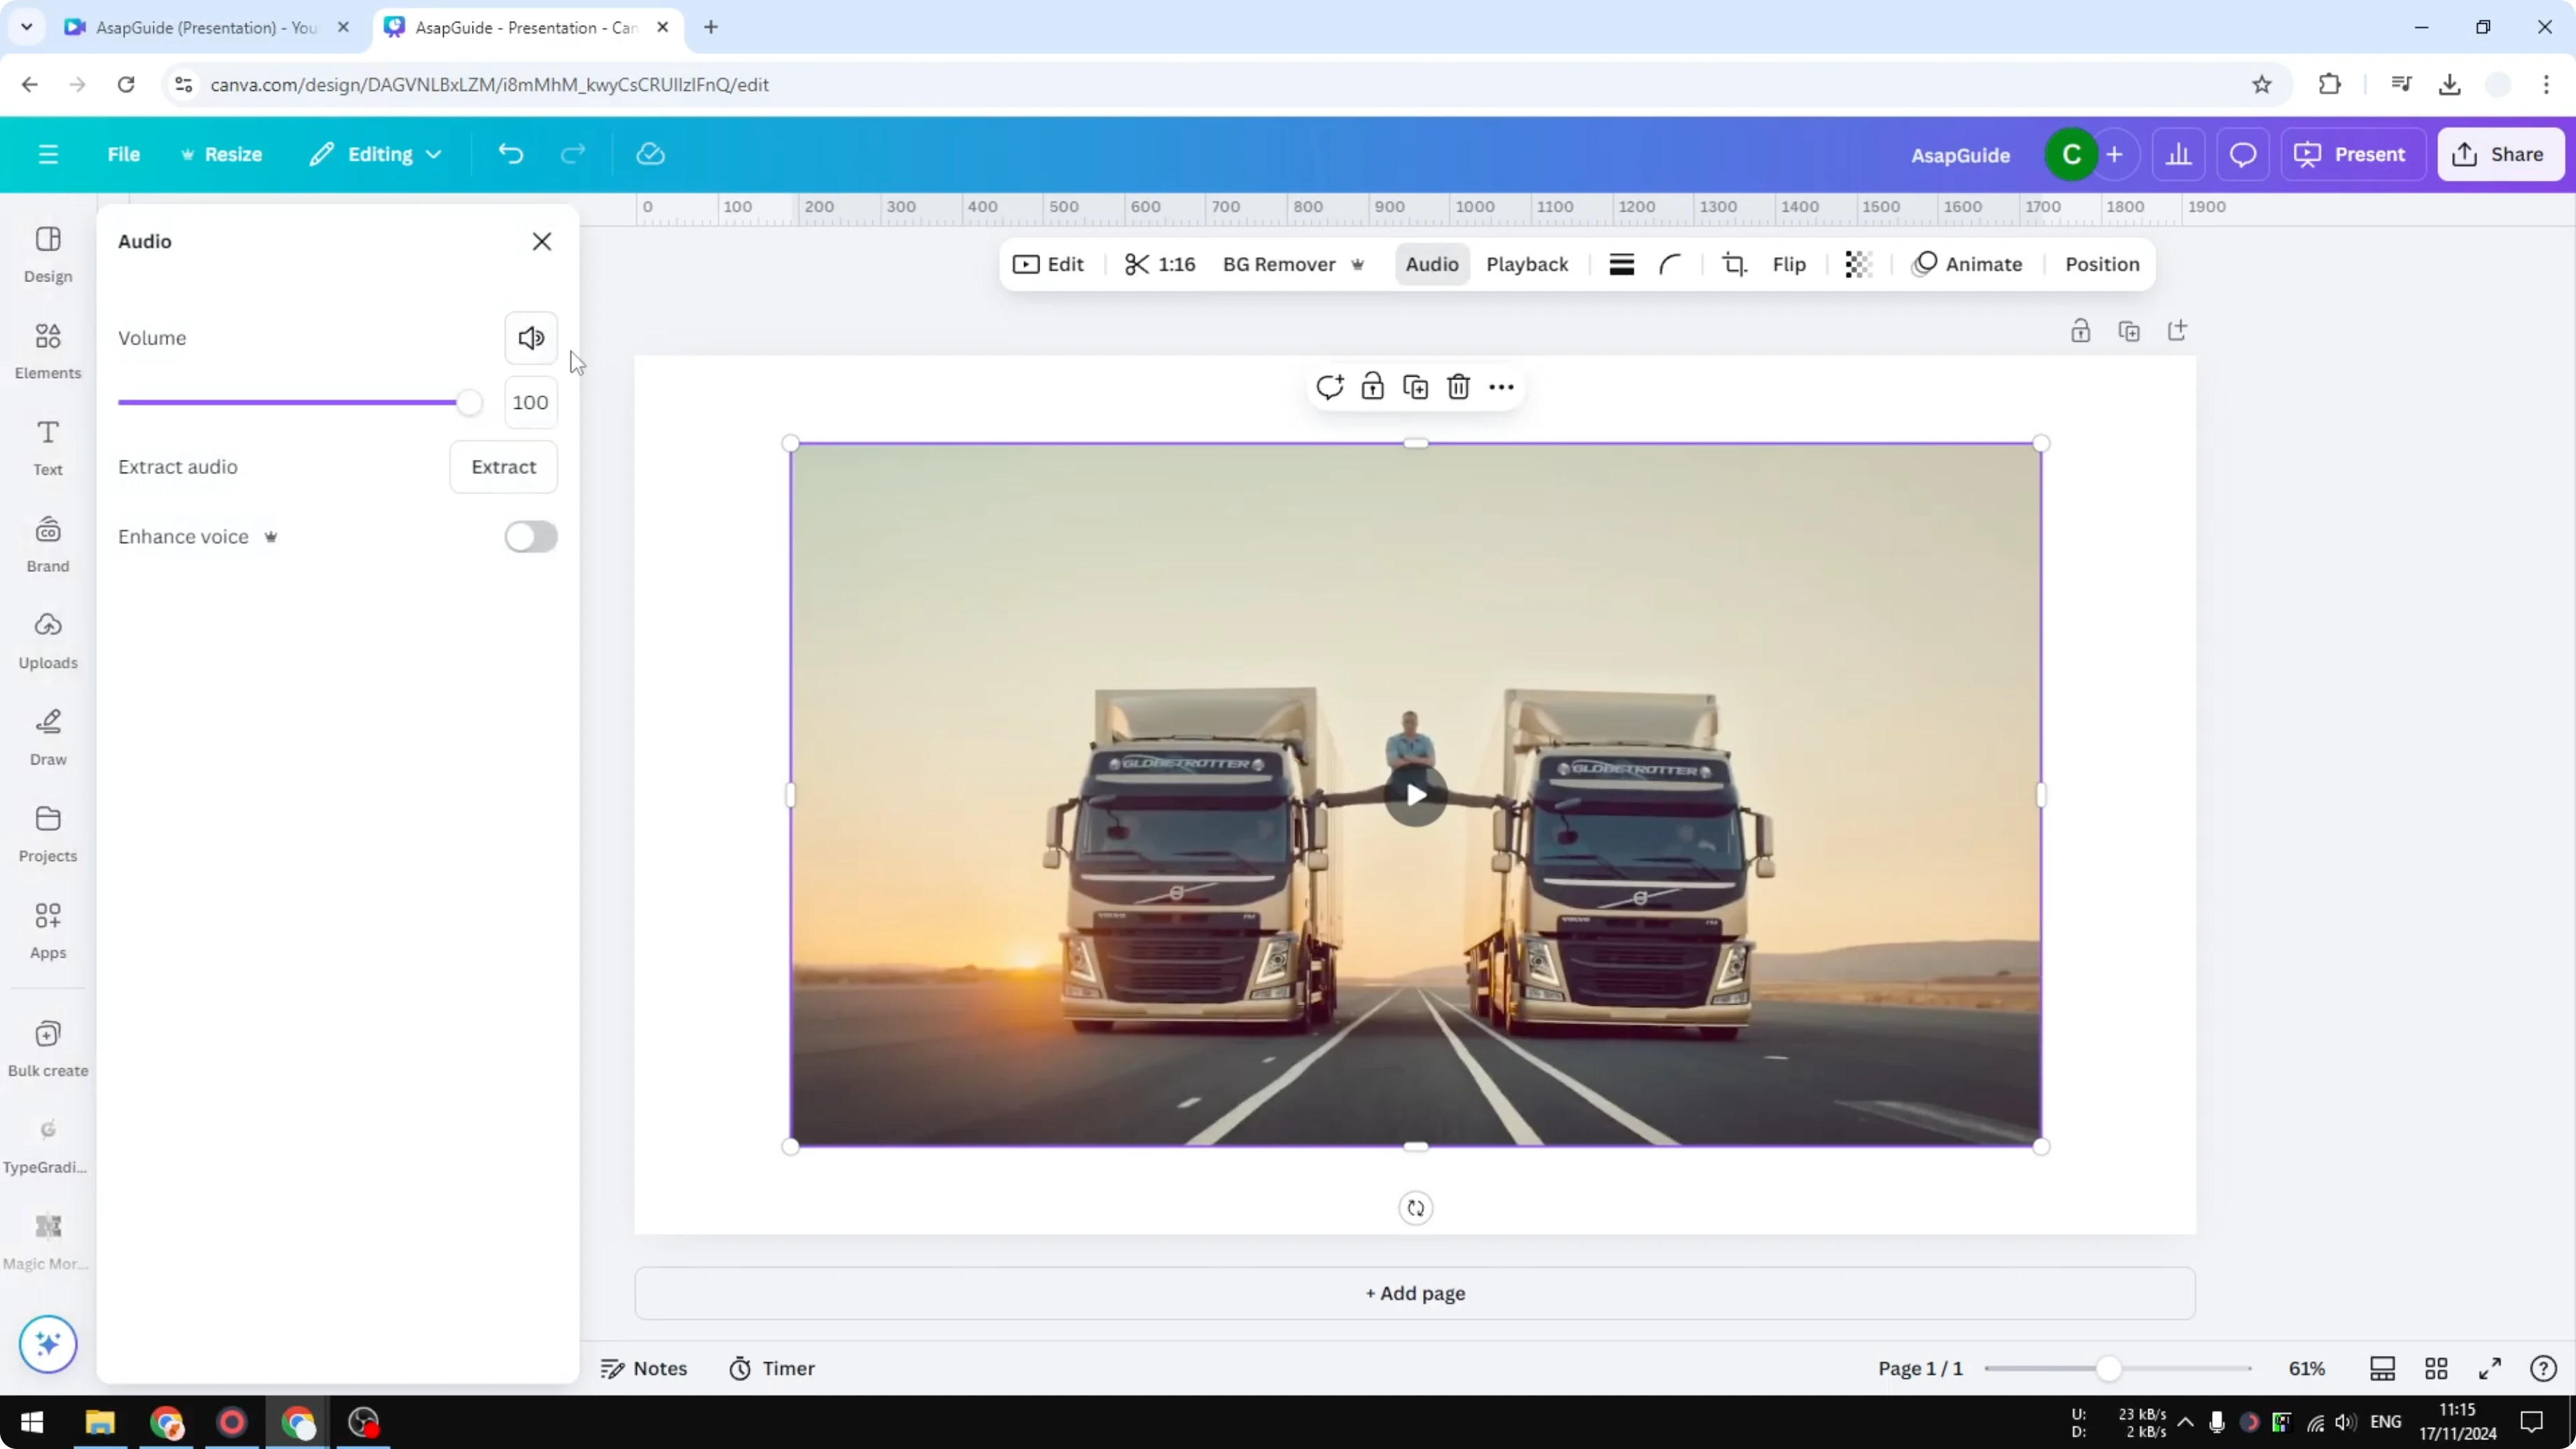
Click on it and when you play it back there is no audio. It’s mute. I don’t like this method because most of the time you want to remove audio from a specific section.
Read More: How To Remove Animations From Canva
Remove Audio From Canva Video: Edit Specific Sections
I recommend the second method.
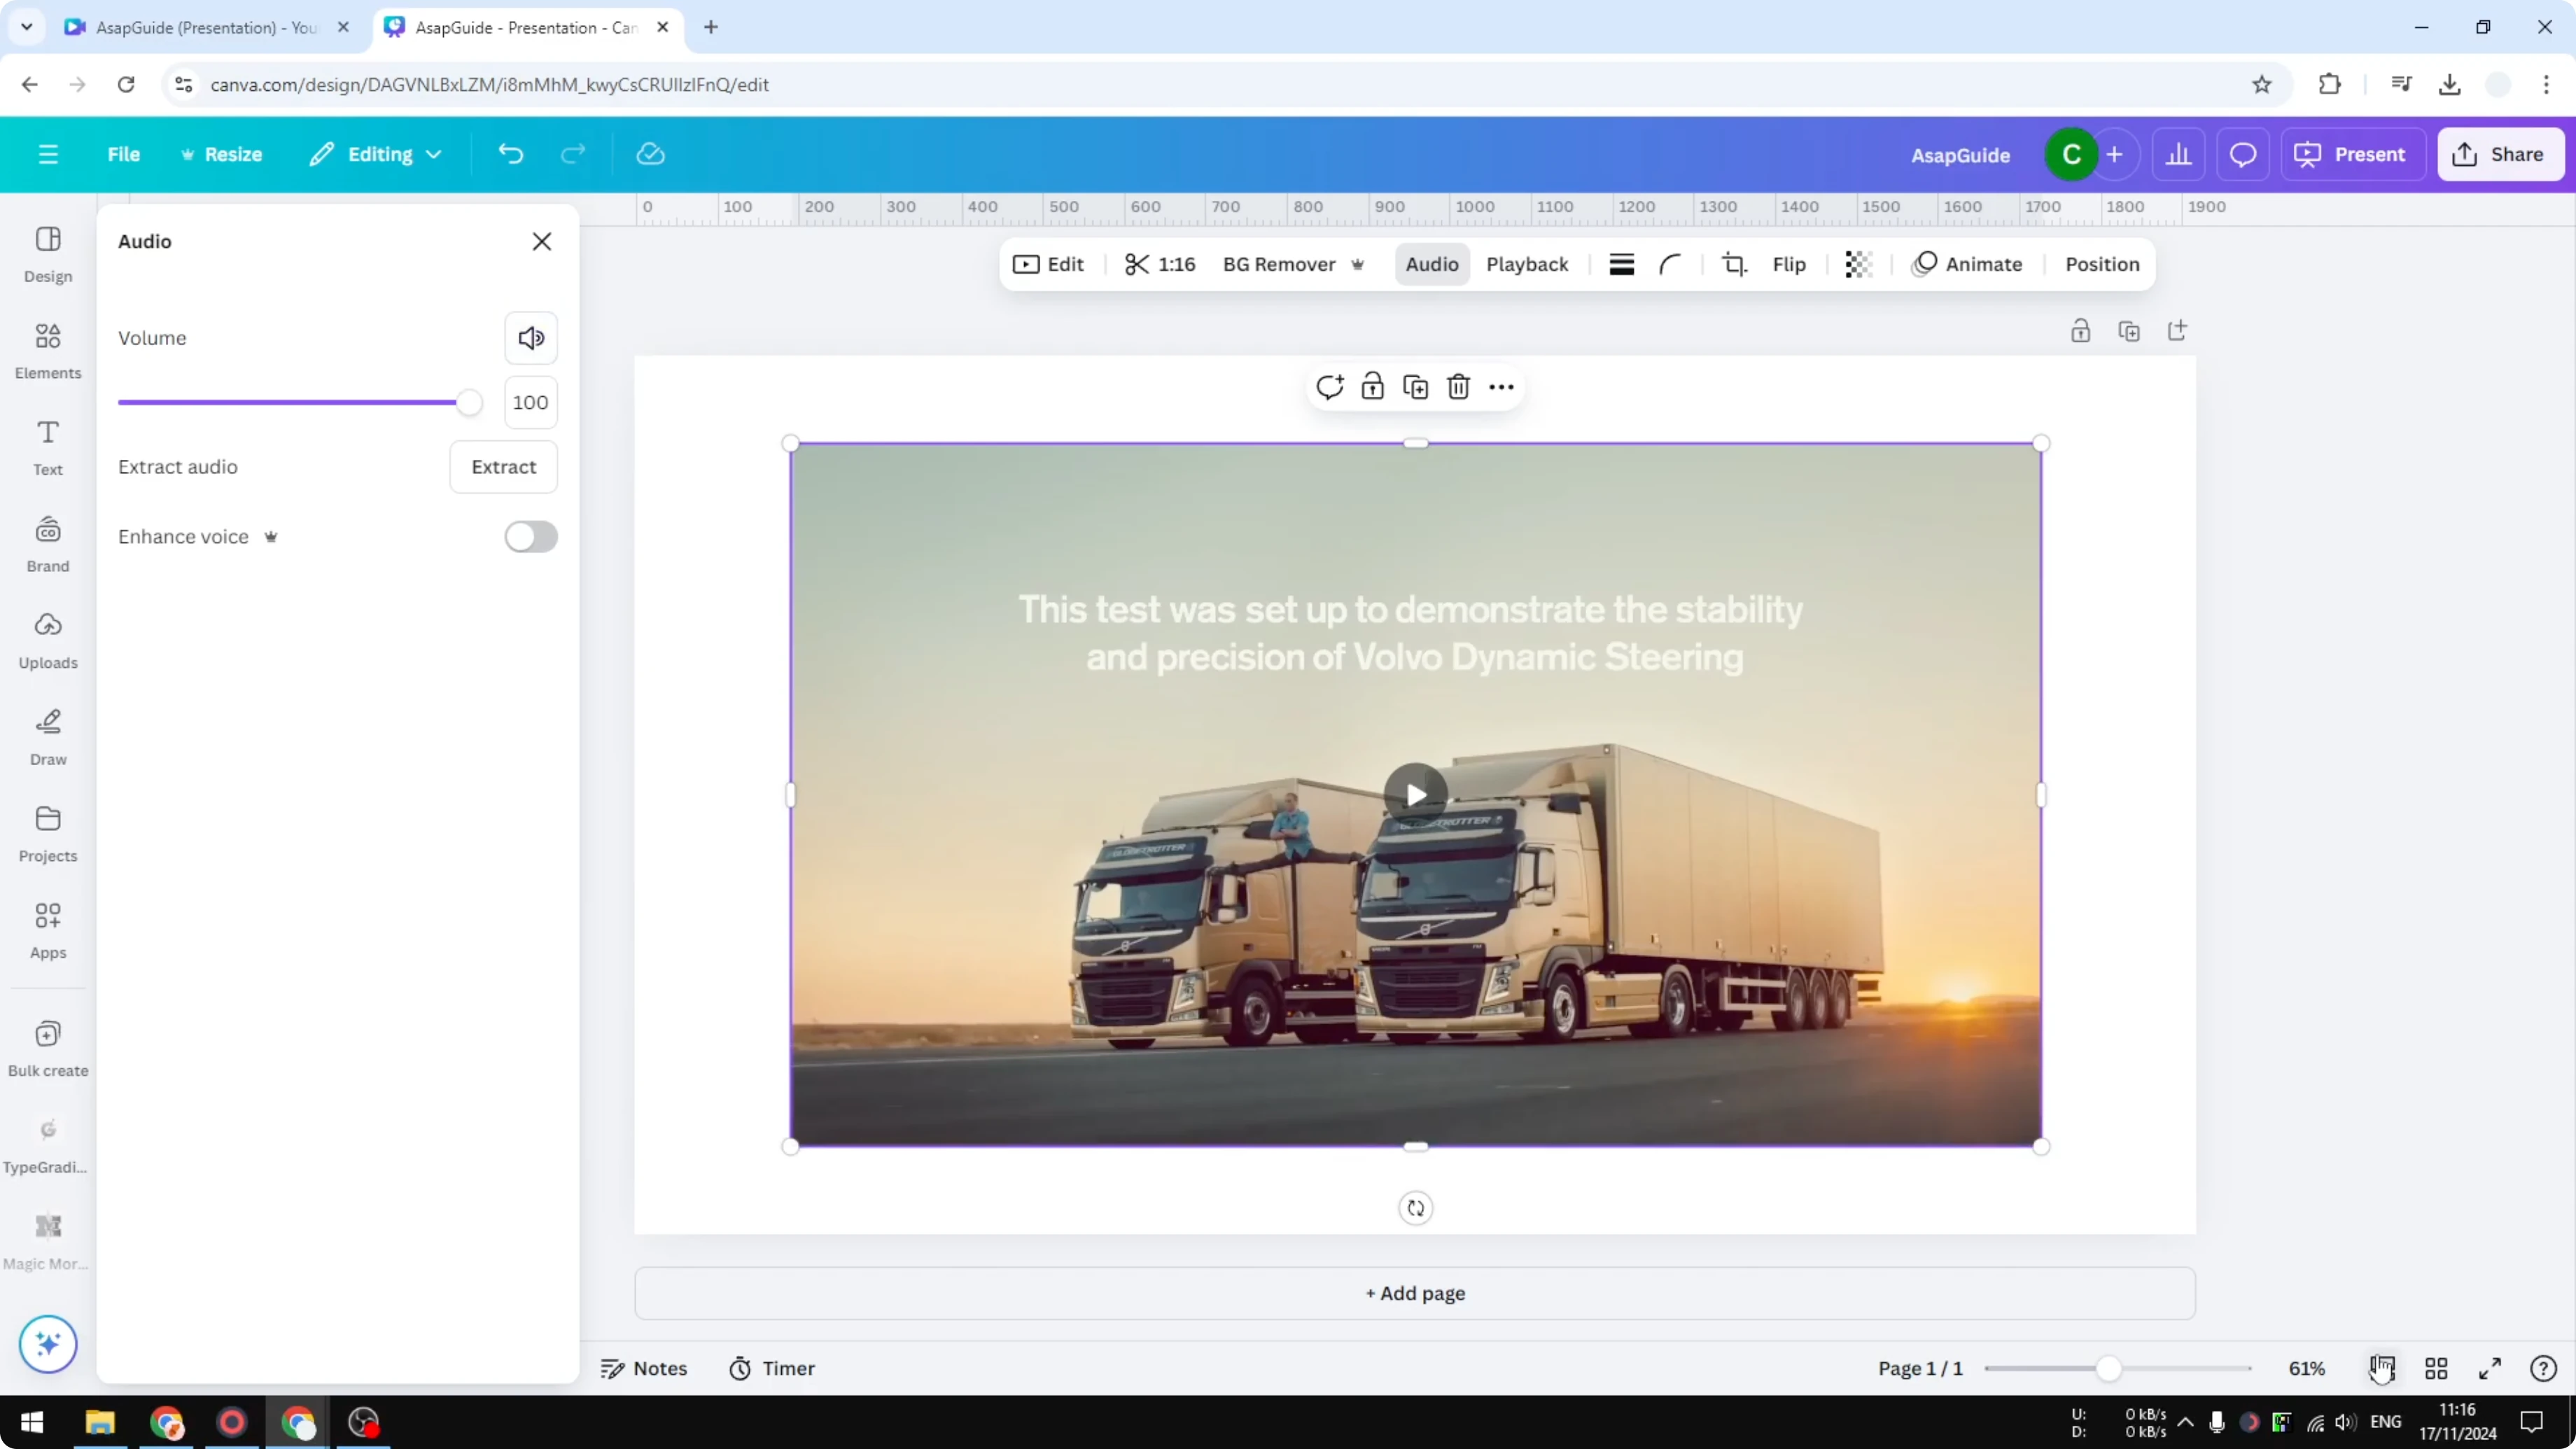
Unmute again.
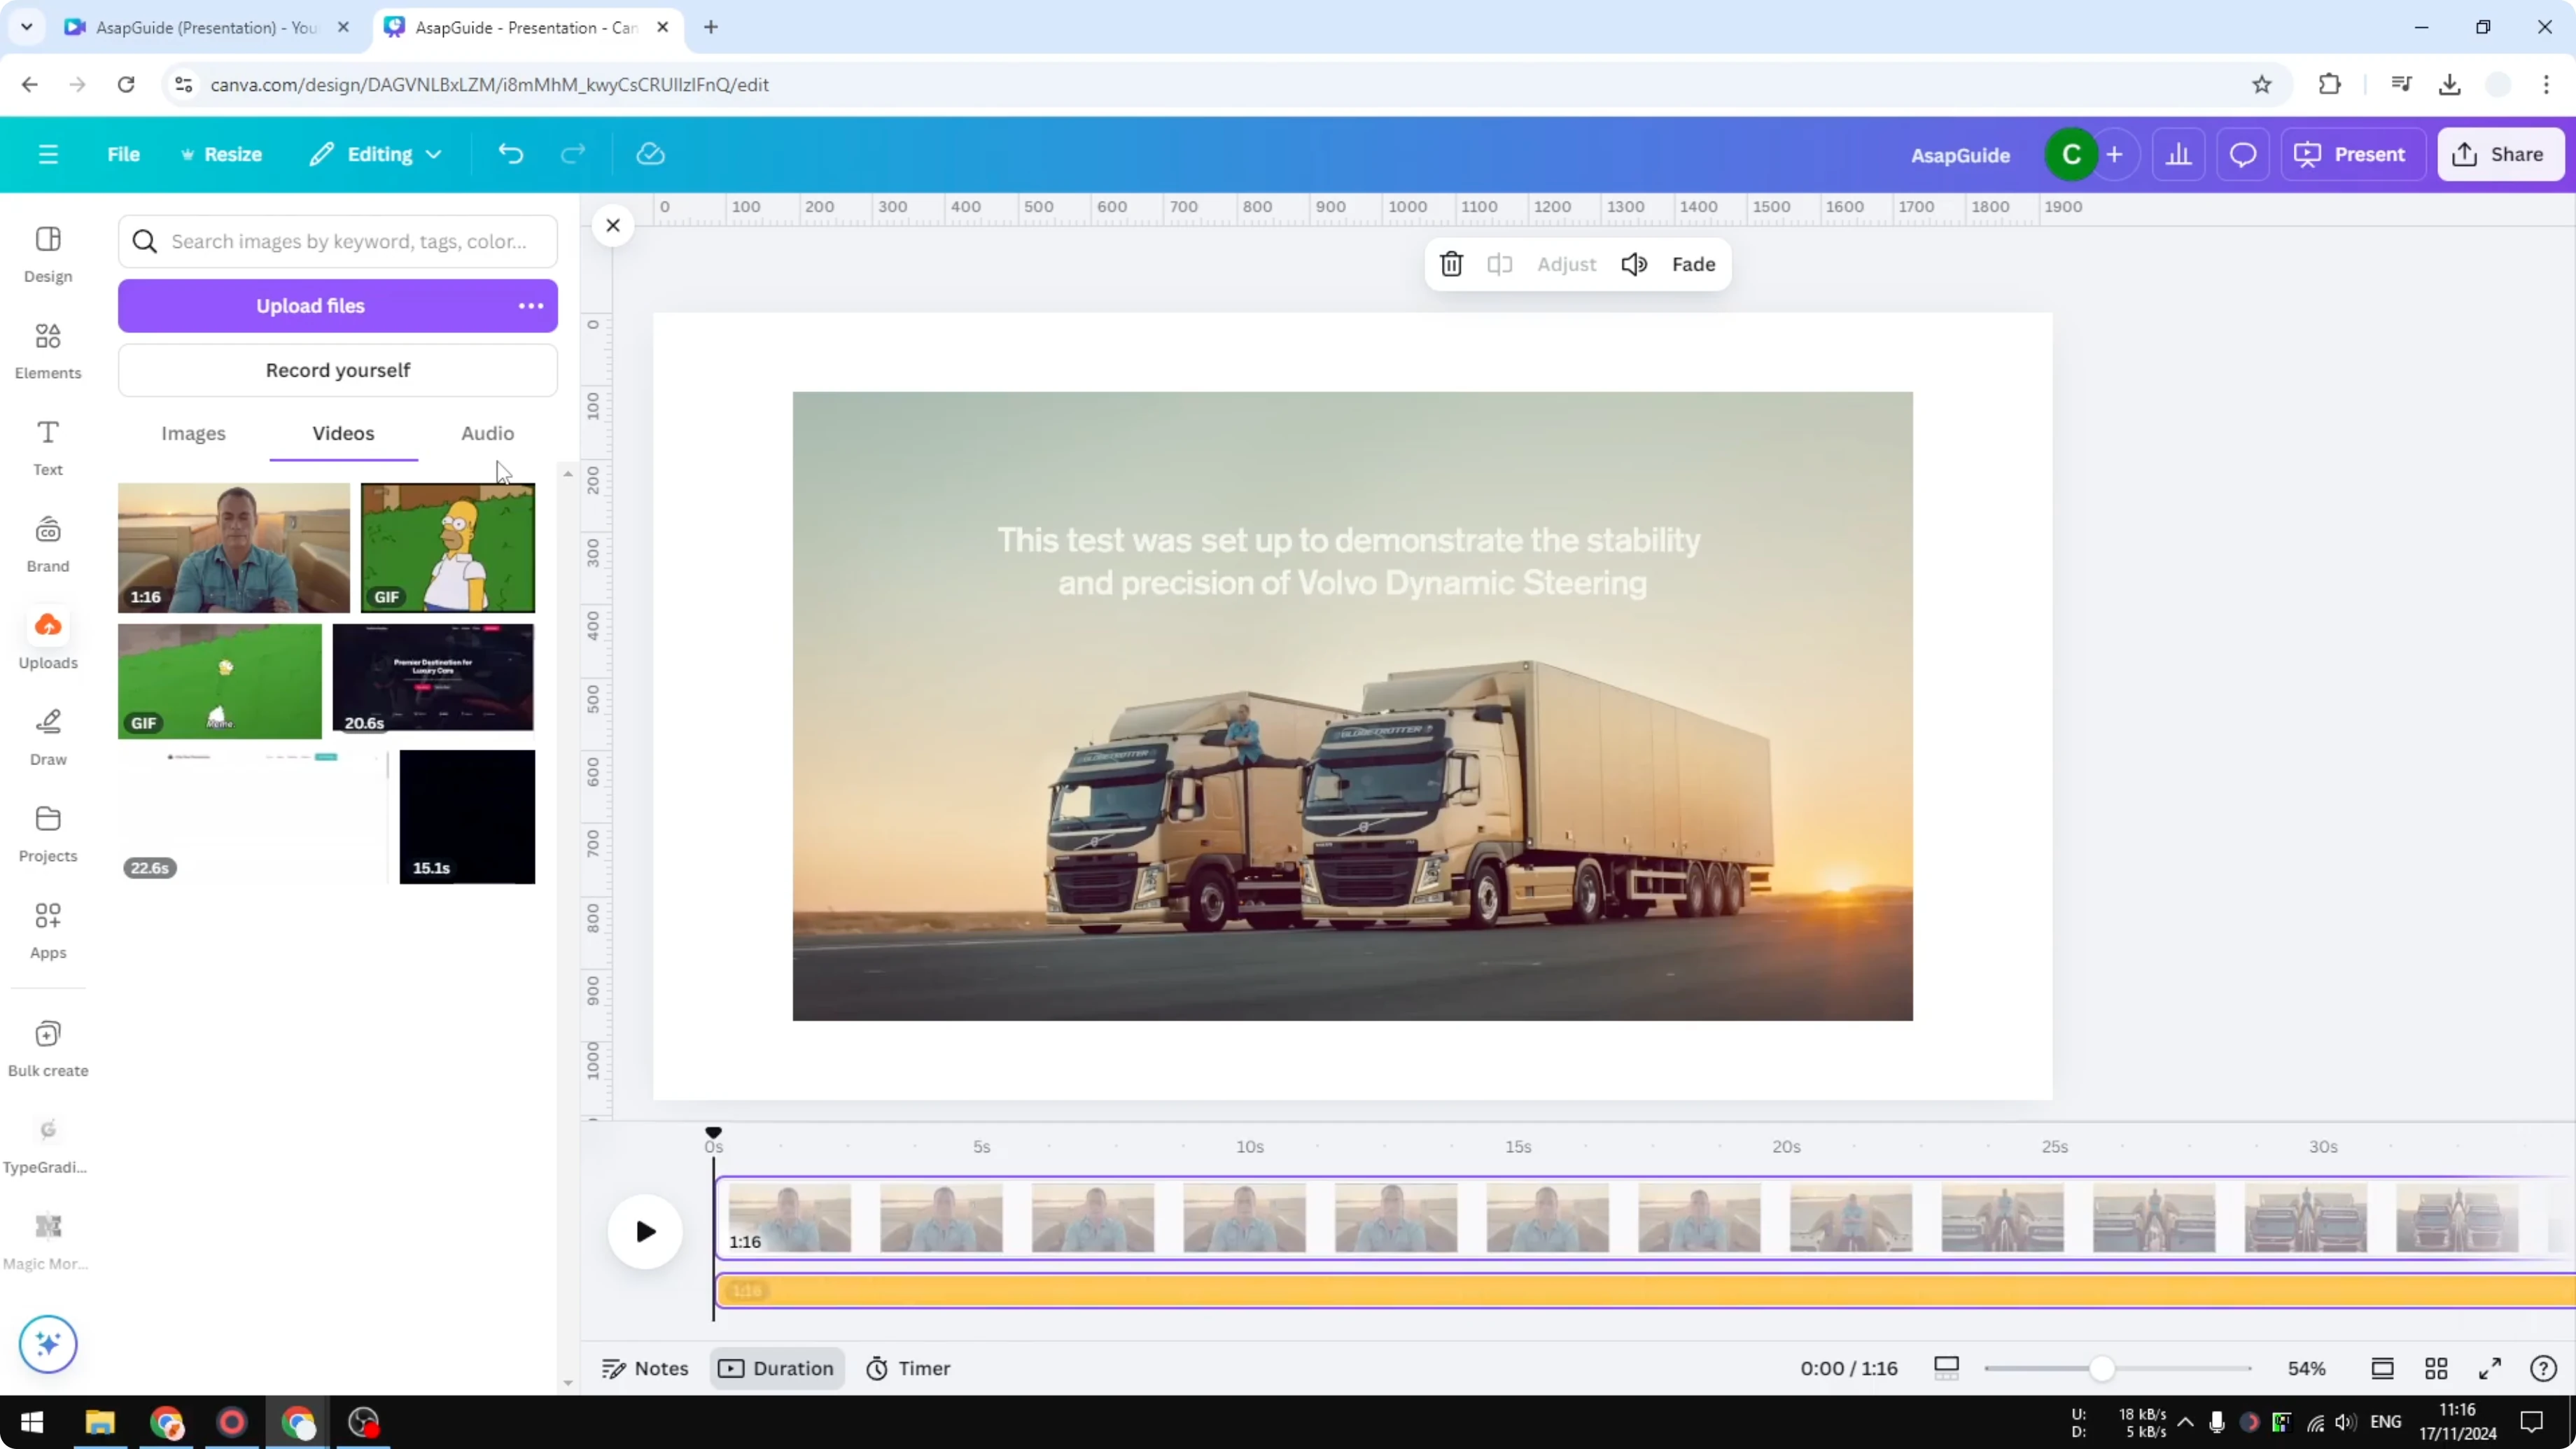
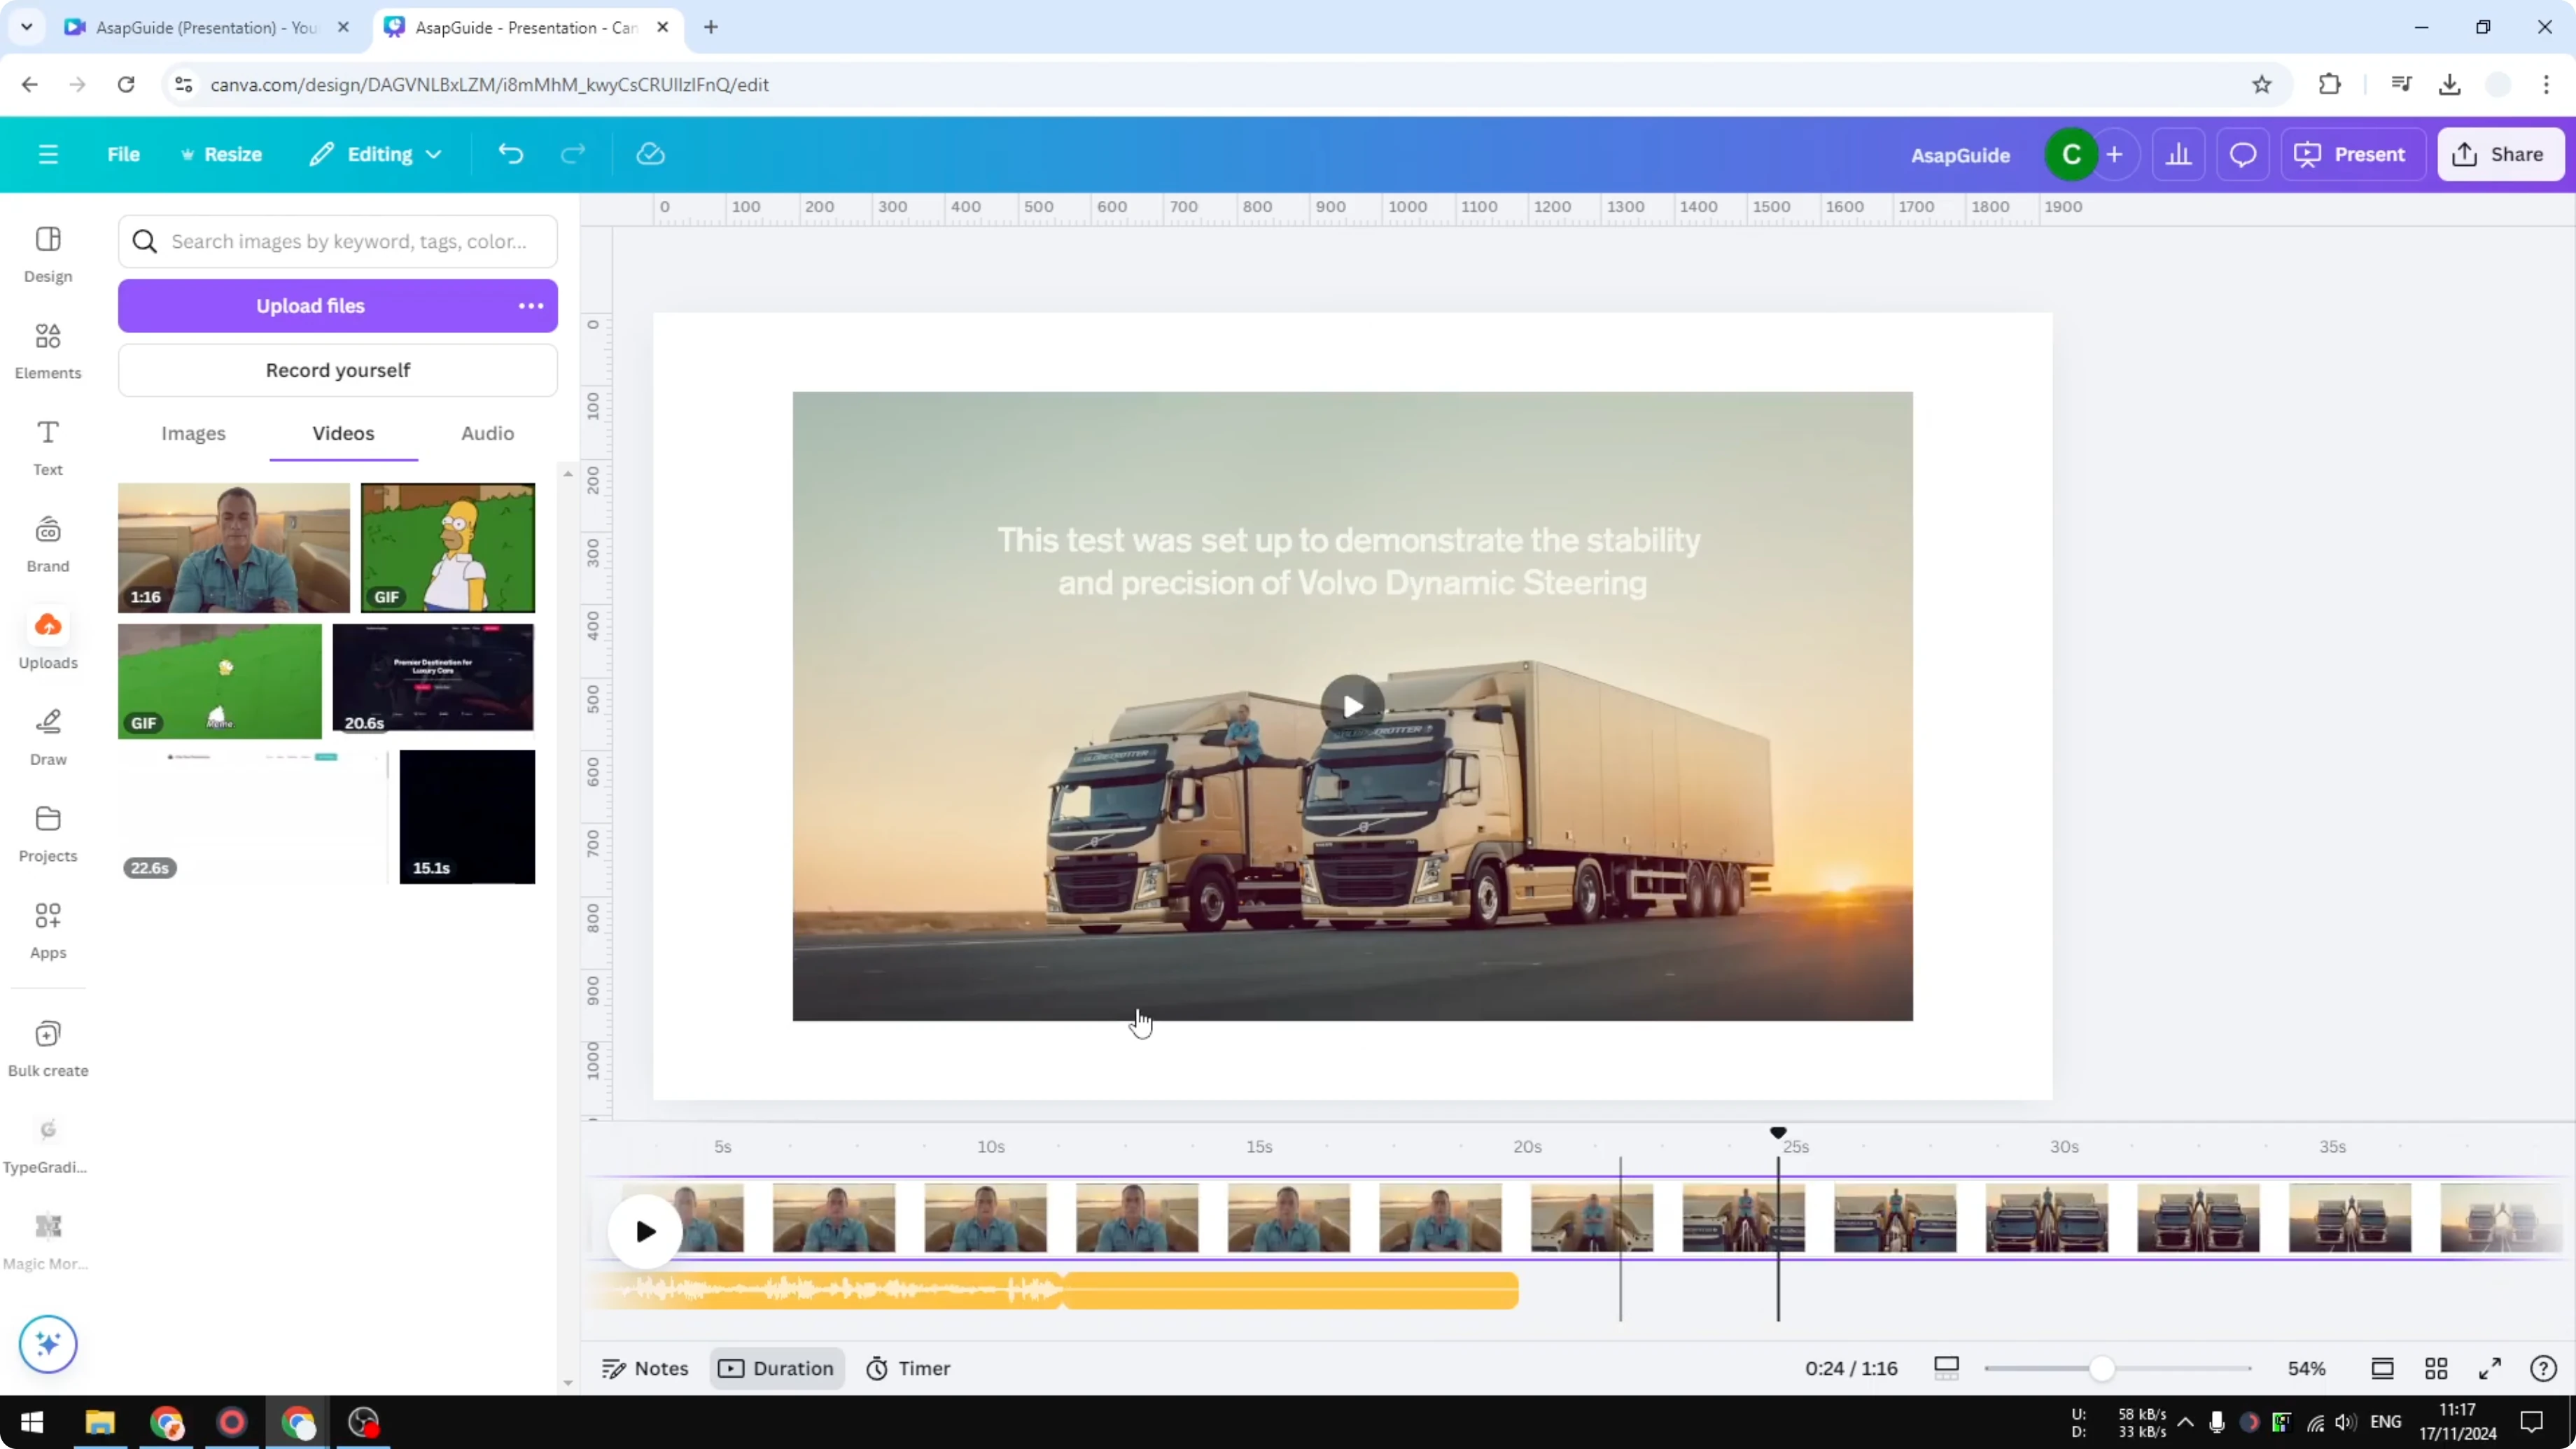
I highly recommend enabling Thumbnail View and enabling Duration.
If you are using a video template you don’t have to do that because it’s already open. In case you don’t, visit Thumbnail View and then open Duration. This will allow us to see the clips and tracks of this video.
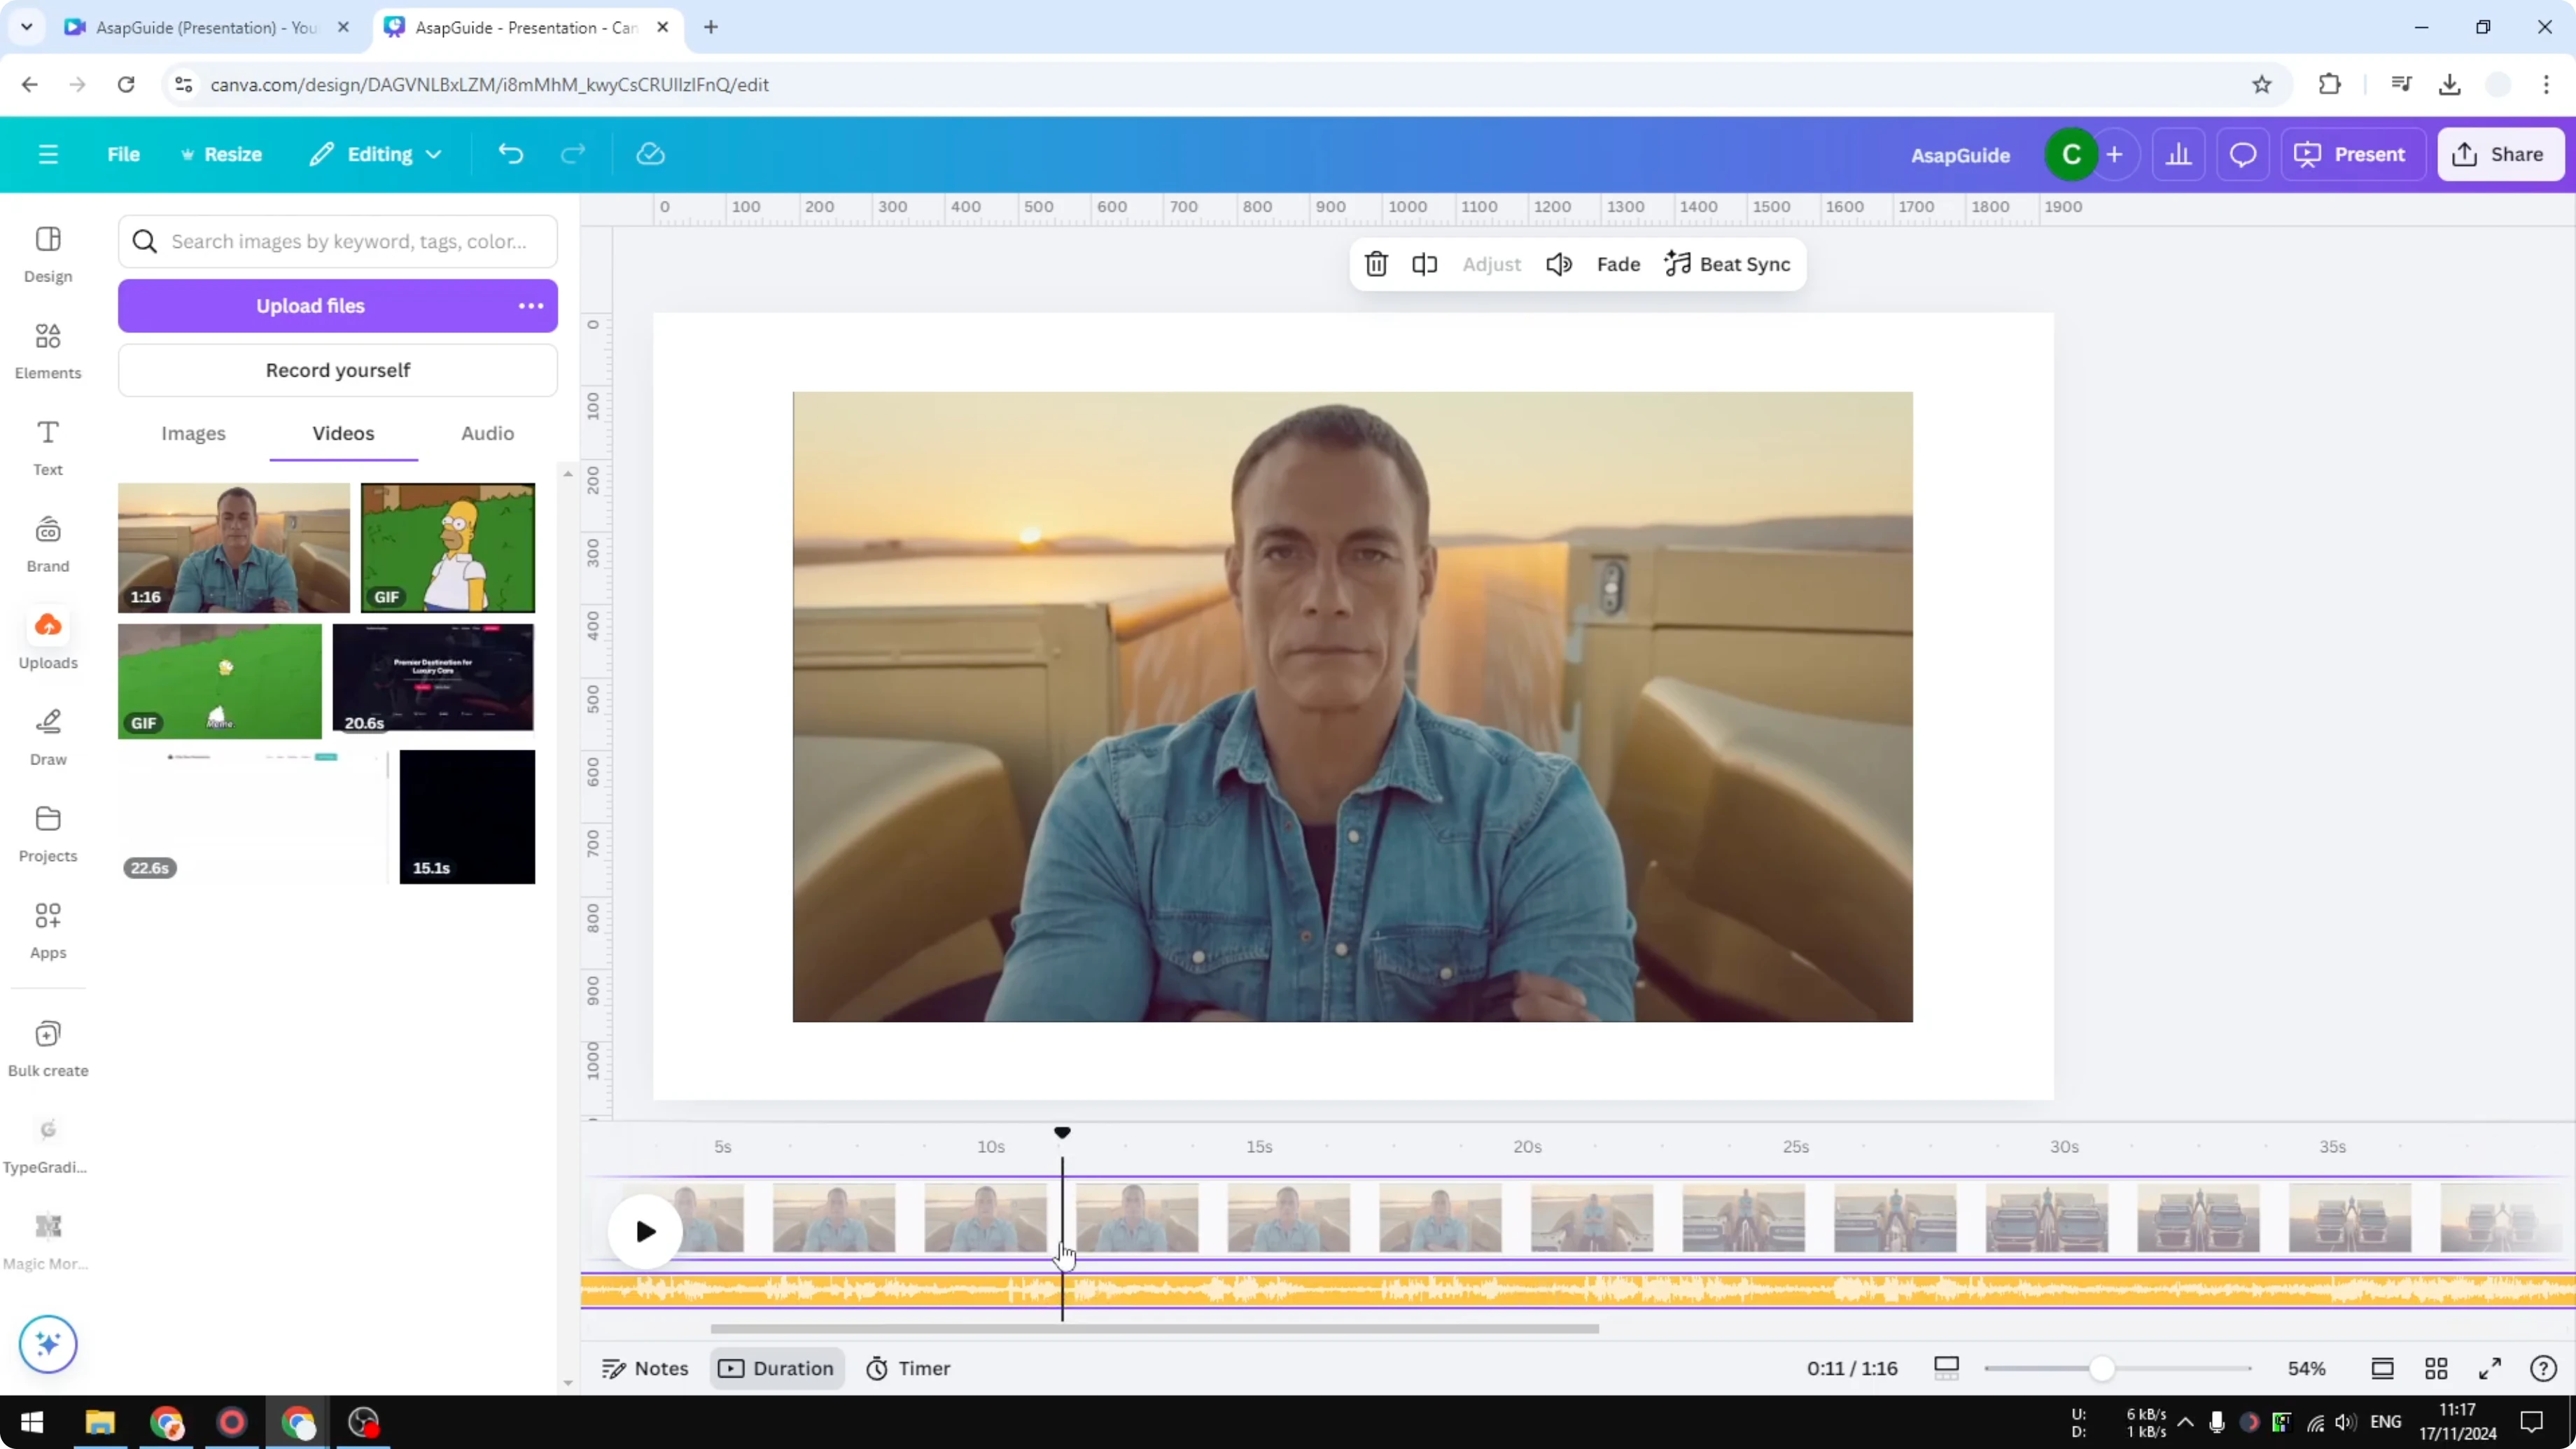
Click on the video again and click Extract audio. The orange section, the orange track, is the audio of this entire video.

Put the playhead, the black line, where you want to cut. Right click on it and click Split audio. Move it to the next point, right click, and Split audio again.
You can remove that section. You can also disable the volume to make it mute. Or you can right click and delete the entire thing if you want.
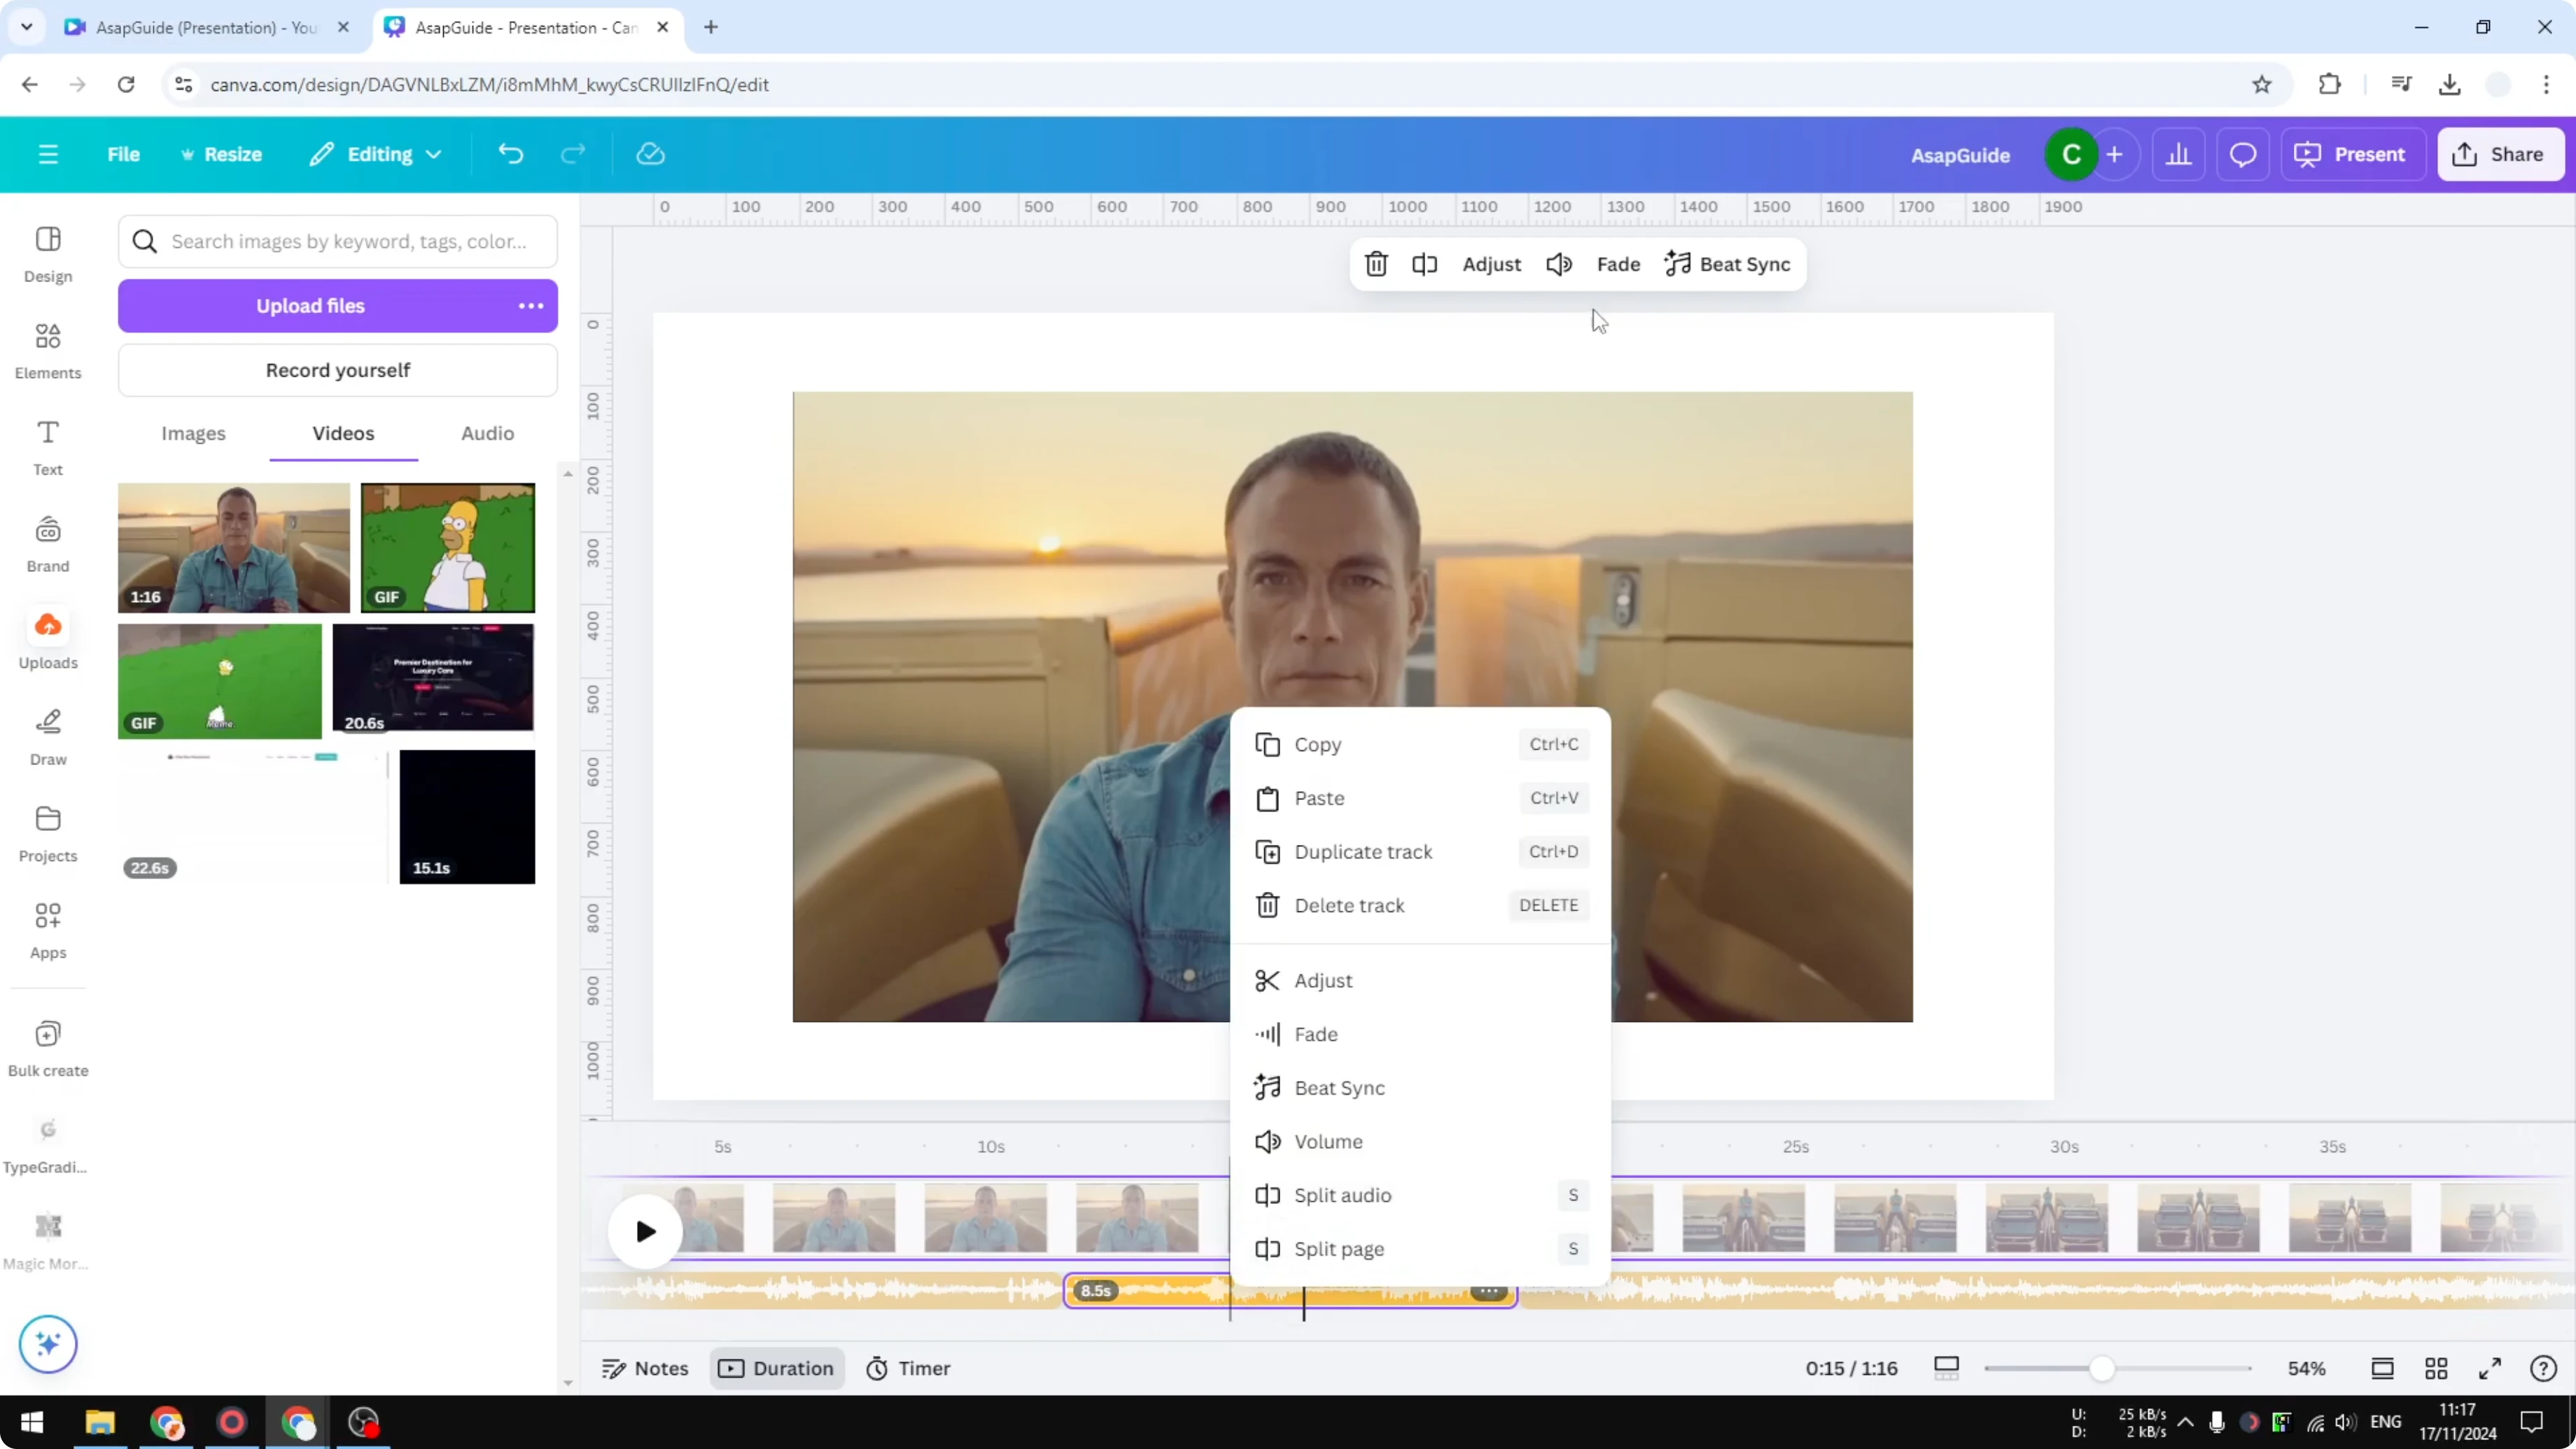
Delete track and it’s gone. There’s no audio file.
Read More: Can You Remove Text From A Video In Canva
Final thoughts
That’s basically it. That’s how you can remove audio from a video in Canva. I recommend the second method when you only need to silence or remove specific parts of the track.
Recent Posts
How to Visualize Yourself as a Pixelized Character with AI?
How to Visualize Yourself as a Pixelized Character with AI?

How to Revive Faded Memories and Enhance Image Clarity with AI?
How to Revive Faded Memories and Enhance Image Clarity with AI?

How to Visualize Yourself as an Animal Crossing Character with AI?
How to Visualize Yourself as an Animal Crossing Character with AI?