How to Record Your Voice Using Canva
You will learn how to record your own voice in Canva. This is useful if you have a presentation you want to deliver to multiple audiences and you do not want to repeat it.
This tutorial only covers recording your own voice. You will get an audio file that you can use for other purposes.
Read More: How To Easily Record Voice Over In Canva
Record Your Voice Using Canva: Setup
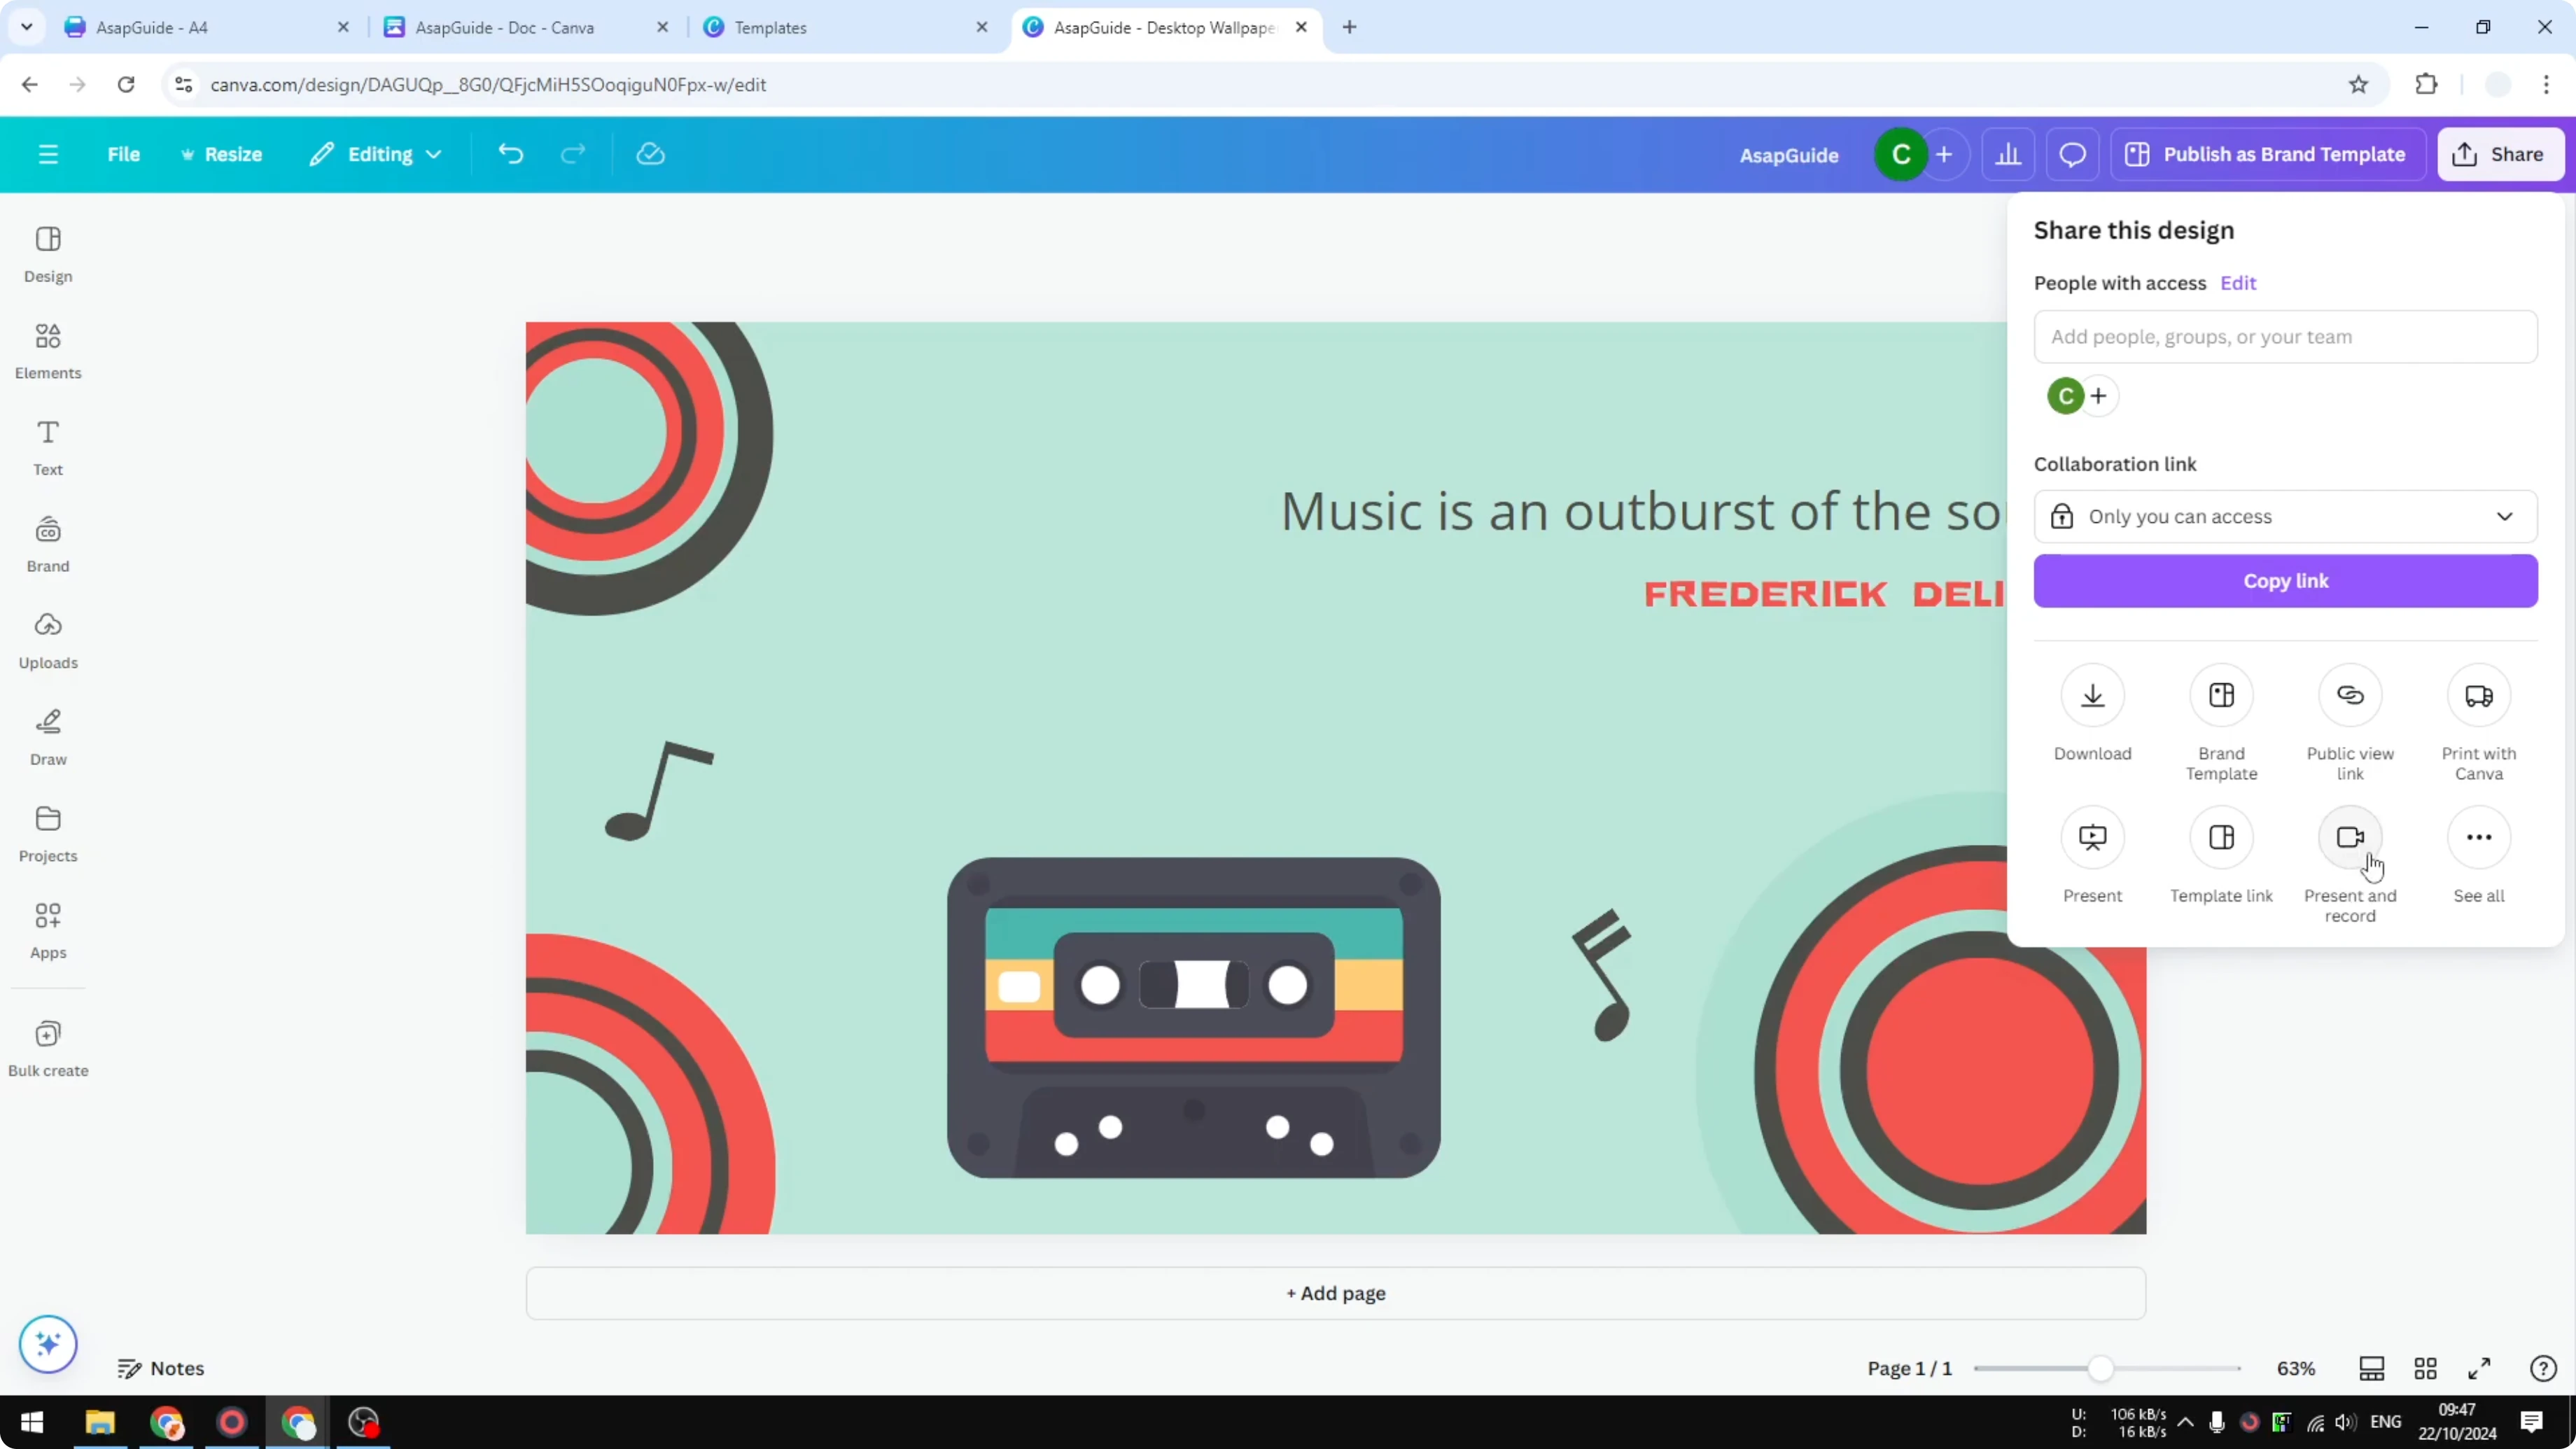
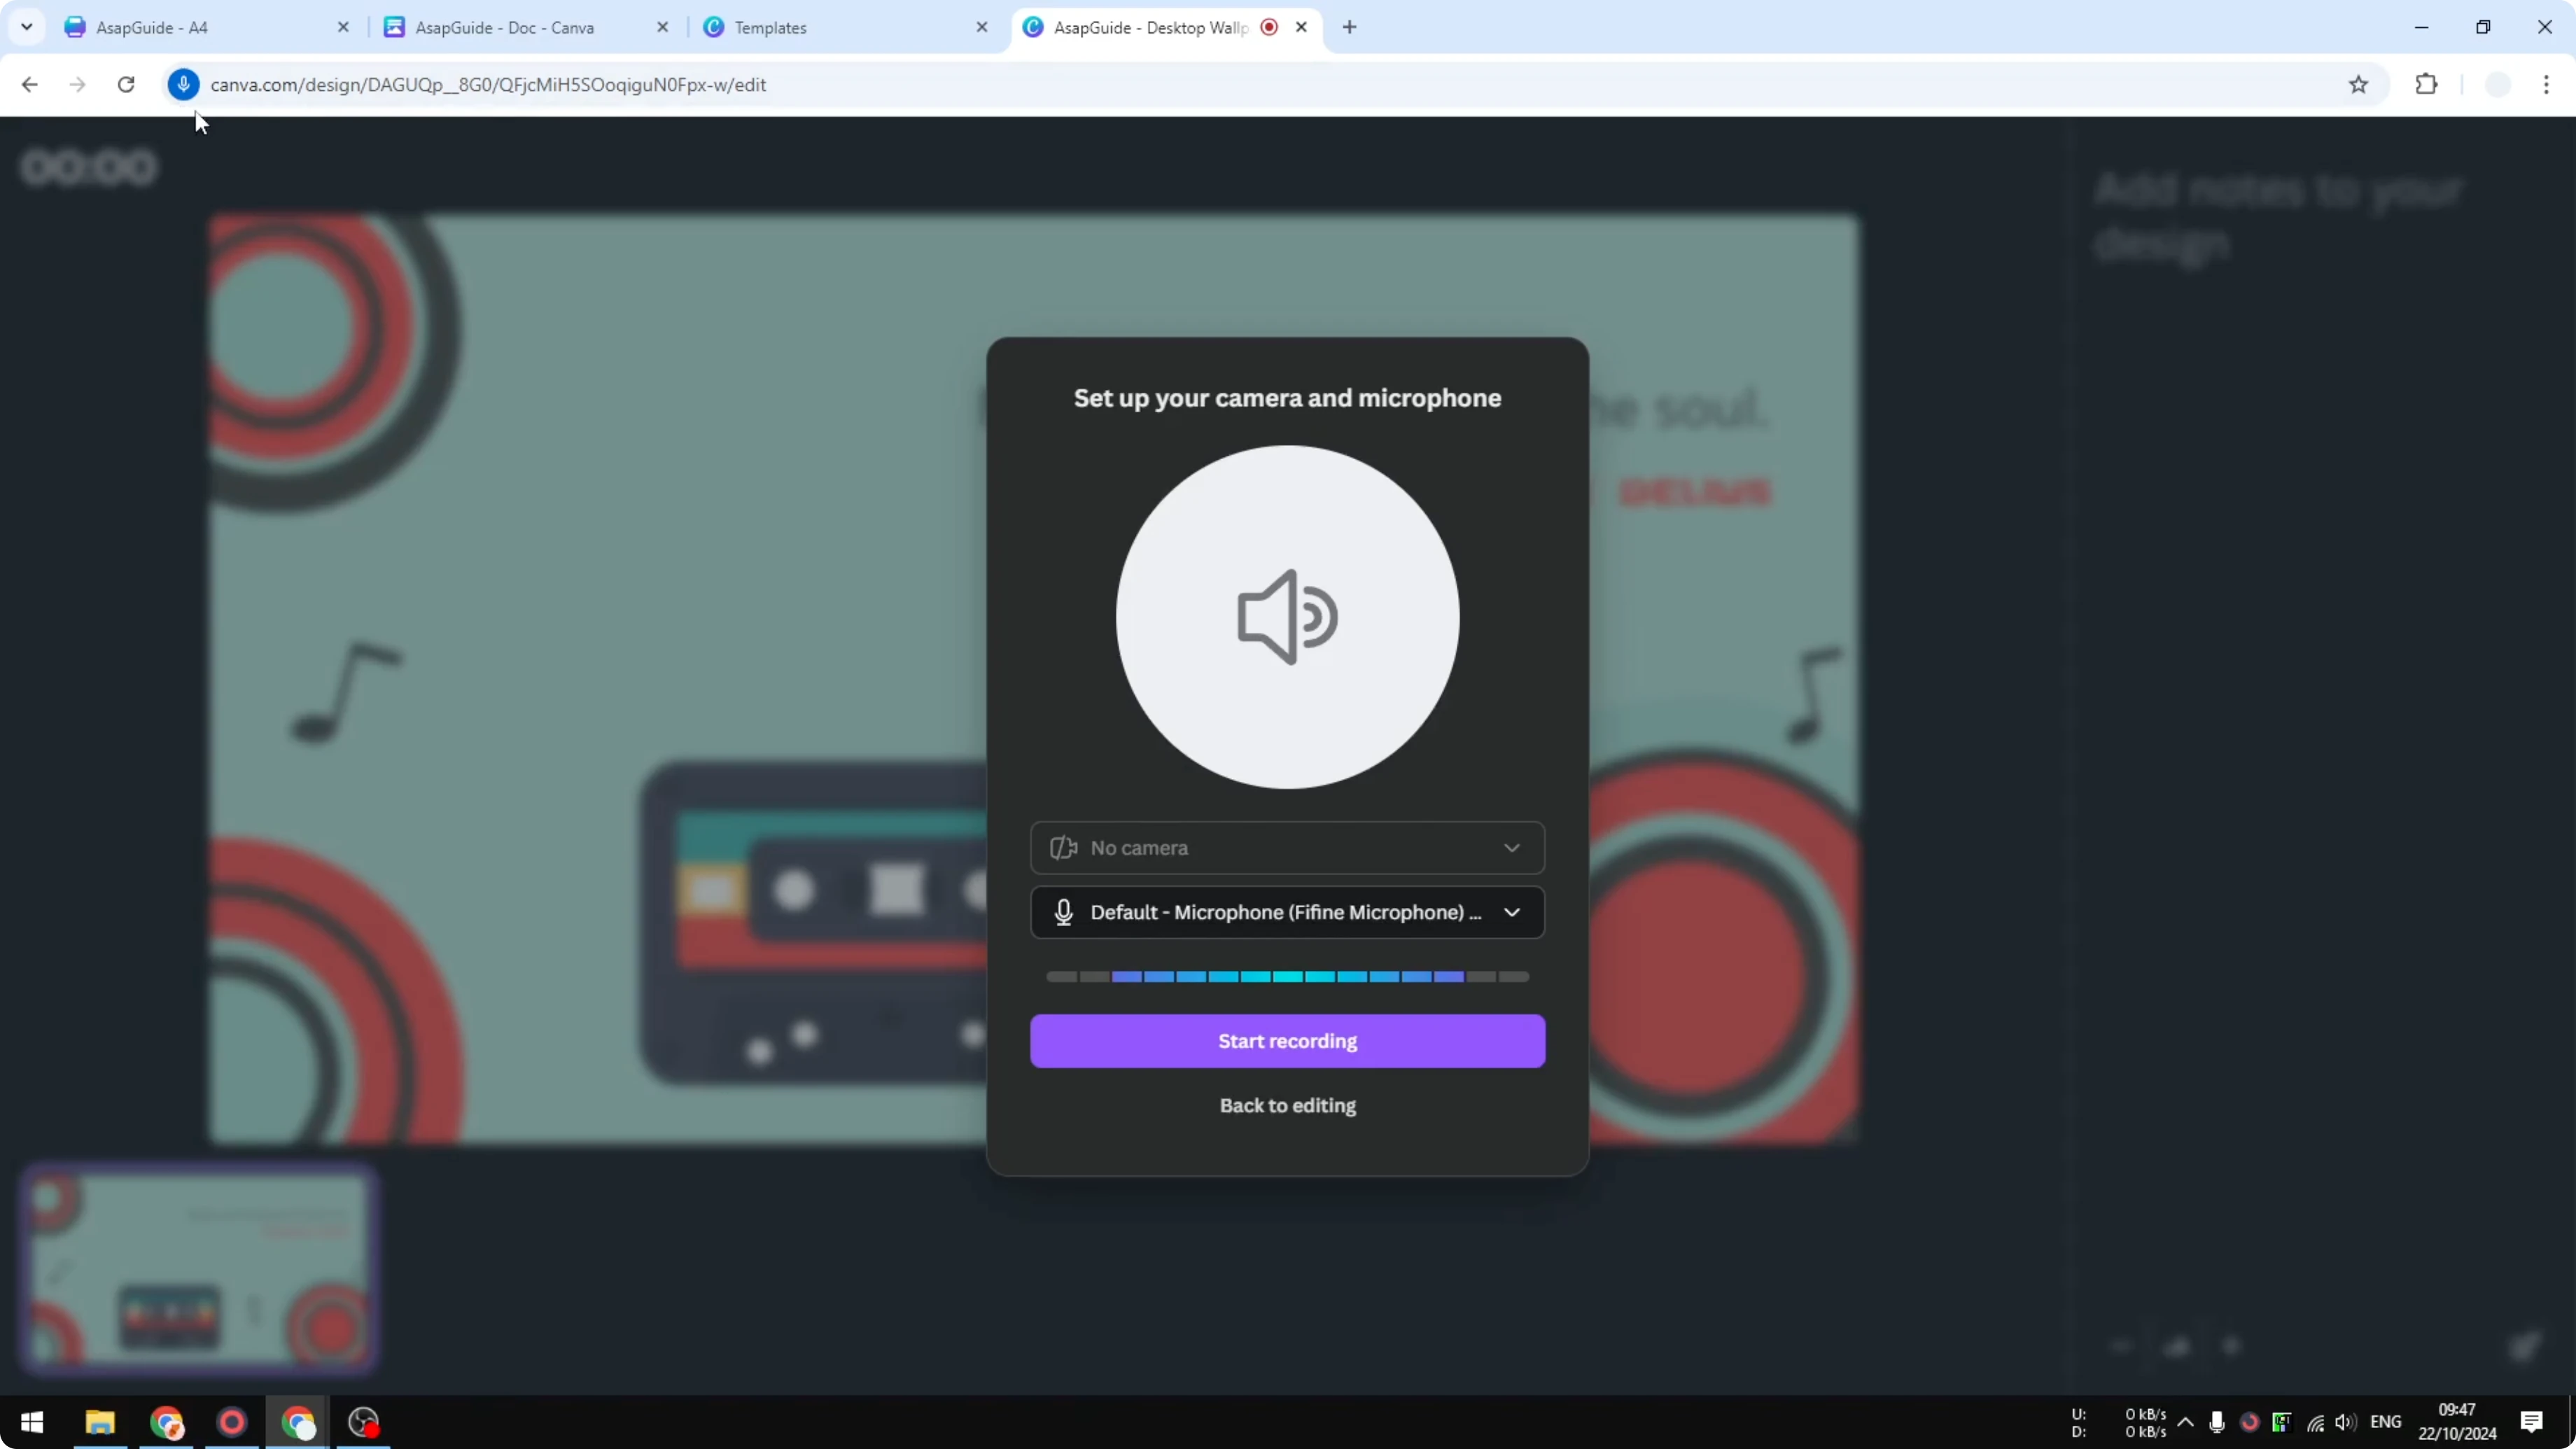
Open any document in Canva. Go to Share and select Present and record. Click Go to recording studio.
If it is your first time, your browser will ask to access your microphone. Click Allow. Select the audio device you want to use on your computer.
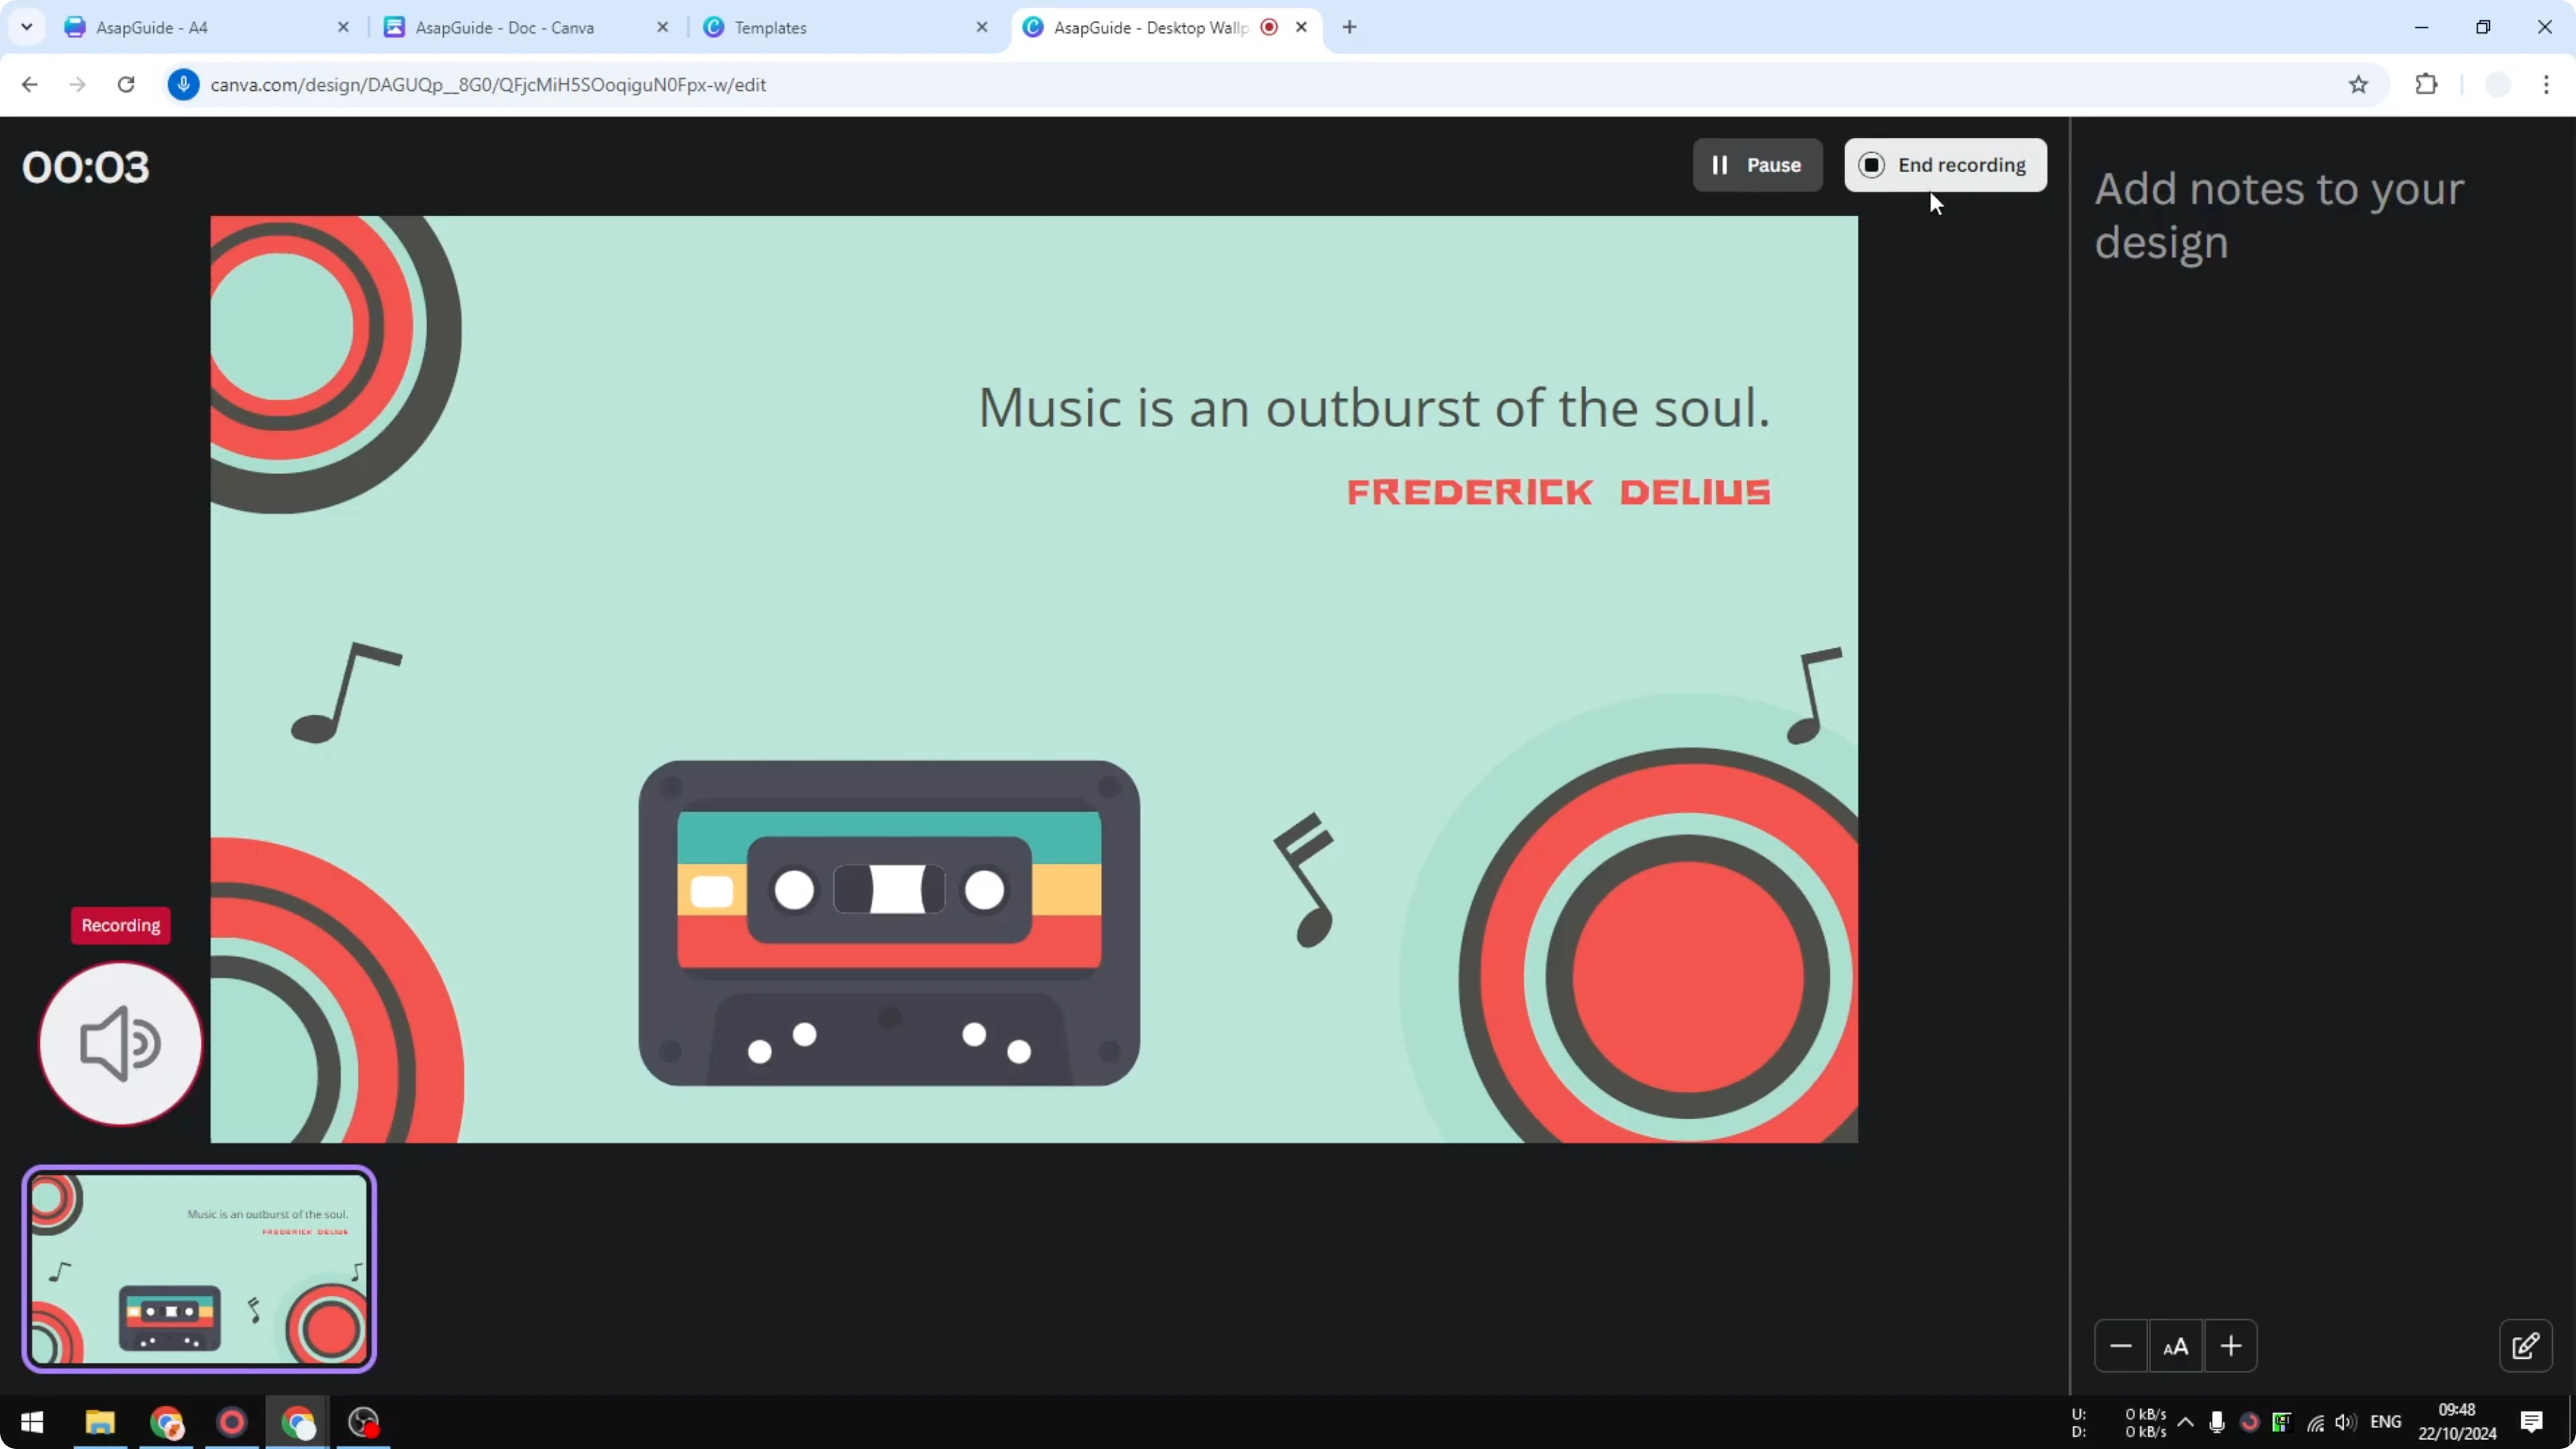
Record Your Voice Using Canva: Start recording
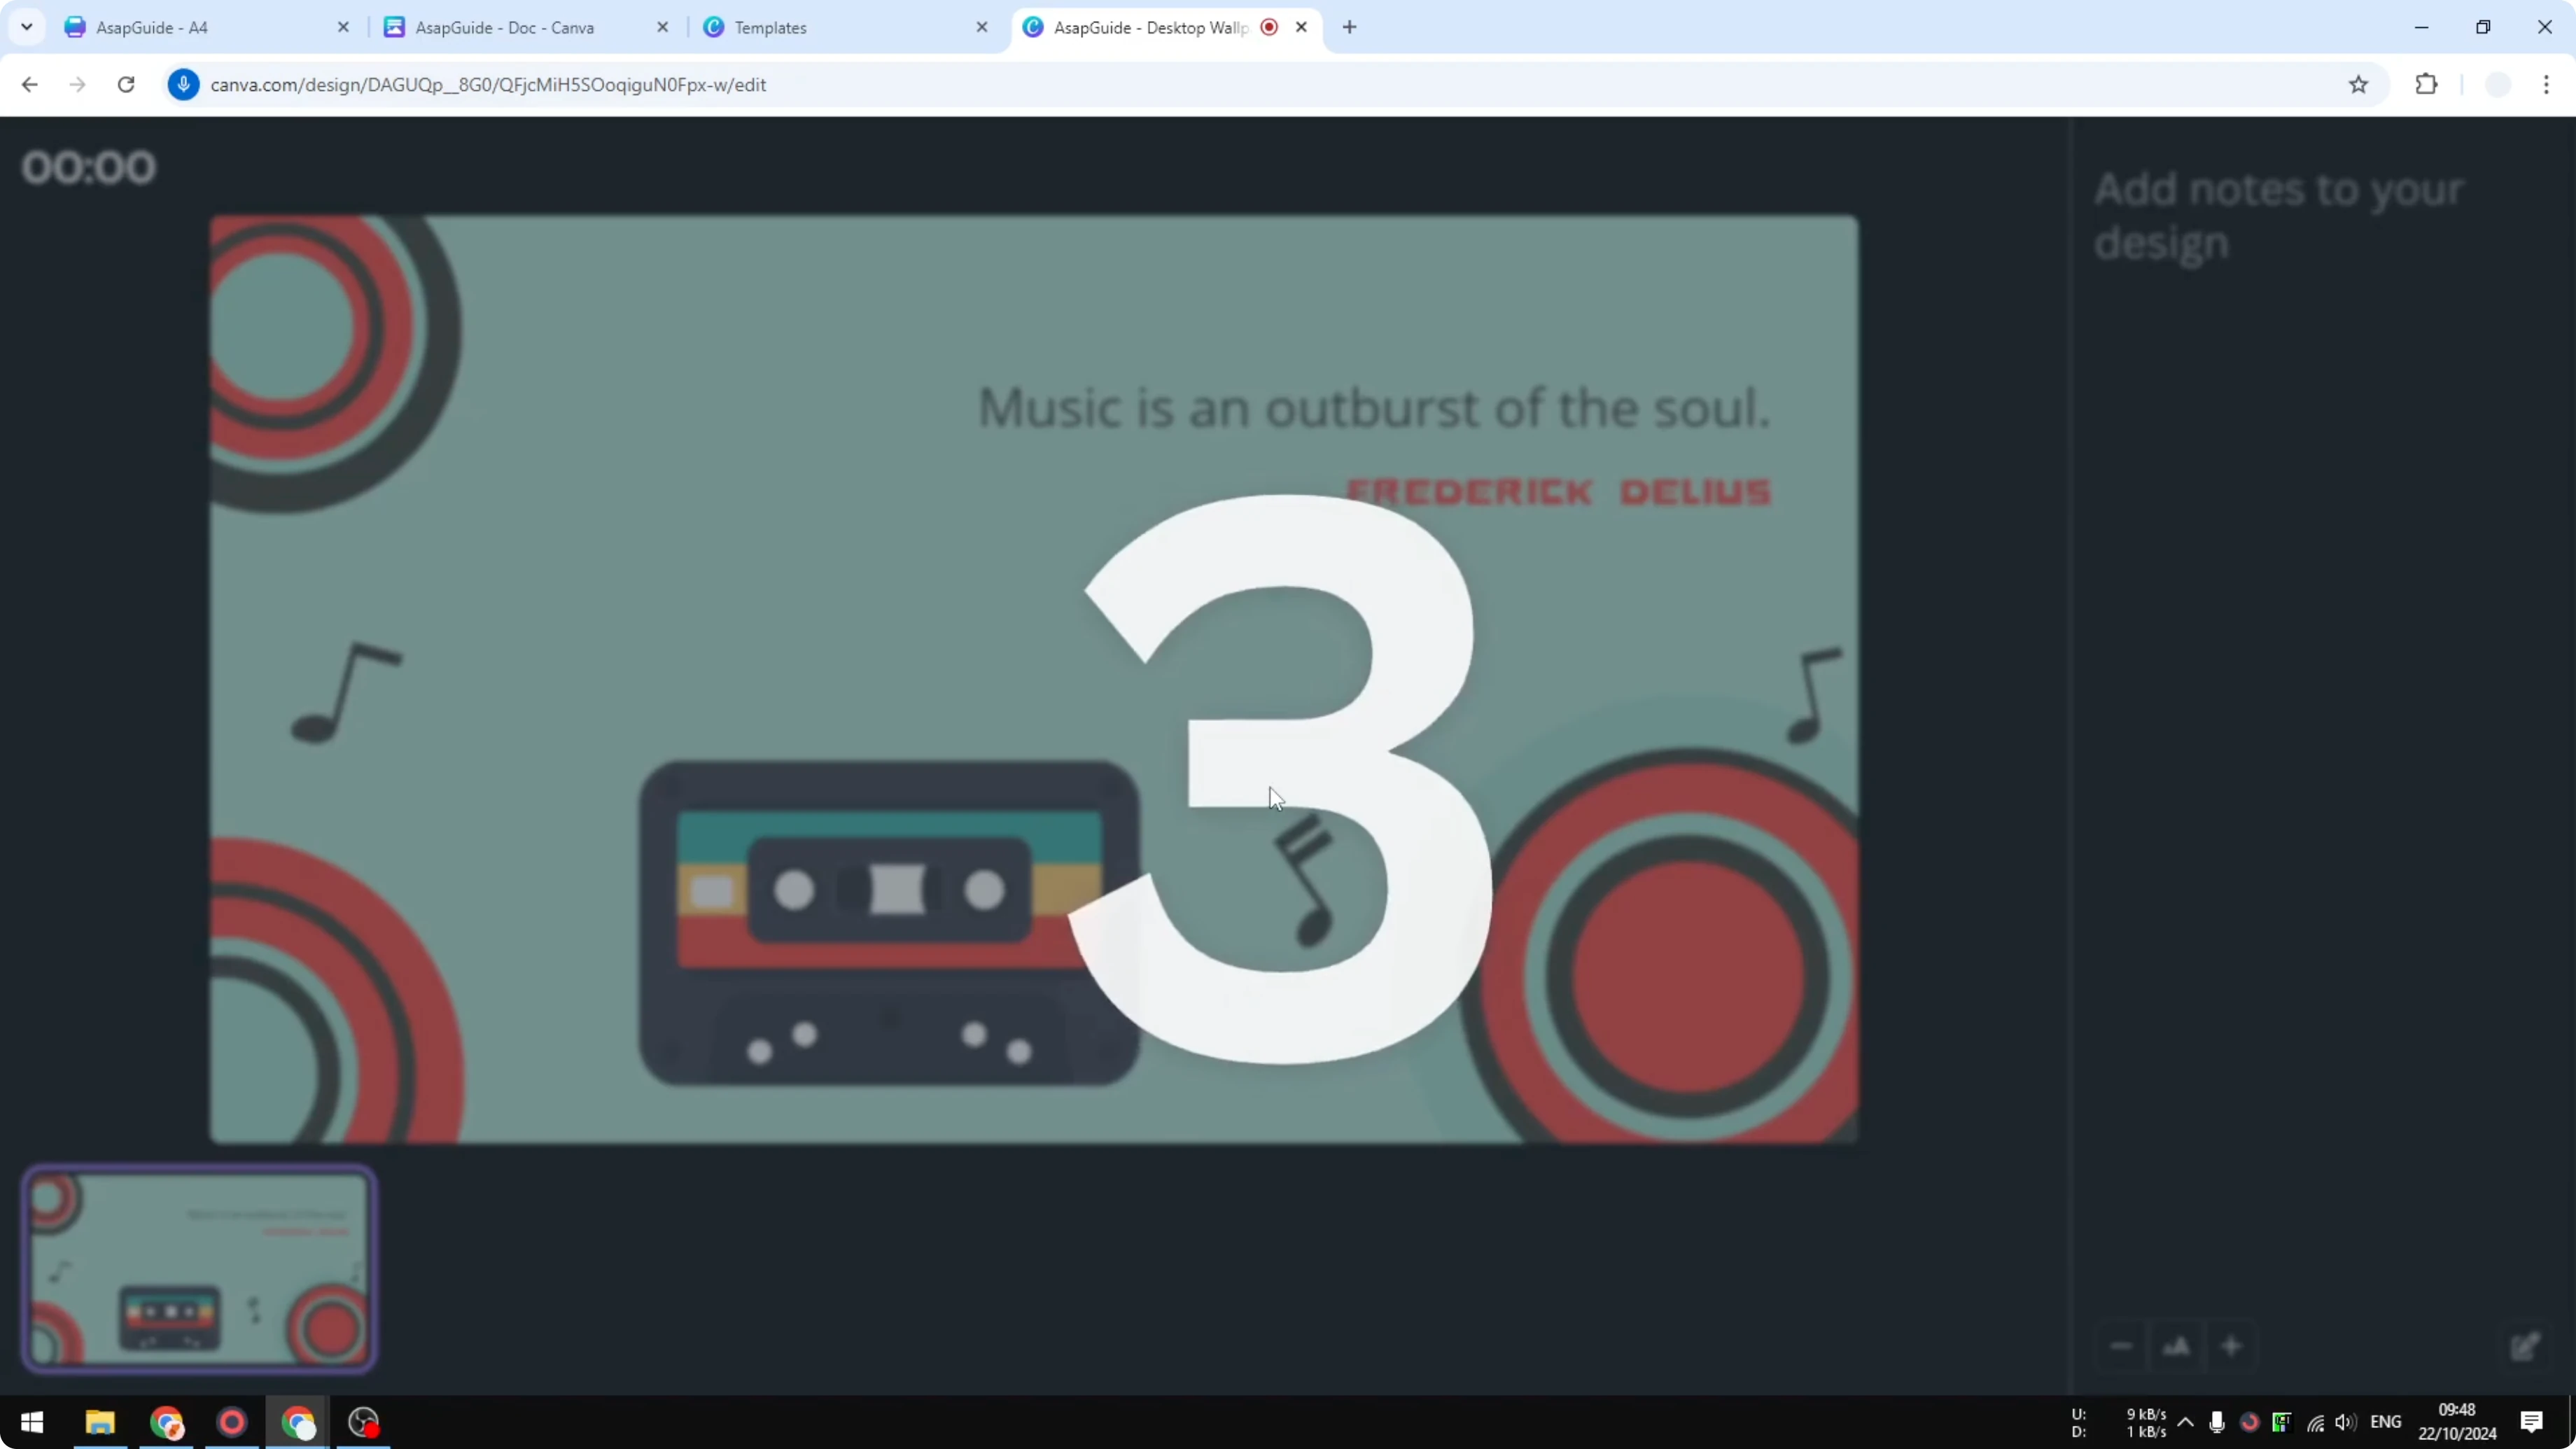
- Click Start recording.
-
Speak your content clearly.
-
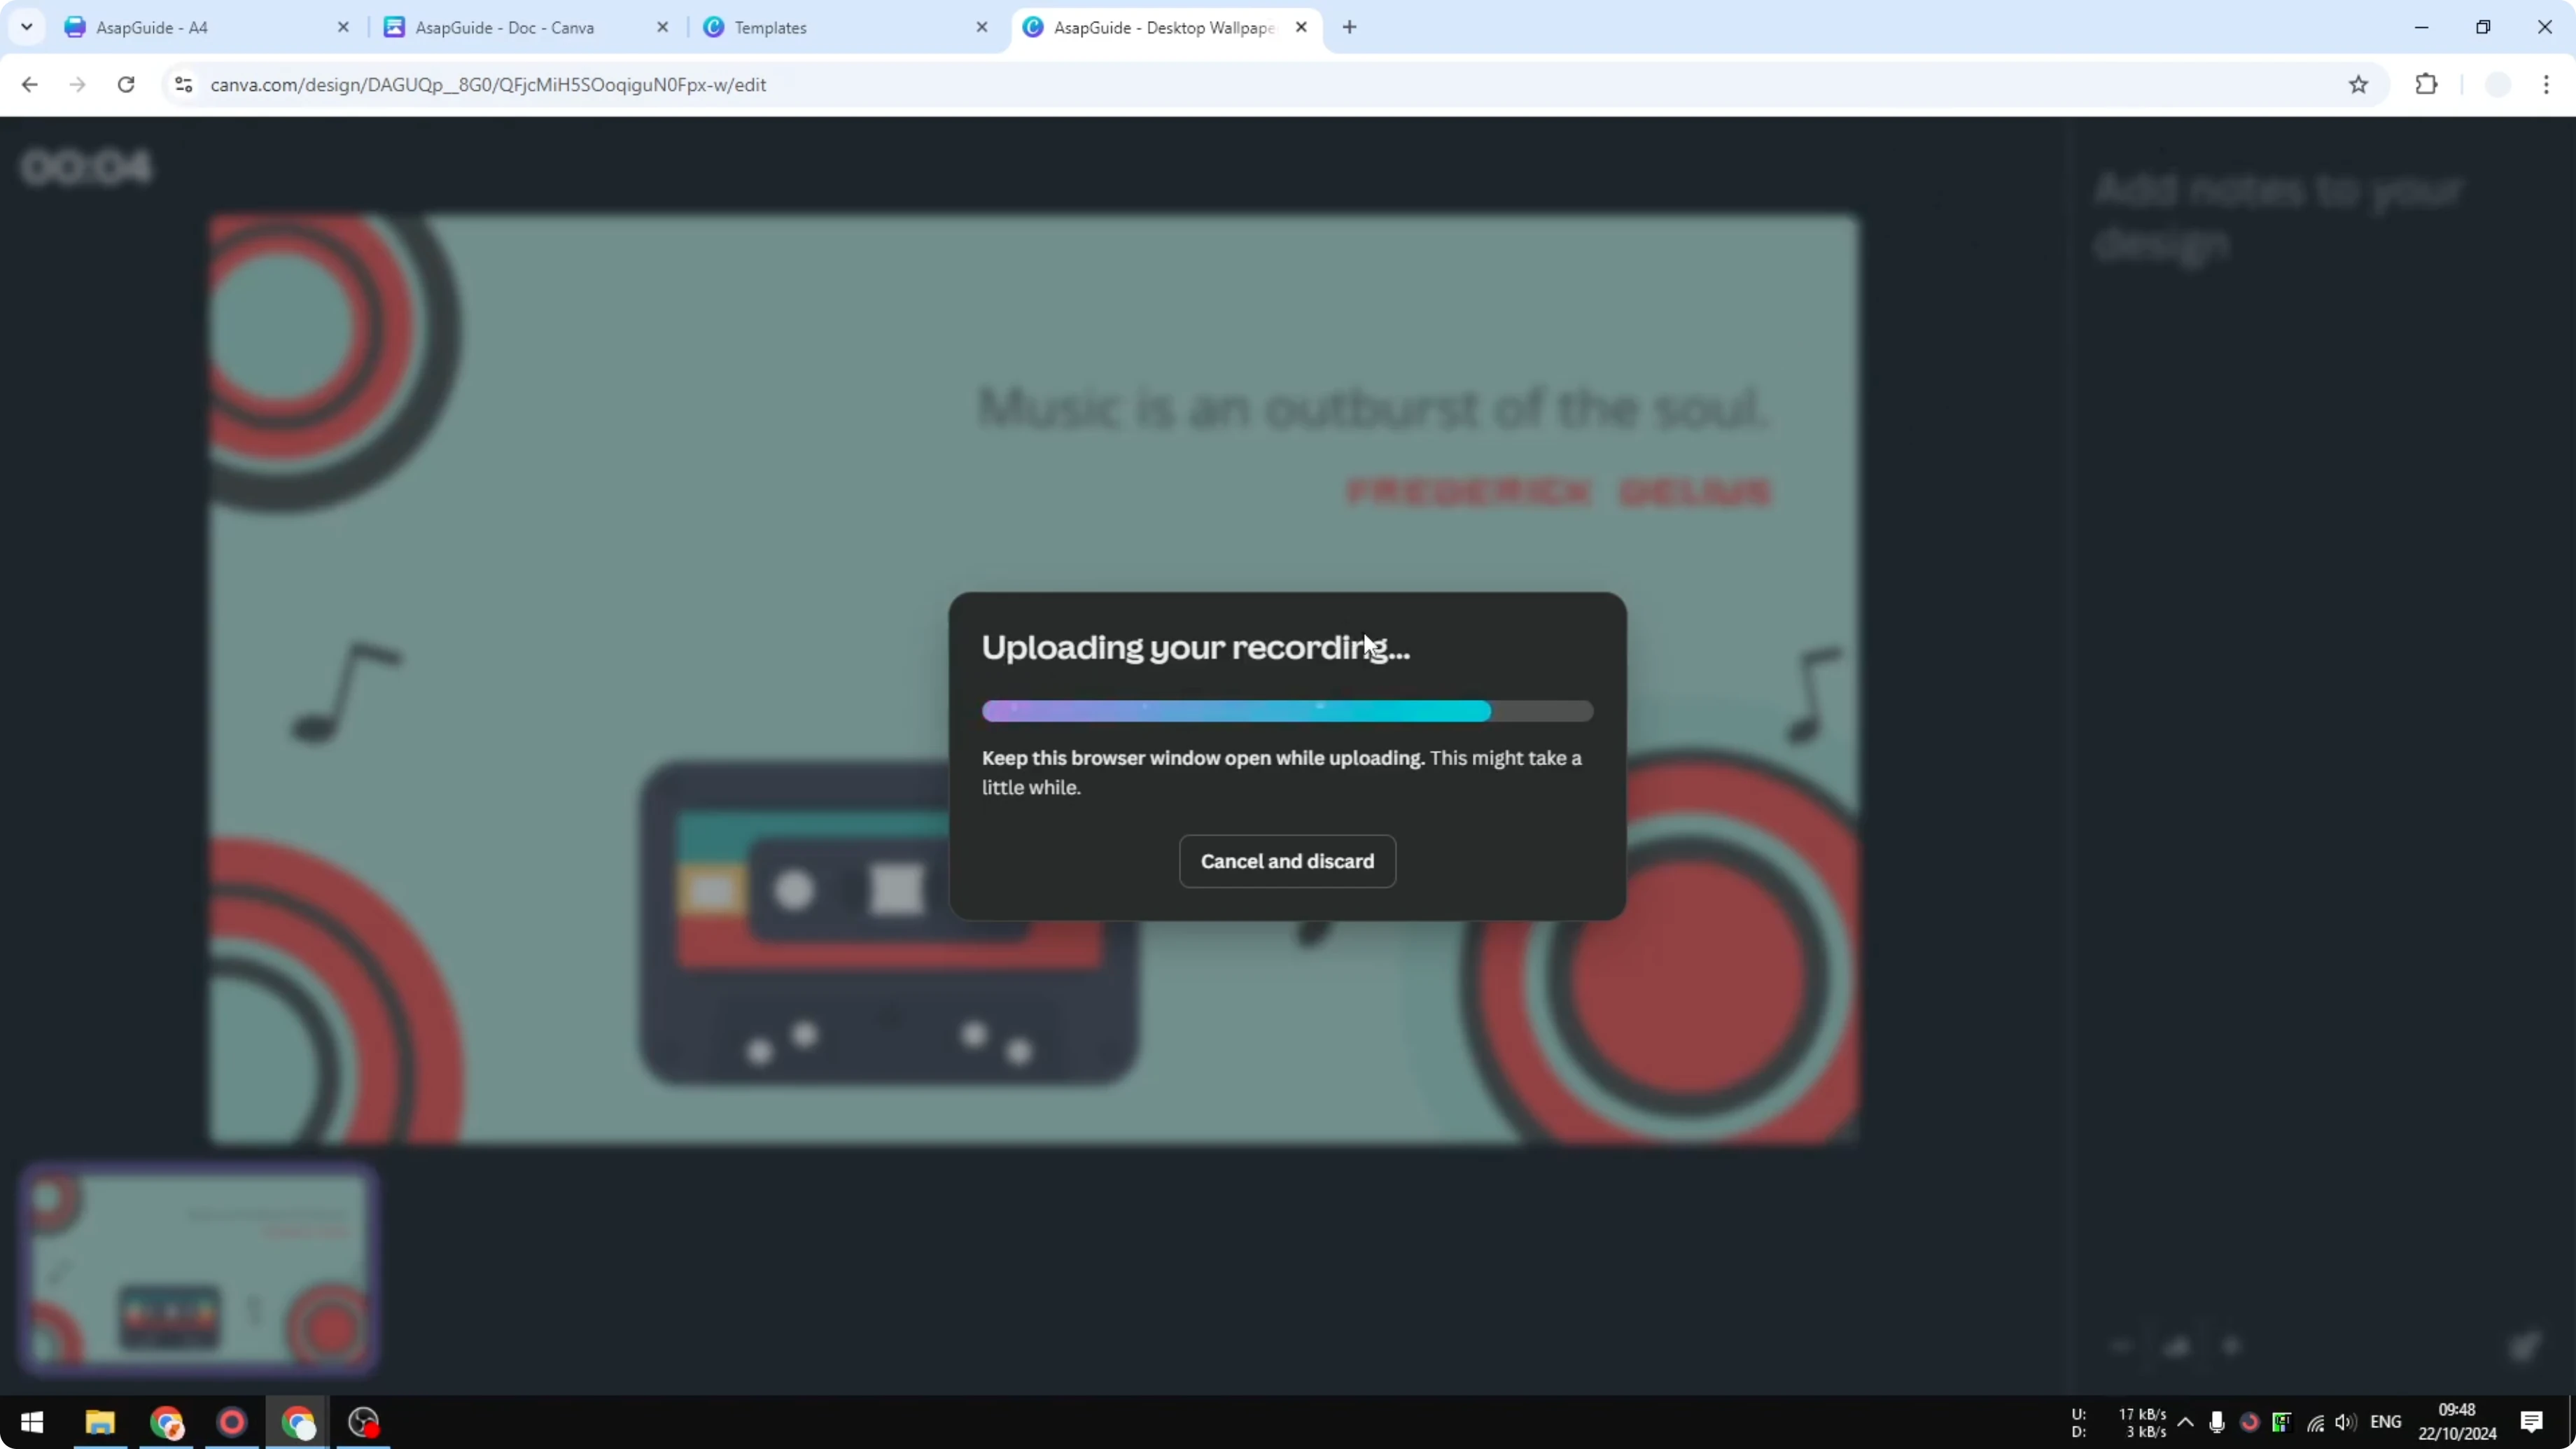
Click End recording when you are done.
- Wait while the file uploads to your Canva account.
Read More: How To Add Realistic Ai Voice To Video Canva
Record Your Voice Using Canva: Save and use the audio
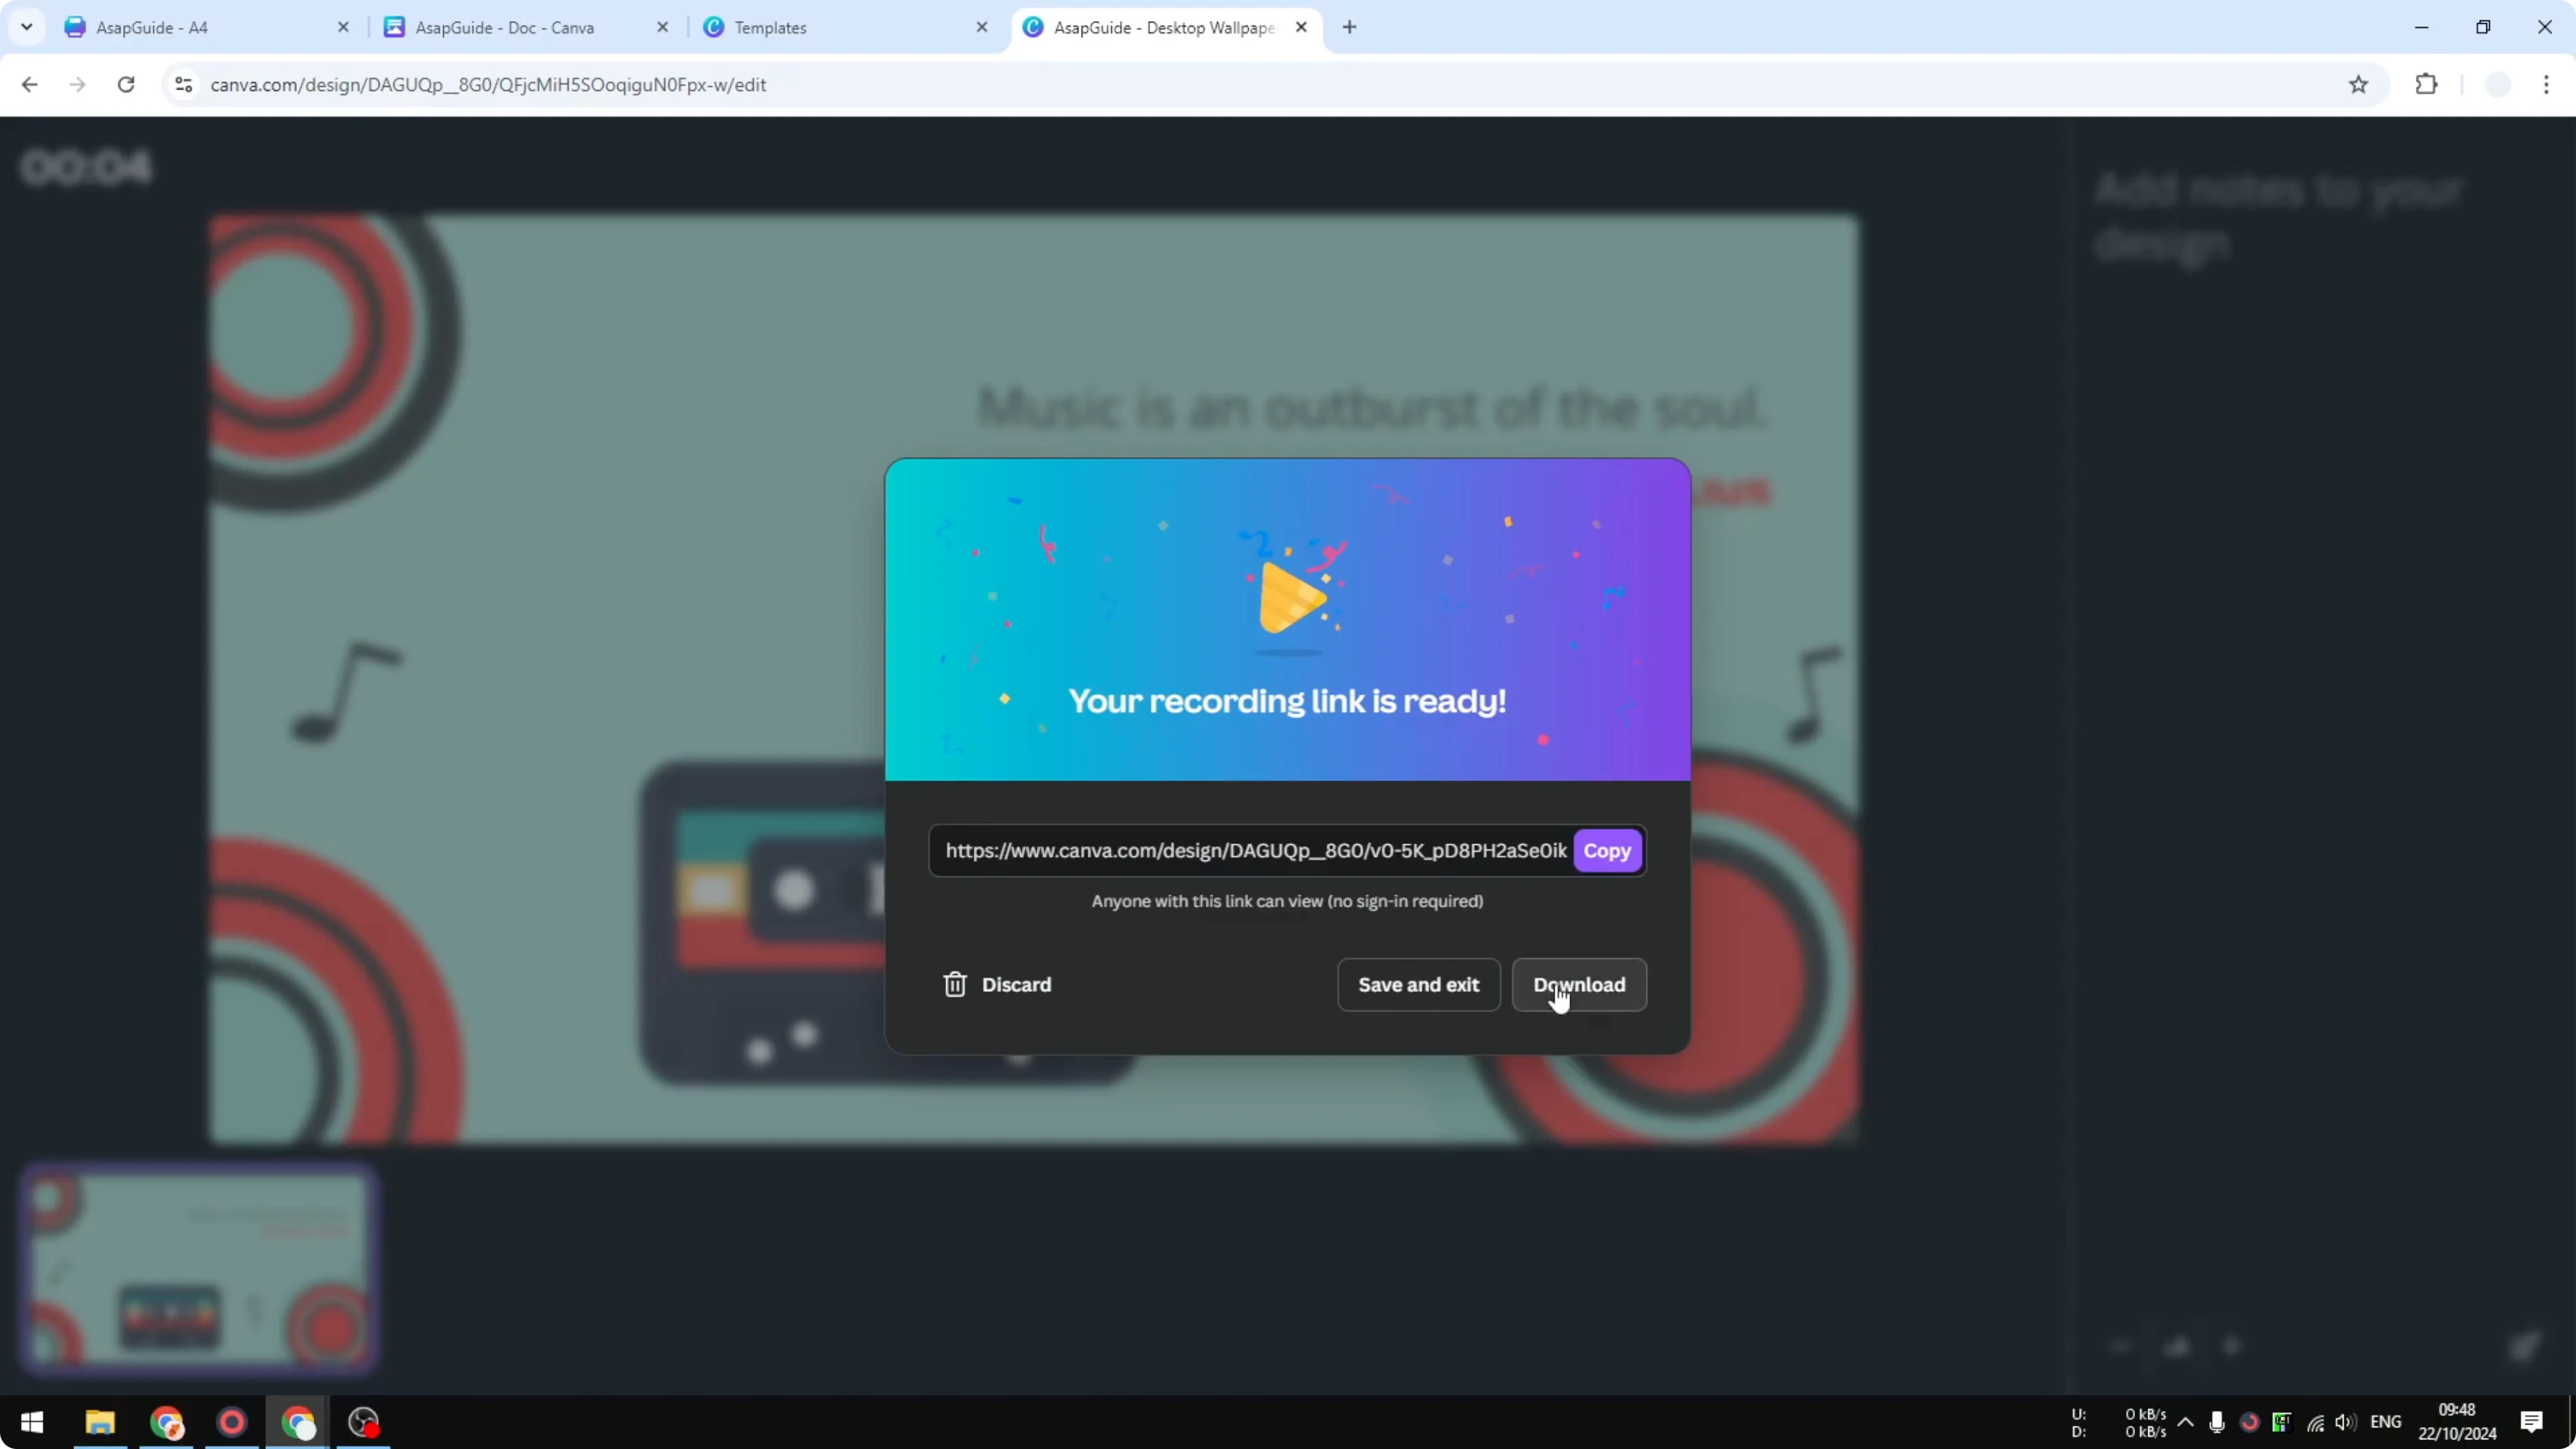
Share or download
You will see options to open a share link where people can view the document and hear your voice. You can also download the audio file. Save and exit if you just want to return to your design.
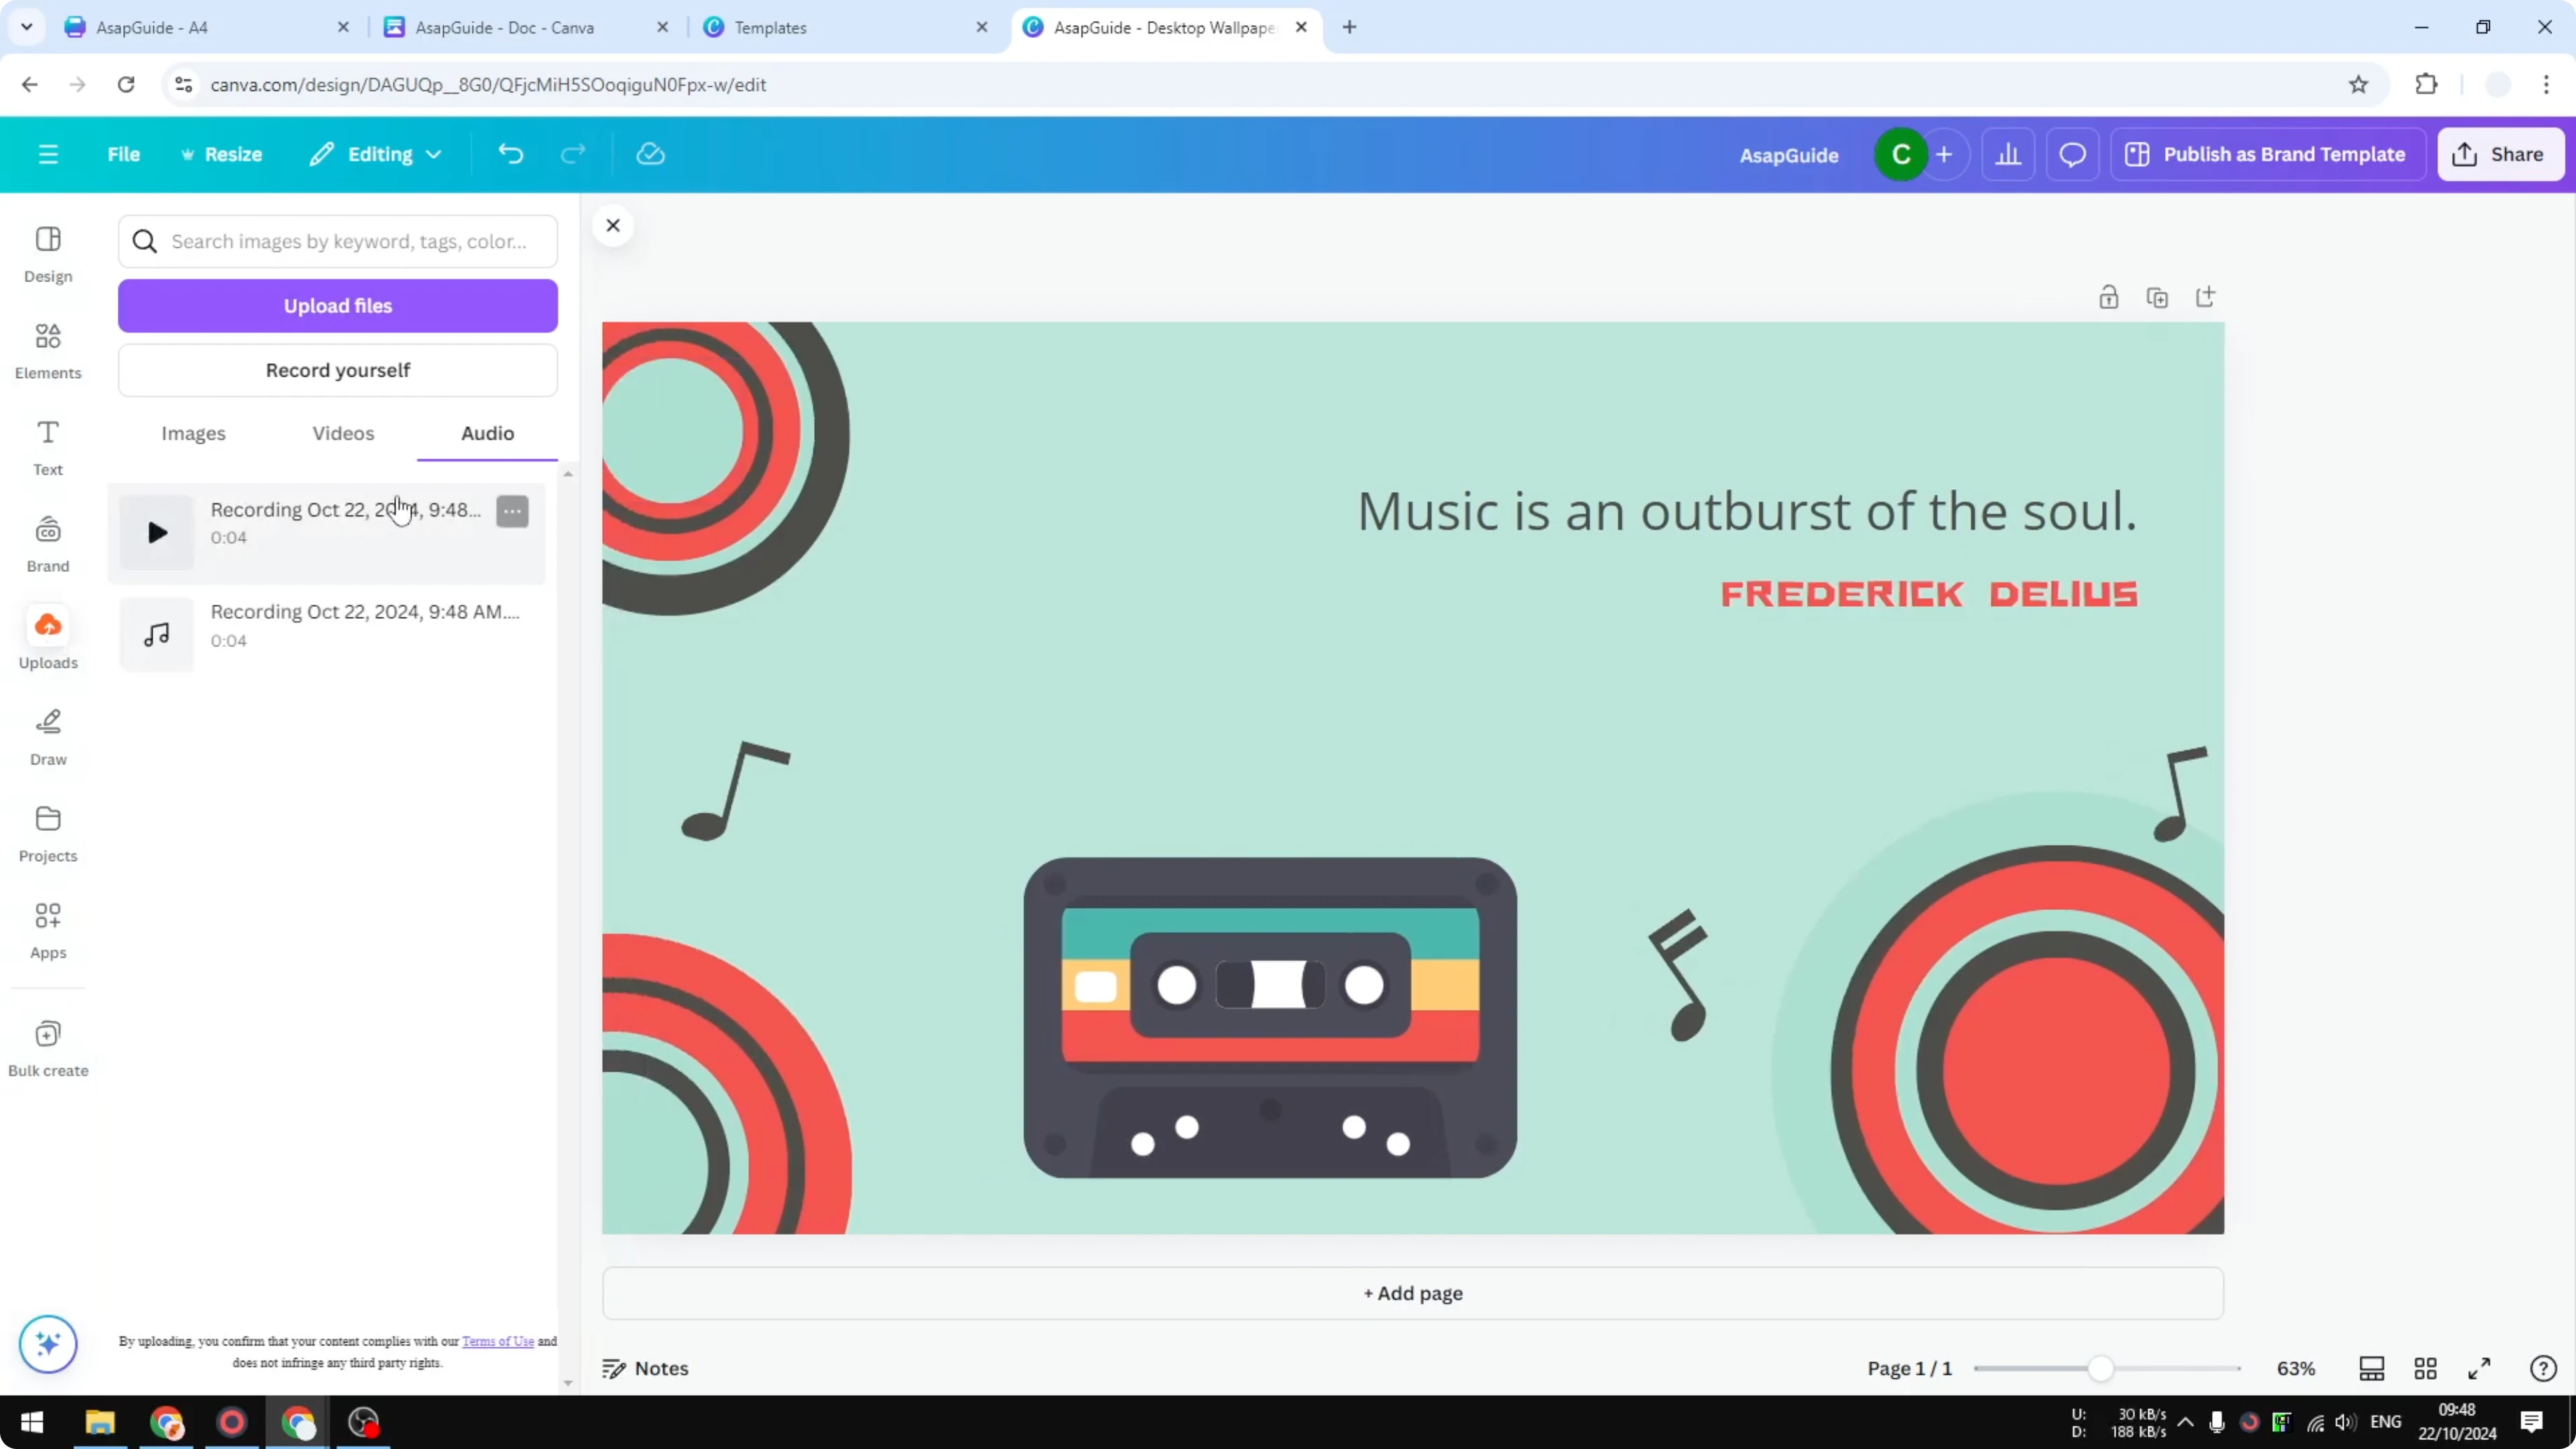
Find the upload in your design
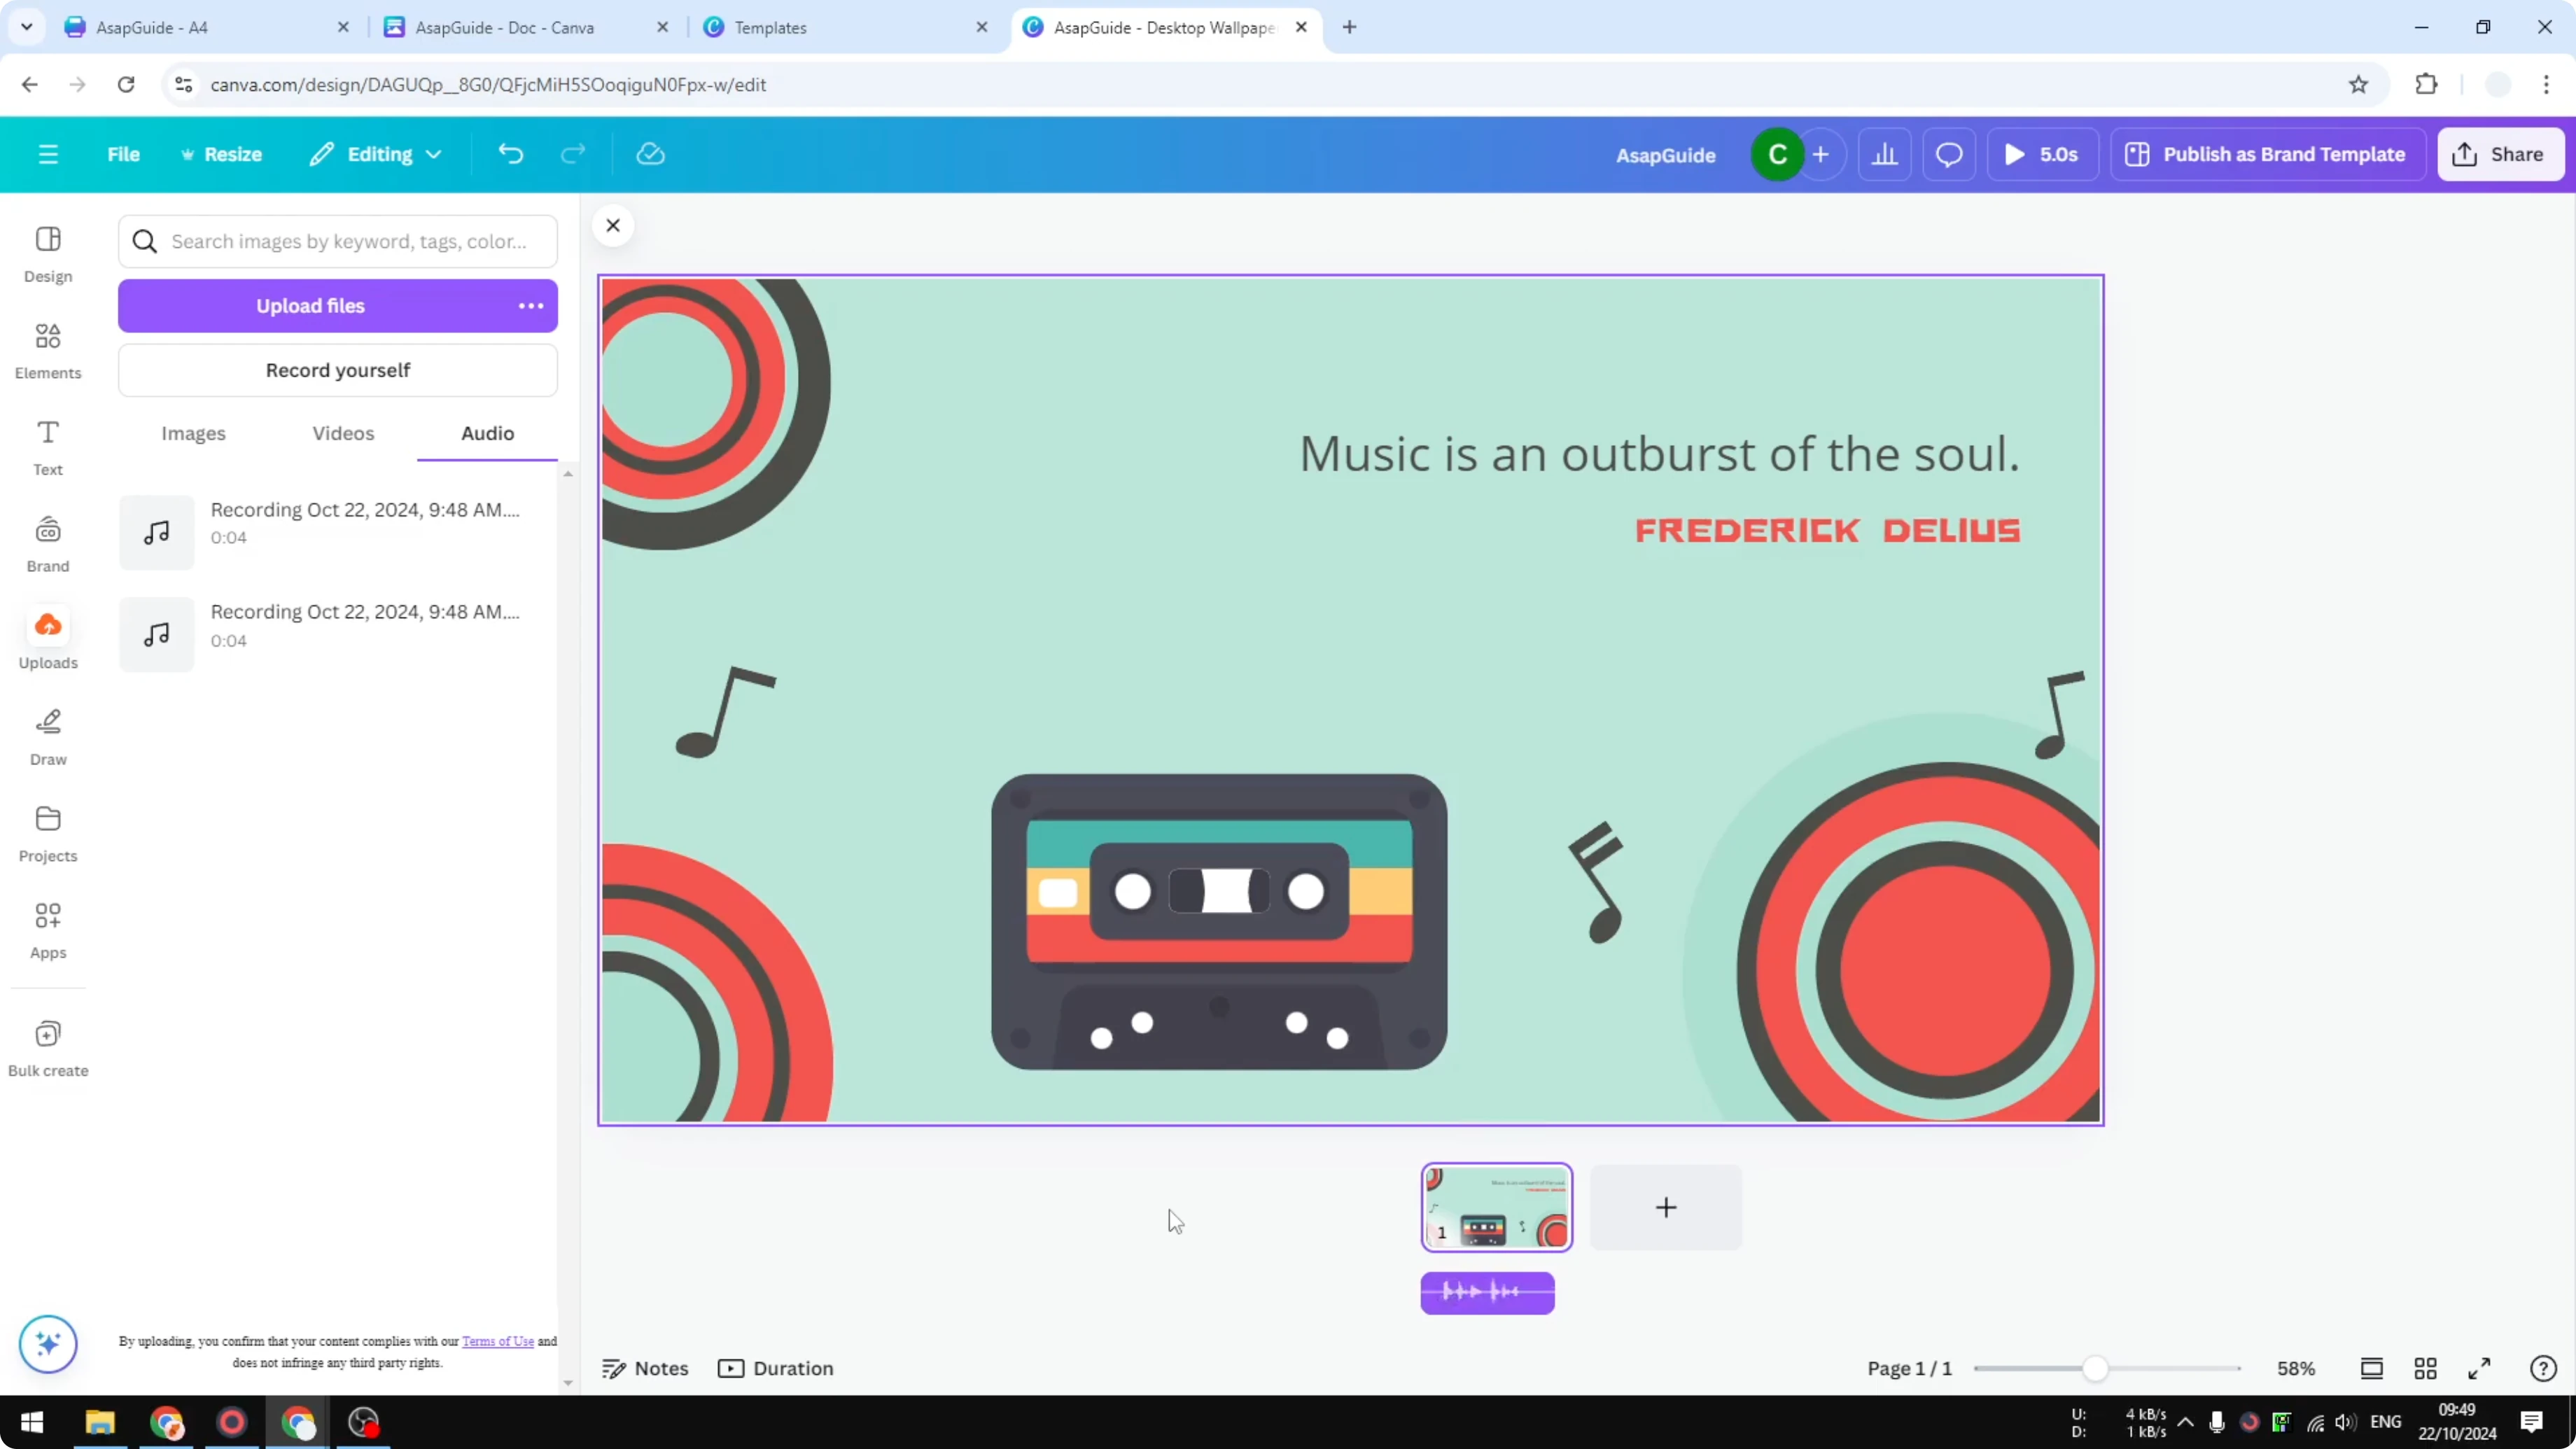
Open Uploads and go to Audio. You will see the new recording. Click it to preview the recording in the editor.
Read More: Build Website Using Canva
Background narration behavior
Depending on the type of presentation or document, the audio may be added to the timeline as background music or narration. It works well for presentations. You can download the file if you want to use it for different purposes outside Canva.
Record Your Voice Using Canva: Final thoughts
Recording your own voice in Canva is quick and practical. Set up your mic, record, then share, download, or add the audio to your design. You can reuse the file anywhere you need audio.
Recent Posts
How to Visualize Yourself as a Pixelized Character with AI?
How to Visualize Yourself as a Pixelized Character with AI?

How to Revive Faded Memories and Enhance Image Clarity with AI?
How to Revive Faded Memories and Enhance Image Clarity with AI?

How to Visualize Yourself as an Animal Crossing Character with AI?
How to Visualize Yourself as an Animal Crossing Character with AI?