How to Record on Canva Presentation
I am going to show you how you can present your Canva presentation and record yourself. It could be your face and also your voice at the same time. This is extremely useful if you want to present the presentation once and then share the recording to your friends.
You do not have to do the presentation over and over again. I think it is a really great idea. If you want a bit more polish before you record, you can add background music to your Canva presentation.
Why Record on Canva Presentation
You can present your slides once and share a link to the recording. Your audience can watch it on their own time. This saves you time and keeps your delivery consistent.
Start to Record on Canva Presentation
Open and choose Present and record
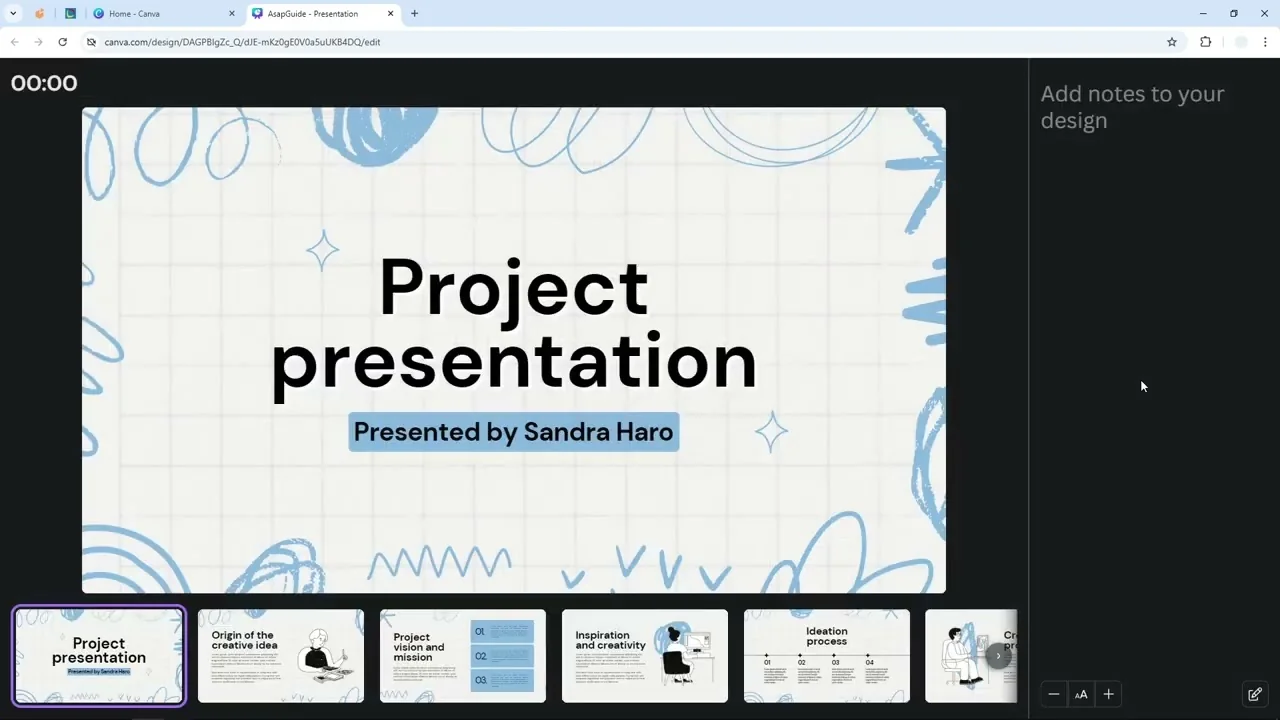
Open the presentation in Canva.
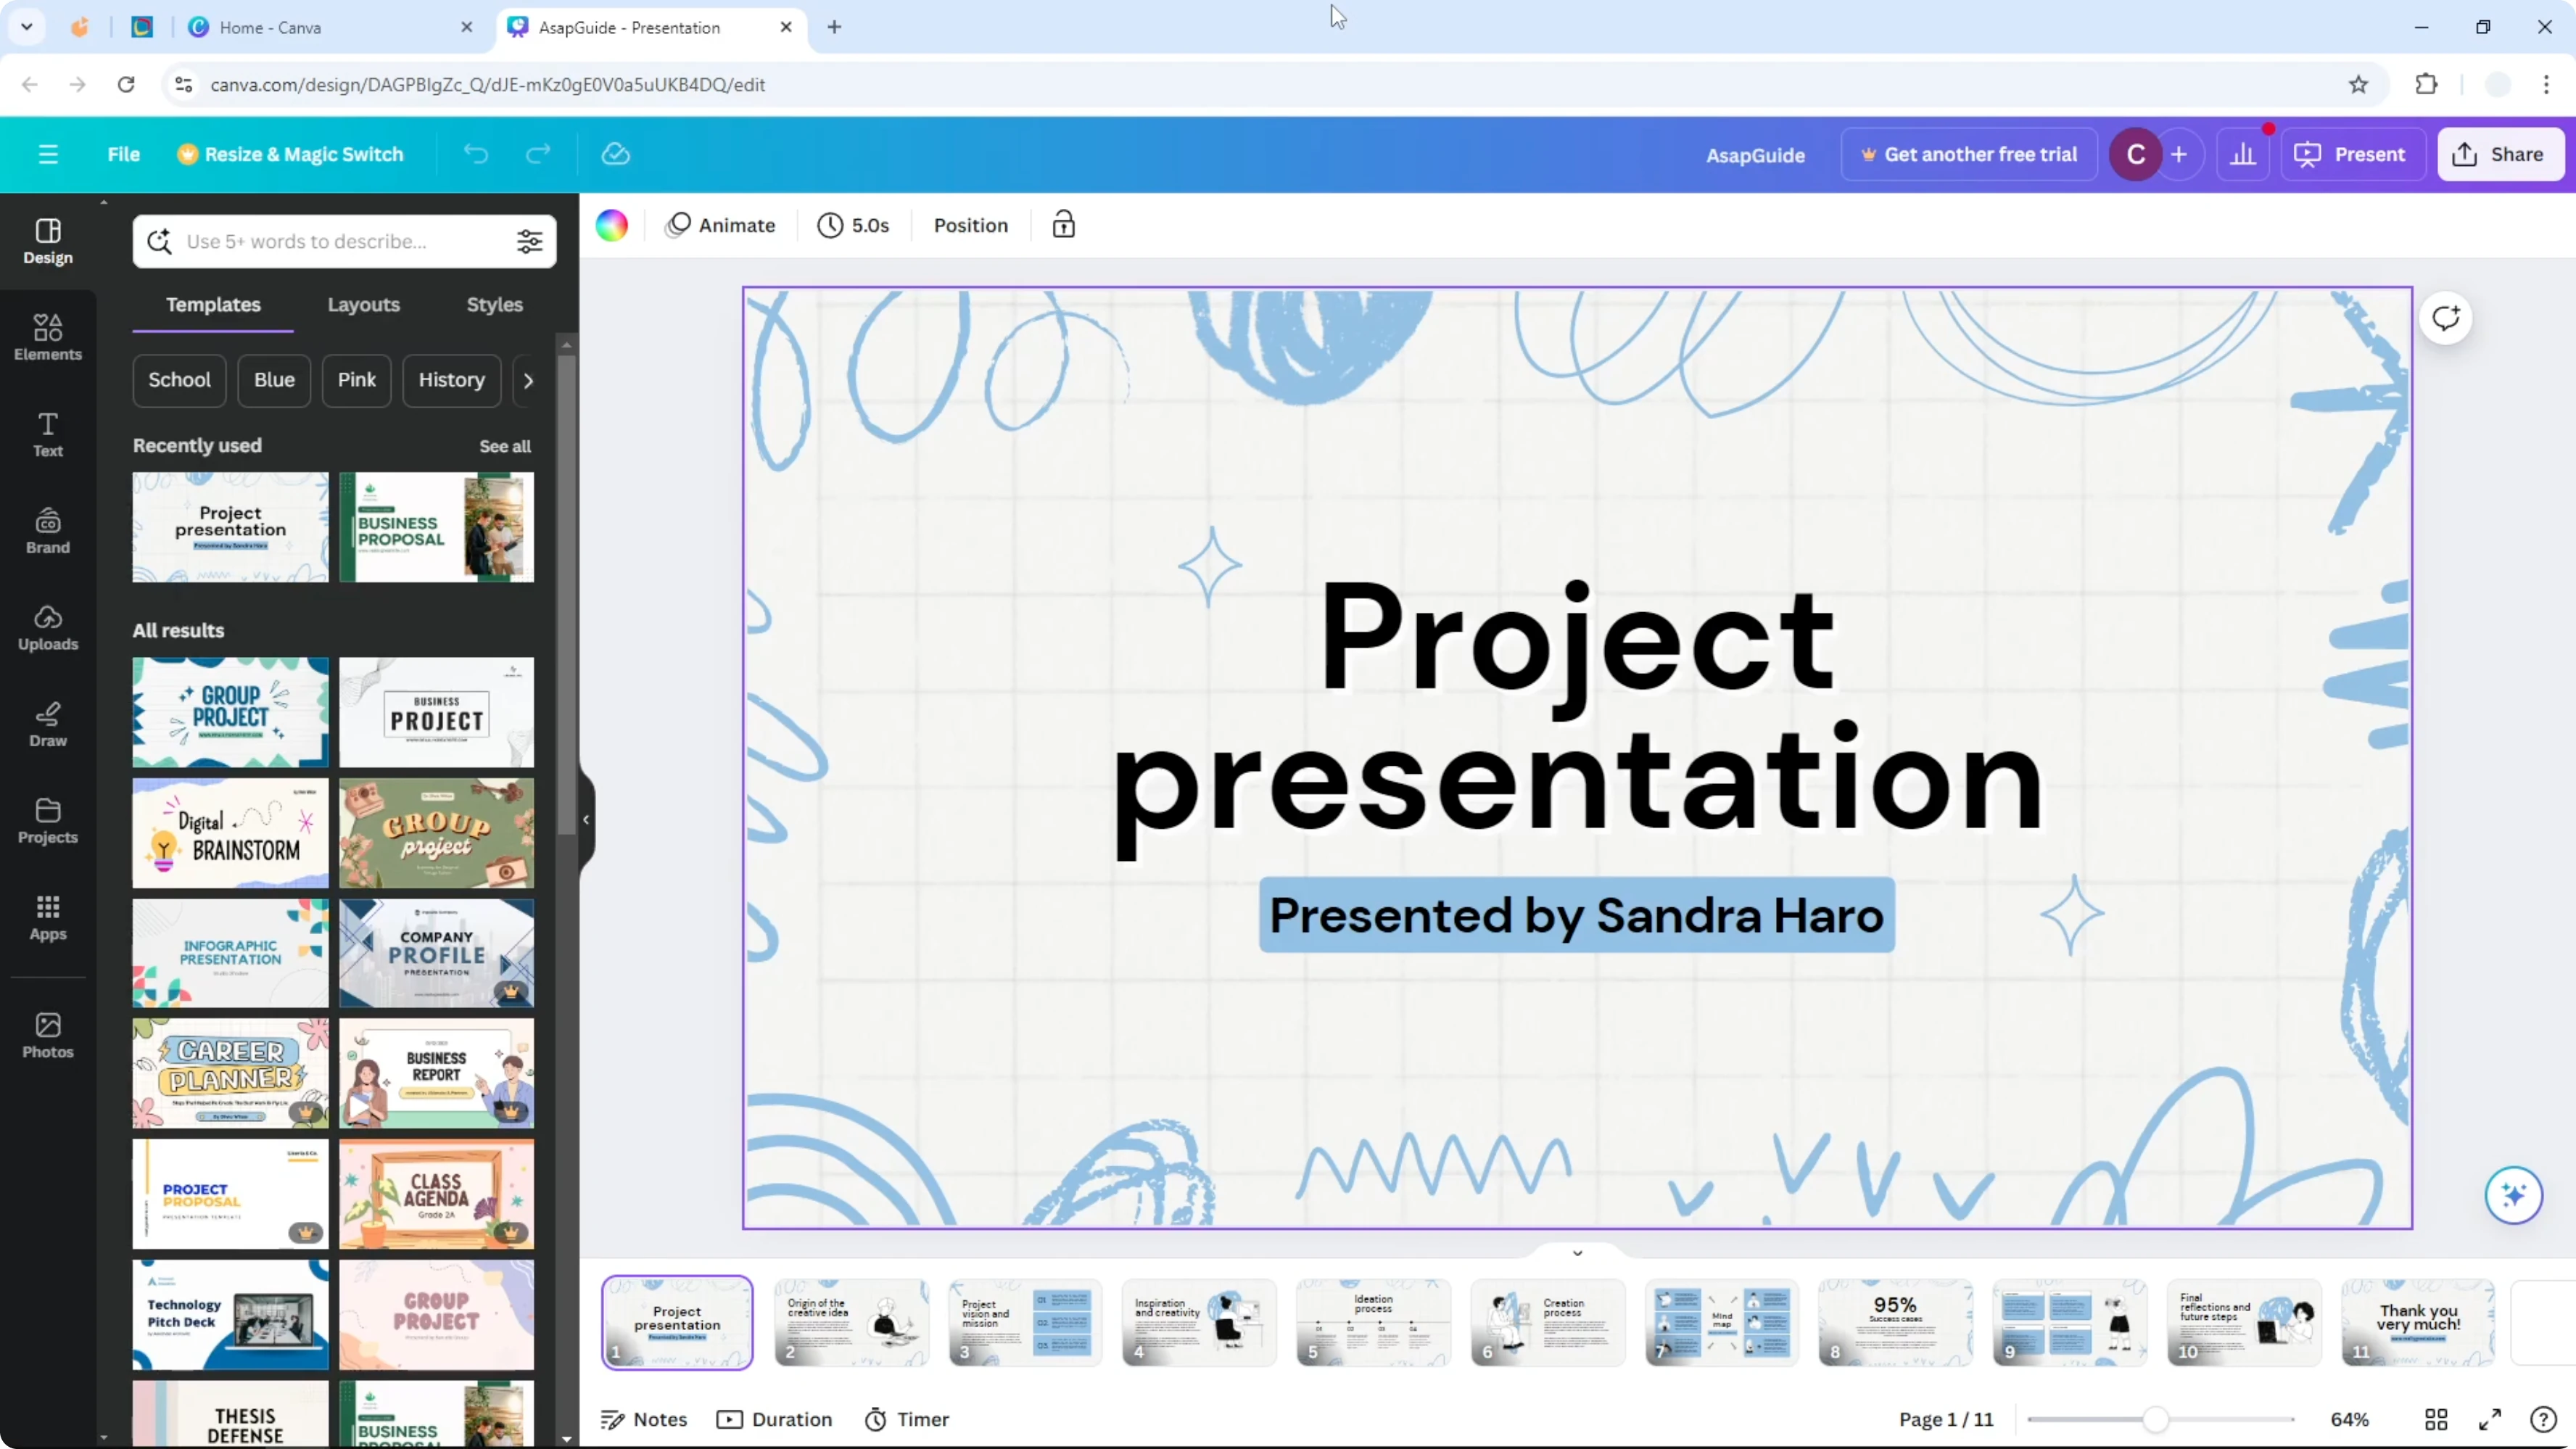
Go to the Present menu.
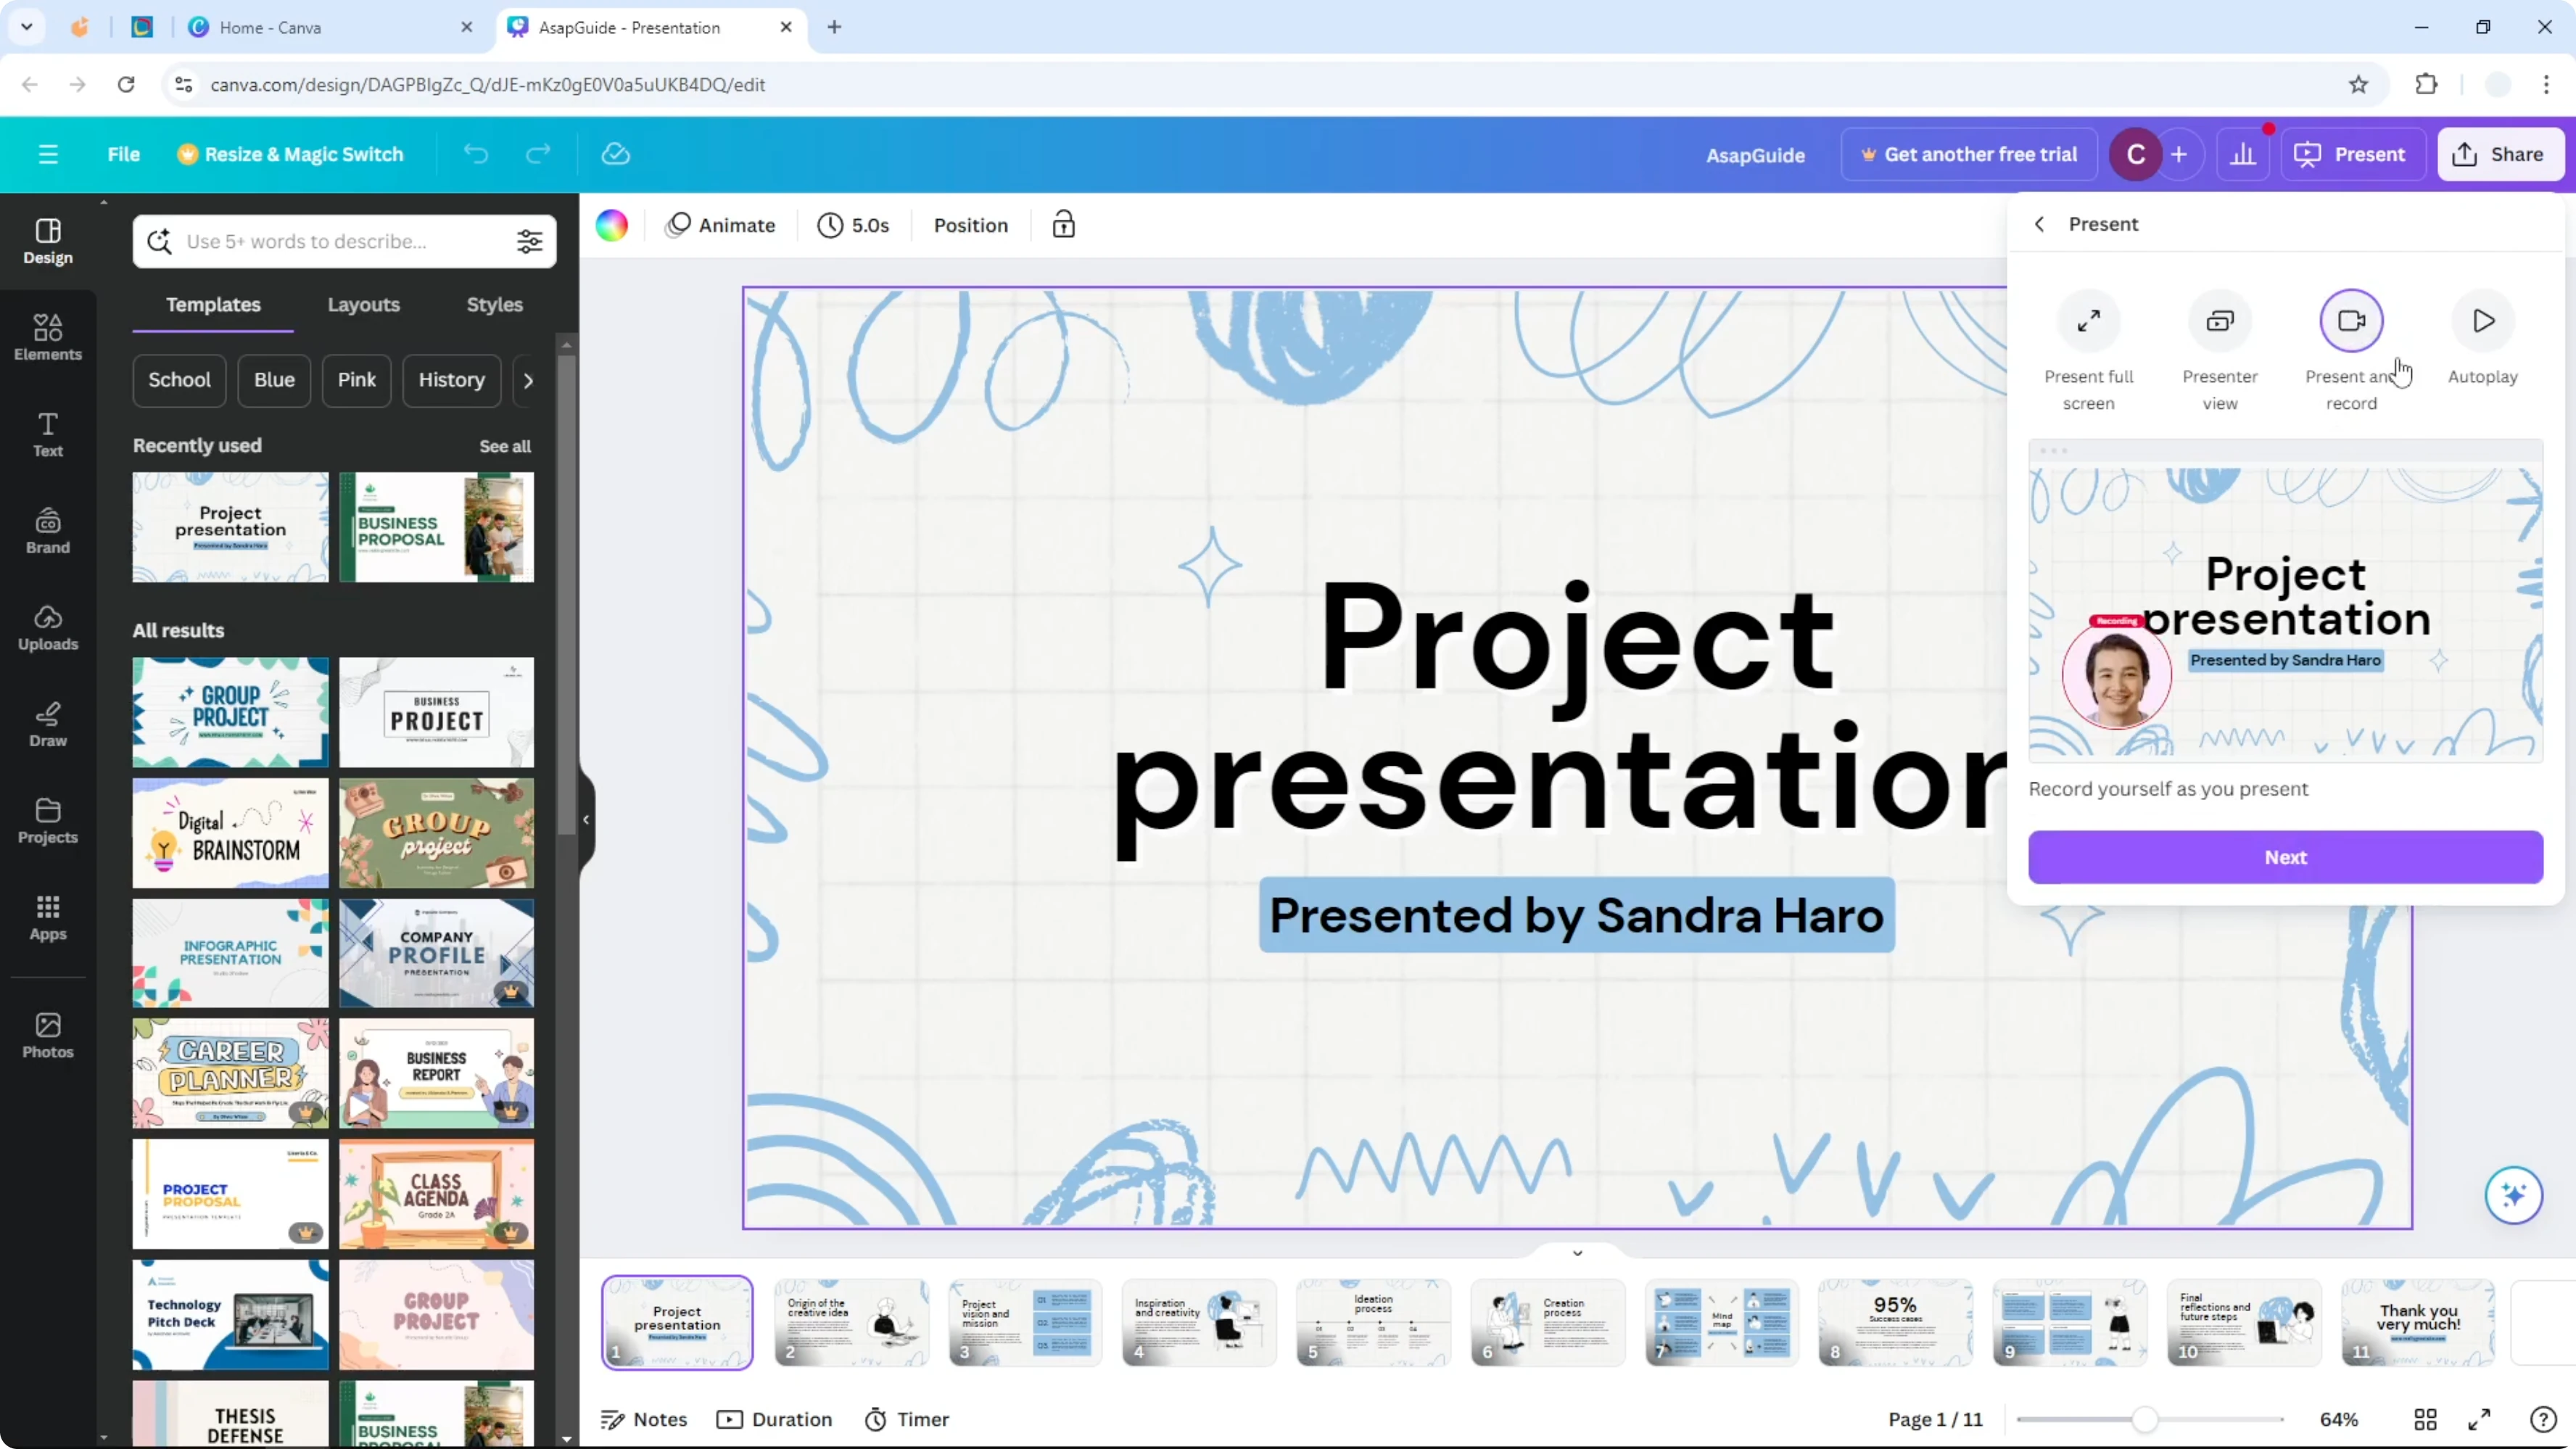
Select Present and record.

Before you go to the next step, make sure your webcam and microphone are connected to your computer and are working properly. Test your mic so your voice is clear. Click Next, then click Go to recording studio.
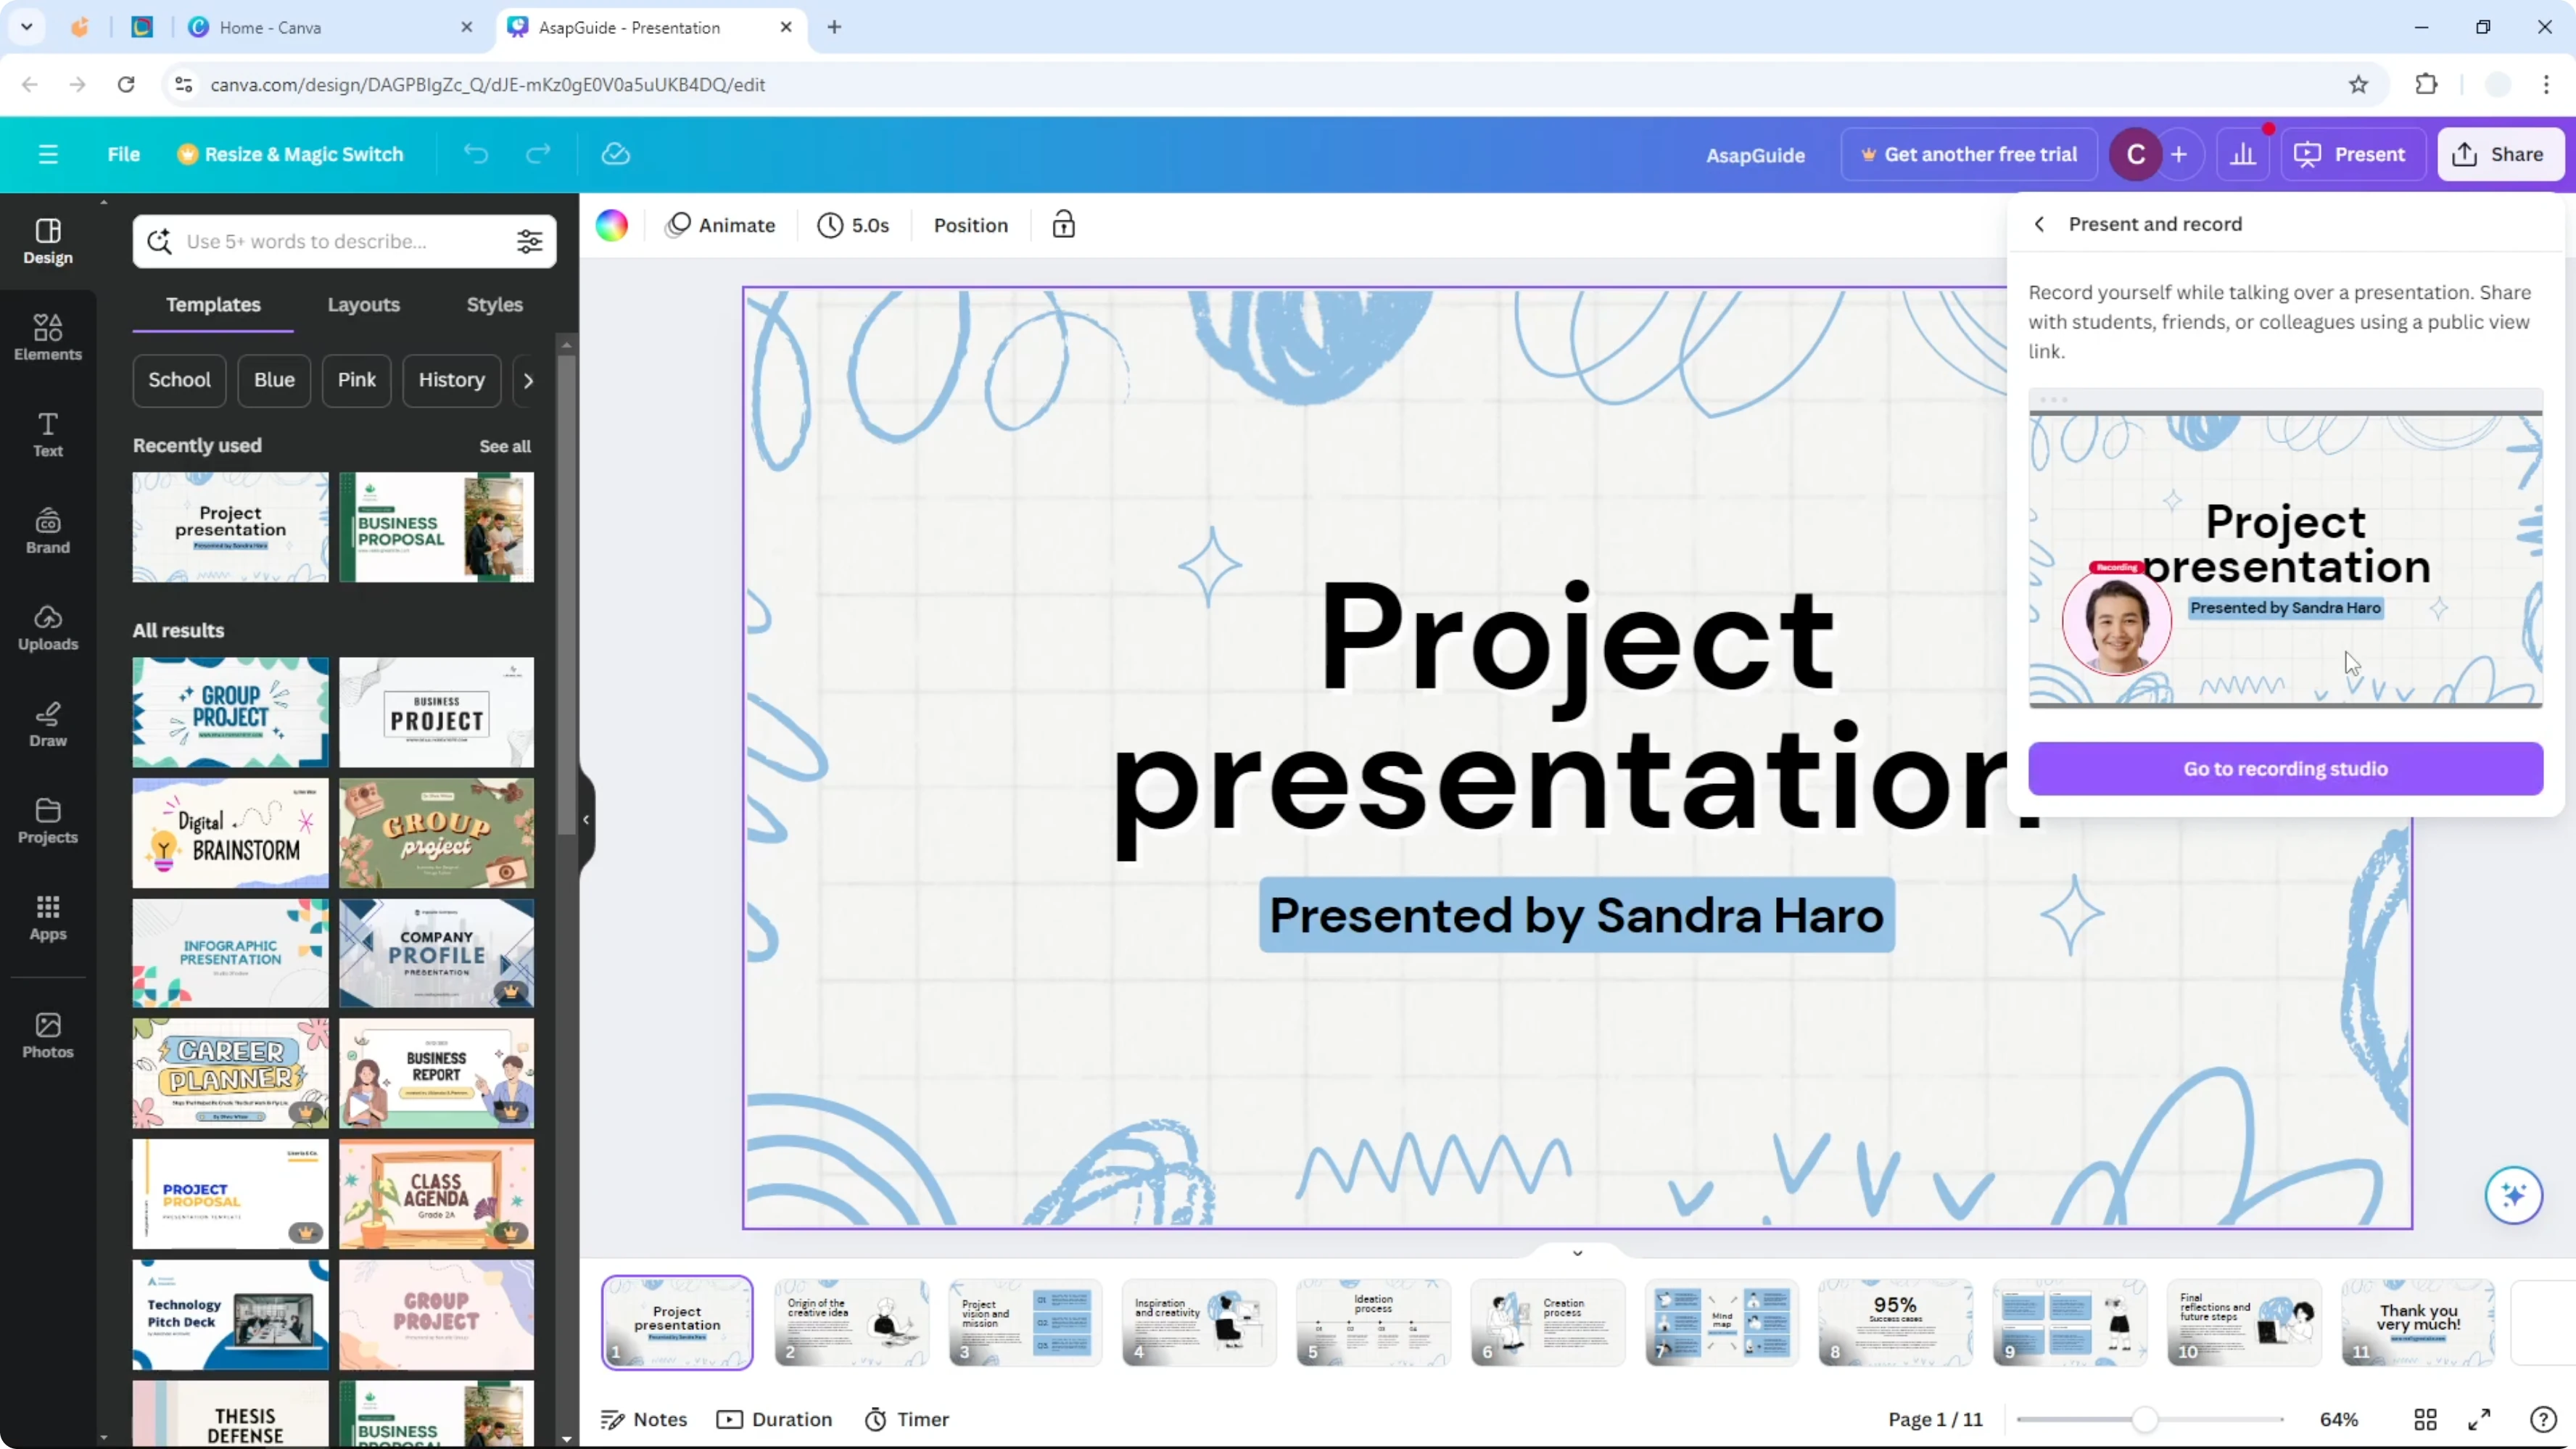
This is a mode in Canva that lets us start recording. Allow access to the microphone and the camera when prompted. Granting access is required to capture your voice and video.

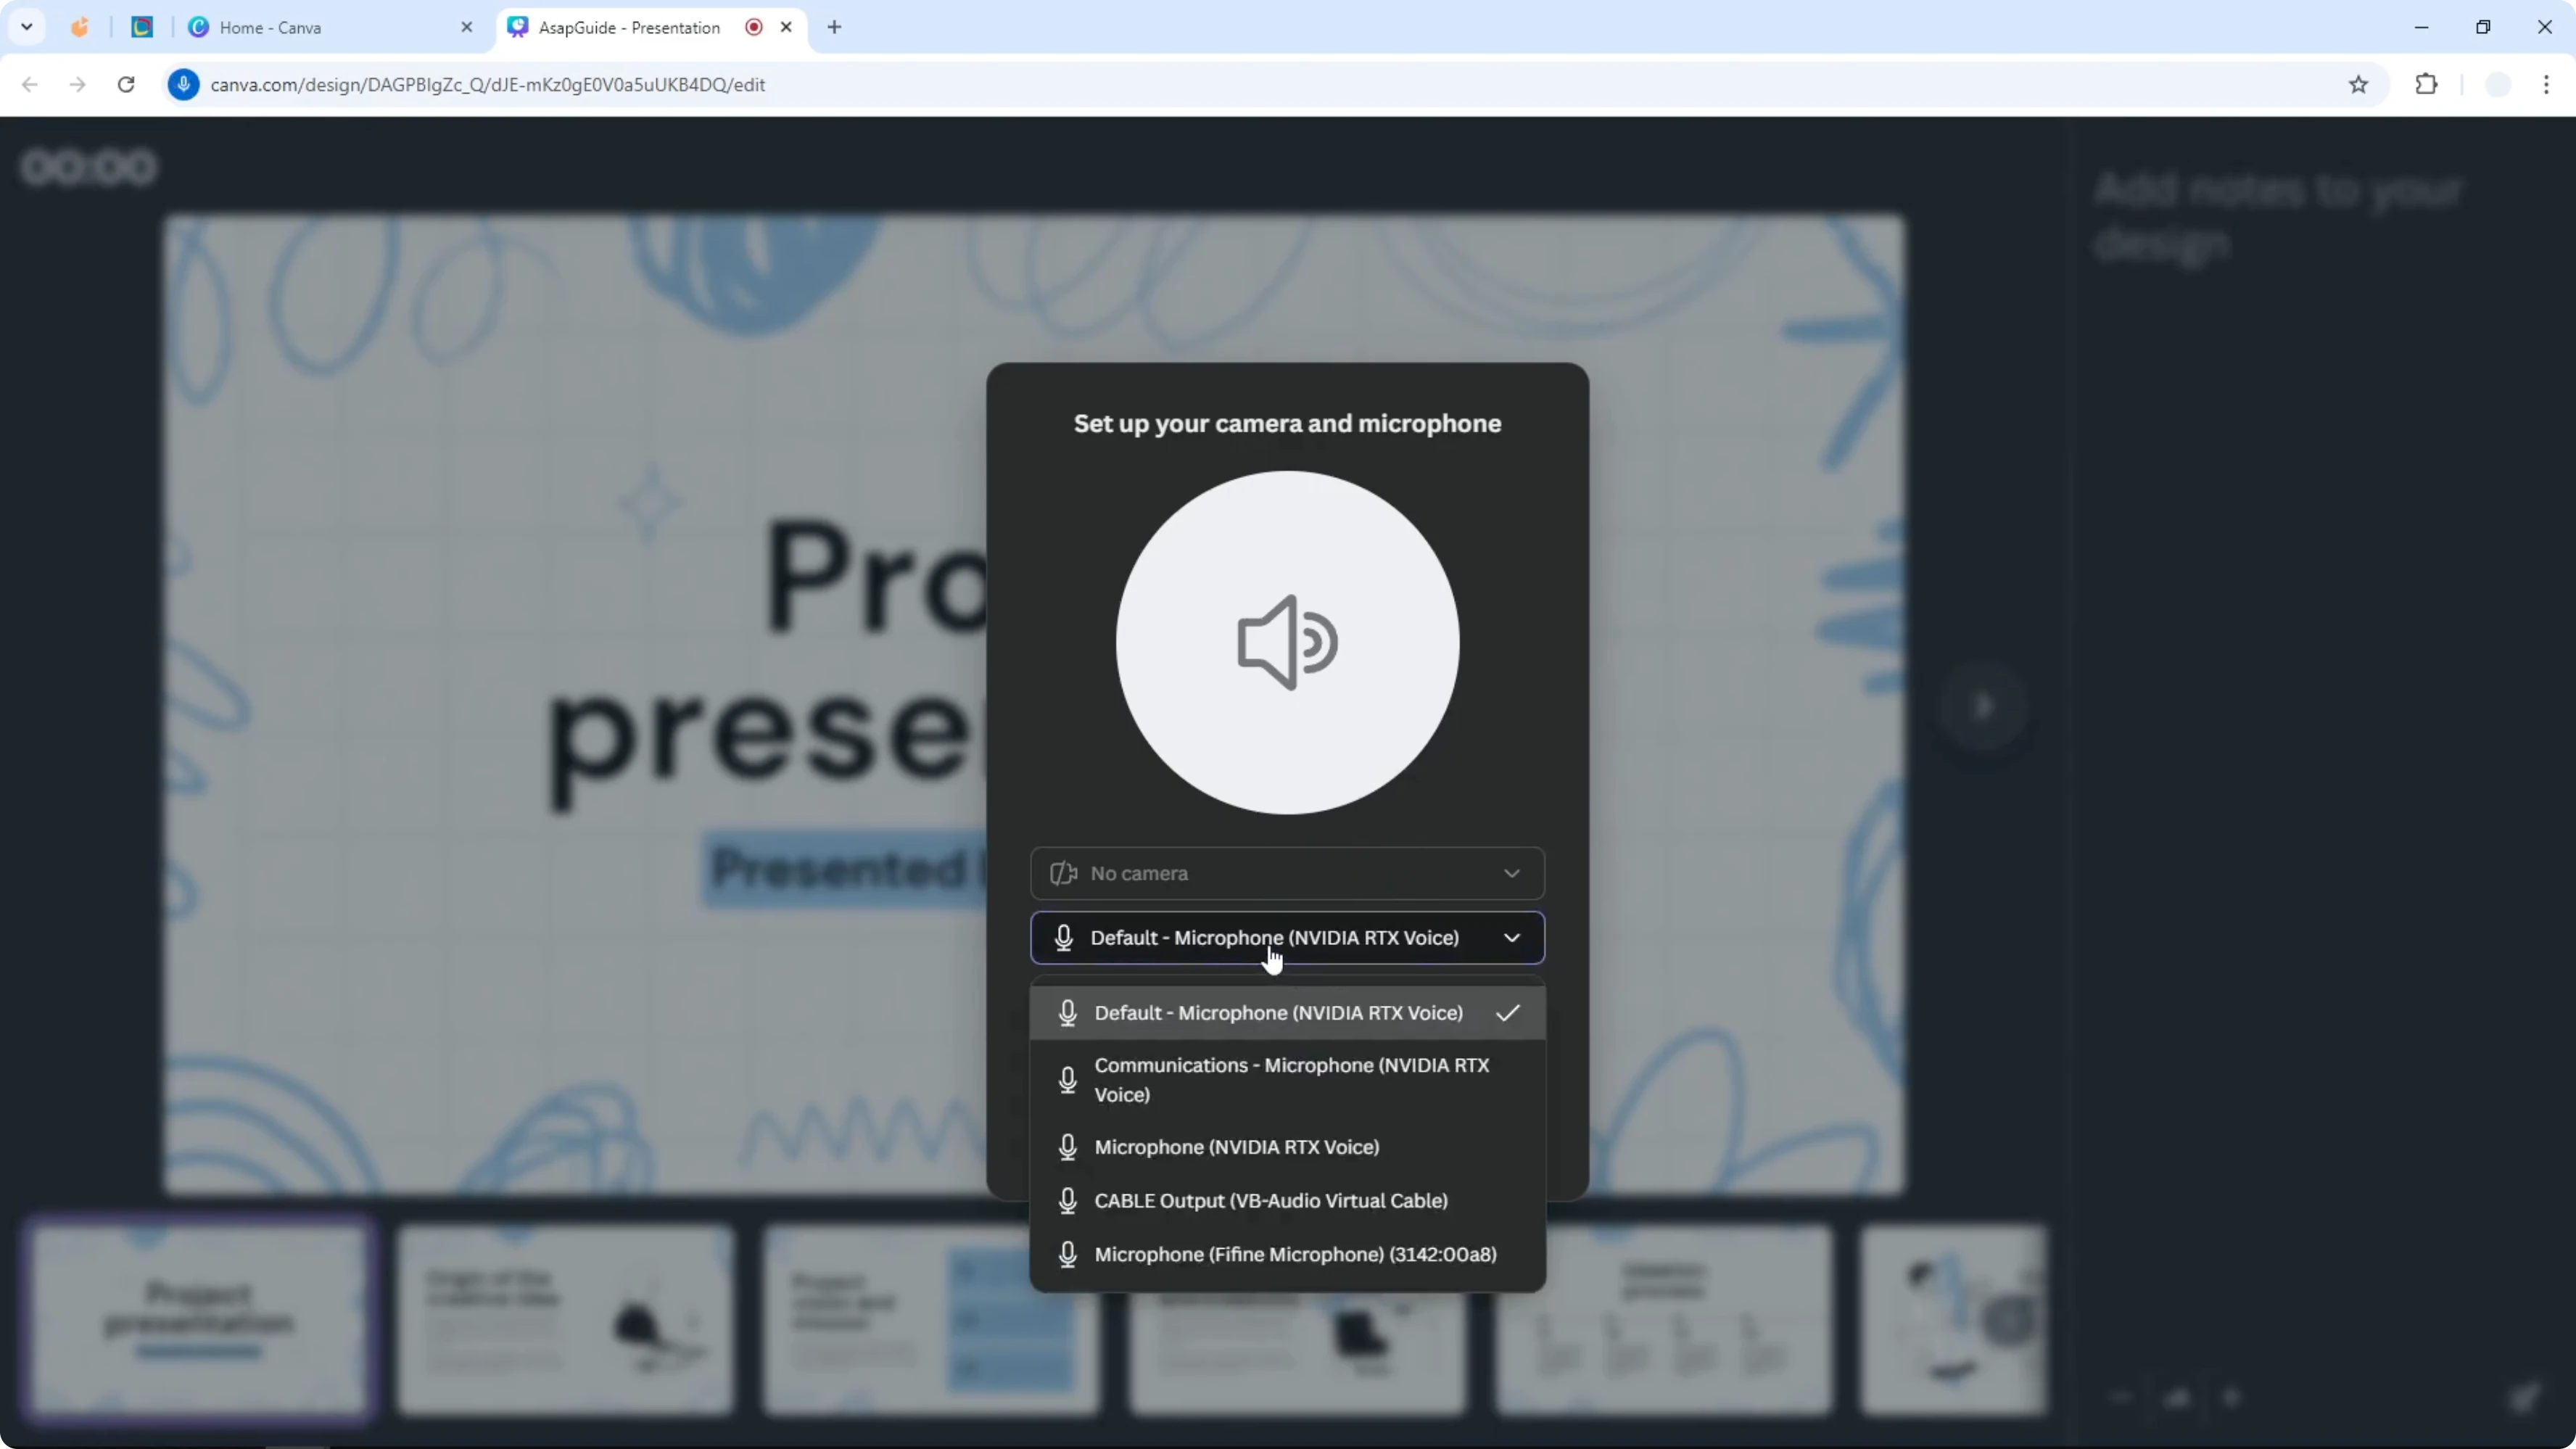
Allow access and pick devices
Select the camera you want to use. You can also select the microphone device you want to use for the recording. I am going to select the default setting, and I am not connecting a camera at the moment, but that is okay.
If you want to make your slides more dynamic before recording, you can add a GIF to a slide so it plays during your narration.
Start and move through slides
When you are ready, click Start recording. Speak clearly and advance your slides at a steady pace. I am just making sure that my voice is audible.

Move between slides as you present. Keep your cursor movement smooth and your narration focused. See what happens as you navigate through your deck.
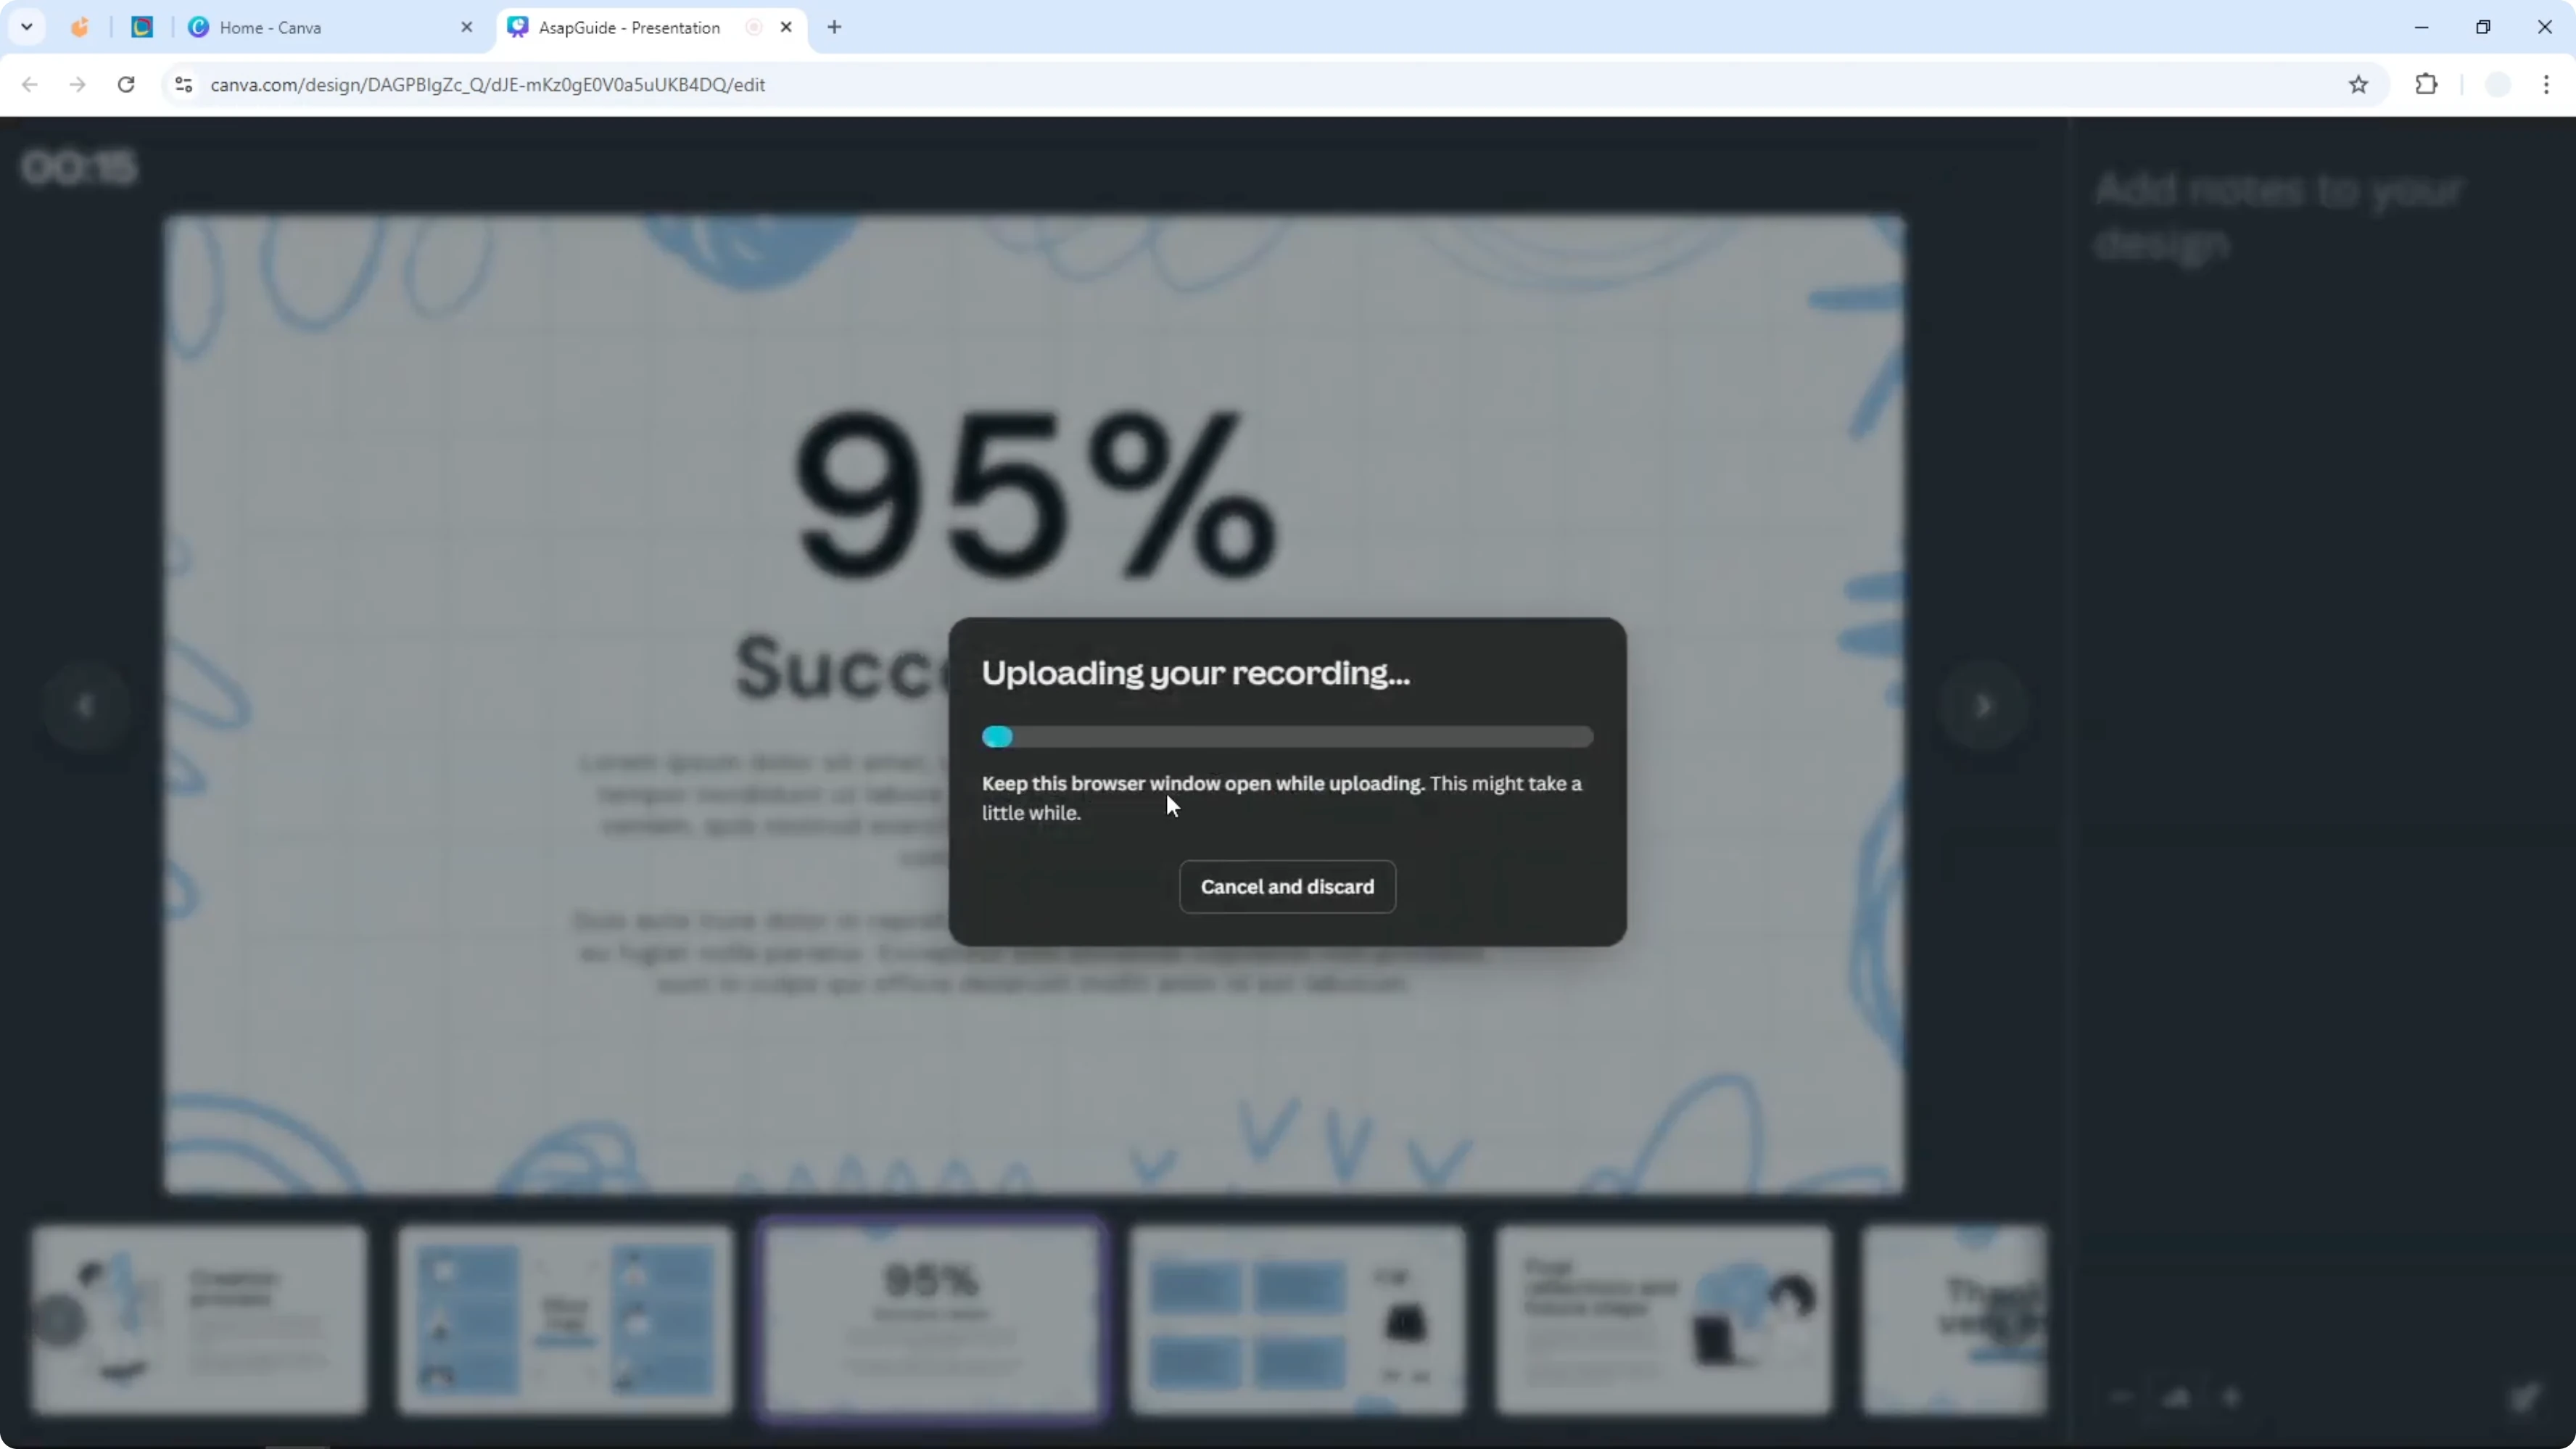
Finish and share
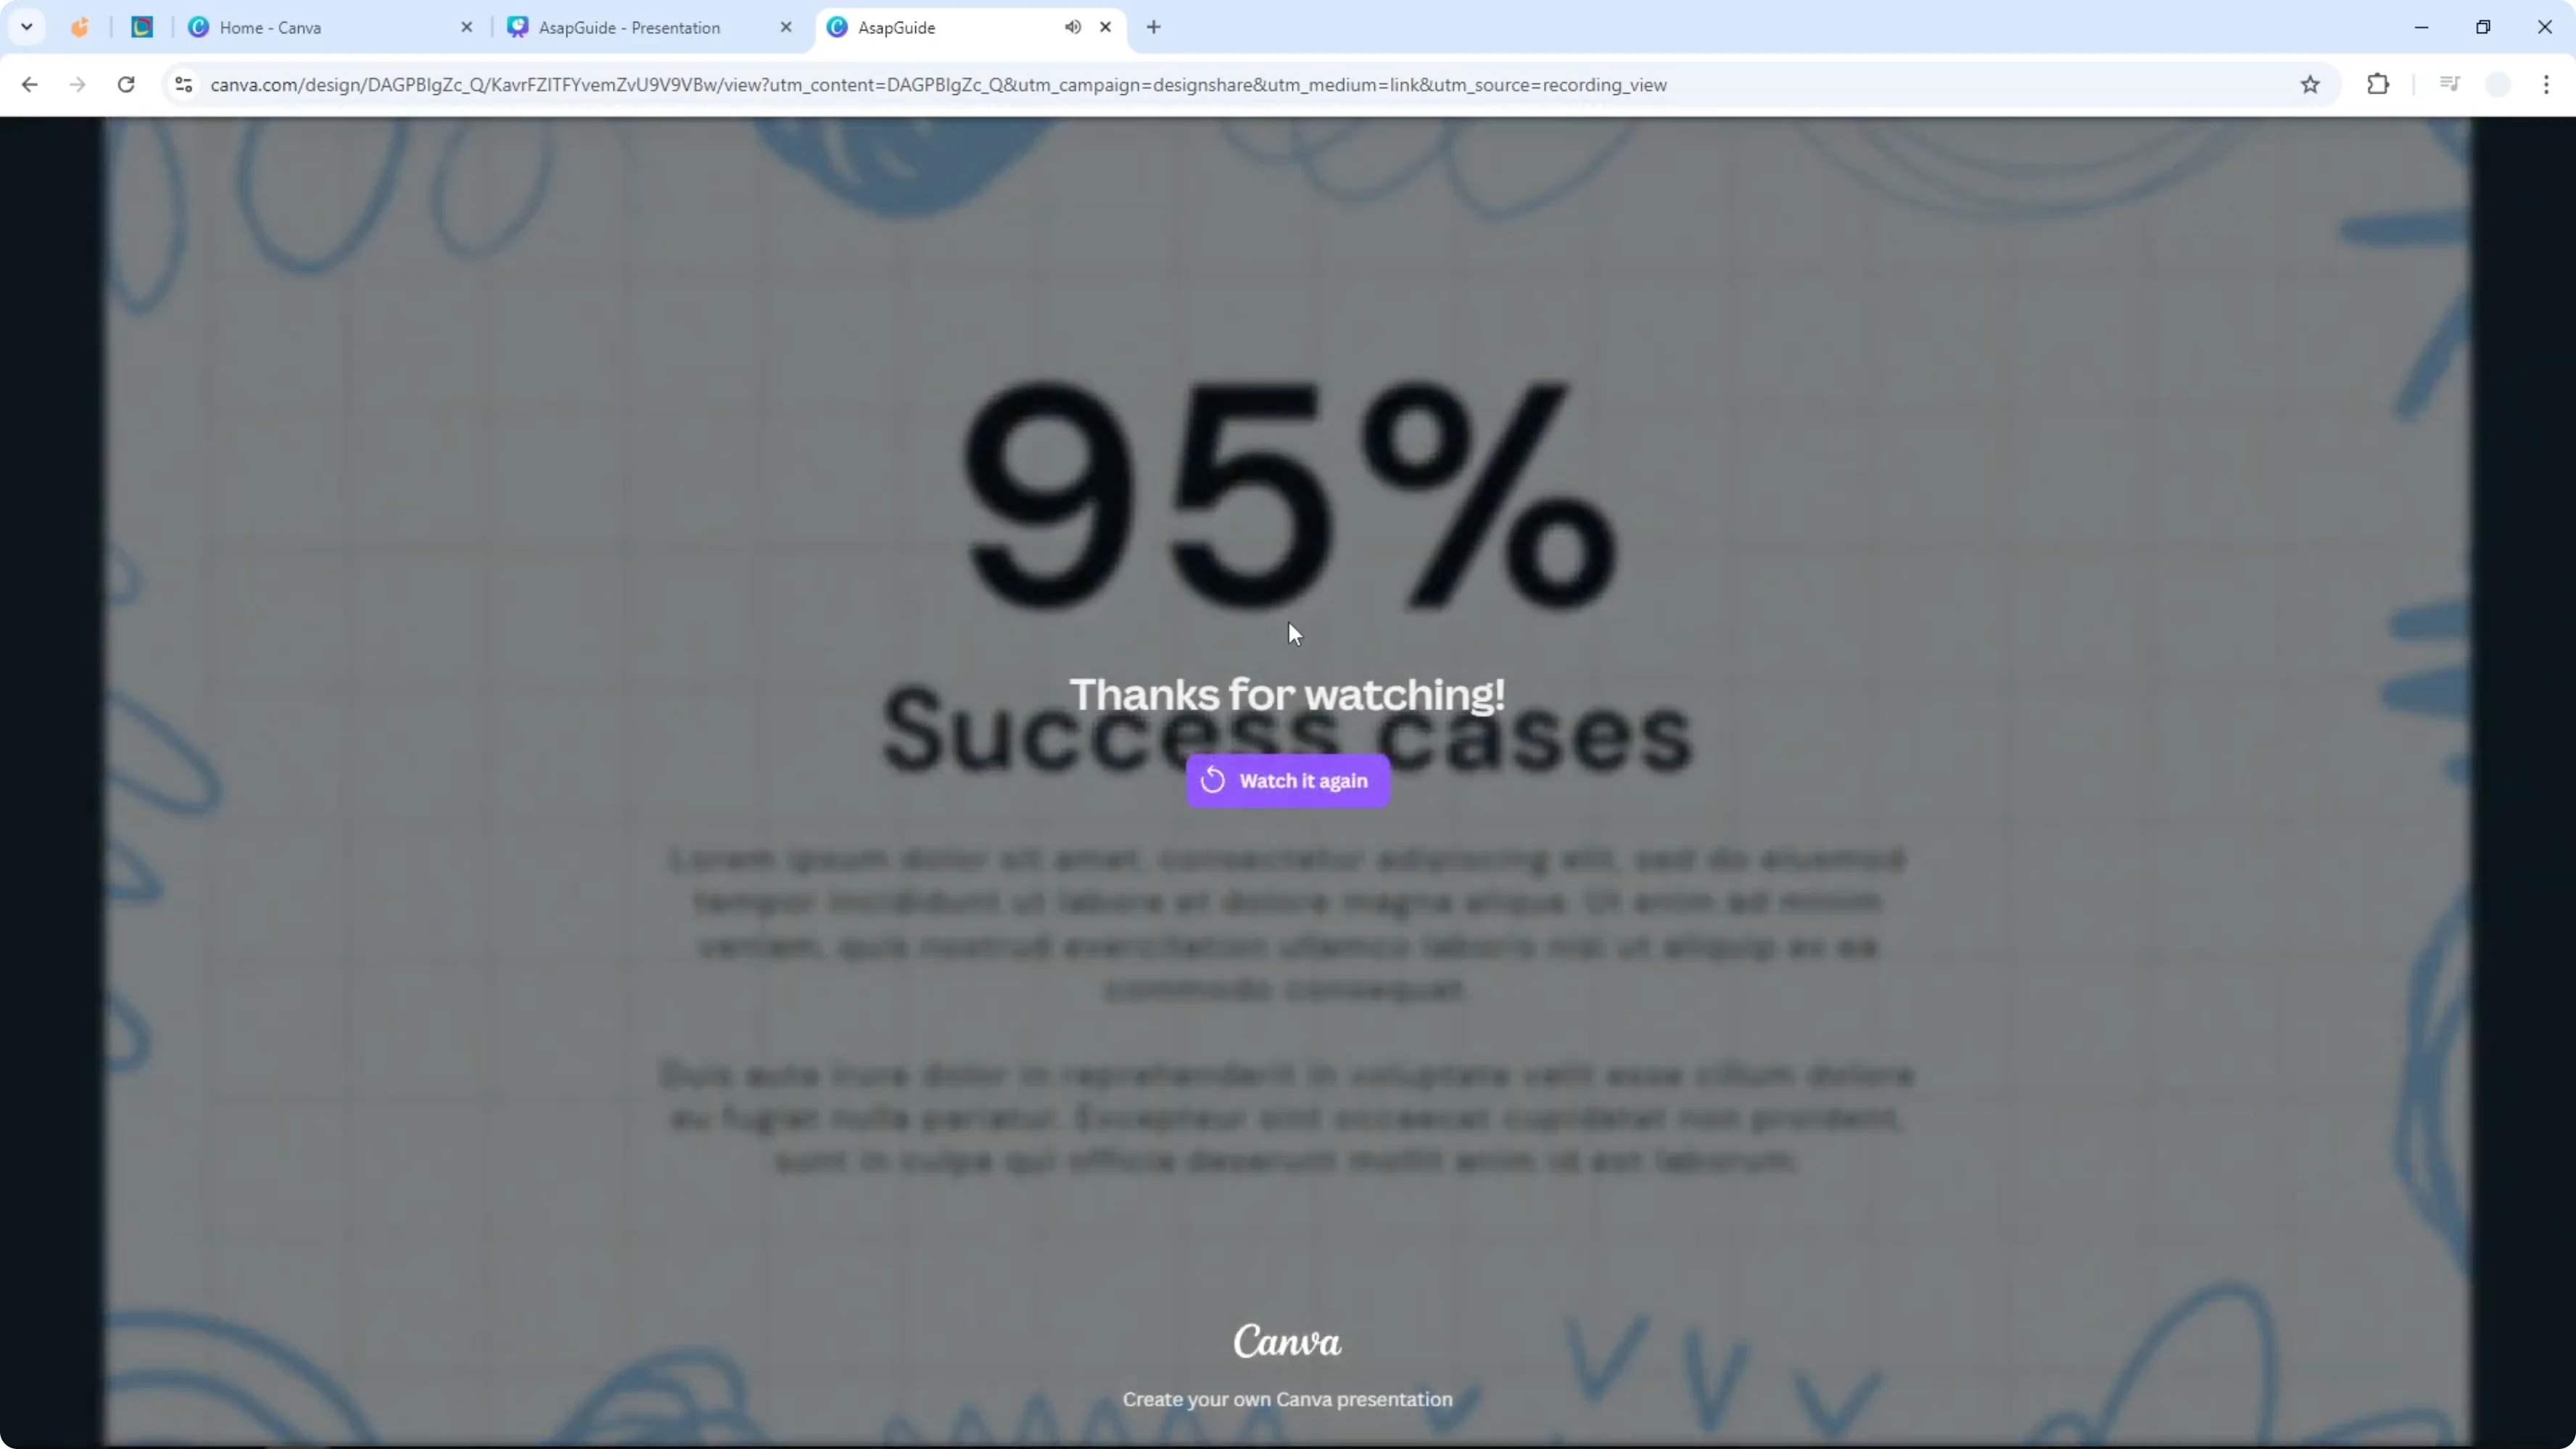
Click to stop the recording when you are finished. Canva will render the video, and shortly you should be able to see the result. You can download the file or share the recording with a URL.
I paste the URL and play the recording back to review the audio and slides. If you need to keep on time during live sessions or practice runs, you can add a timer to your Canva presentation.
Final thoughts
That is how you can present and record your Canva presentation at the same time. Prepare your devices, allow access, pick the right inputs, record, and share the link or download the file. This simple workflow lets you deliver once and share many times.
Recent Posts
How to Visualize Yourself as a Pixelized Character with AI?
How to Visualize Yourself as a Pixelized Character with AI?

How to Revive Faded Memories and Enhance Image Clarity with AI?
How to Revive Faded Memories and Enhance Image Clarity with AI?

How to Visualize Yourself as an Animal Crossing Character with AI?
How to Visualize Yourself as an Animal Crossing Character with AI?