How to Reconstruct and Fill Missing Parts of Damaged Photos with AI?
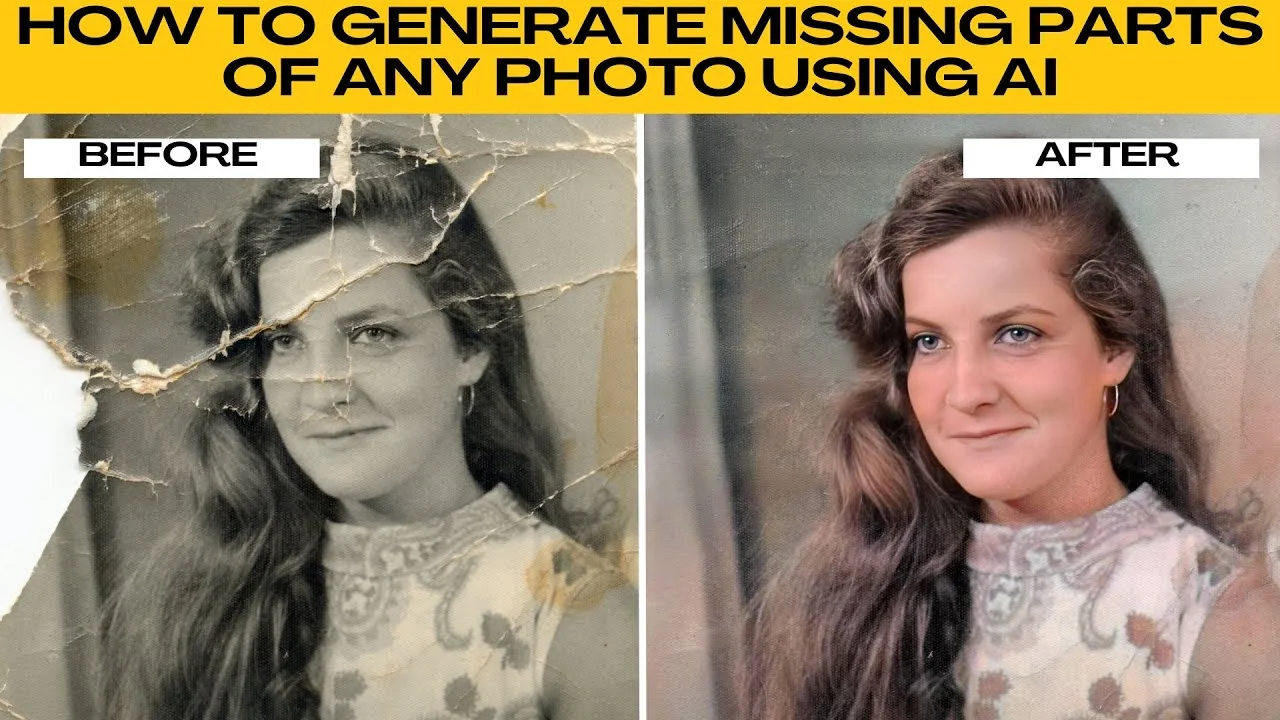
I will teach you how to generate missing parts of any photo using AI tools.
By following these steps, you can bring old or incomplete photos back to life, restoring not just pixels, but memories.
The best results come from older photos with visible scratches, folds, minor tears, or faded colors.
Work from a high resolution scan when possible for cleaner reconstruction.
Keep a copy of the original image before you start.
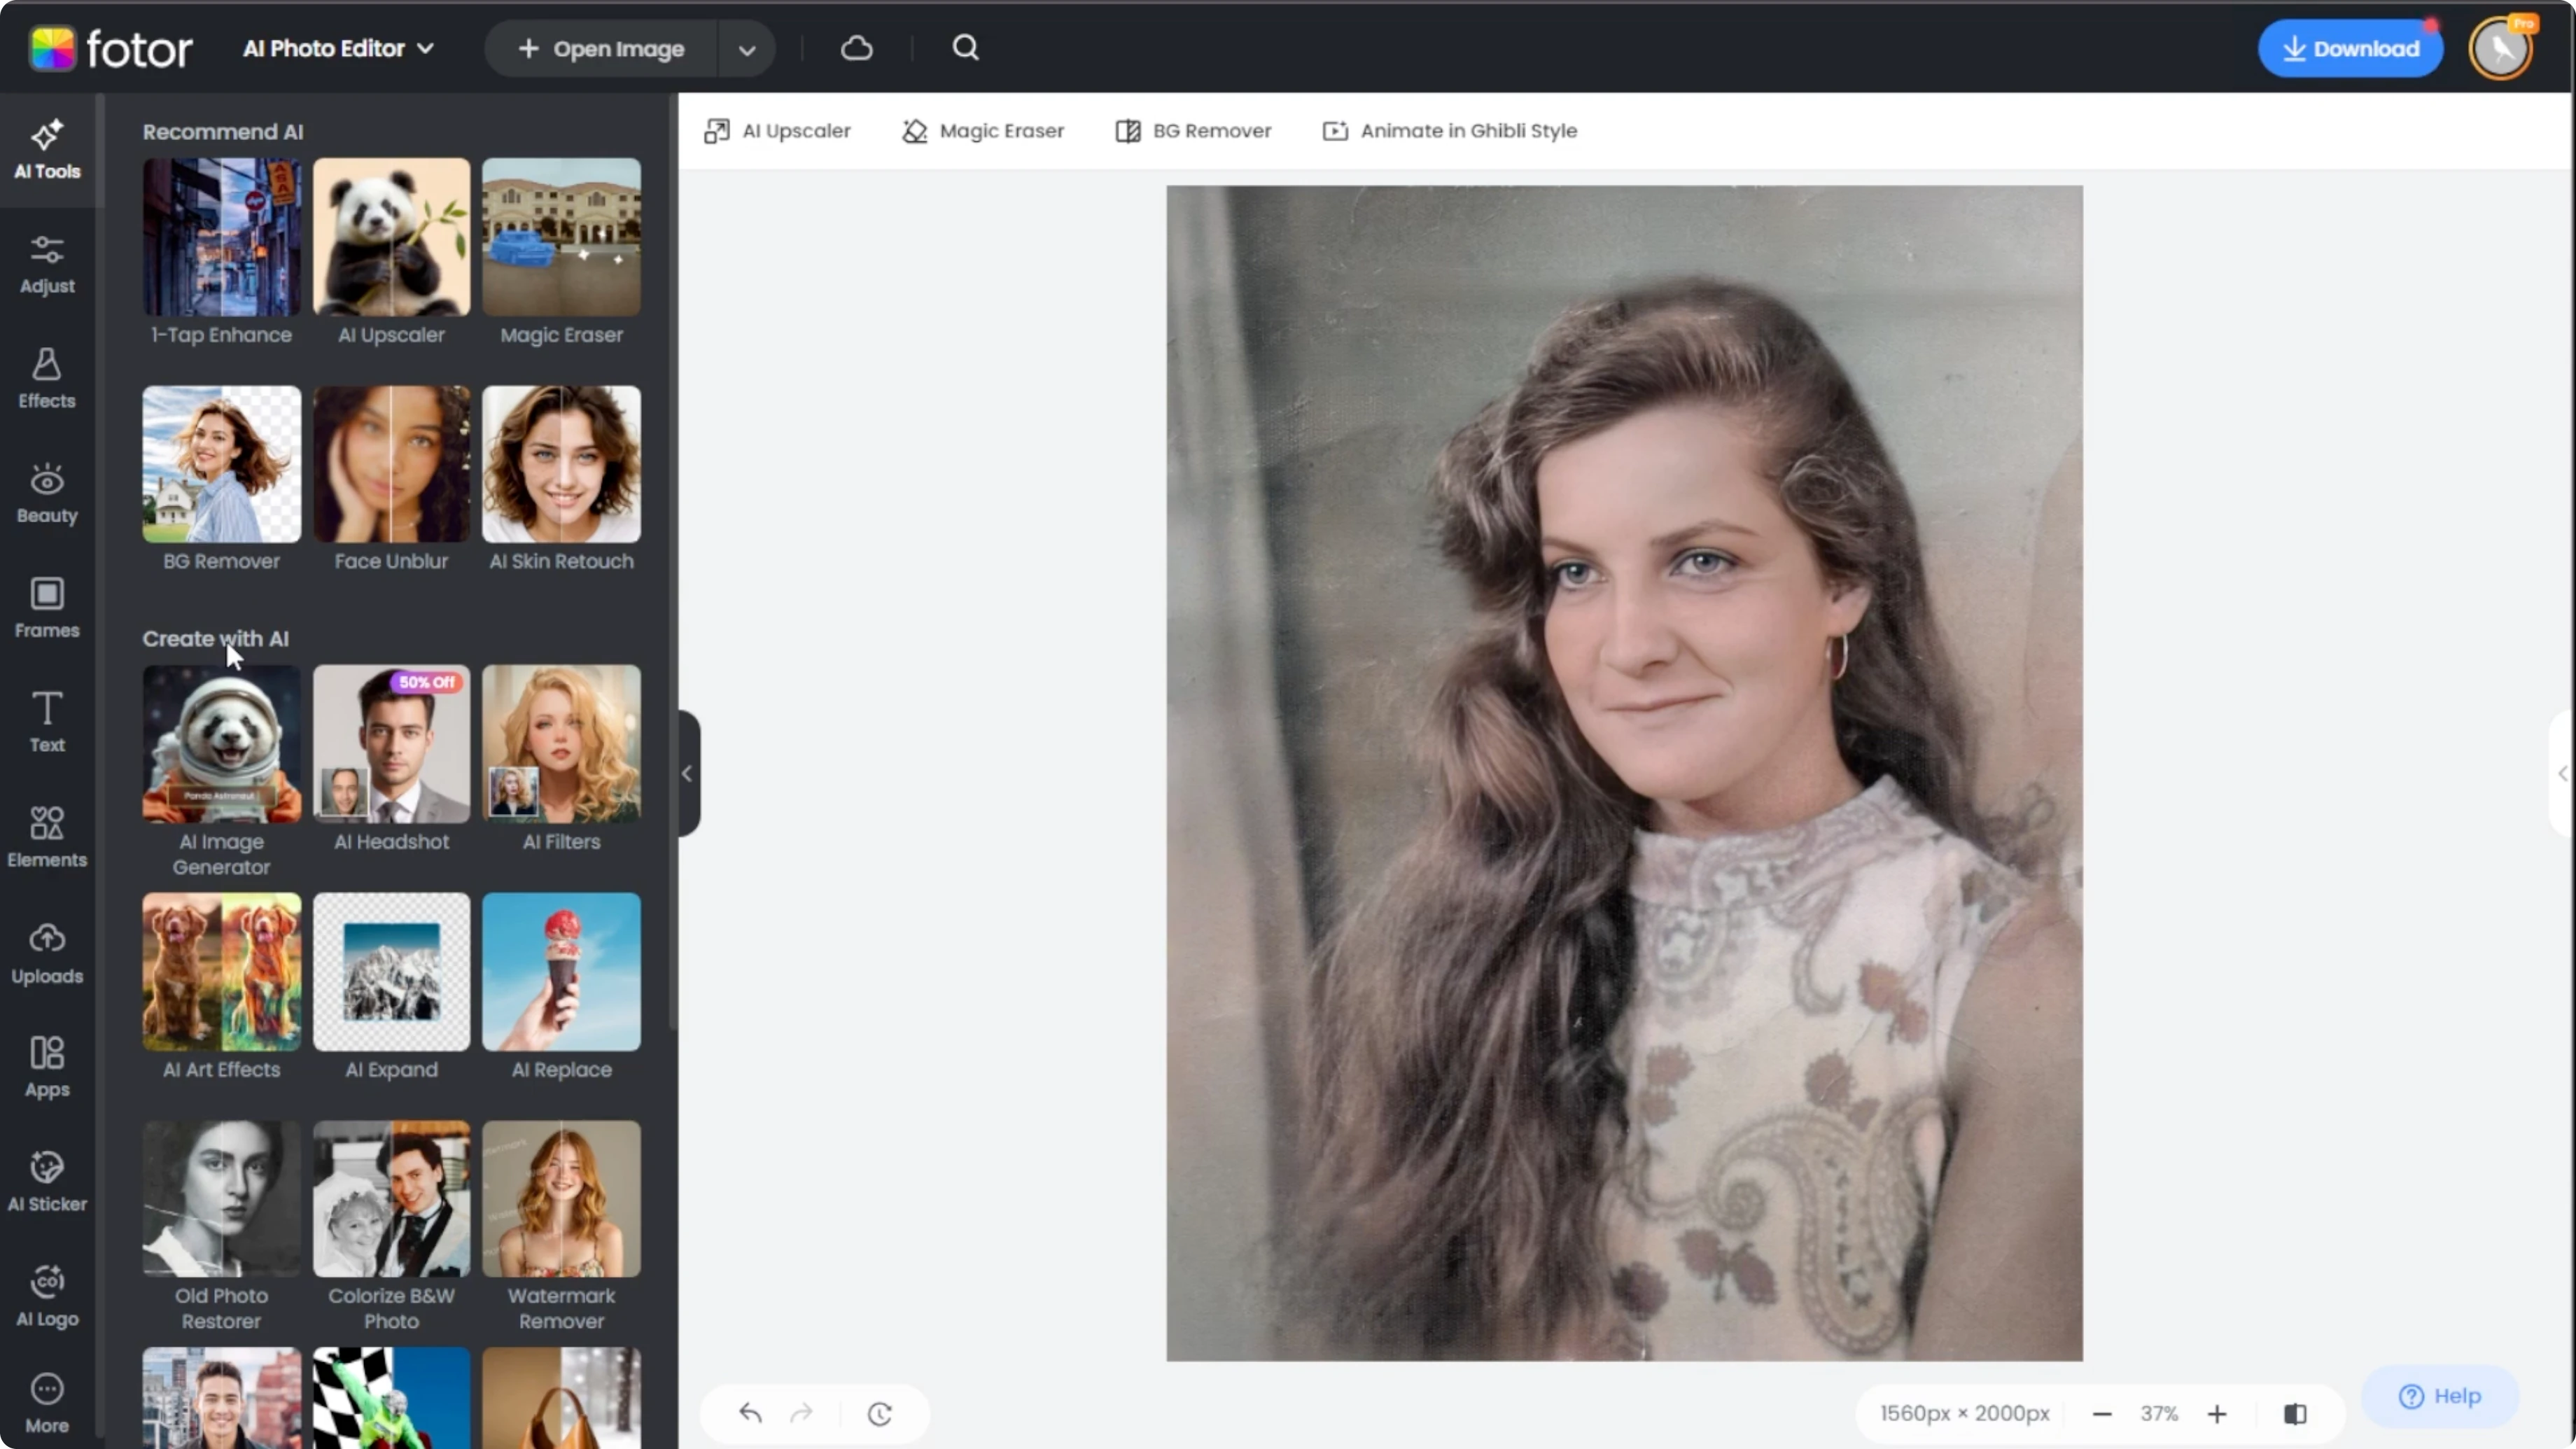
Open the editor
Launch your browser and go to the Photo AI photo editor.
Click the upload button or drag and drop your image into the workspace.
You can also test the features using one of Photo AI sample images.

Restore old damage
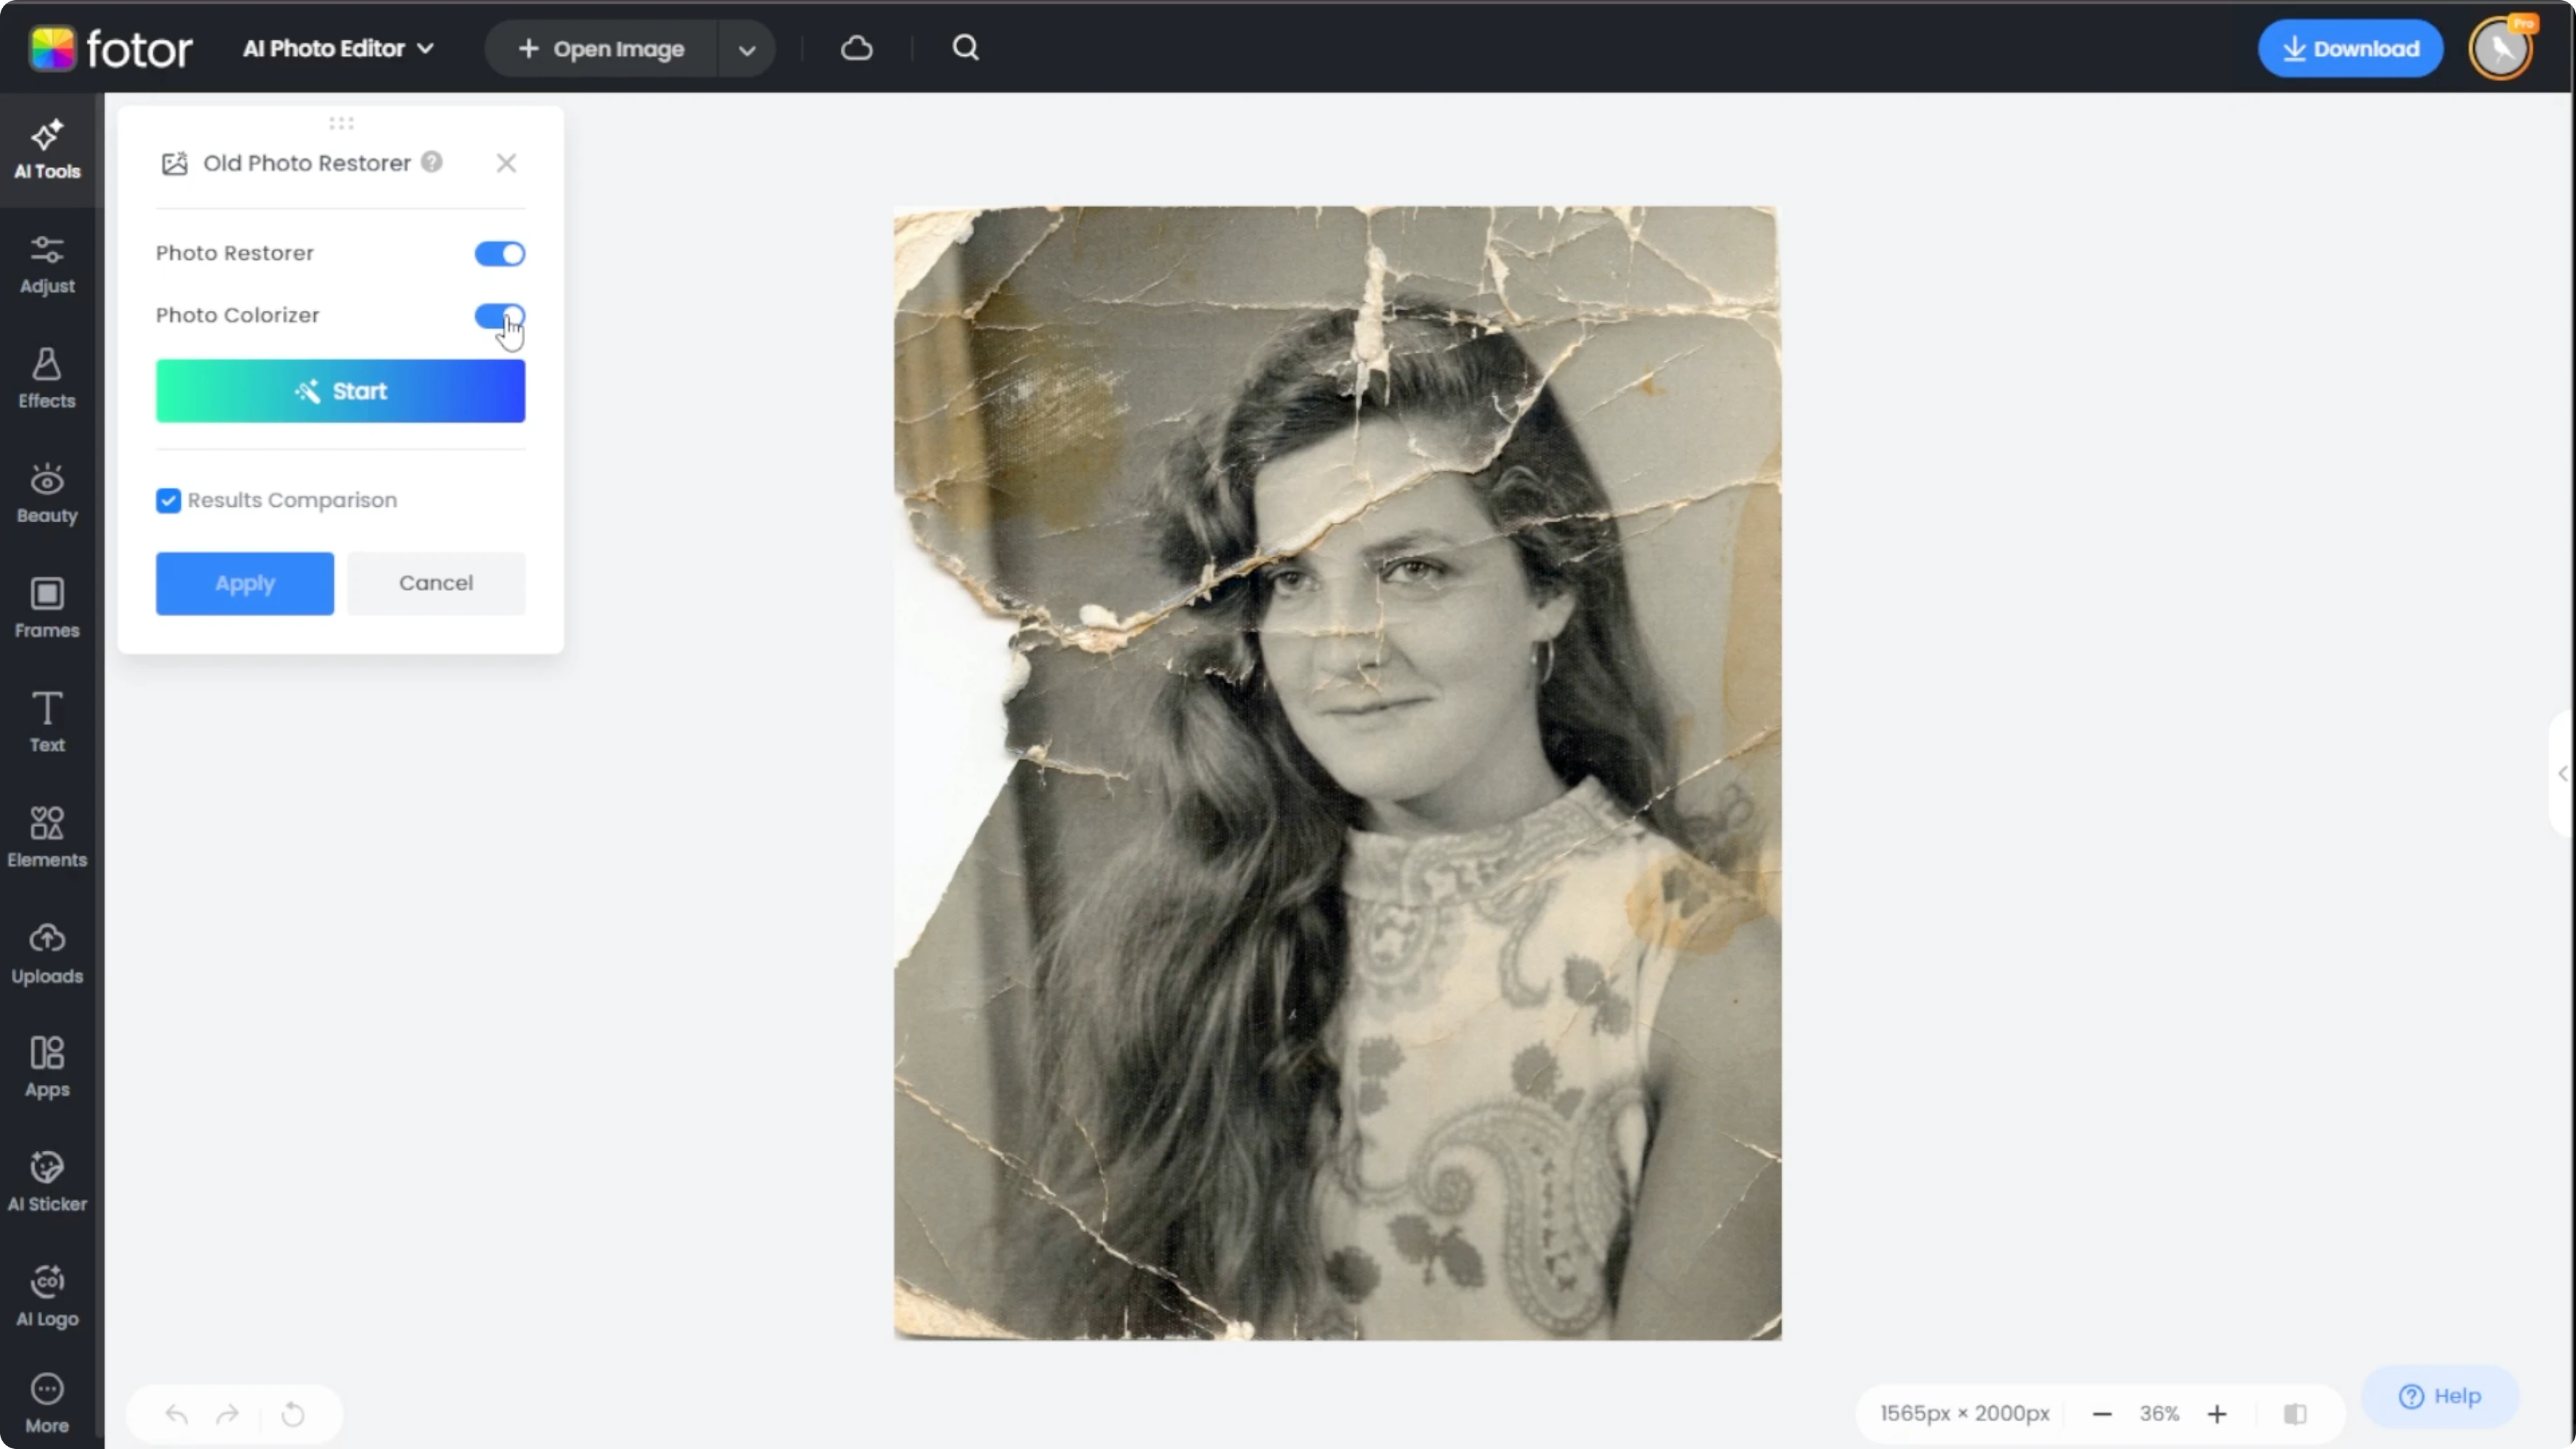
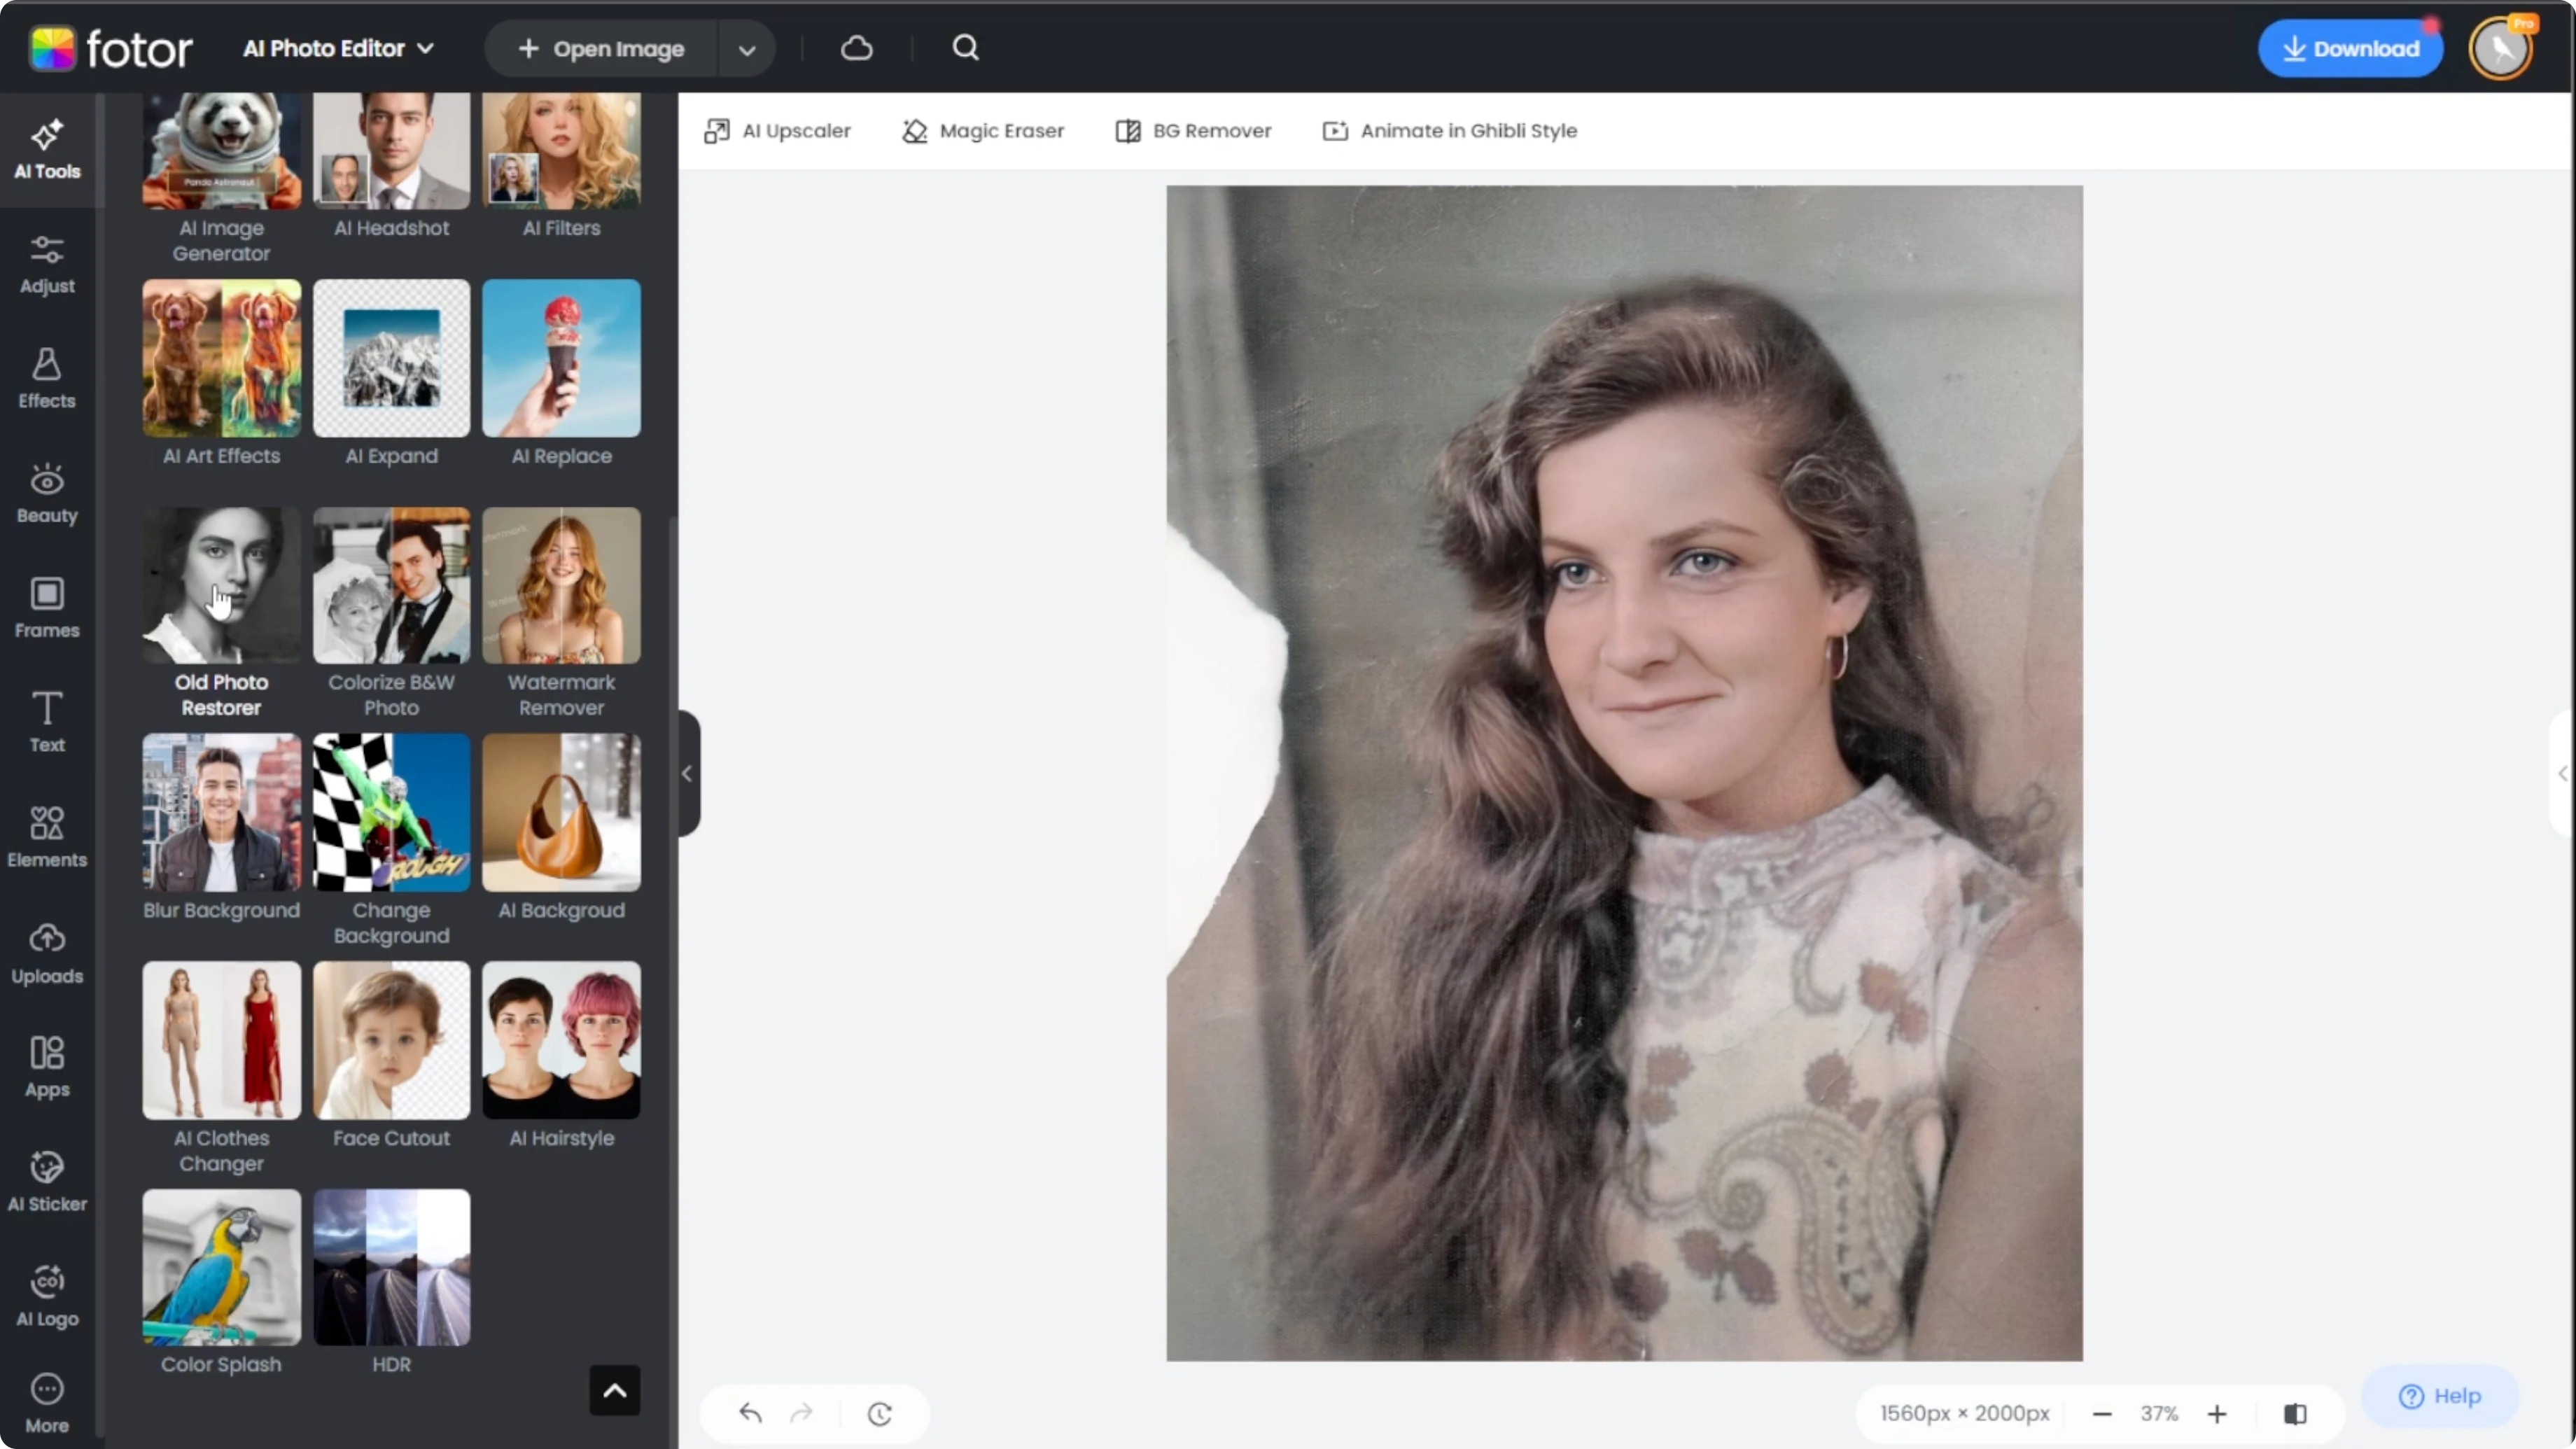
In the left panel, go to AI tools and scroll to the old photo restorer.
You will see two toggles.
Photo restore removes scratches and enhances clarity, and photo colorizer adds natural color to black and white images.
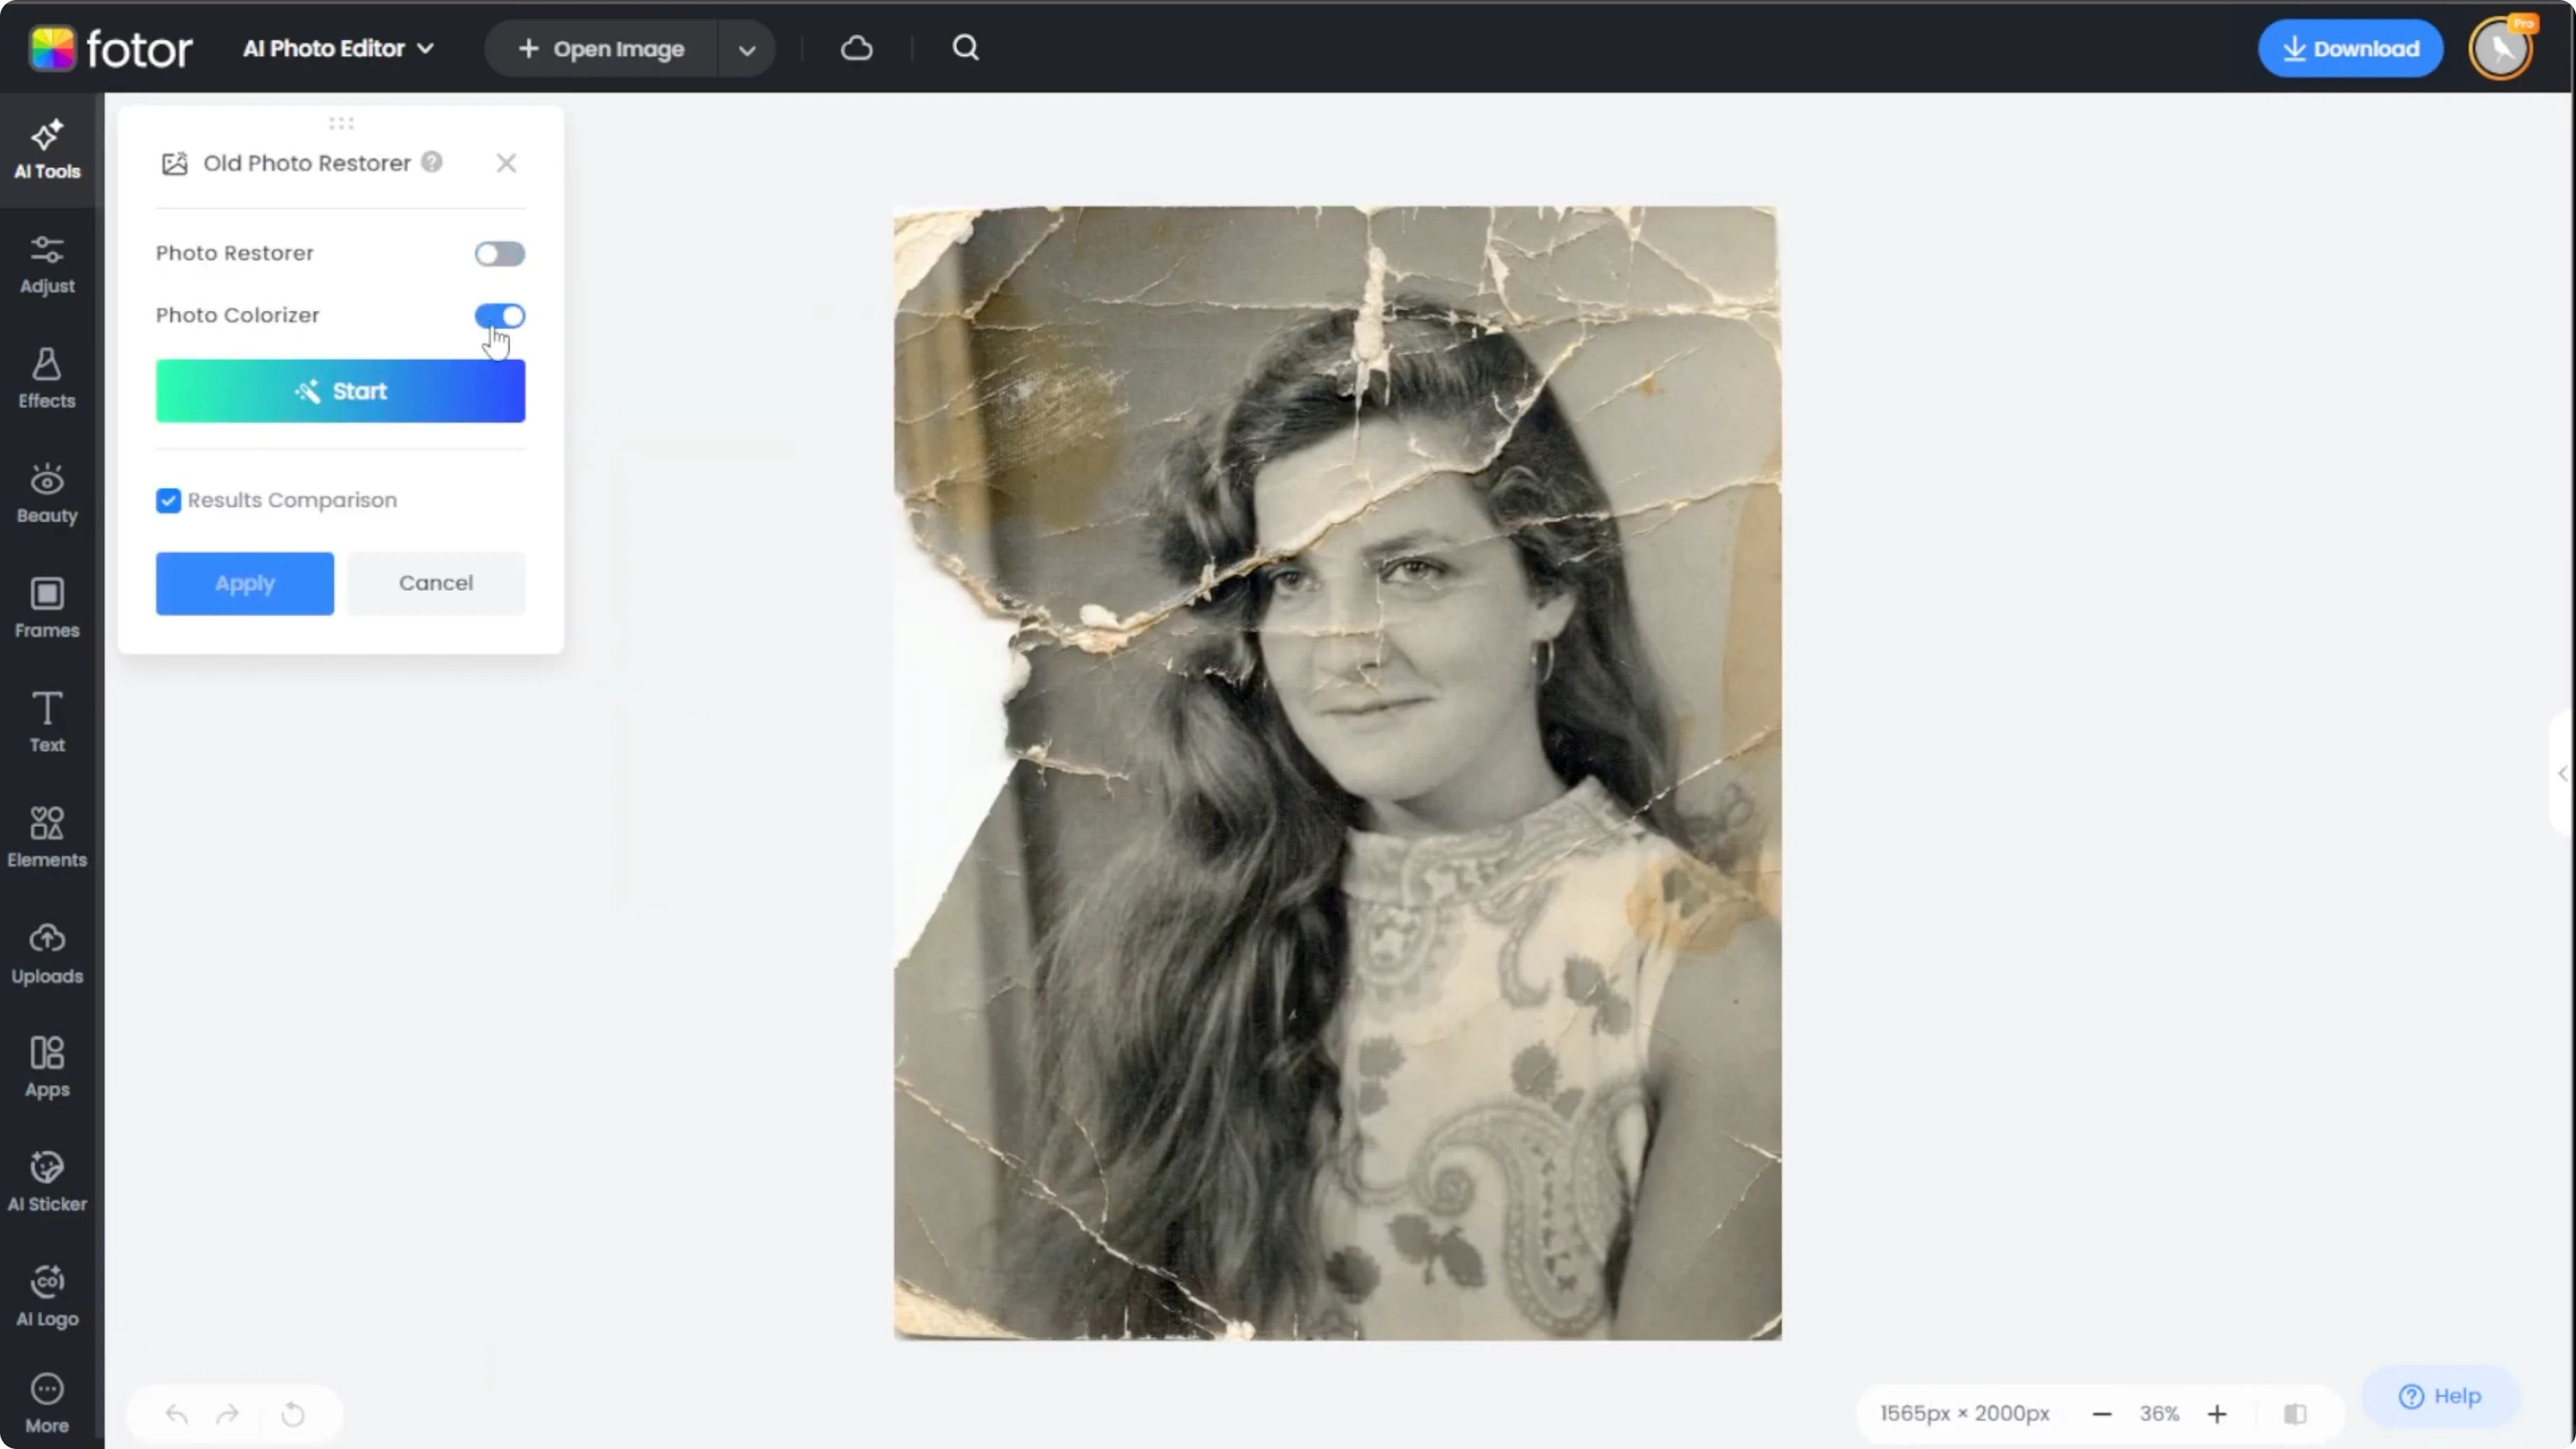
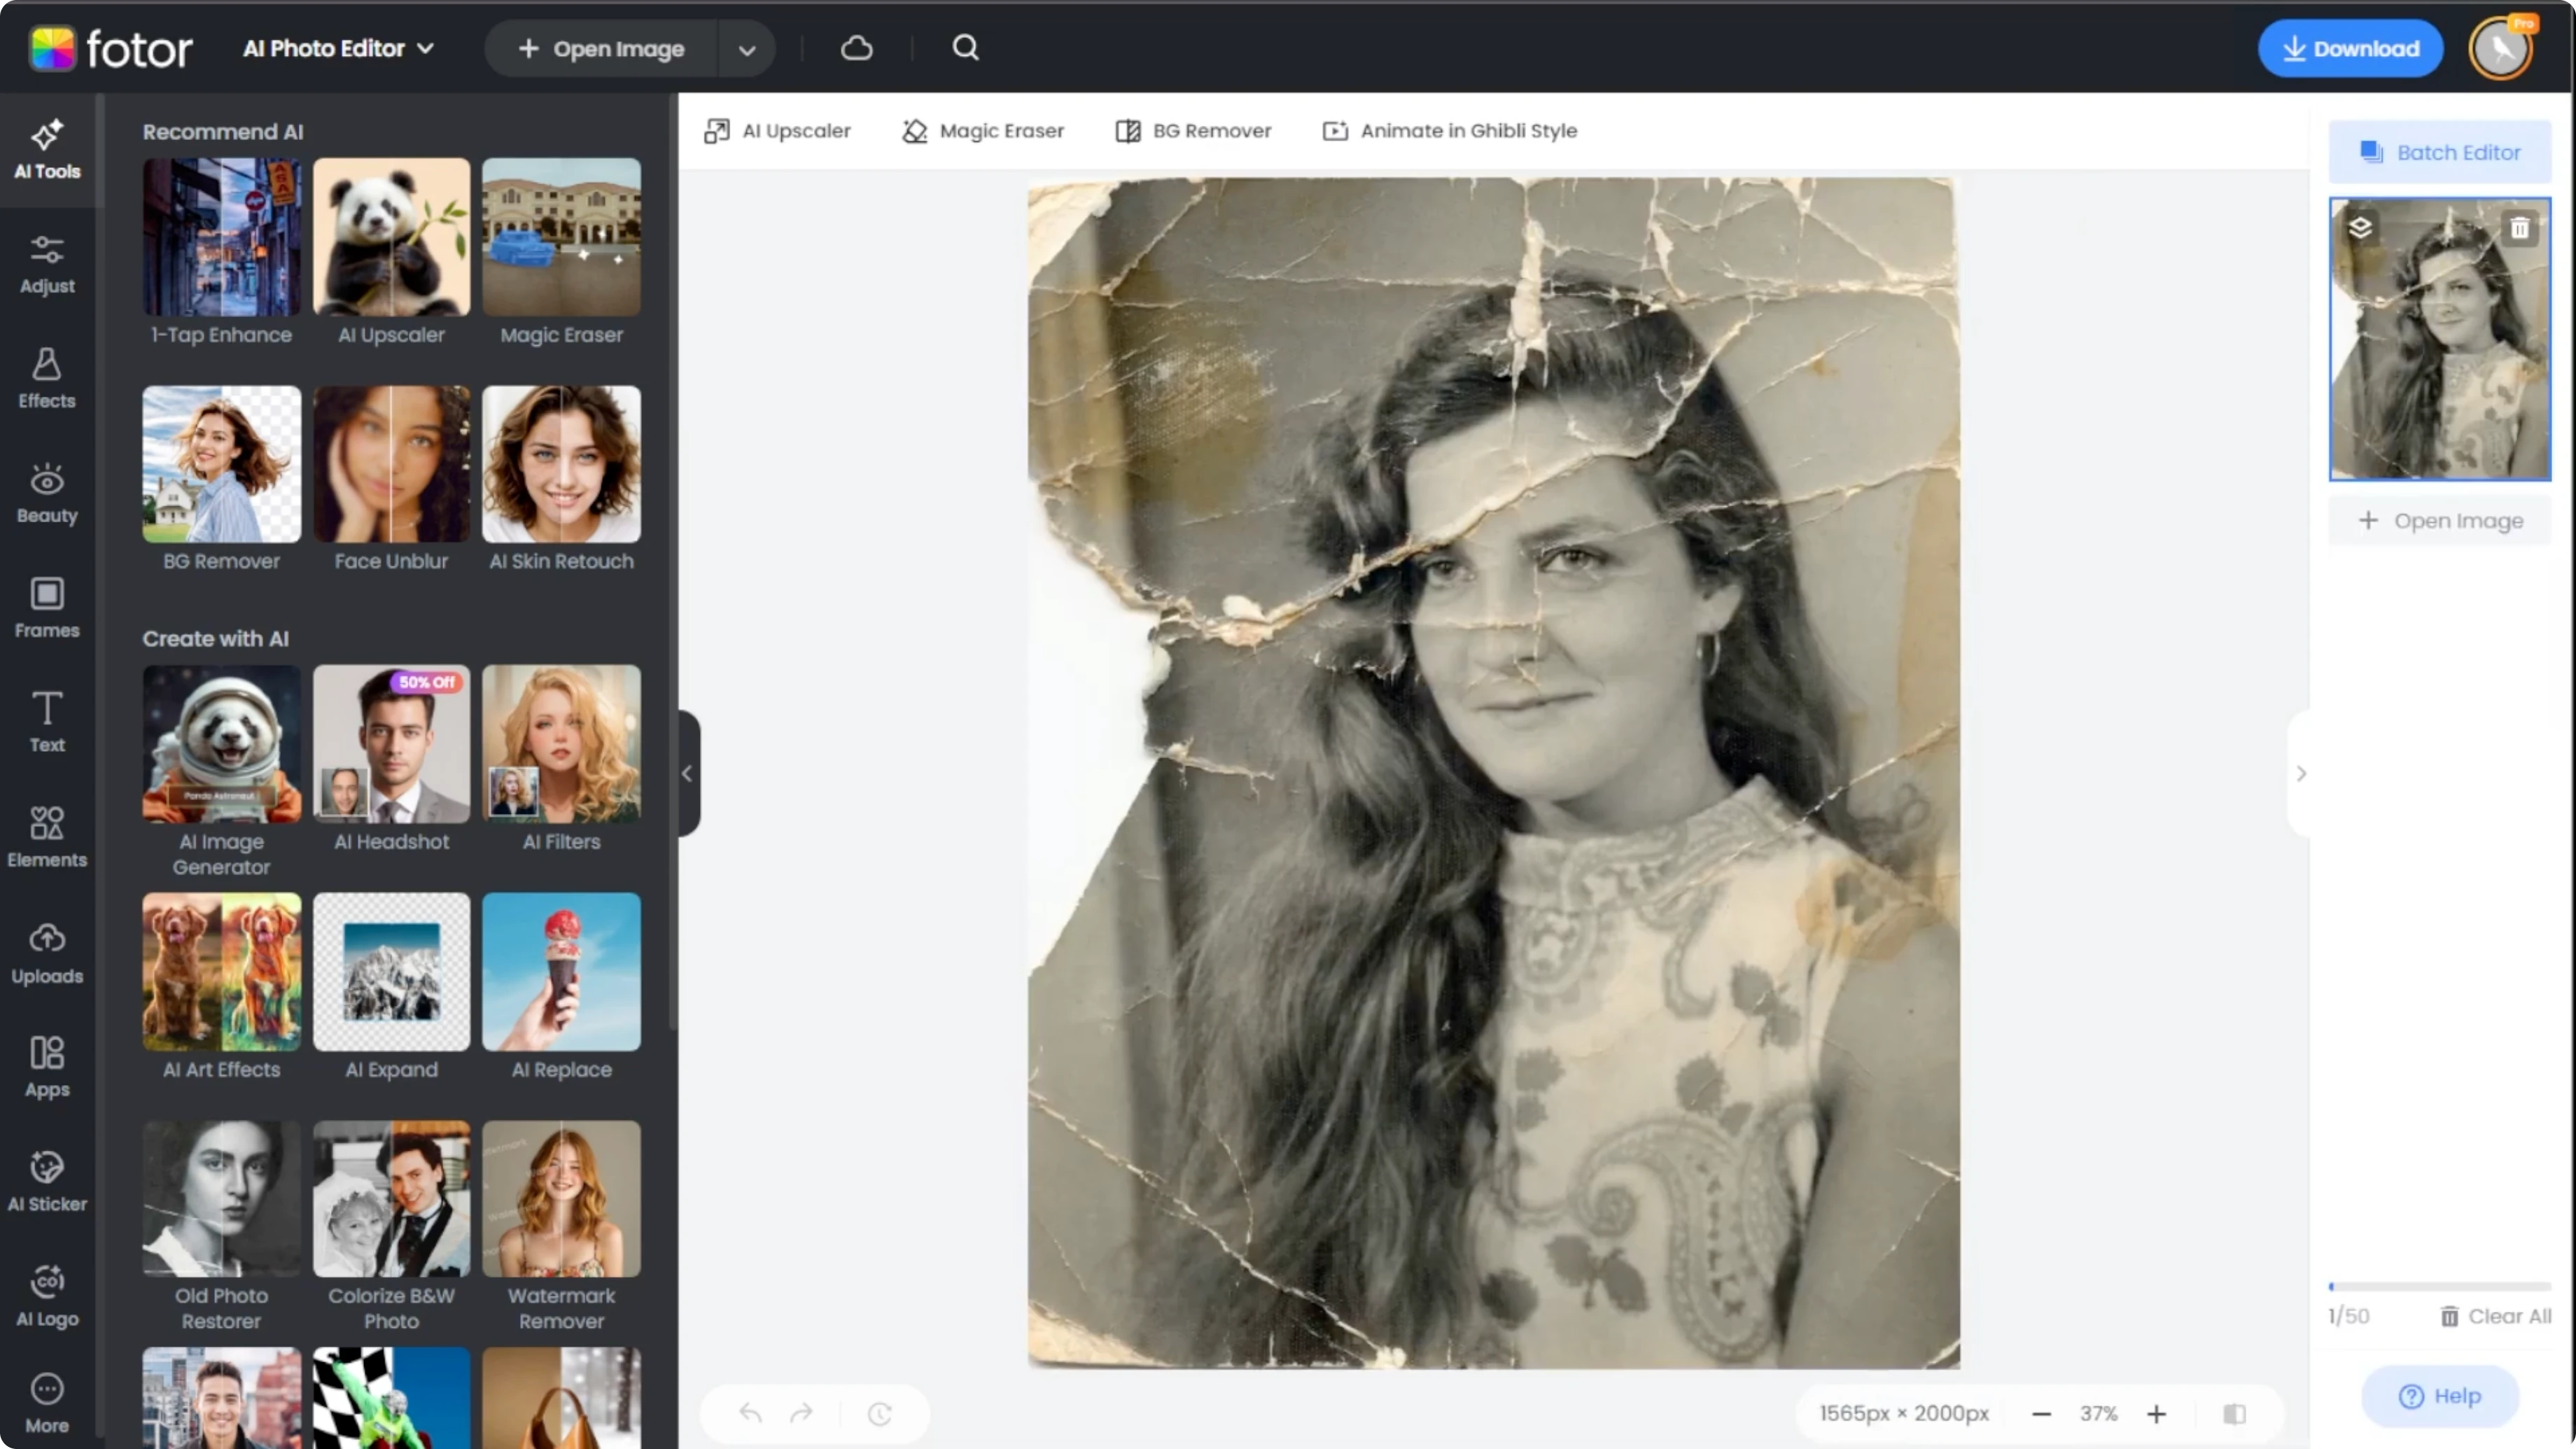
Enable one or both depending on what your image needs.
Click Start and let the AI analyze and enhance the image.
Click Apply to lock the improvements.
For creative edits beyond restoration, you can also add objects to a photo with generative fill to complete missing context or props.
Fill missing parts
Use the magic eraser to reconstruct torn or missing areas.
This tool uses AI generated fill to replace selected regions with realistic content based on surrounding pixels.
Work on a cleaned image first for better results.
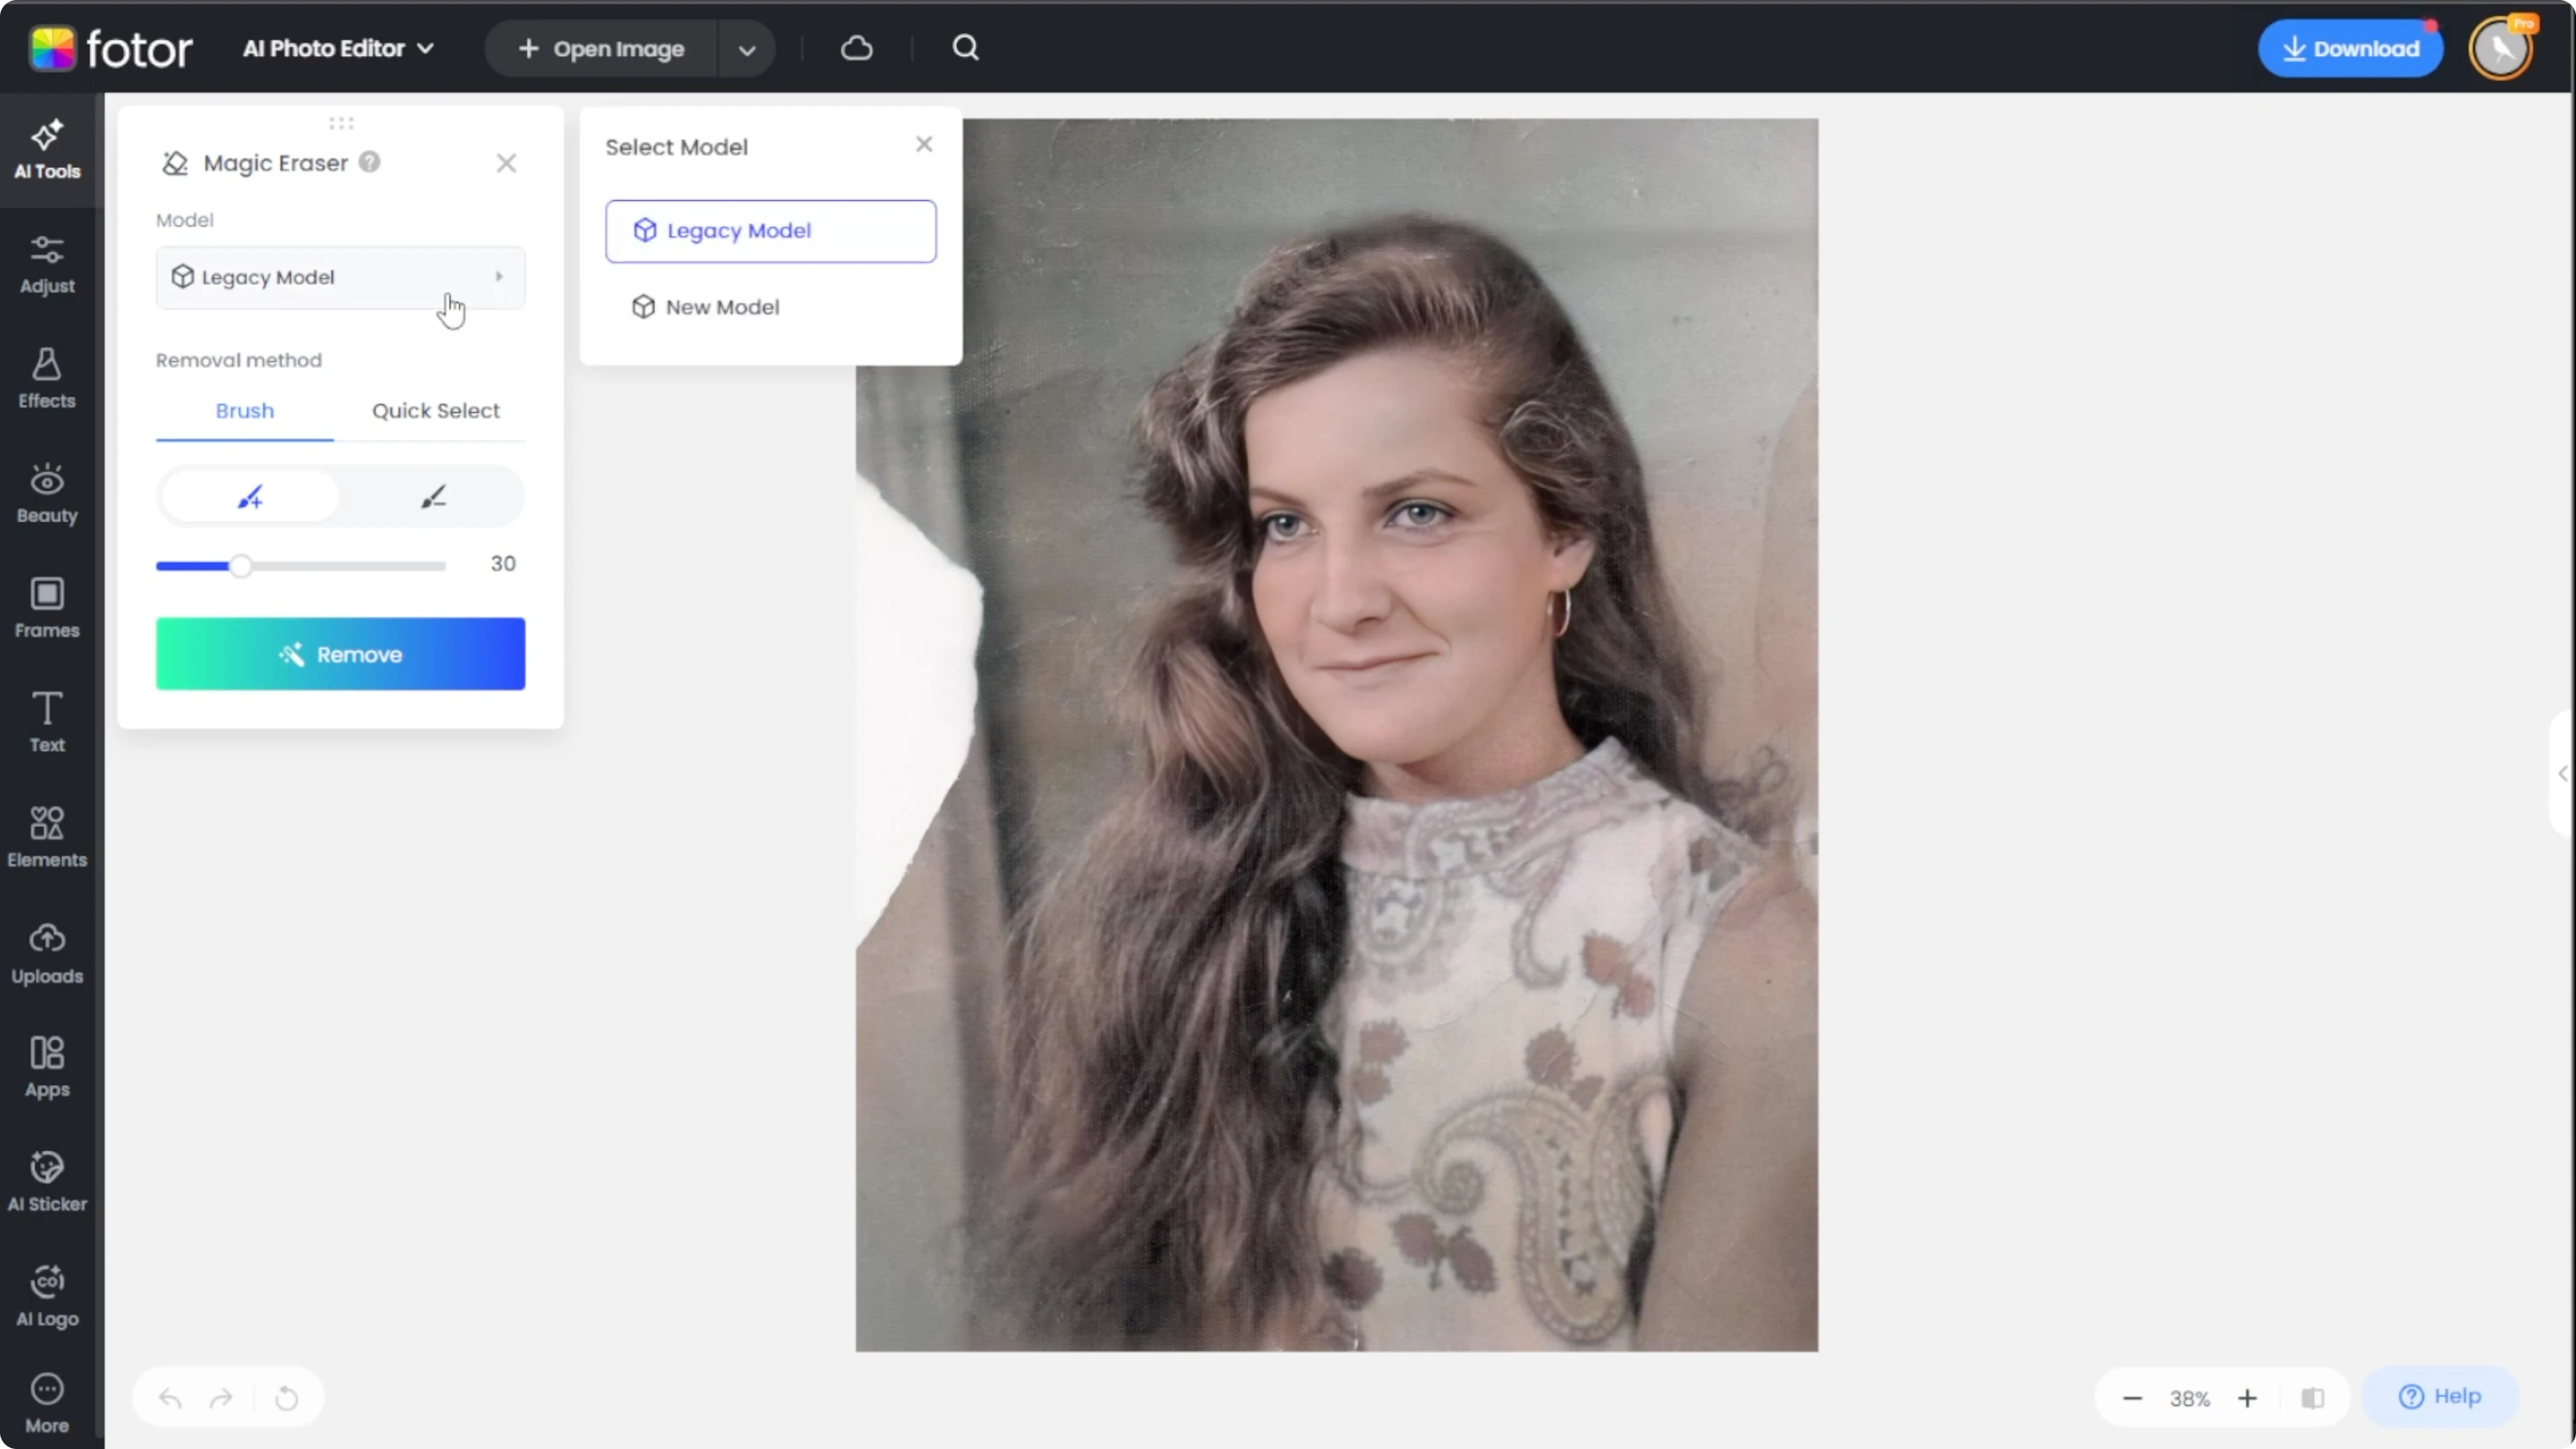
Choose model
Select a model type for the fill.
Legacy provides a more stable general fill.
The new model produces sharper, more accurate results.
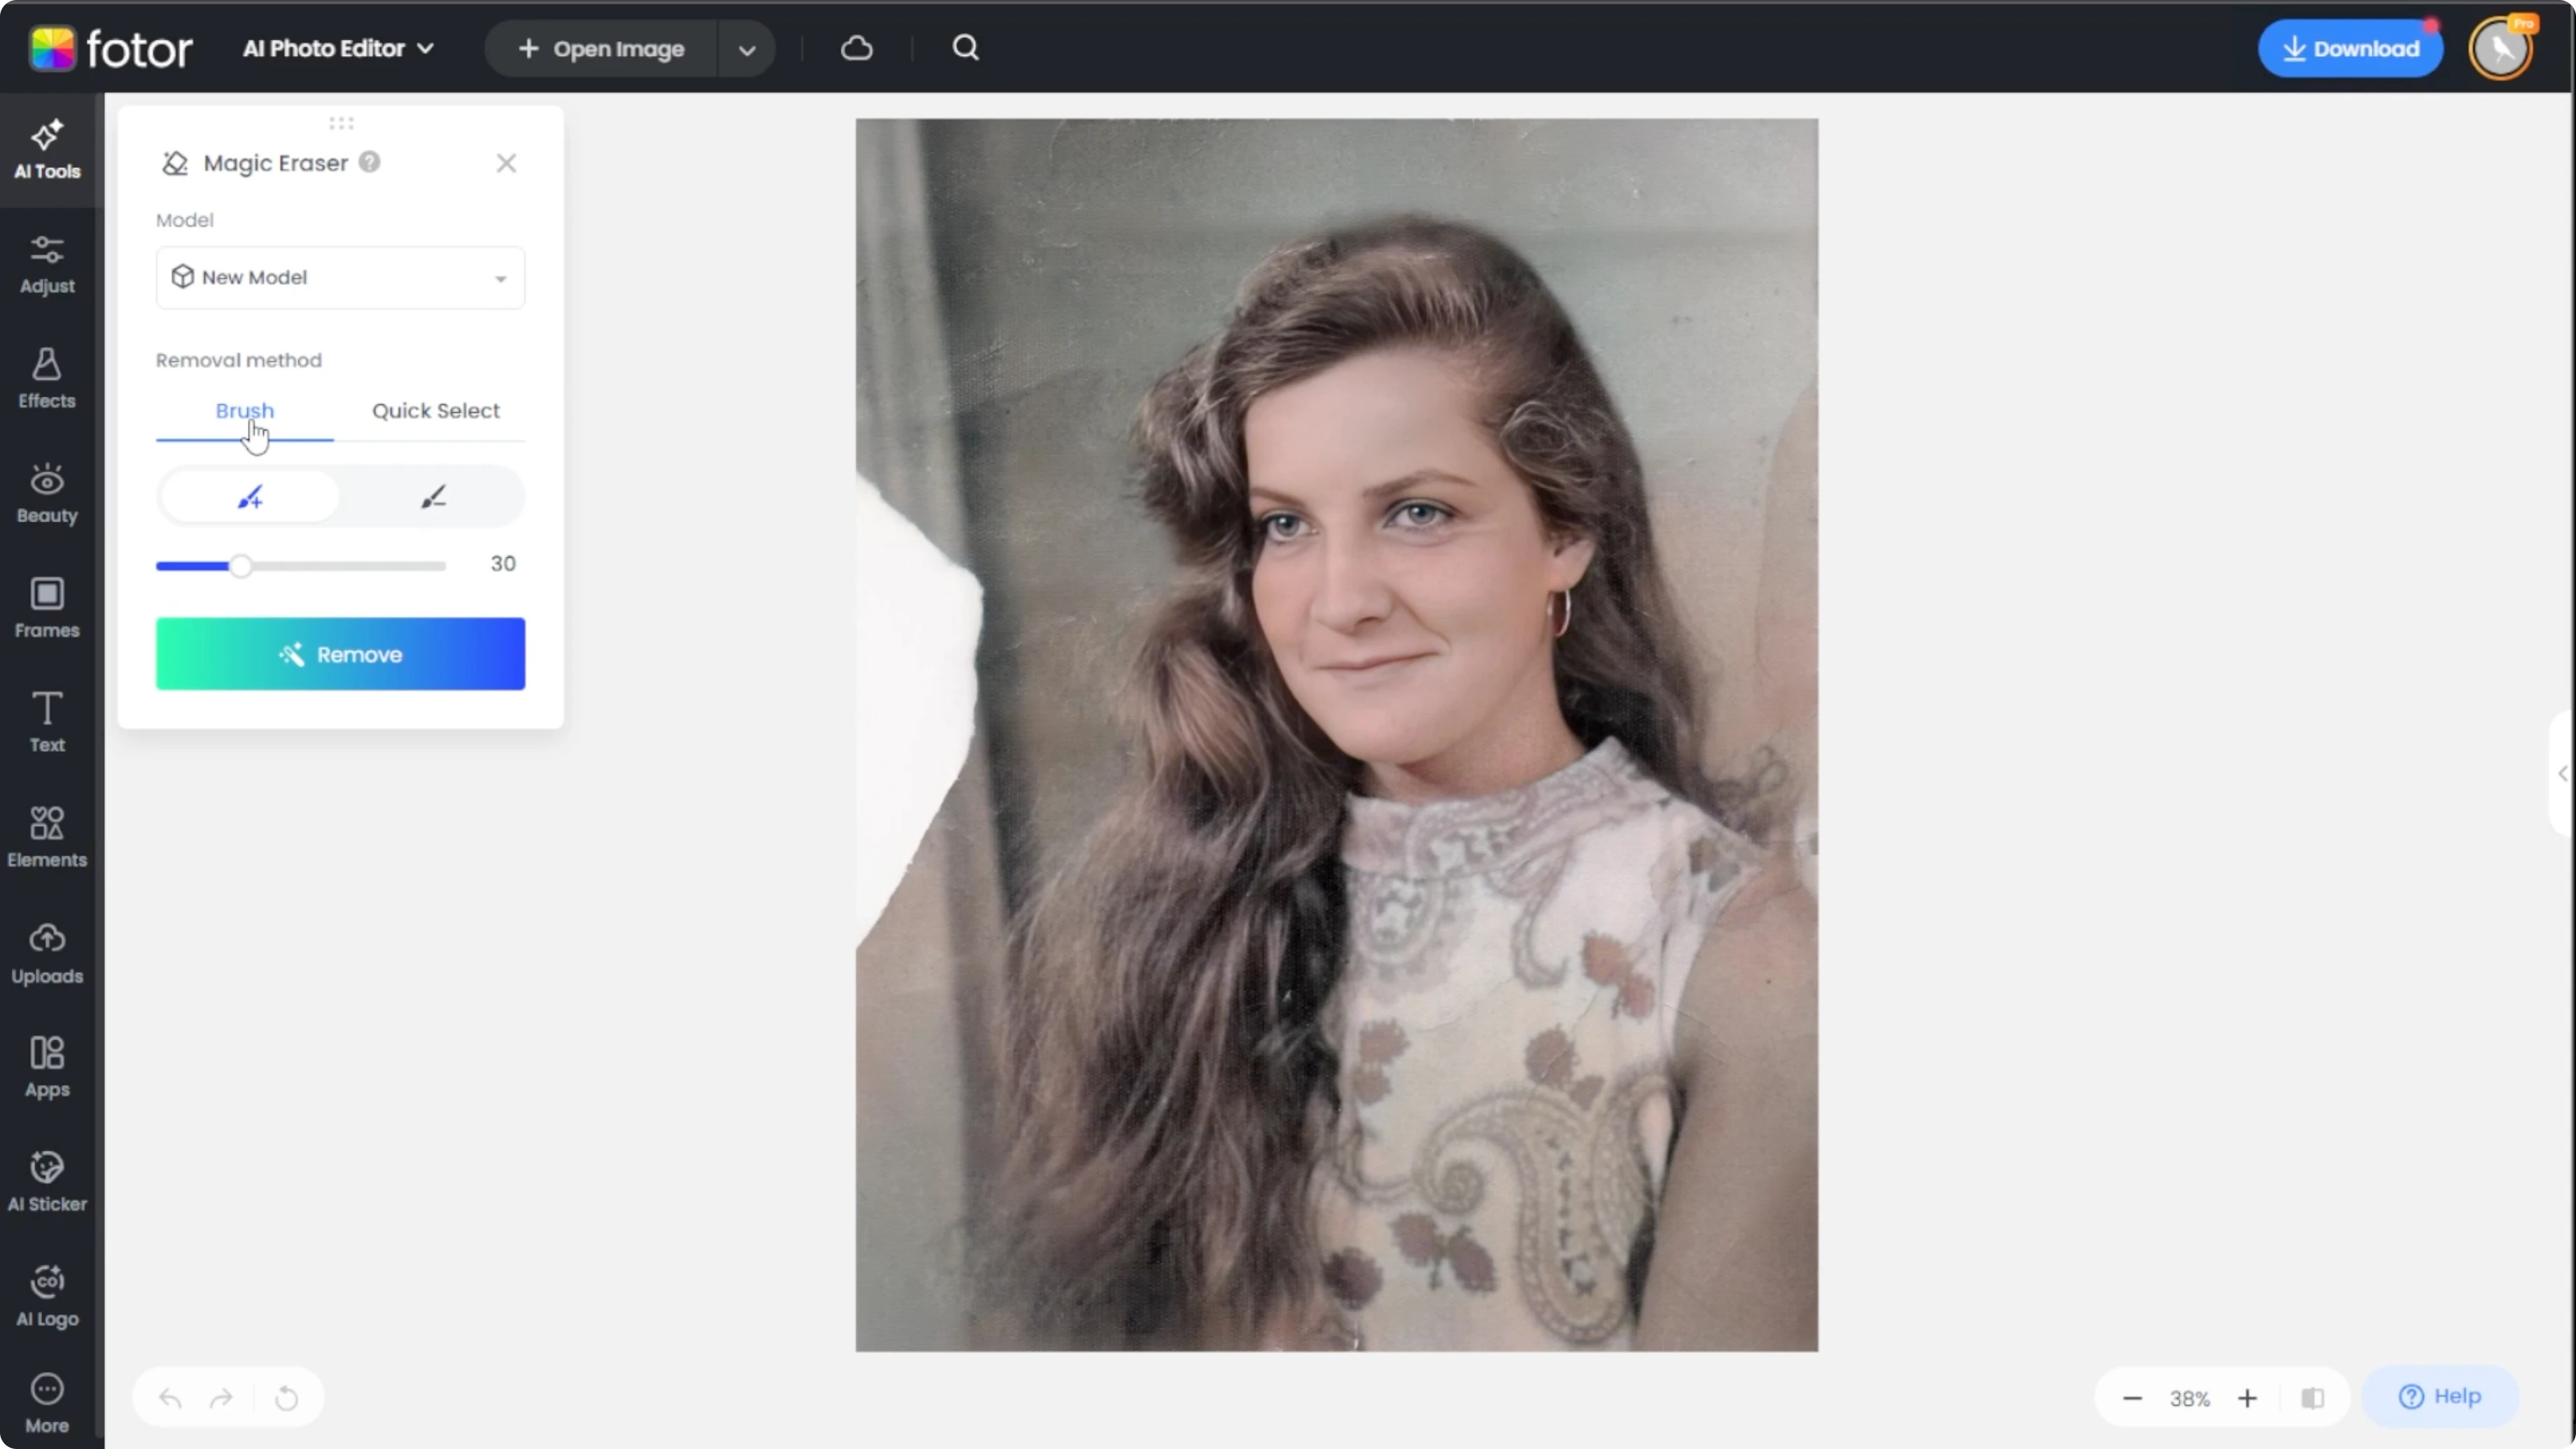
Select area
Choose your selection mode.
Use the Brush tool to manually paint over irregular tears or gaps.
Use Quick Select to auto select defined zones, but it may not handle uneven tears well.
If your subject includes people, you might also want to change your hairstyle in photos so the restored areas blend with your preferred look.
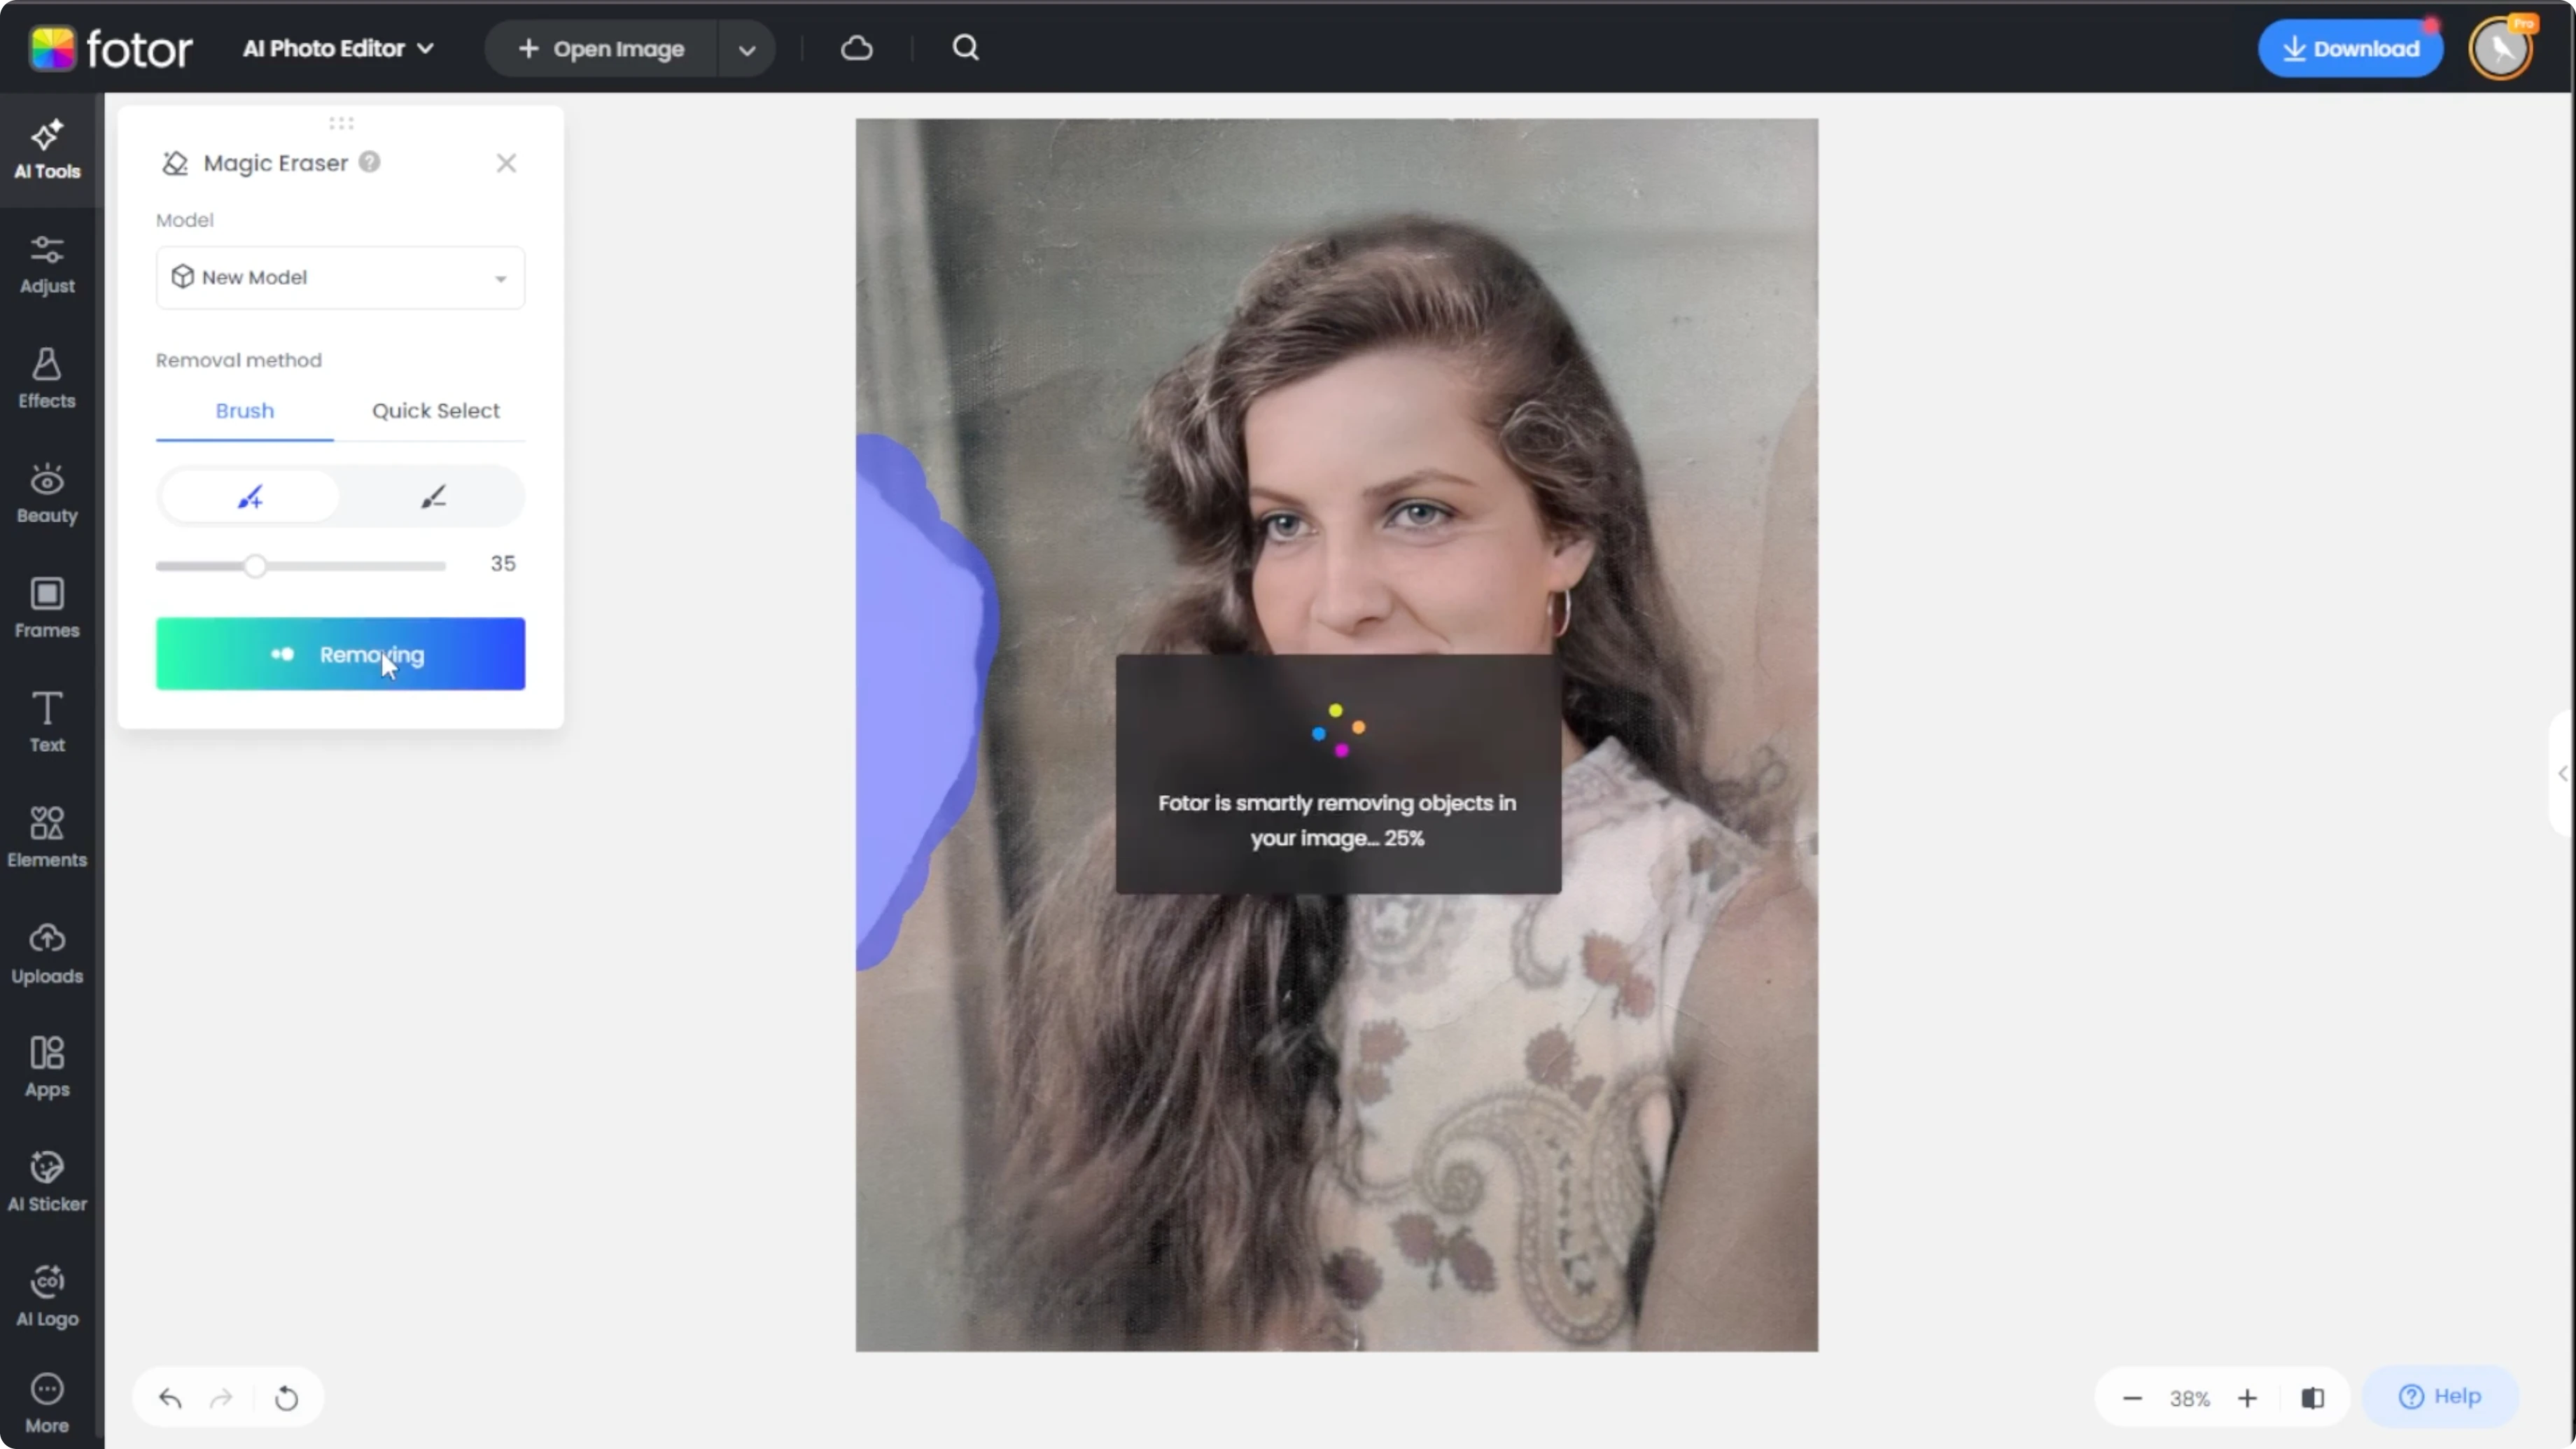
Brush steps
Select the Add Brush, adjust the brush size, and paint over the torn or missing portion.
The AI detects the selection and automatically fills the area using context aware data.
Click Apply when you are satisfied with the result.
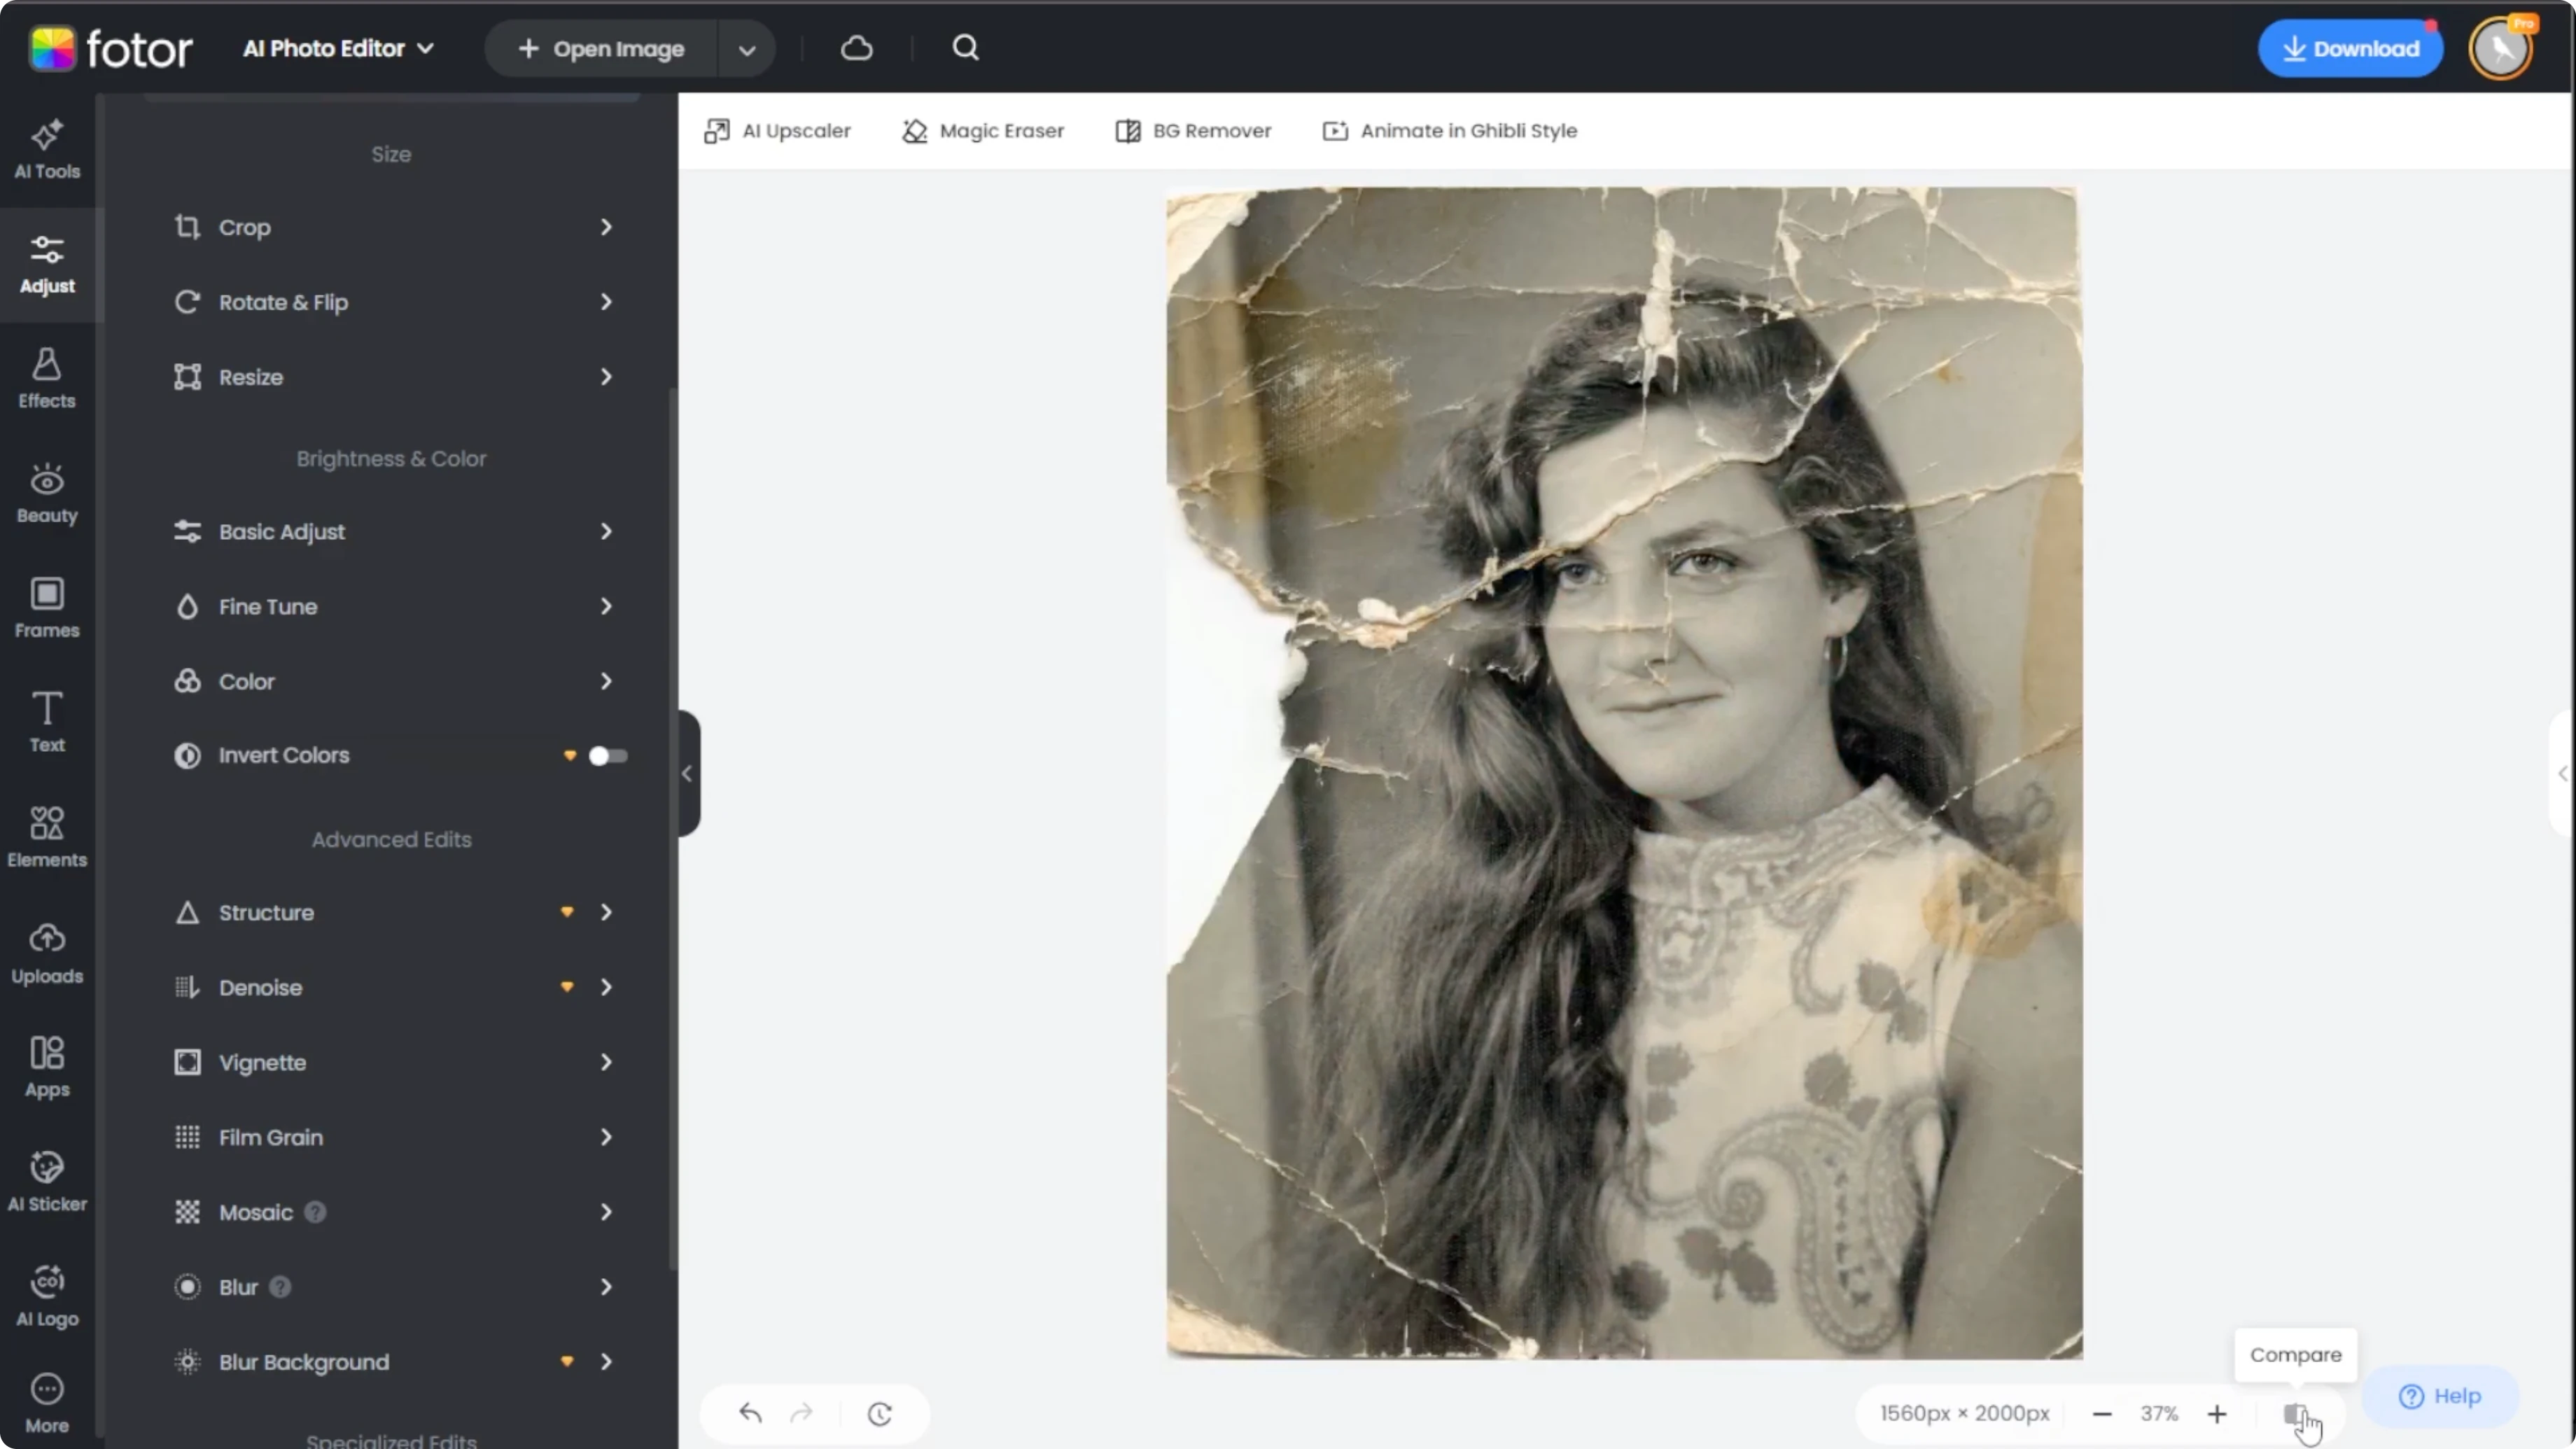
Review and refine
Use the Compare button to see the before and after transformation side by side.
If further edits are needed, repeat the steps to refine small areas and edges.
You can also adjust brightness, color, and sharpness using the Adjust tab.
Save
When you are happy with the result, click Download to save the image to your device.
Keep both the restored and original versions for archival purposes.
Small iterative passes usually produce the most natural restoration.
Final thoughts
Clean the image first, then fill missing parts for the most natural outcome.
Choose the model that best matches the texture and detail of your photo, and refine in small selections.
To keep exploring creative transformations, learn how to convert a daytime photo into a night scene for dramatic mood shifts.
Recent Posts
How to Generate Lifelike and Photorealistic Animal Images with AI?
How to Generate Lifelike and Photorealistic Animal Images with AI?
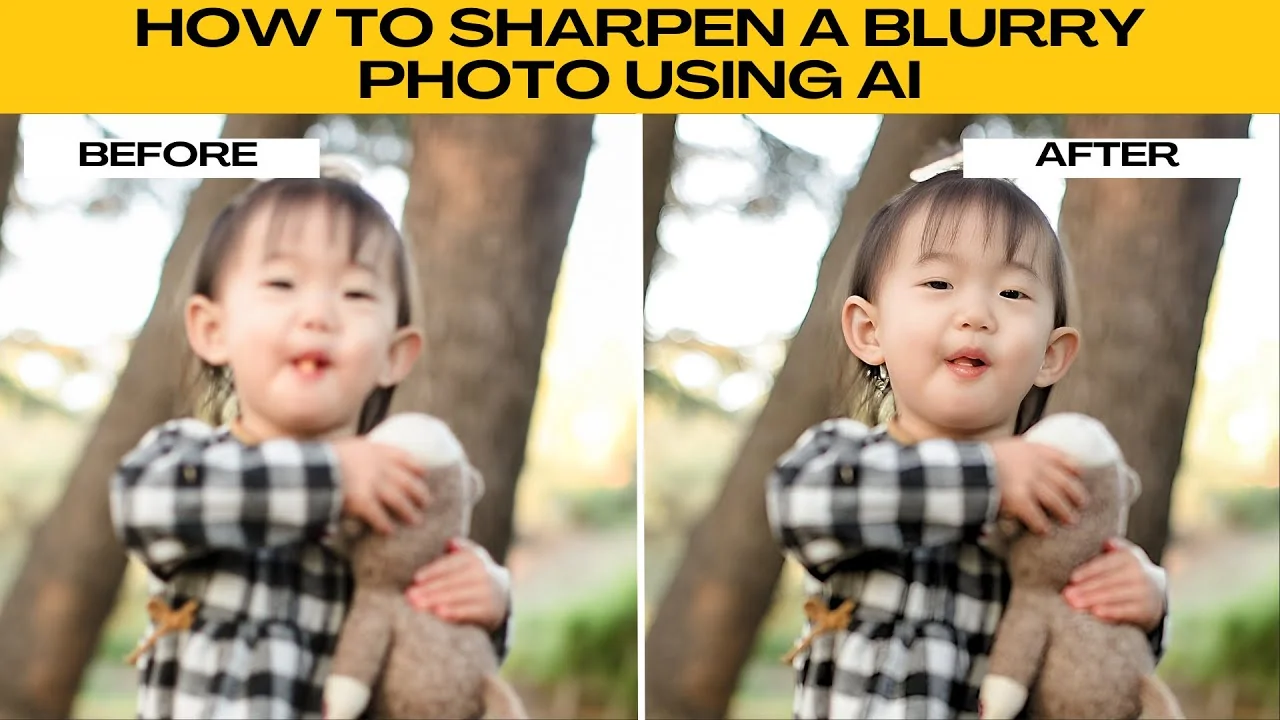
How to Restore lost Details and Enhance Image Clarity with AI?
How to Restore lost Details and Enhance Image Clarity with AI?
How to Instantly Upscale Images and Enhance Quality with AI?
How to Instantly Upscale Images and Enhance Quality with AI?