How to Transform Daytime Photos into Realistic Night Scenes with AI?

I will teach you how to convert daytime photos into nighttime scenes using AI. Transforming a daytime photo into a night scene can completely change its mood and atmosphere with AI. This process is easy, fast, and does not require advanced photo editing skills.
Get started
Open your browser and go to ChatGPT. Log in to your account. Free accounts can also access the image generation feature.
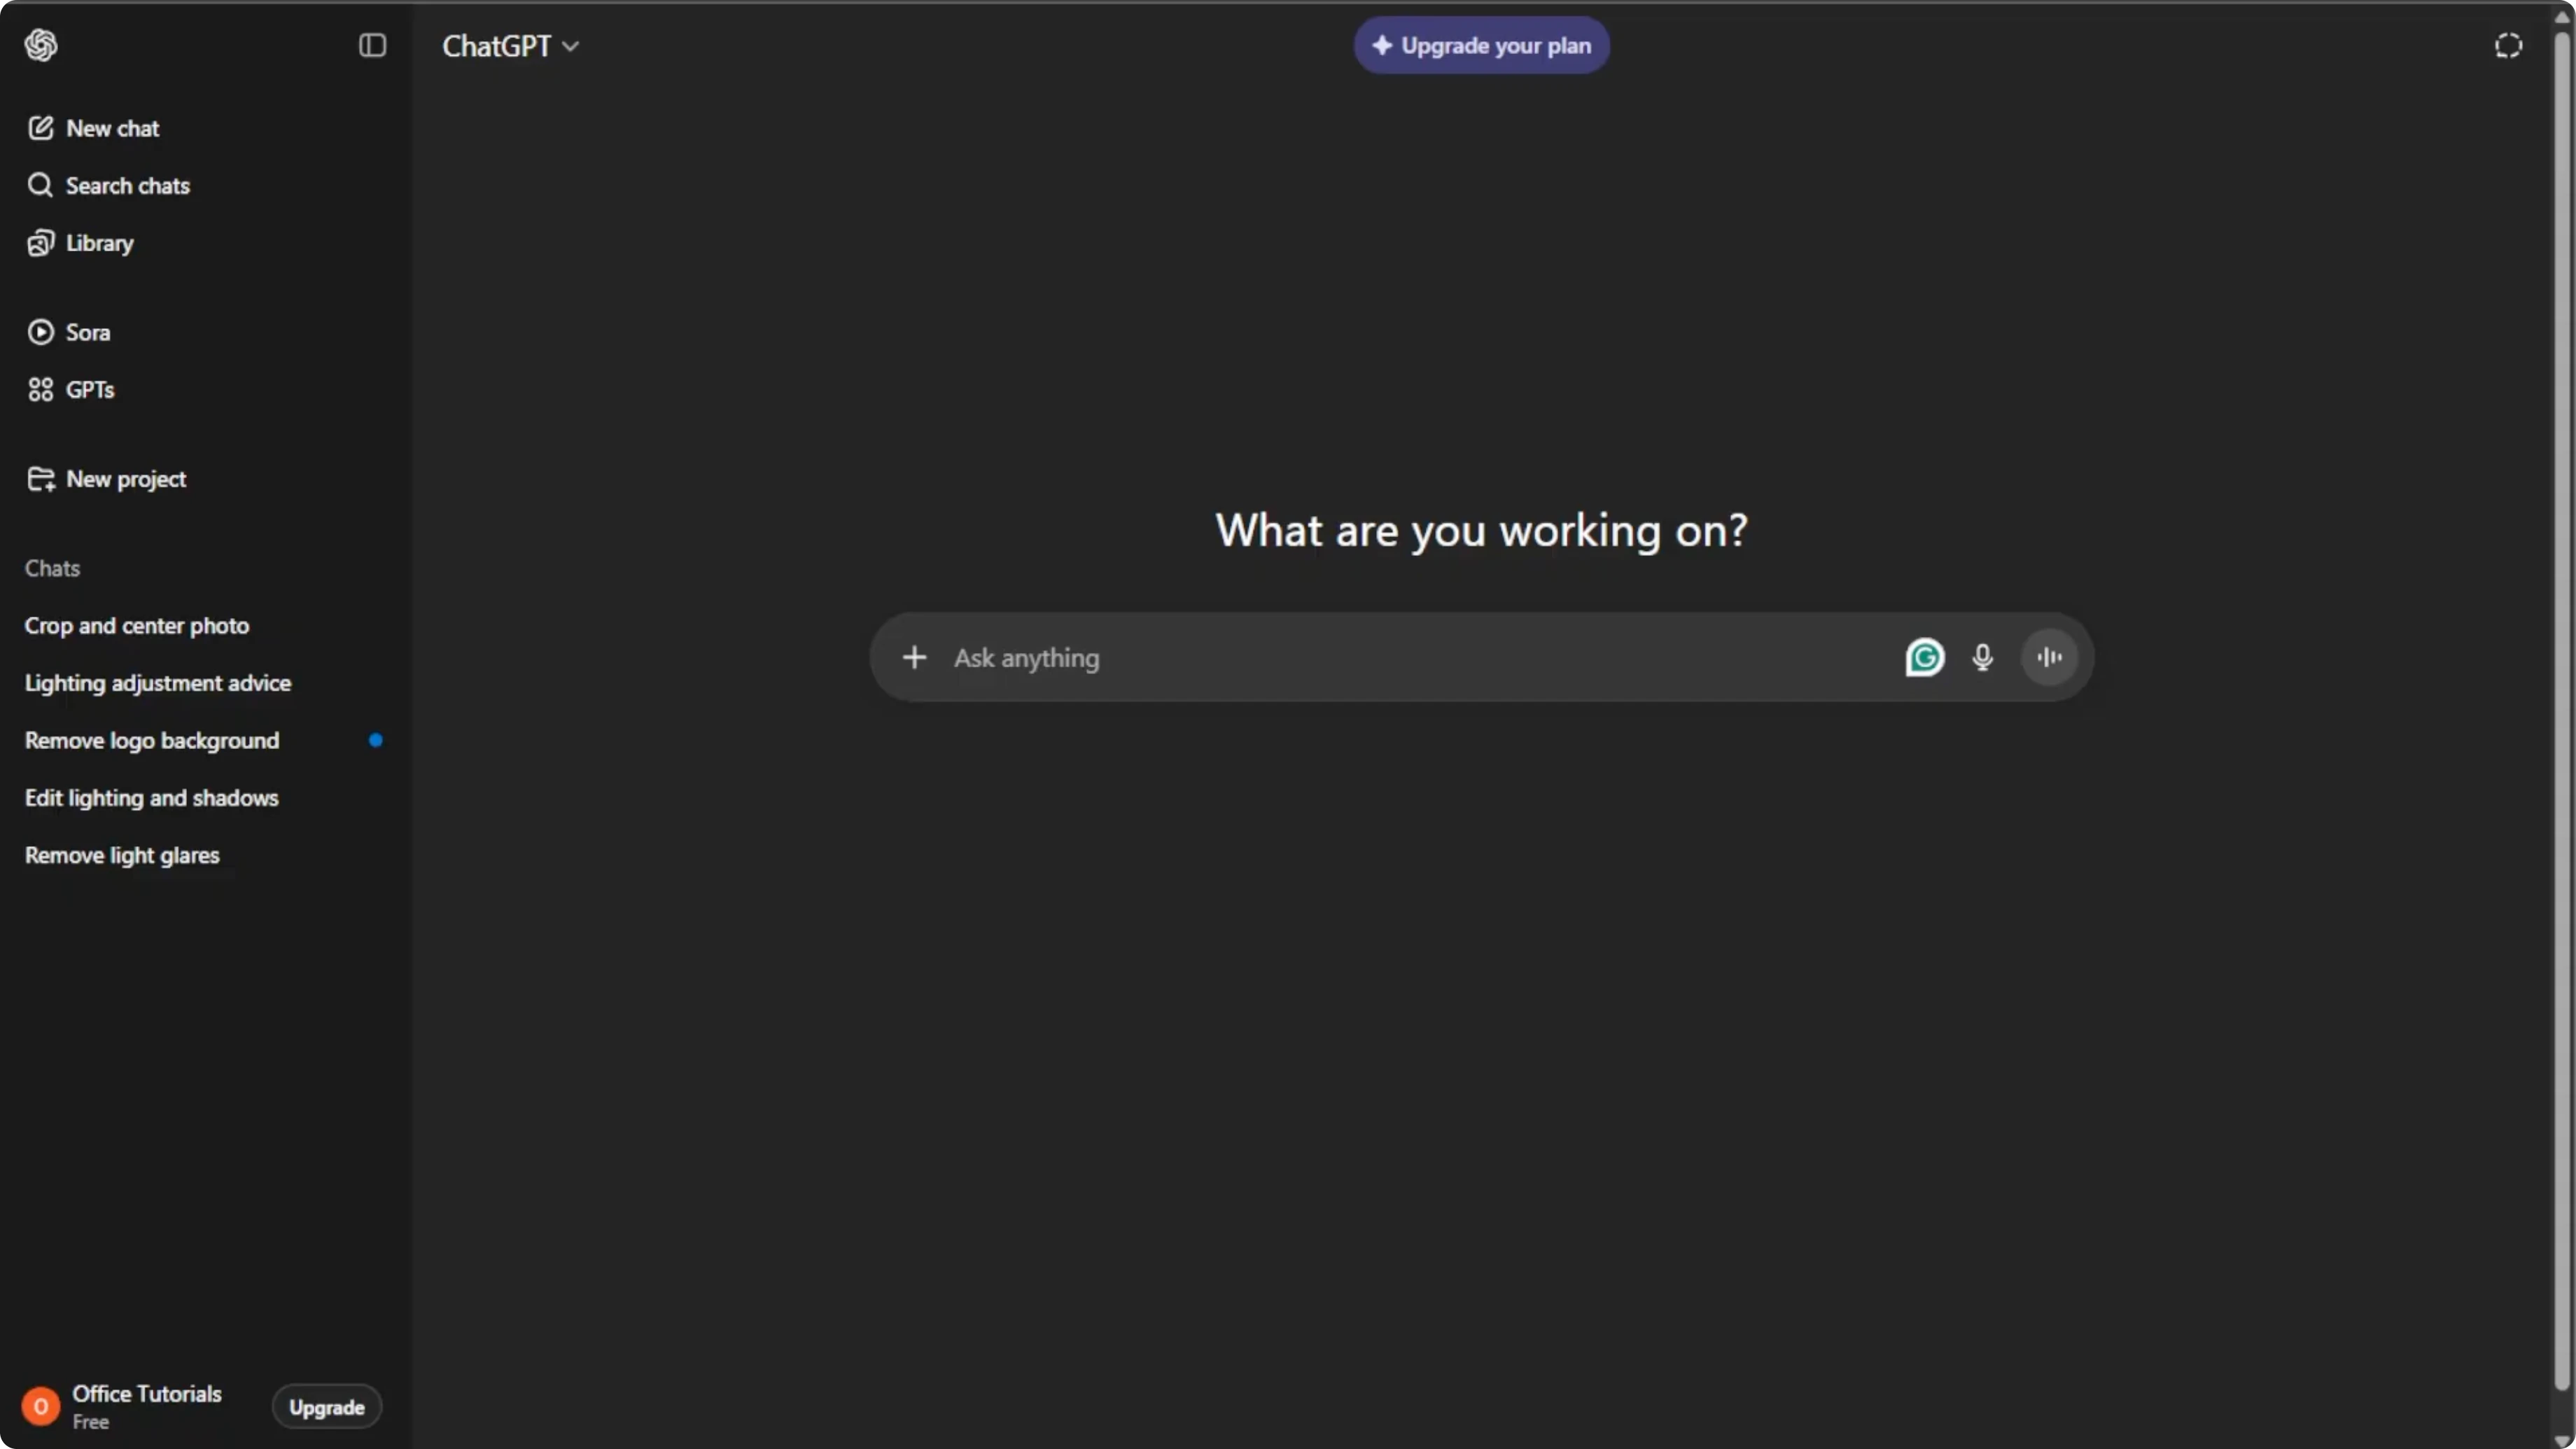
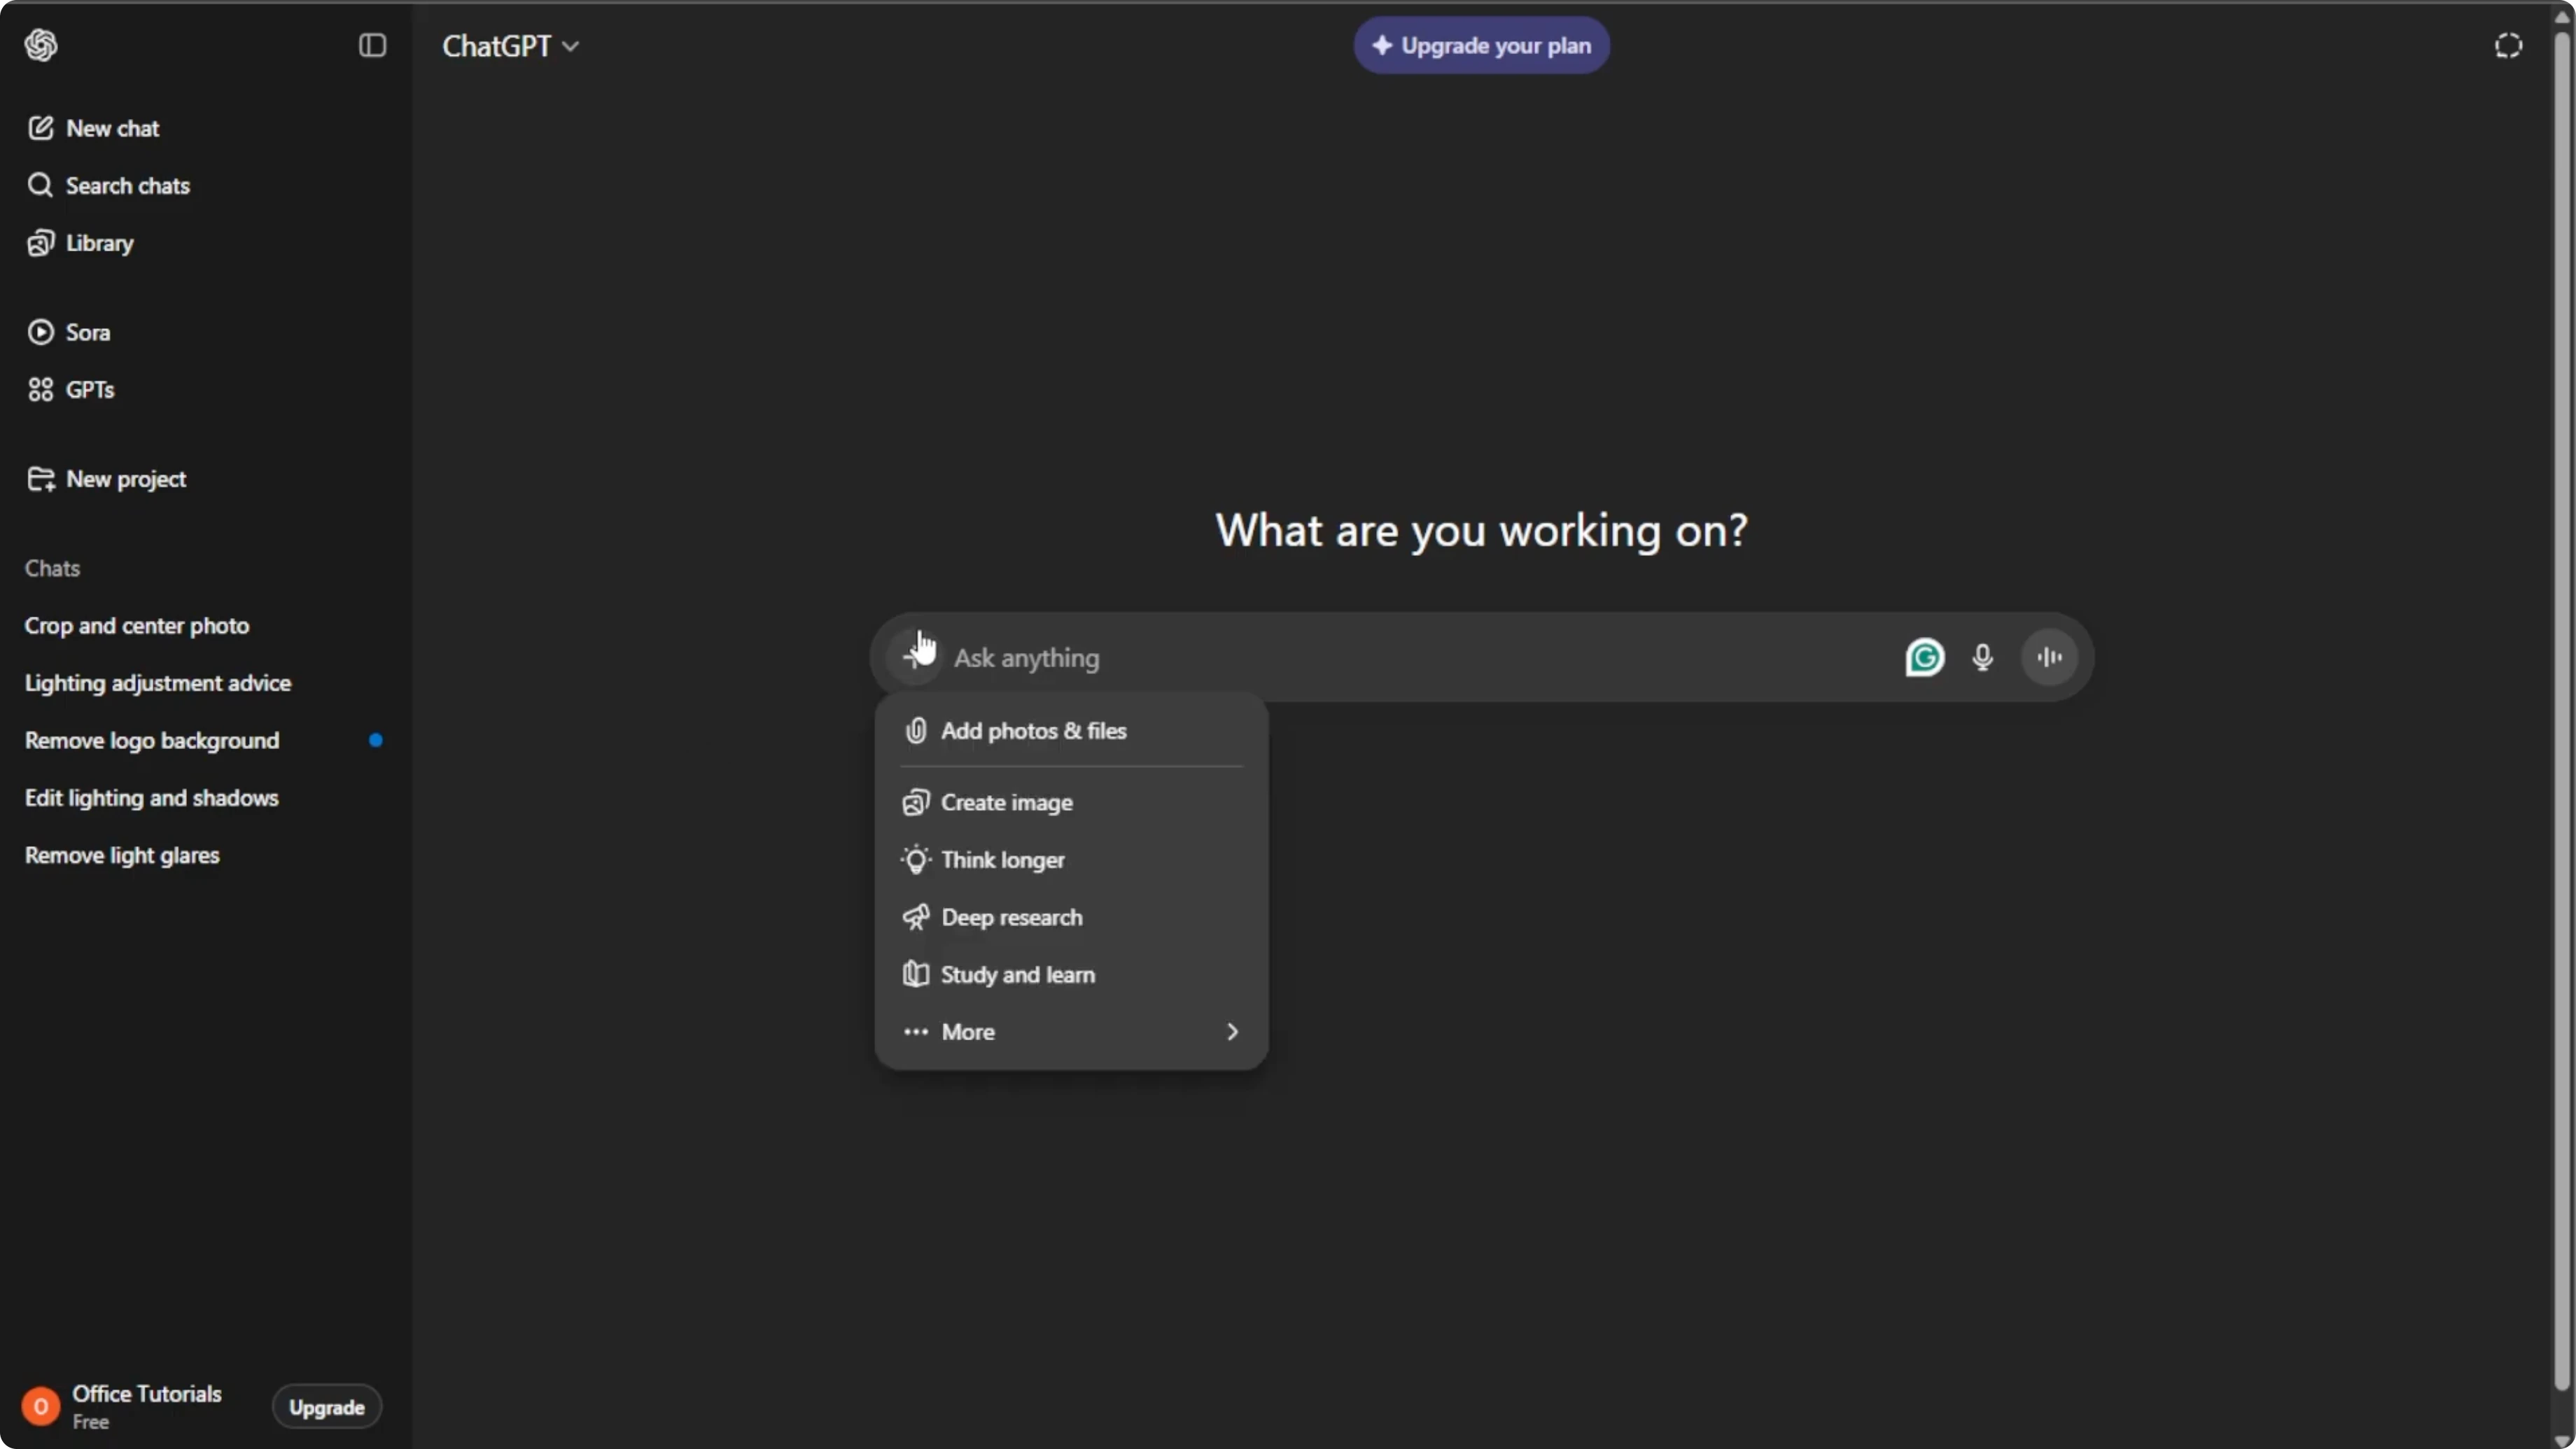
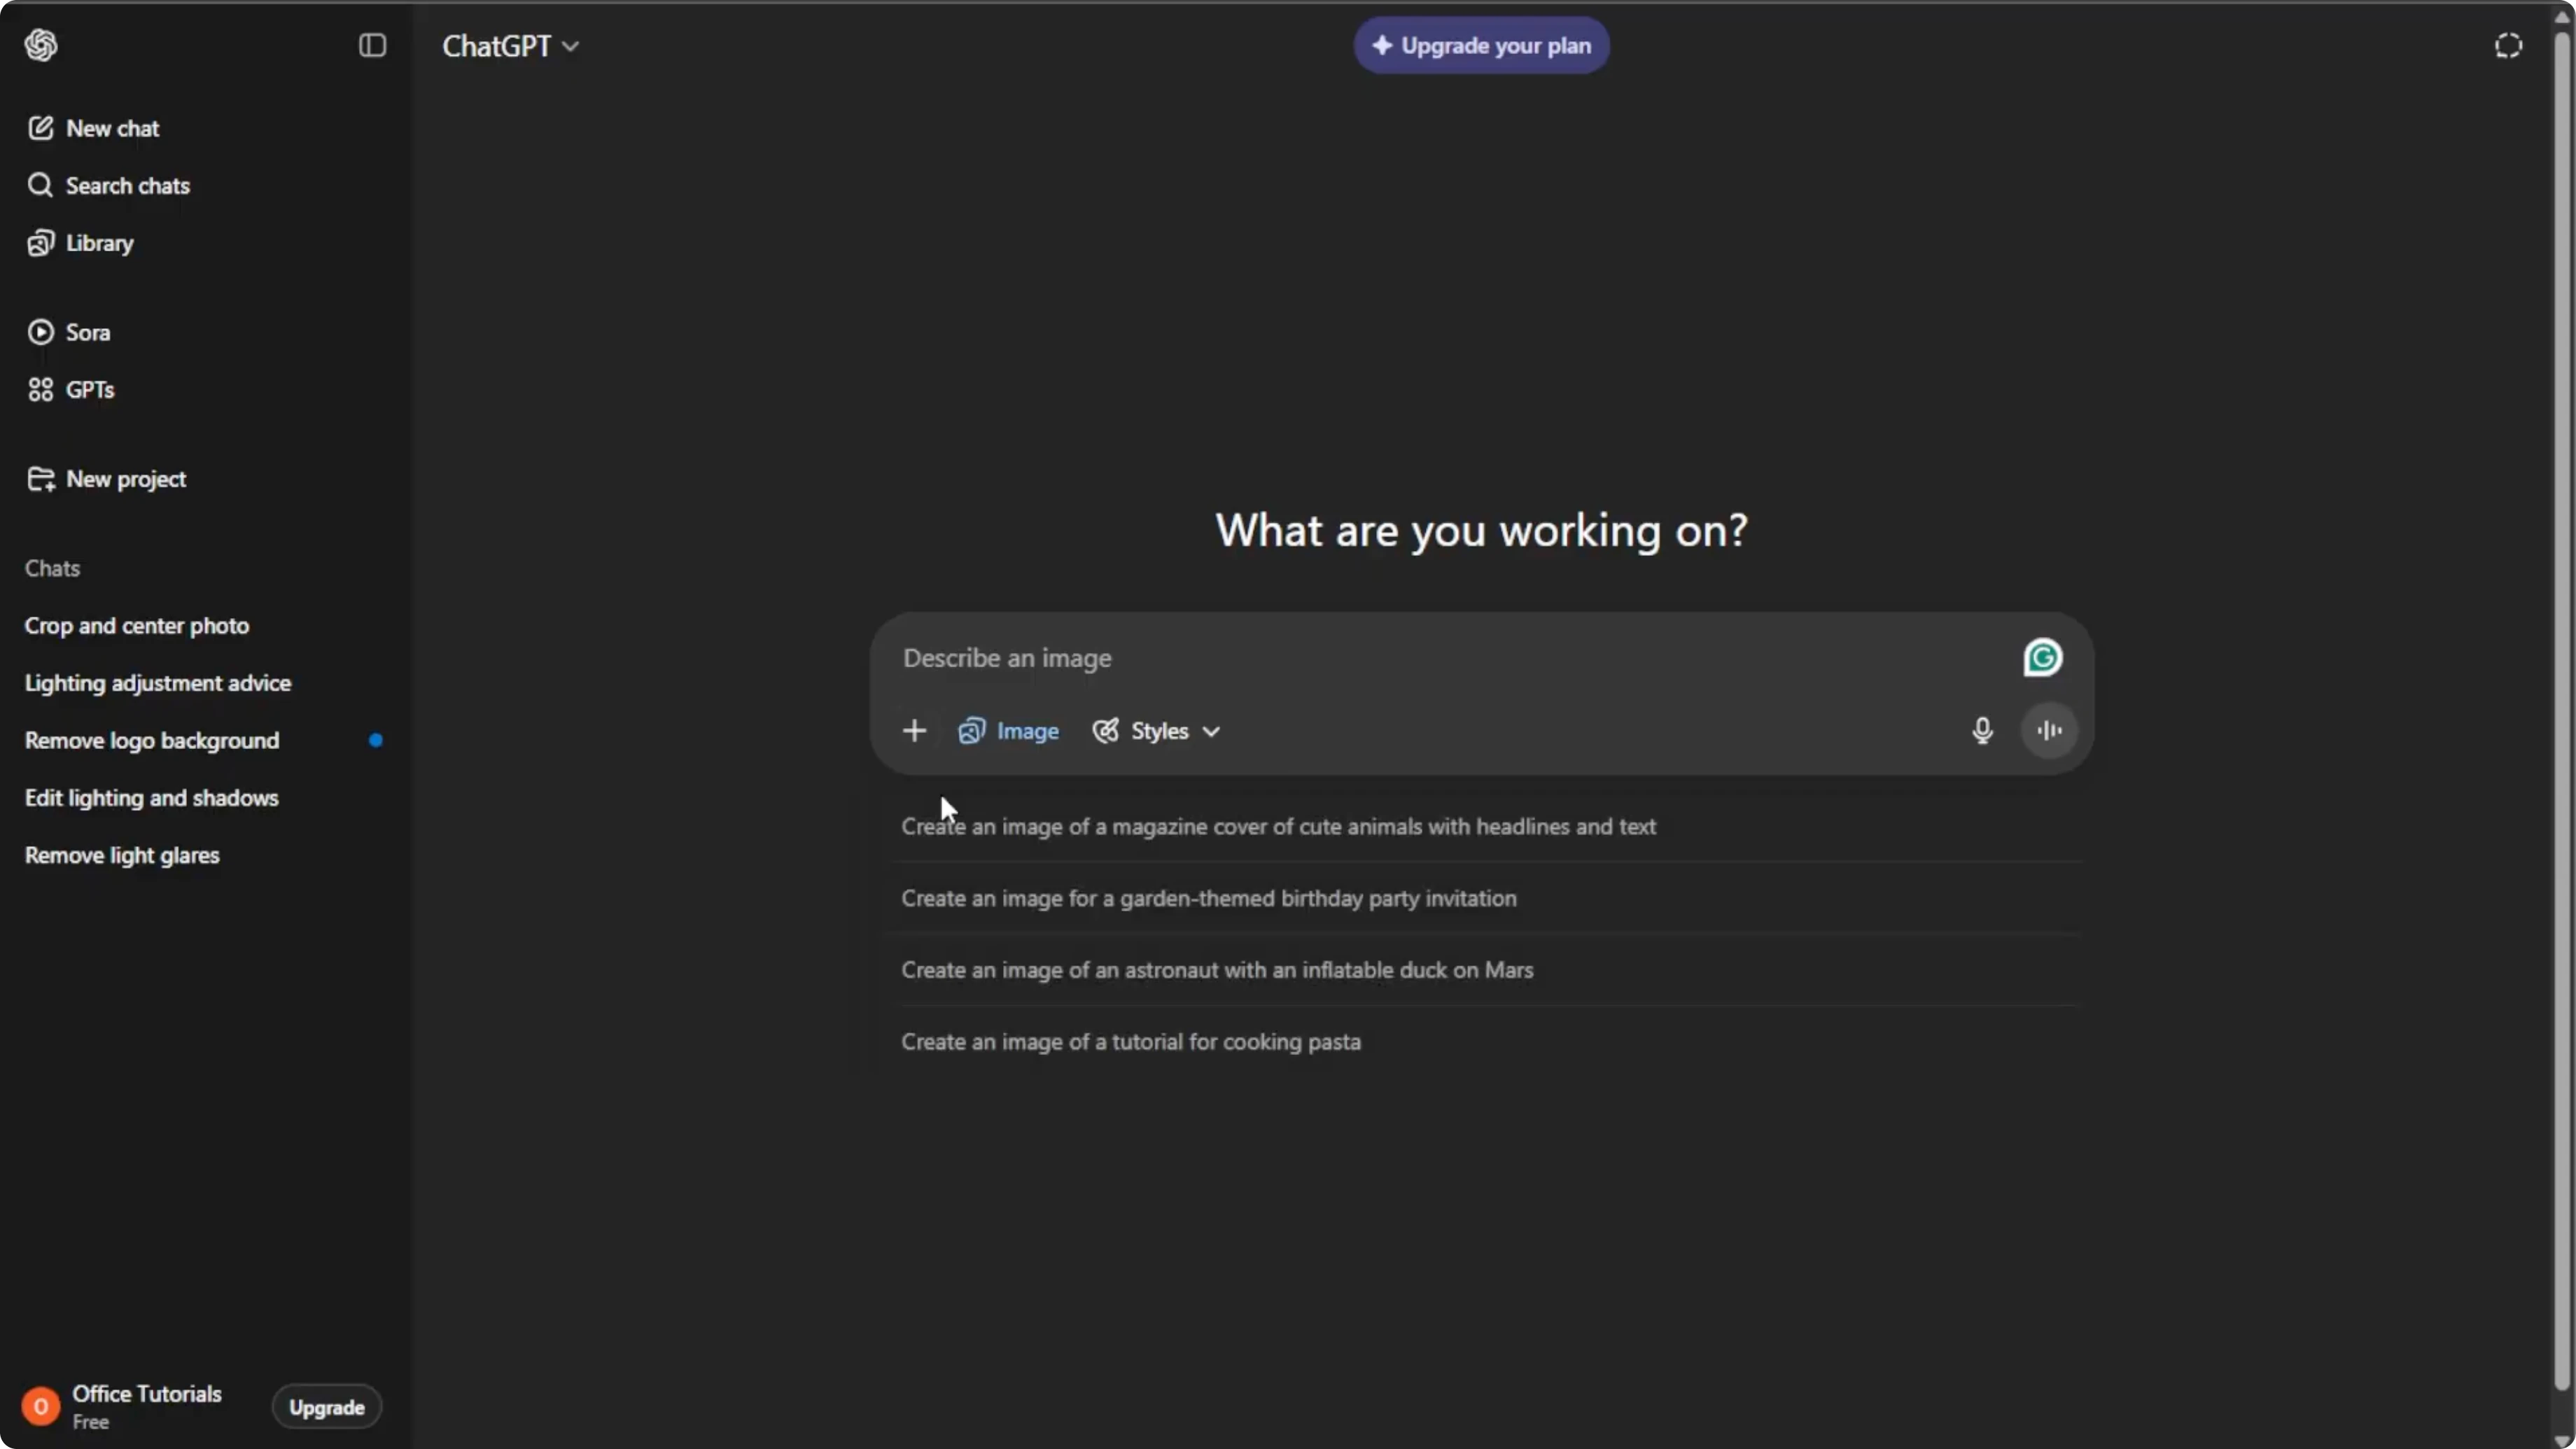
Click the plus icon in the prompt box. Select Create image. This switches ChatGPT to image mode where you can edit or generate images using AI.
If you are also editing portraits, you might want to change your hairstyle in photos using AI for a consistent look across your projects.
Upload your photo
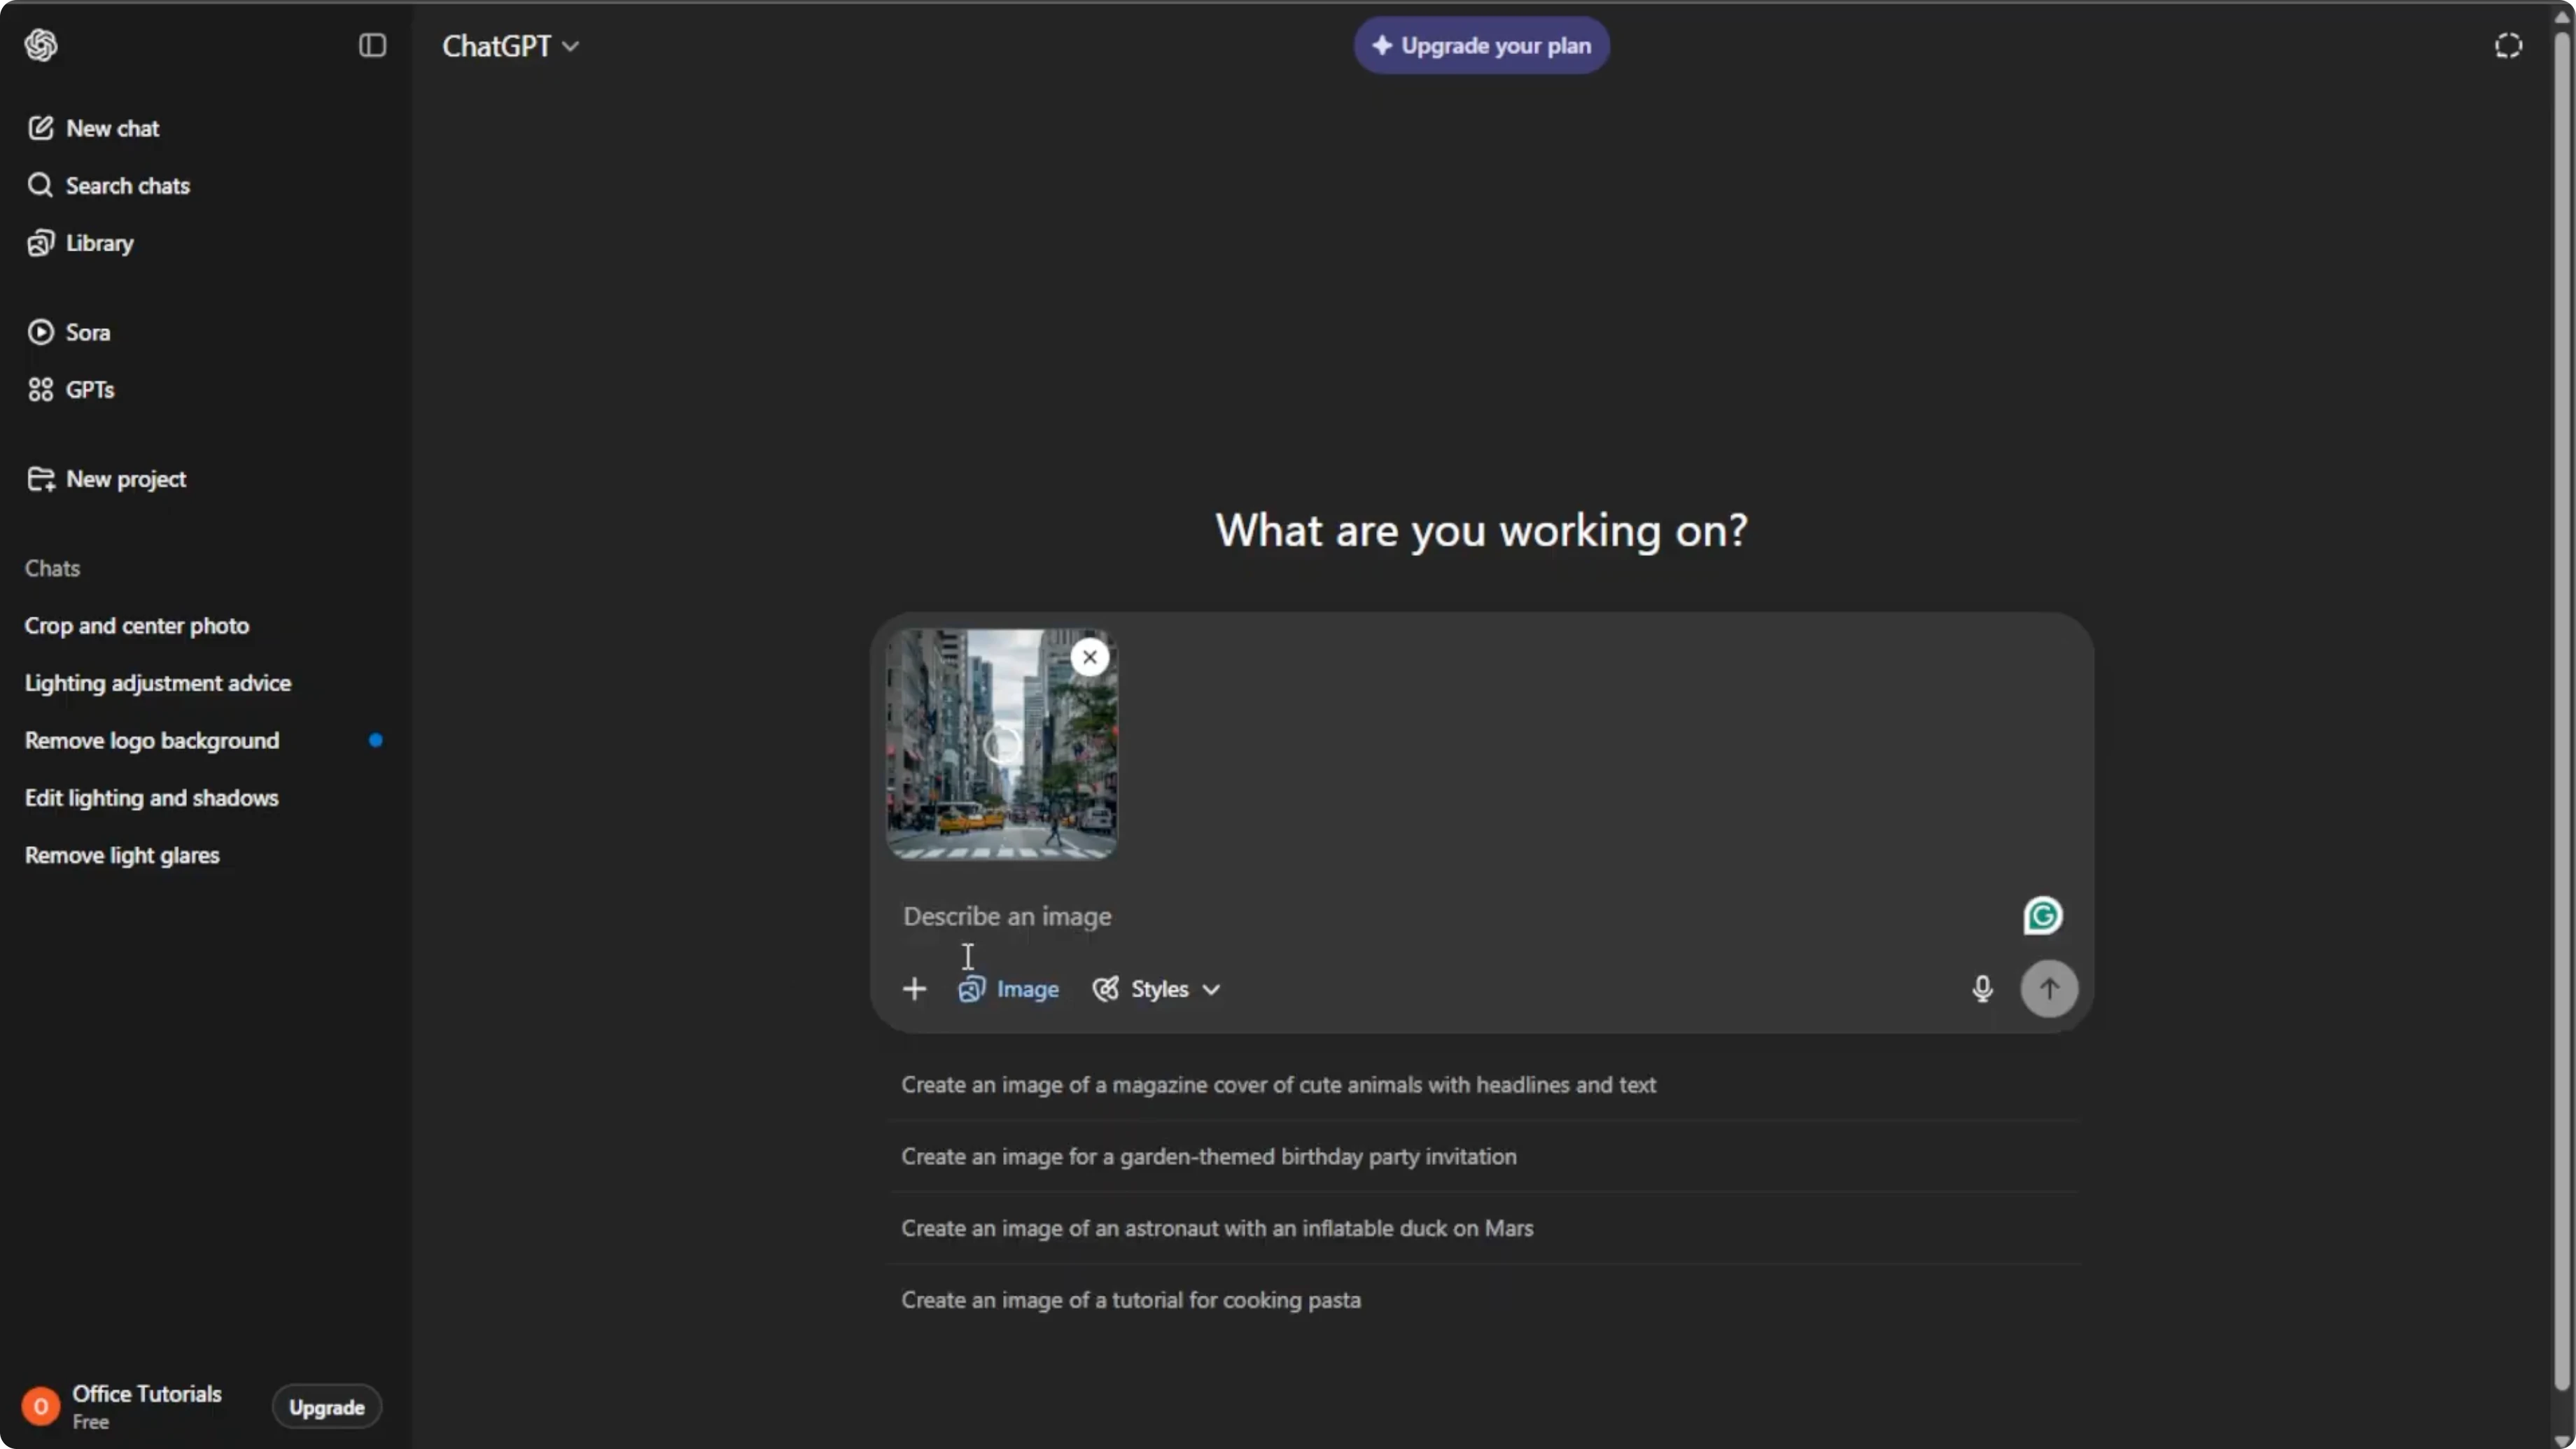
Click the plus icon again and select Add photos or files, or press Ctrl+U on your keyboard. Choose the daytime photo that you want to convert. Pick a clear high resolution image.
Photos with visible light sources work well for adding light effects. Avoid overly cluttered images to make the AI conversion smoother. Keep the subject and composition clear.
Write your prompt
Click the prompt box and instruct the AI what to do. Be specific about lighting, shadows, reflections, and sky colors to get the best results. Mention how you want streetlights, windows, neon, or moonlight to appear.
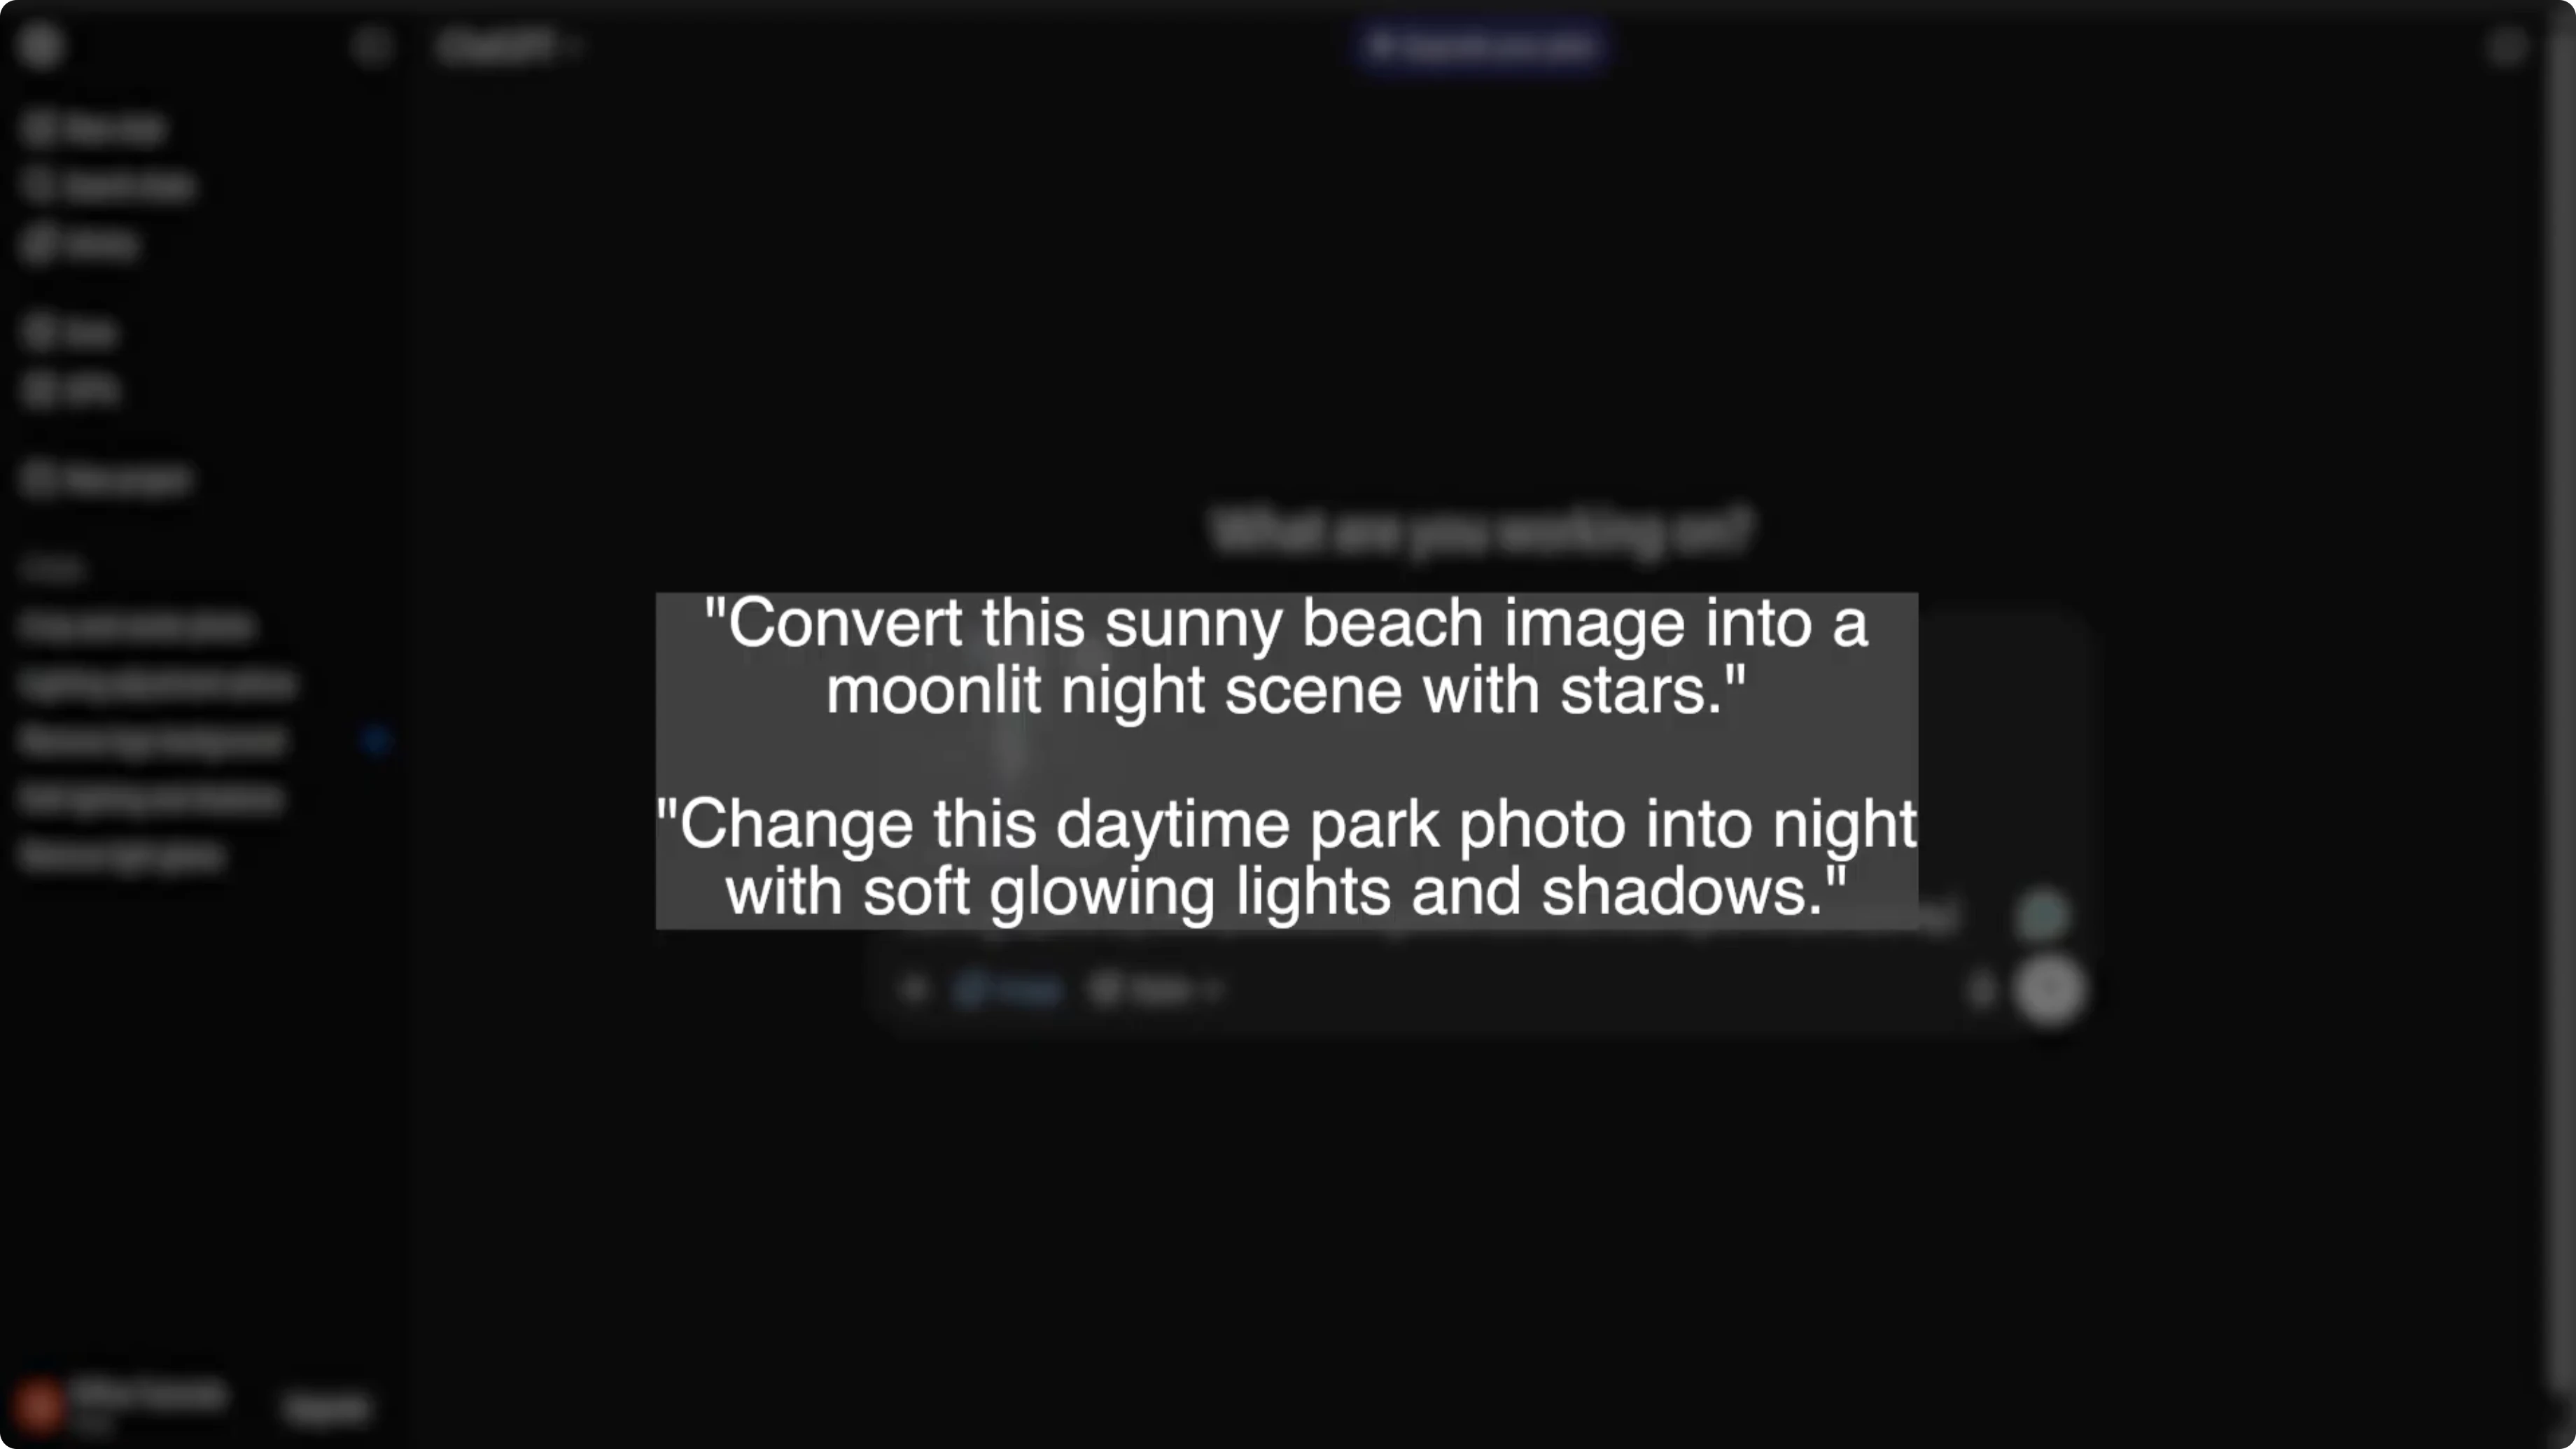
Example prompts you can paste and edit:
Convert this daytime city photo to a night scene.
Add a deep blue twilight sky with faint stars.
Turn streetlights and window lights on with warm glow, add soft reflections on wet pavement, and create longer shadows matching the light direction.
Keep details sharp and natural.
Make this beach photo into a calm night.
Replace the sky with a dark navy tone, add a bright moon off-frame to the left, and cool moonlight across the water with gentle reflections.
Dim overall exposure, keep skin tones natural, and avoid heavy noise or grain.
If you enjoy creative transformations, you can also turn yourself into a cartoon using AI for stylized profile images.
Generate and refine
Press Enter to let the AI generate your new nighttime image. Wait a few seconds for the AI to work. Click the generated image to zoom in and review it.
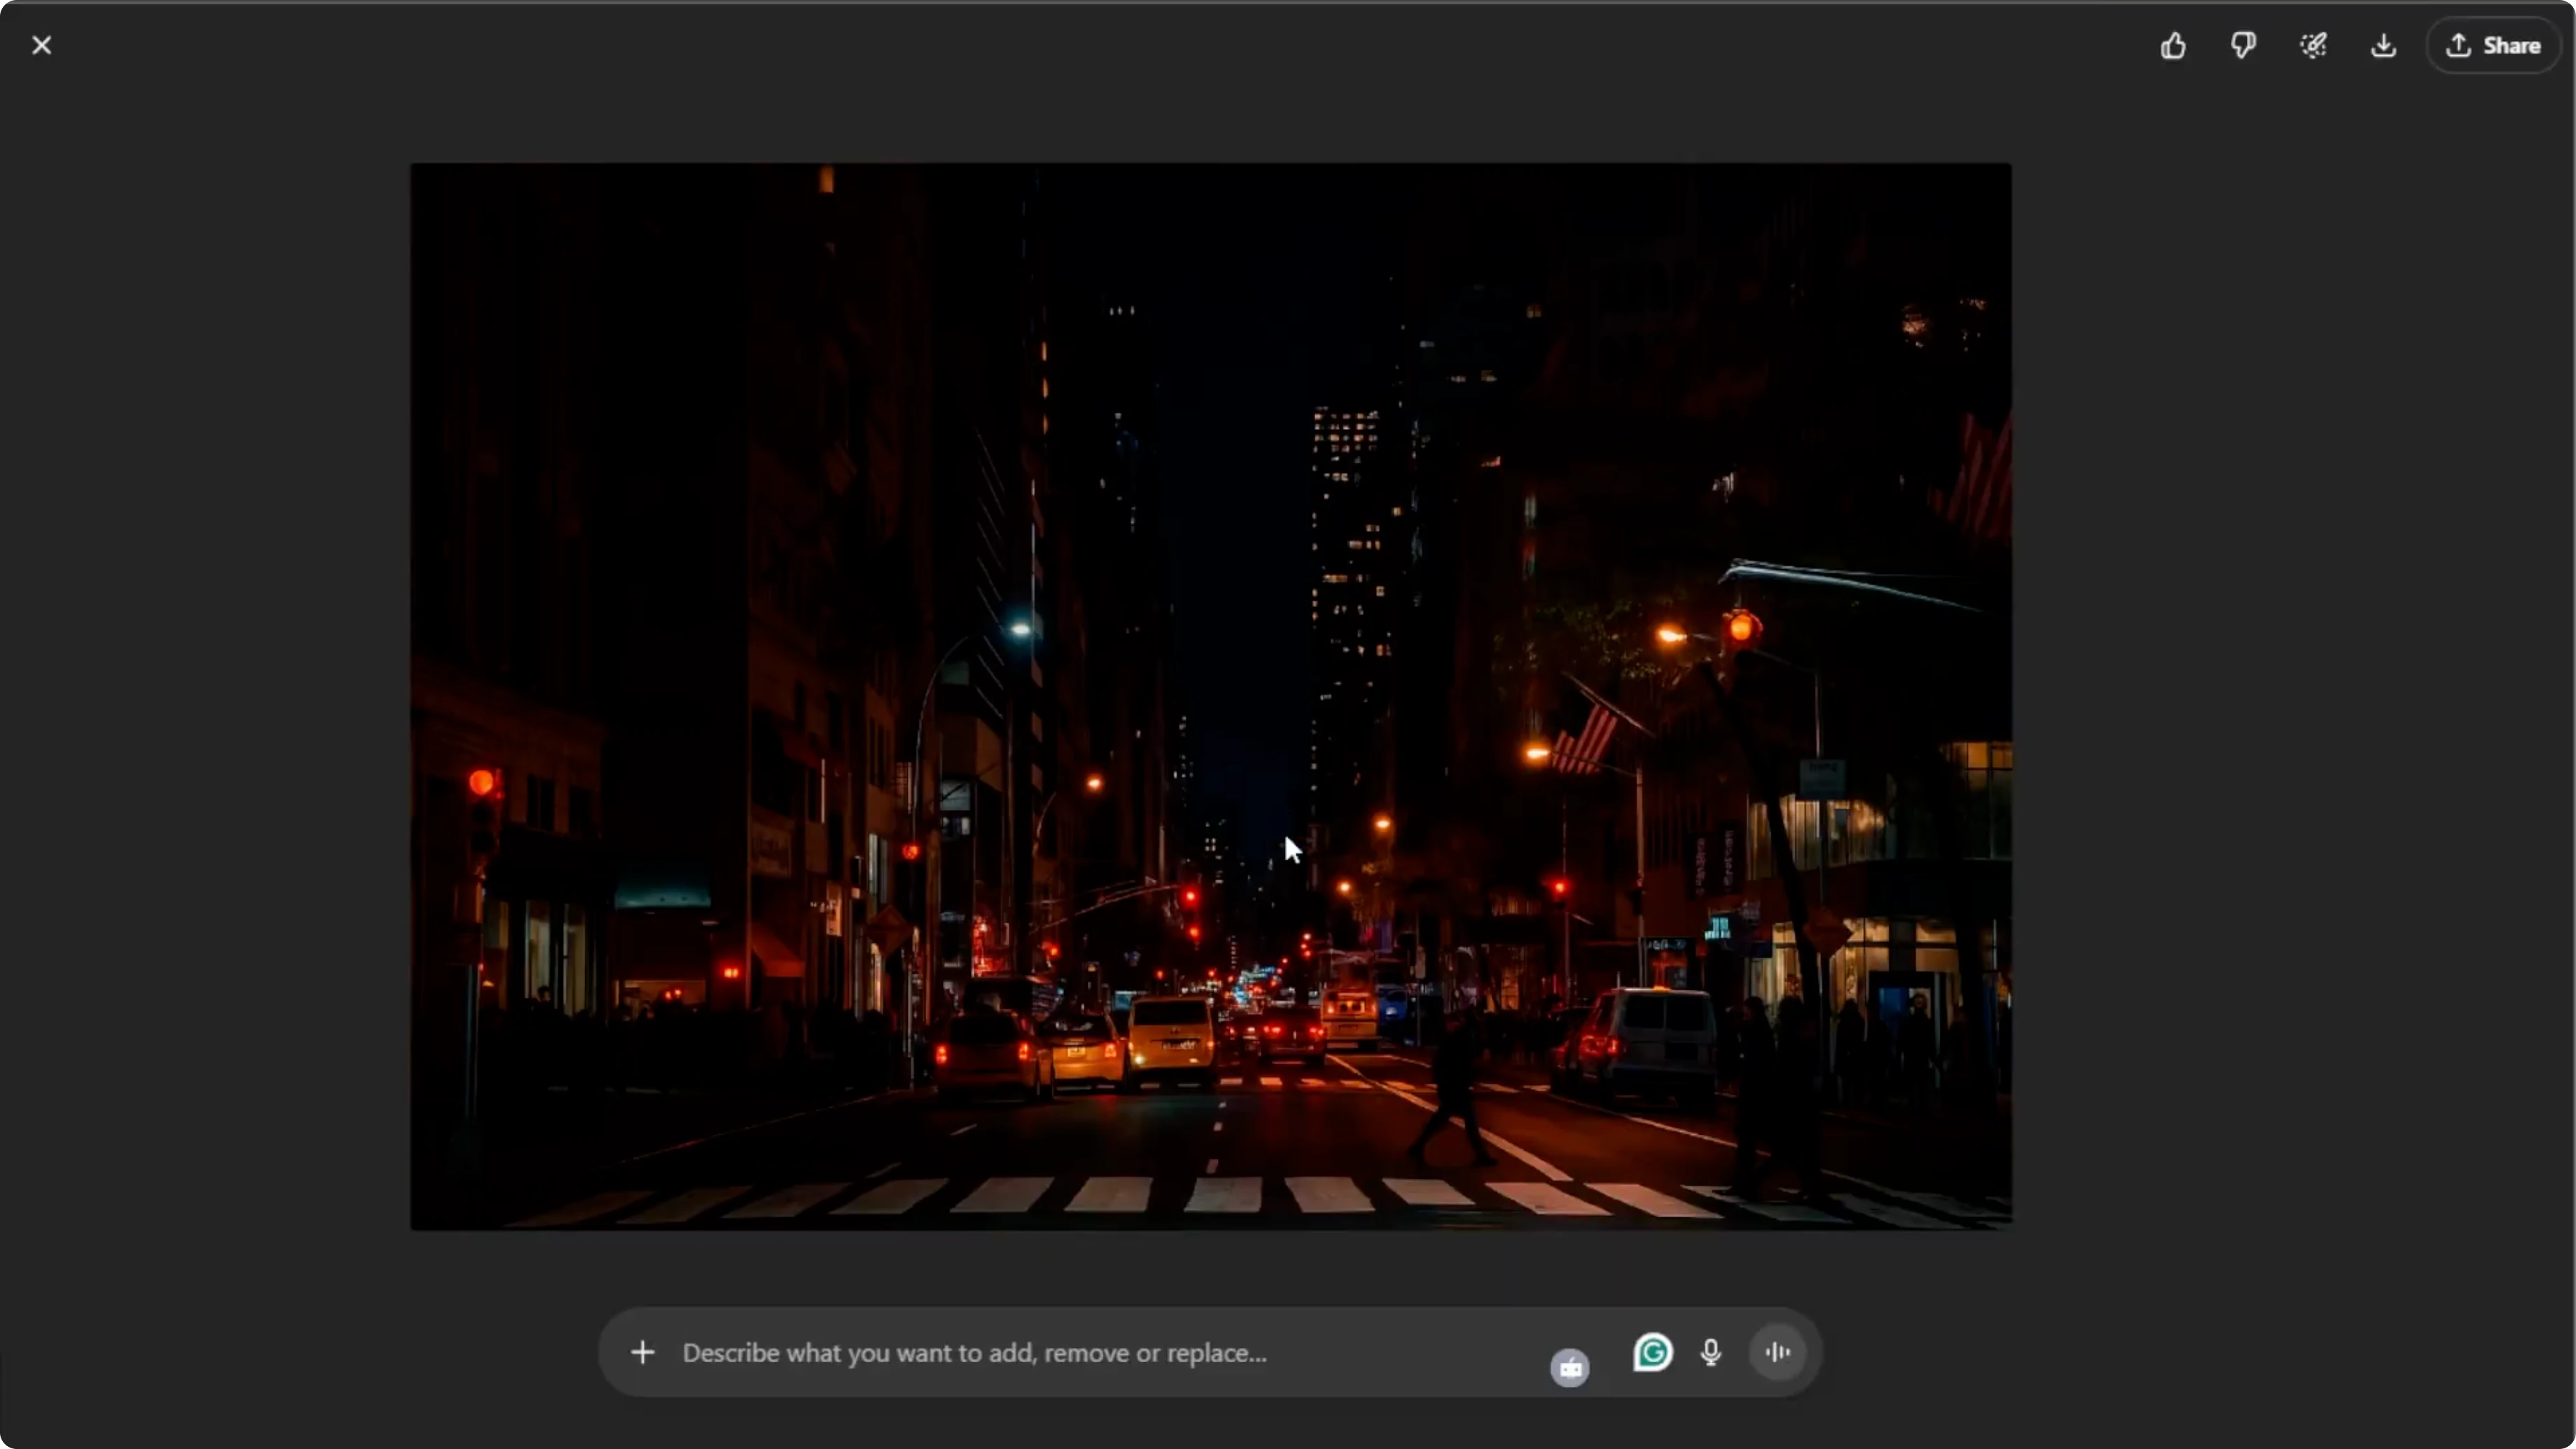
If you want tweaks, click the image and describe what you want to add, remove, or modify. Ask for brighter window glow, cooler shadows, clearer stars, or adjusted reflections. Repeat until the scene looks right.
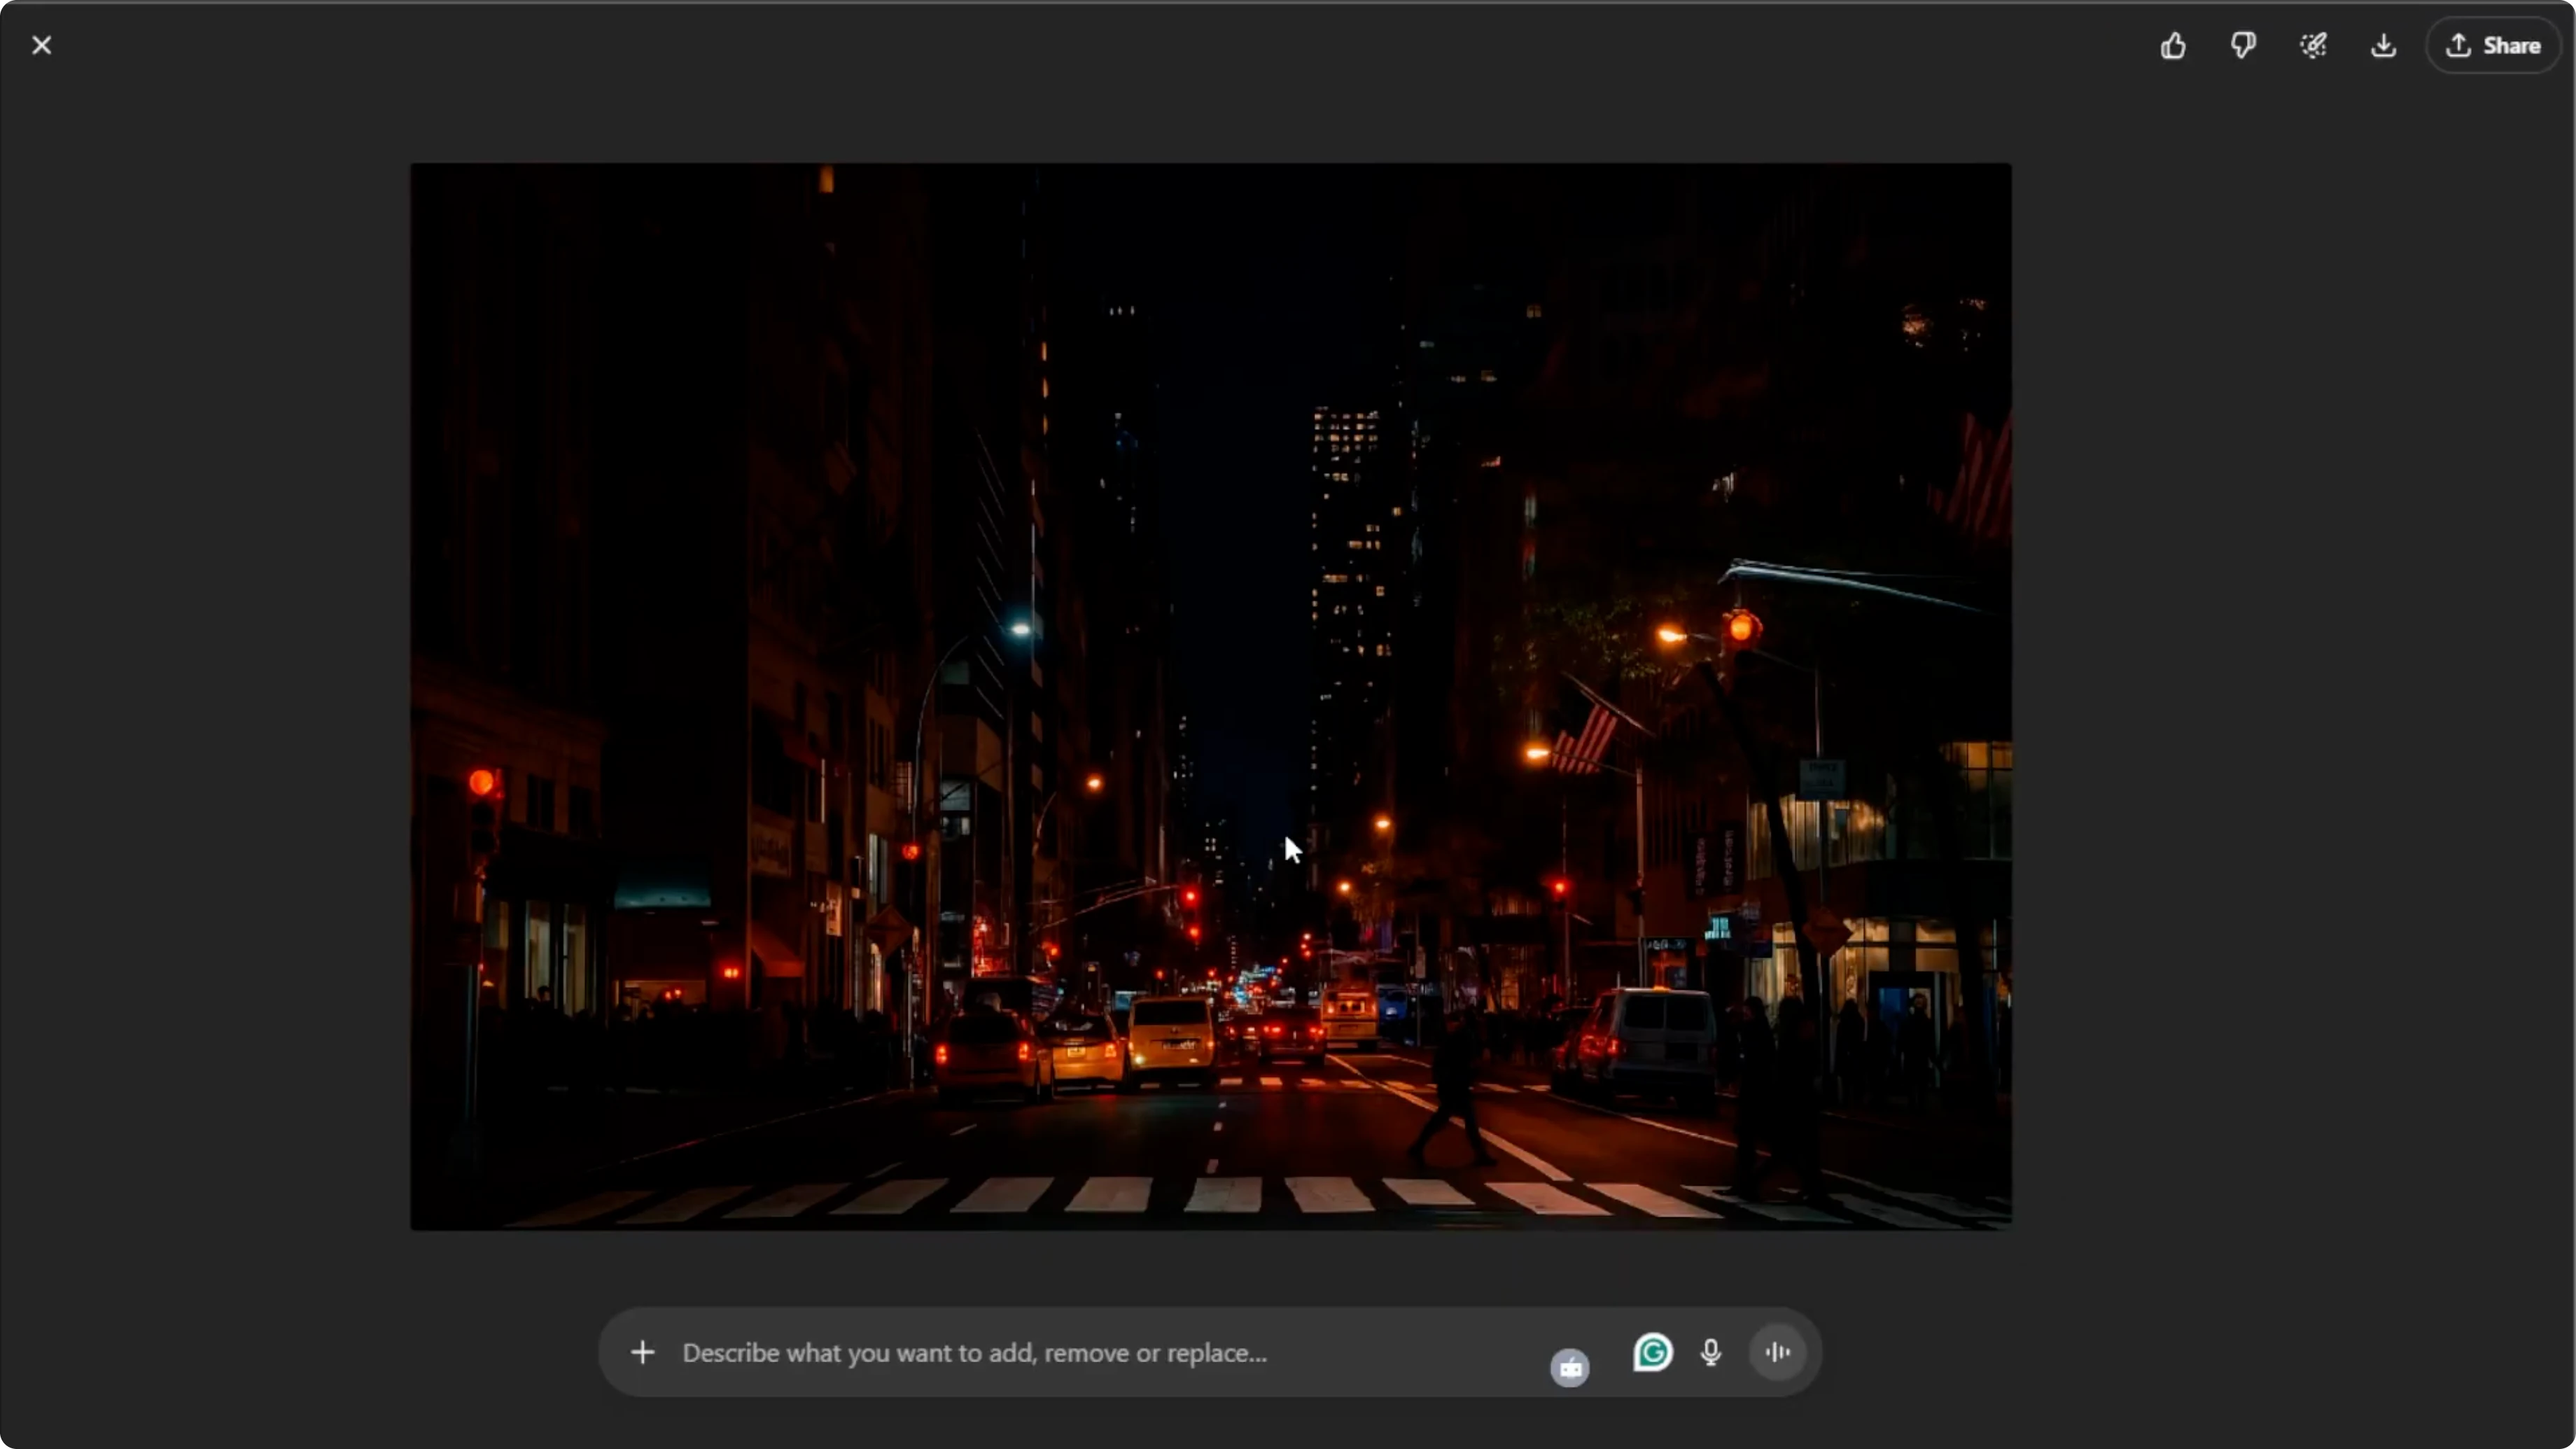
Once you are satisfied with the result, hover over the image and click Download to save it to your computer. You can also click Share to post it directly to your social media. Keep both the original and the night version for comparison.

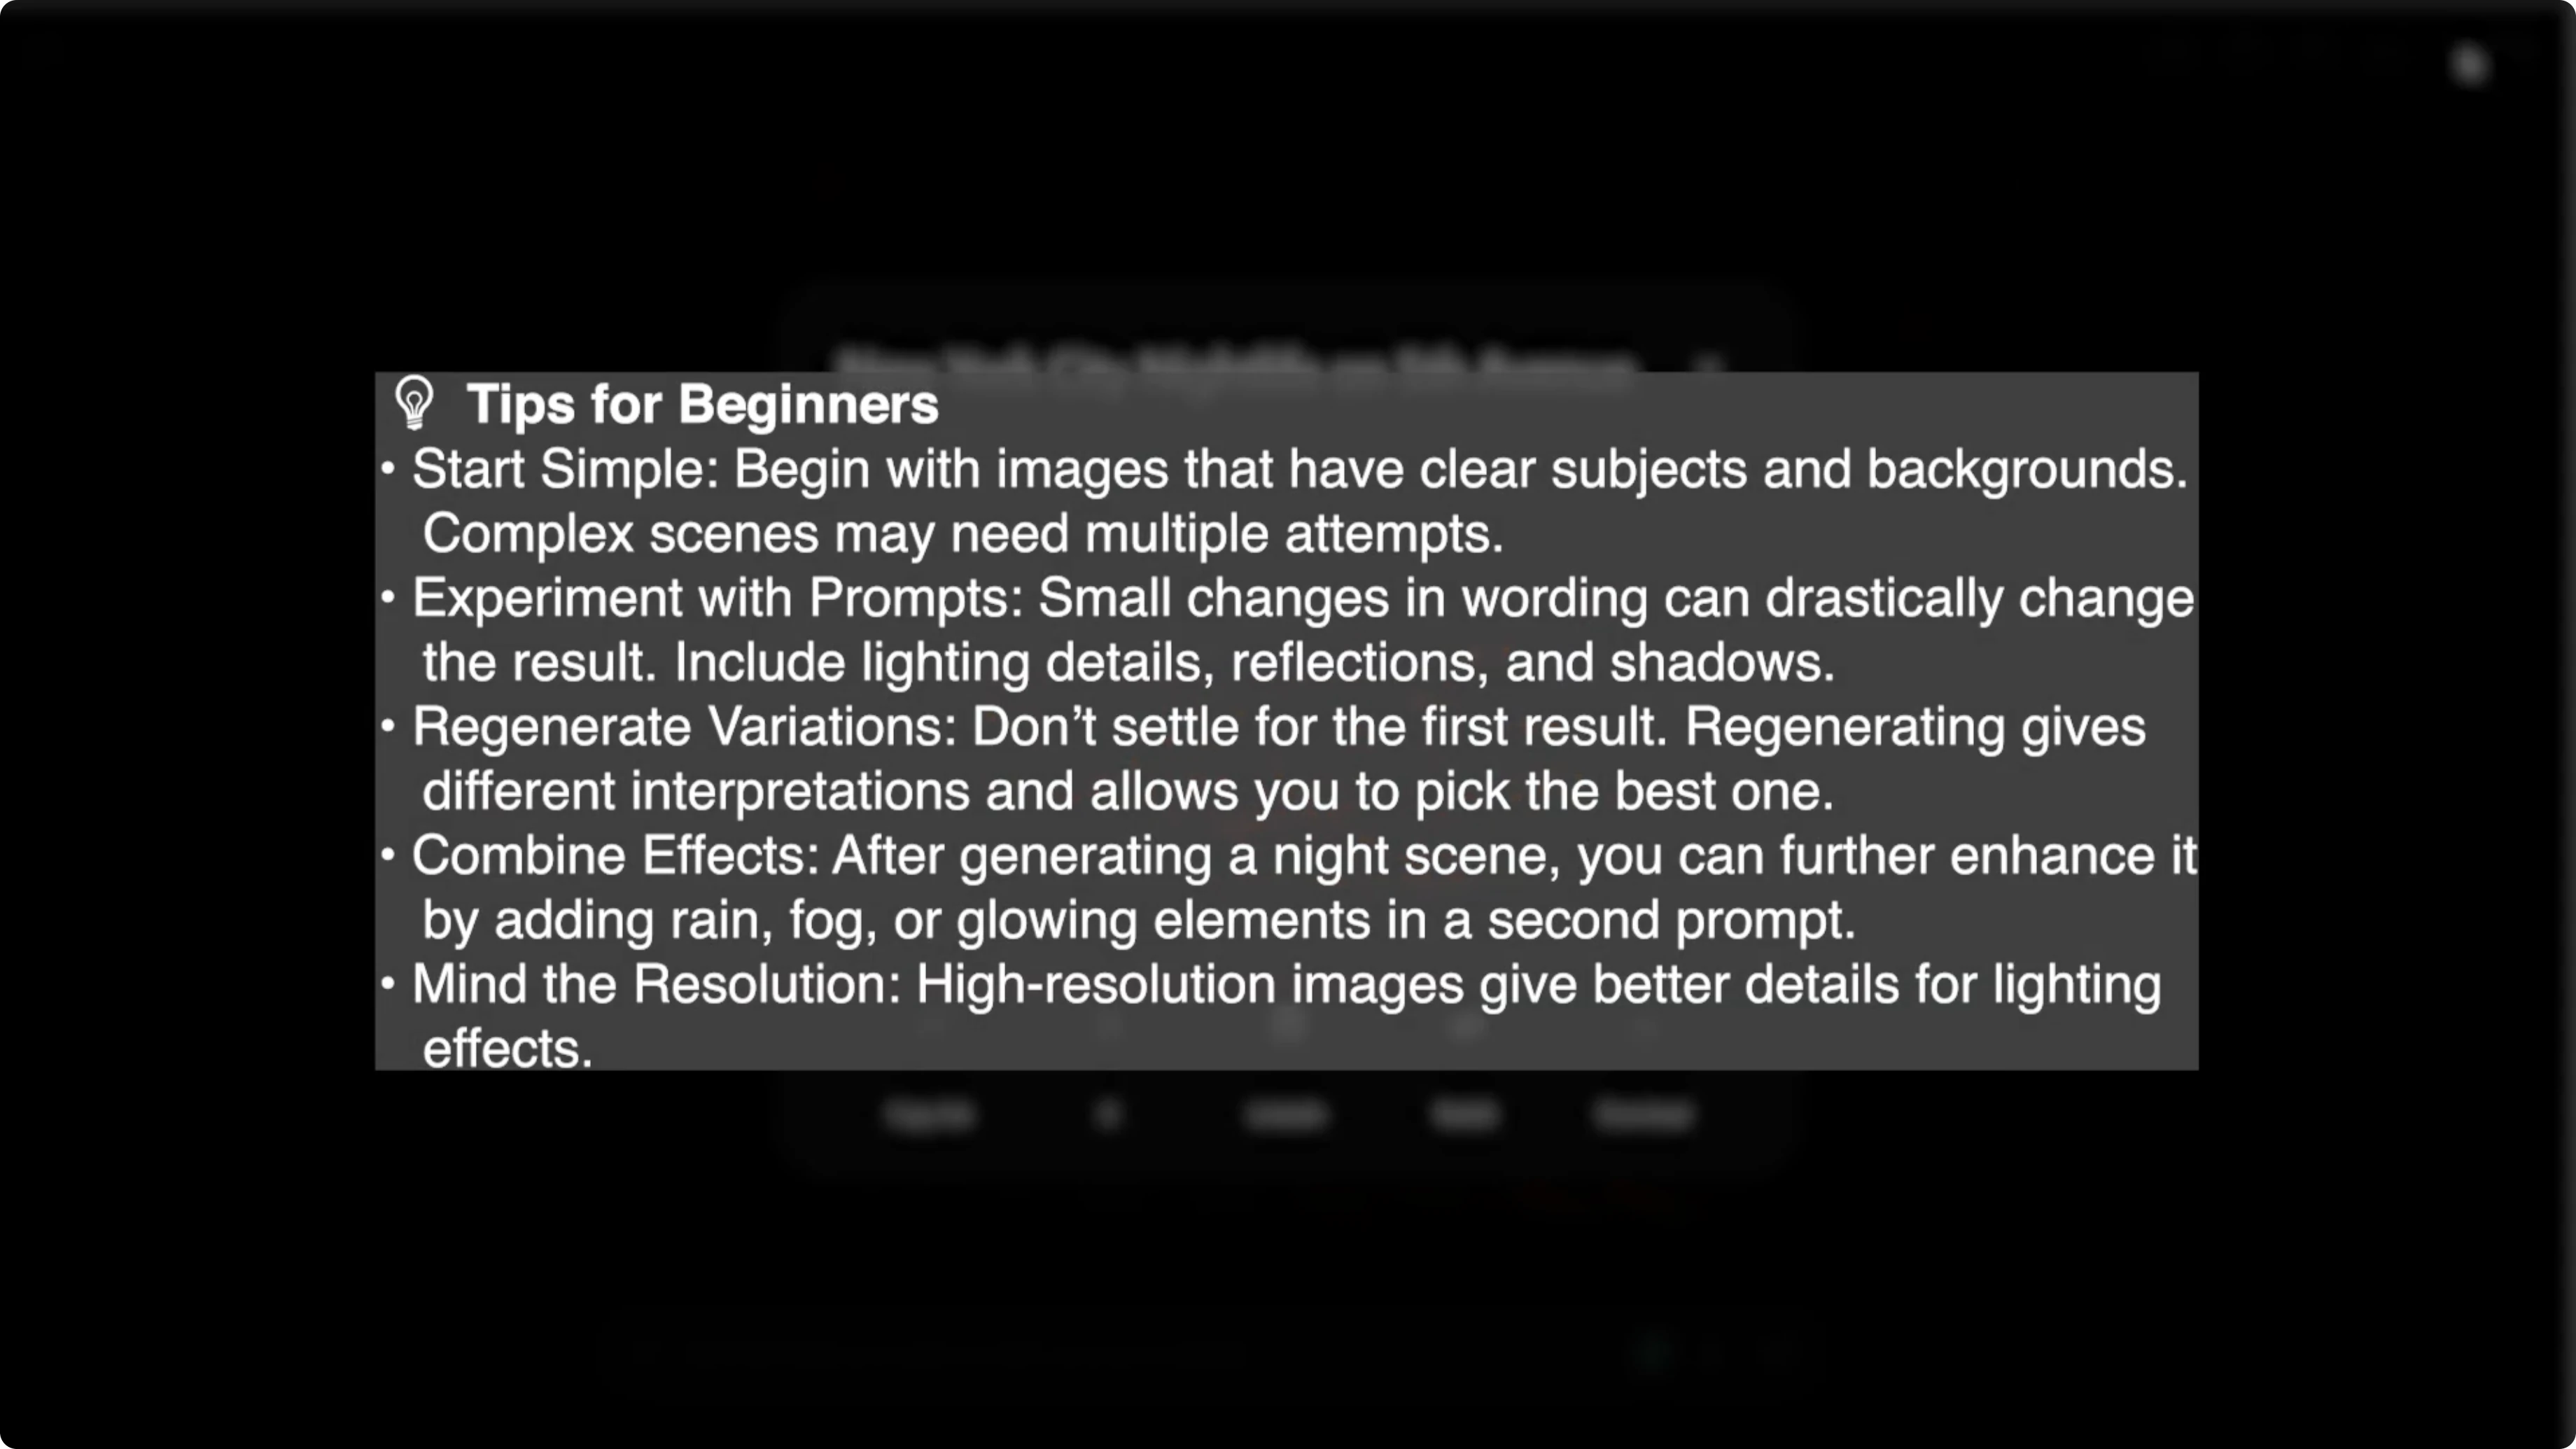
Beginner tips
Choose photos with simple lighting and clear subjects for your first attempts. Add light sources that make sense for the scene, like lamps, windows, or the moon. Keep an eye on shadow direction so it matches your chosen light.

With this method, you can turn any daytime photo into a dramatic atmospheric night scene in minutes, all without complex editing software. If you want to present your image in a narrated clip, you can add a realistic AI voice to a video in Canva and create a quick showcase.
Final thoughts
Turning day into night with AI is fast and creative. Clear prompts and mindful lighting details lead to the most convincing results. Experiment, review closely, and refine until the night feels real.
Recent Posts
How to Visualize Different Hairstyles and Hair Colors with AI?
How to Visualize Different Hairstyles and Hair Colors with AI?
How to Visualize Yourself as the Opposite Gender with AI?
How to Visualize Yourself as the Opposite Gender with AI?
How to Smooth and Reduce the Appearance of Facial Wrinkles with AI?
How to Smooth and Reduce the Appearance of Facial Wrinkles with AI?