How to Seamlessly Add Objects to Any Photo with AI?
I will teach you how to add objects to any photos using AI. This walkthrough keeps the process simple and clear.
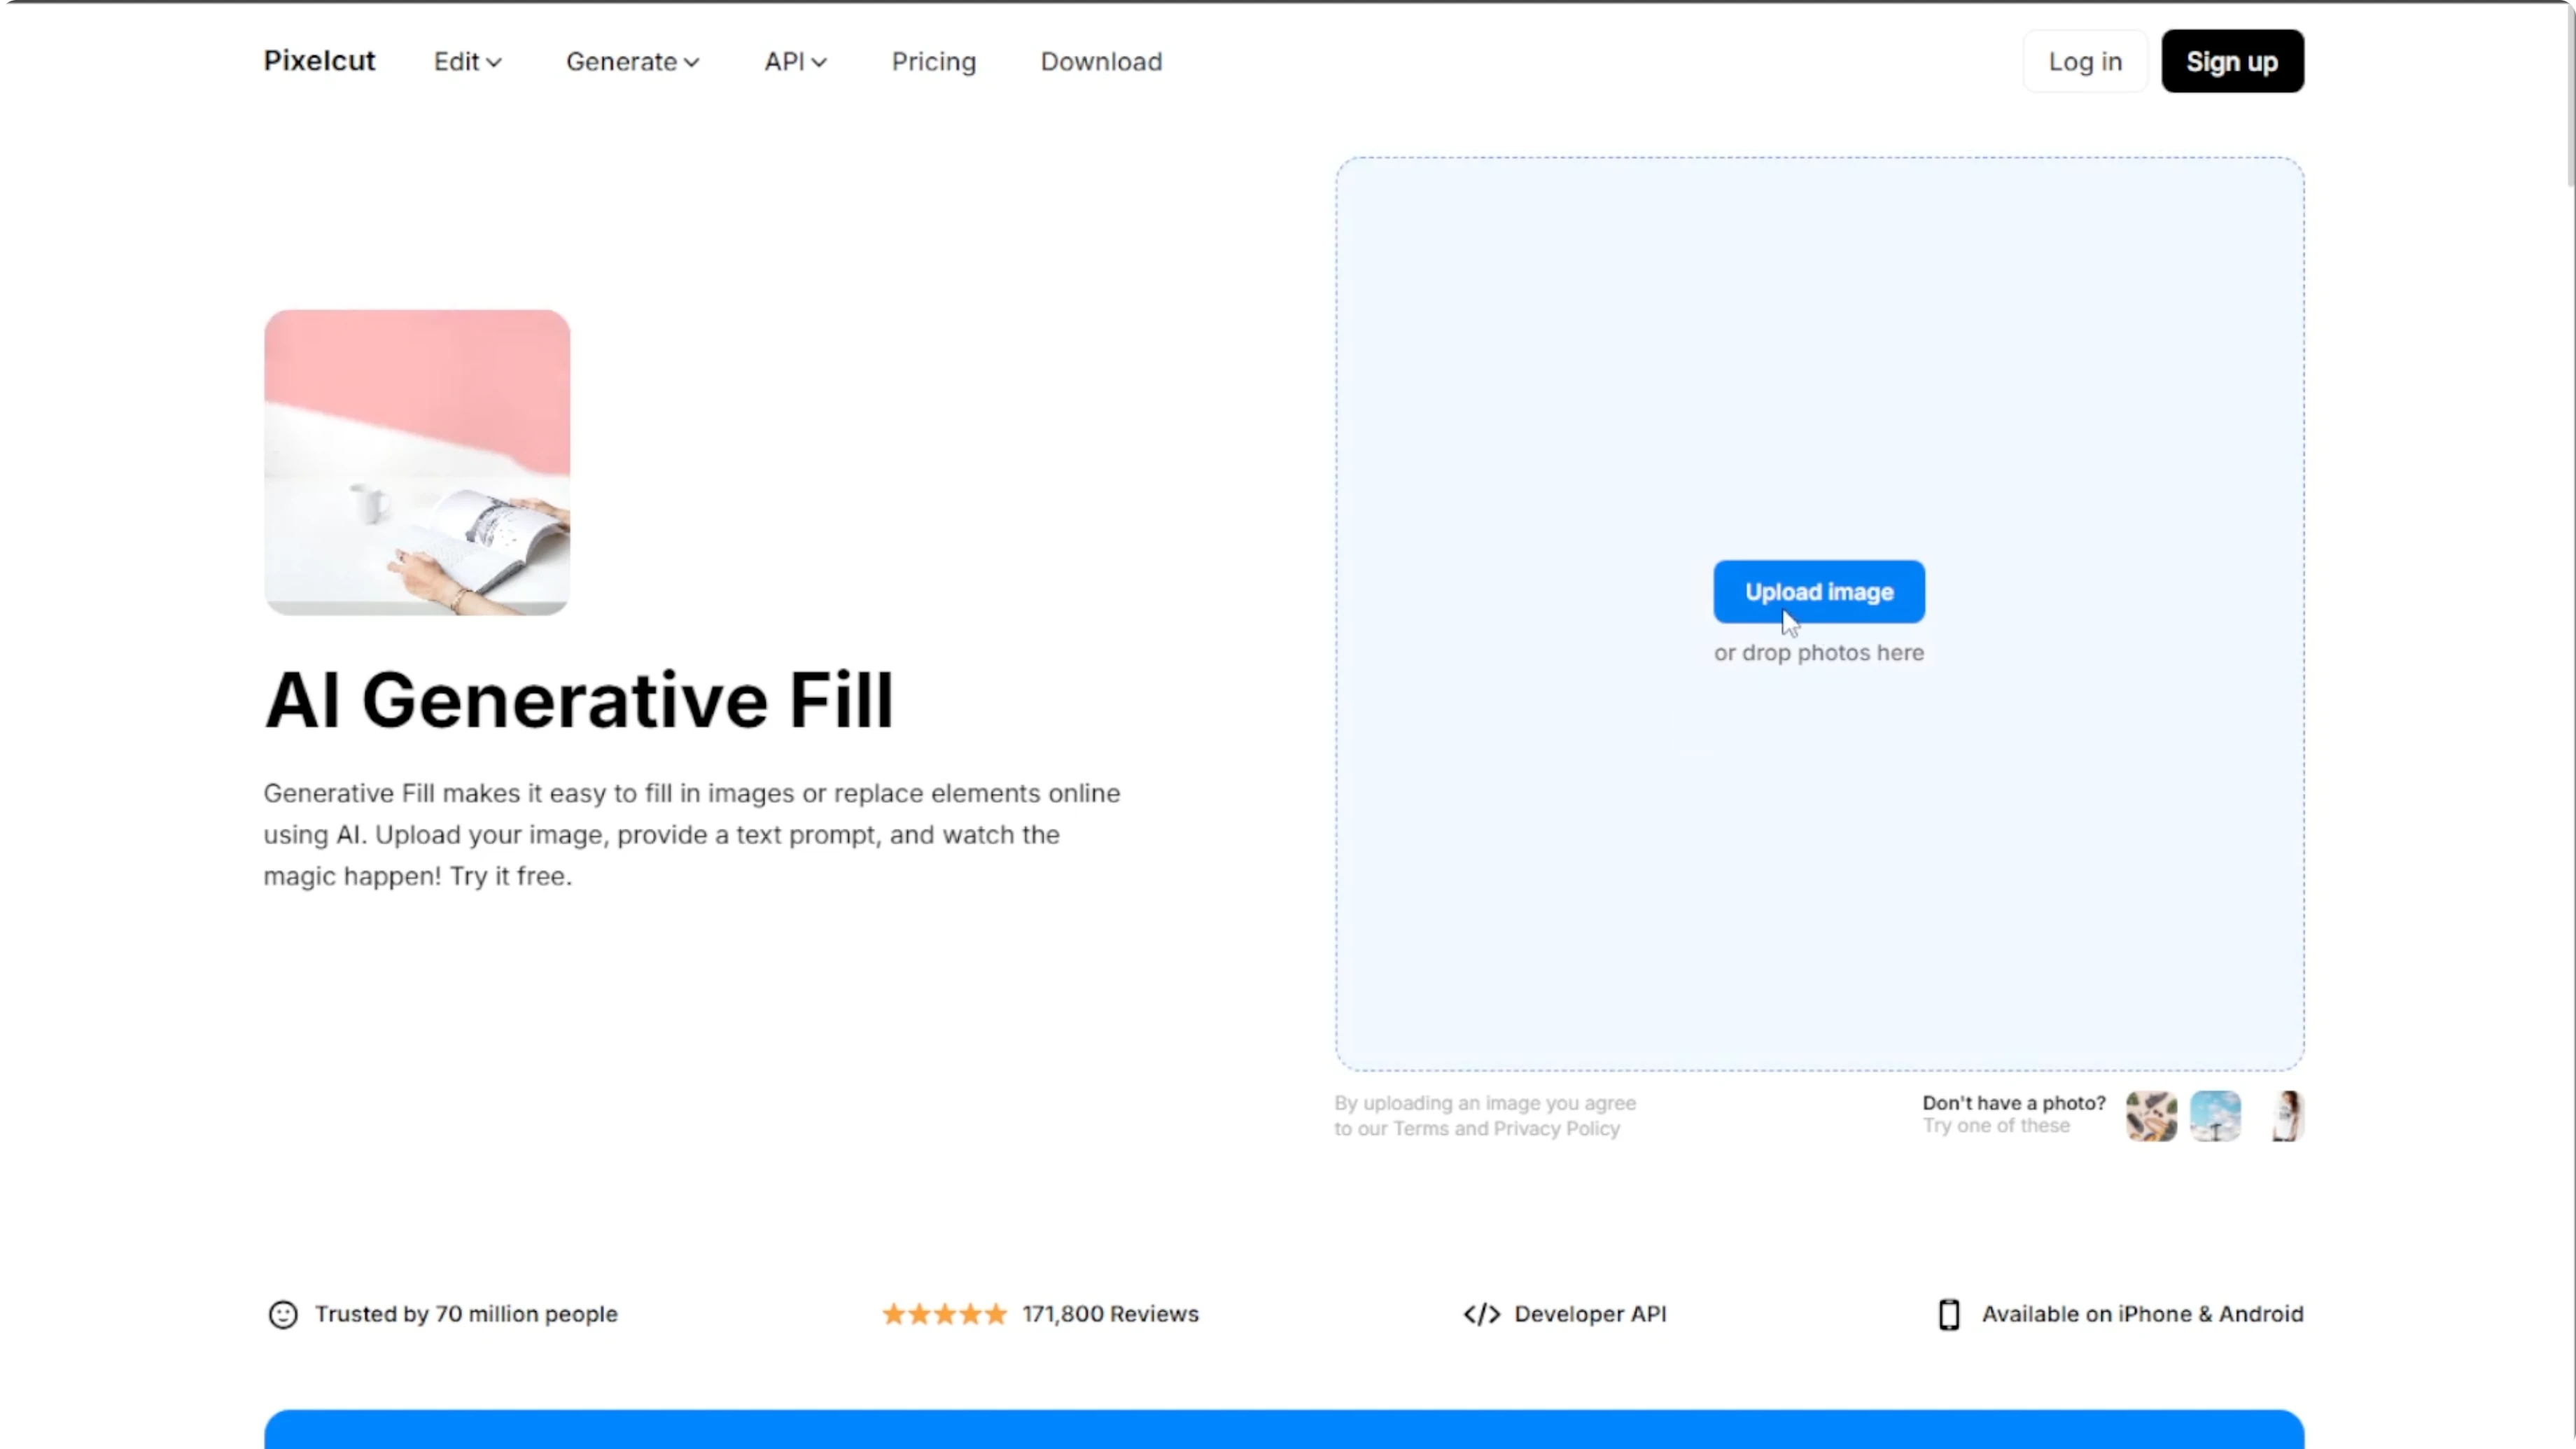
Get started
Open your browser and head to Pixelcut Generative Fill. You can either upload your own image or select a free sample image provided on the site to test the tool.
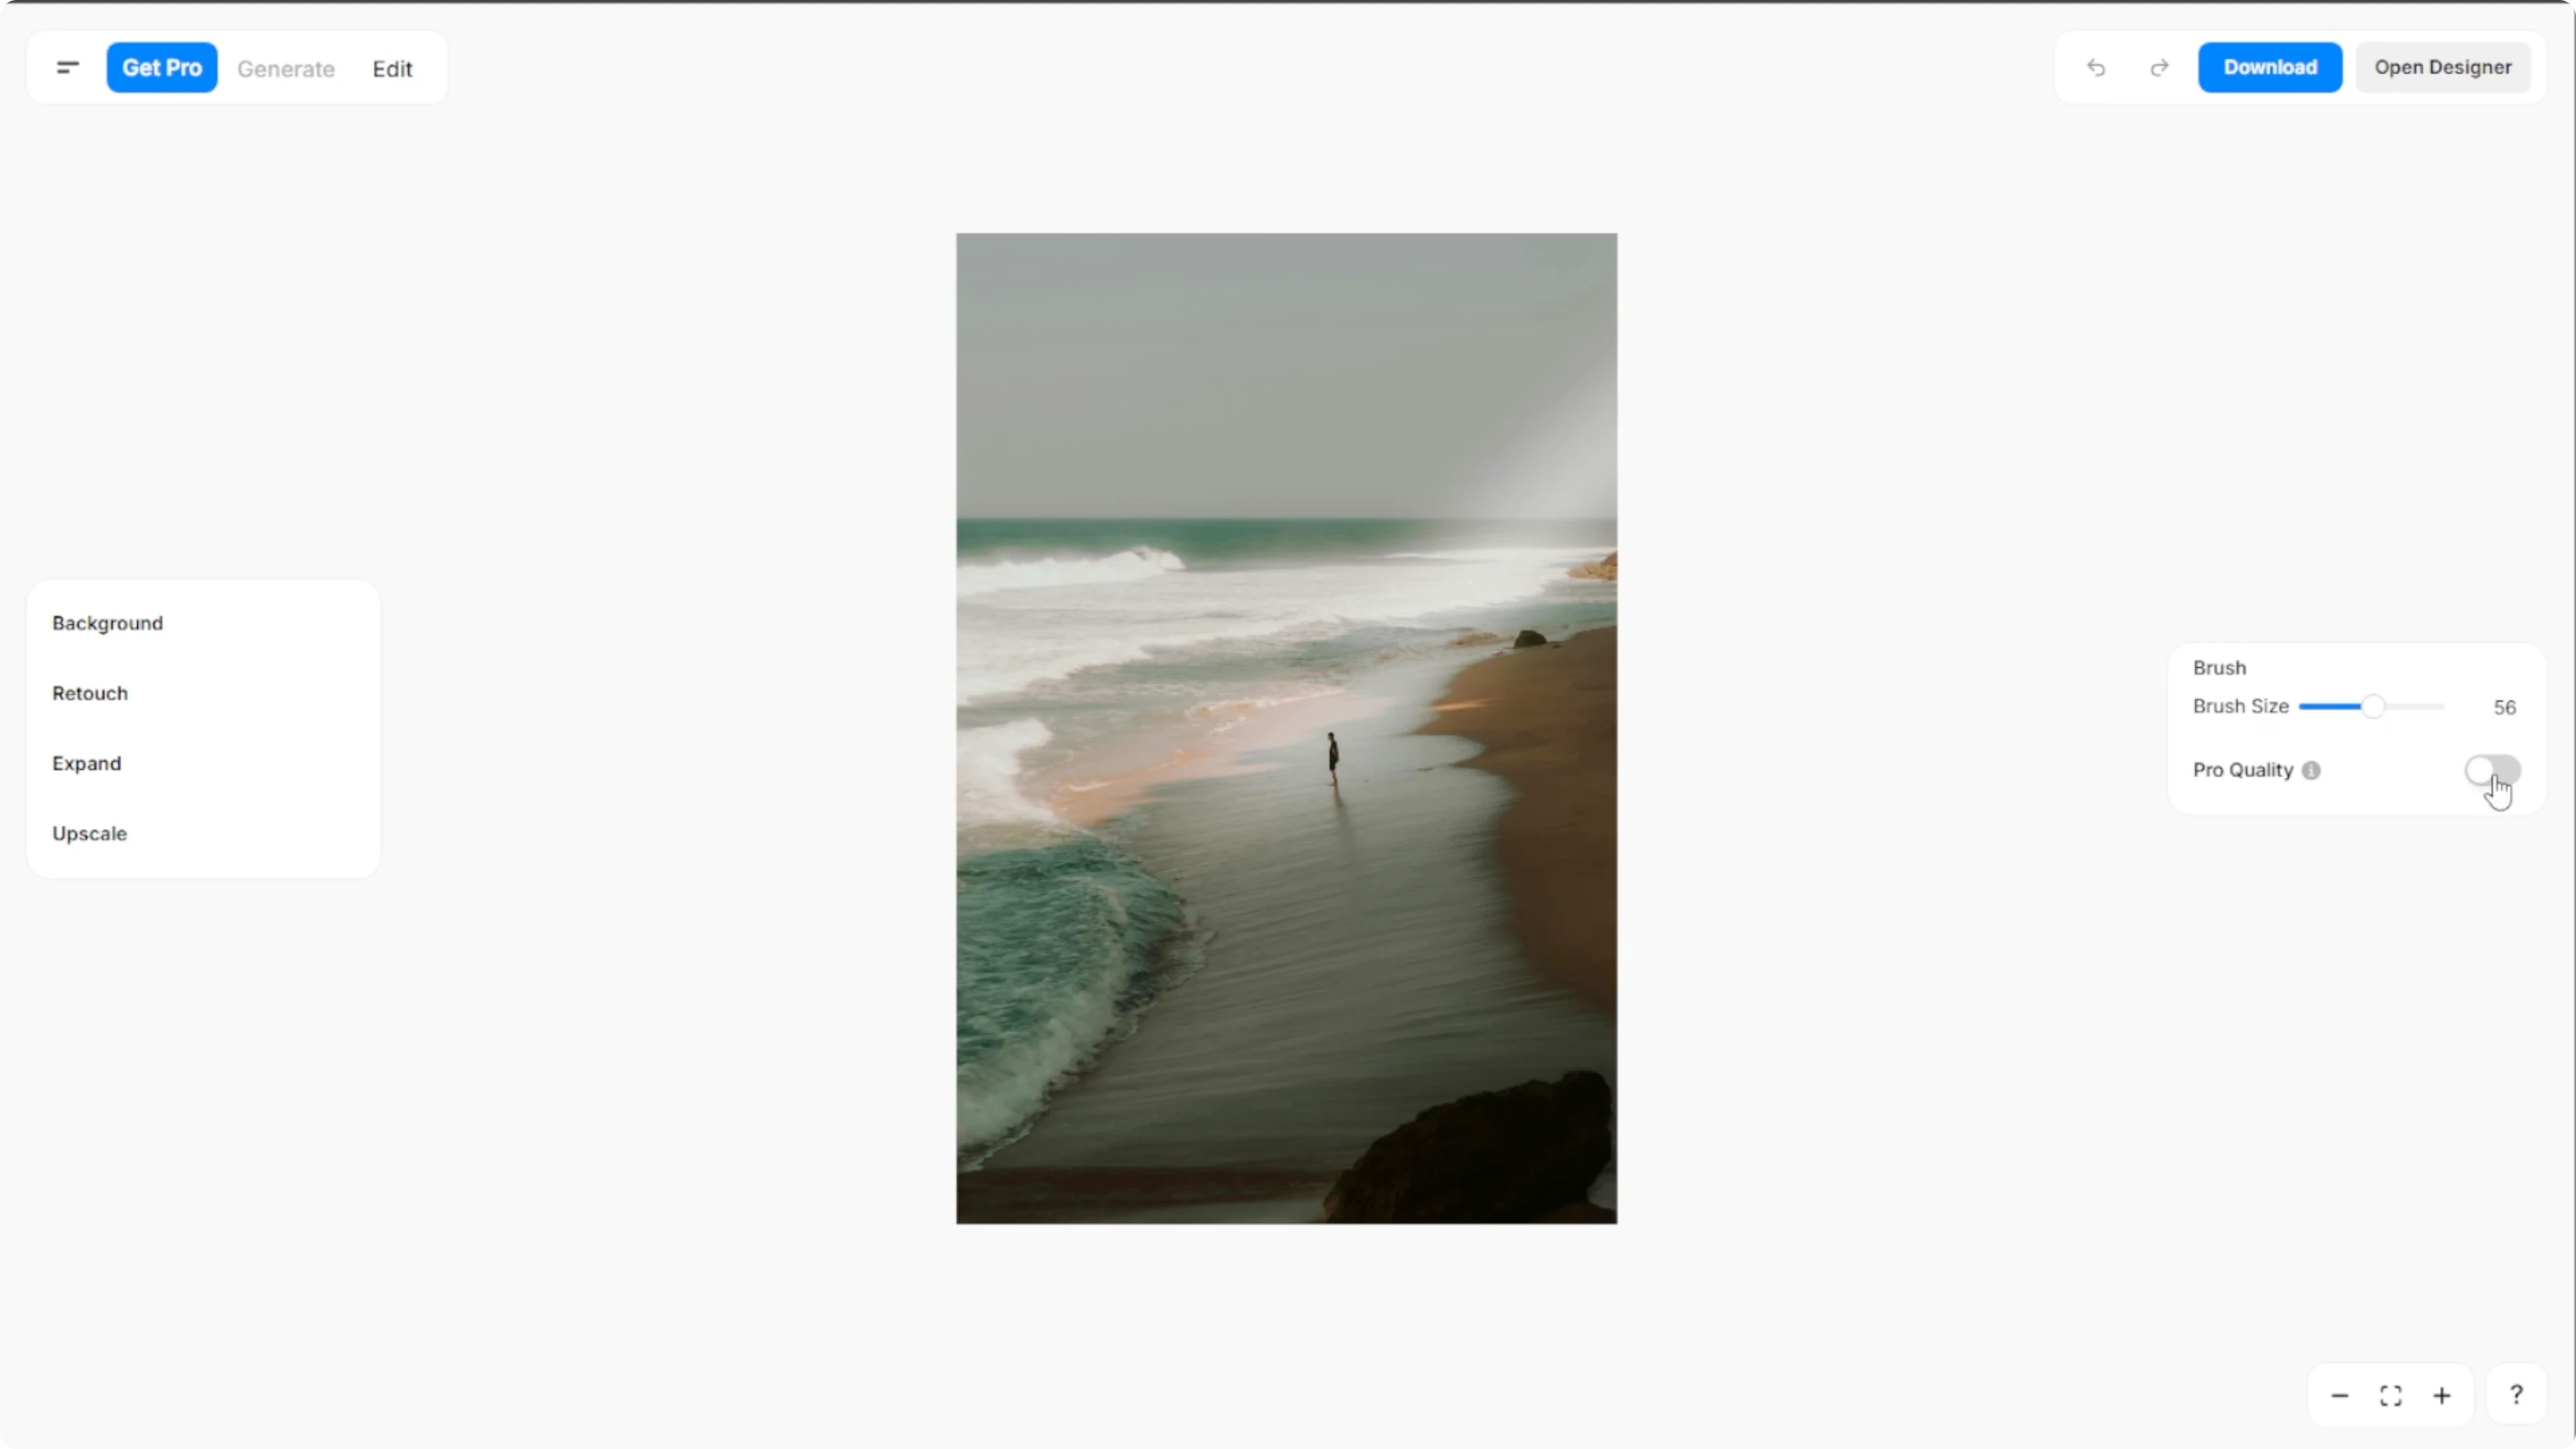
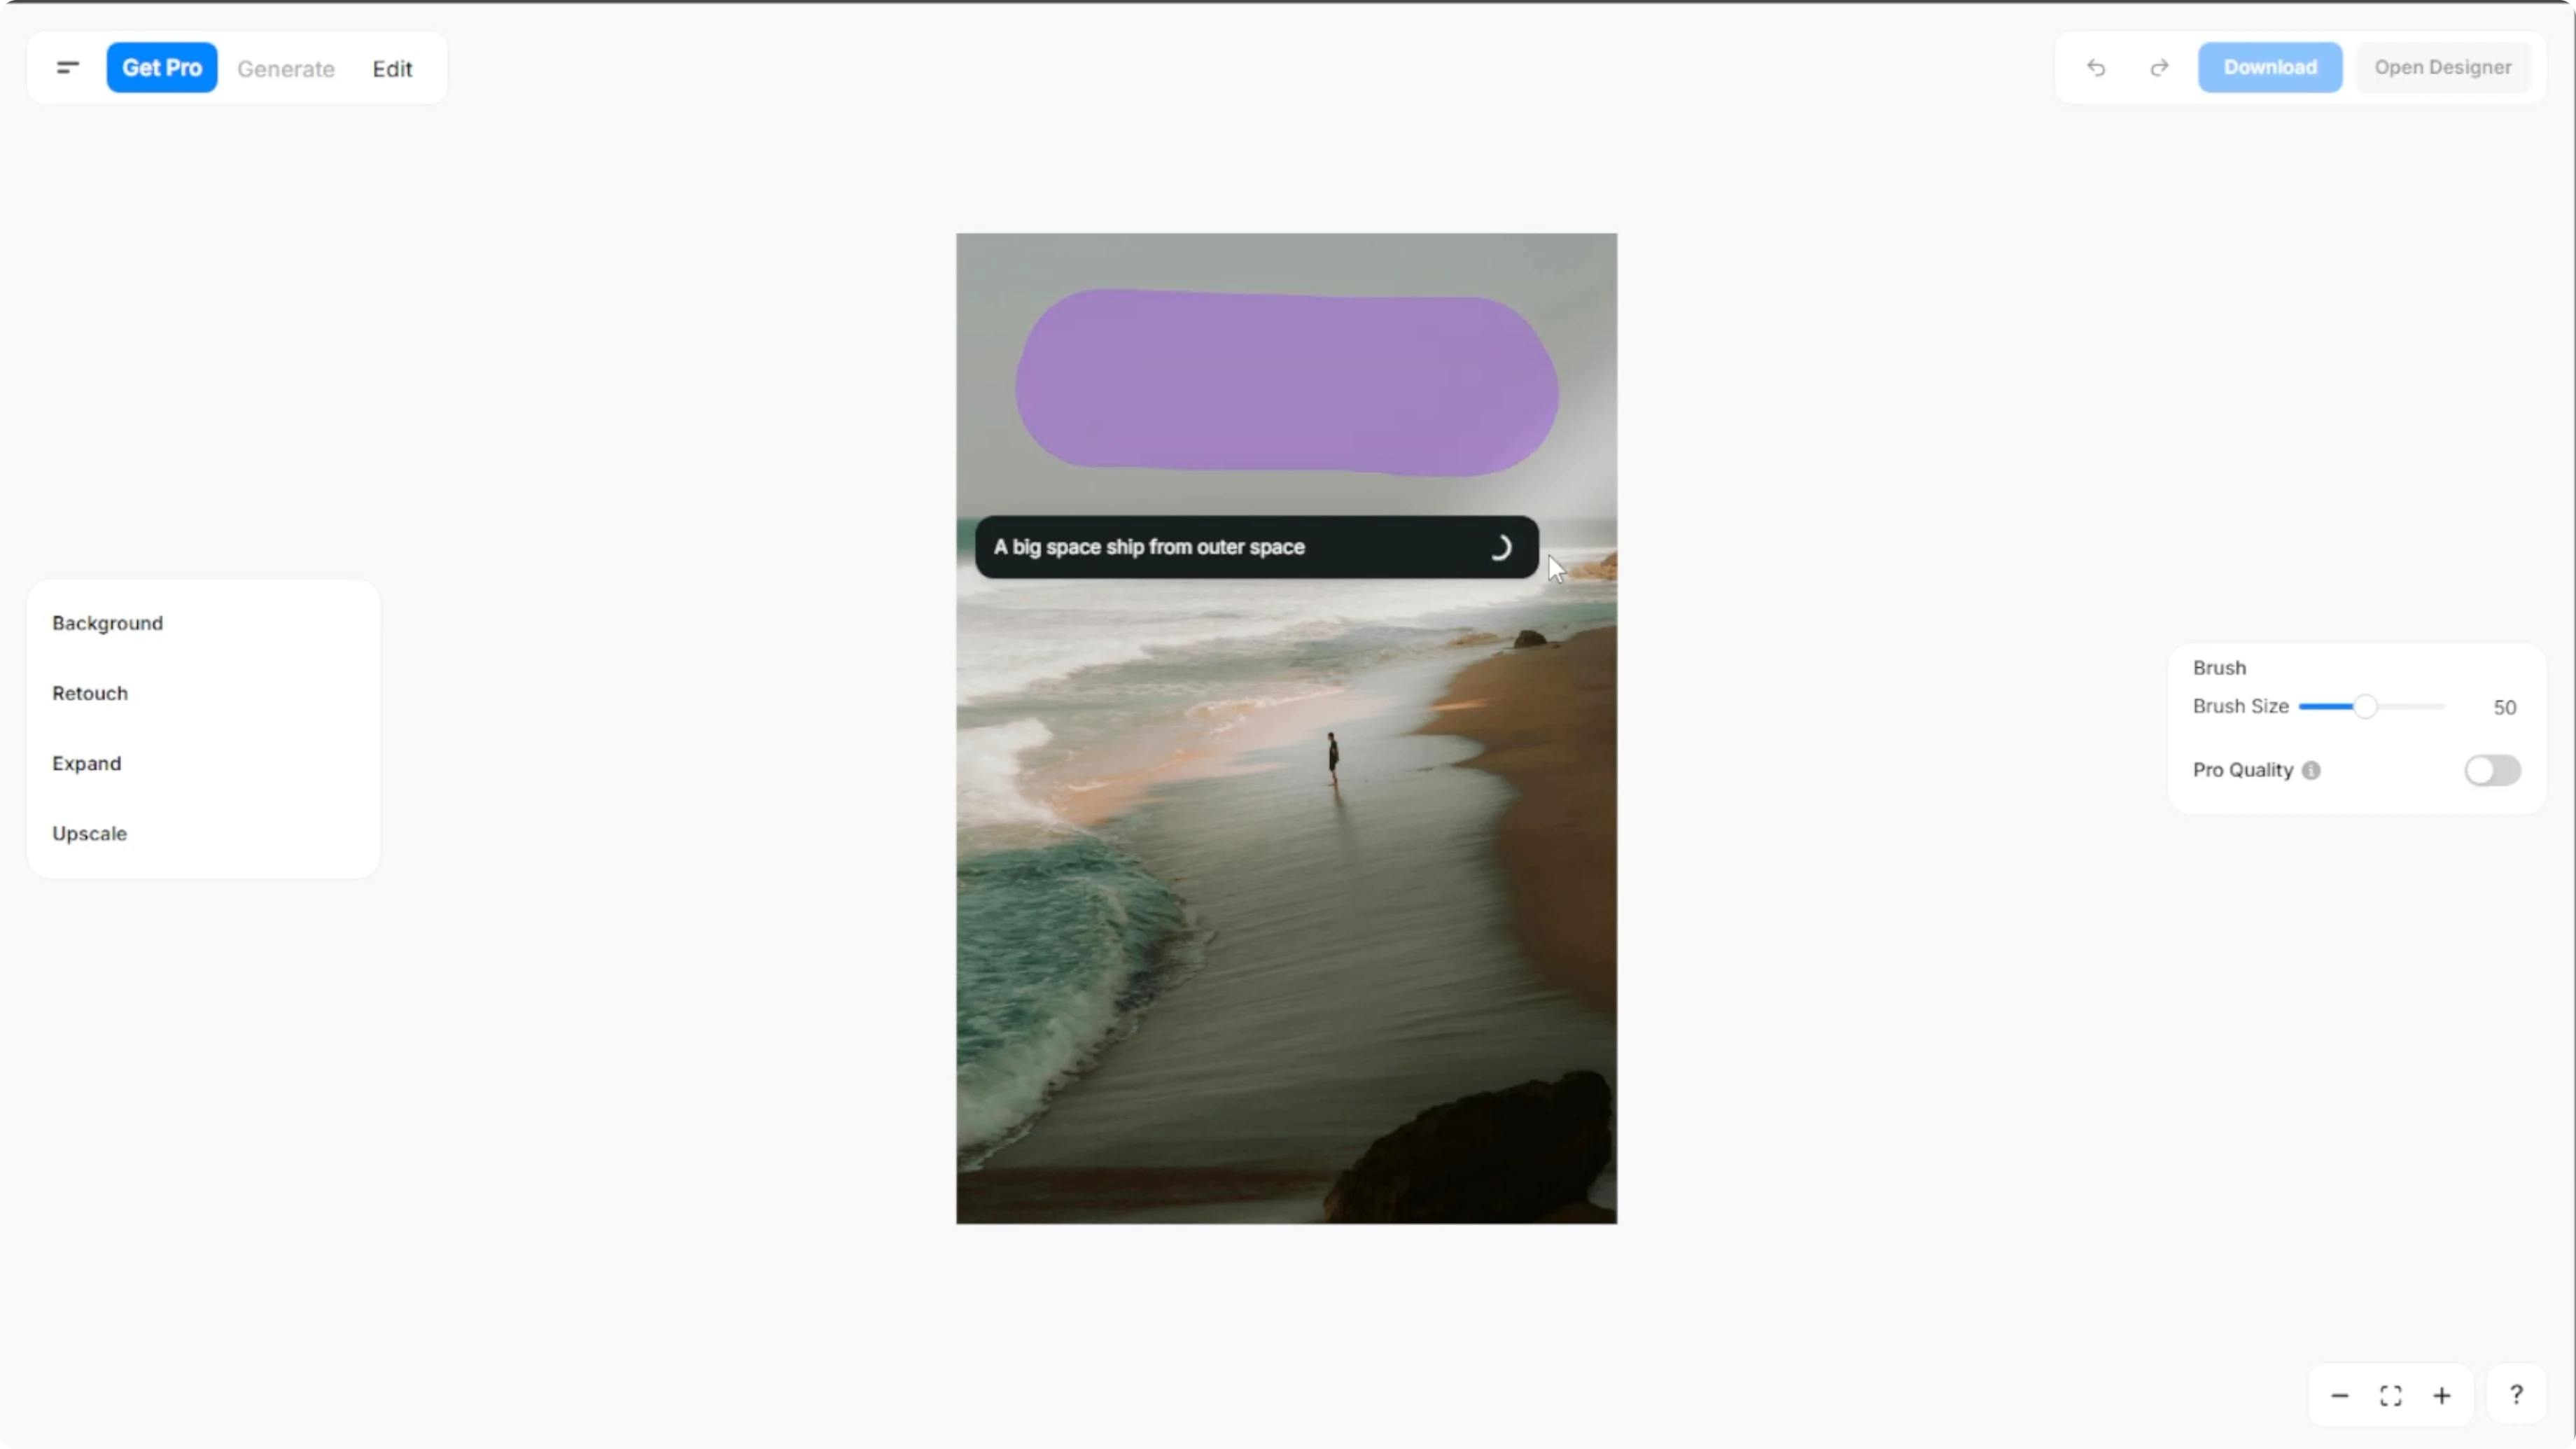
Brush and mask
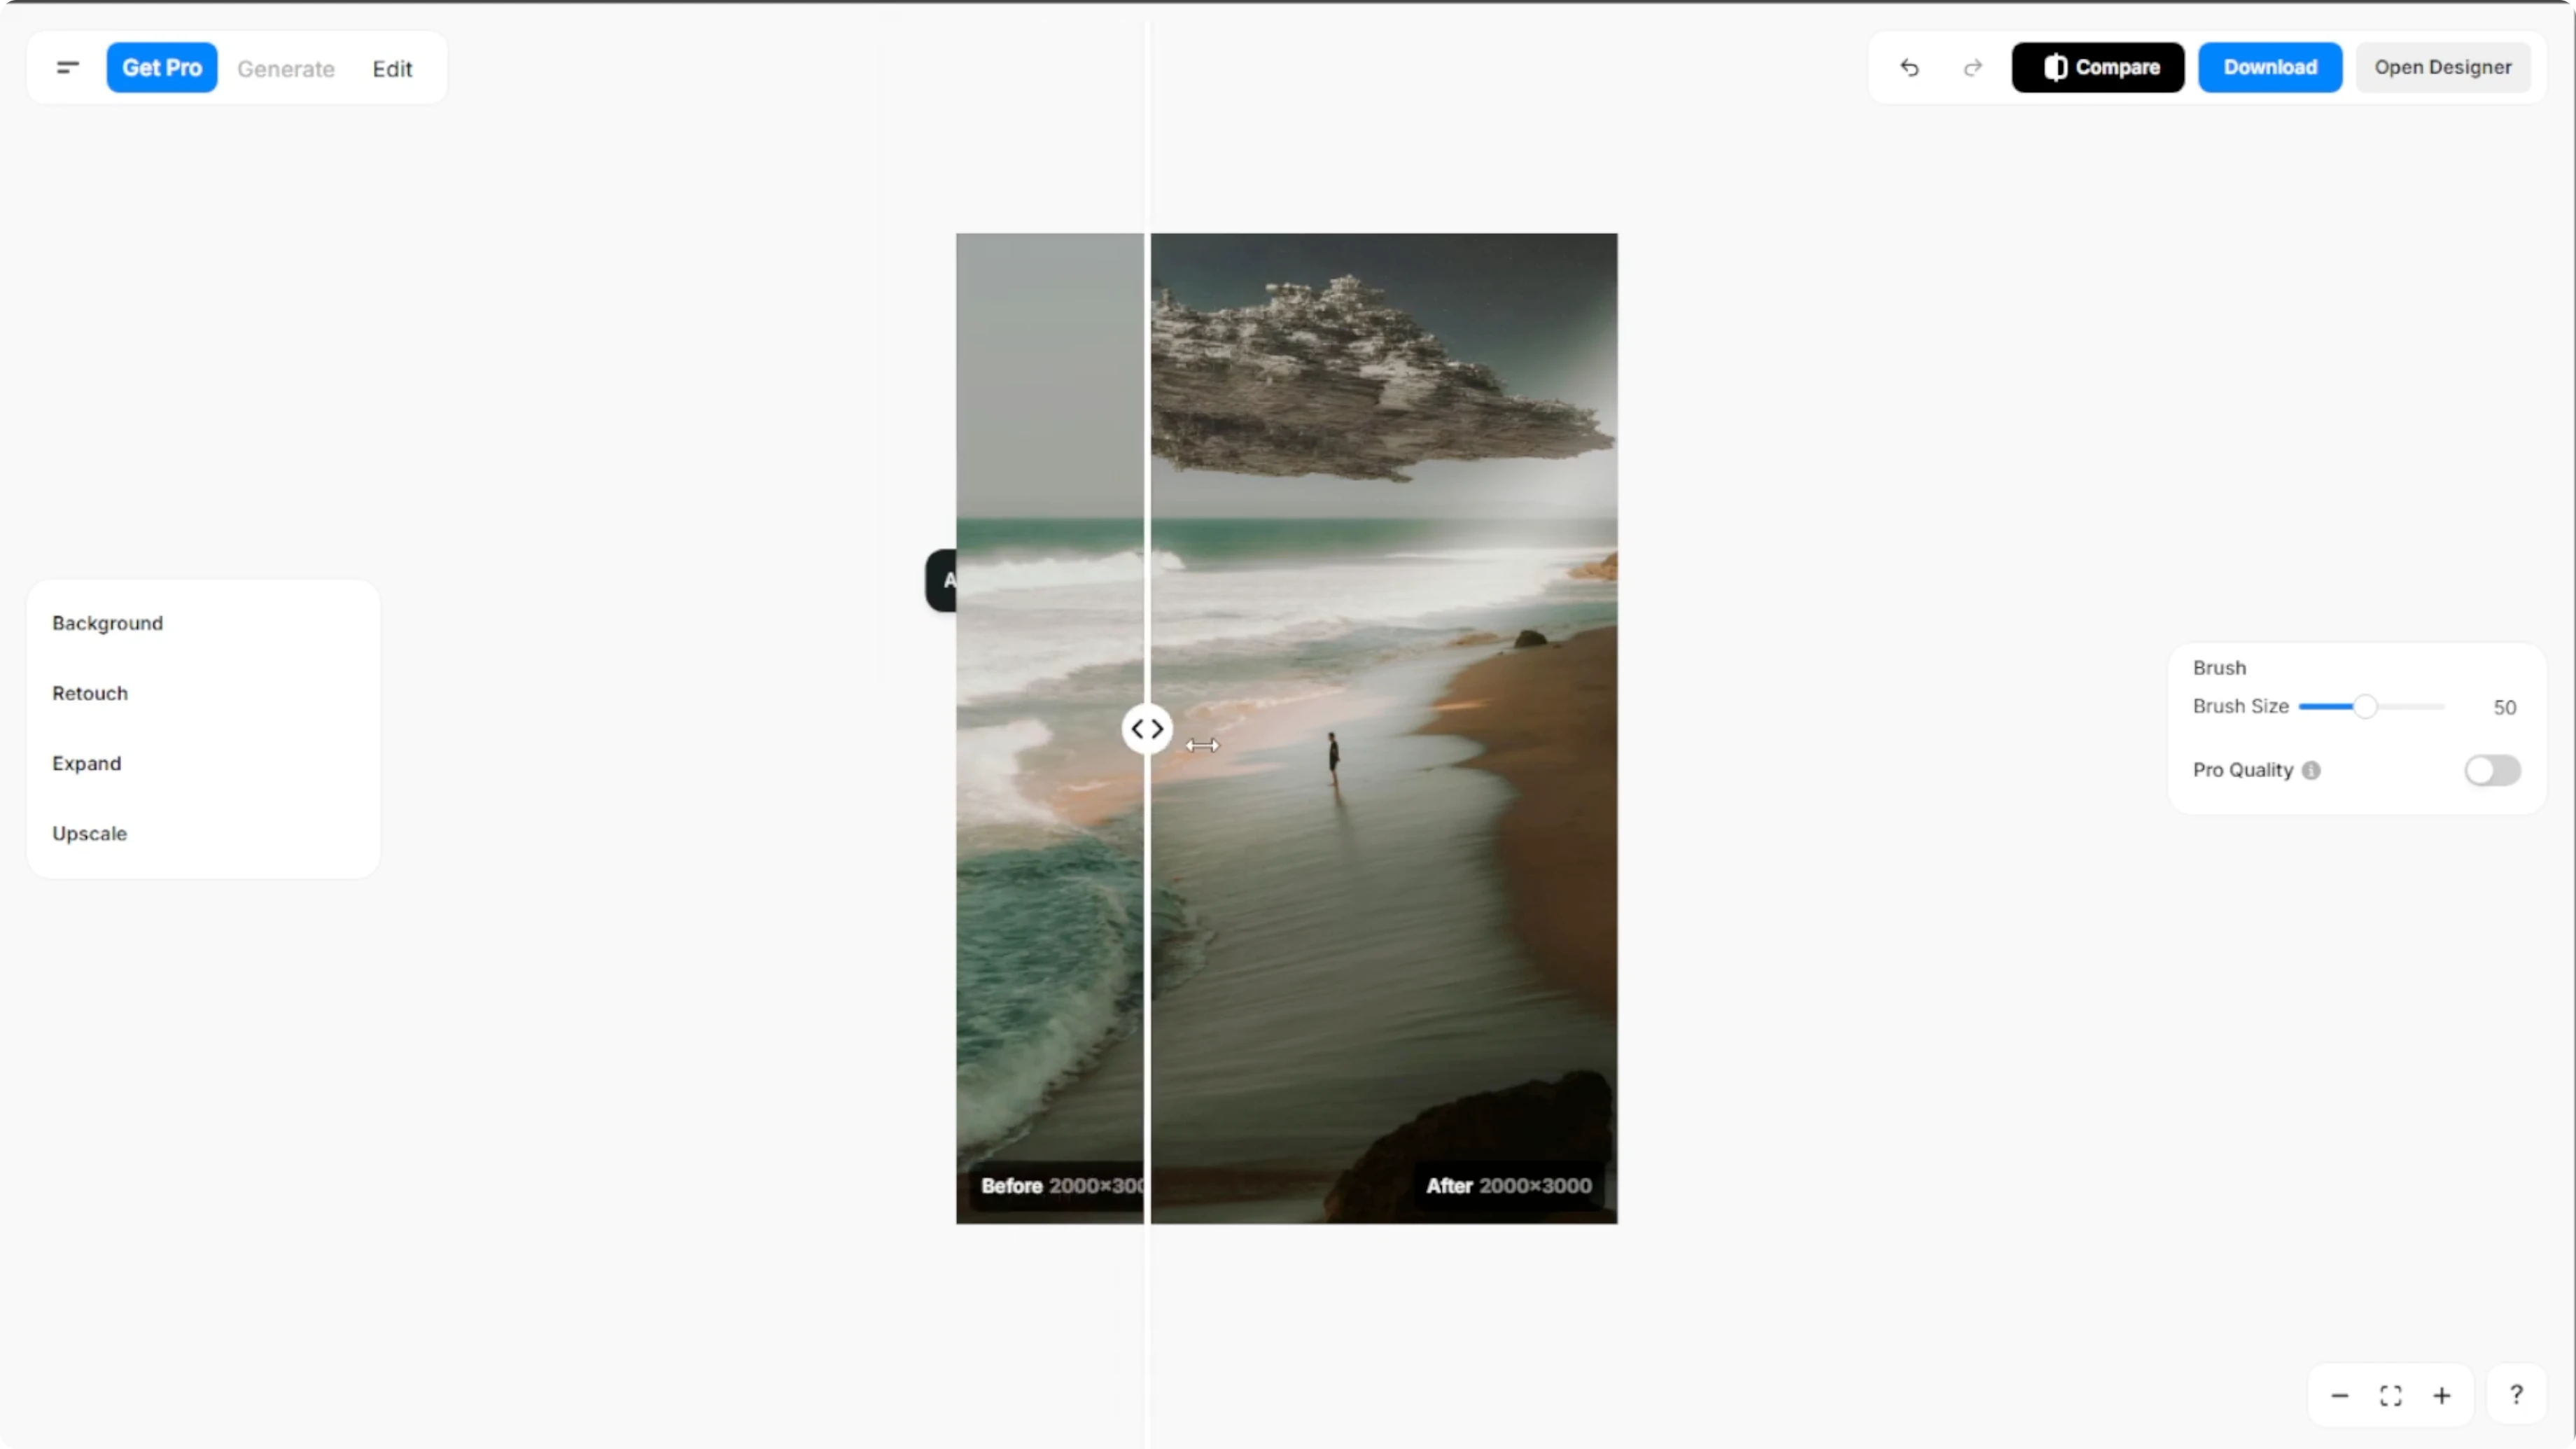
Use the brush tool to highlight the area where you want to add an object. Adjust the brush size using the slider on the right panel. You can also enable pro quality which uses AI to better erase subjects, but take note that pro quality is for pro subscribers only.


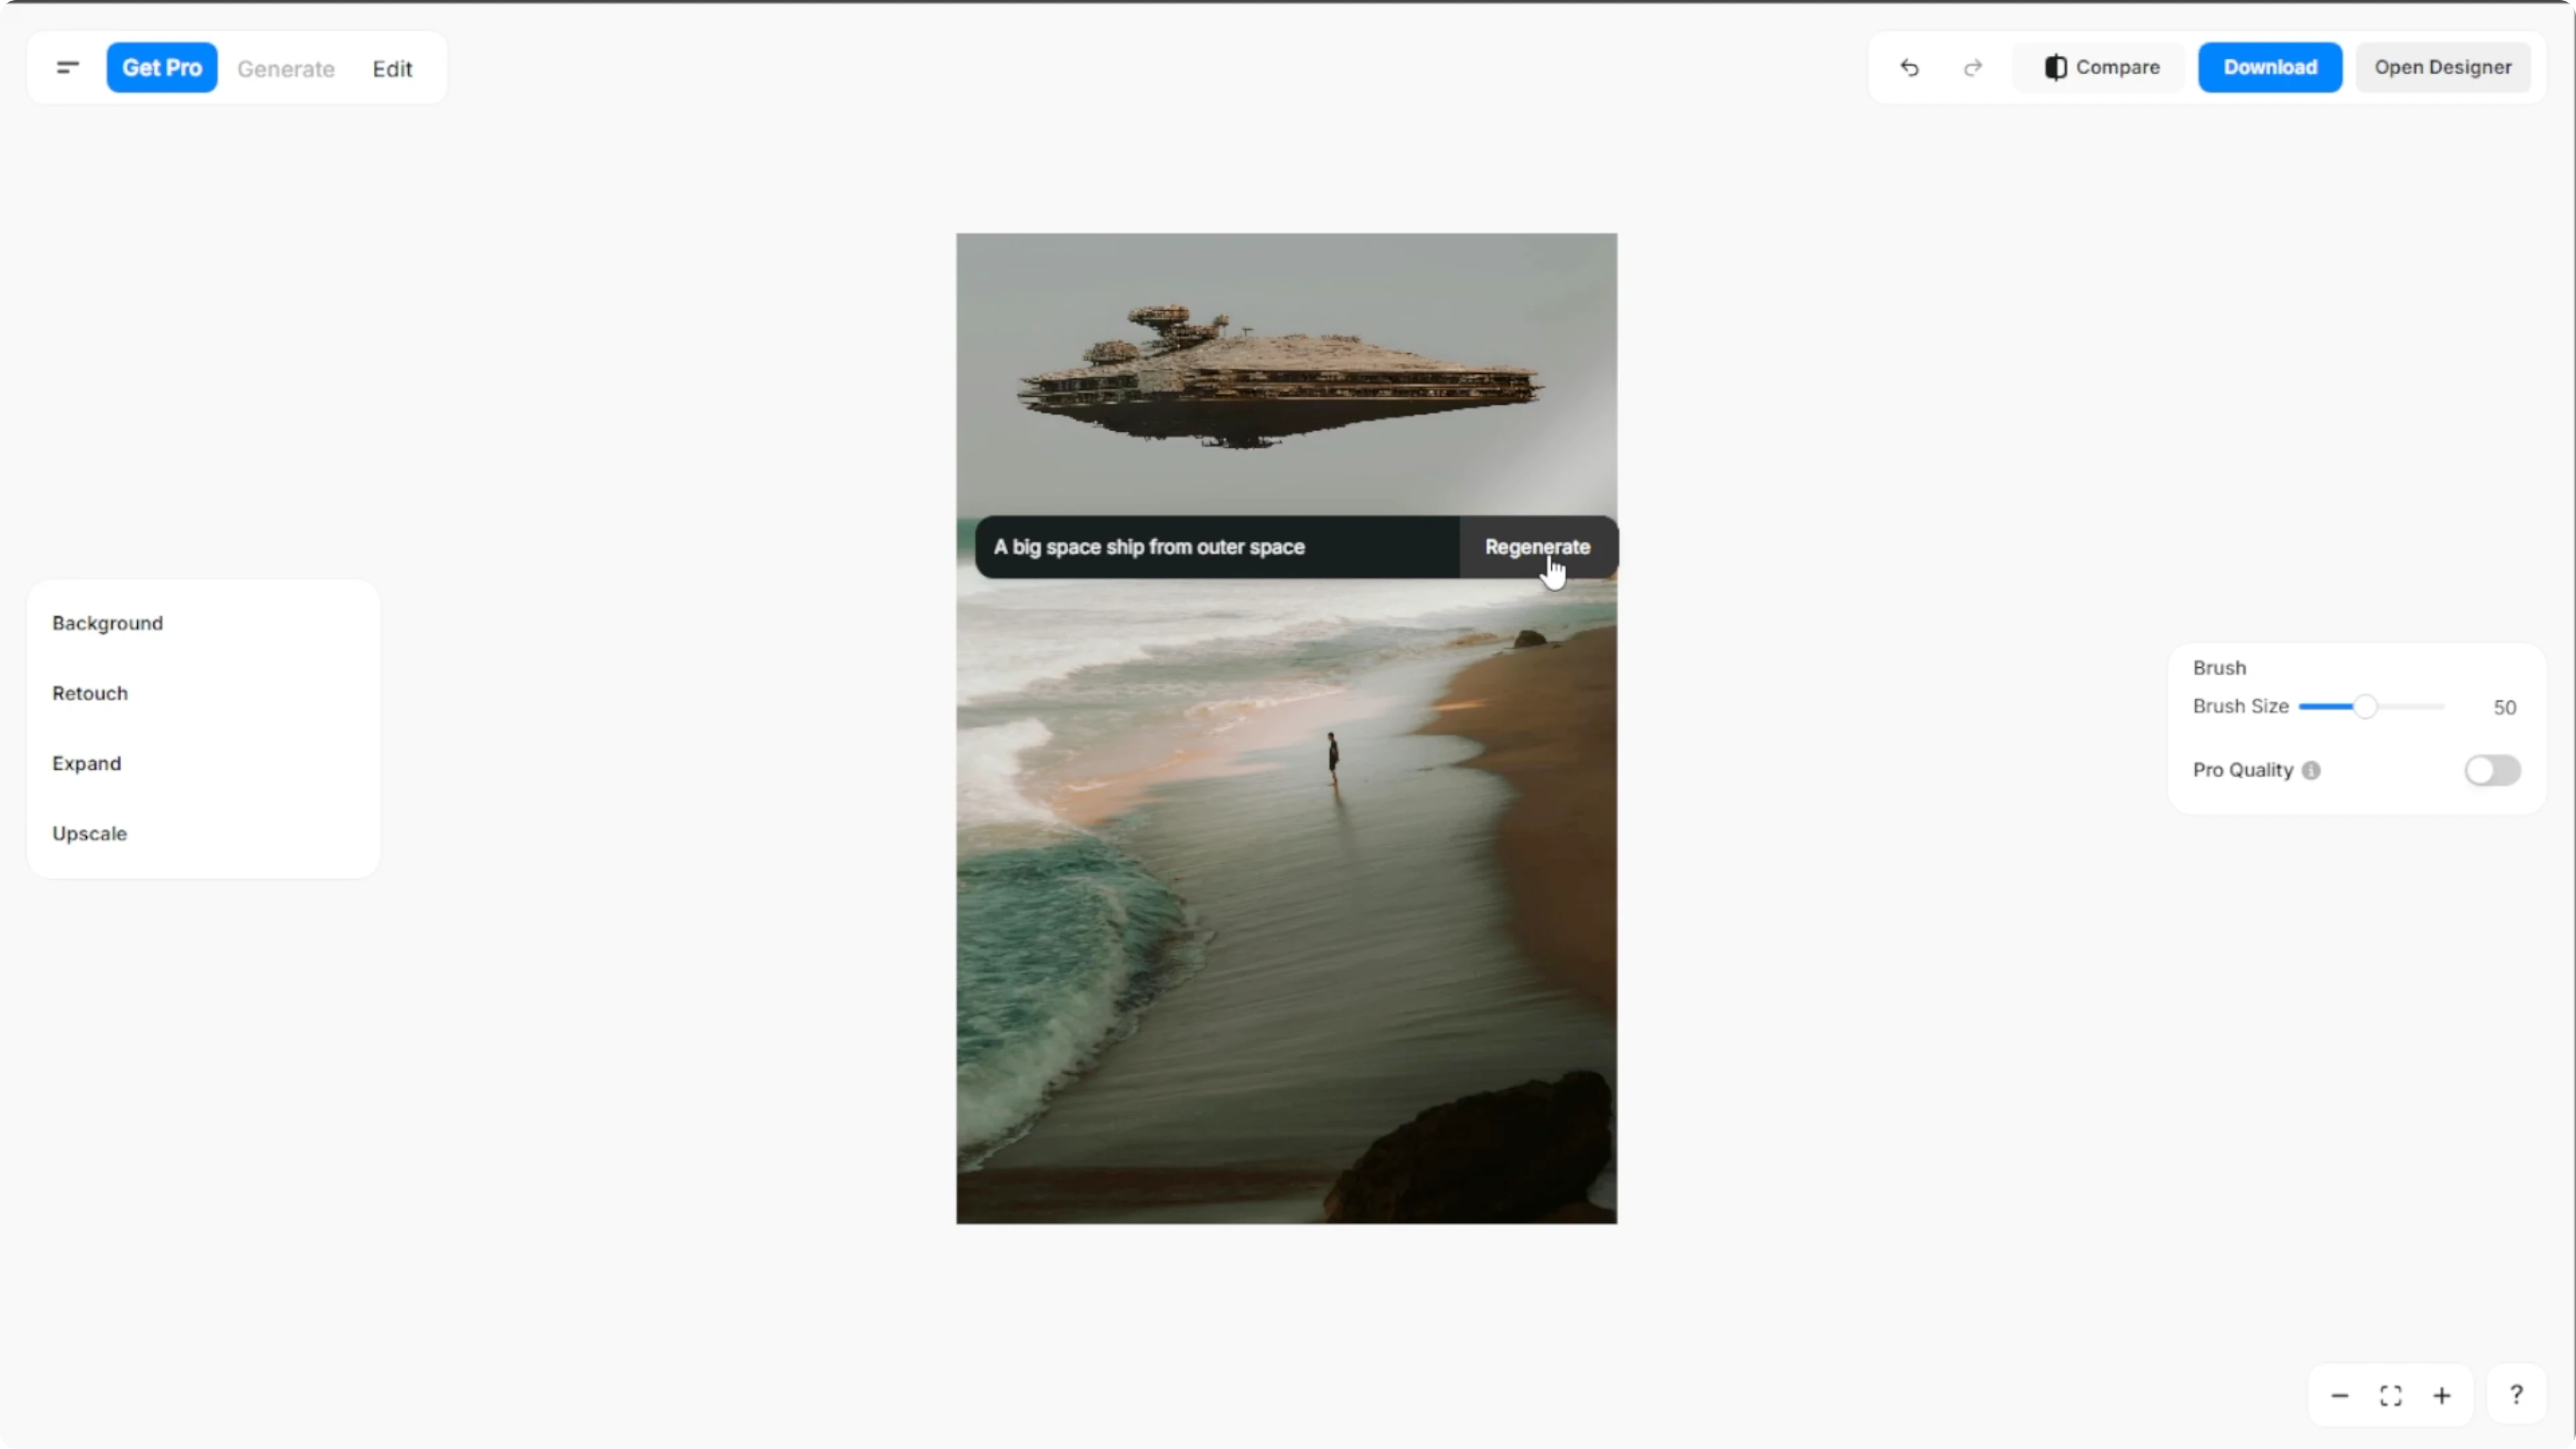
Prompt and generate
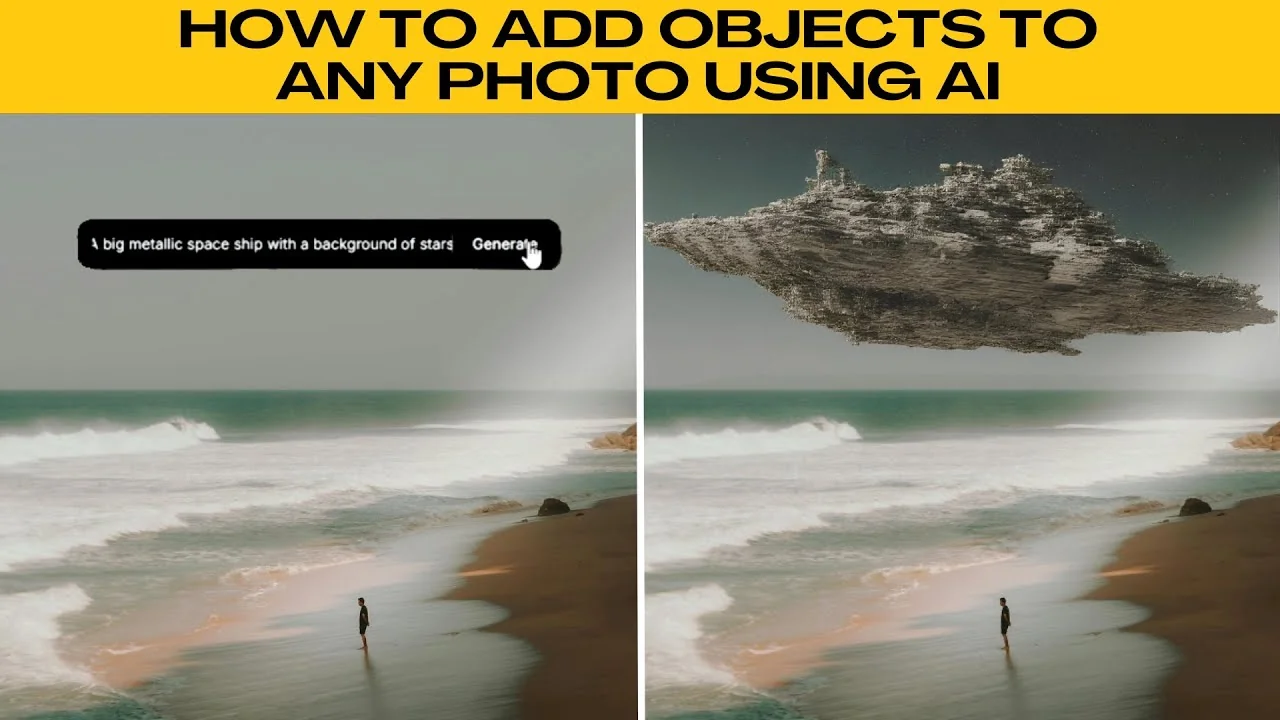
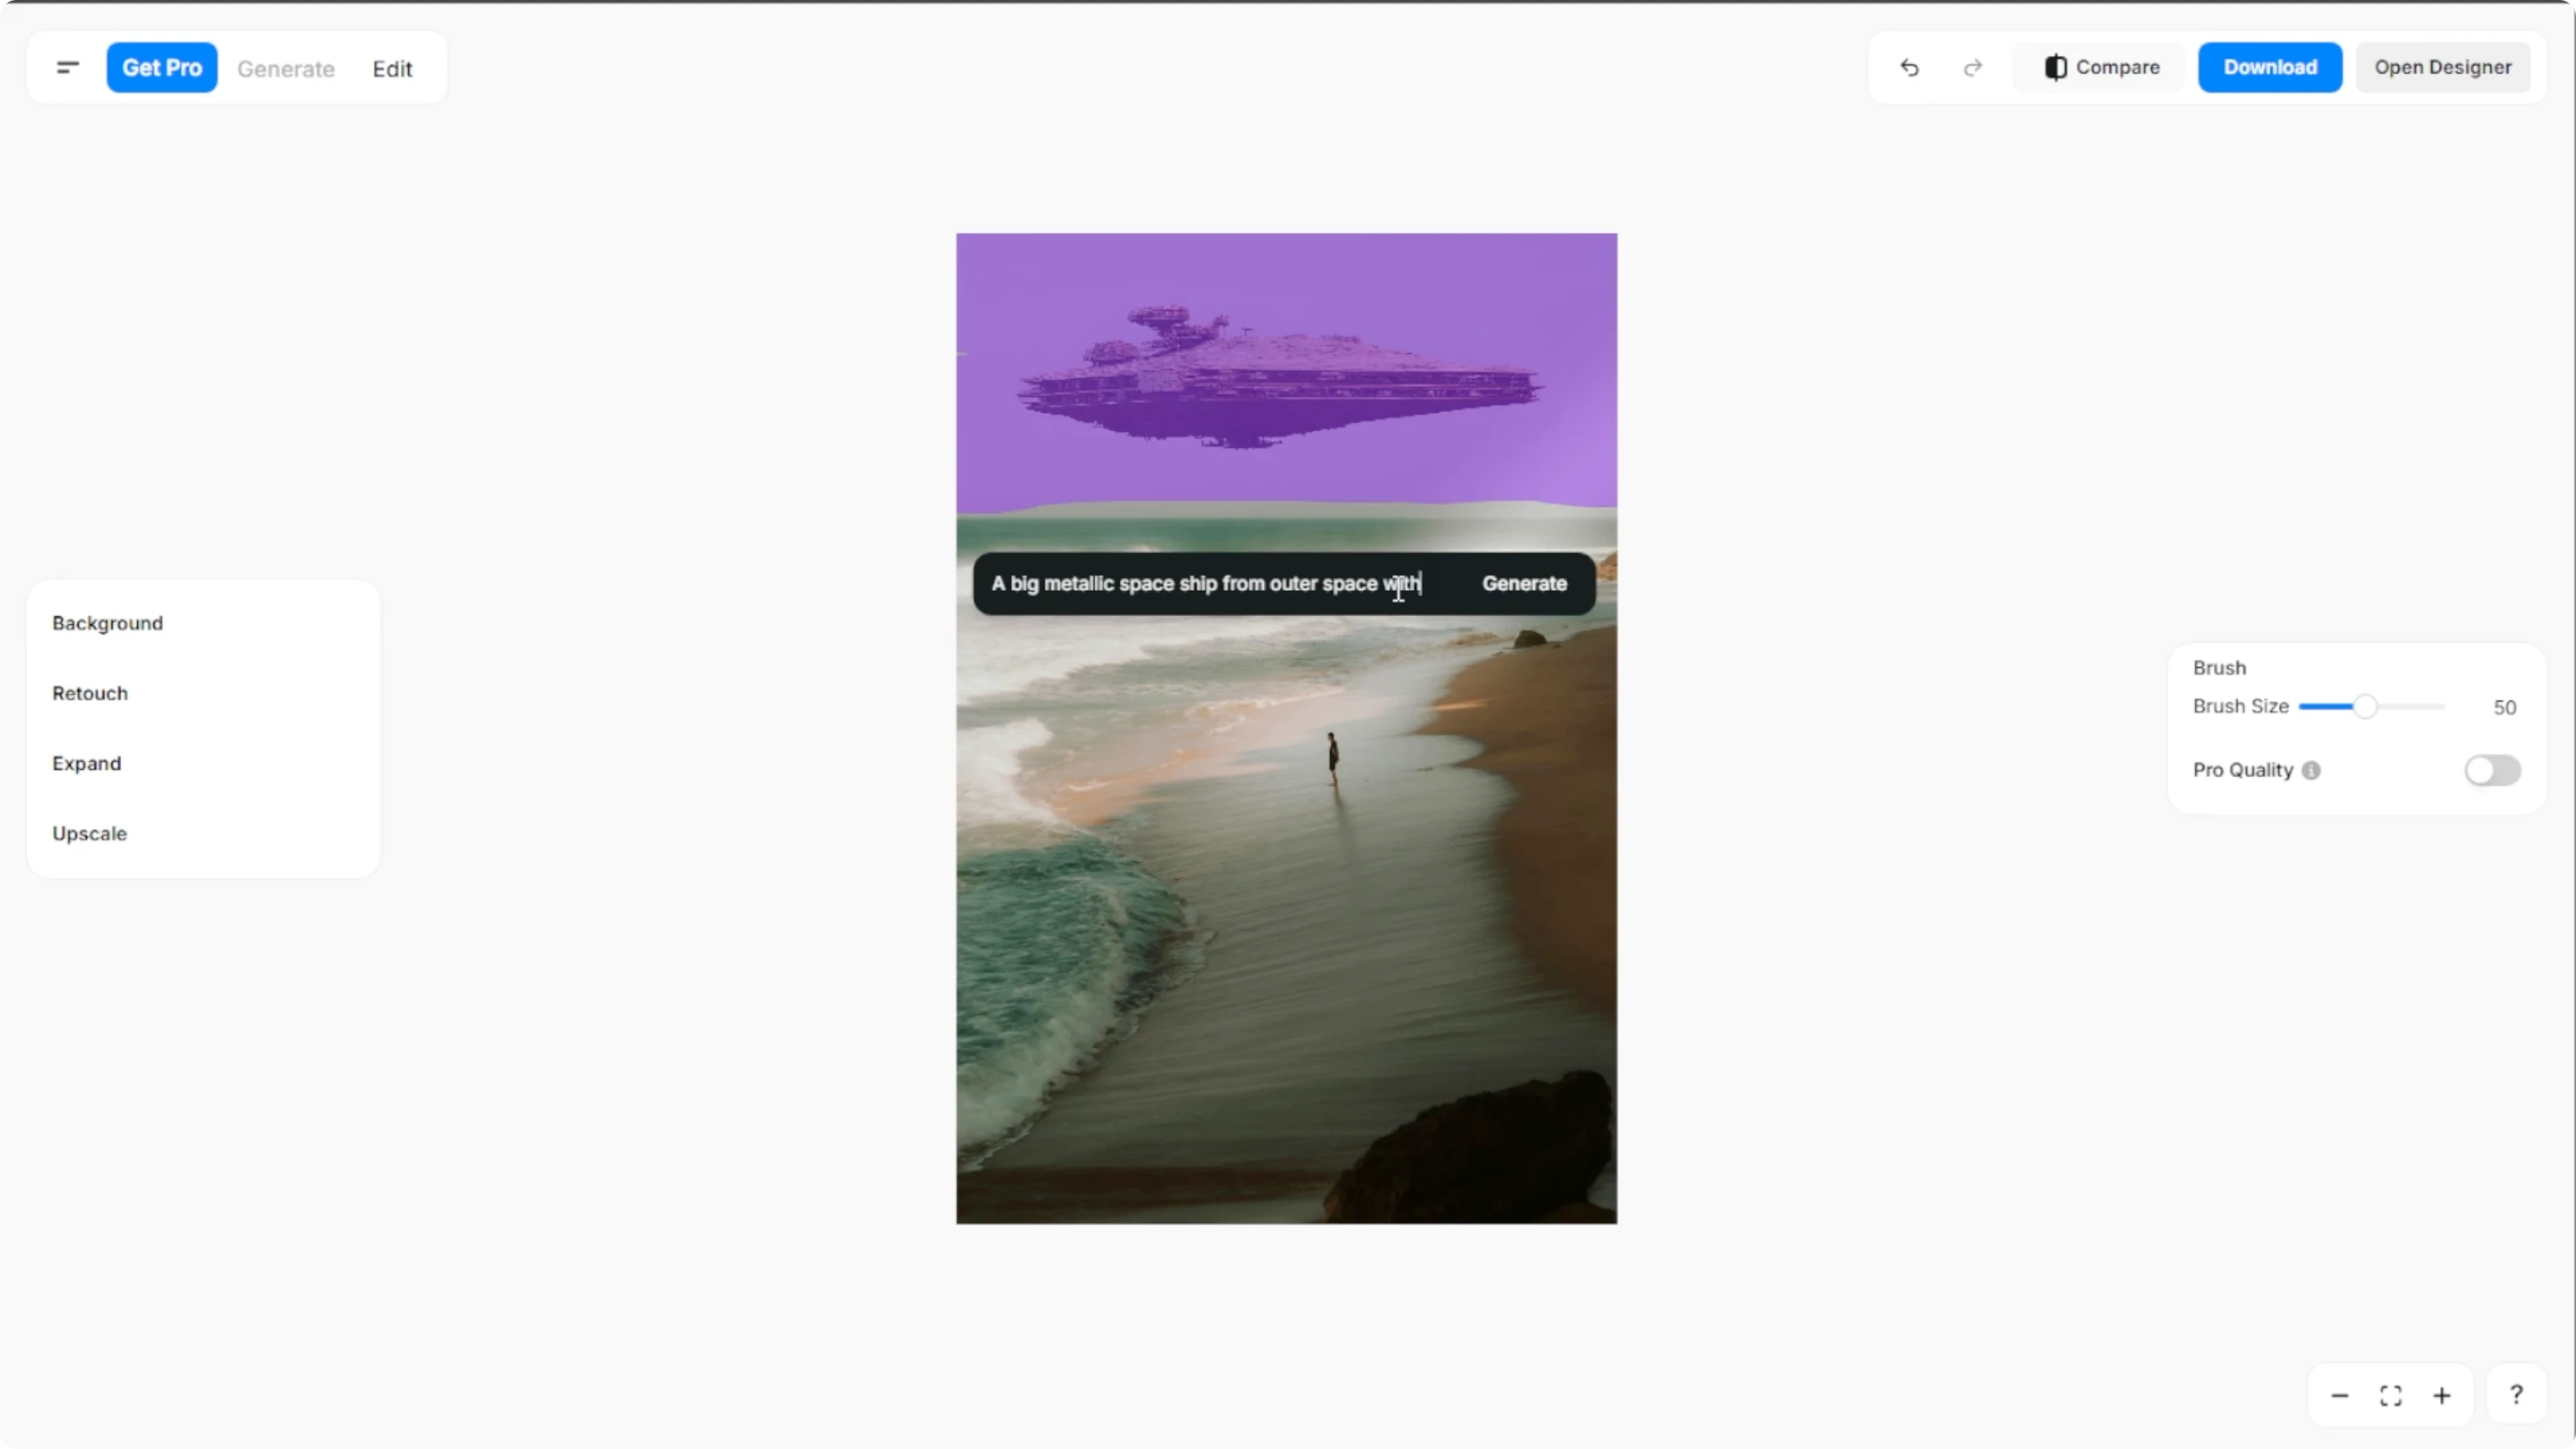
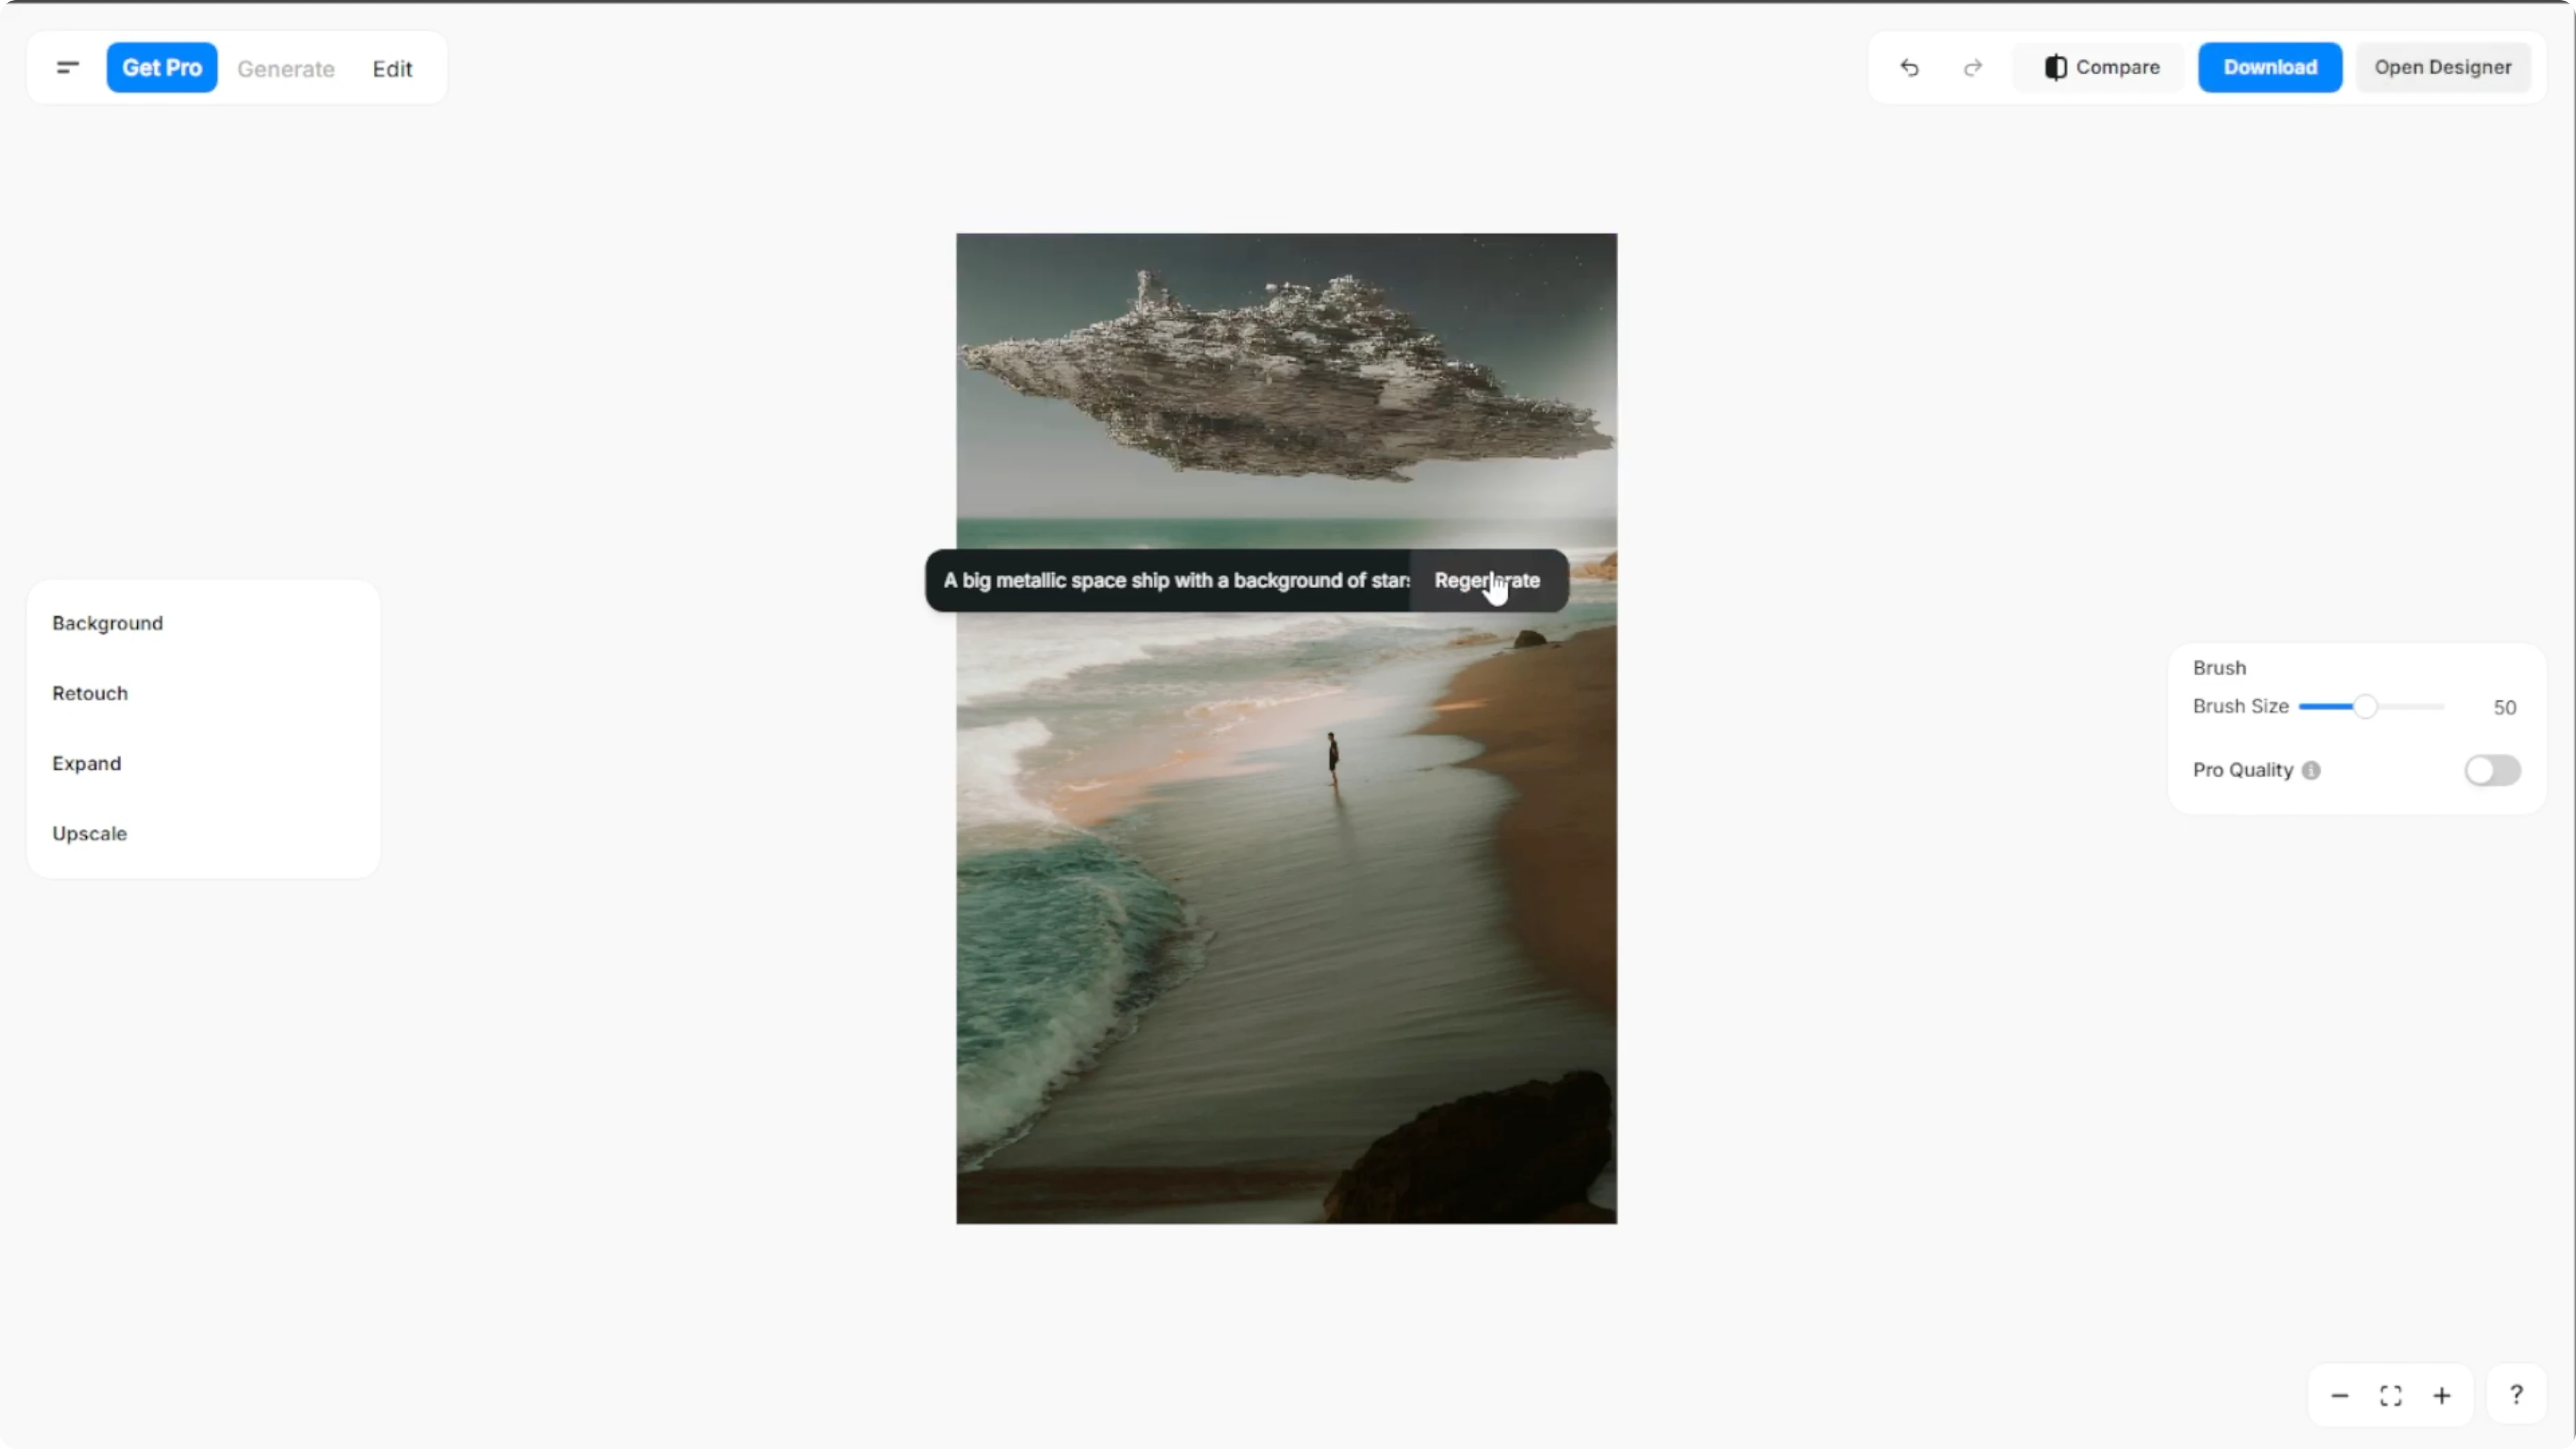
In the text box, type a specific prompt describing the object or scene that you want to generate. Be clear and creative.
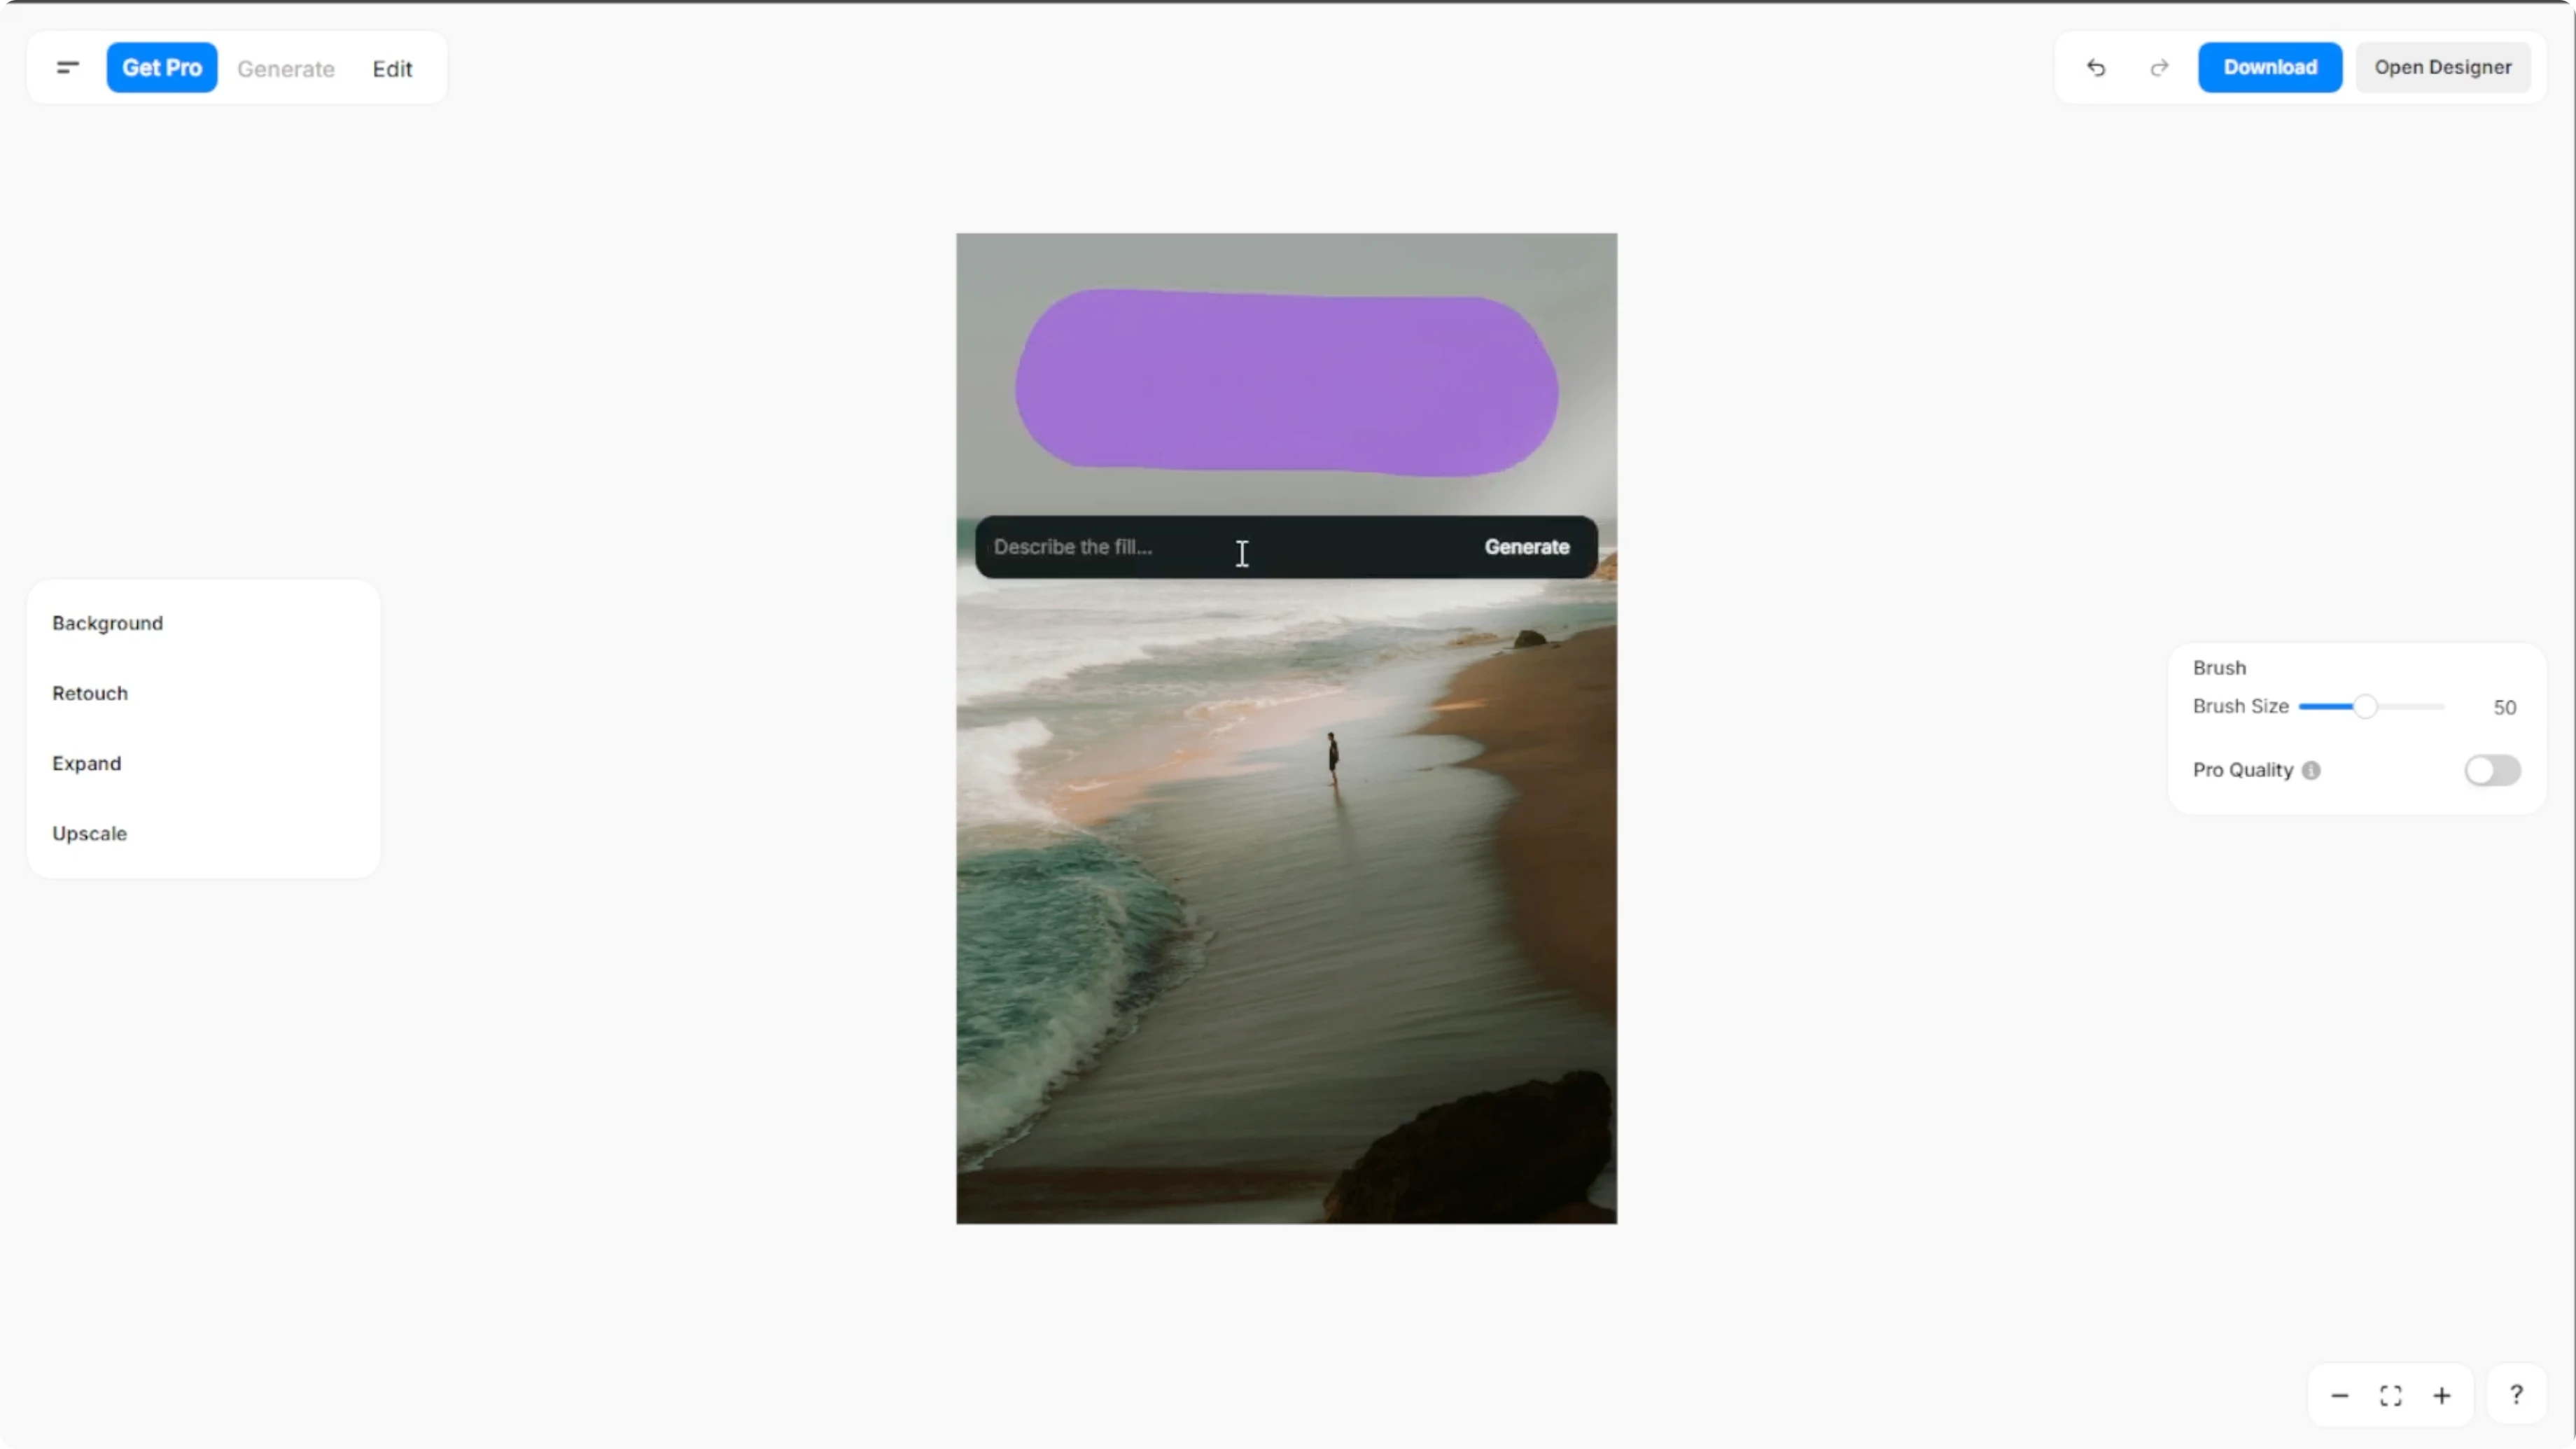
Hit the generate button and let the AI add your object. If it is not quite right, edit your prompt and click regenerate to try again. You can only regenerate up to three times for free.
Add a red bicycle leaning against the wall, soft shadow on the ground
Place a golden retriever puppy sitting on the grass, sunlight from the left
Put a steaming cup of coffee on the wooden table, matching perspective
More edits
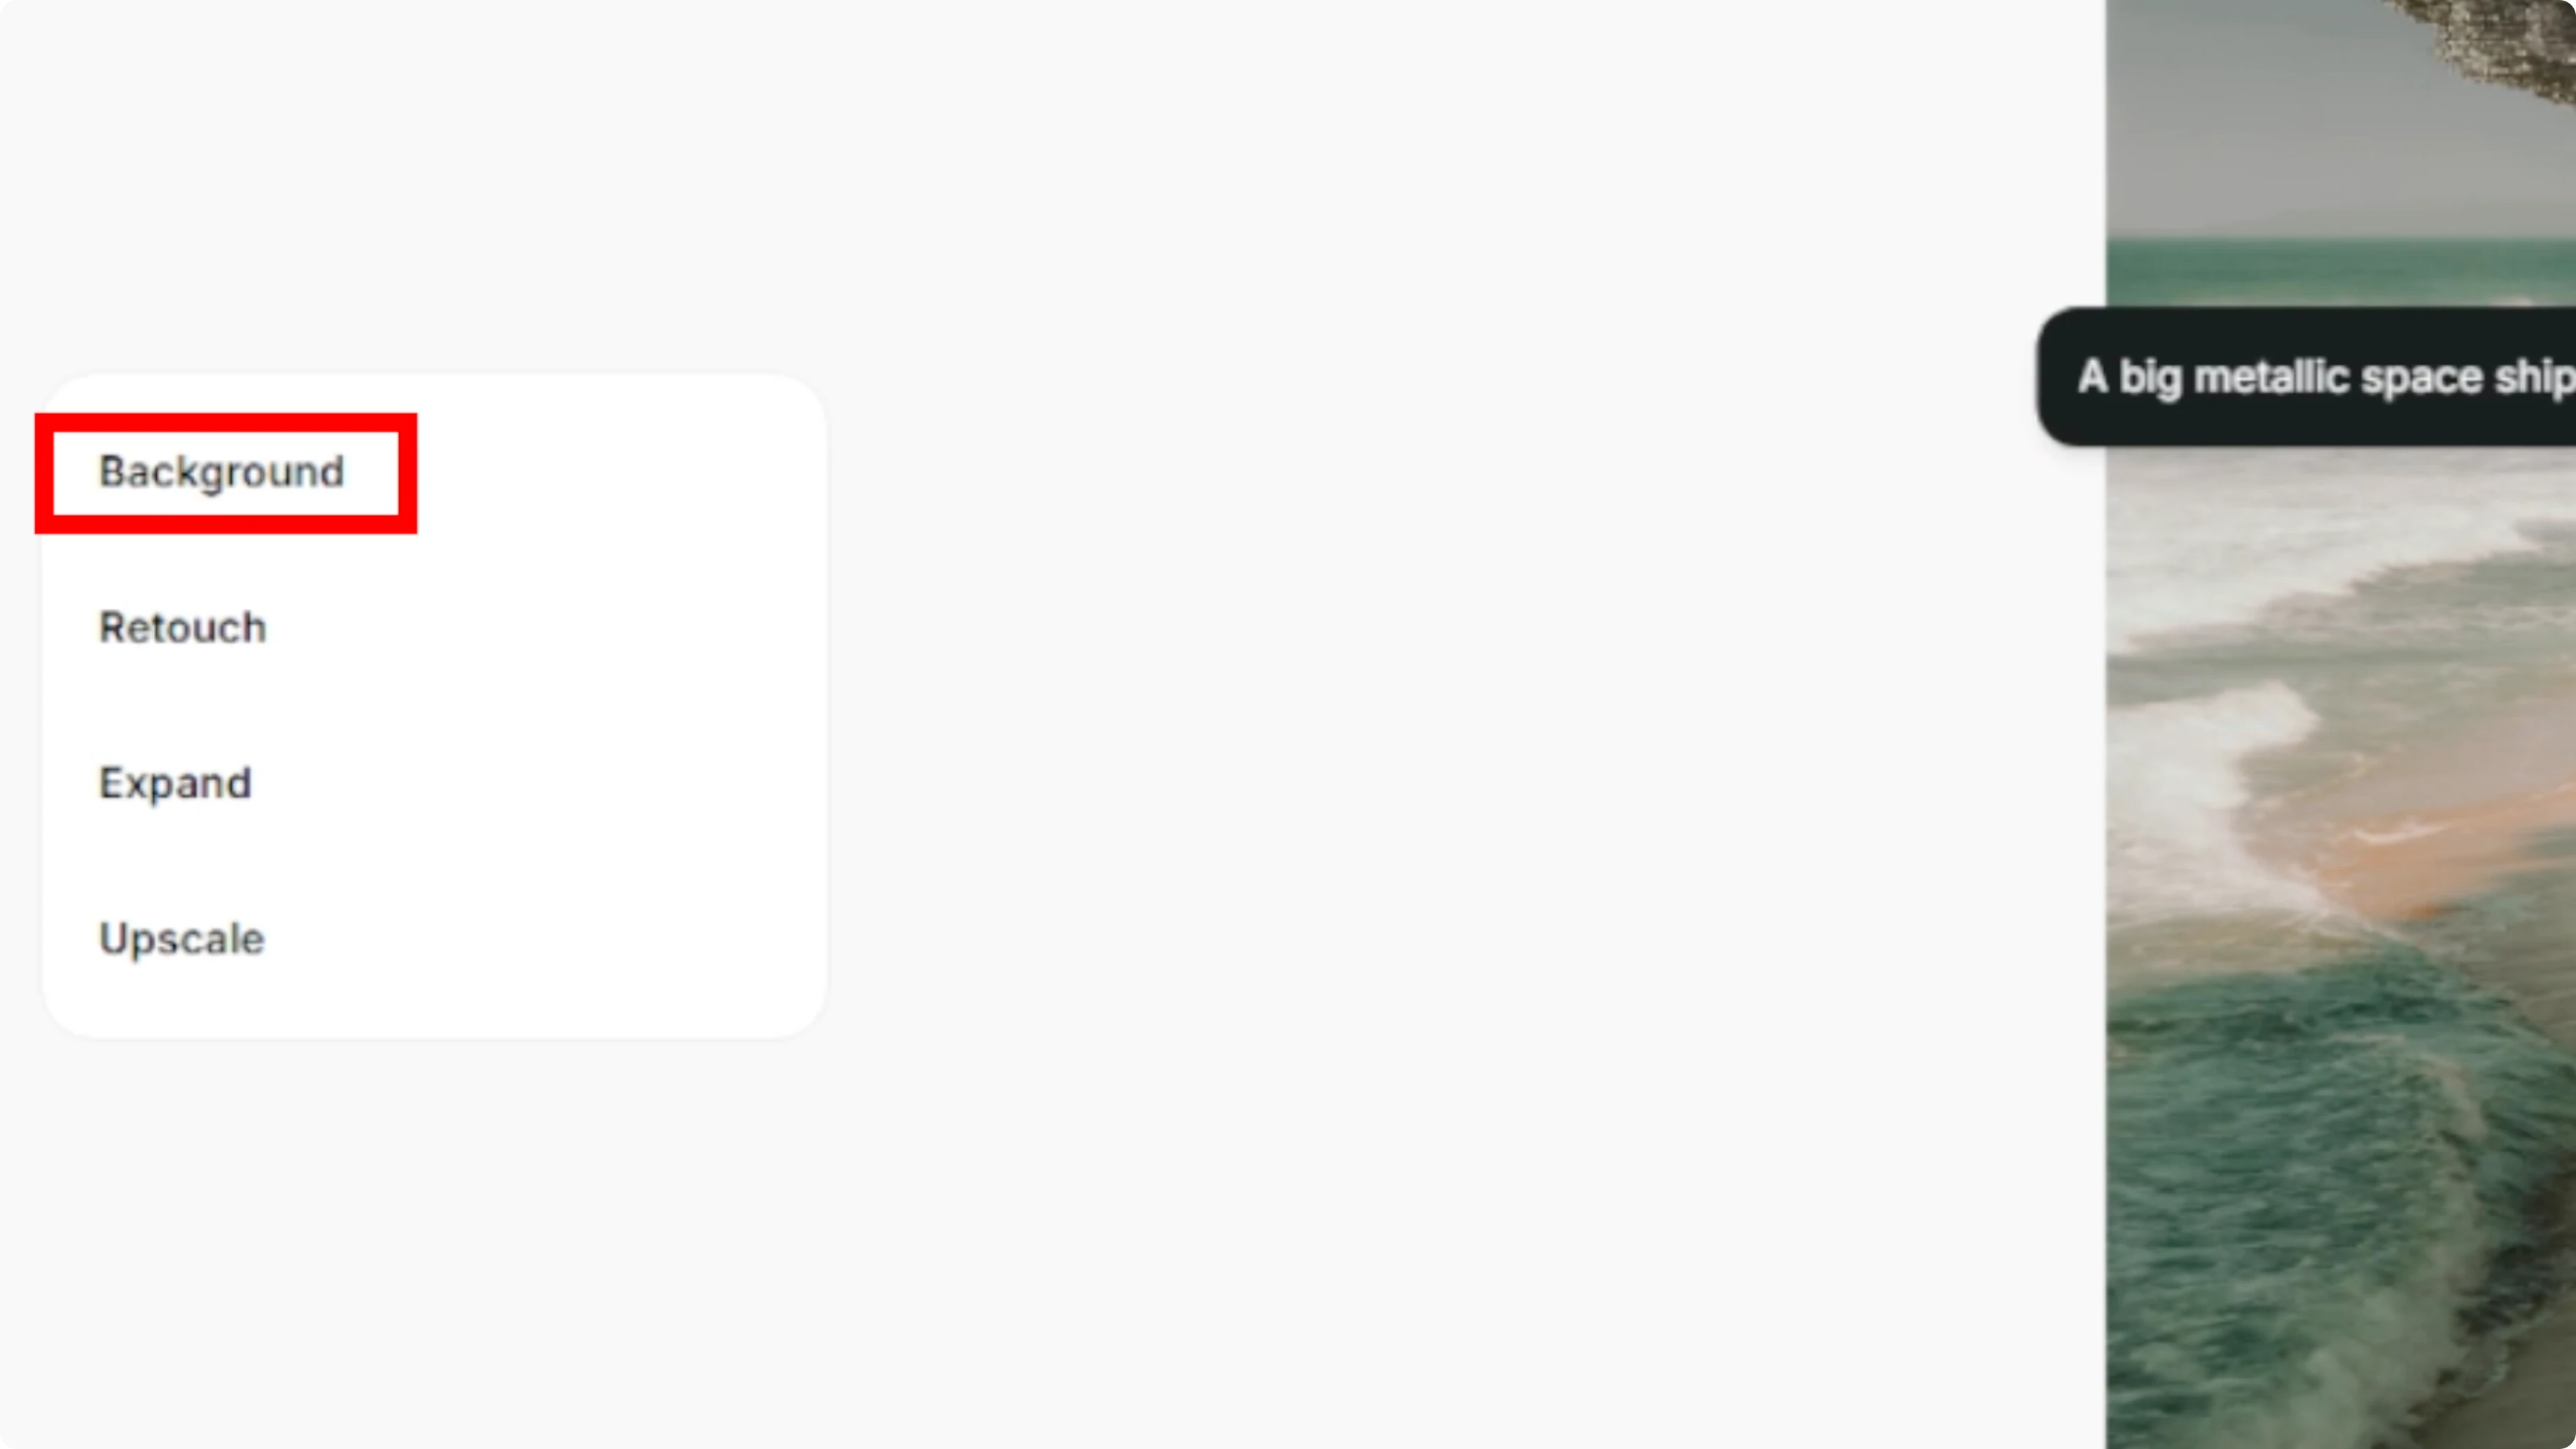
An optional step is making more edits. Use the left panel for additional image customization. Remove background or replace it with a solid color, an AI generated scene, or your own upload.
You can also add shadows, blur, retouch, expand, or upscale your image. For a Canva workflow on background replacement, see background edits in Canva. To refine a composite after object insertion, see how to blend edges in Canva.
Compare and export
Click the compare button at the top to view the changes side by side. Once you are happy with the results, click download to save your edited photo to your computer.
If you want a stylized result after your edit, explore a simple approach to a cartoon effect in Canva. This pairs well with object insertion when you aim for a consistent art style.
Final thoughts
Generative fill makes it easy to add new objects with focused masks and a clear prompt. Use regenerate thoughtfully, explore the extra edits, and compare before you export. A few precise prompts and a clean mask often deliver the strongest results.
Recent Posts
How to Showcase Outfits Digitally by Generating a Virtual Model with AI?
How to Showcase Outfits Digitally by Generating a Virtual Model with AI?
How to Transform Your Photos into Artistic Sketch Portraits with AI?
How to Transform Your Photos into Artistic Sketch Portraits with AI?
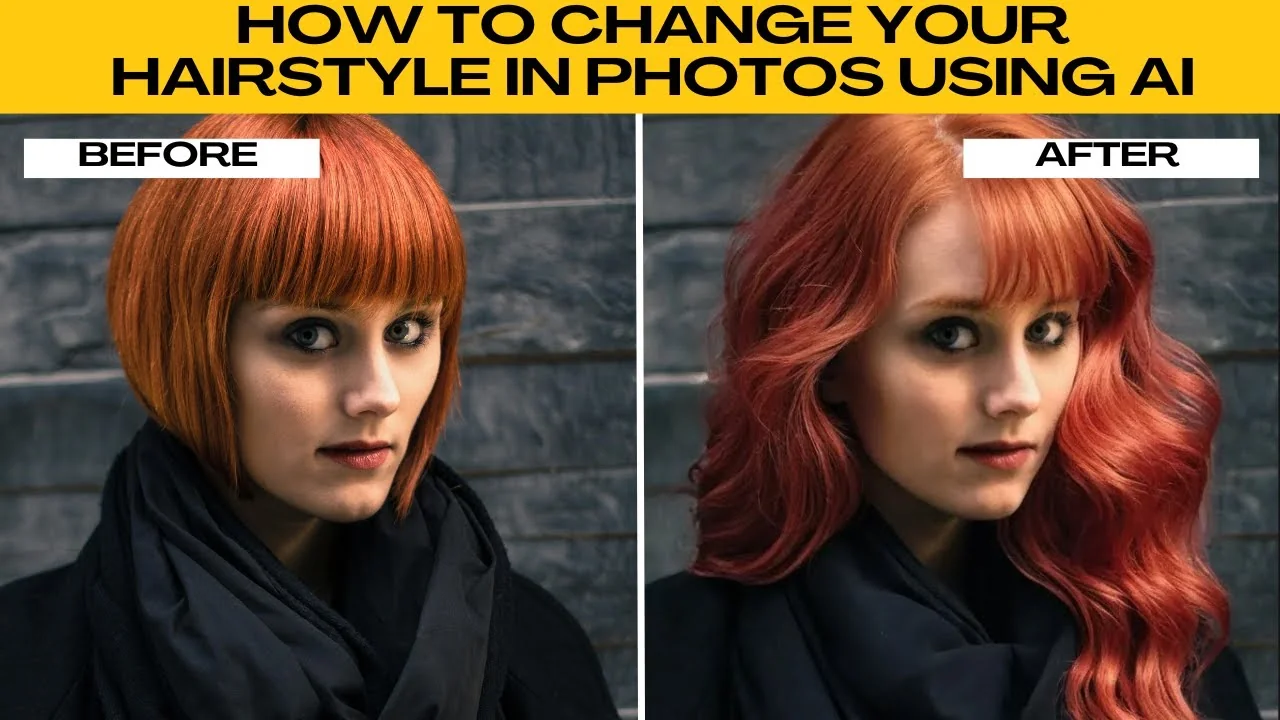
How to Visualize Different Hairstyles and Hair Colors with AI?
How to Visualize Different Hairstyles and Hair Colors with AI?