How to Add Blending Edges on Photo in Canva

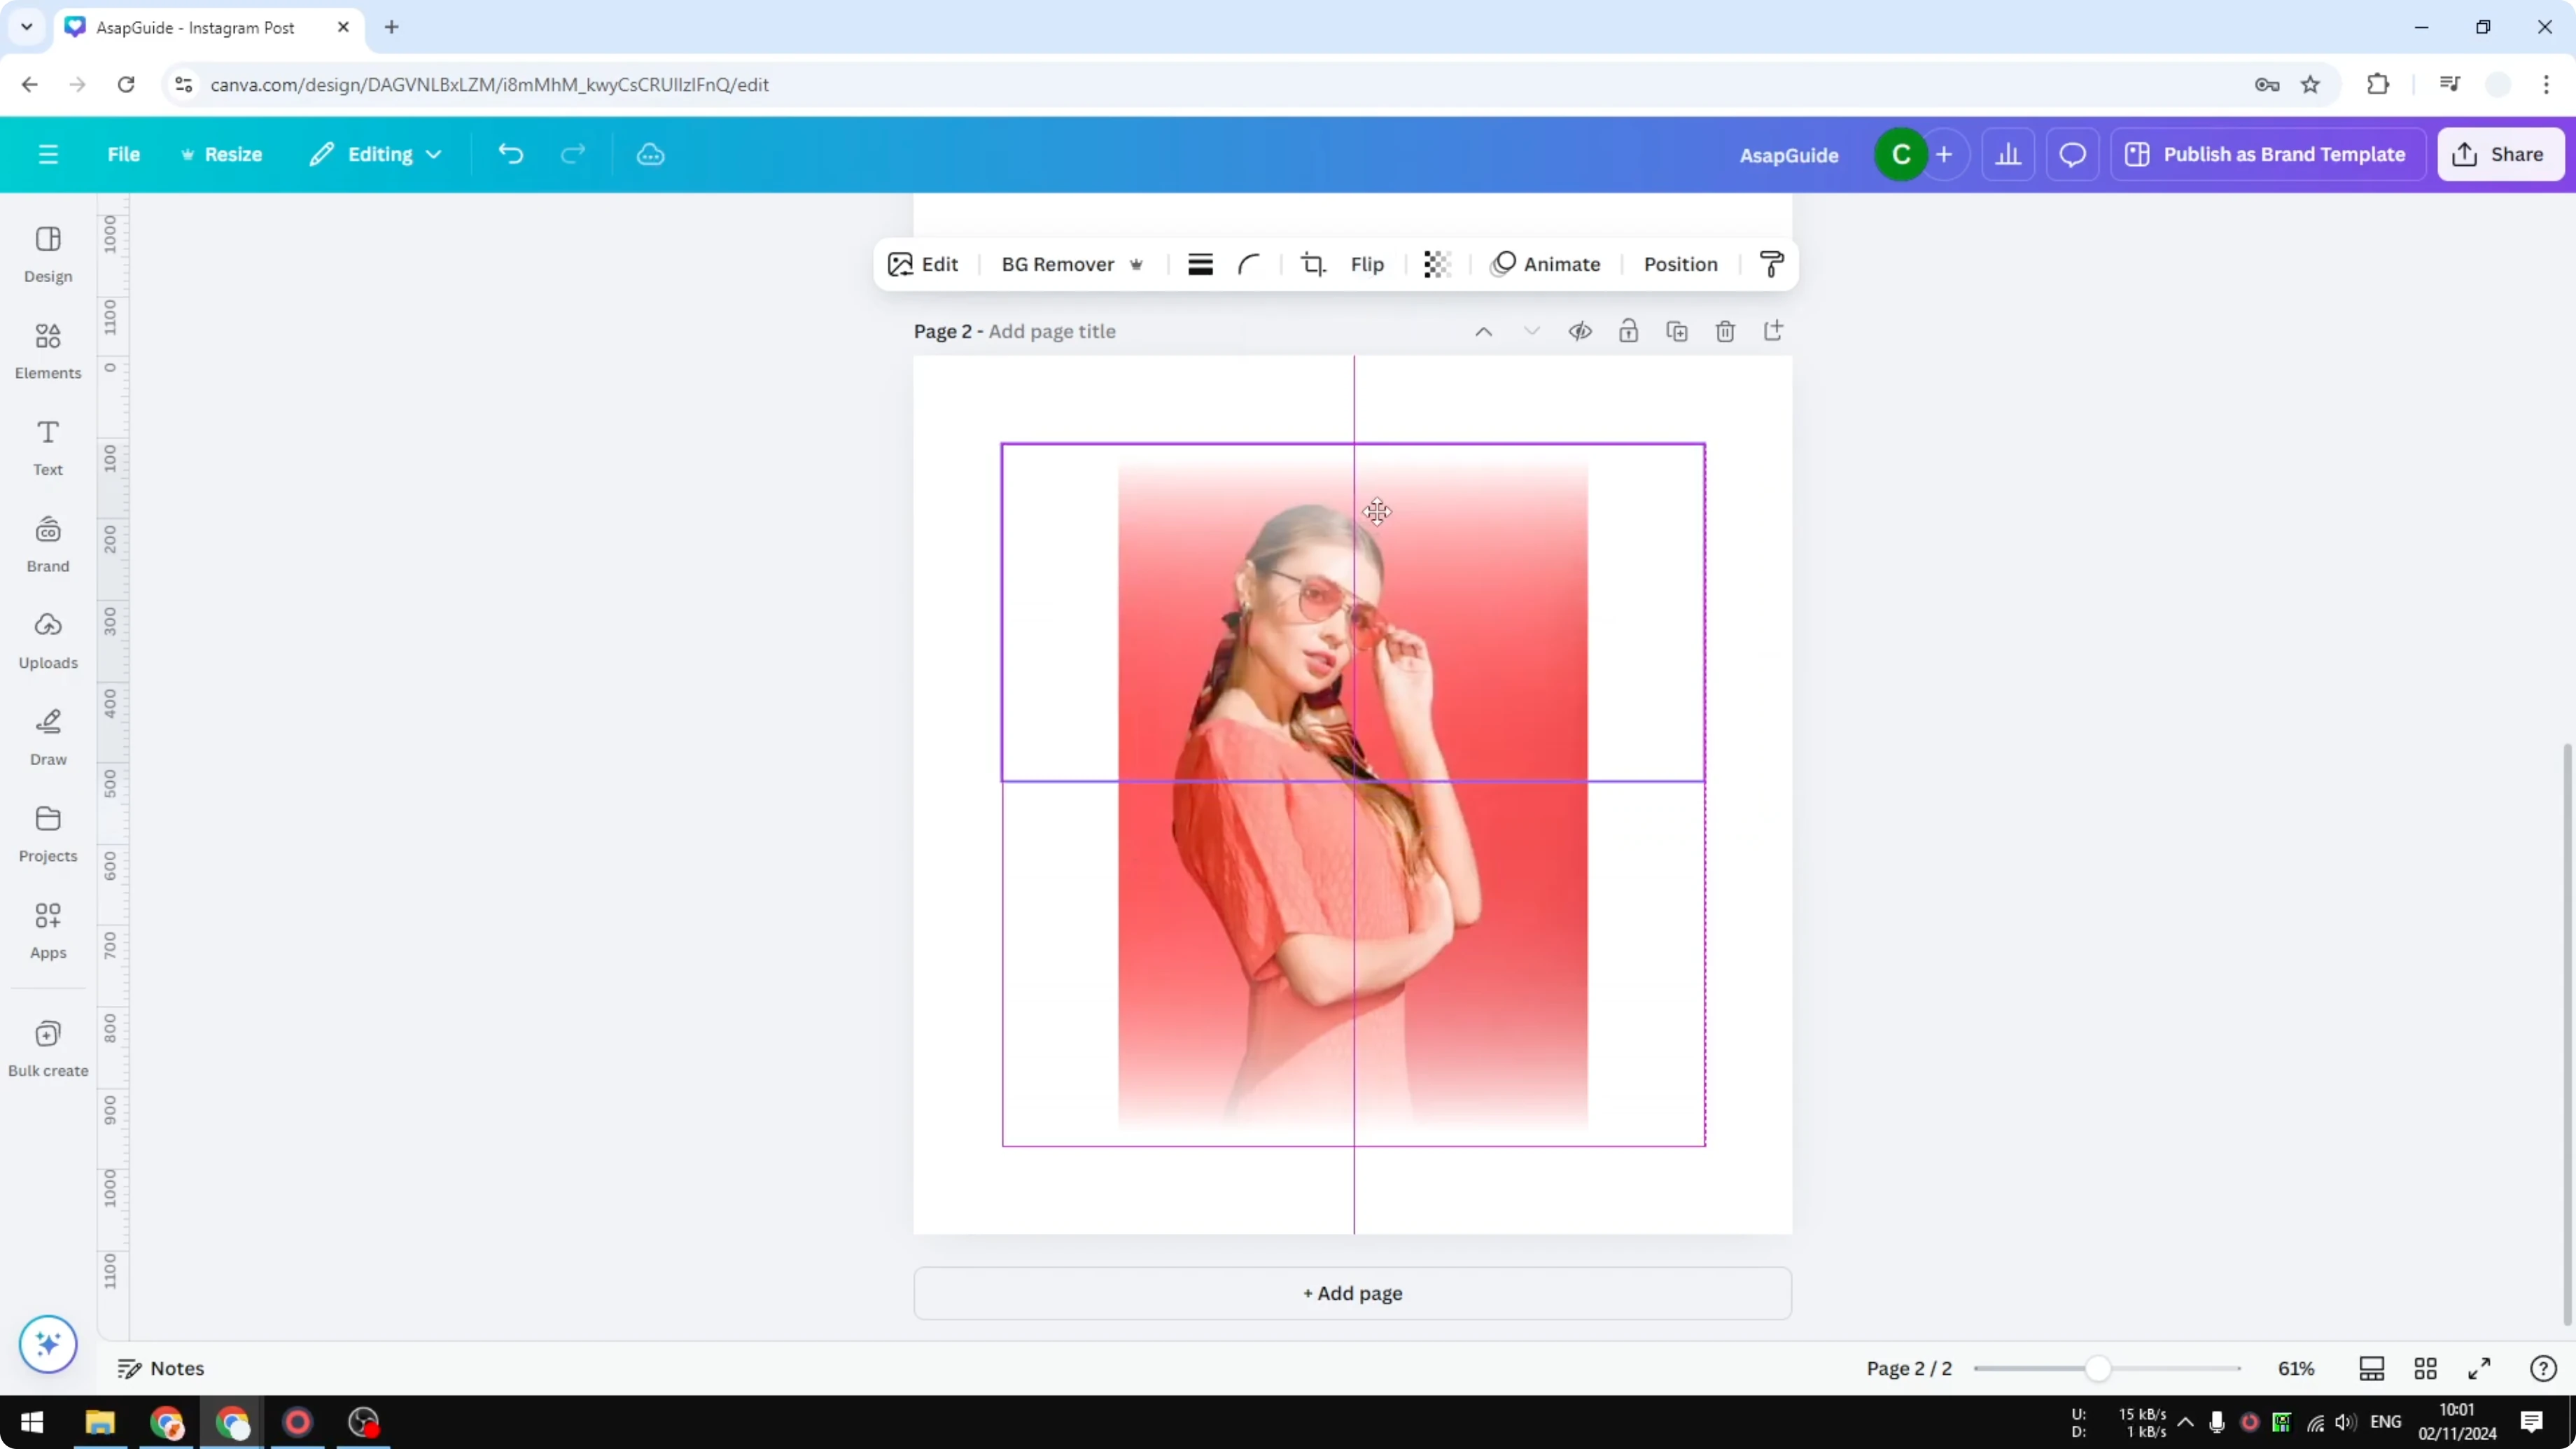
I’m going to show you how you can apply blend photo edges in Canva. You get a photo and the edges blend to the background of the document. In my example the background is white and the photo is in the middle, with edges transitioning from the photo color to white.
In Canva you cannot get this effect instantly. You need a workaround, and I will demonstrate how to get this effect on any photo.
Add Blending Edges on Photo in Canva
We will use gradient graphics that fade to your background color. This recreates the soft transition from the photo to the canvas.
Read More: Cartoon effect with Canva AI
Prepare the gradient
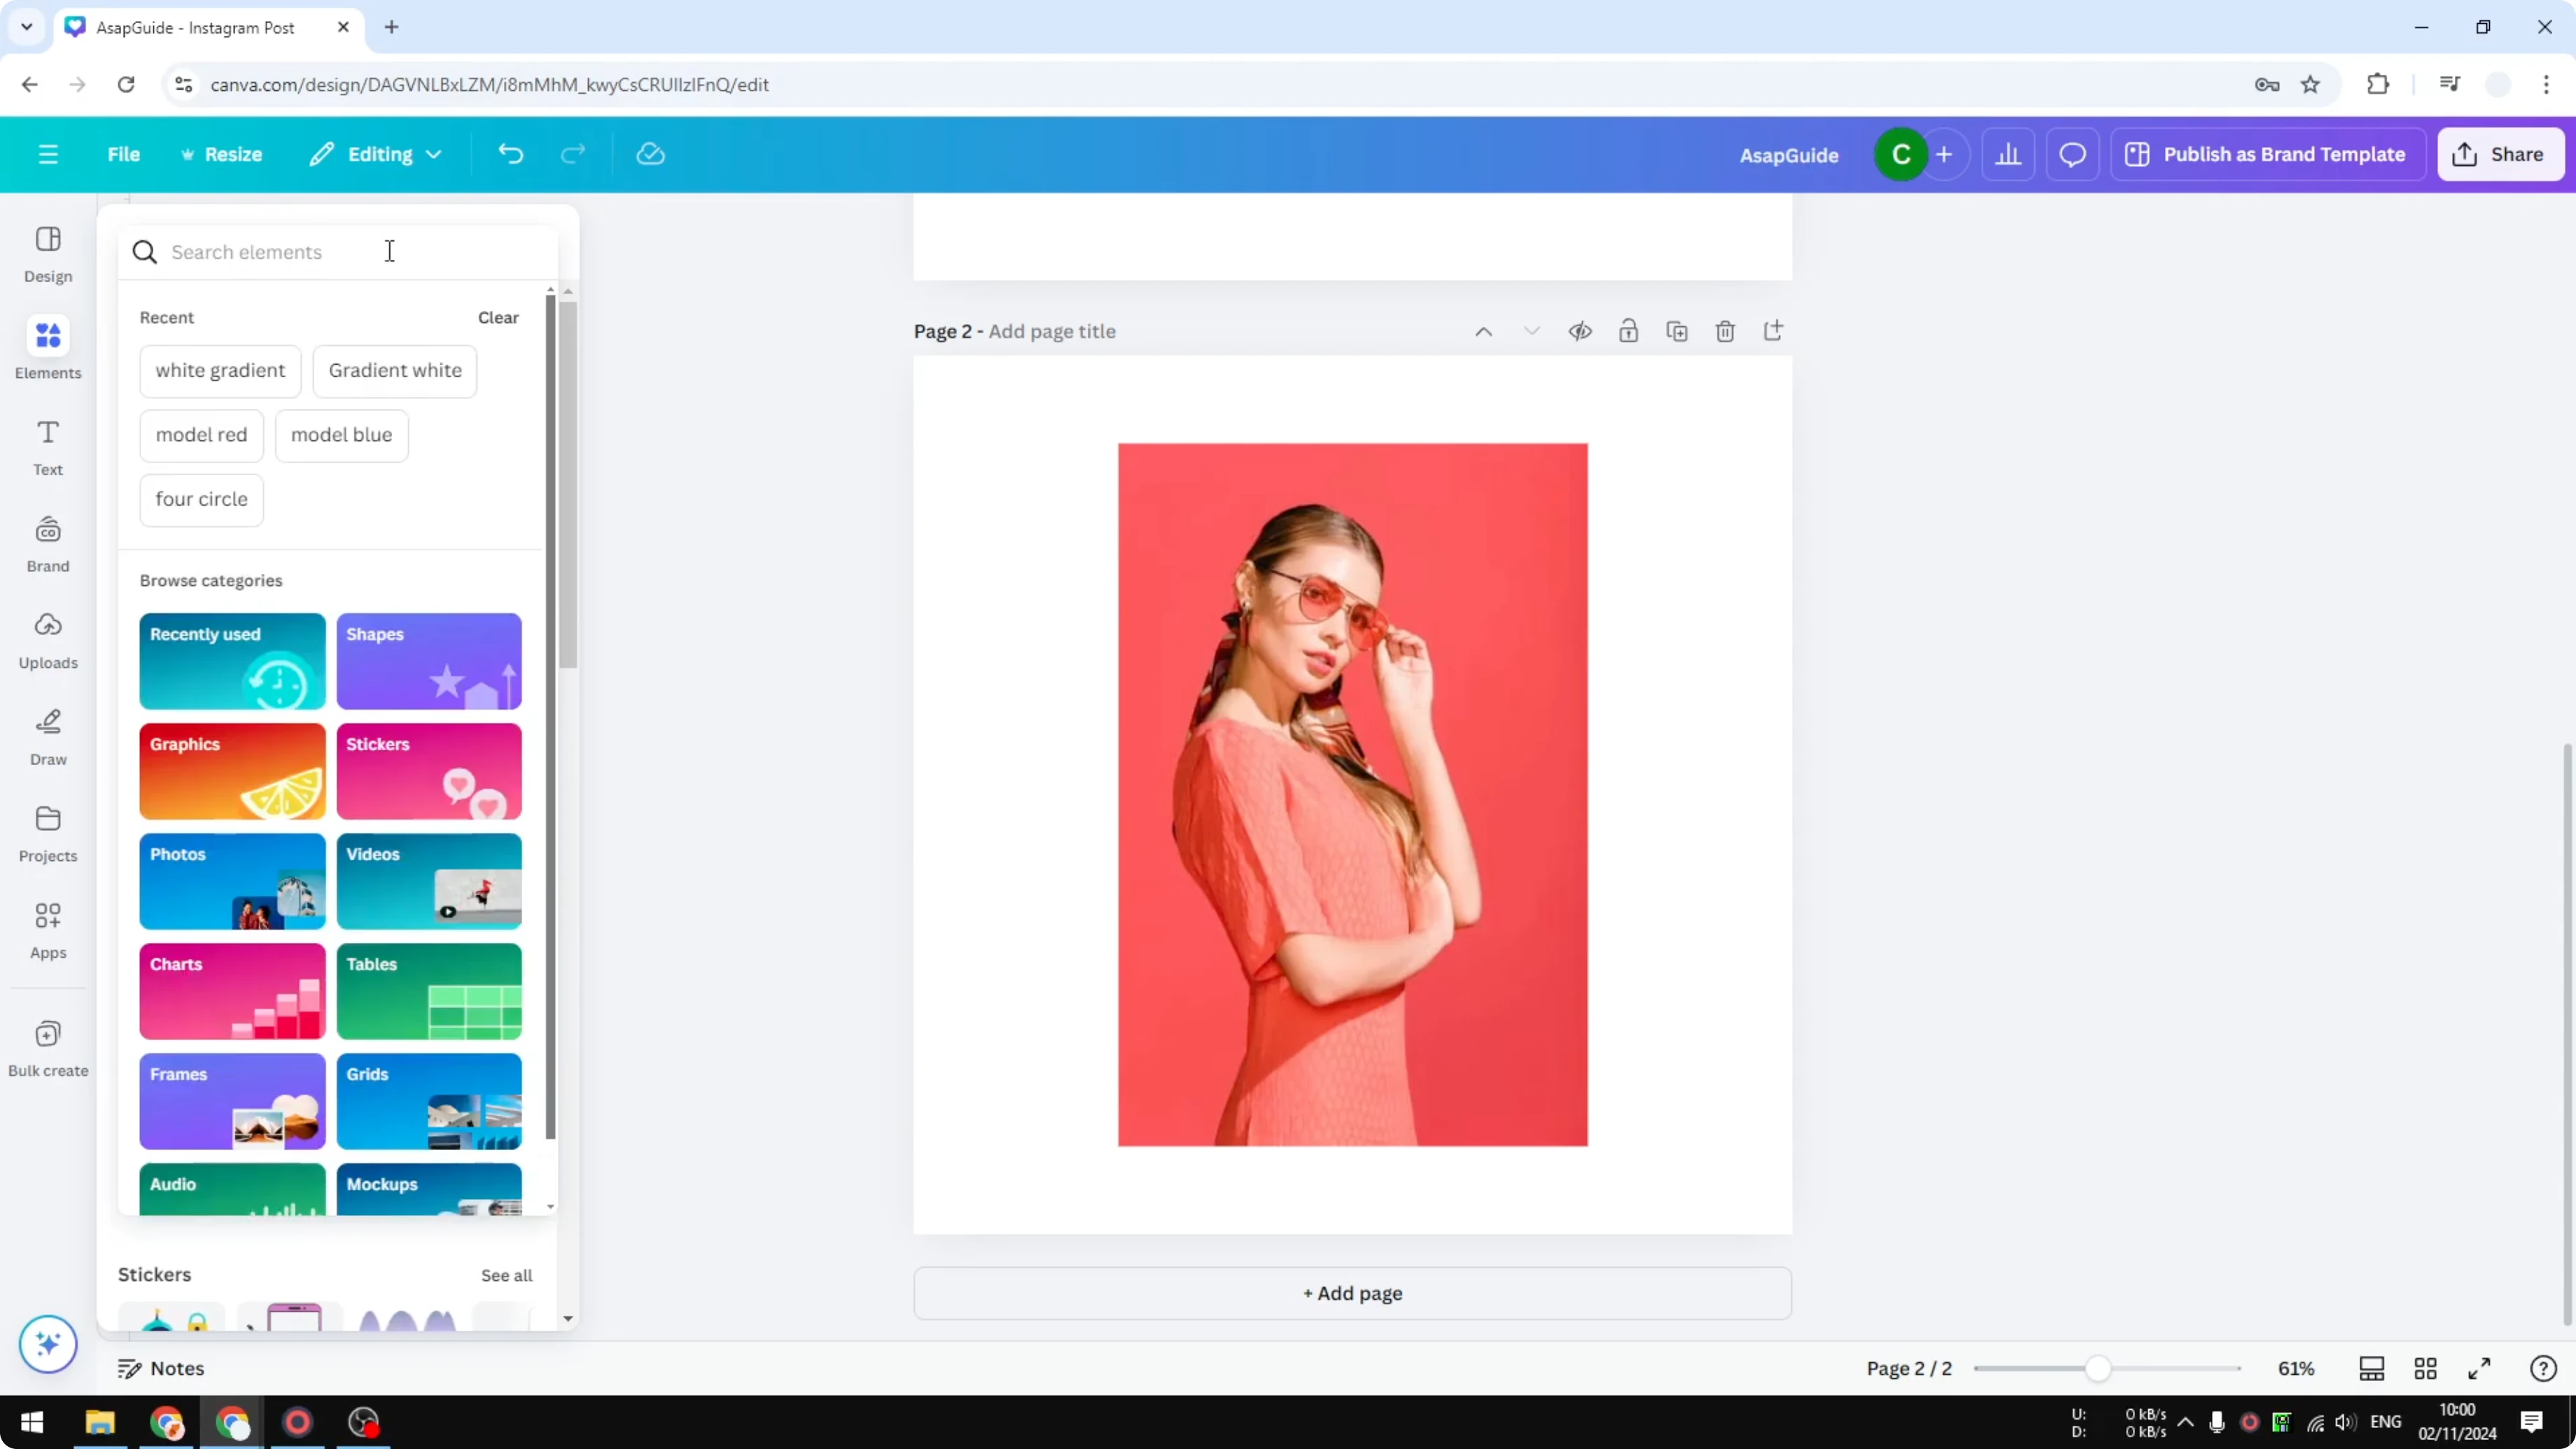
Open Elements and search for the background color name plus the word gradient. For a white background, search for white gradient.
If your background is black, search for black gradient. For blue, search for blue gradient.
Go to Graphics. Insert a transparent gradient color into the document to recreate the blending effect.
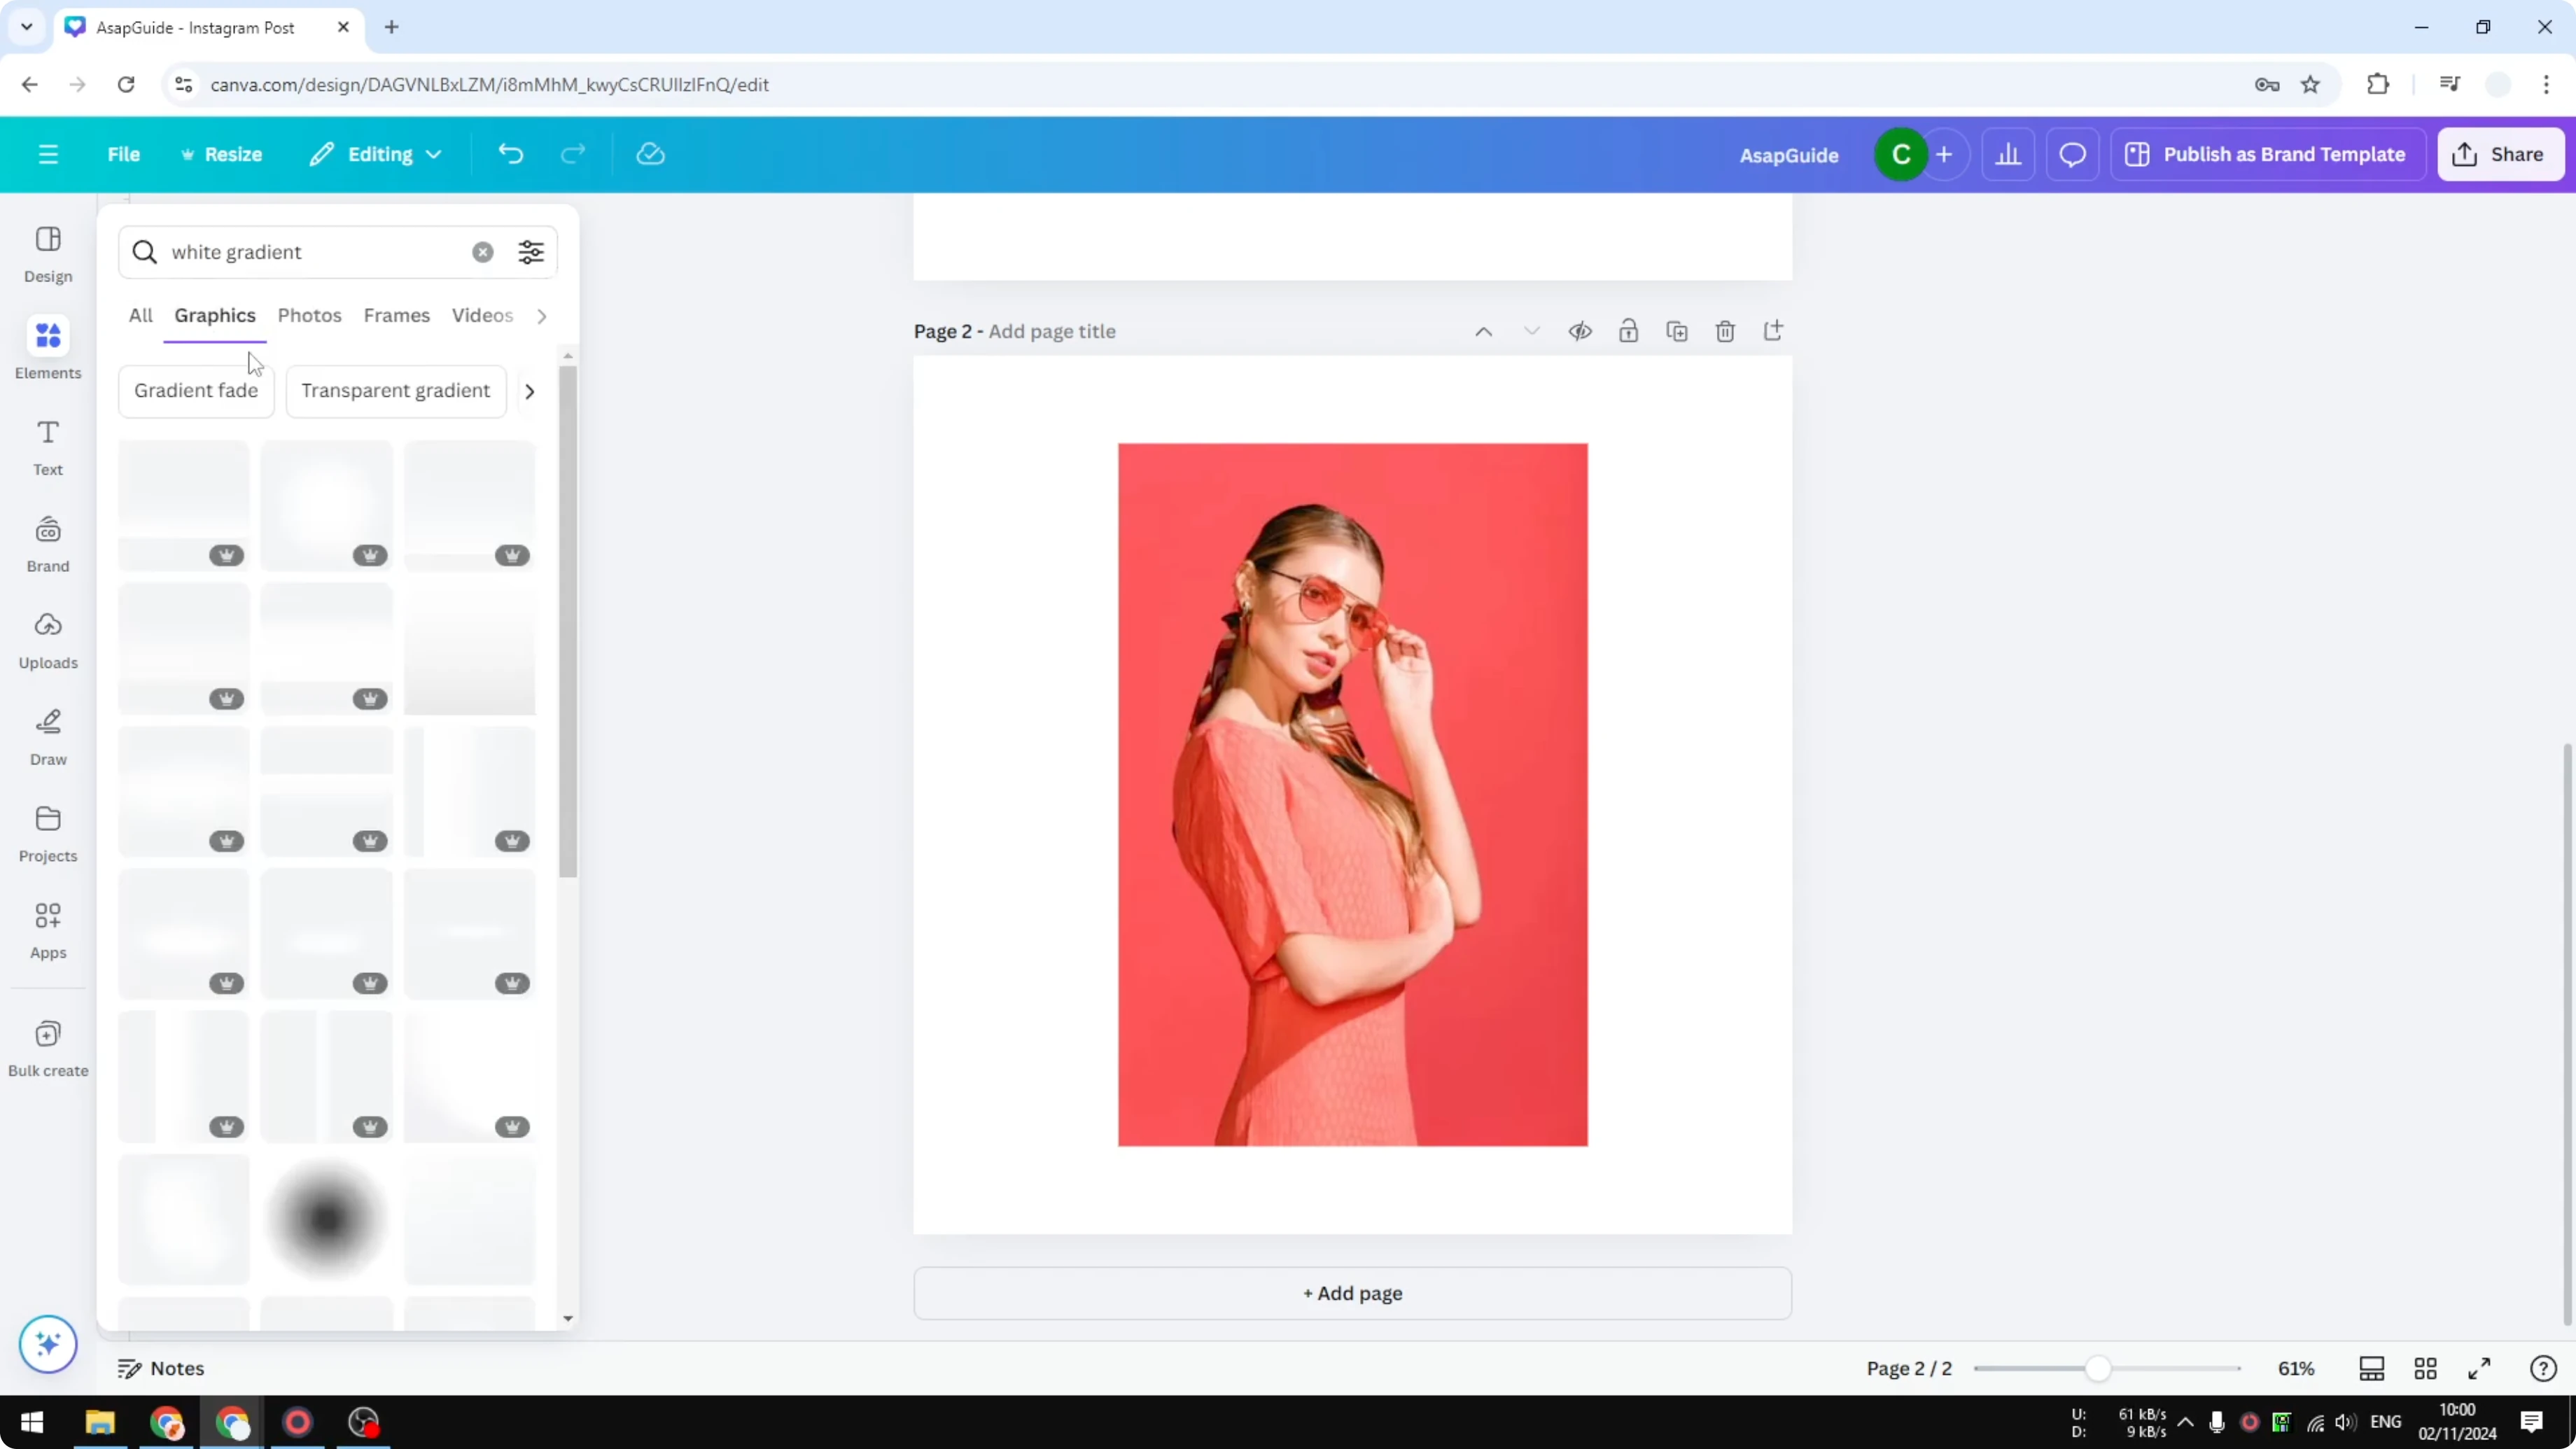
Select any gradient that looks best for your photo. I use one that fades to transparent so the edge can vanish into the canvas color.
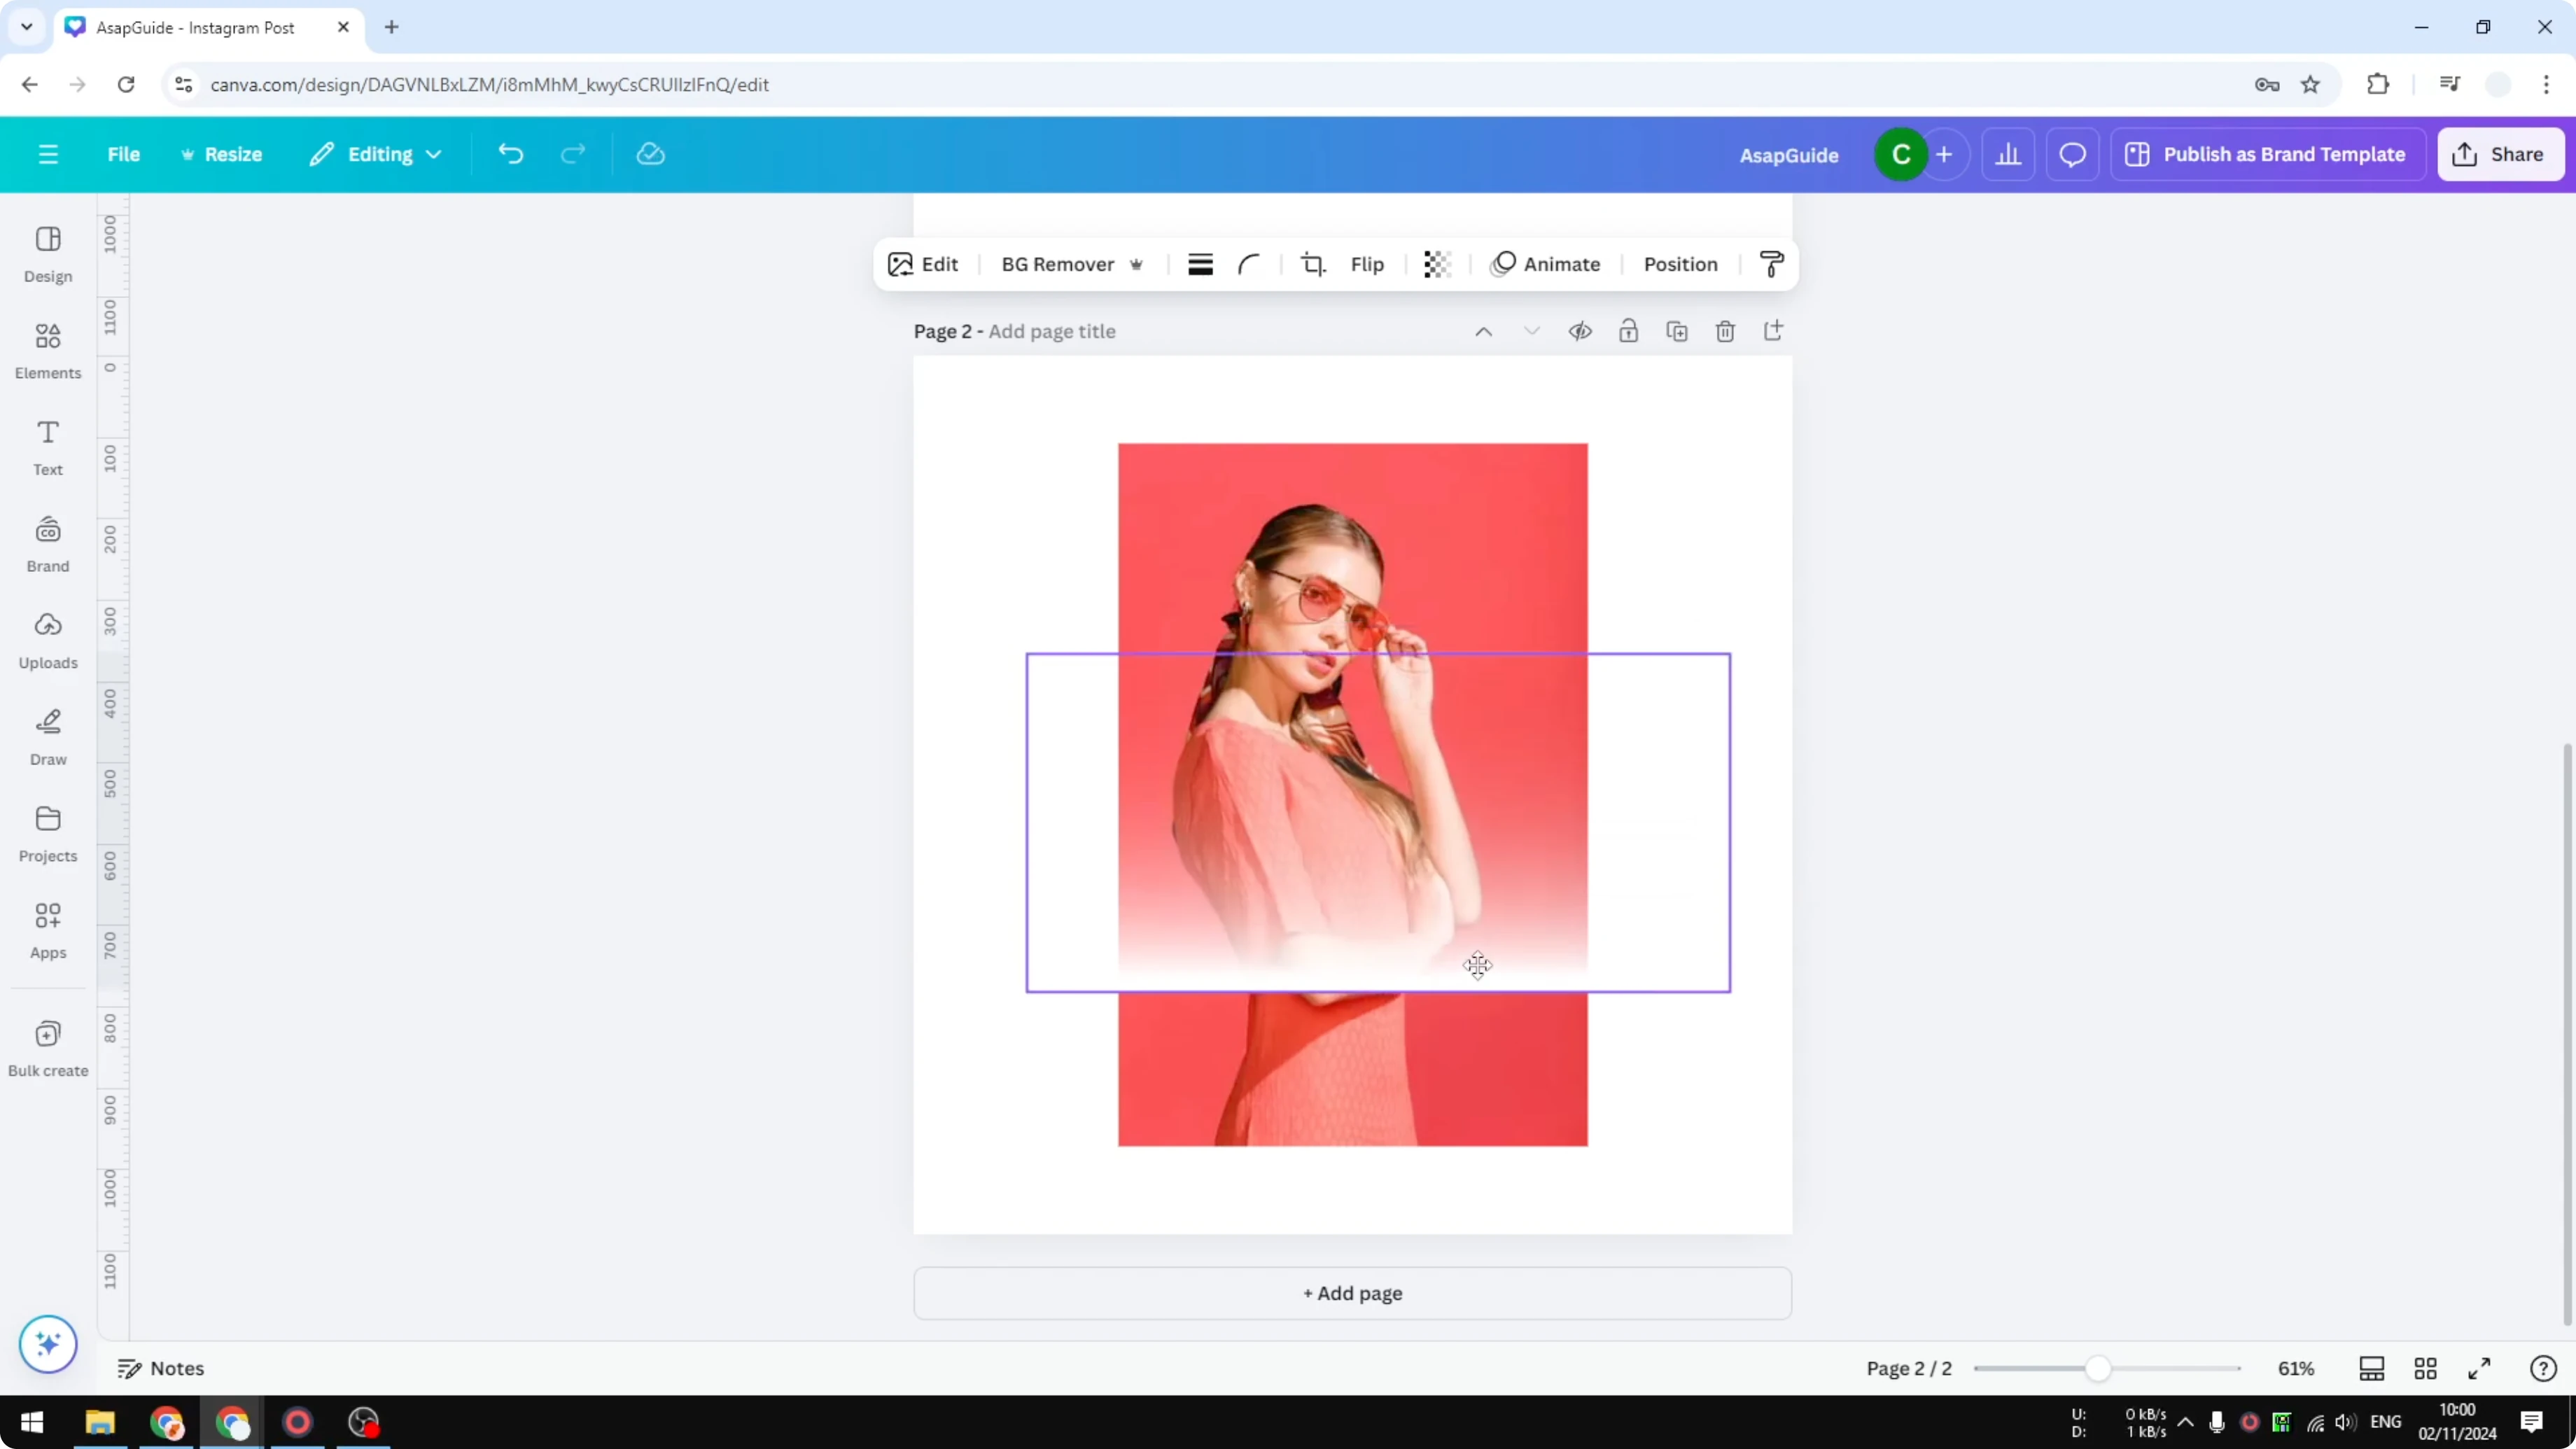
Place gradients around the photo
Bottom and top edges
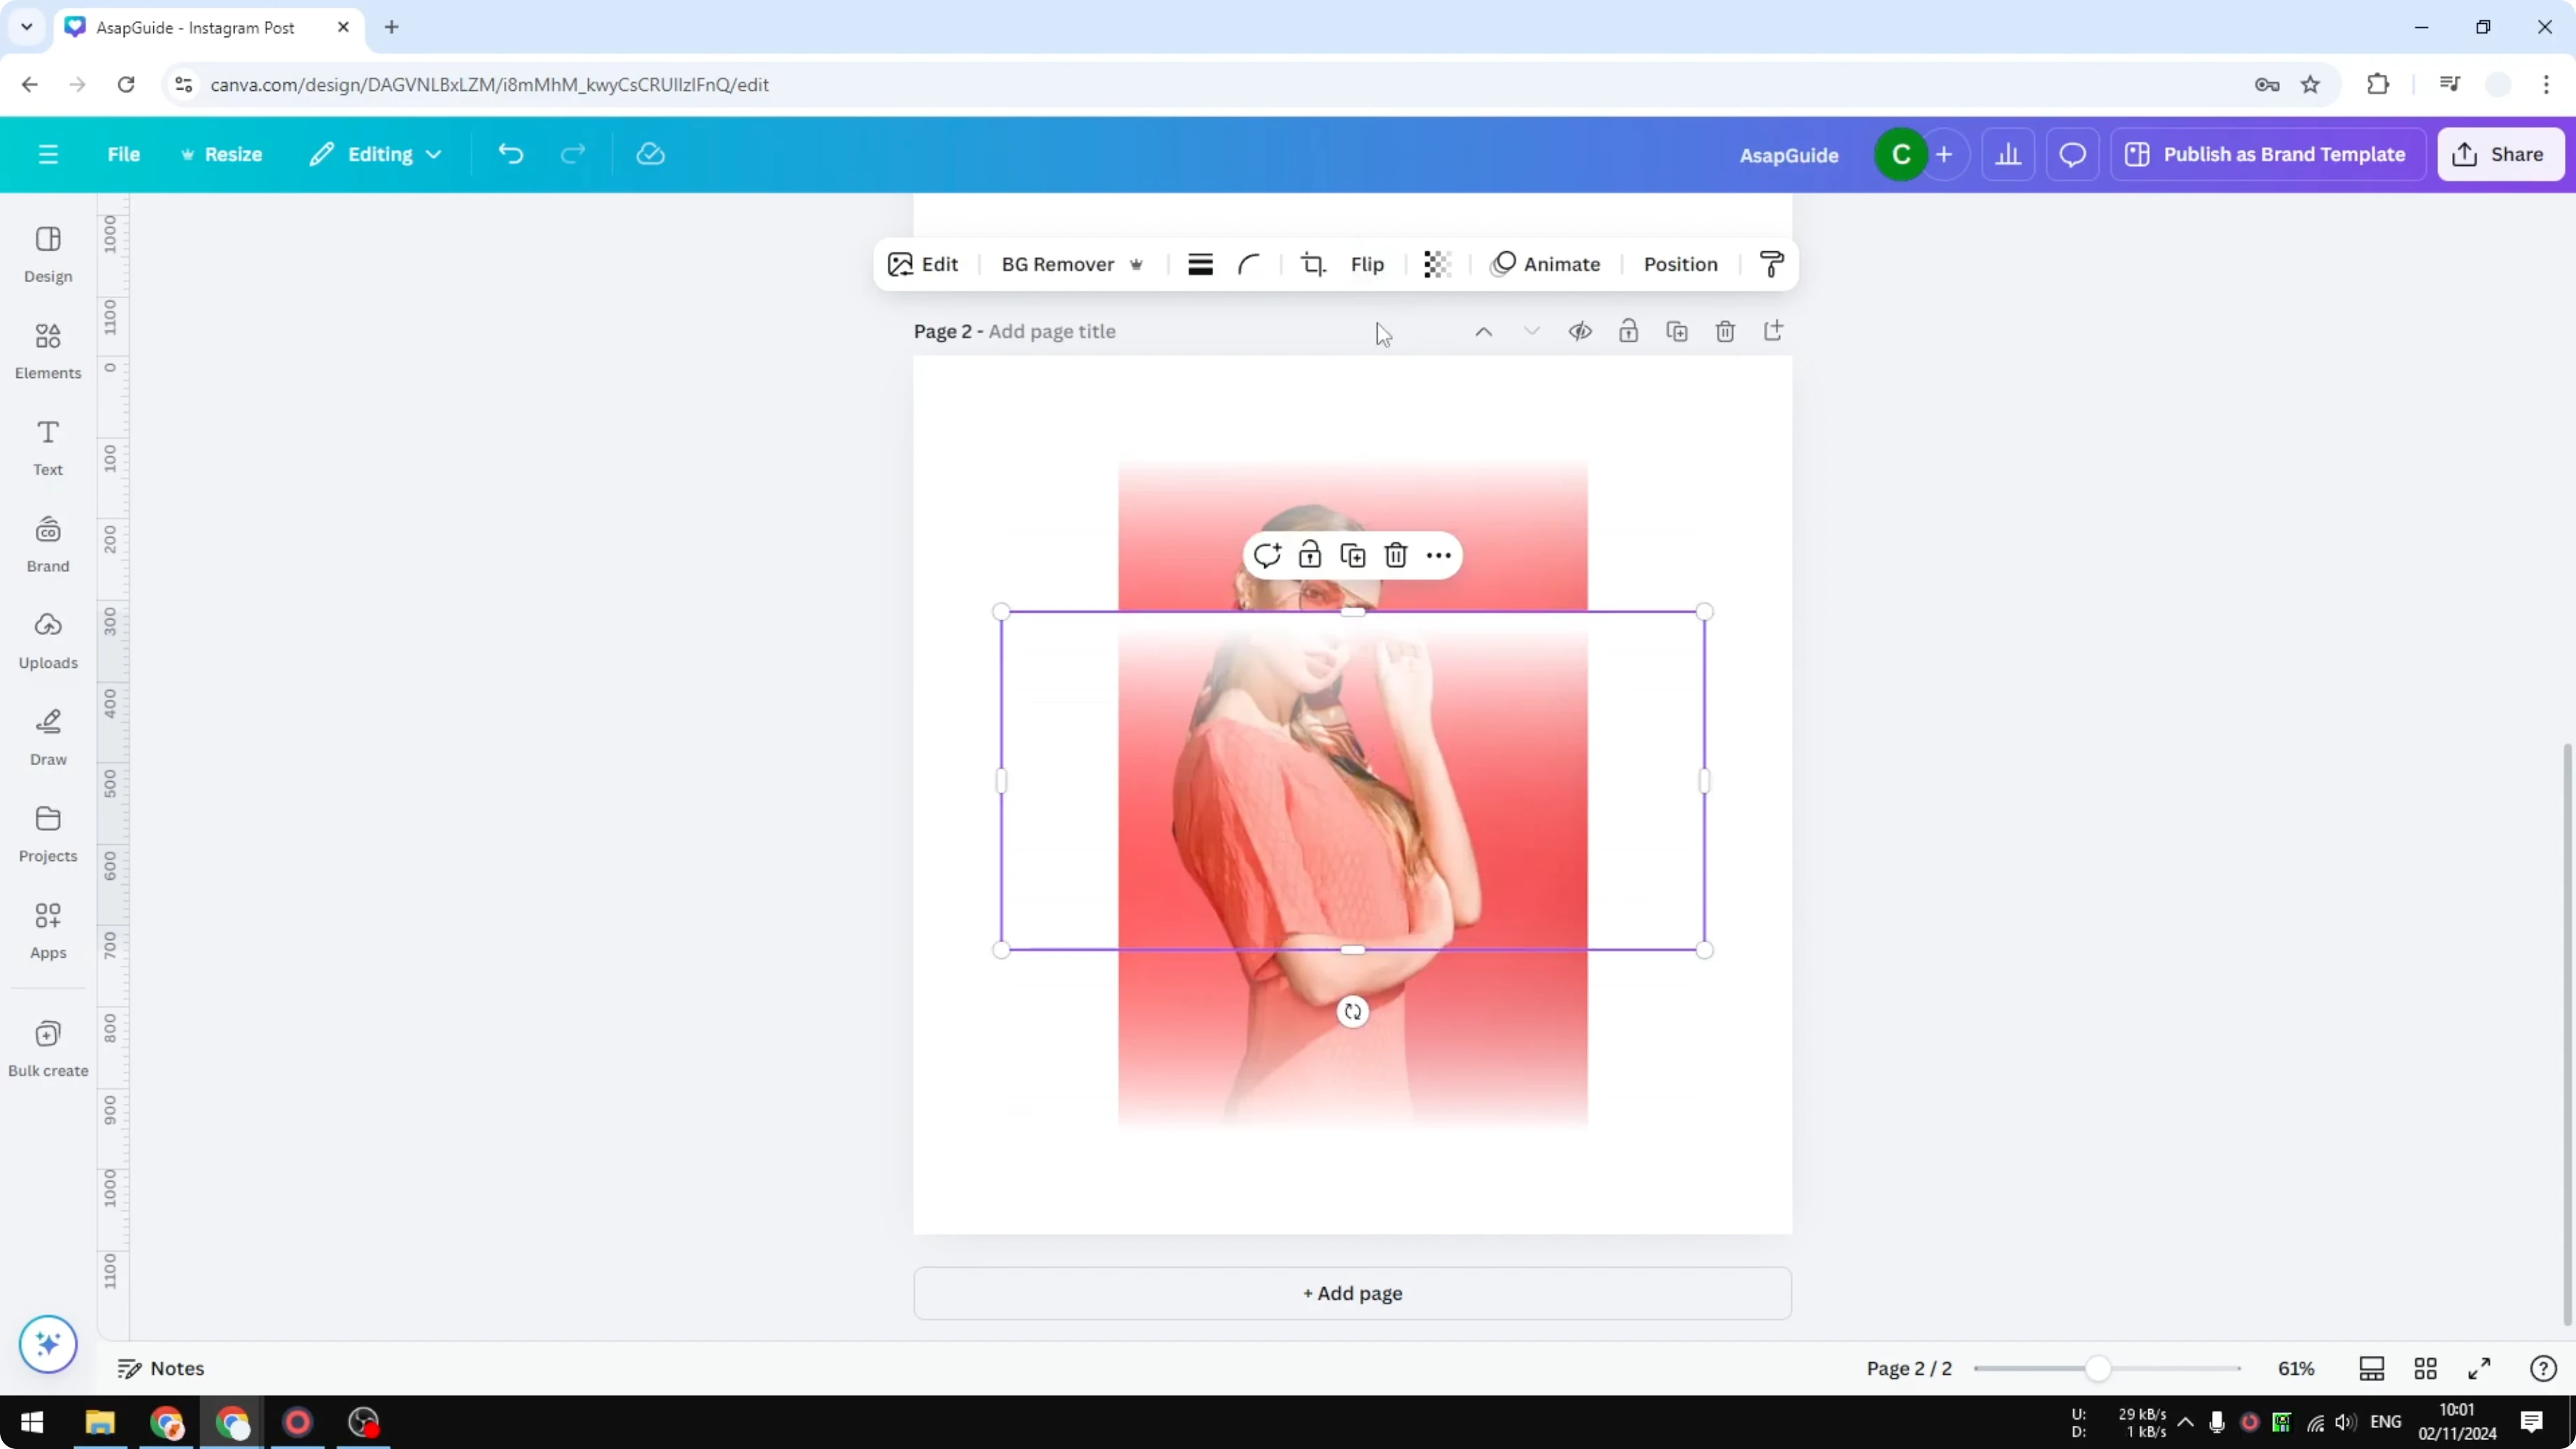
Put the gradient at the bottom edge of the photo. Move it slightly past the edge so you do not see the photo color peeking out.
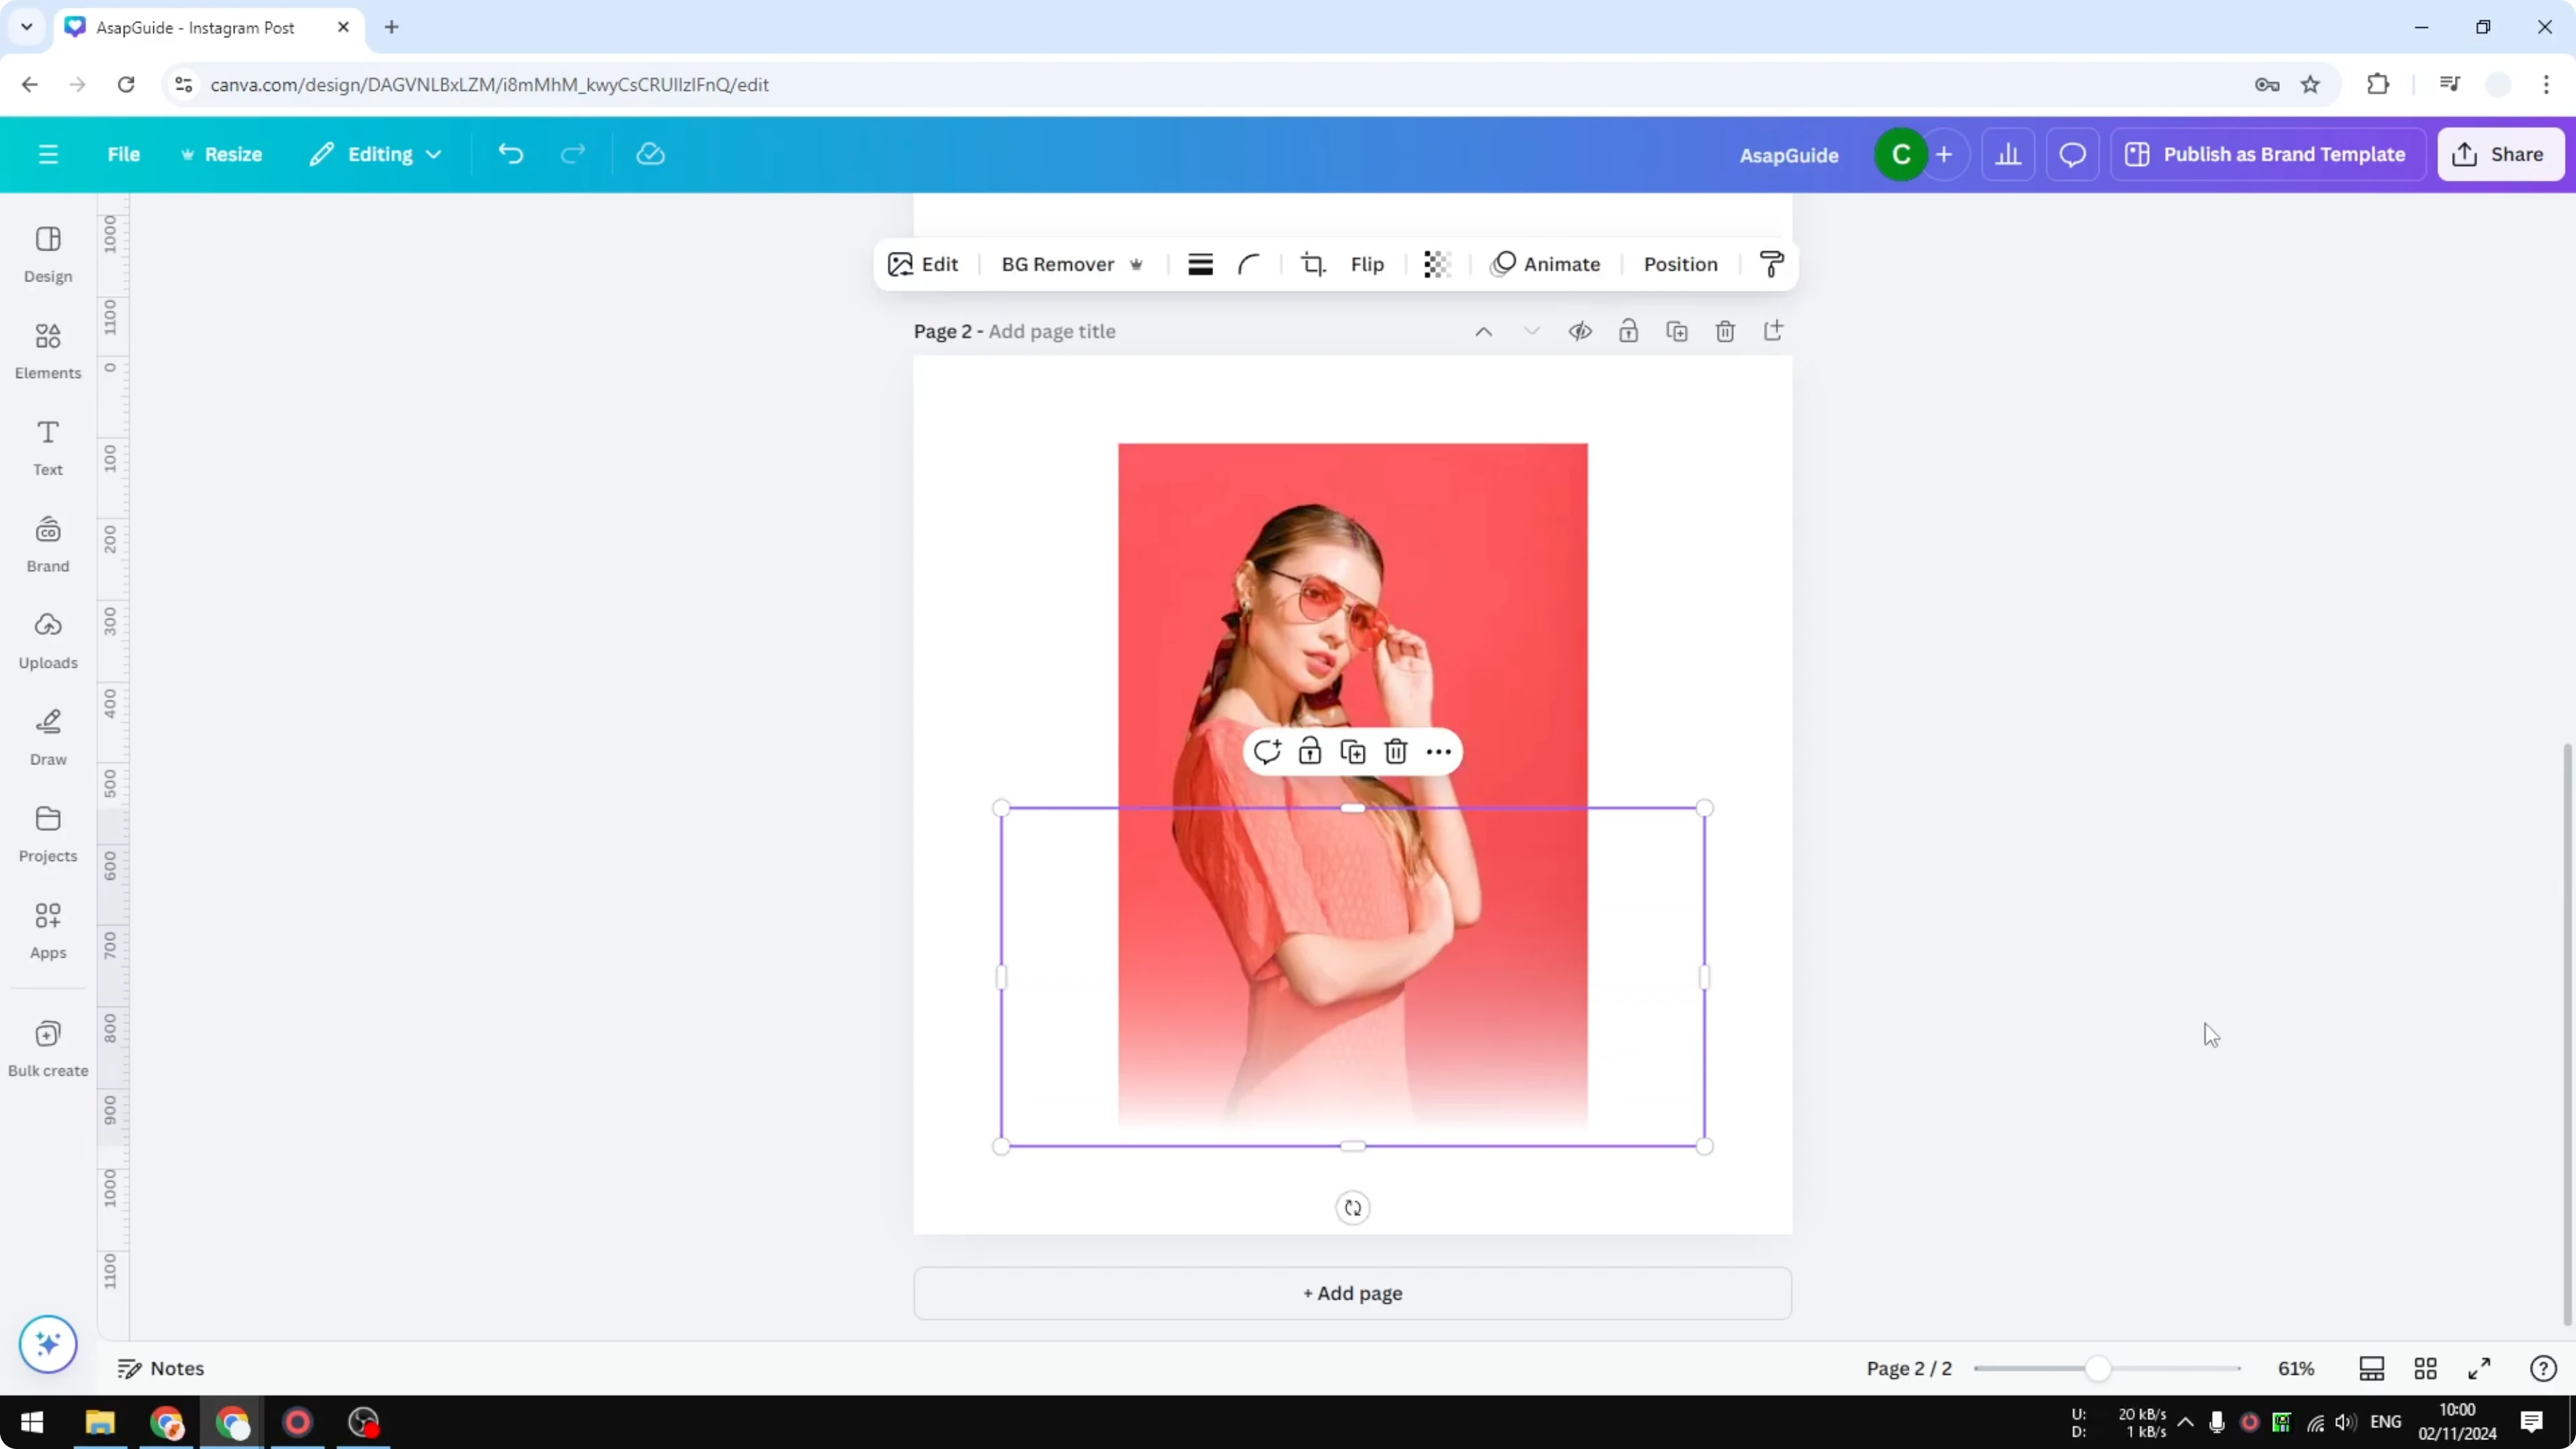
If you still see a horizontal line, select the gradient and press the Down Arrow once to move it 1 pixel. The line should disappear.

Duplicate the gradient and flip it vertically. Place it on the top edge, and press the Up Arrow once if needed to hide any 1 pixel line.
Left and right edges
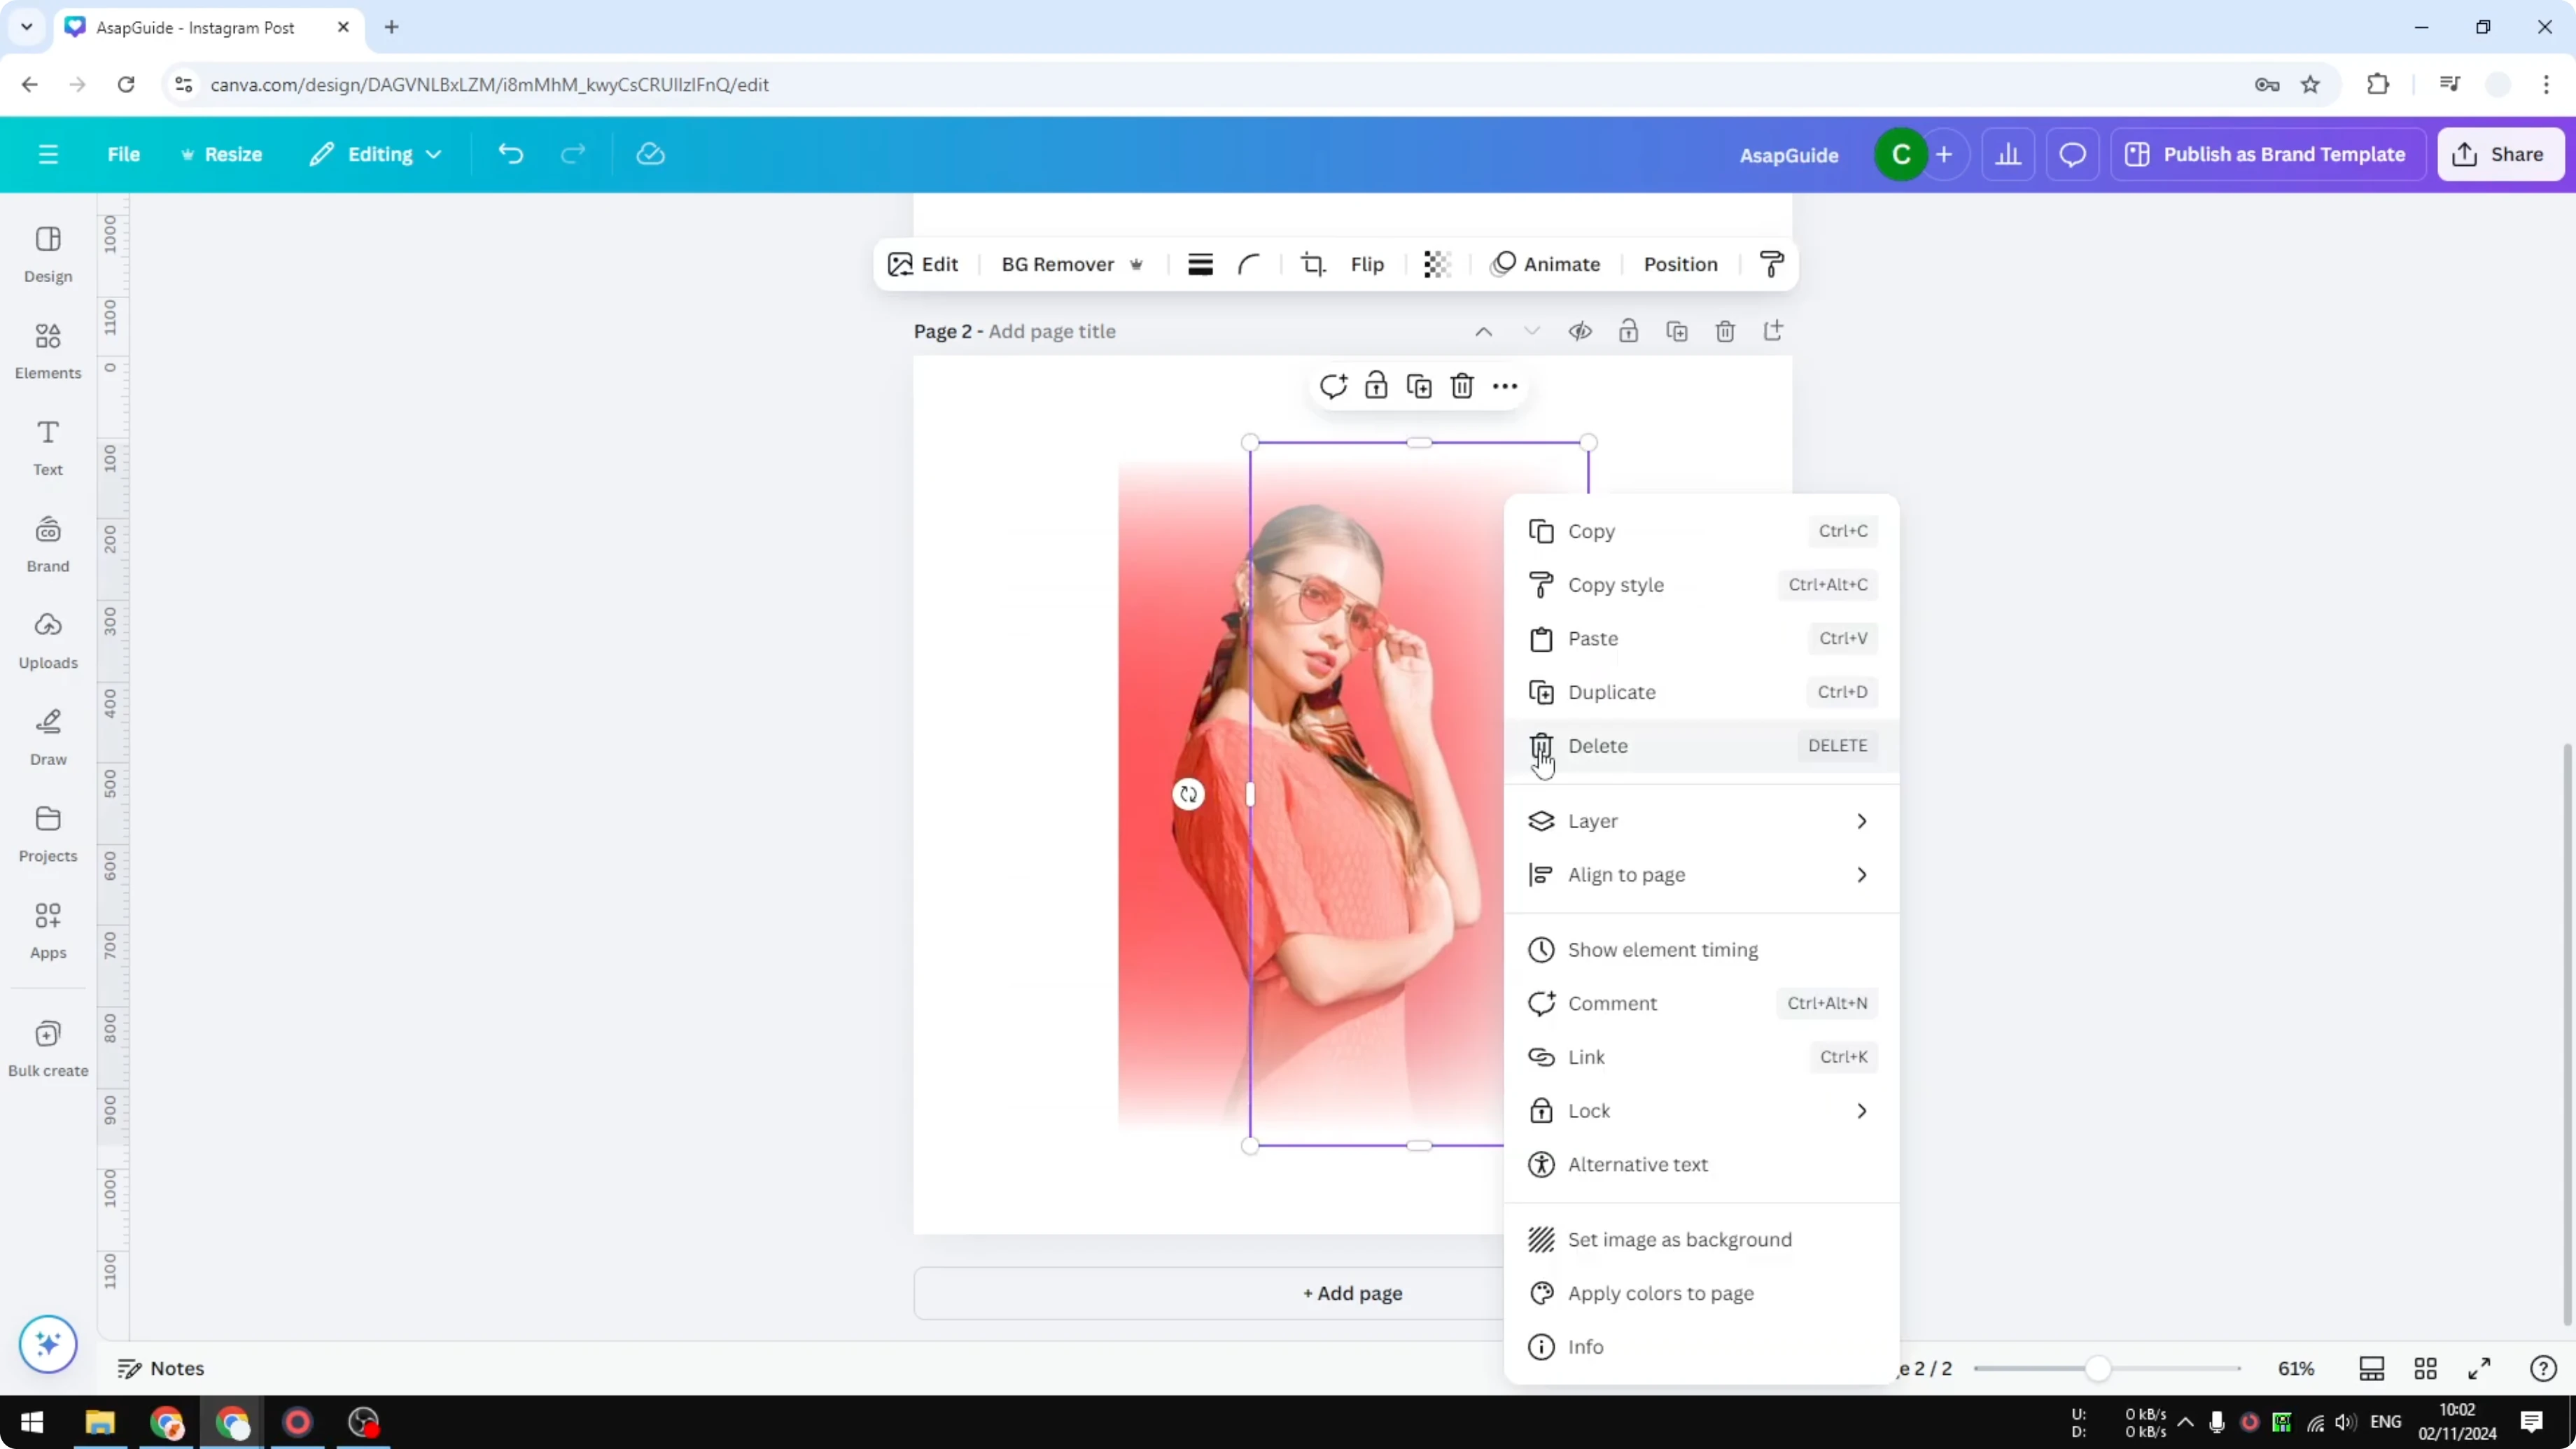
Duplicate the element and rotate it 90 degrees. Place it along the right edge, and tap the Right Arrow to nudge 1 pixel if needed.
Duplicate again and flip it vertically. Place it on the left edge, then tap the Left Arrow to nudge 1 pixel.
Read More: Grain effect in Canva
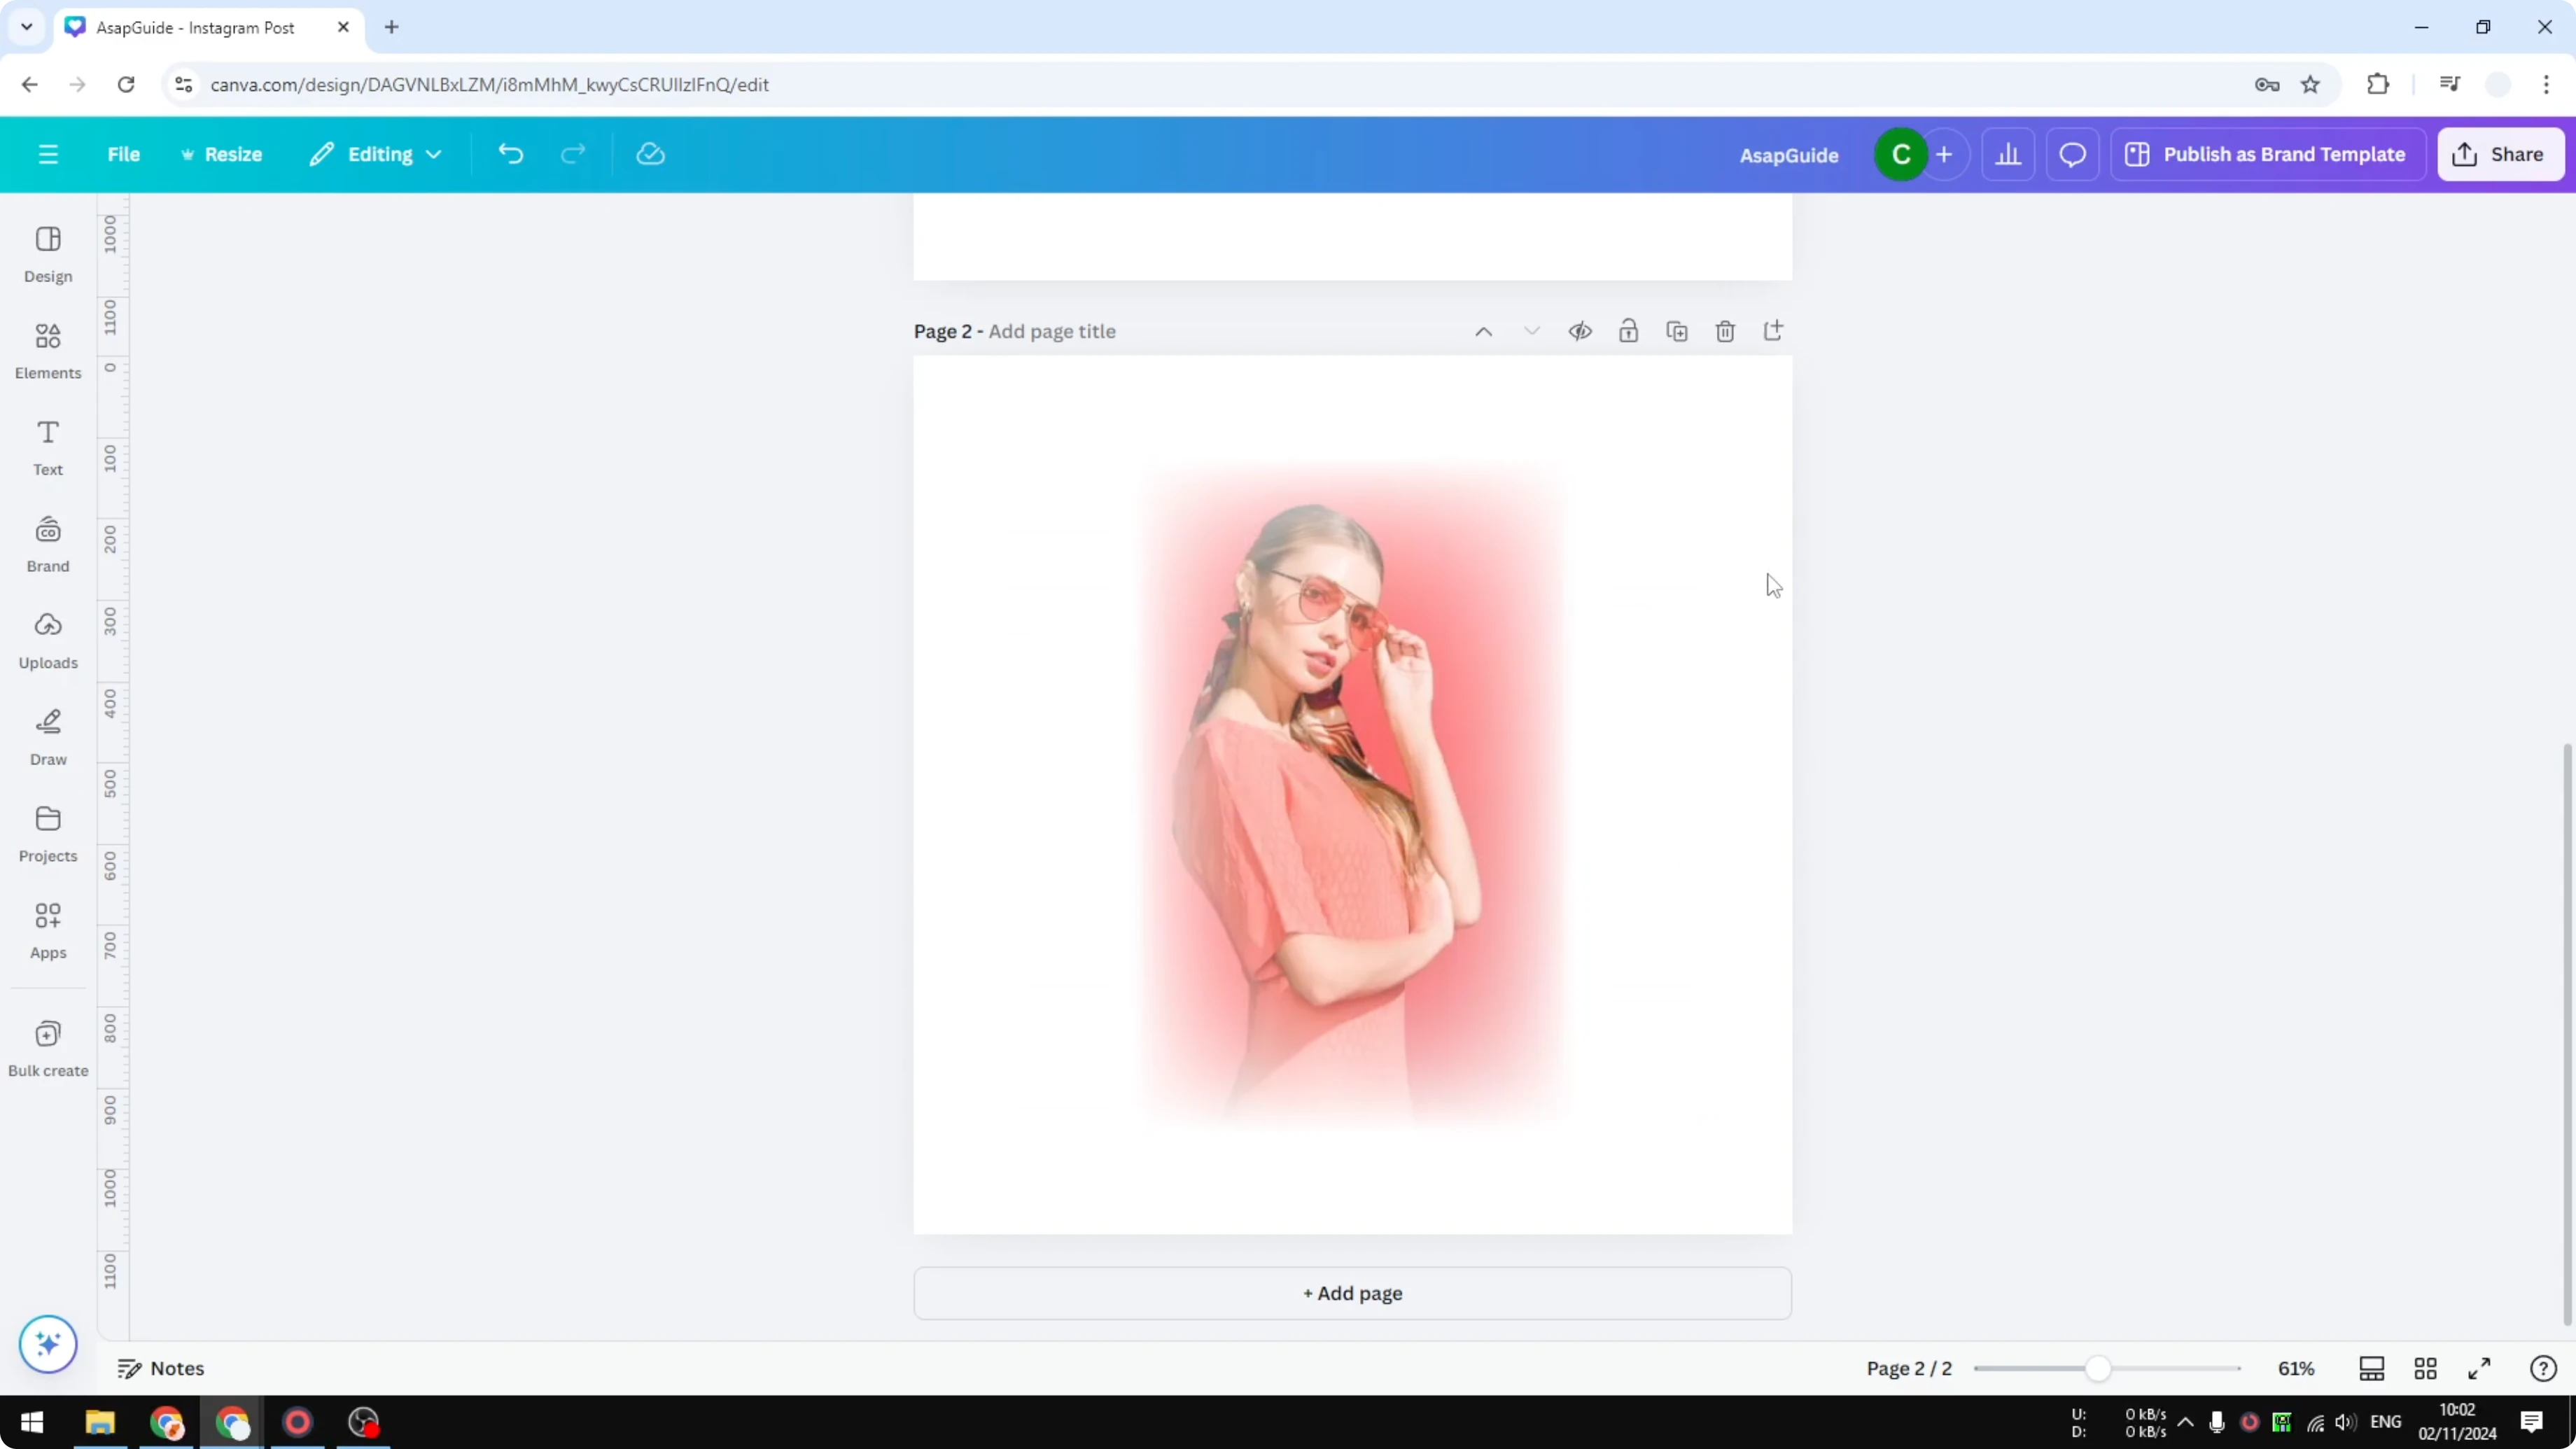
Blend complete
At this point the photo blends into the background. That is how you can get this effect in Canva.
Read More: Add a person into a photo in Canva
Final thoughts
This method uses simple gradient graphics placed on each side of the photo. A few 1 pixel nudges with the arrow keys remove any visible lines and complete the blend. It works for any background color as long as you search for the matching gradient.
Recent Posts
How to Visualize Yourself as a Pixelized Character with AI?
How to Visualize Yourself as a Pixelized Character with AI?

How to Revive Faded Memories and Enhance Image Clarity with AI?
How to Revive Faded Memories and Enhance Image Clarity with AI?

How to Visualize Yourself as an Animal Crossing Character with AI?
How to Visualize Yourself as an Animal Crossing Character with AI?