How to Nudge Objects in Canva
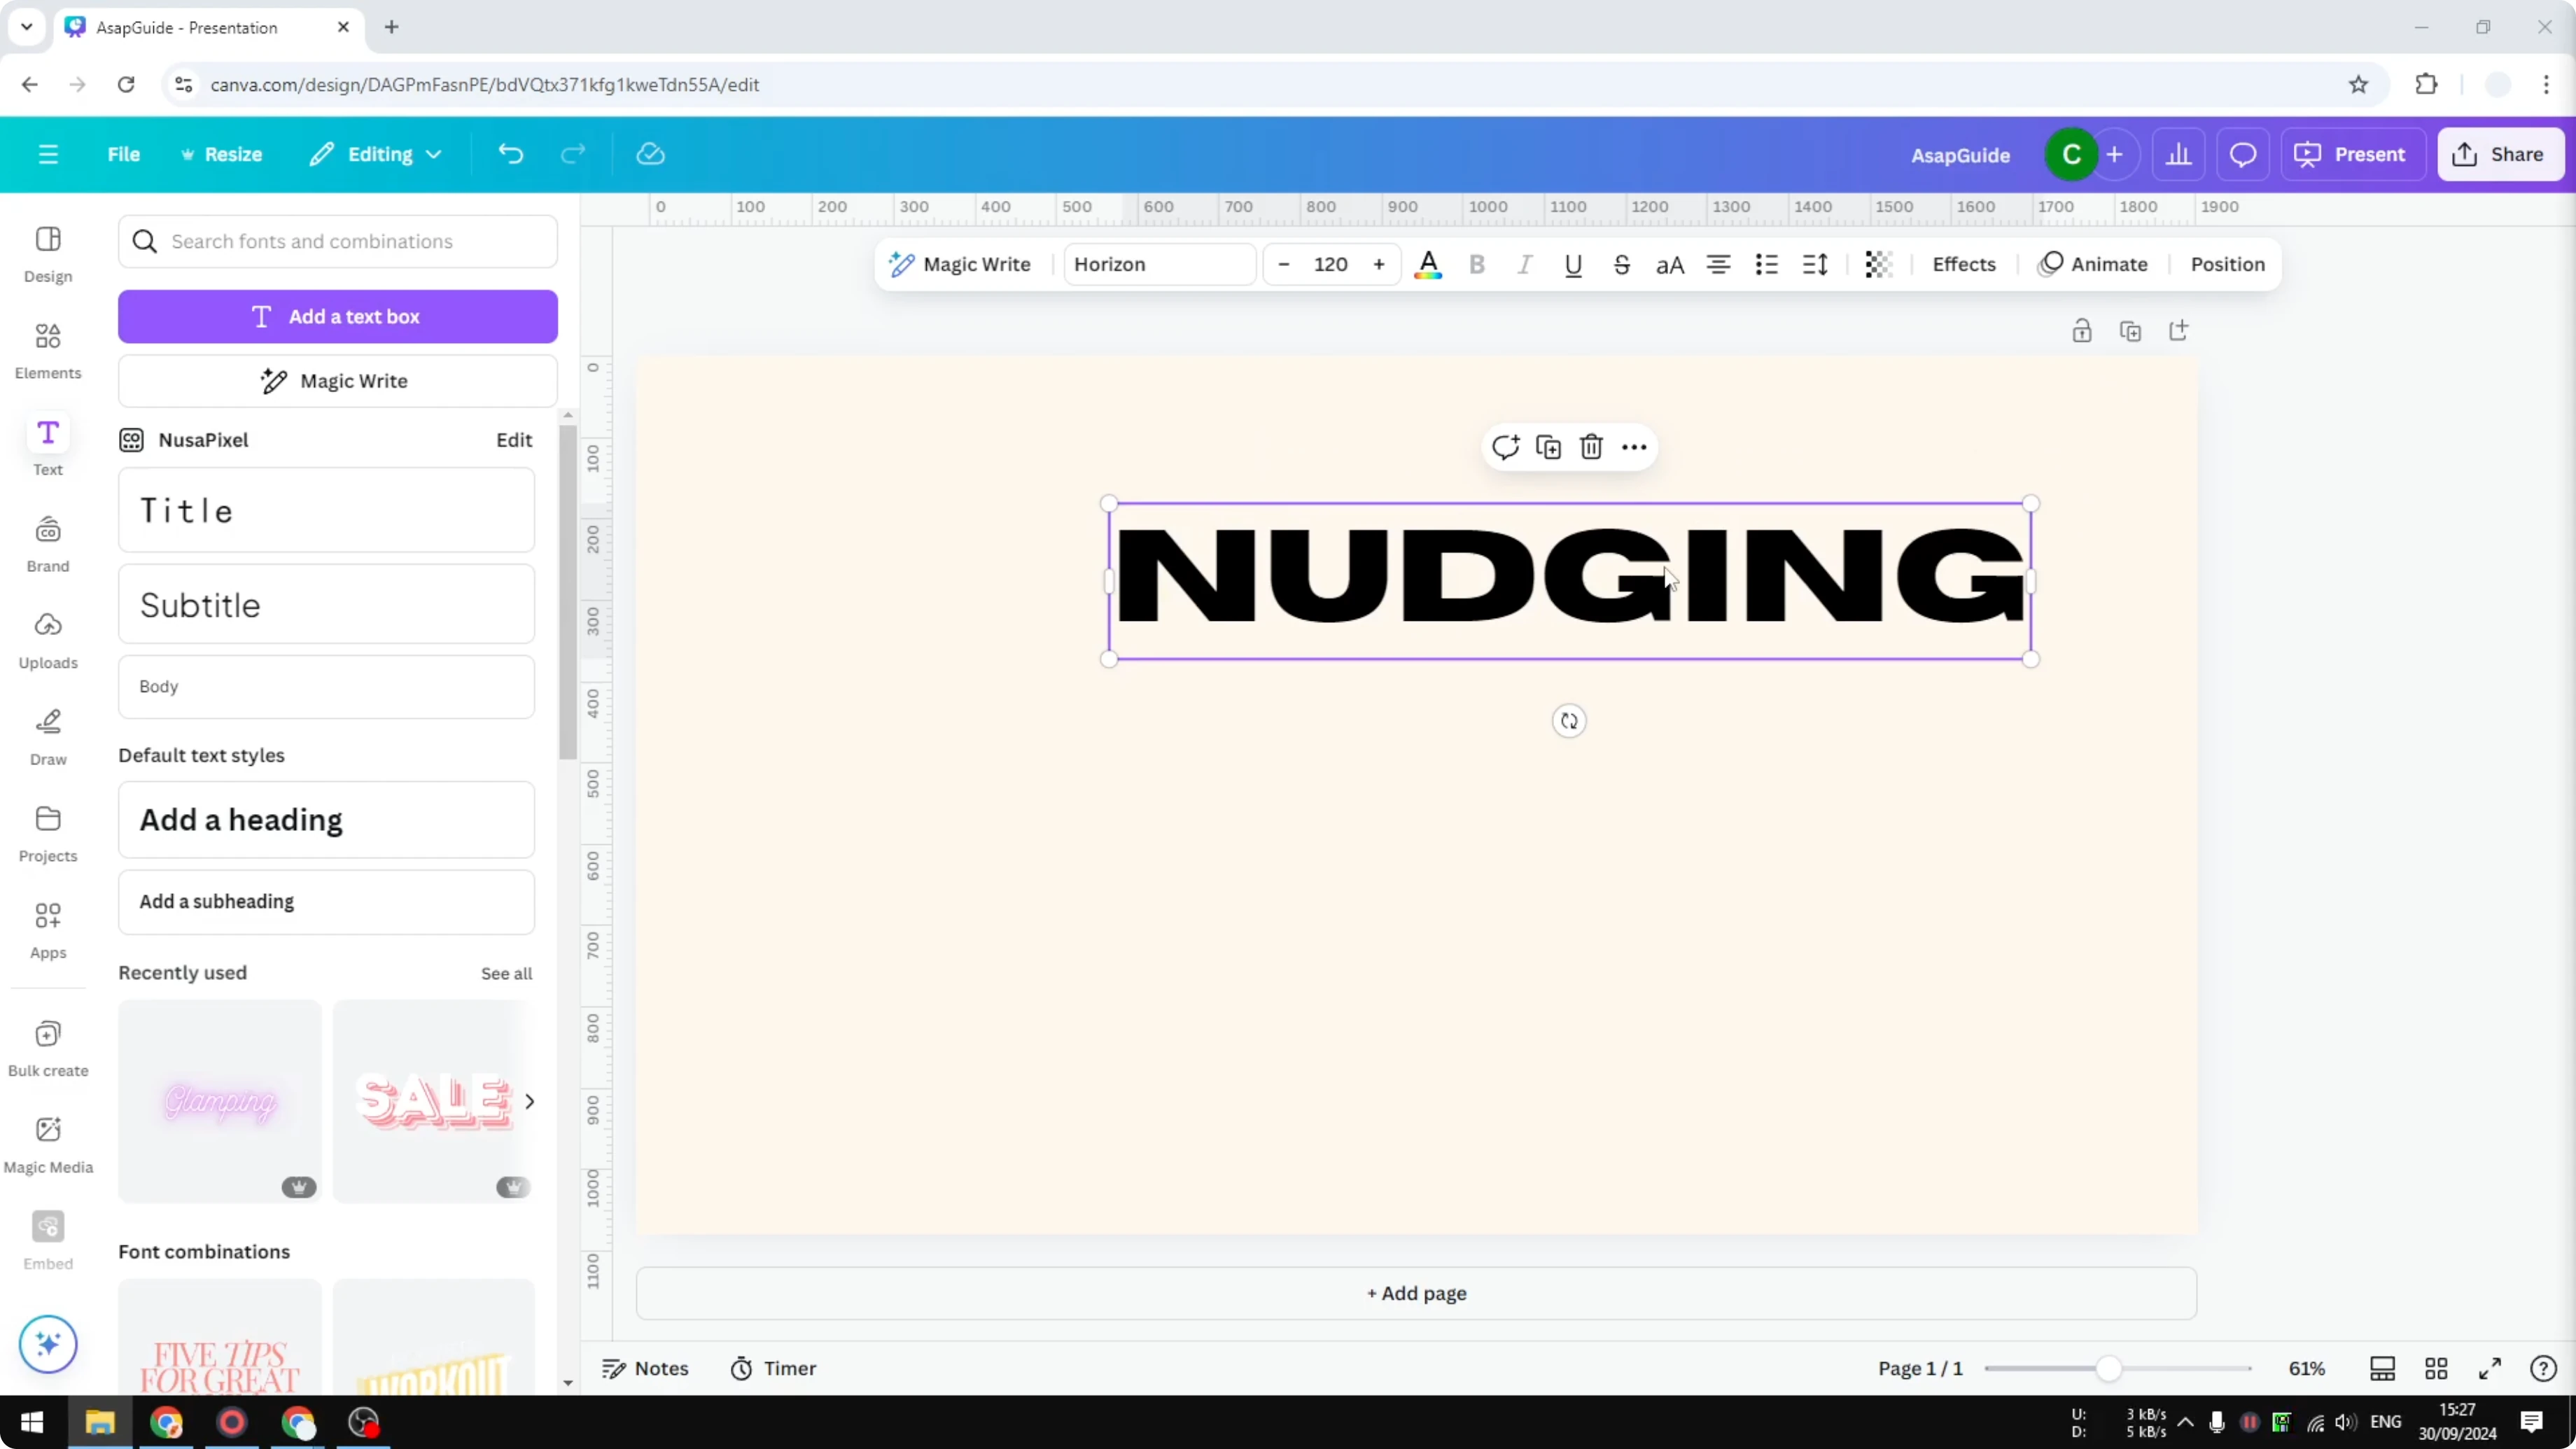
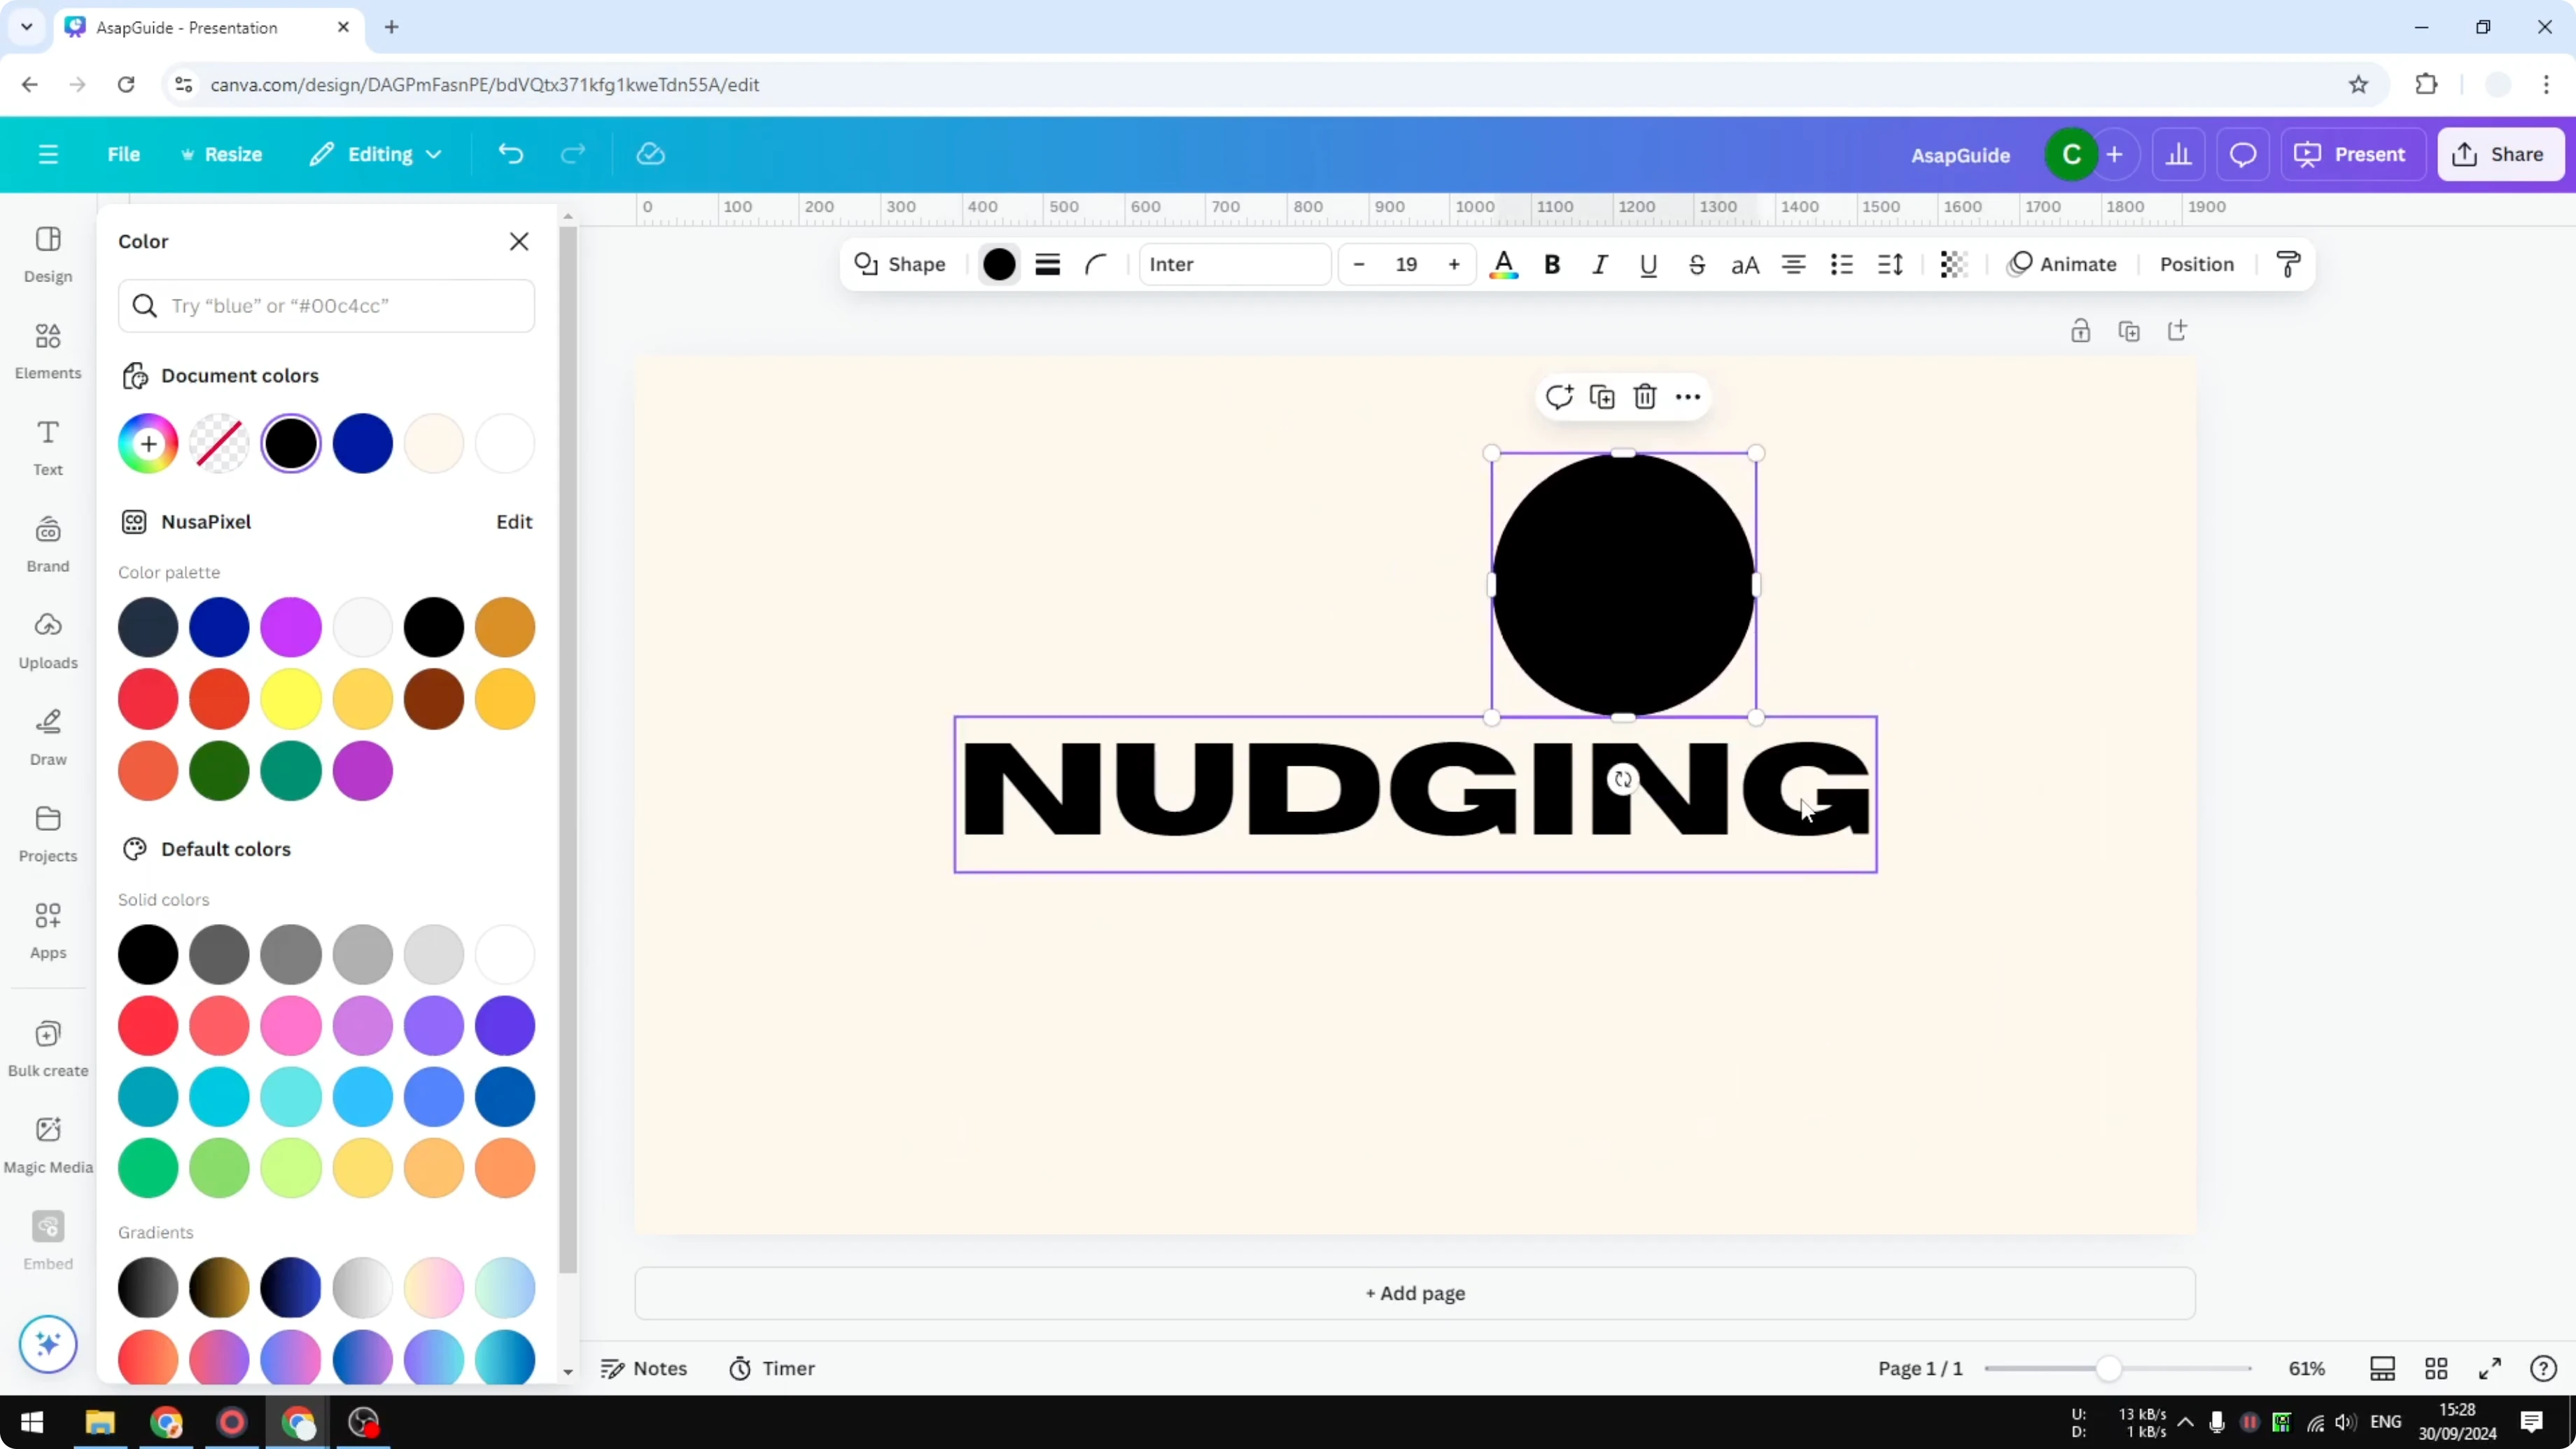
Nudging is essentially moving an object into the most appropriate position in your design. I use it to draw attention to key elements and place them right where they need to be. For example, I have a text box that says nudging, and I want it centered to make it the focus.
When I am working with text, I sometimes need special characters too. If you need accents for names or headlines, you can add accent marks in Canva and keep your typography consistent.
Nudge Objects in Canva basics
To nudge an object, you have to select it first. If you have multiple objects, you can use the cursor to select them or hold the Shift key to select multiple objects and move them together. Selecting the right objects first makes precise placement easier.

Built in guides for Nudge Objects in Canva
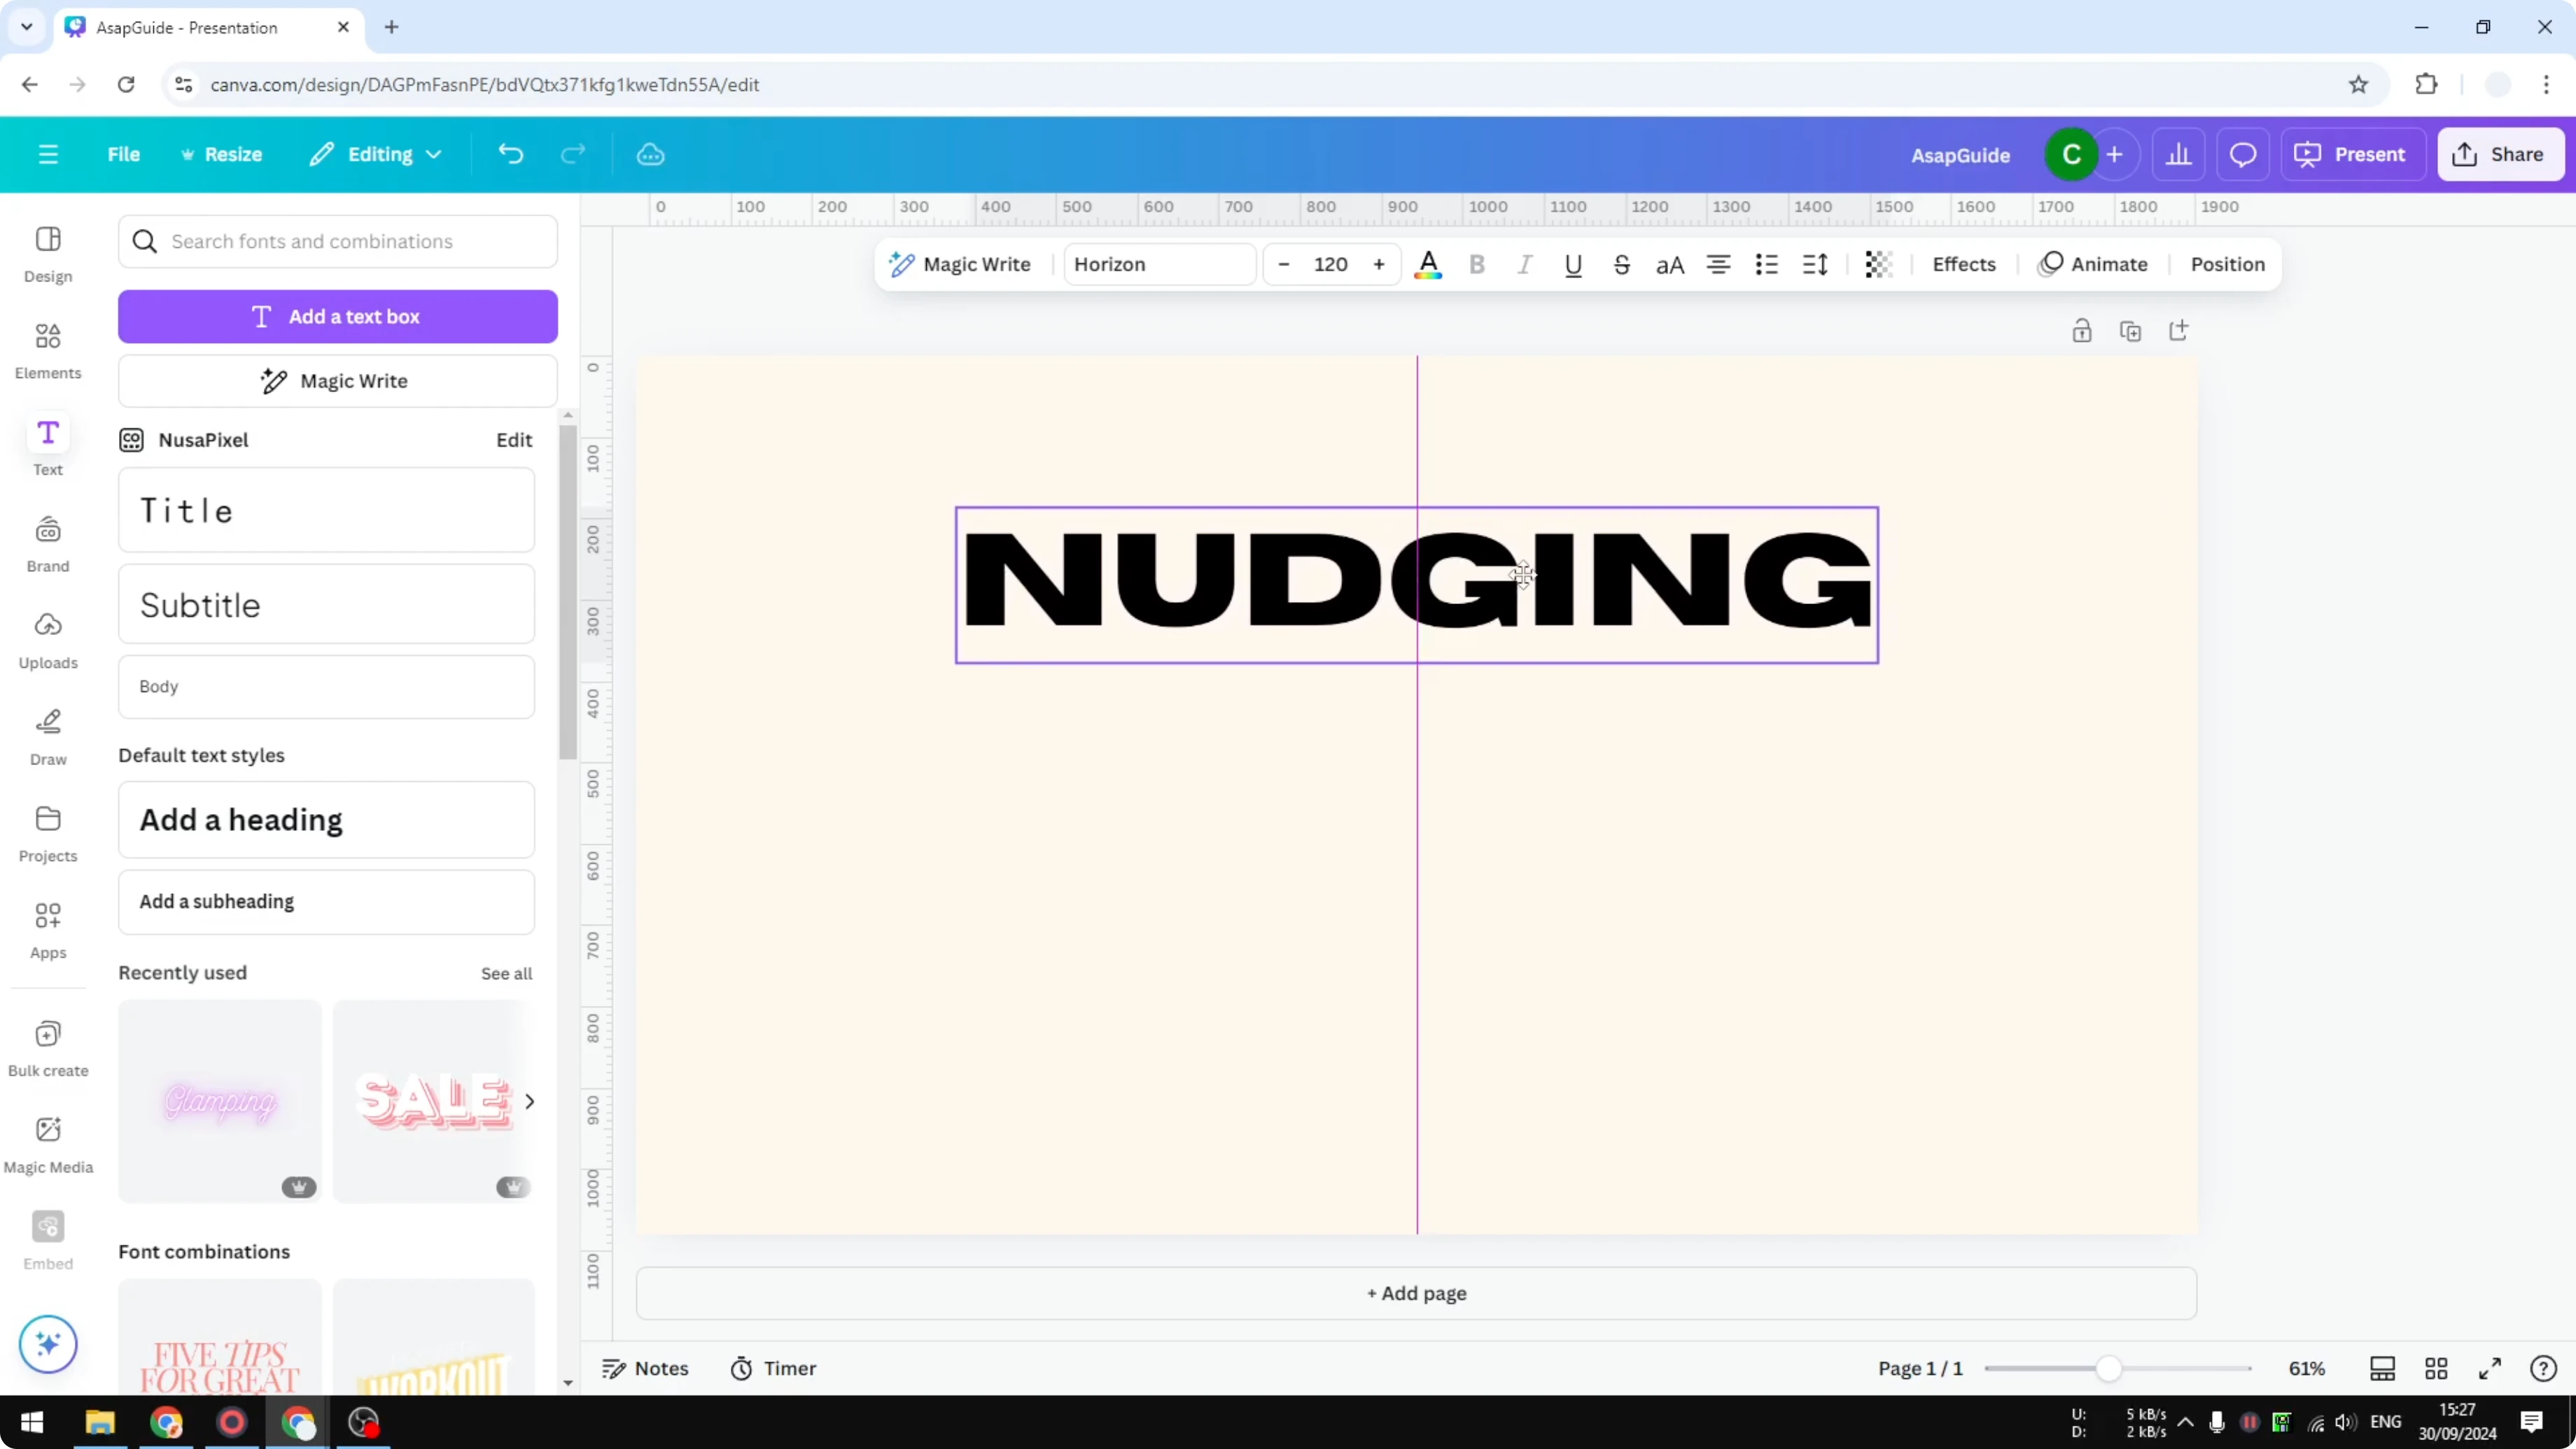
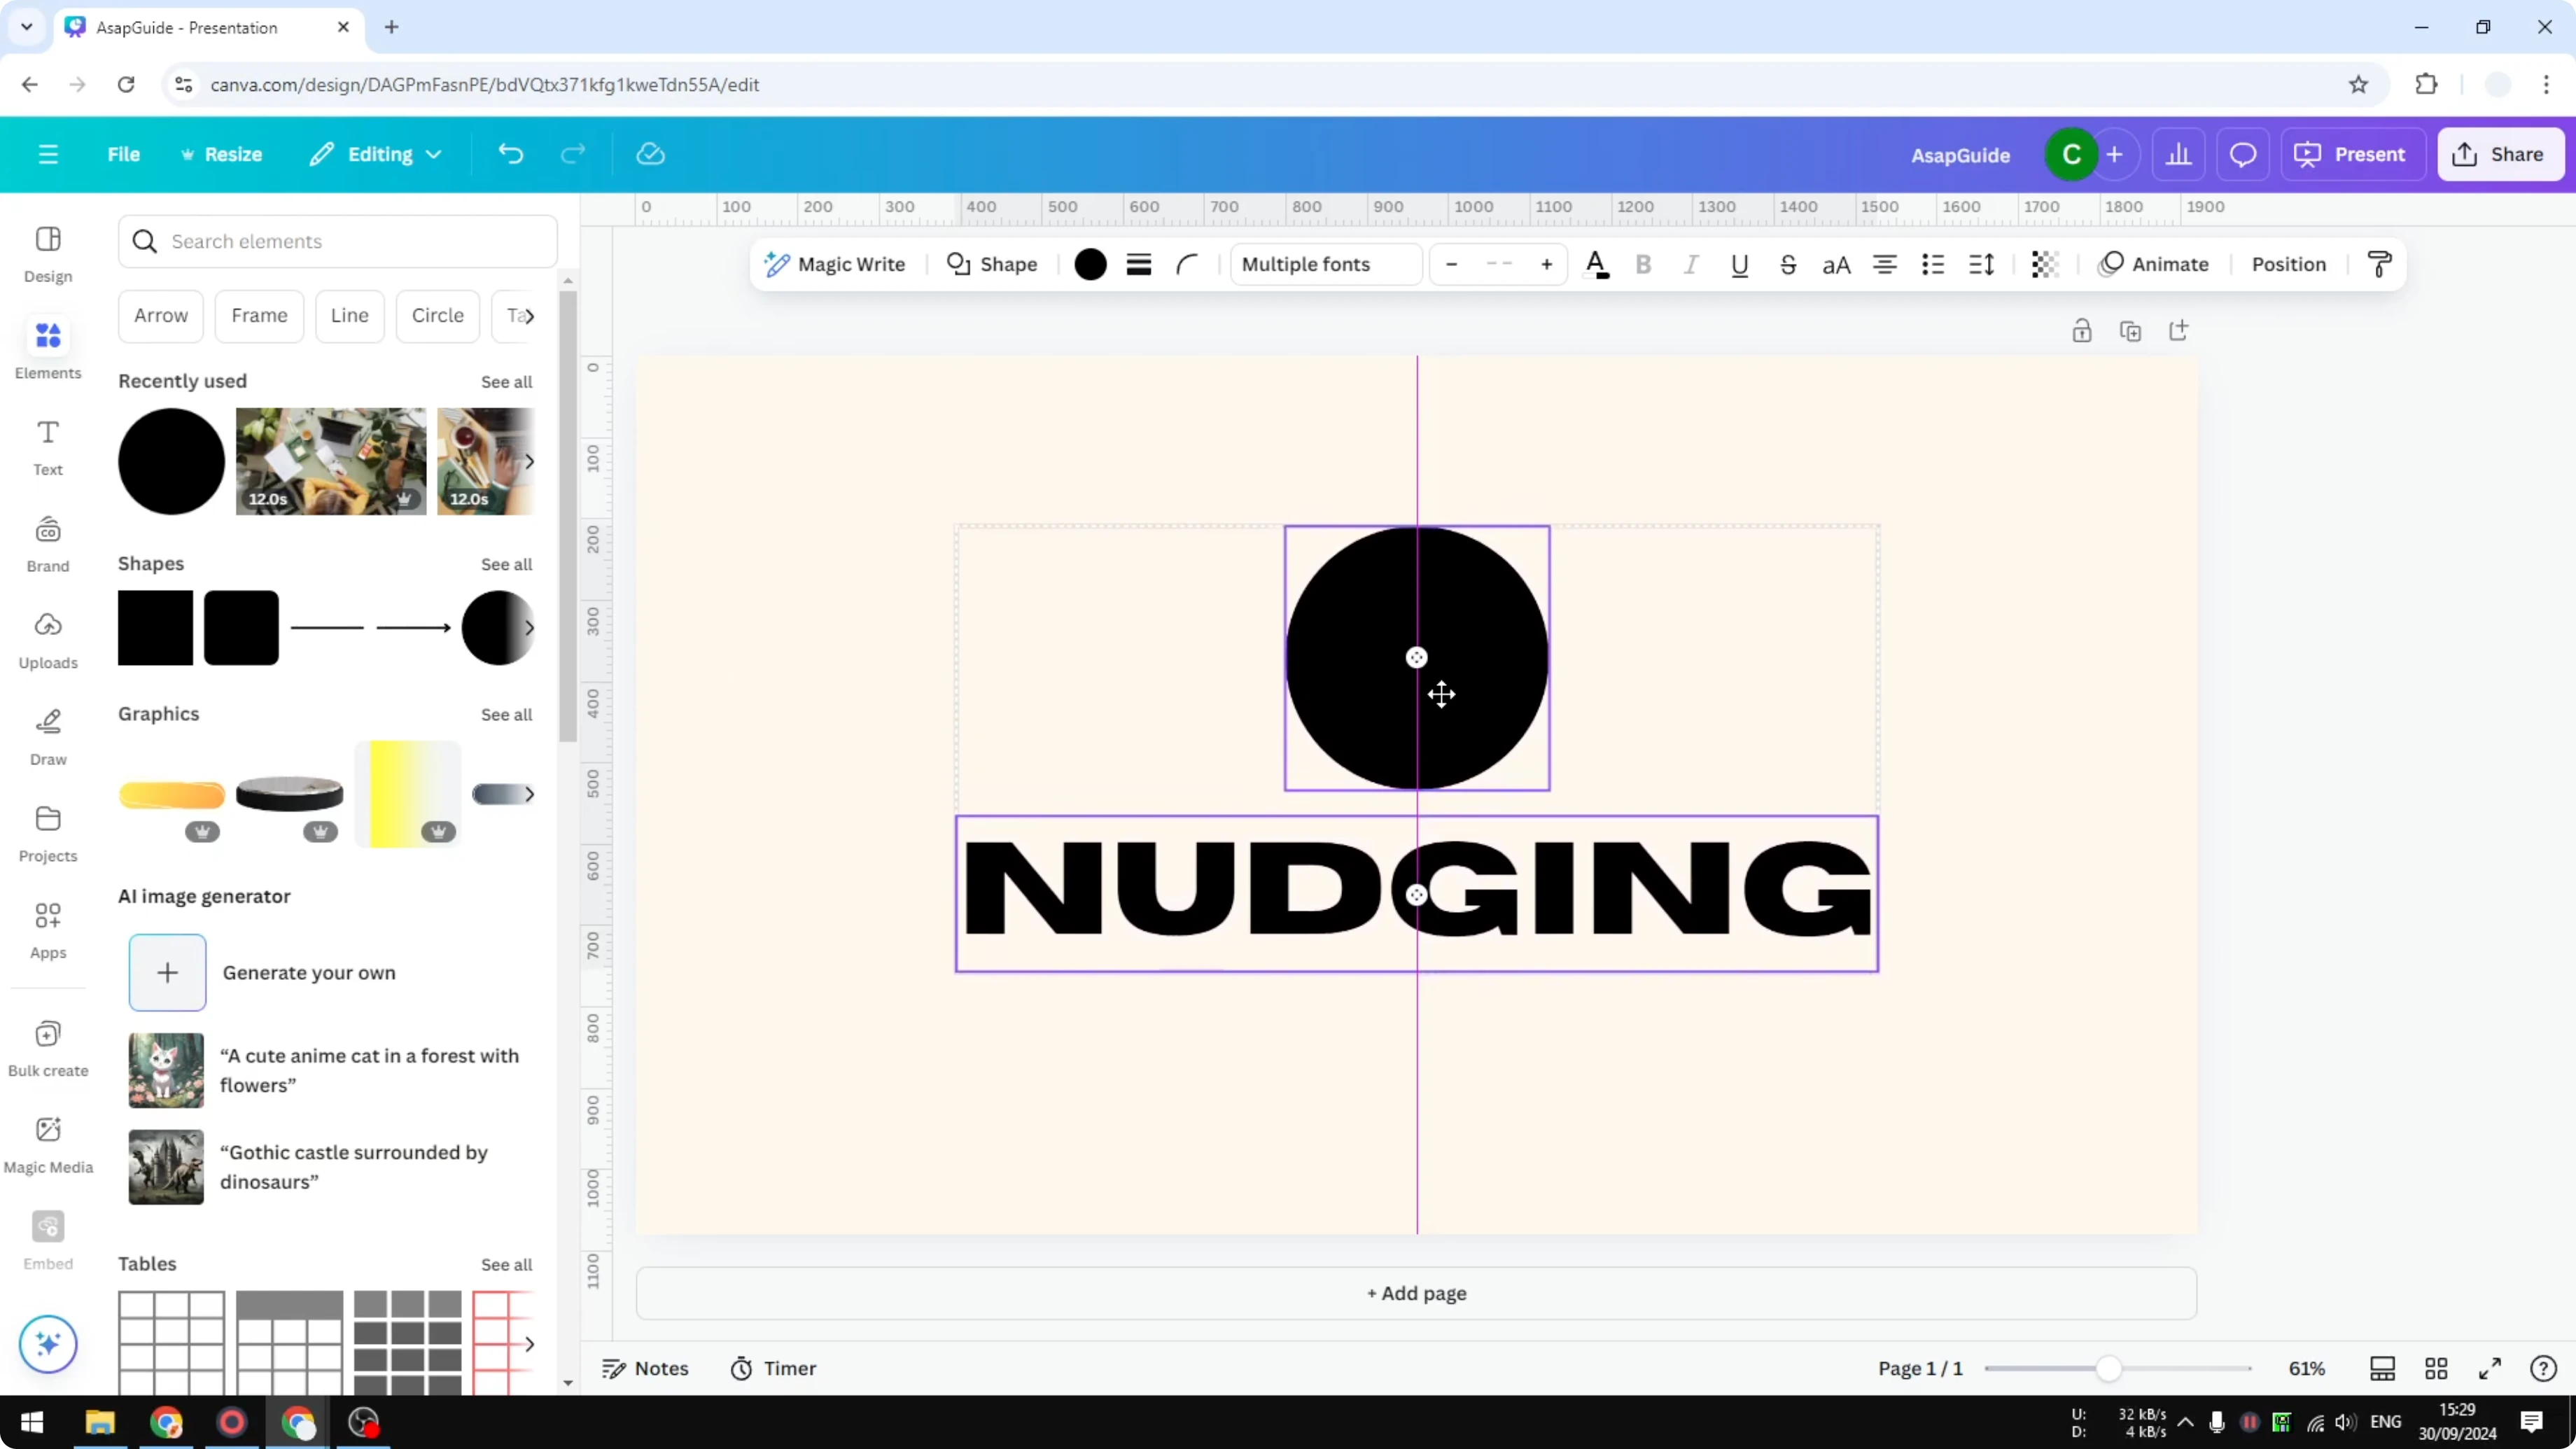
Click and drag your object toward the middle of the canvas. You will see a vertical line that acts as a guide so you can place the object precisely in the center. You can also align it slightly toward the bottom or top while keeping it centered.
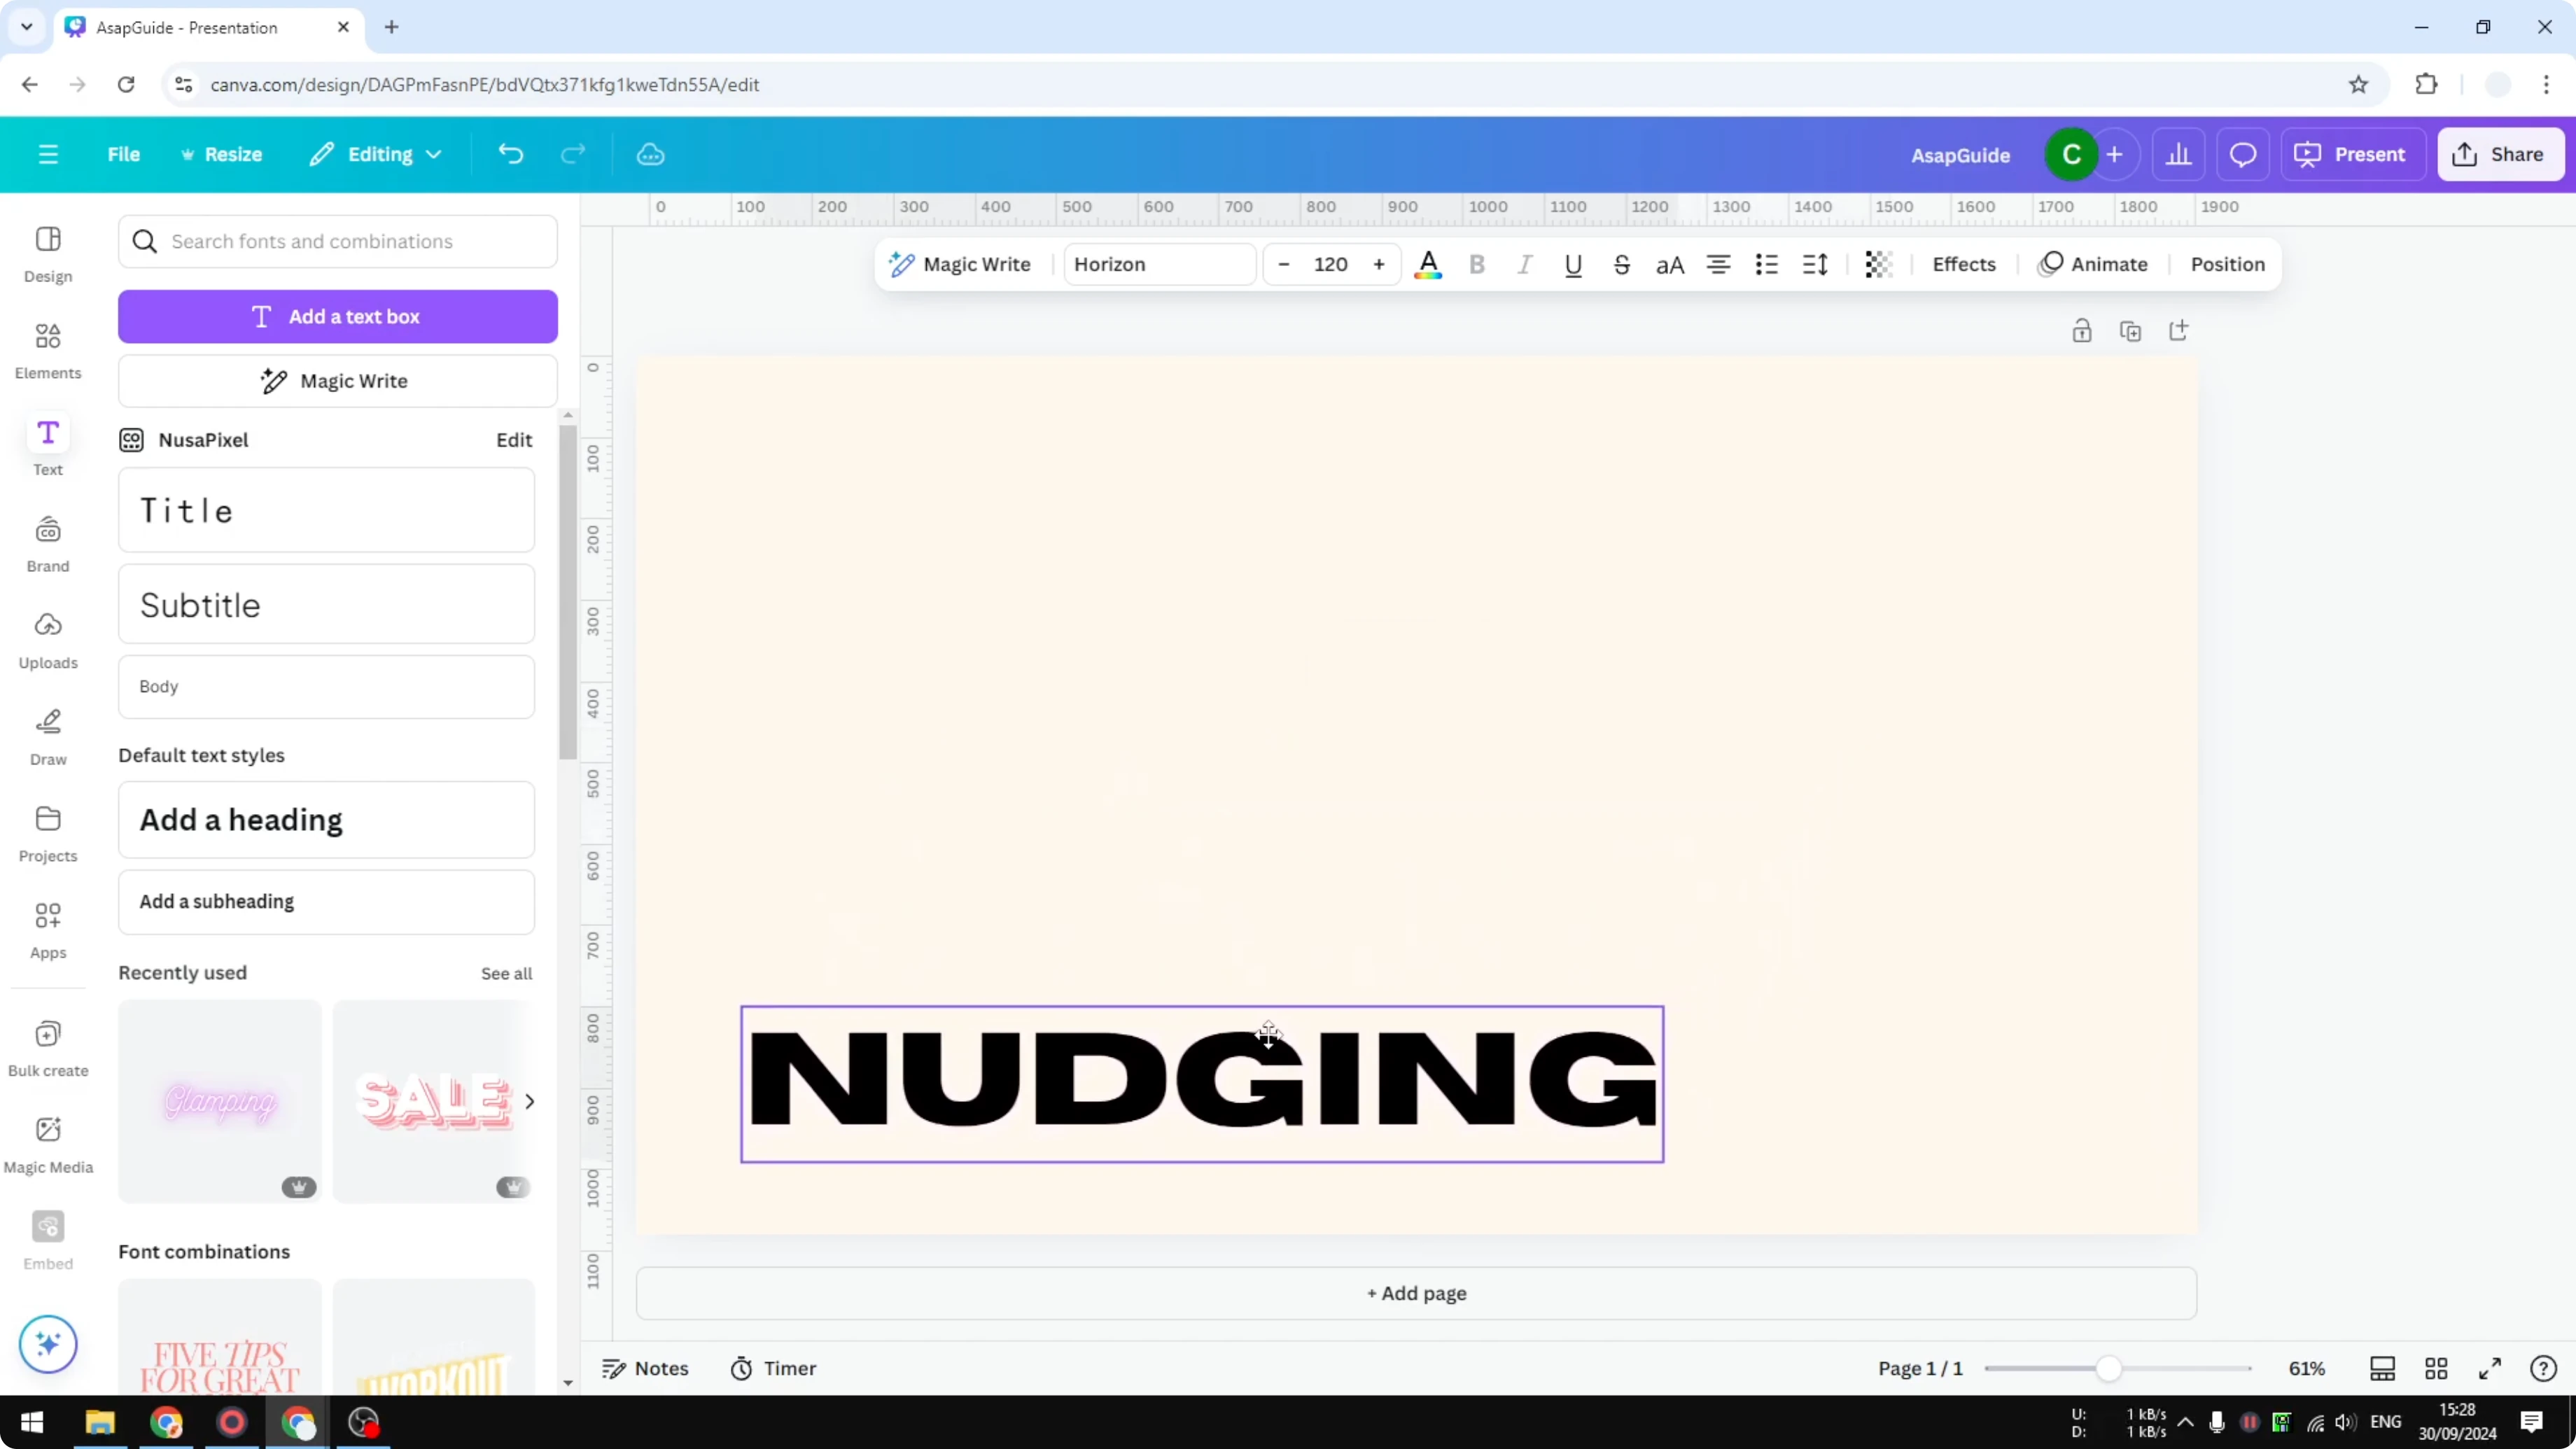
You can move the object toward either side of the canvas and still catch helpful alignment cues. Sometimes you will notice a square or rectangular guide that encourages balanced placement toward the center. These default guides in Canva make accurate nudging straightforward.
Multiple elements and Nudge Objects in Canva
If you add another element, like a circle with the same color as your text, you can place it in relation to the text. You can align it to the middle, position it above, or match it to a horizontal or vertical line. The alignment lines depend on the nearby objects, which is very useful when working with many elements.
If you need more than alignment lines, spacing is another key detail for tidy layouts. For consistent gaps between items, you can space objects evenly in Canva and keep everything balanced.
Add extra guides for Nudge Objects in Canva
You can add more guides to get even more precise control. This is helpful when your layout has many objects and you want a consistent grid to nudge into place. Adding guides gives you predictable anchor points across the canvas.
Grid setup
Open the File menu
Click Settings
Click Add guides
Choose 12 columns, 3 columns, or 3x3 grids, or set custom guides
Click Add guides
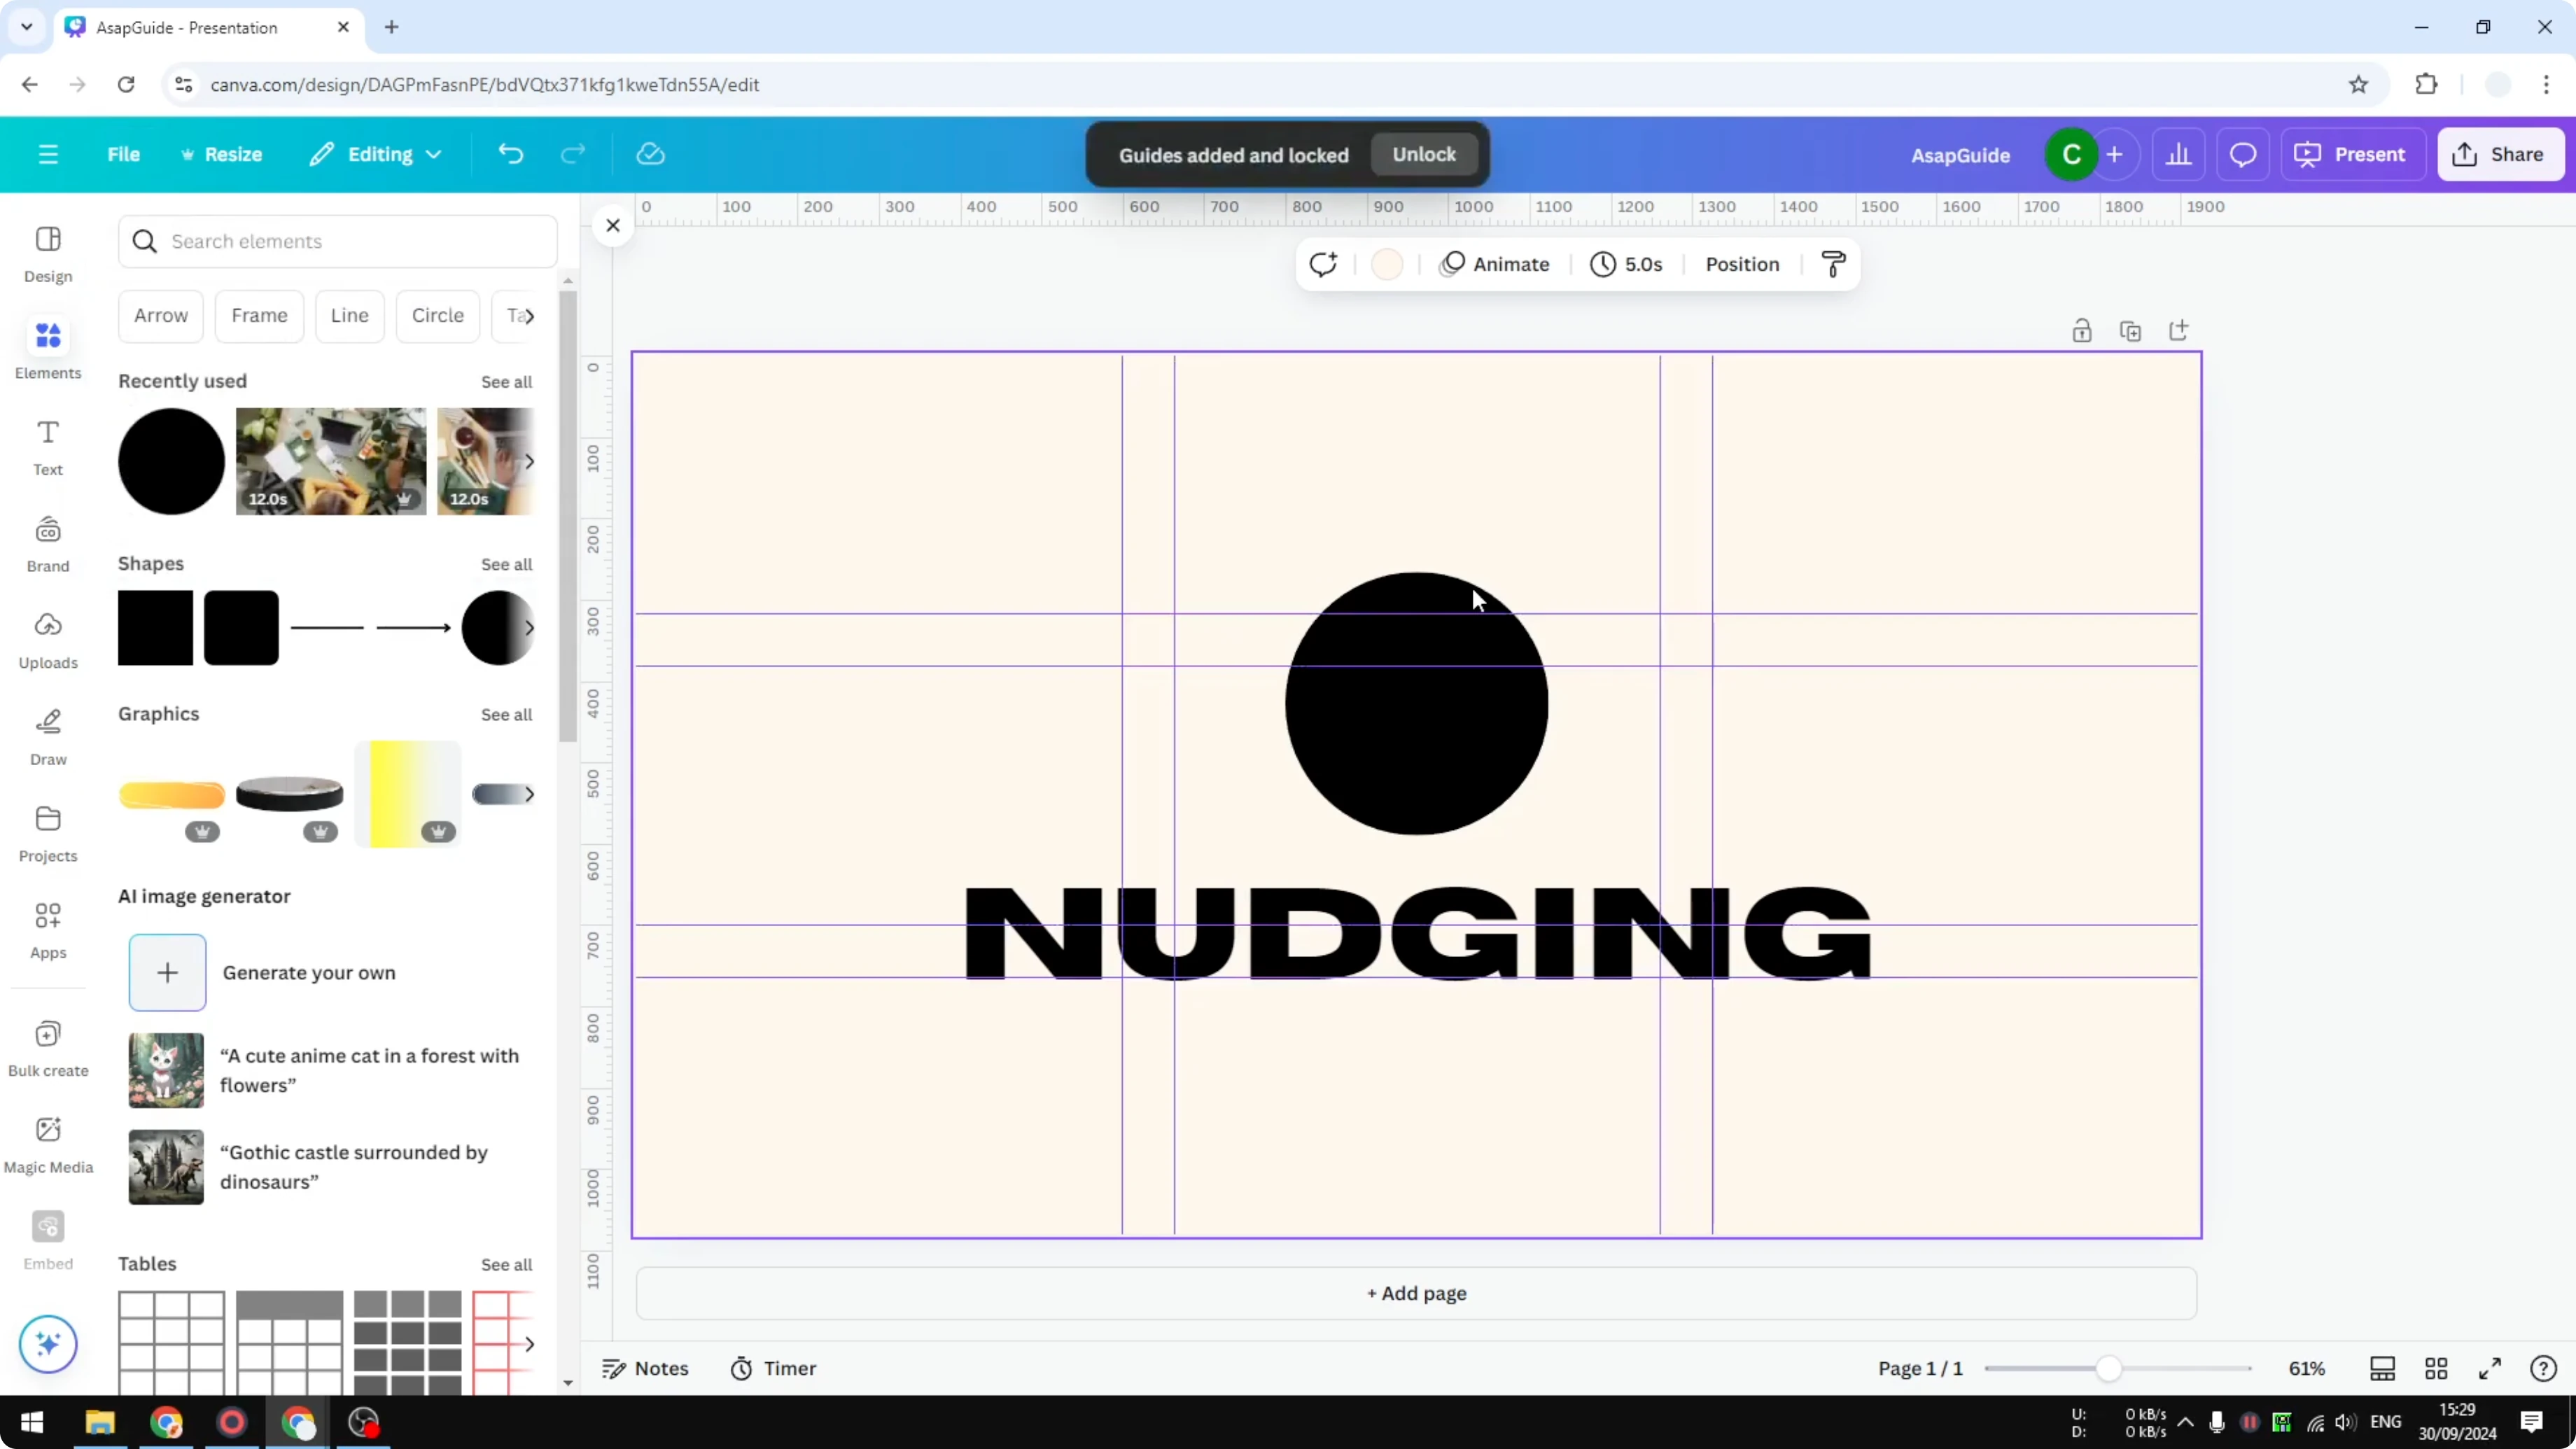
After adding guides, select an object and move it toward a grid intersection or line. The alignment becomes clearer and it is easy to nudge the object to a specific area. This is useful when you want a structured layout with consistent visual rhythm.

If you are working on product visuals or mockups, precise nudging helps with more complex compositions too. You can apply these same alignment habits when you create a 3D book cover in Canva for clean, centered titles and elements.
Final thoughts on Nudge Objects in Canva
That is the basic approach to nudging in Canva. Select your object, follow the guides, and place elements in relation to each other for clear visual hierarchy. With added guides and alignment lines, you can bring attention to the main content and keep your design clean.
Recent Posts

How AI Can Perfect Photos by Opening Closed Eyes Naturally?
How AI Can Perfect Photos by Opening Closed Eyes Naturally?
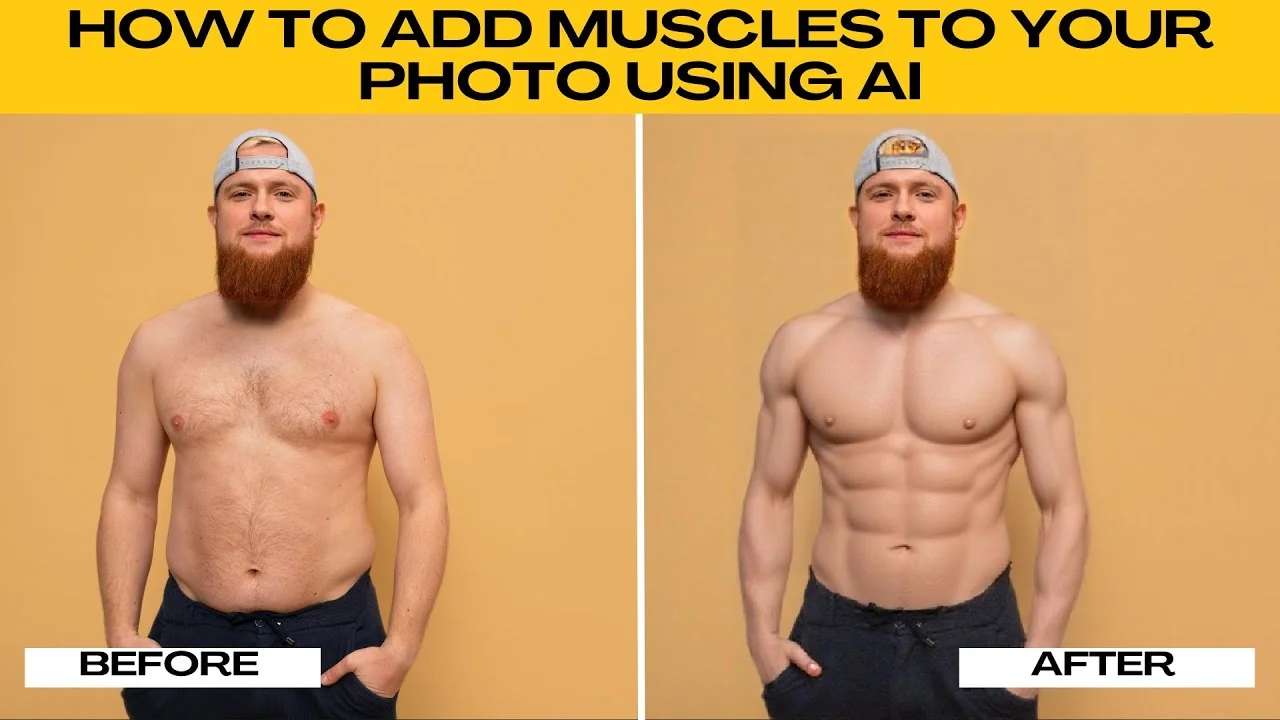
How to Build Muscle Visually and Enhance Your Body Tone with AI?
How to Build Muscle Visually and Enhance Your Body Tone with AI?
How to Make Someone Look Older or Younger Using AI?
How to Make Someone Look Older or Younger Using AI?