How to Make a Stencil in Canva

I’m going to show you how to make a stencil in Canva. If you print text and try to cut a stencil, letters like A and B have holes in the middle. You cannot leave those inner shapes floating, so you need to connect them to the rest of the paper.
That is the trickiest part of creating a stencil in Canva, but there is a workaround.
Manual bridges to Make a Stencil in Canva
Prepare shapes - Make a Stencil in Canva
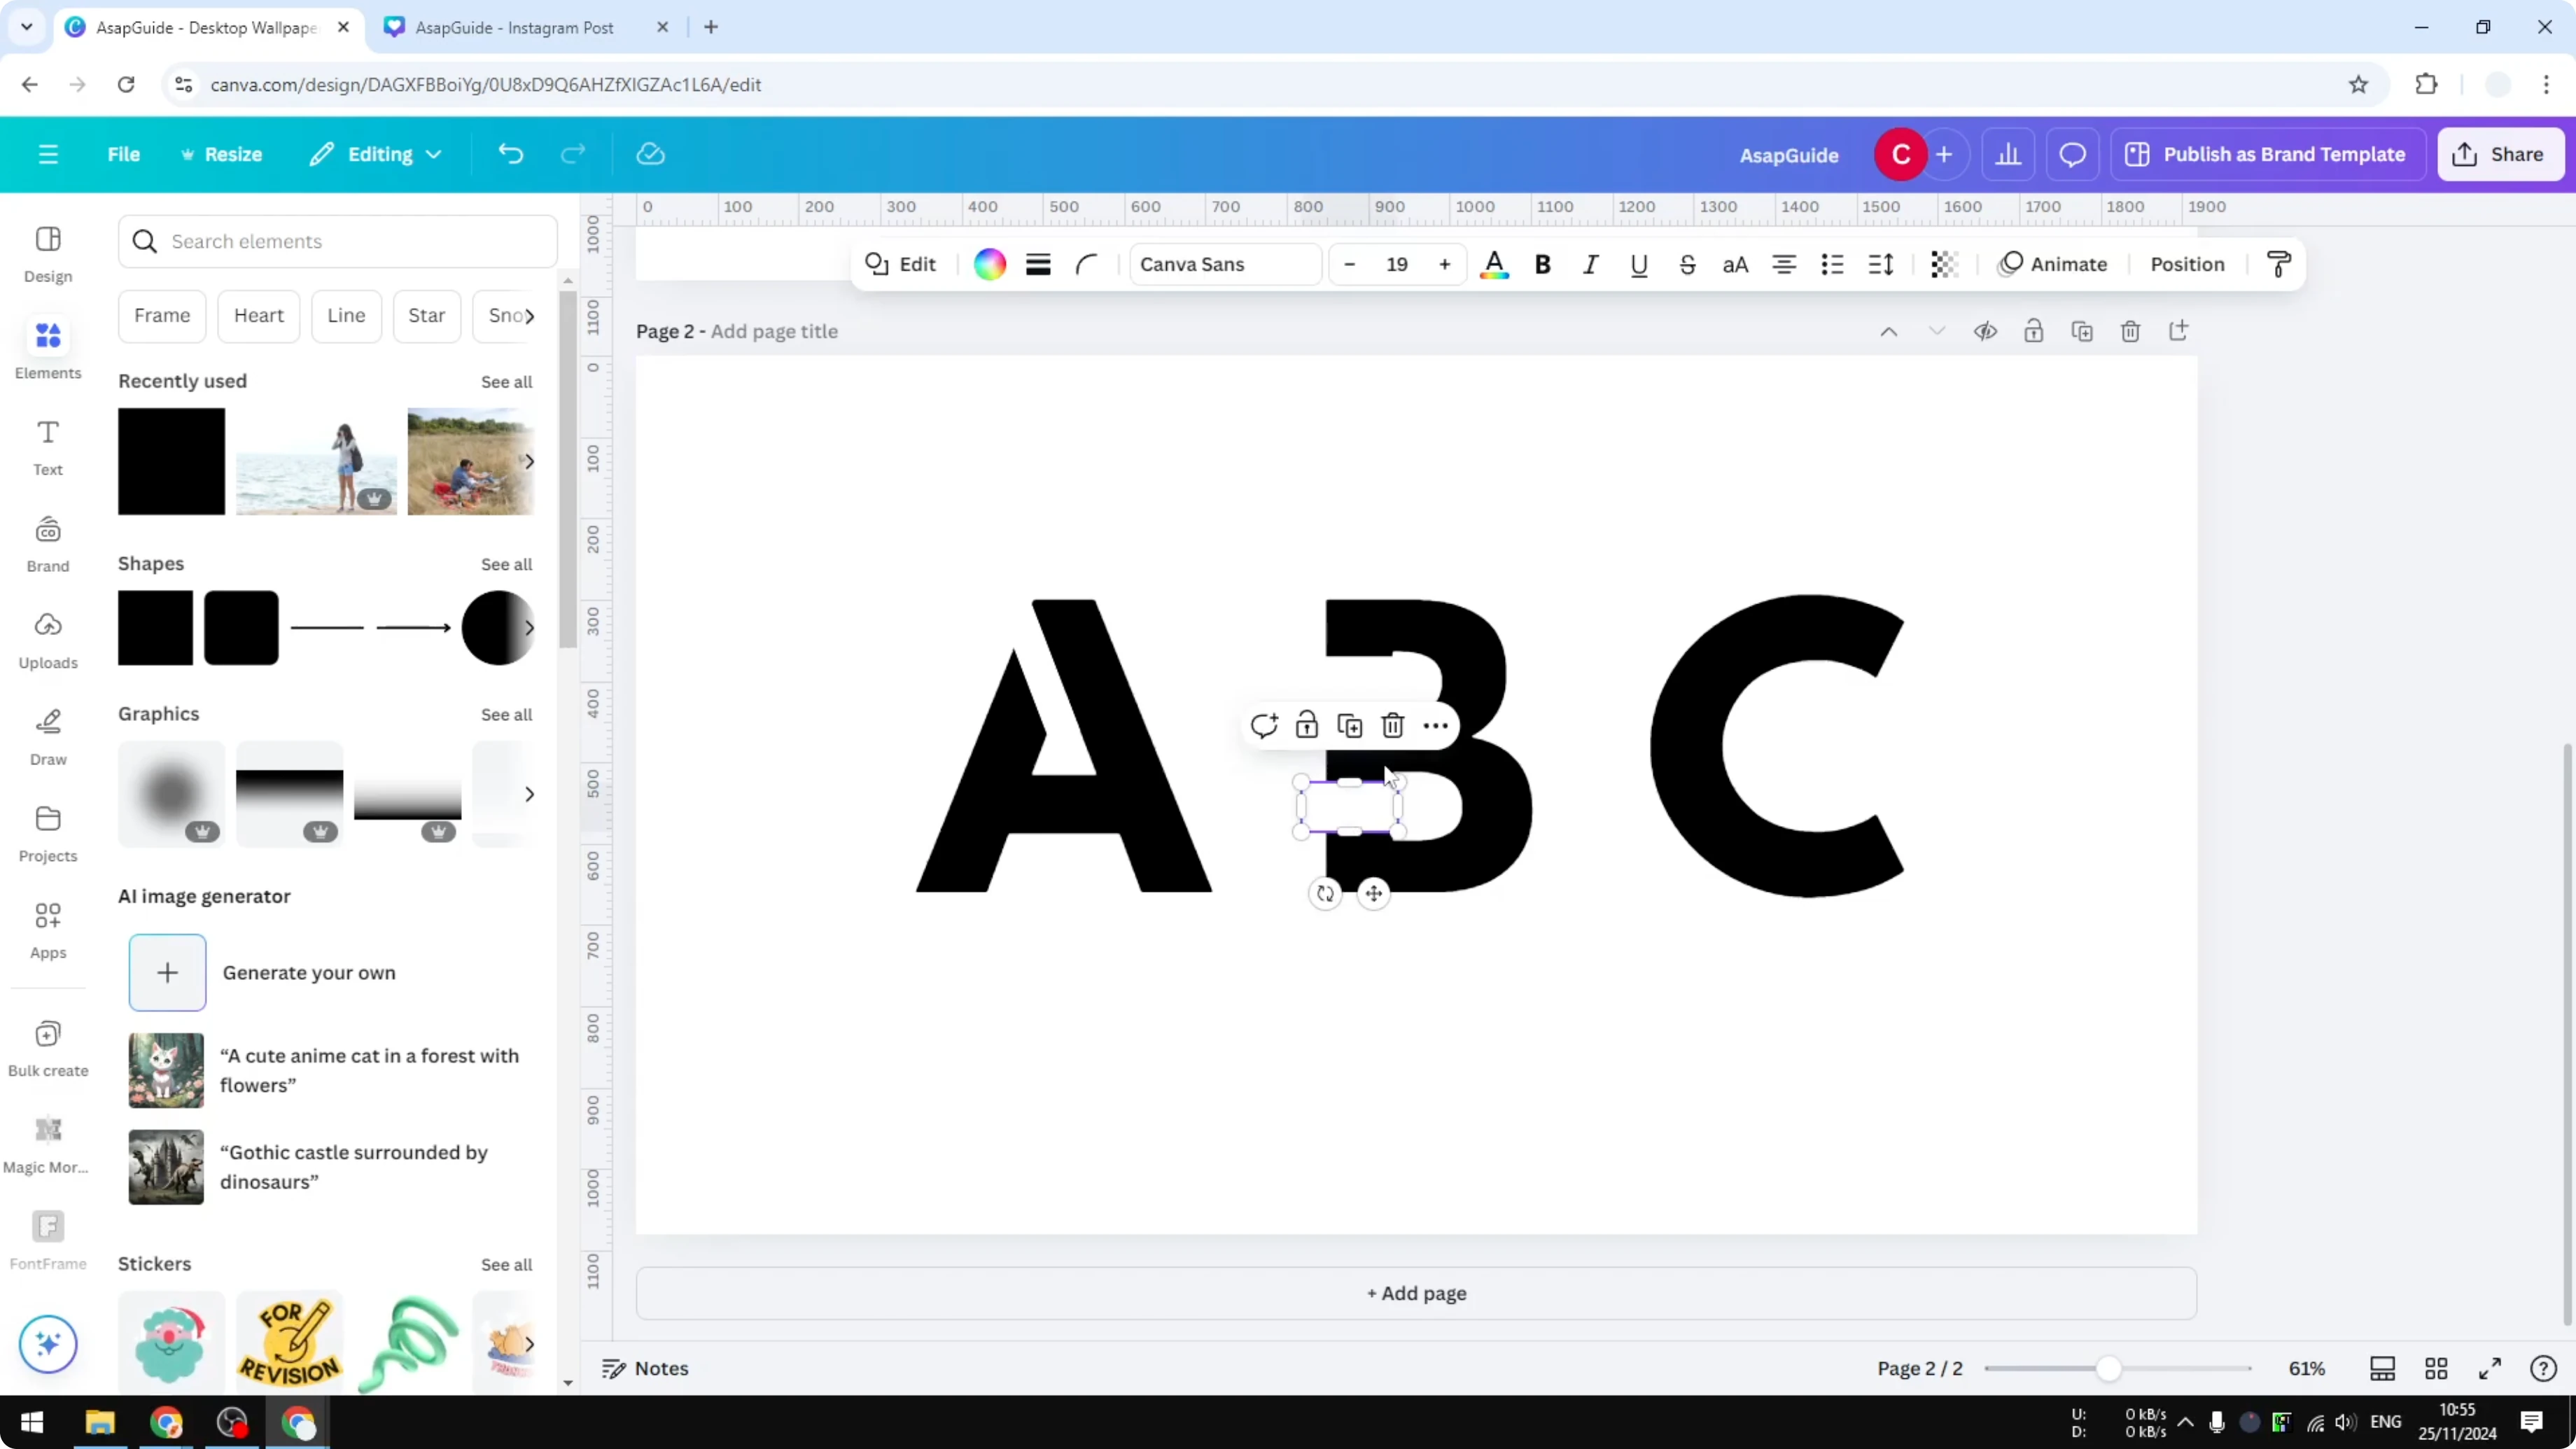
Click Elements.
Click Shapes and choose a rectangle.
Make the rectangle very thin.
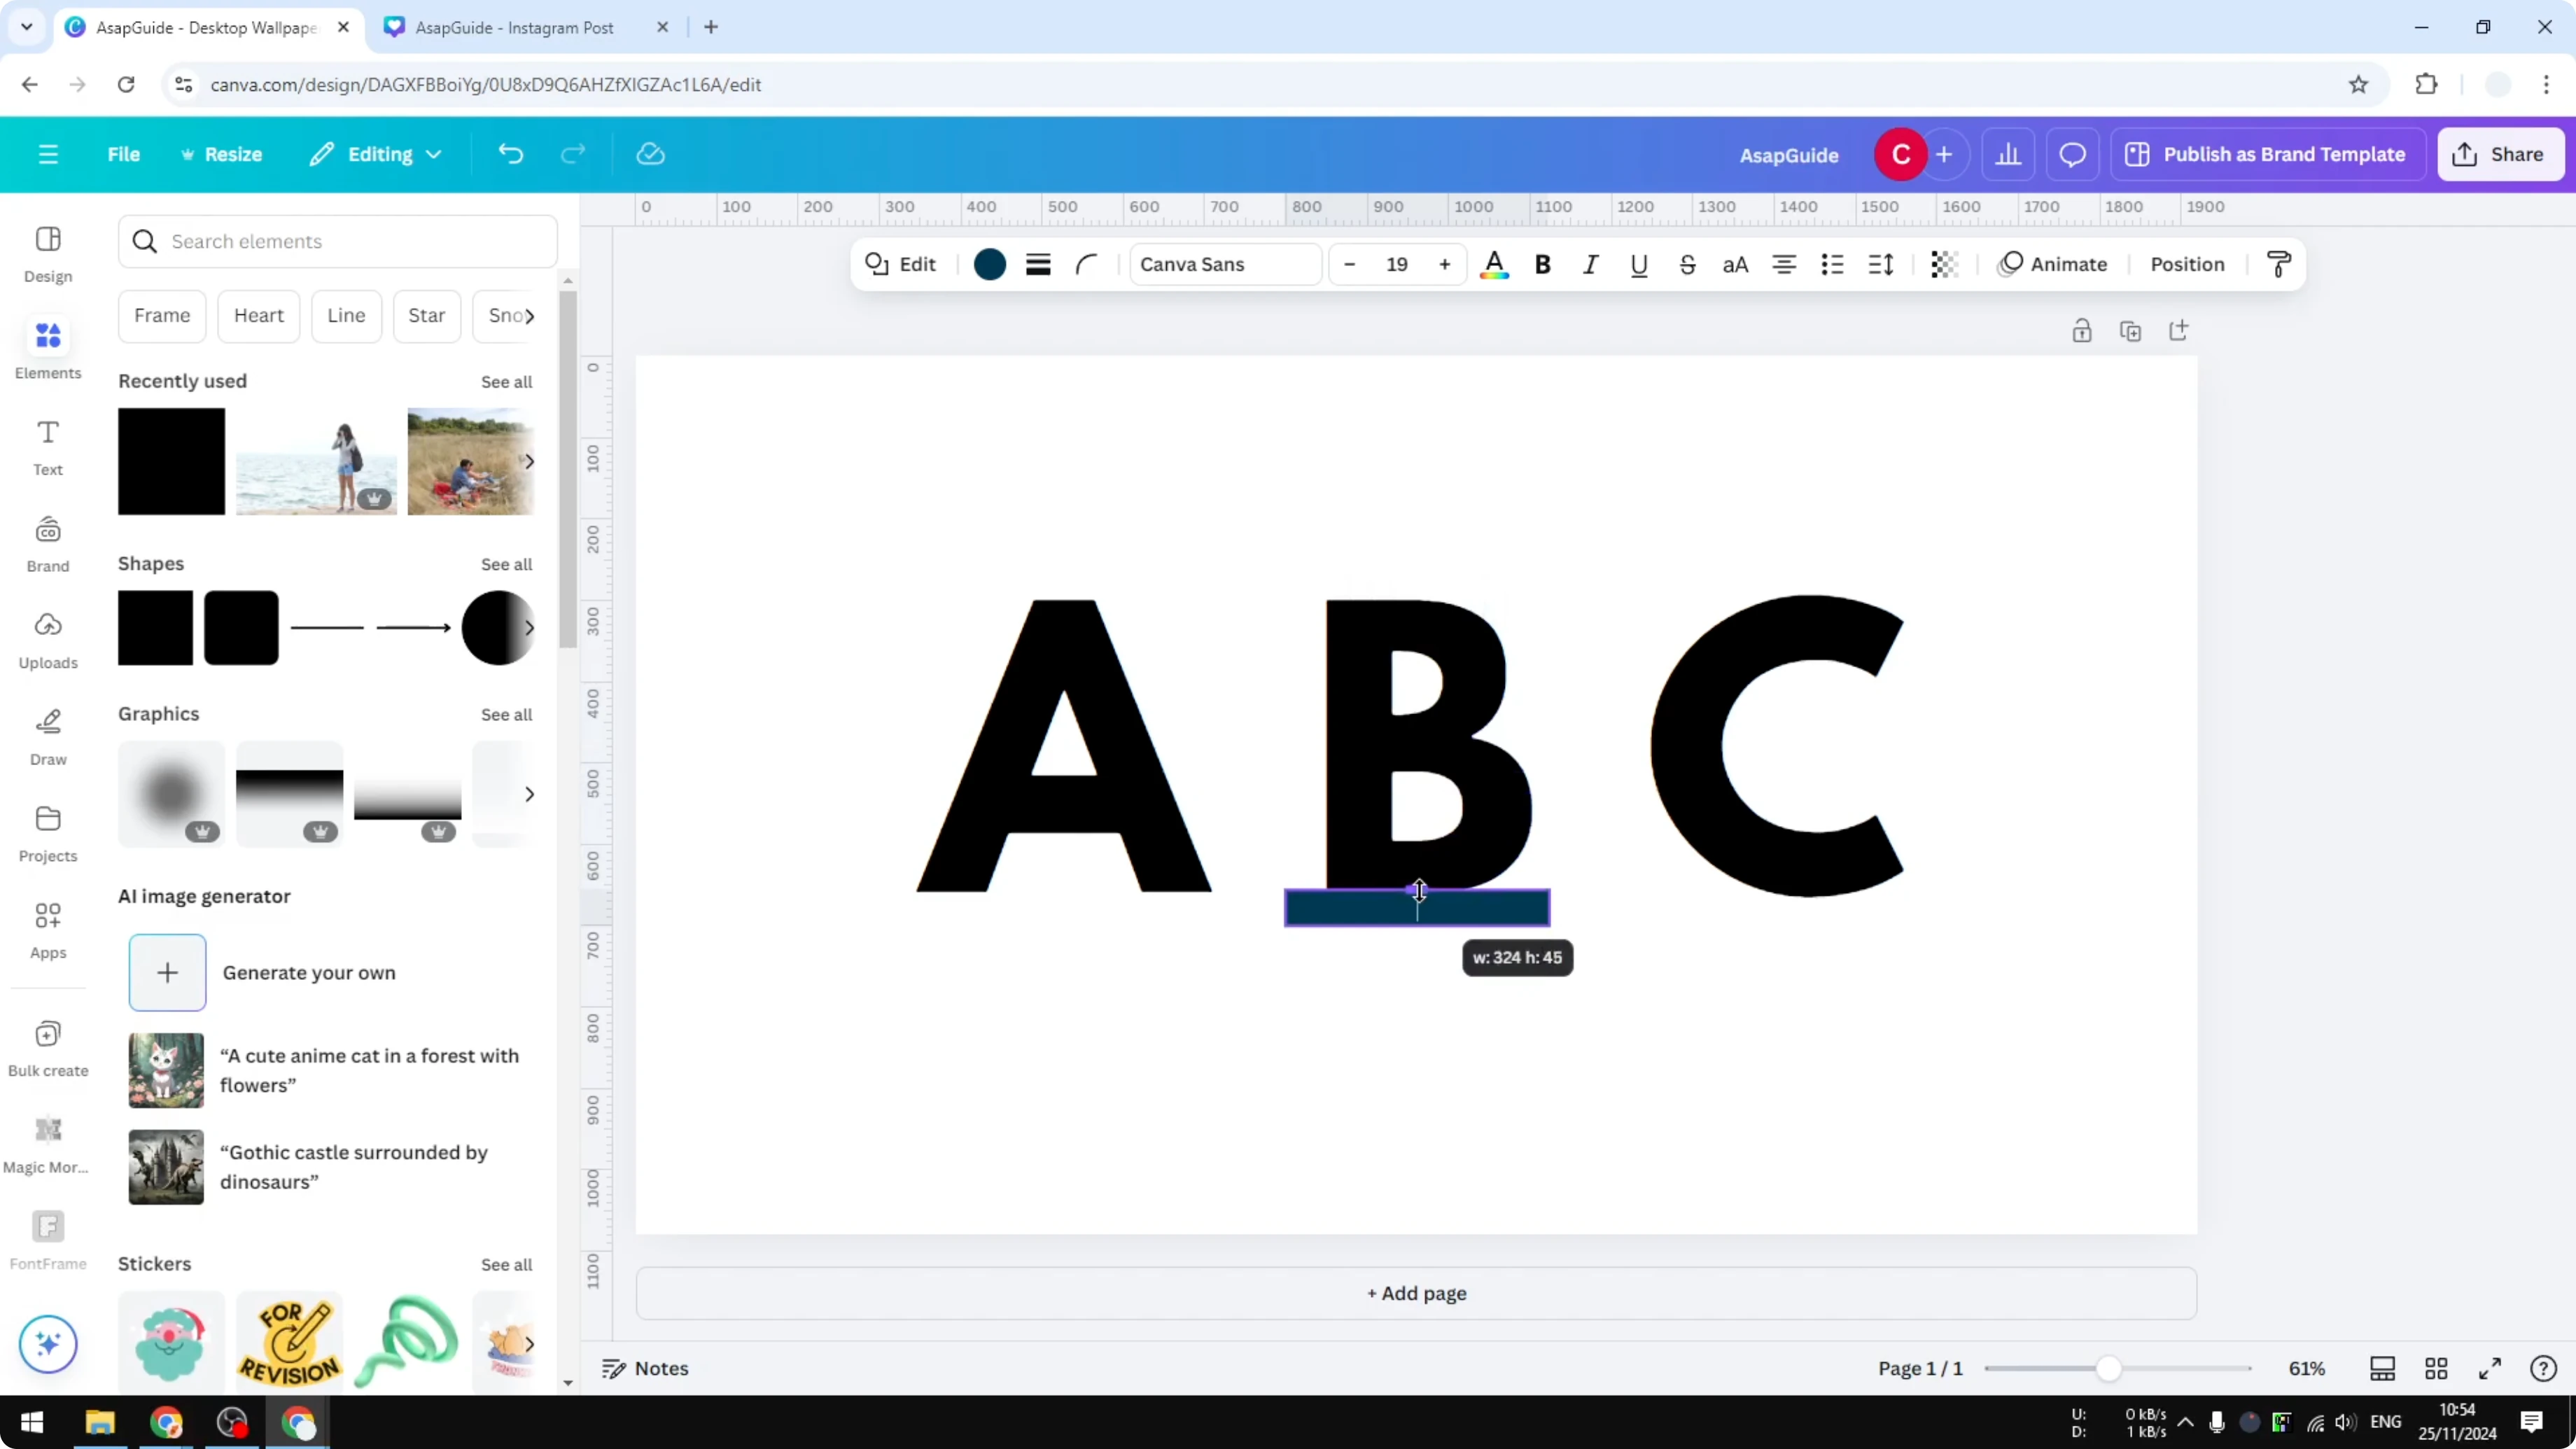
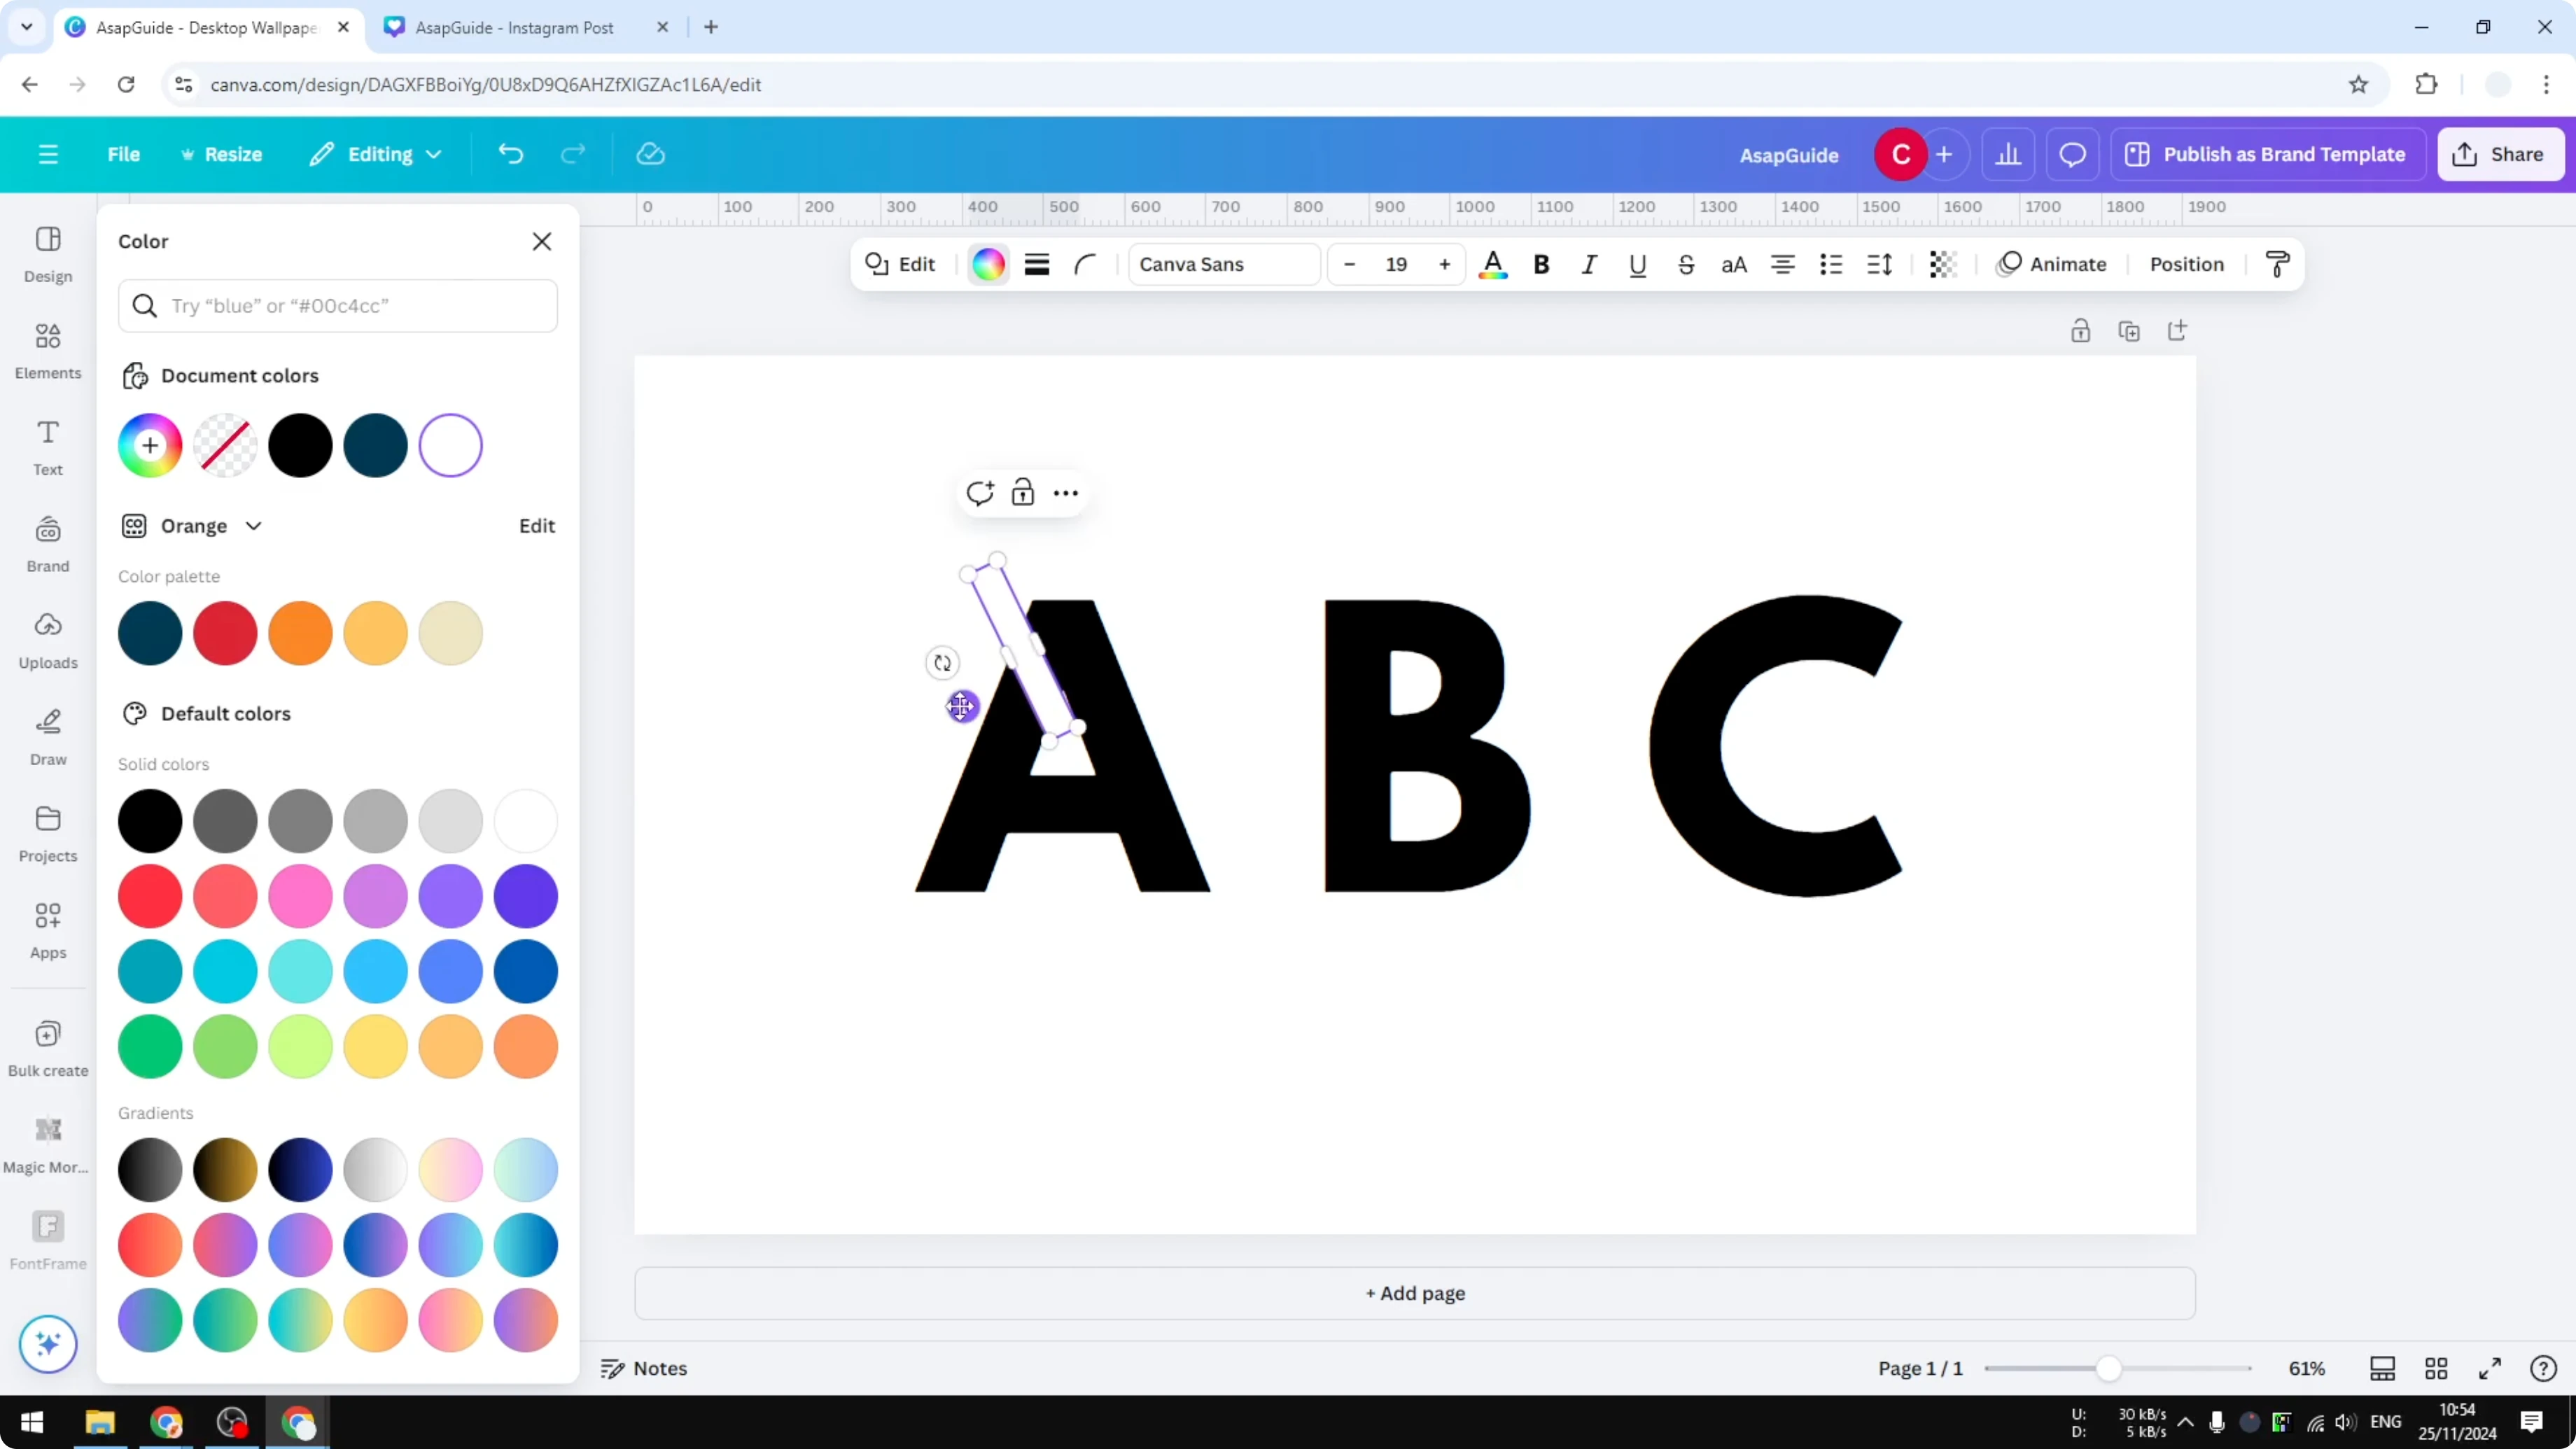
Change its color to white so it matches the background.
Position bridges - Make a Stencil in Canva
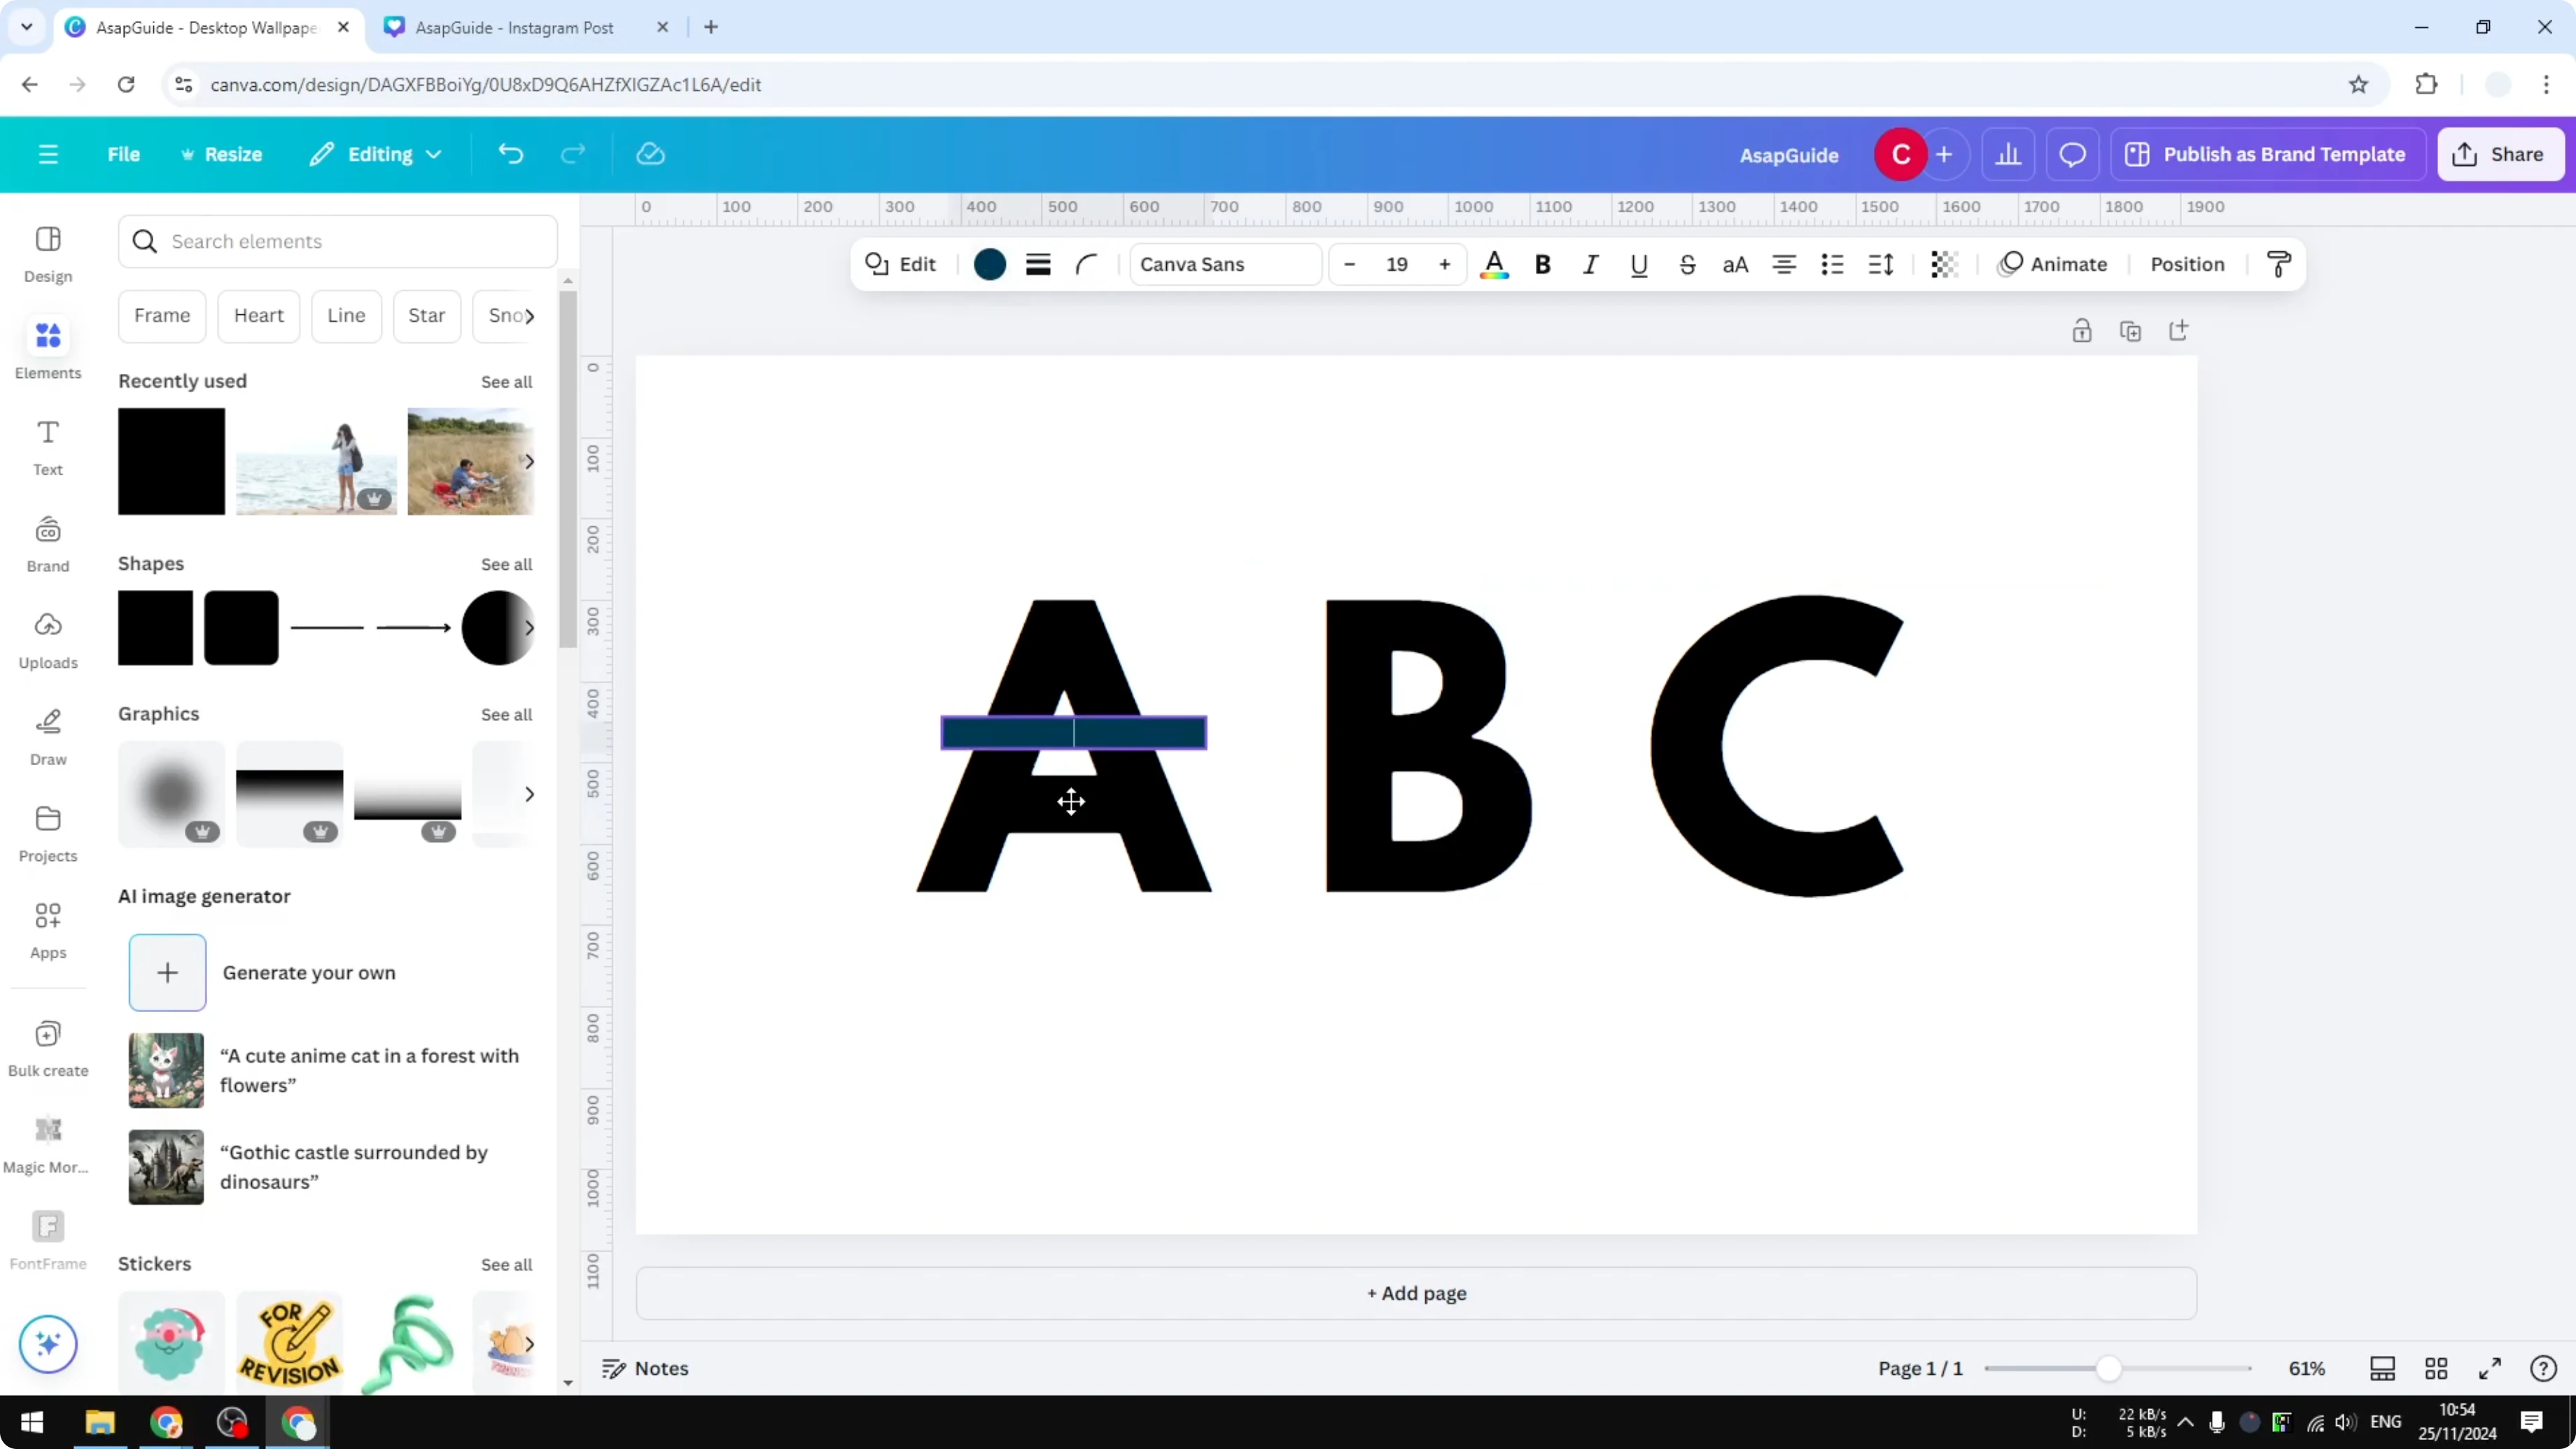
Place the thin rectangle across the inner hole of the letter A to connect it to the paper. This creates a bridge so the middle will not fall out when you cut the stencil.
For the letter B, repeat the same steps. Use a shape with the same background color and position it so it connects the inner parts.

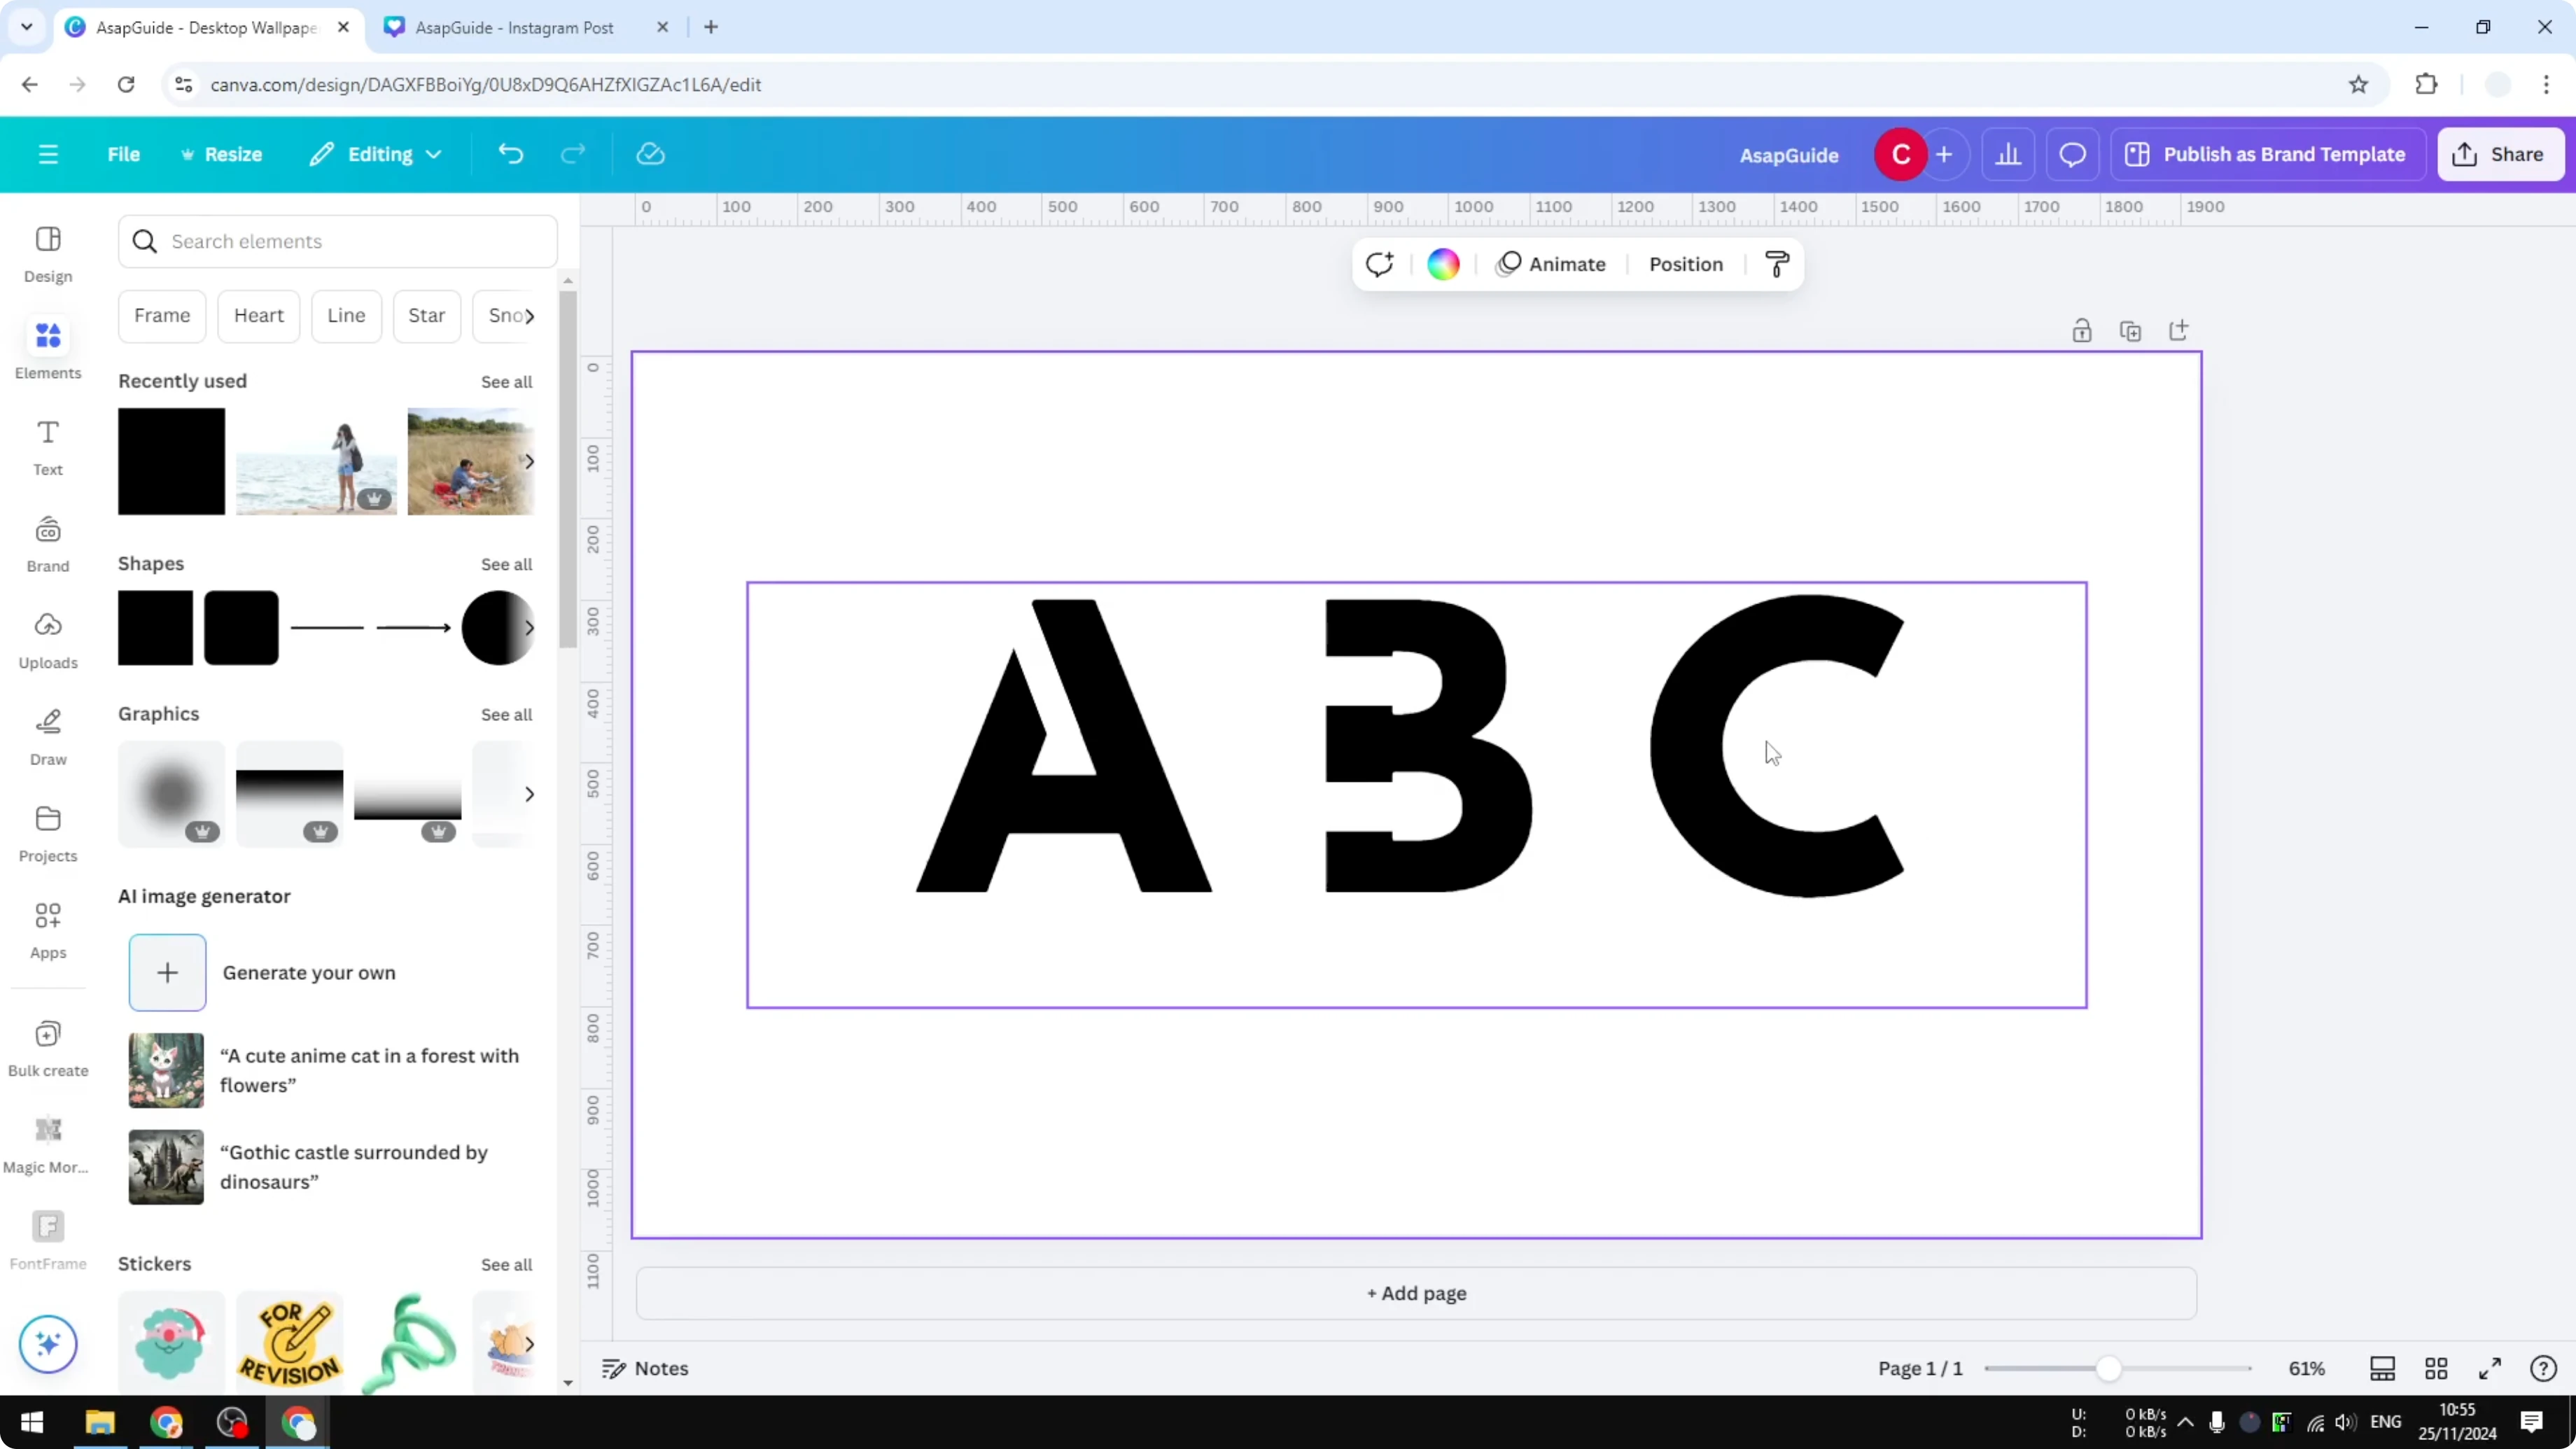
Letters like C usually do not need a bridge because they stay connected to the background.
For more tips, see this stencil guide.
Use fonts to Make a Stencil in Canva
Apply stencil fonts - Make a Stencil in Canva
Remove any rectangles or shapes you added. Select your text and open the font menu.
Search for stencil to see fonts you can apply. Pick one and see how it looks. Try another if you want a different style.
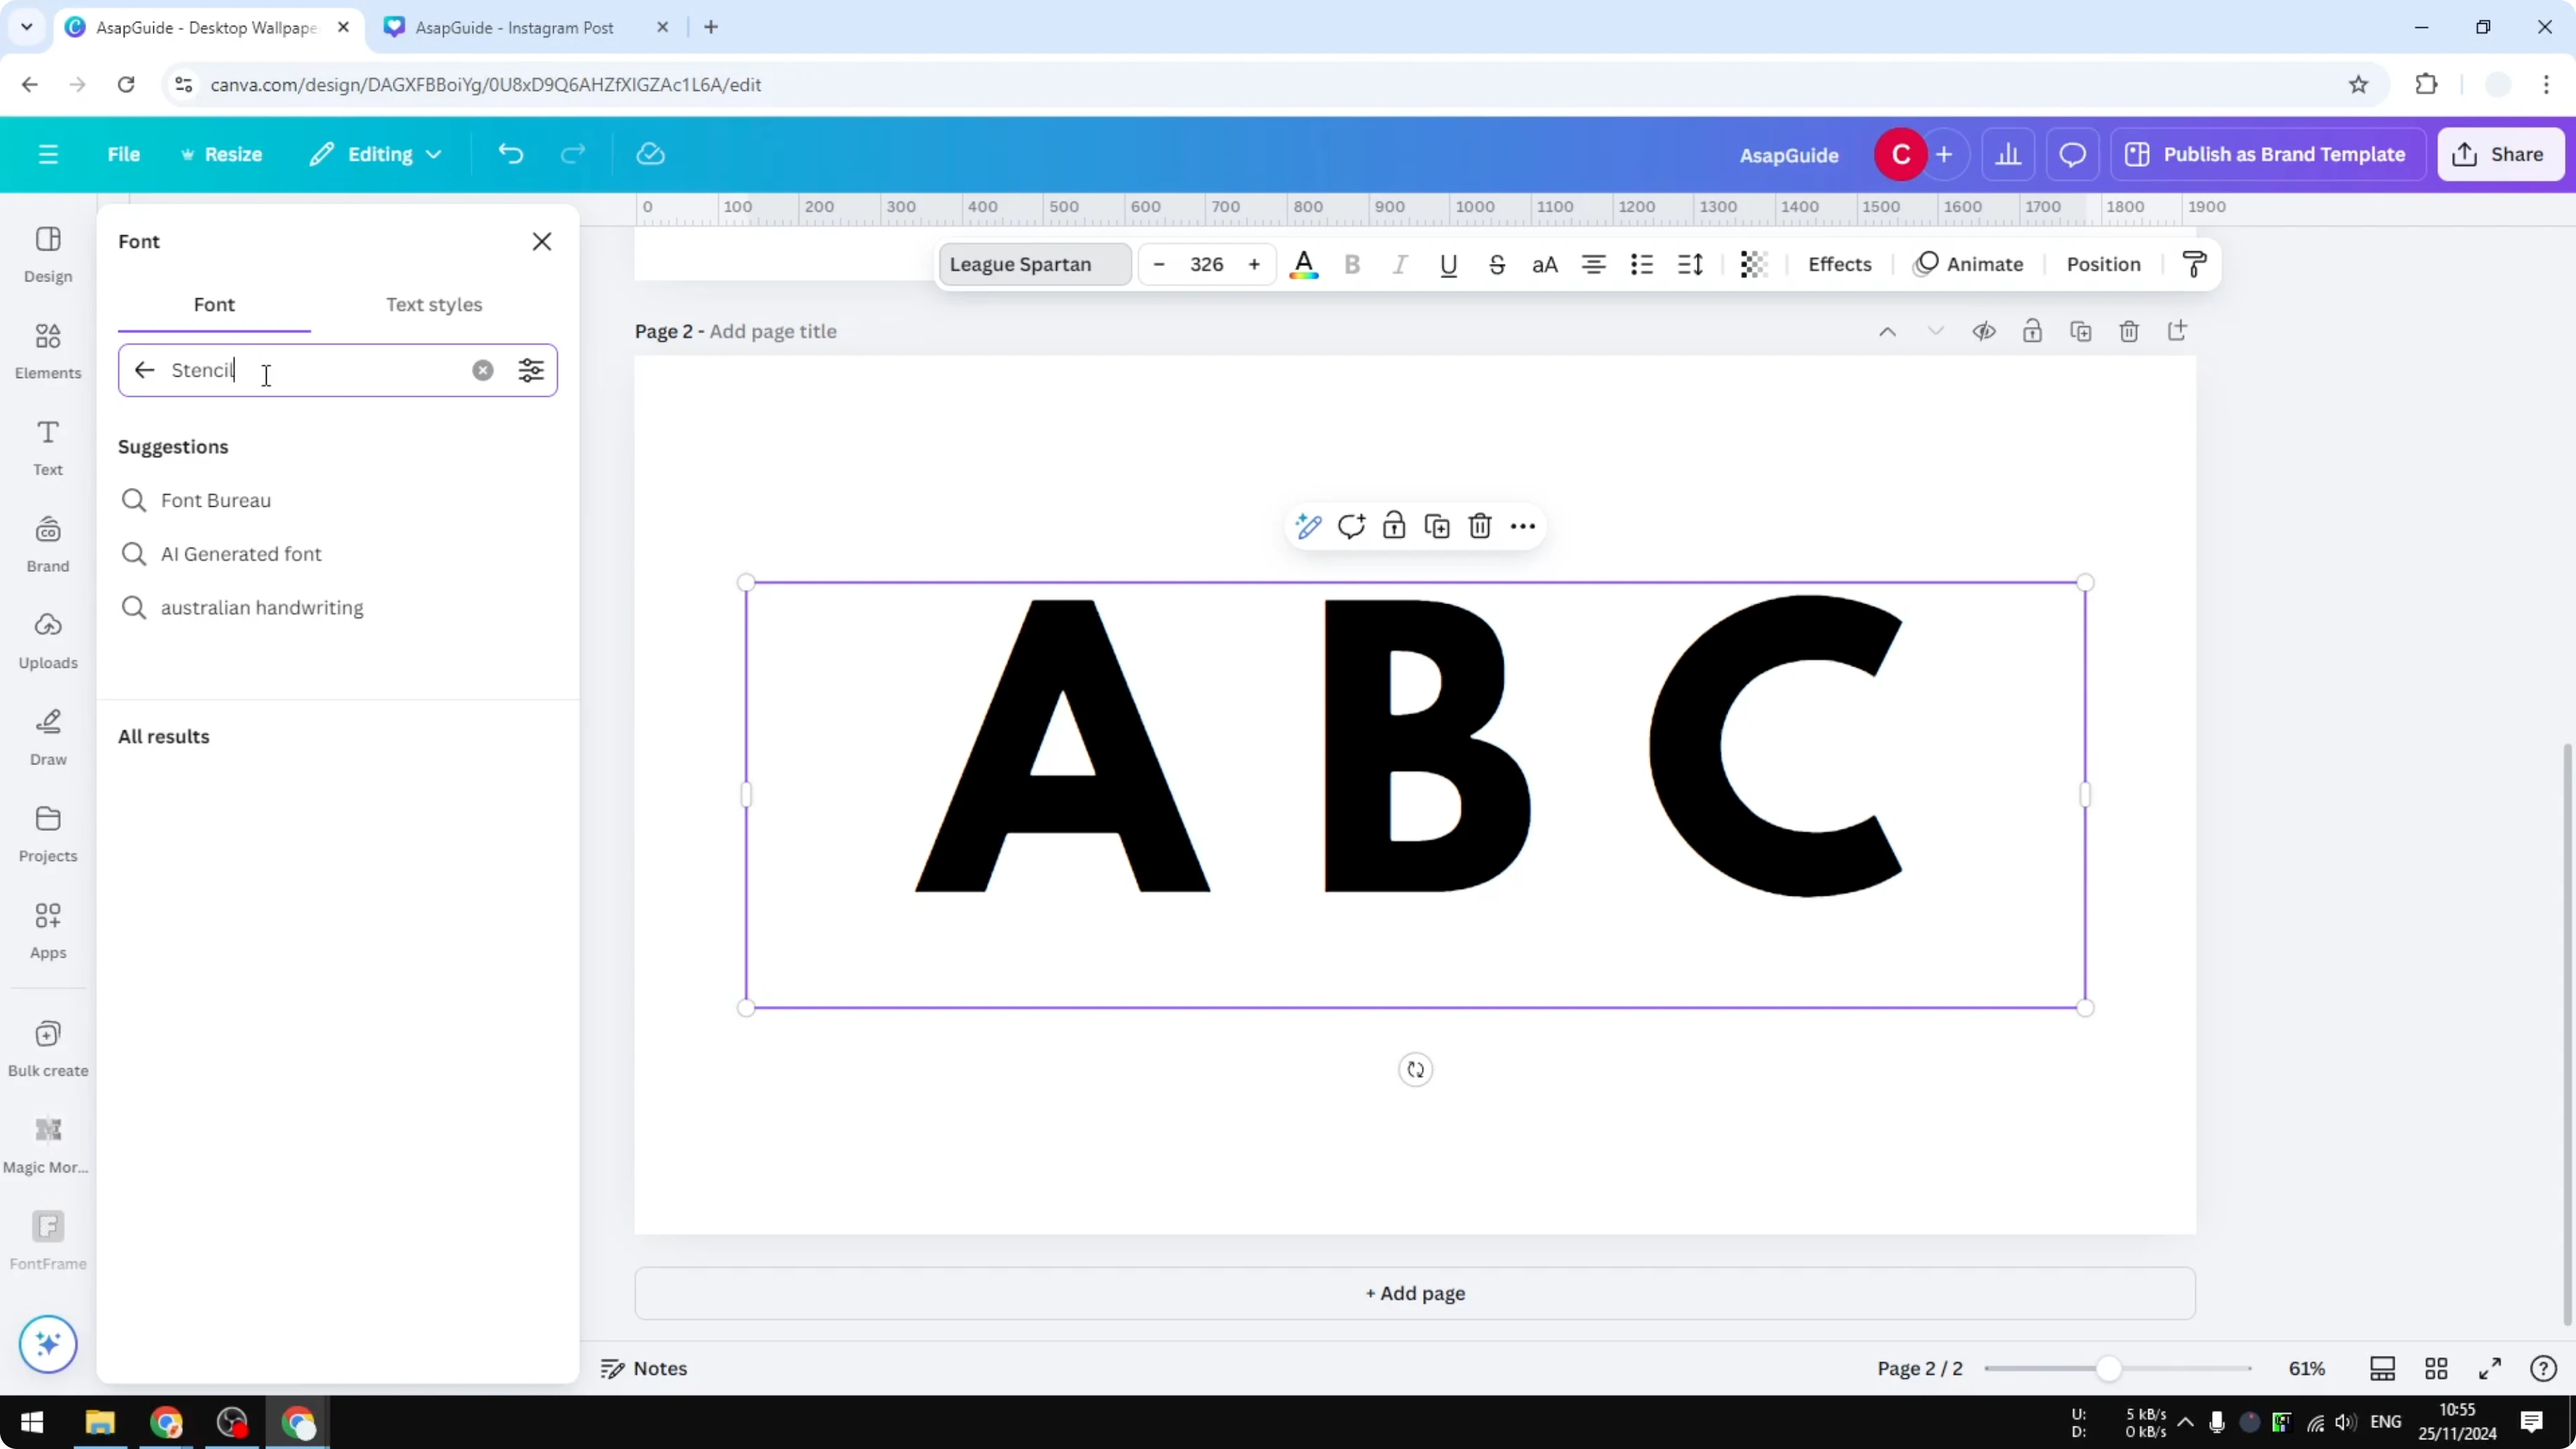
This method is easier because the font already includes bridges.
Read More: How To Make A Video Using Photos In Canva
Export for print - Make a Stencil in Canva
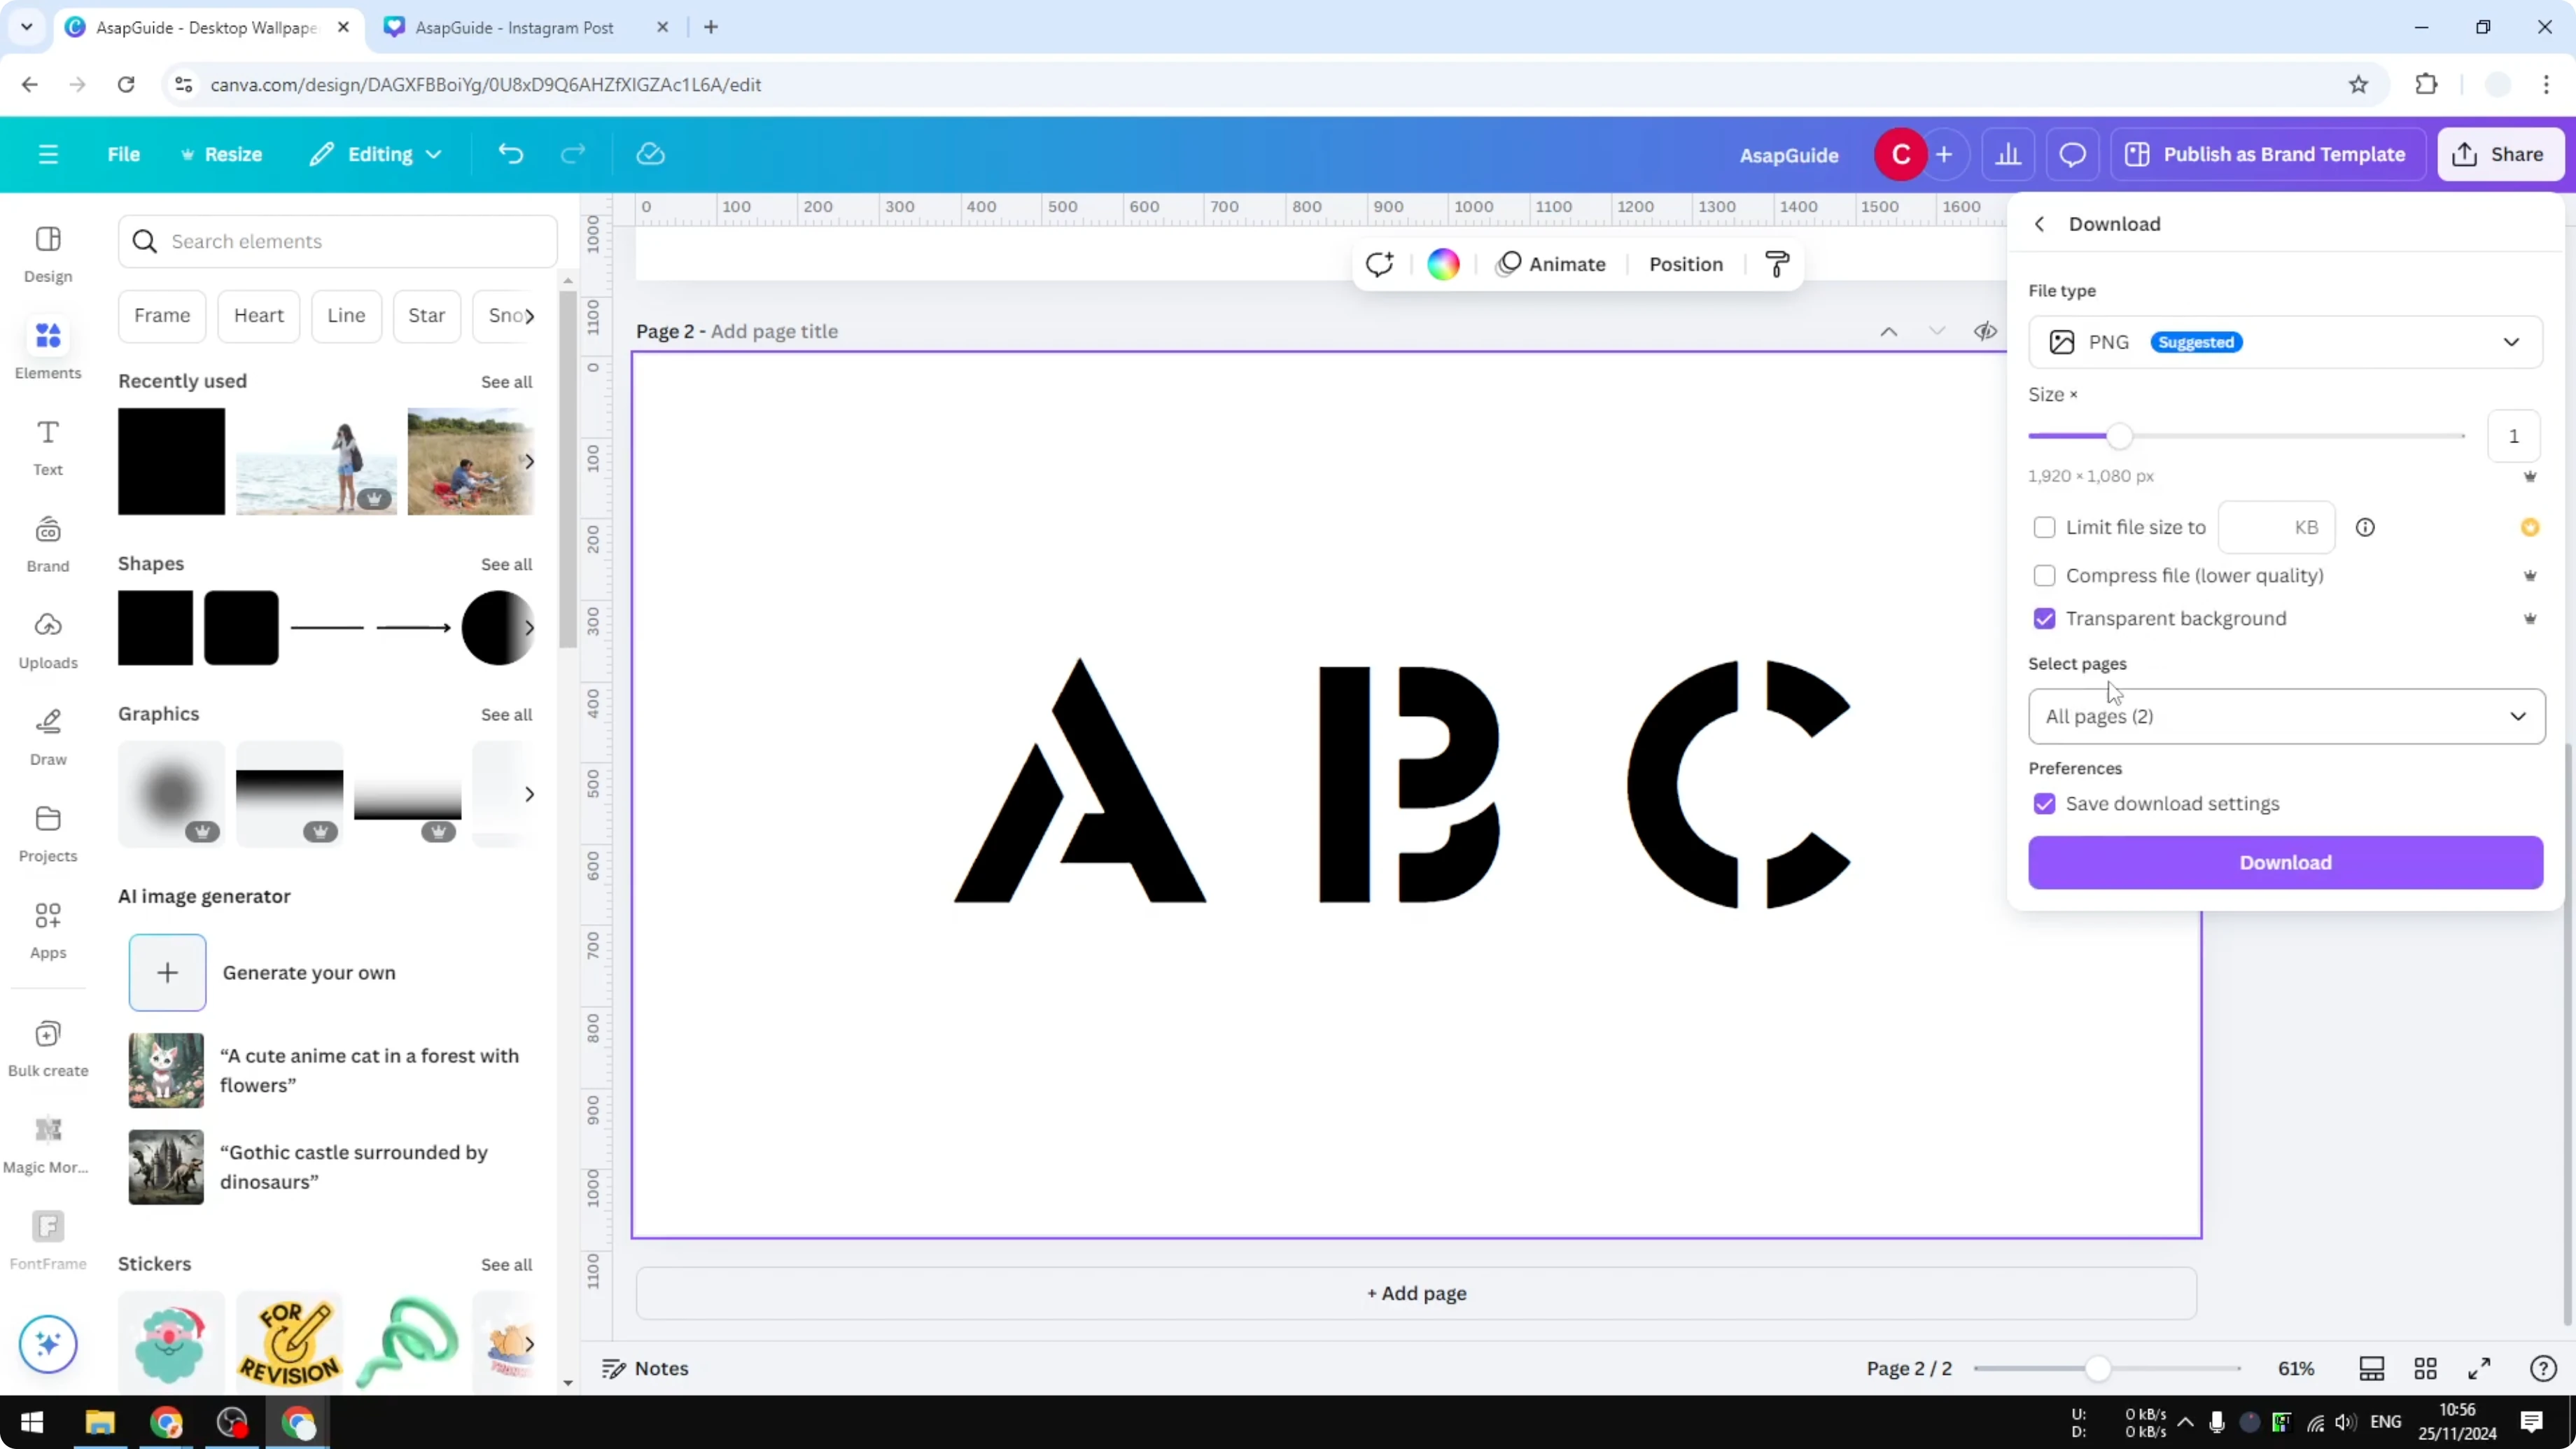
When you are done, download your design as a PNG. Enable transparent background so the rest is invisible if that suits your project. If you need help with transparency, see this transparent overlay guide.

Final thoughts on Make a Stencil in Canva
You can add thin bridges with shapes or use a stencil font that already has bridges. Pick the approach that fits your text and style. Export as PNG and use a transparent background if needed.
Recent Posts
How to Visualize Different Hairstyles and Hair Colors with AI?
How to Visualize Different Hairstyles and Hair Colors with AI?

How to Transform Daytime Photos into Realistic Night Scenes with AI?
How to Transform Daytime Photos into Realistic Night Scenes with AI?
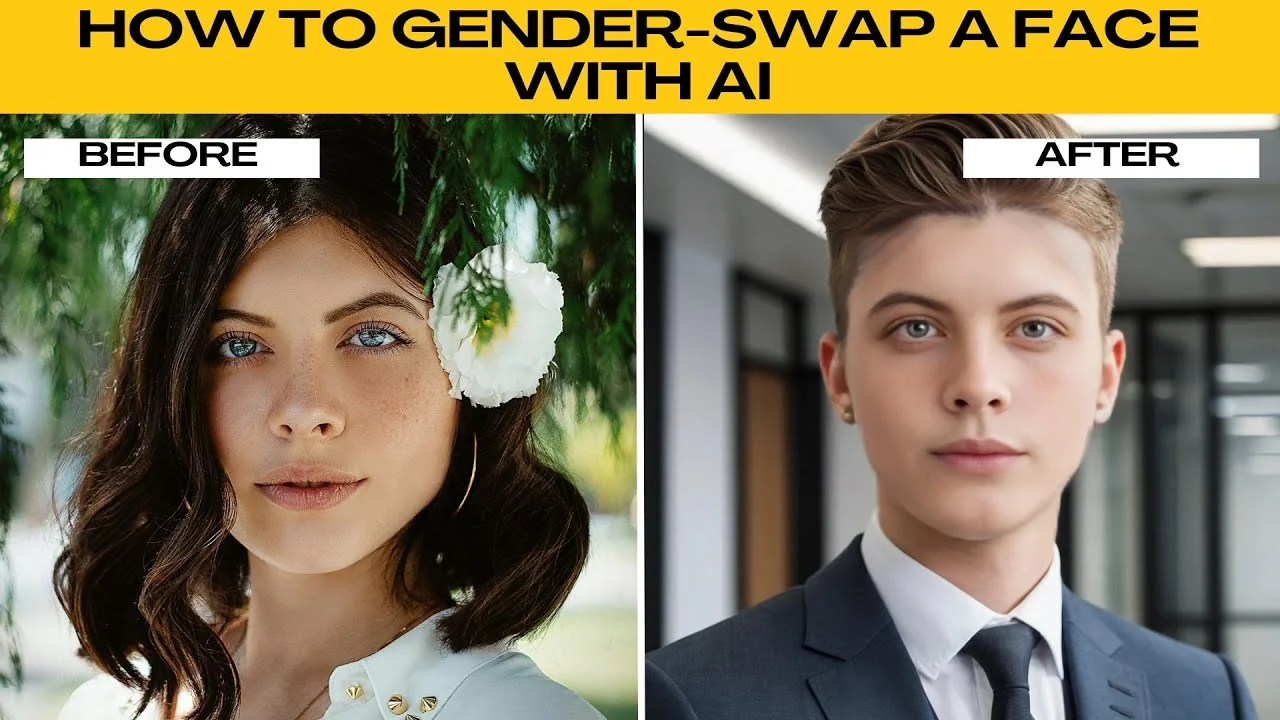
How to Visualize Yourself as the Opposite Gender with AI?
How to Visualize Yourself as the Opposite Gender with AI?