How to Make a Transparent Overlay in Canva
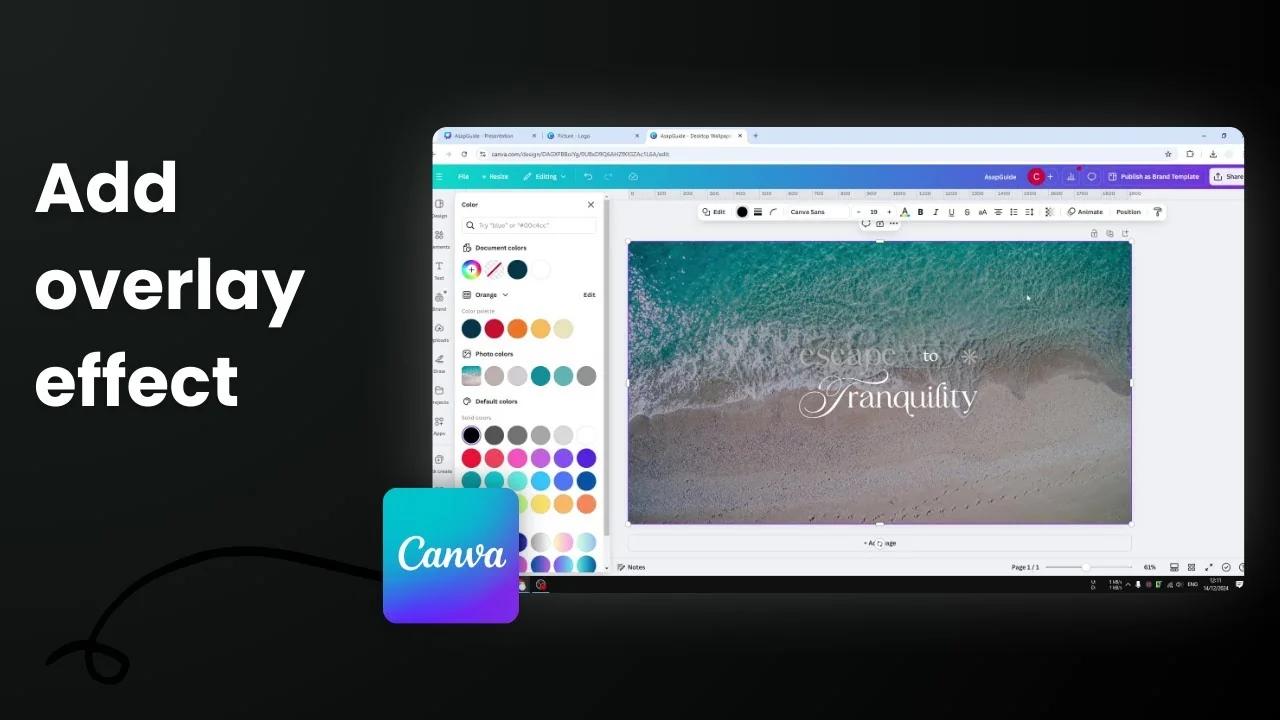
I create a transparent overlay in Canva when a background is too similar in color to the text and makes it hard to read, especially from afar. Putting something between the background and the text keeps the text visible and makes the design look better.
Make a Transparent Overlay in Canva
- Add a shape
- Go to Elements and search for Shapes. You could use any shape, but for an overlay that covers the entire area, select a simple square.
- You can also press the keyboard key R to insert a square instantly.
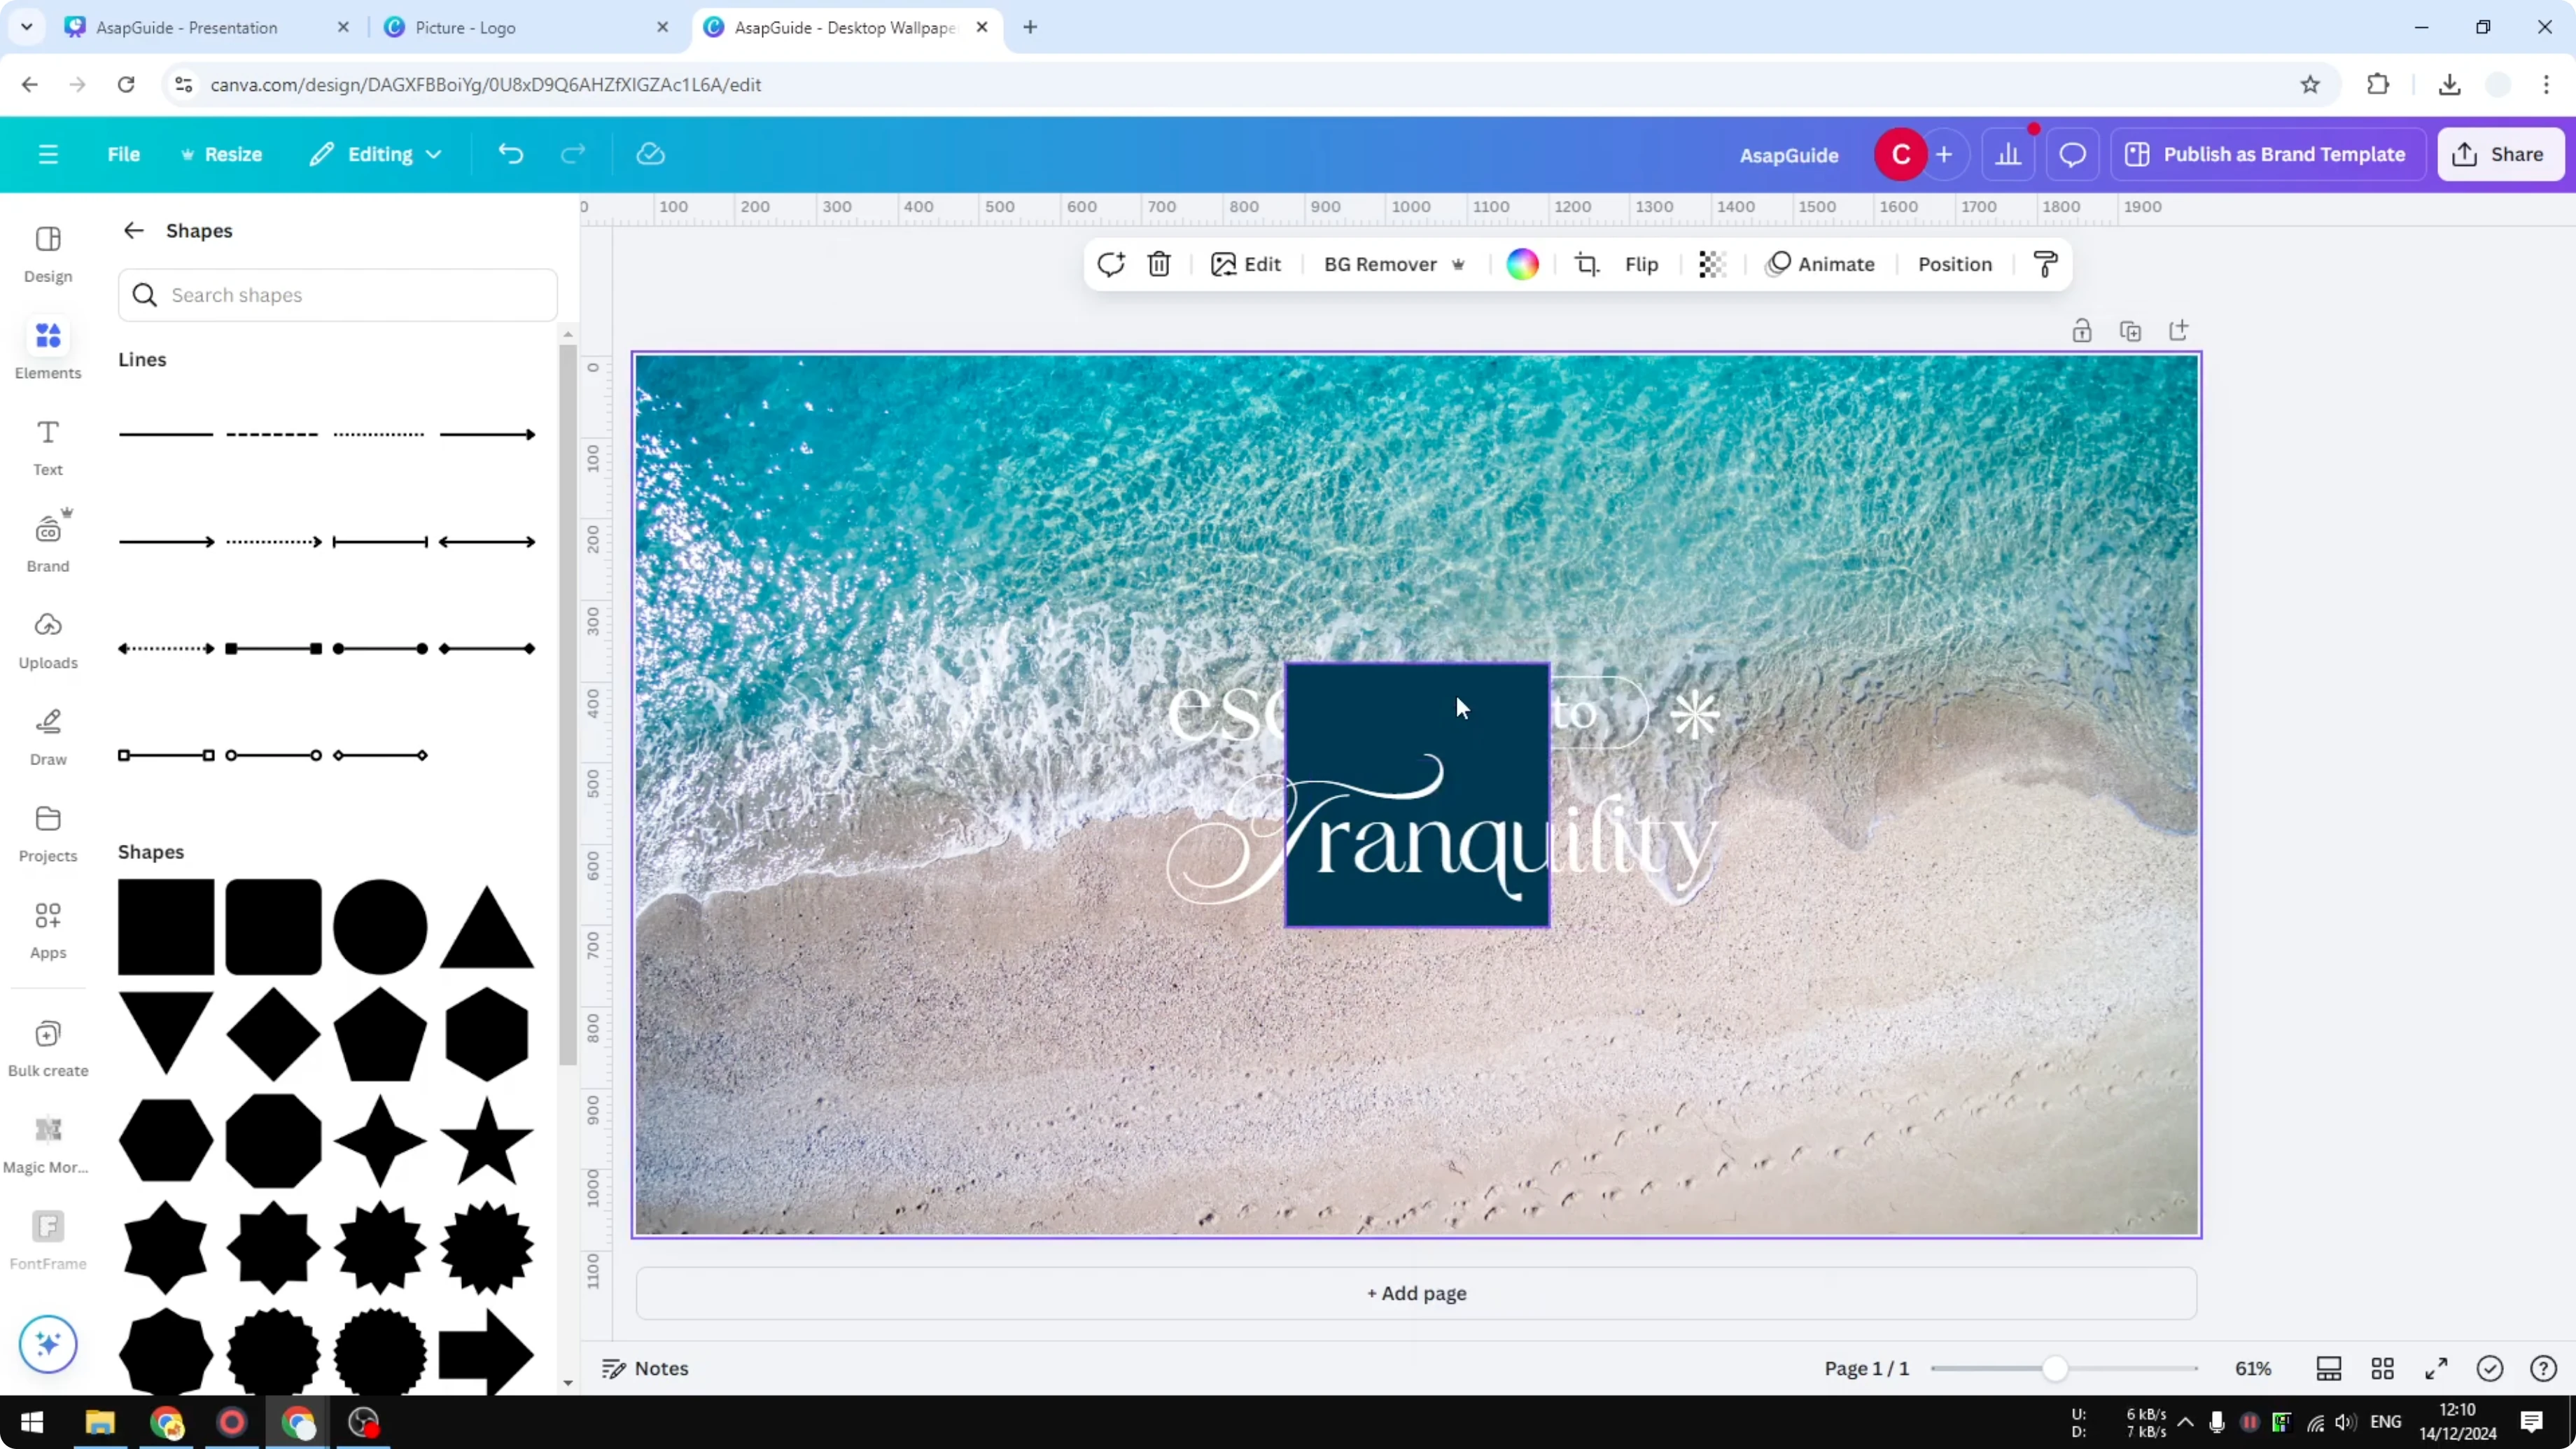
- Resize it to cover the area
- Drag the square to cover the entire area you want to affect.
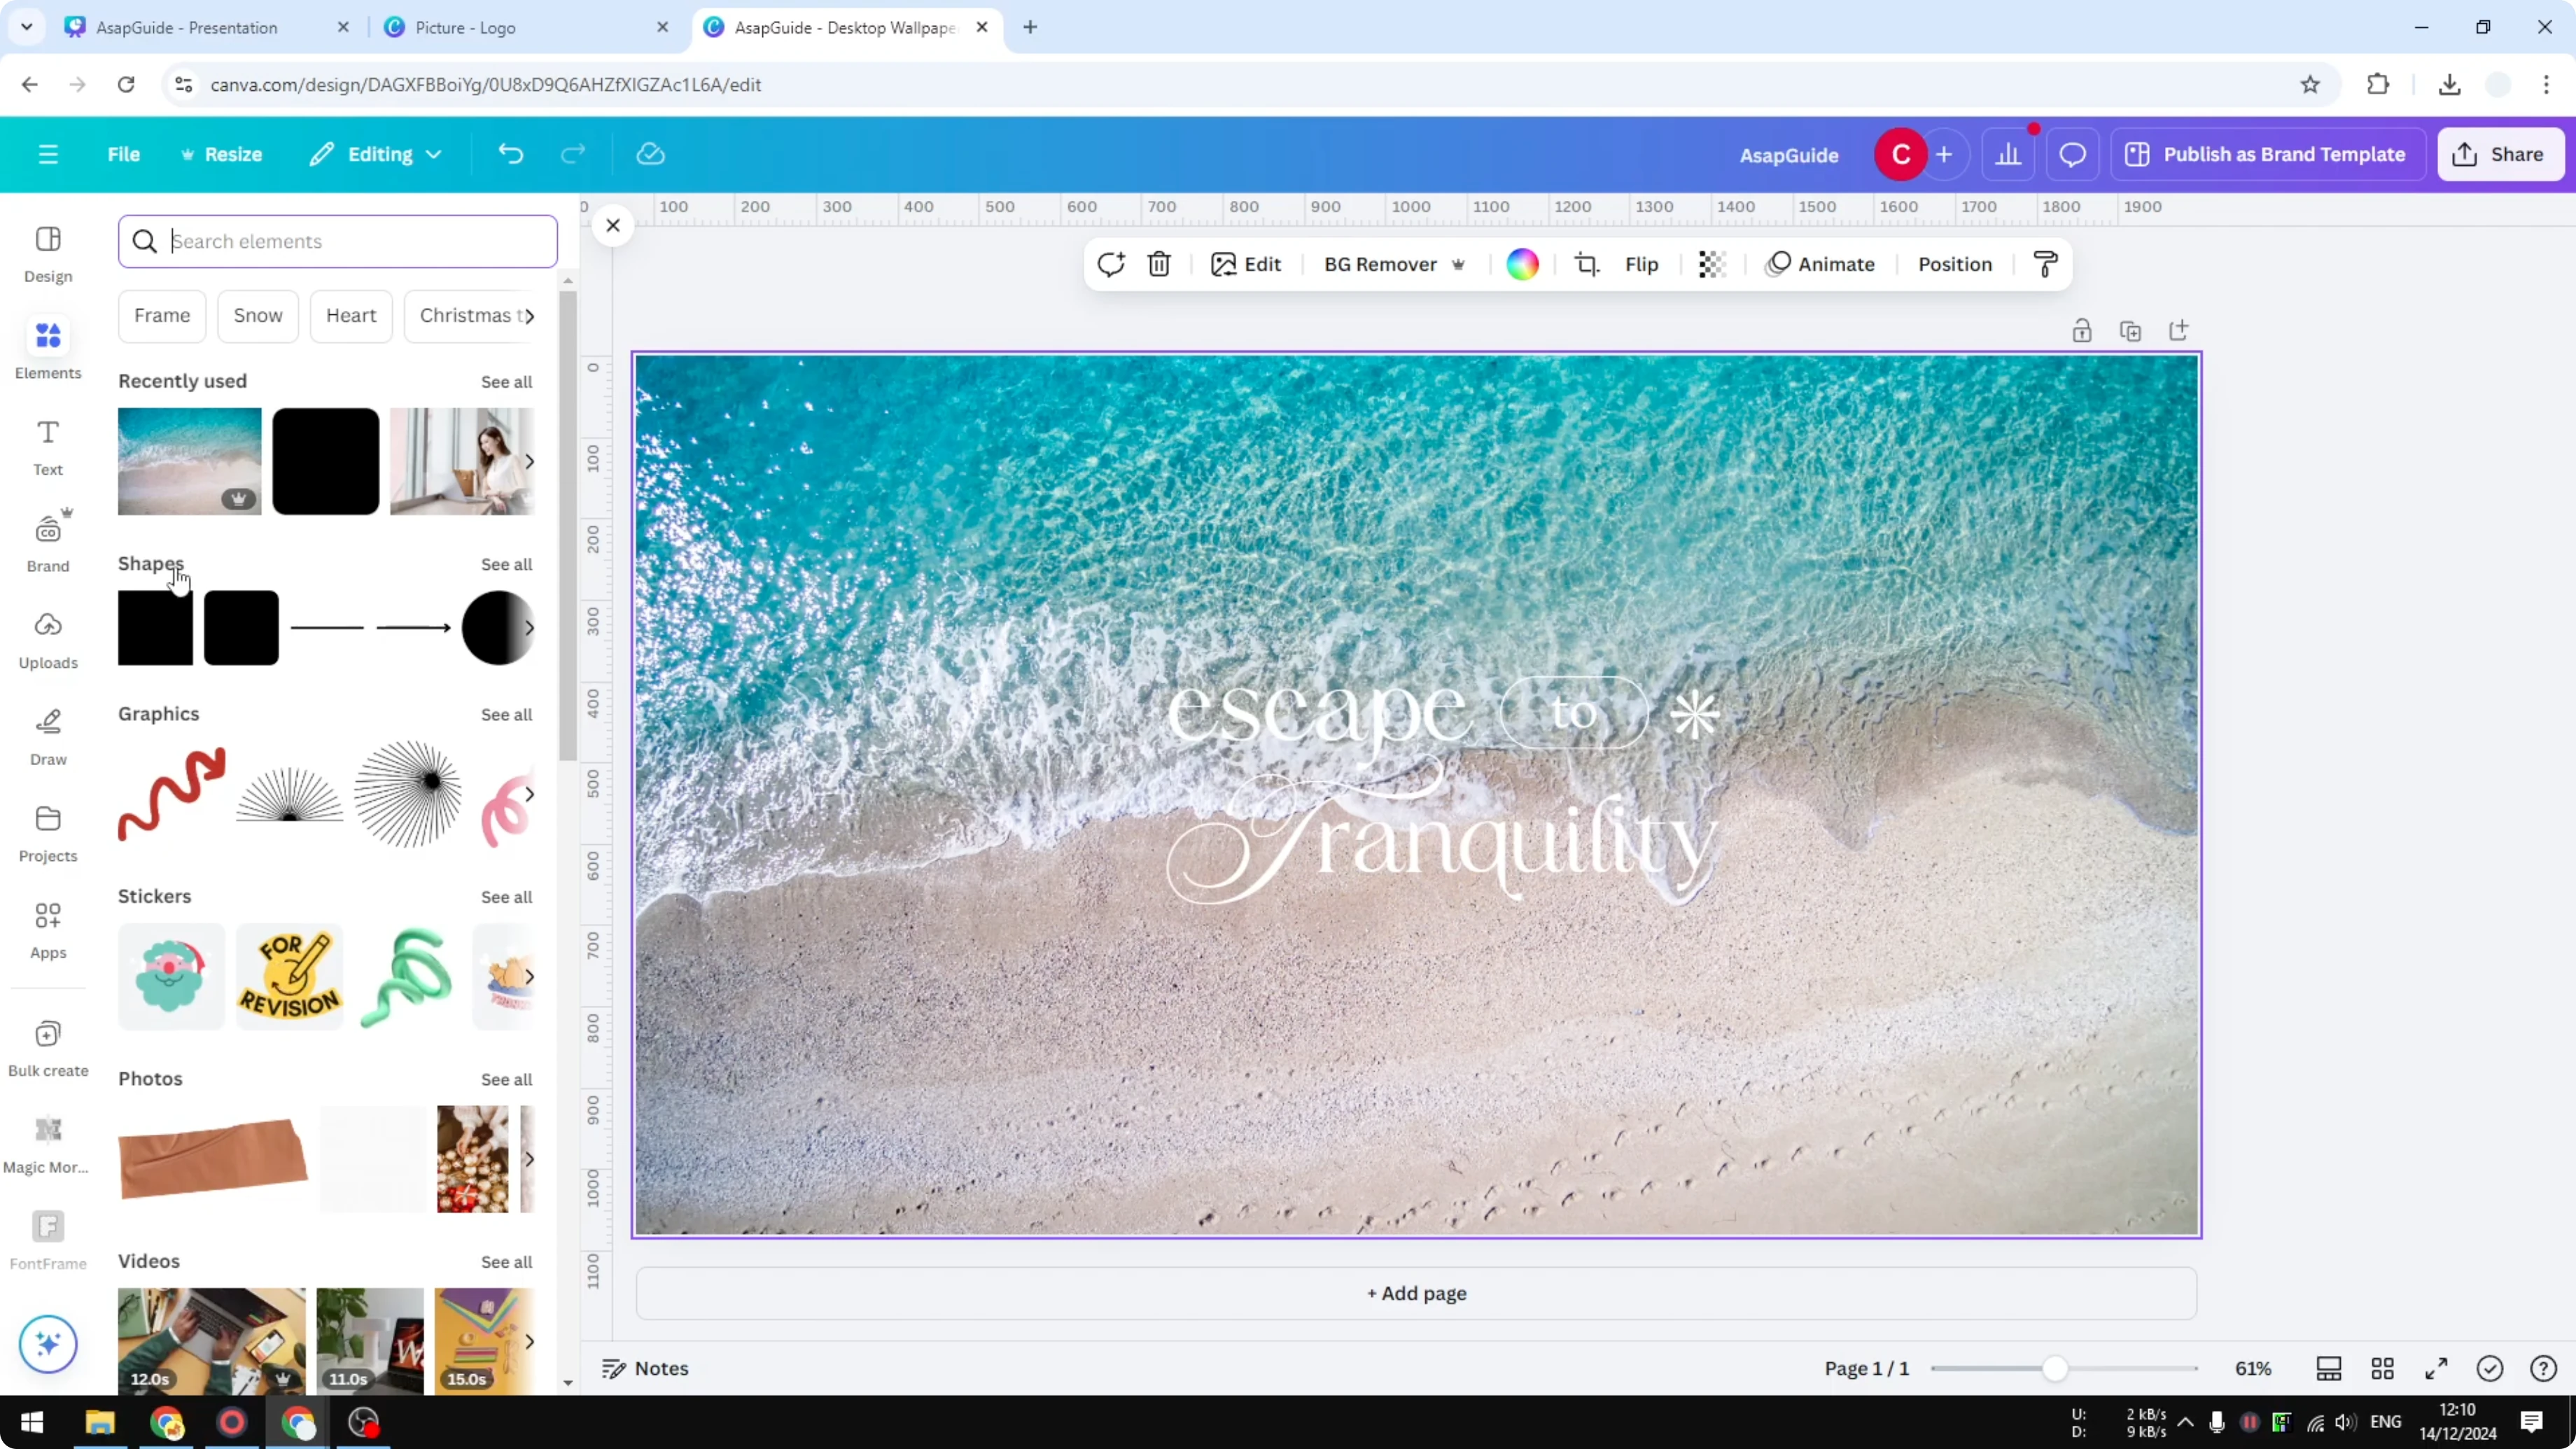
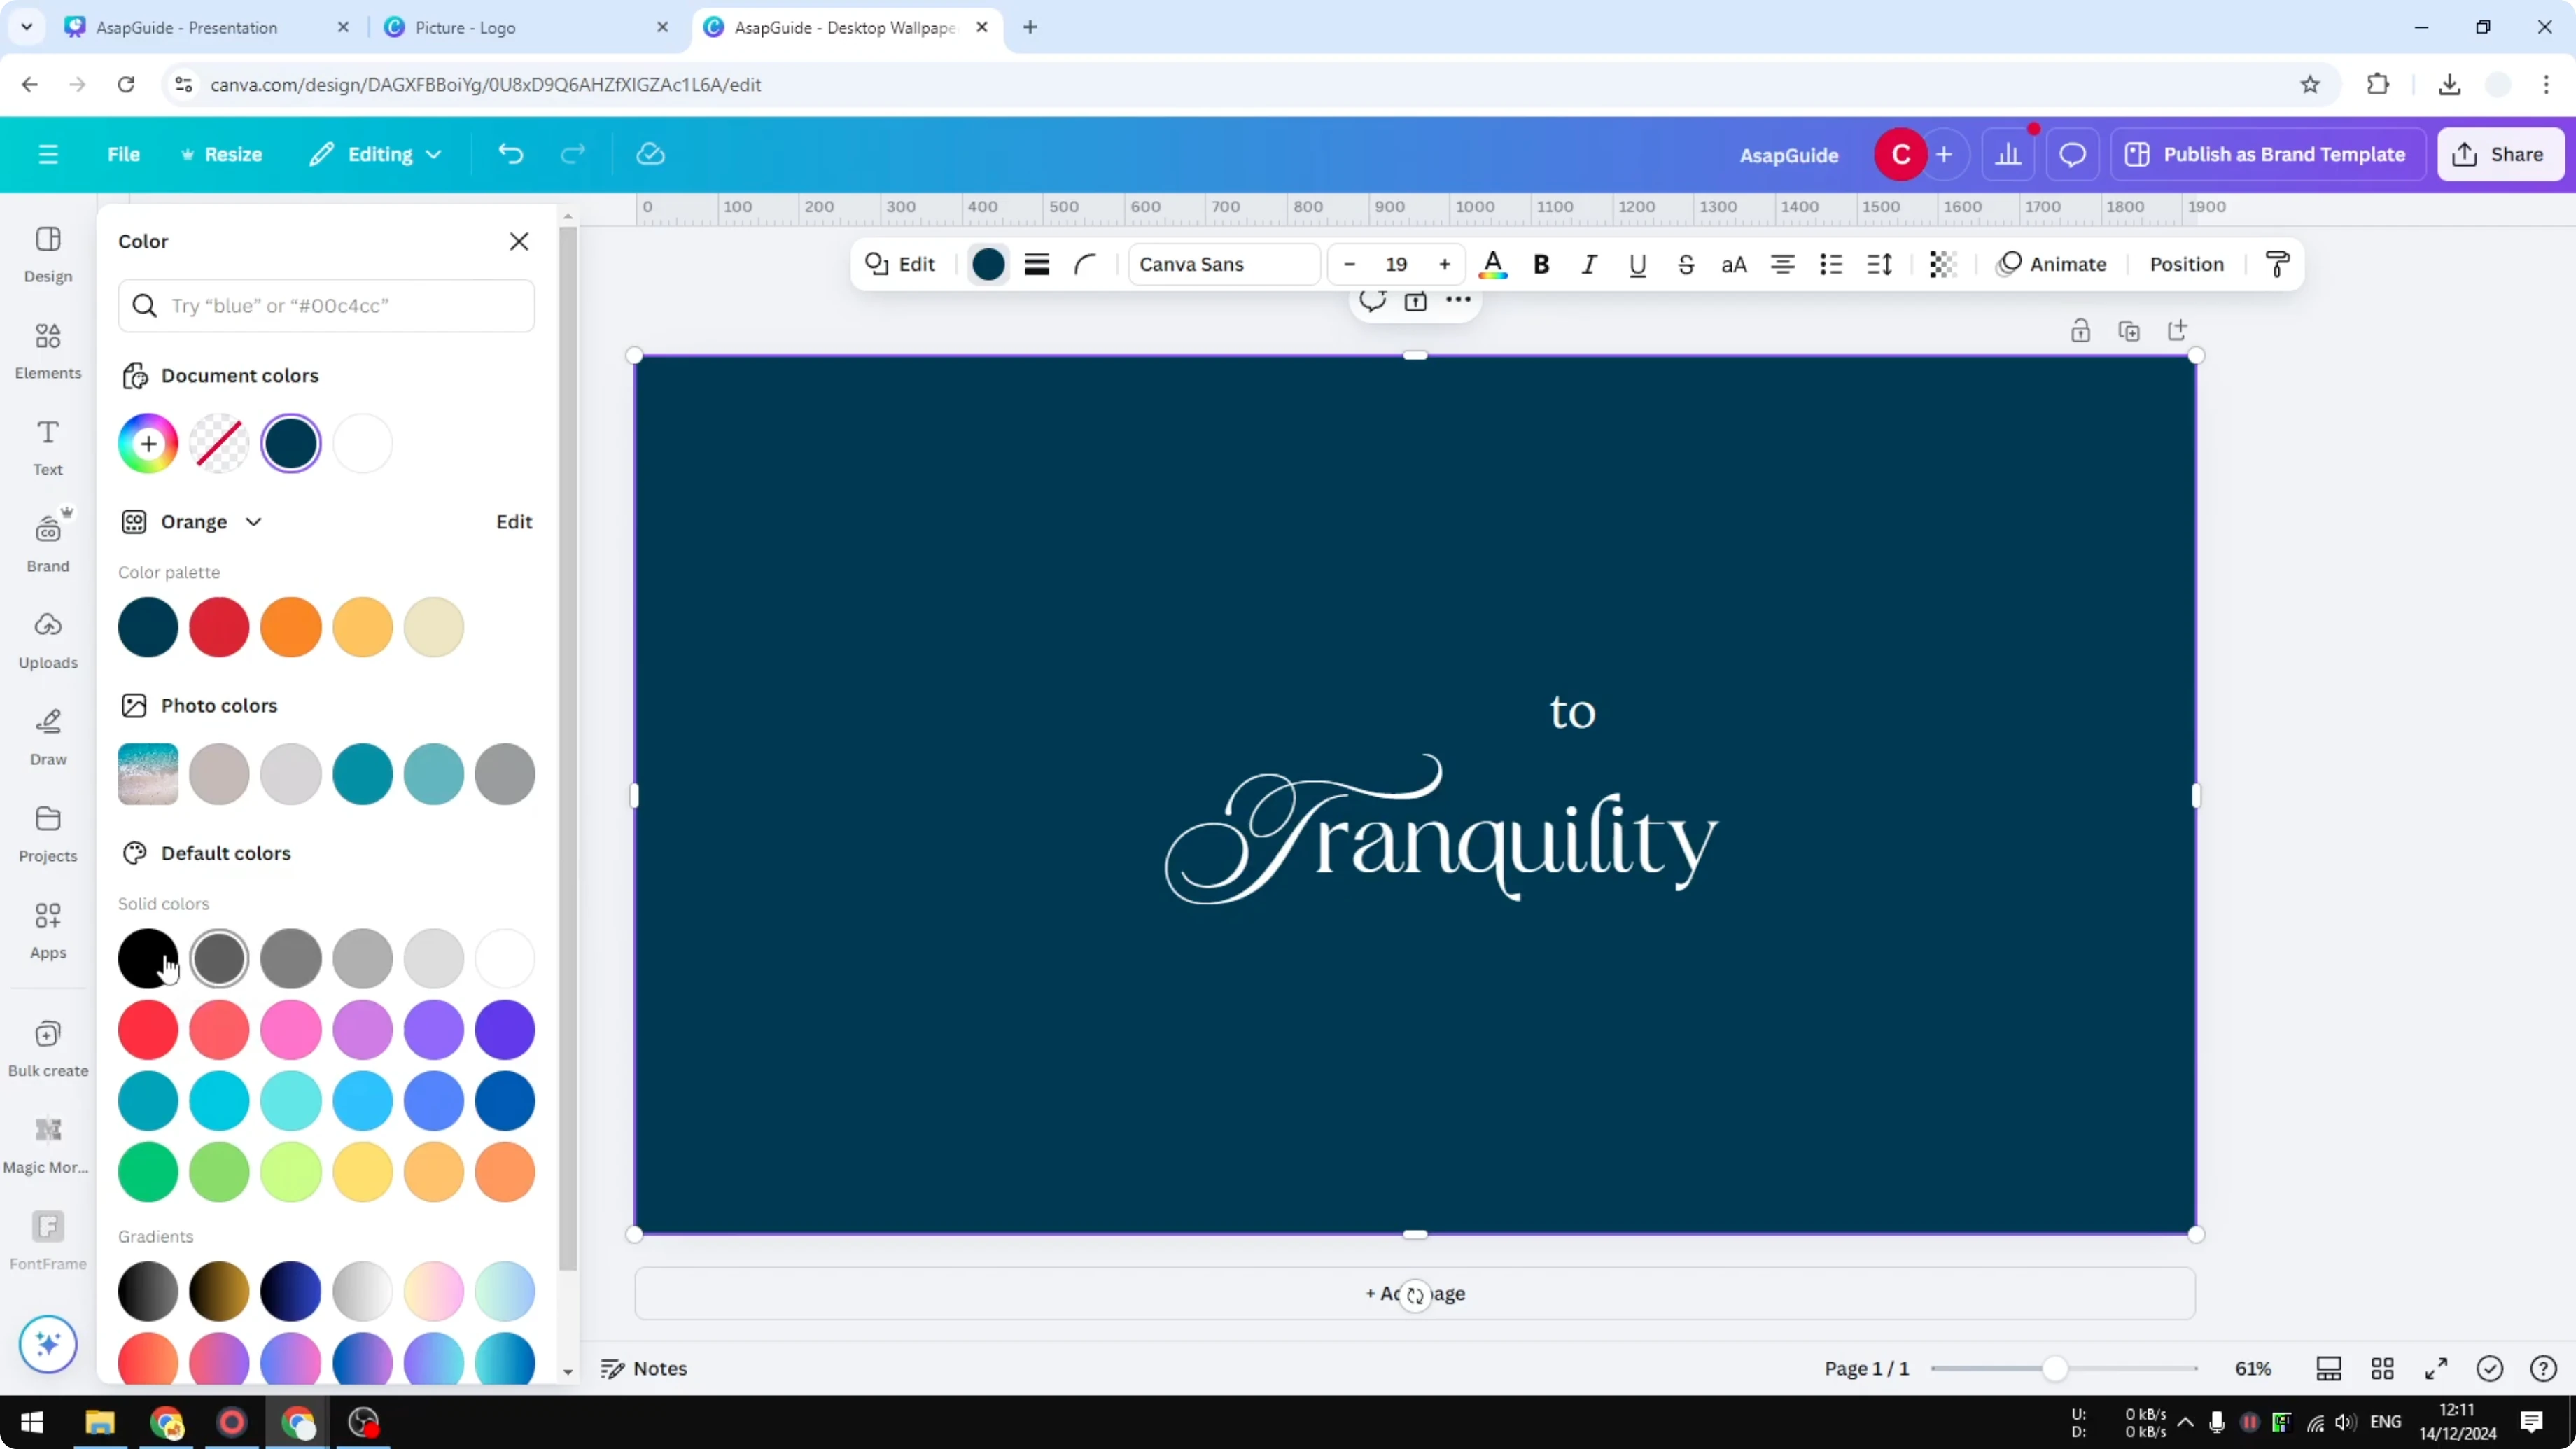
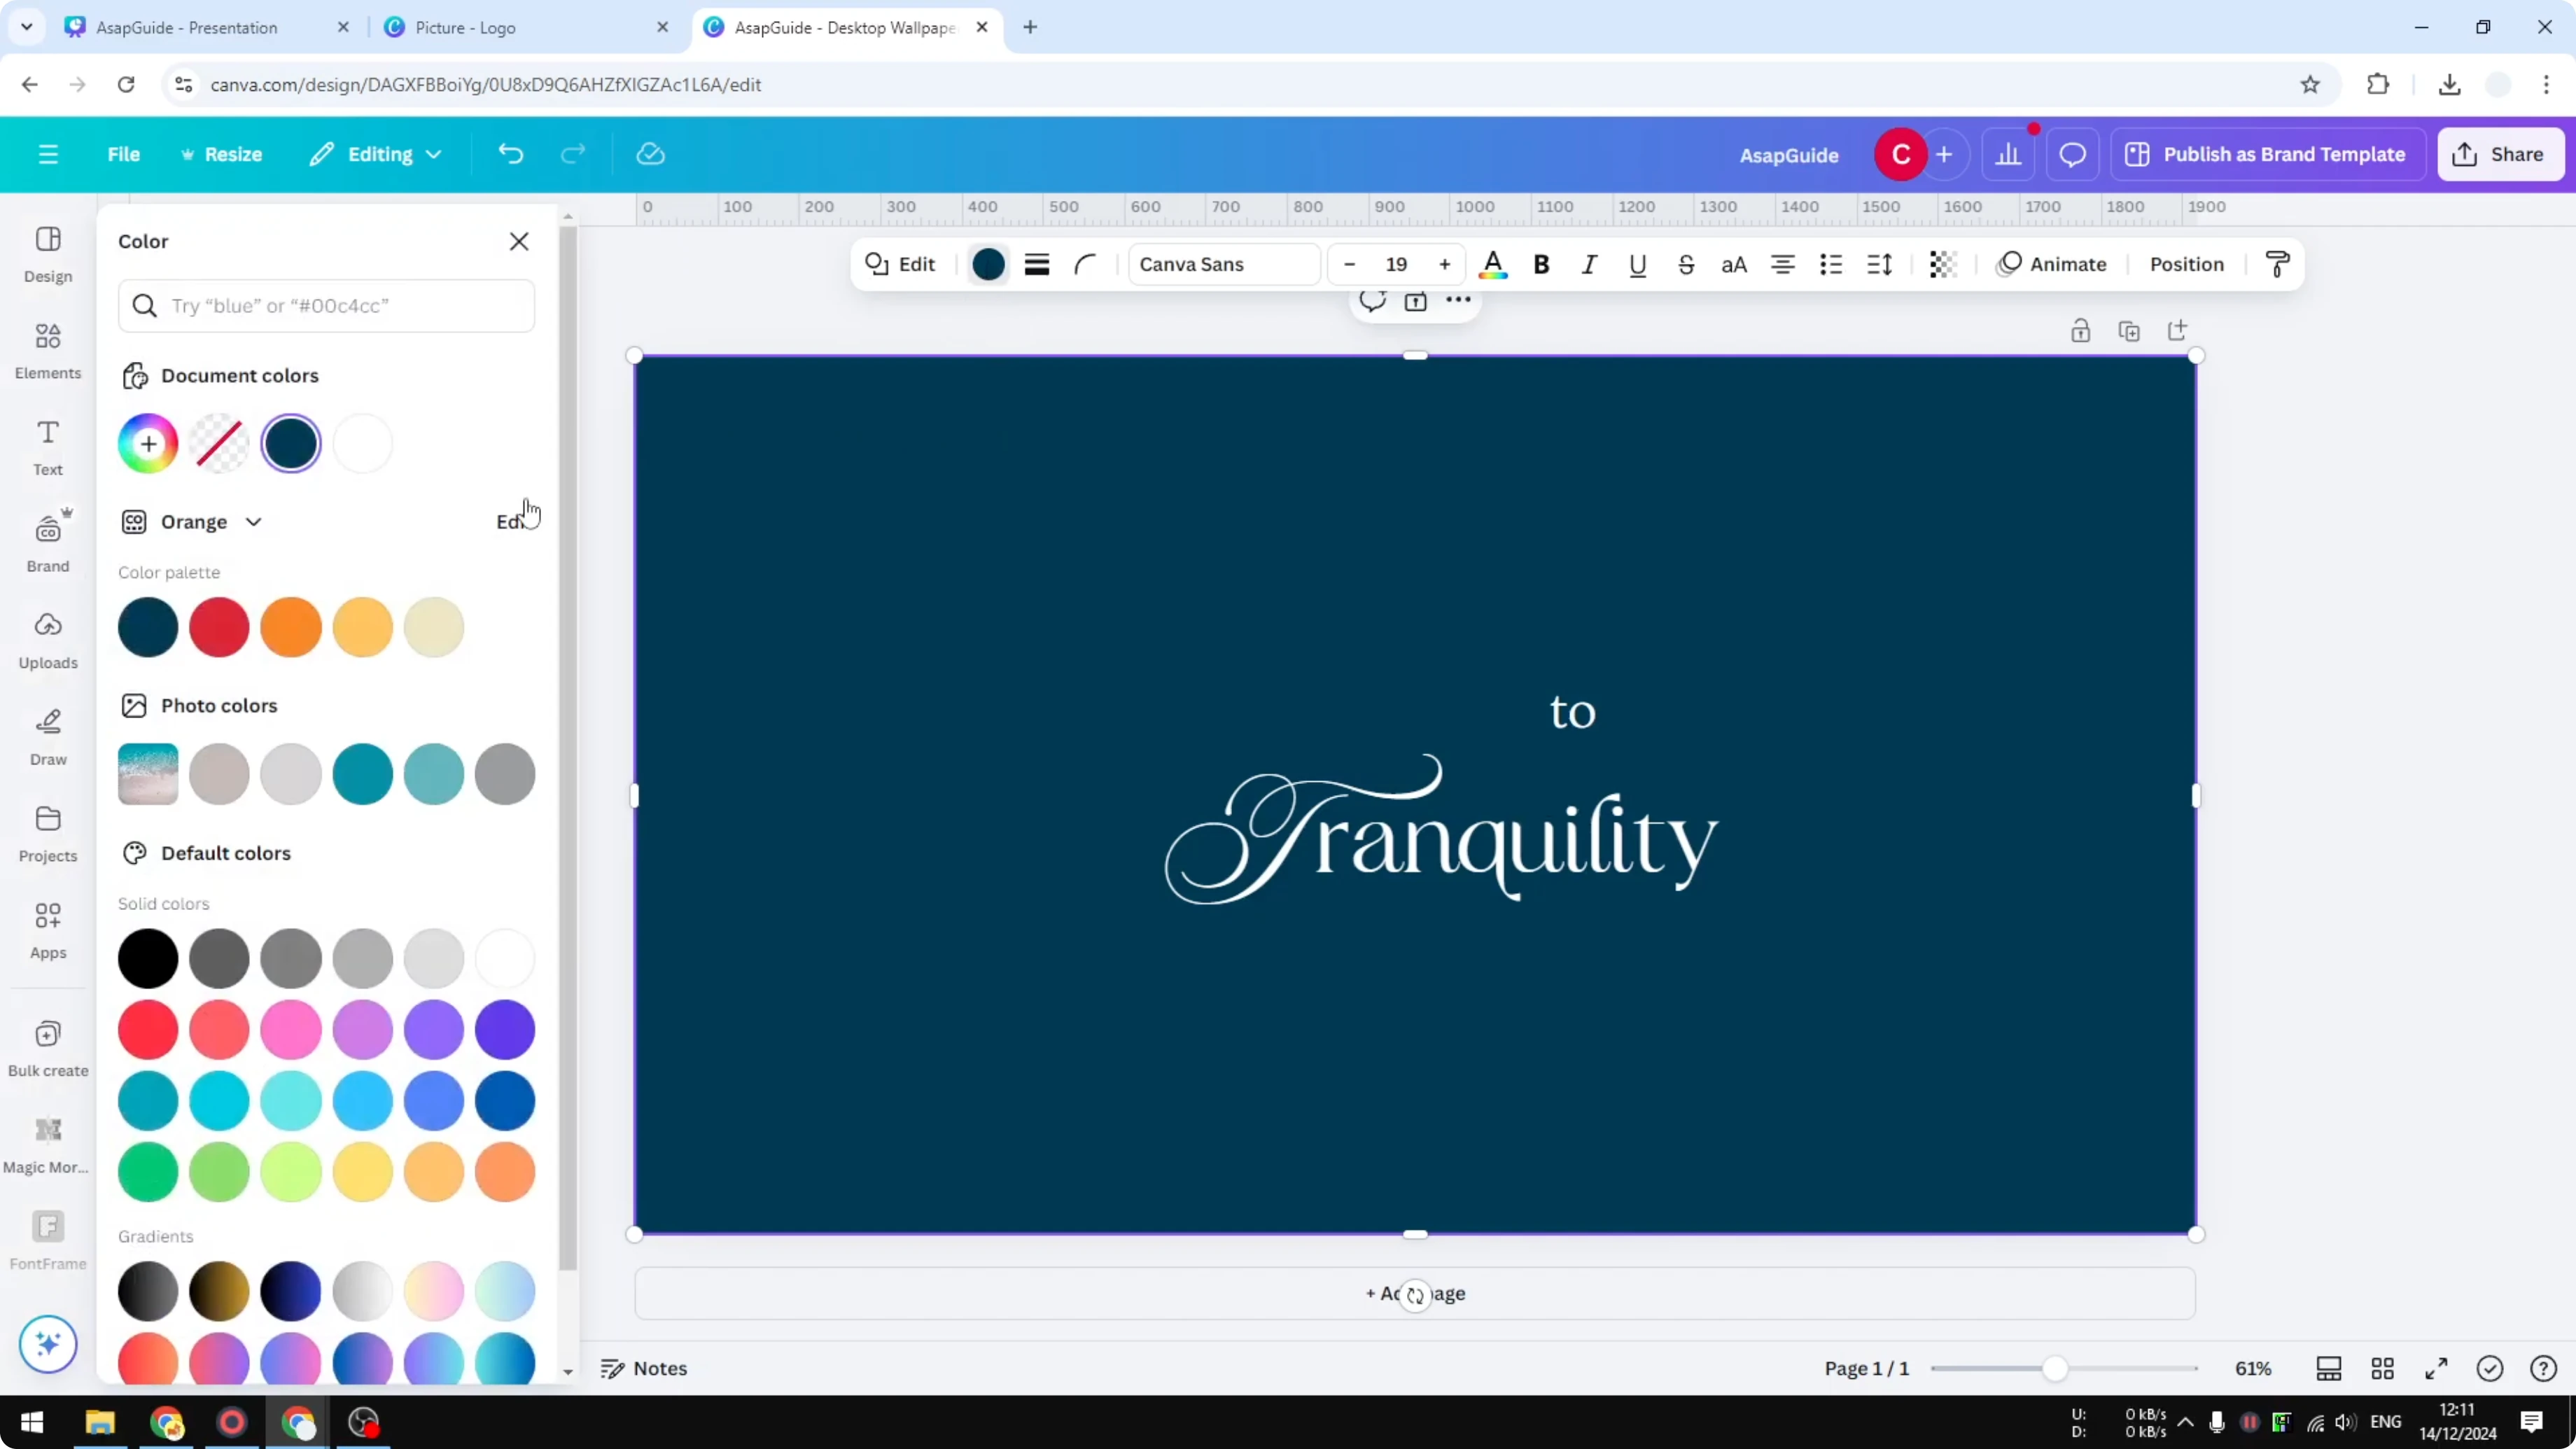
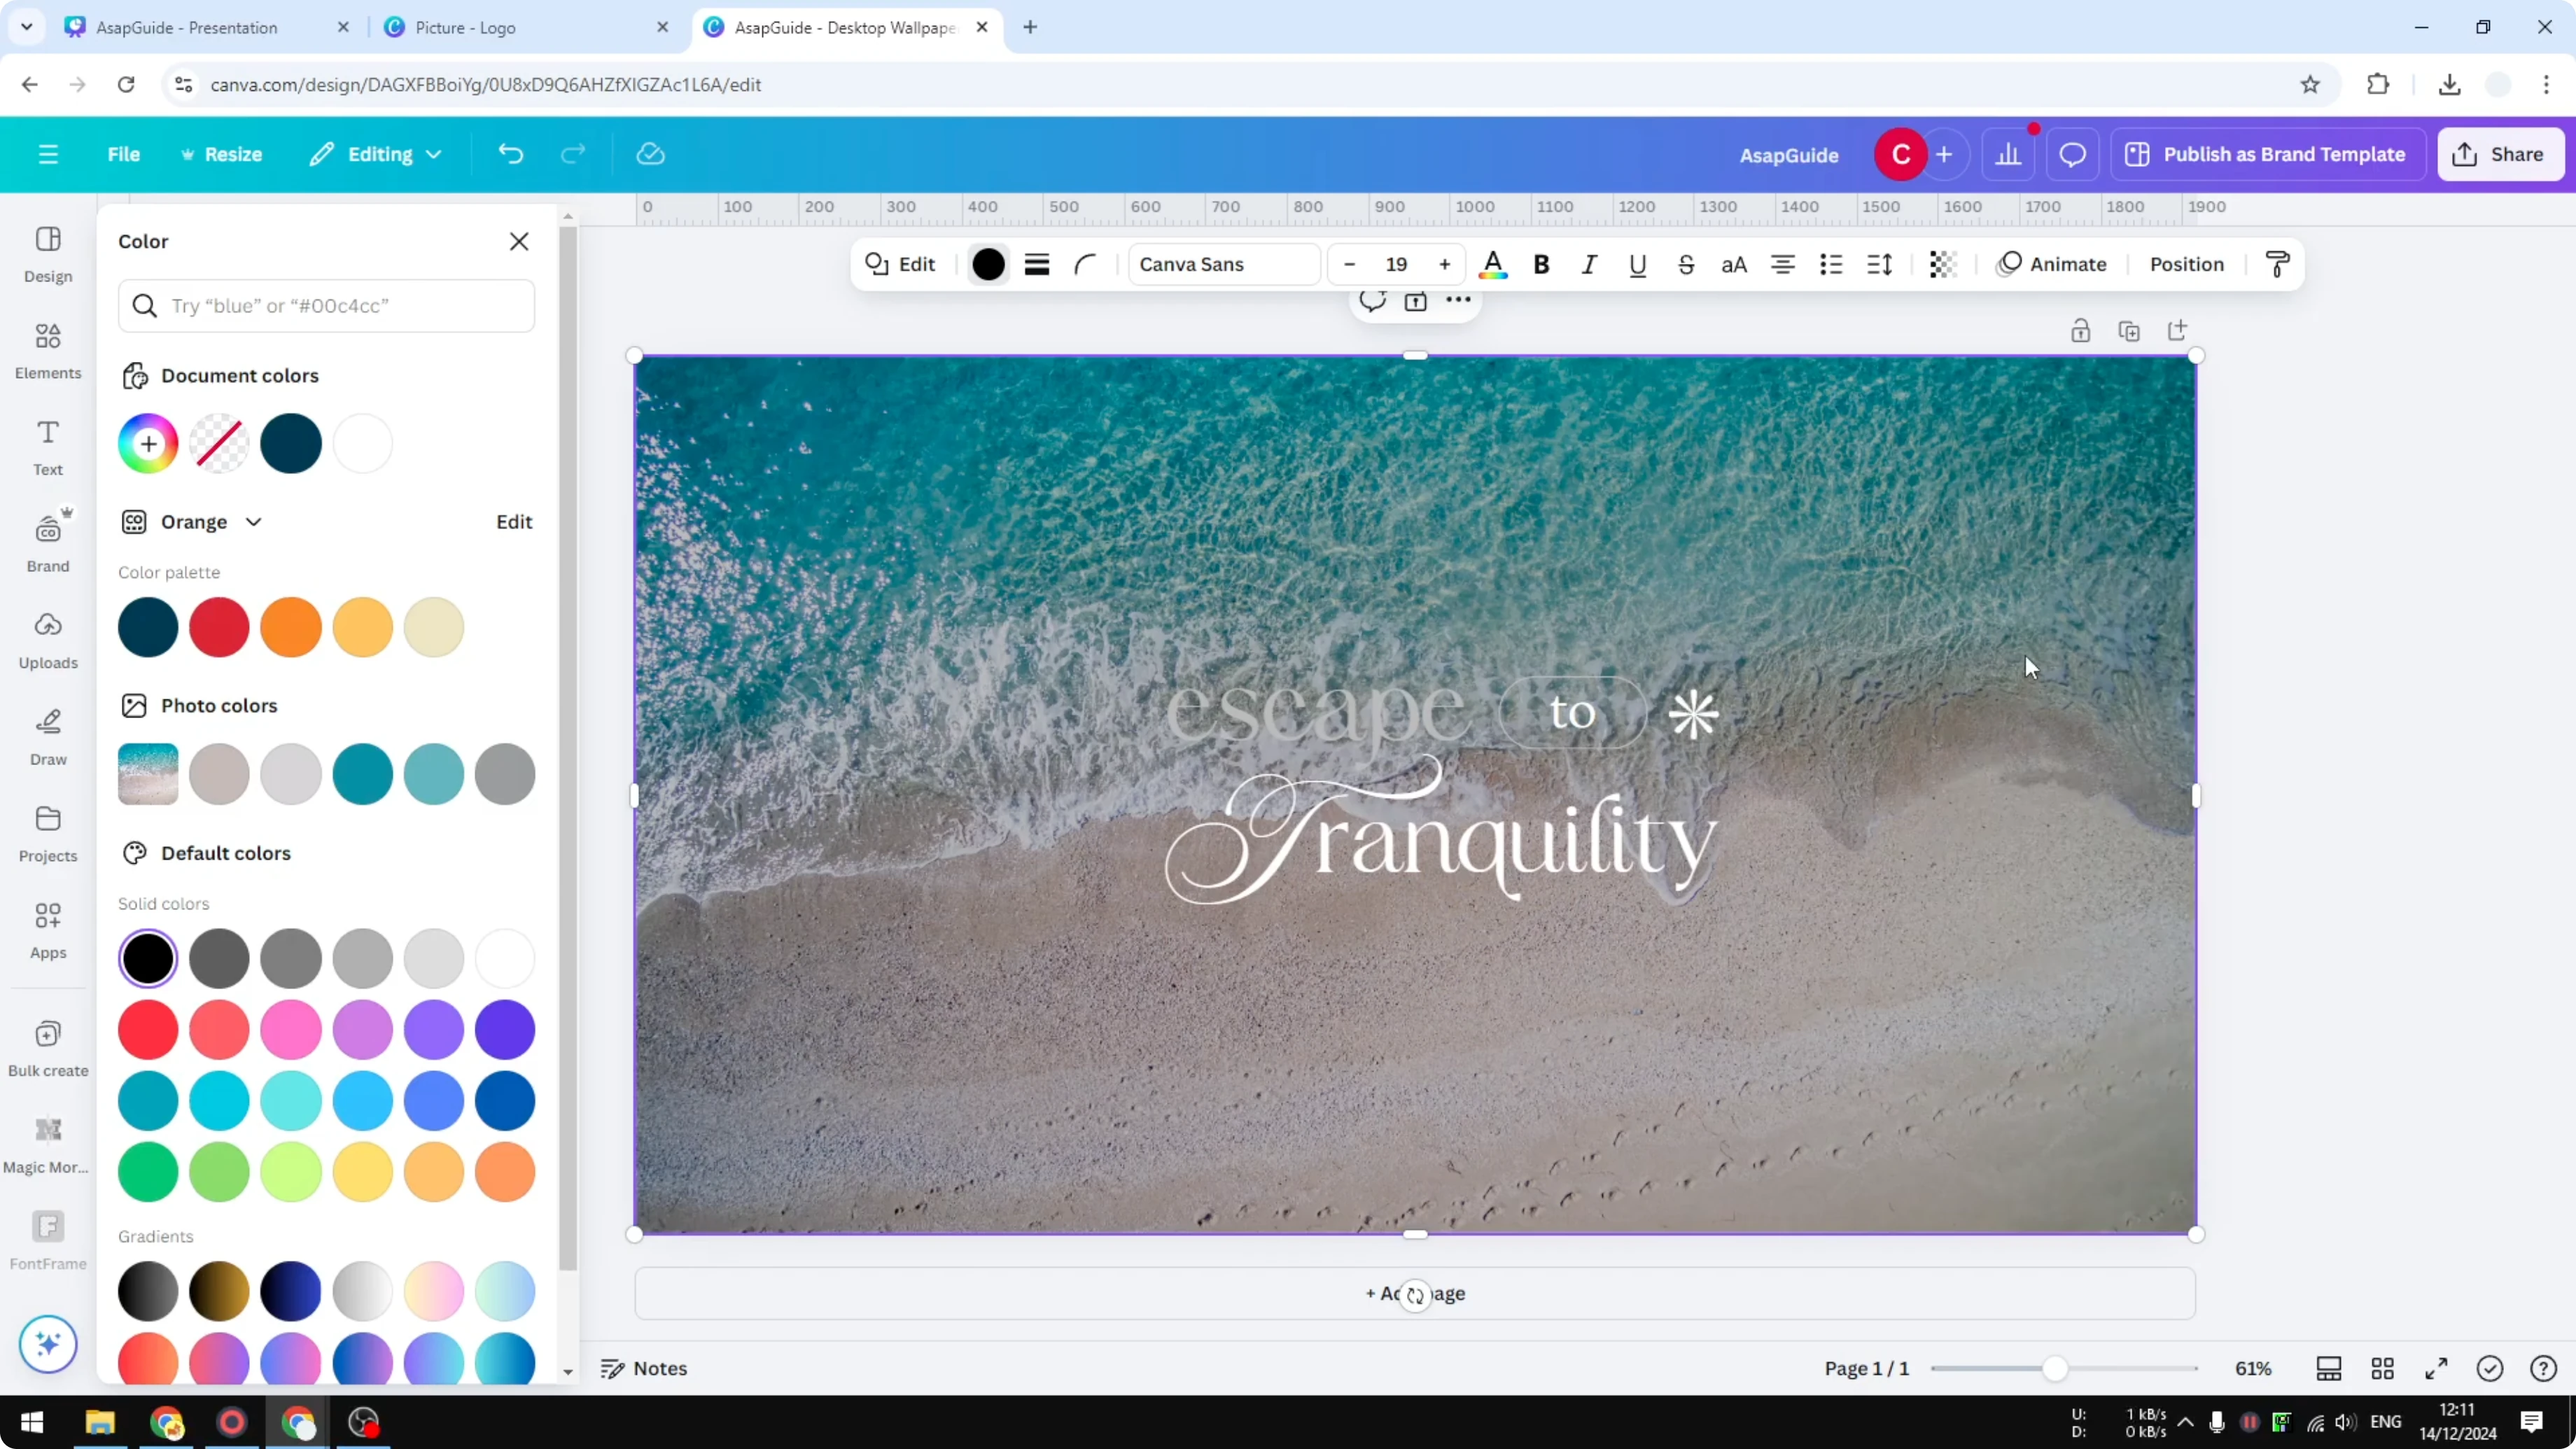
- Pick a color
- It could be white, black, orange, red. It really depends on what you are trying to build.
- I think black is usually good enough.
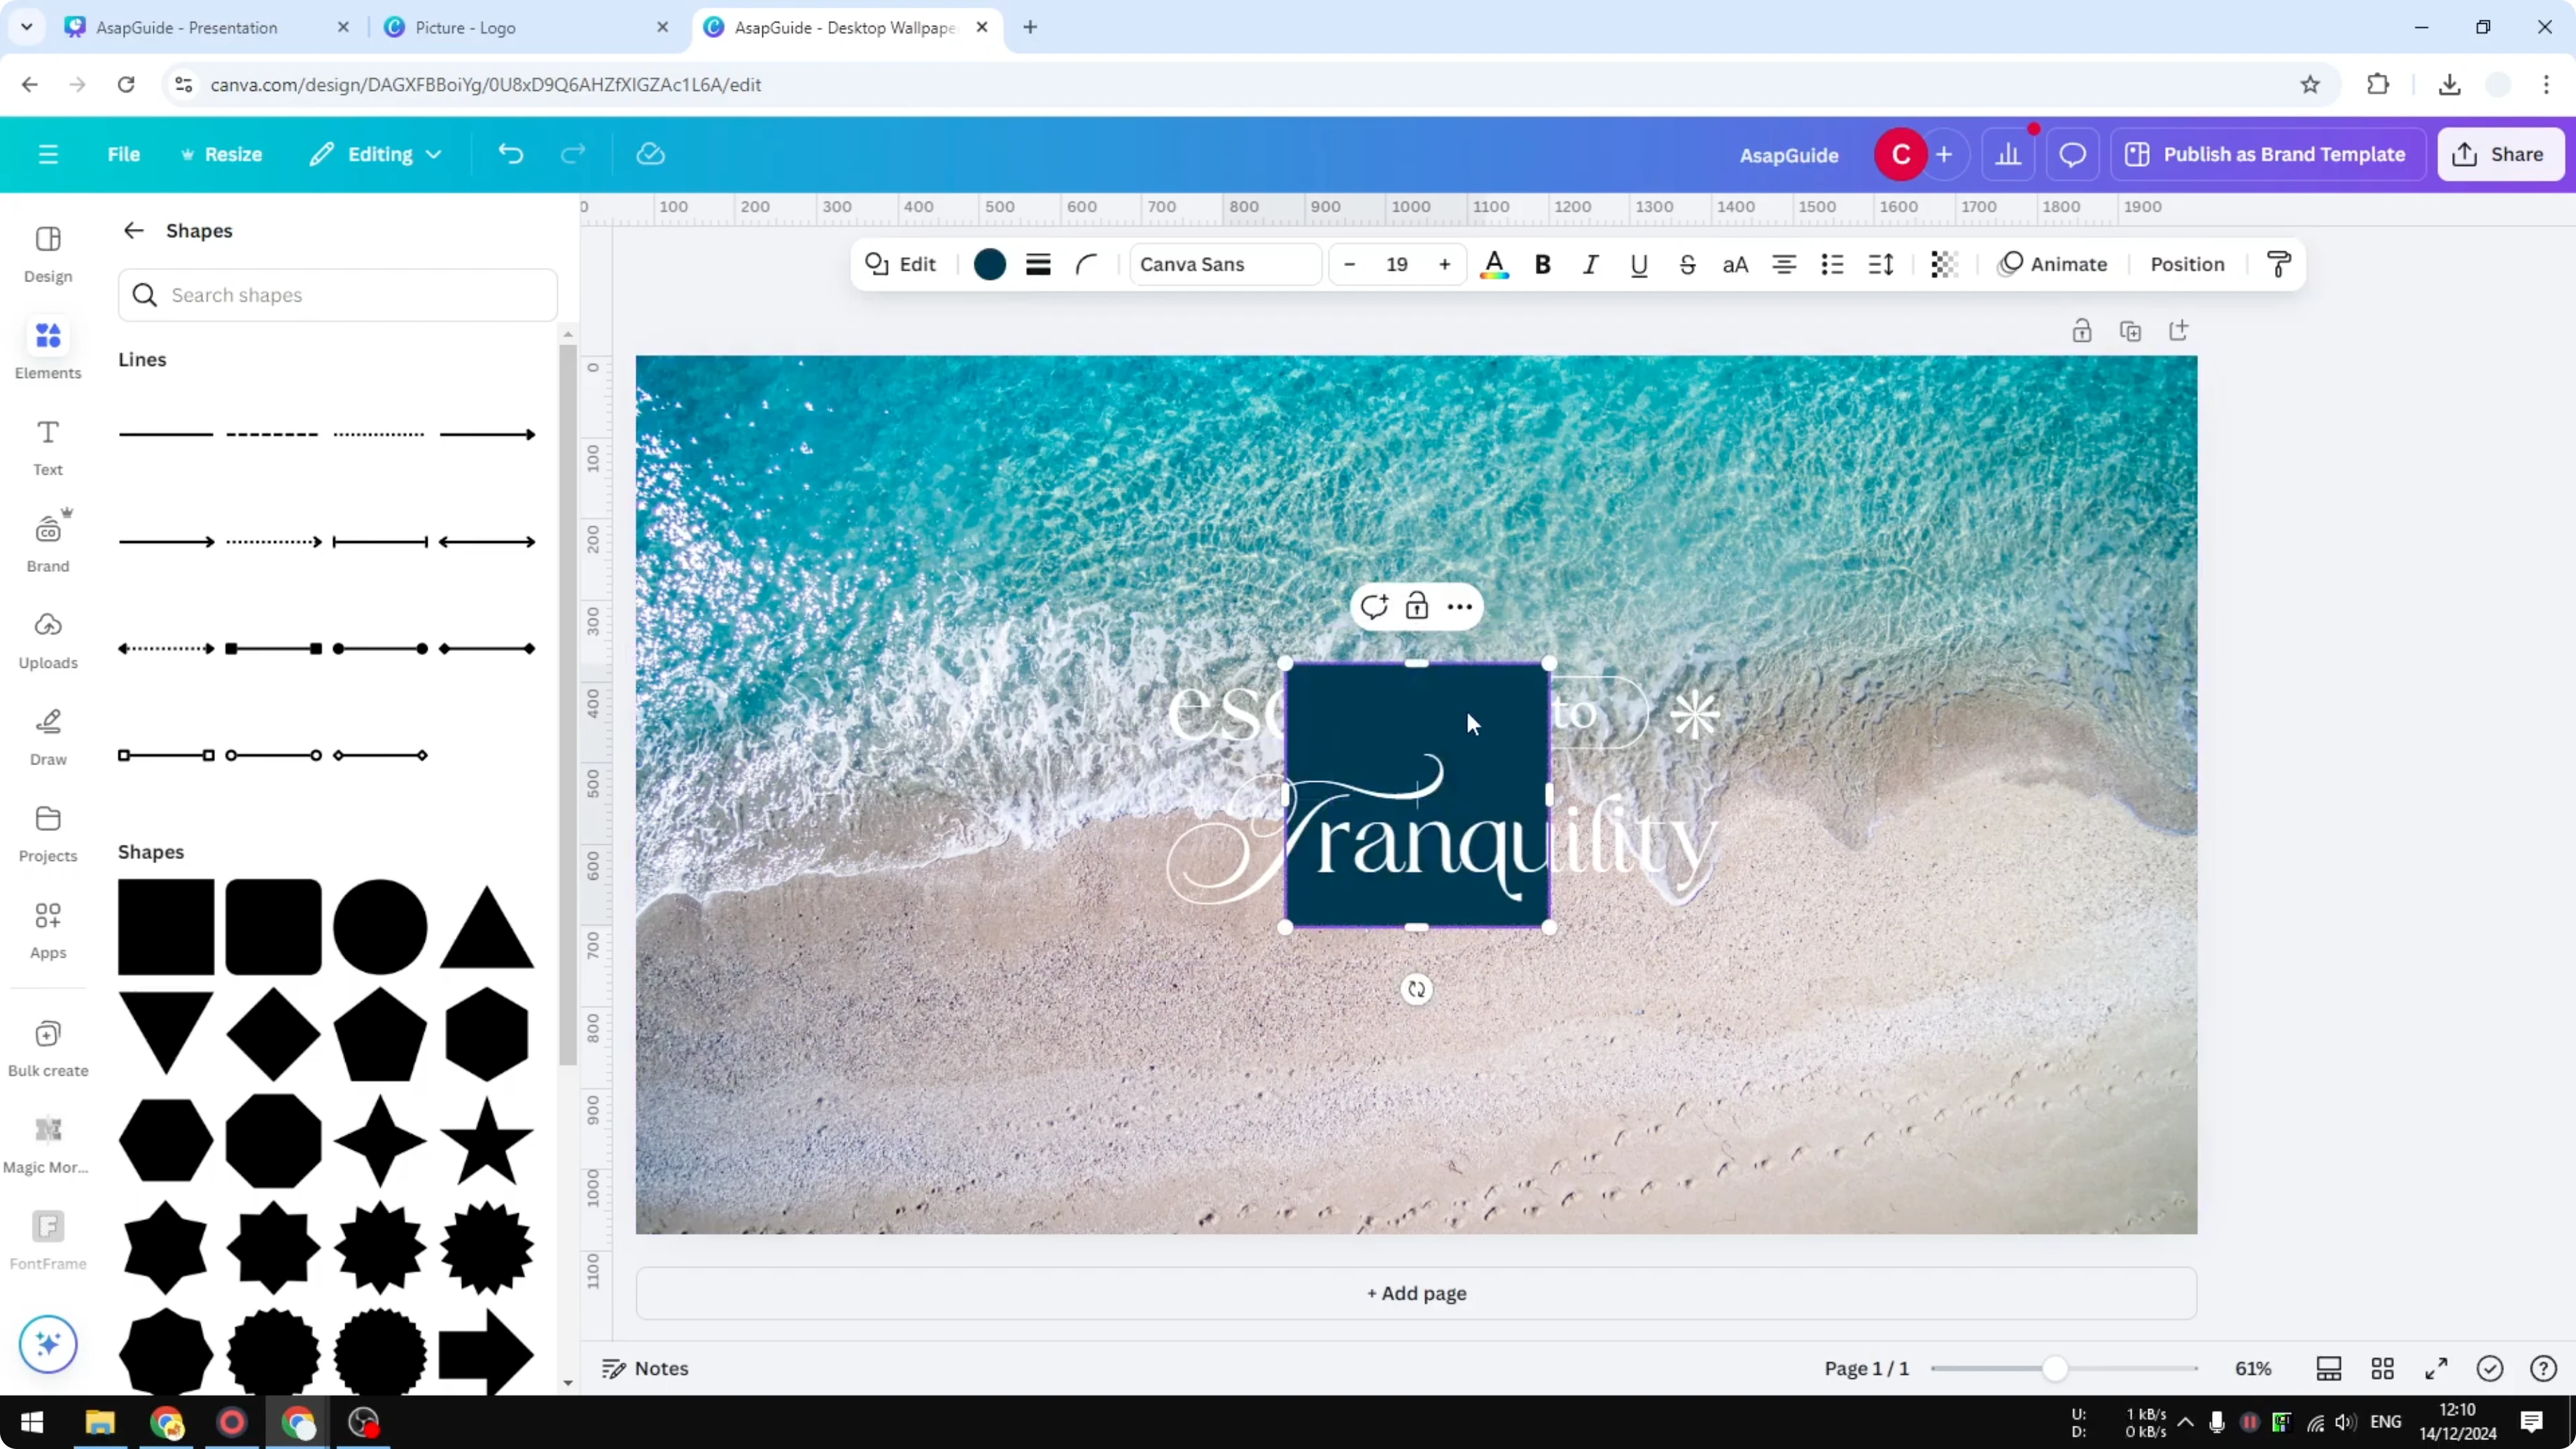
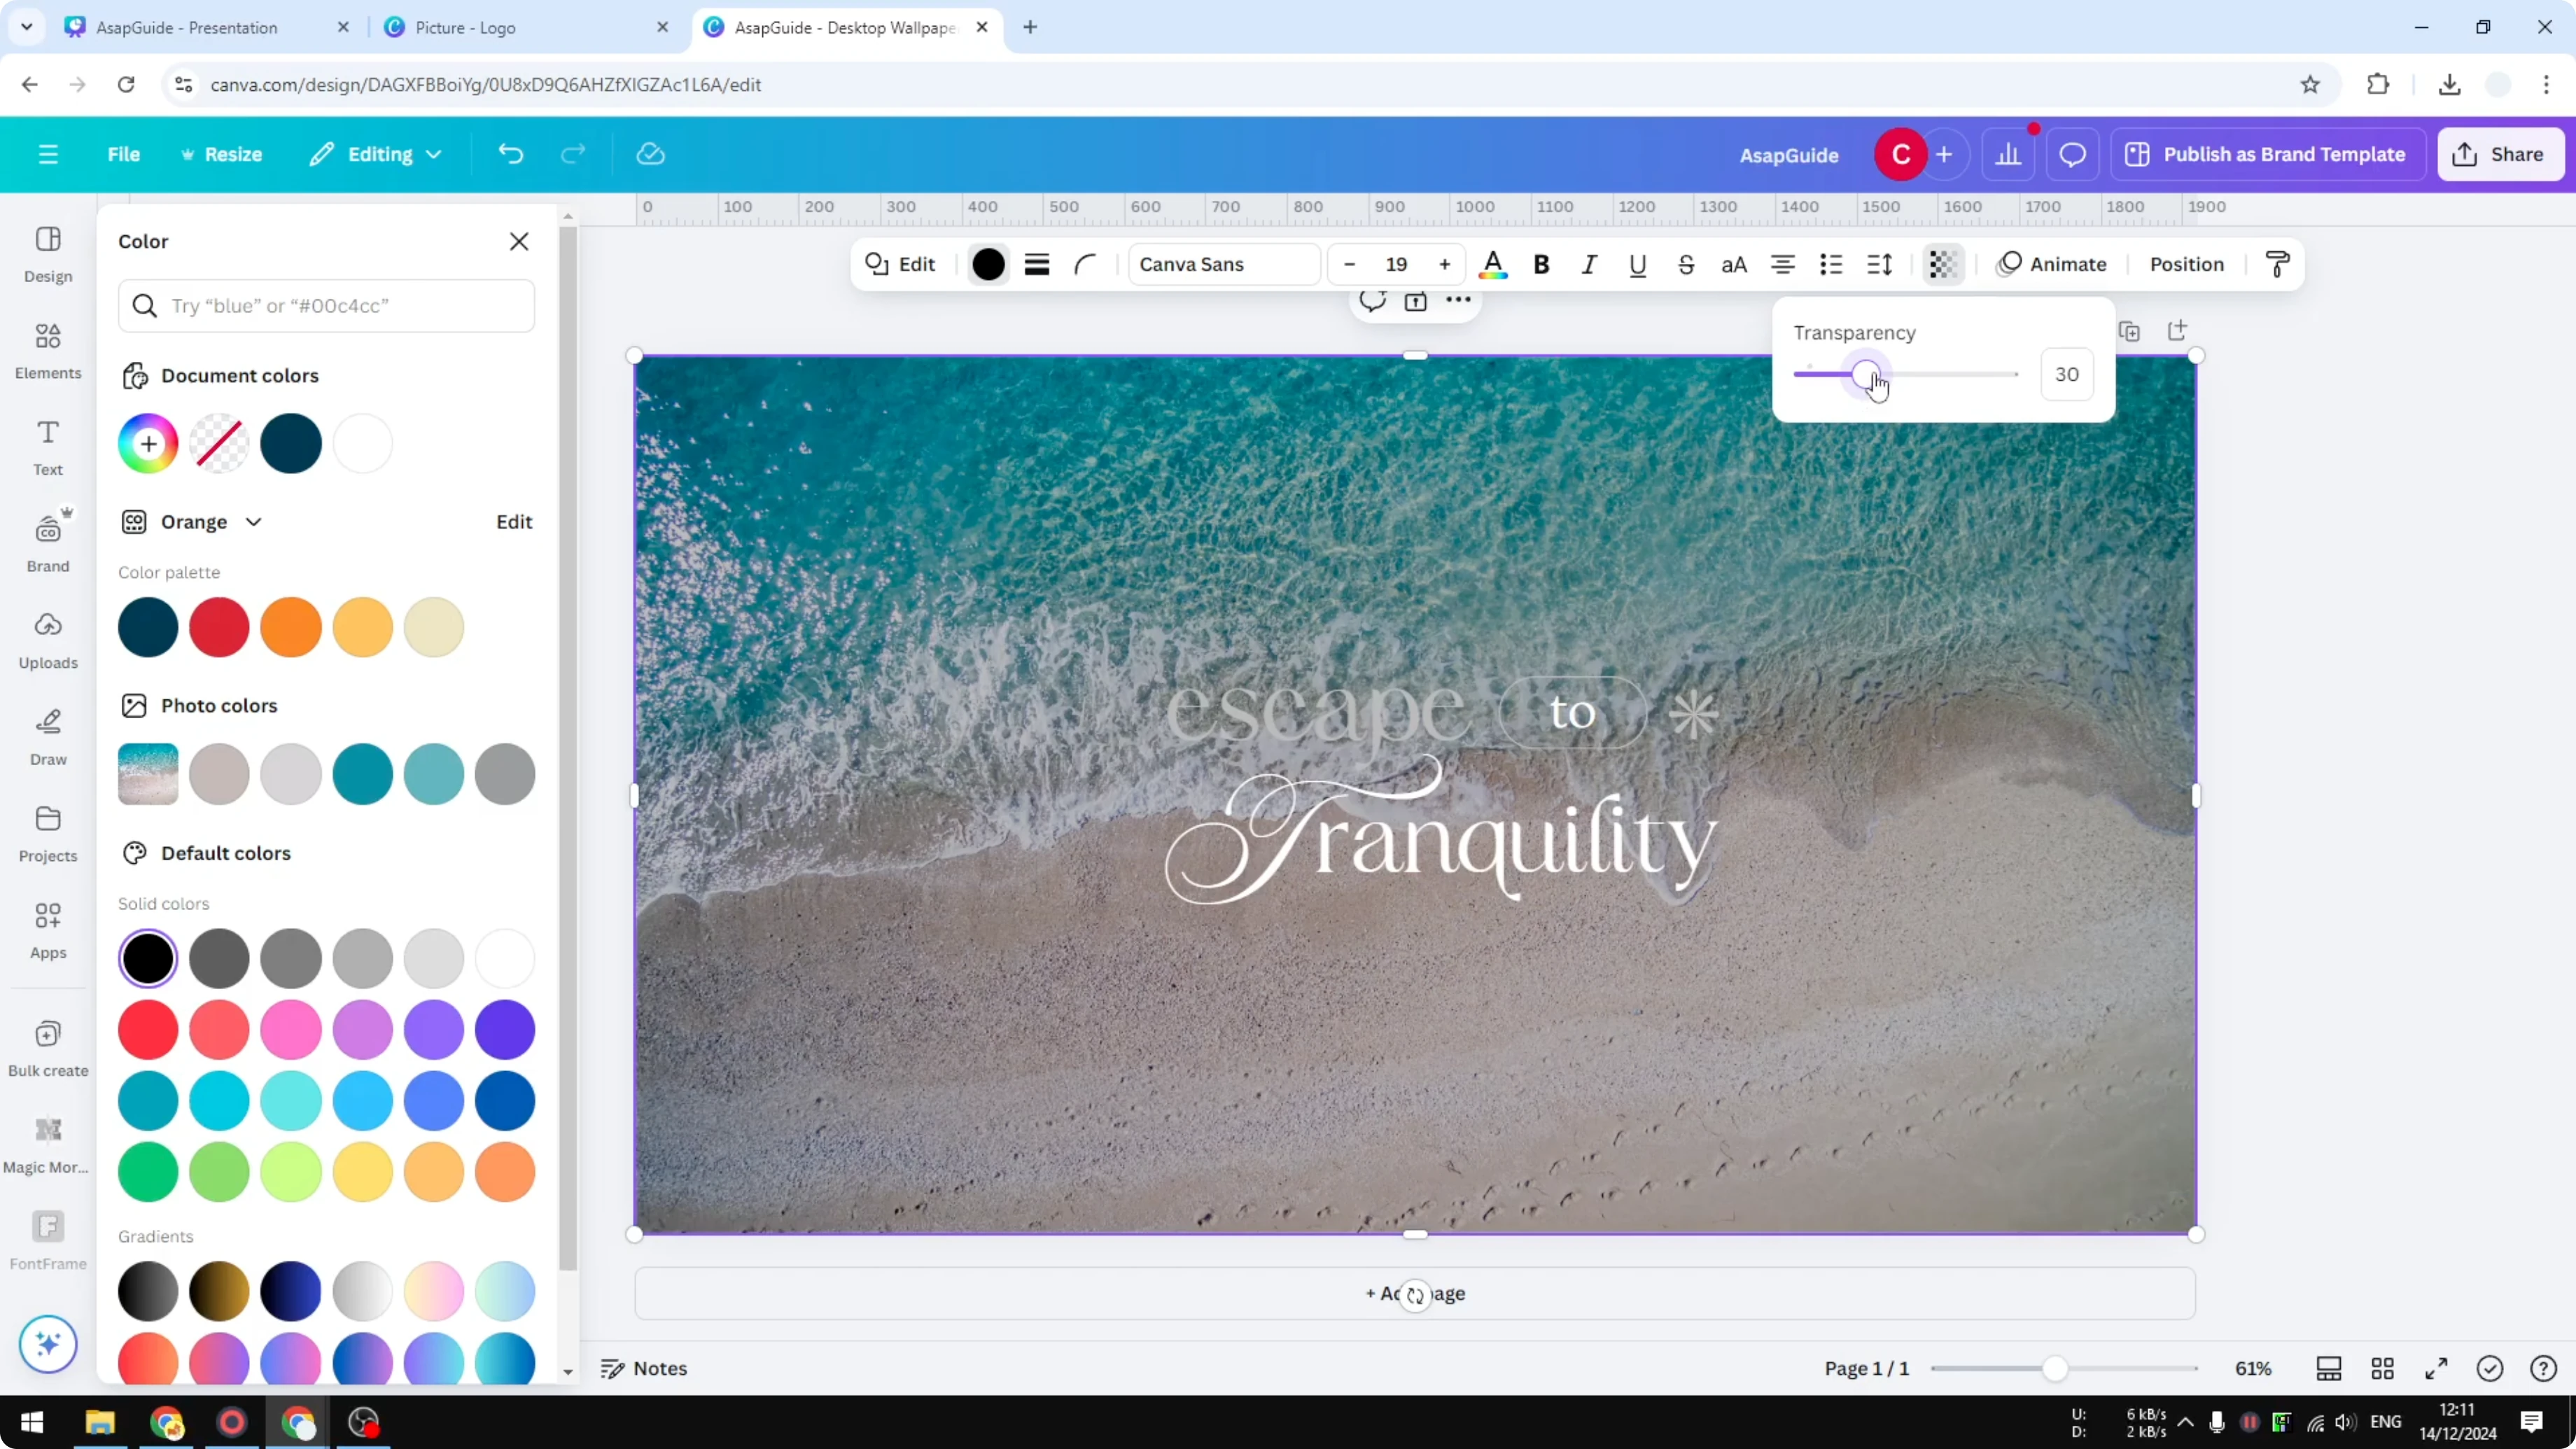
- Set the transparency
- Set the transparency to around 20 to 40, depending on your design and how much visibility you want to get.
- I think around 30 is great. 20 to 40 is usually the sweet spot.
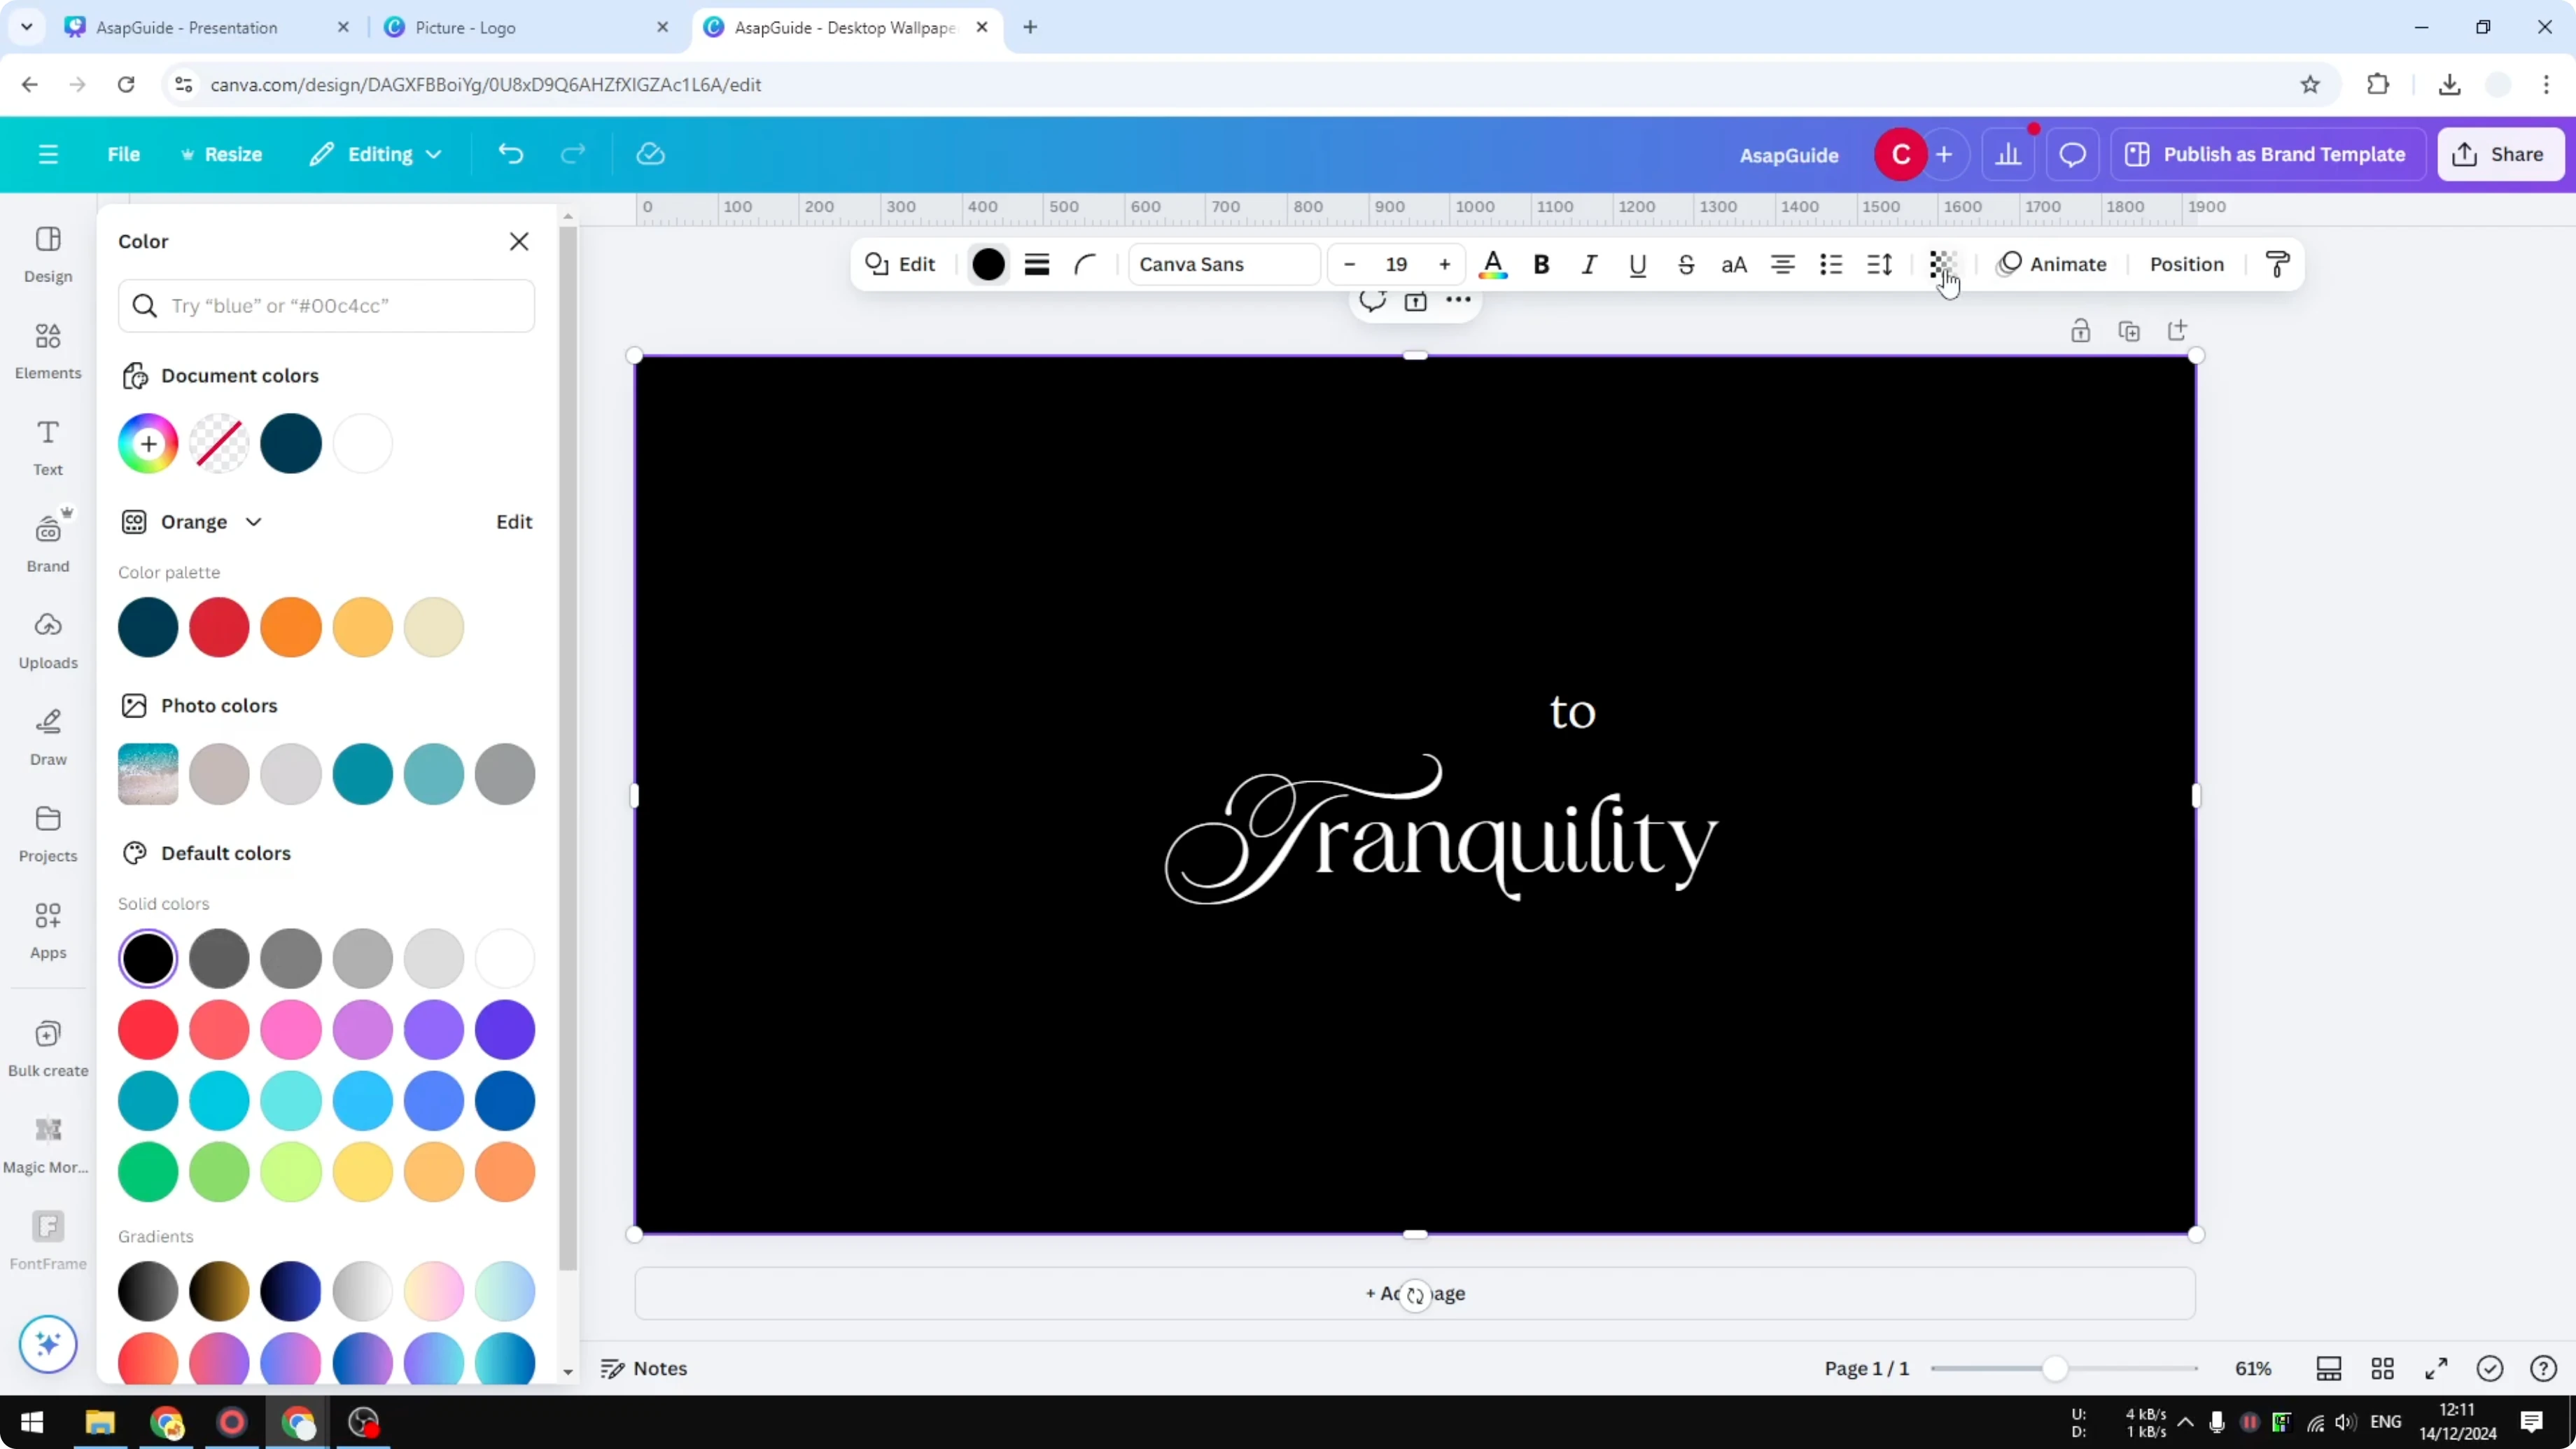
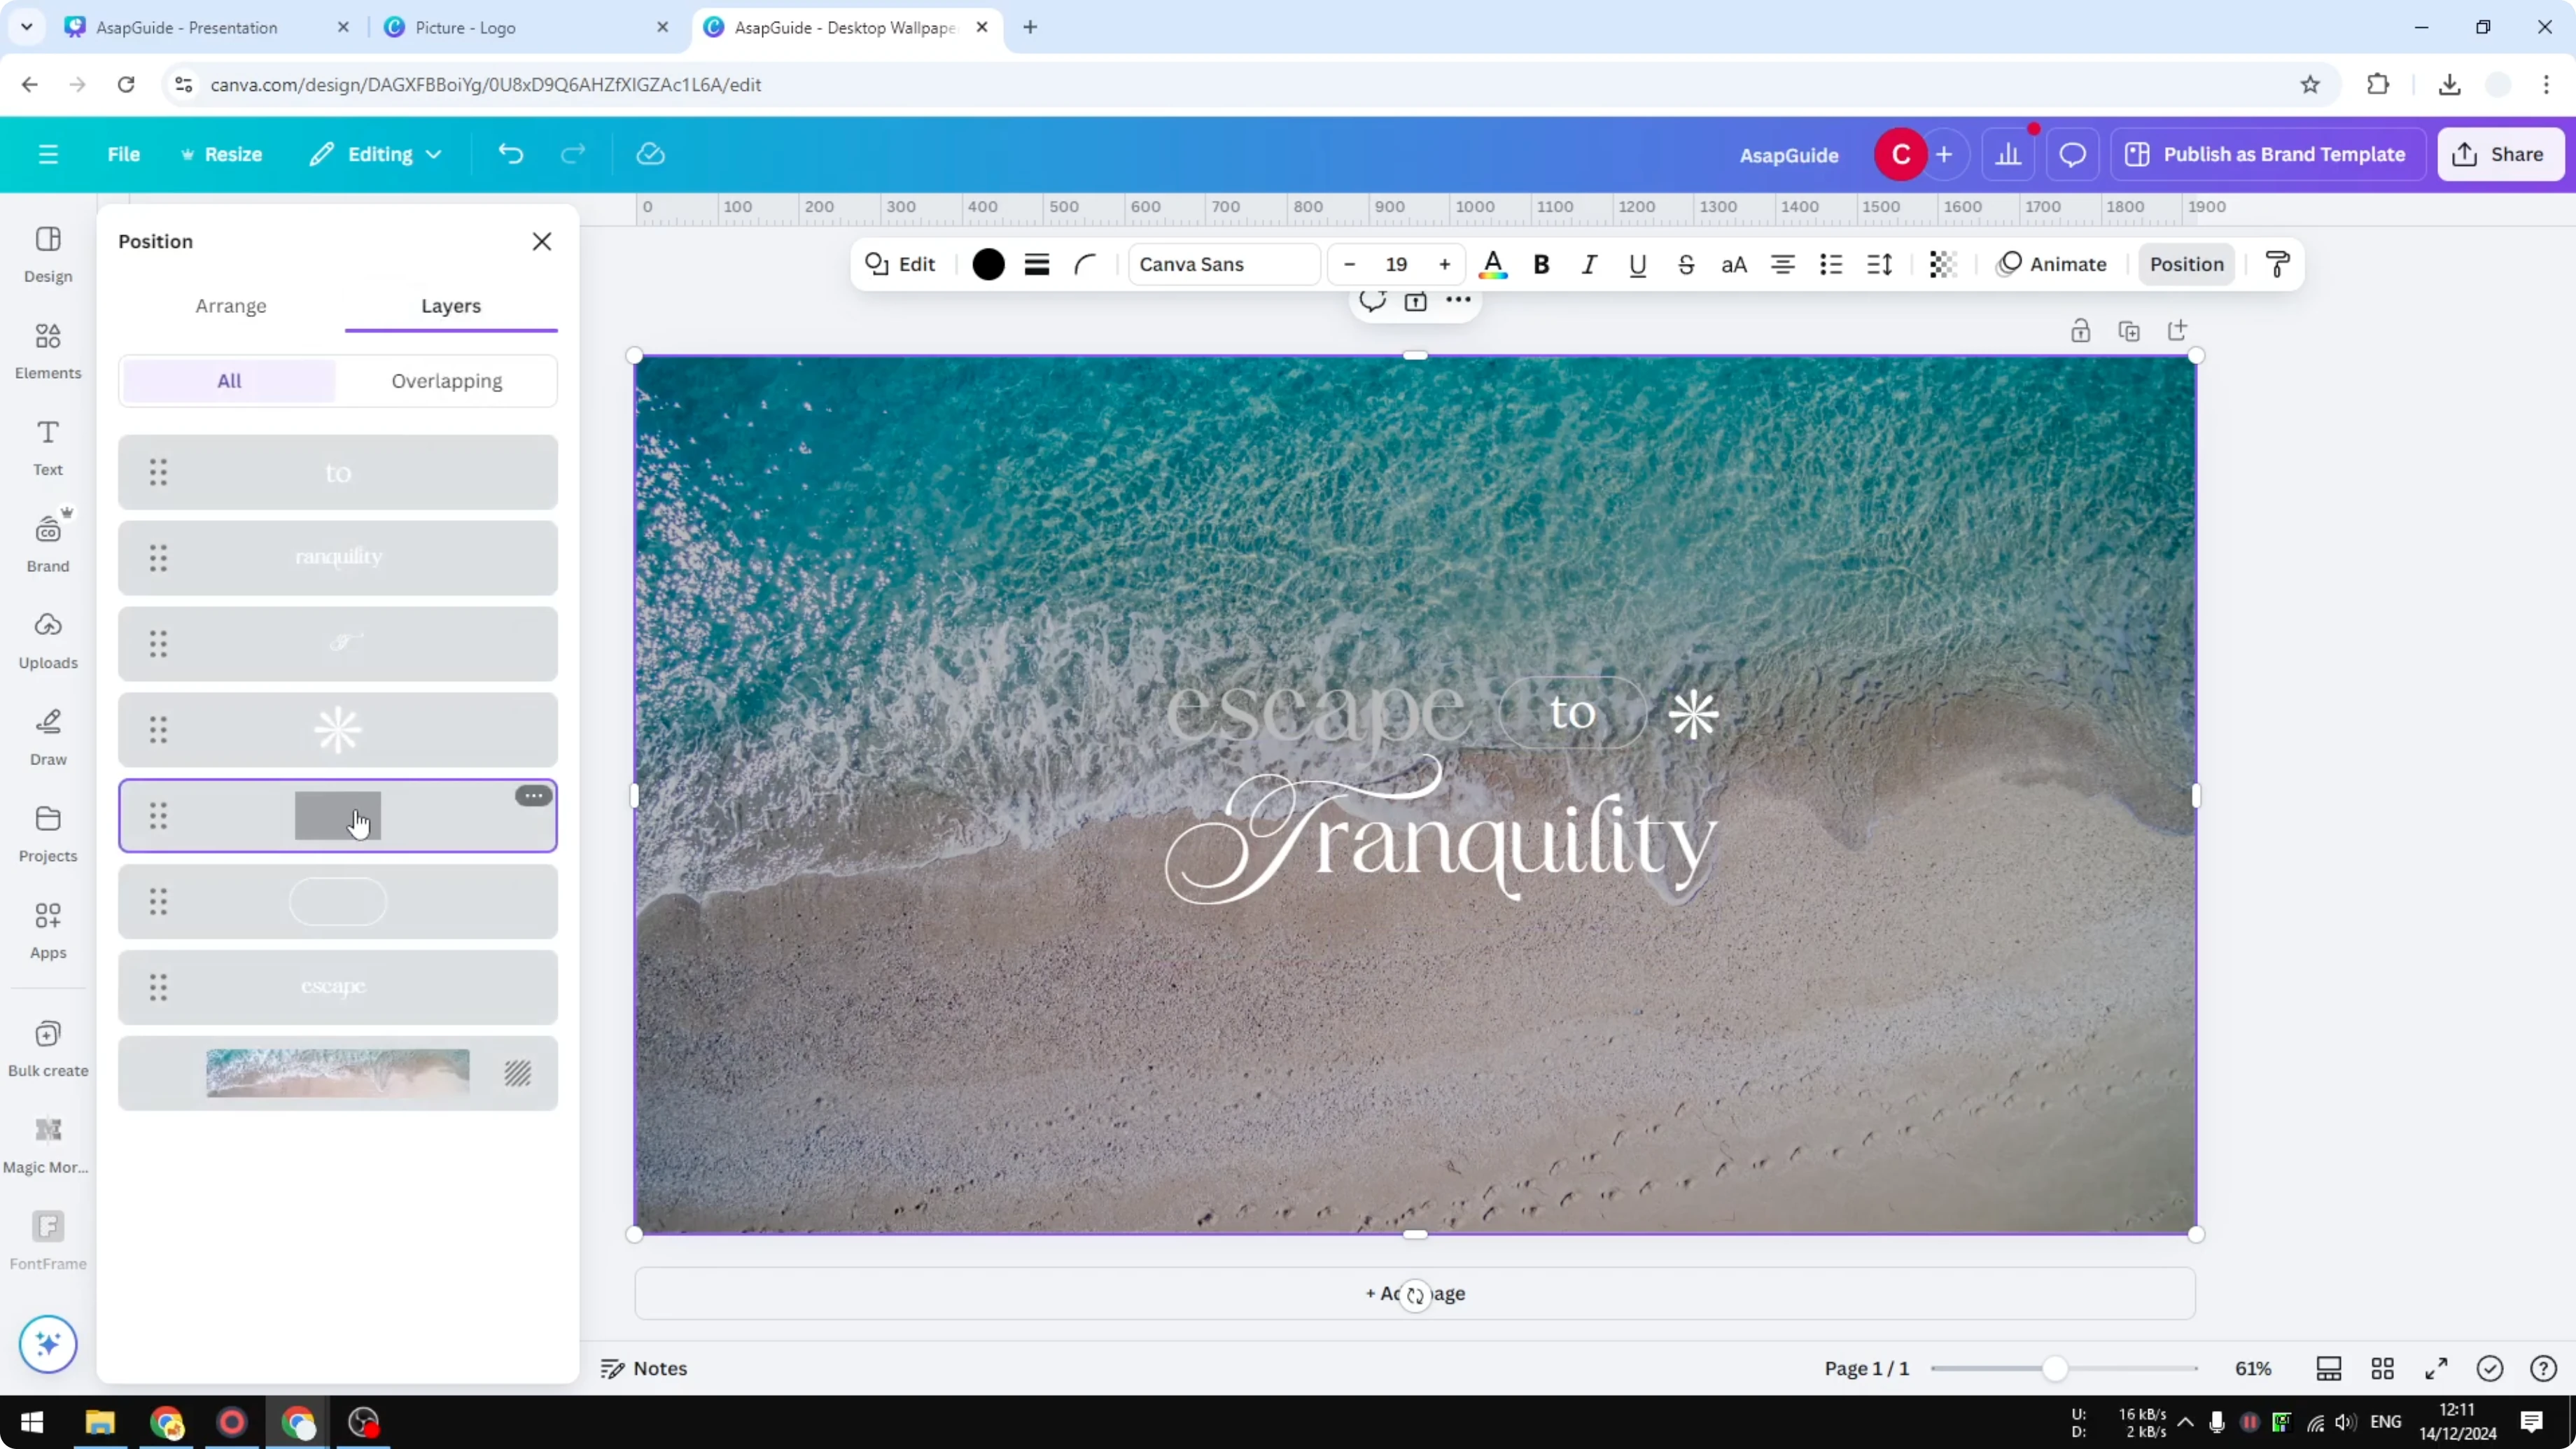
- Position the overlay between the background and the text
- Right-click the overlay, click Layer, then Send backward.
- To get a better idea of each layer’s position, go to Position, click Layers, and check the order. Drag the overlay so it sits on top of the background and below the text.

Final Thoughts
A simple shape with reduced transparency can solve readability issues fast. Pick a color that fits your design, set transparency around 20-40, and place the overlay between the background and the text. Using the R key for a square makes this quick to repeat.
Recent Posts
How to Visualize Yourself as a Pixelized Character with AI?
How to Visualize Yourself as a Pixelized Character with AI?

How to Revive Faded Memories and Enhance Image Clarity with AI?
How to Revive Faded Memories and Enhance Image Clarity with AI?

How to Visualize Yourself as an Animal Crossing Character with AI?
How to Visualize Yourself as an Animal Crossing Character with AI?