How to Make a Silhouette in Canva
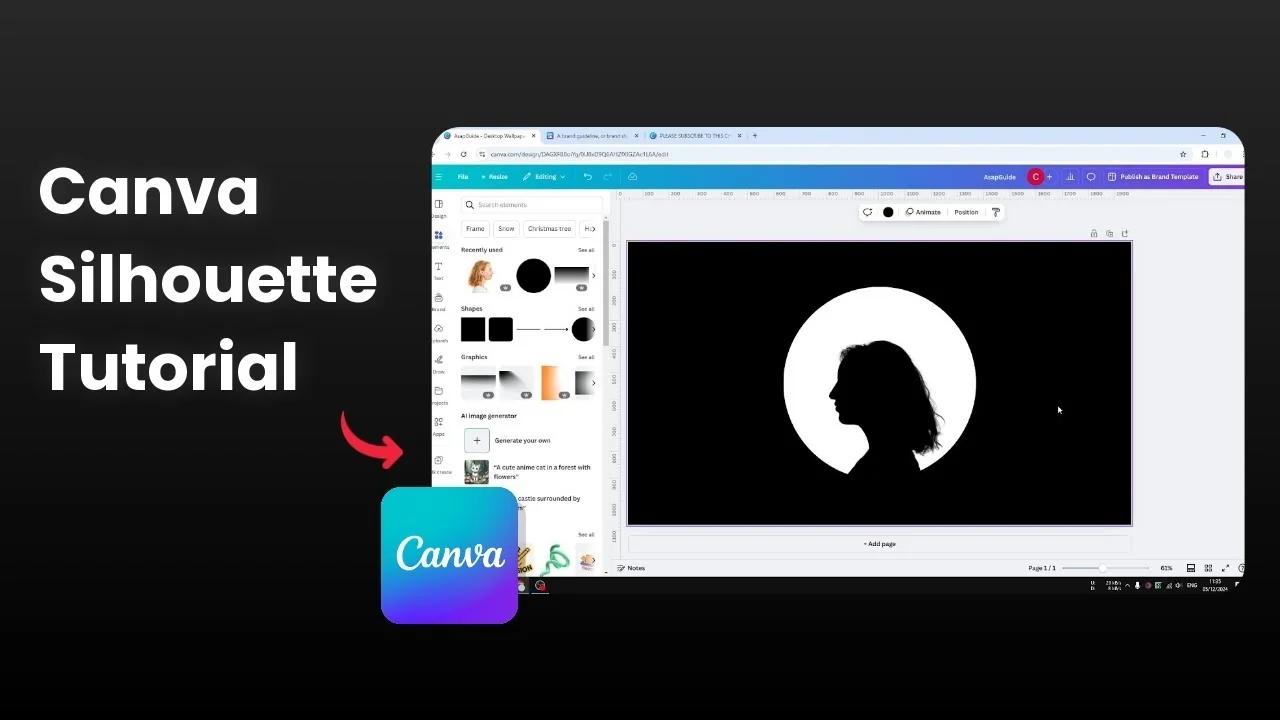
I’m going to show you how to create a silhouette effect in Canva in less than 3 minutes. This simple setup gives you a clean, bold result that works great for profiles and posters.
Make a Silhouette in Canva: Setup
Open a new document.
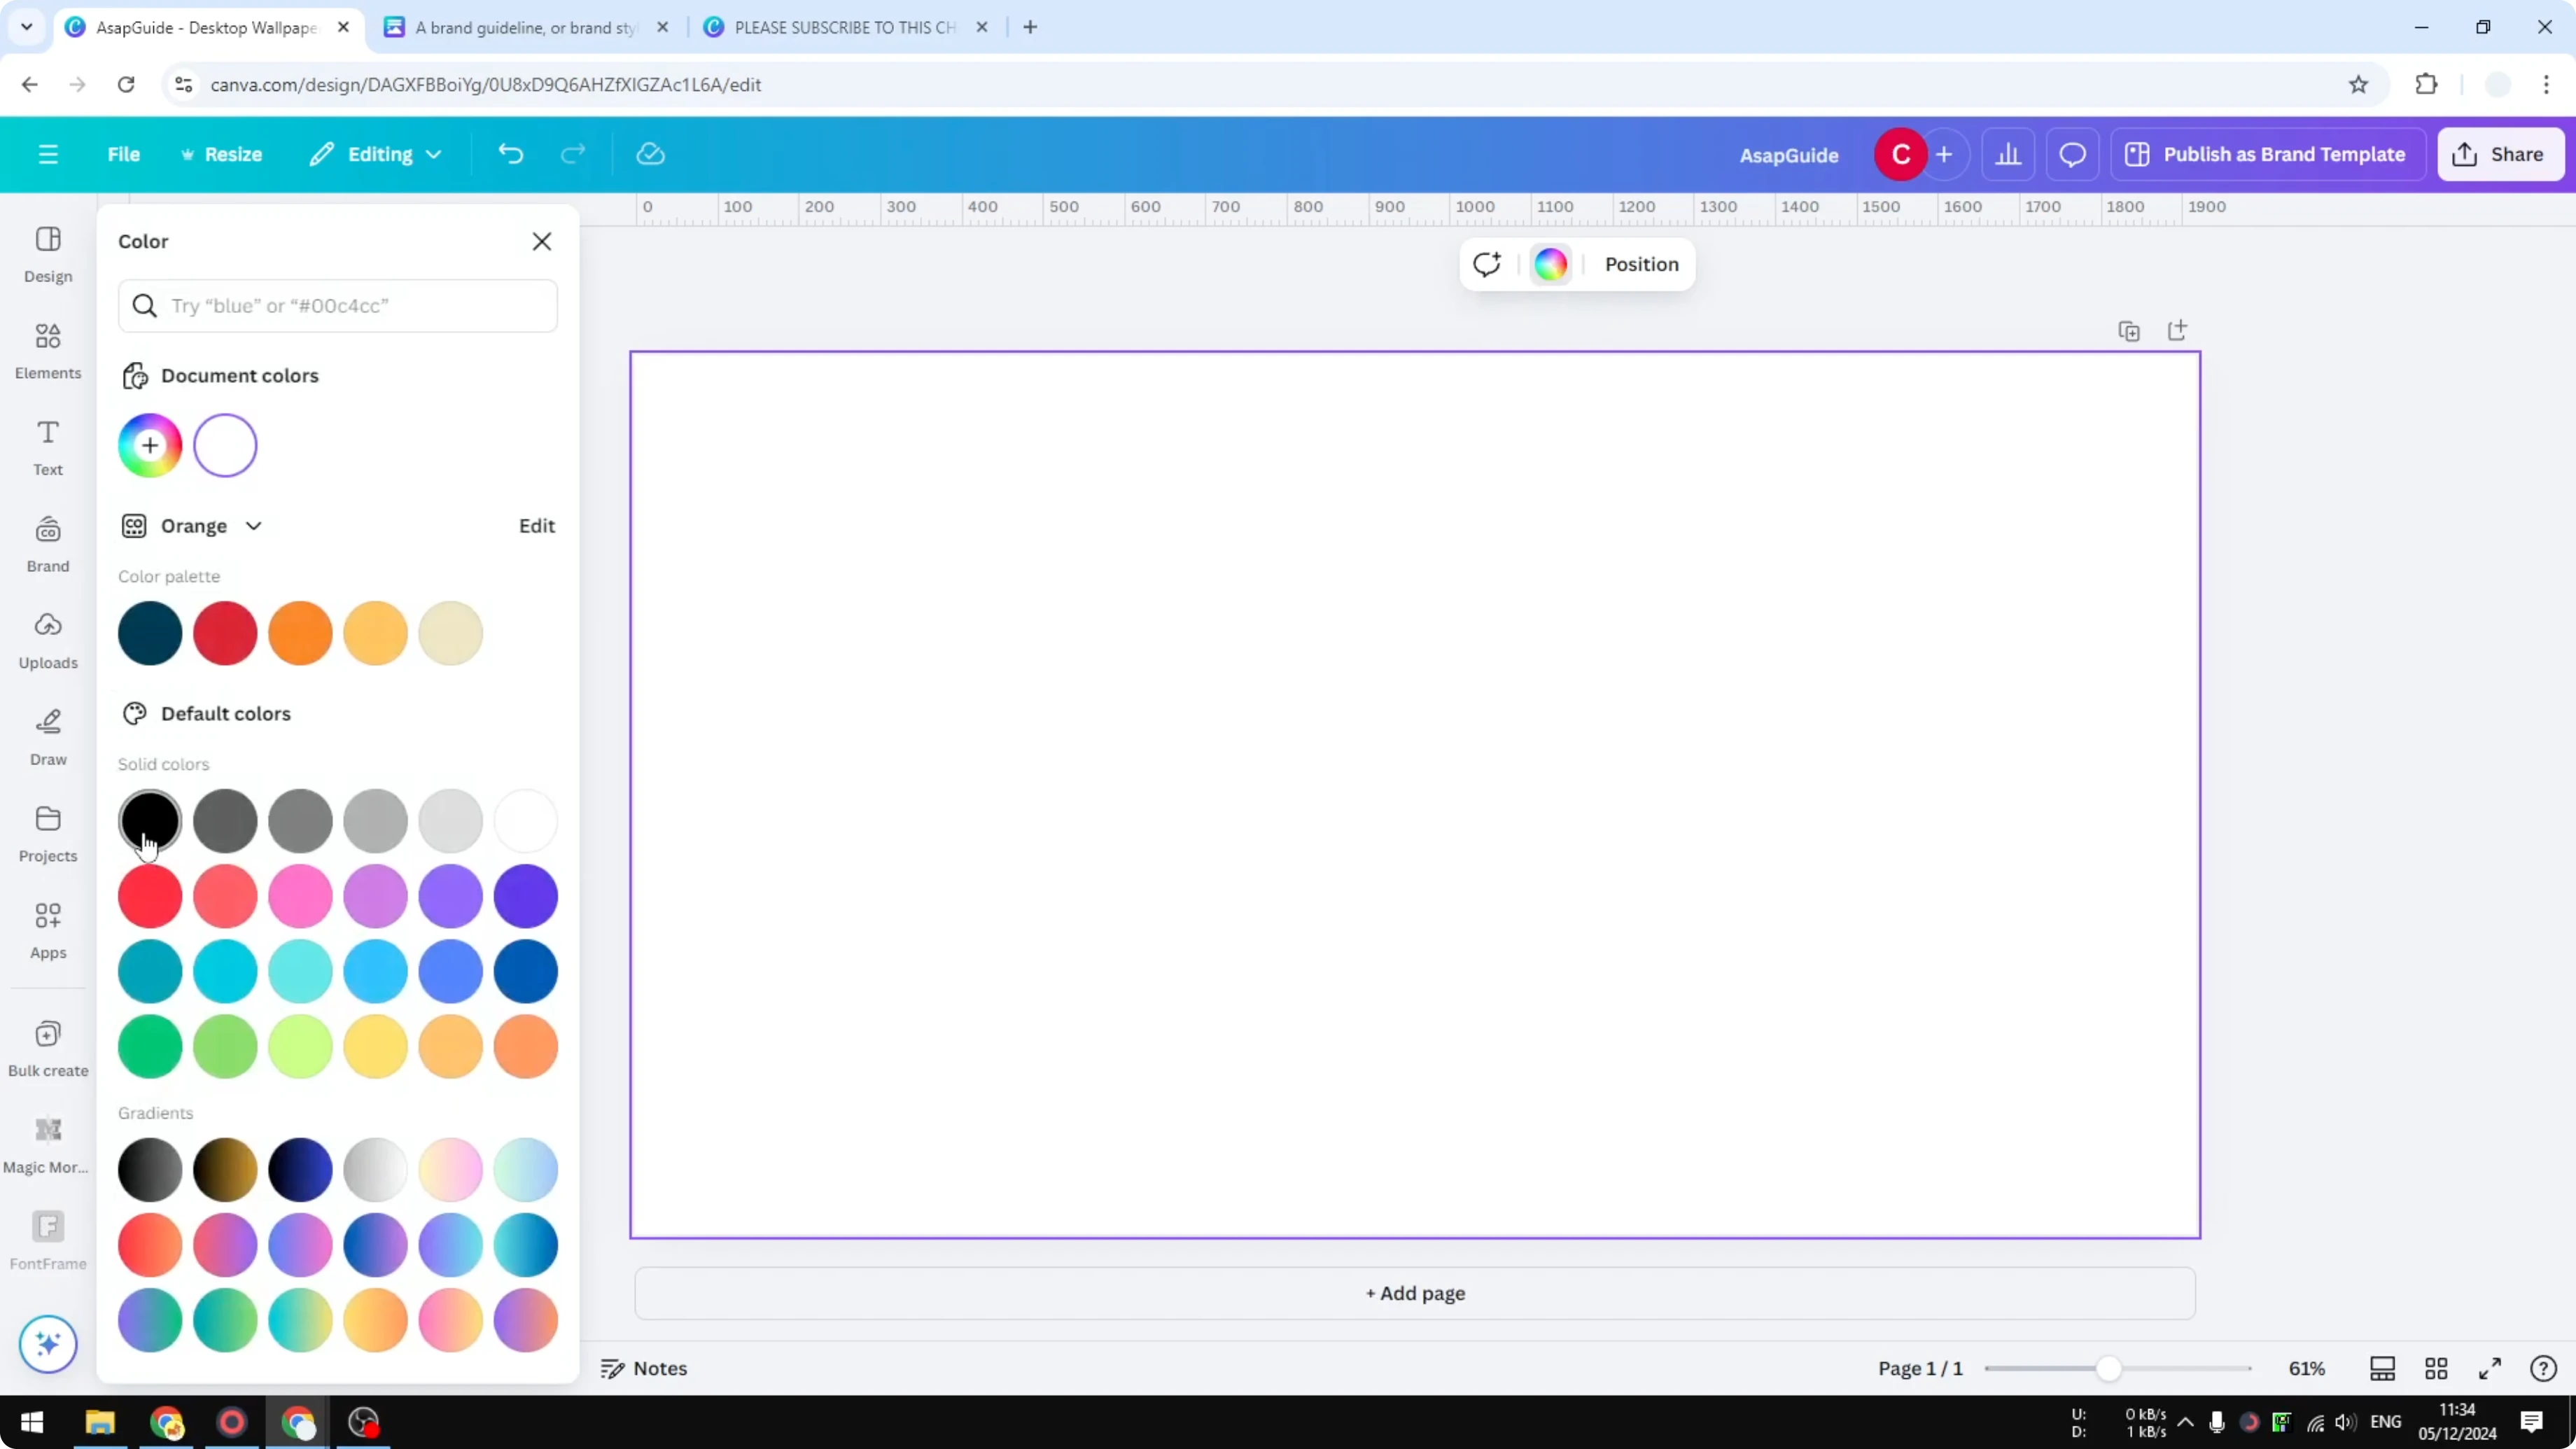
I recommend using a black background. Click the background and click Color, then select black. If you’re using a hex color code, use #000000 for a solid black.
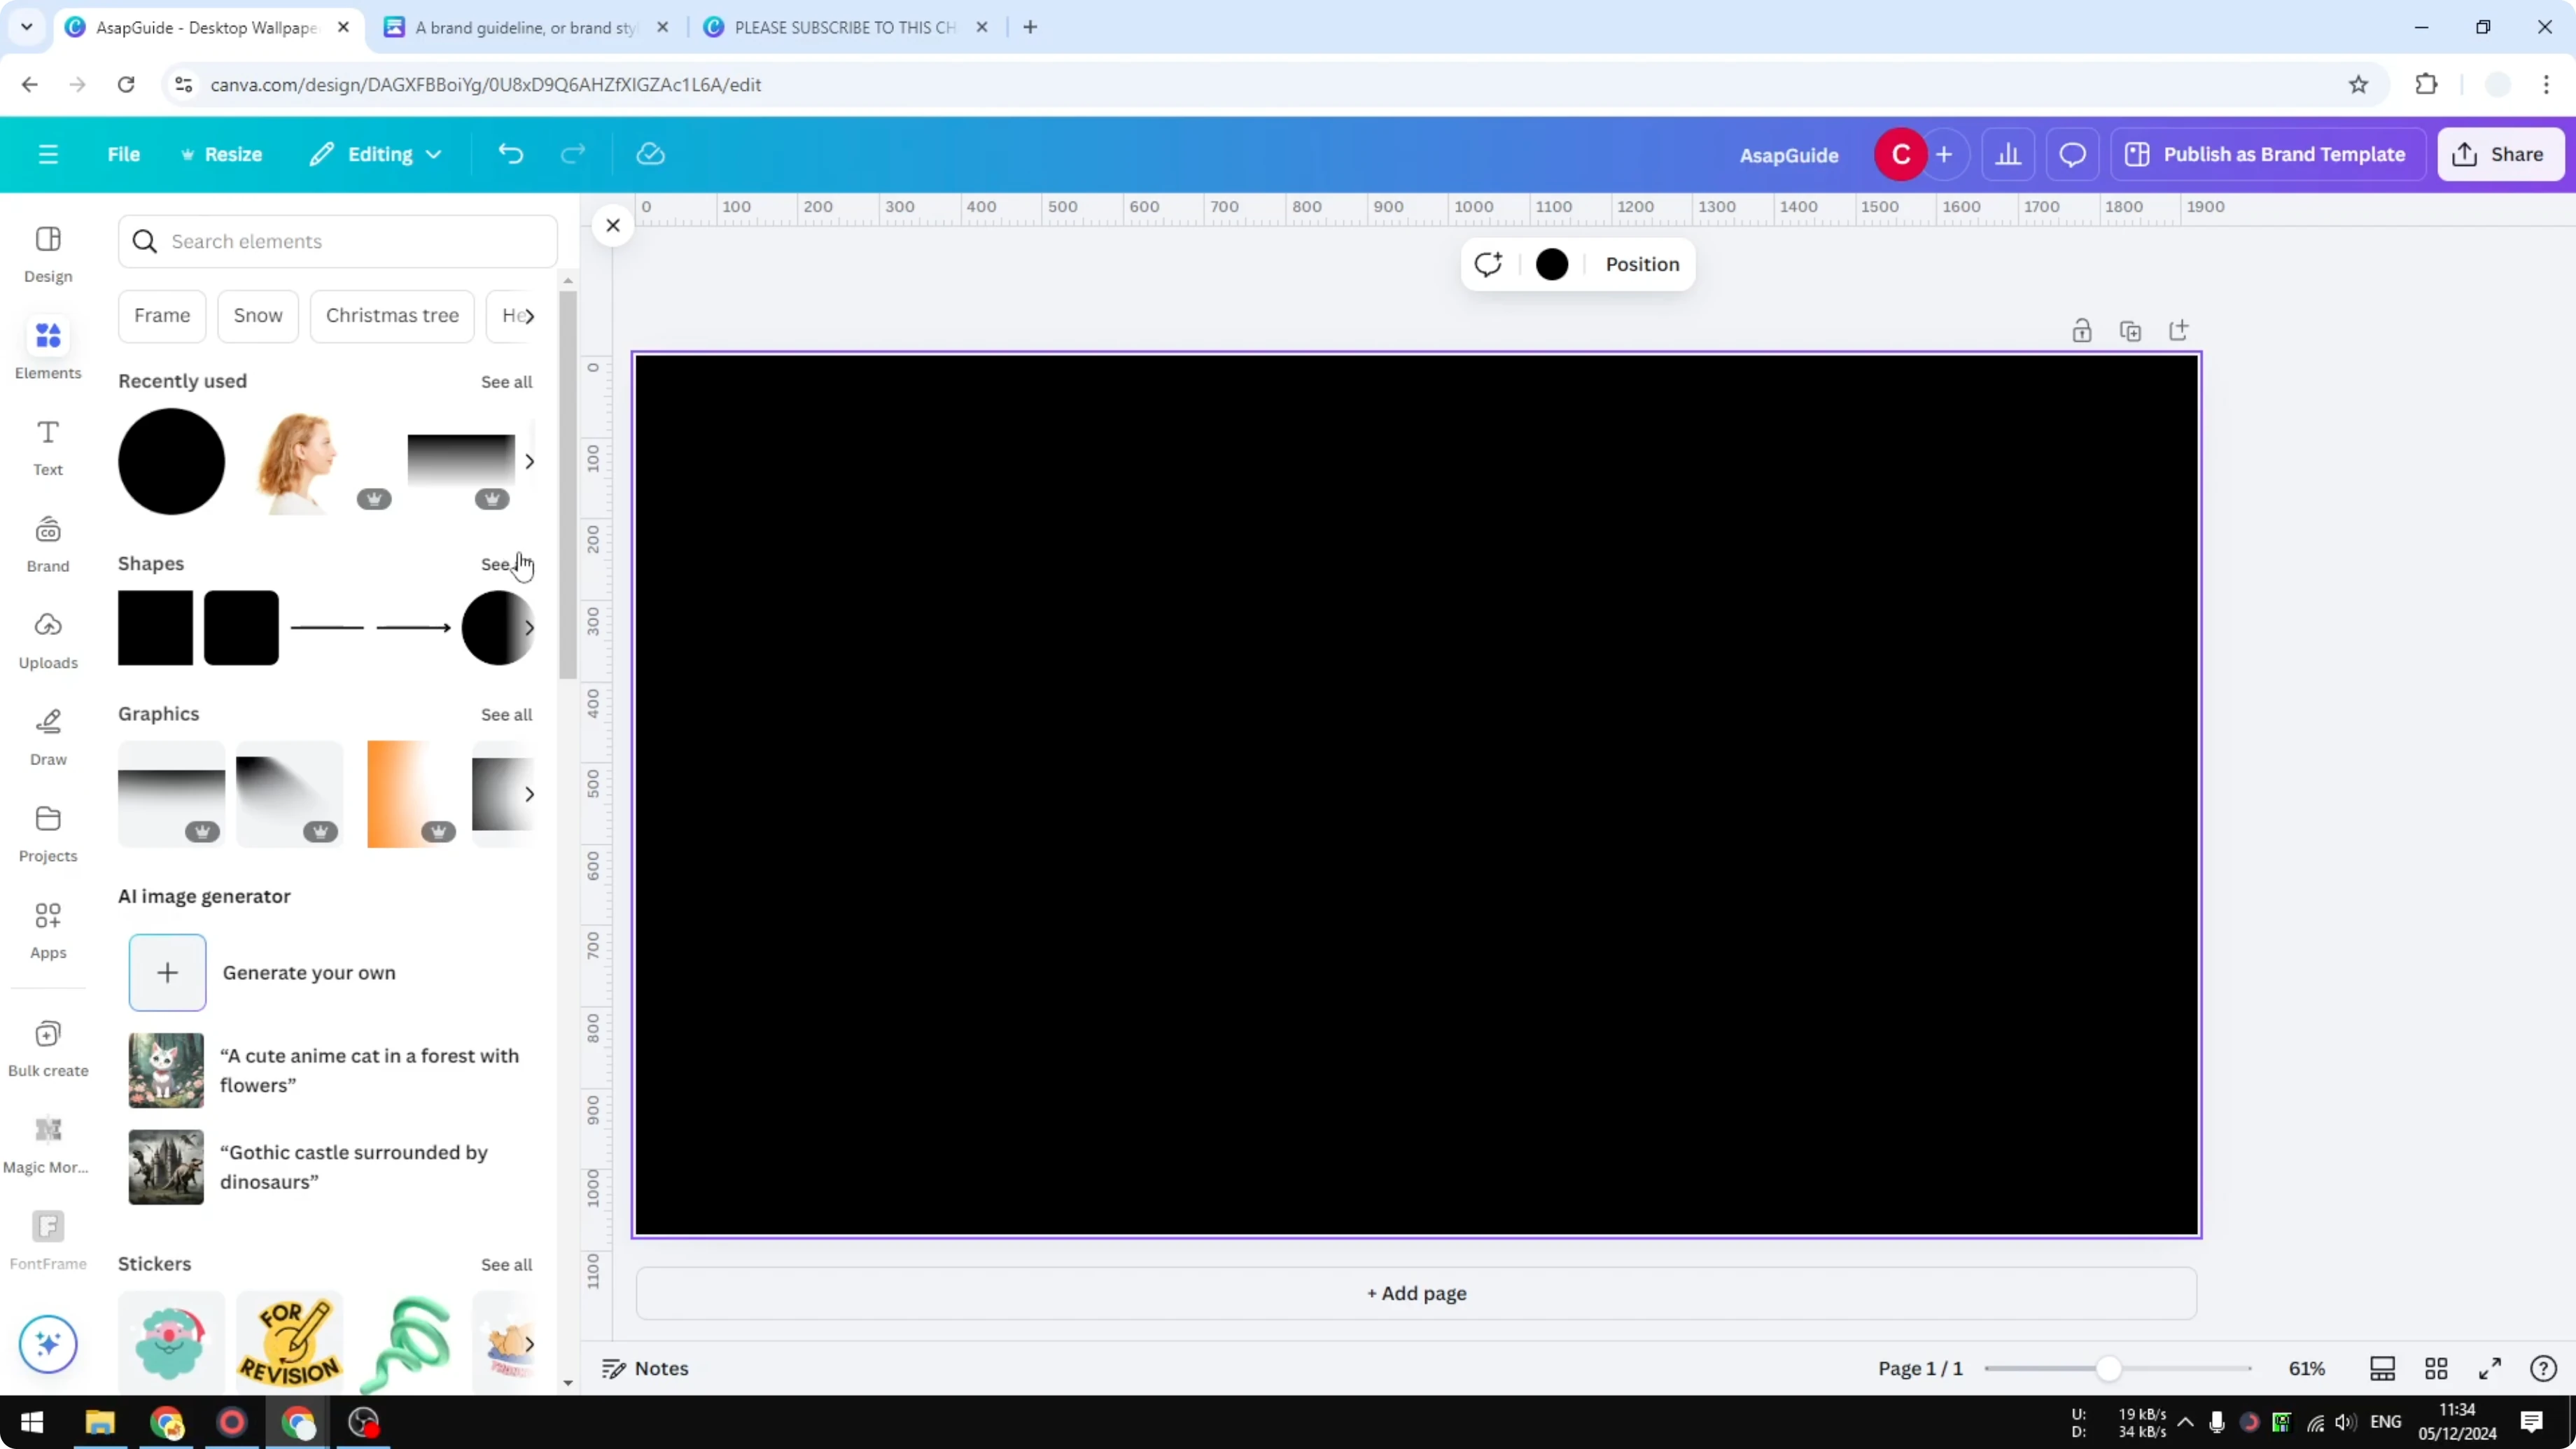
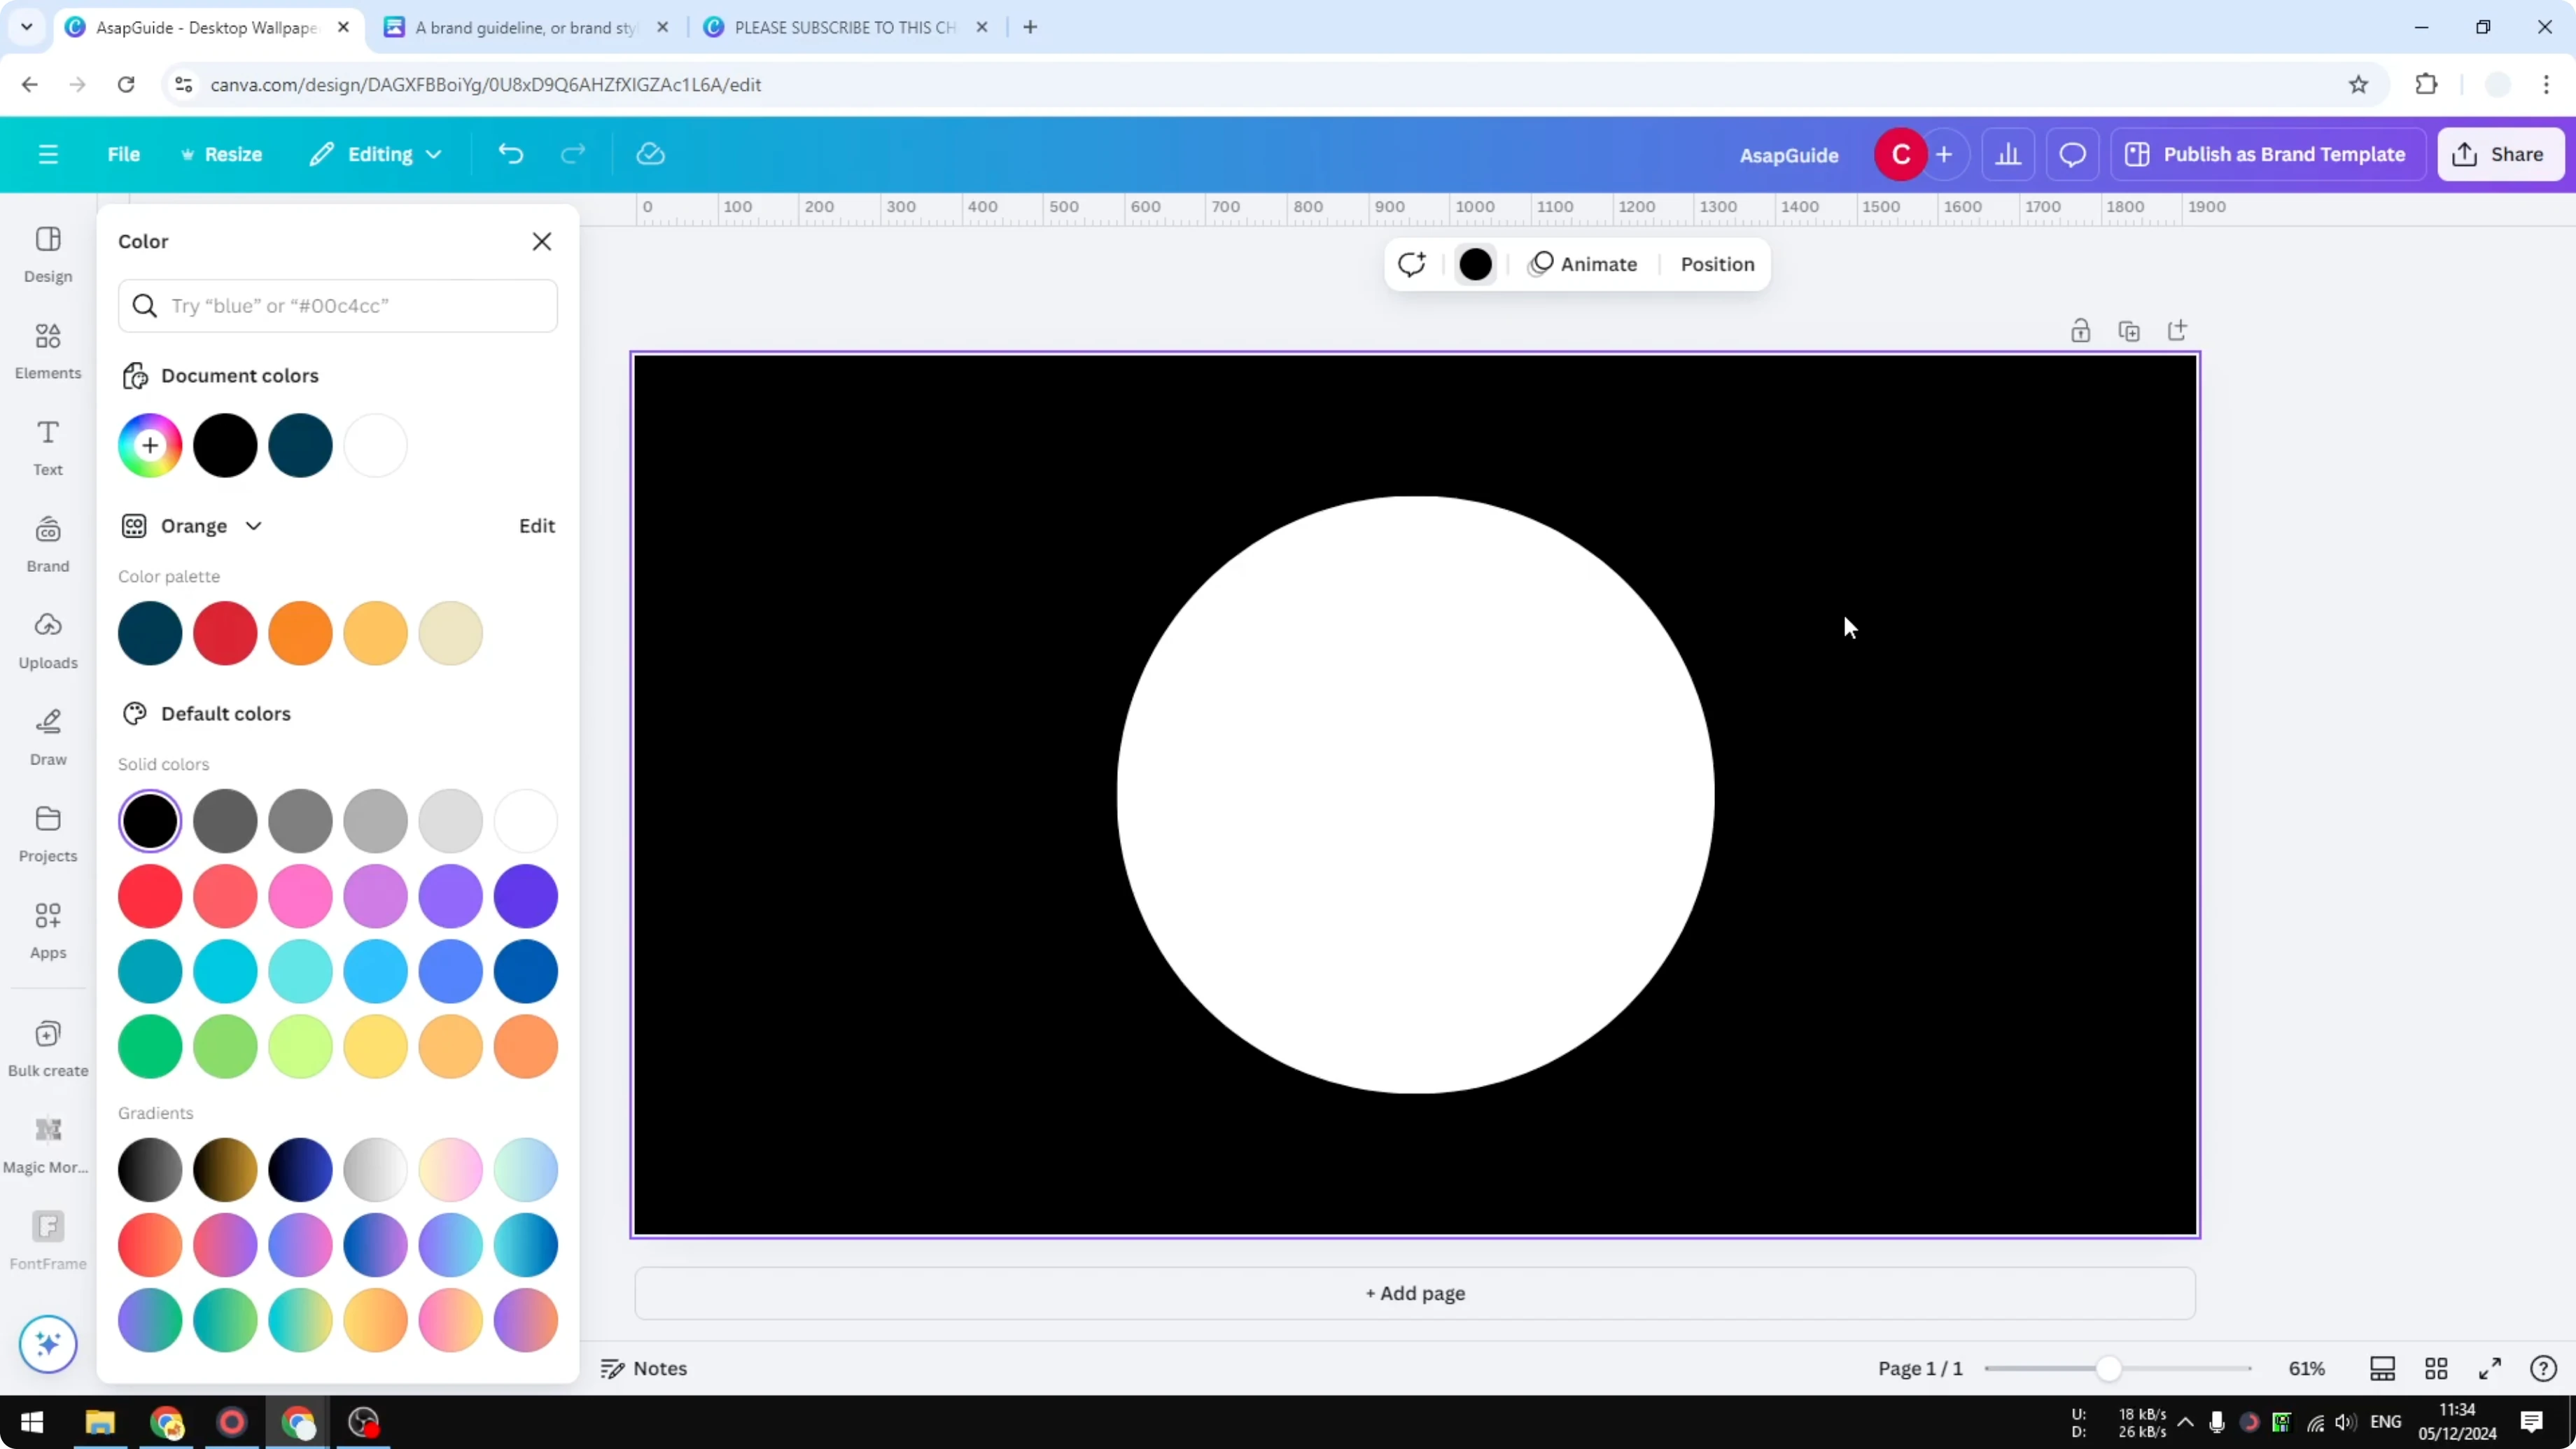
Go to Elements, then Shapes, and insert a circle.
Change the color to white.
Make it slightly bigger and put it precisely in the middle.
Read More: How To Make A Transparent Overlay In Canva
Make a Silhouette in Canva: Add a Photo
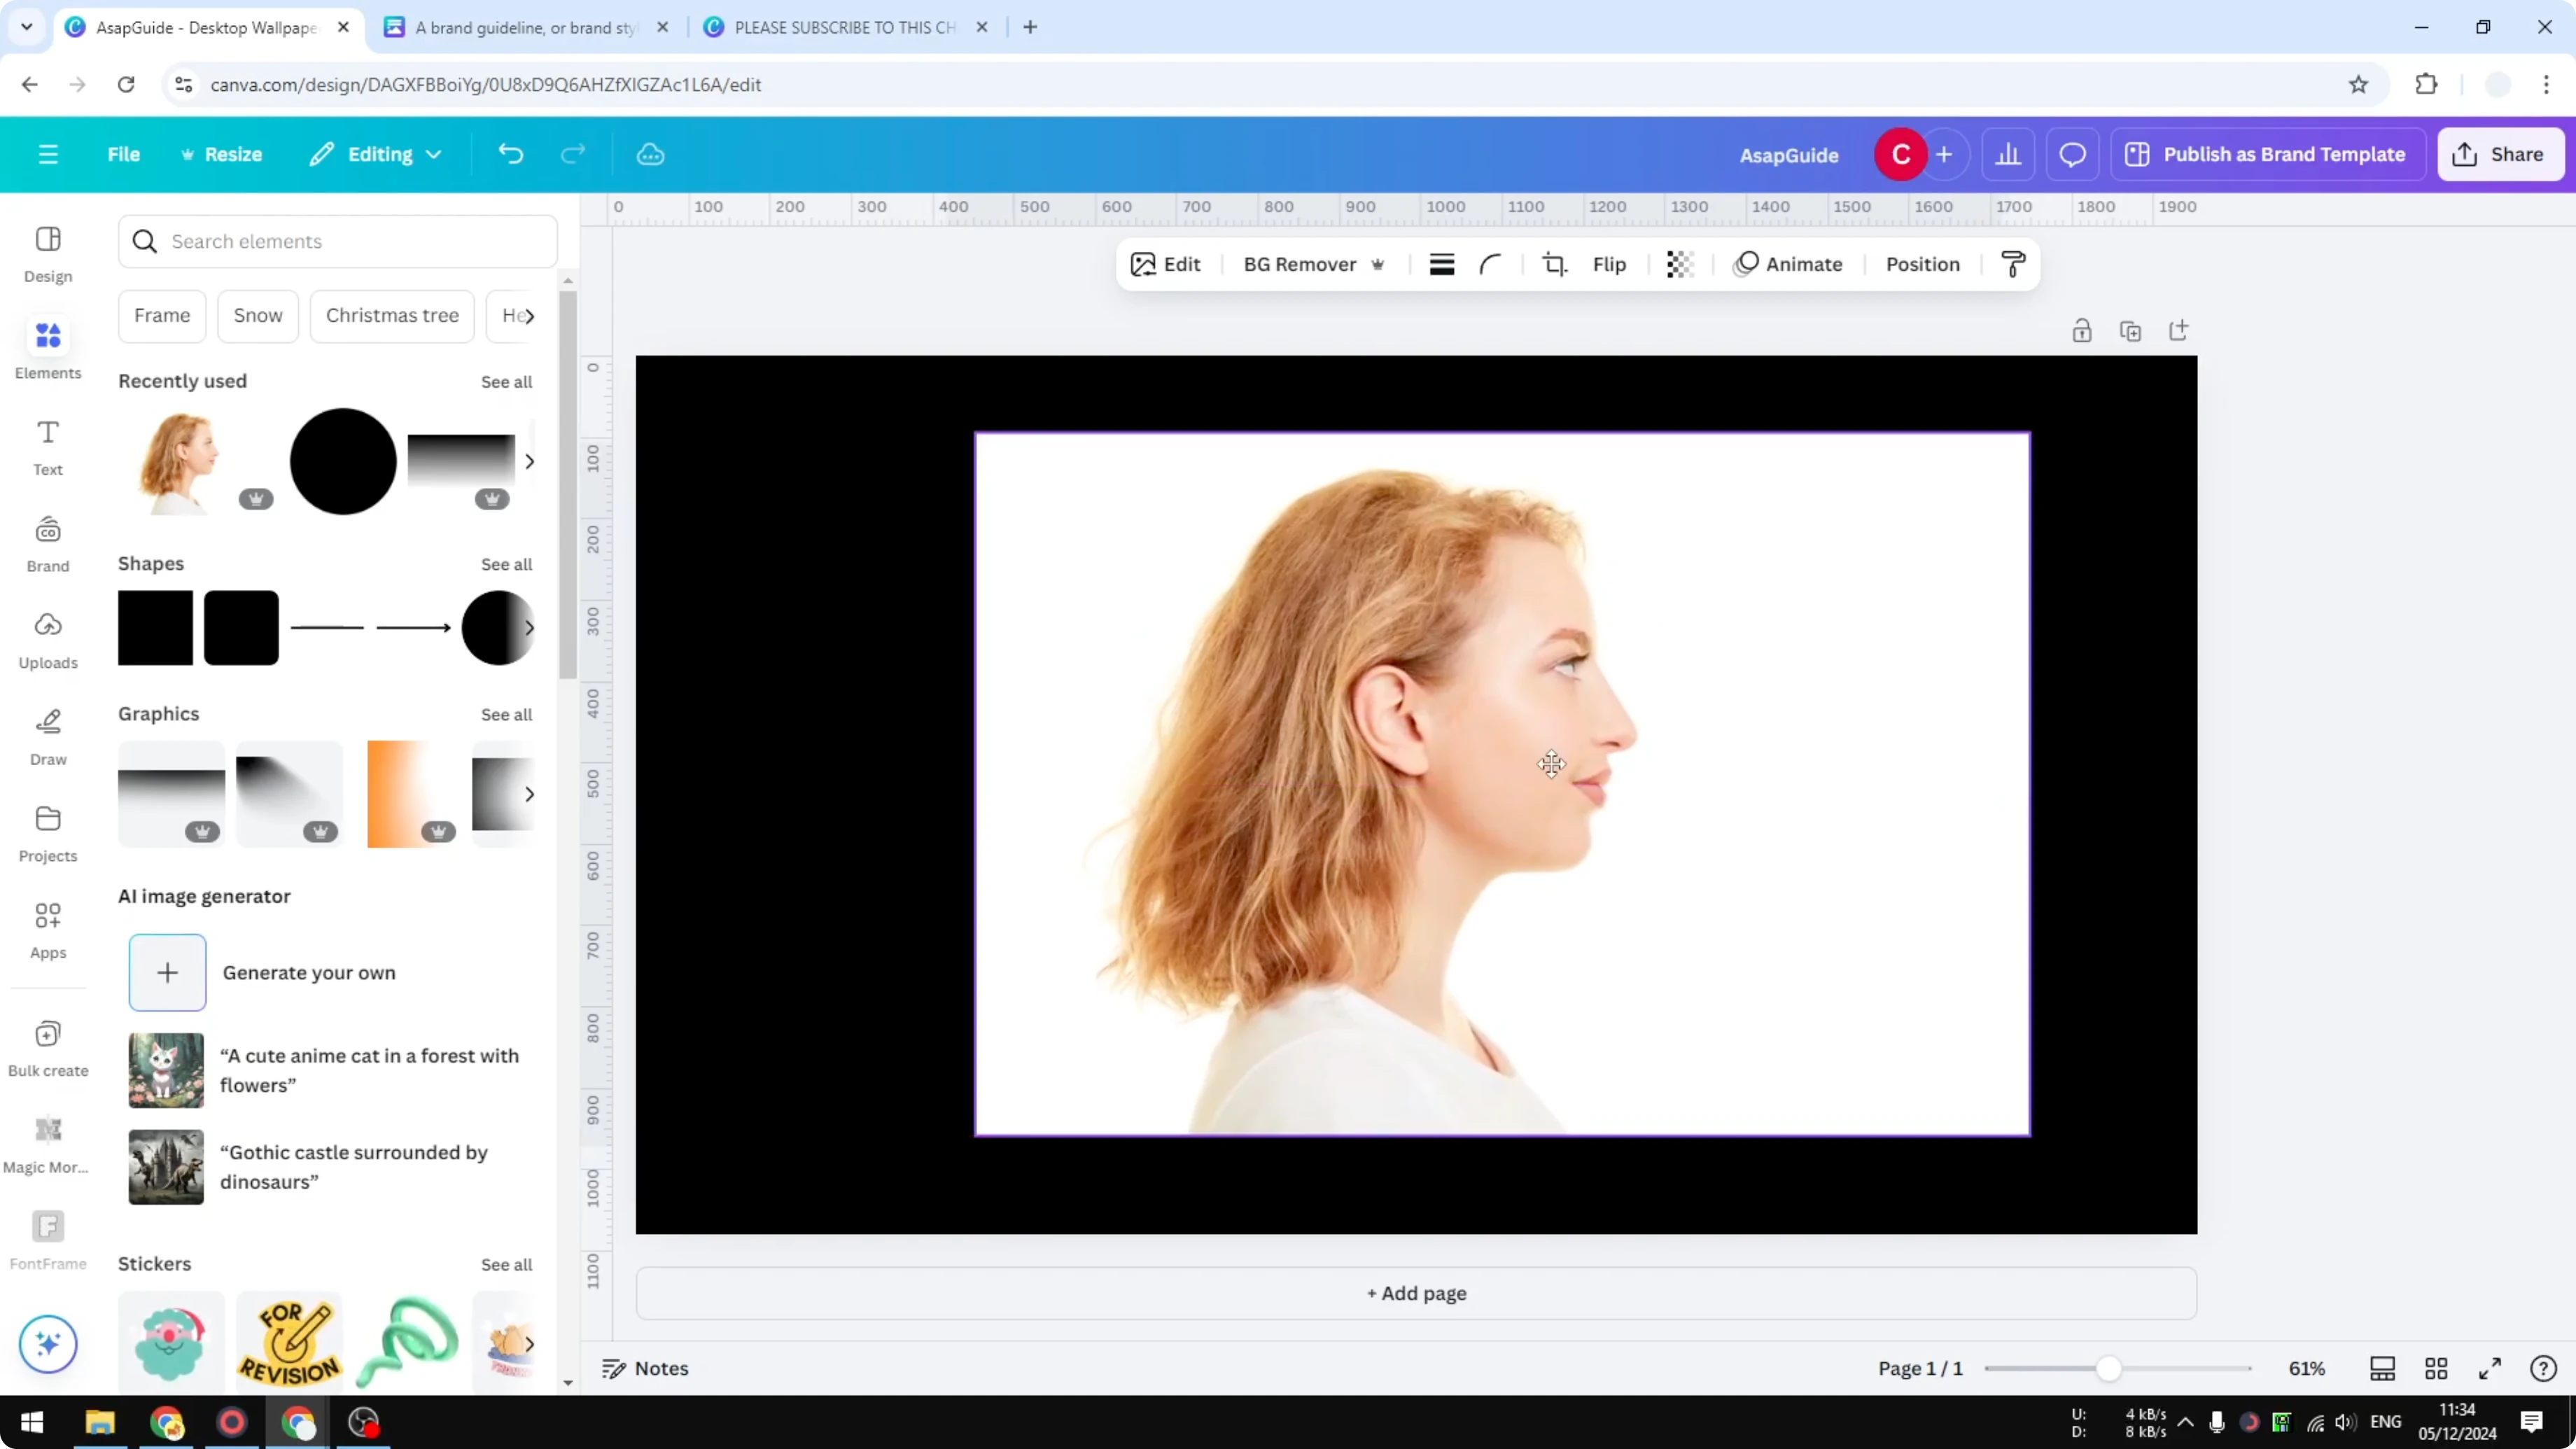
Use any picture that has a clear face or a shape of a body, human or animal.
You can upload your own picture or select one from the Canva stock library.
I’m using a picture from the library.
Choose the right photo
The face is facing sideways and it gives the shape of the face.
This kind of profile makes the silhouette effect look clean and recognizable.
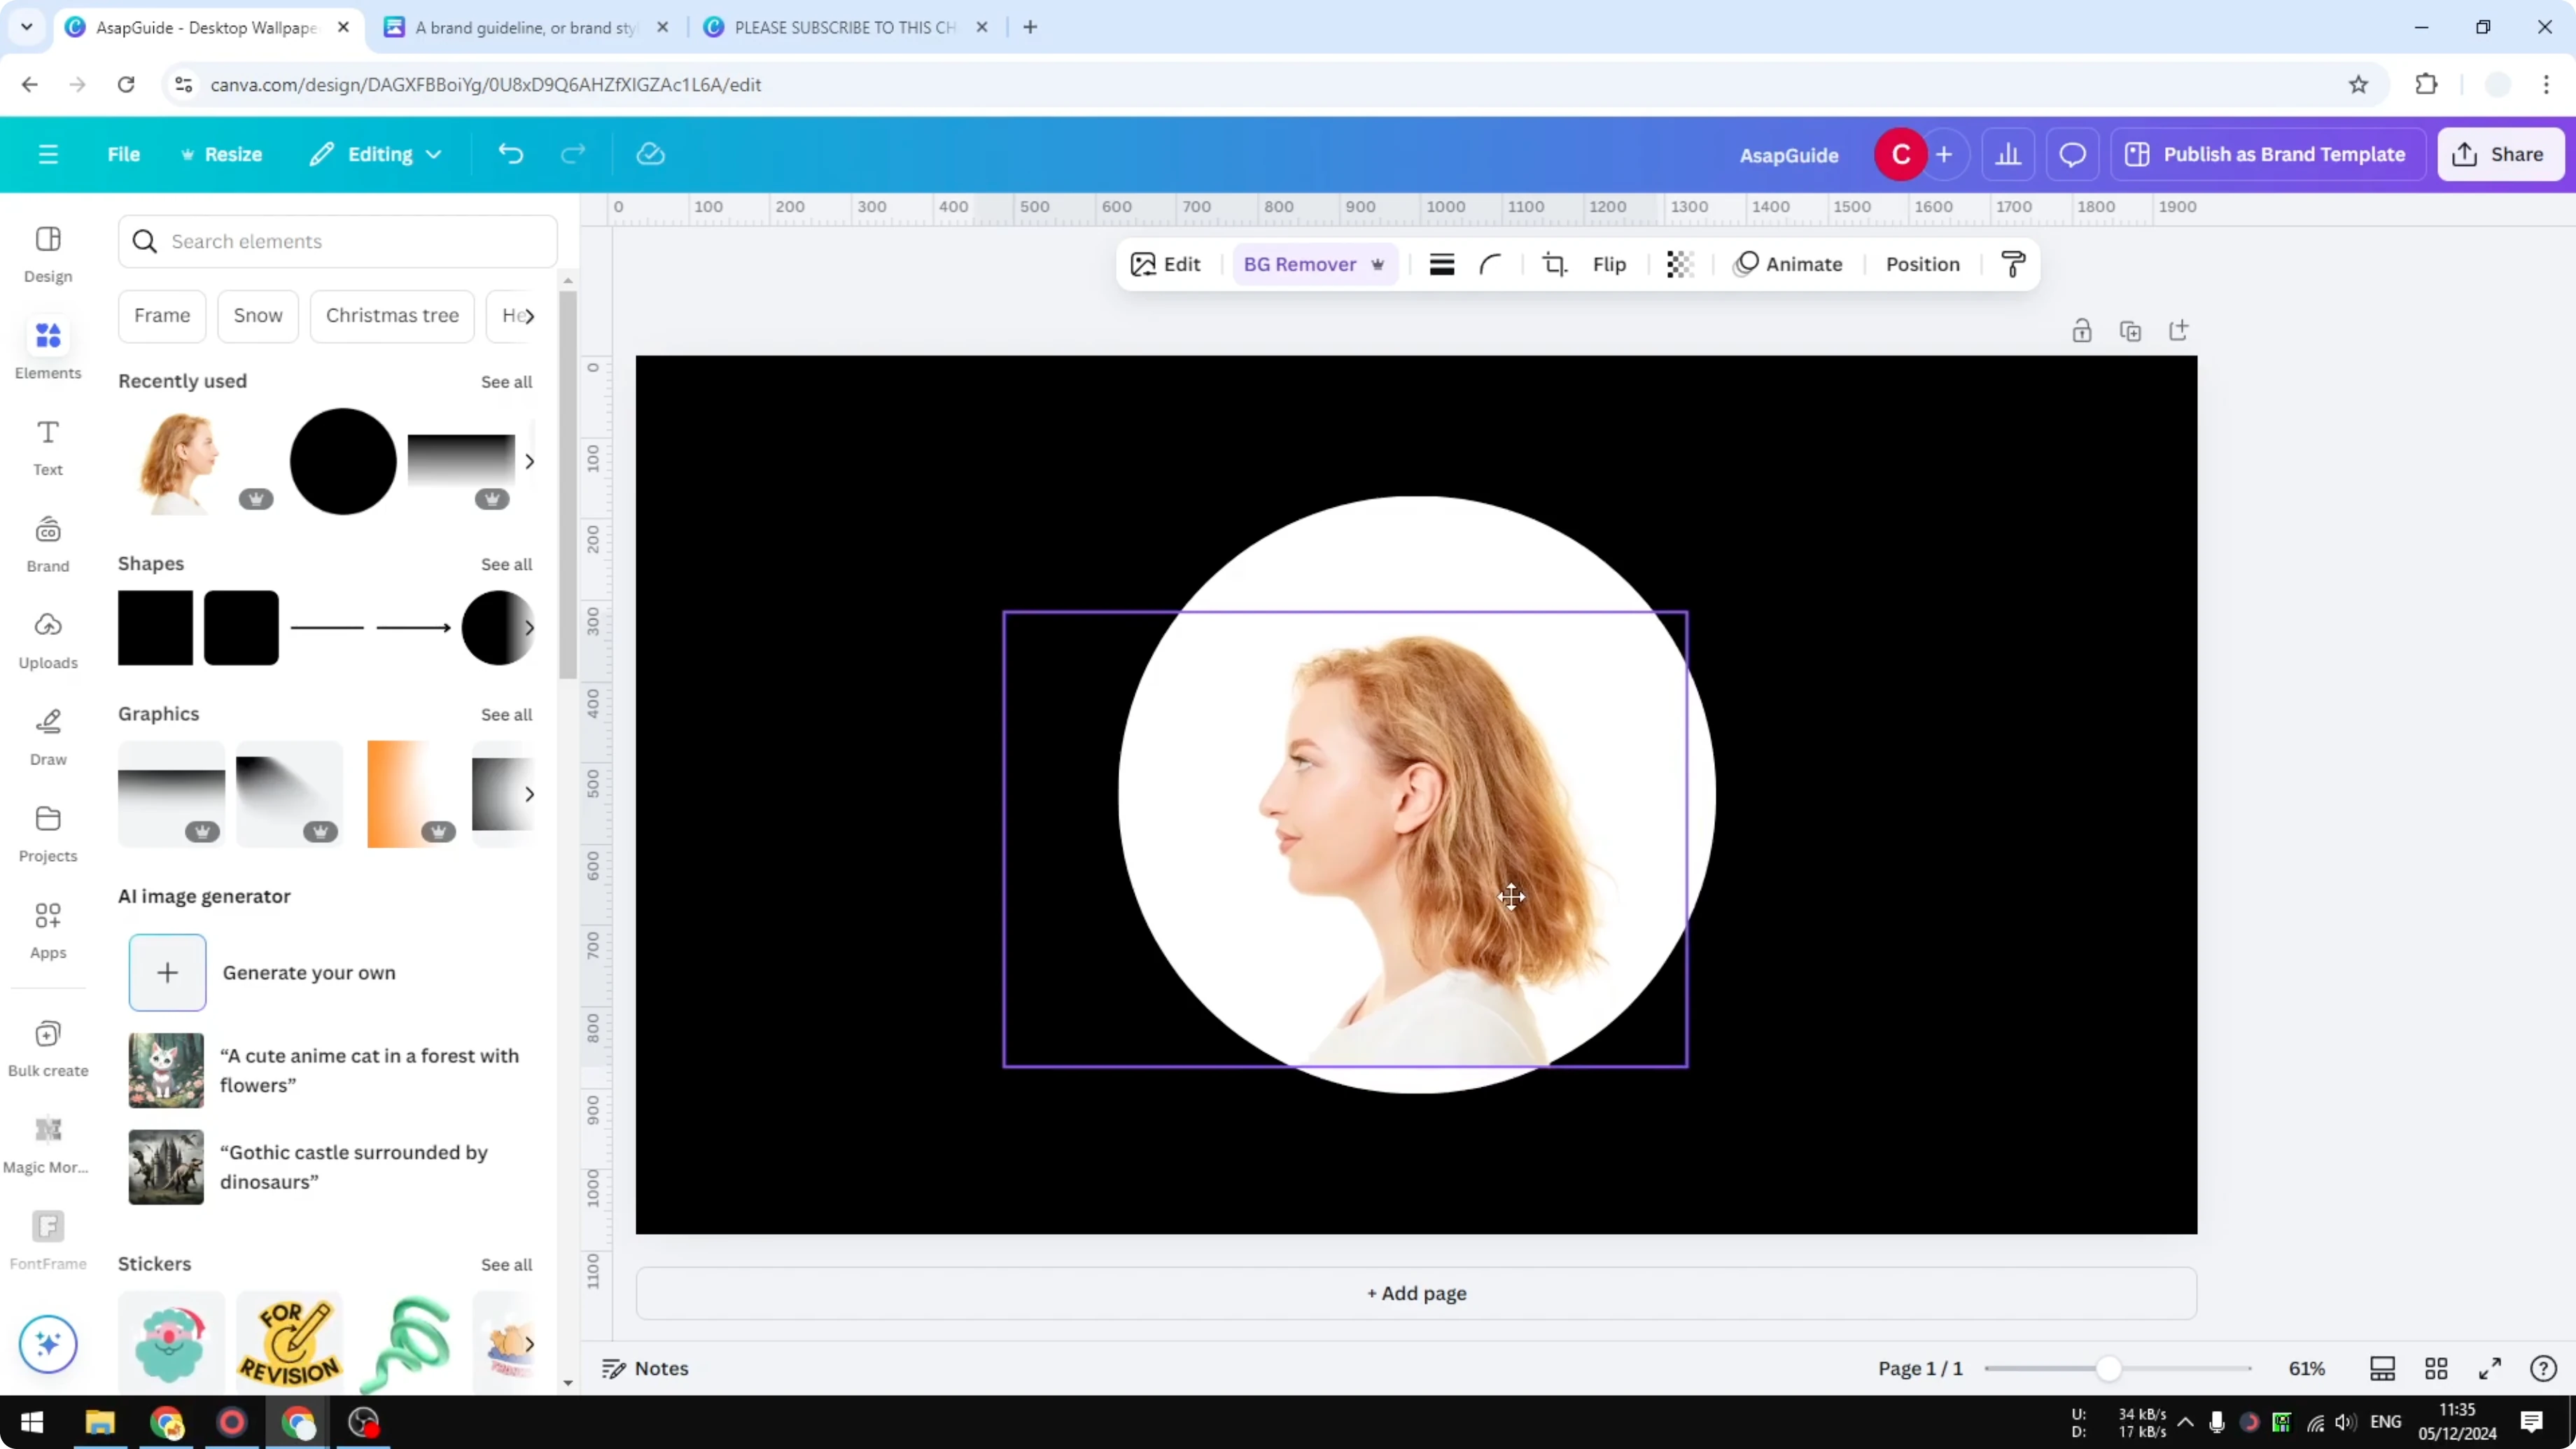
Remove background and place it
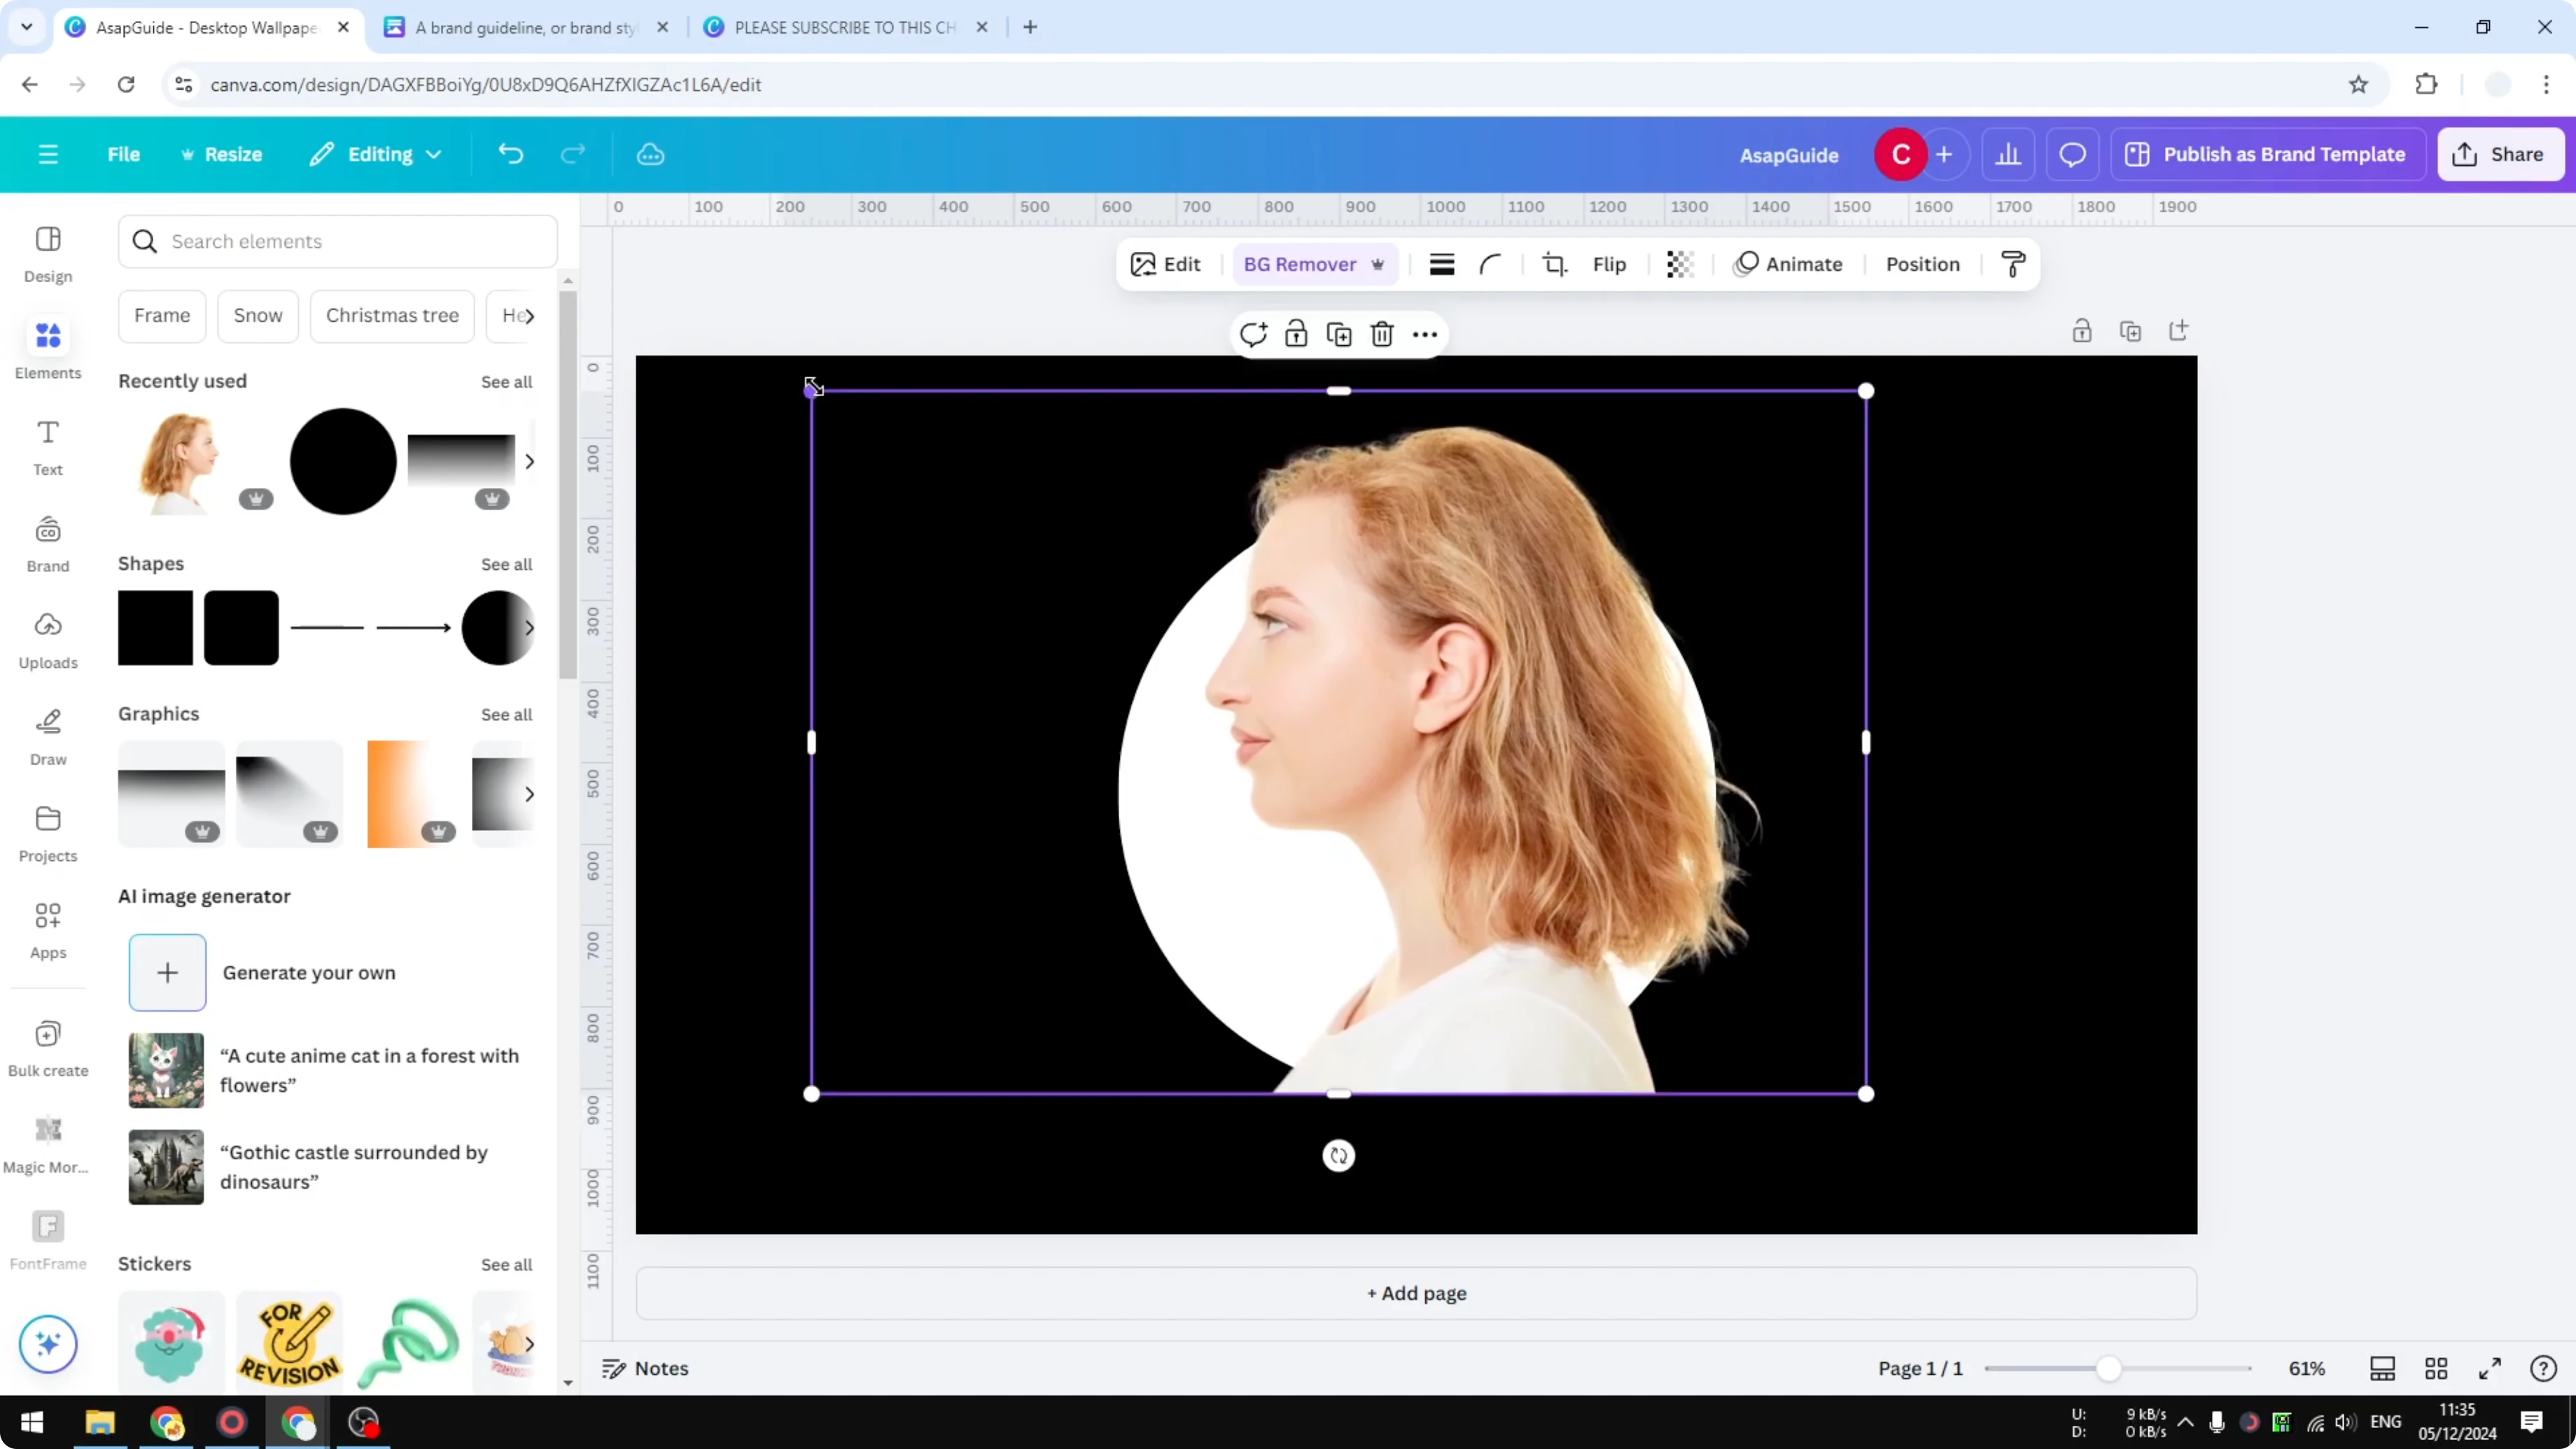
Flip the image so the face is facing to the left.
Click Background Remover to remove the background.
Put the picture precisely in the middle.
Read More: How To Make Canva Ai Design Anything For You
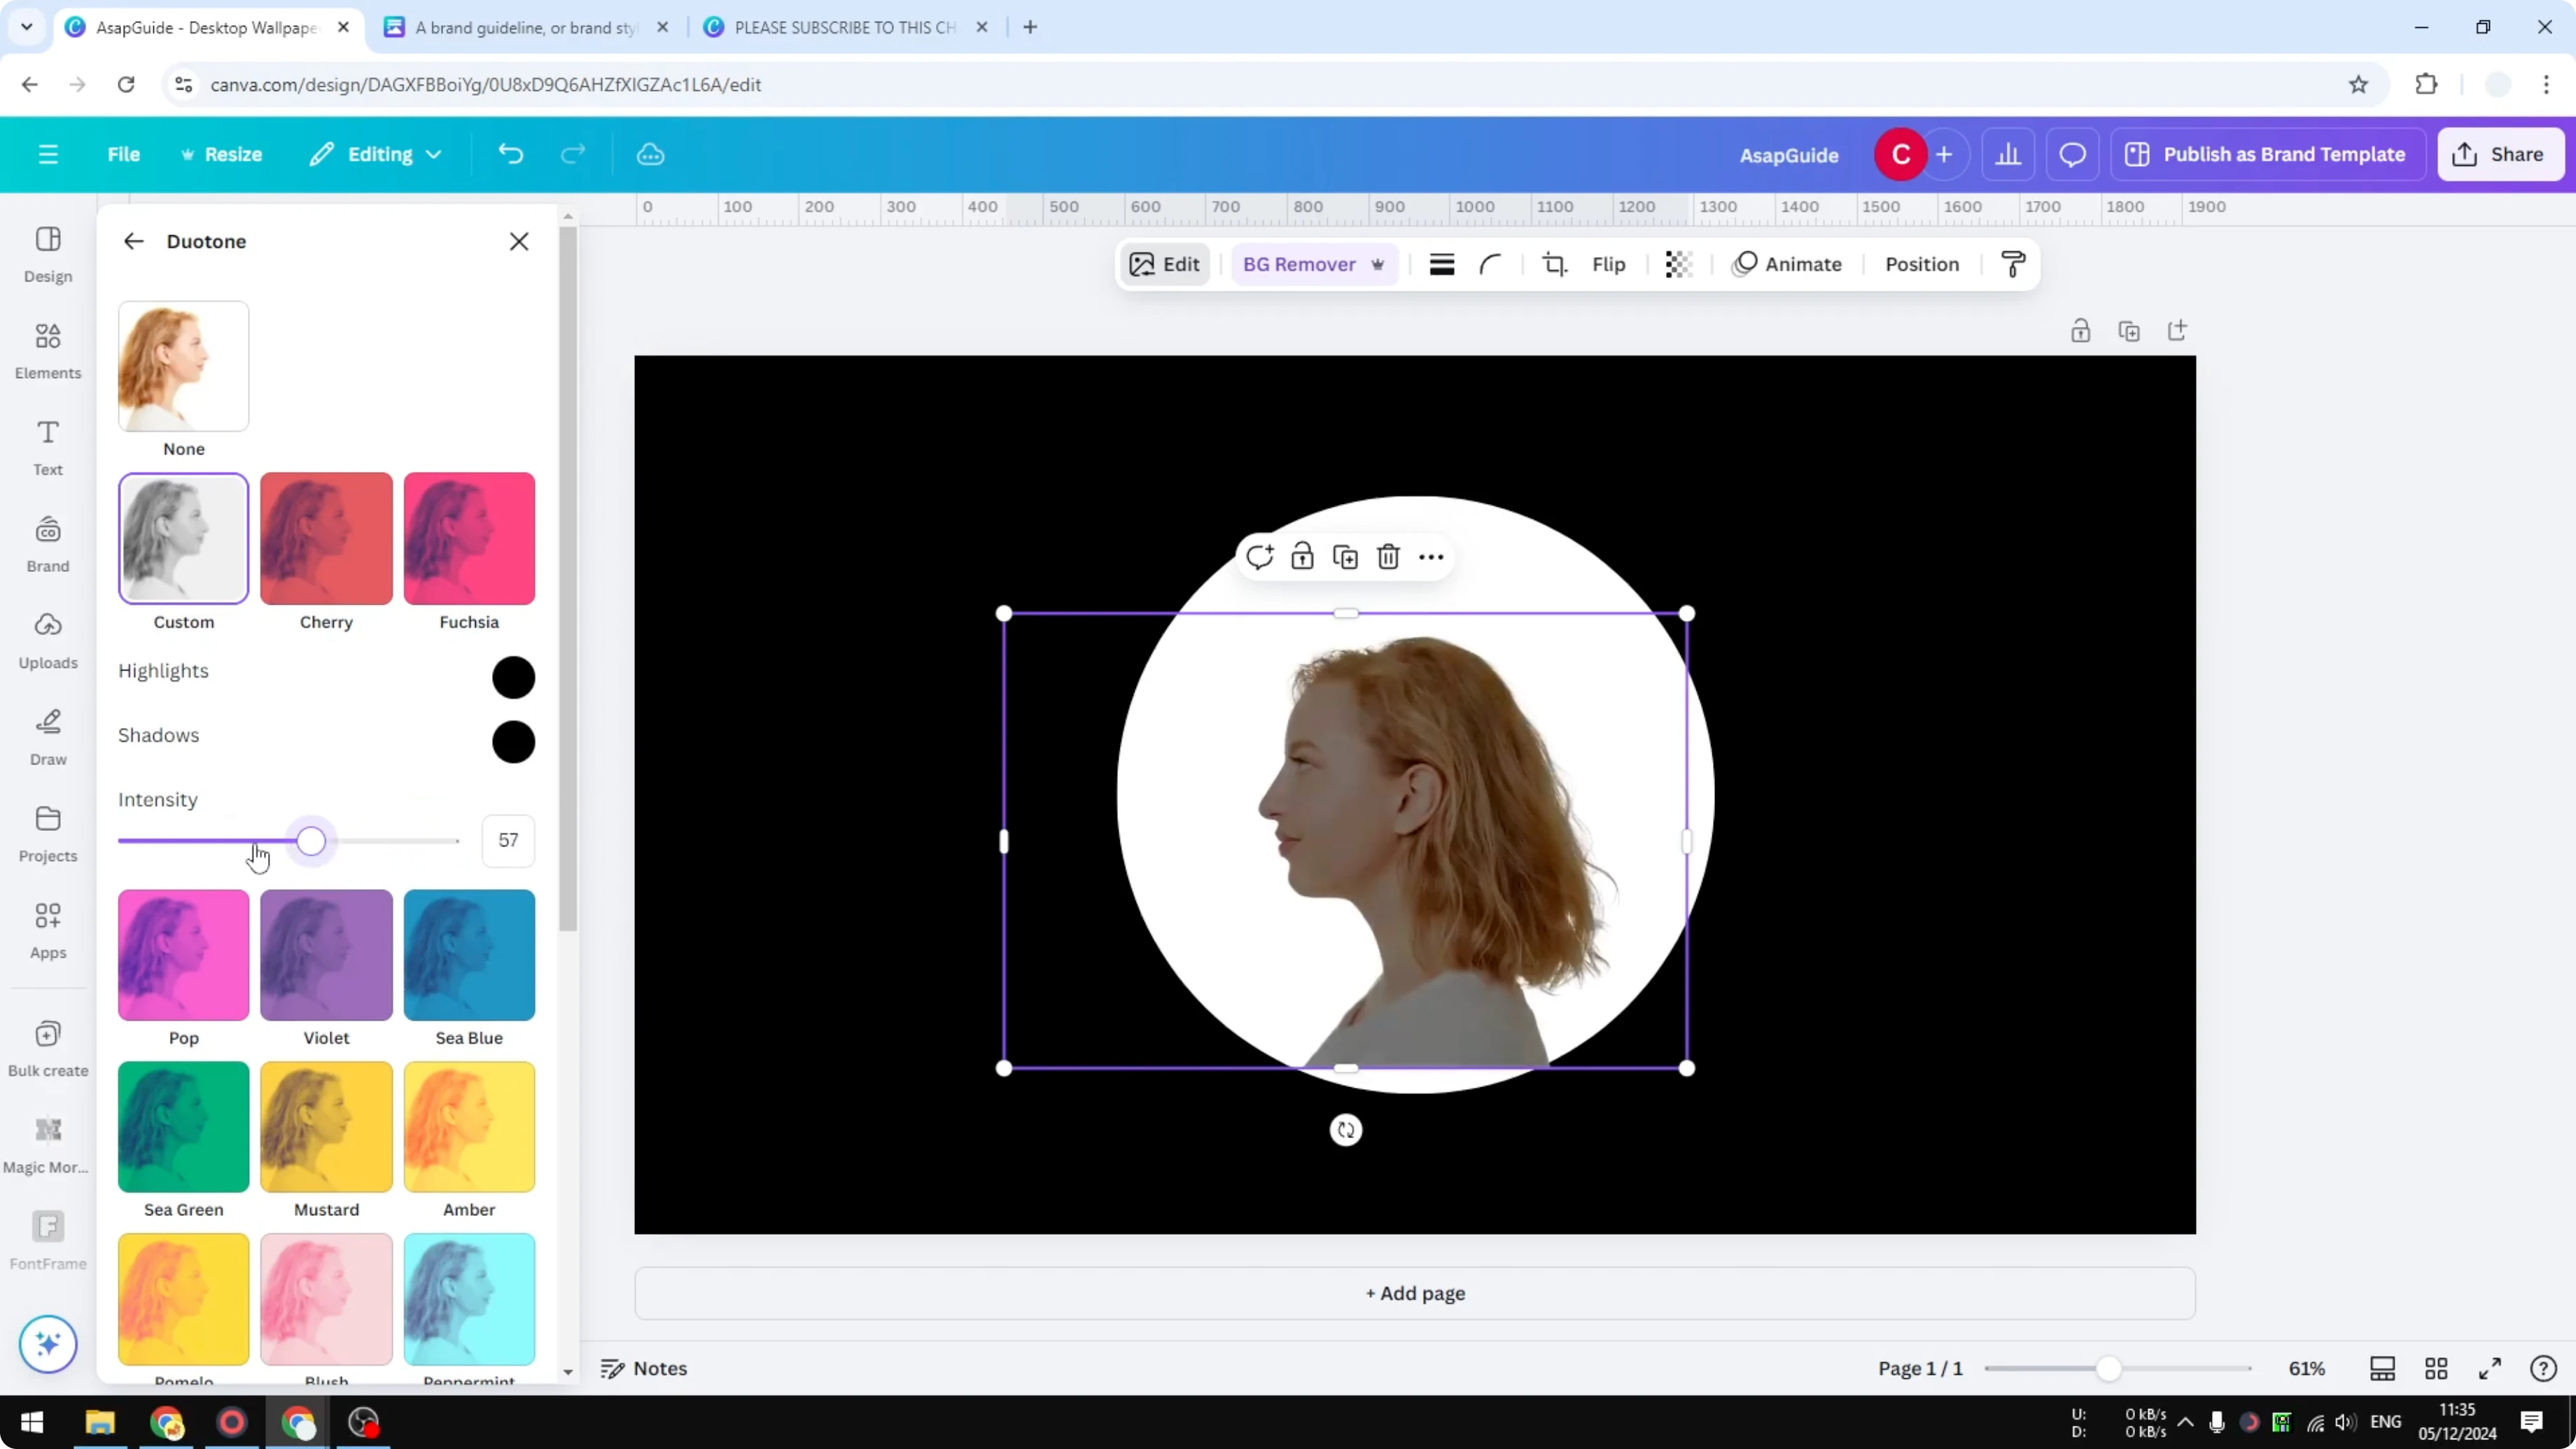
Apply Duotone
Edit, click Duotone, and click Custom. Set Highlights to black and do the same for Shadows.
Make sure the Intensity is exactly 100%.
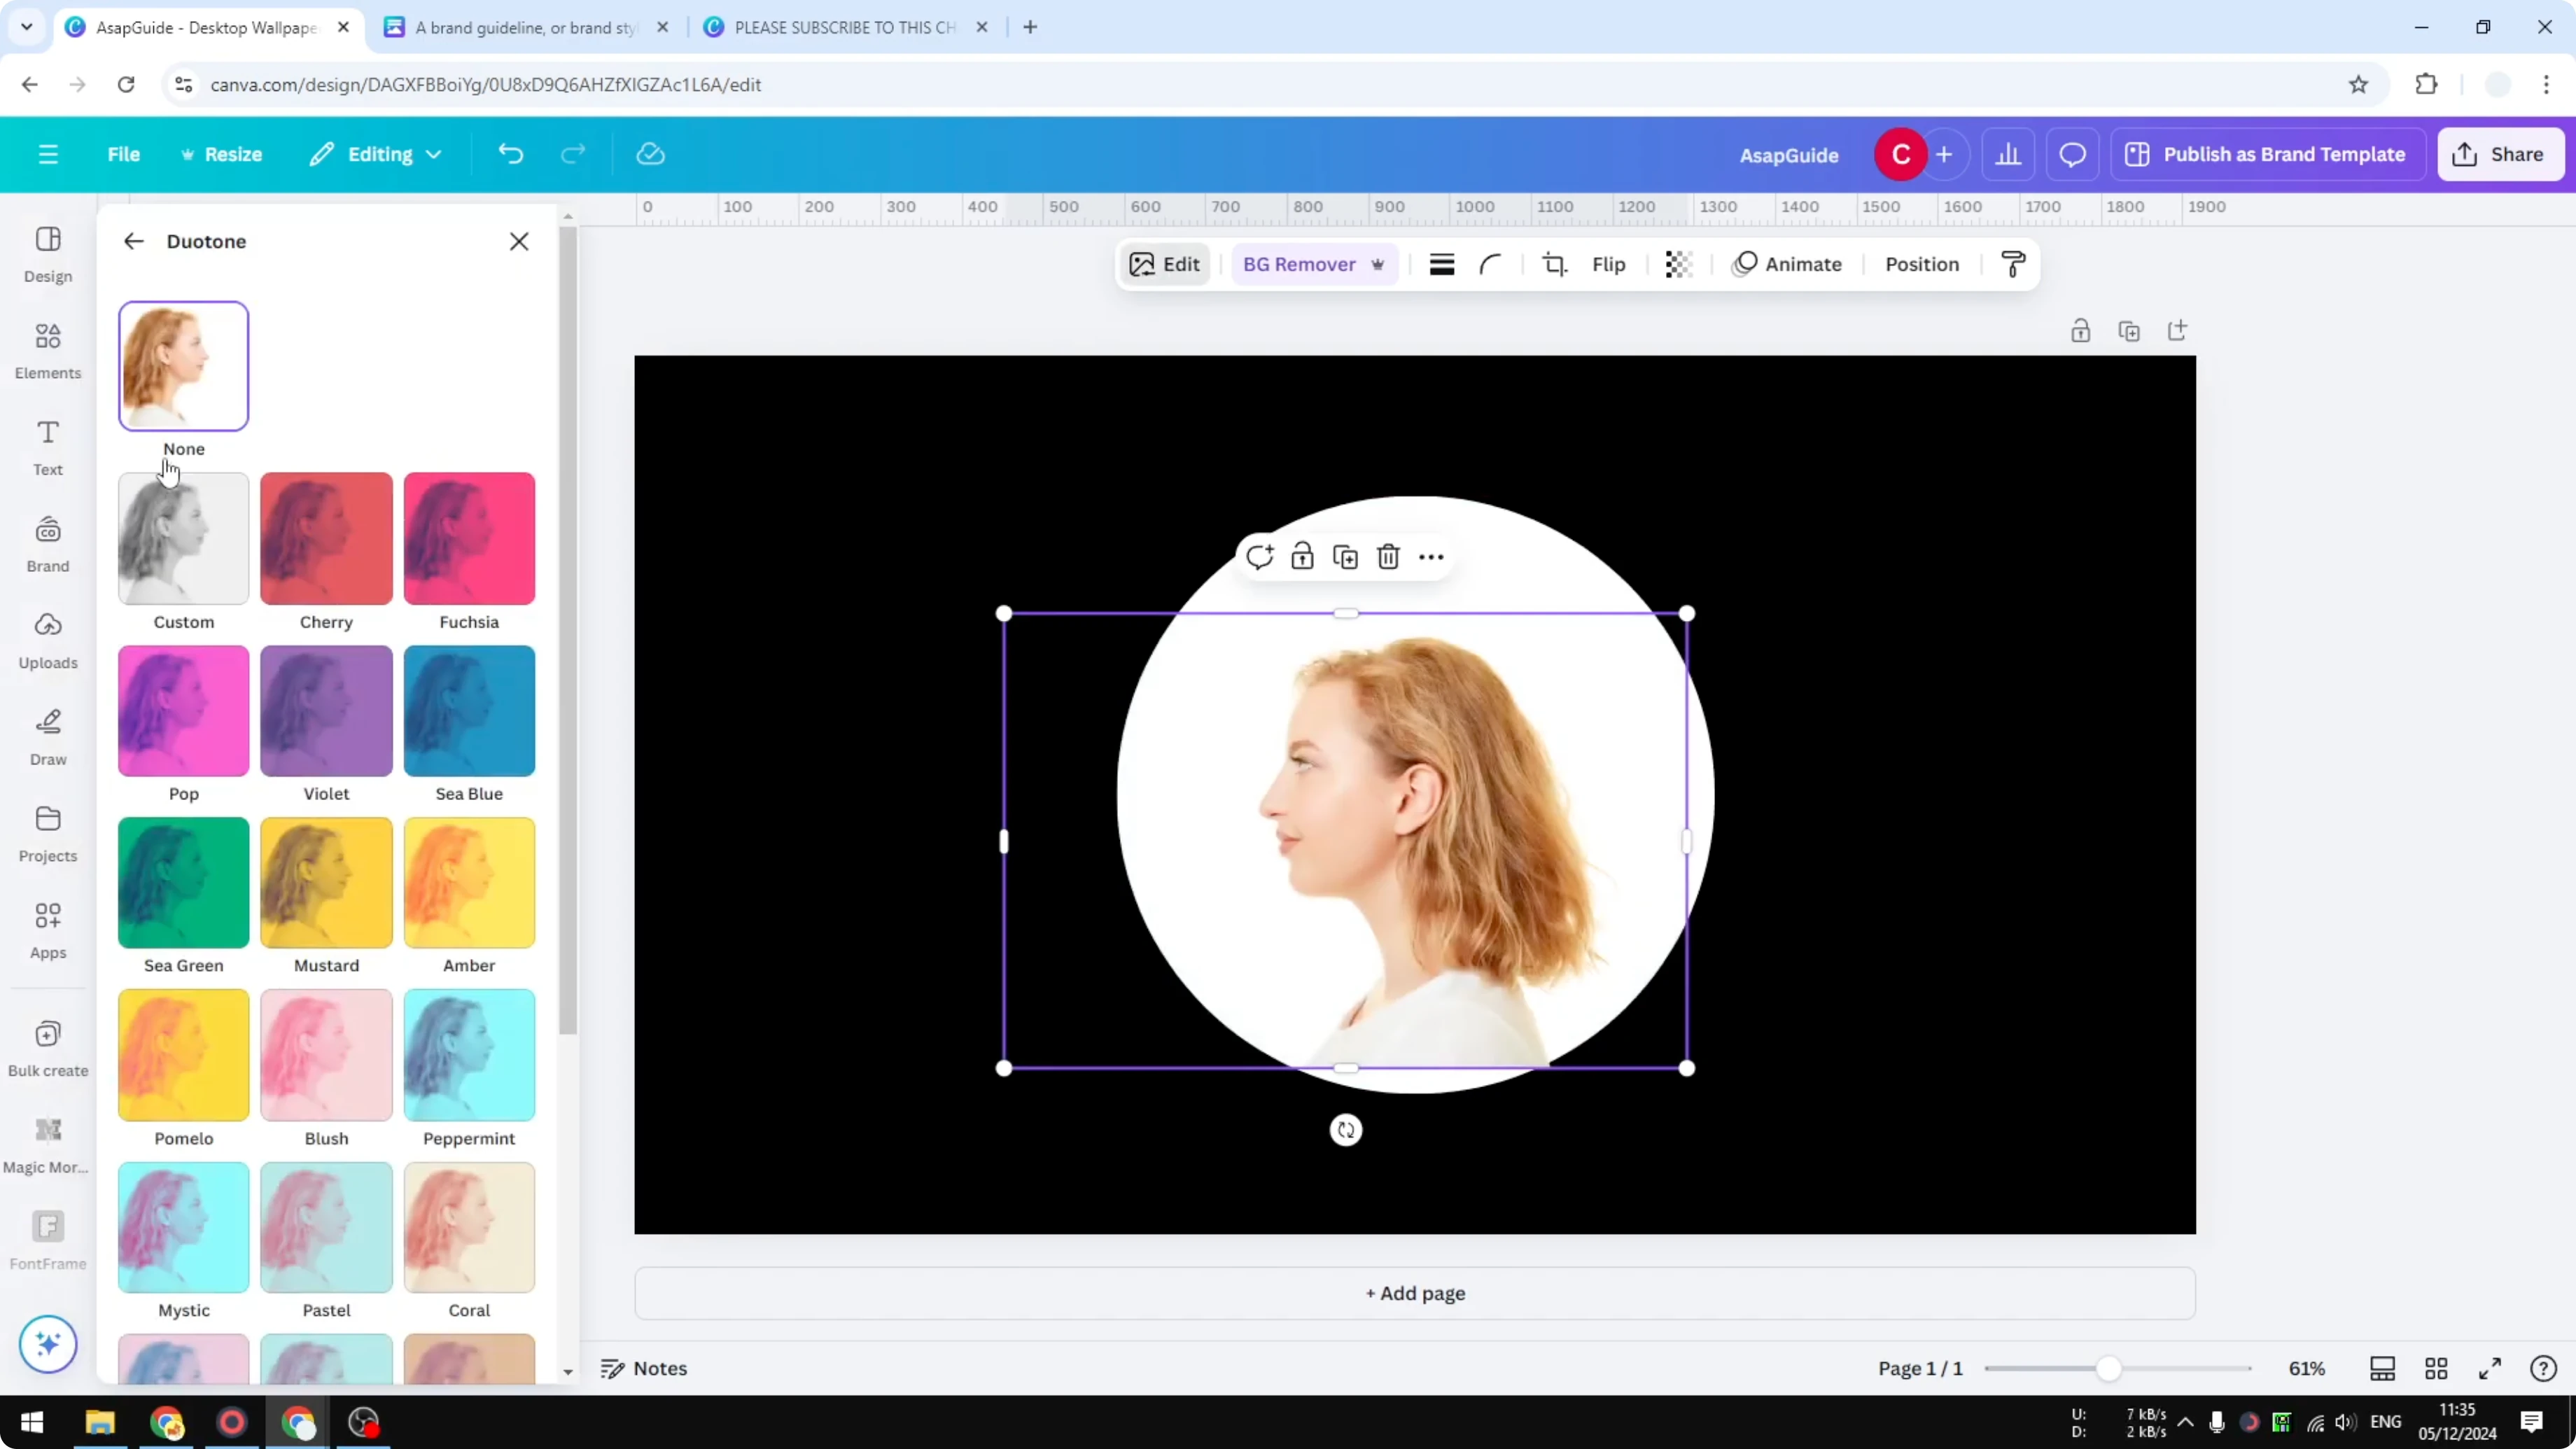
We want to make sure the face is completely invisible.
Make a few adjustments until the edges look clean against the white circle.
There you go, this is the result, a simple effect you can create easily in Canva.
Read More: How To Make A Video Using Photos In Canva
Final Thoughts
A black background, a white circle, and a clean profile photo are the keys to a bold silhouette in Canva. Background Remover and a Custom Duotone set to pure black finish the effect. It’s quick, repeatable, and looks polished.
Recent Posts
How to Visualize Yourself as a Pixelized Character with AI?
How to Visualize Yourself as a Pixelized Character with AI?

How to Revive Faded Memories and Enhance Image Clarity with AI?
How to Revive Faded Memories and Enhance Image Clarity with AI?

How to Visualize Yourself as an Animal Crossing Character with AI?
How to Visualize Yourself as an Animal Crossing Character with AI?