How to Make Rows Thinner in Canva Table
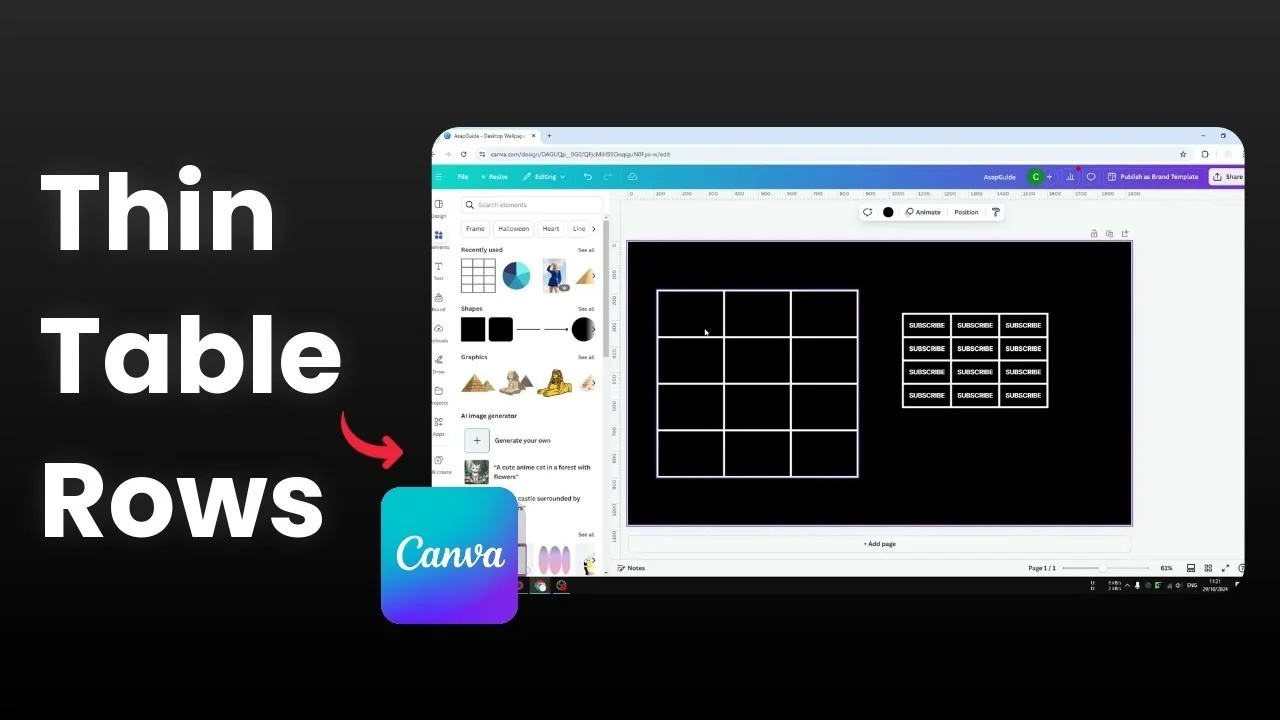
I’m going to show you how to make table rows in Canva thinner. I have two tables, and one has bigger rows while the other is smaller. Changing row size is easy, and you can apply the setting to all cells at once.
There are two methods to do this. The first is almost instant and sizes rows based on content. The second lets you fine-tune the exact height.
If you are layering elements over tables, you might also want to create a transparent overlay in Canva to keep text readable.
Make Rows Thinner in Canva Table: Auto fit to content
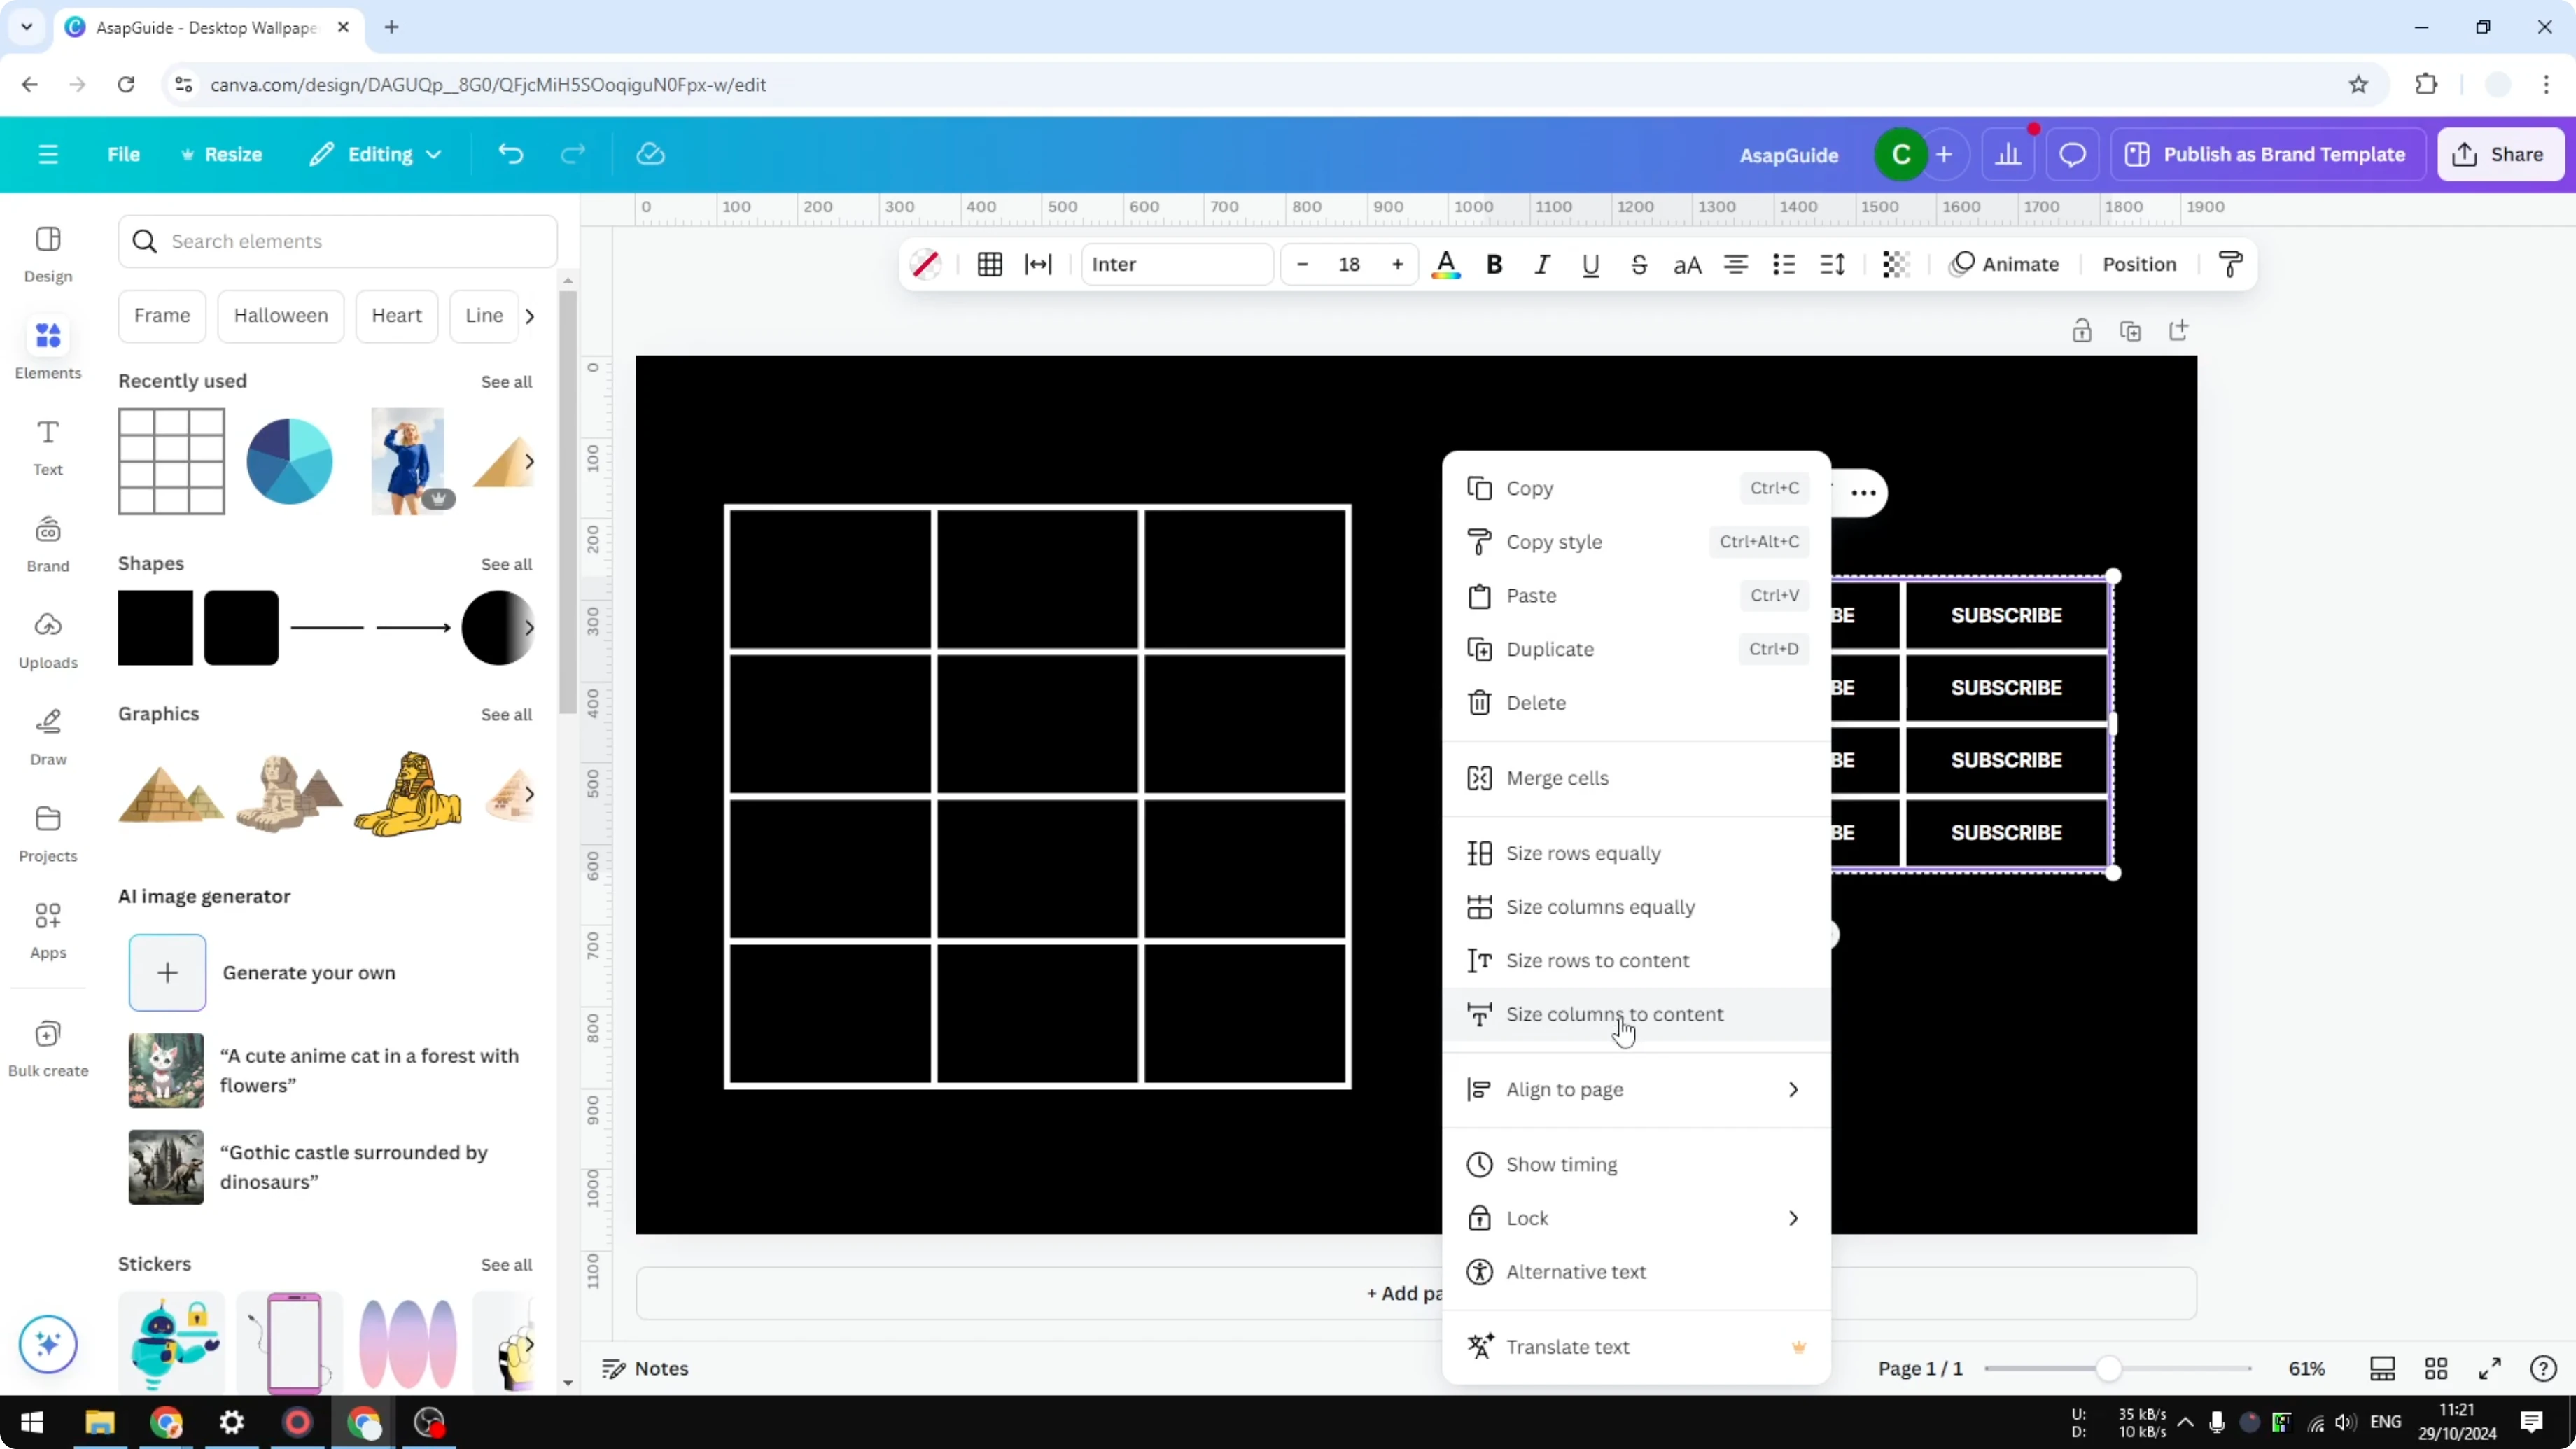
Click the first cell at the top left of the table.

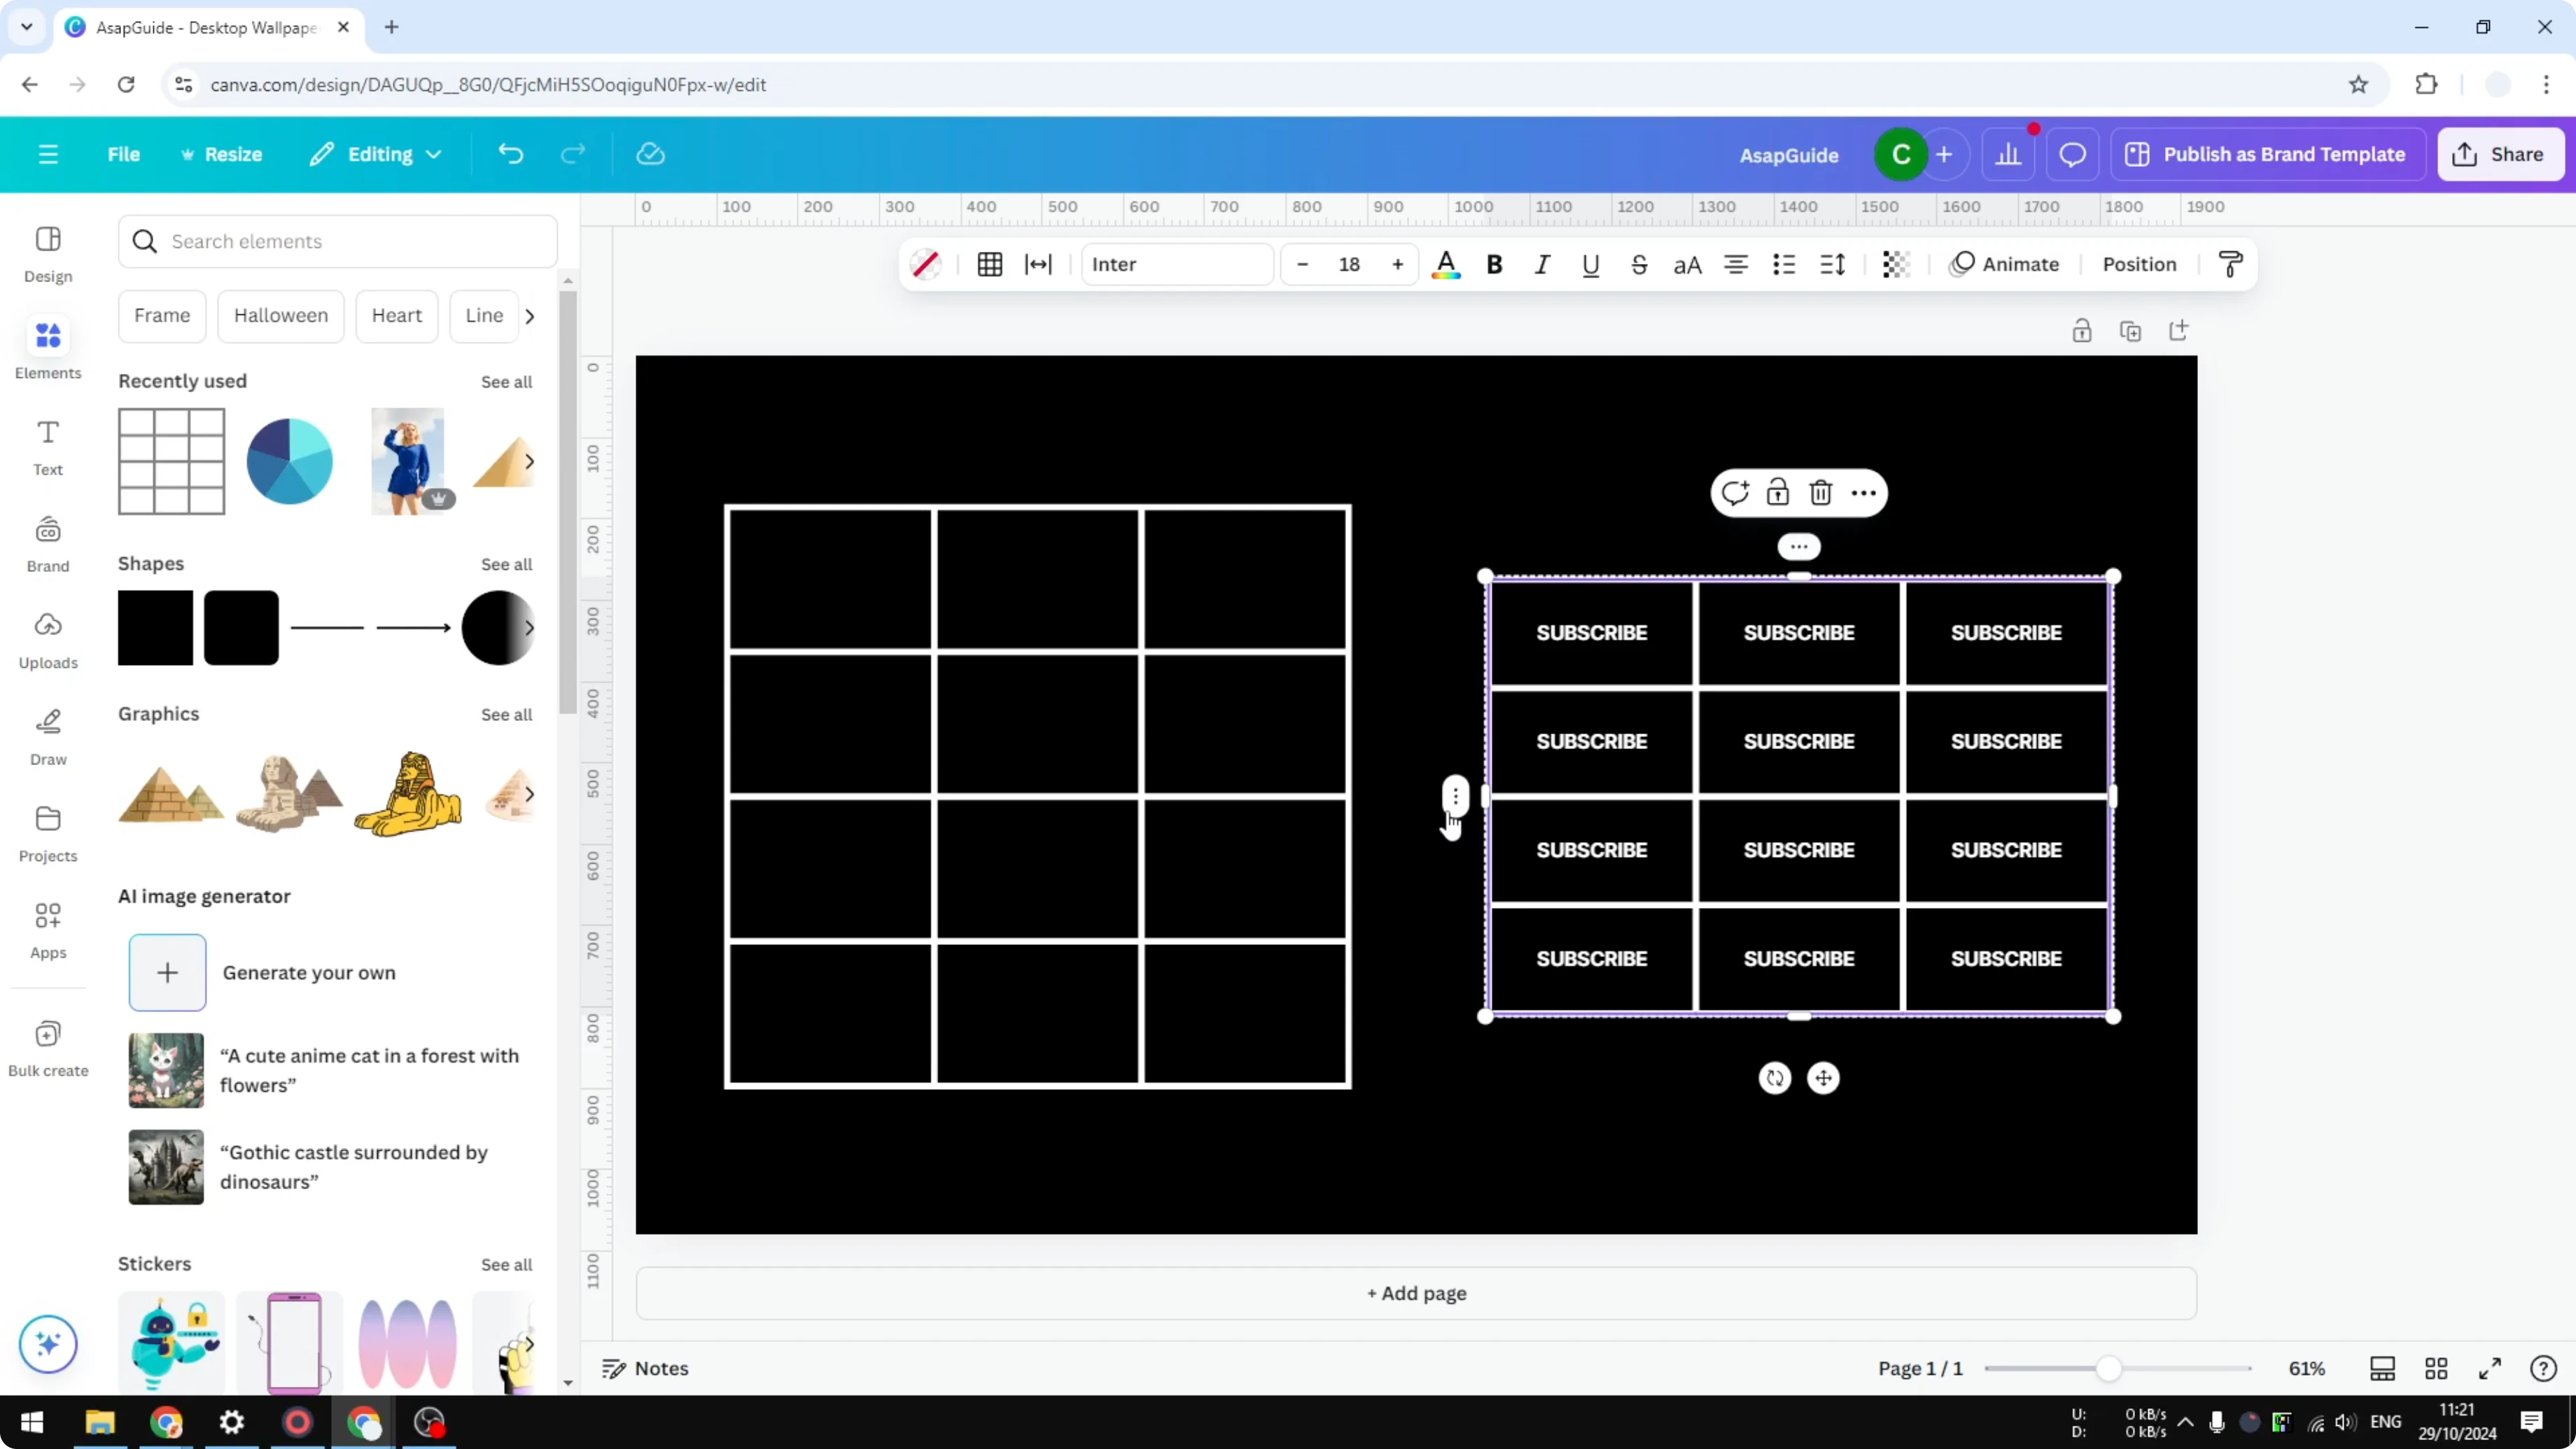
Press and hold Shift, then click the last cell to select all cells in the table.
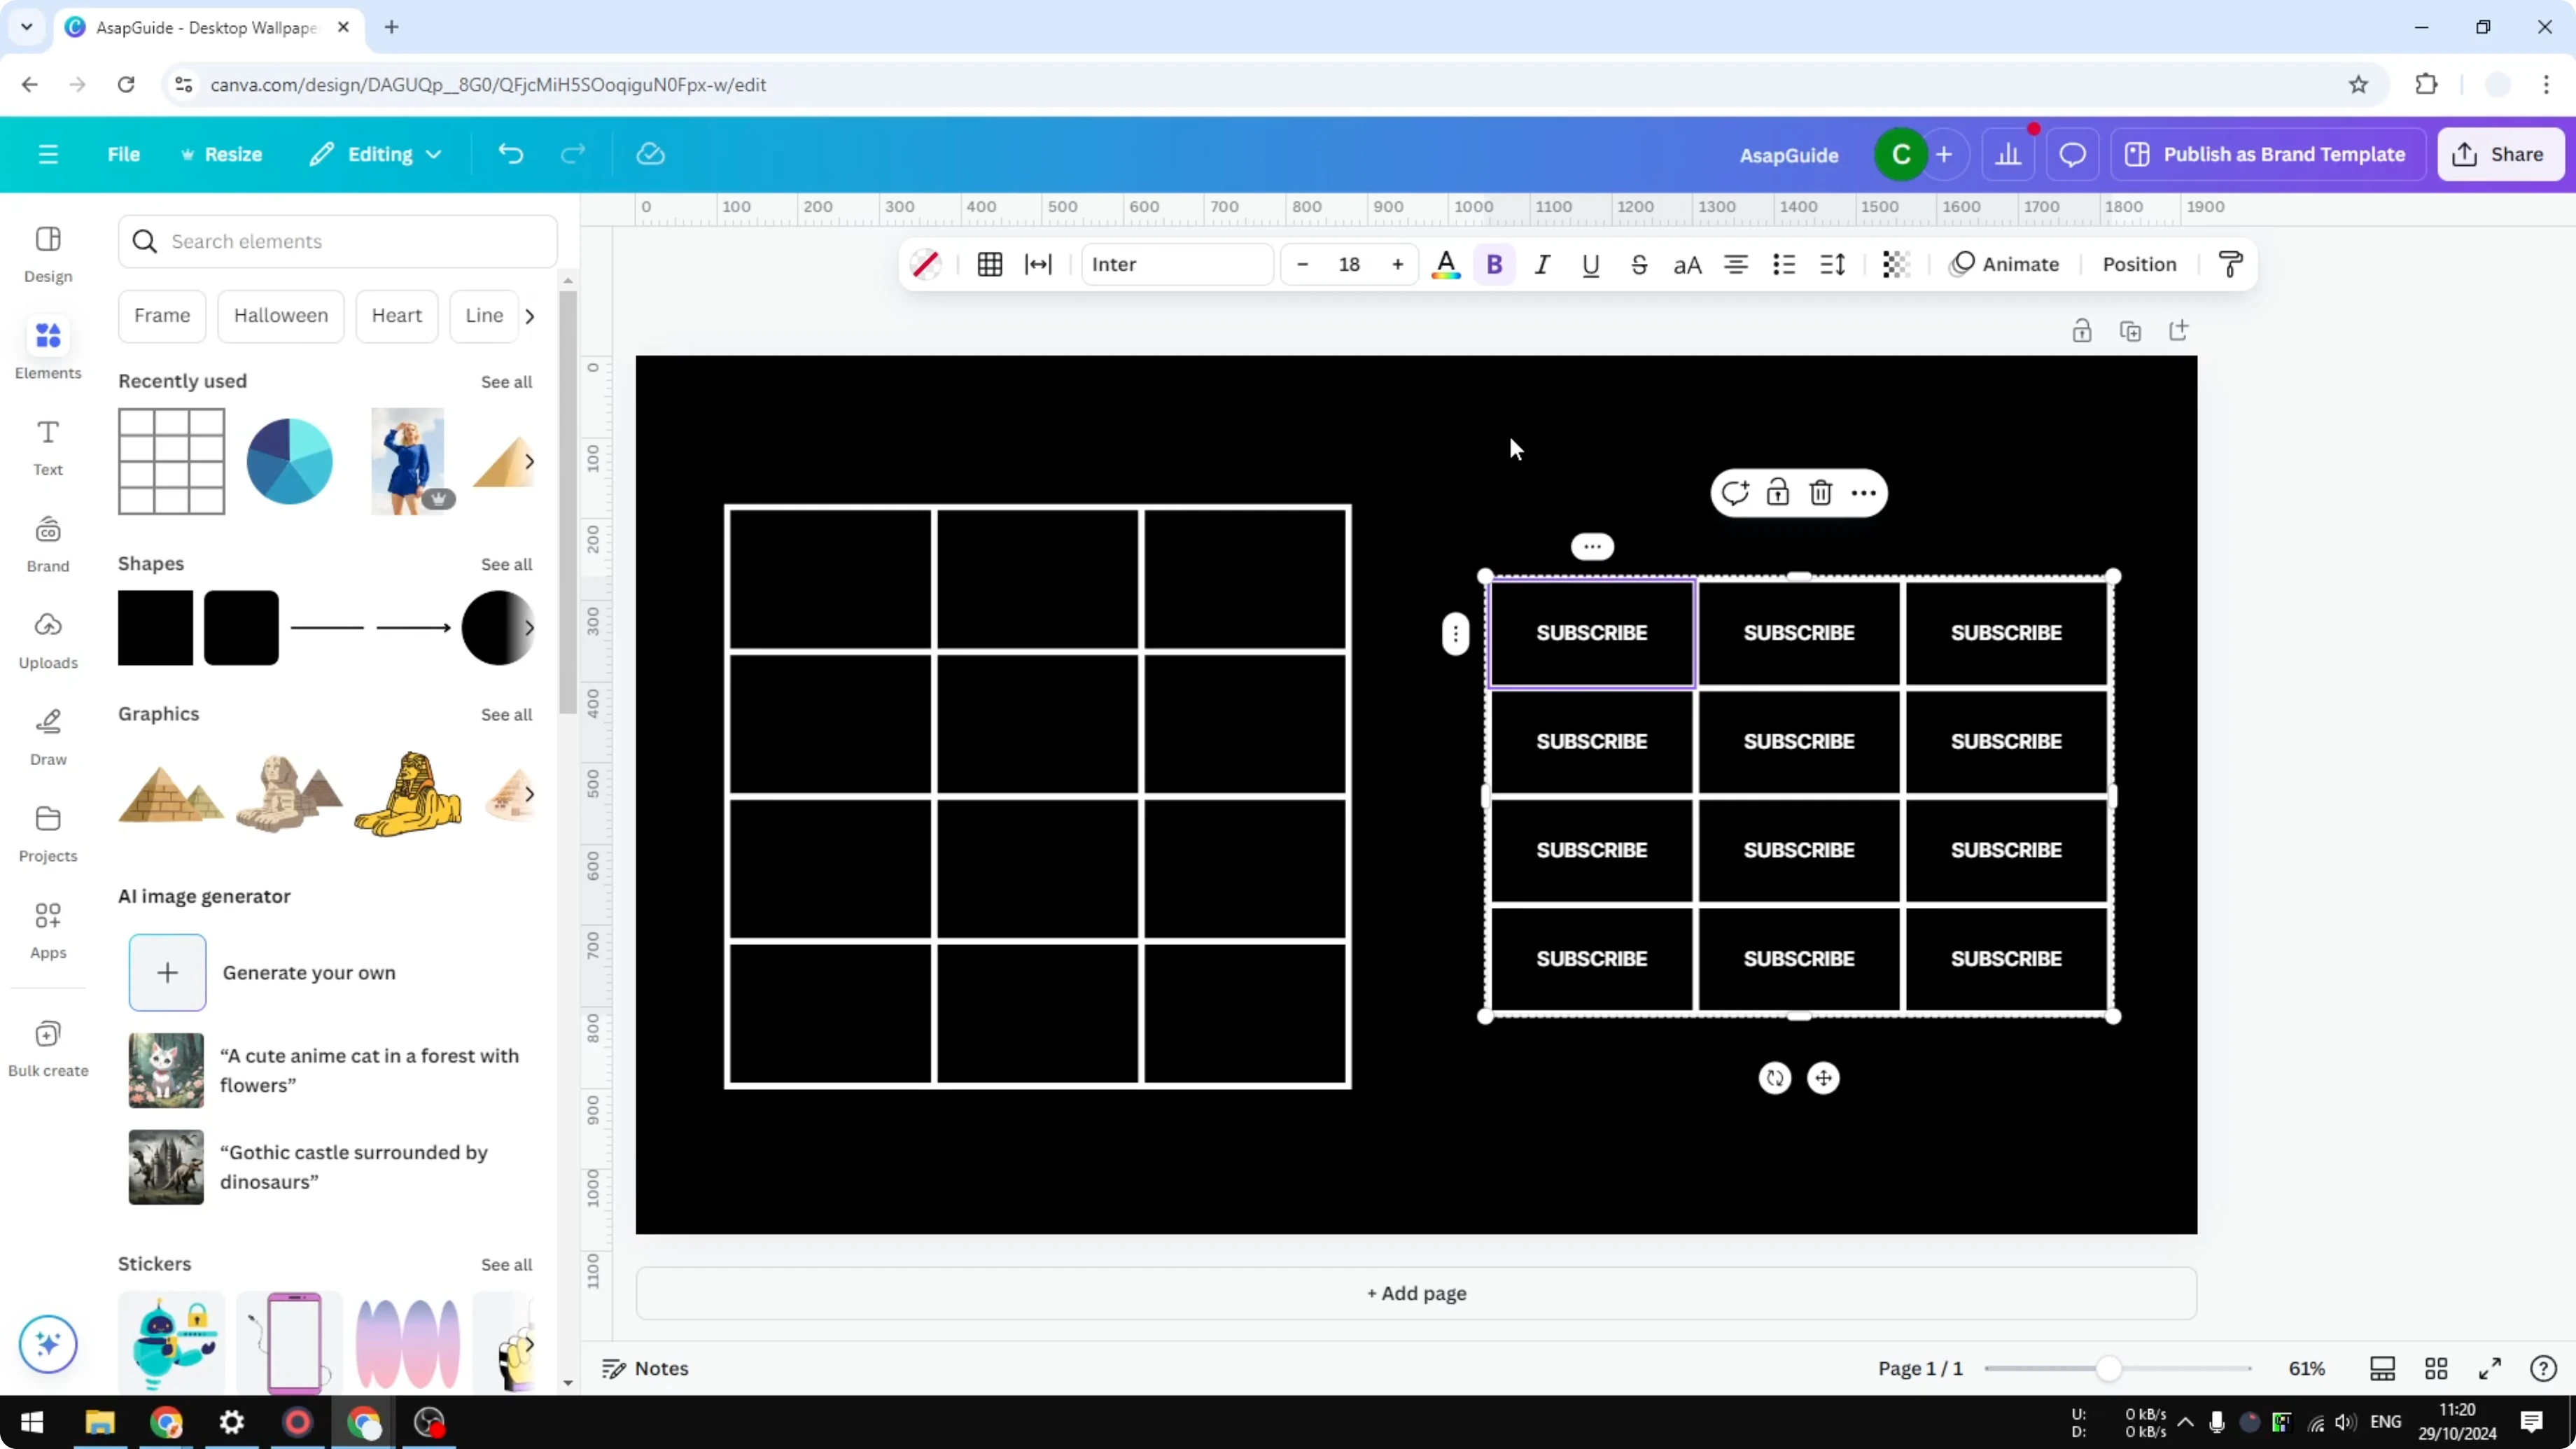
Click the menu that appears above the table or on the left of the table.
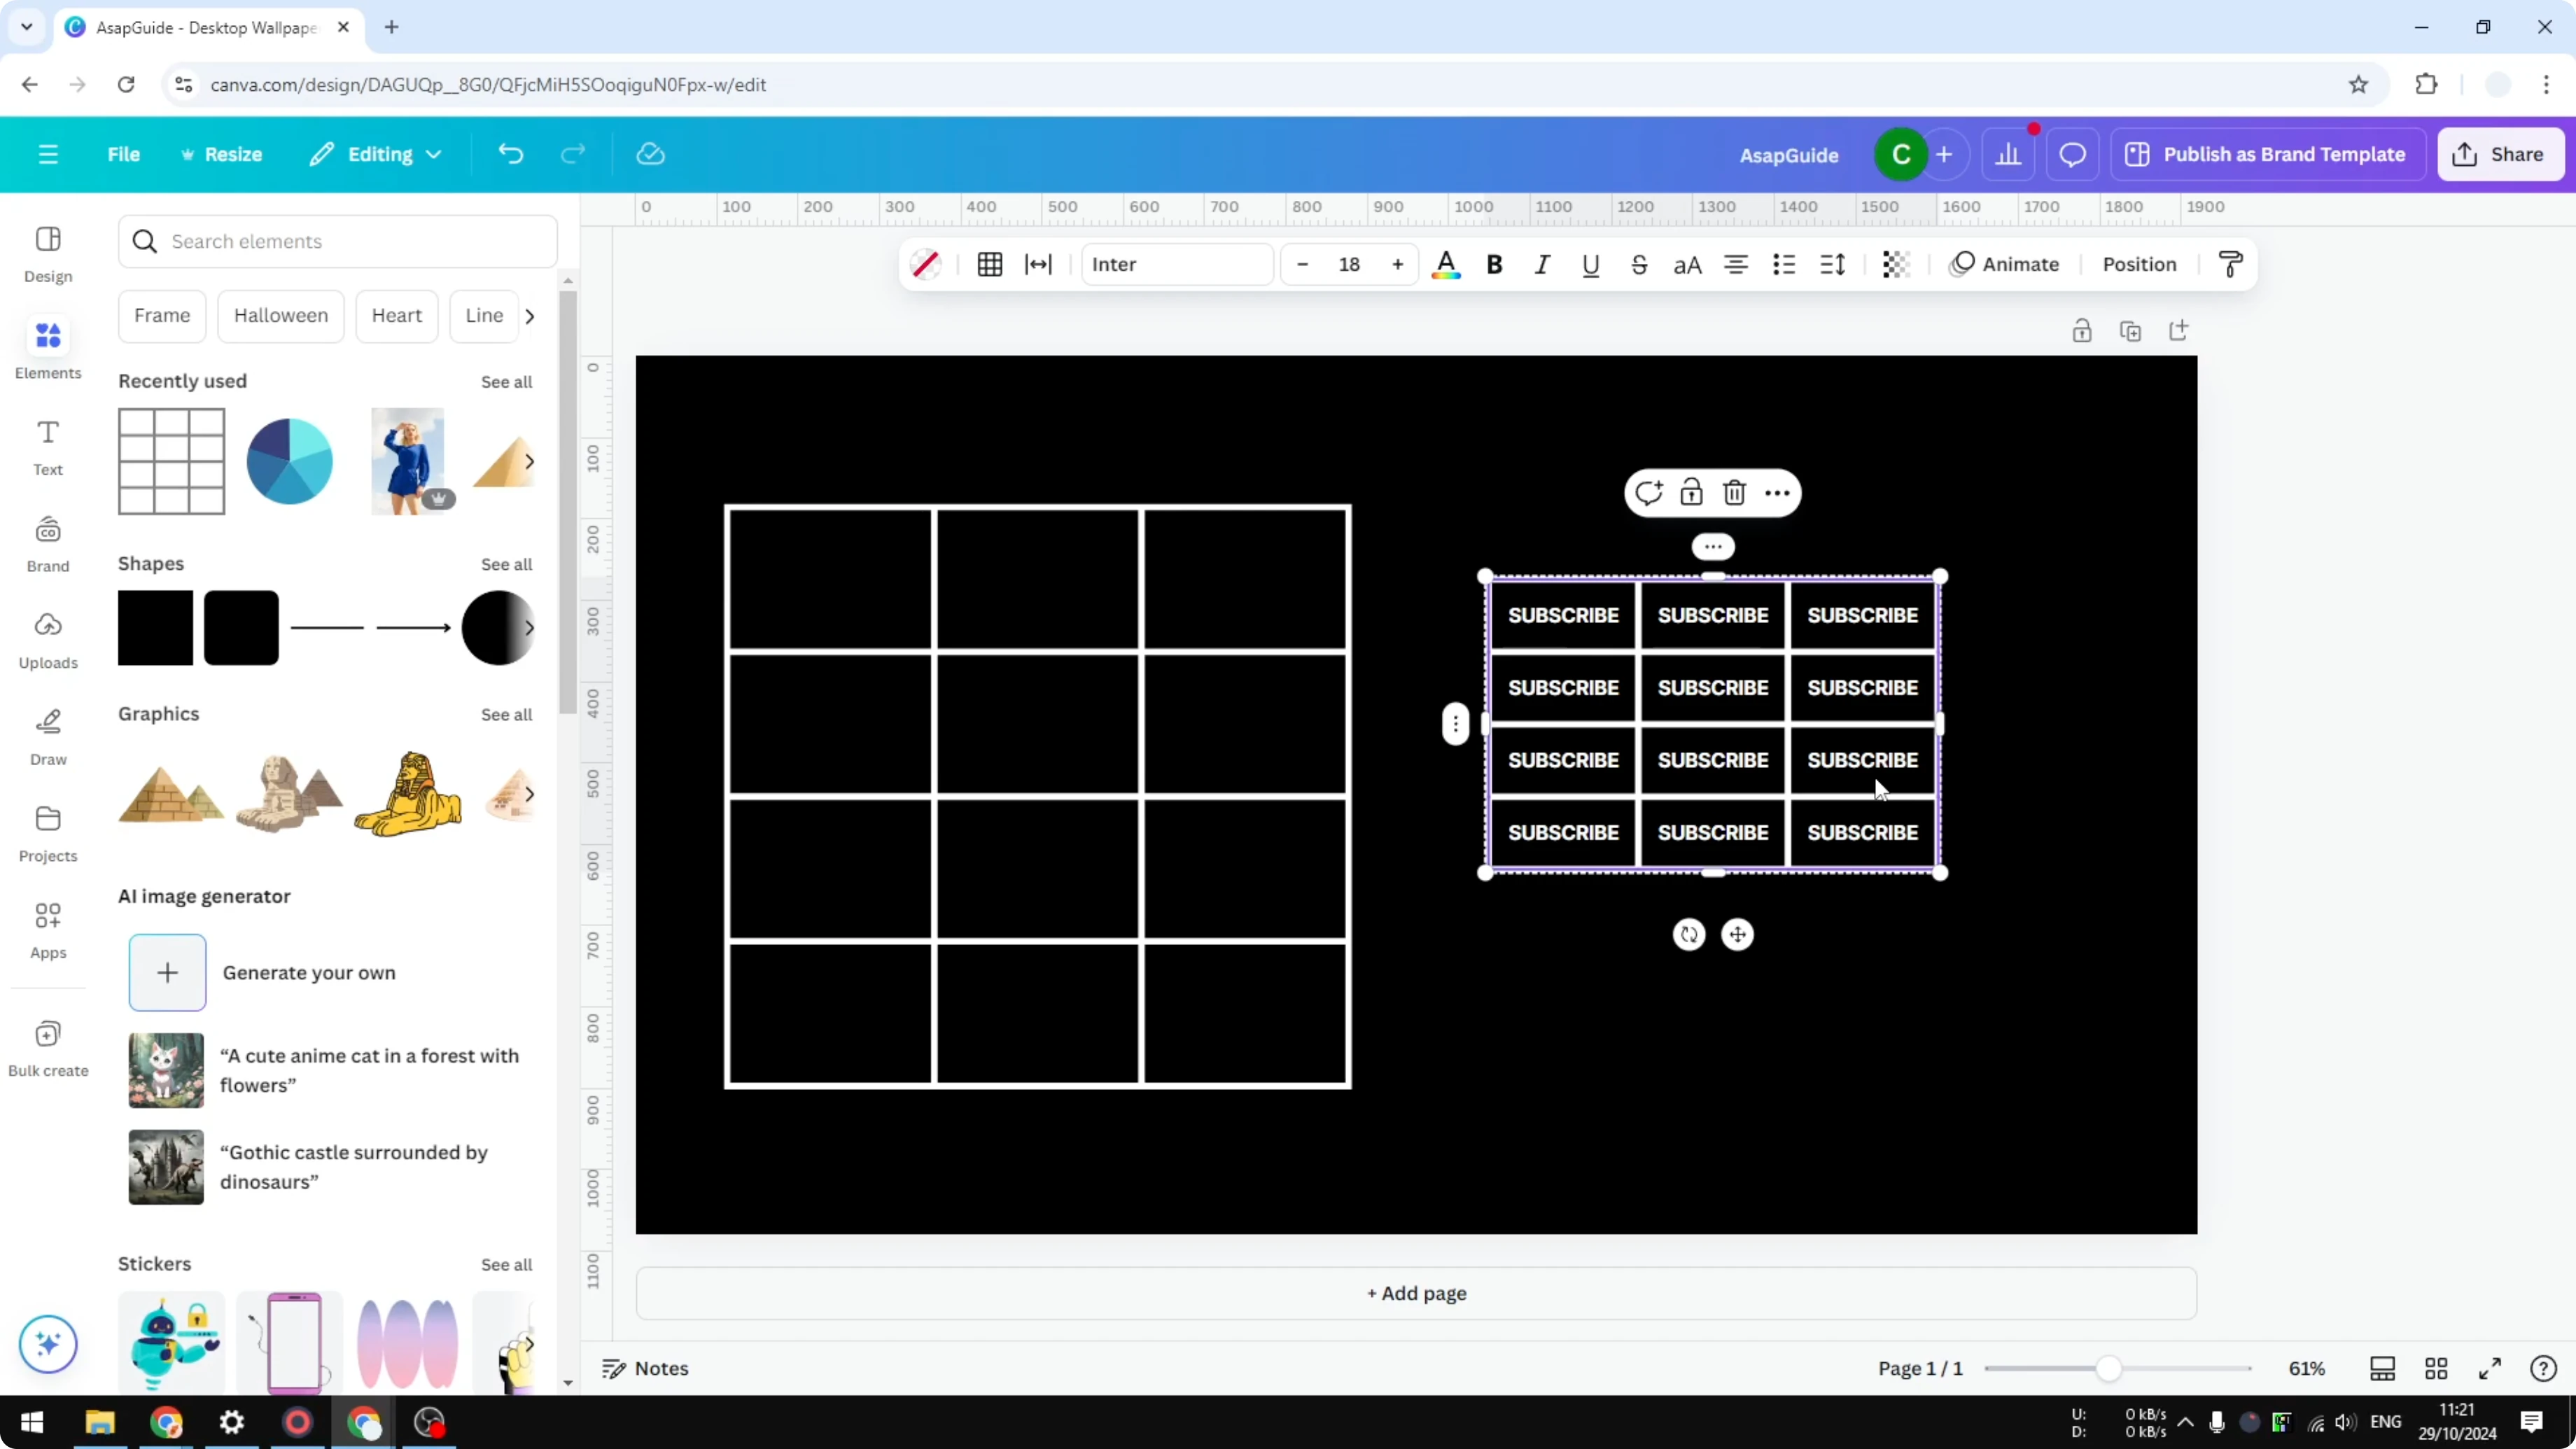
Click Size rows to content.
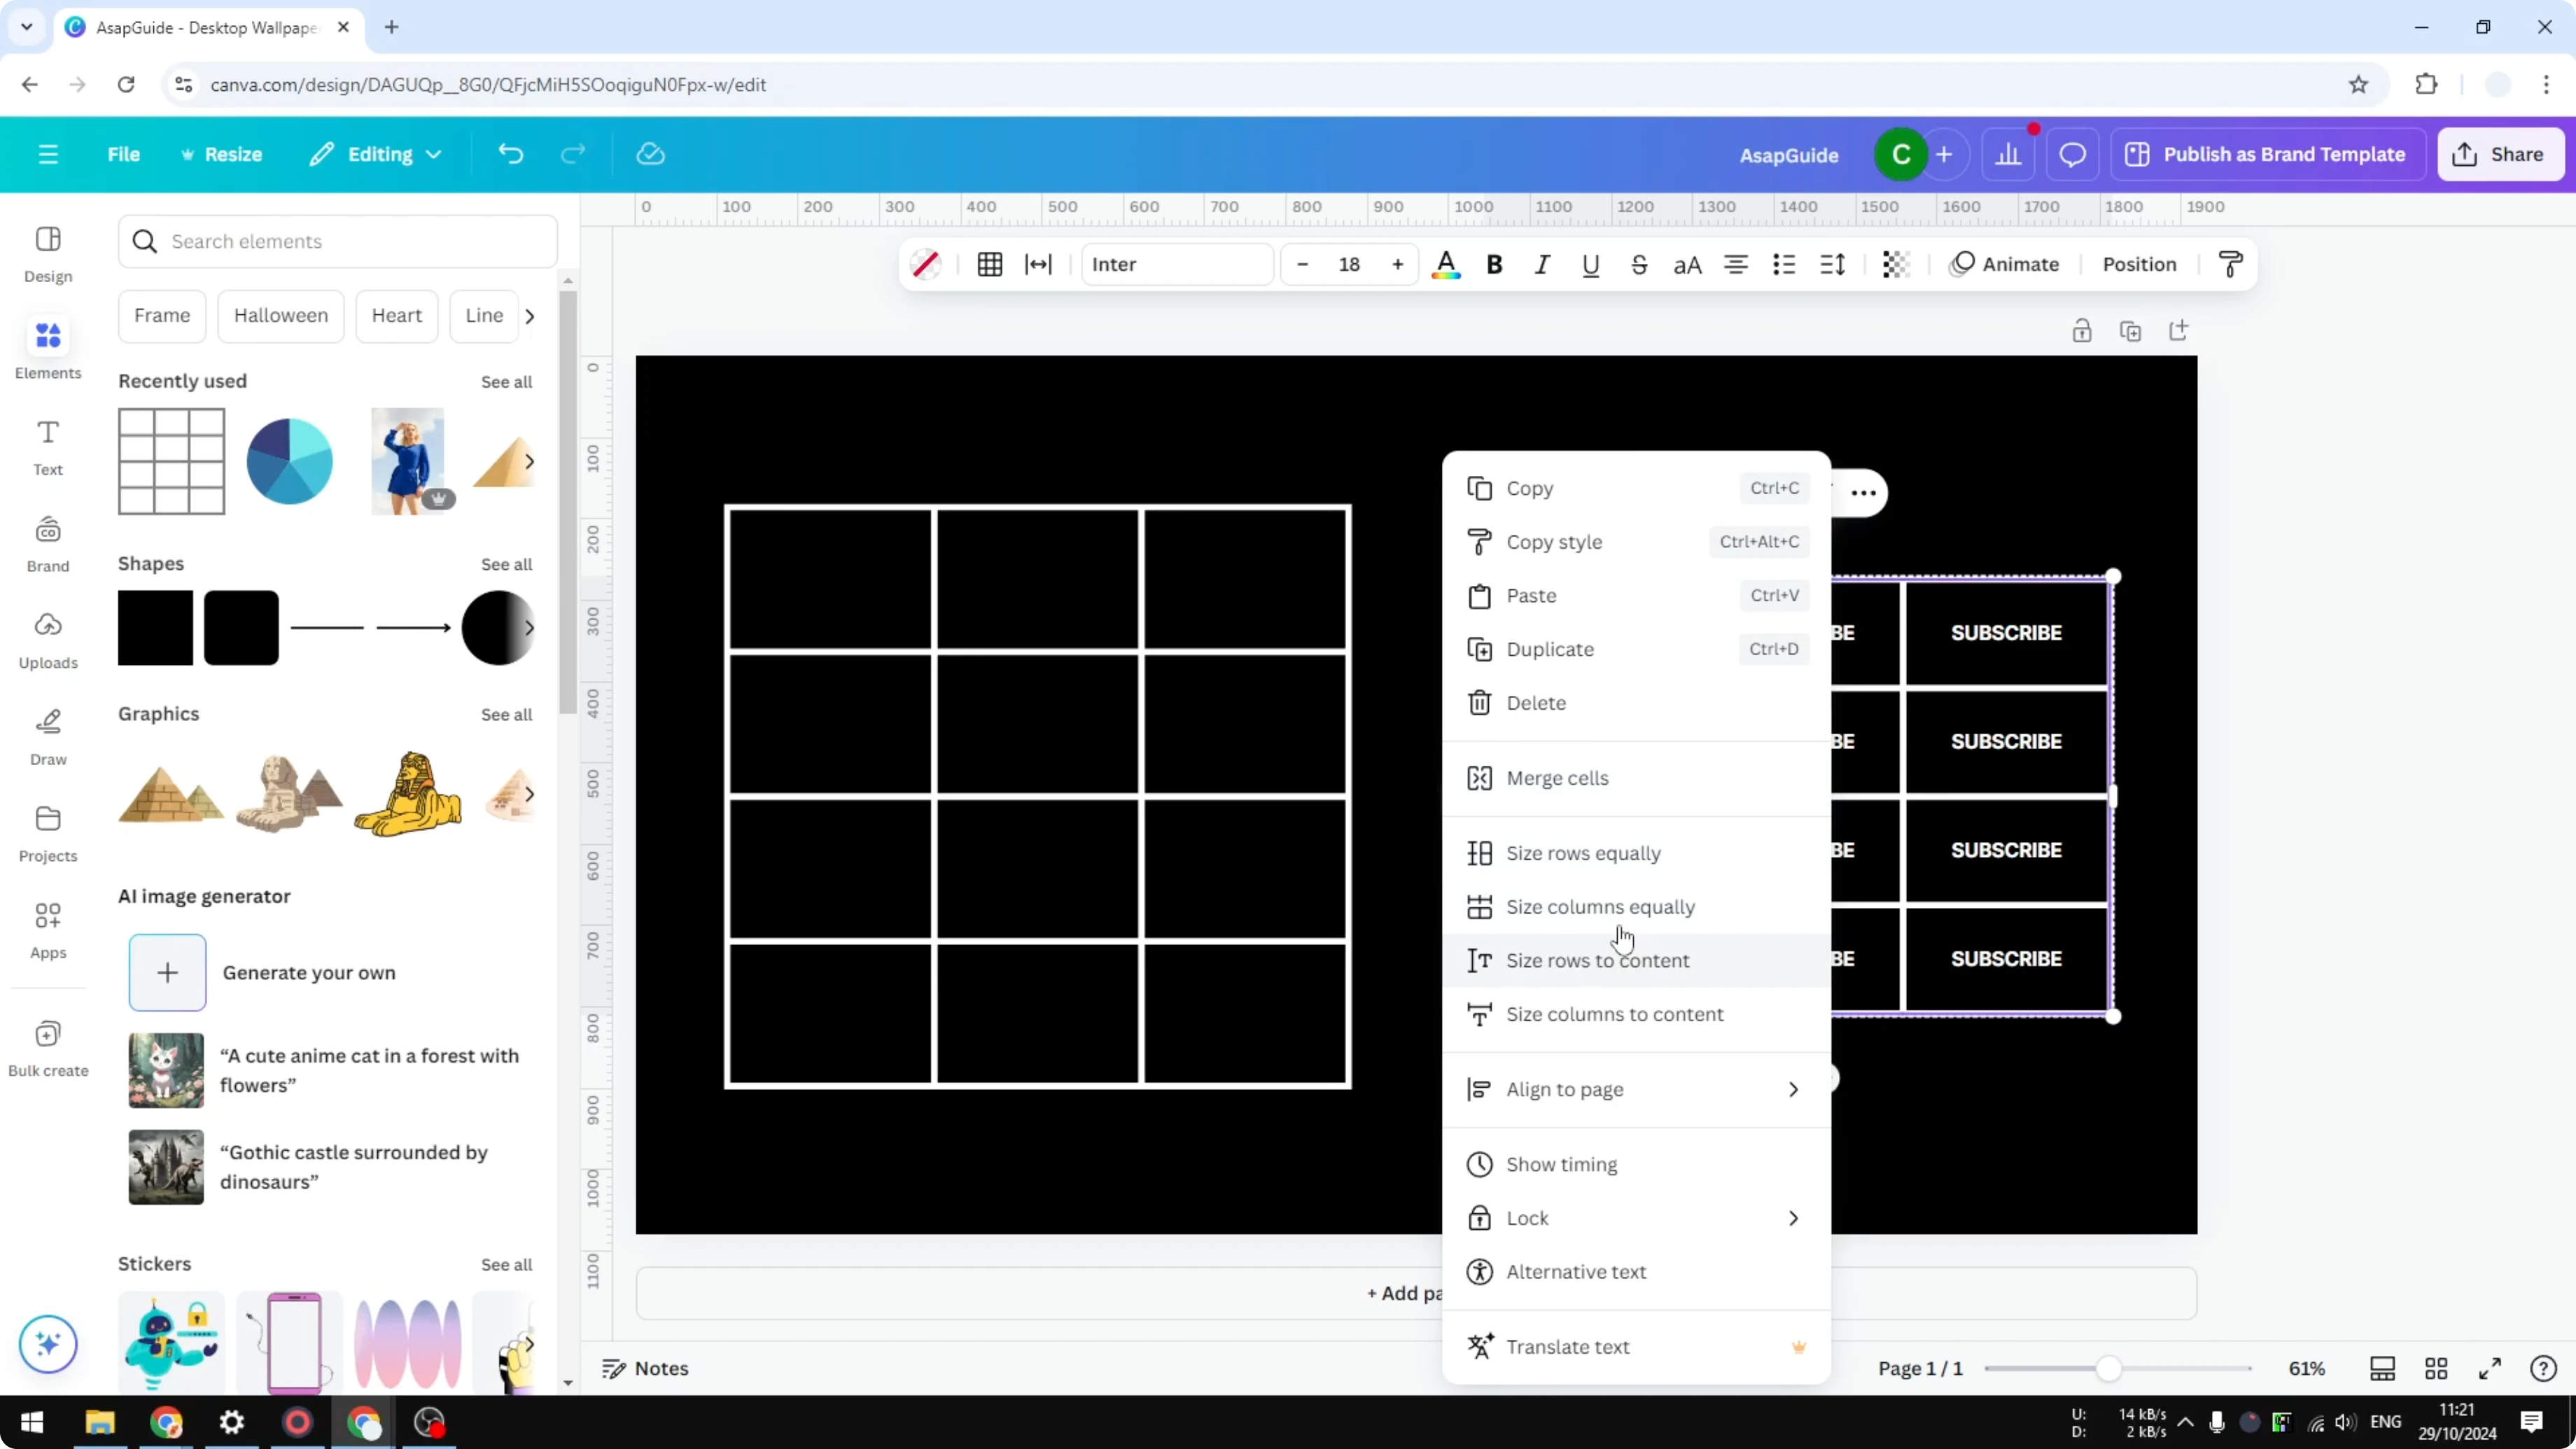
Click Size columns to content if you also want narrower columns.
This instantly makes the table more compact, often freeing up extra space on your page. You can even fit multiple tables in the same area once rows and columns are sized to content.
If you are preparing tables for a slideshow or clip, see how to make a video using photos in Canva to present your designs.
Make Rows Thinner in Canva Table: Manual fine-tuning
Click the first cell of the table.
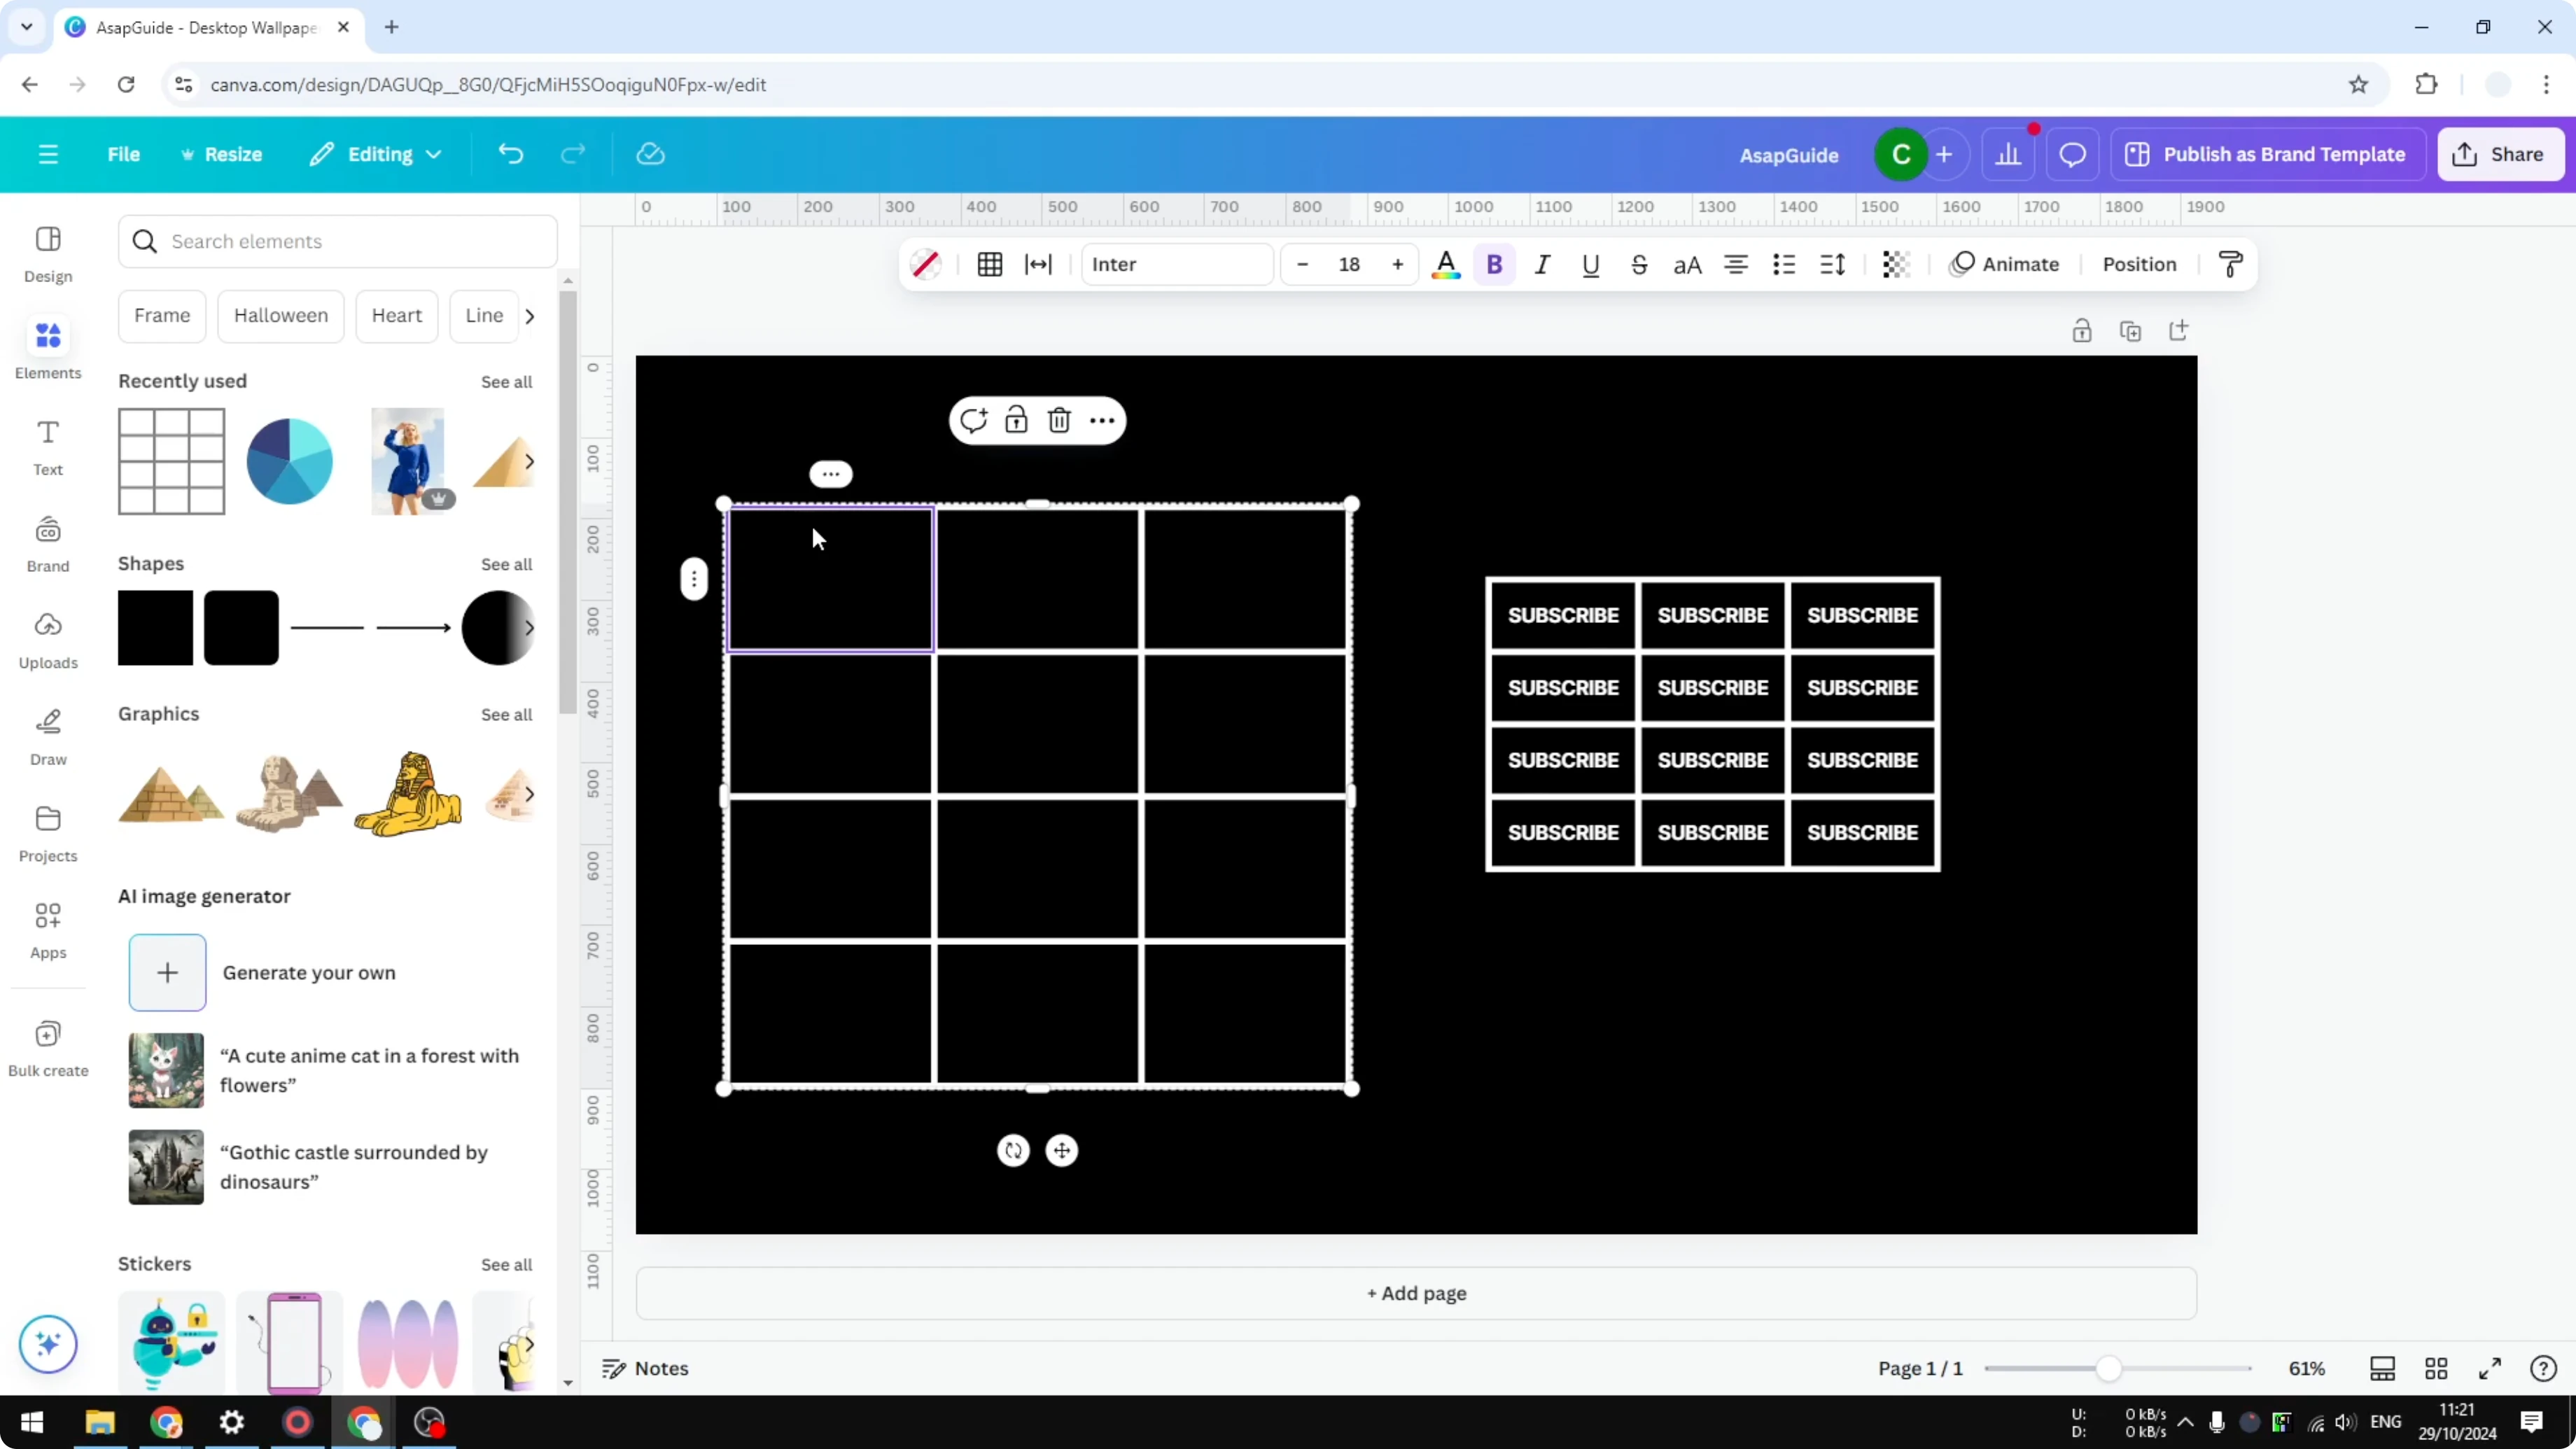
Hold Shift and click the last cell to select all cells.
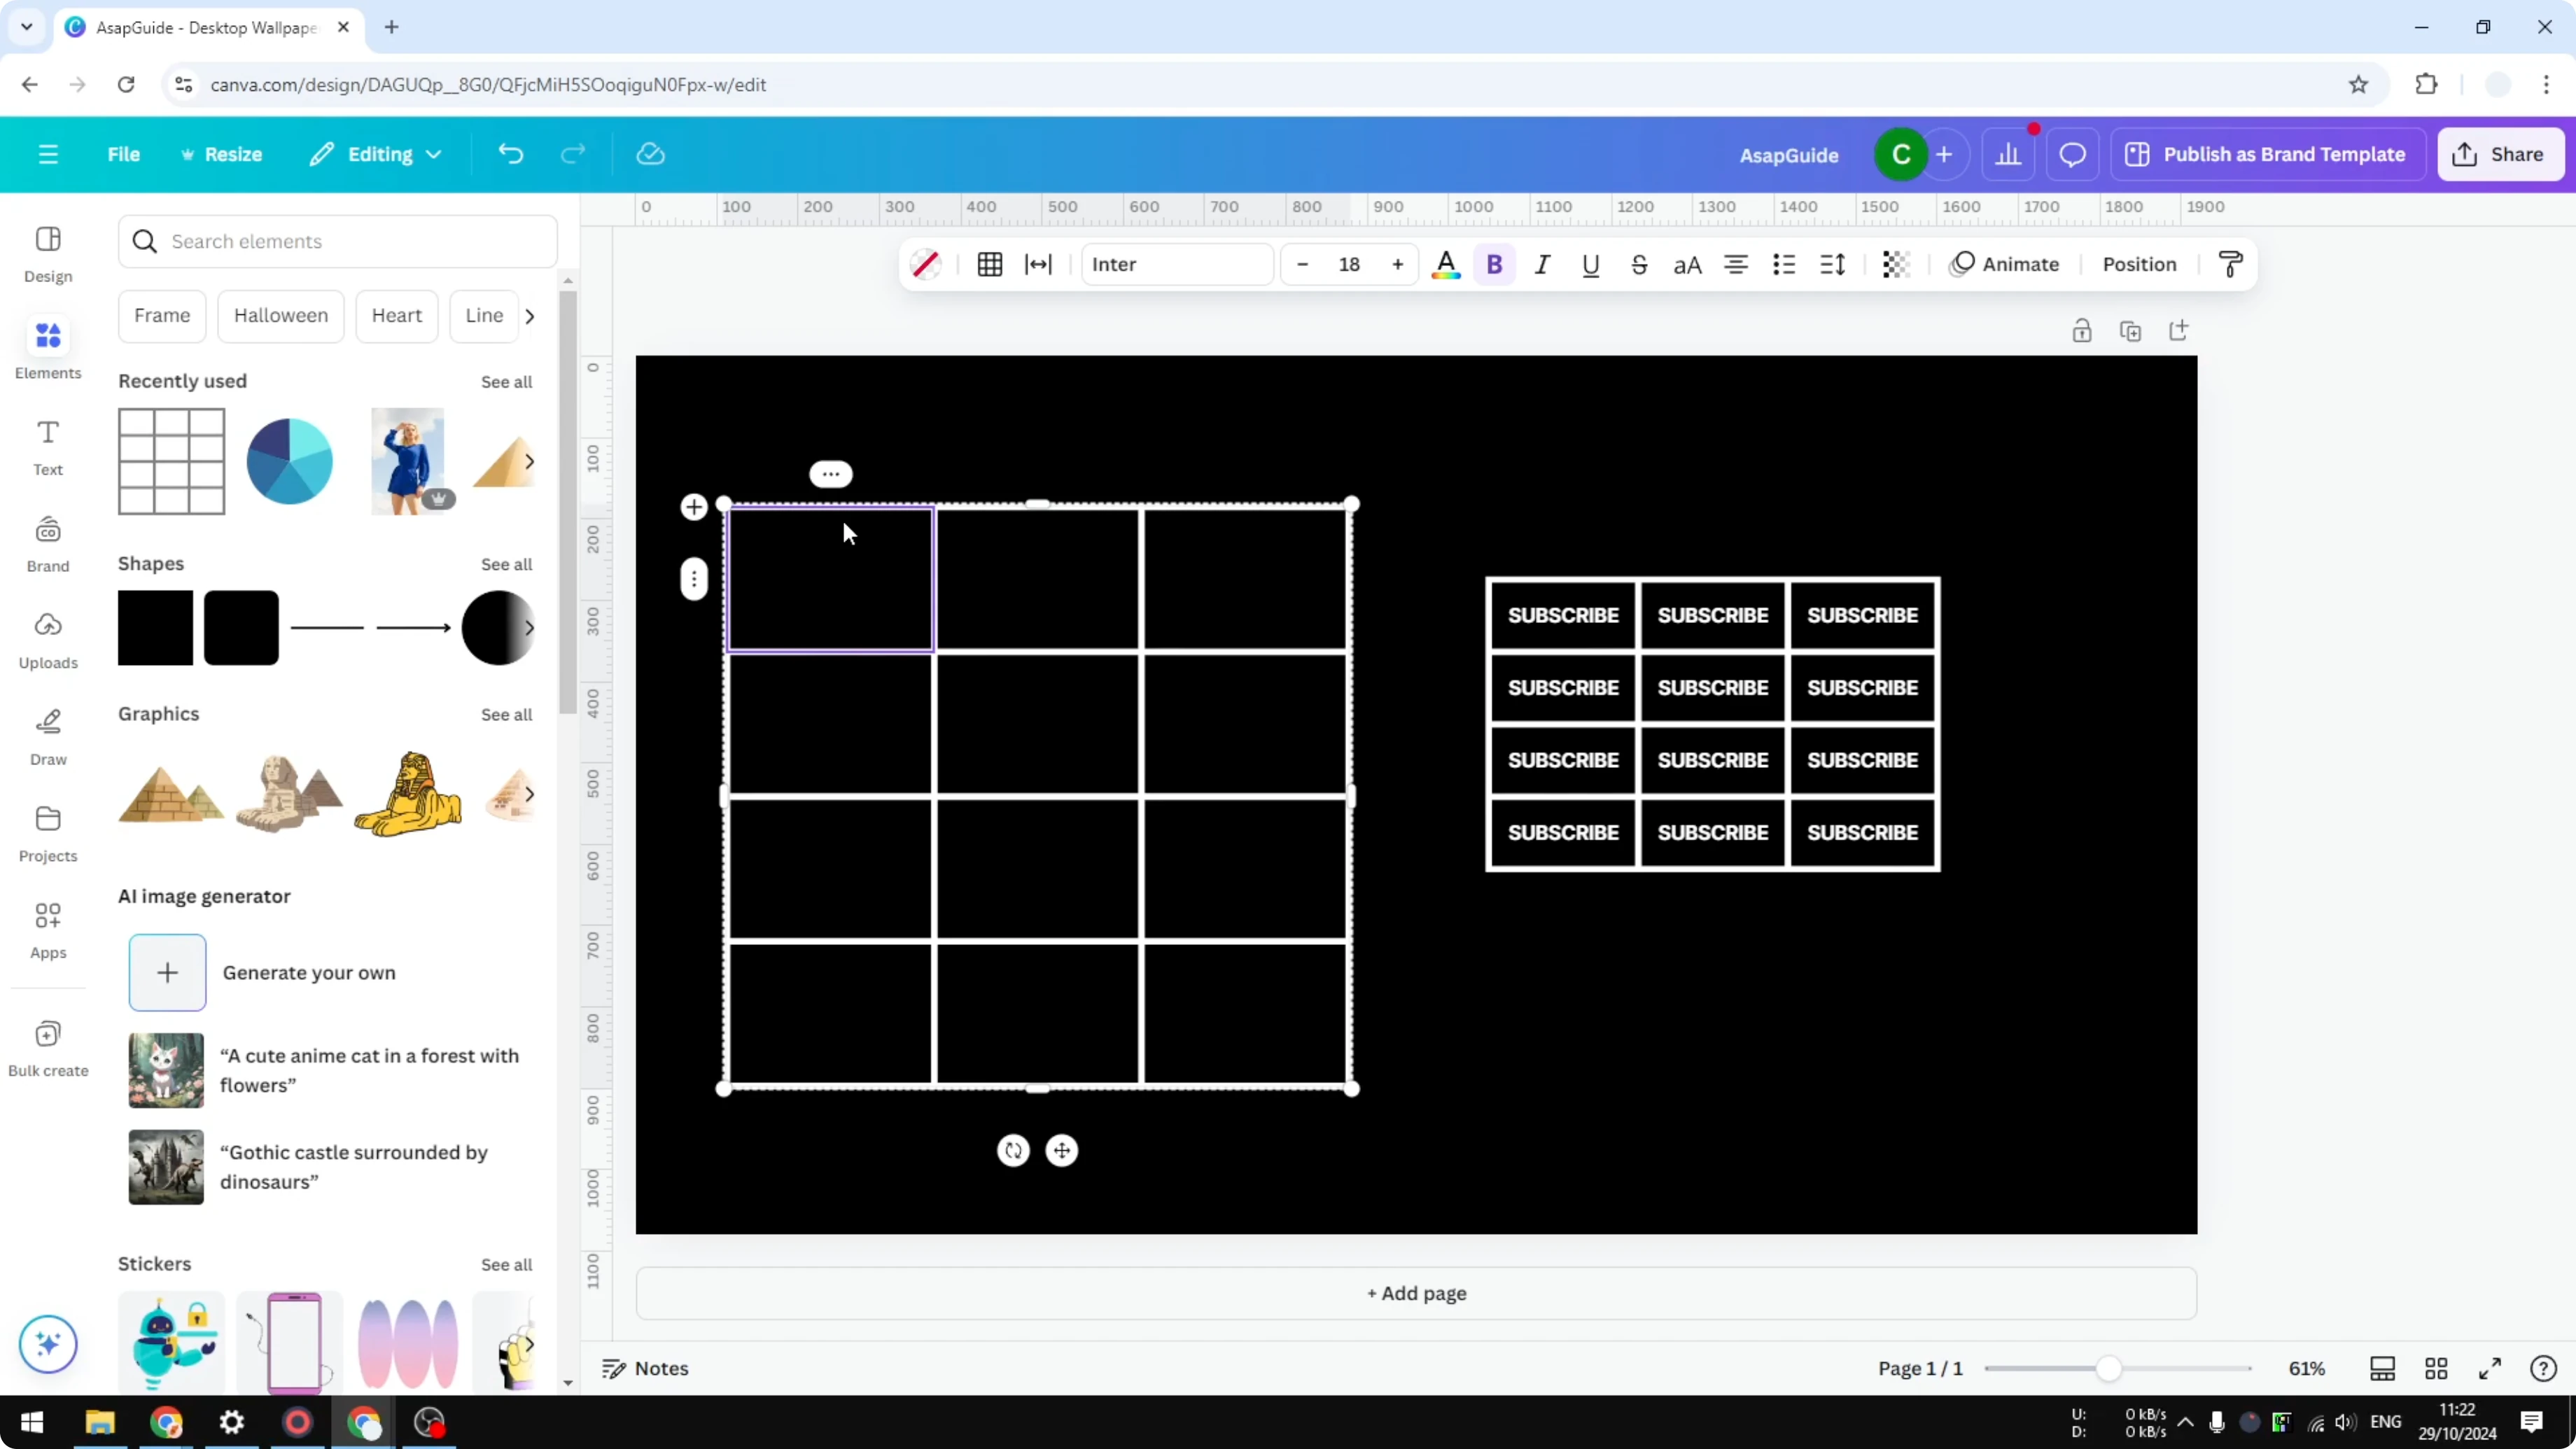
Click the icon with three horizontal lines and drag to make the rows smaller.

Repeat the adjustment for columns if you need them tighter too.
With this method you can fine-tune the size of every cell in the table. It gives you more control compared to the content-based option, which sets the size based only on what is inside each cell.

Final thoughts on Make Rows Thinner in Canva Table
Both methods are quick. Auto fit is the fastest, and manual adjustment gives you precise control. If you want Canva to help arrange layouts for you, check out our Canva AI design guide to speed up your workflow.
Recent Posts
How to Visualize Yourself as a Pixelized Character with AI?
How to Visualize Yourself as a Pixelized Character with AI?

How to Revive Faded Memories and Enhance Image Clarity with AI?
How to Revive Faded Memories and Enhance Image Clarity with AI?

How to Visualize Yourself as an Animal Crossing Character with AI?
How to Visualize Yourself as an Animal Crossing Character with AI?