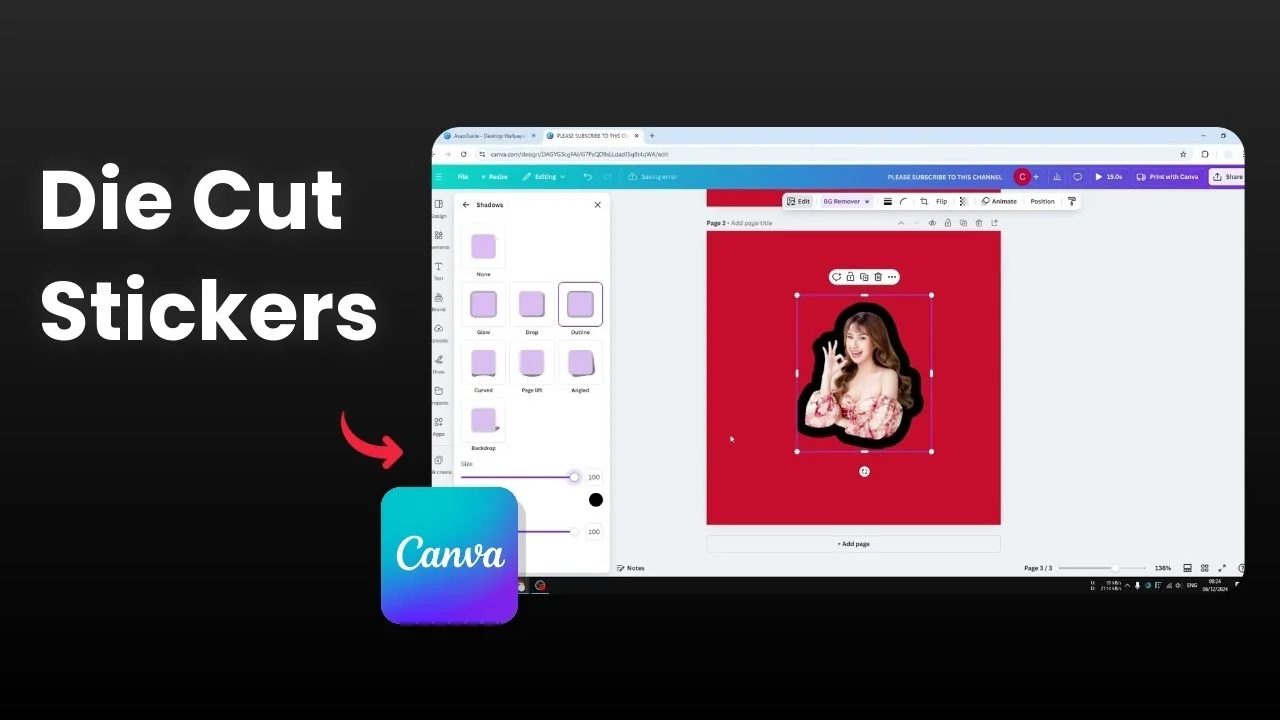
How to Make a Die Cut Sticker in Canva
A die cut sticker is a type of sticker that’s cut by the contour of the picture. There’s a white area around the design that guides the user to cut the sticker carefully. It speeds up the cutting process because you don’t need to cut every single letter or tiny detail.
You can create this effect in Canva quickly. The text method uses an outline effect, and the photo method uses an outline shadow. Both produce a clean white border that’s print-ready.
Text sticker
Add a new page in Canva.

Go to Text and add a new text box.
Change the font to something you like and make it slightly bigger.
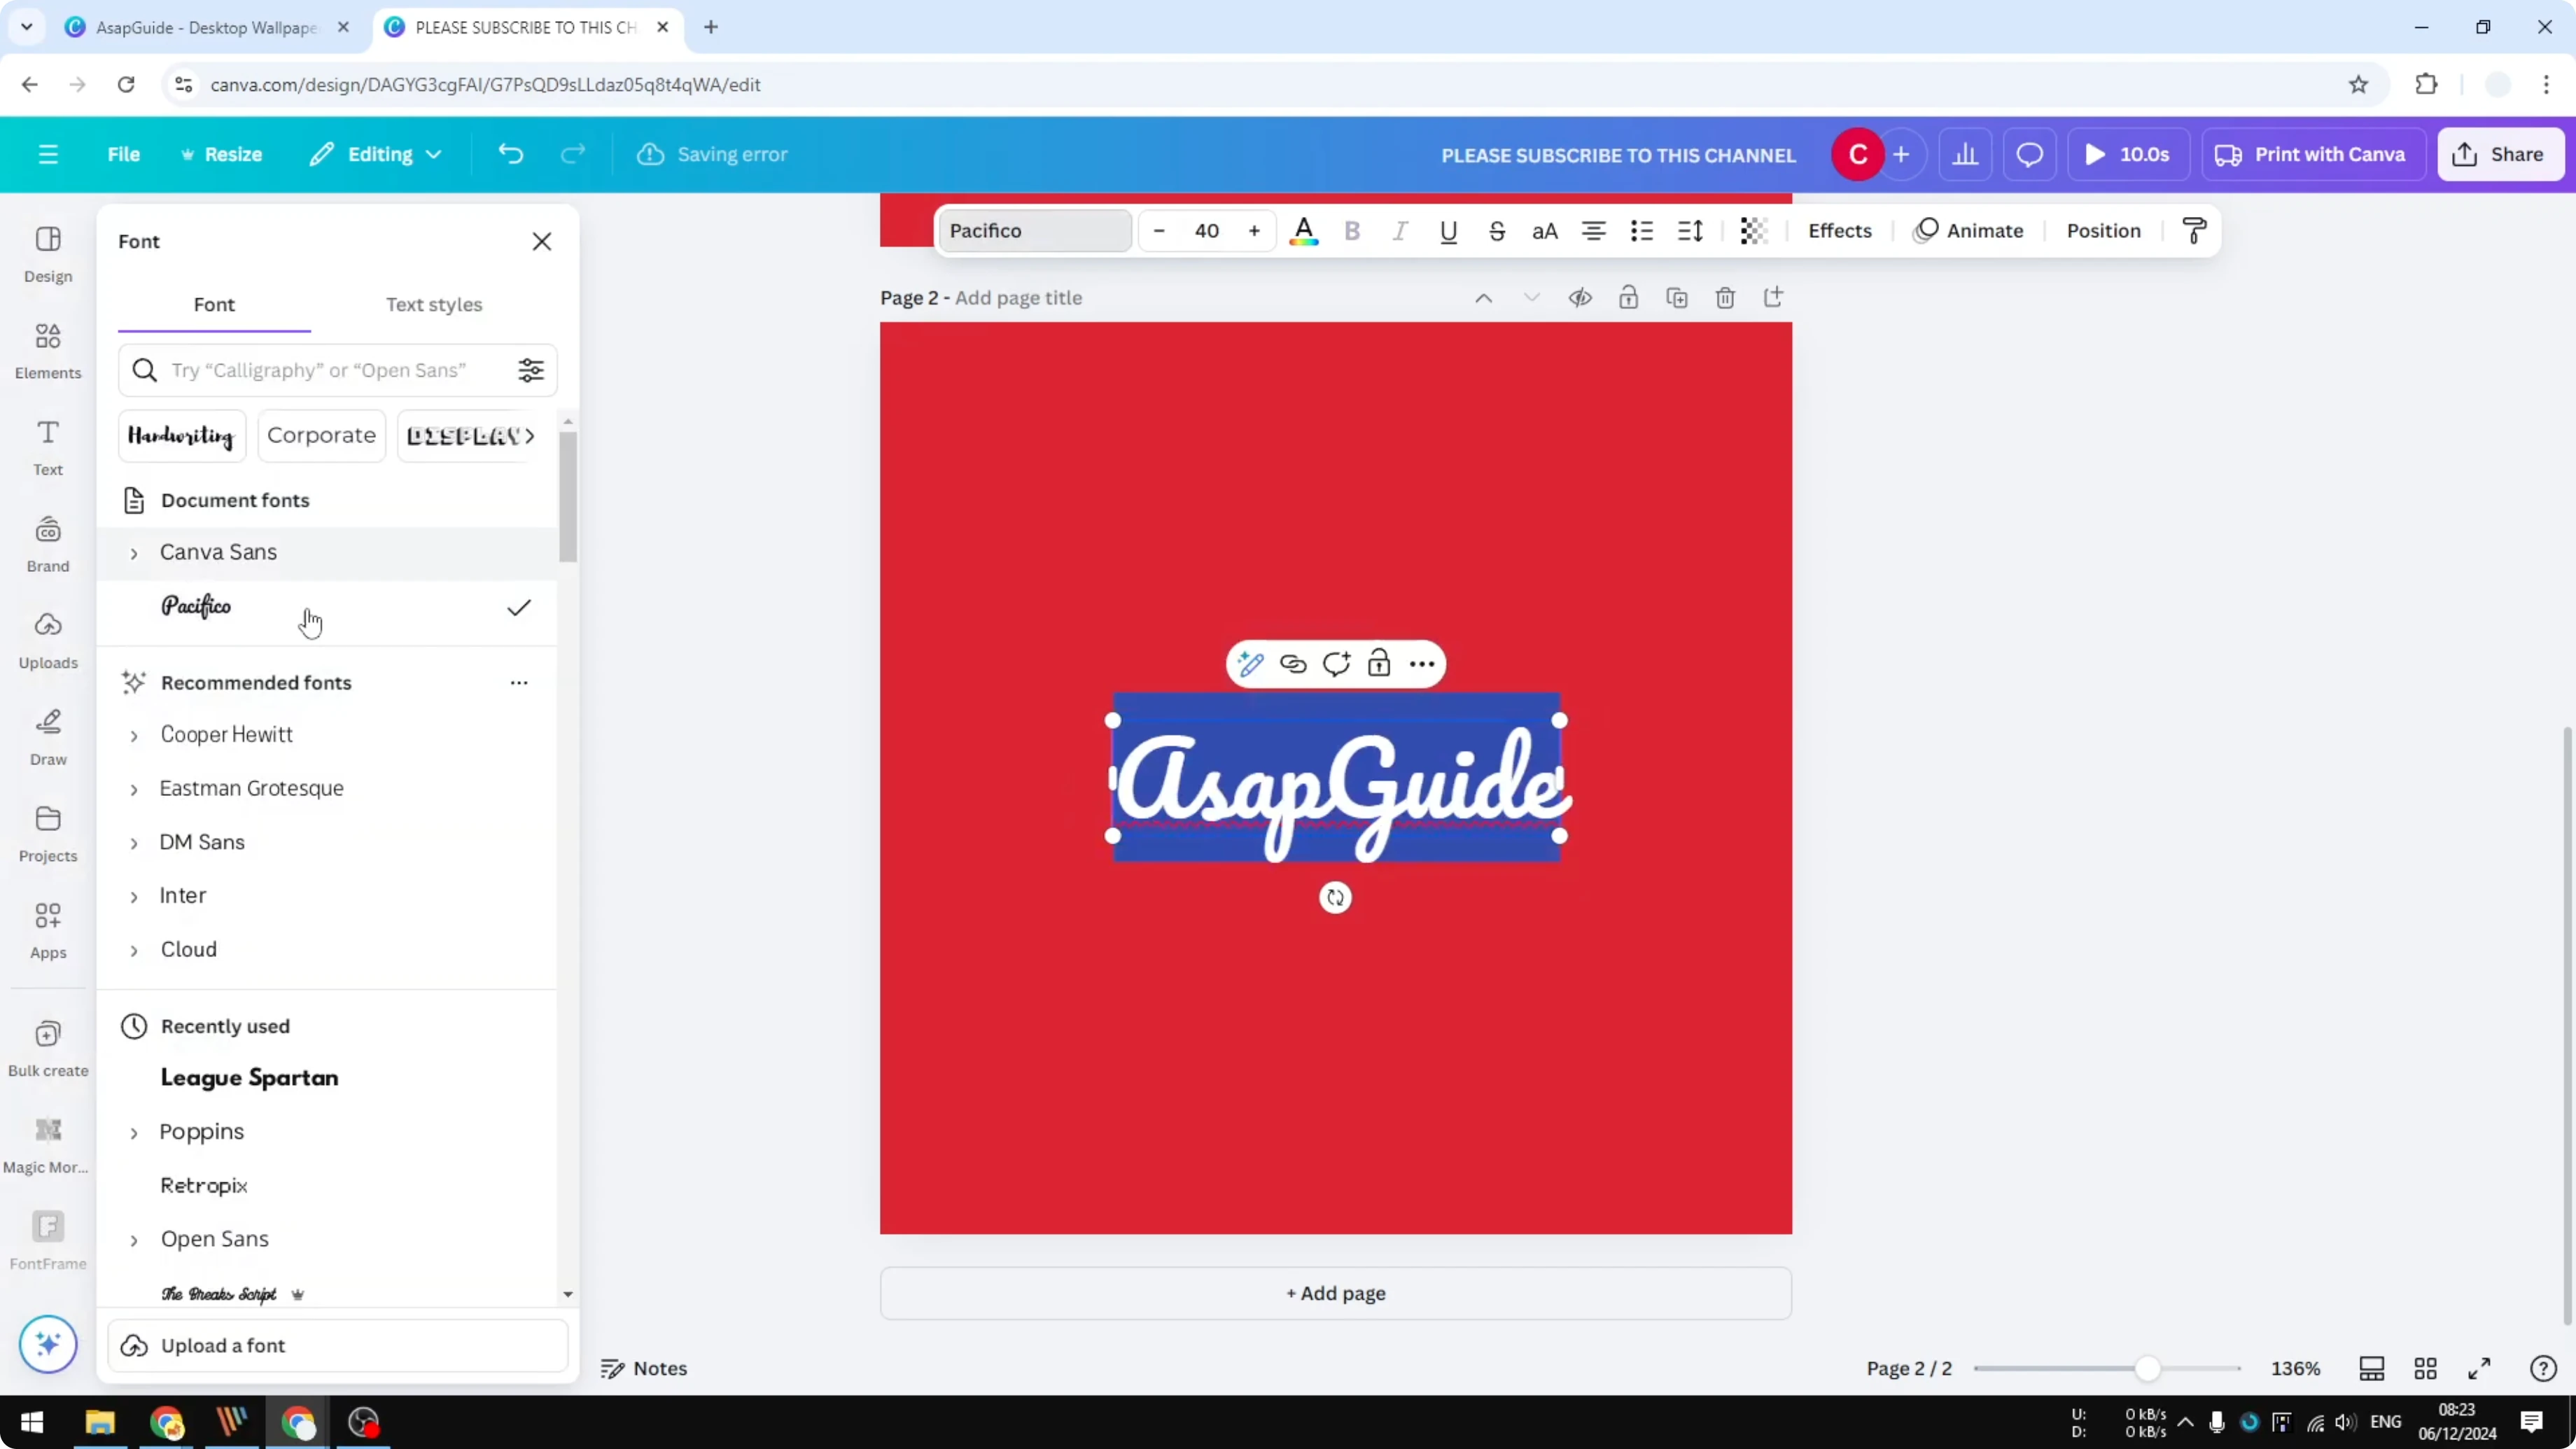
Place it in the middle.
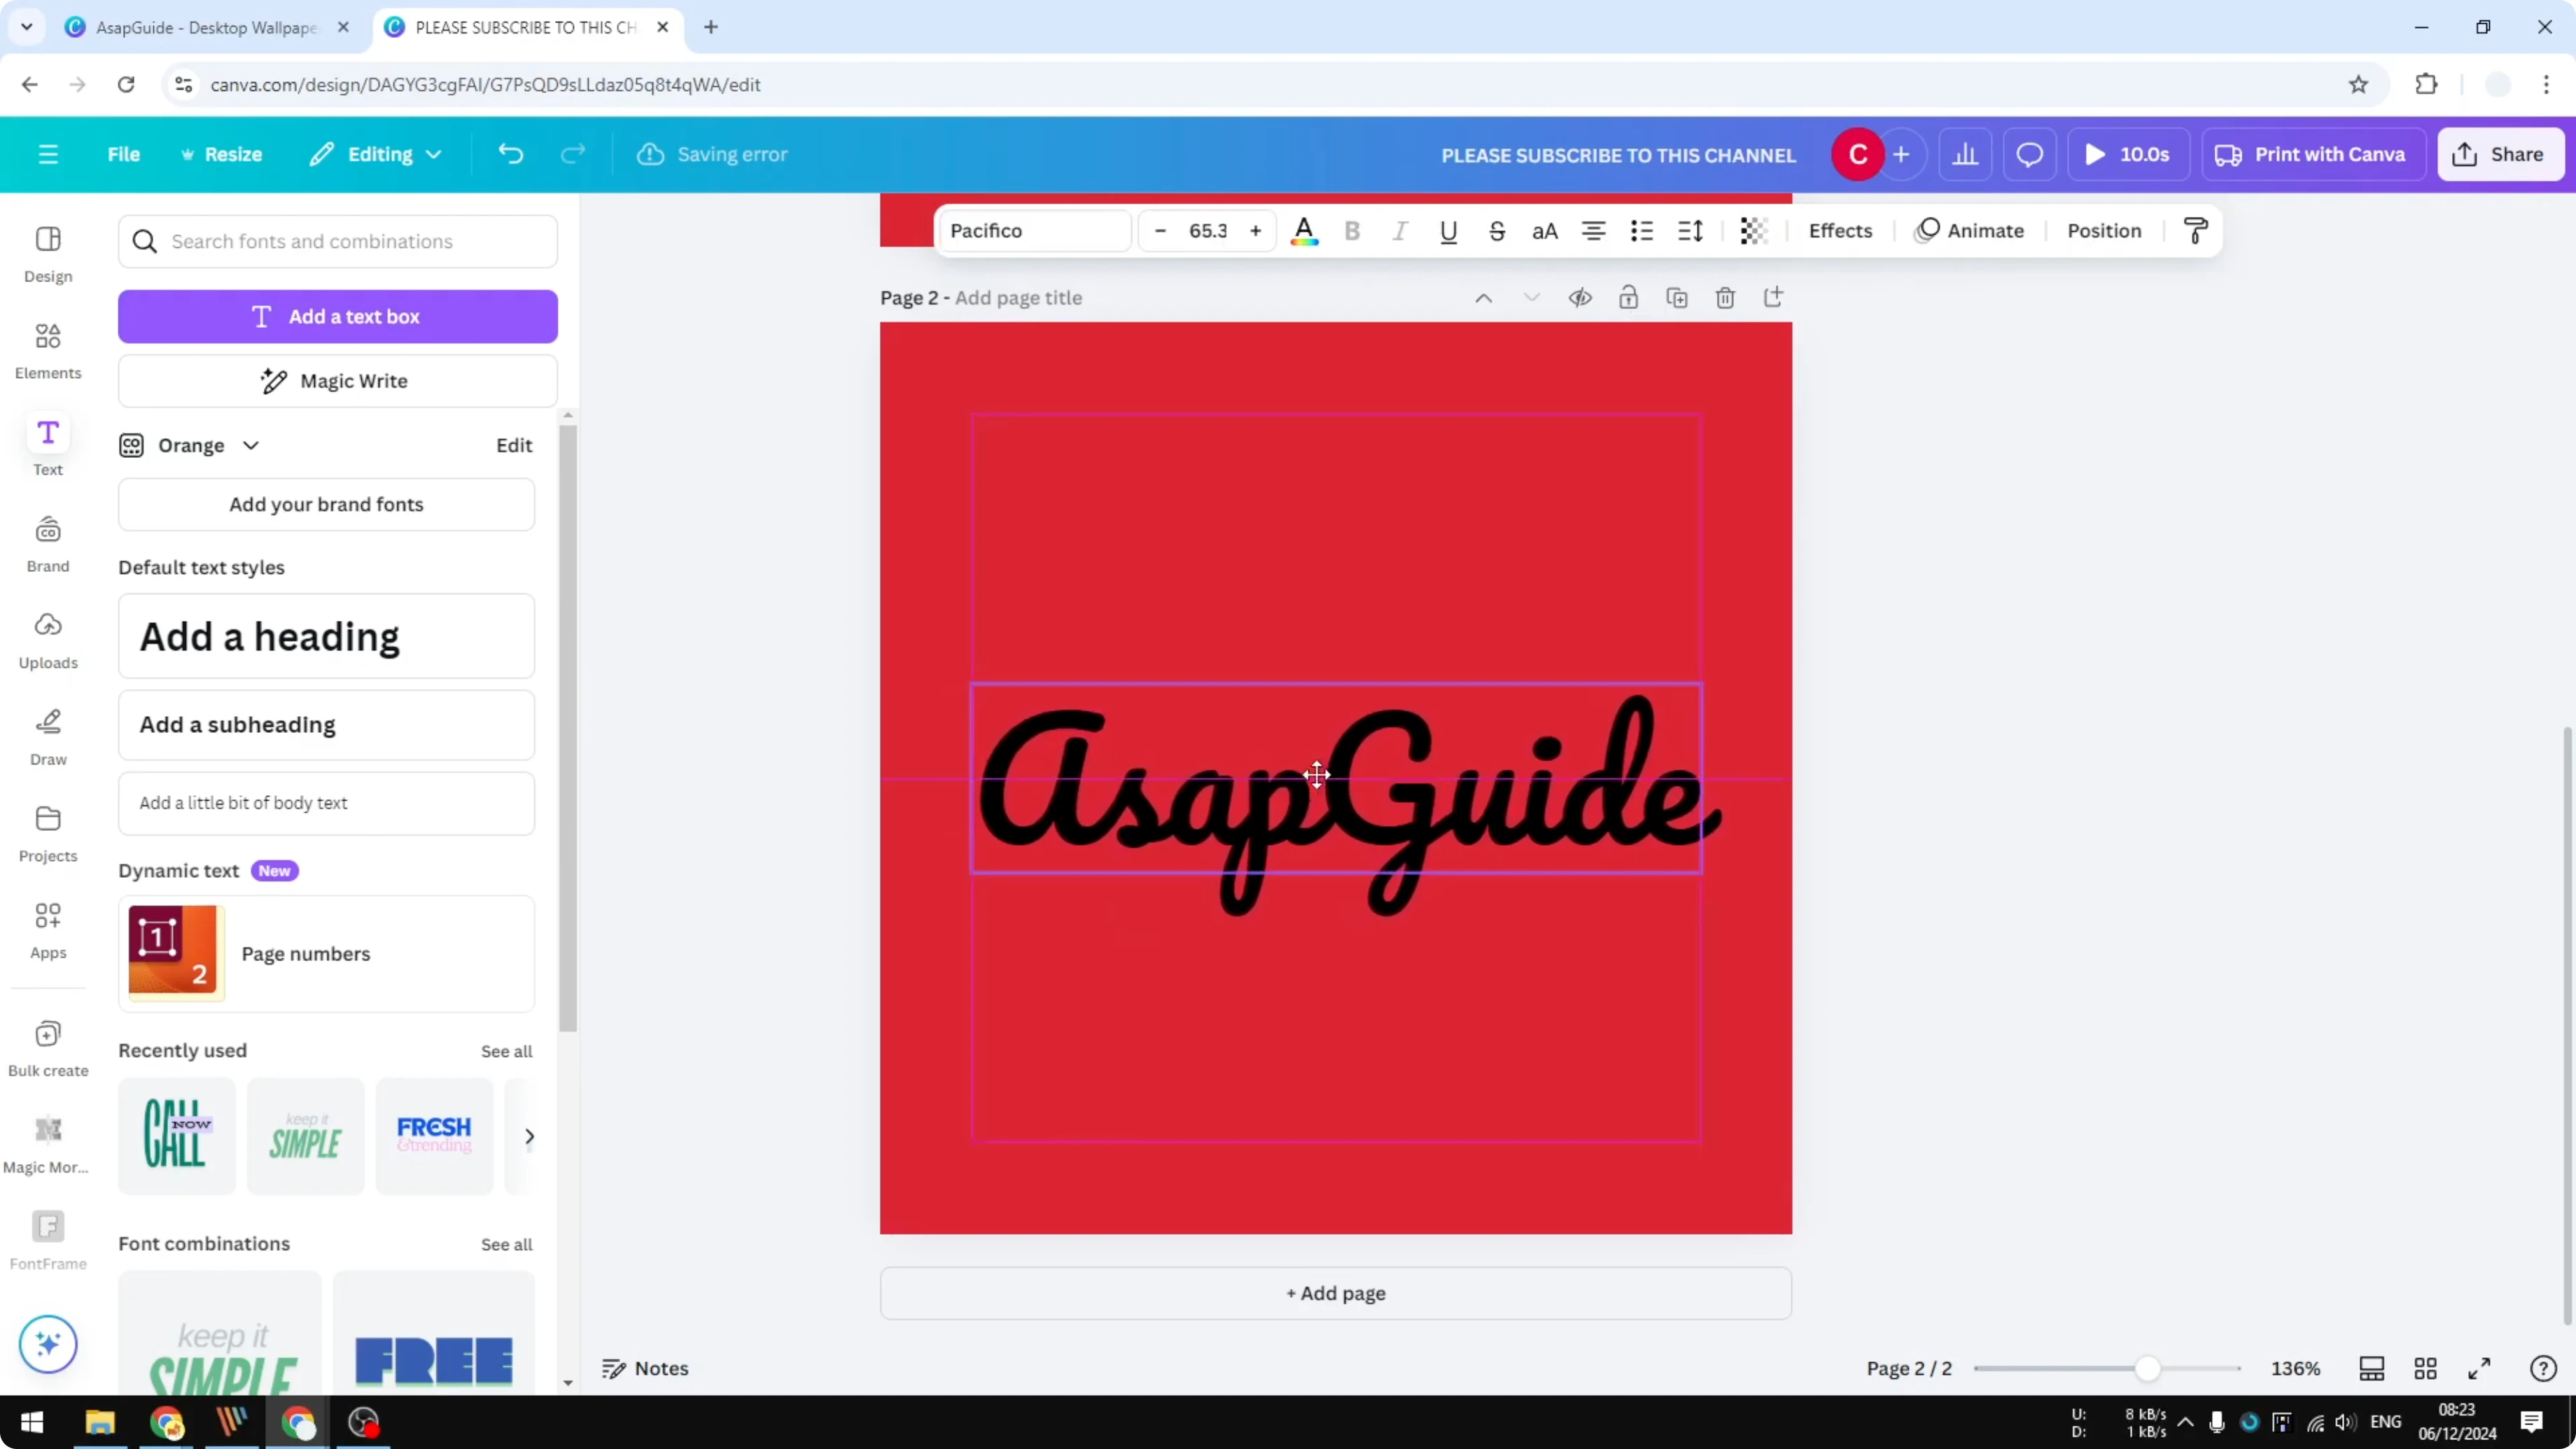
Open Effects, choose Outline, increase the thickness to maximum, and change the color to white.
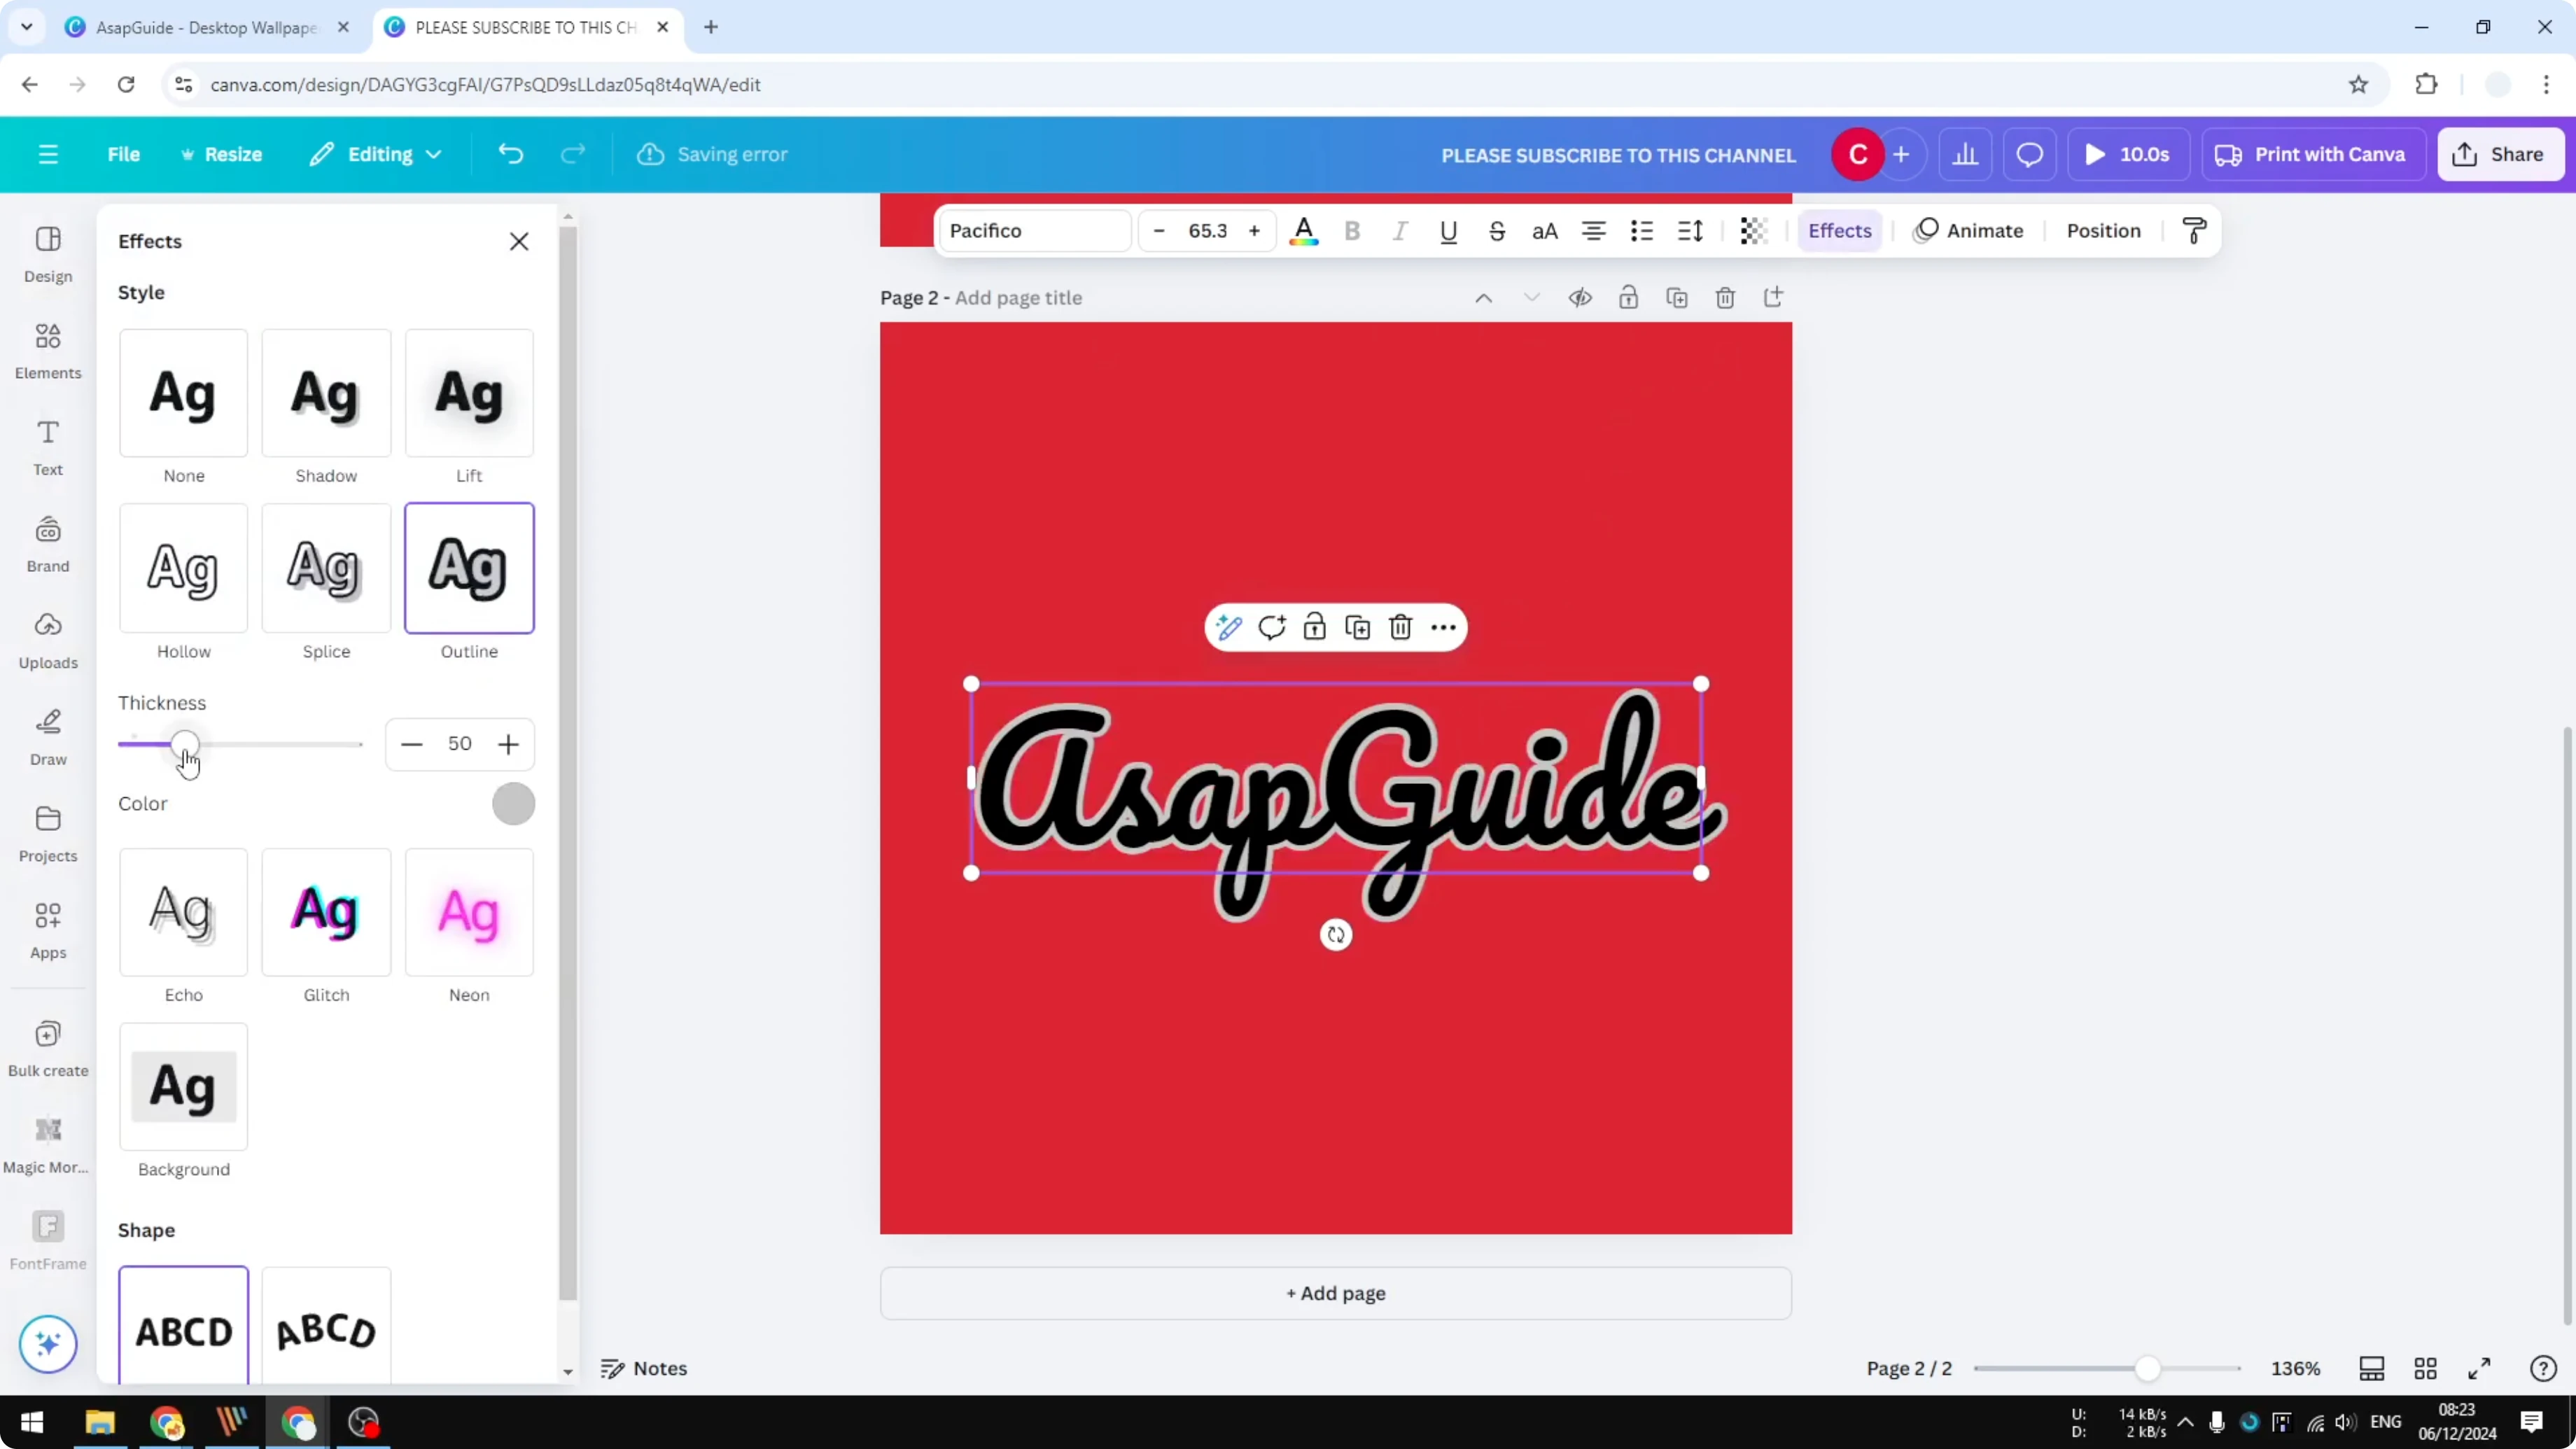
This creates the white border that makes cutting quicker.
If you want Canva to generate layout options for your sticker text, check our AI guide.
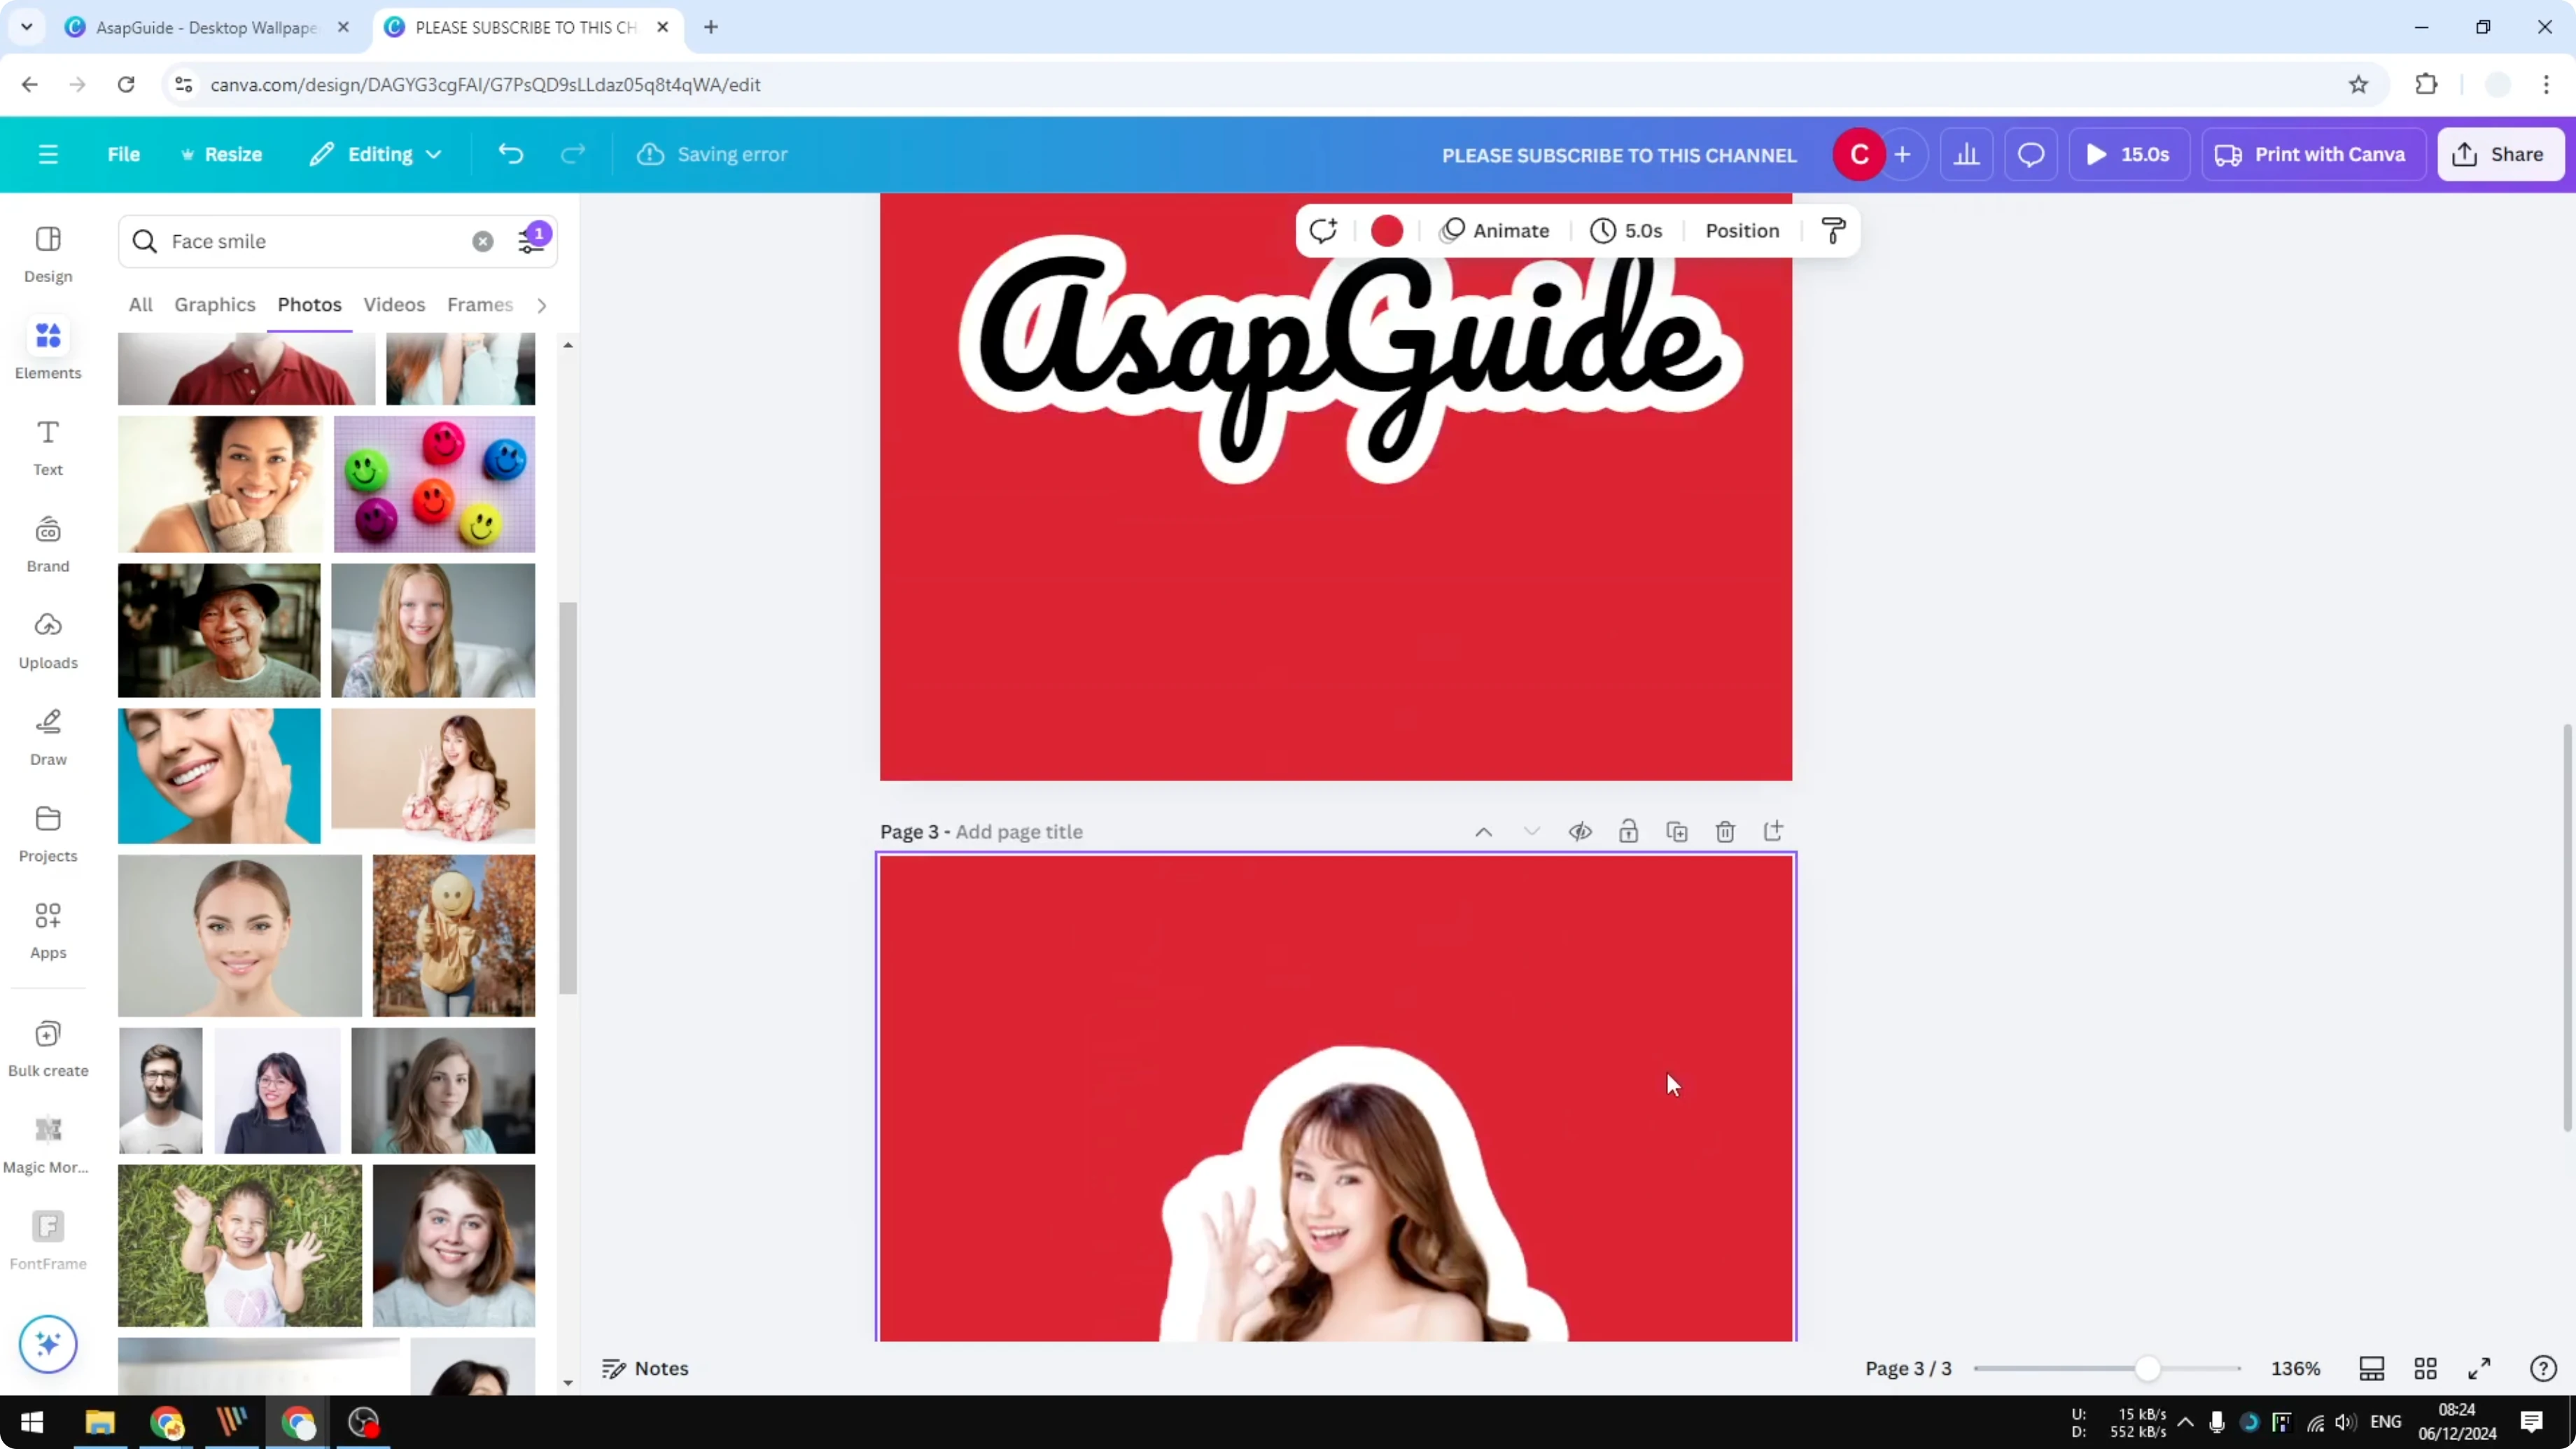
Photo sticker
Add a new page.
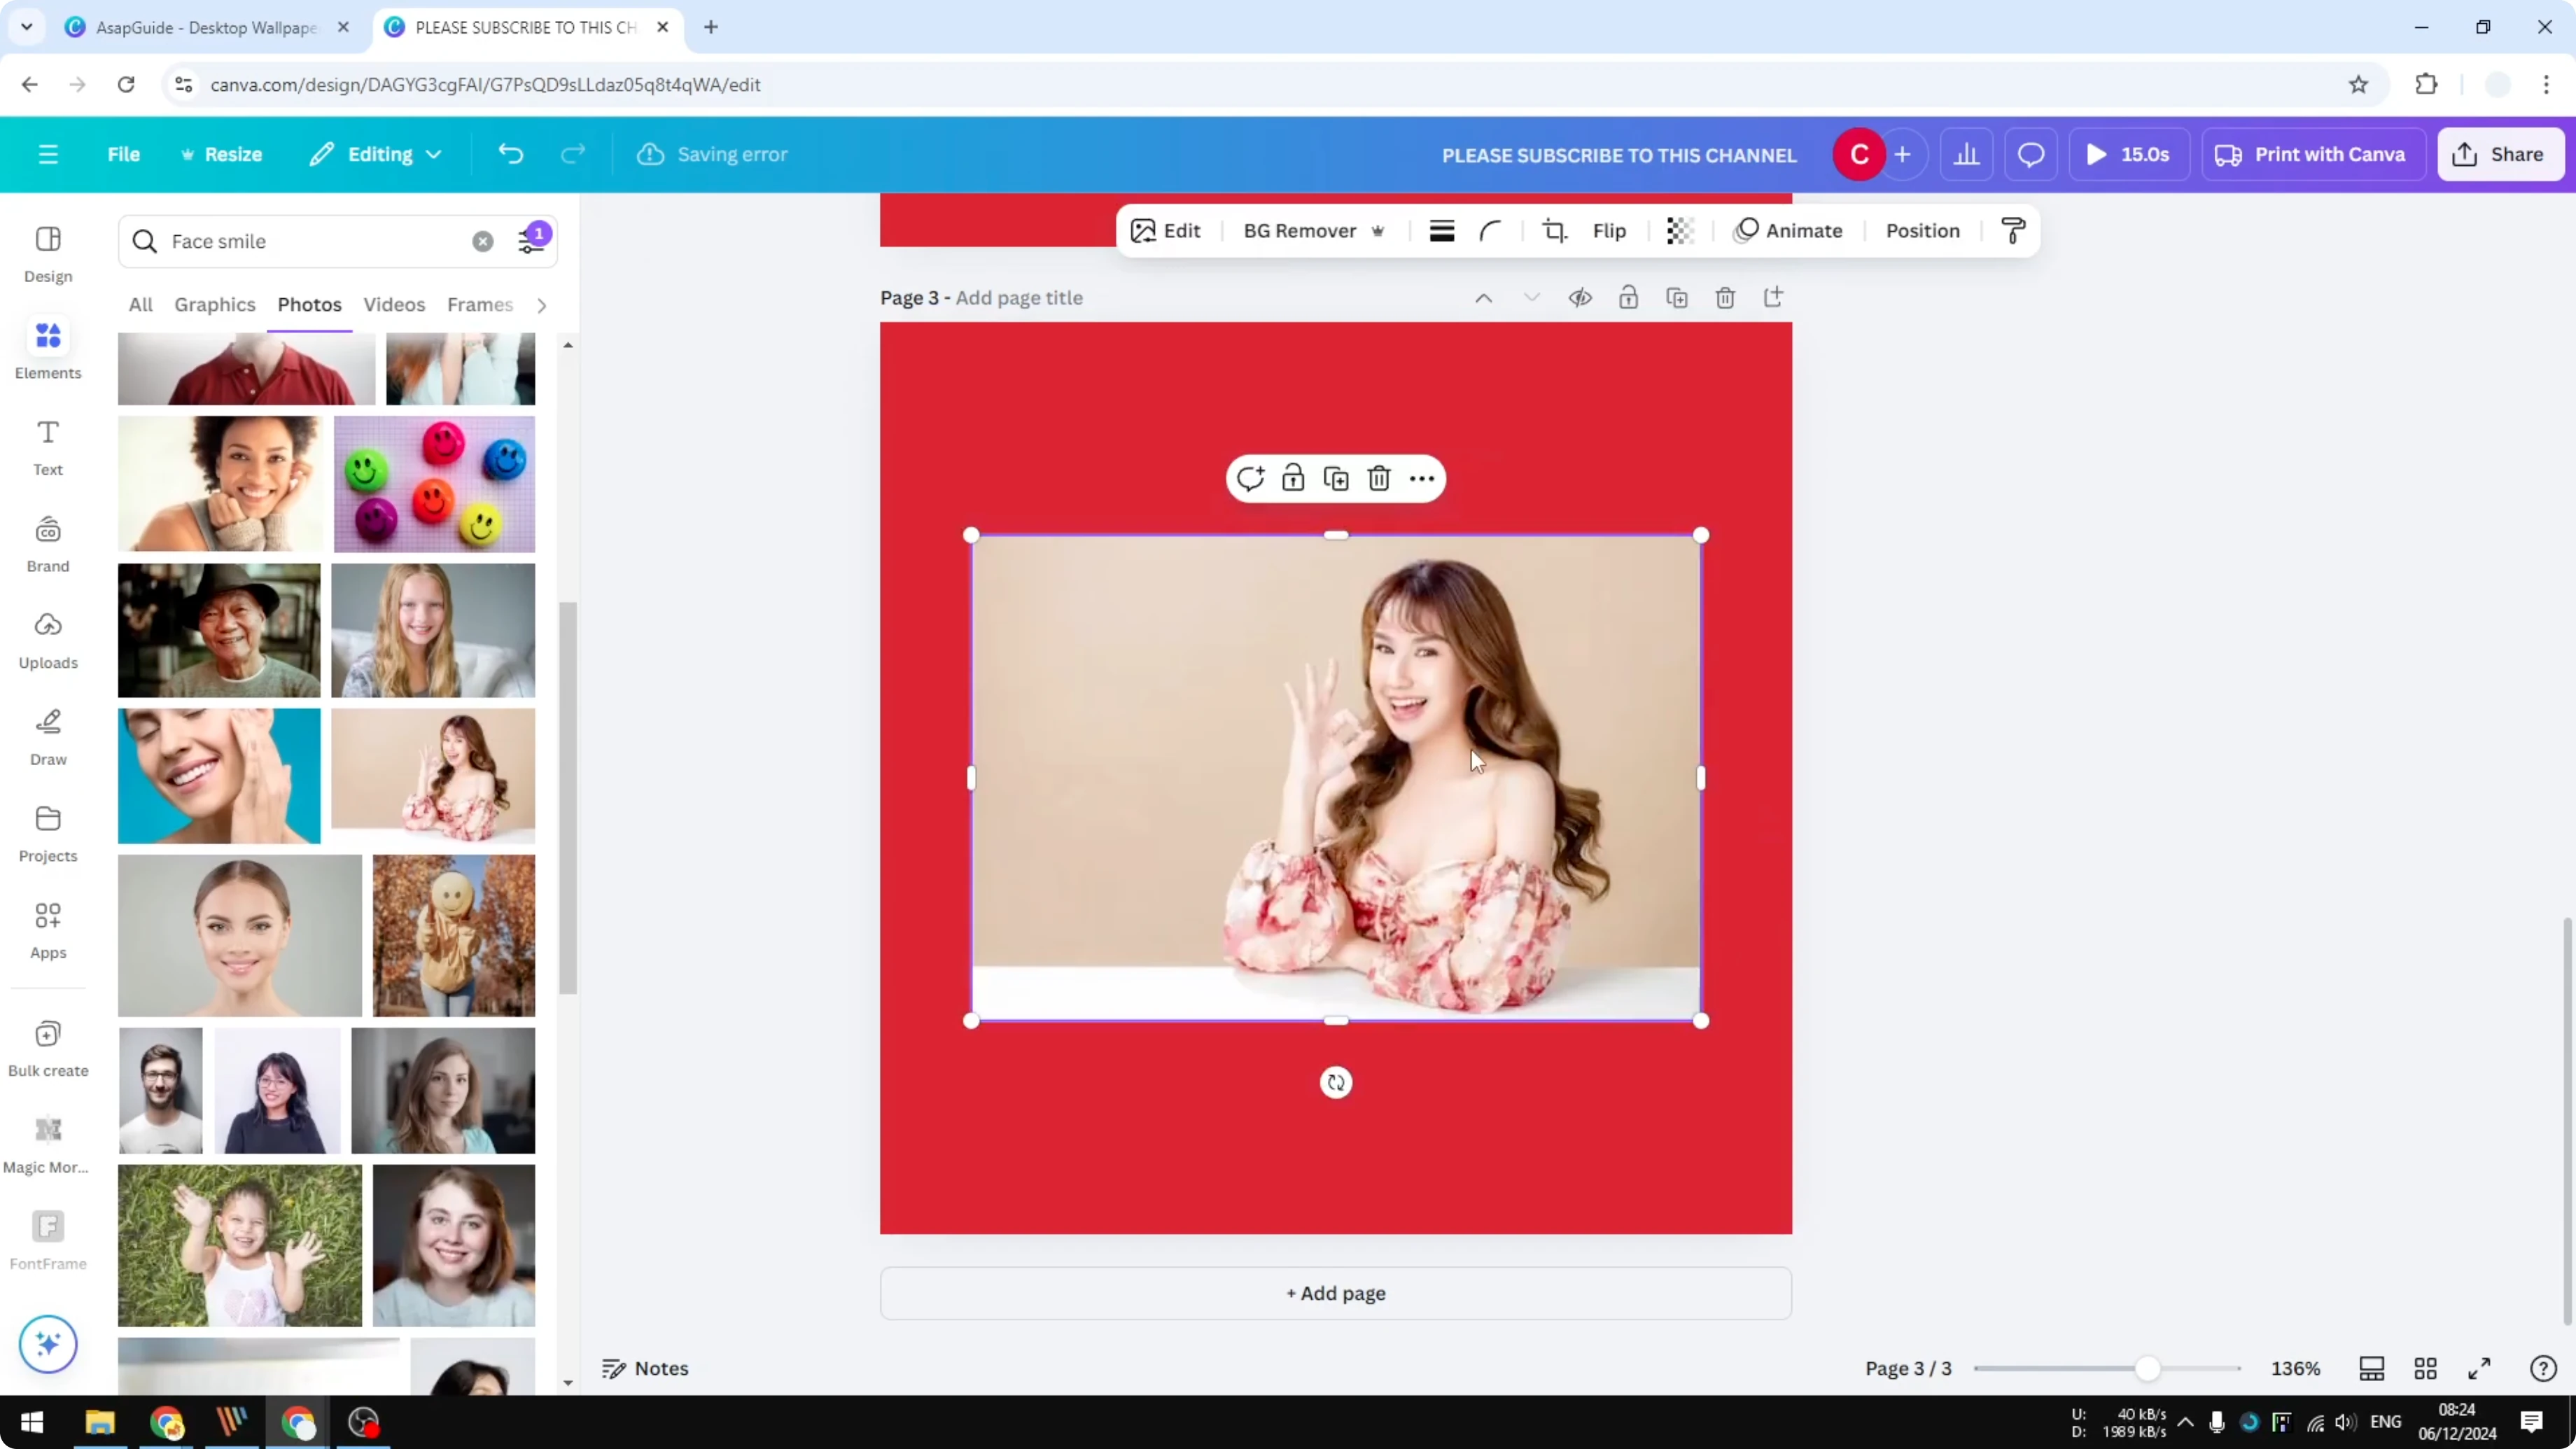
Go to Elements and insert a photo.
Remove the background so you have a clean cutout.
Click the photo, open Edit, go to Shadows, and choose Outline.
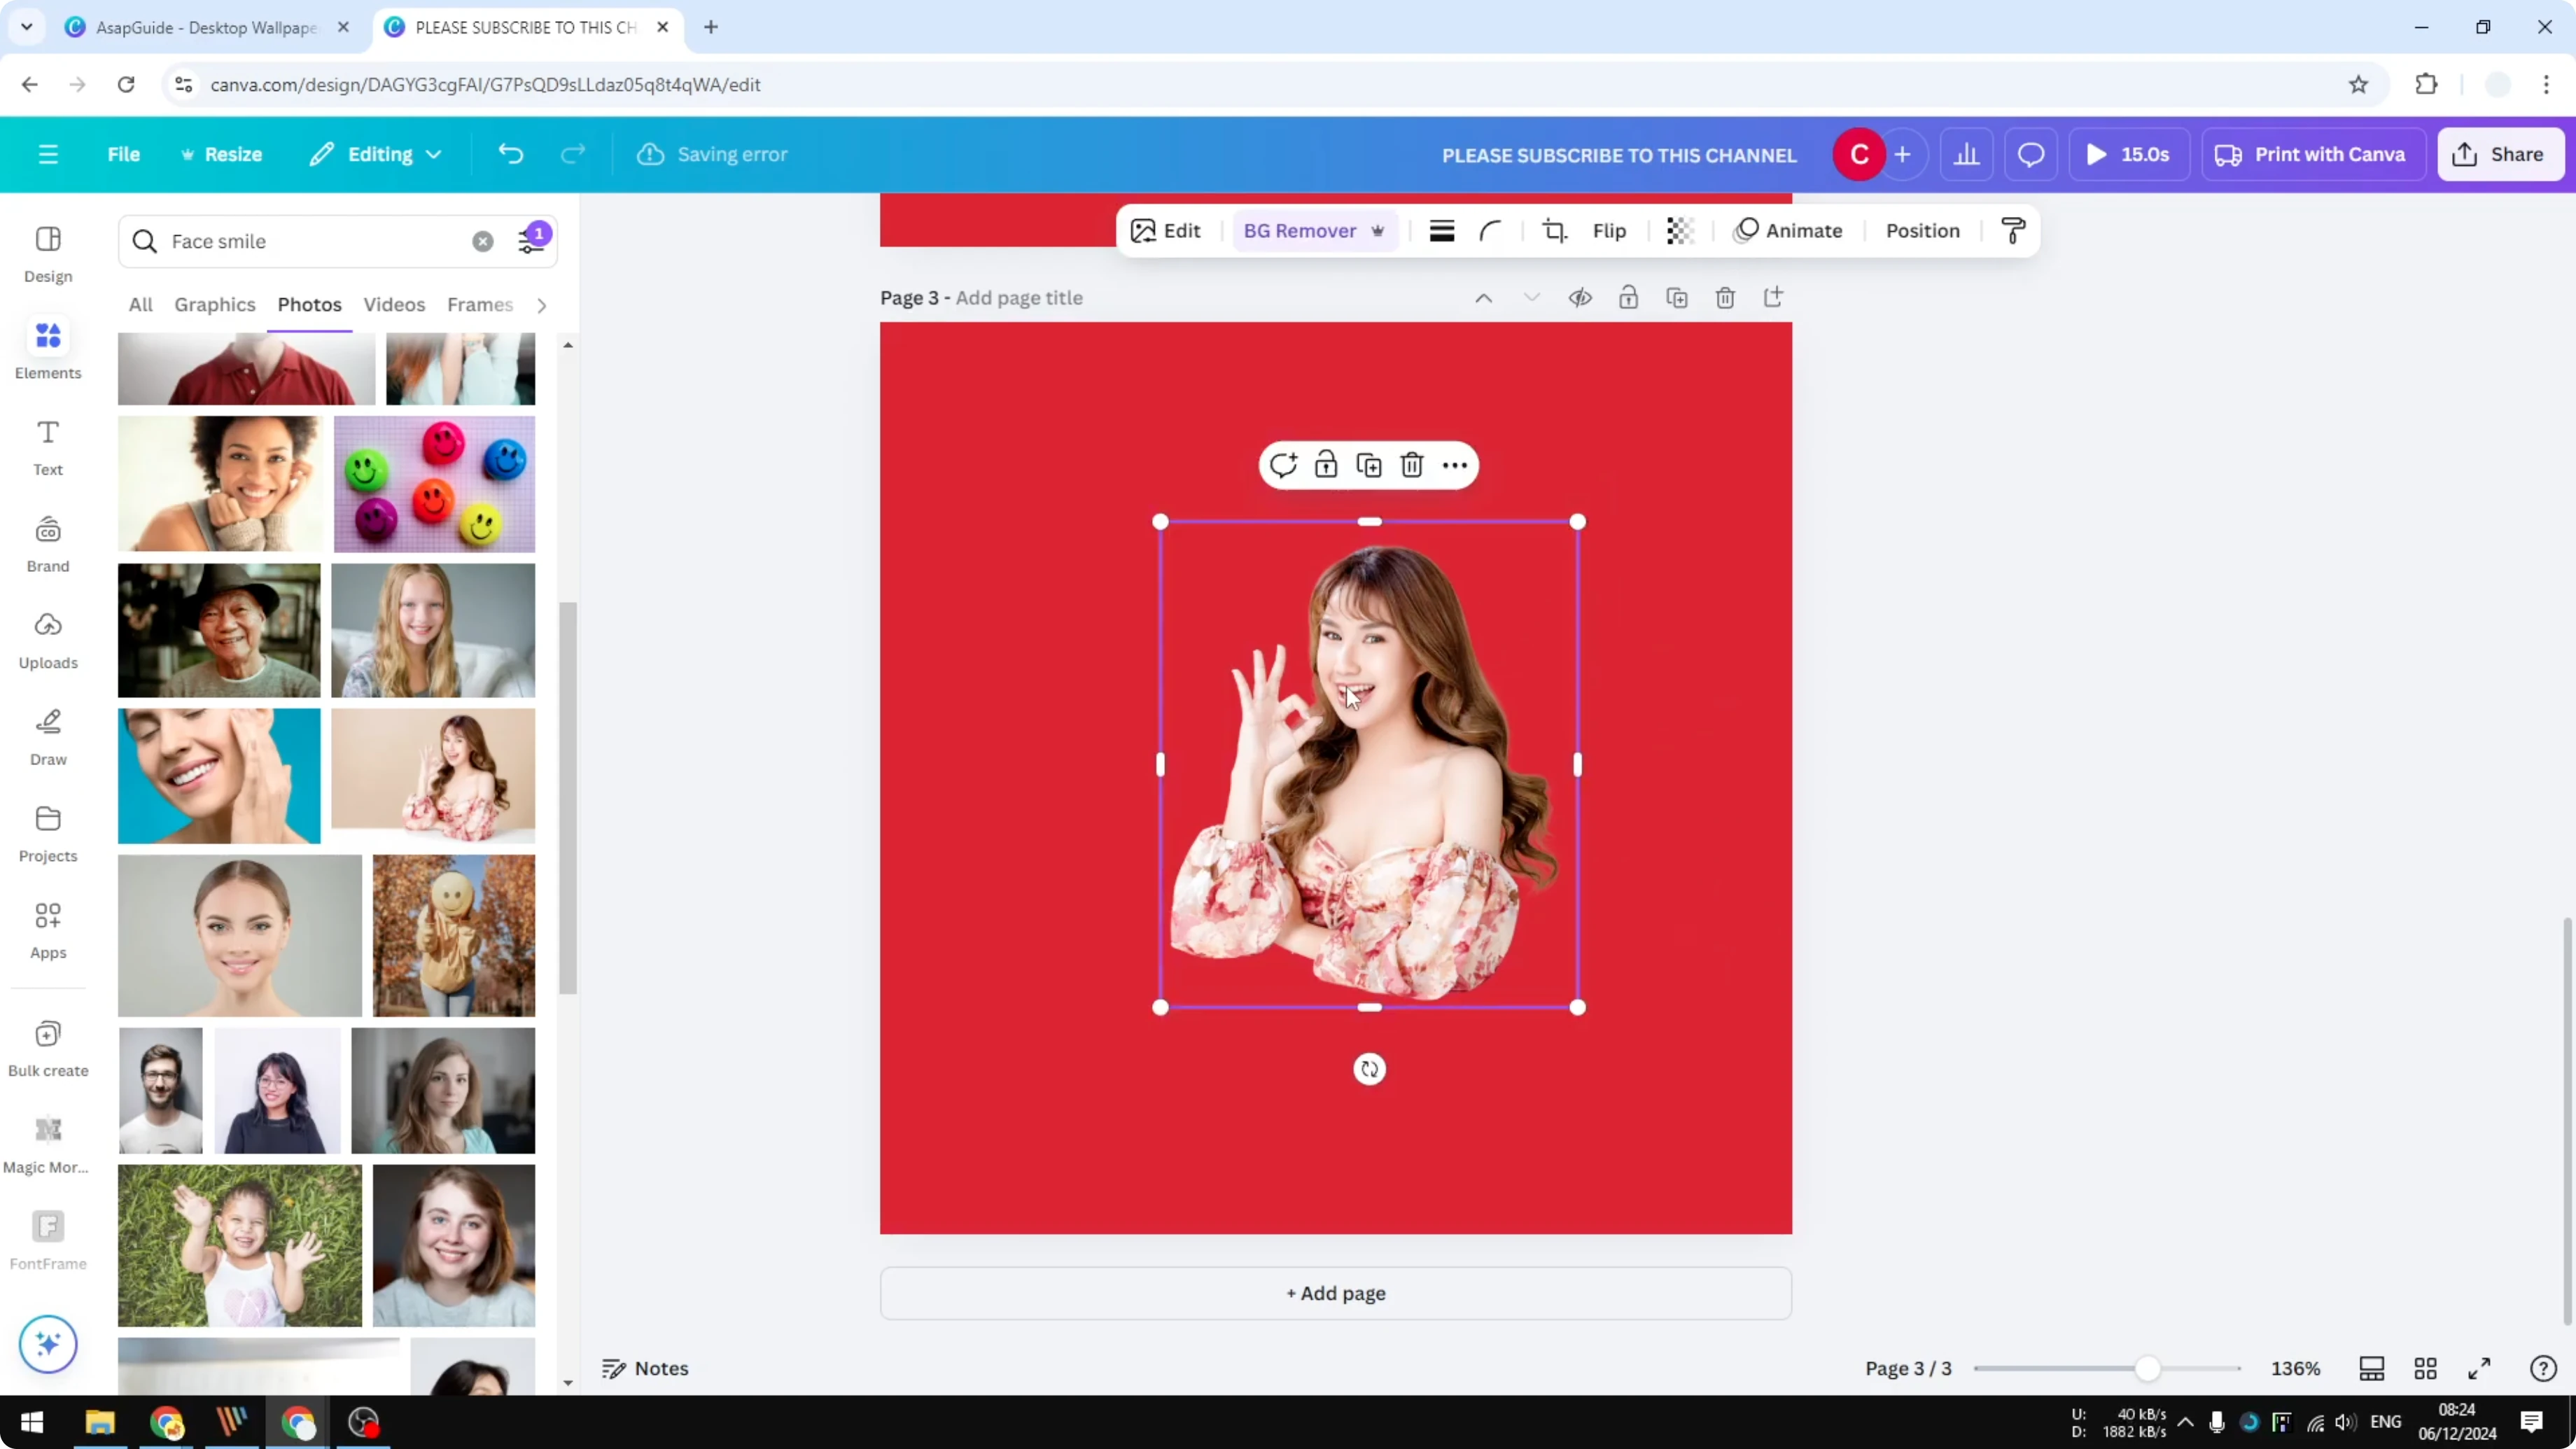
Increase the size to what you think looks best and set the color to white.

This gives the photo the same sticker-style border and makes the cutting process a lot quicker.
If you plan to animate or compile these into a short video later, see using photos.
For related effects around edges and shapes, see transparent overlay.
Extra tip
You can download your own text or asset image and apply the same shadow outline effect to that image or text. The result will be the same and maybe even better.
Final thoughts
The easiest way to make a die cut sticker in Canva is to add a white outline to text or photos. Use Effects > Outline for text, and Edit > Shadows > Outline for photos after removing the background. The clean contour makes cutting faster and produces a polished sticker look.
Recent Posts
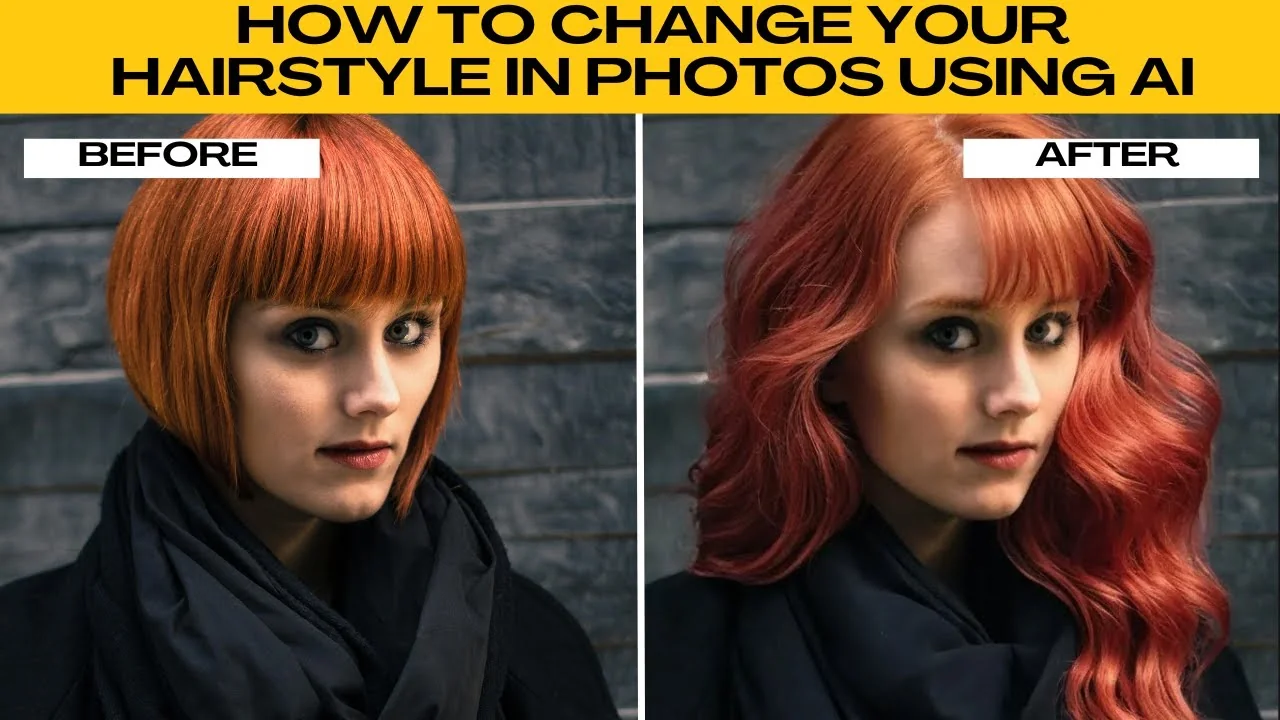
How to Visualize Different Hairstyles and Hair Colors with AI?
How to Visualize Different Hairstyles and Hair Colors with AI?

How to Transform Daytime Photos into Realistic Night Scenes with AI?
How to Transform Daytime Photos into Realistic Night Scenes with AI?
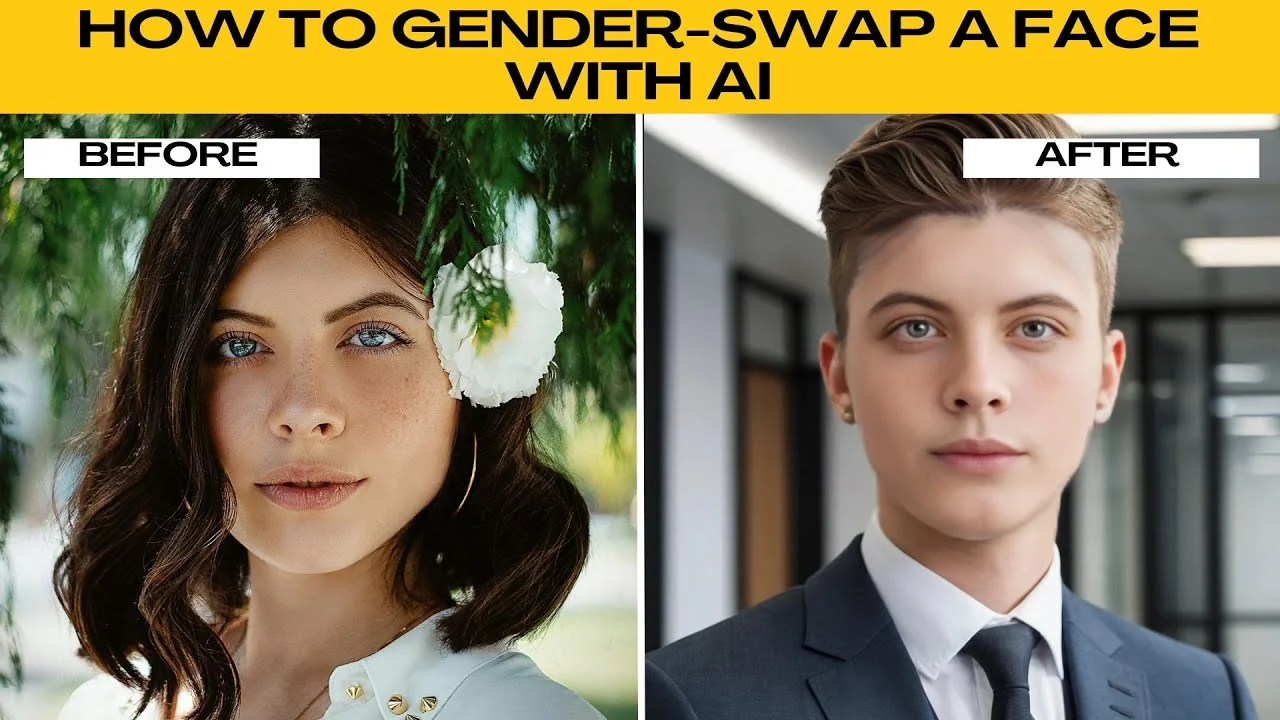
How to Visualize Yourself as the Opposite Gender with AI?
How to Visualize Yourself as the Opposite Gender with AI?