How to Turn Your Photos into a Nostalgic Retro Masterpiece with AI?
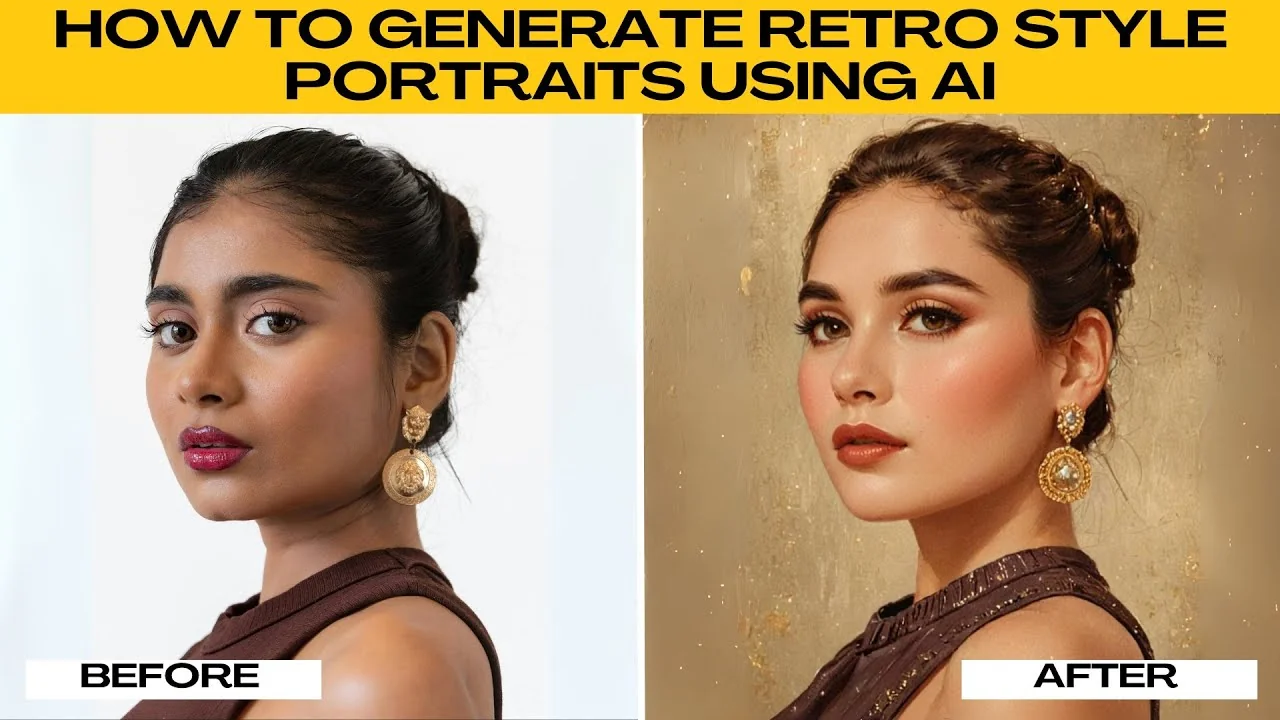
I will teach you how to generate retro style portraits using AI. In this tutorial, you will learn exactly how to create a retro style portrait in a pinup style using Photos AI. For nostalgic gifts, unique social media profile pictures, or just for fun, this guide walks you through everything you need.
For a playful cartoon vibe after you try this effect, see this South Park style portrait guide. It pairs well with retro portraits if you want multiple looks from the same photo. Both are quick to set up.
Get set up
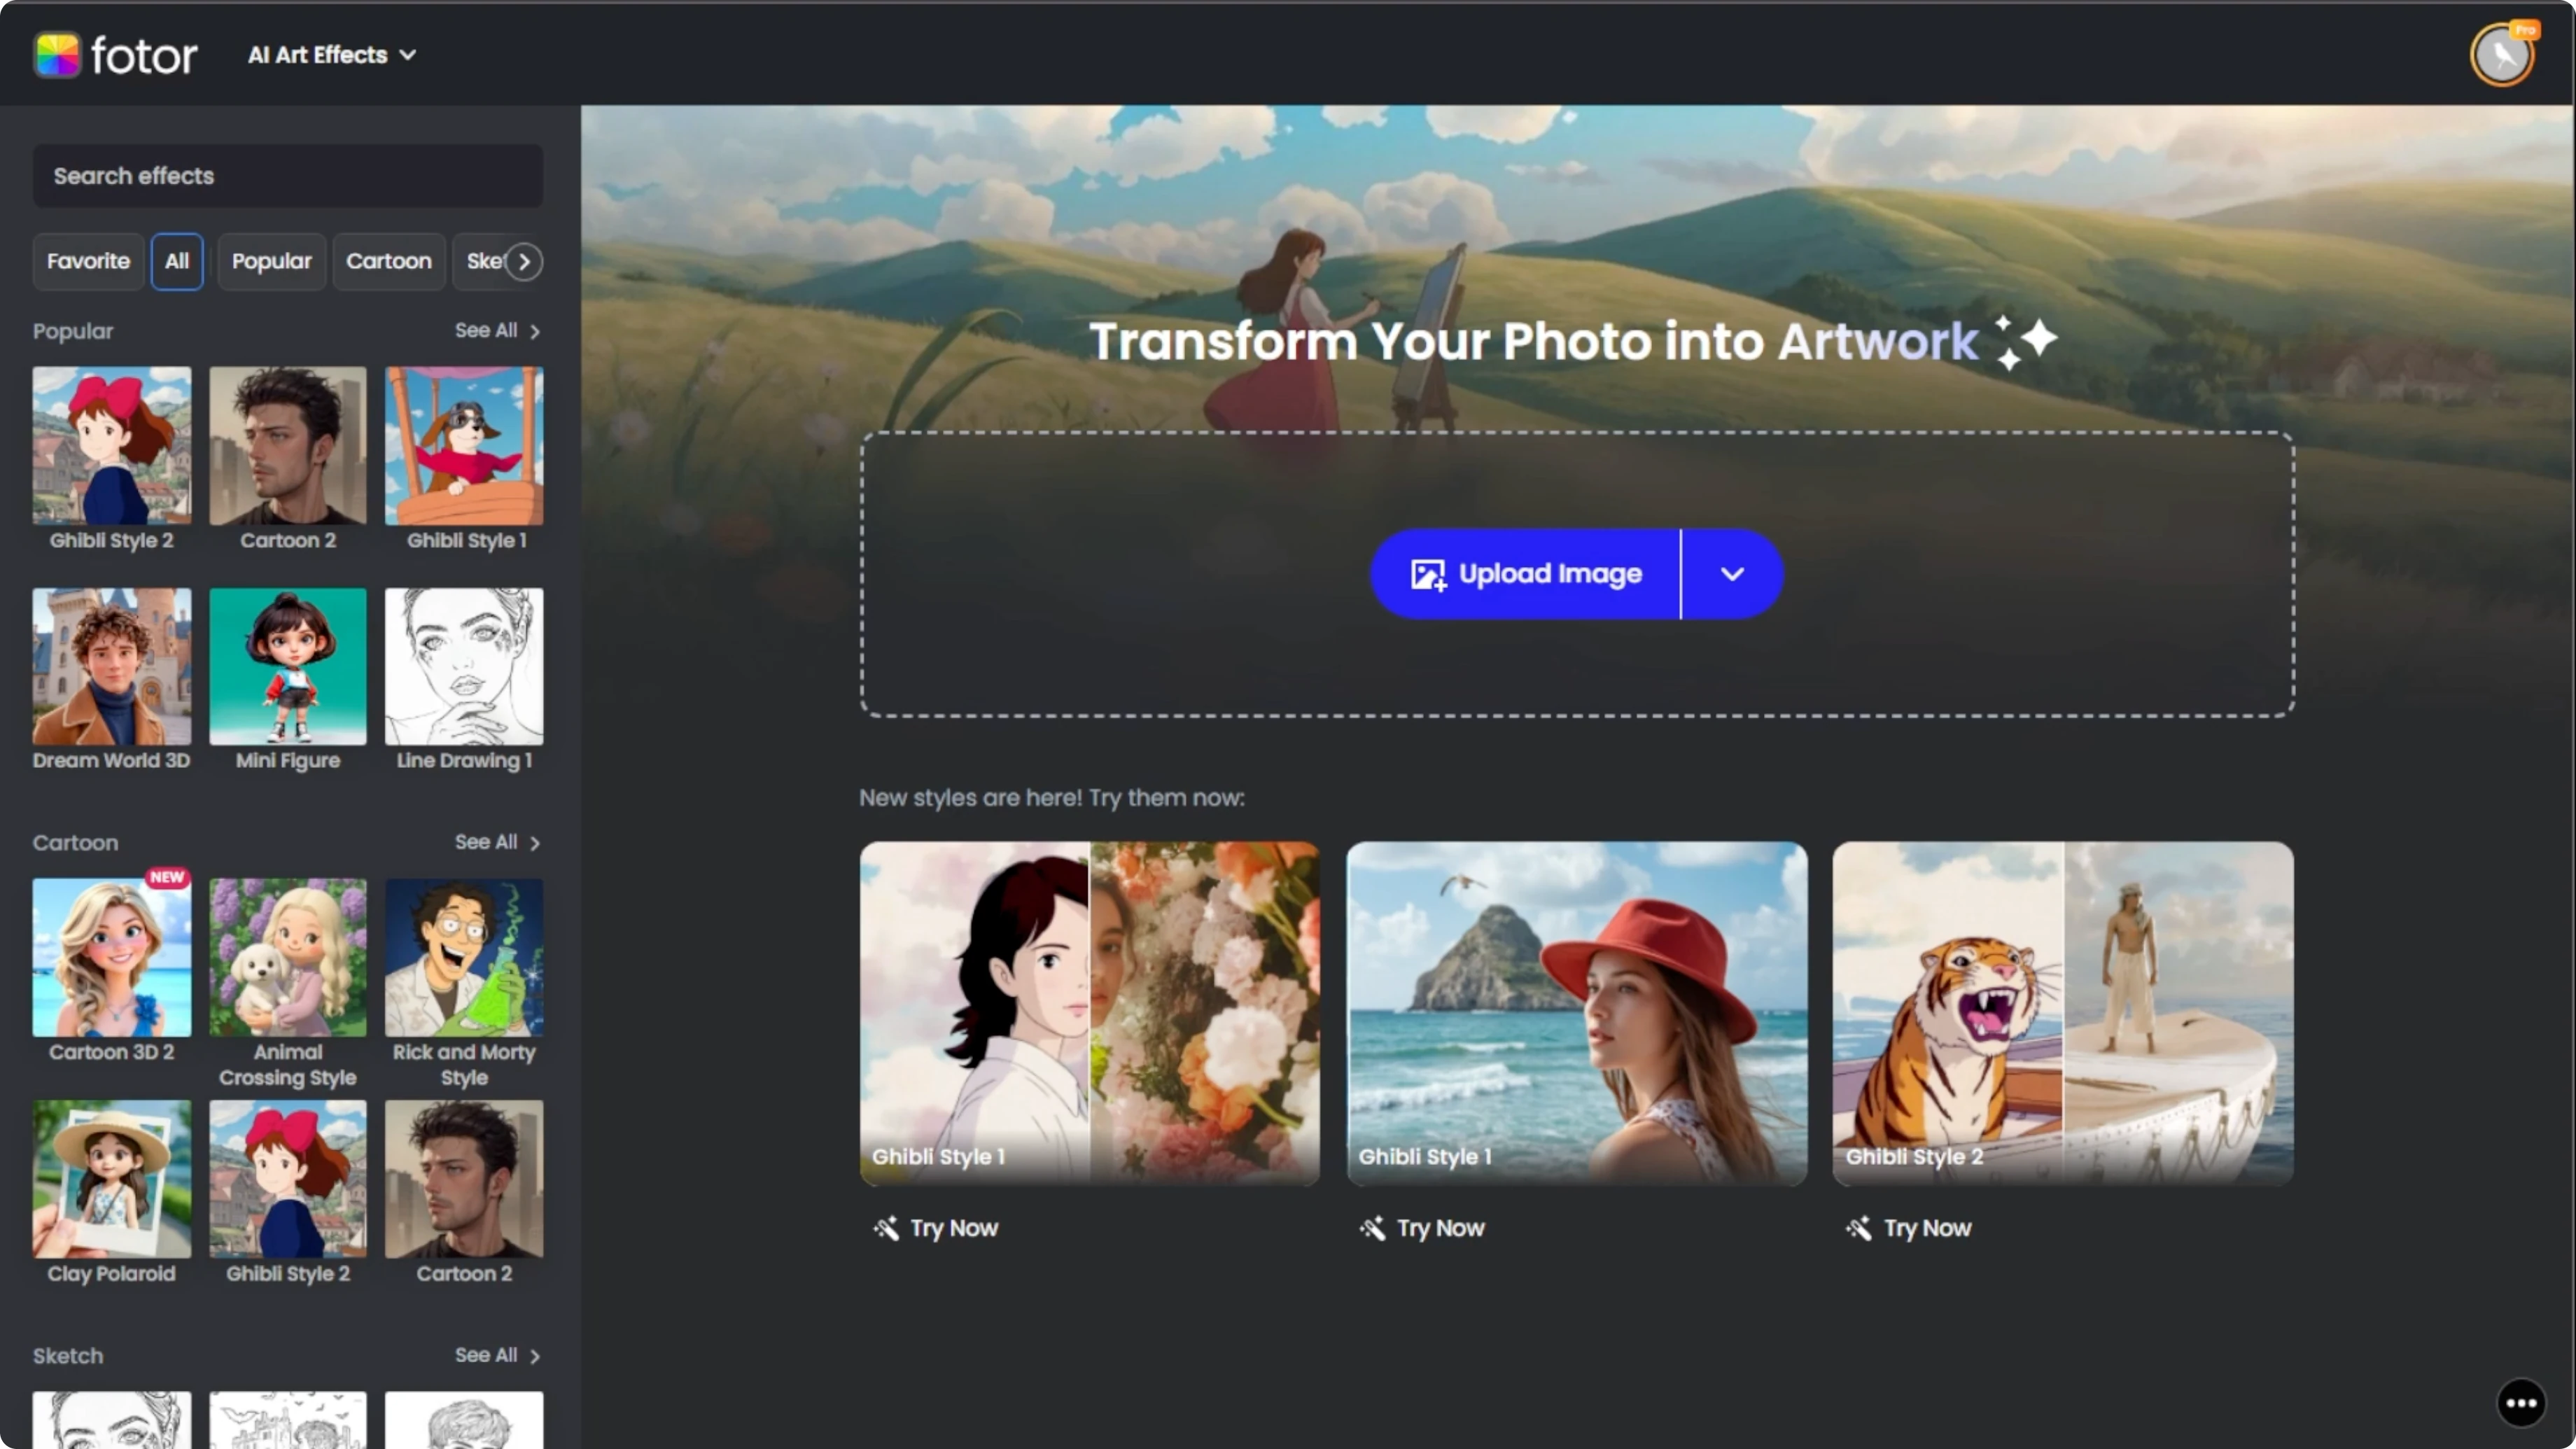
Open your browser and go to Photos AI. Here you can upload your photo and instantly apply dozens of AI generated styles. The interface is simple and focused.
Prepare your photo
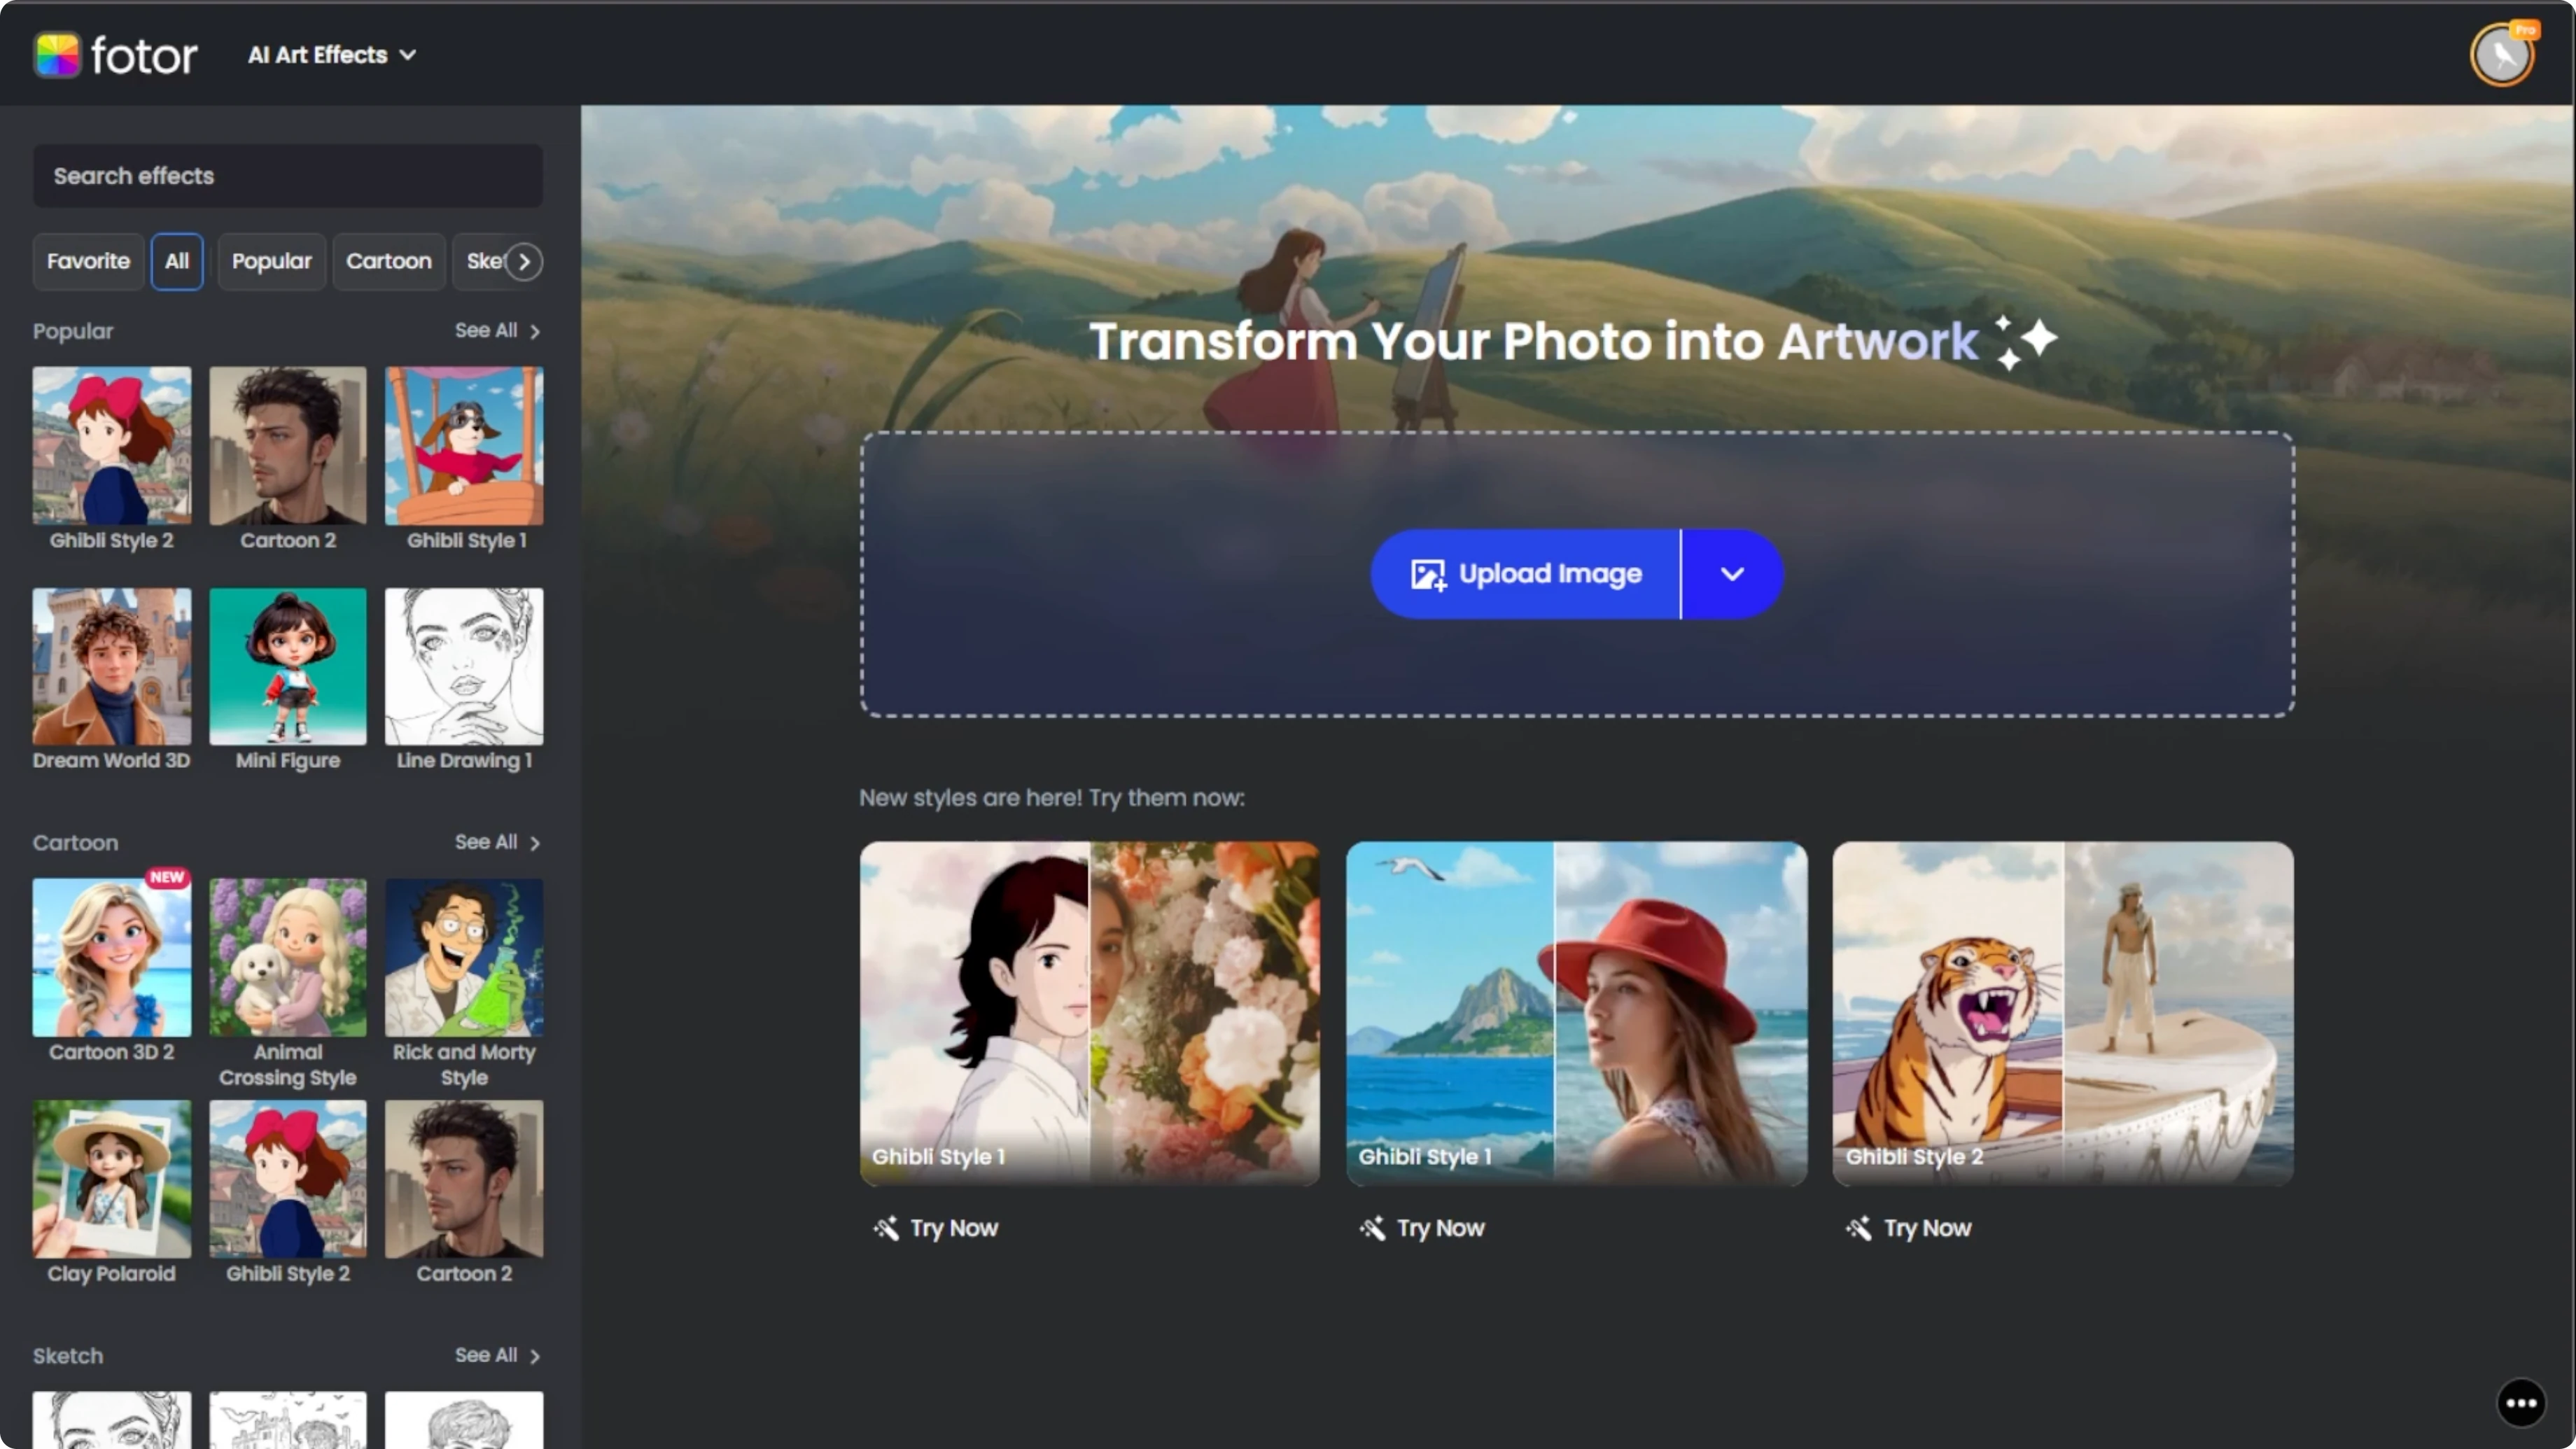
Click the upload image button at the center of the screen or drag and drop your photo into the designated area. Once uploaded, your image appears in the preview area. For best results, use a well lit front facing portrait.
Avoid photos with multiple people, motion blur, or heavy shadowed faces. Choose a simple background for cleaner AI processing. These tips help the effect render clean color and crisp detail.

If you want to test new looks before you stylize your portrait, you can change your hairstyle with AI. Try a few variations, then return to the retro effect once you like the base photo. It can improve the final result.
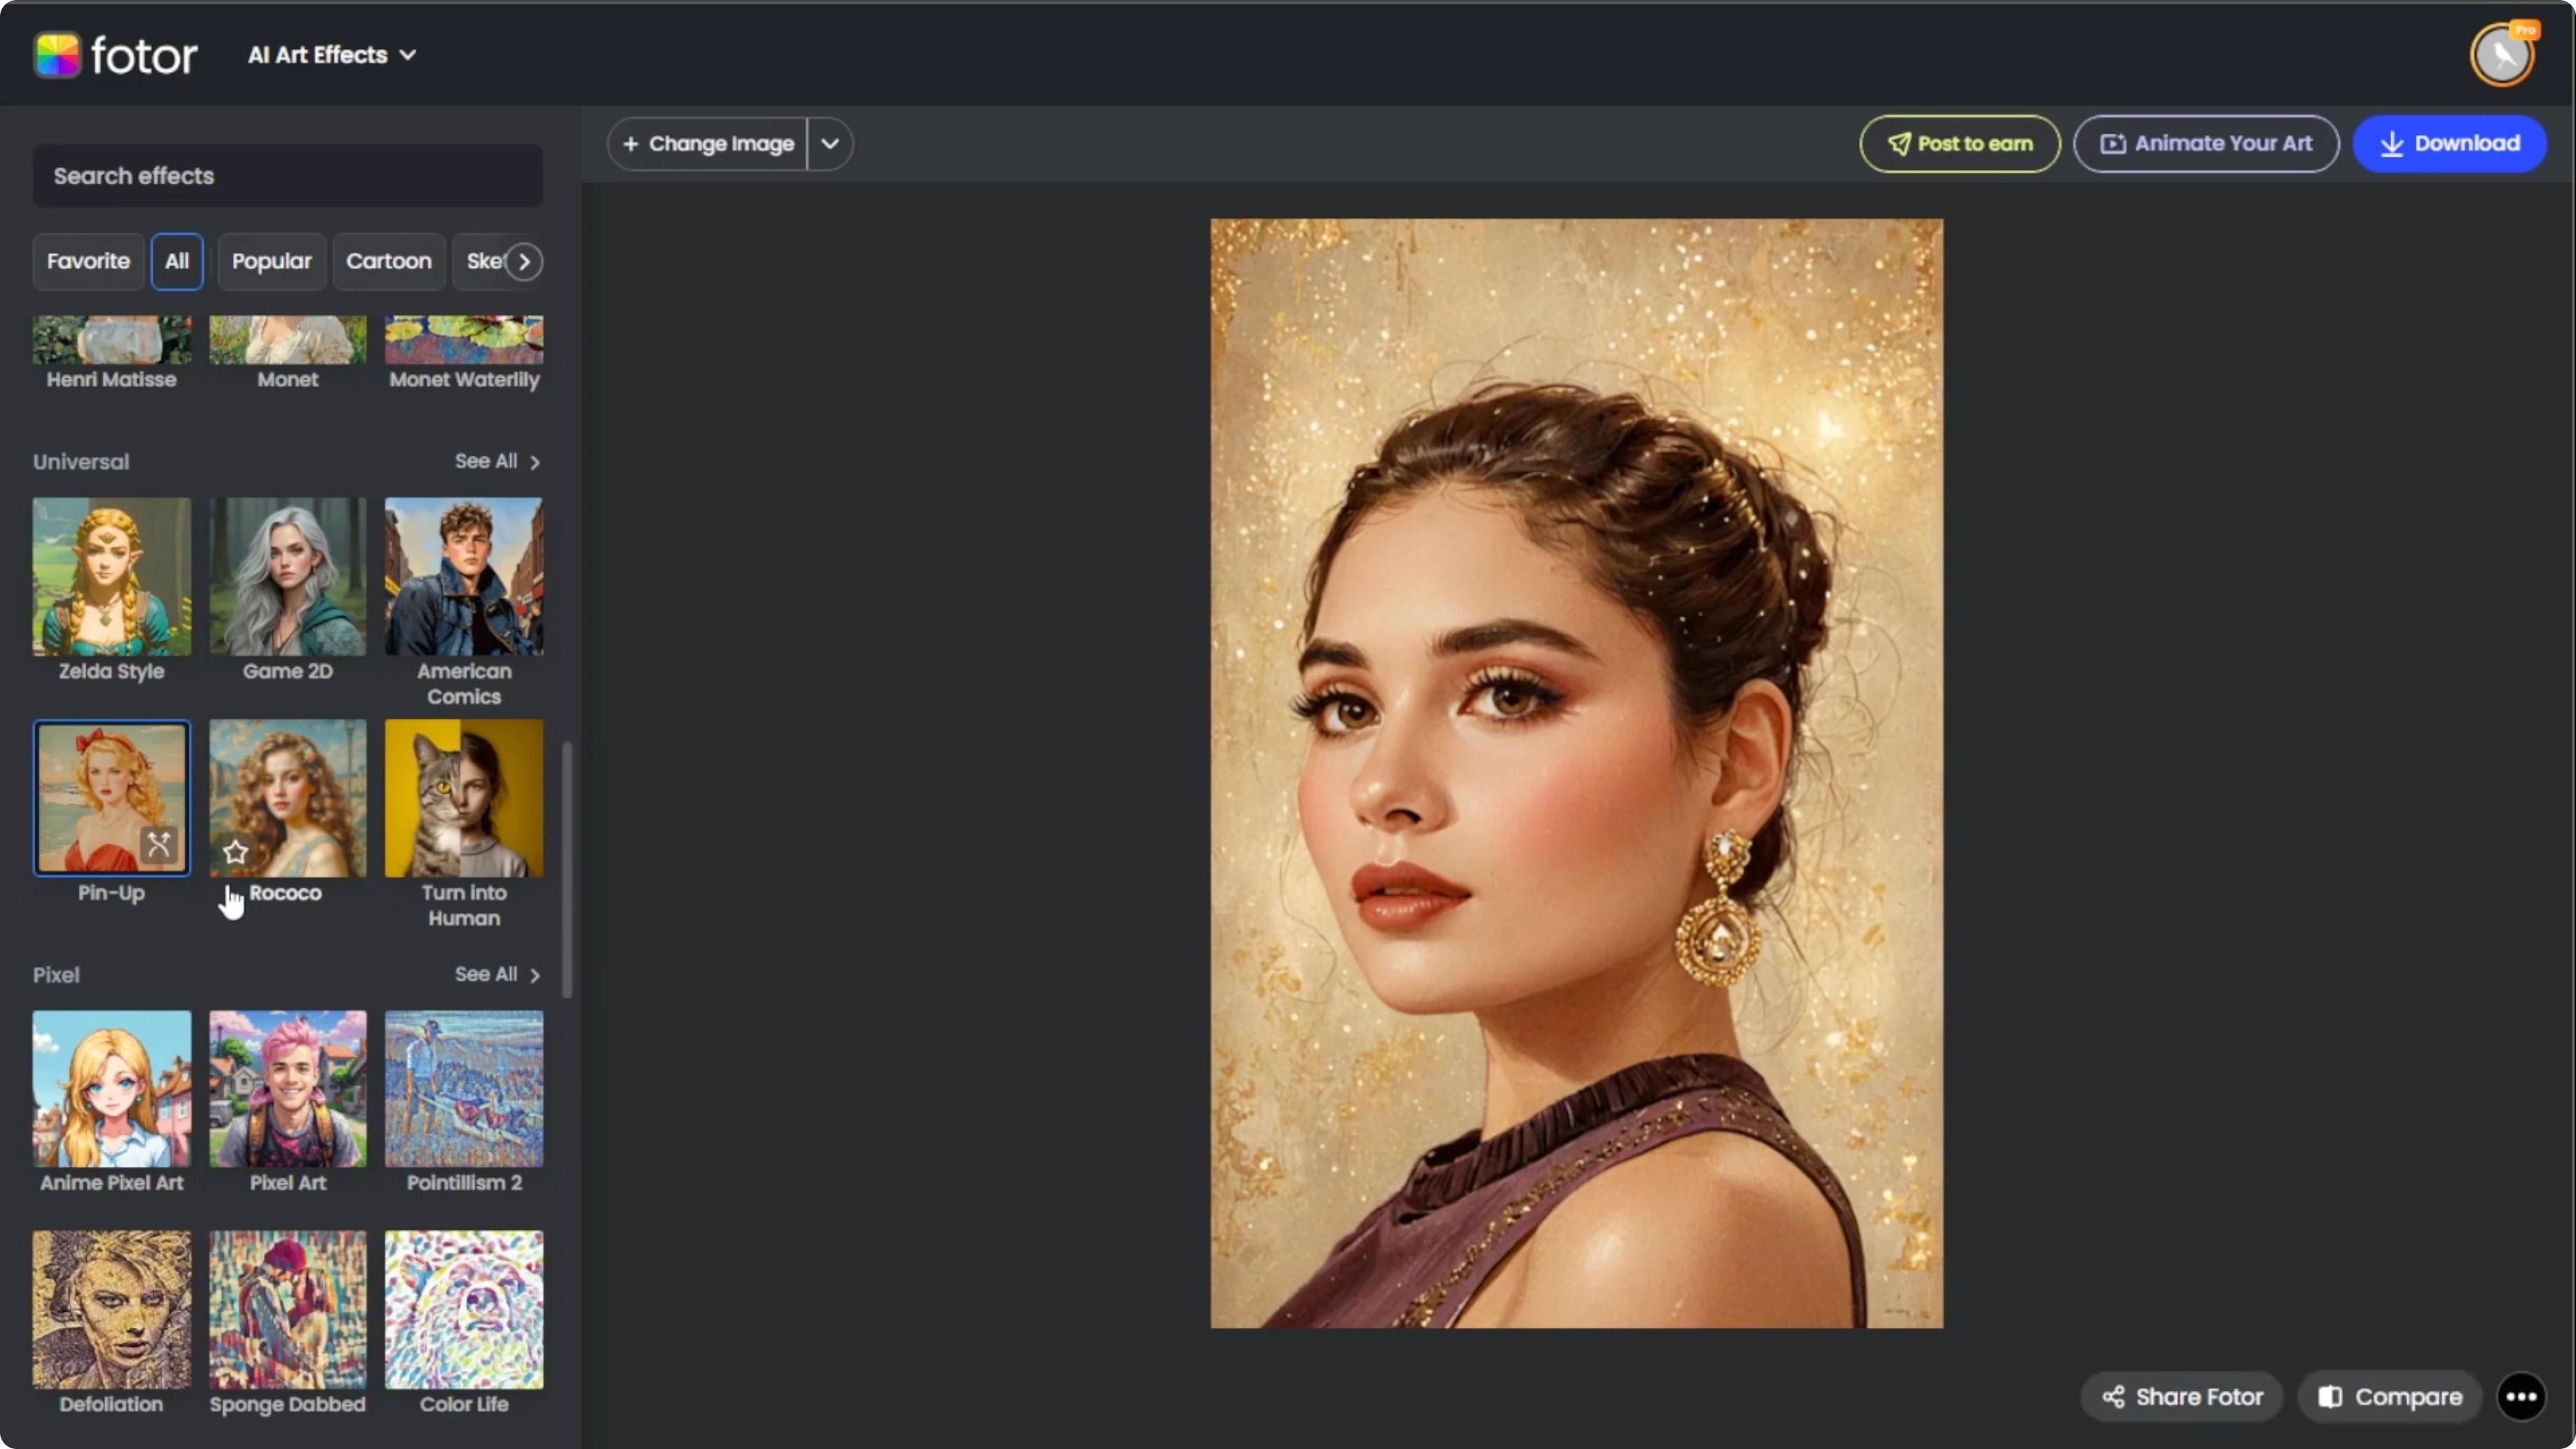
Choose the pinup style
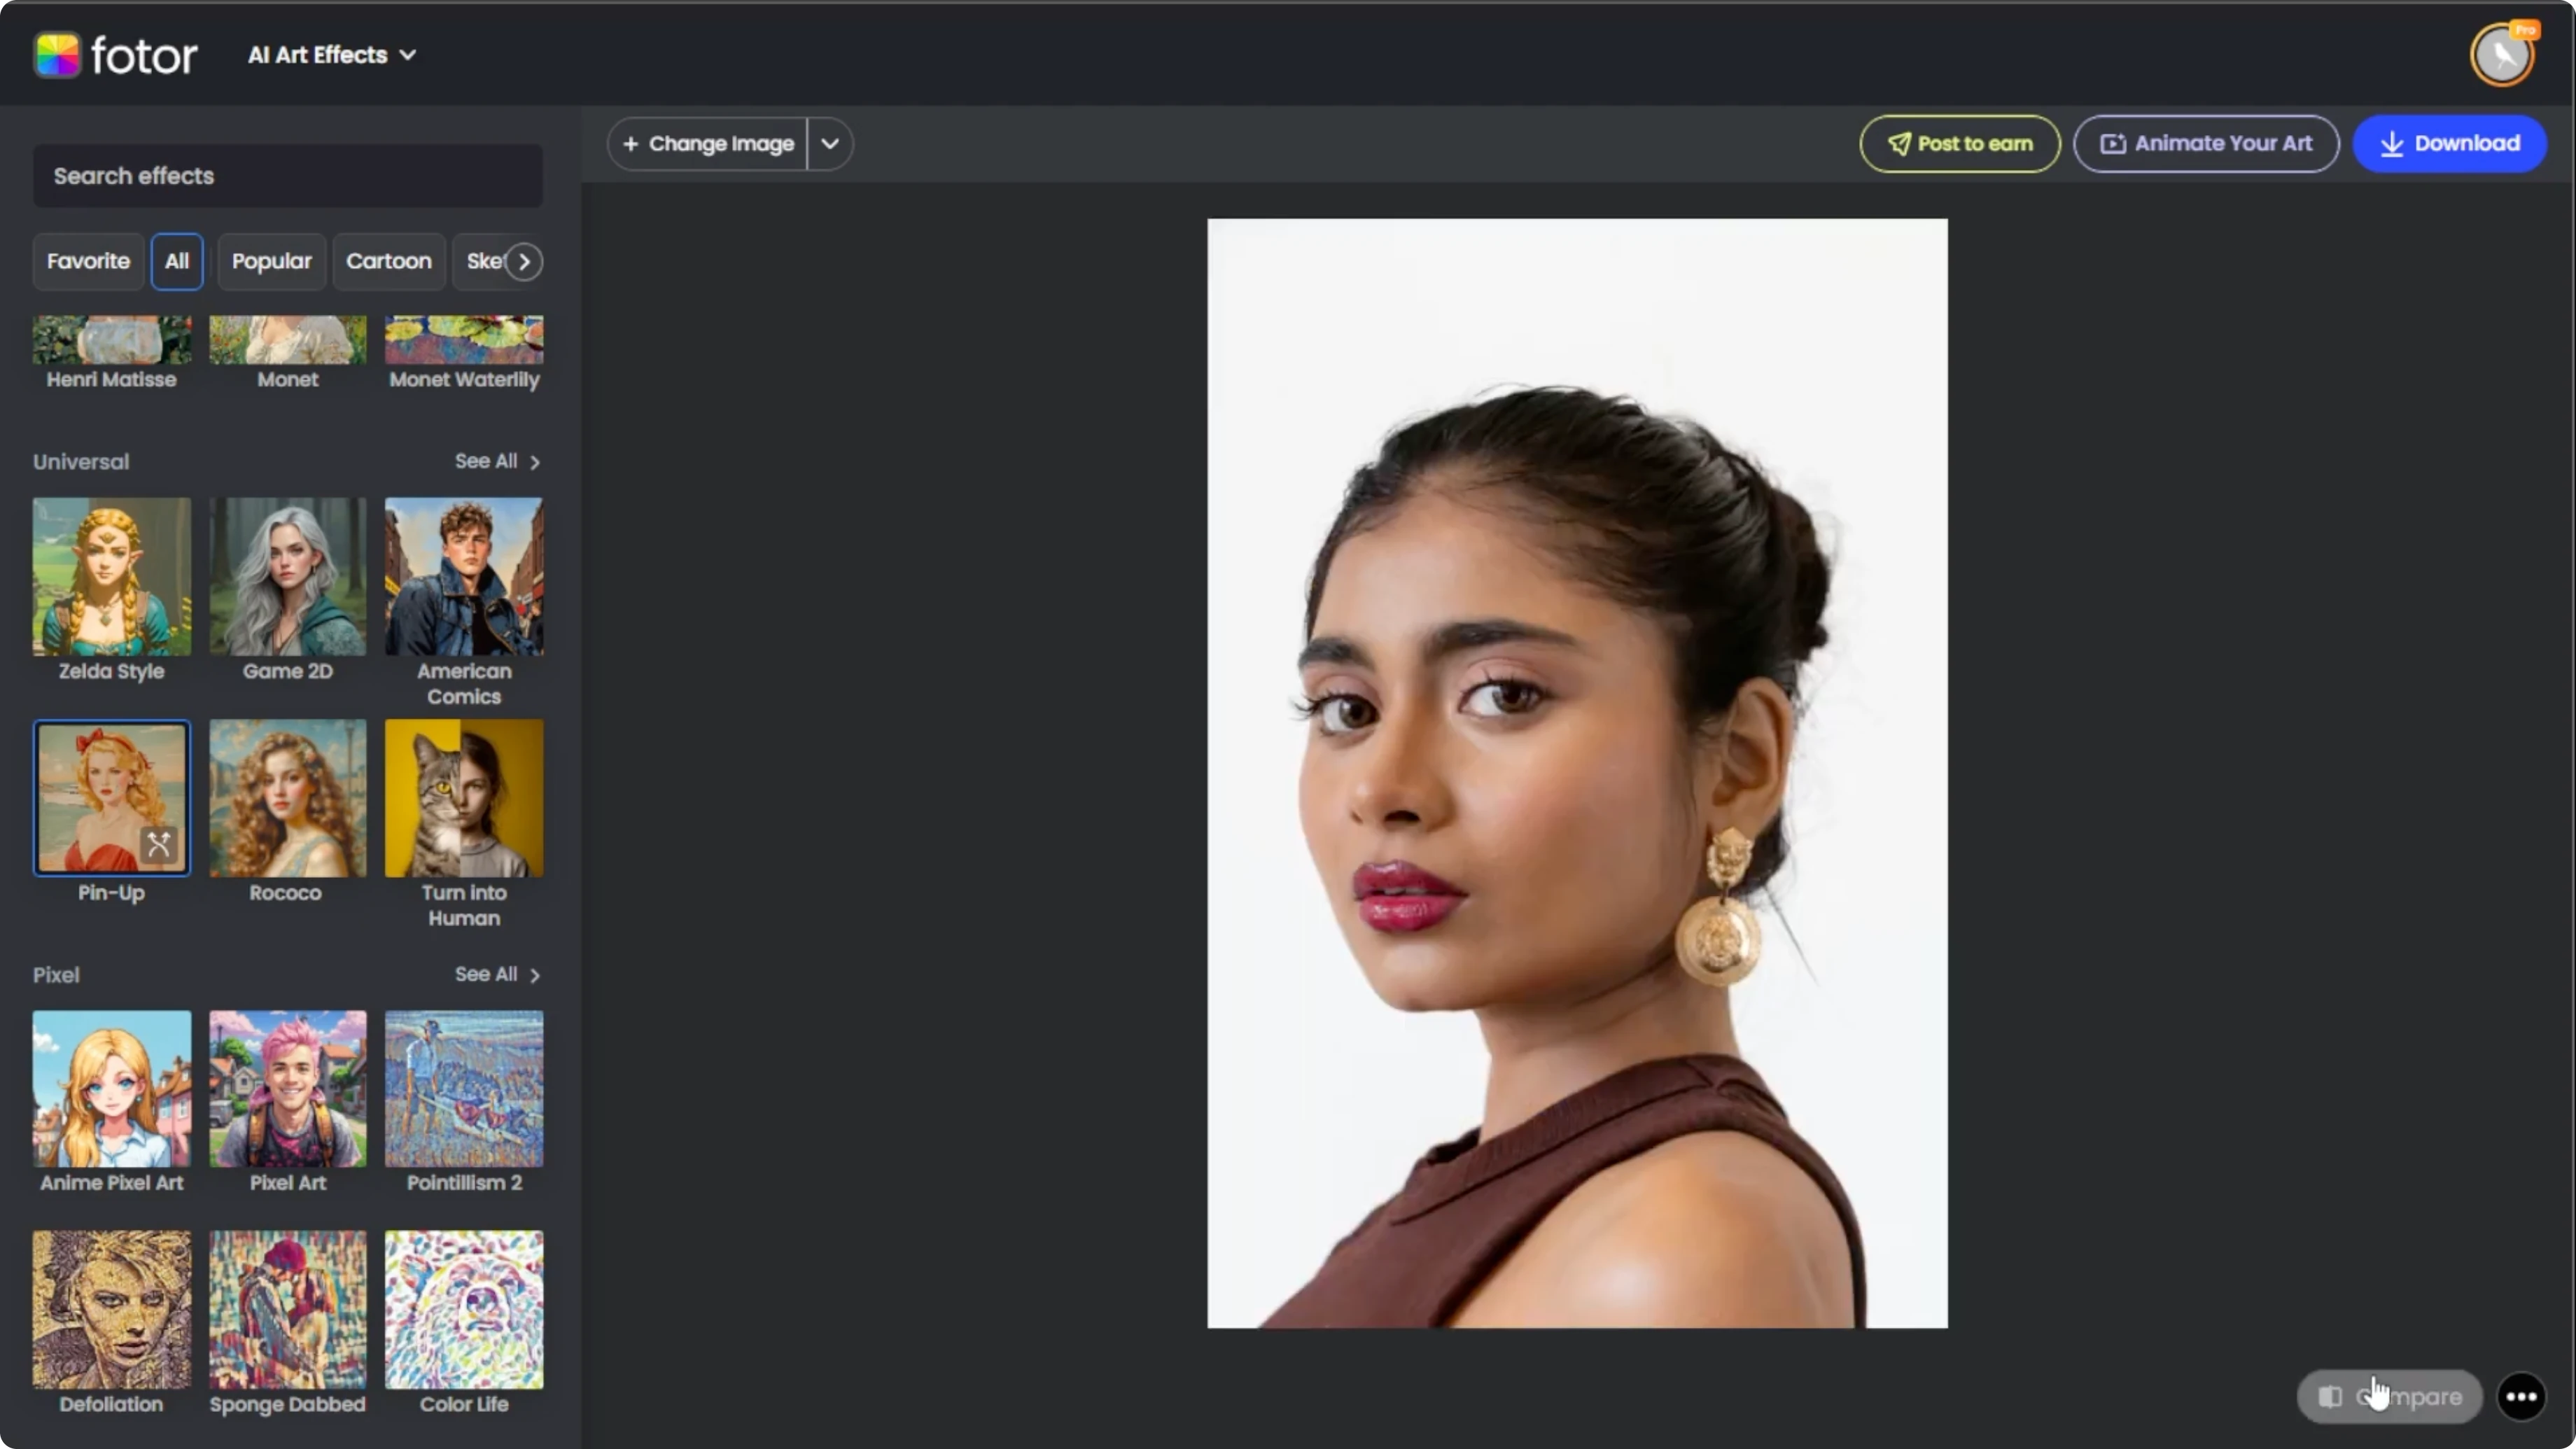
In the left sidebar, scroll through the available style categories. Under the universal category, find and click the pinup option. This filter applies a vintage mid century retro vibe with color tones and illustration styling reminiscent of classic pinup posters.

Photos AI generates your retro portrait after a few seconds. You will see the stylized version appear next to or over your original. It is ready for review.
Preview and compare
Click the compare button in the bottom right corner to see the difference between the original and the stylized version. This helps you judge how much the AI has transformed your image. Use compare to confirm color, skin tone, and detail look right.
If the result is not what you envisioned, click the regenerate button on the effect thumbnail. The AI creates a new variation of the same style. You can regenerate as many times as needed.
Each version will be slightly different in colors, poses, and illustration nuances. Cycle through a few to find your perfect retro portrait. Regenerate until the vibe and detail match your vision.
For another transformation to try on your photos, you can convert daytime photos into night scenes. It is a dramatic effect that complements retro portraits in a themed set. Save versions from both flows for variety.
Download your portrait
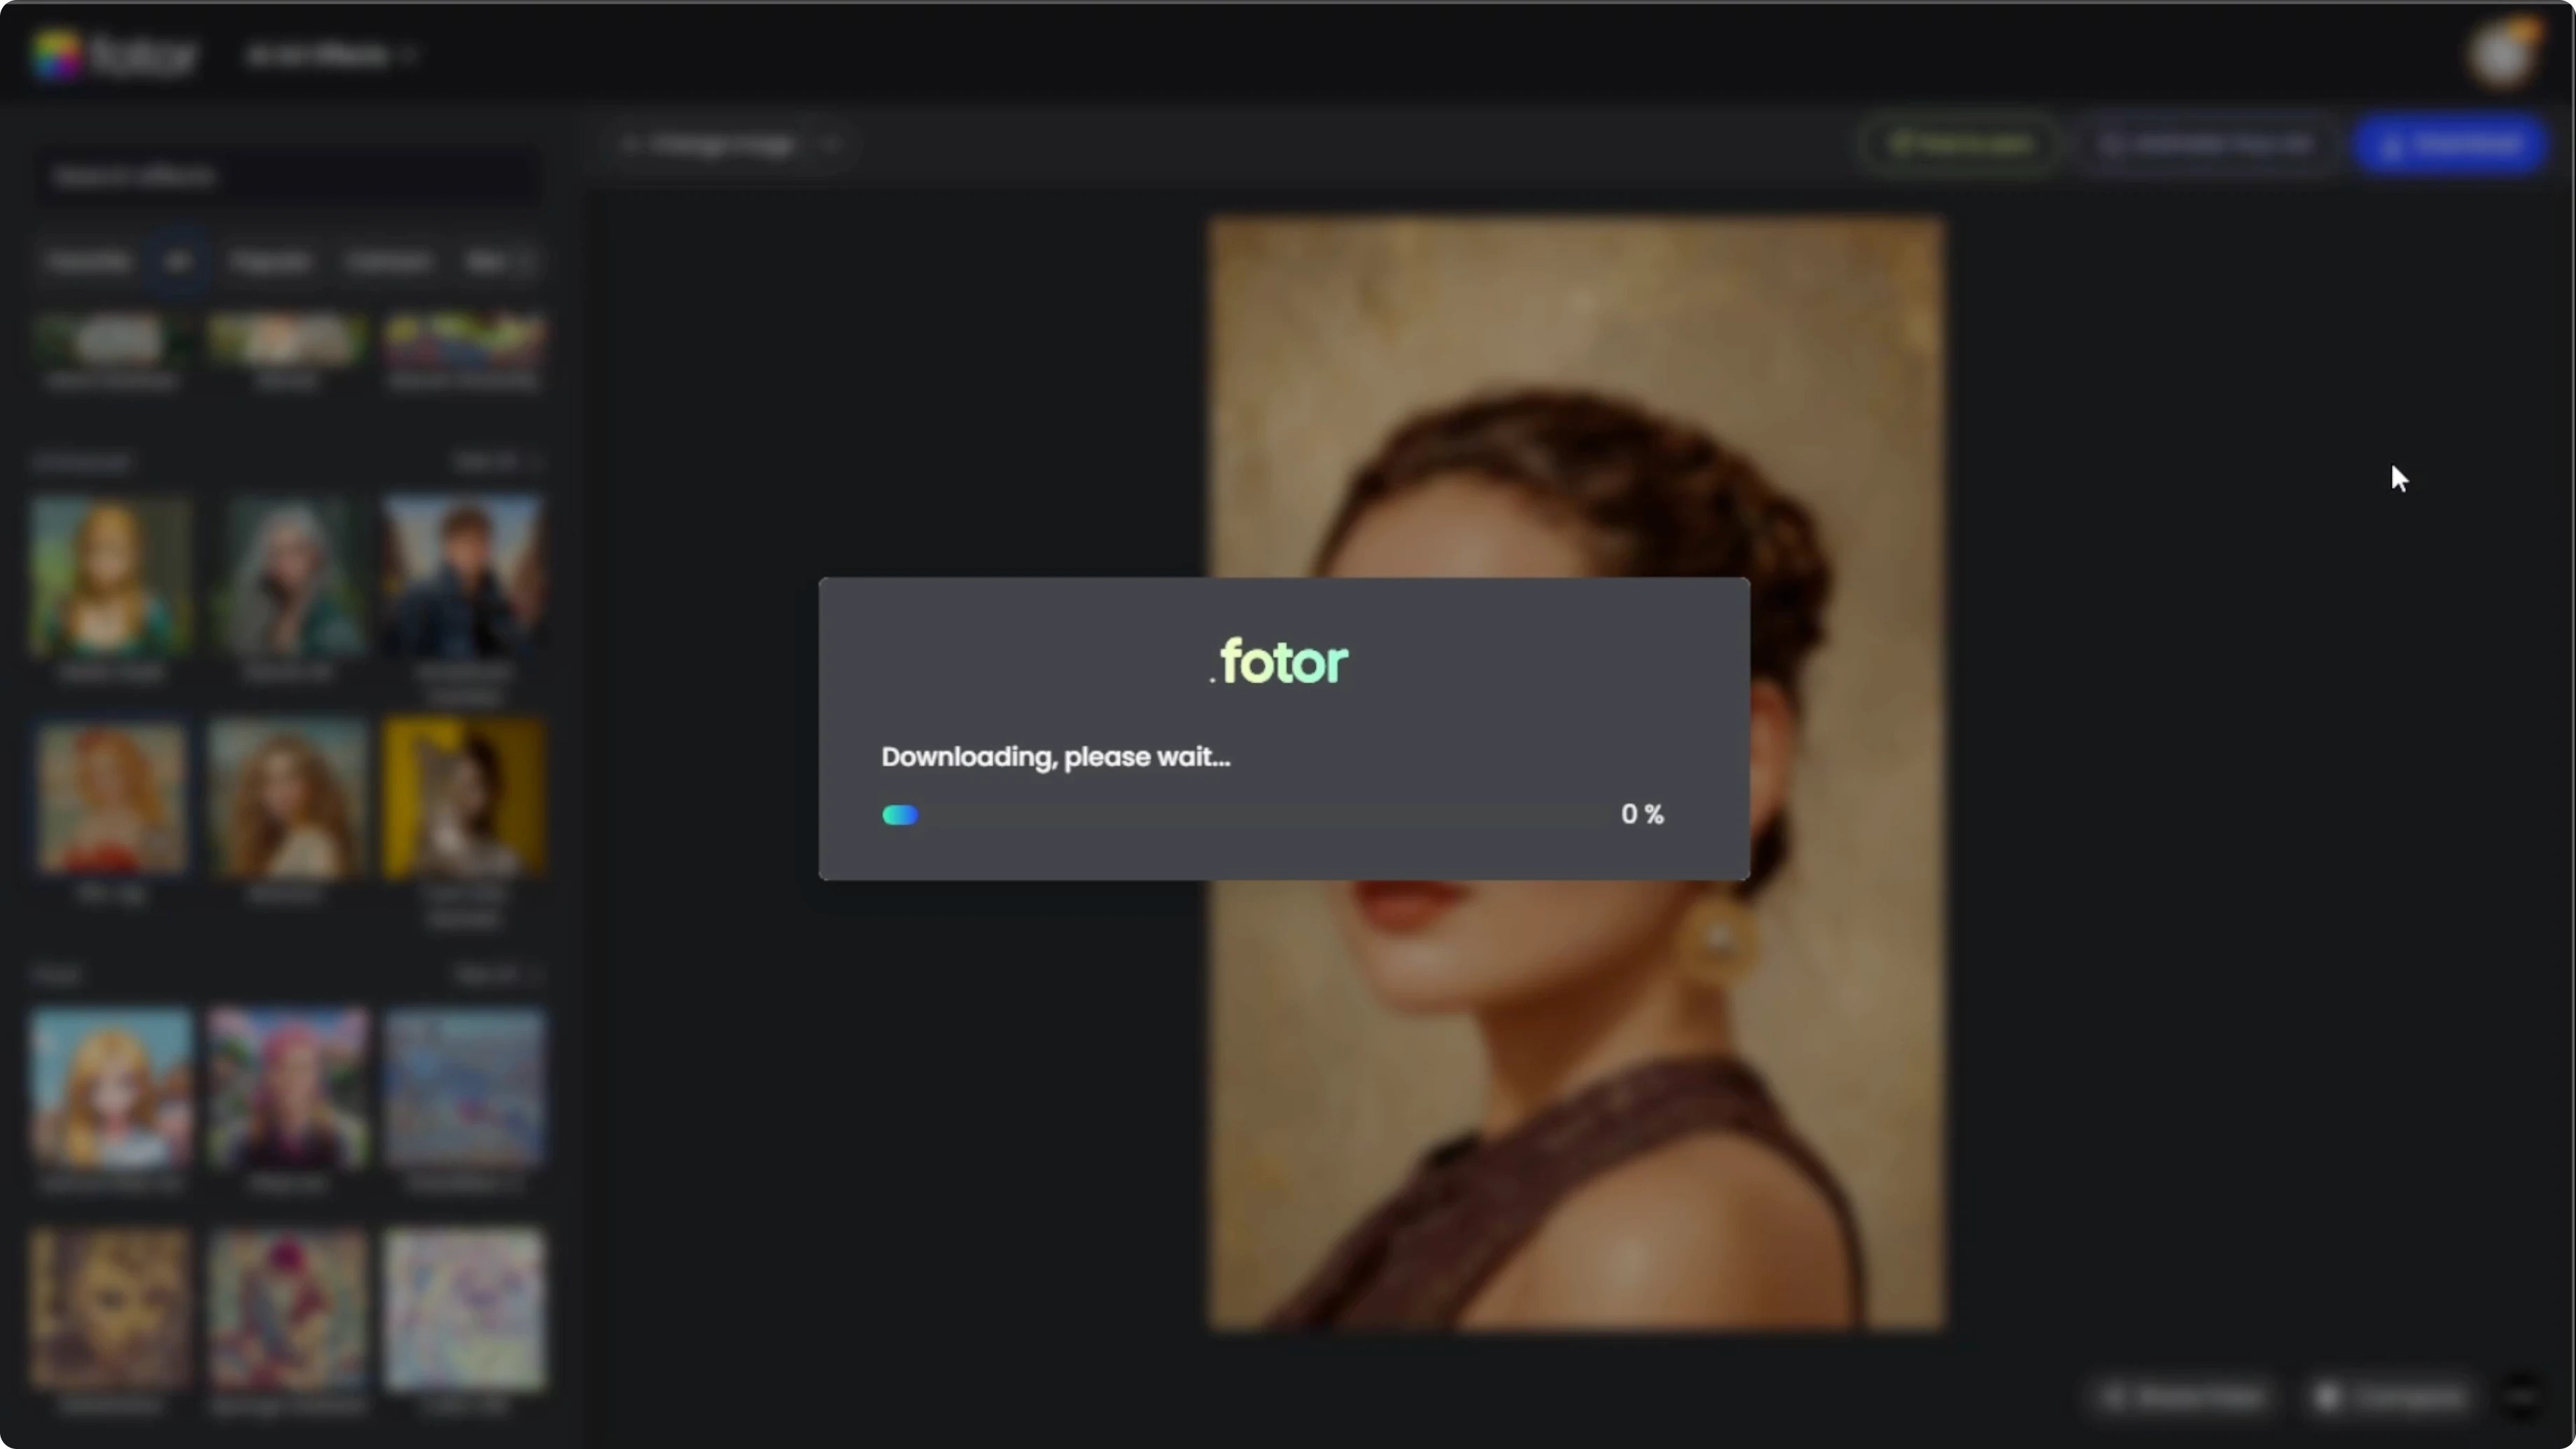
Once you are happy with the outcome, click download in the top right corner. Choose your desired file type and resolution. Save it to your device and share it anywhere.
Final thoughts
You can turn a simple portrait into a classic pinup look with a few clicks. Focus on a clean, front facing source photo and use compare and regenerate to dial in the style. Download the version that best matches your taste and keep experimenting with new effects.
Recent Posts
How to Generate High-Quality Images and Graphics with Adobe Firefly?
How to Generate High-Quality Images and Graphics with Adobe Firefly?
How to Visualize Your Advertisement on an Outdoor Display with AI?
How to Visualize Your Advertisement on an Outdoor Display with AI?
How to Create a Seamless Transparent Logo Using AI?
How to Create a Seamless Transparent Logo Using AI?