How to Enhance the Dynamic Range and Contrast of Photos with AI?
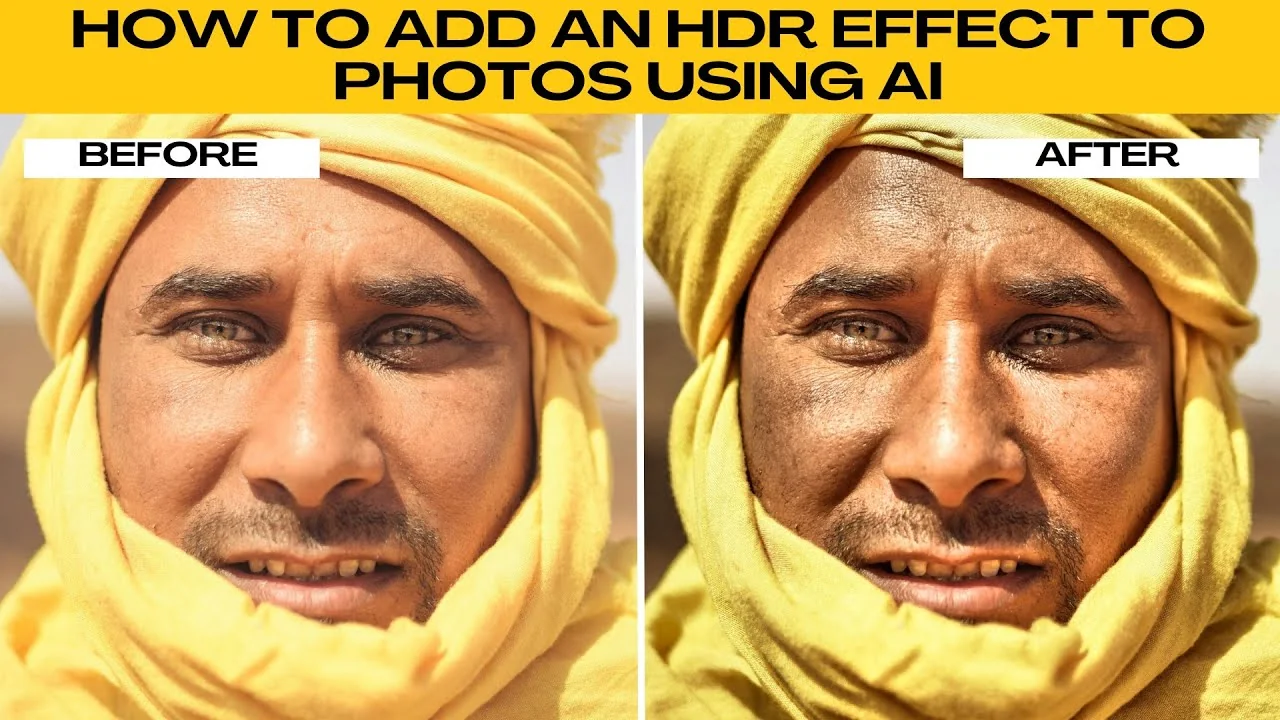
I will teach you how to add an HDR effect to your photos using AI. HDR, or high dynamic range, brings out vivid colors and details in both the highlights and shadows of your photo. With Photo's AI powered HDR tool, you can apply this effect quickly, even if you only have one image.
If you are working with dark images, see our guide to enhancing low light photos for more practical tips. HDR helps with dynamic range, while low light tools focus on lifting shadows cleanly. Both complement each other well.
Why HDR
HDR emphasizes detail and color across the full tonal range. It helps keep skies bright without losing detail in darker areas. The effect looks balanced when tuned with care.
Start here
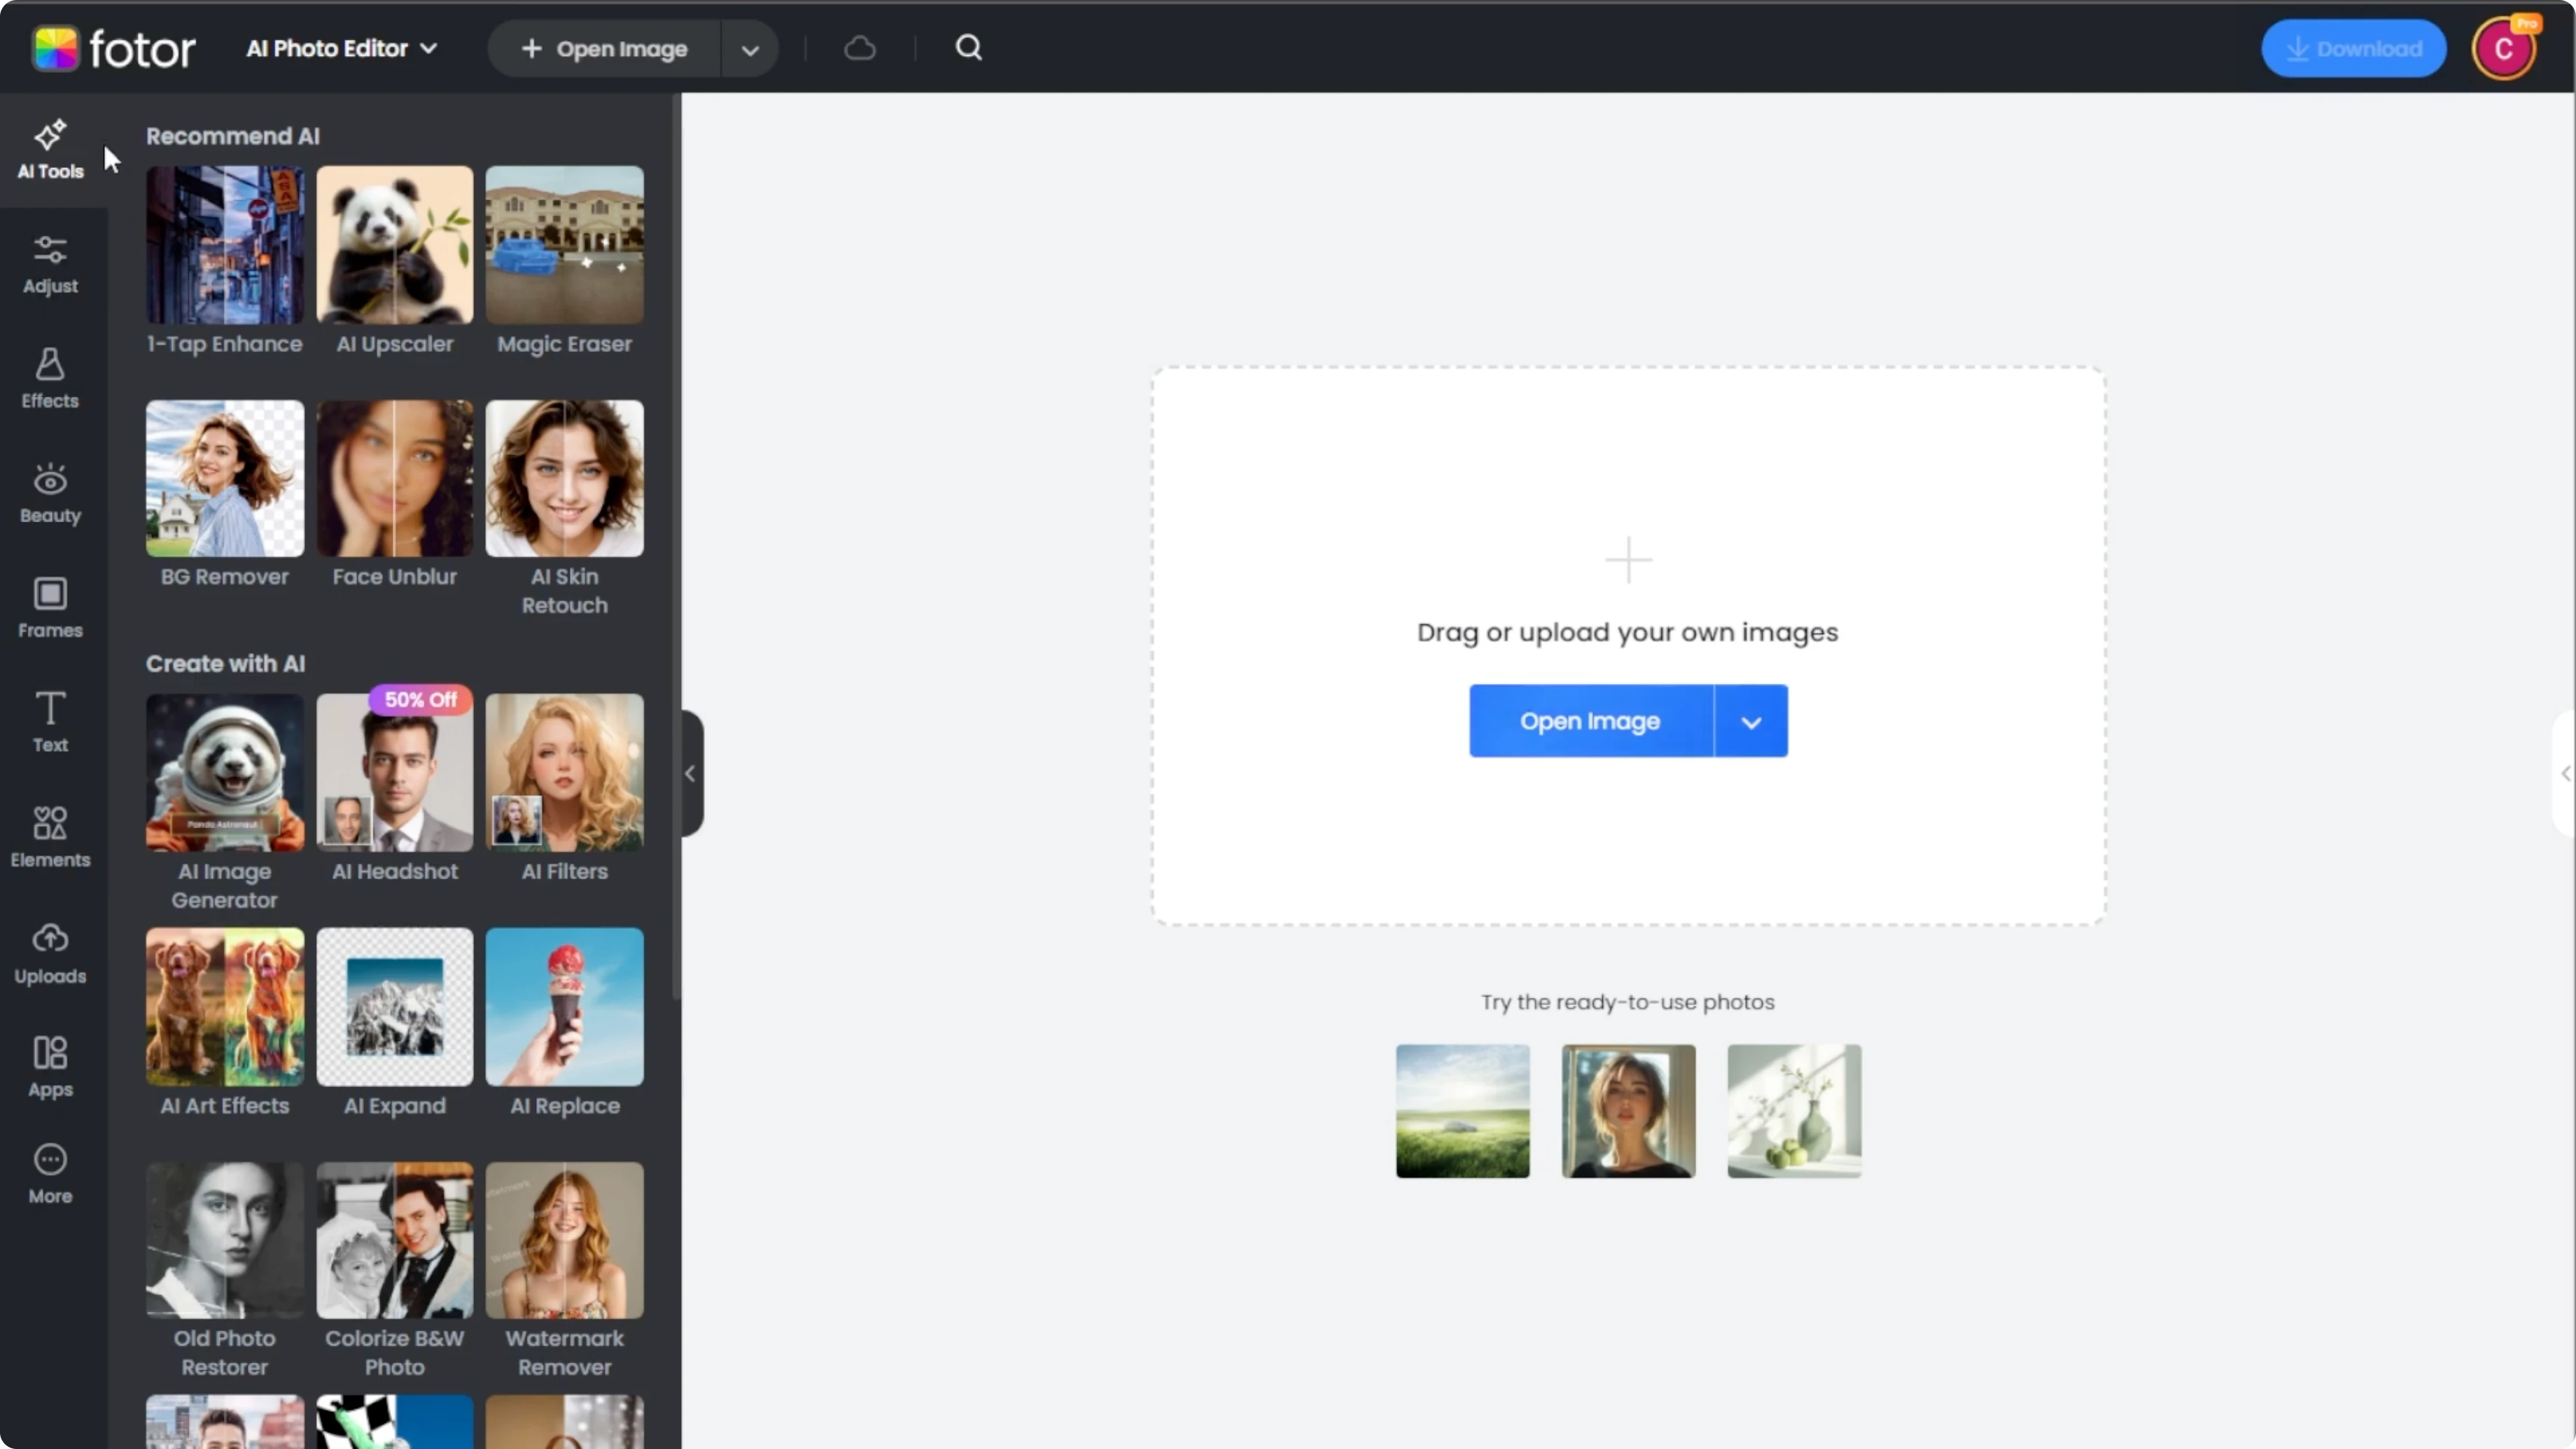
Head over to Photo AI photo editor and on the left panel click AI tools. Scroll down and select HDR. You will be redirected to Photo's HDR specific tool.
Upload options
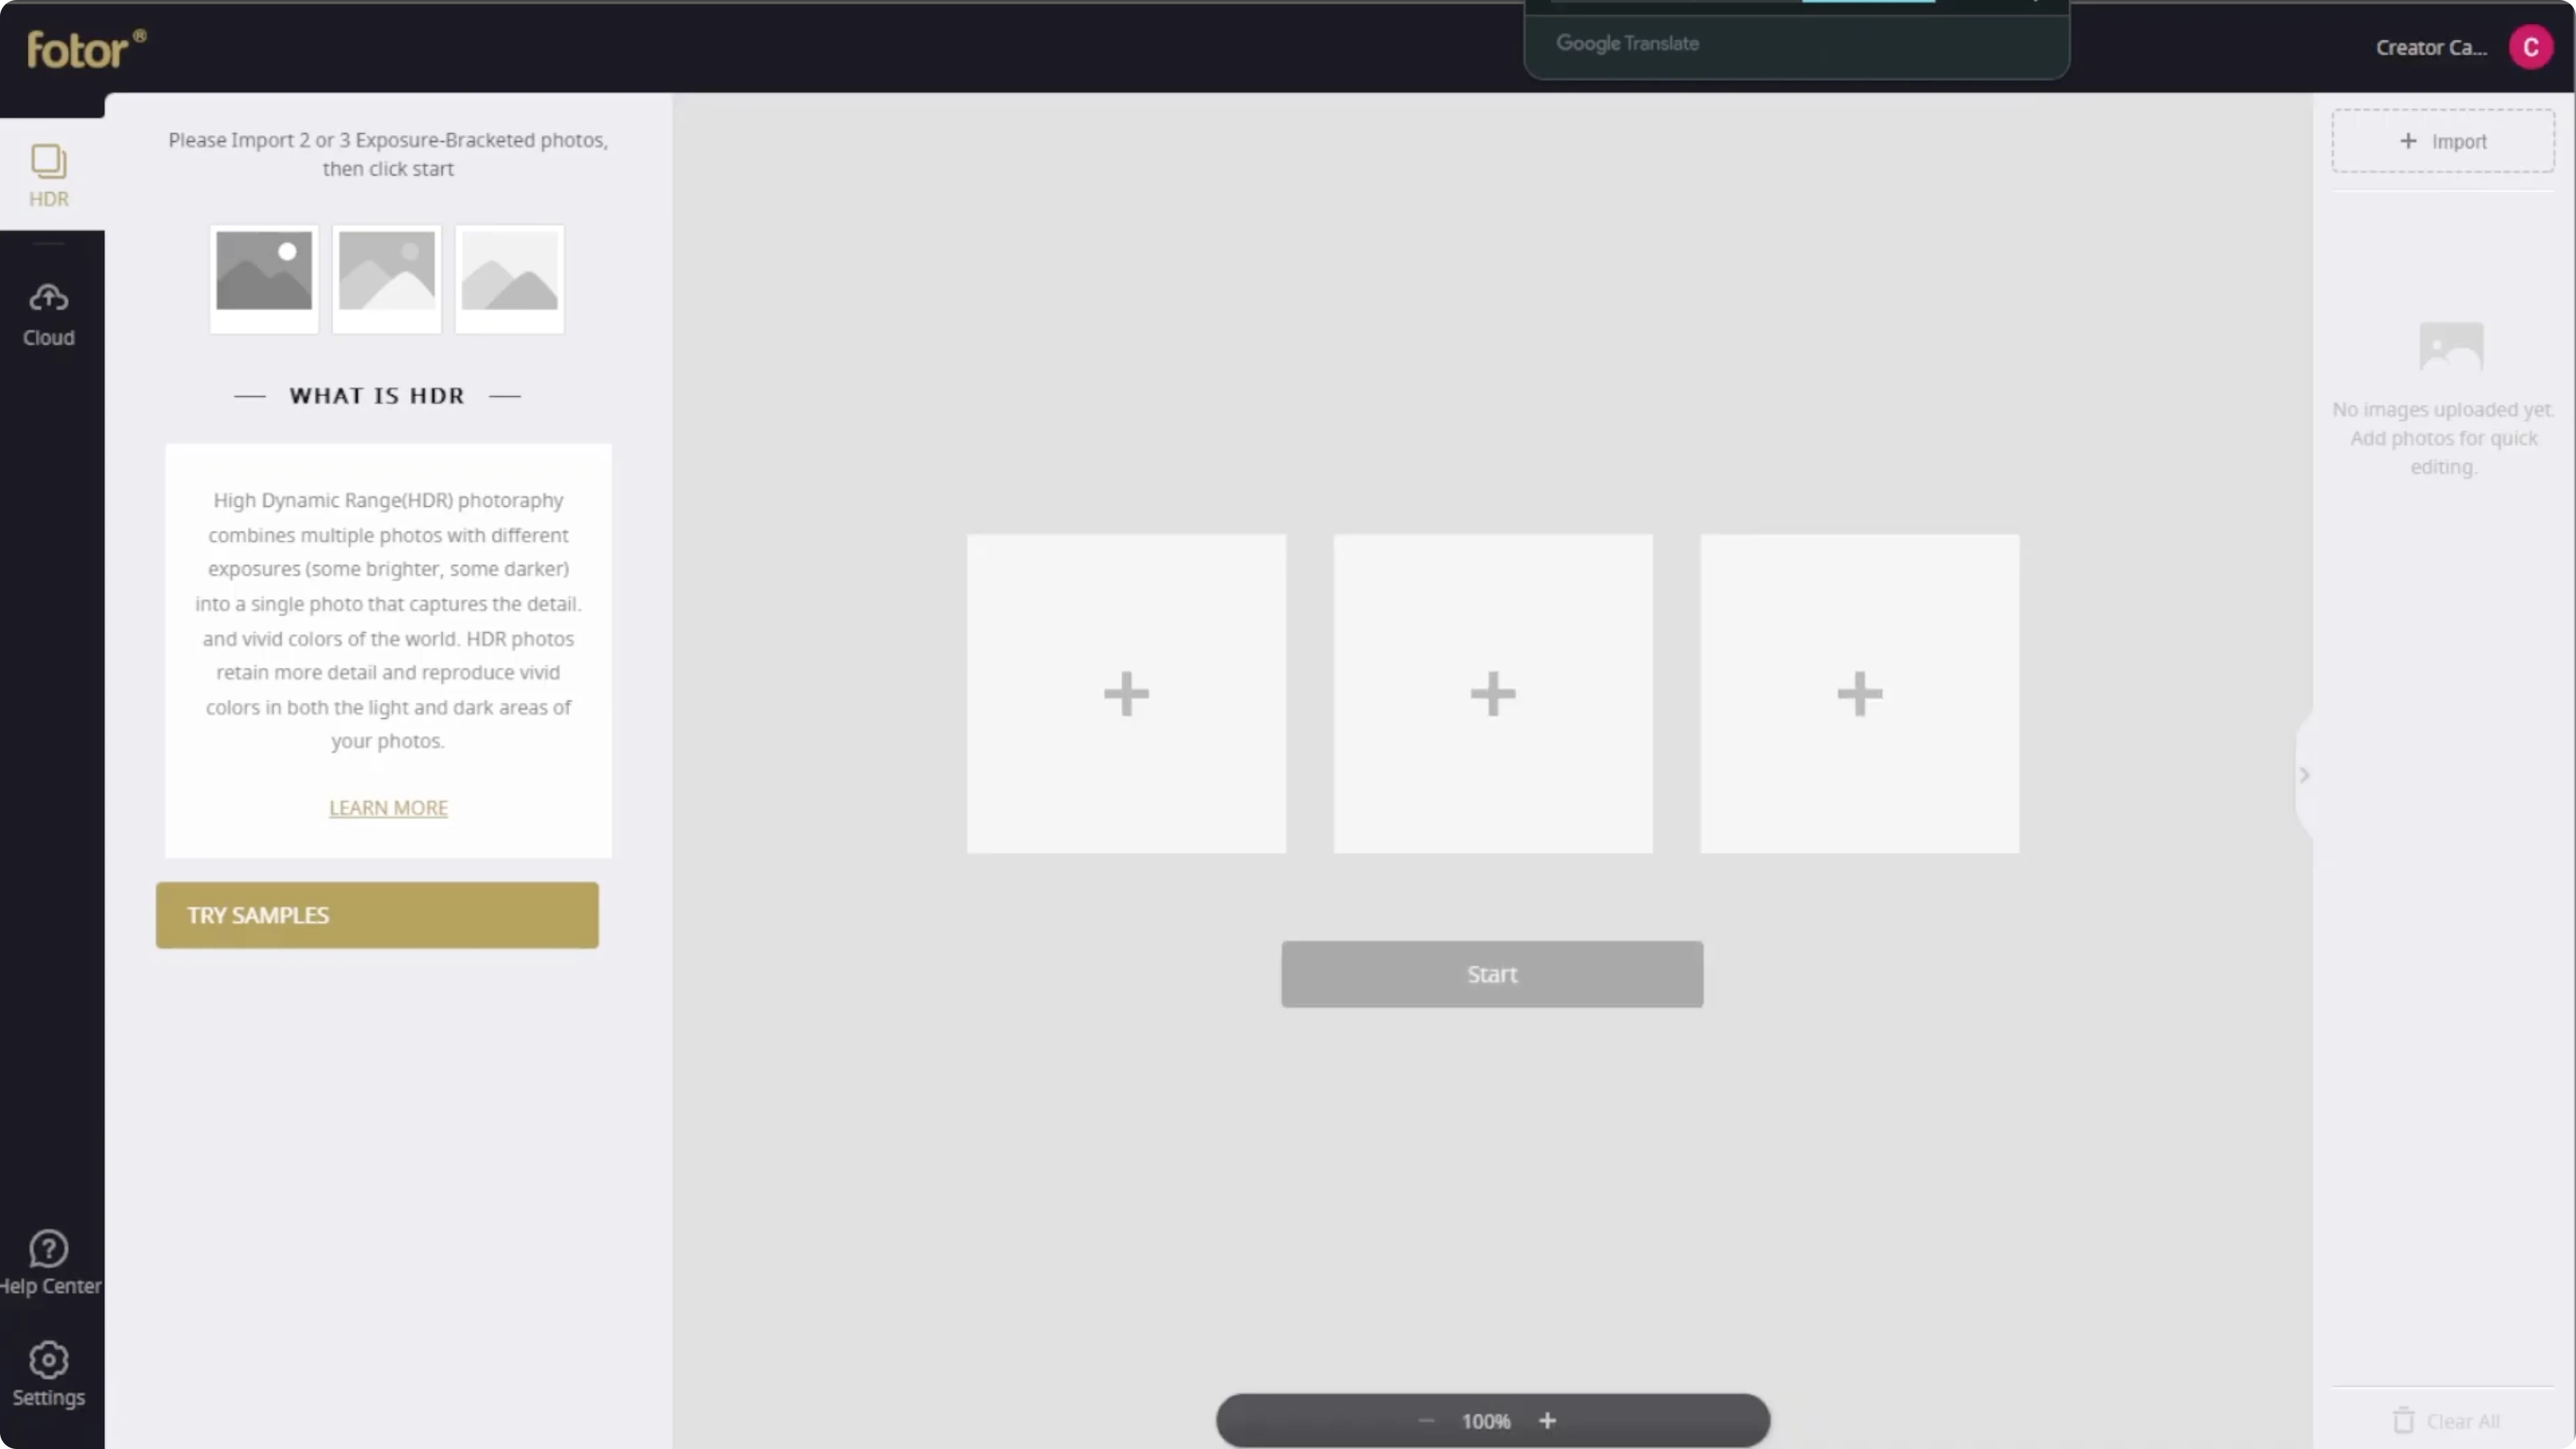
You have two options. Upload three photos with different exposures for true HDR merging, or upload the same photo three times to simply apply an HDR effect. You can also test the feature using Photo or sample images.
Process and style
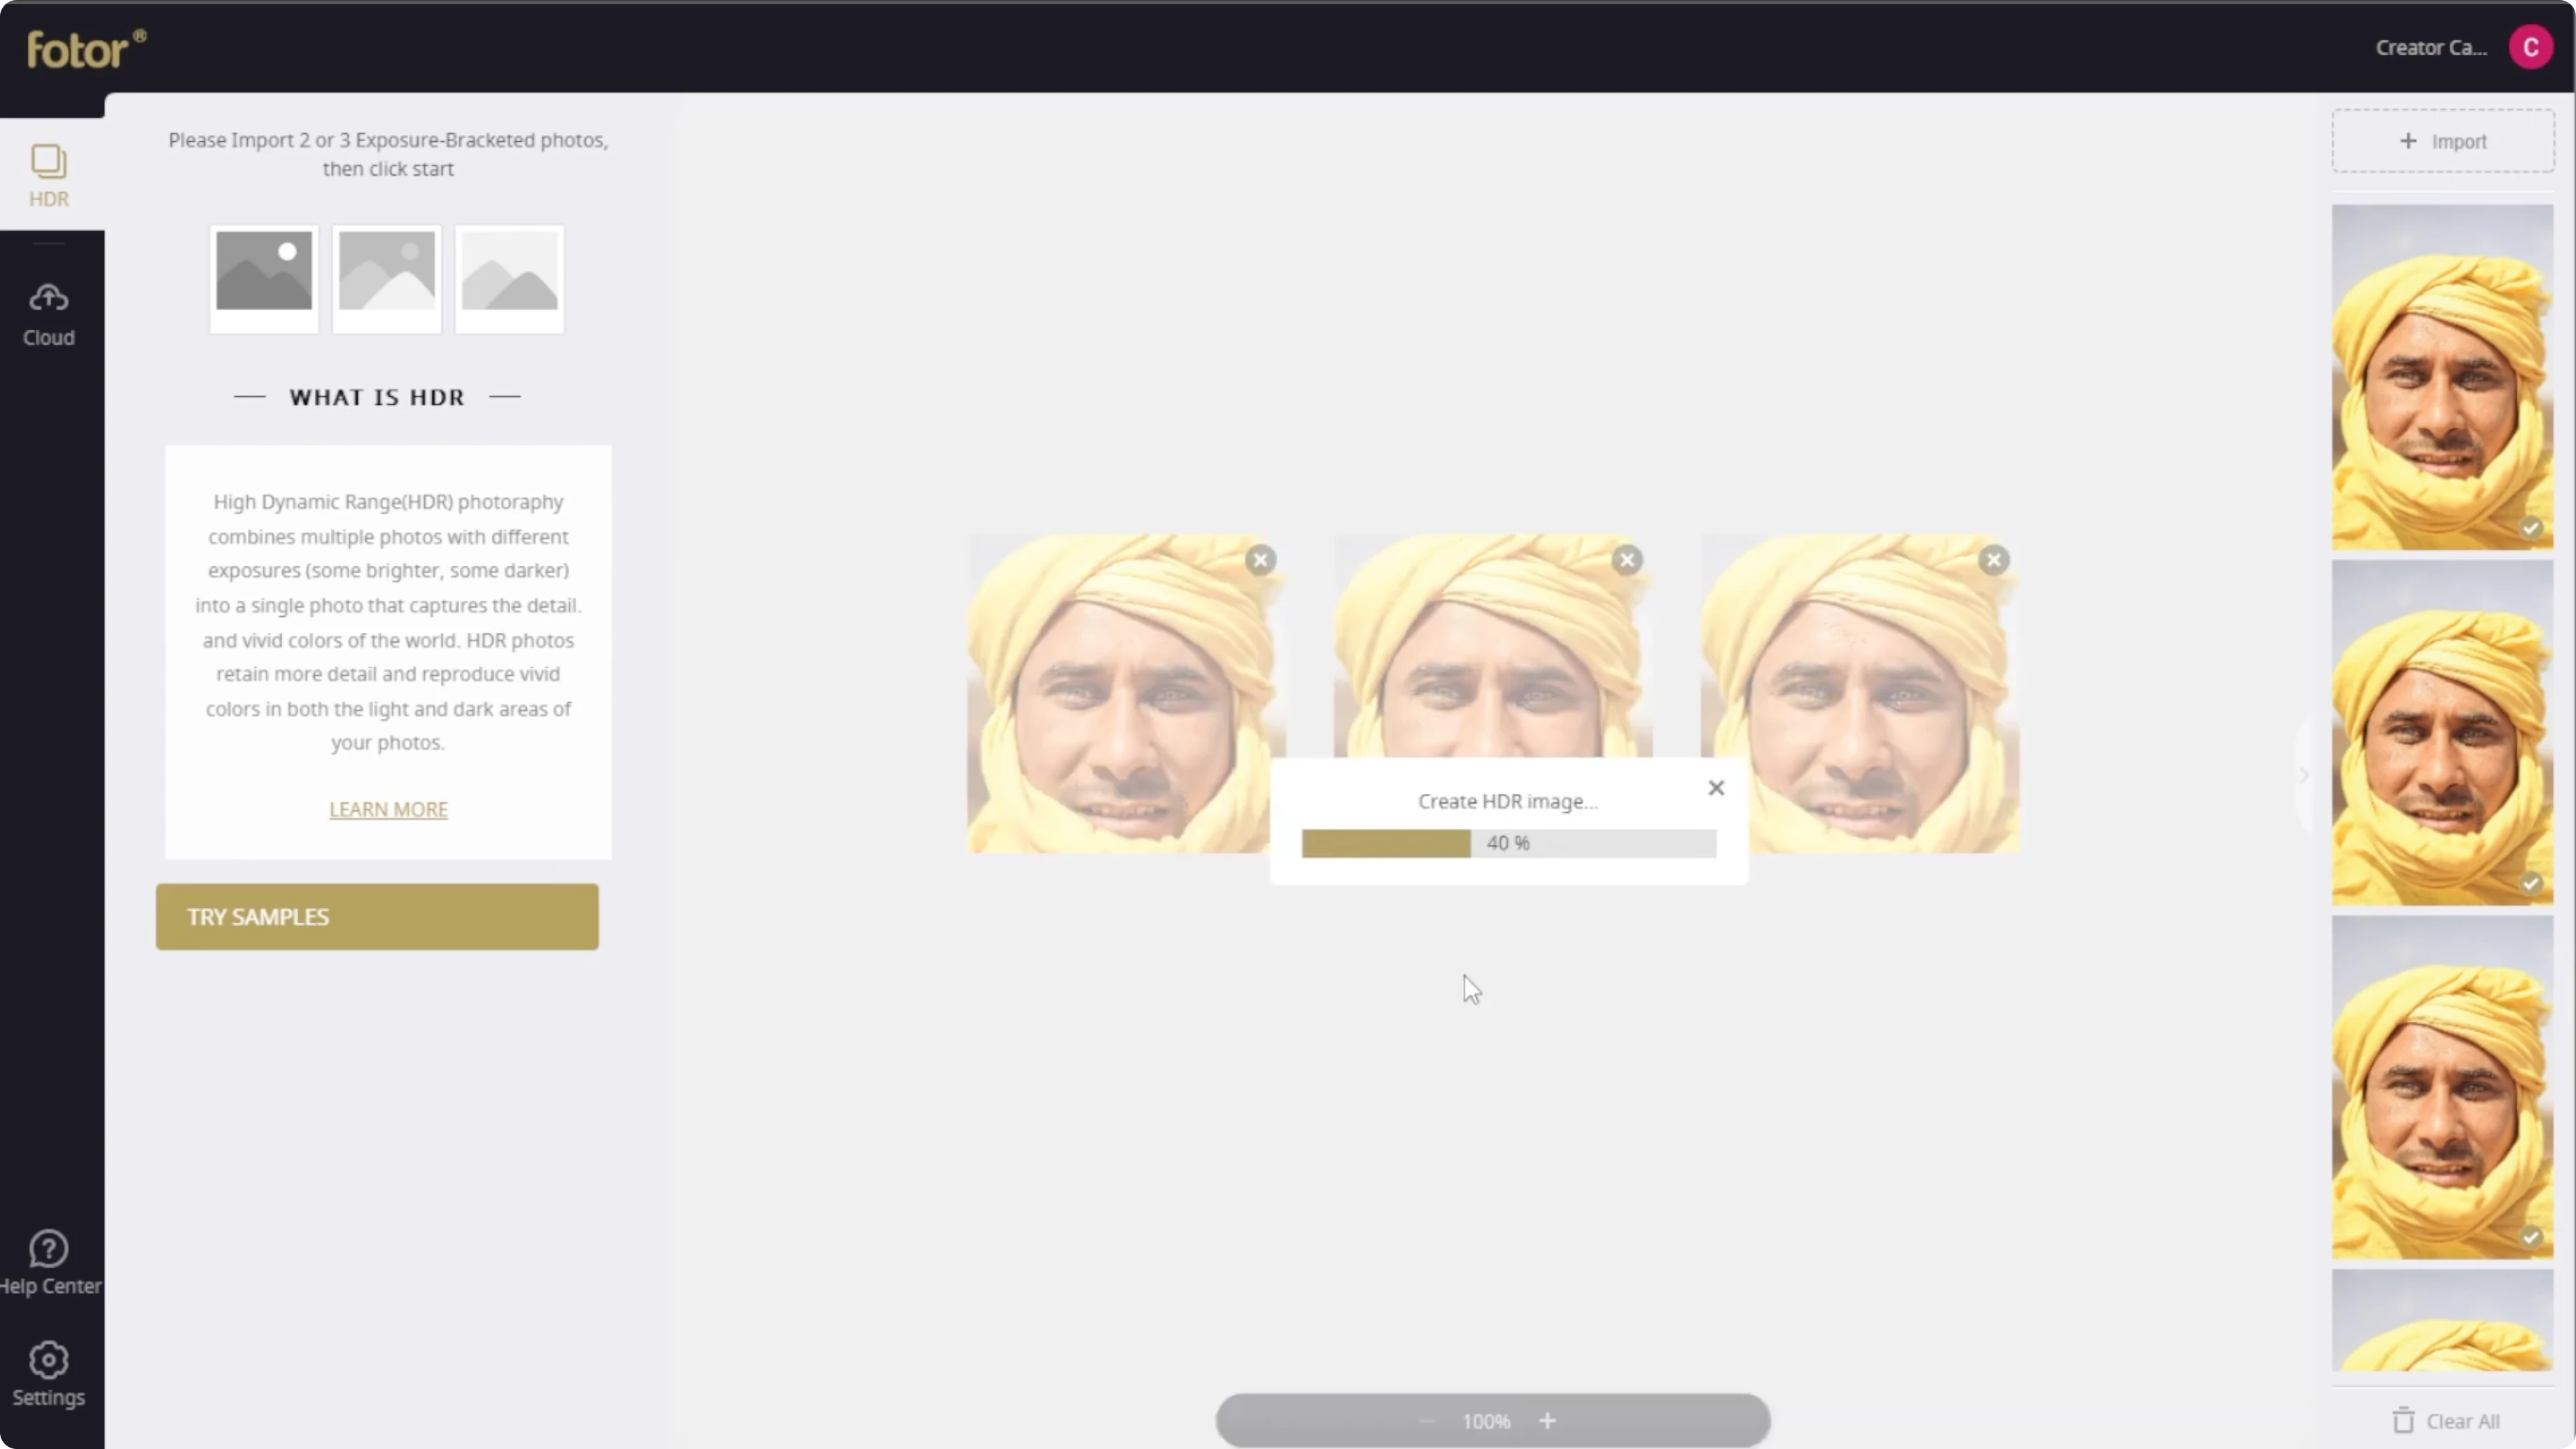
Click Start to process the images. Processing takes around 10 seconds in most cases. You will then pick the effect style.
Pick a style
Under the HDR tab on the left, choose from three effect styles: Structure, Soft, and Intense. Structure and Soft are pro features, but you can access them during Photo's 7-day free trial, so remember to cancel in time. Intense is available without the pro tier.

If you work with older images, you might also want to restore color as a separate step. For that task, check our tutorial on colorizing black and white photos. Apply color first, then add HDR for better control.
Fine-tune
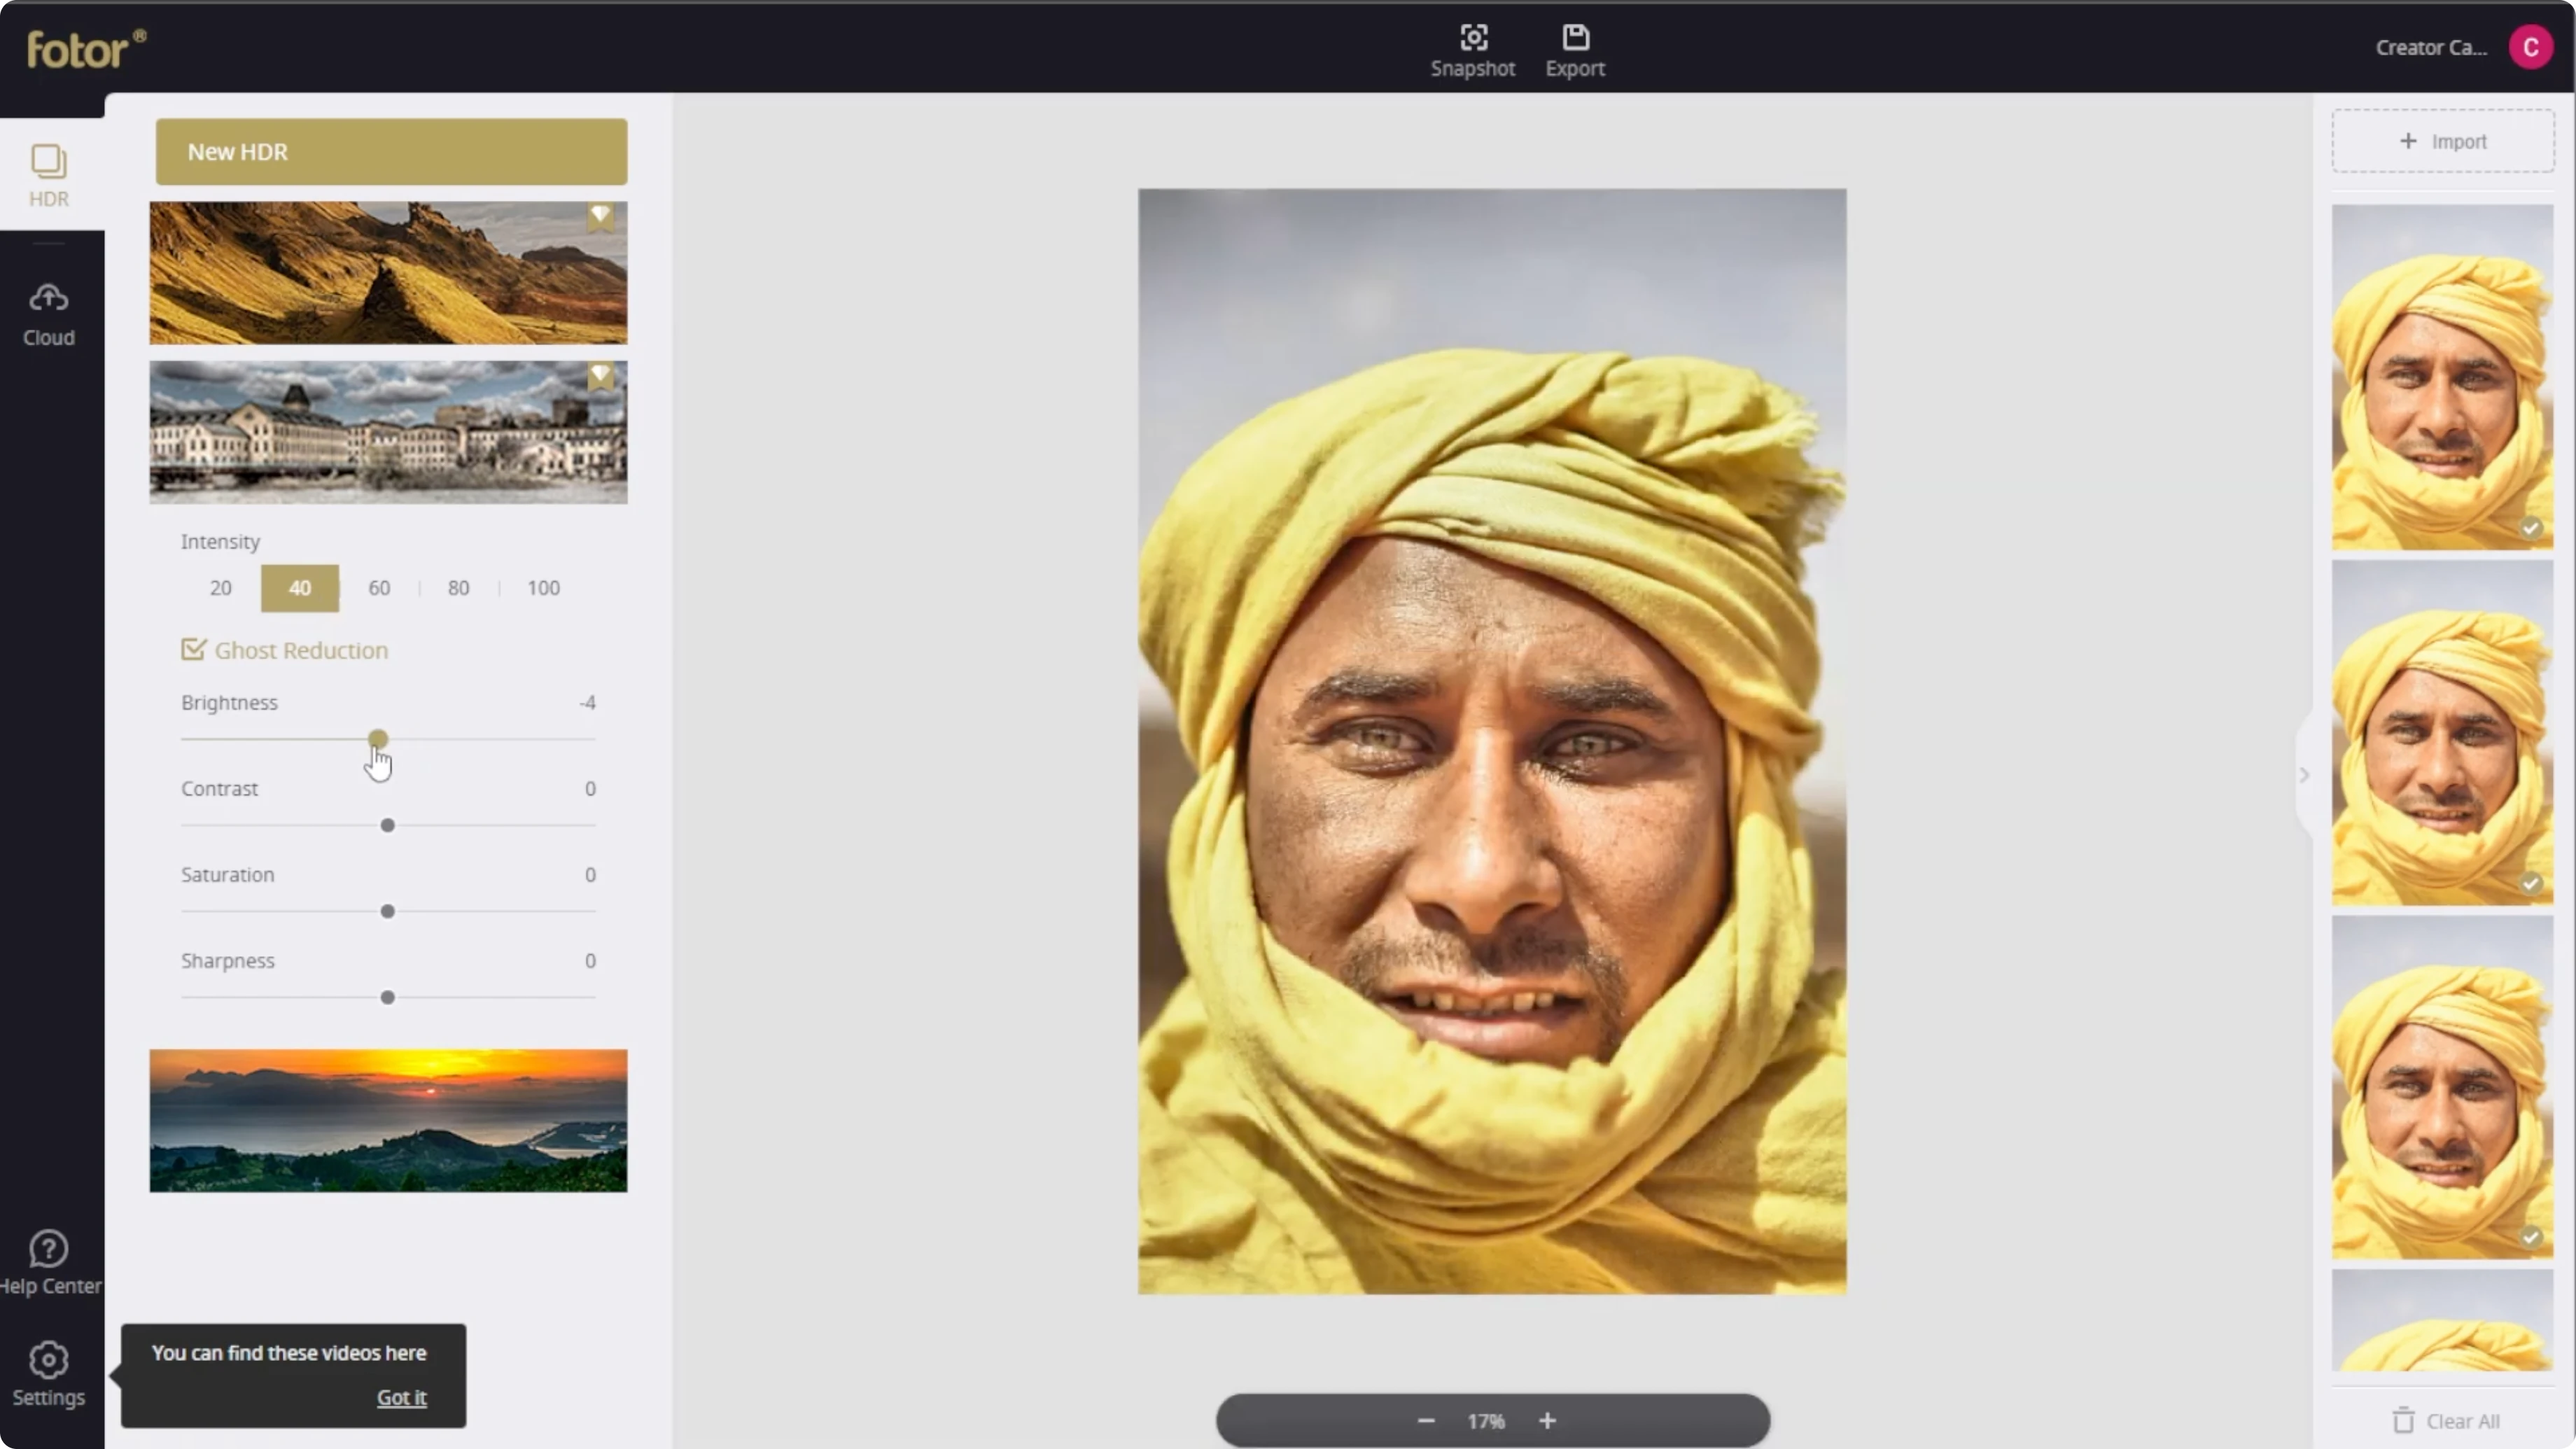
For each HDR effect, you can fine-tune the look. You have five intensity levels: 20, 40, 60, 80, and 100. Pick the level that best balances detail and noise.
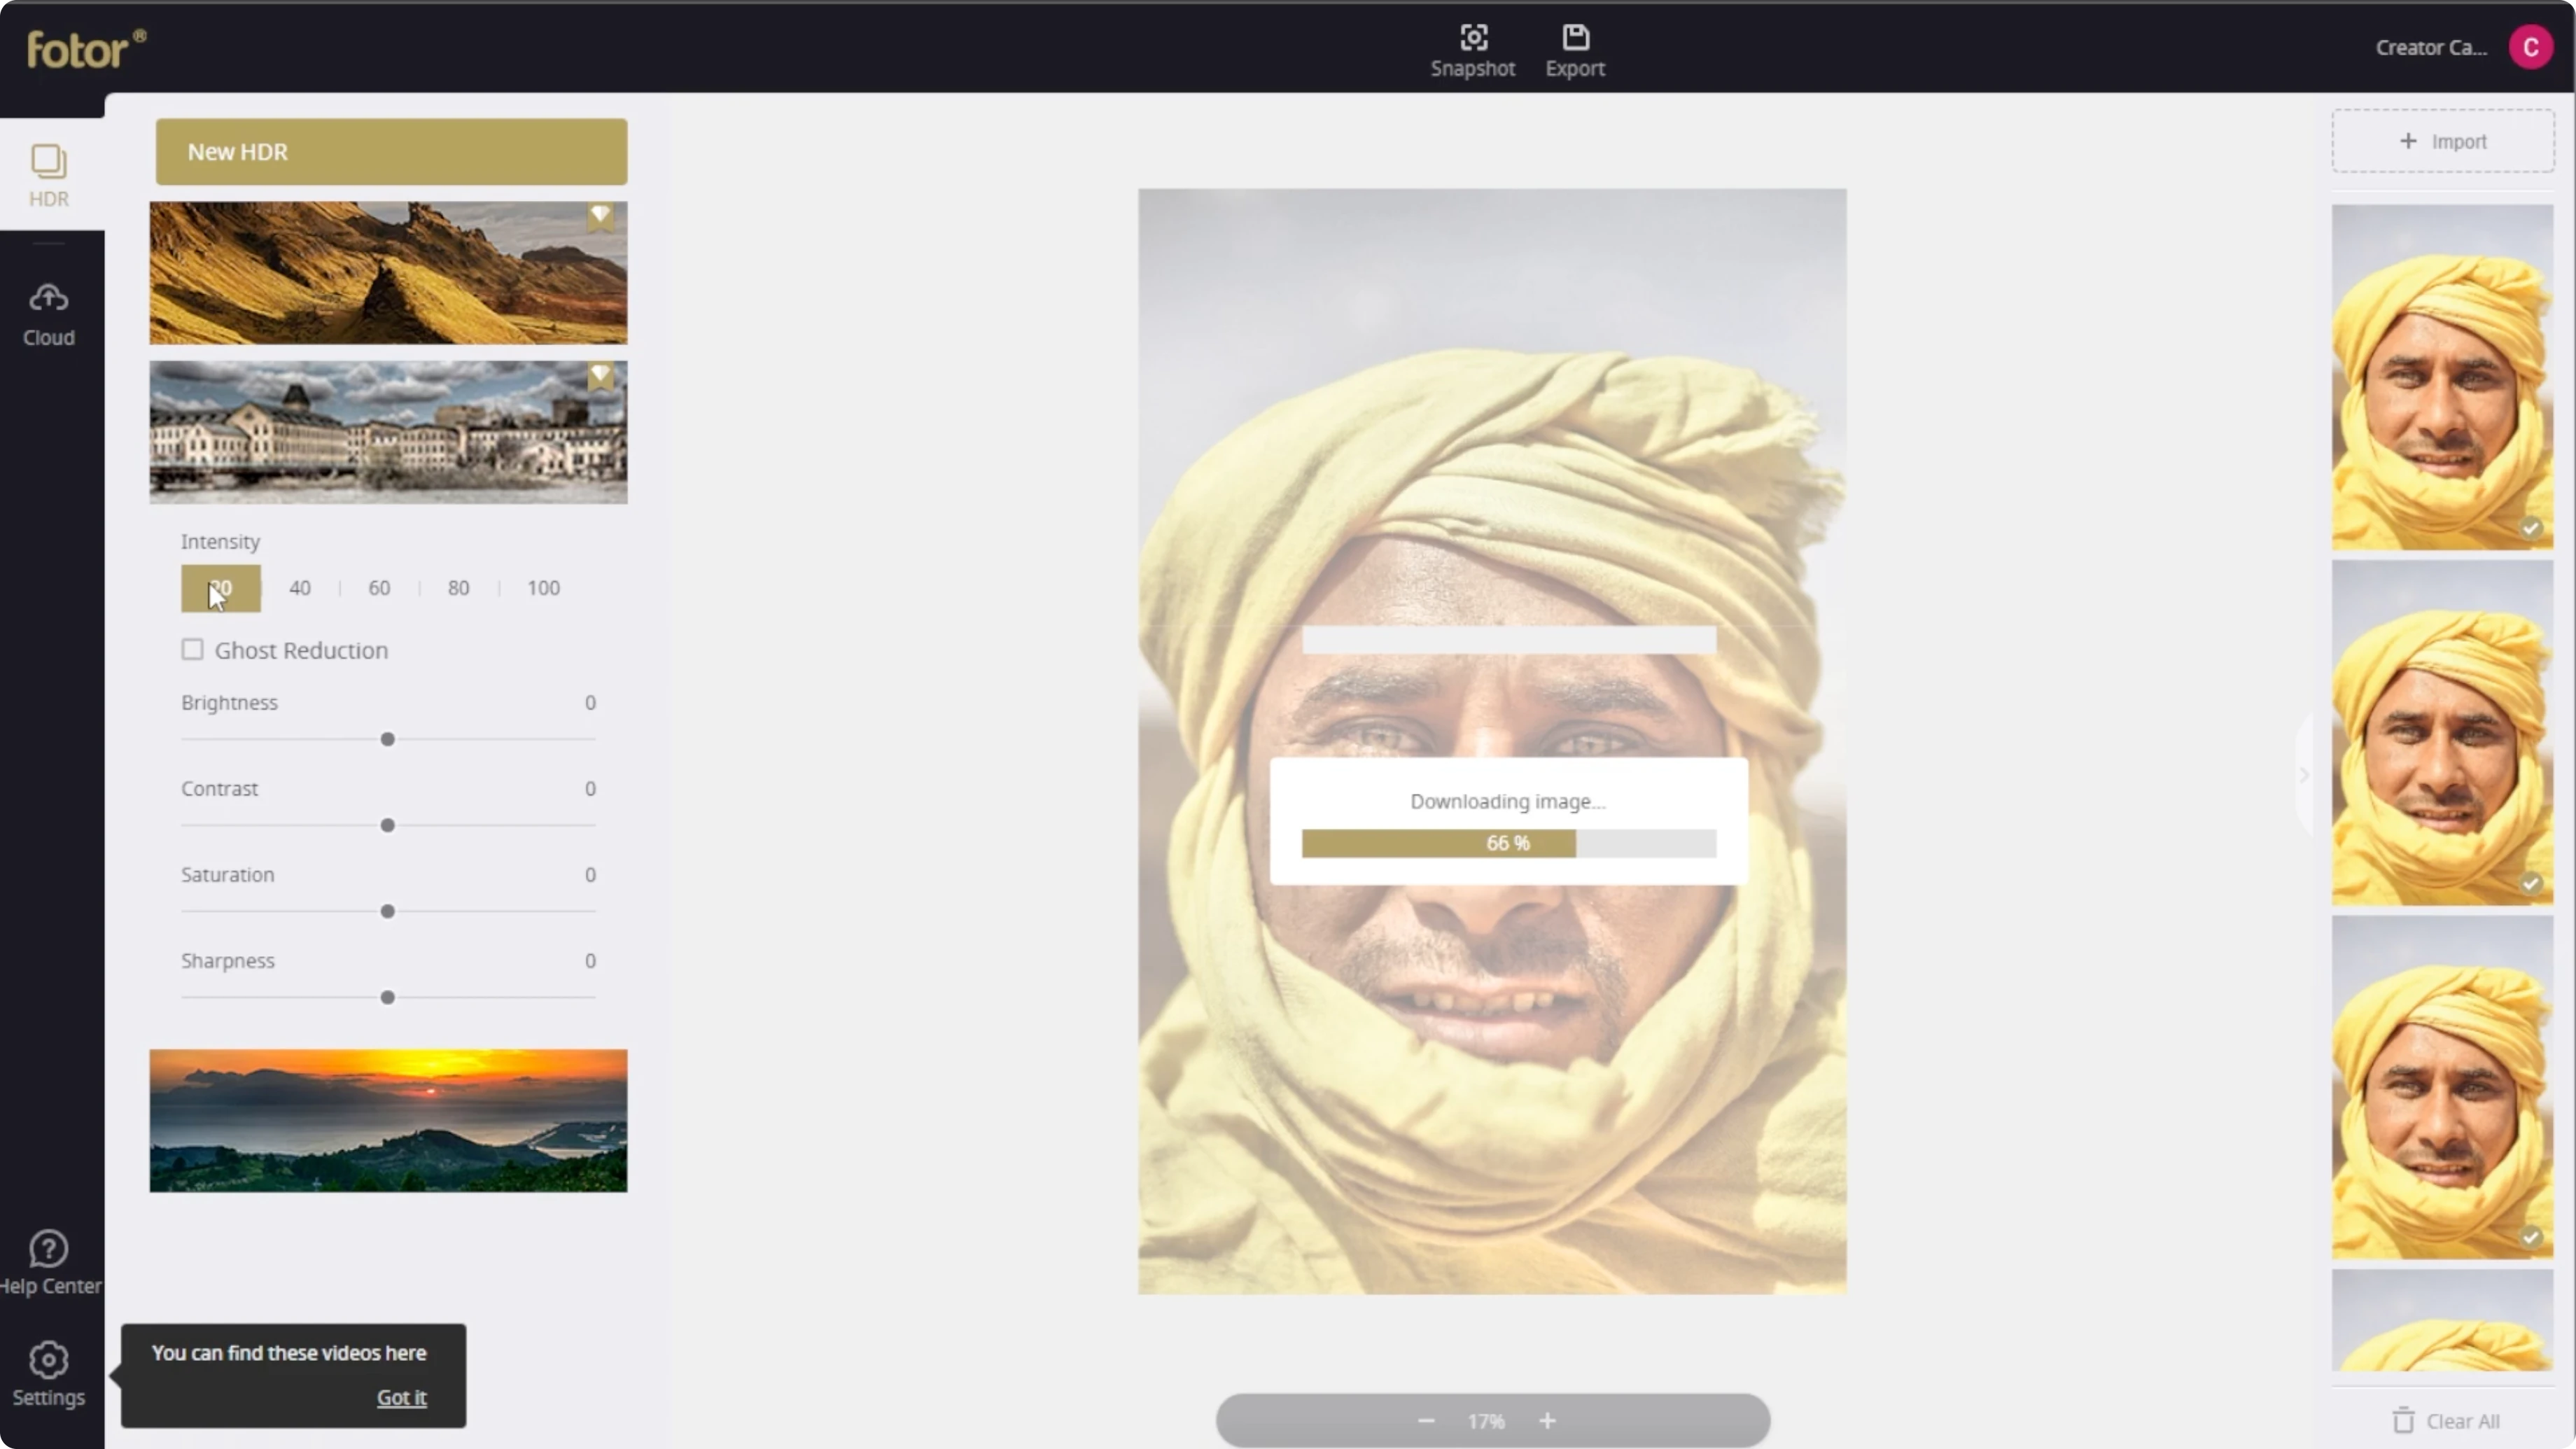
Enable ghost reduction to avoid motion blur artifacts if your source images include movement. This is important when merging differently exposed shots. Ghost reduction helps align moving elements.

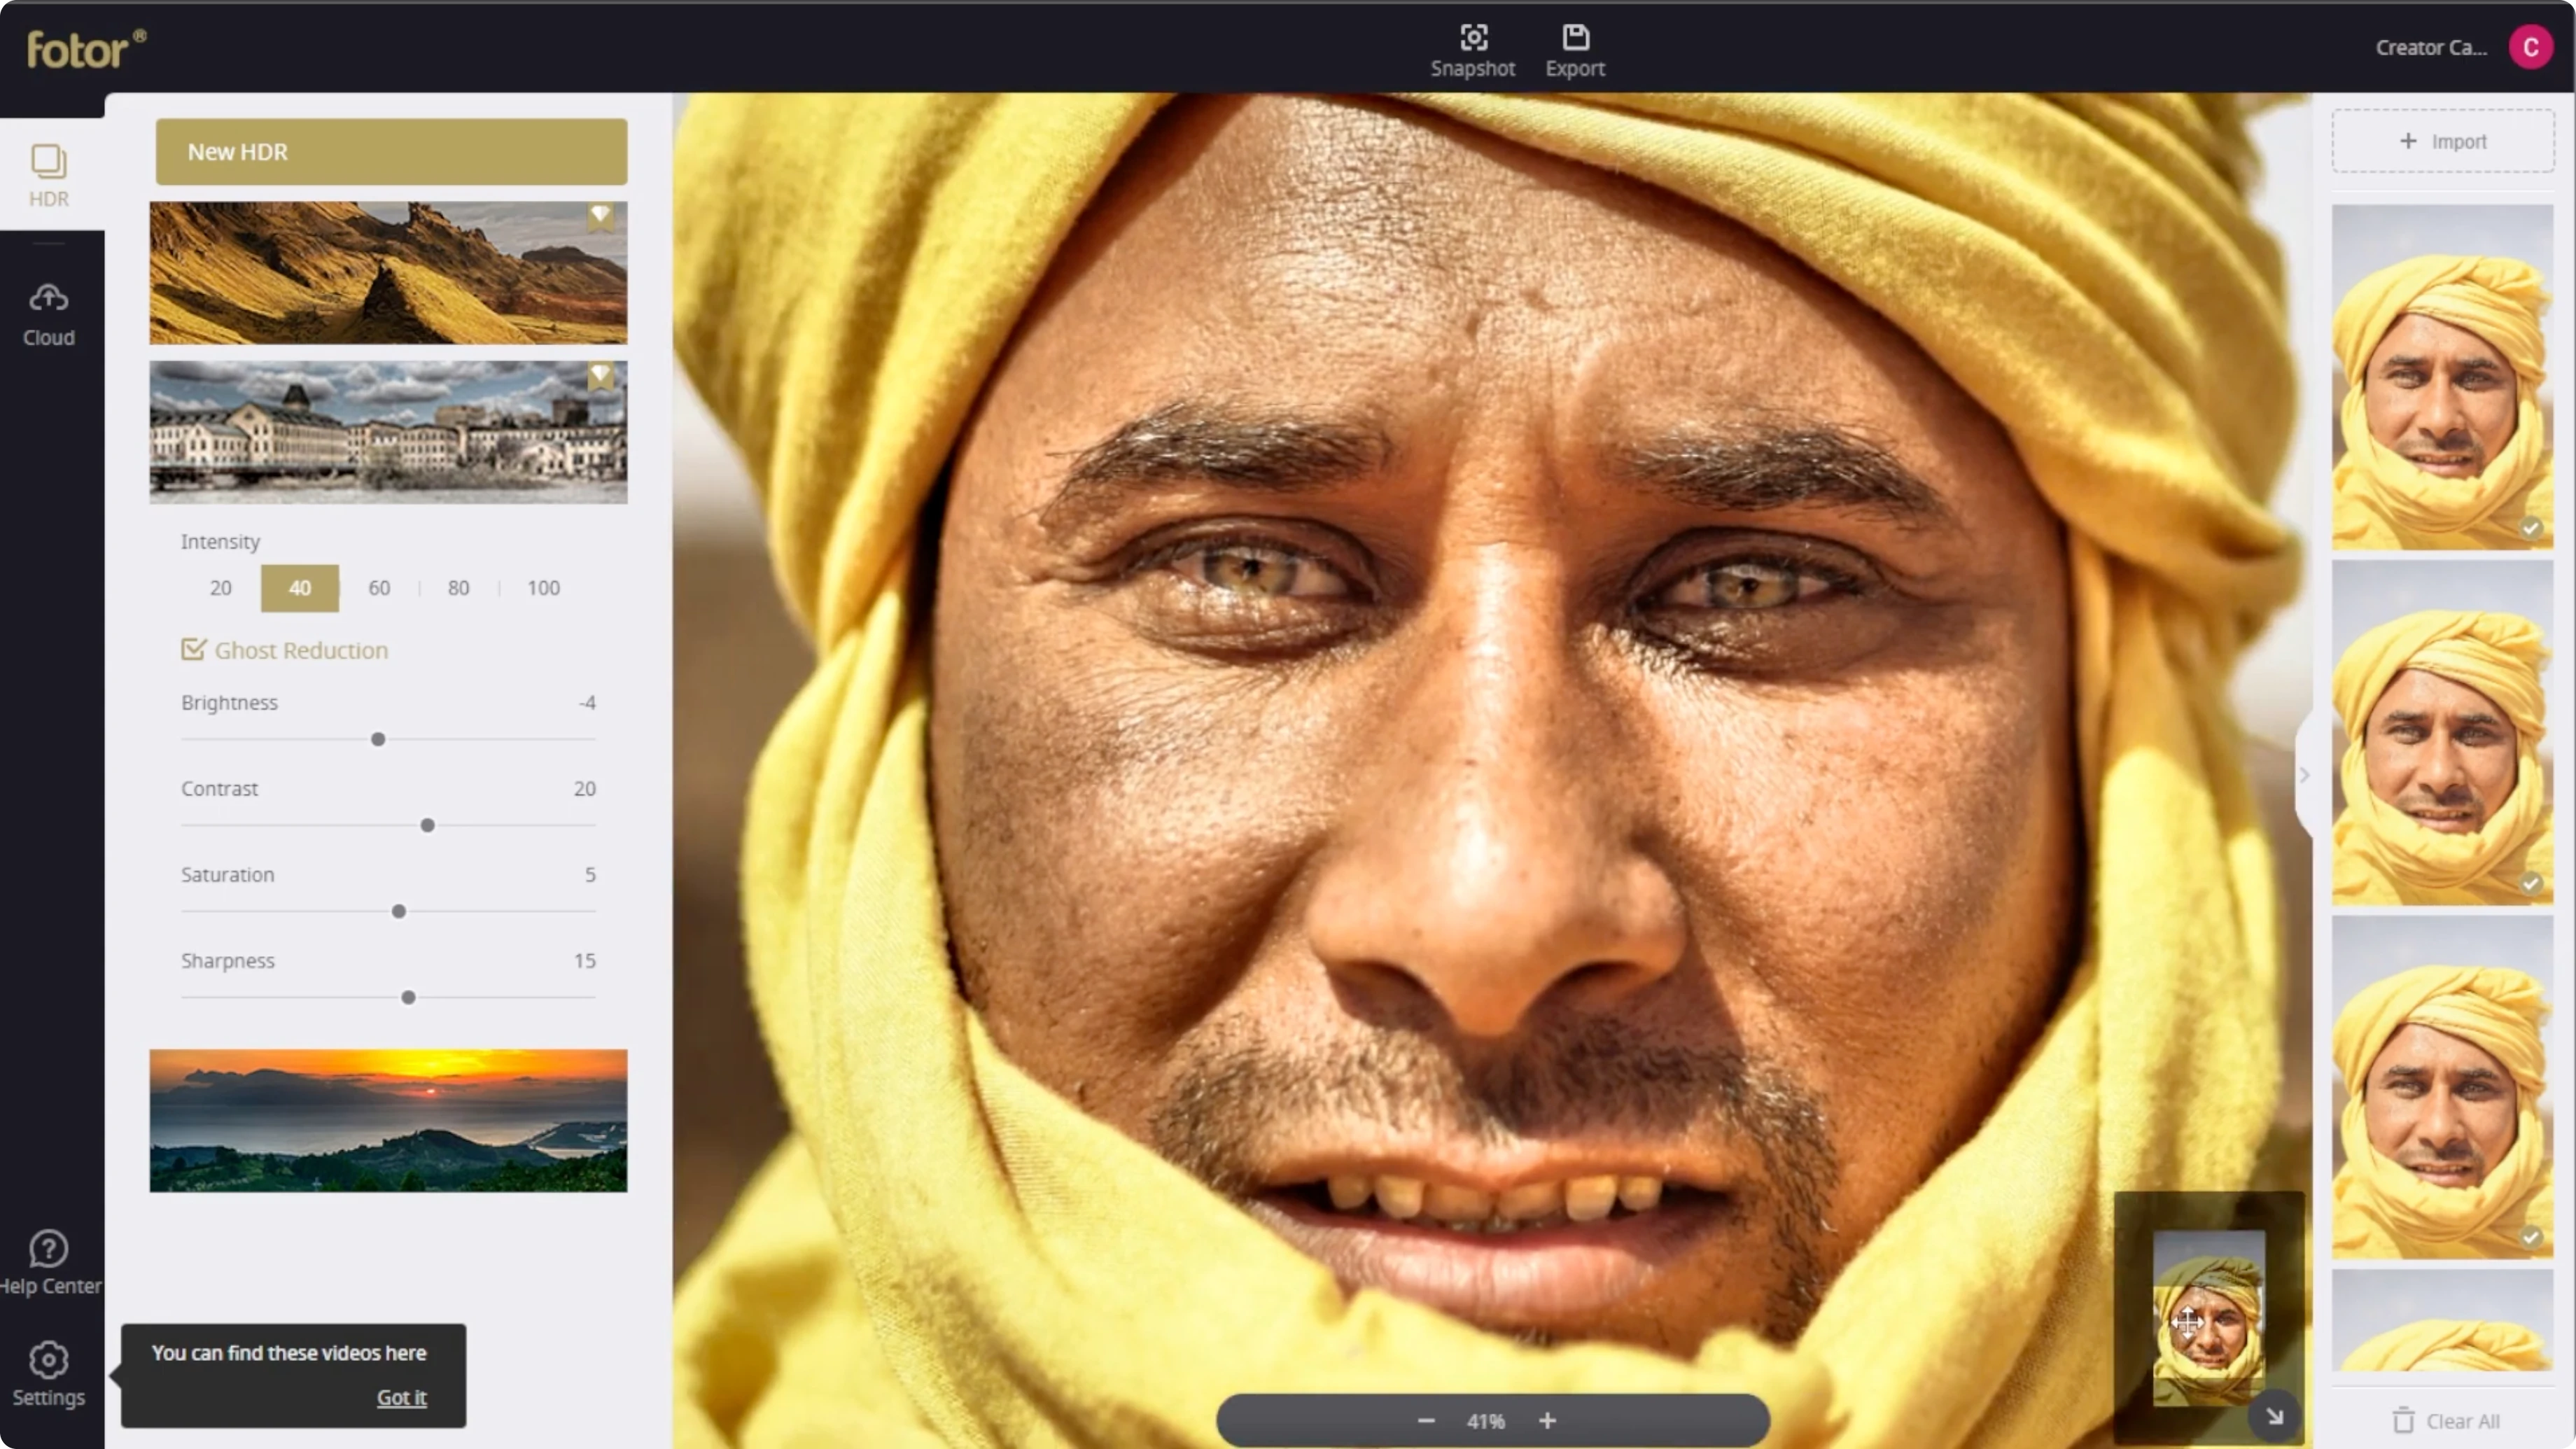
Adjust brightness, contrast, saturation, and sharpness to taste. Small changes usually work best for a natural result. Use the zoom slider at the bottom for a closer look, or scroll with your mouse wheel to zoom in and out.
Export
Once you are happy with the final result, click Export to download your HDR enhanced photo. Save it at full resolution for printing or archiving. You can re-edit later if you keep a copy of the original.
If you want to experiment with portrait edits after HDR, try changing style elements too. A quick makeover can be done with tools for hair and face edits. See how to update looks in our guide to changing your hairstyle in photos.
Final thoughts
HDR adds detail and richness by balancing highlights and shadows. Start with the right upload option, pick a style, then tune intensity and core settings for control. Ghost reduction and careful exports ensure clean results that hold up in close inspection.
Recent Posts
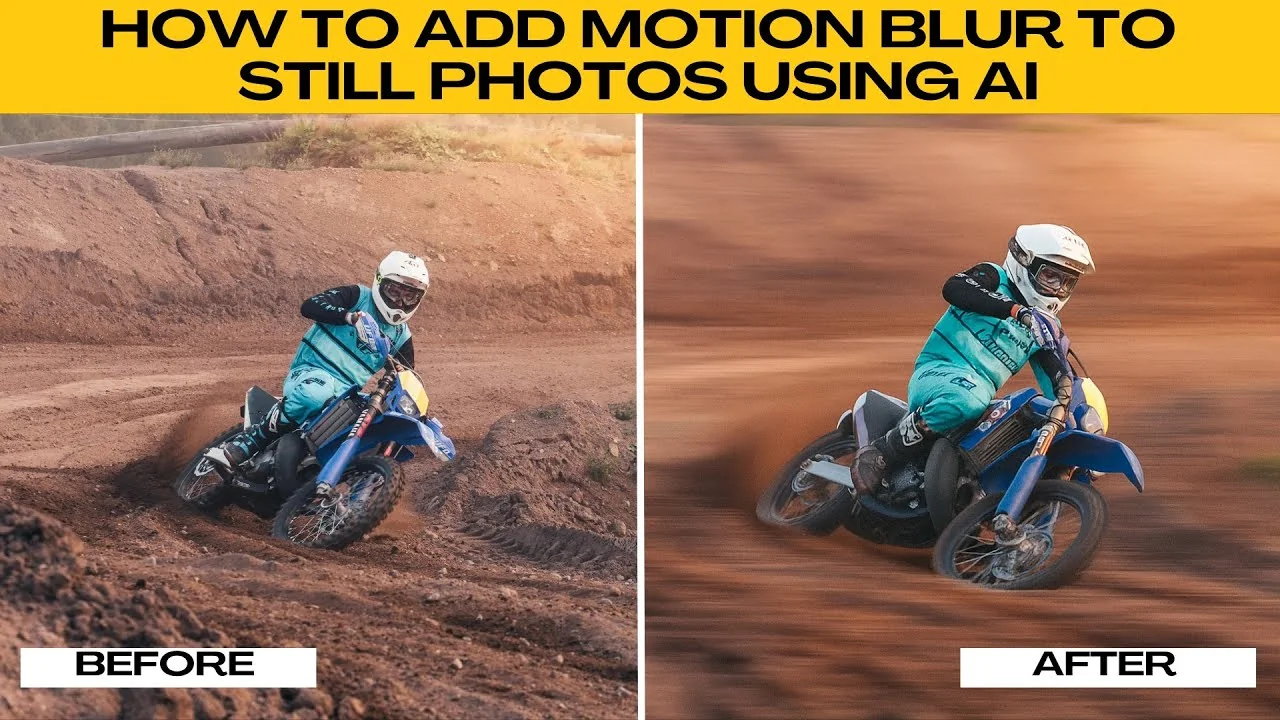
How to Motion Blur the Background of Any Photo Using AI?
How to Motion Blur the Background of Any Photo Using AI?
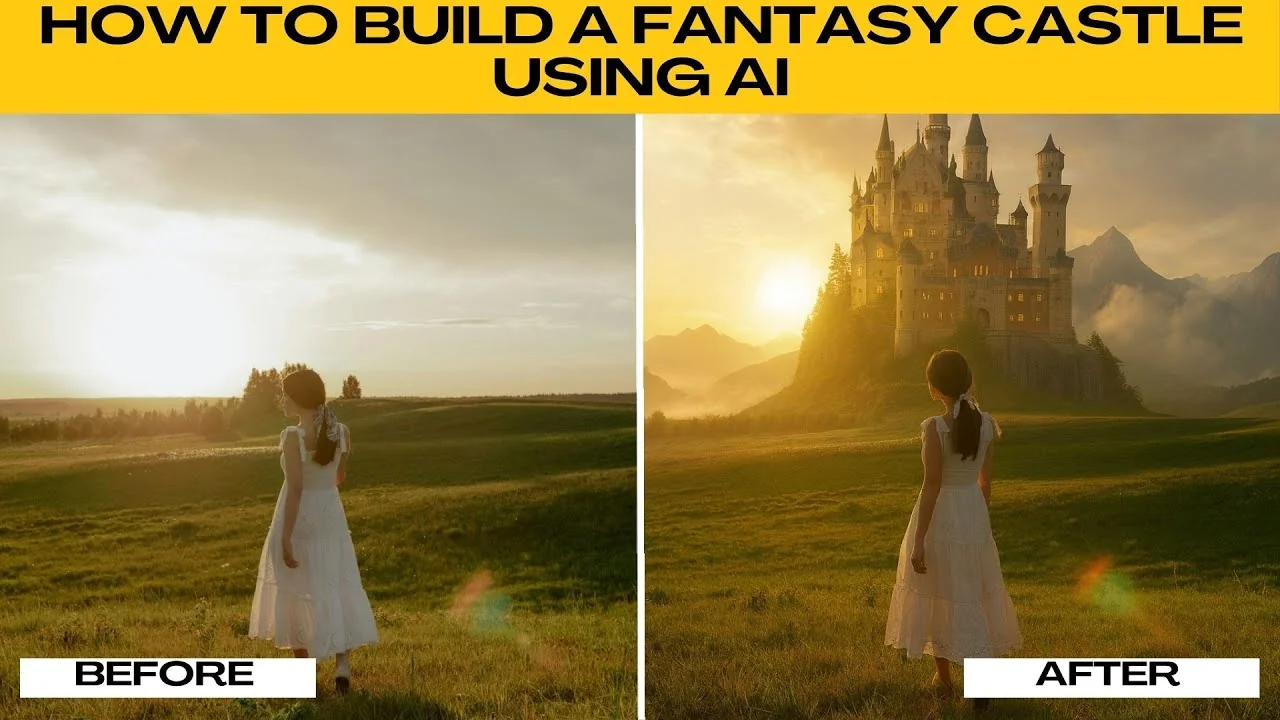
How to Visualize Majestic Castlecore and Fairytale Landscapes with AI?
How to Visualize Majestic Castlecore and Fairytale Landscapes with AI?
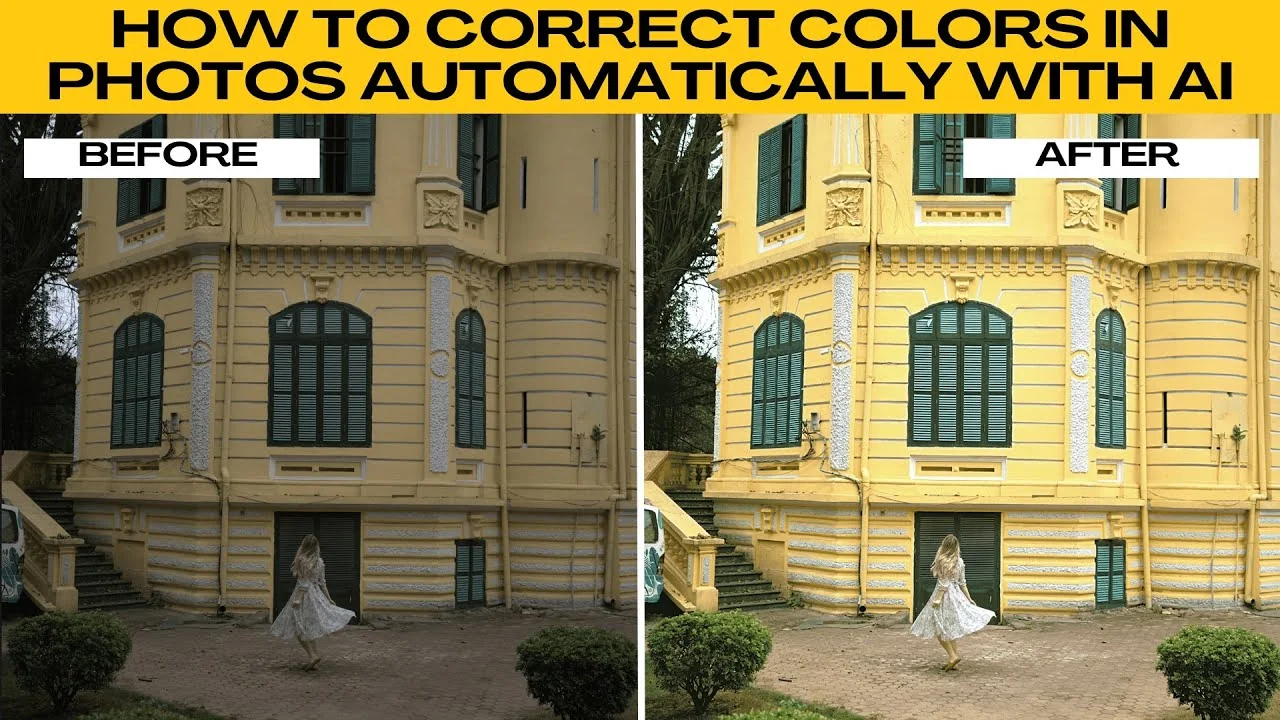
How to Automatically Correct and Enhance Photo Colors with AI?
How to Automatically Correct and Enhance Photo Colors with AI?