How to Enhance Low-Light Photos and Restore Shadow Details with AI?
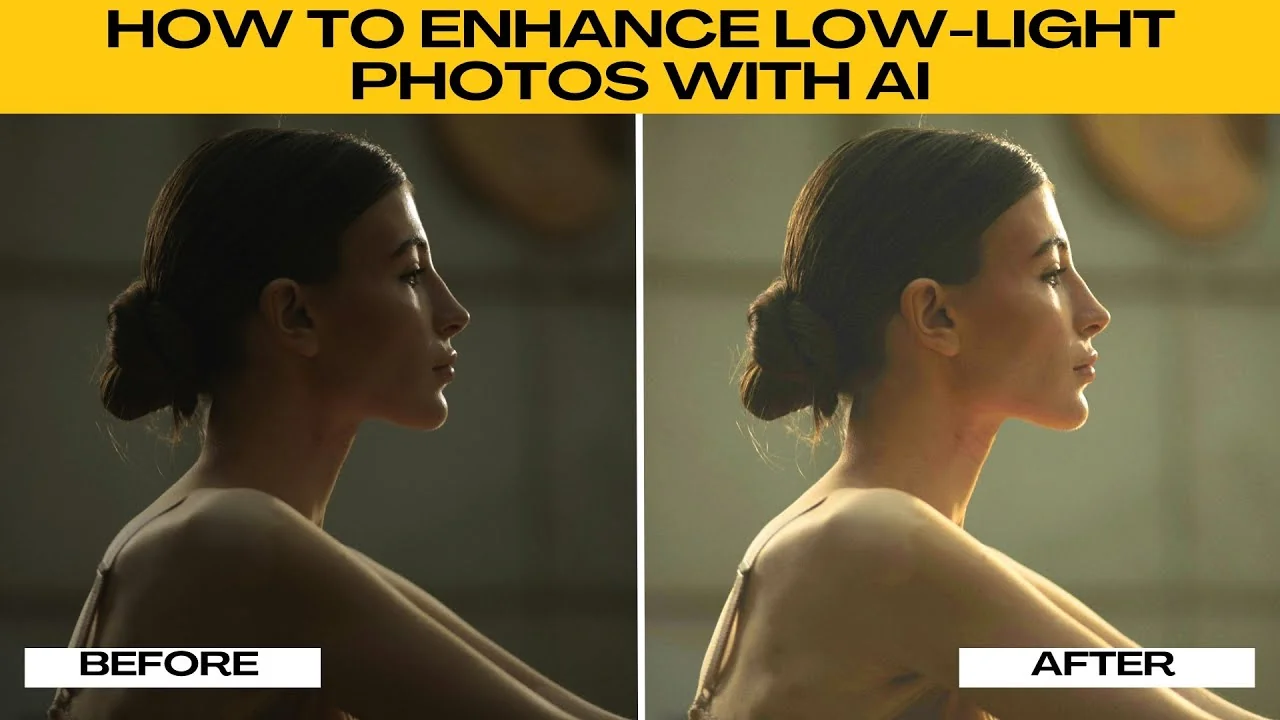
Dark, grainy, or underexposed photos can ruin the moment, especially when taken in low light conditions like indoor parties, nighttime events, or cloudy days. You don't need to be a professional editor to fix them.
Thanks to Photo's AI photo editor, you can enhance low light images in just a few clicks using AI tools that intelligently balance lighting, contrast, and color.
For a broader walkthrough of AI editing beyond exposure fixes, see our guide to editing images with Icedit AI.
Get started
Open your browser and go to Photos AI photo editor.
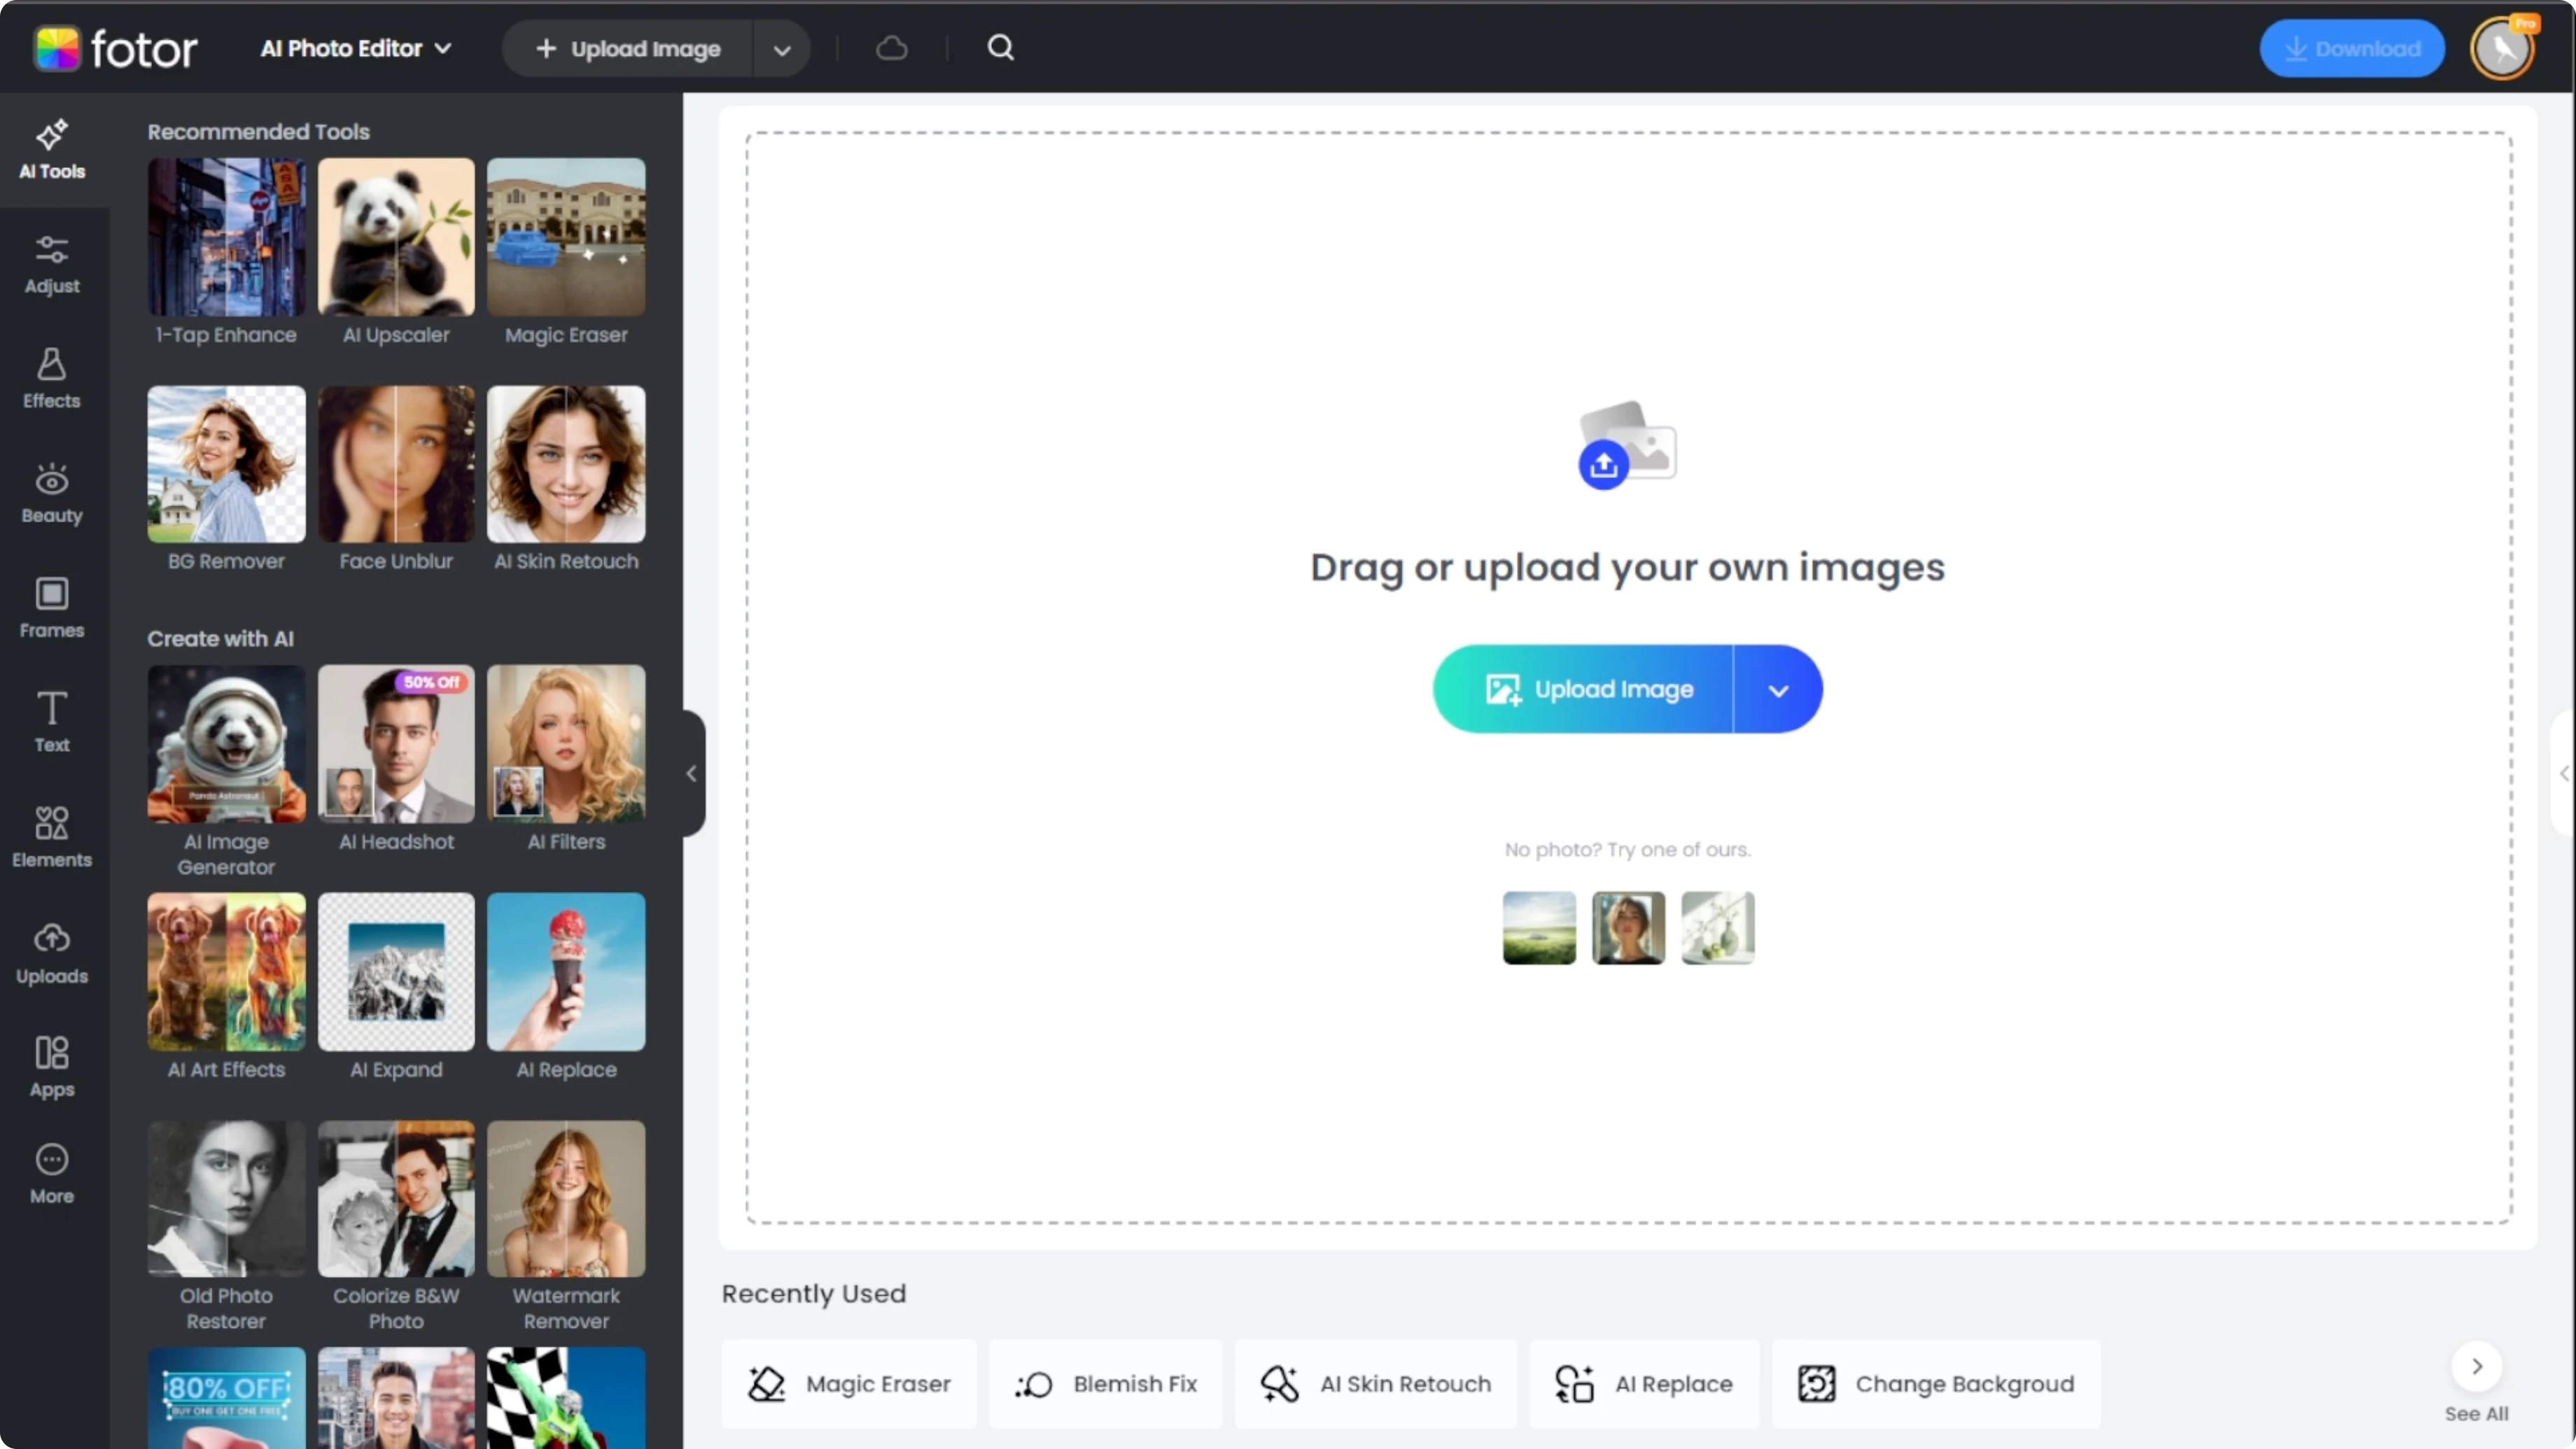
Drag and drop your image into the window or click the upload image button to manually select a photo from your device.

If you want to test the effect first before using your own image, Boer offers sample images that you can use for practice.

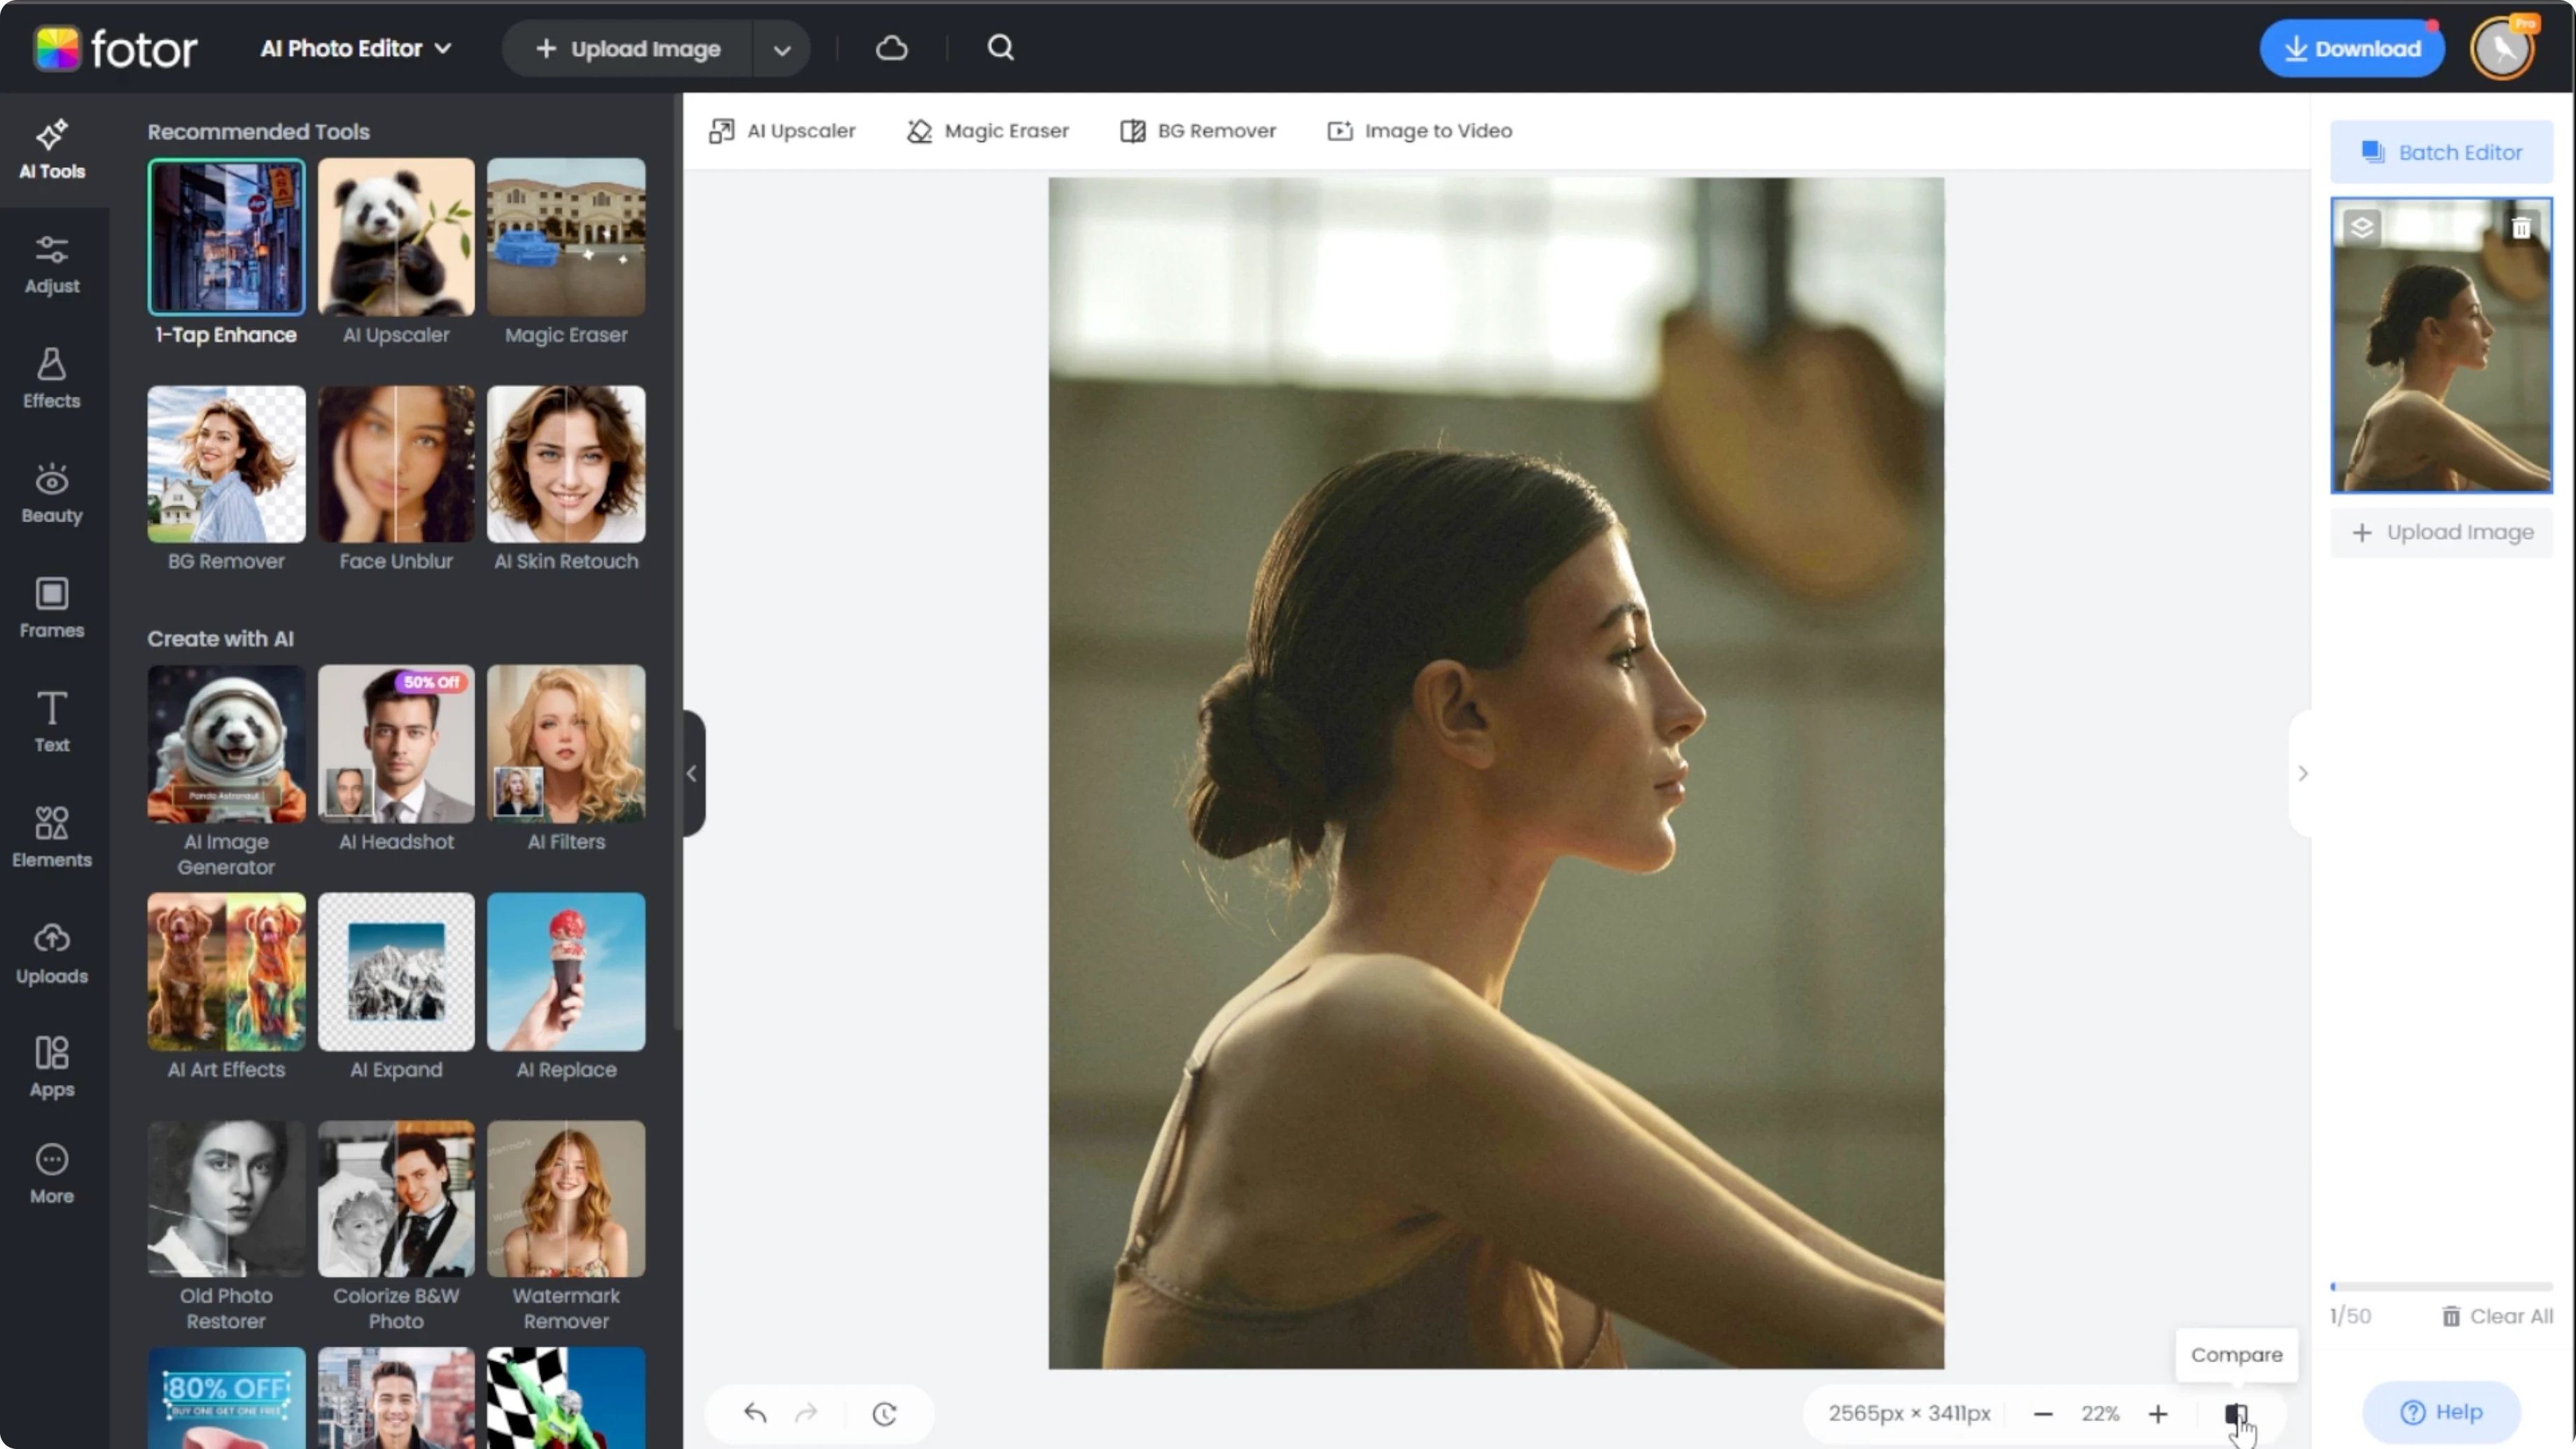
One tap enhance
Look at the left side panel and switch to the AI tabs tool.
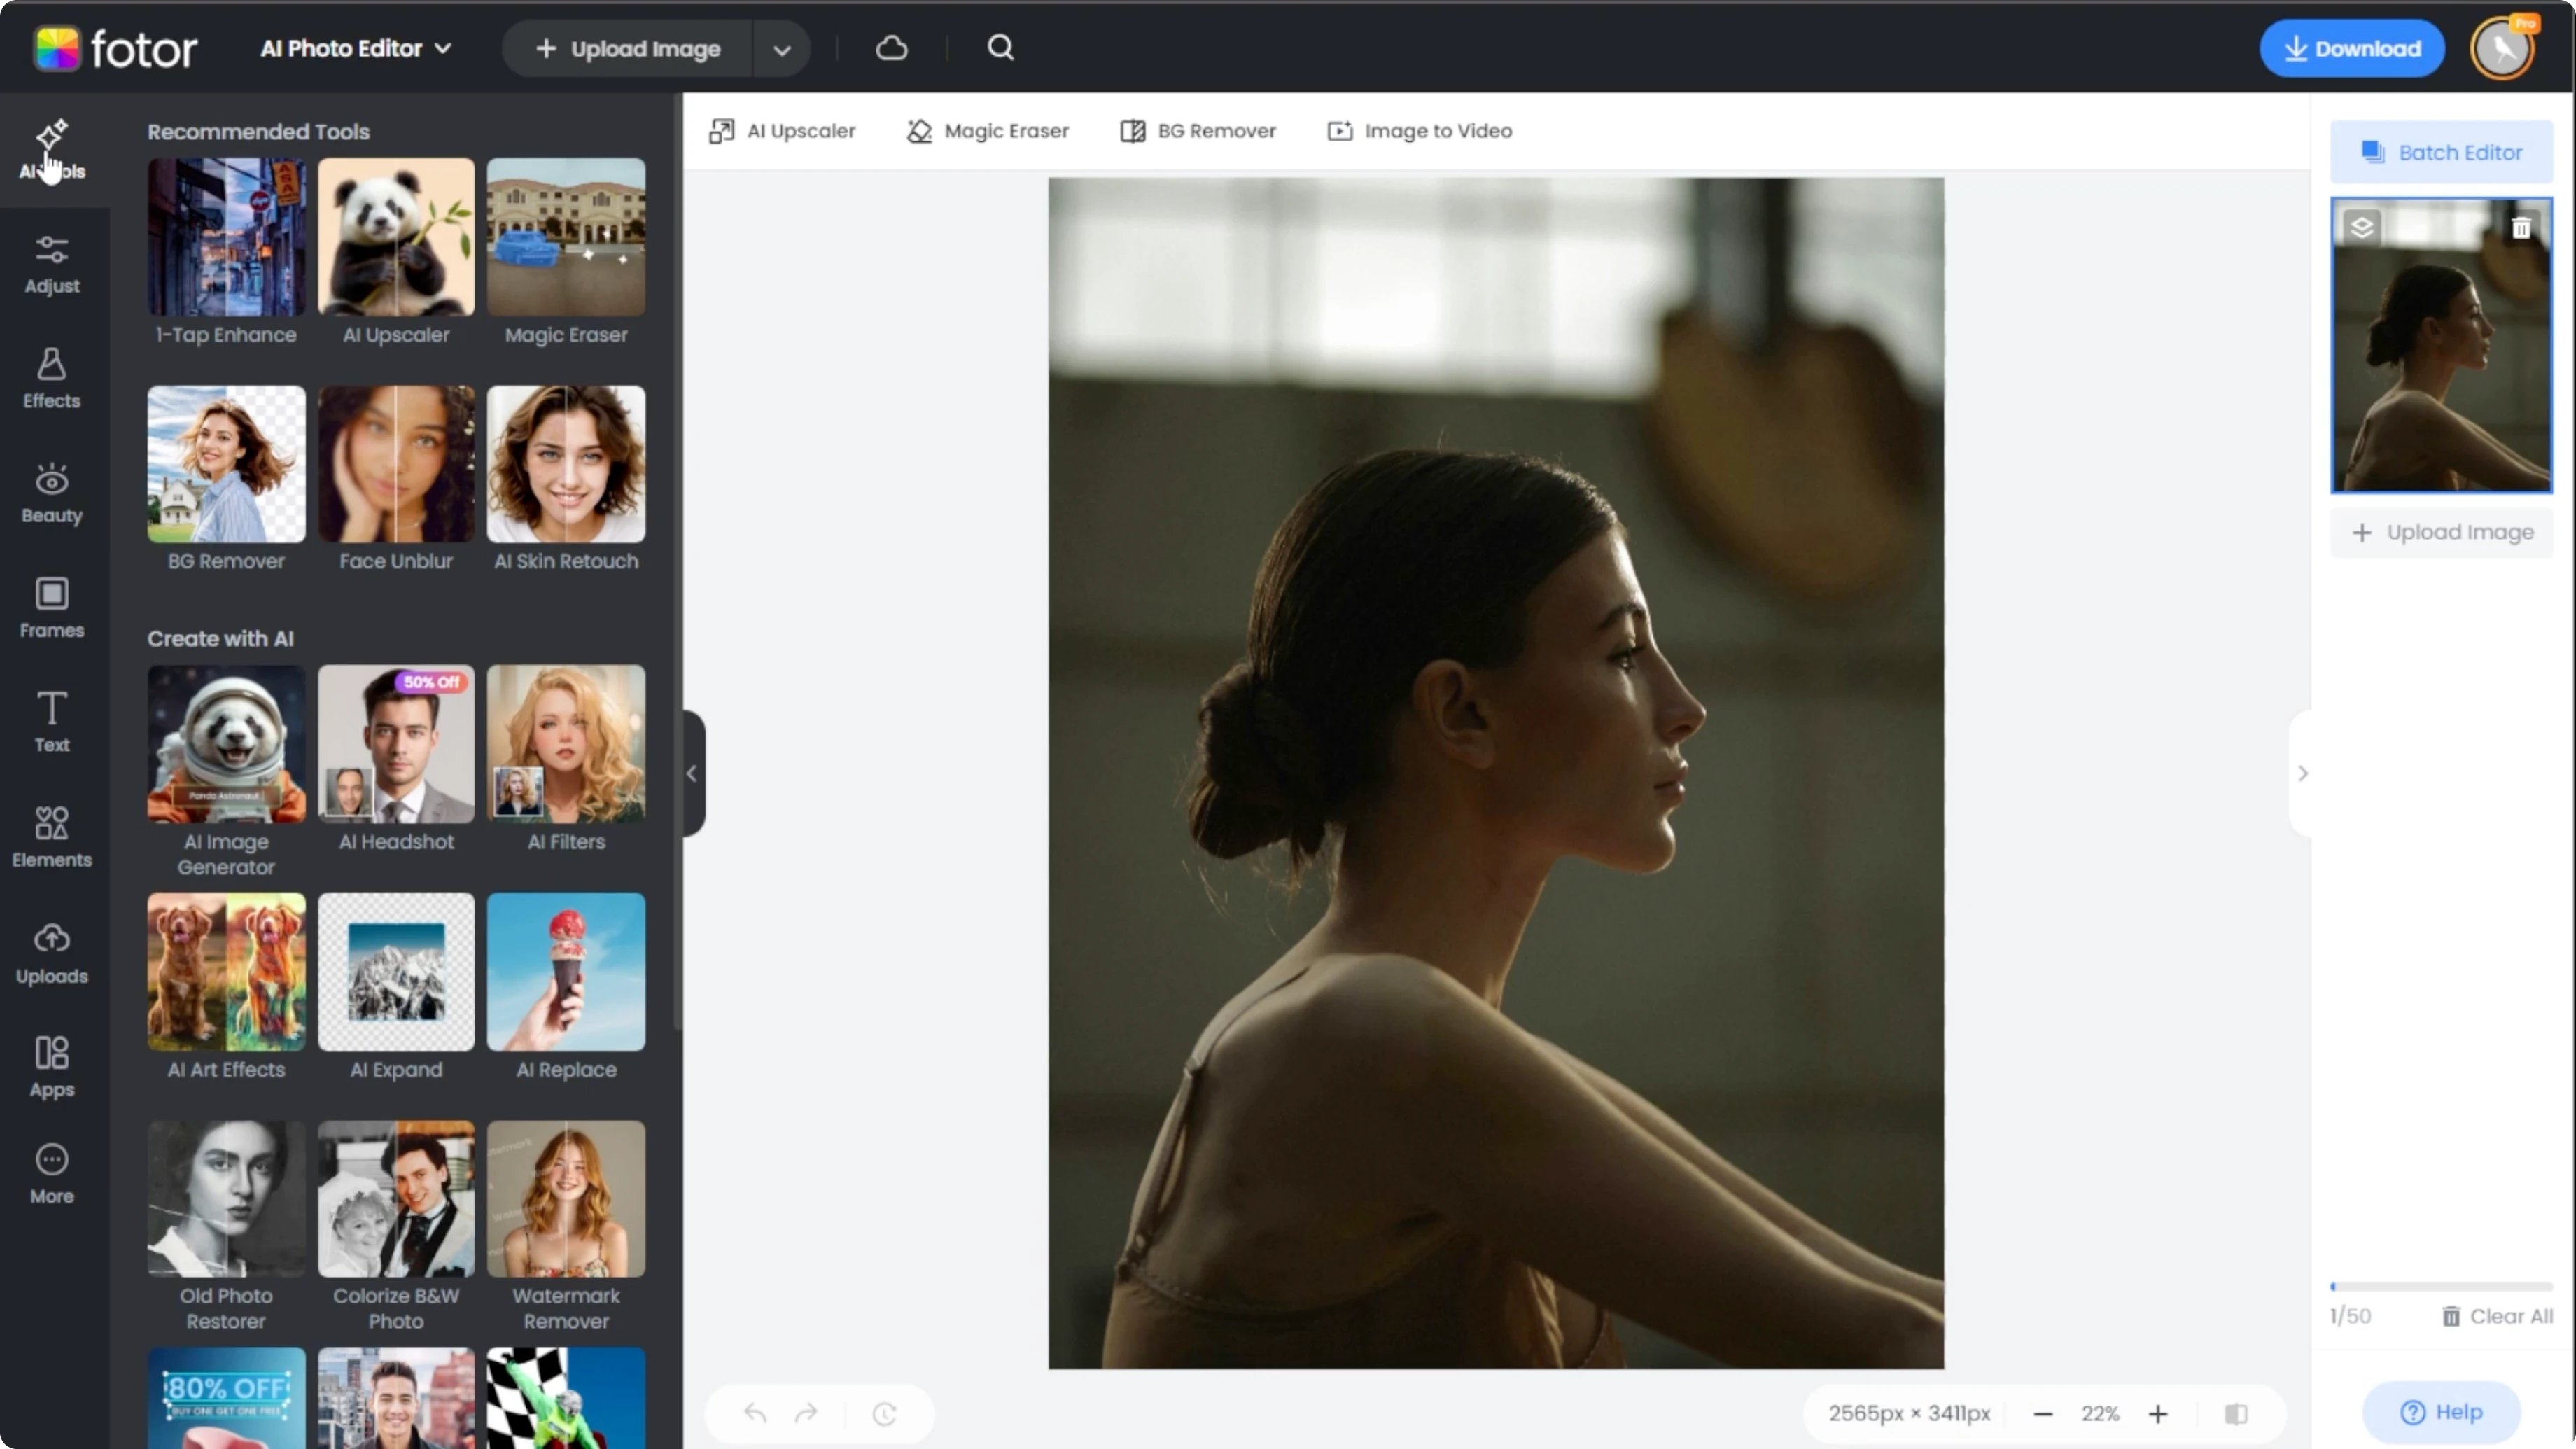
Select the one tap enhance tool and the AI will automatically analyze and enhance your photo by improving brightness, contrast, sharpness, and color balance, especially for dark or low light images.

This process usually takes just a few seconds.
Compare results
Click the compare button at the bottom right corner of the editor to switch between the before and after versions of your photo.
This allows you to visually evaluate the AI enhancements and decide if you're satisfied with the changes.
If you want a creative flip by intentionally darkening a scene, explore how to turn daytime photos into night scenes with AI.
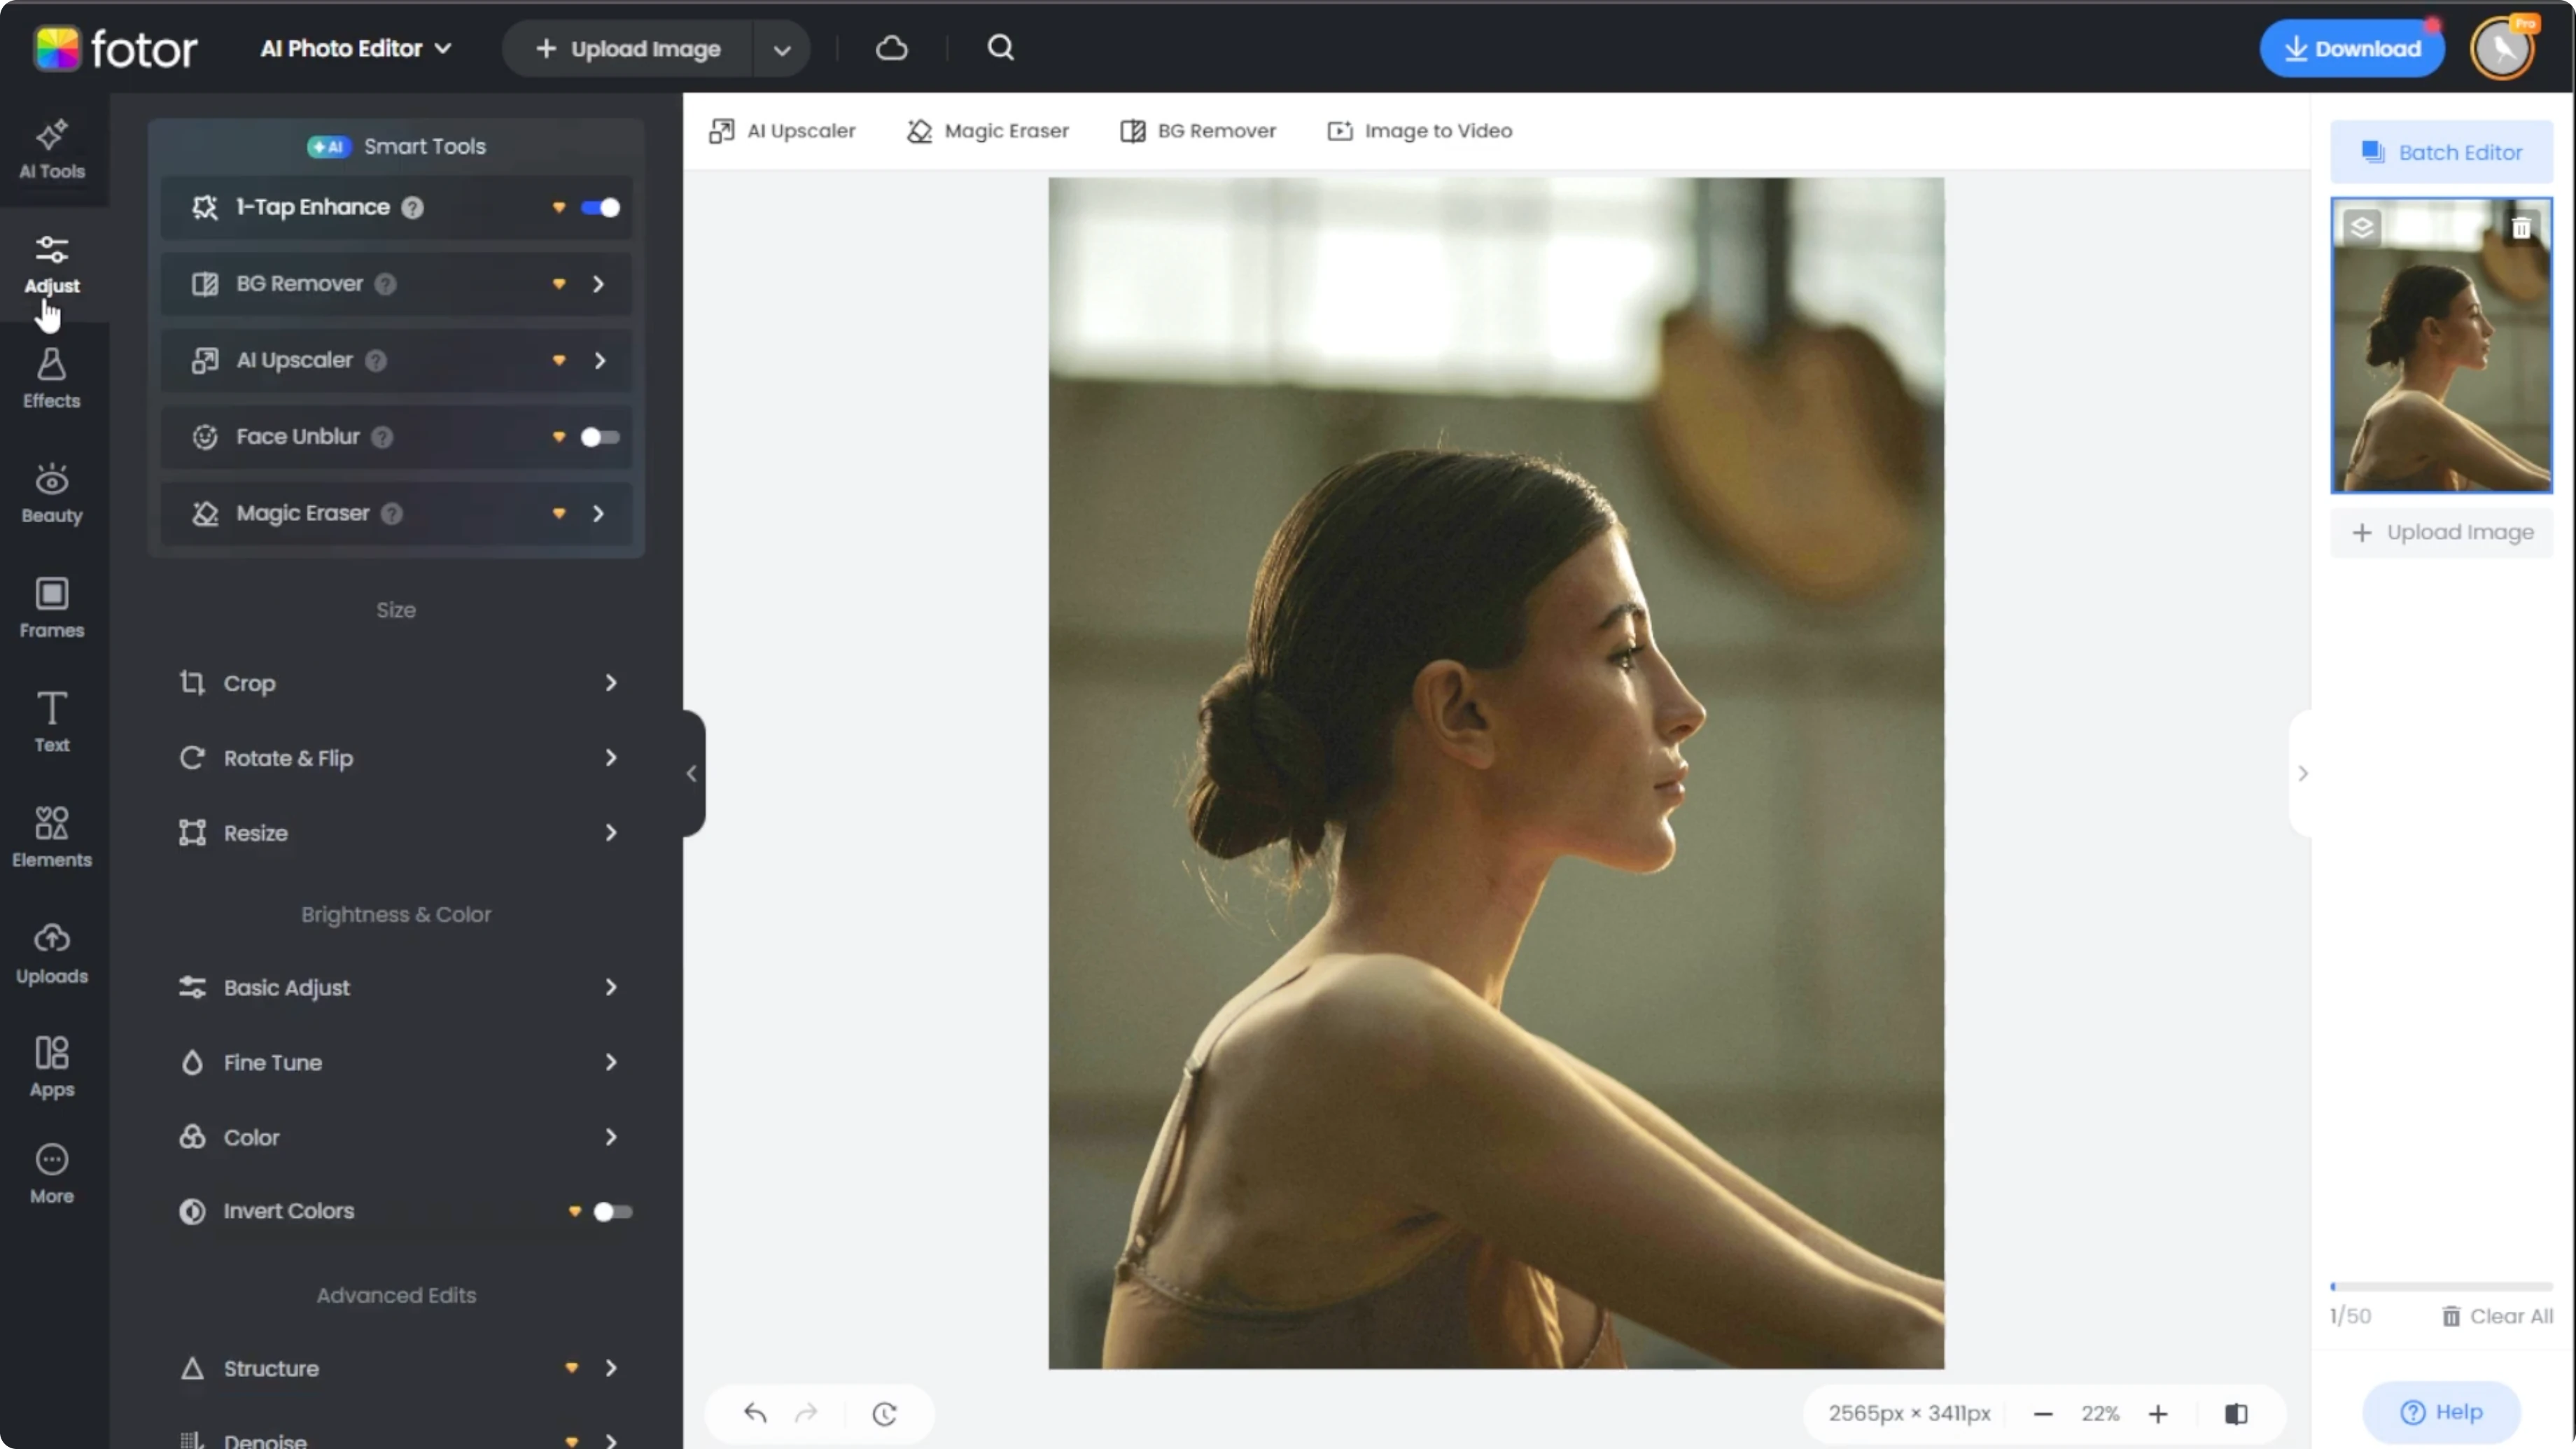
Manual tweaks
If you're not completely satisfied or want more control, you can manually adjust the brightness and color settings.

Click on the adjust tab on the left panel.
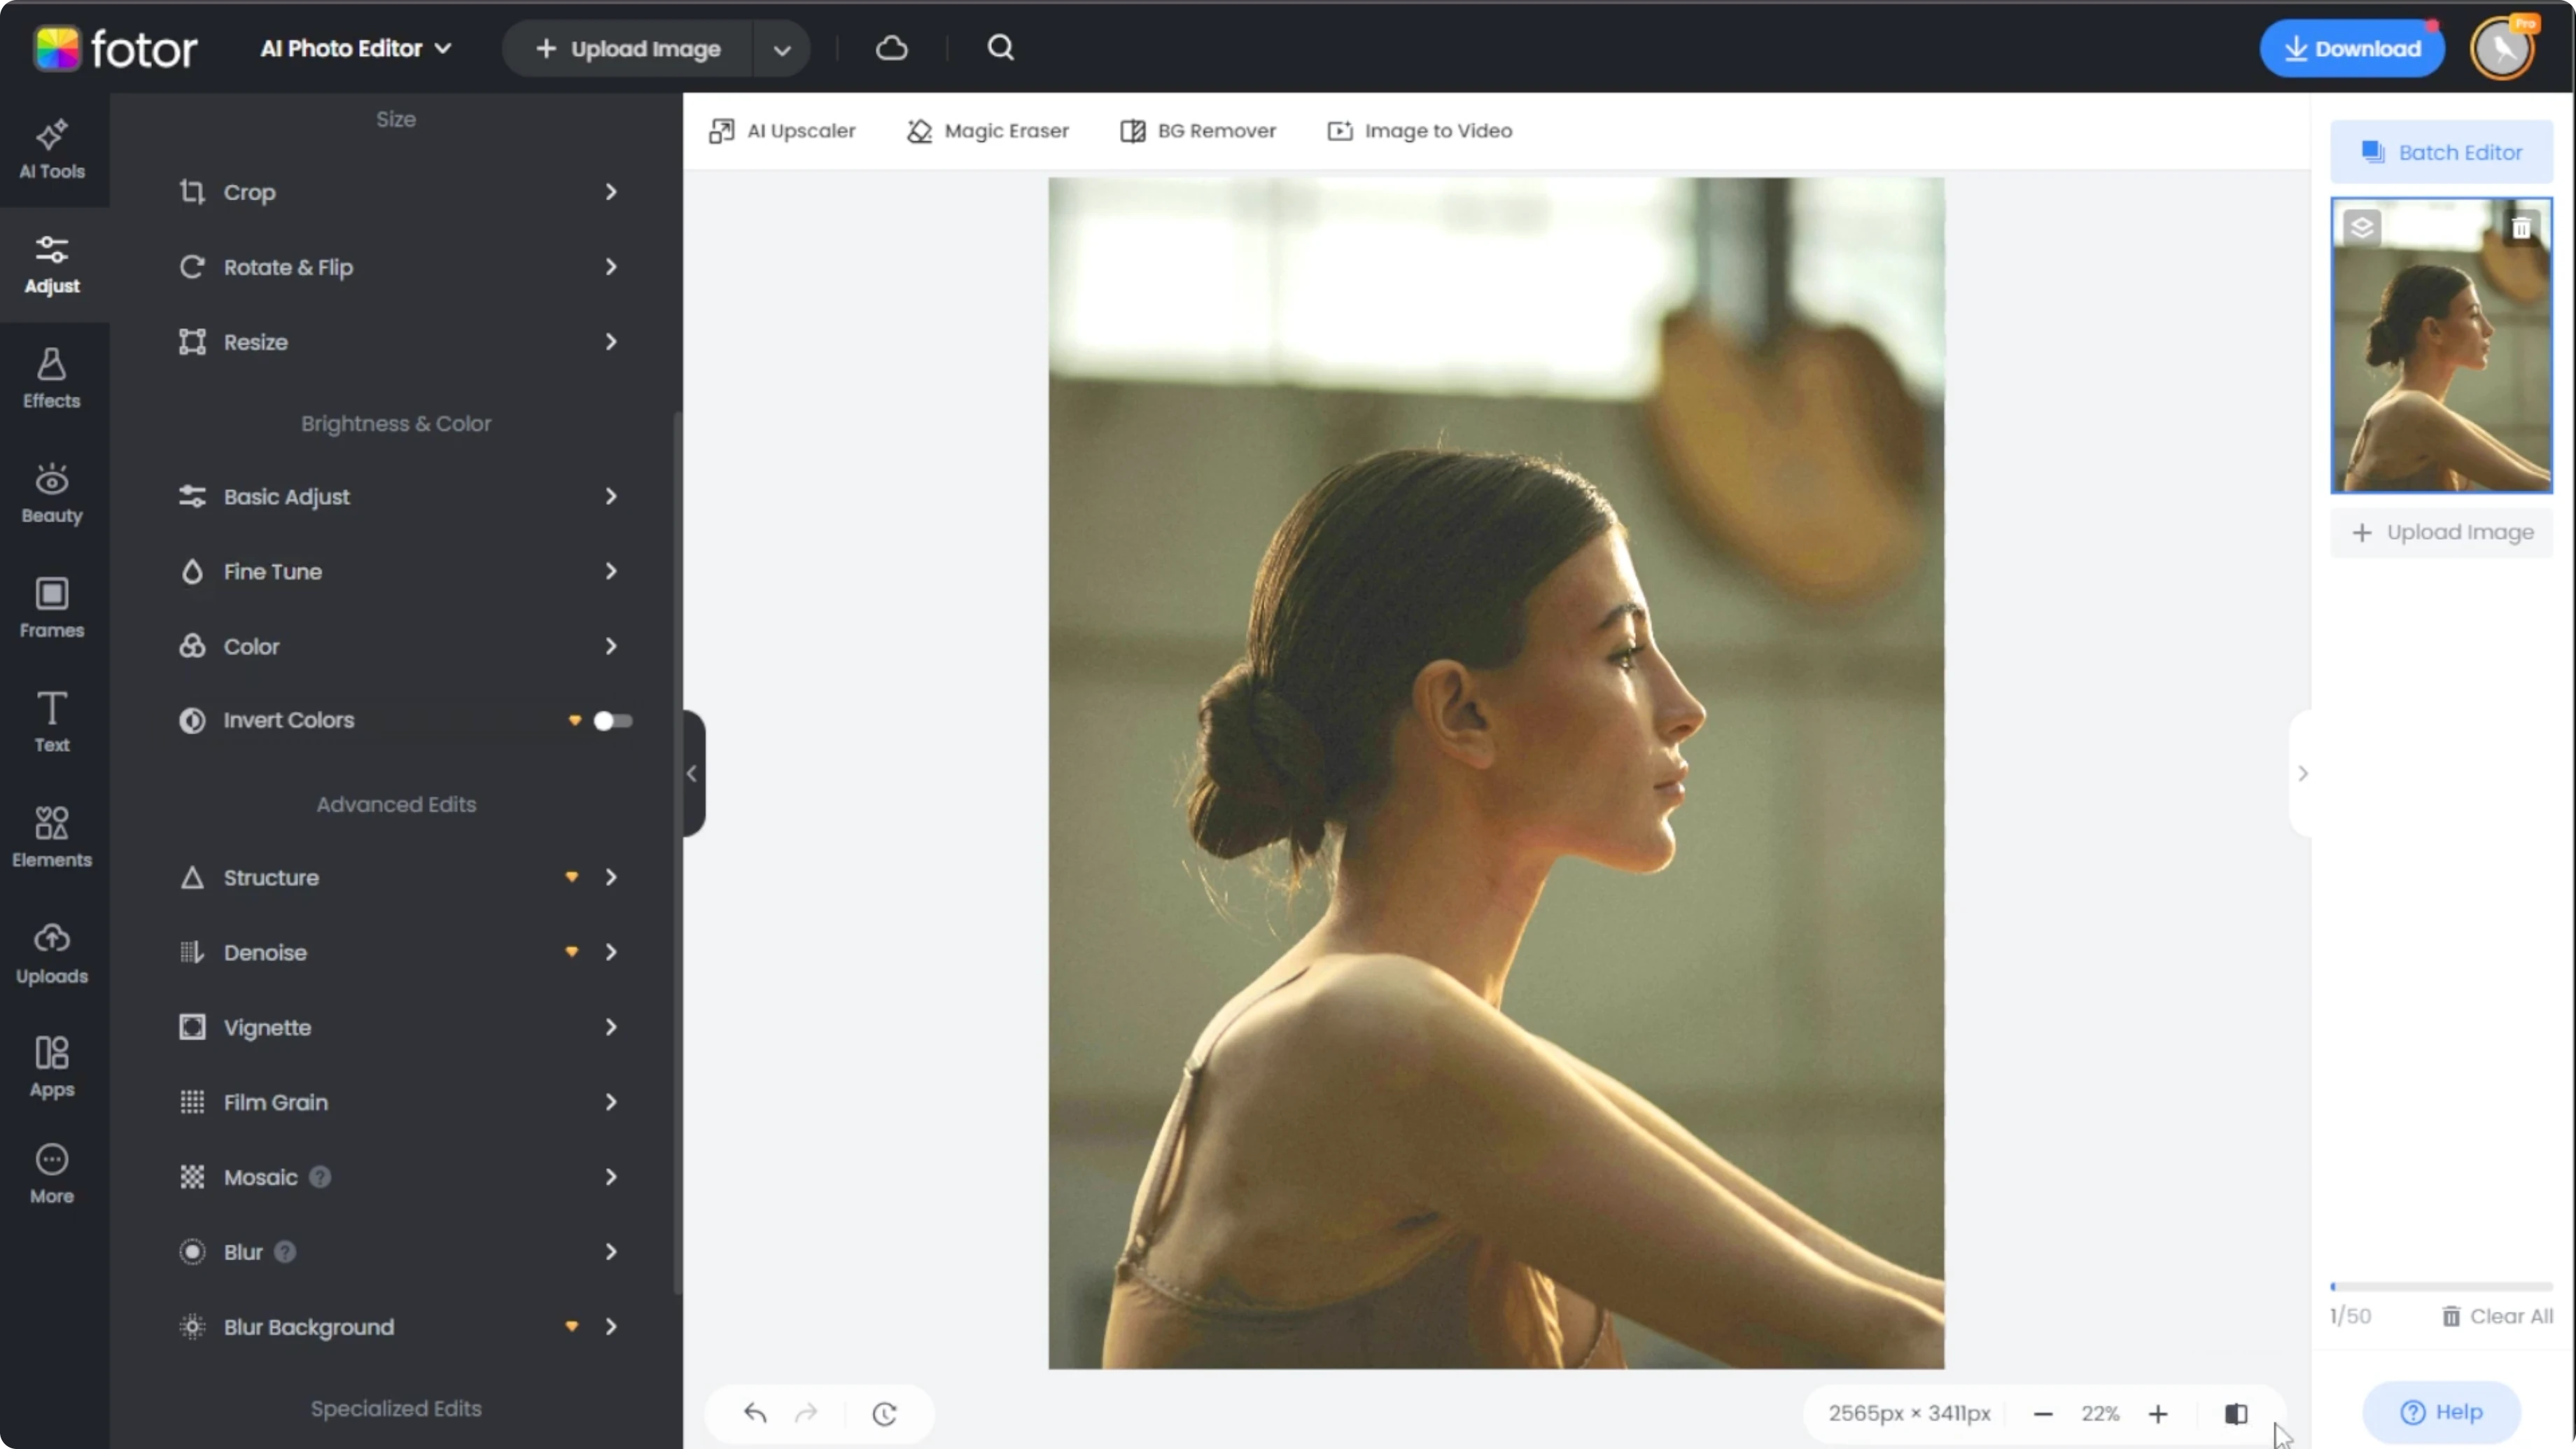
Basic adjust
Under the brightness and color section, click basic adjust.
Adjust the brightness to lighten or darken your image manually. Adjust the contrast to enhance the separation between the light and dark areas.
Tweak the saturation to make the colors more vibrant and adjust the sharpness to define edges and reduce blur.
For creative retouching after you balance exposure, you can also try AI edits like changing hairstyles with this step by step hairstyle swap tutorial.
Auto apply and reset
When adjusting these settings, the edits will automatically apply once you switch tabs or close the dropdown.
If you're not happy with the changes, reset the parameters before moving on to the next section.
Fine tune exposure
Expand the fine tune dropdown to adjust the exposure for overall brightness across the image.
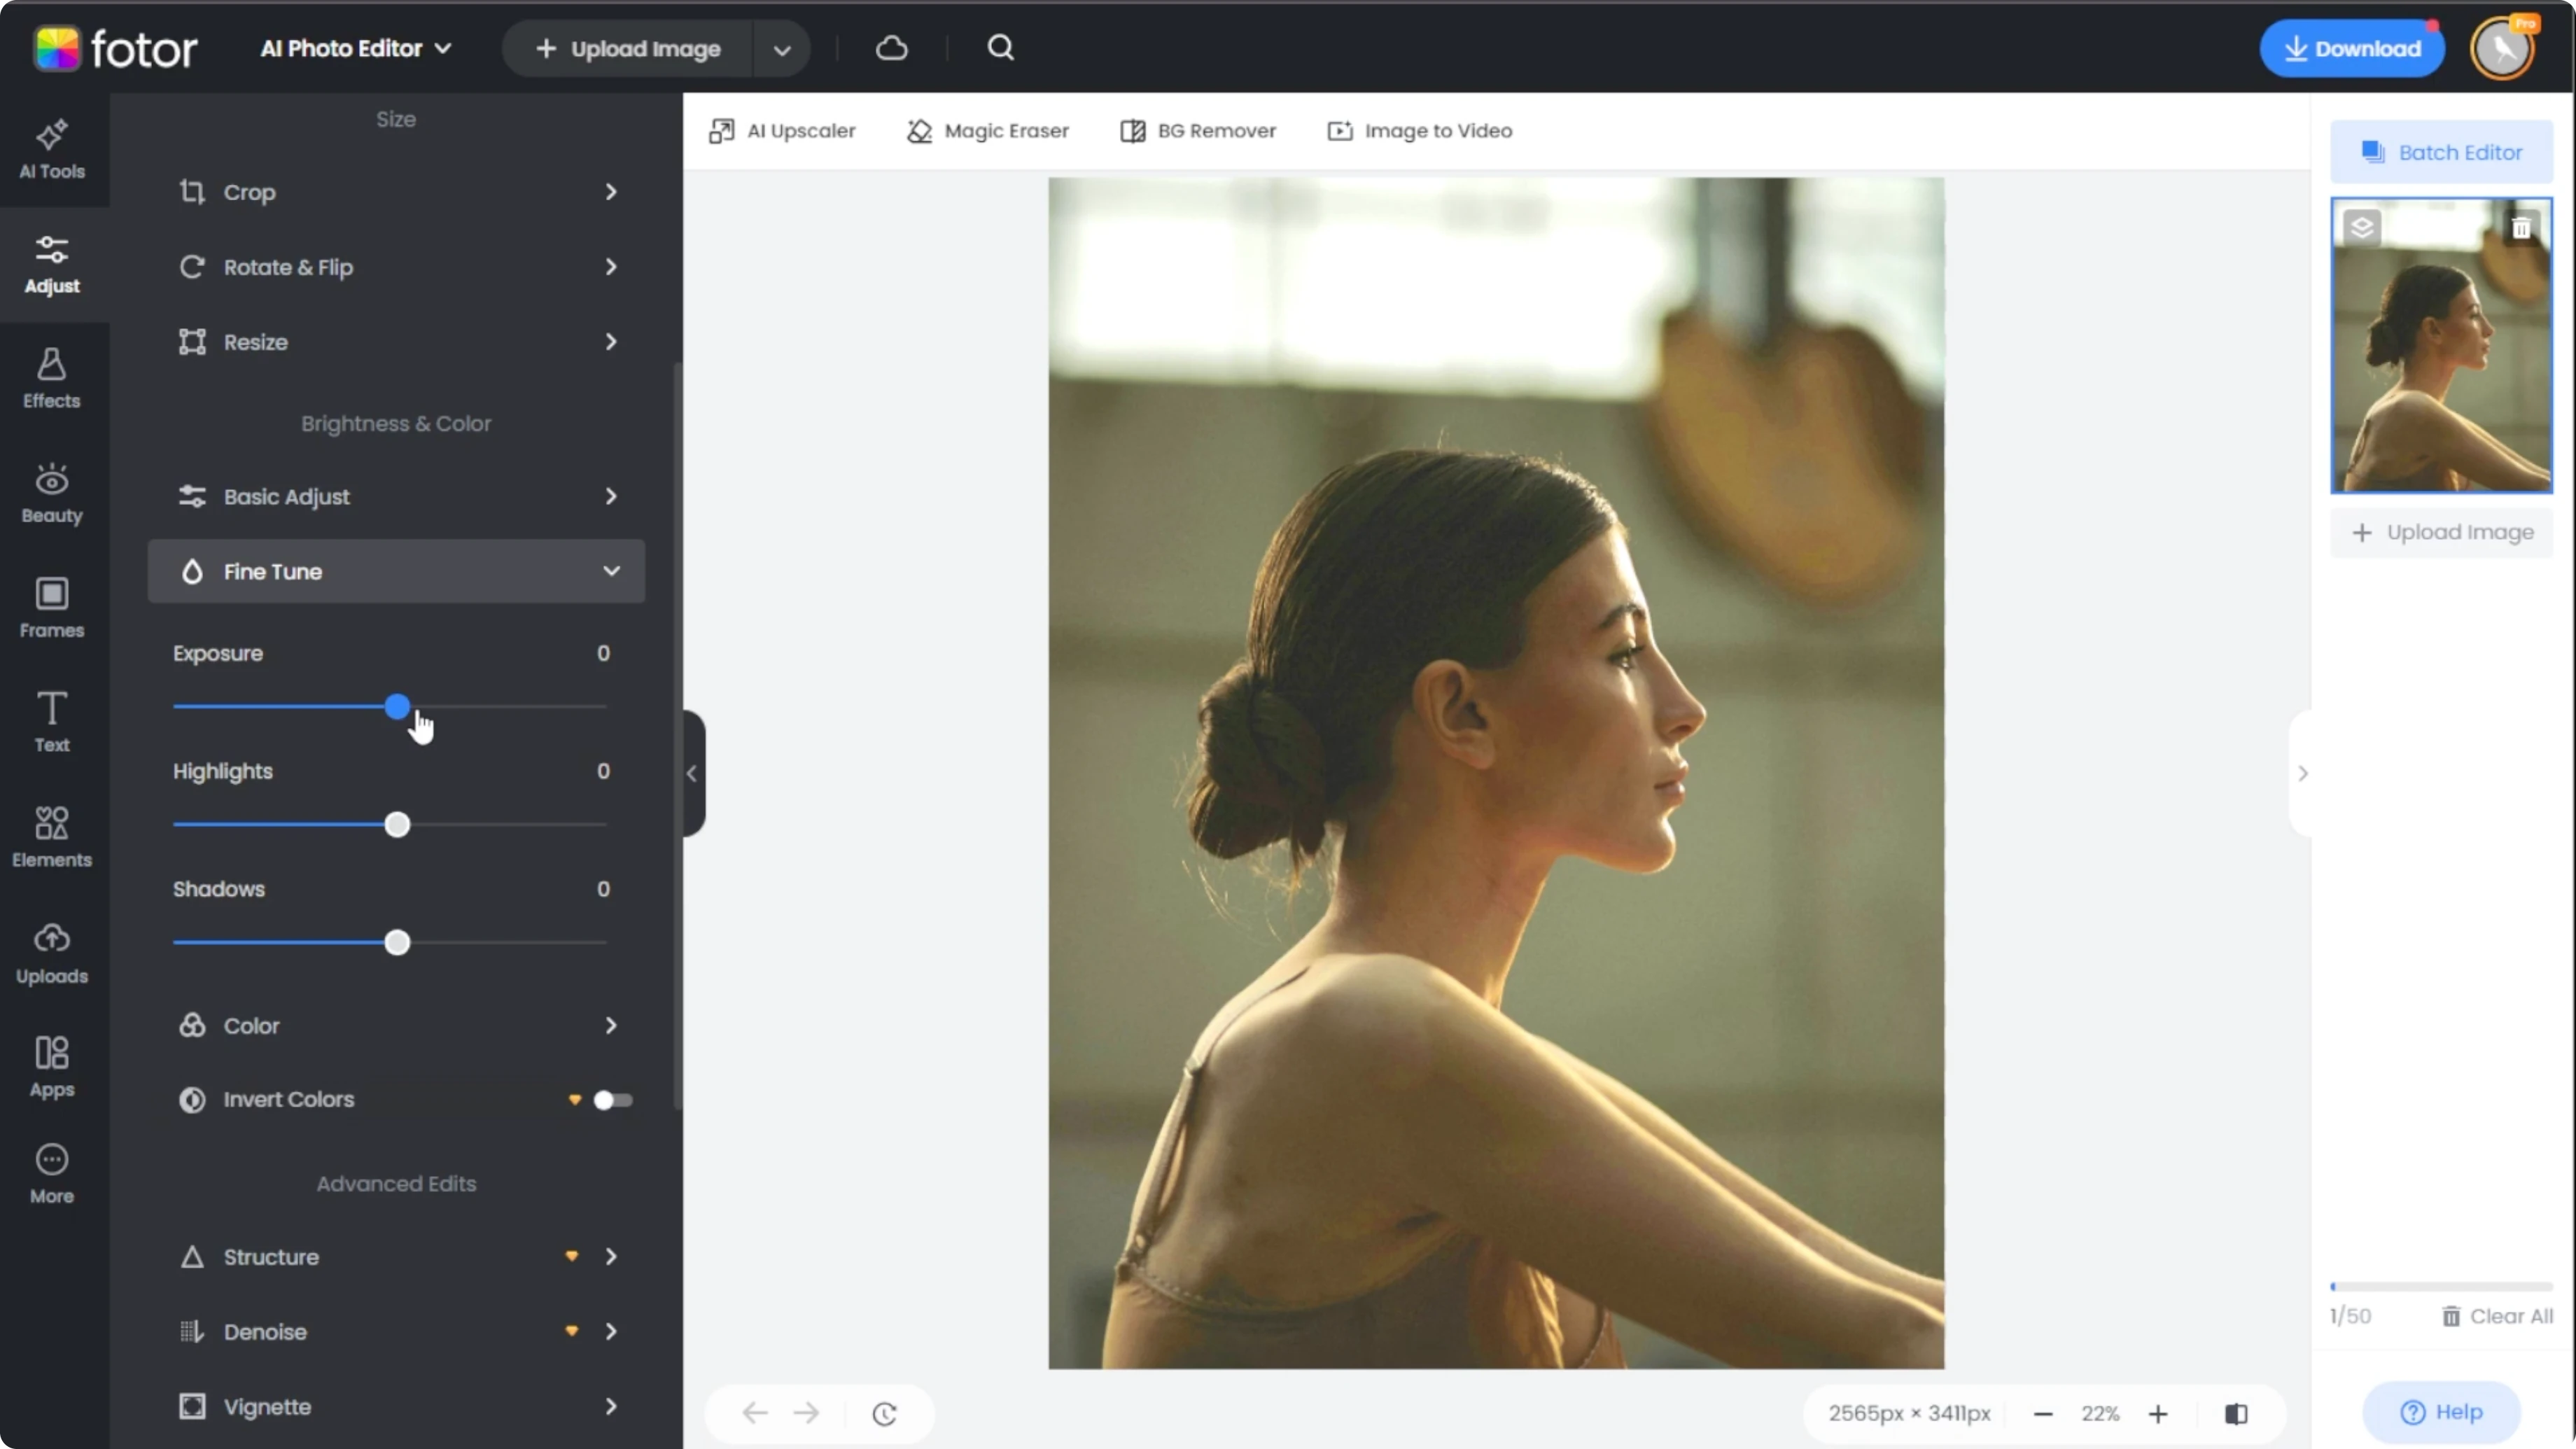
Adjust highlights to lighten or darken the brightest parts.
Adjust shadows to brighten up the darkest parts of your image.
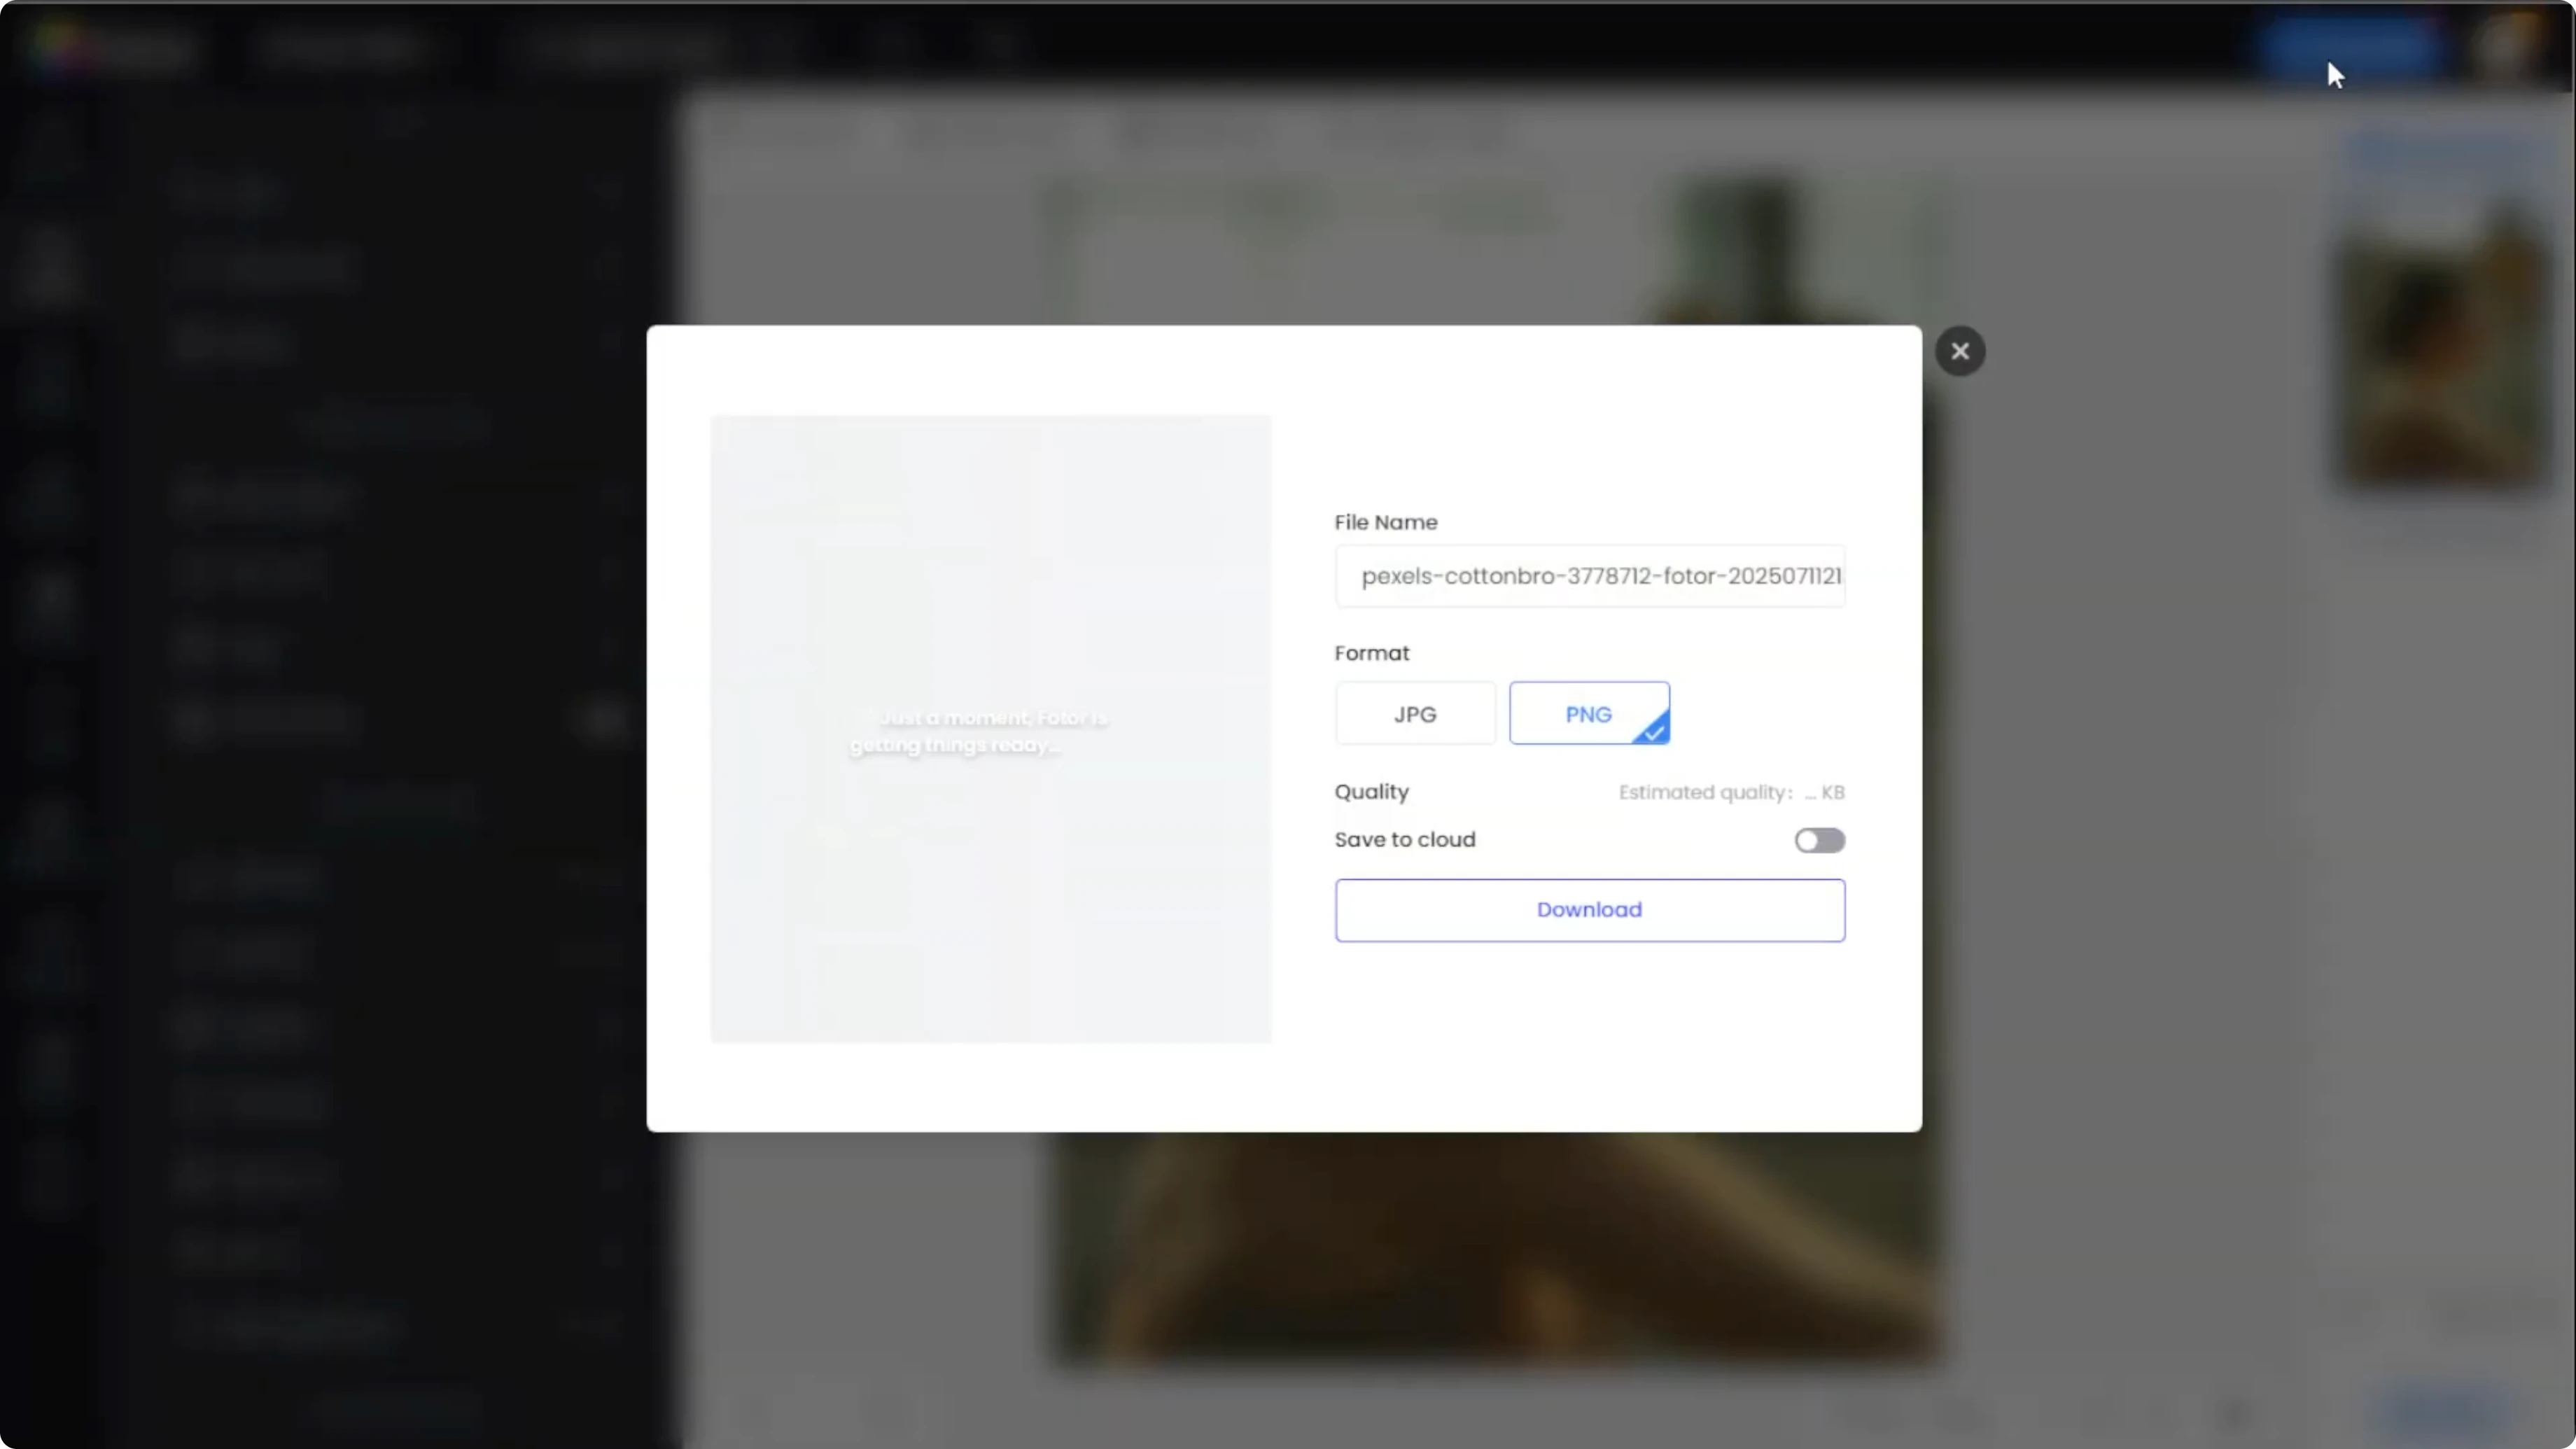
Export
Click the comparison button again to ensure your image looks exactly how you want it.
If you're satisfied, click the download button at the top right, choose your preferred file type, and download your enhanced photo.
Final thoughts
AI can quickly correct low light photos by balancing light, contrast, and color, and one tap enhance is often all you need.
When you want more control, the basic adjust and fine tune panels let you shape the final look with precision.
Recent Posts

How to Clean and Erase Logos from Your Images with AI?
How to Clean and Erase Logos from Your Images with AI?
How to Turn Your Pop Art Ideas Into Reality with AI?
How to Turn Your Pop Art Ideas Into Reality with AI?
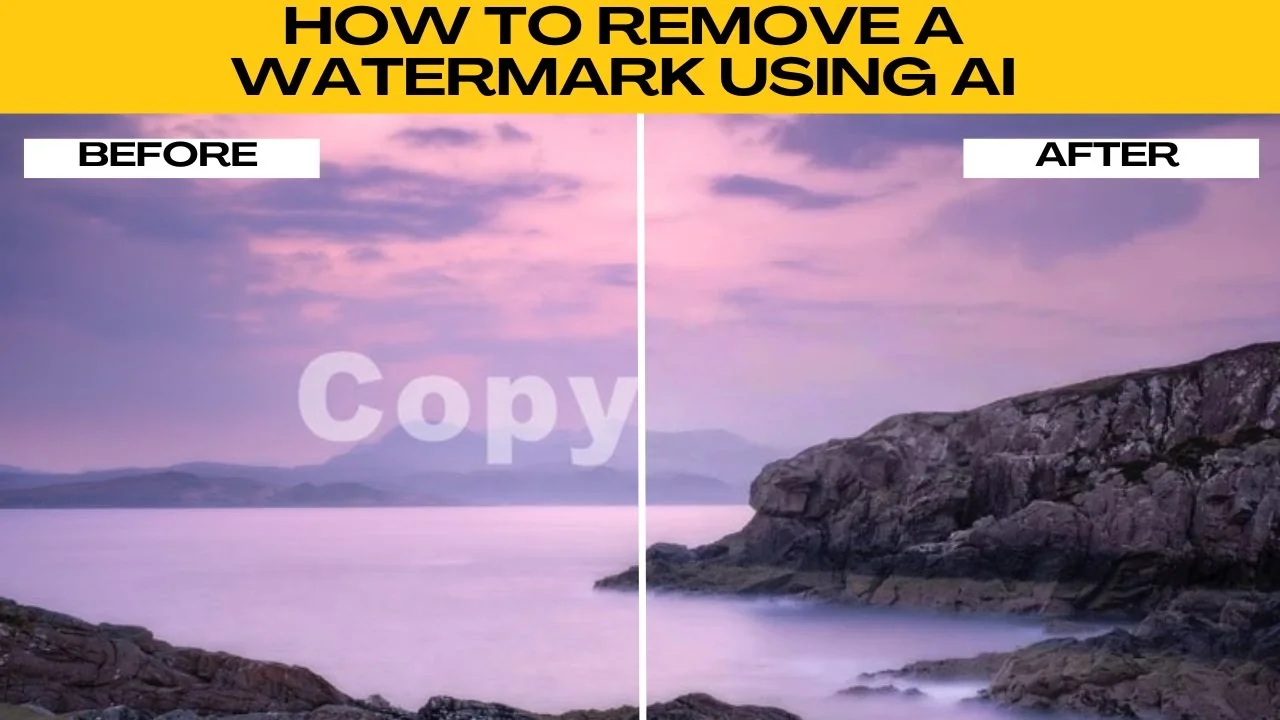
How to Remove Watermarks from Photos Cleanly and Efficiently with AI?
How to Remove Watermarks from Photos Cleanly and Efficiently with AI?