How to Flatten an Image in Canva
Flatten is a concept that does not exist in Canva. It does exist in Photoshop and other editing programs. Flatten is useful if you want to prevent anyone from accidentally editing or extracting individual elements of your design, or to keep printing results consistent.
I will show you two methods to get a similar result in Canva. The first is a basic workaround. The second is the method I recommend.
Why Flatten an Image in Canva
You might want your design to be one complete image that others cannot pick apart. That helps when you send files for review or for print. It also keeps the look of your design consistent across pages or projects.
For more context and extra tips, see this guide to flatten images in Canva.
Basic Method for Flatten an Image in Canva
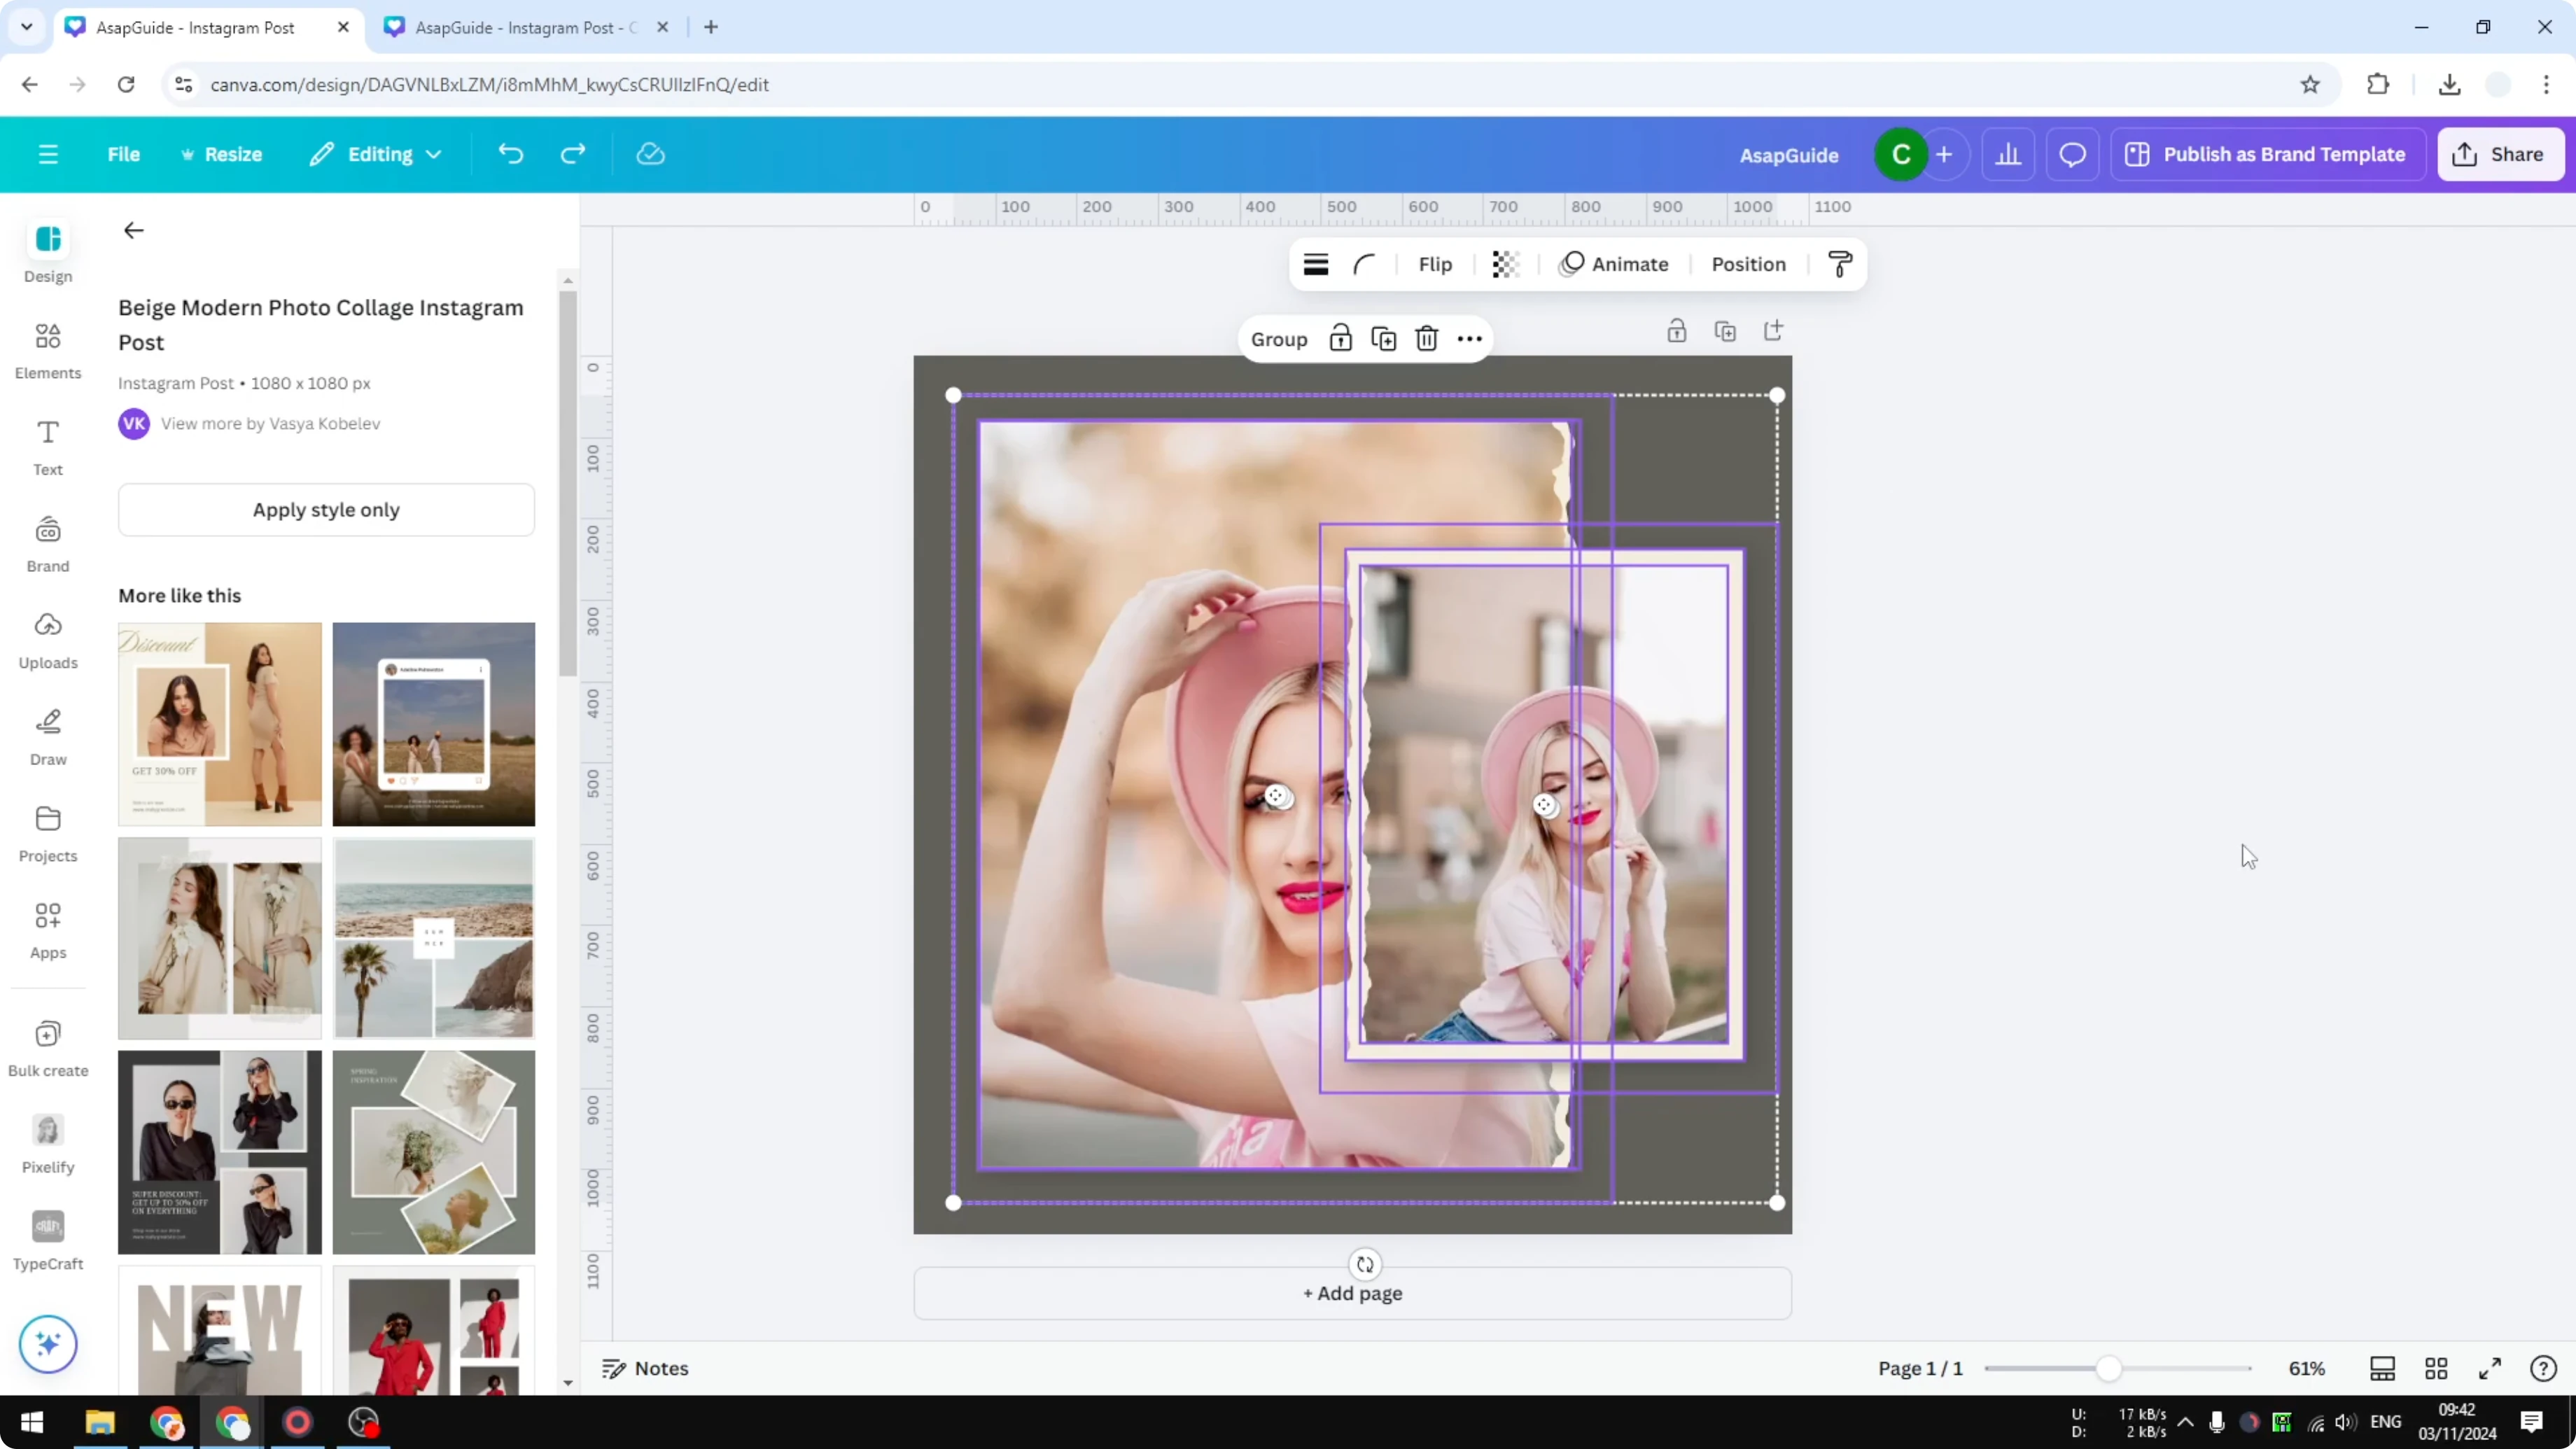
Select all elements by clicking and dragging to cover the entire design.

Group the selection.
Lock the group.
This keeps the design in one piece, and you cannot separate elements from the group. It is not very effective, because anyone with access can still modify the document. I do not recommend this method.
Recommended Method to Flatten an Image in Canva
This approach exports your selection as a single PNG and brings it back as one image. This is the recommended method. It is similar to flattening in Photoshop.
Export settings for Flatten an Image in Canva
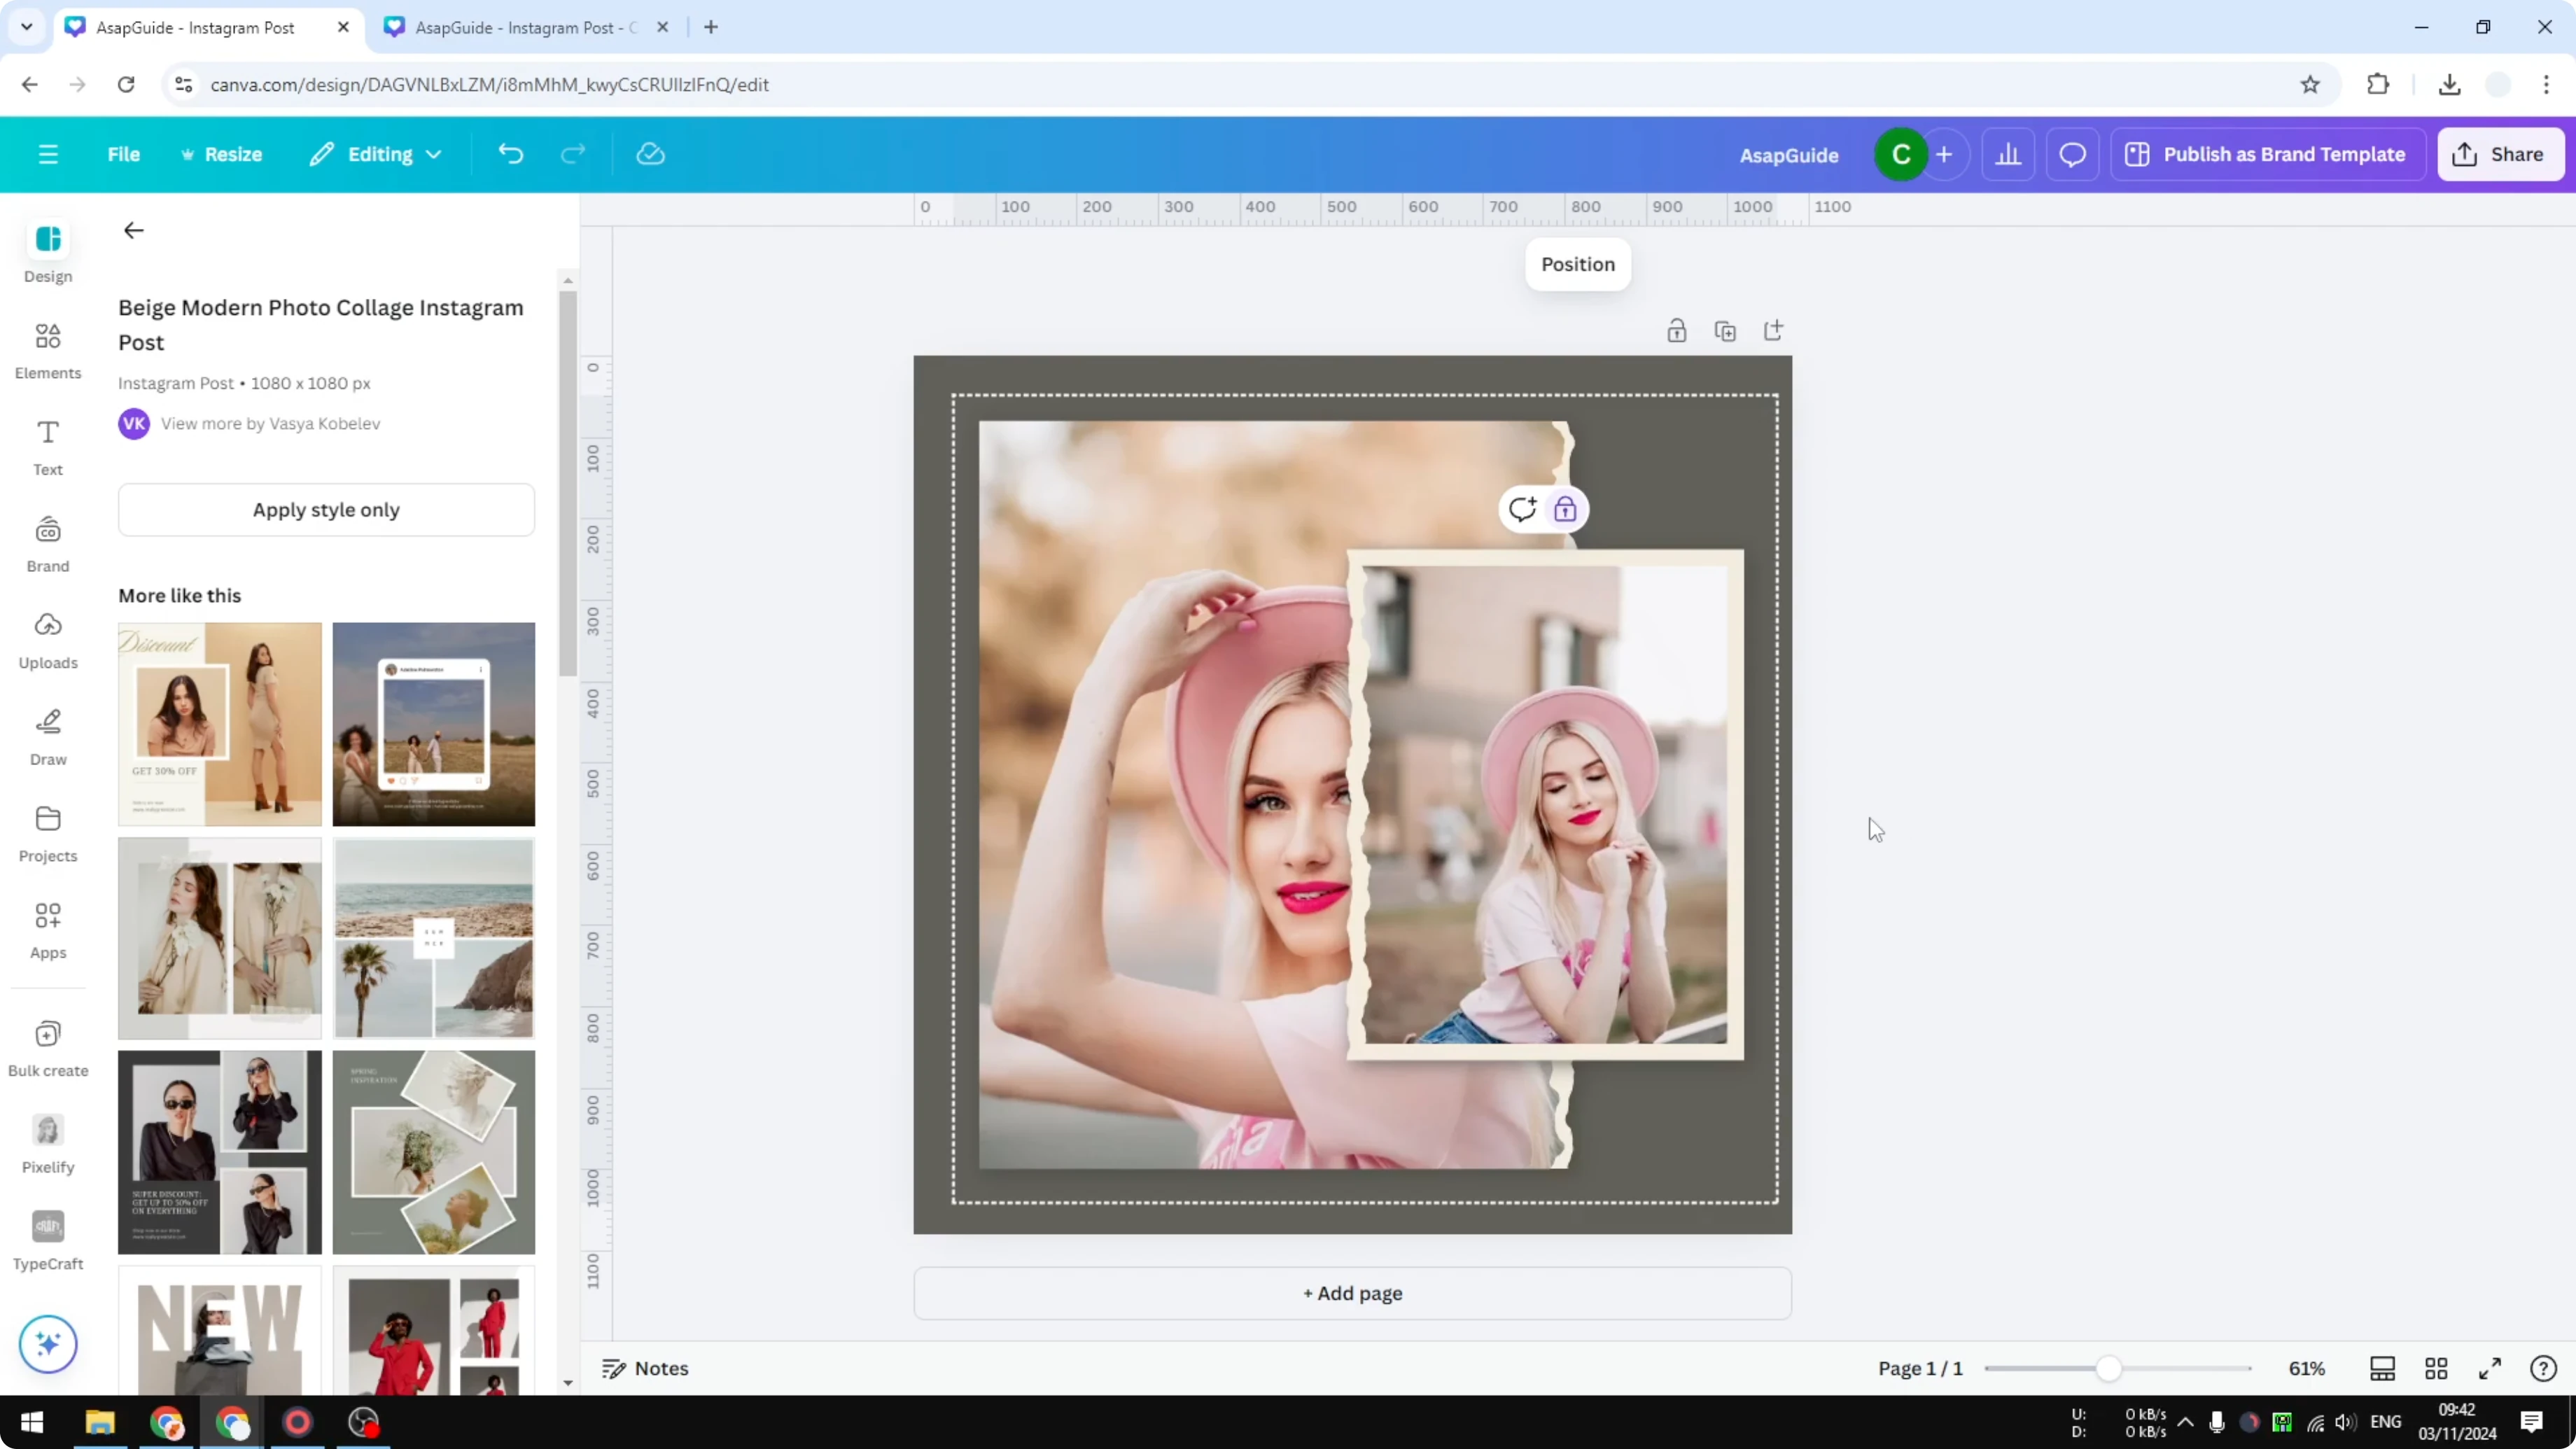
Select all the elements you want as one image.

Click Share, then Download.
Set File Type to PNG.
Transparency and export in Flatten an Image in Canva
Enable Transparent background.
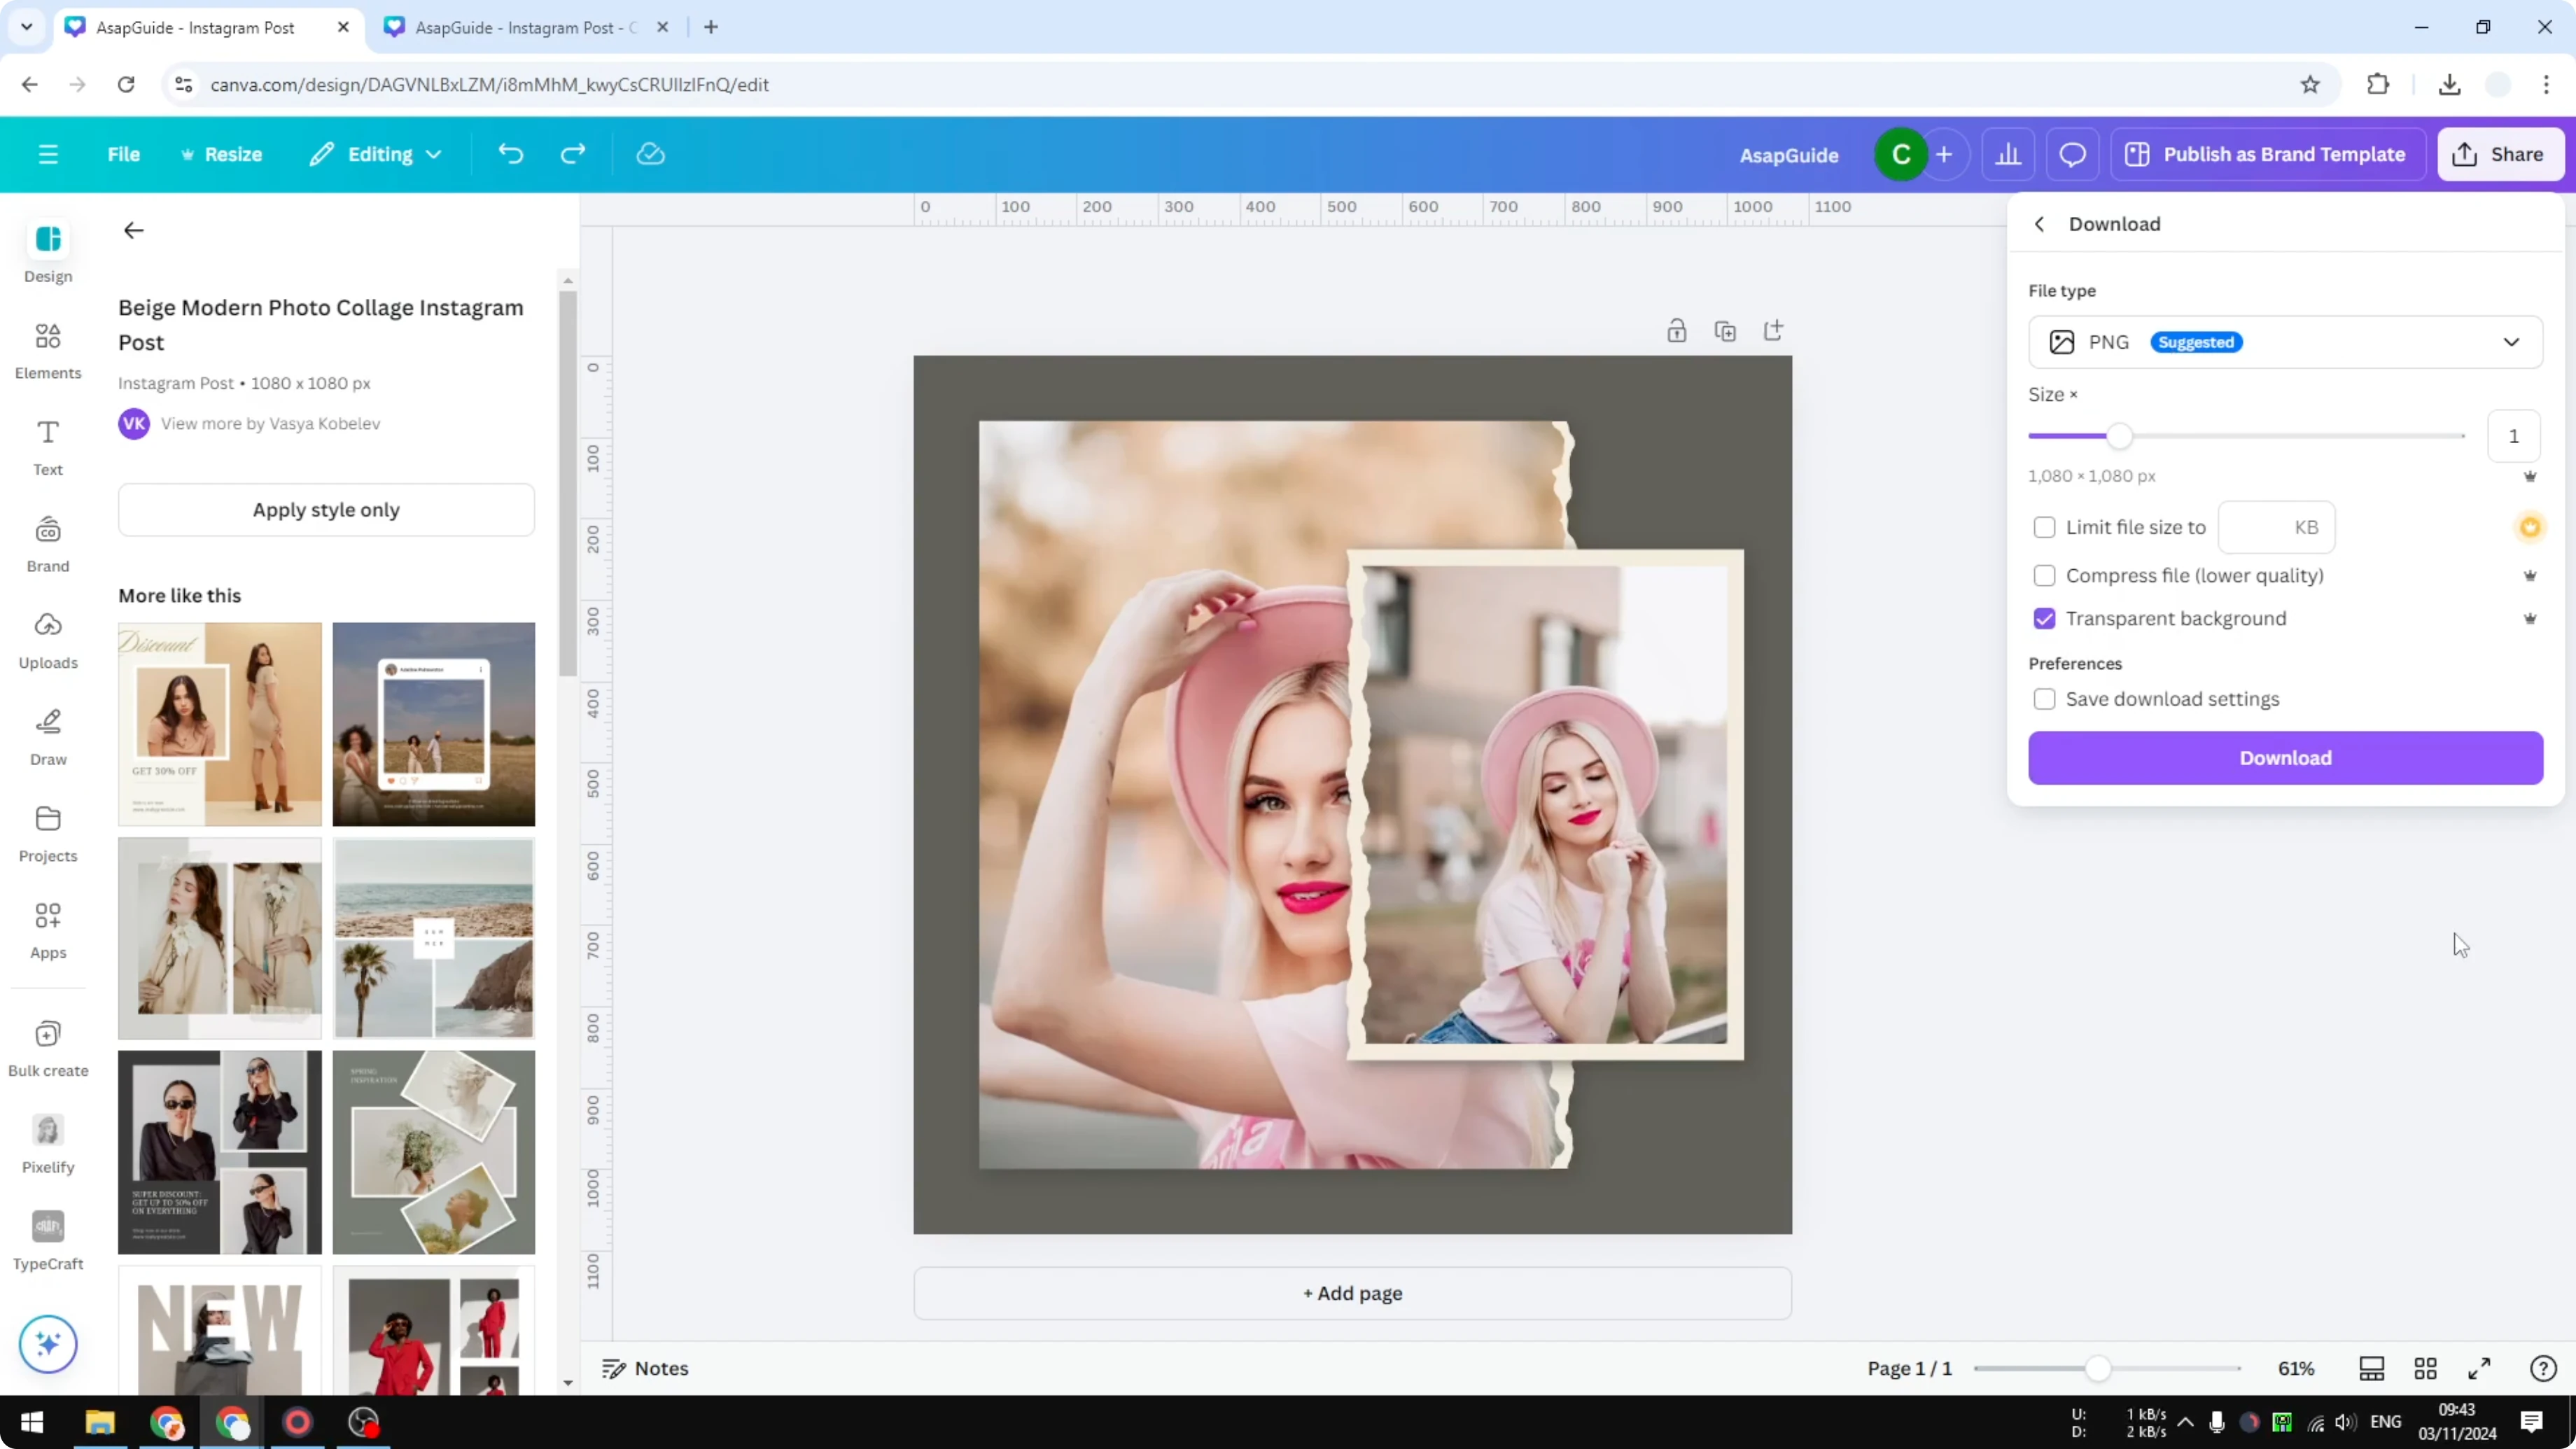
Click Download.
Reinsert and verify in Flatten an Image in Canva
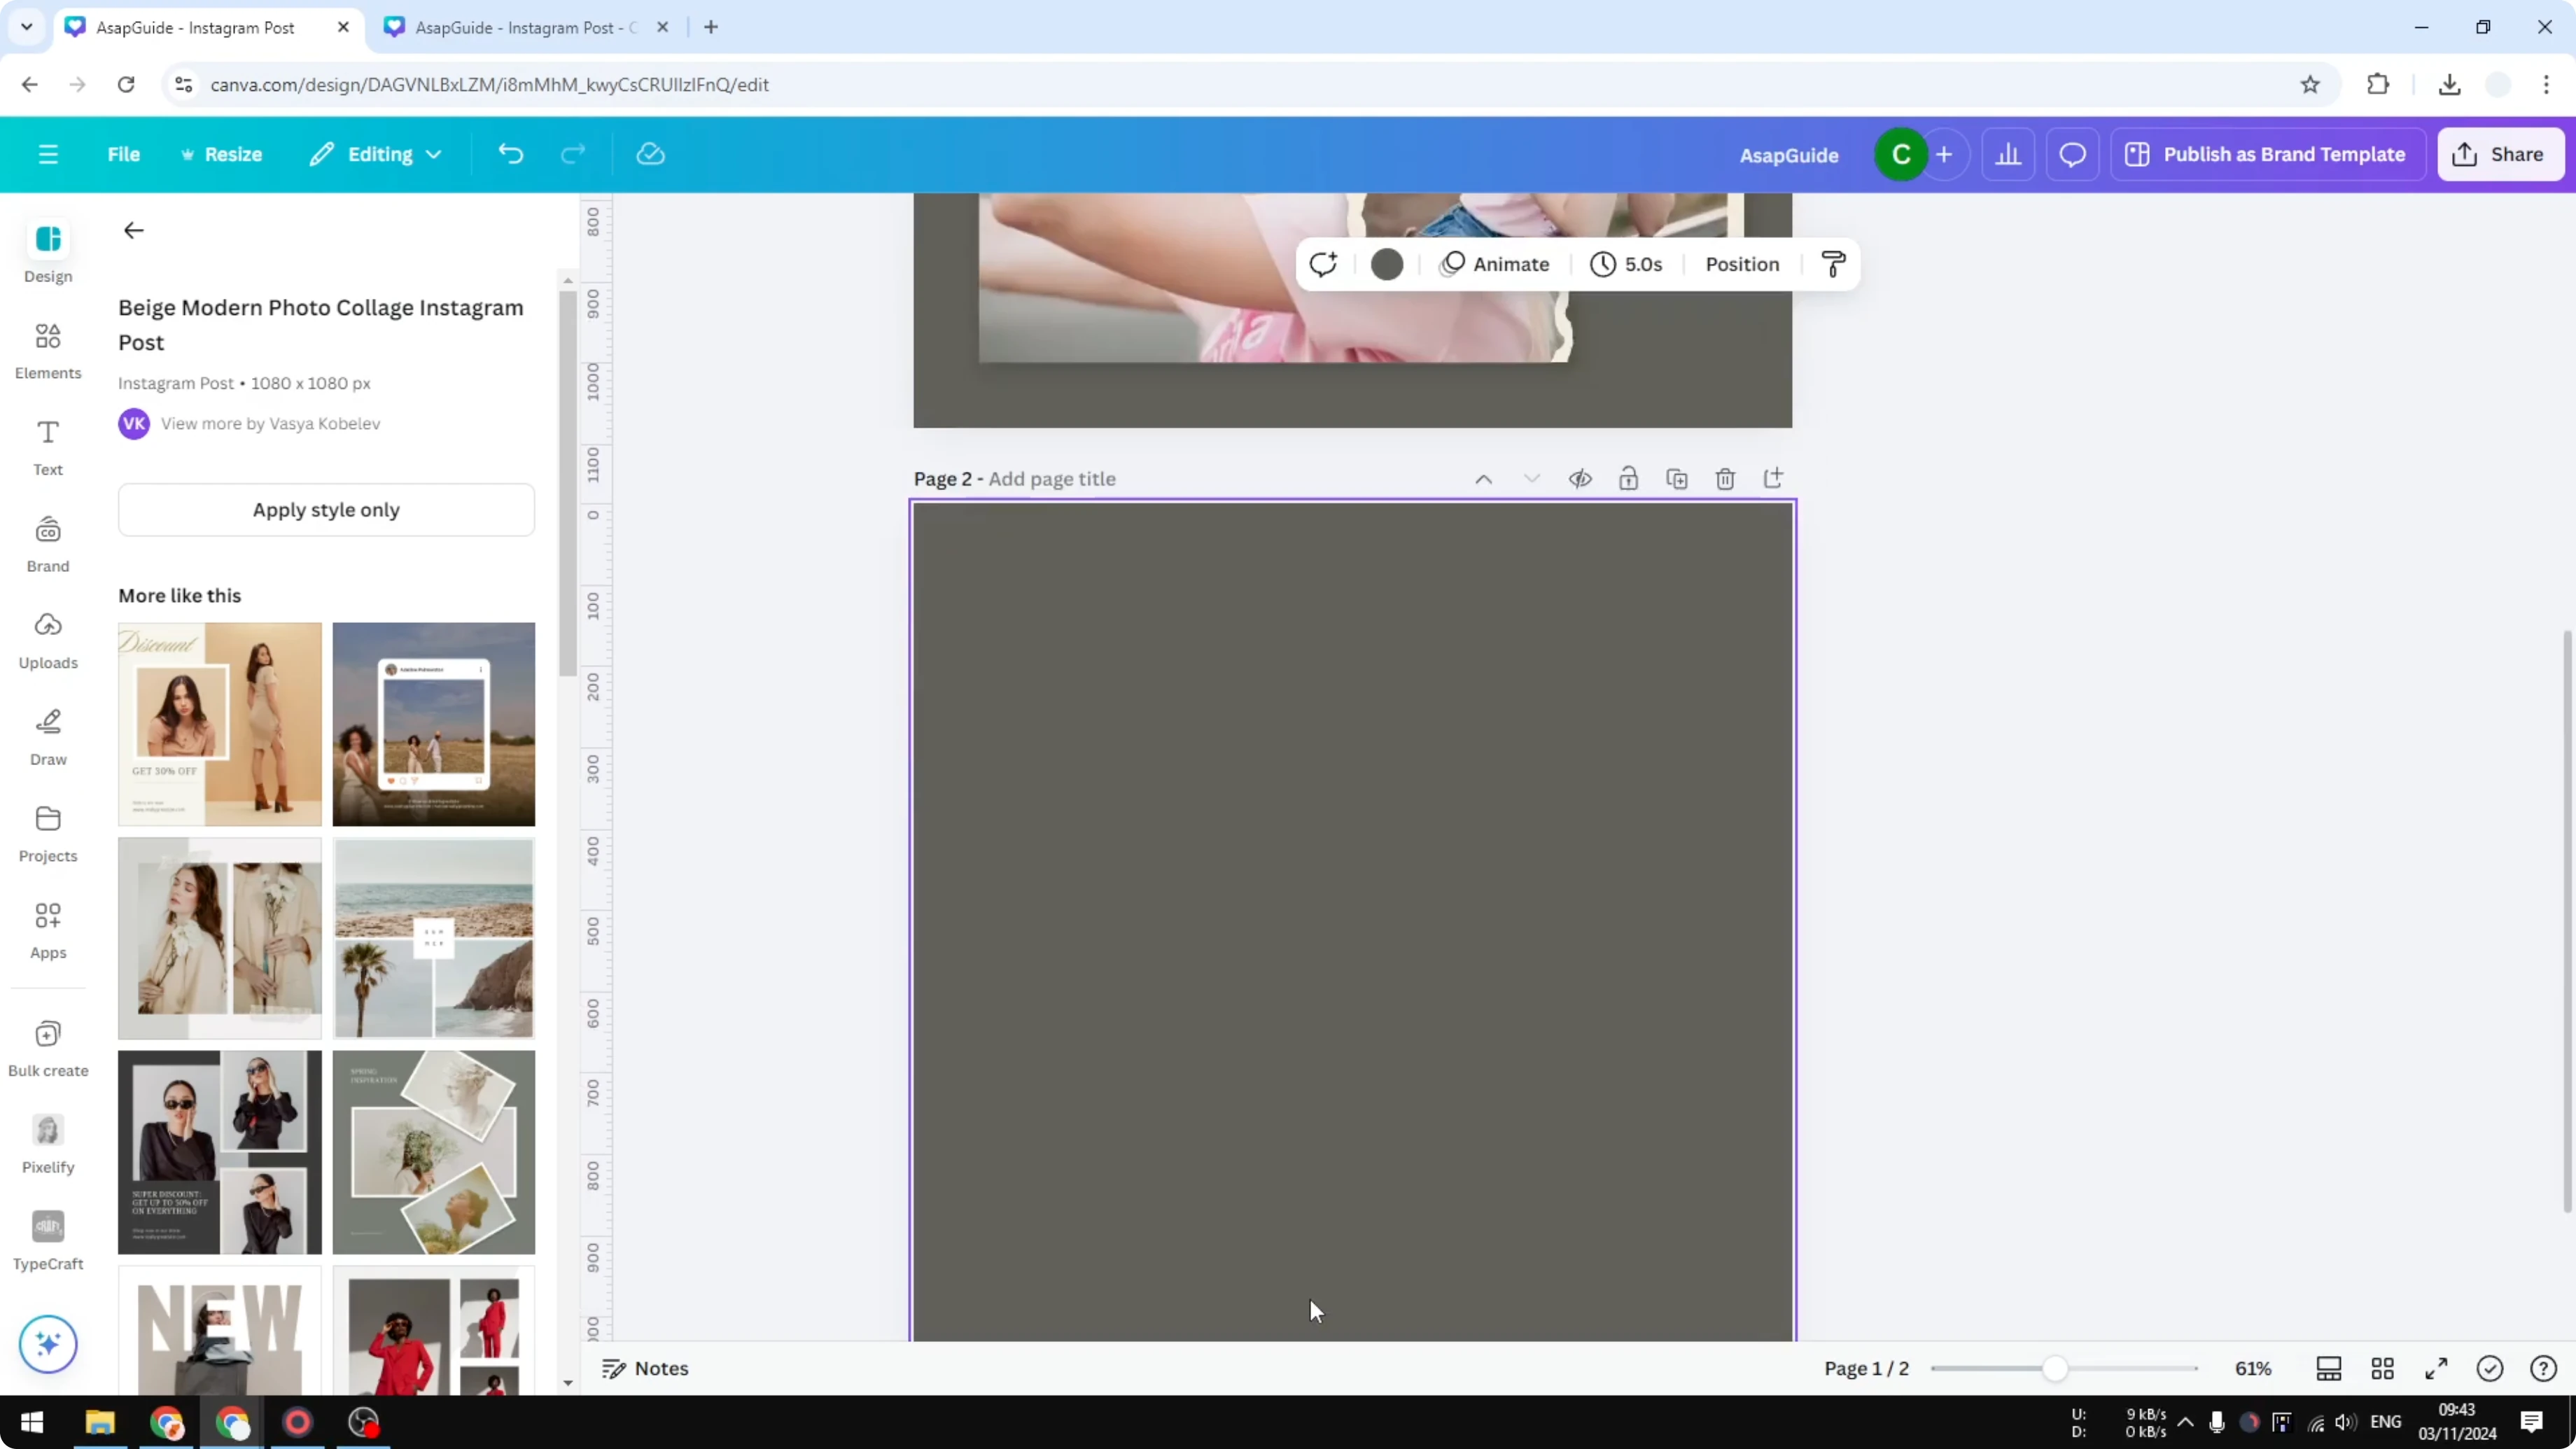
Add a new page and set the background color you want.
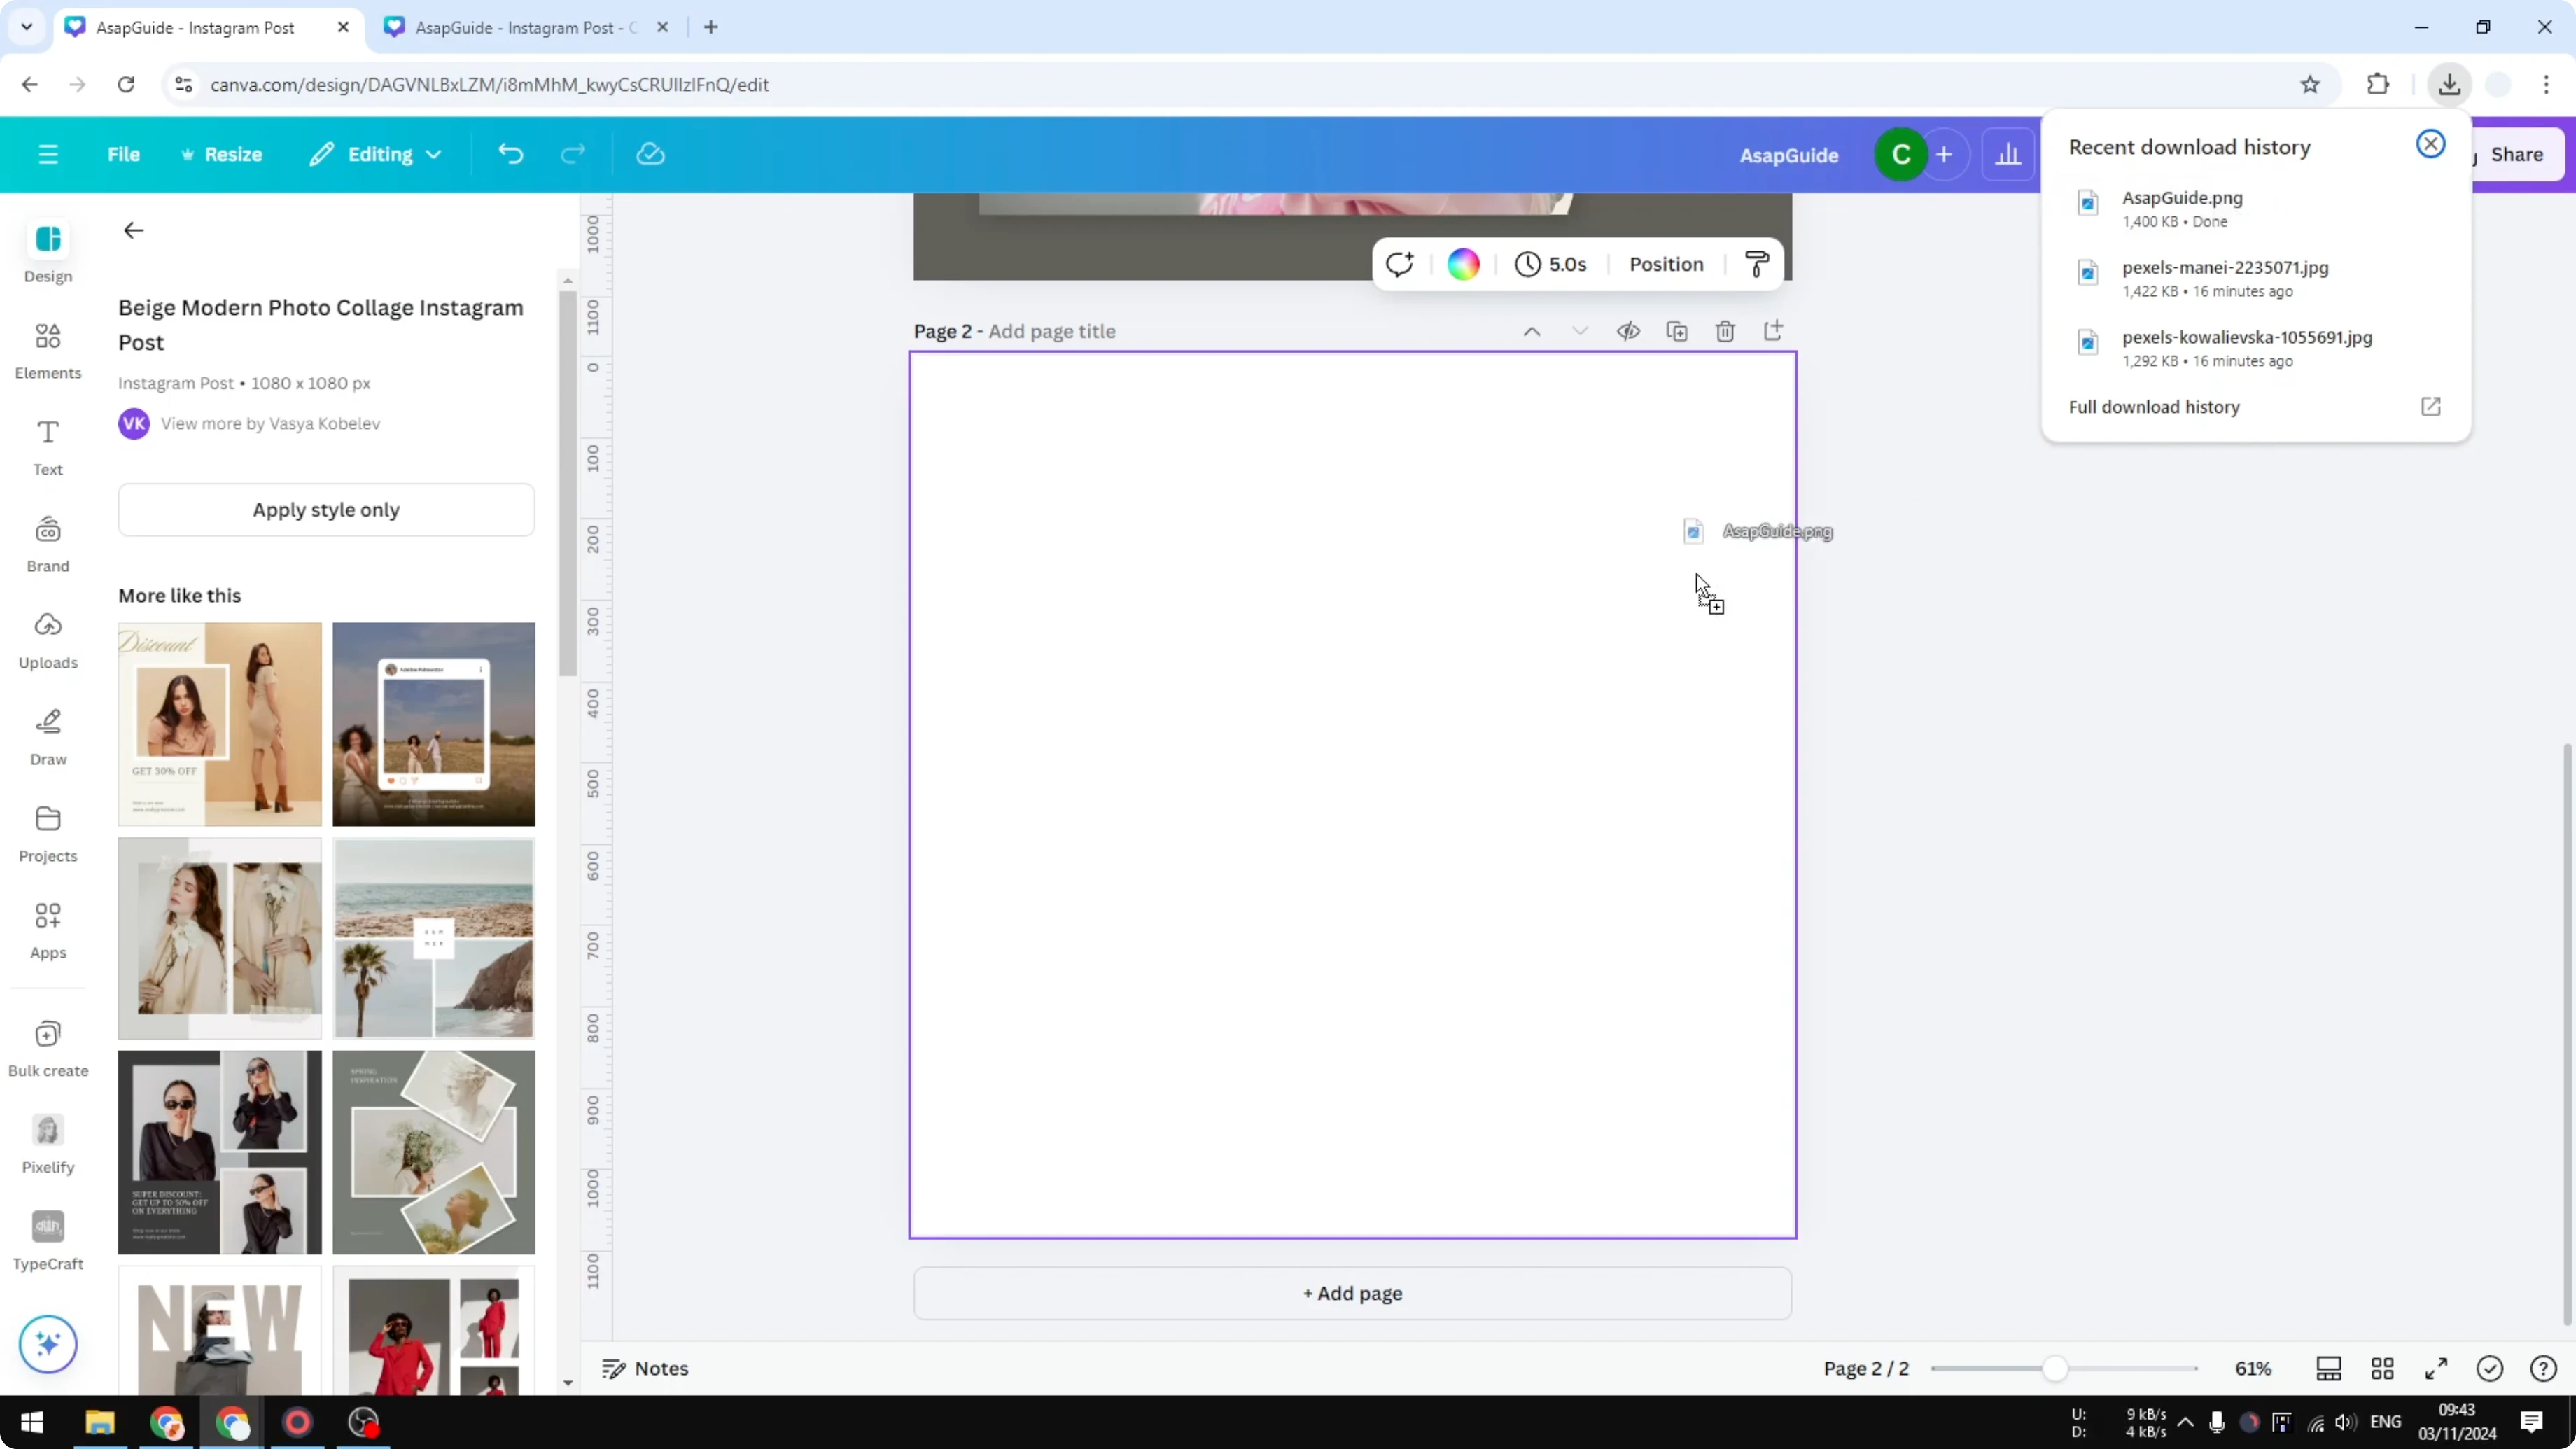
Drag the downloaded PNG onto your design.
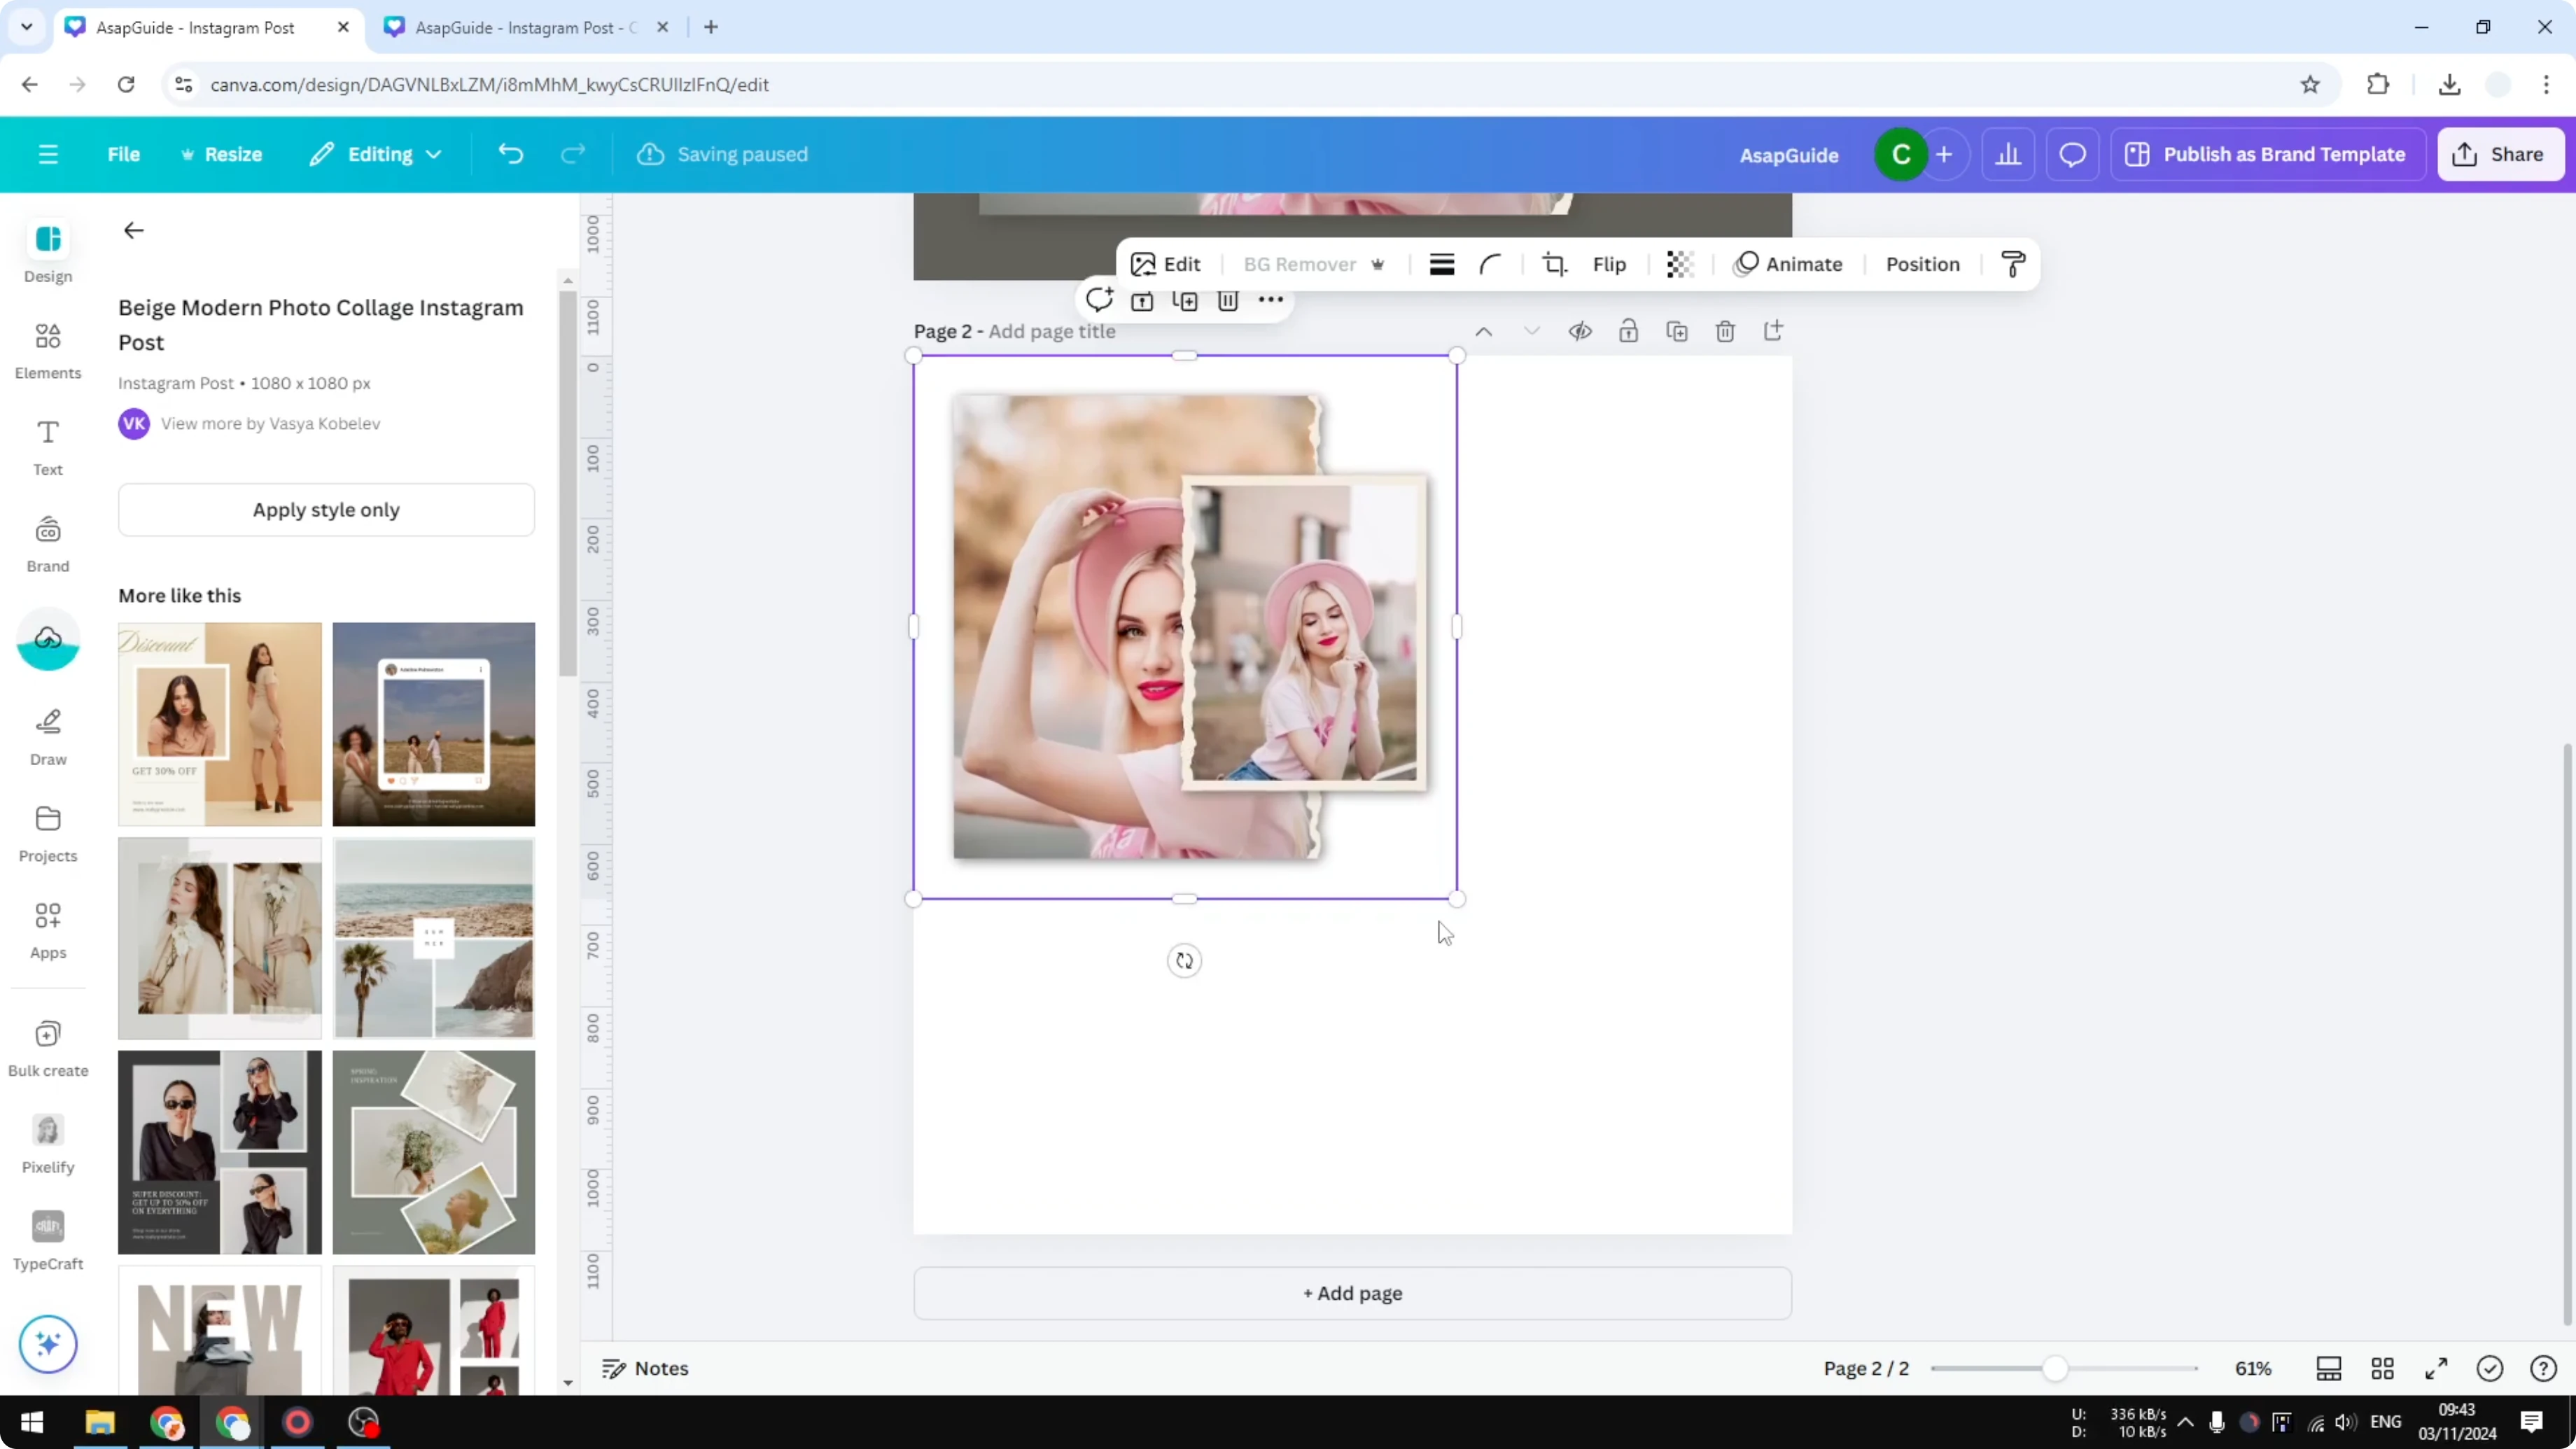
You now have one complete image with a transparent background.
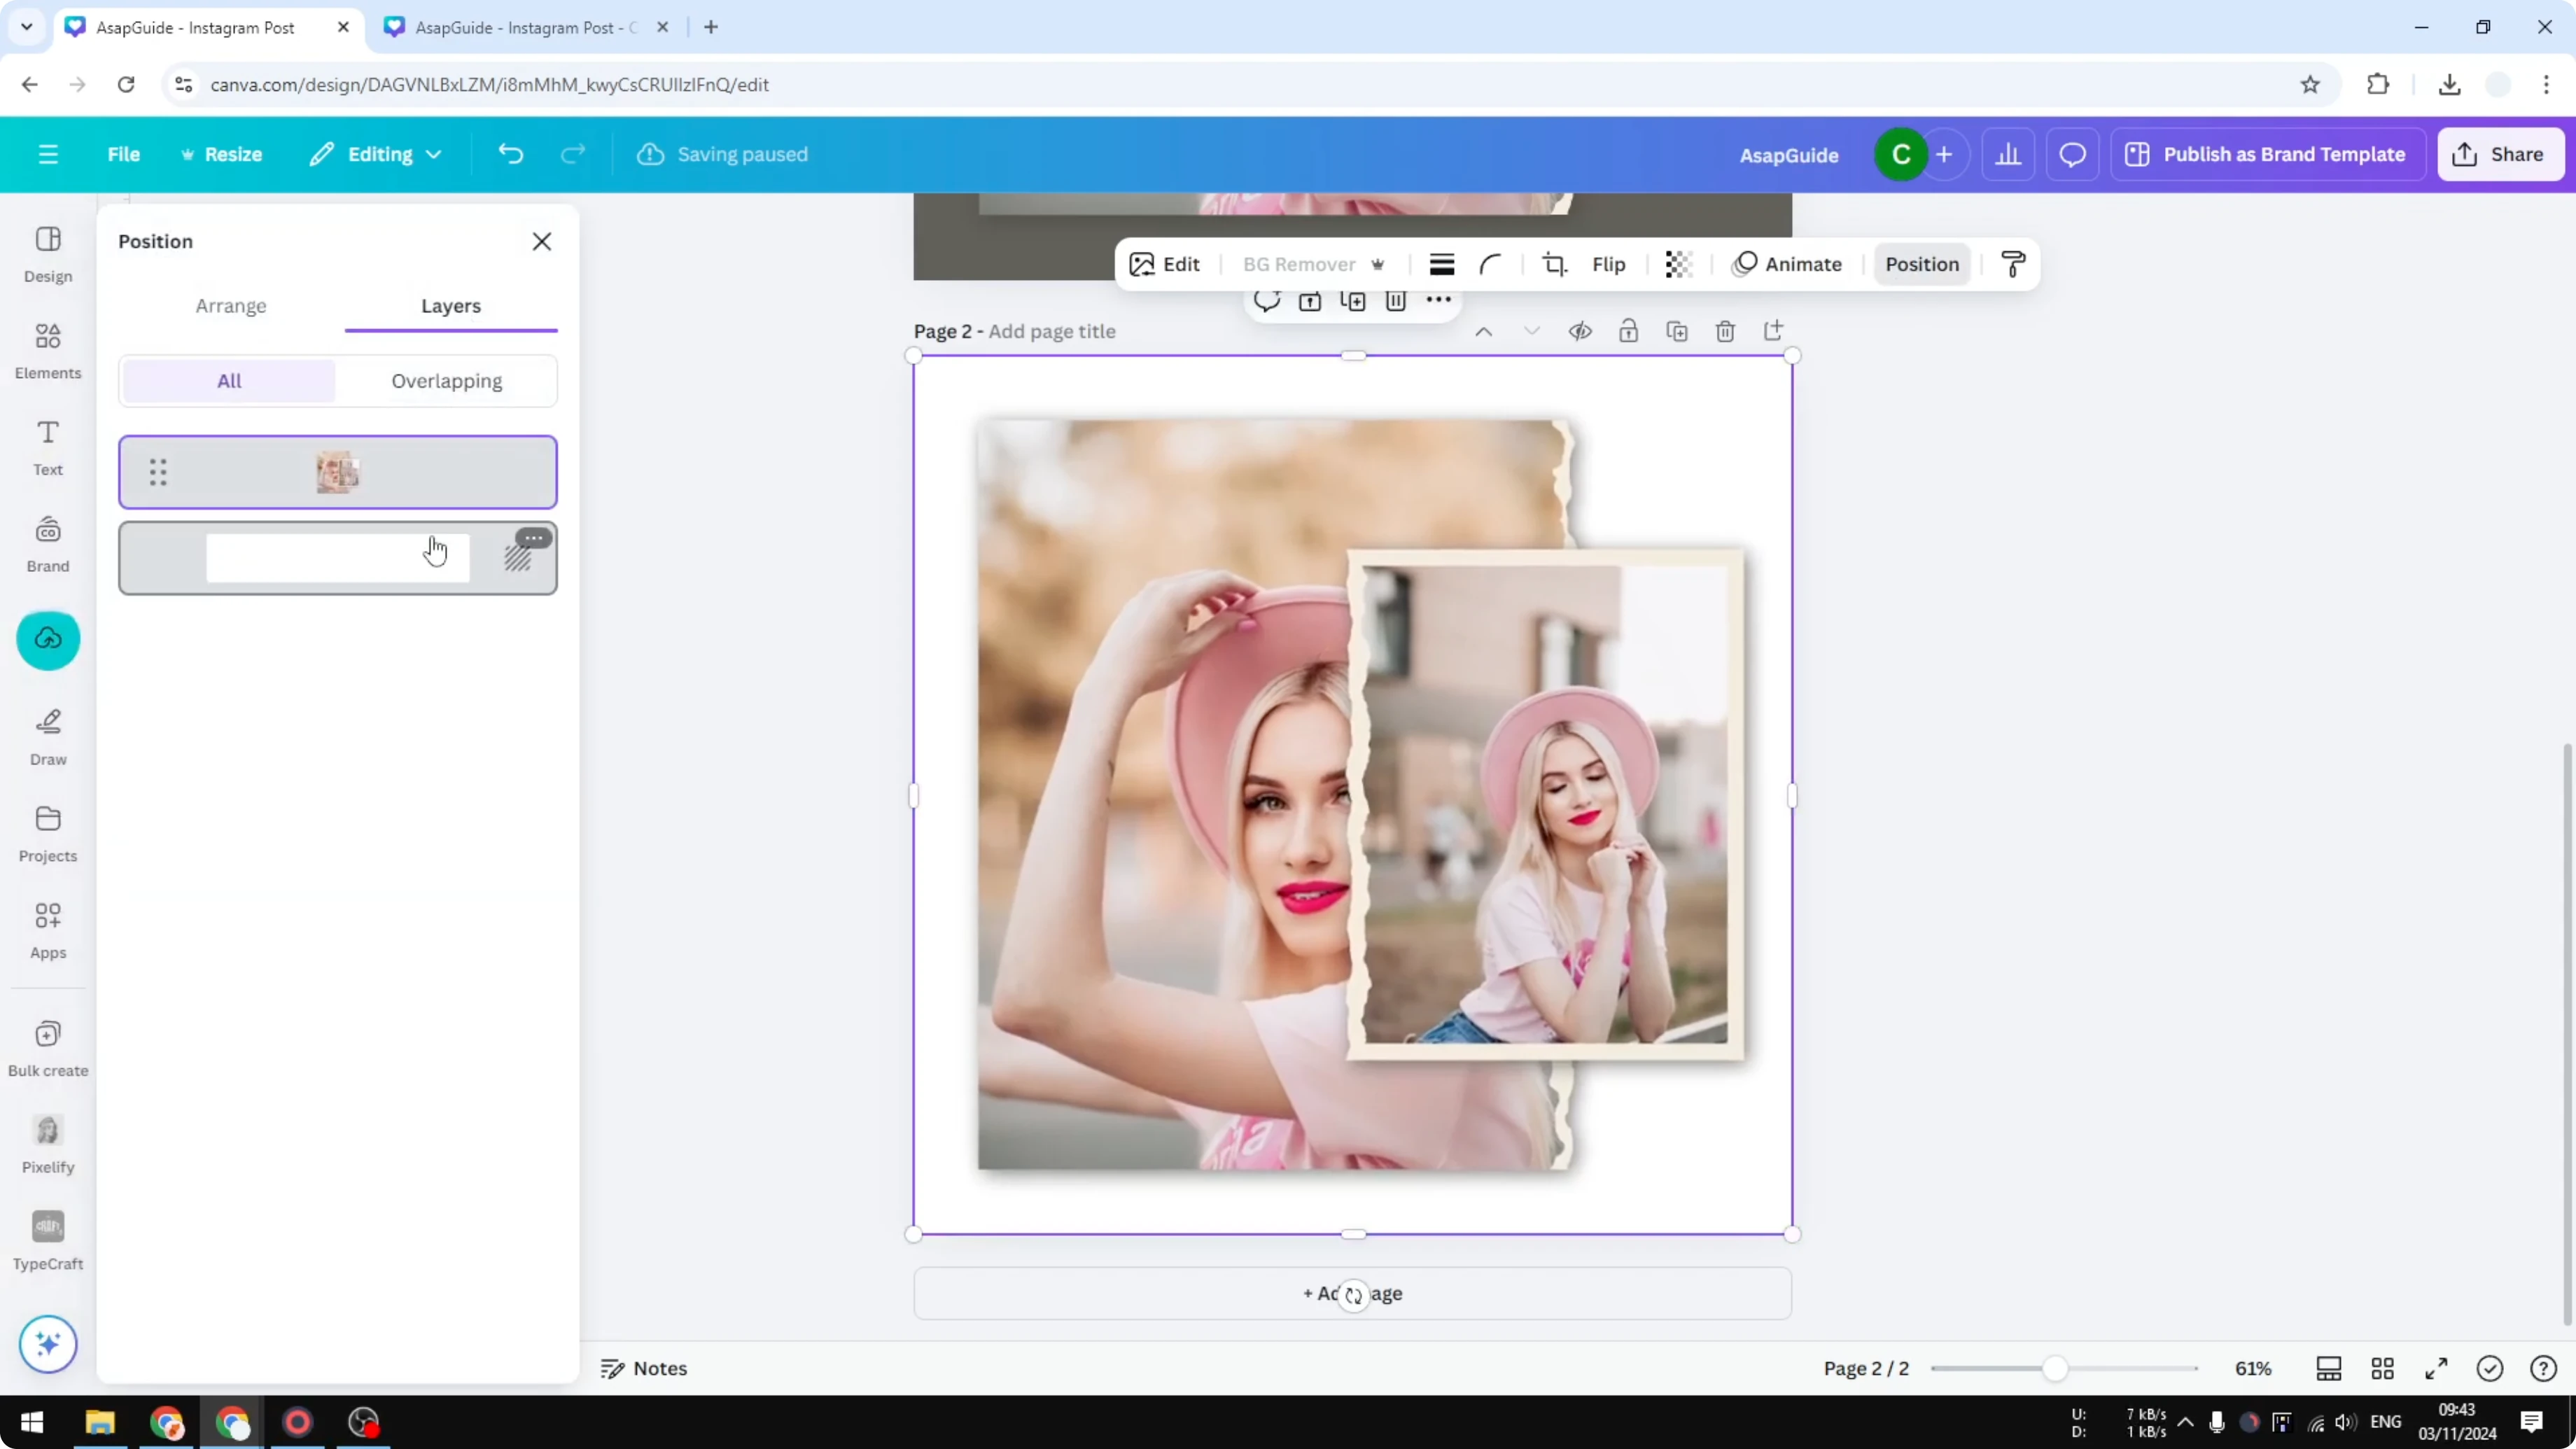
Change the background color to confirm the transparency. The image stays intact and looks like your original layout, but it is just one image. It is not perfect, but this works in Canva.
If you plan to place the flattened PNG into a frame, learn how to work with image frames in Canva for flexible layouts.
You can still apply adjustments to the flattened image. If it looks a bit dark, you can brighten an image in Canva without touching the original elements.
Final Thoughts on Flatten an Image in Canva
Canva does not have a true flatten feature, but you can get a similar result. Grouping and locking is quick, but it is easy to undo, so export and reinsert as PNG is the better route. Use the PNG method when you need a single, locked image with a transparent background.
Recent Posts
How to Visualize Yourself as a Pixelized Character with AI?
How to Visualize Yourself as a Pixelized Character with AI?

How to Revive Faded Memories and Enhance Image Clarity with AI?
How to Revive Faded Memories and Enhance Image Clarity with AI?

How to Visualize Yourself as an Animal Crossing Character with AI?
How to Visualize Yourself as an Animal Crossing Character with AI?