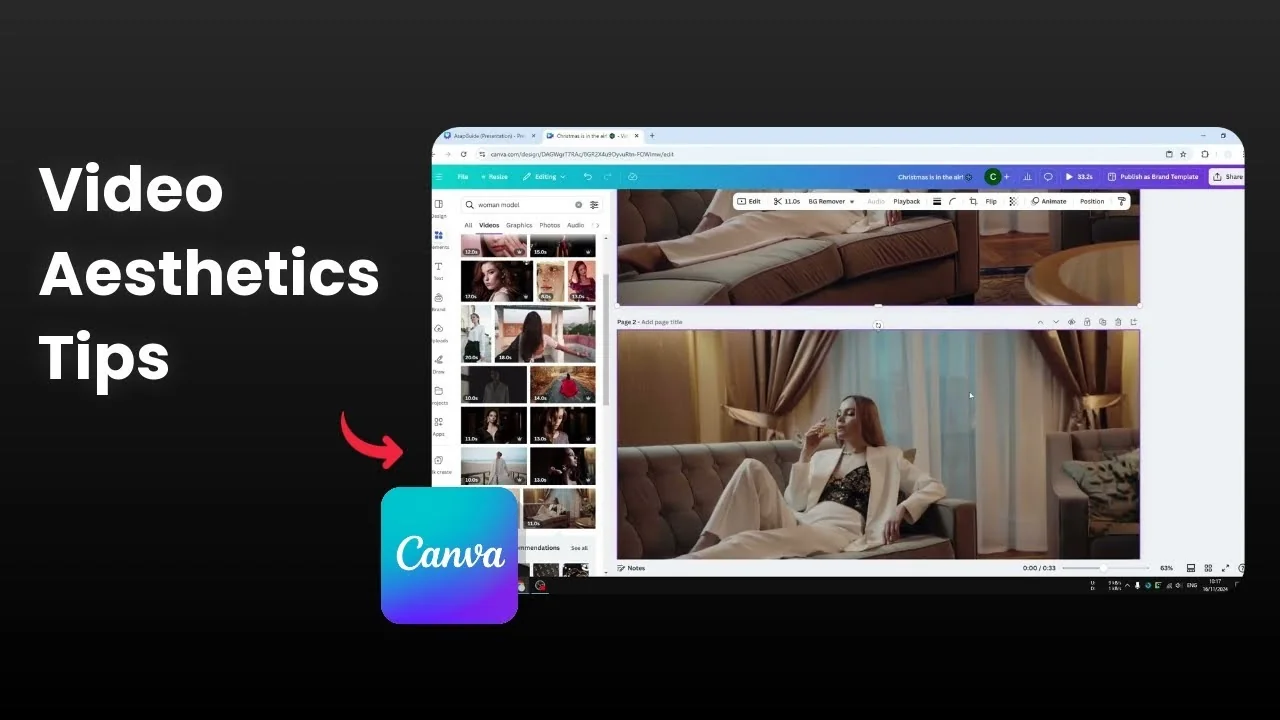
How to Enhance The Look of Your Video in Canva
I’m going to show you how to enhance the look of a video in Canva. The process is very easy. There are two methods: the instant method and the customizable method.
Both are simple even if you do not know color grading. It is based on your opinion of what looks best with your settings.
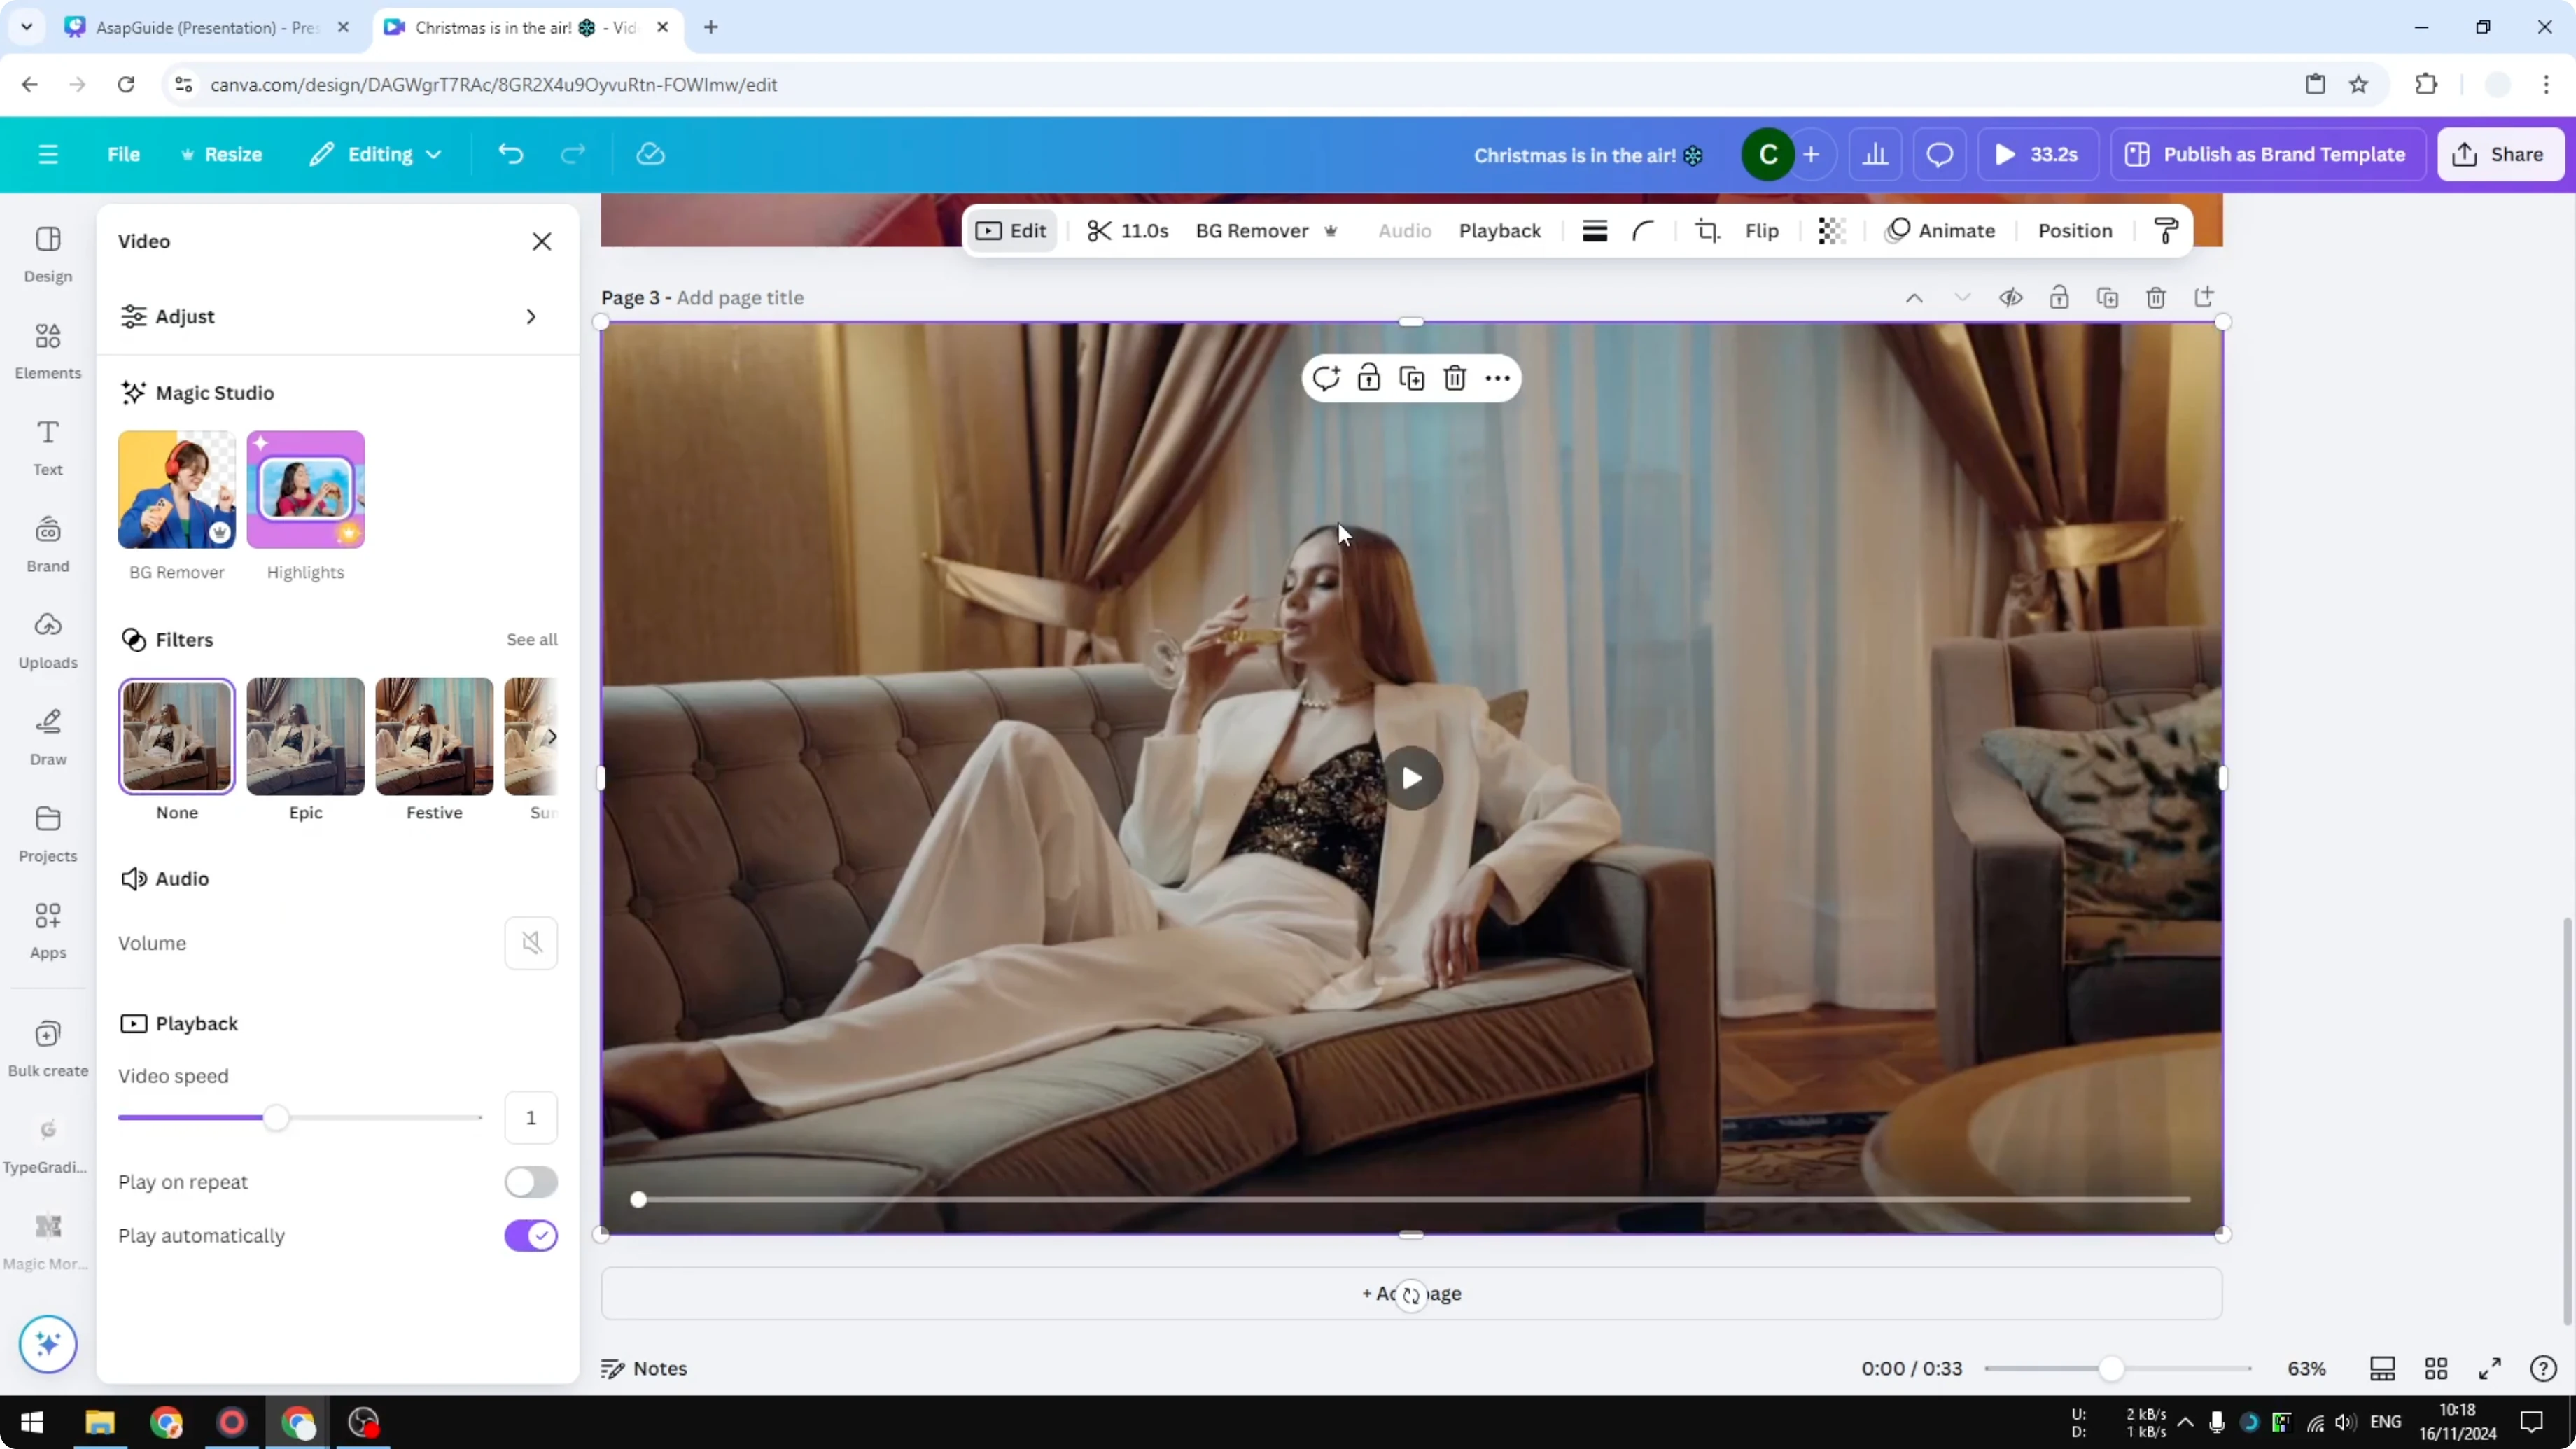
I’m using a stock video that looks dull. The color is not vibrant. There is something we can do to improve it.
Methods to Enhance The Look of Your Video in Canva
Instant filters to Enhance The Look of Your Video in Canva
Duplicate the page to compare versions side by side. Keep the first as the original. Work on the copies.
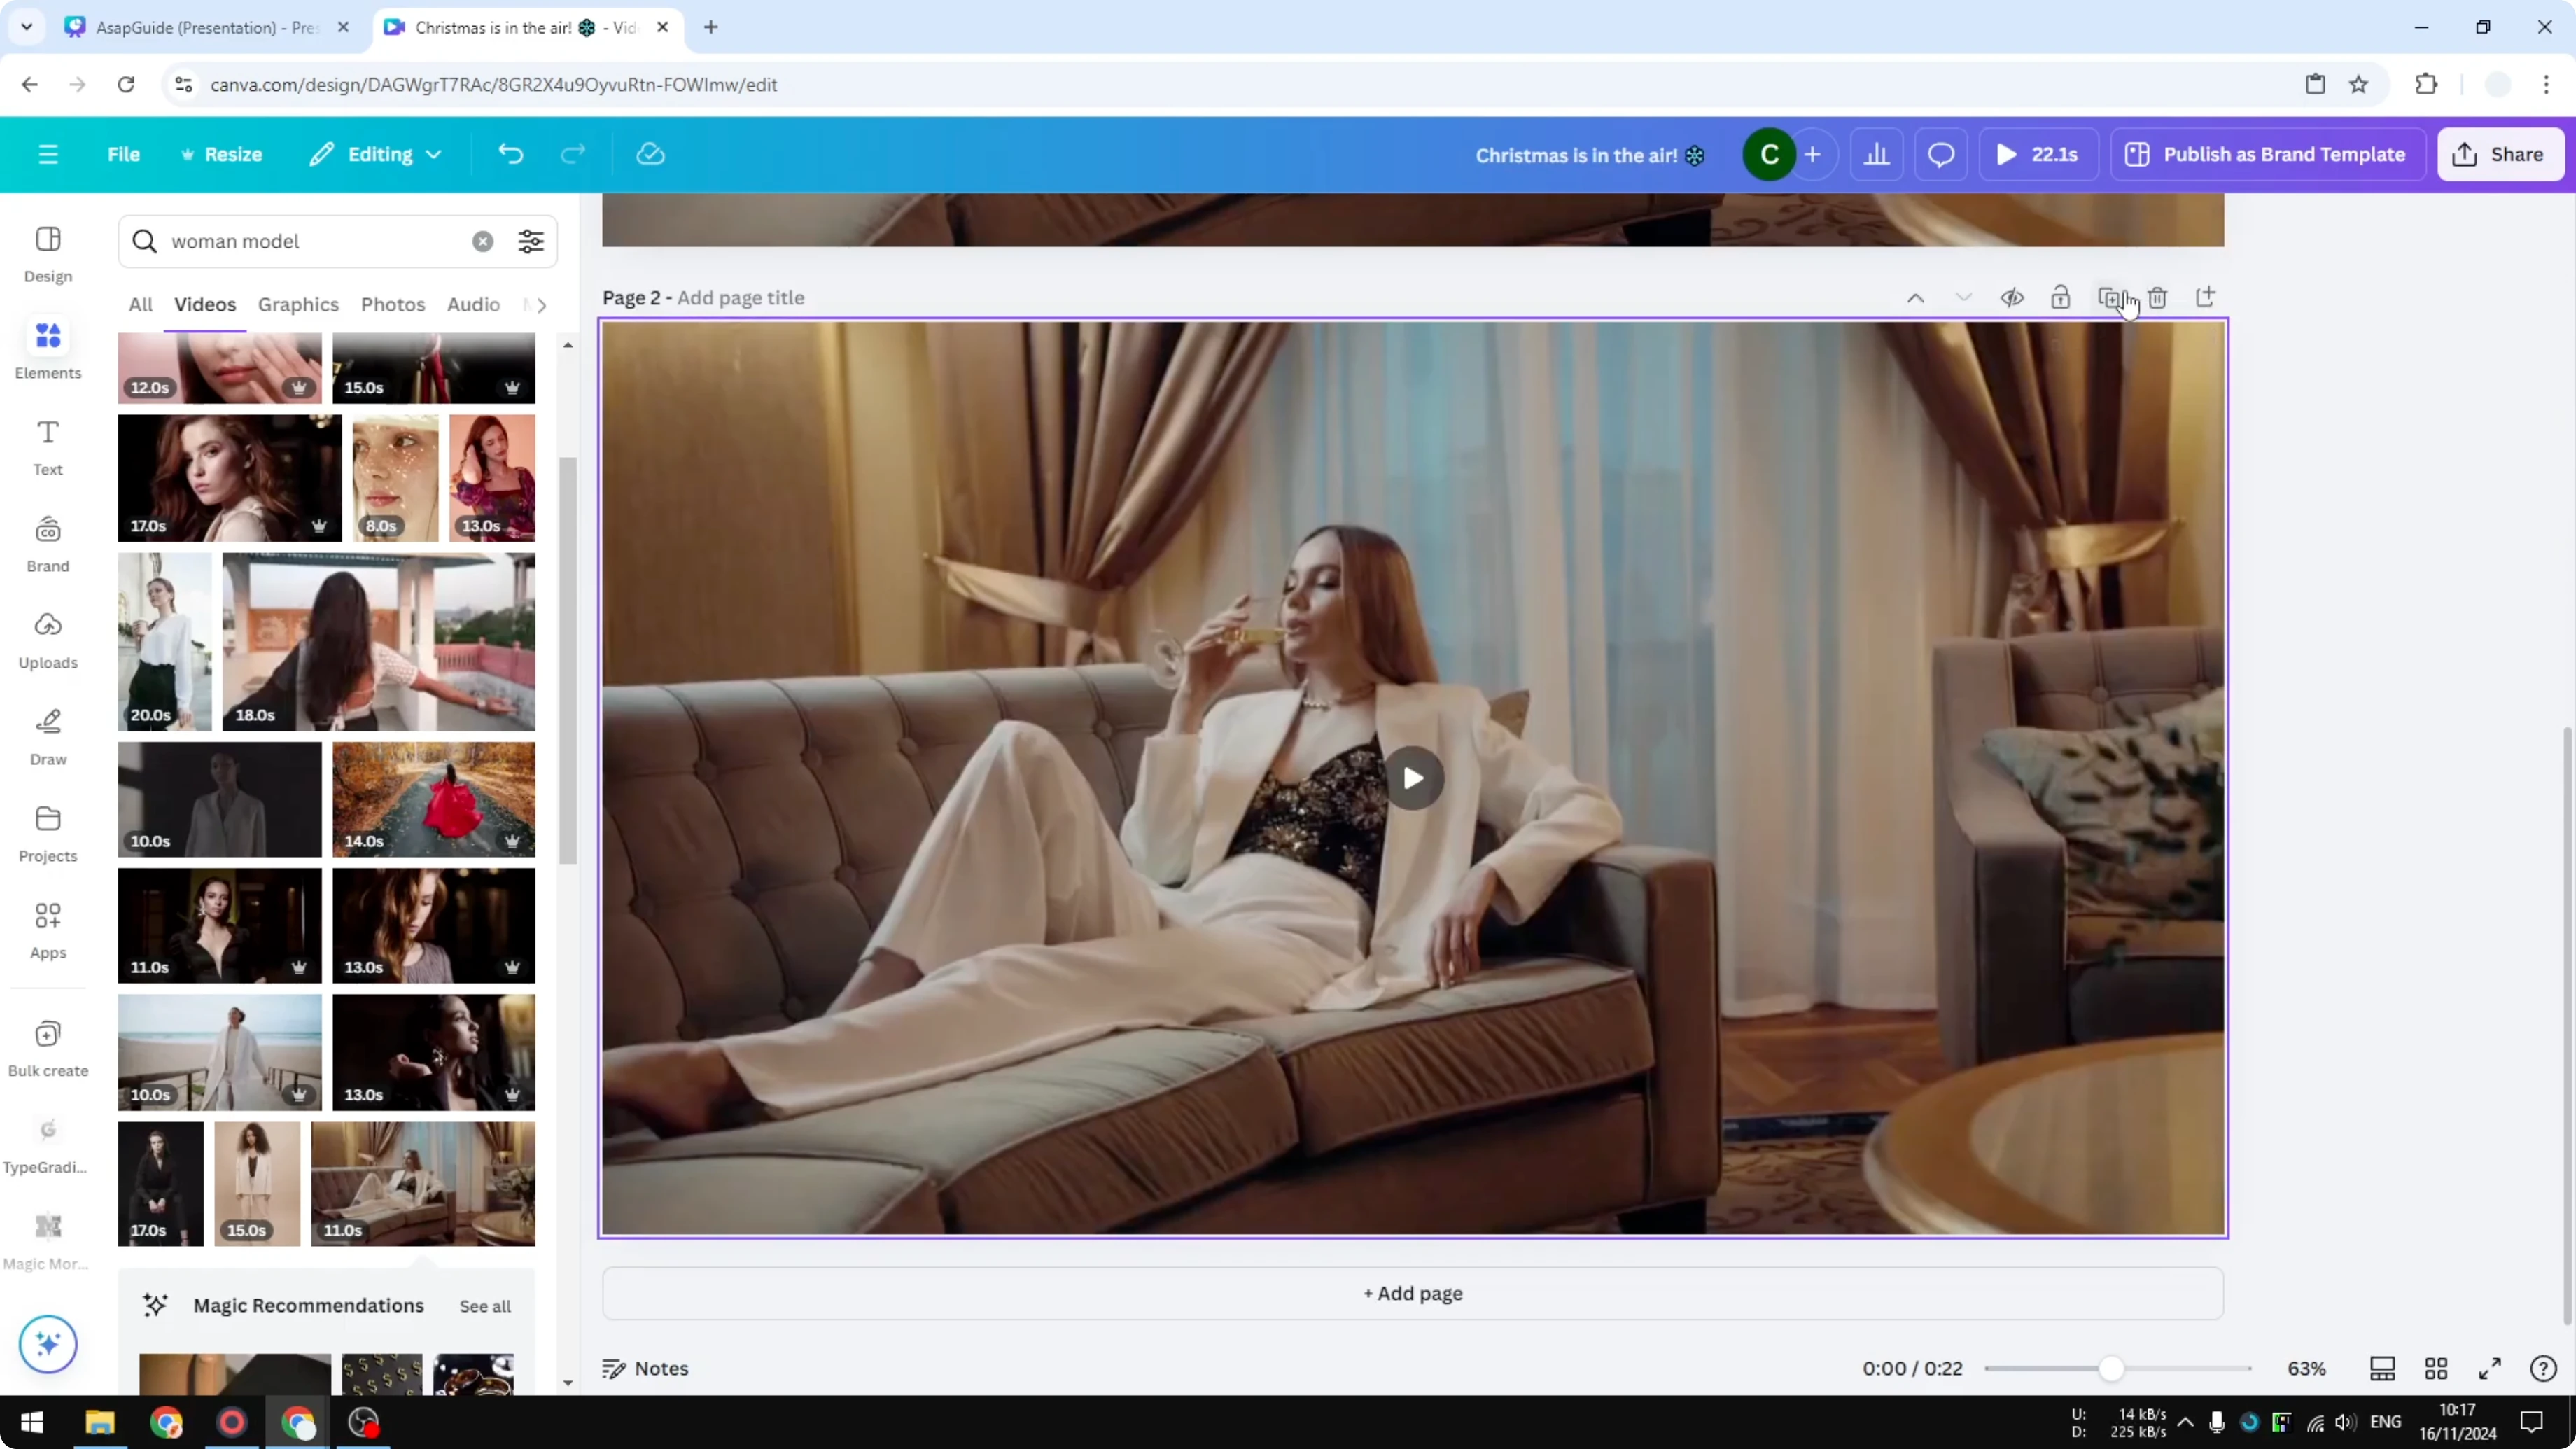
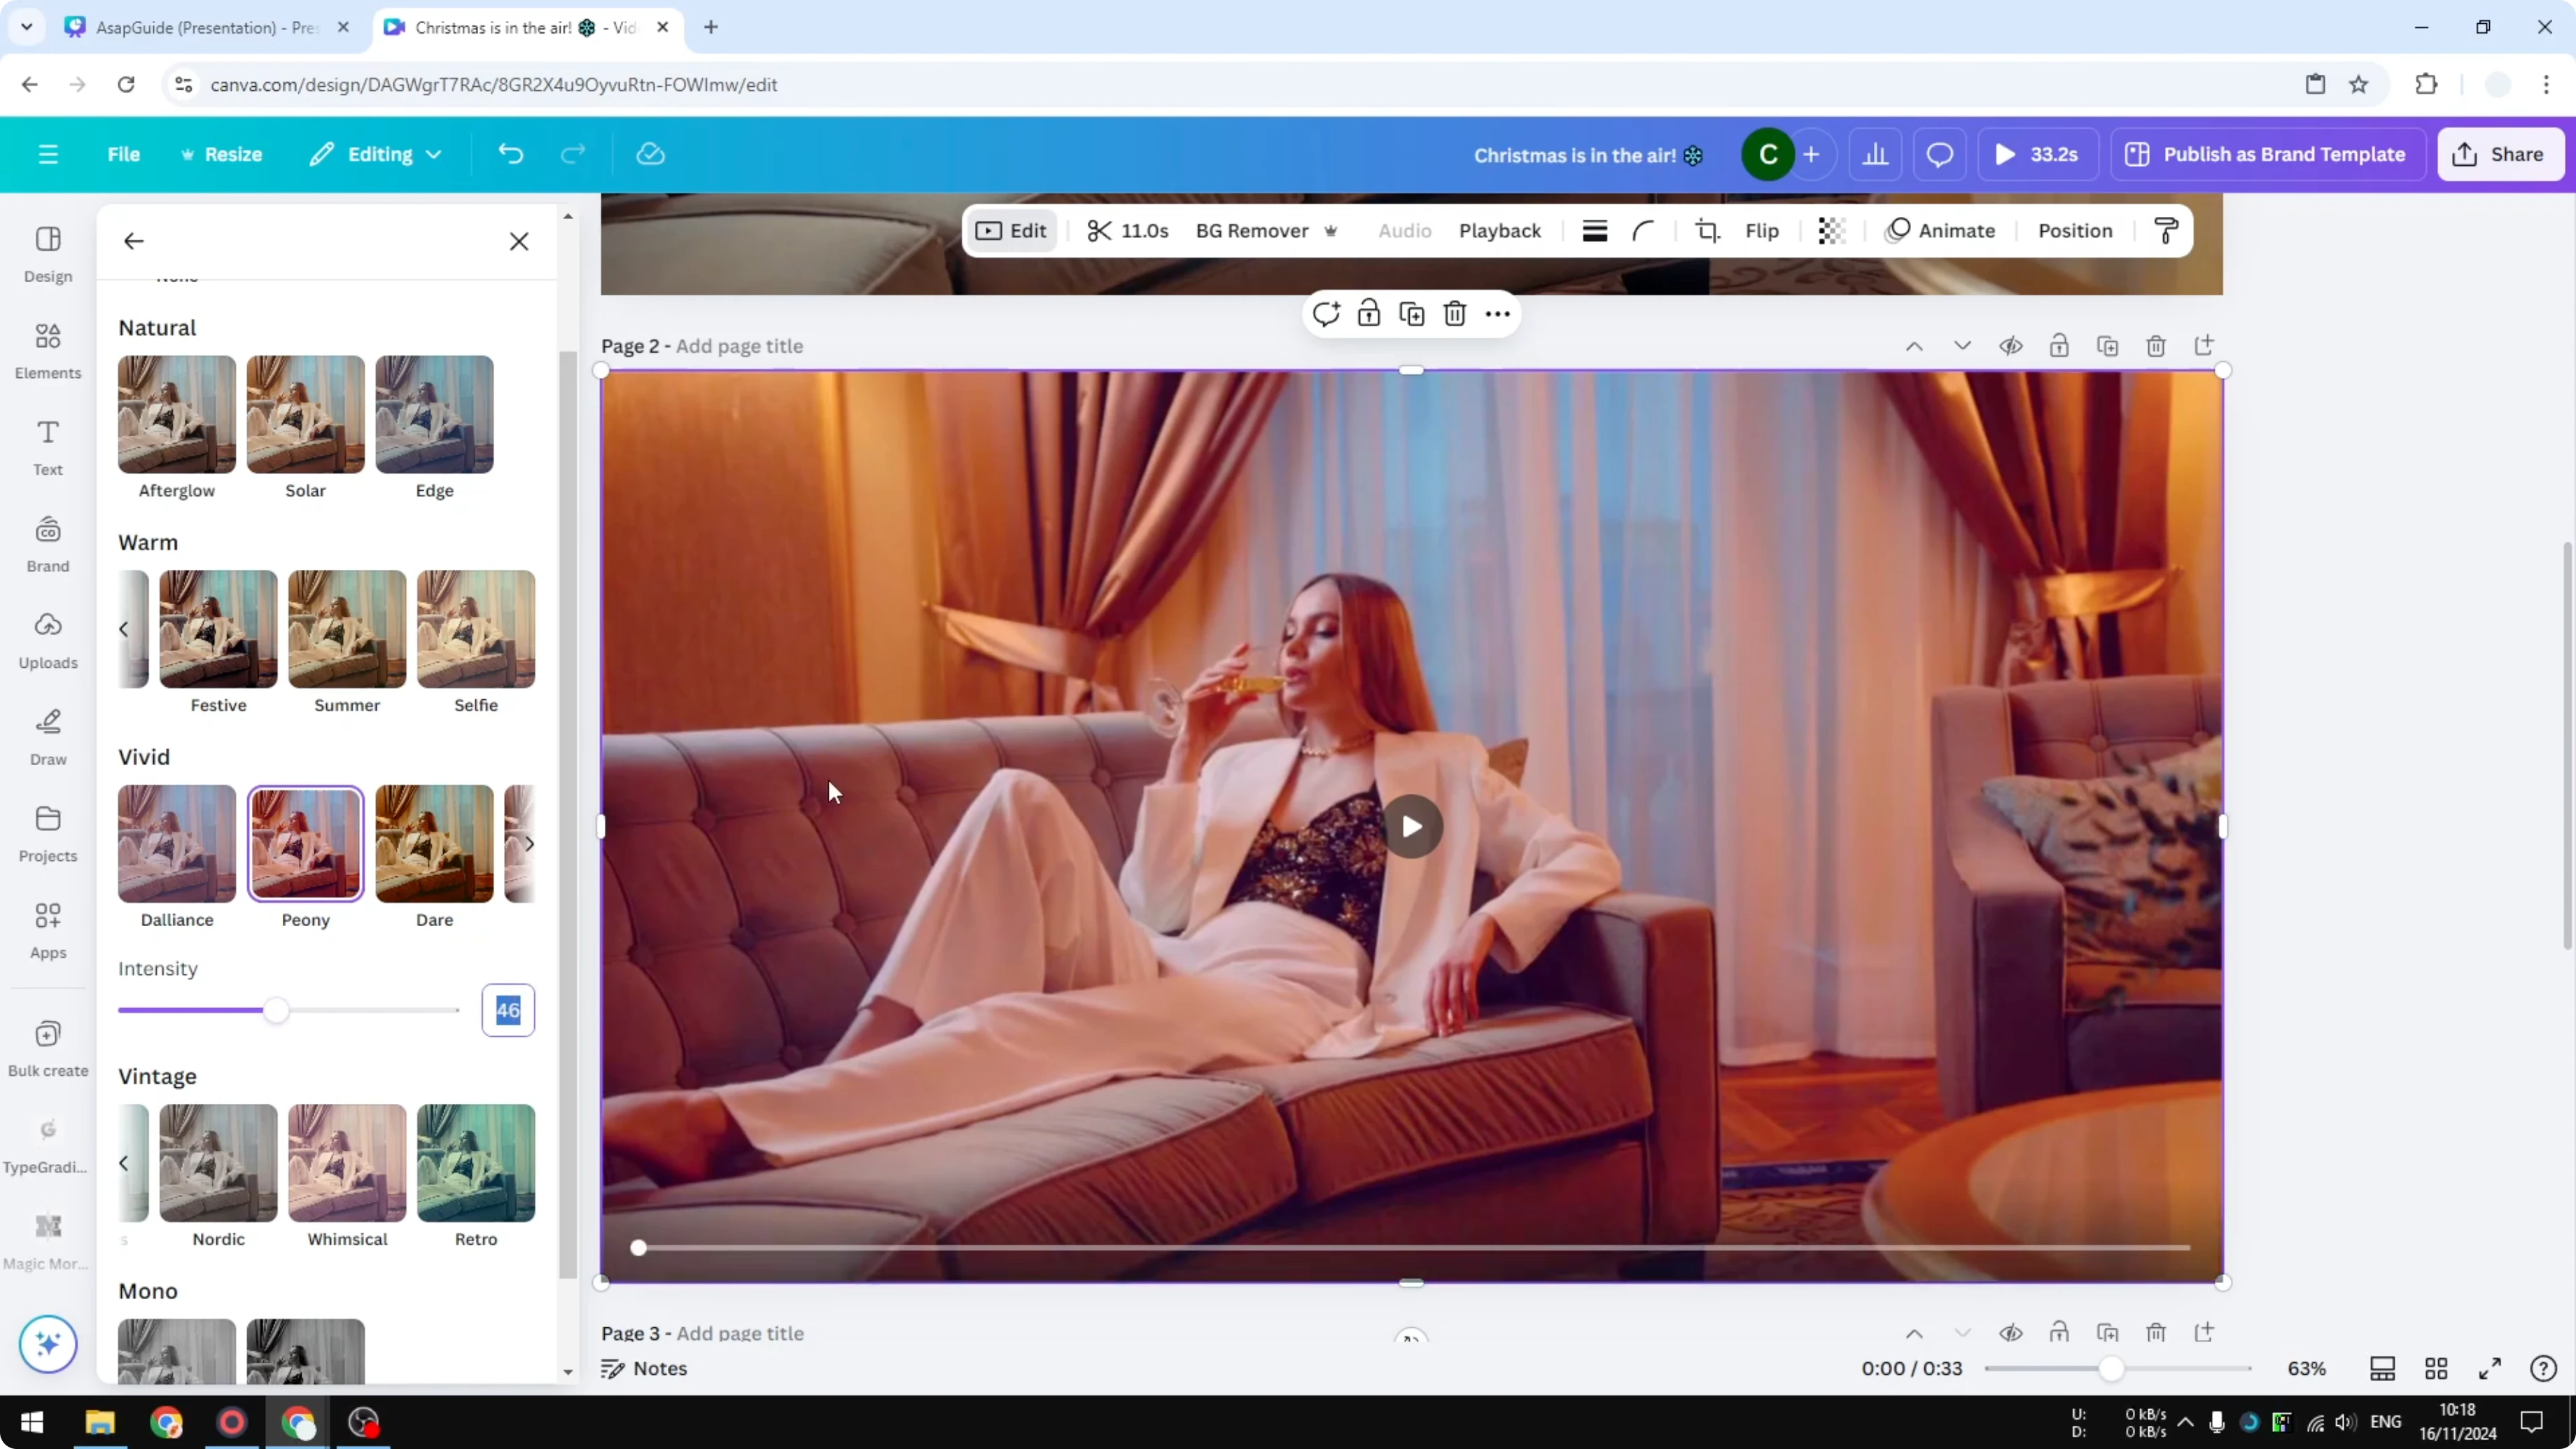
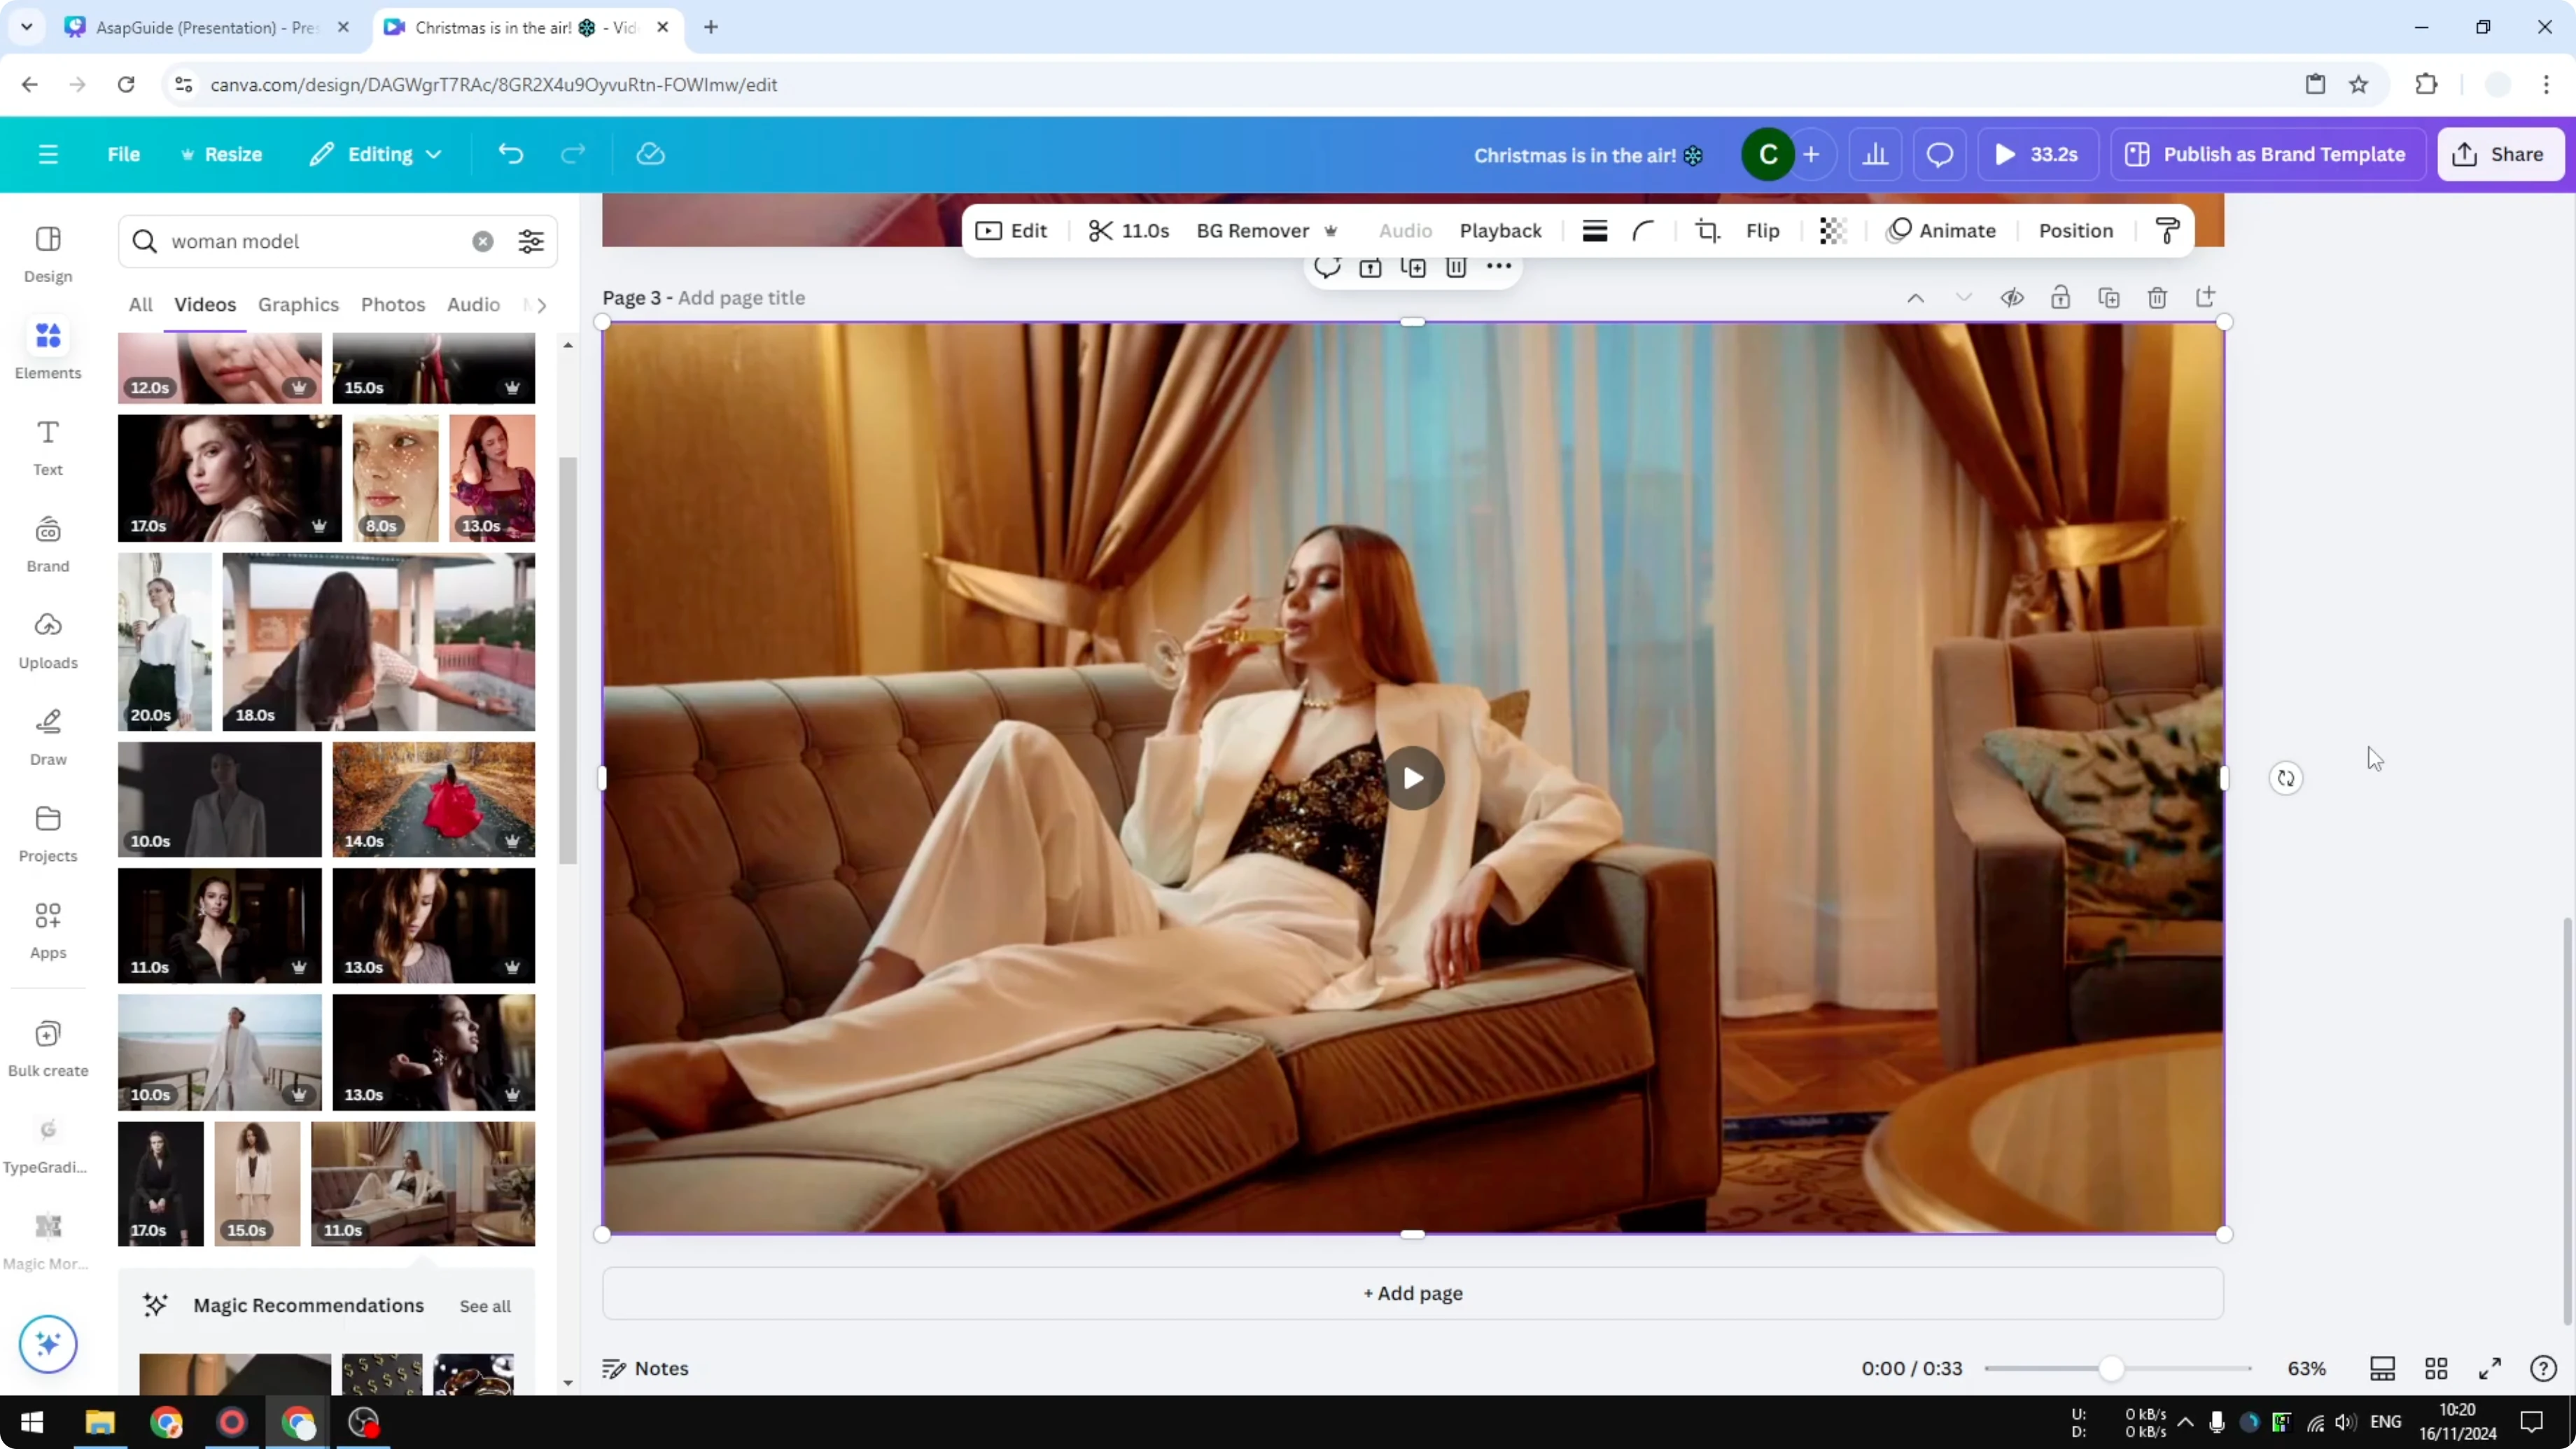
Click the video. Click Edit, then Filters, then See all. Choose a filter template you like.
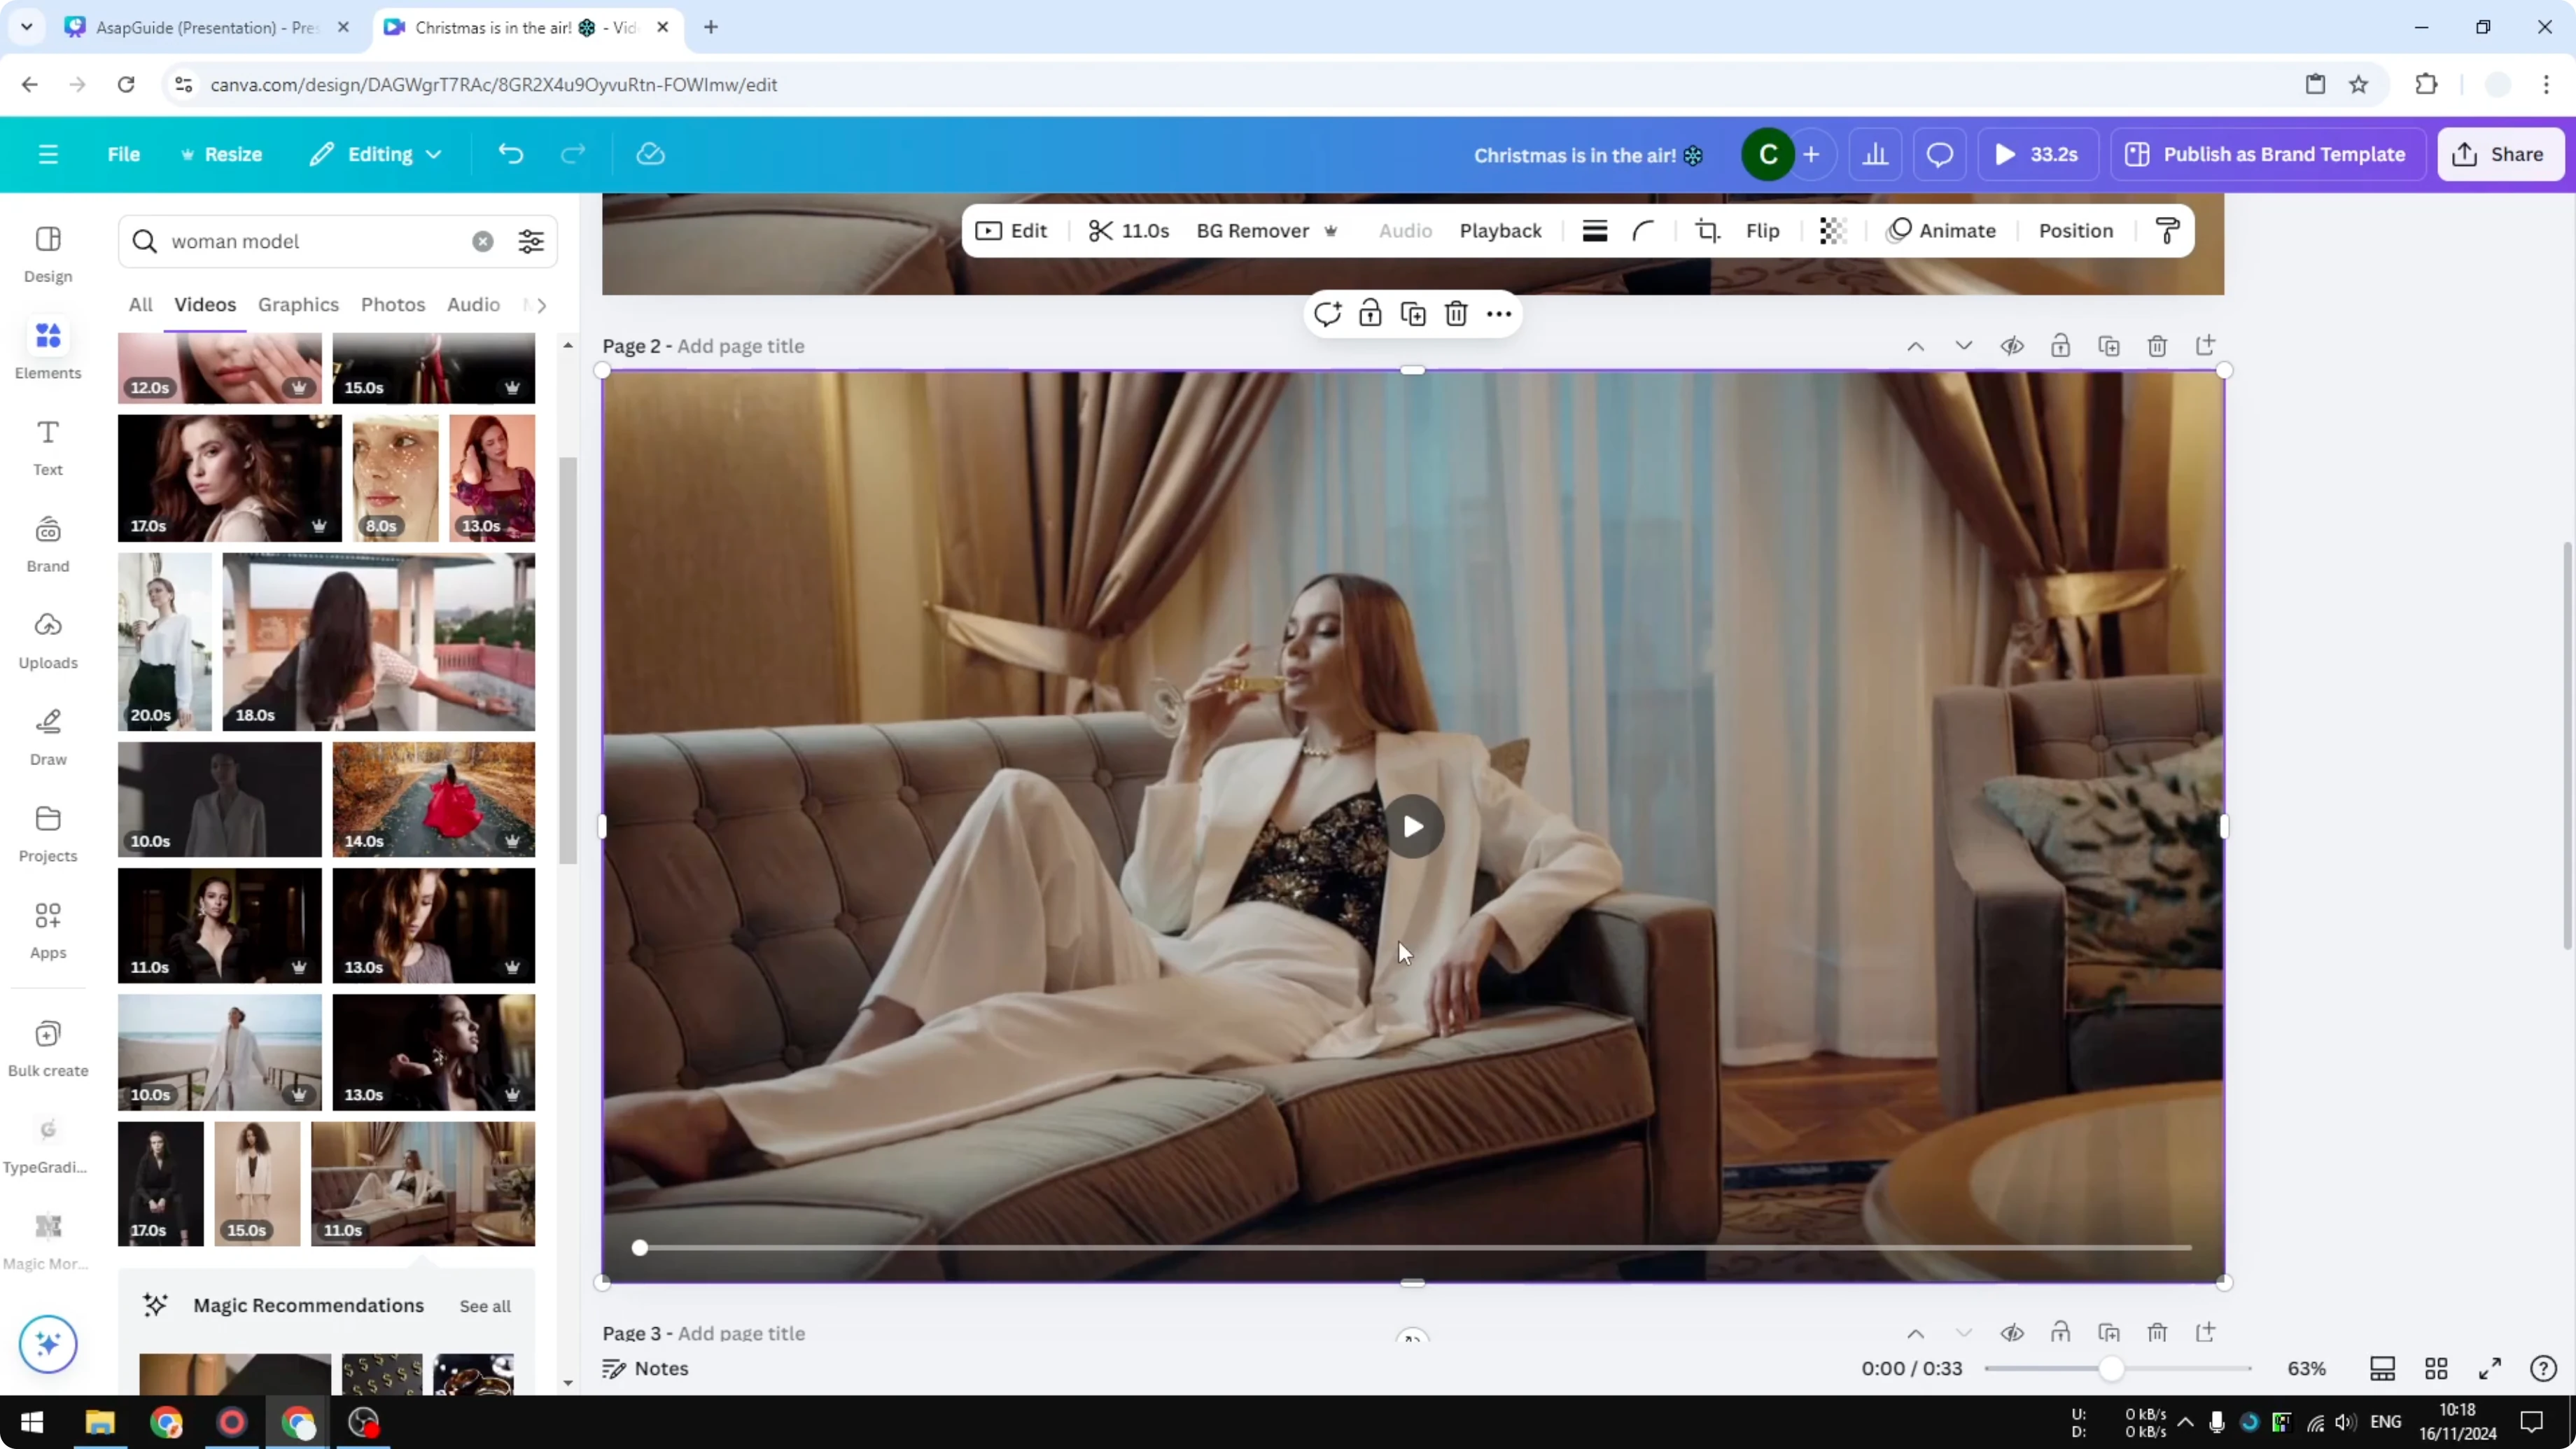
Adjust the intensity to taste. I set it around 50 percent for a balanced look. This gives you a quick improvement with minimal work.
For more options with filters, see how to add filters to video in Canva.
Read More: Add video transitions in Canva
Customizable adjust settings to Enhance The Look of Your Video in Canva
Click the video. Click Edit, then Adjust. This is where you can fine tune the look.
Increase Warmth slightly to push the image toward orange. Move it left for a cooler blue look if needed. I raise warmth a little.
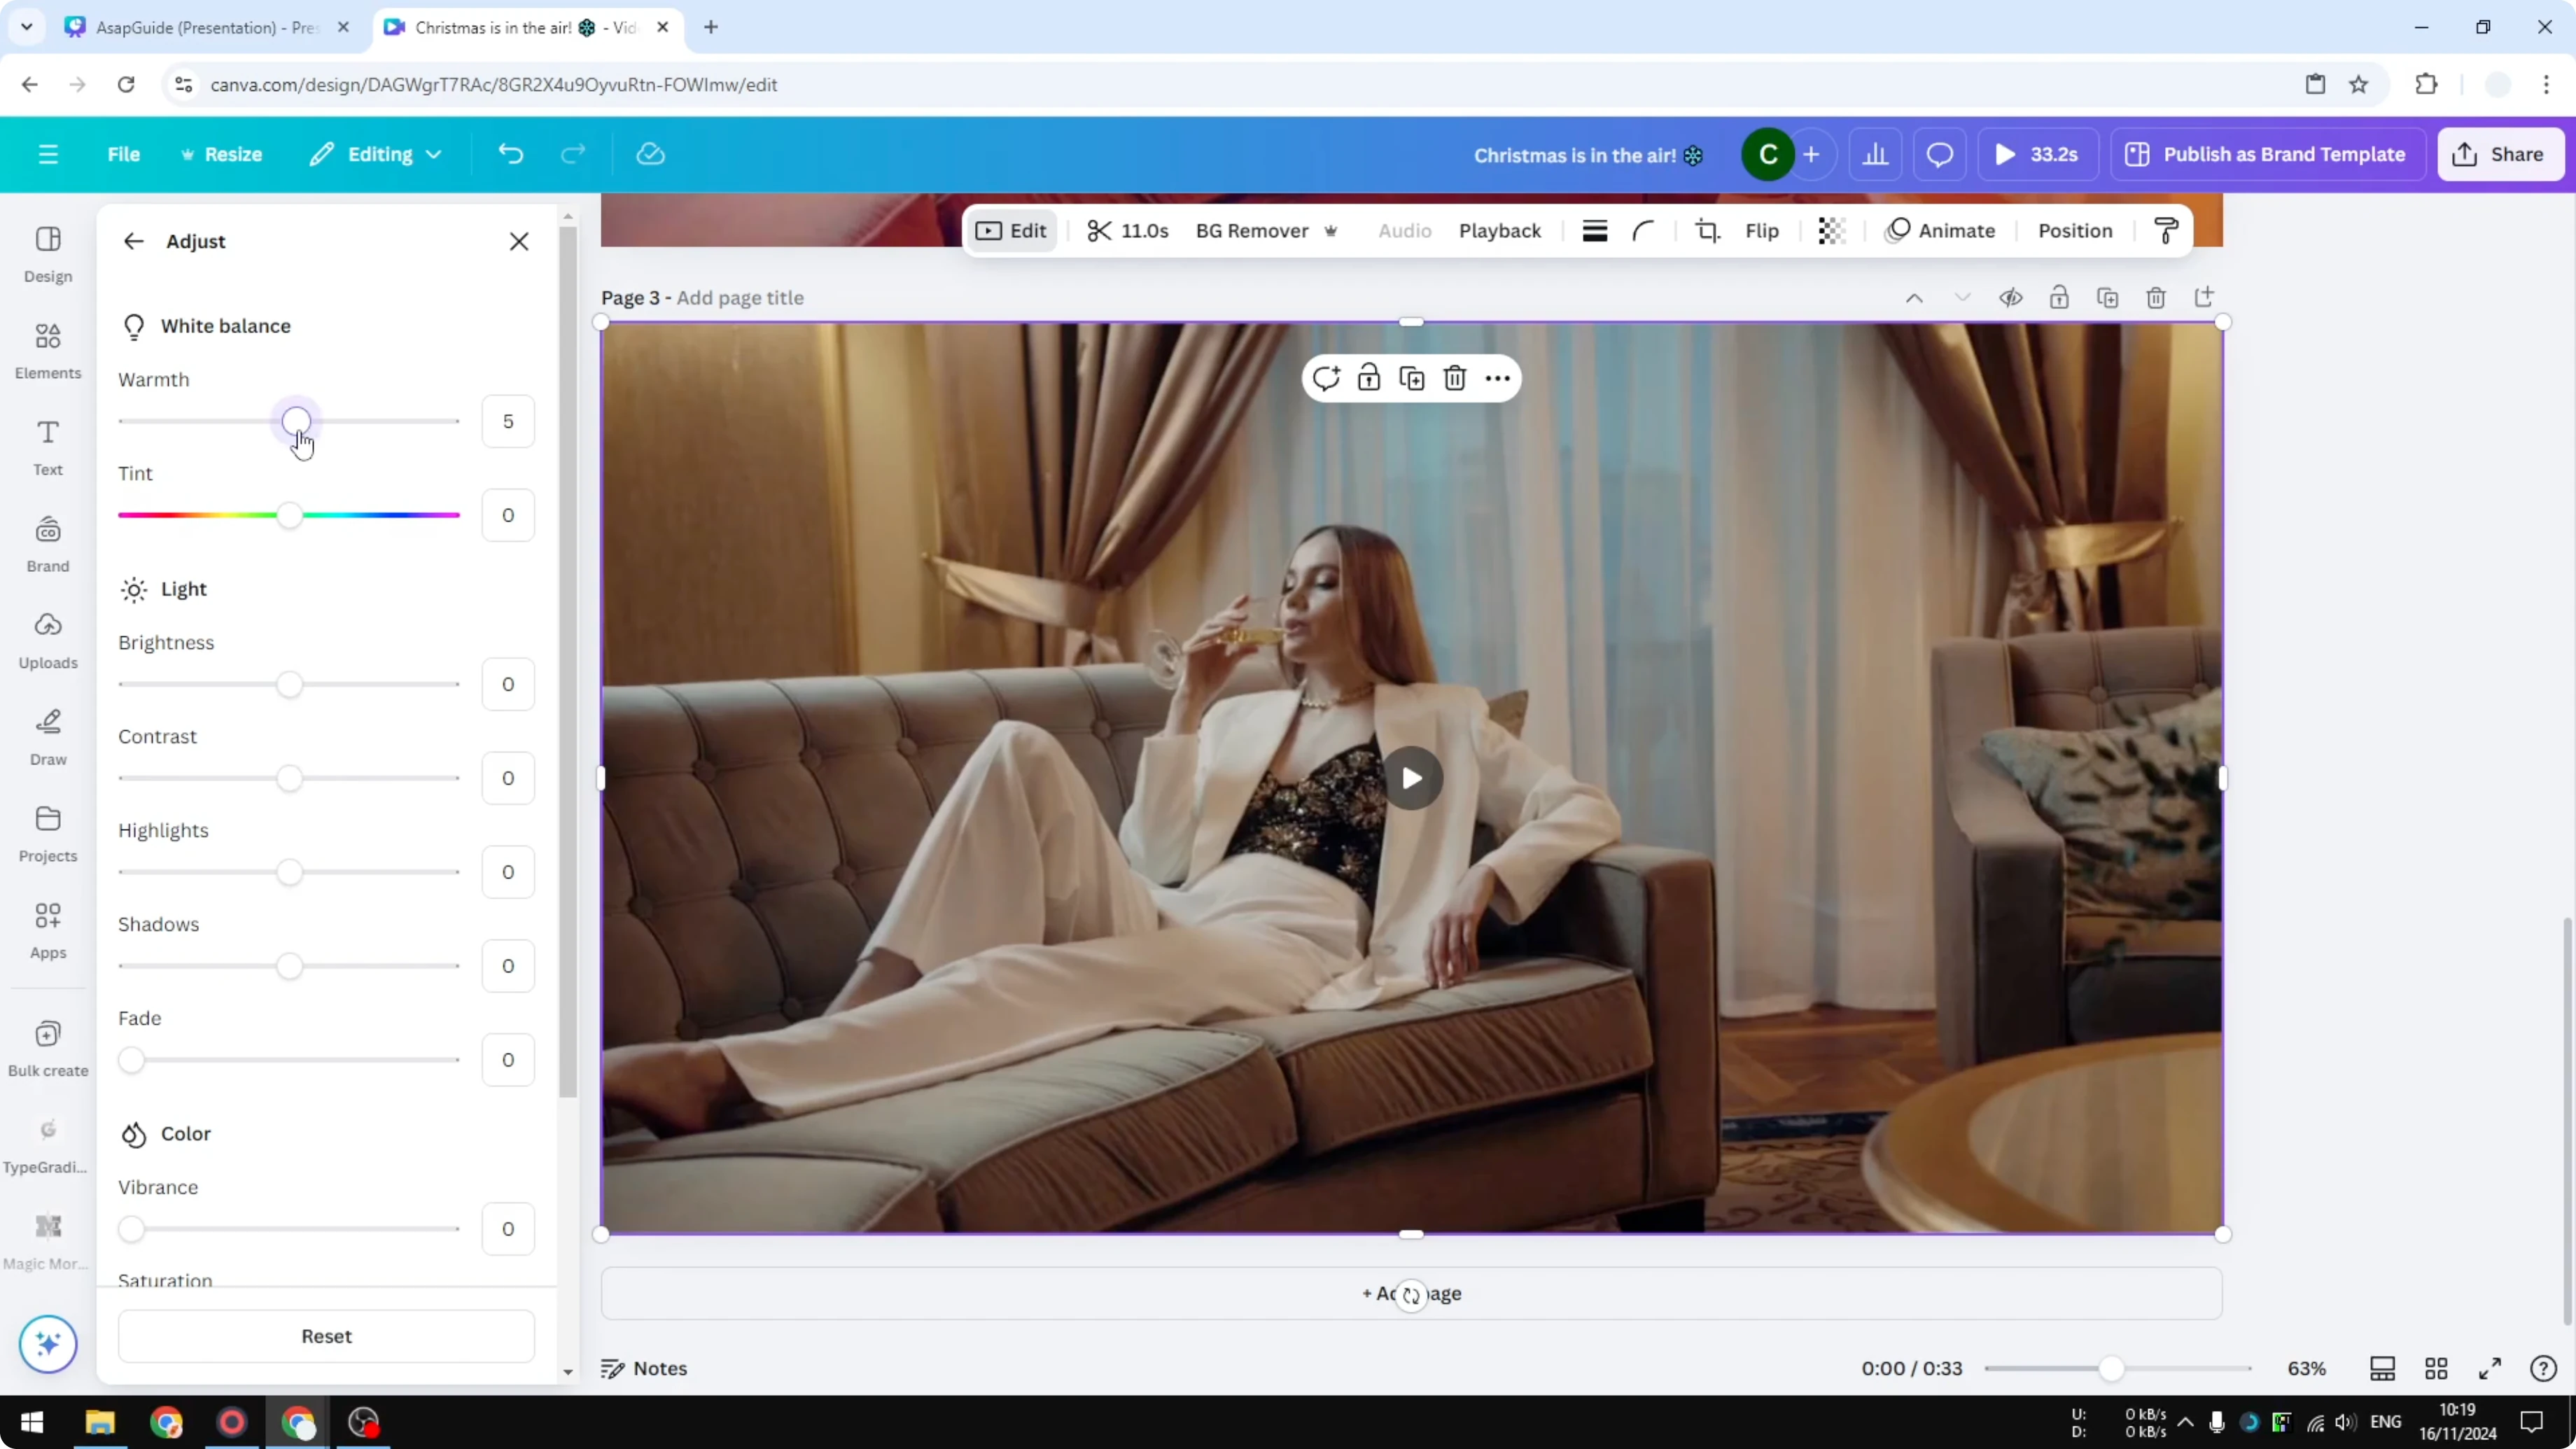
Tint is not something I play with here. I skip it to avoid shifting the overall color. Keep it neutral if you want natural tones.
Increase Brightness slightly to under 10. Raise Contrast to around 26 to 27. Contrast is very important for punch.

Highlights are usually not needed, but add around 5 percent if you want. Lower Shadows into the negative to deepen dark areas. This helps the shadow look as deep as possible.

Fade is usually not needed. You can add it, but I skip it most of the time. In some cases I increase Fade a little to around 20.
Increase Vibrance to make colors pop. Adjust Saturation to taste. X-Process is something I do not use, and I usually leave it alone.
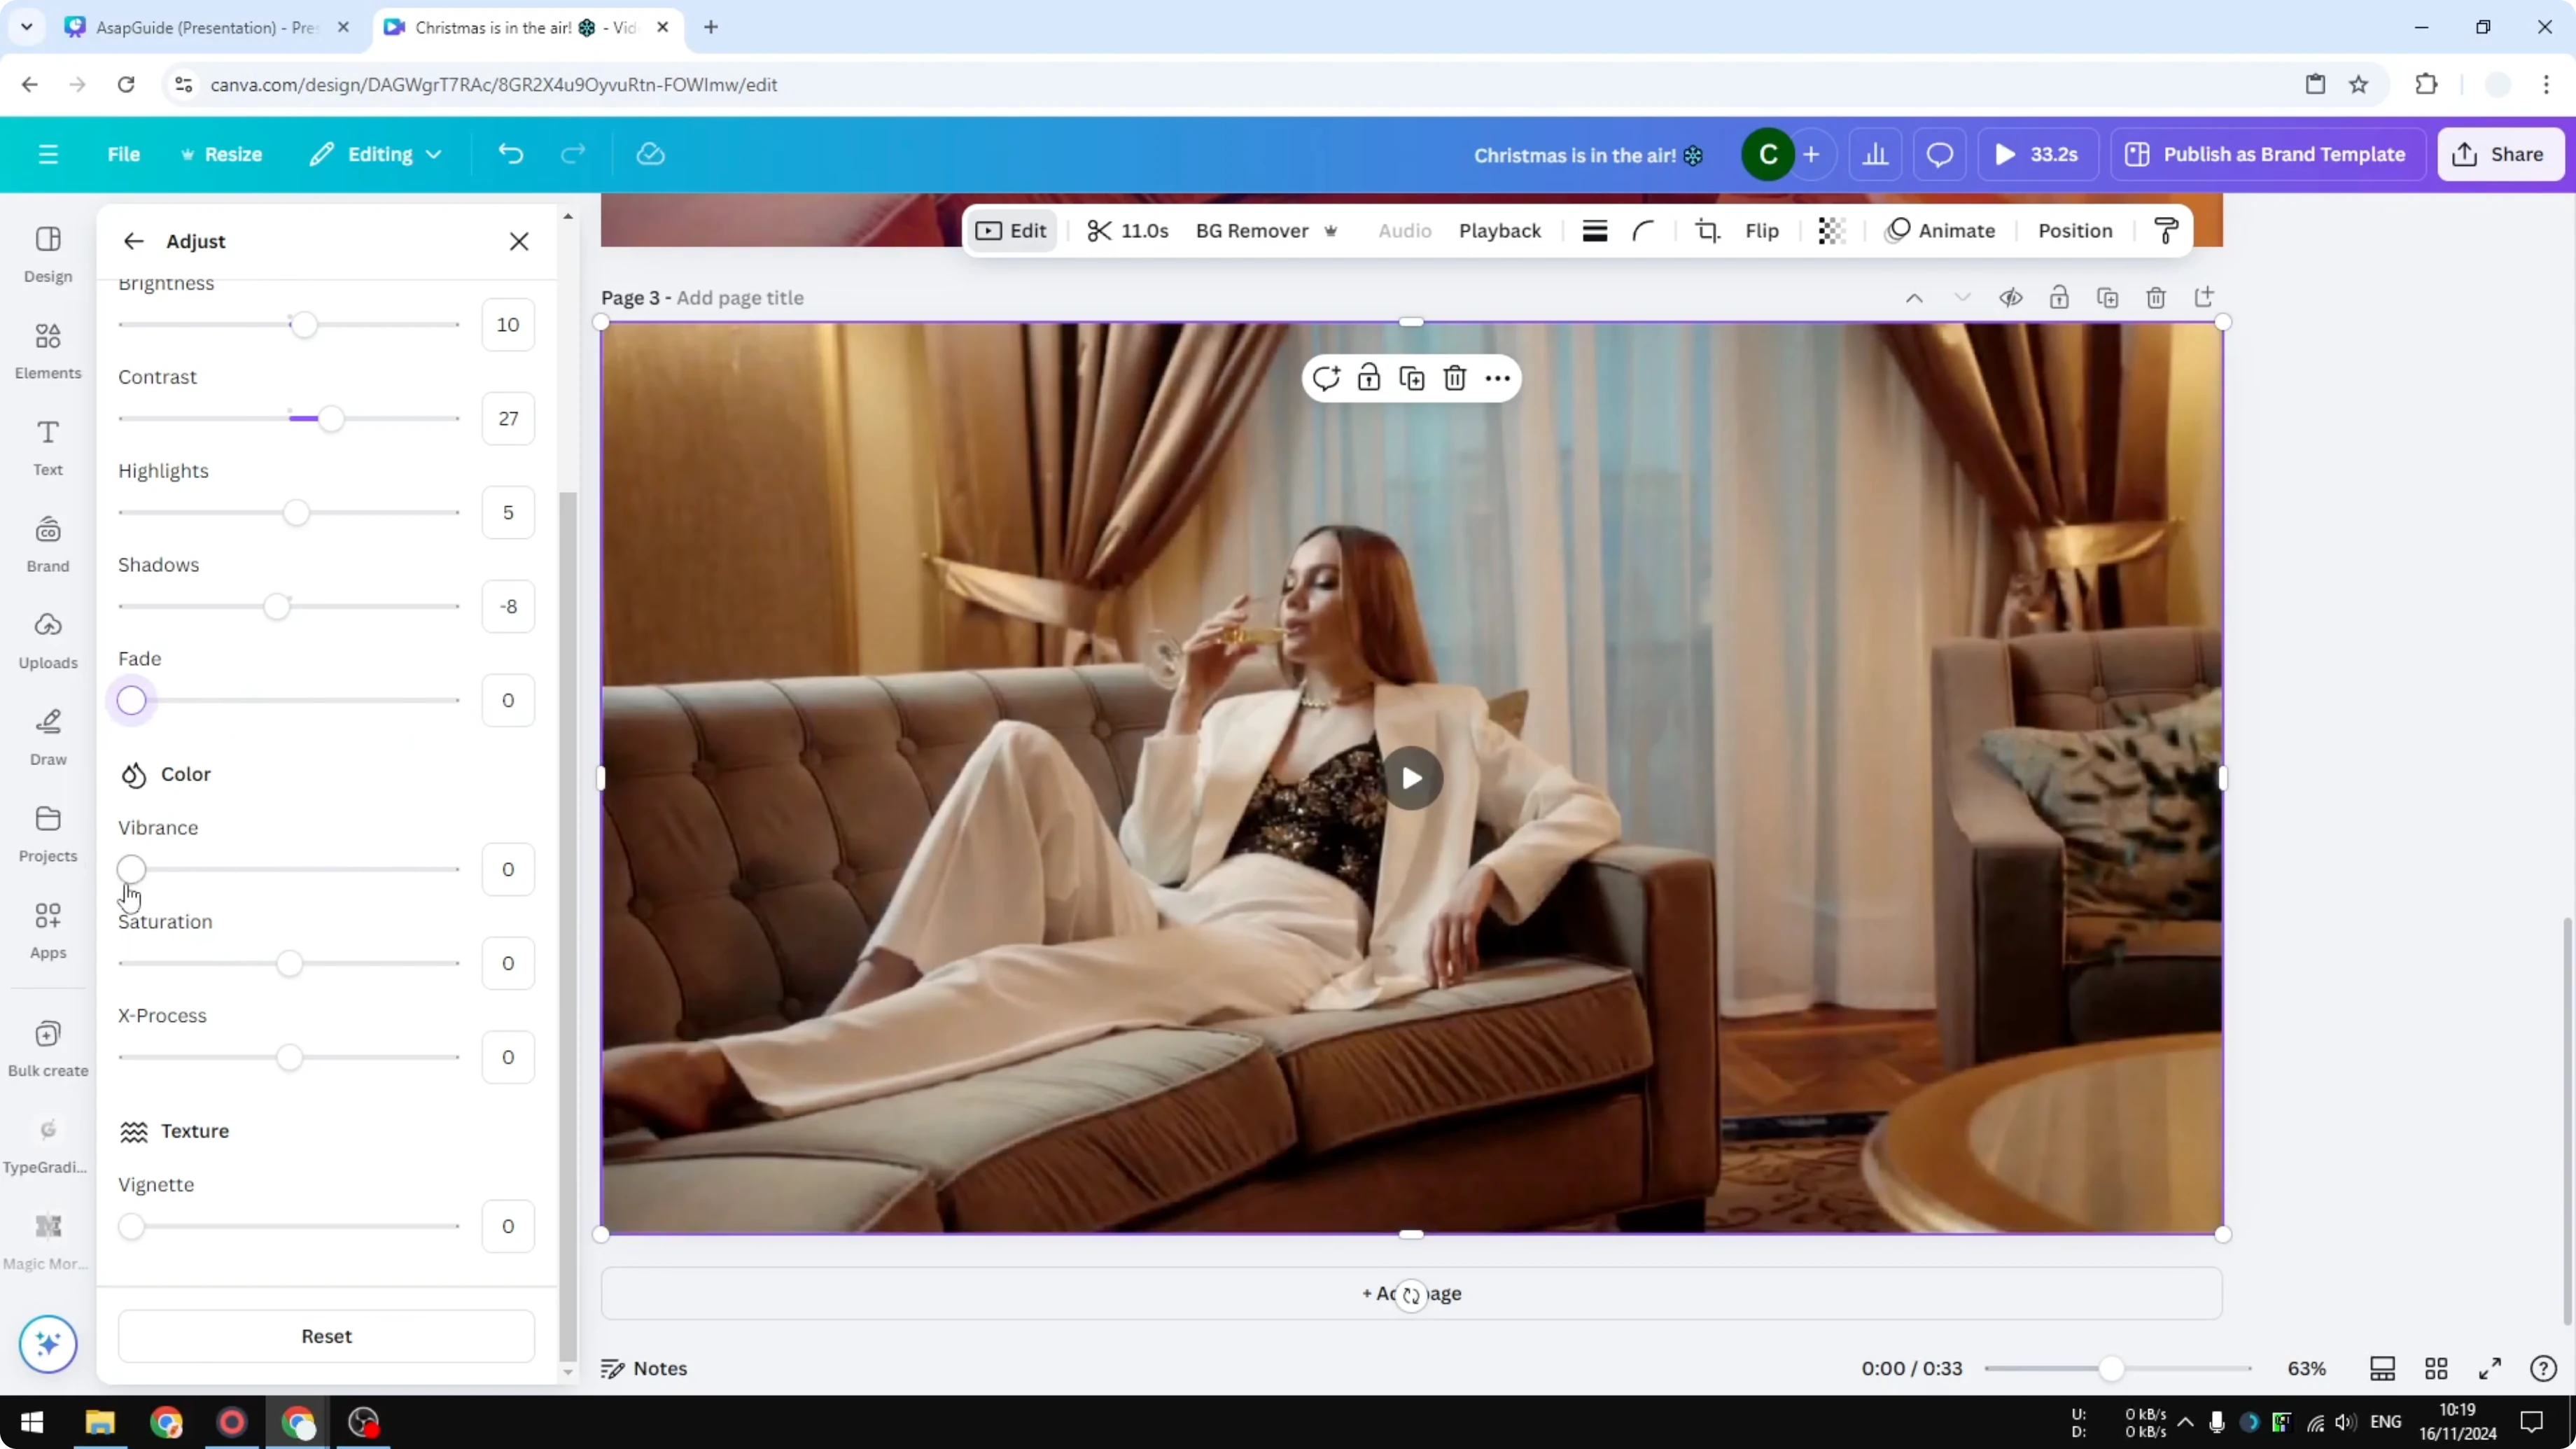
That is the result after these tweaks. Compare it with the original and the filter version. Pick the one that fits your goal.
Read More: Add a watermark to your Canva video
Choosing the best look to Enhance The Look of Your Video in Canva
This is subjective. There is no single correct result. It depends on what you are trying to present in your video.
Final thoughts on Enhance The Look of Your Video in Canva
These two methods can take a dull clip and make it feel more vibrant. The filter route is the fastest, and manual adjustments can produce a better result if you are willing to tweak. Use any combination that matches your style.
Recent Posts
How to Visualize Yourself as a Pixelized Character with AI?
How to Visualize Yourself as a Pixelized Character with AI?

How to Revive Faded Memories and Enhance Image Clarity with AI?
How to Revive Faded Memories and Enhance Image Clarity with AI?

How to Visualize Yourself as an Animal Crossing Character with AI?
How to Visualize Yourself as an Animal Crossing Character with AI?