How to Draw Anotate While Presenting in Canva
Can you draw or annotate while presenting your Canva presentation? The answer is yes, kind of. I will show you the exact setup I use and what to expect.
I work with Canva presentations a lot, and I often need quick annotations to emphasize a point. Canva does not make this obvious during a live presentation, but there is a simple workaround that works.
Why Draw Anotate While Presenting in Canva is tricky
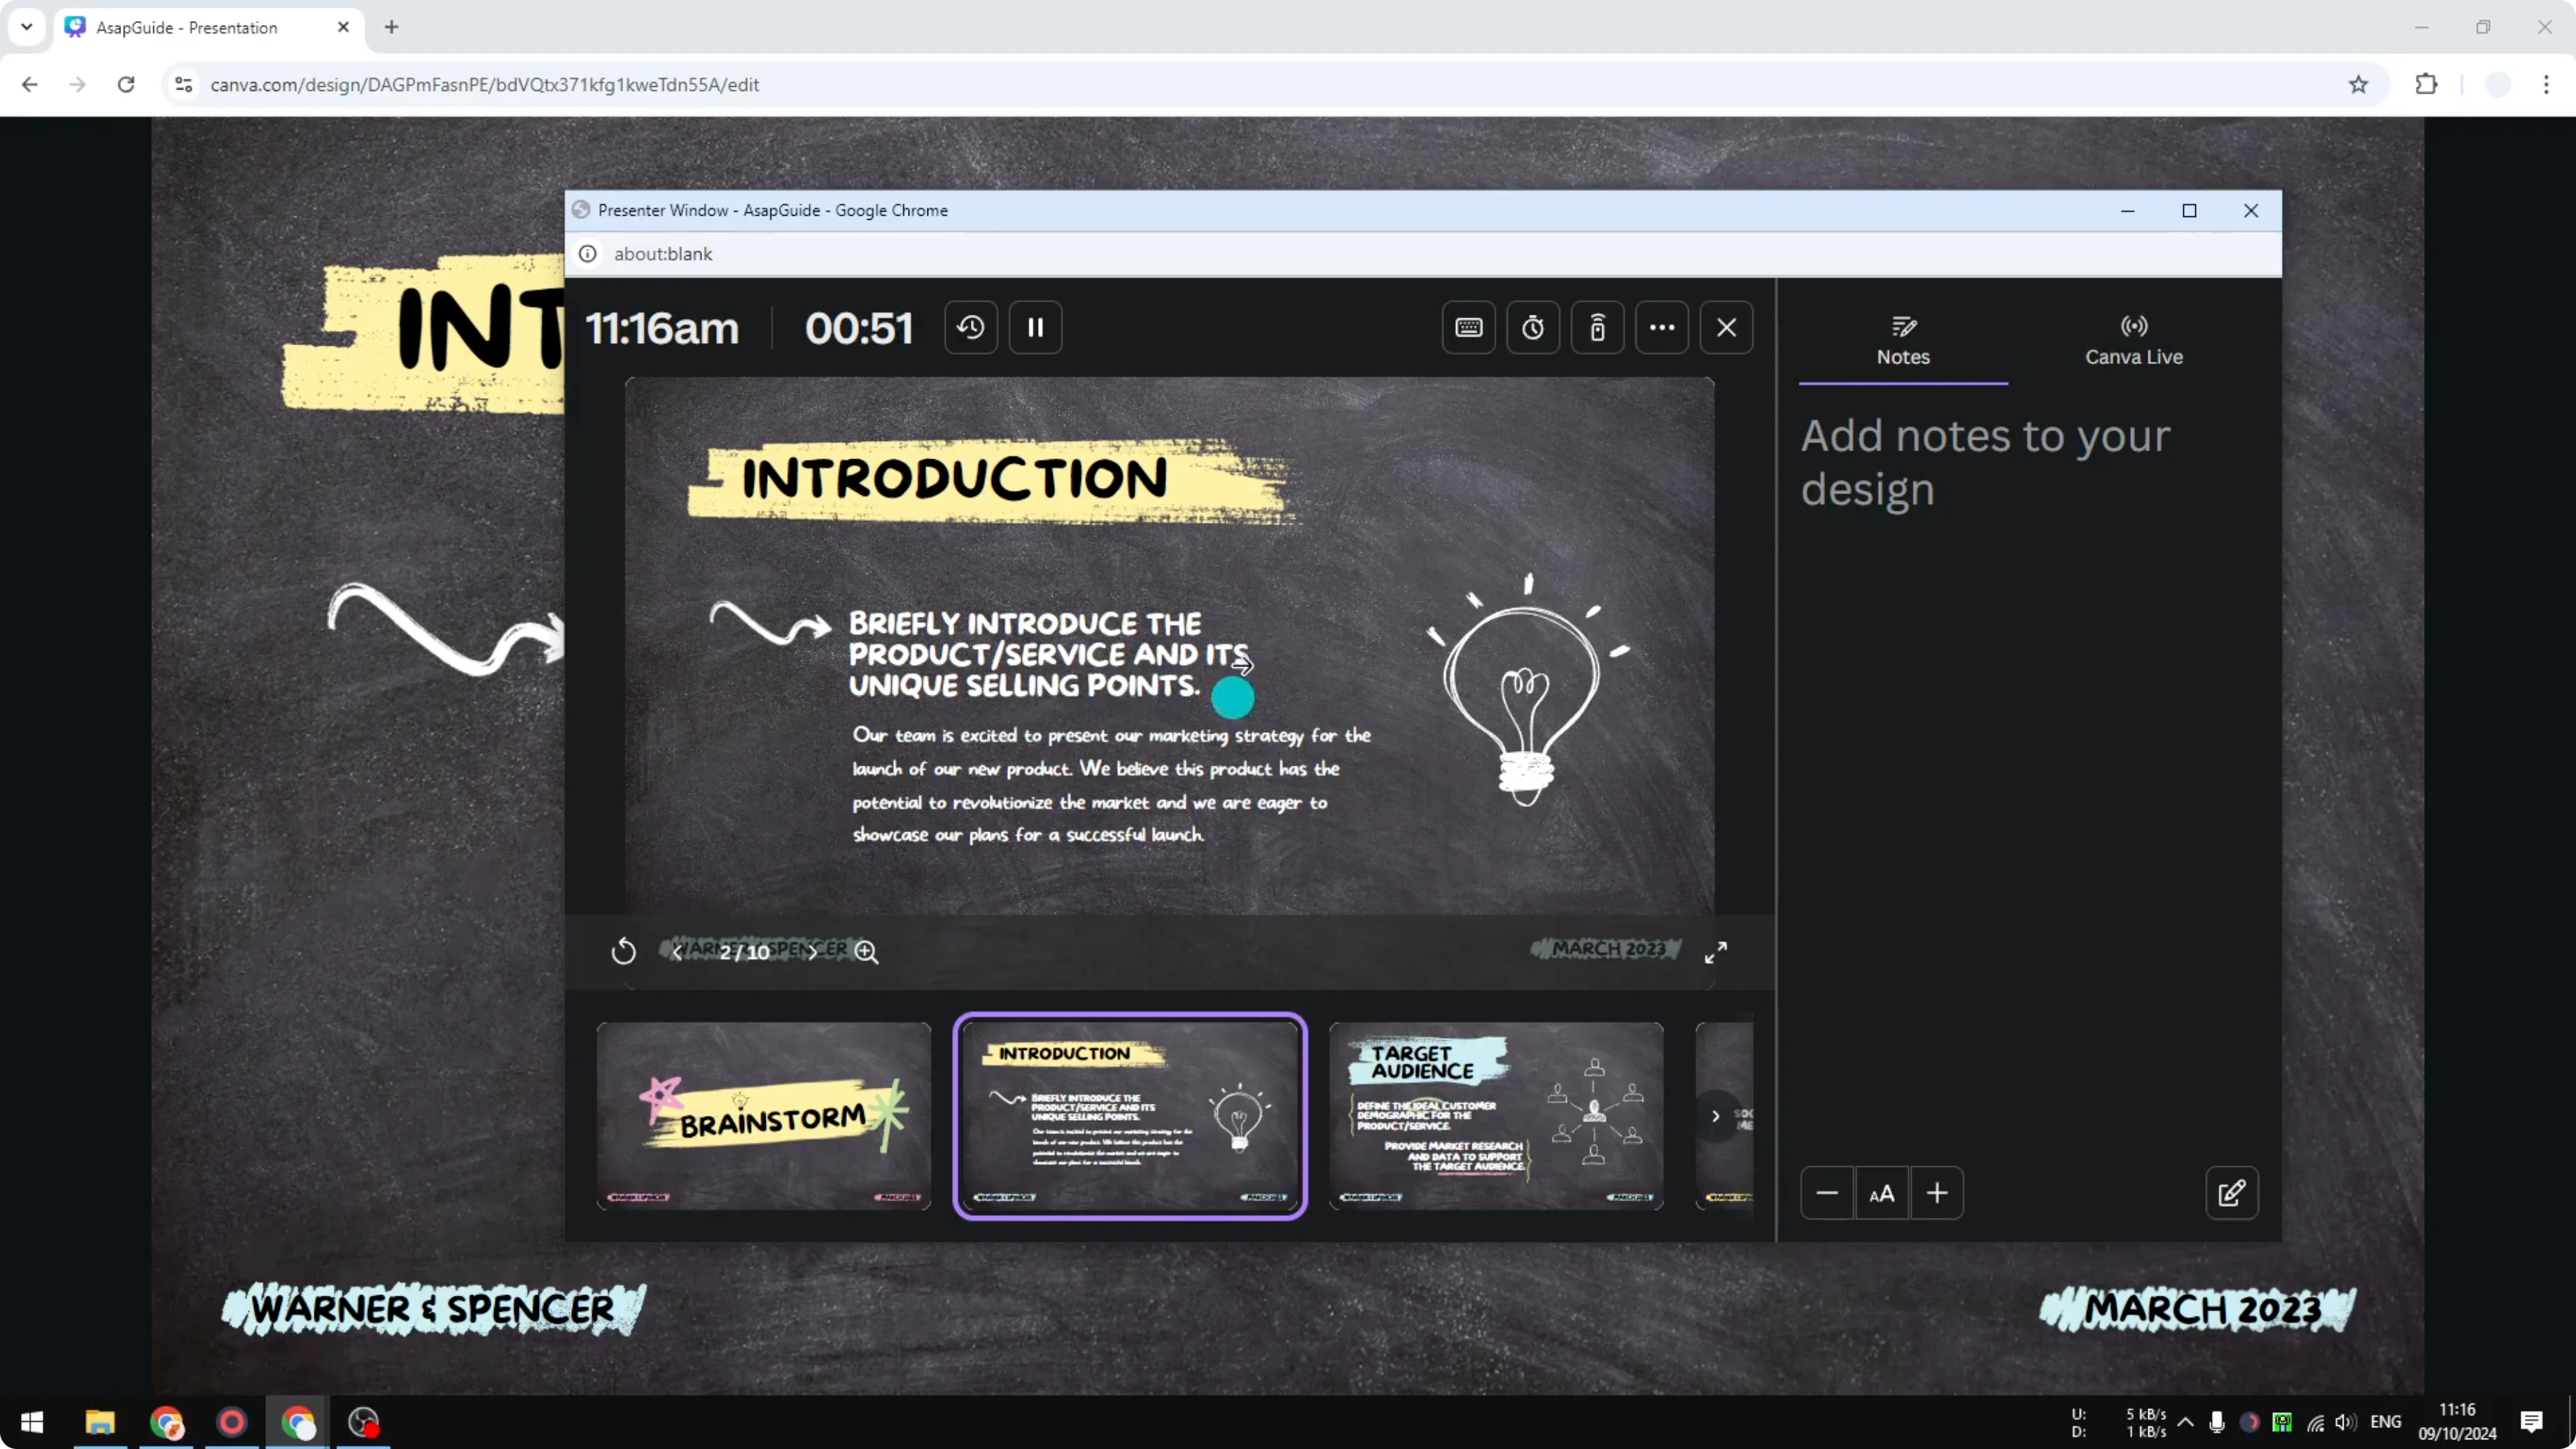
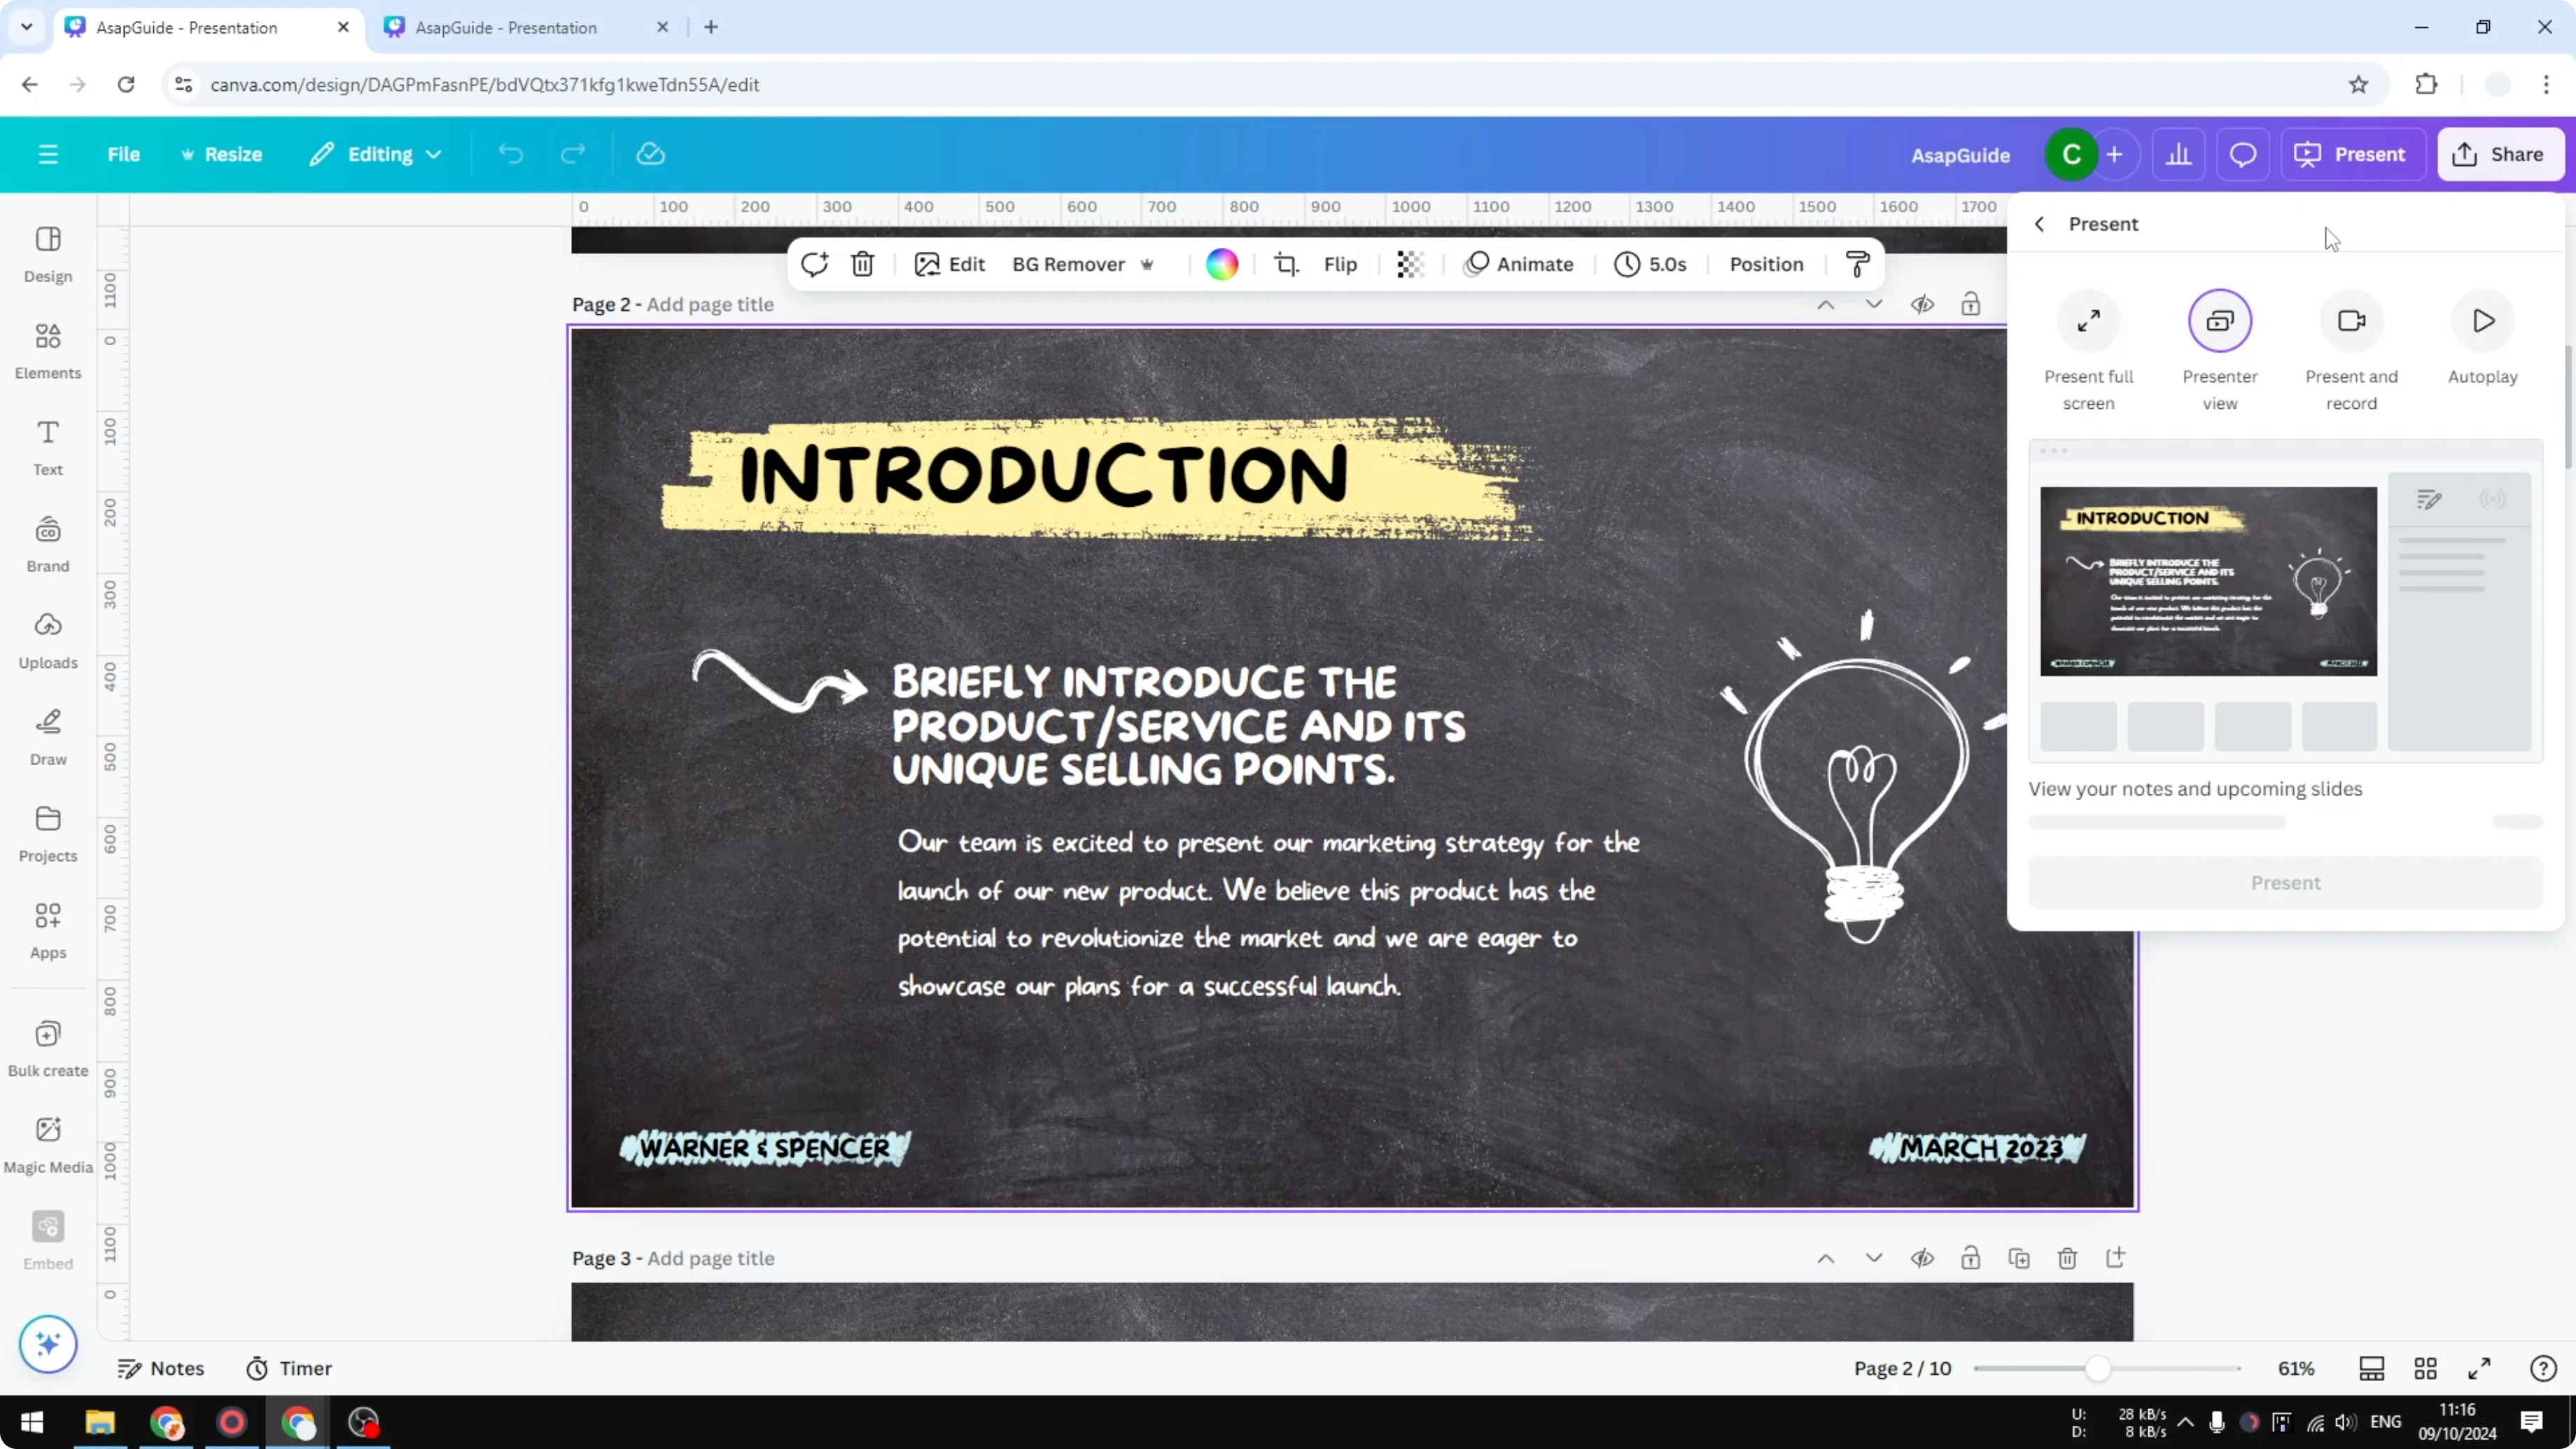
Presenter View in Canva gives you a window to control the show without touching the main audience display. You can manage effects, animations, autoplay, and a timer.
But there is no built in real time annotation in Presenter View. PowerPoint allows live inking, but Canva does not offer that feature yet.

If you just want to create custom shapes or freeform strokes in the editor before presenting, see this guide on drawing your own lines in Canva. That will help if your need is purely design time and not live.
Workaround to Draw Anotate While Presenting in Canva
You can annotate live by editing the same design in a second browser tab while the first tab is in Presenter View. The edits you make with Canva’s Draw tool show up on the live presentation in real time.
This is not the prettiest solution, but it works reliably for most talks.
Set up the windows
Duplicate the browser tab that holds your Canva presentation. Right click the tab and choose Duplicate so you get two tabs with the same design.
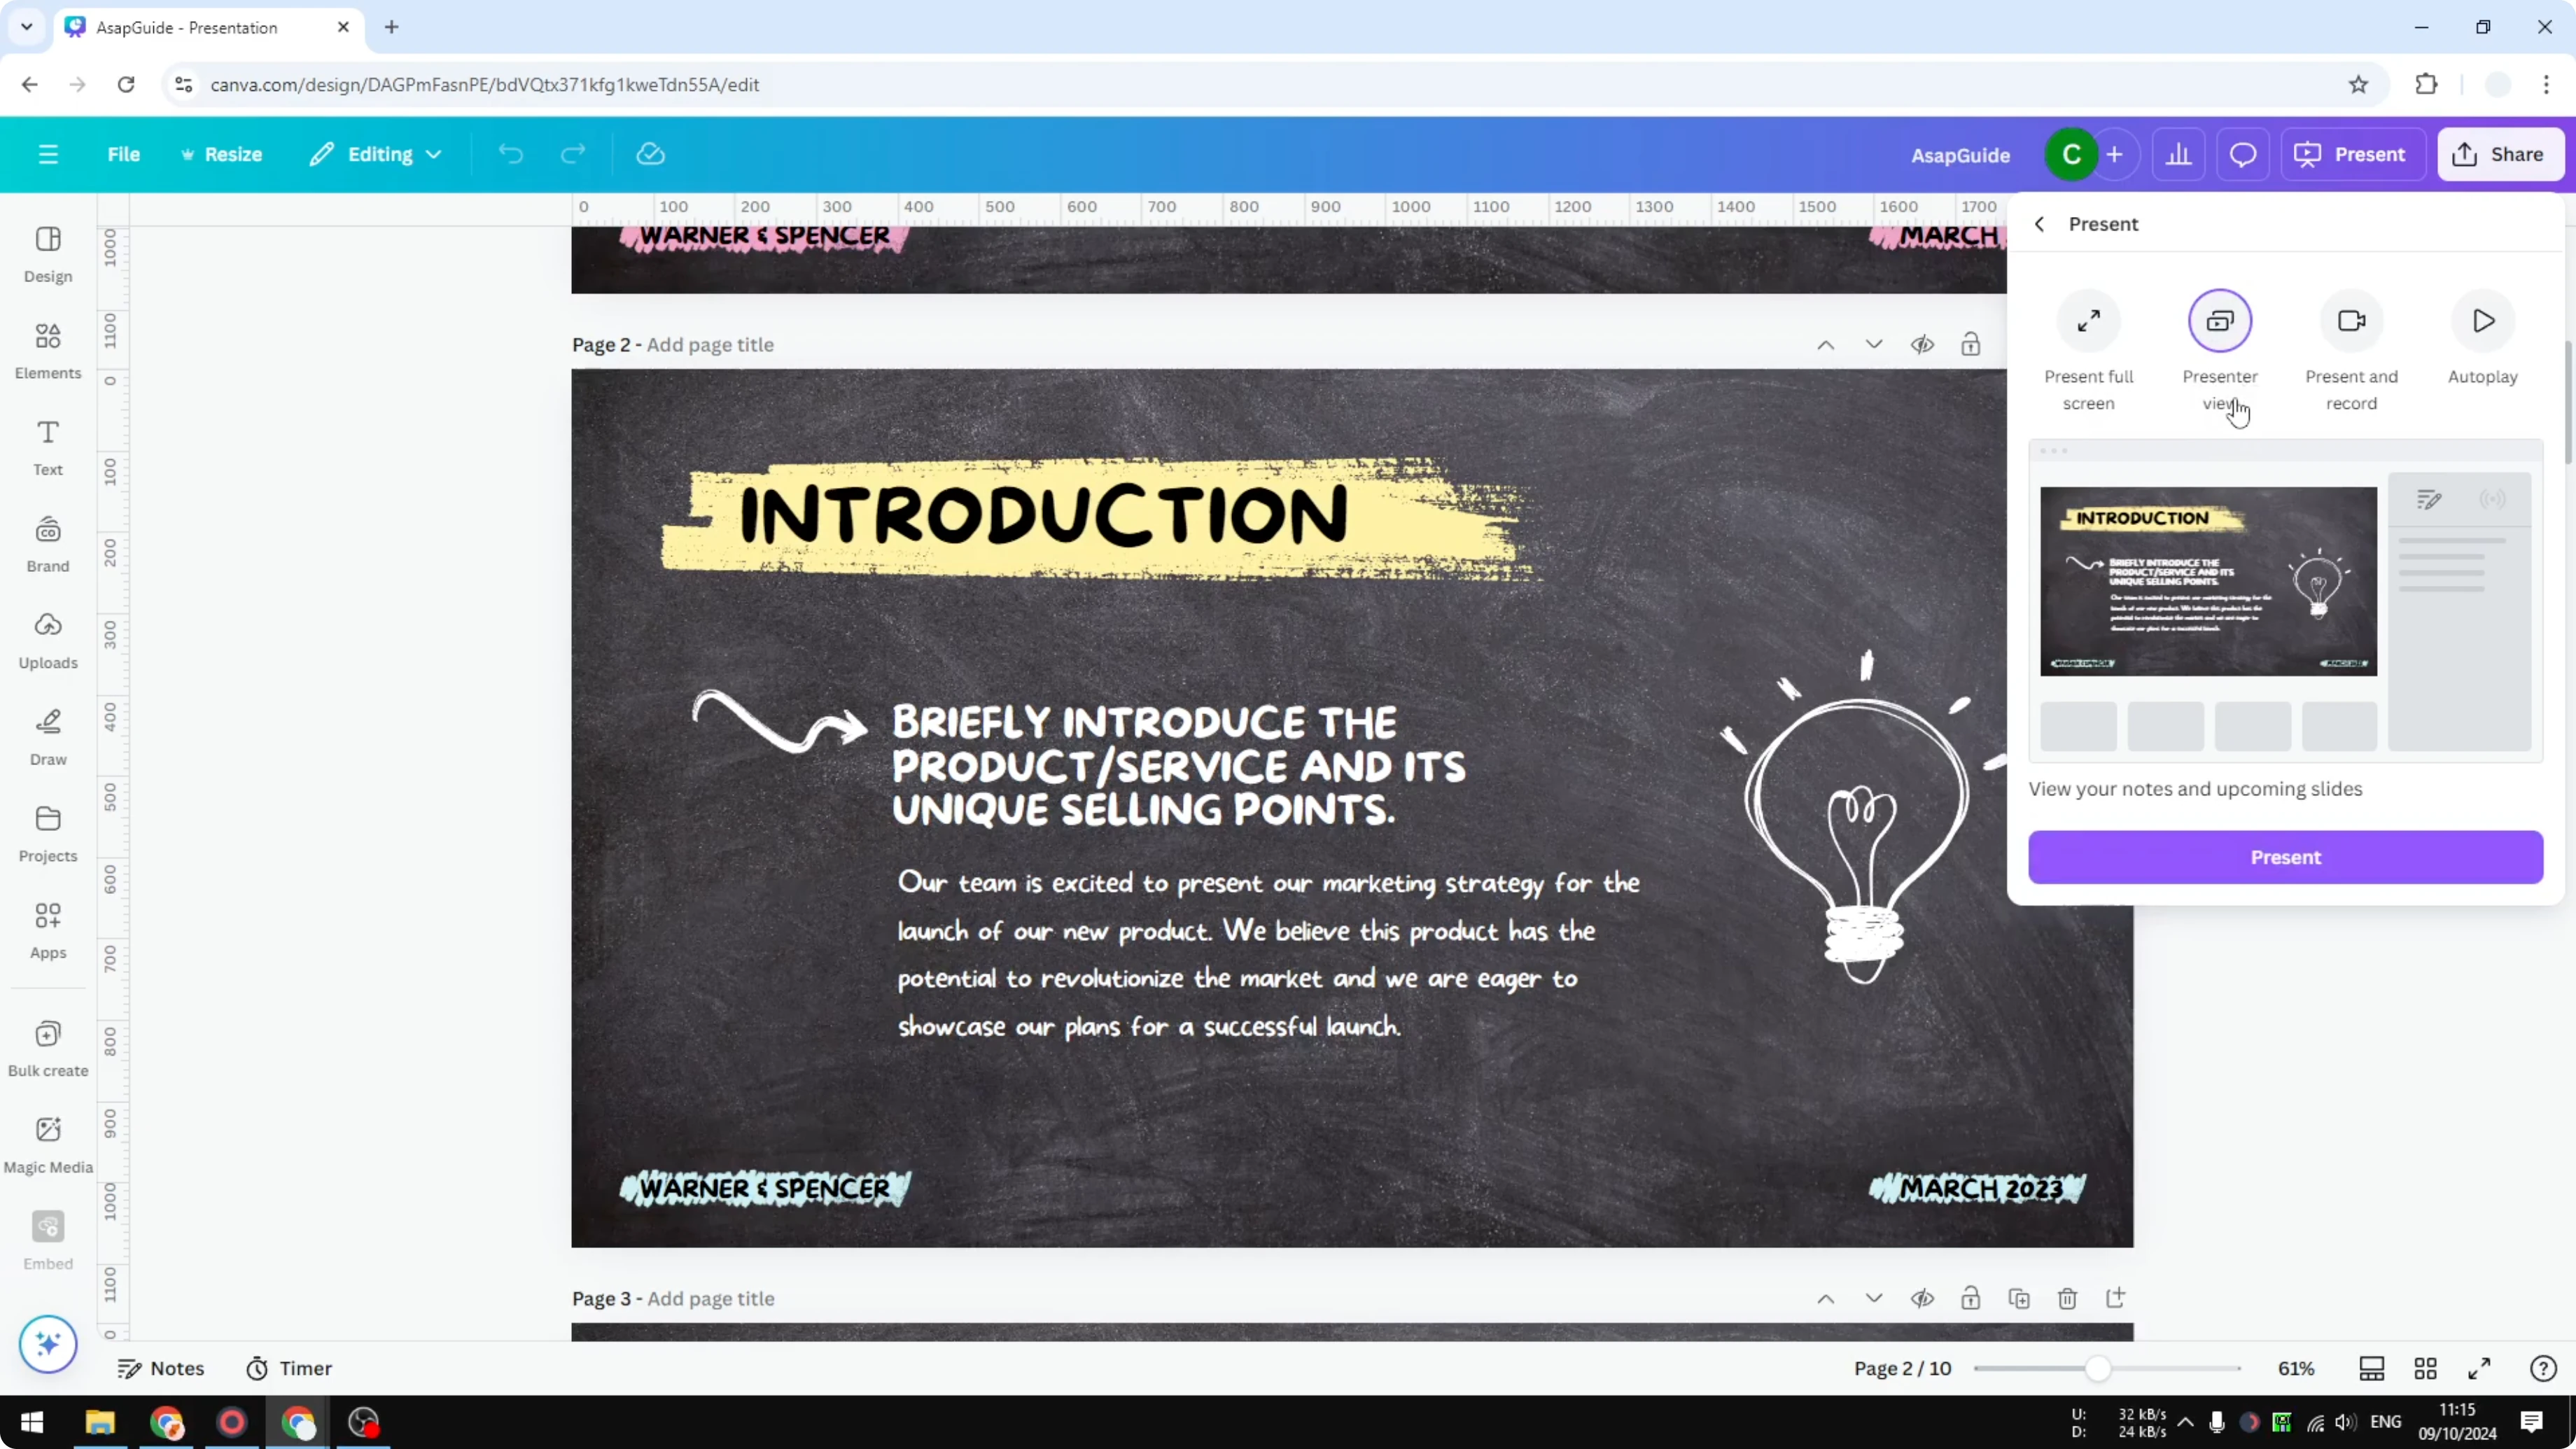
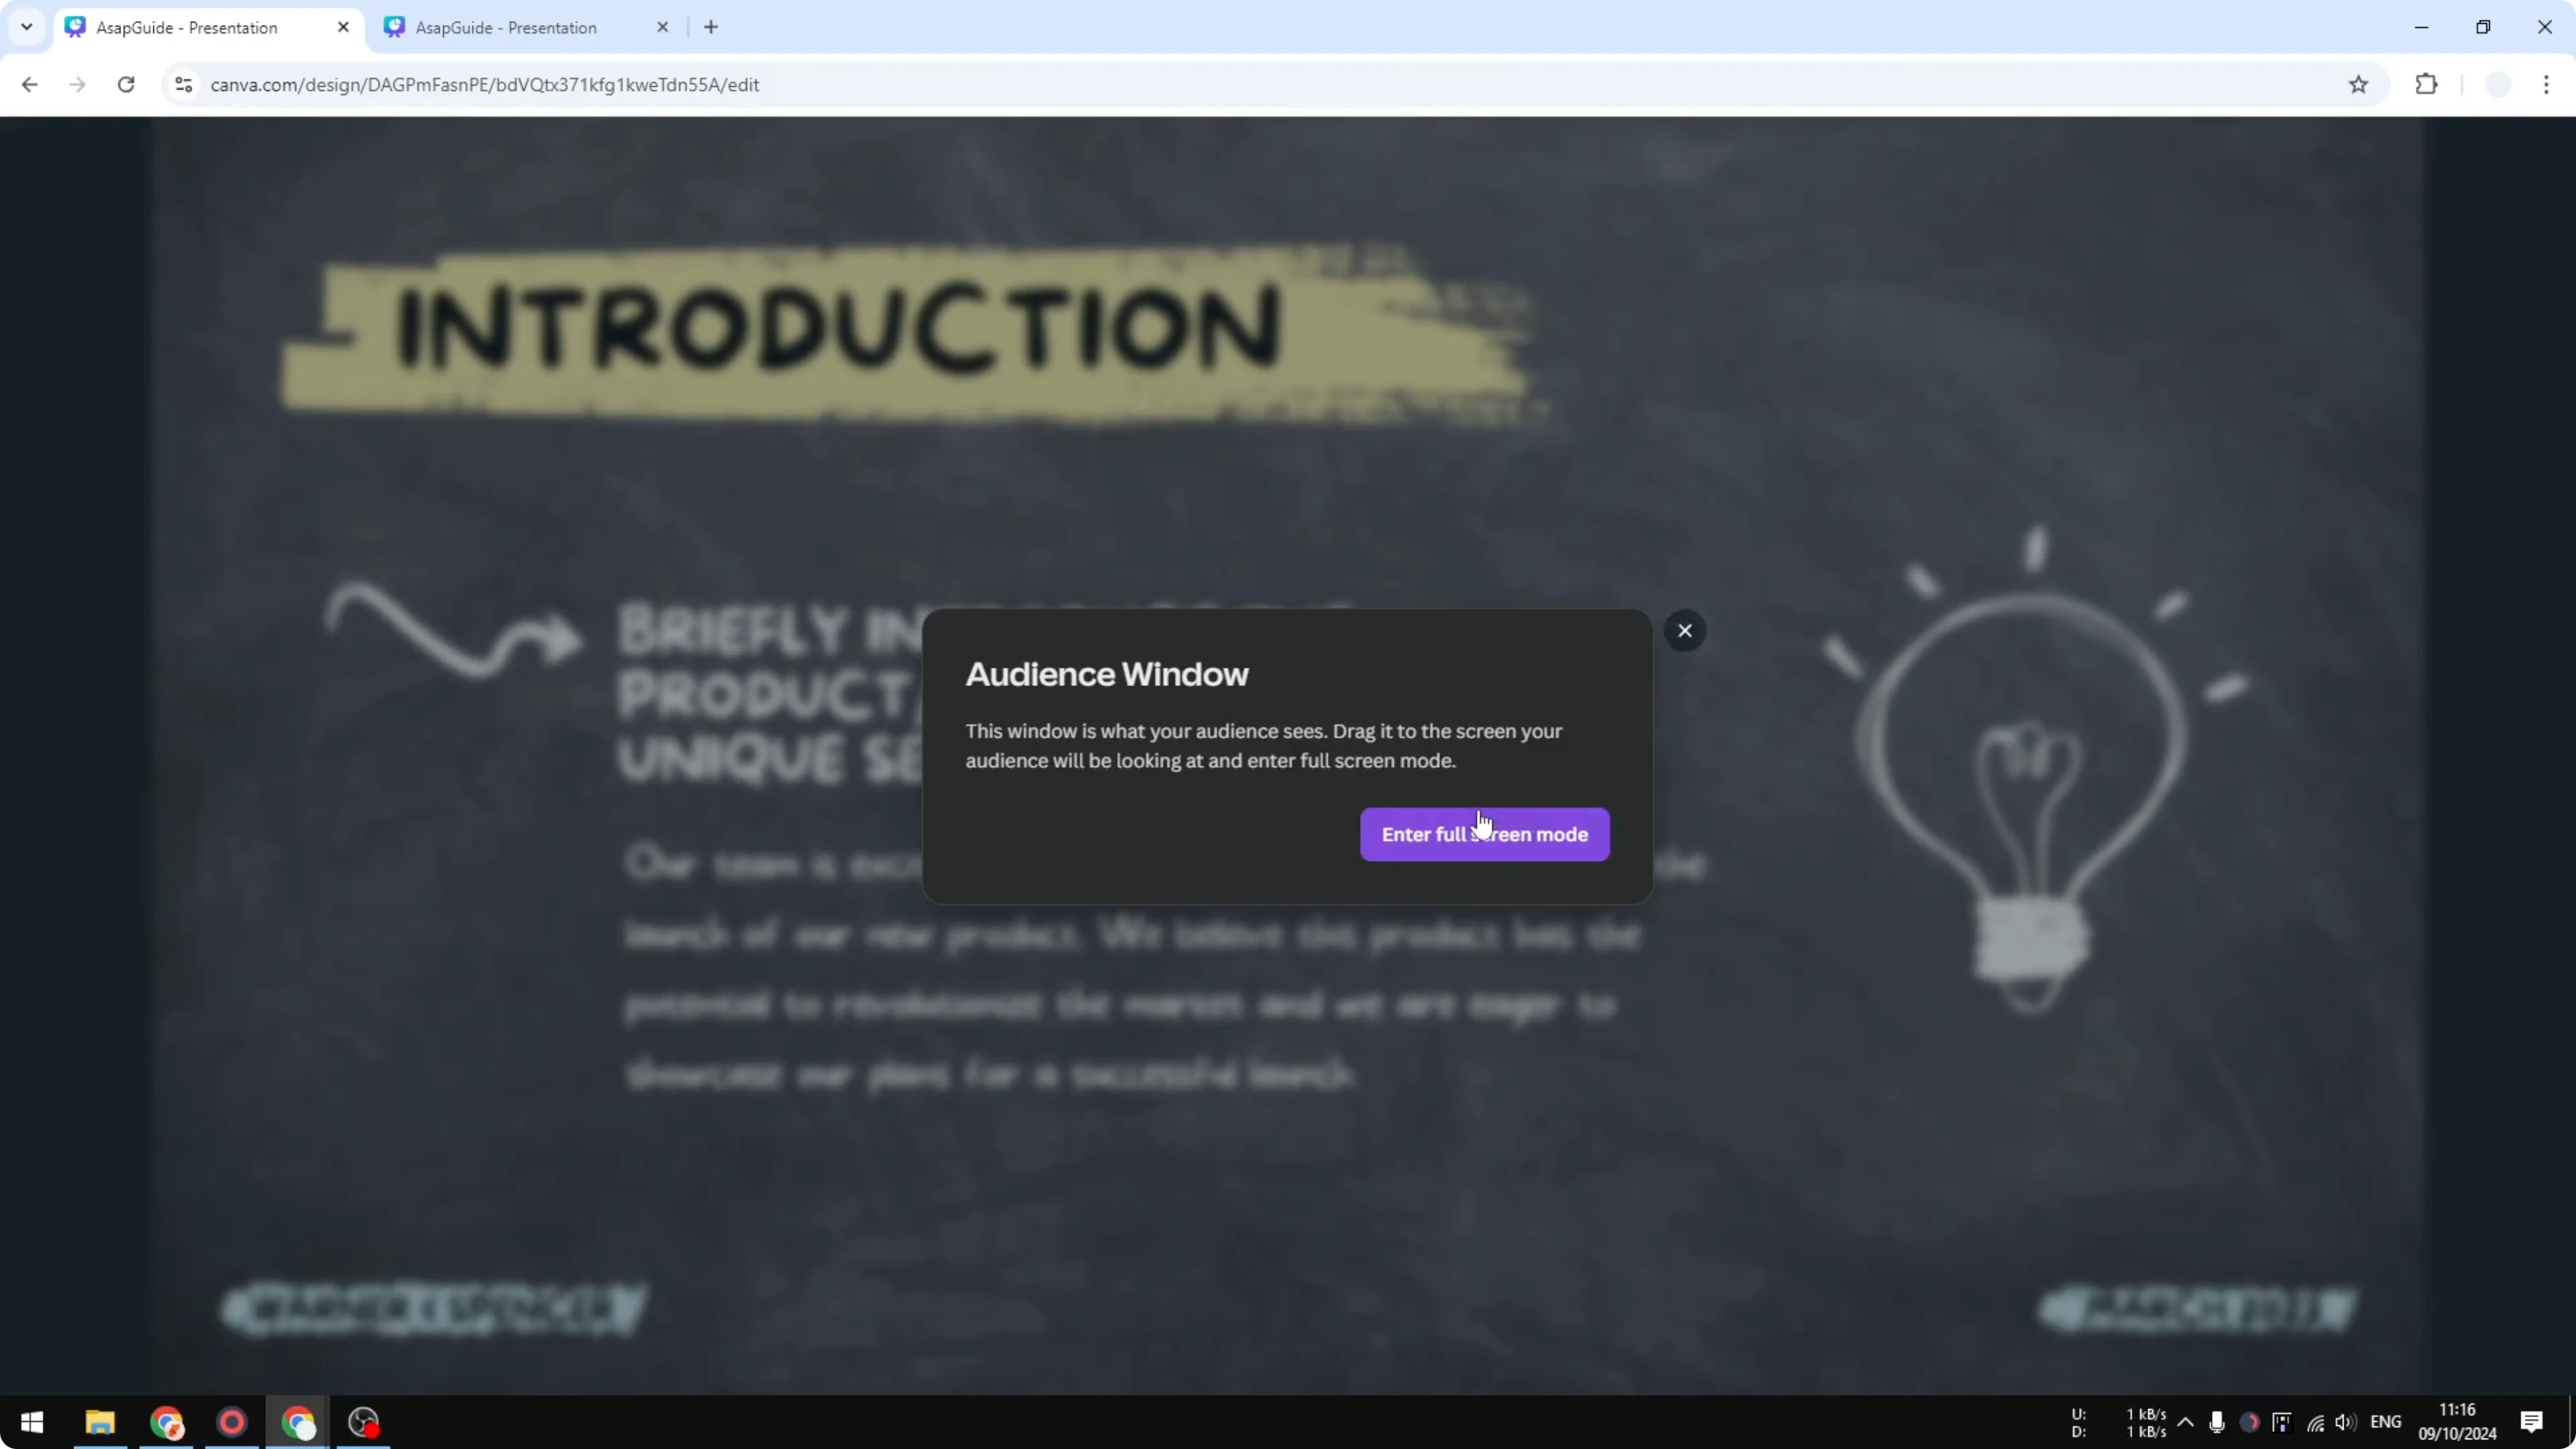
Present from the first tab using Presenter View. I often avoid full screen so I can quickly reach the second tab for drawing.
You will get better control with two displays. One display is the projector for the audience, and the other is your laptop screen where you access the second tab.
If your slides also need special characters while you edit live, see how to add accent marks in Canva. This keeps your text accurate without leaving the editor.
Annotate in real time
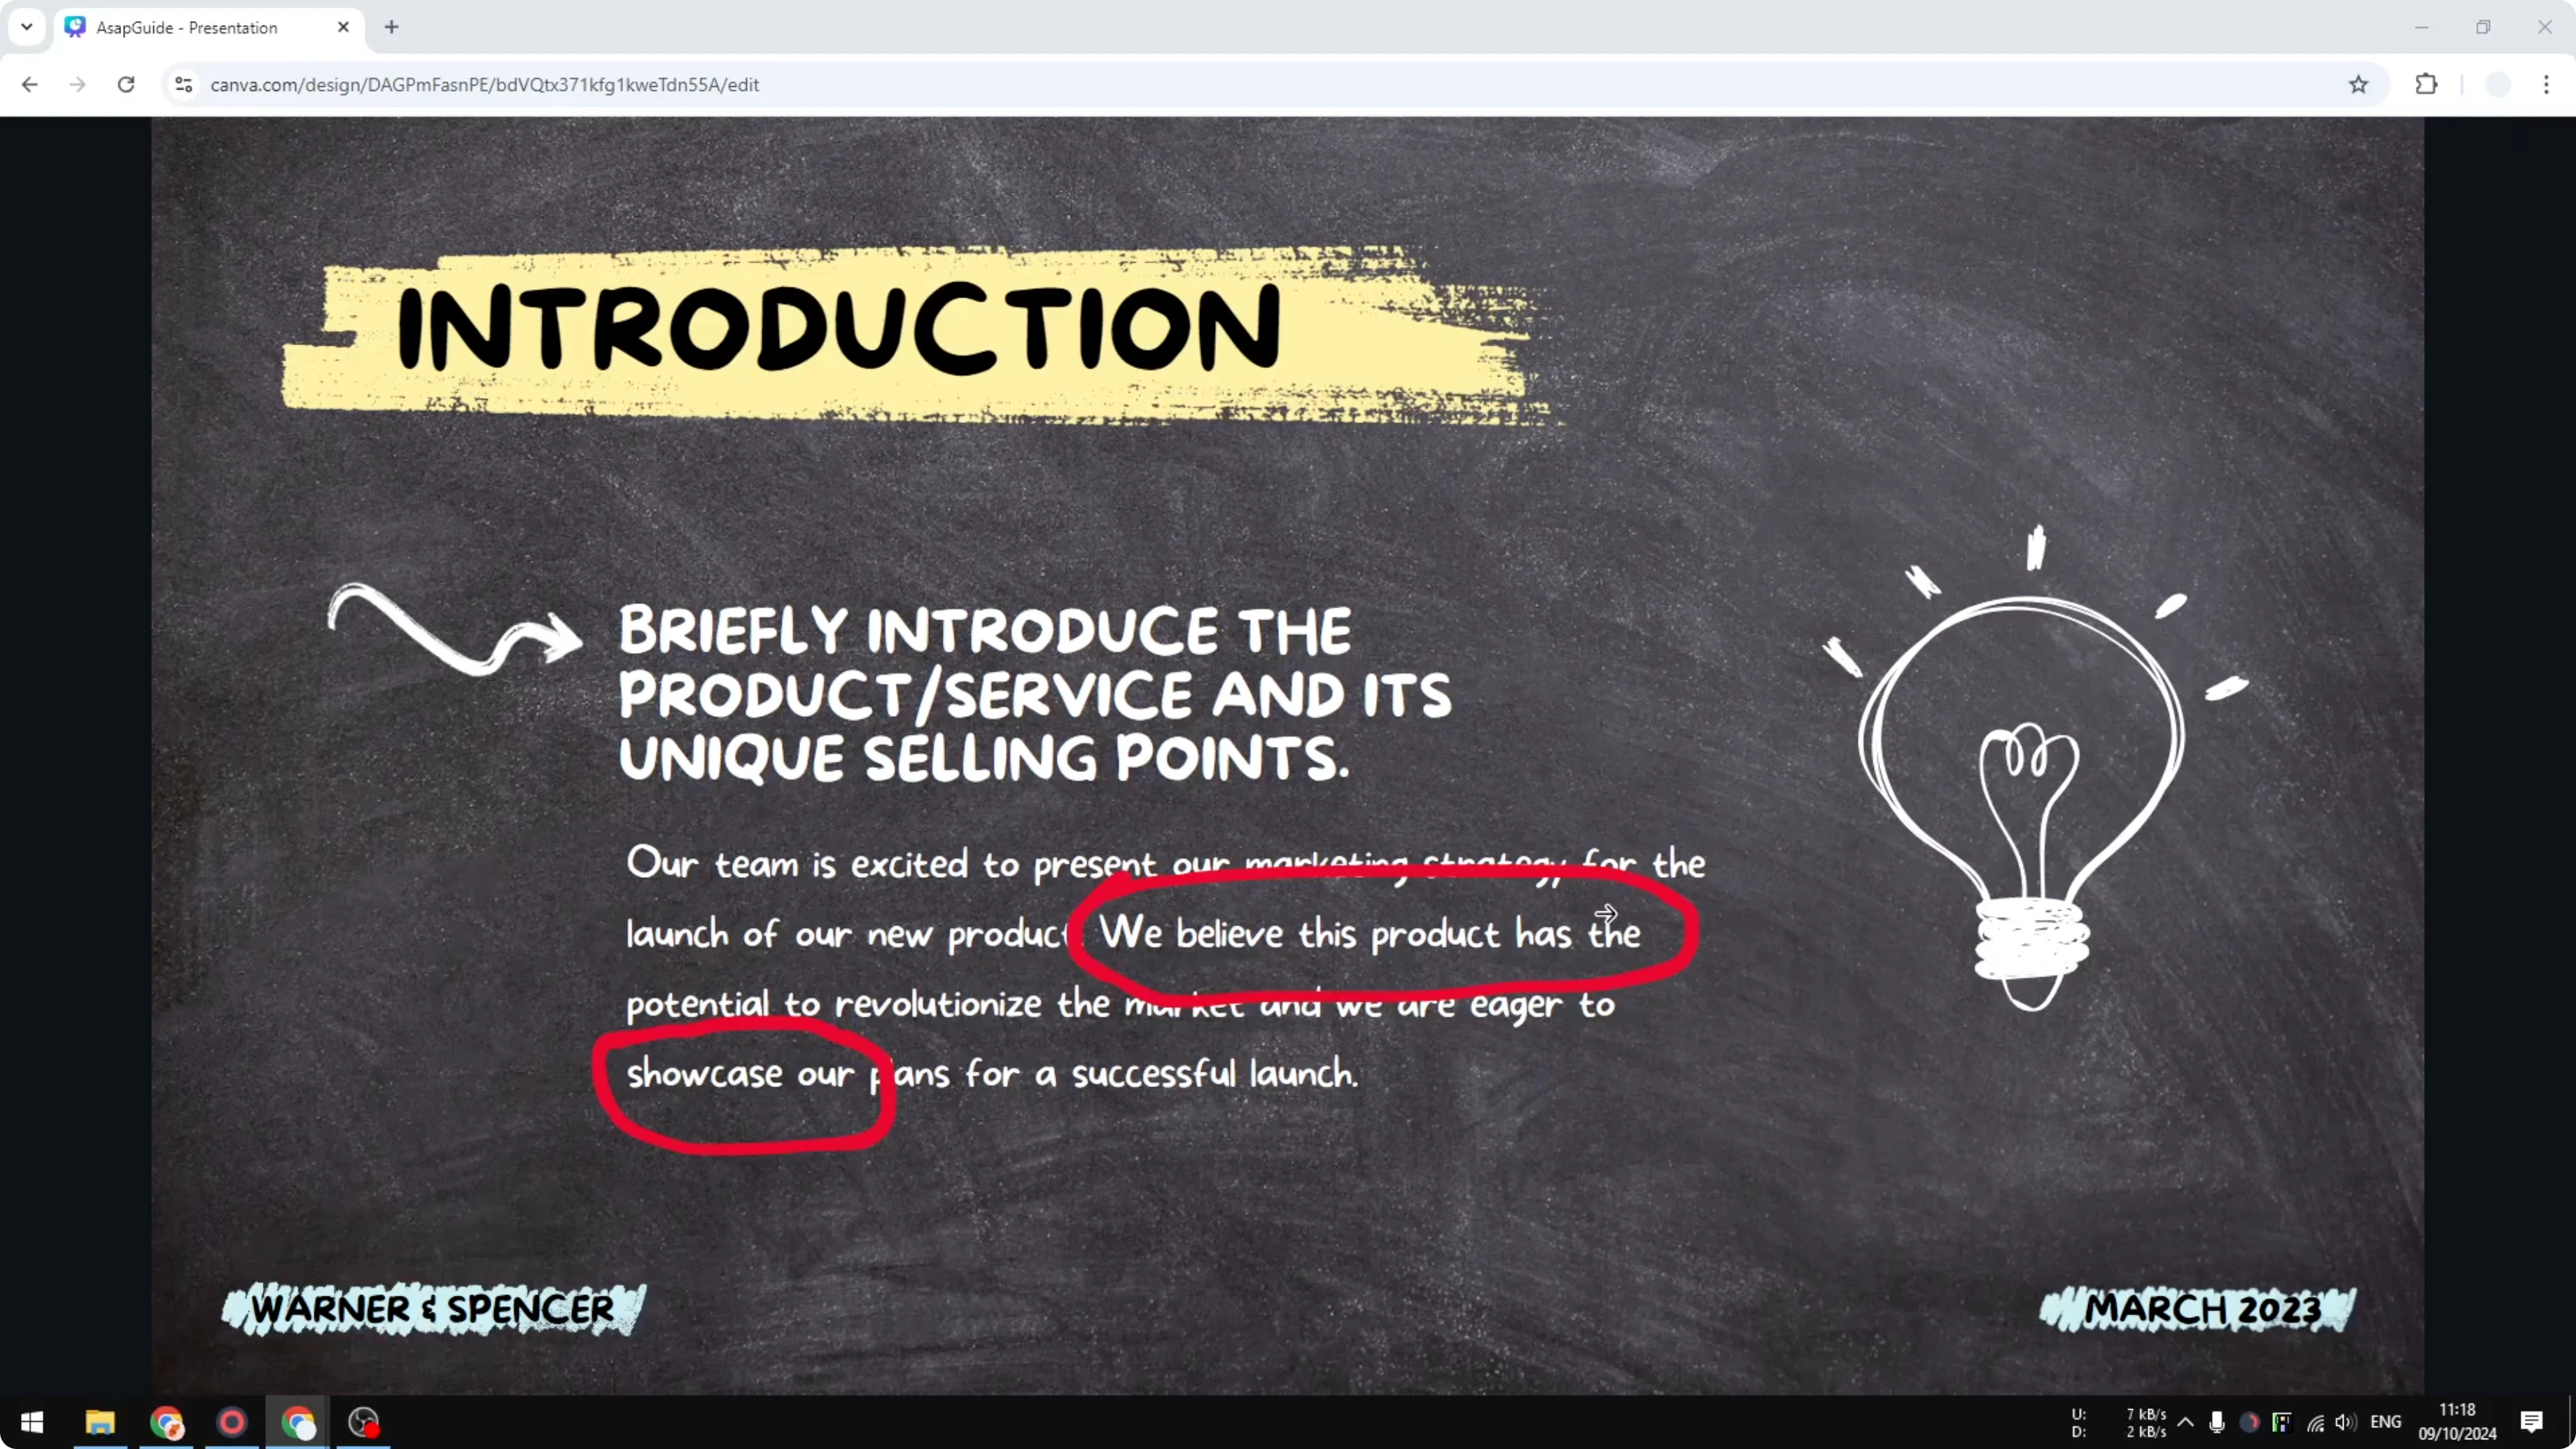
Go to the second tab and open the Draw option in Canva. Pick a pen or highlighter and make your mark, like circling a key element or underlining a number.
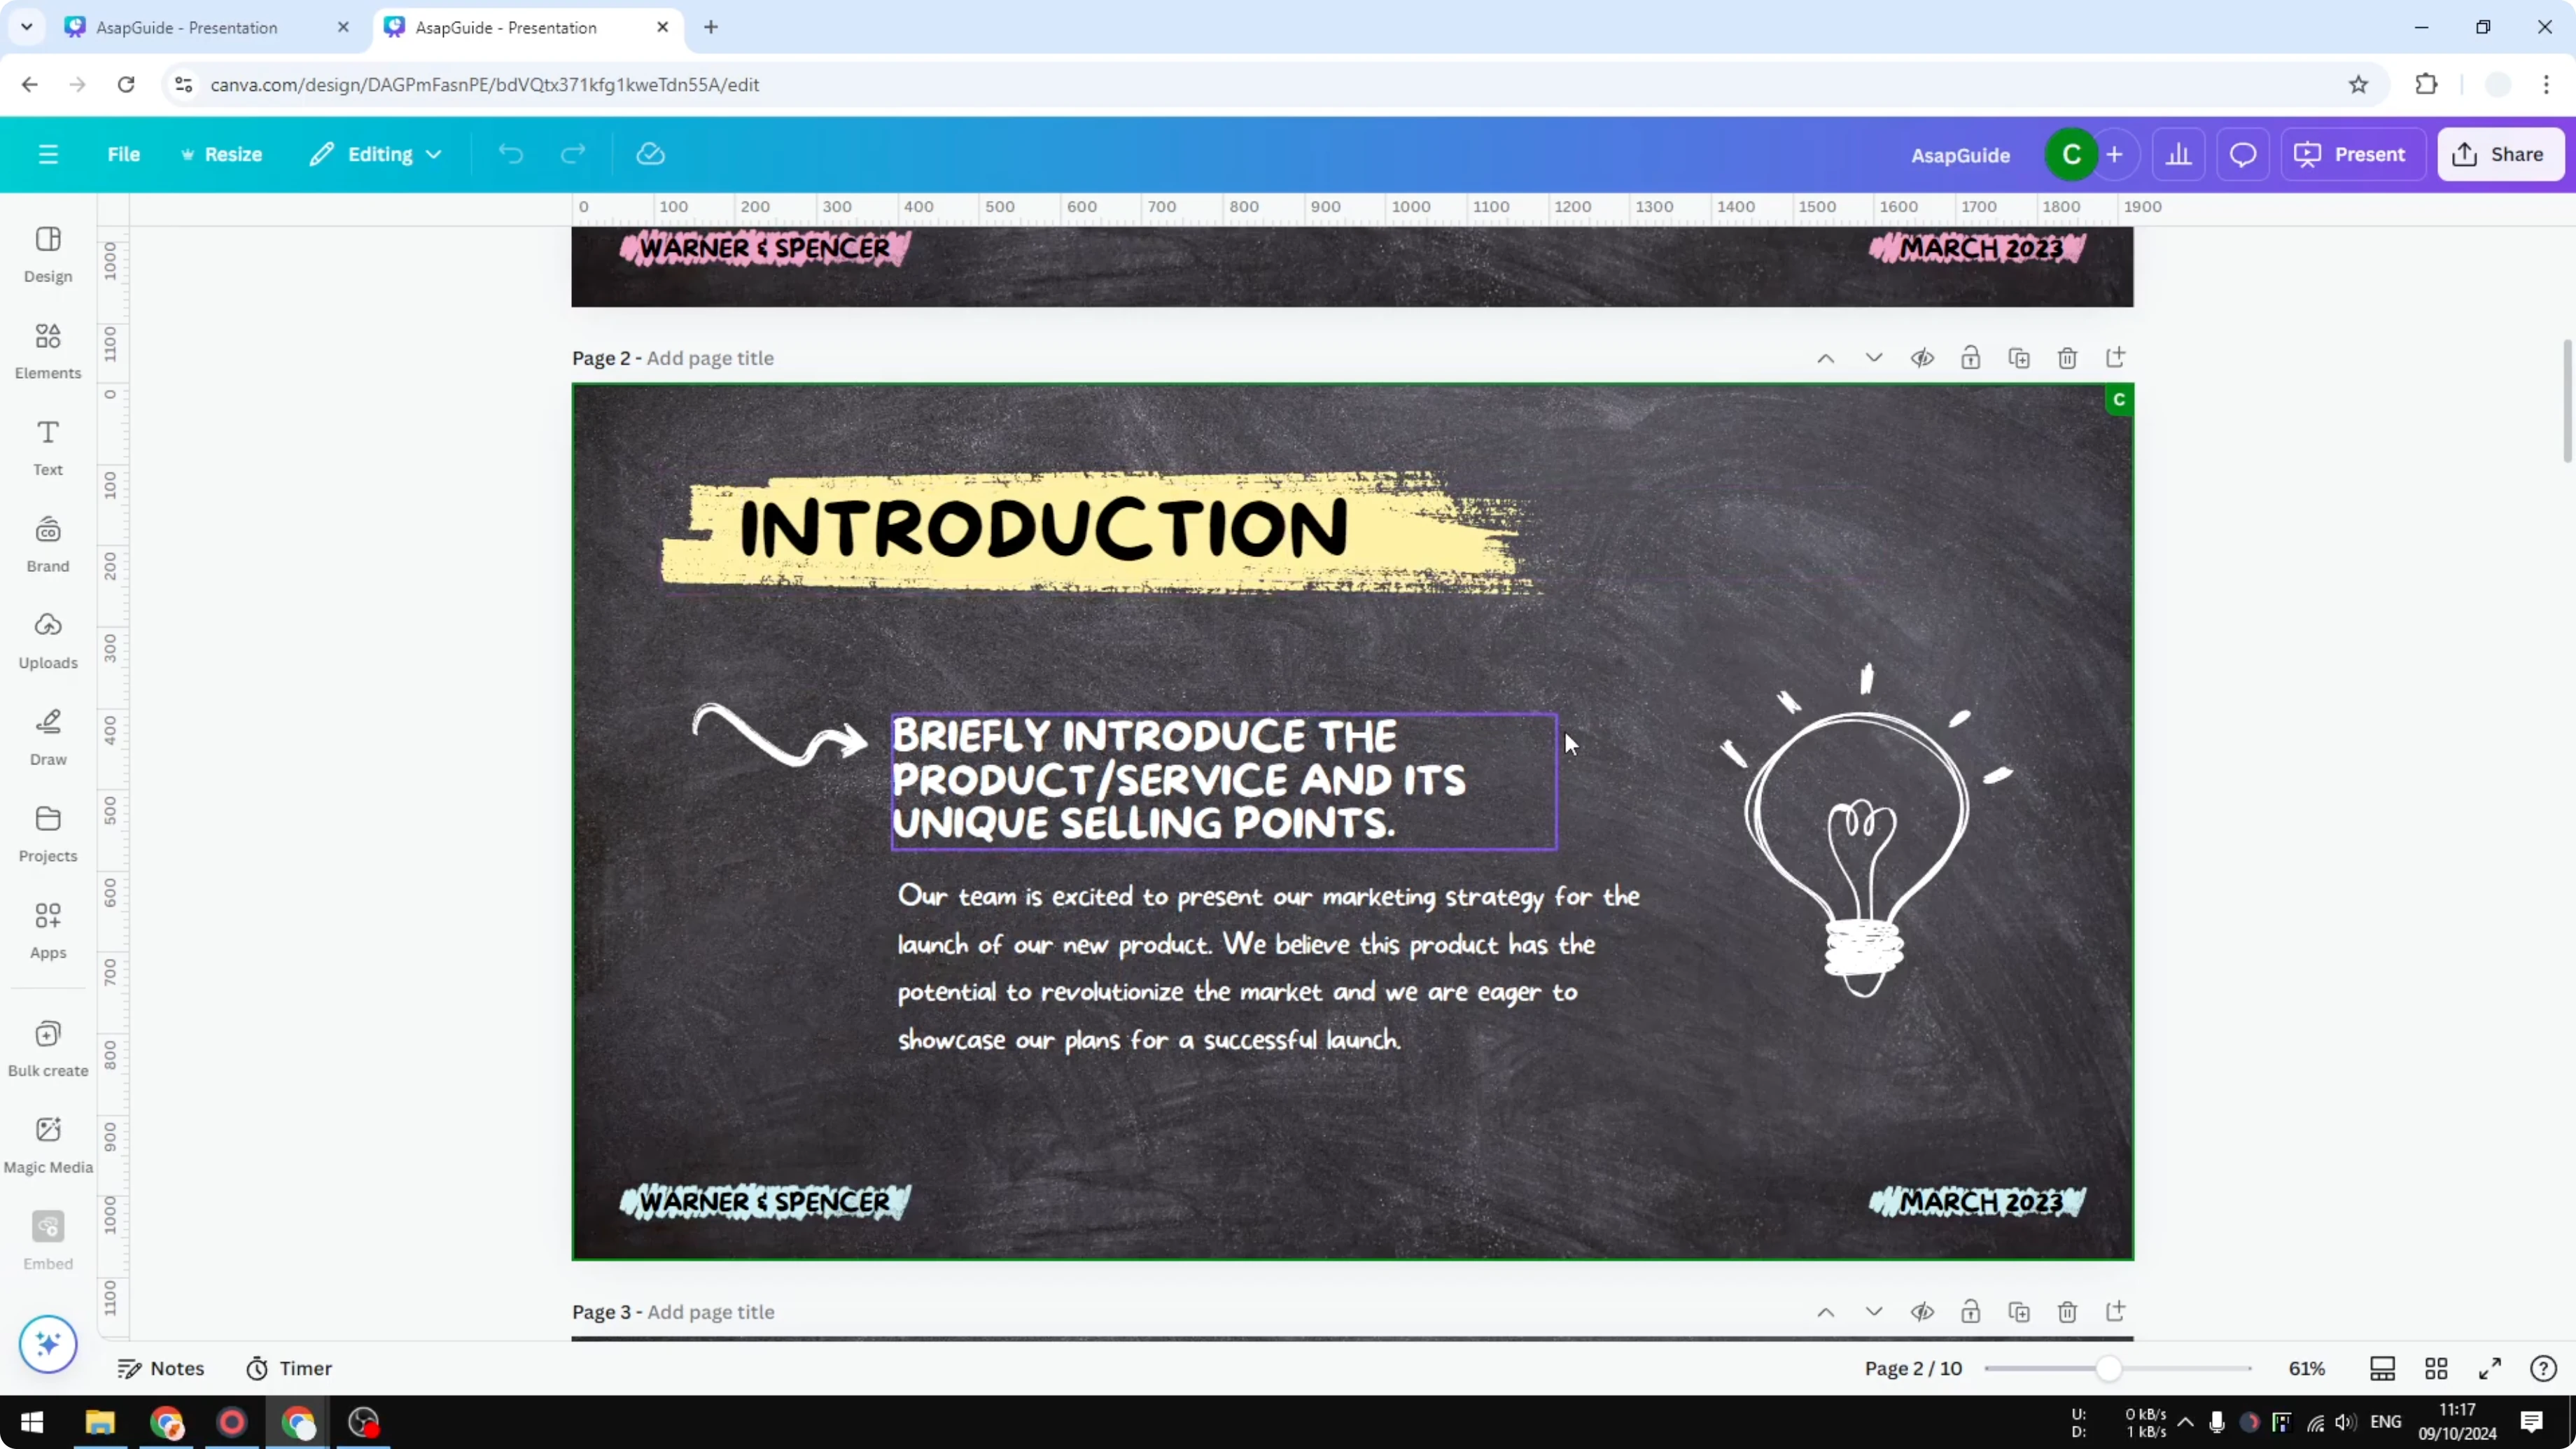
Switch to the live presentation and you will see the drawing appear instantly. You are editing in a different tab, but Canva syncs the change to the document that is being presented.

Step by step
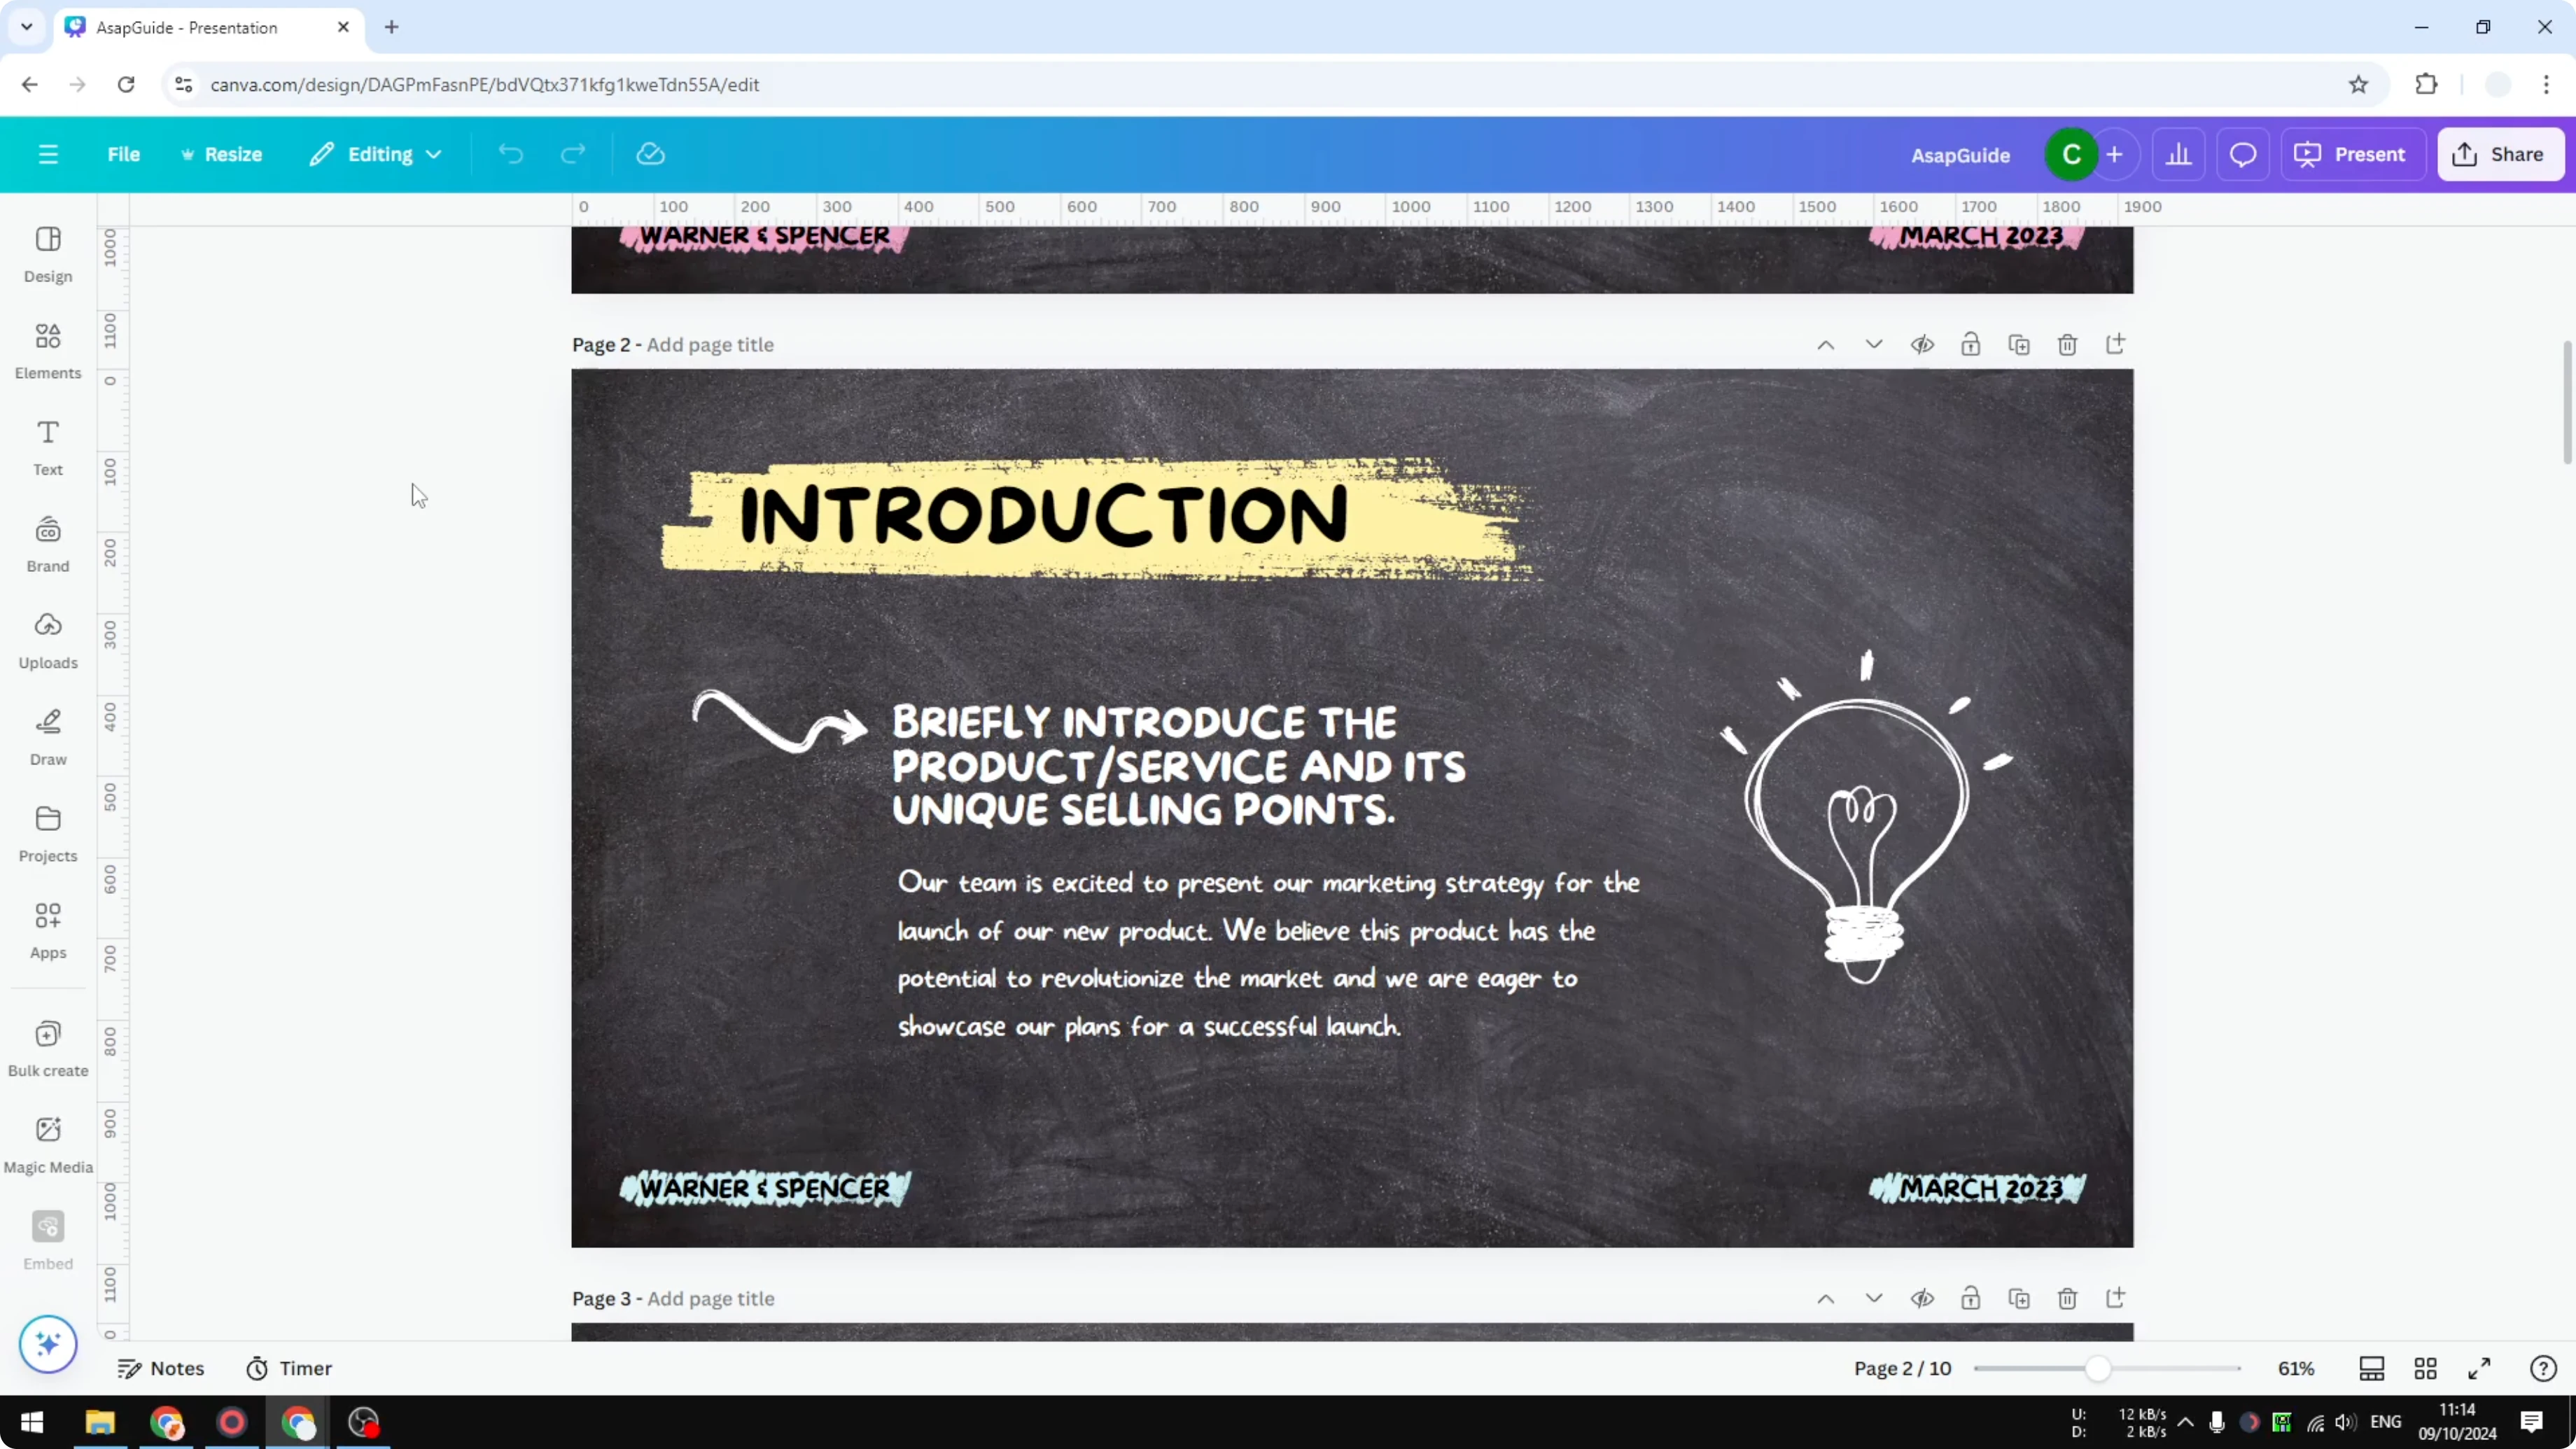
Open your Canva presentation in a browser tab.
Duplicate the tab so you have two tabs with the same design.
In the first tab, click Present and choose Presenter View.
Keep the Presenter View on the audience display.
Keep the second tab on your laptop display.
In the second tab, open the Draw tool.
Select a pen or highlighter and choose the color and thickness.
Draw your annotation to highlight the point you are making.
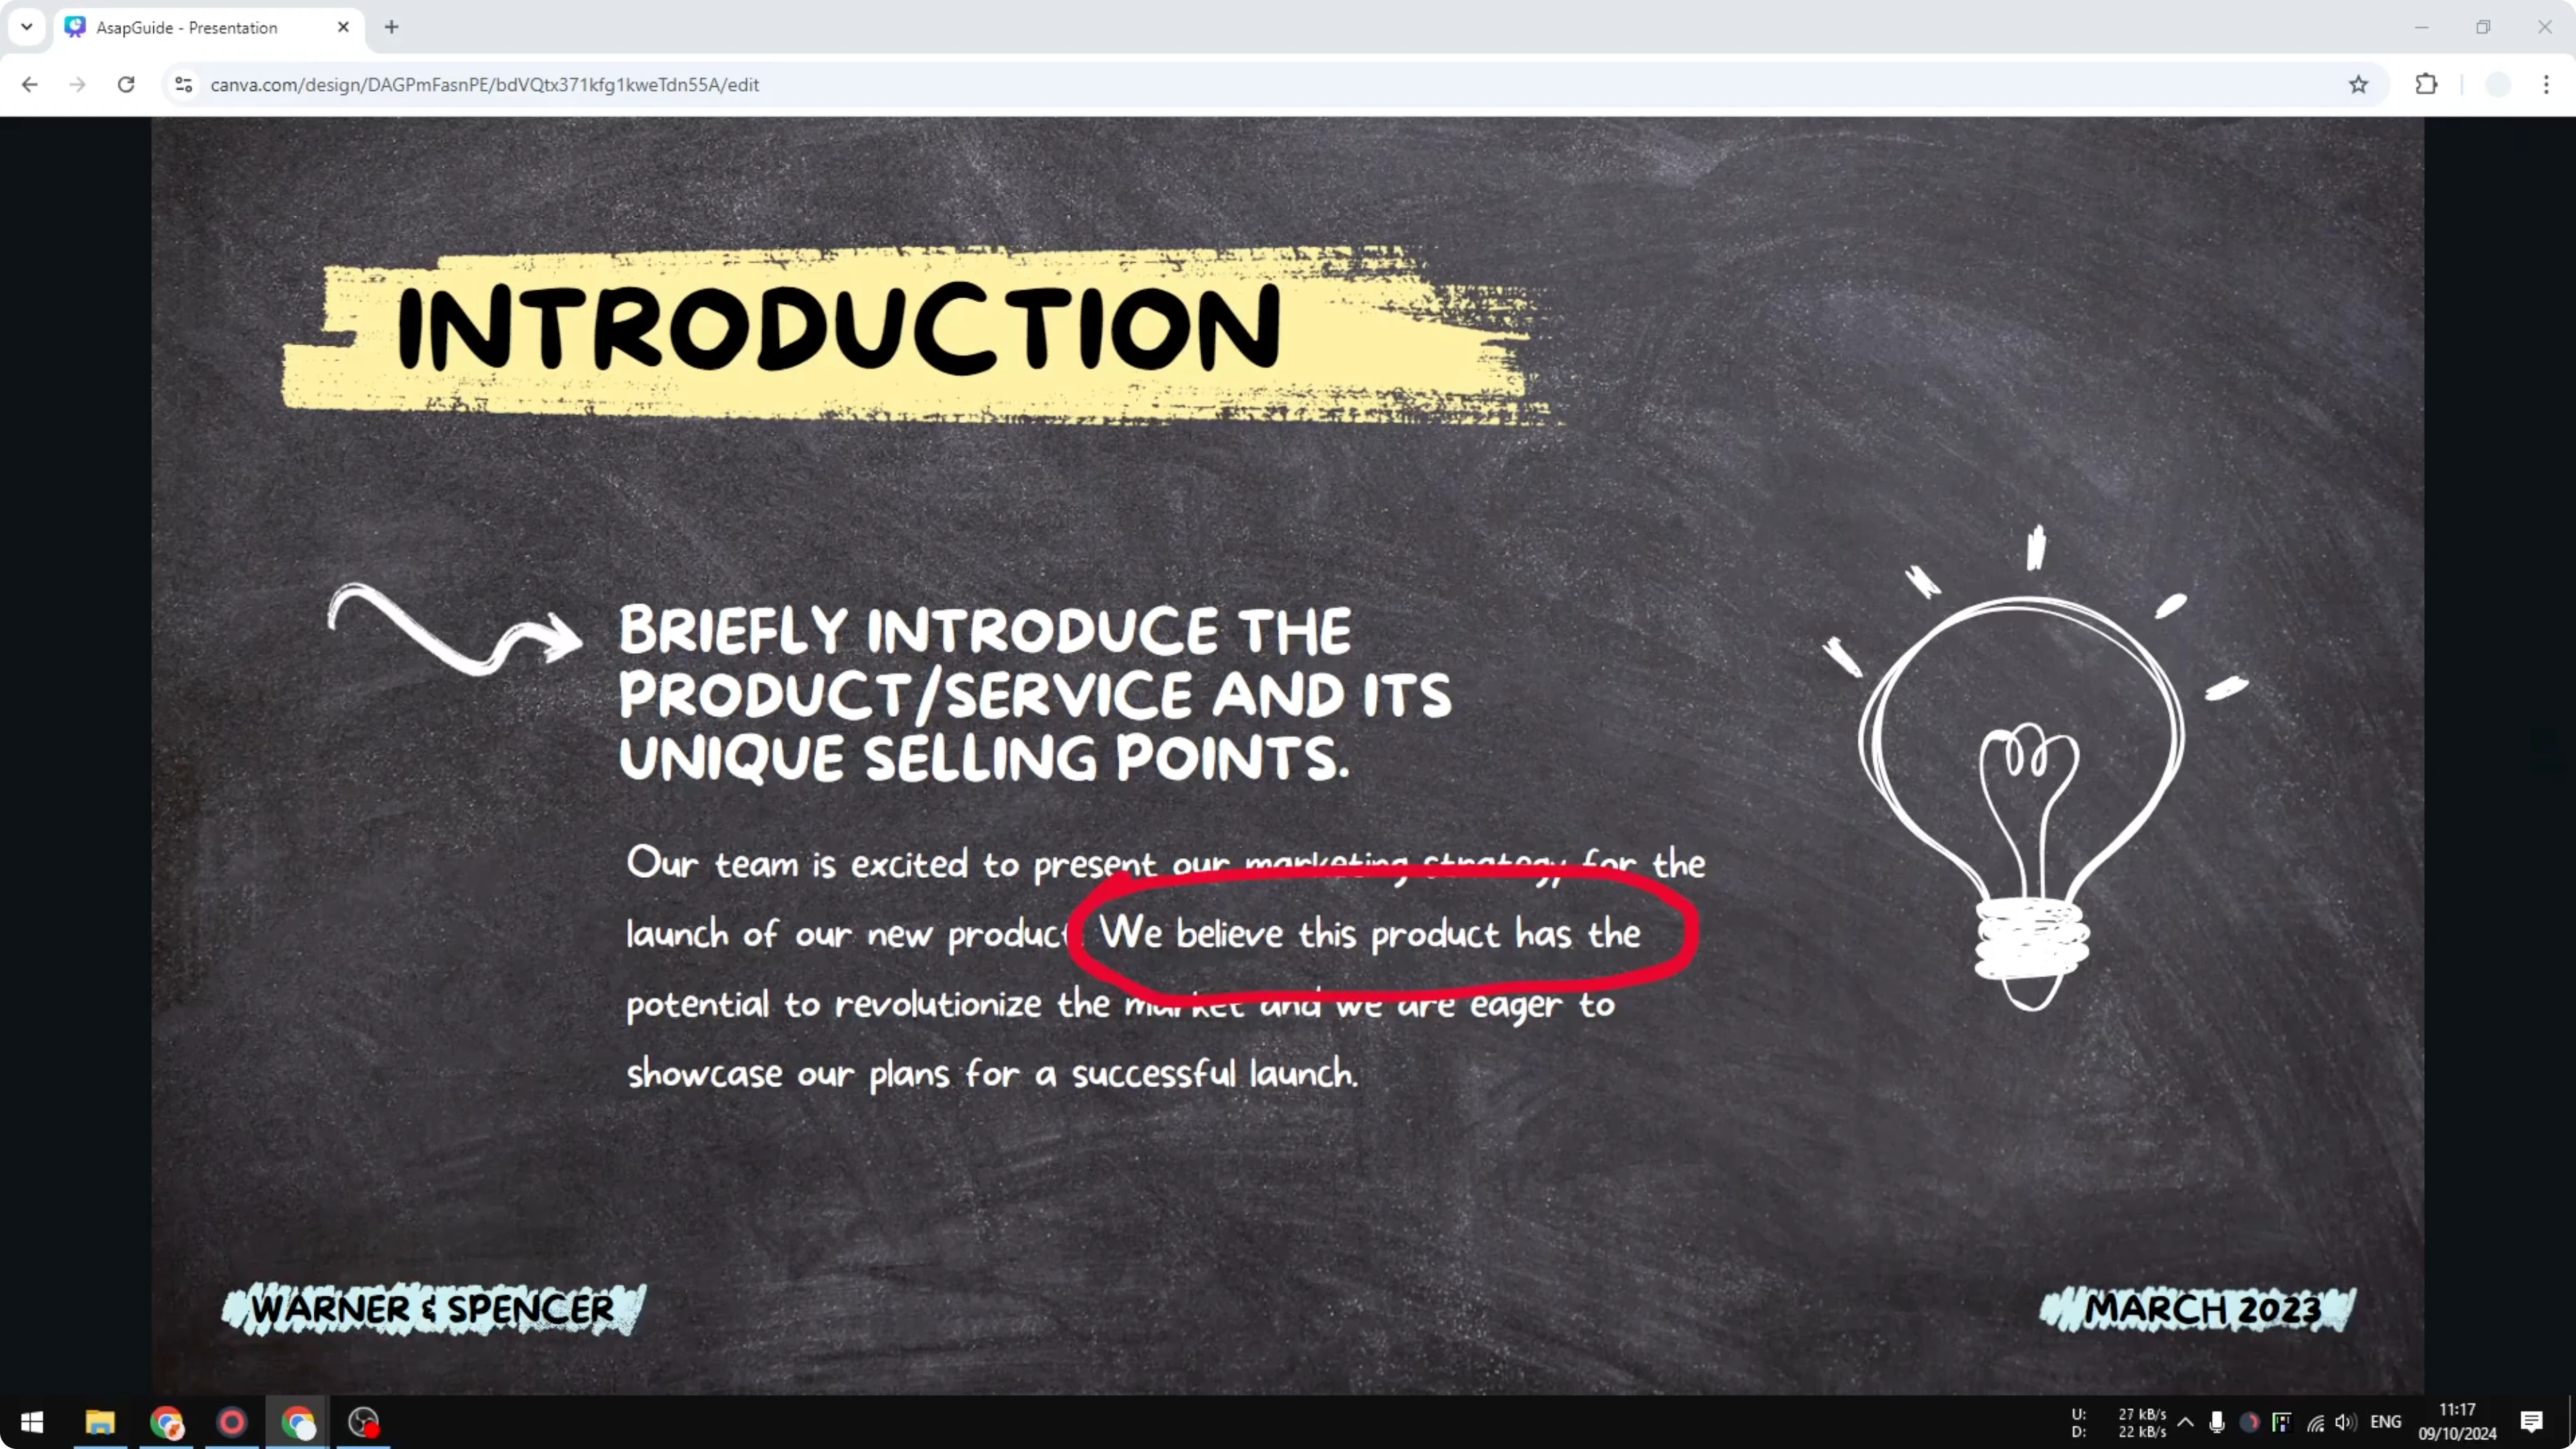
Look at the live presentation and confirm the change appears in real time.
Continue presenting and repeat the draw step any time you need emphasis.
Tips and limits
This method depends on live syncing, so give Canva a second if your connection is slow. It usually updates fast enough to feel live.
Avoid going full screen on the laptop if it makes reaching the second tab hard. Keep your workflow smooth by arranging the windows before you start.
If you are building more complex visuals for your talk, you might also like this tutorial on creating a 3D book cover in Canva. It is a neat design trick to add polish to your deck assets.
Final thoughts on Draw Anotate While Presenting in Canva
Canva does not offer native live annotation in Presenter View. The workaround is to present from one tab and edit with Draw in a second tab, which syncs your marks to the screen your audience sees.
It is simple, it works, and it lets you emphasize points in real time without leaving Canva.
Recent Posts
How to Visualize Different Hairstyles and Hair Colors with AI?
How to Visualize Different Hairstyles and Hair Colors with AI?

How to Transform Daytime Photos into Realistic Night Scenes with AI?
How to Transform Daytime Photos into Realistic Night Scenes with AI?

How to Visualize Yourself as the Opposite Gender with AI?
How to Visualize Yourself as the Opposite Gender with AI?