How to Create Transparent Gradient Effect in Canva
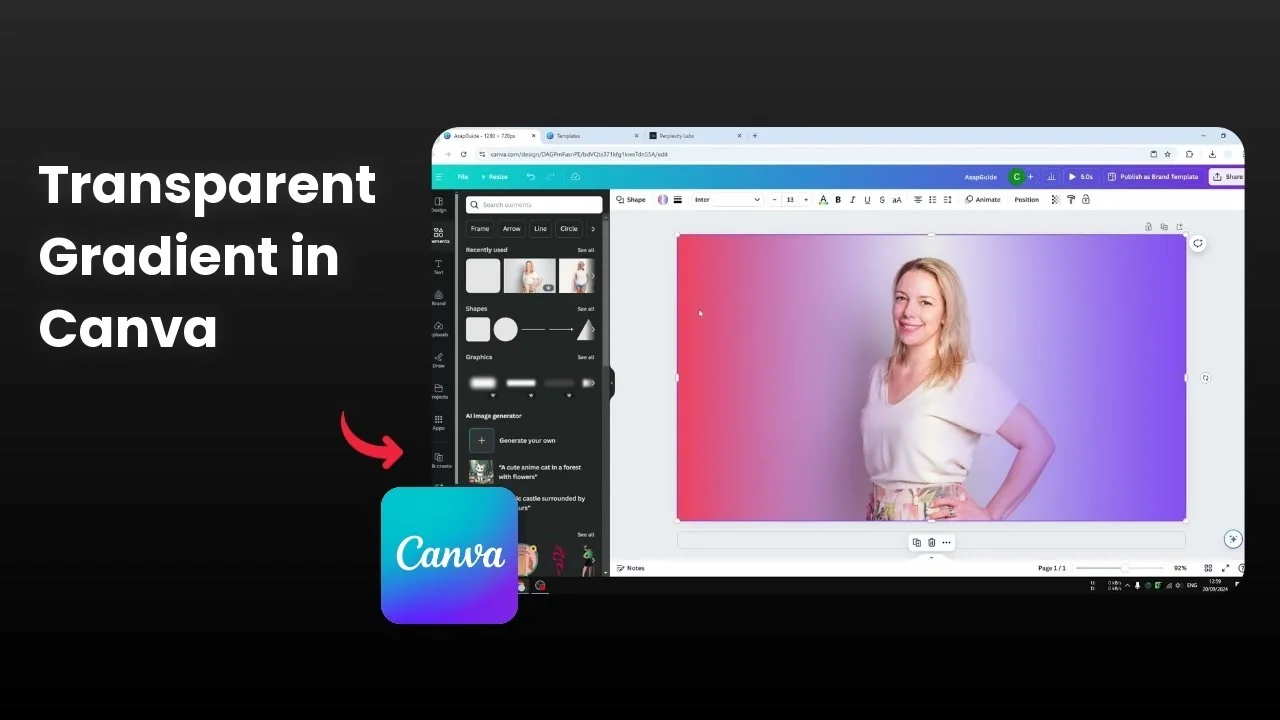
I will show you how you can create a beautiful transparent gradient effect using Canva. A gradient effect is essentially two, three, maybe even five different colors in one layer. You can have red on one side and blue on the other, and in the middle it is transparent so the background can be seen.
We will recreate this effect from scratch by adding a shape, applying a gradient, and making the middle stop transparent. I will also show a quick fix if the gradient controls do not appear right away. For a related typography trick, check out this transparent overlay text effect.
Create Transparent Gradient Effect in Canva: Basics
I start by removing the existing gradient overlay and leaving the picture alone. The goal is to cover the entire picture with a shape and then turn the center of the gradient to 0 percent transparency. That makes the background visible through the middle.
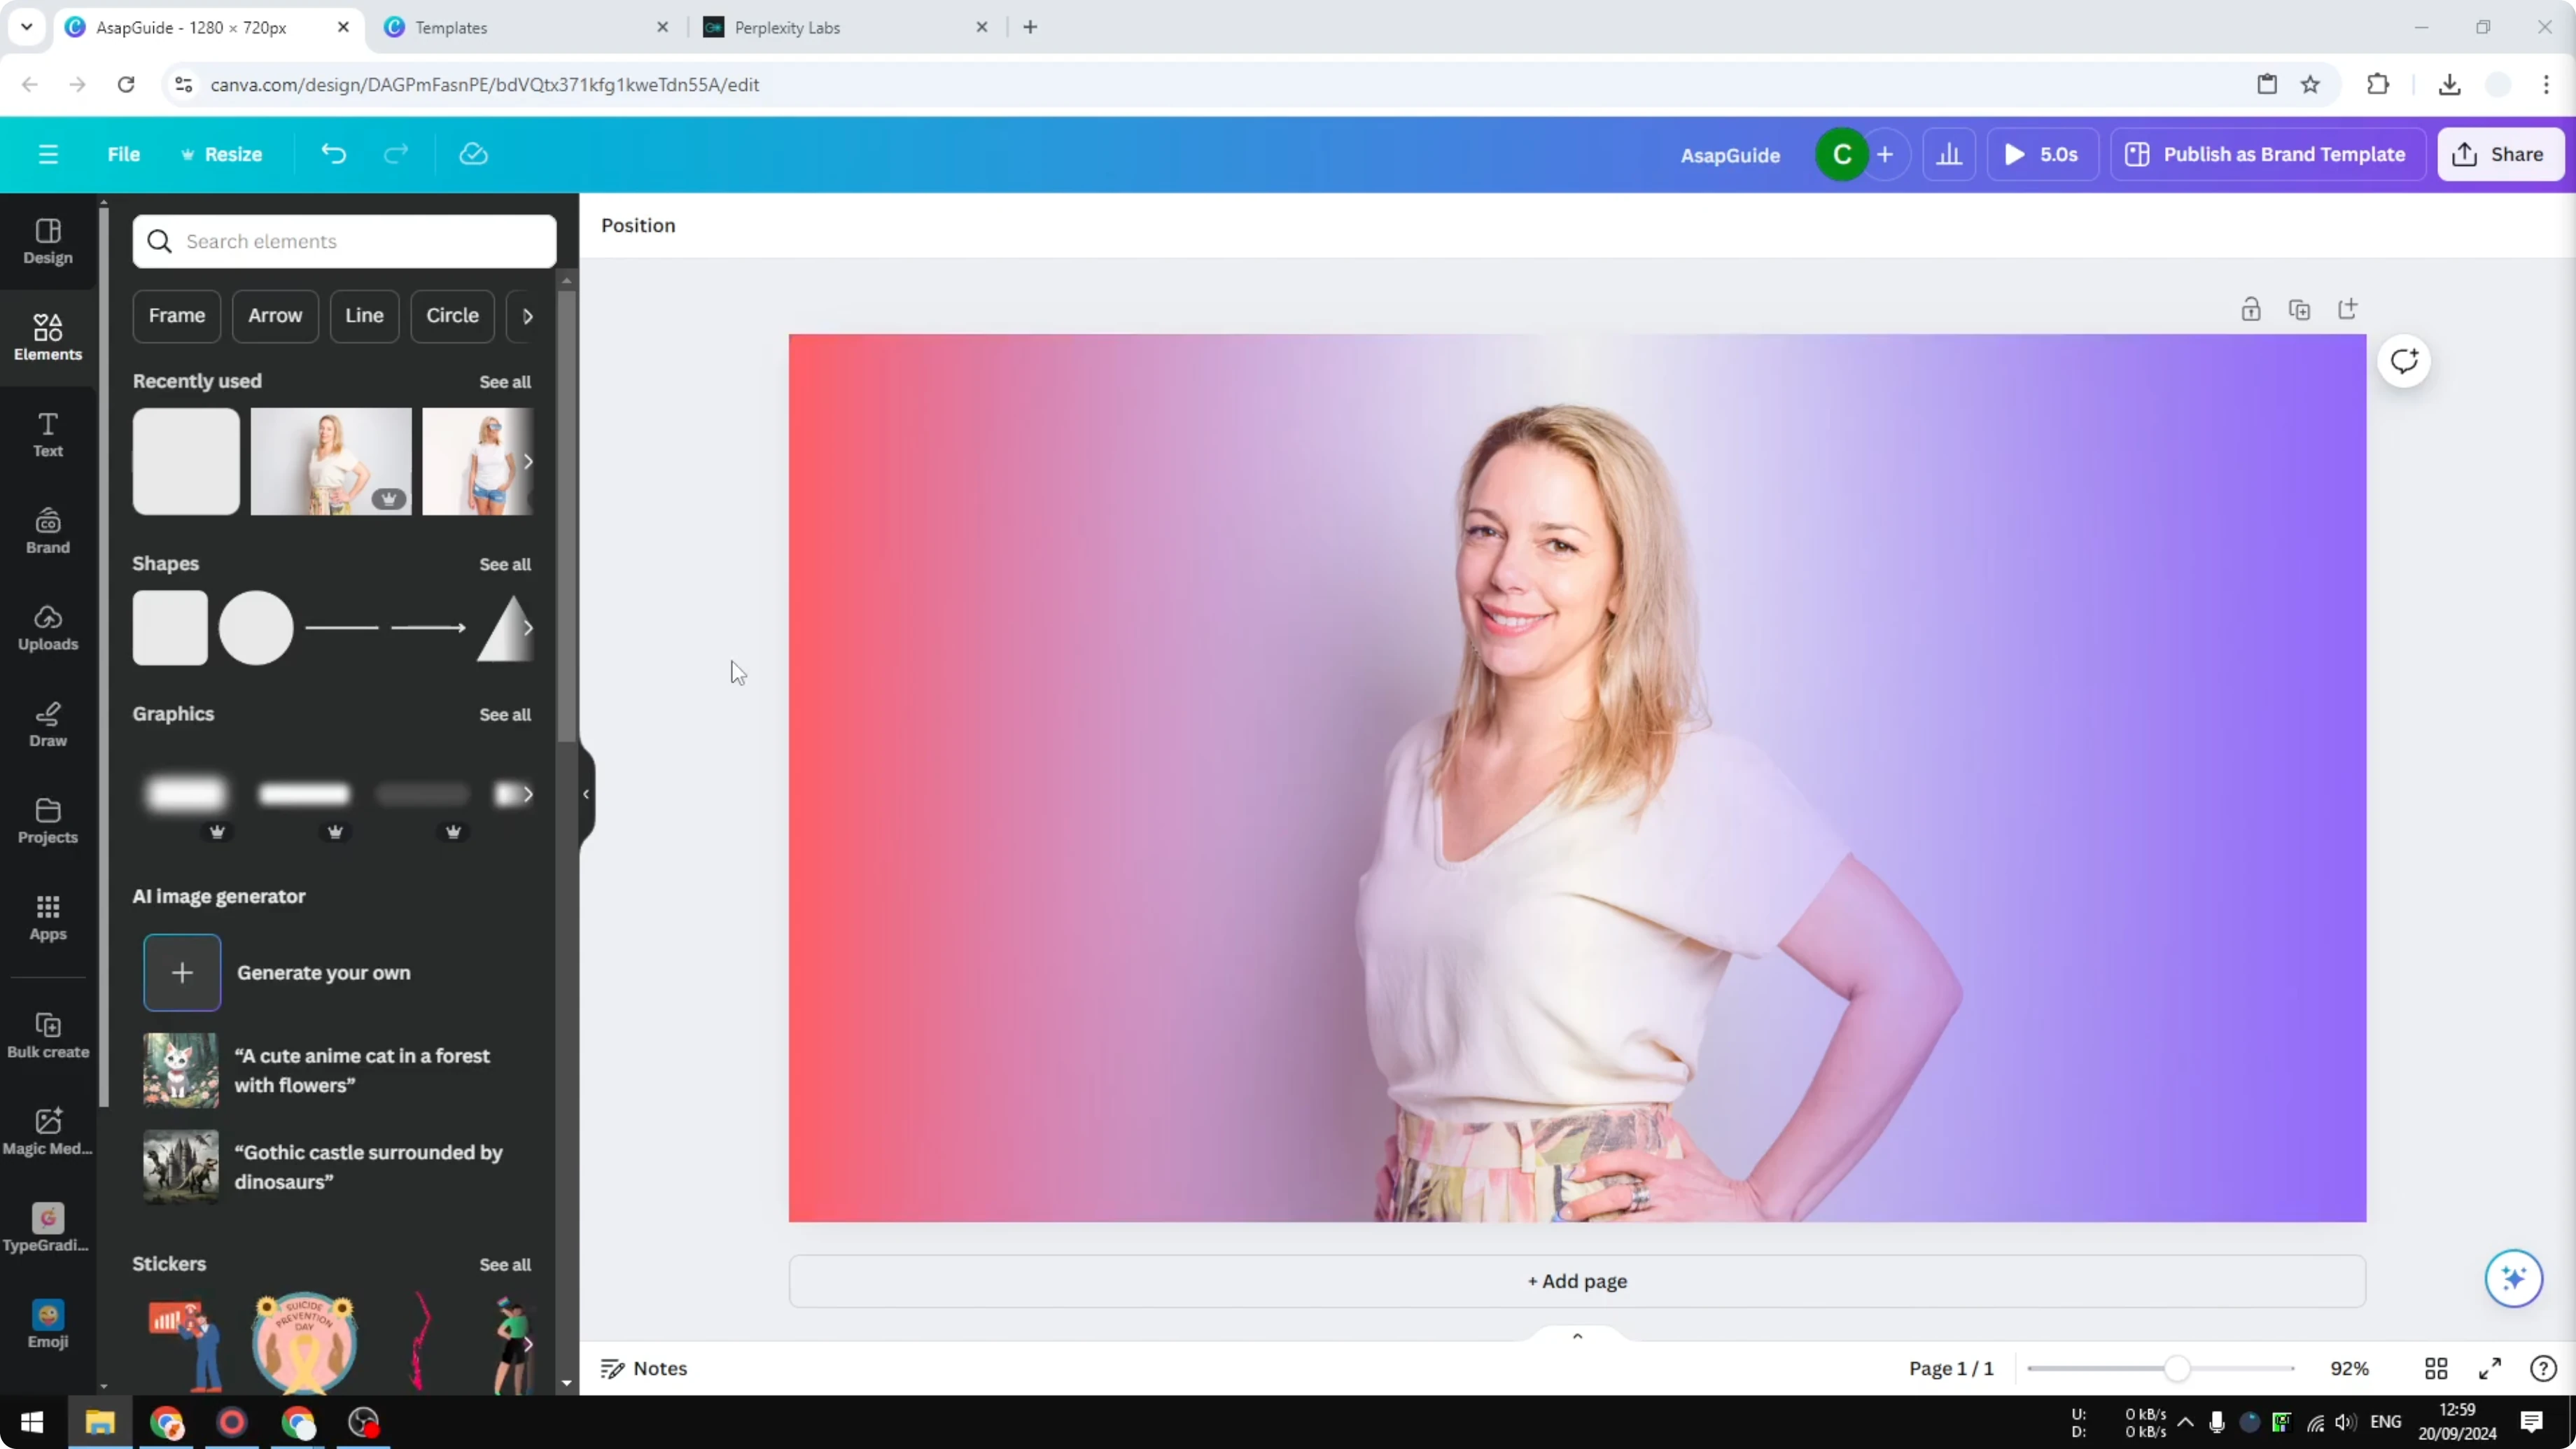
Create Transparent Gradient Effect in Canva: Steps
Insert and cover the shape
Click the picture to select it, then delete any existing overlay so the photo stands alone.

Go to Elements and open Shapes.
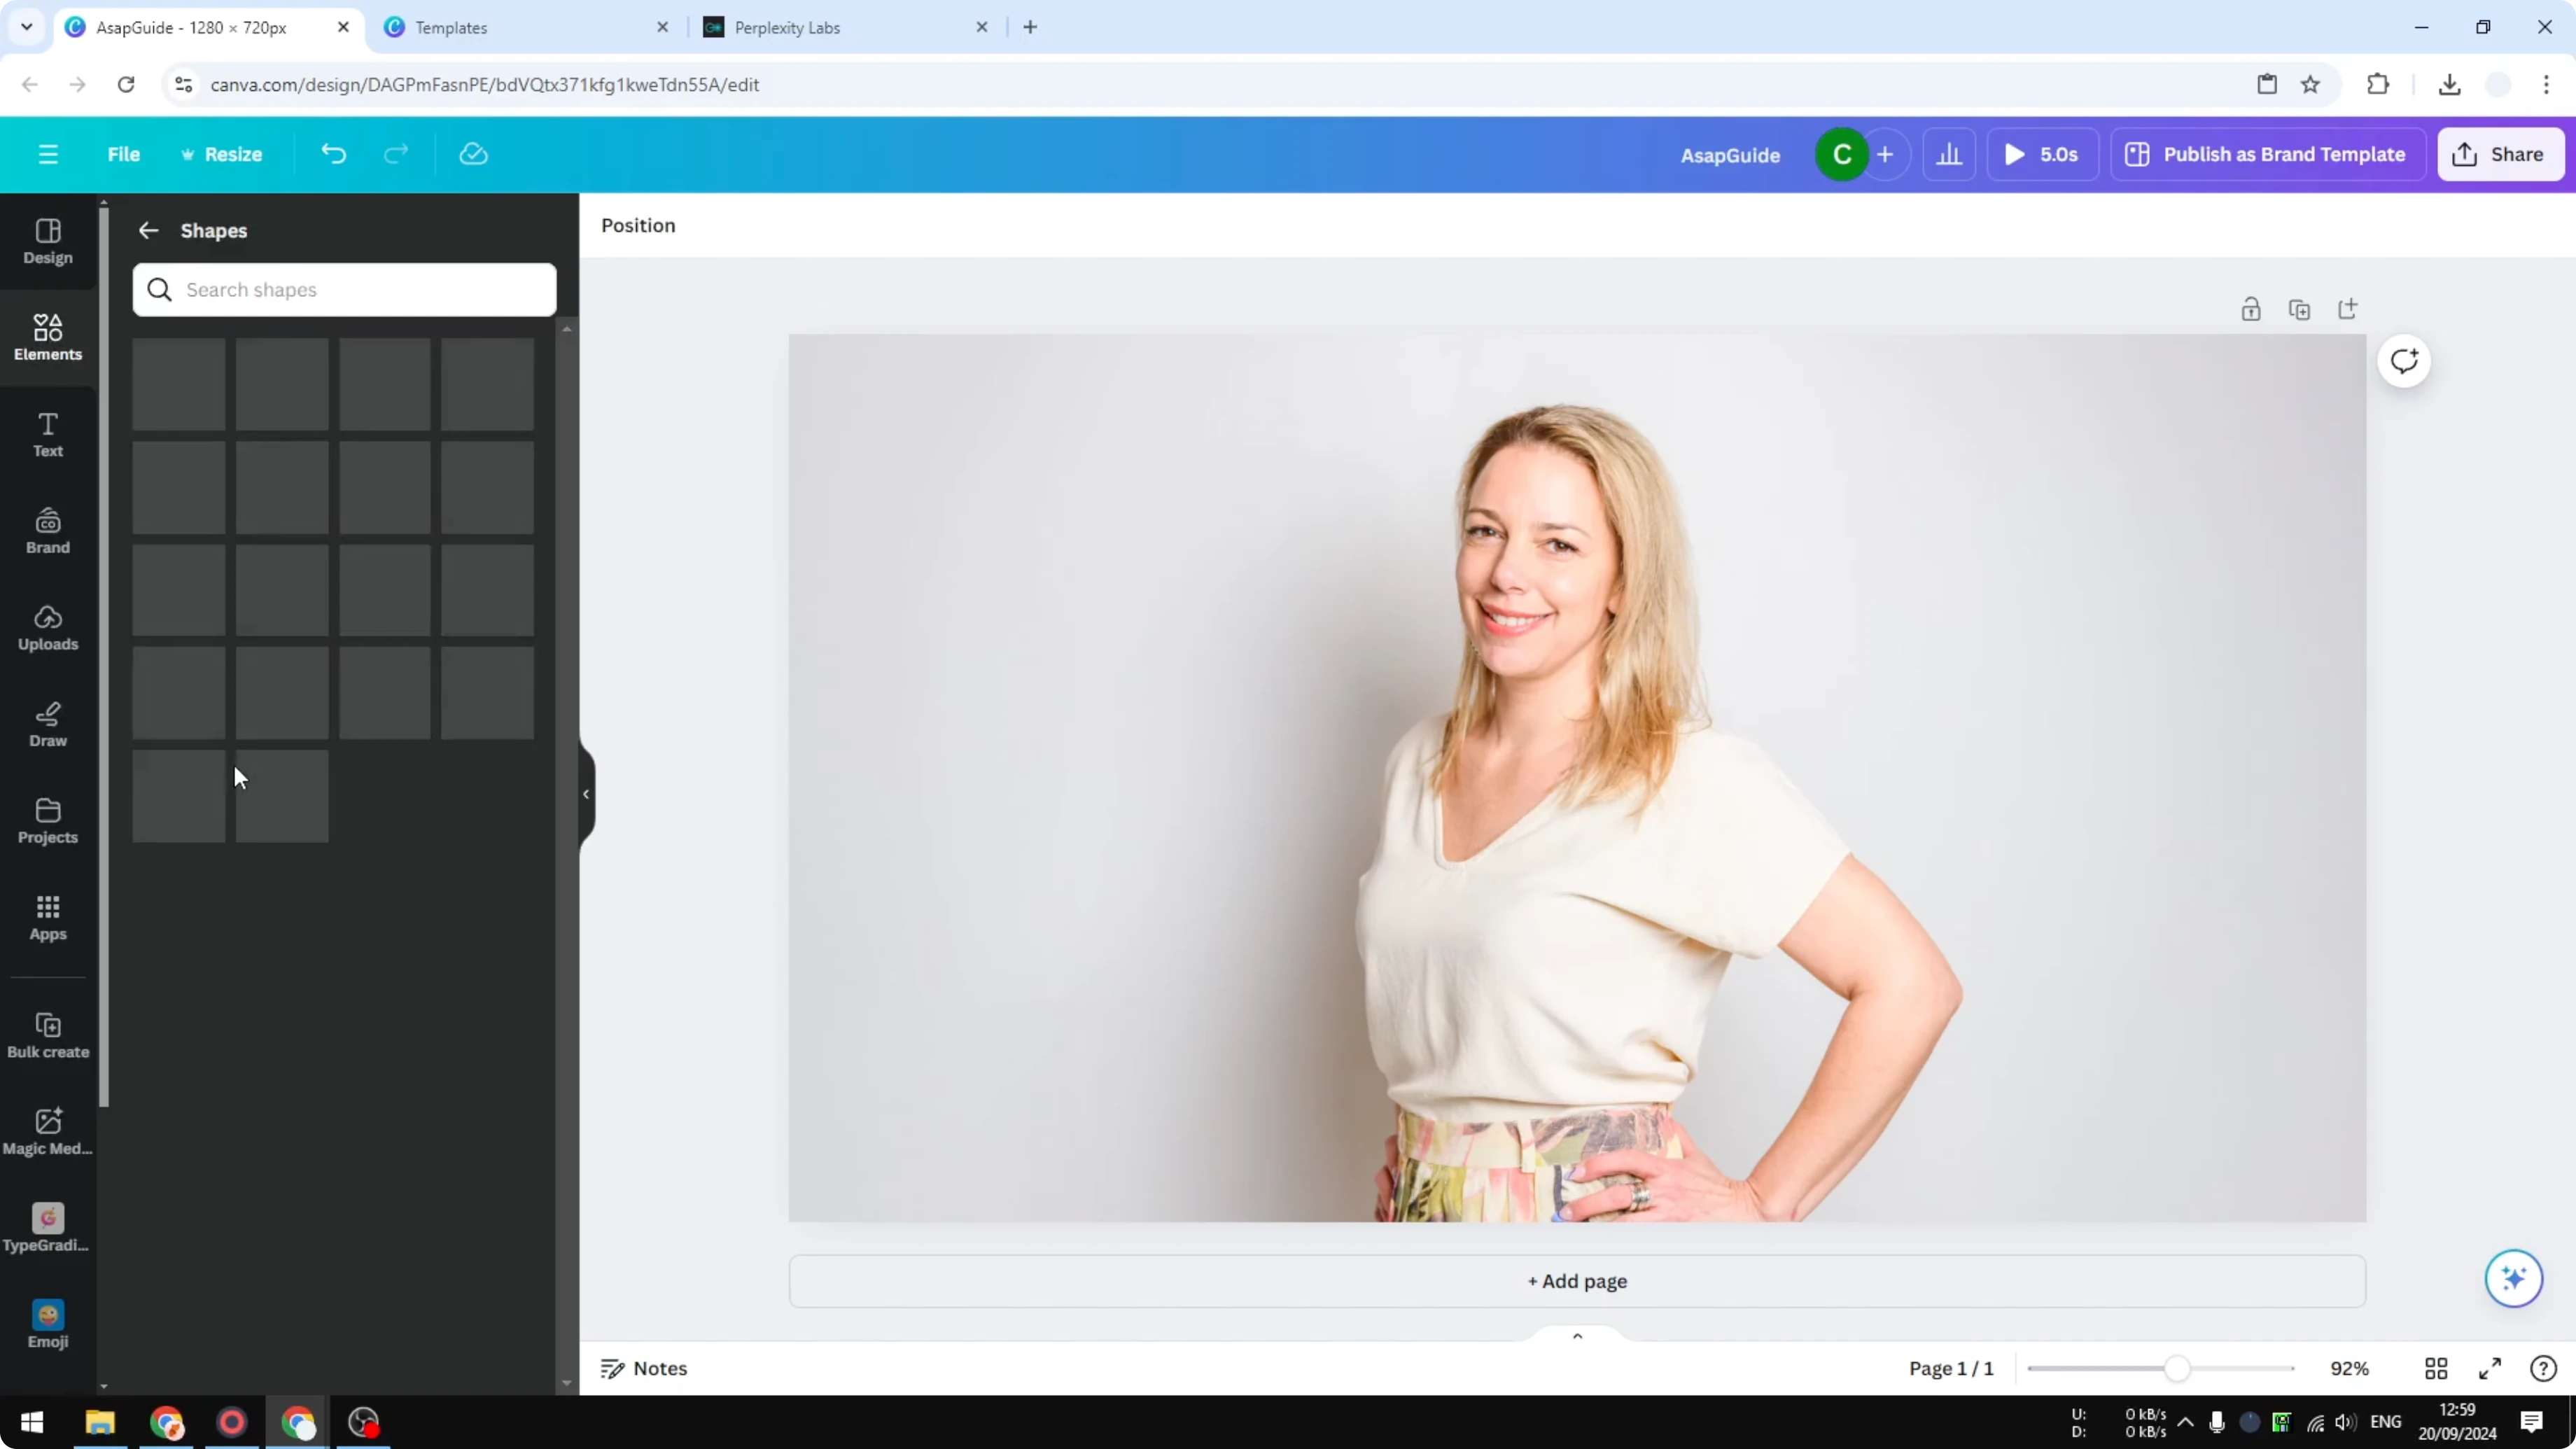
Insert the square with rounded corners.
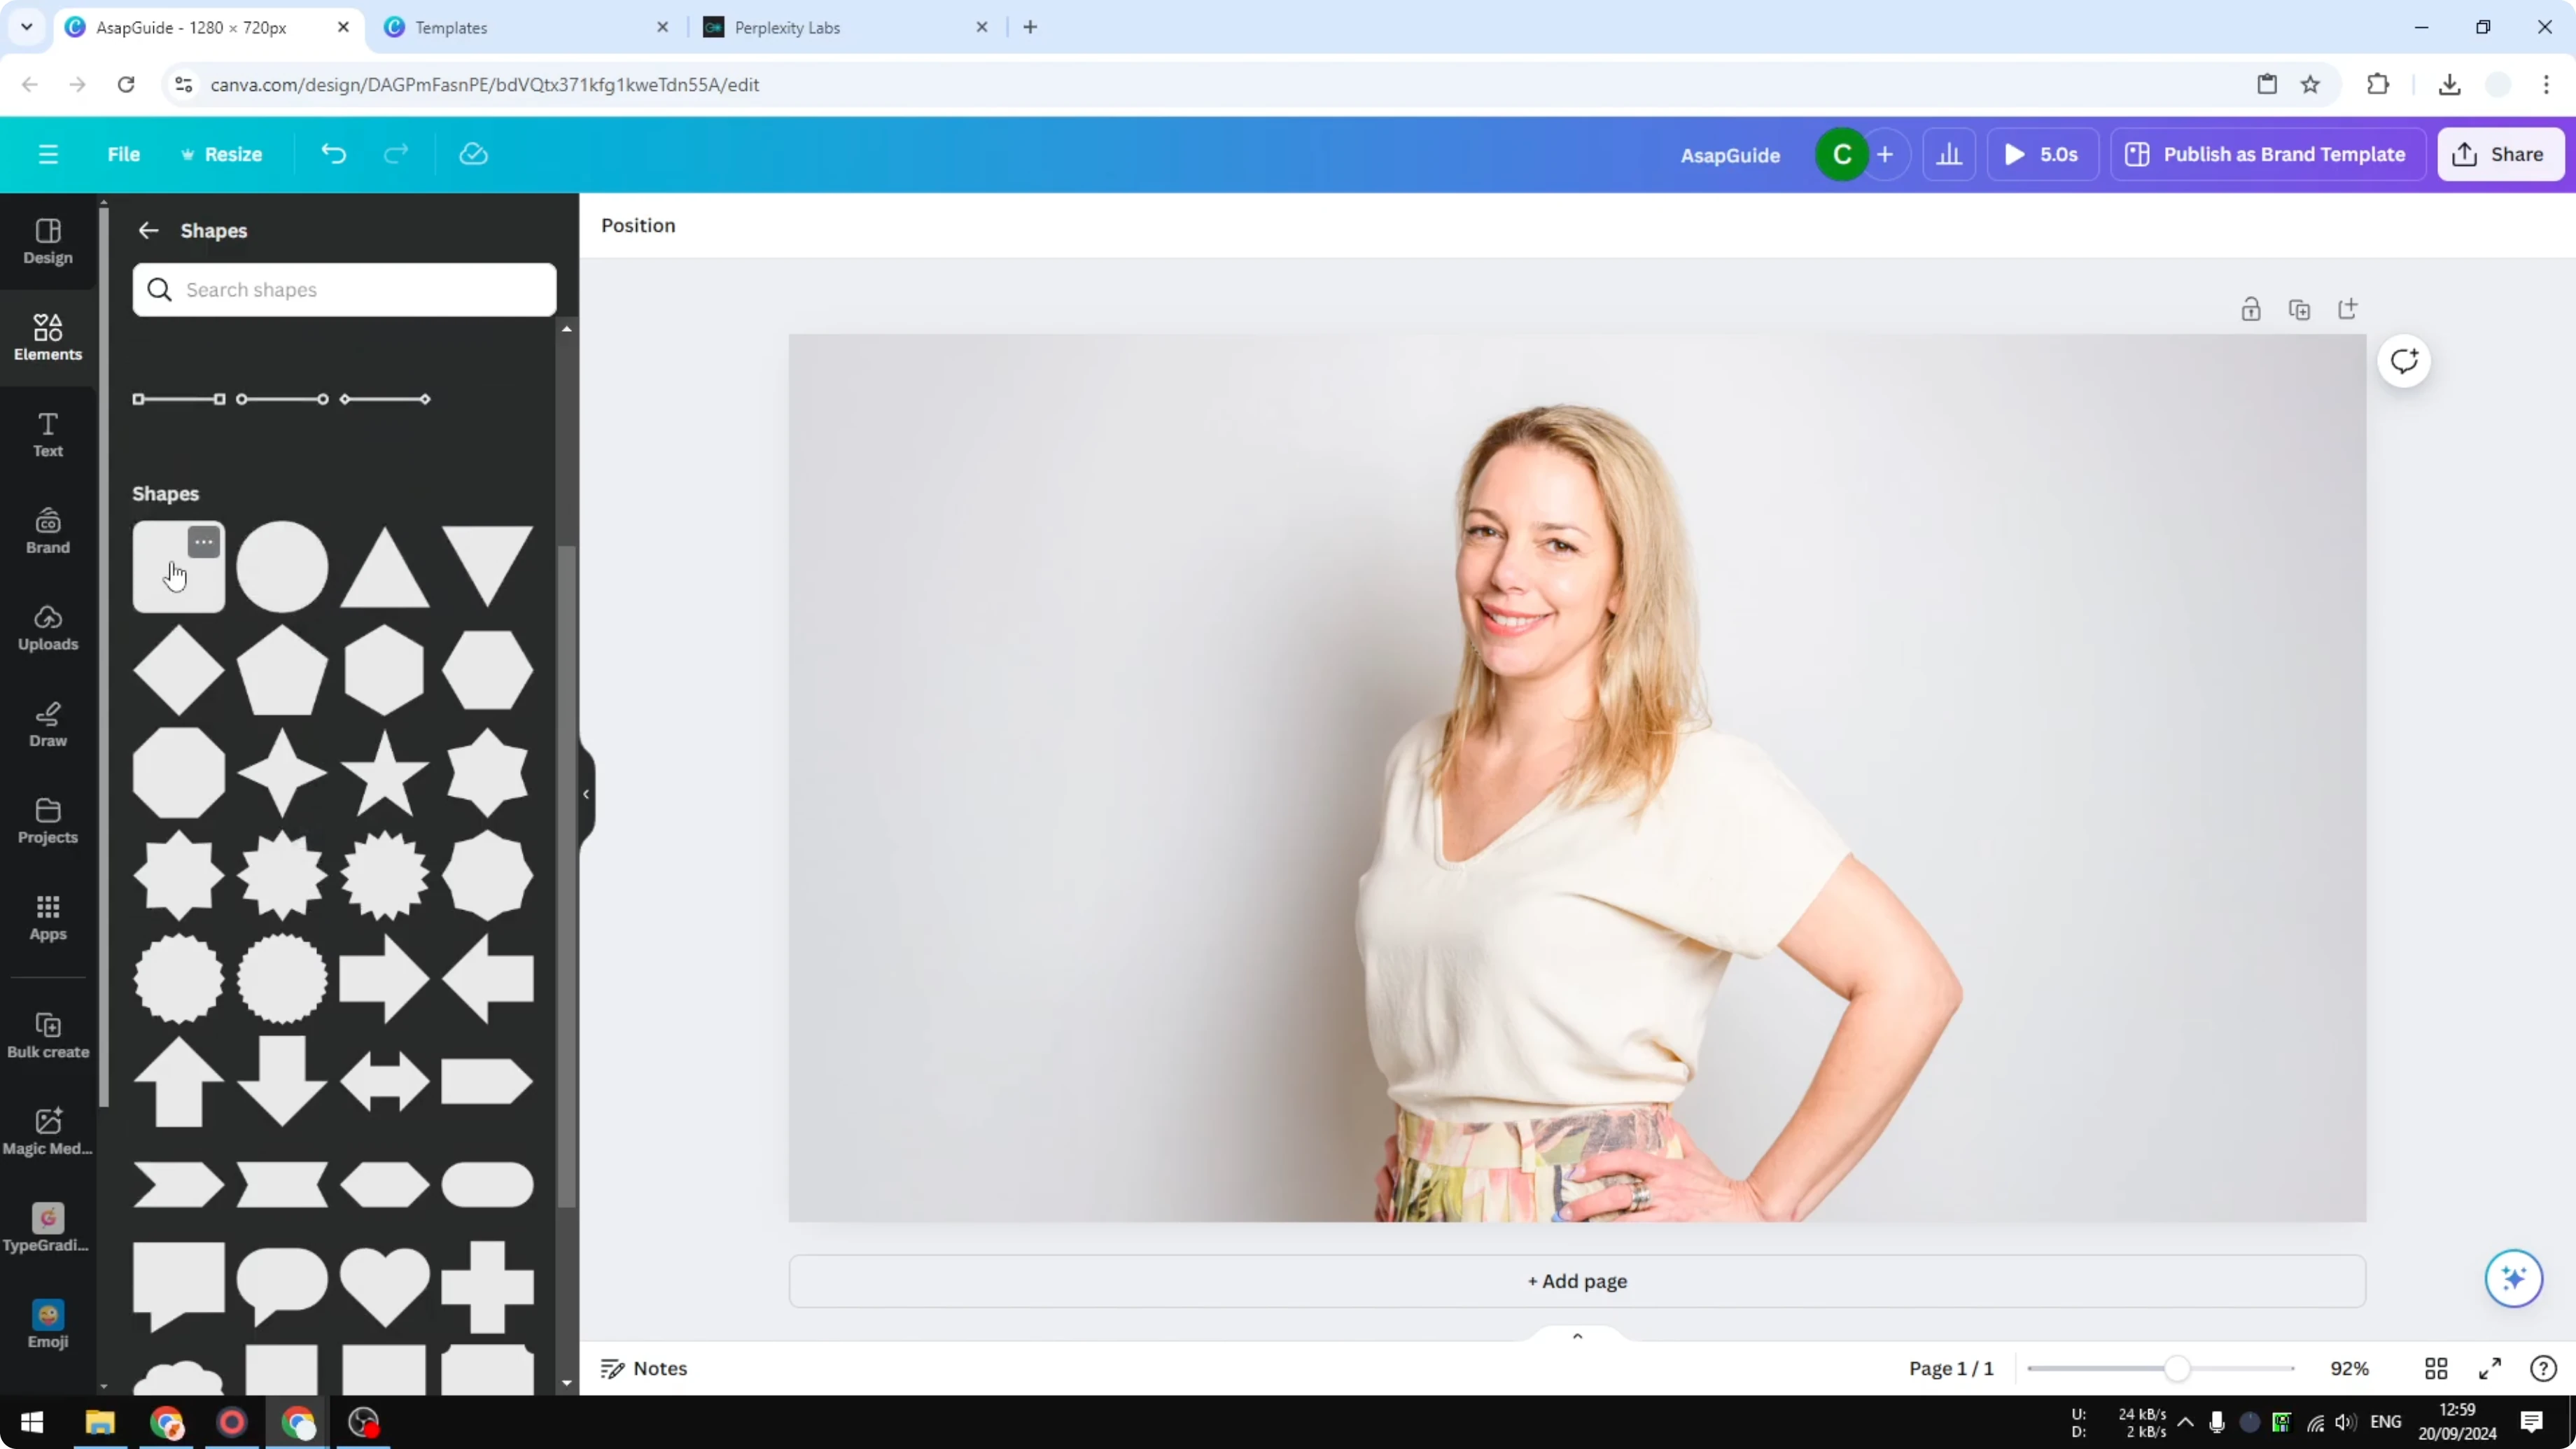
Make the shape bigger until it covers the whole picture.
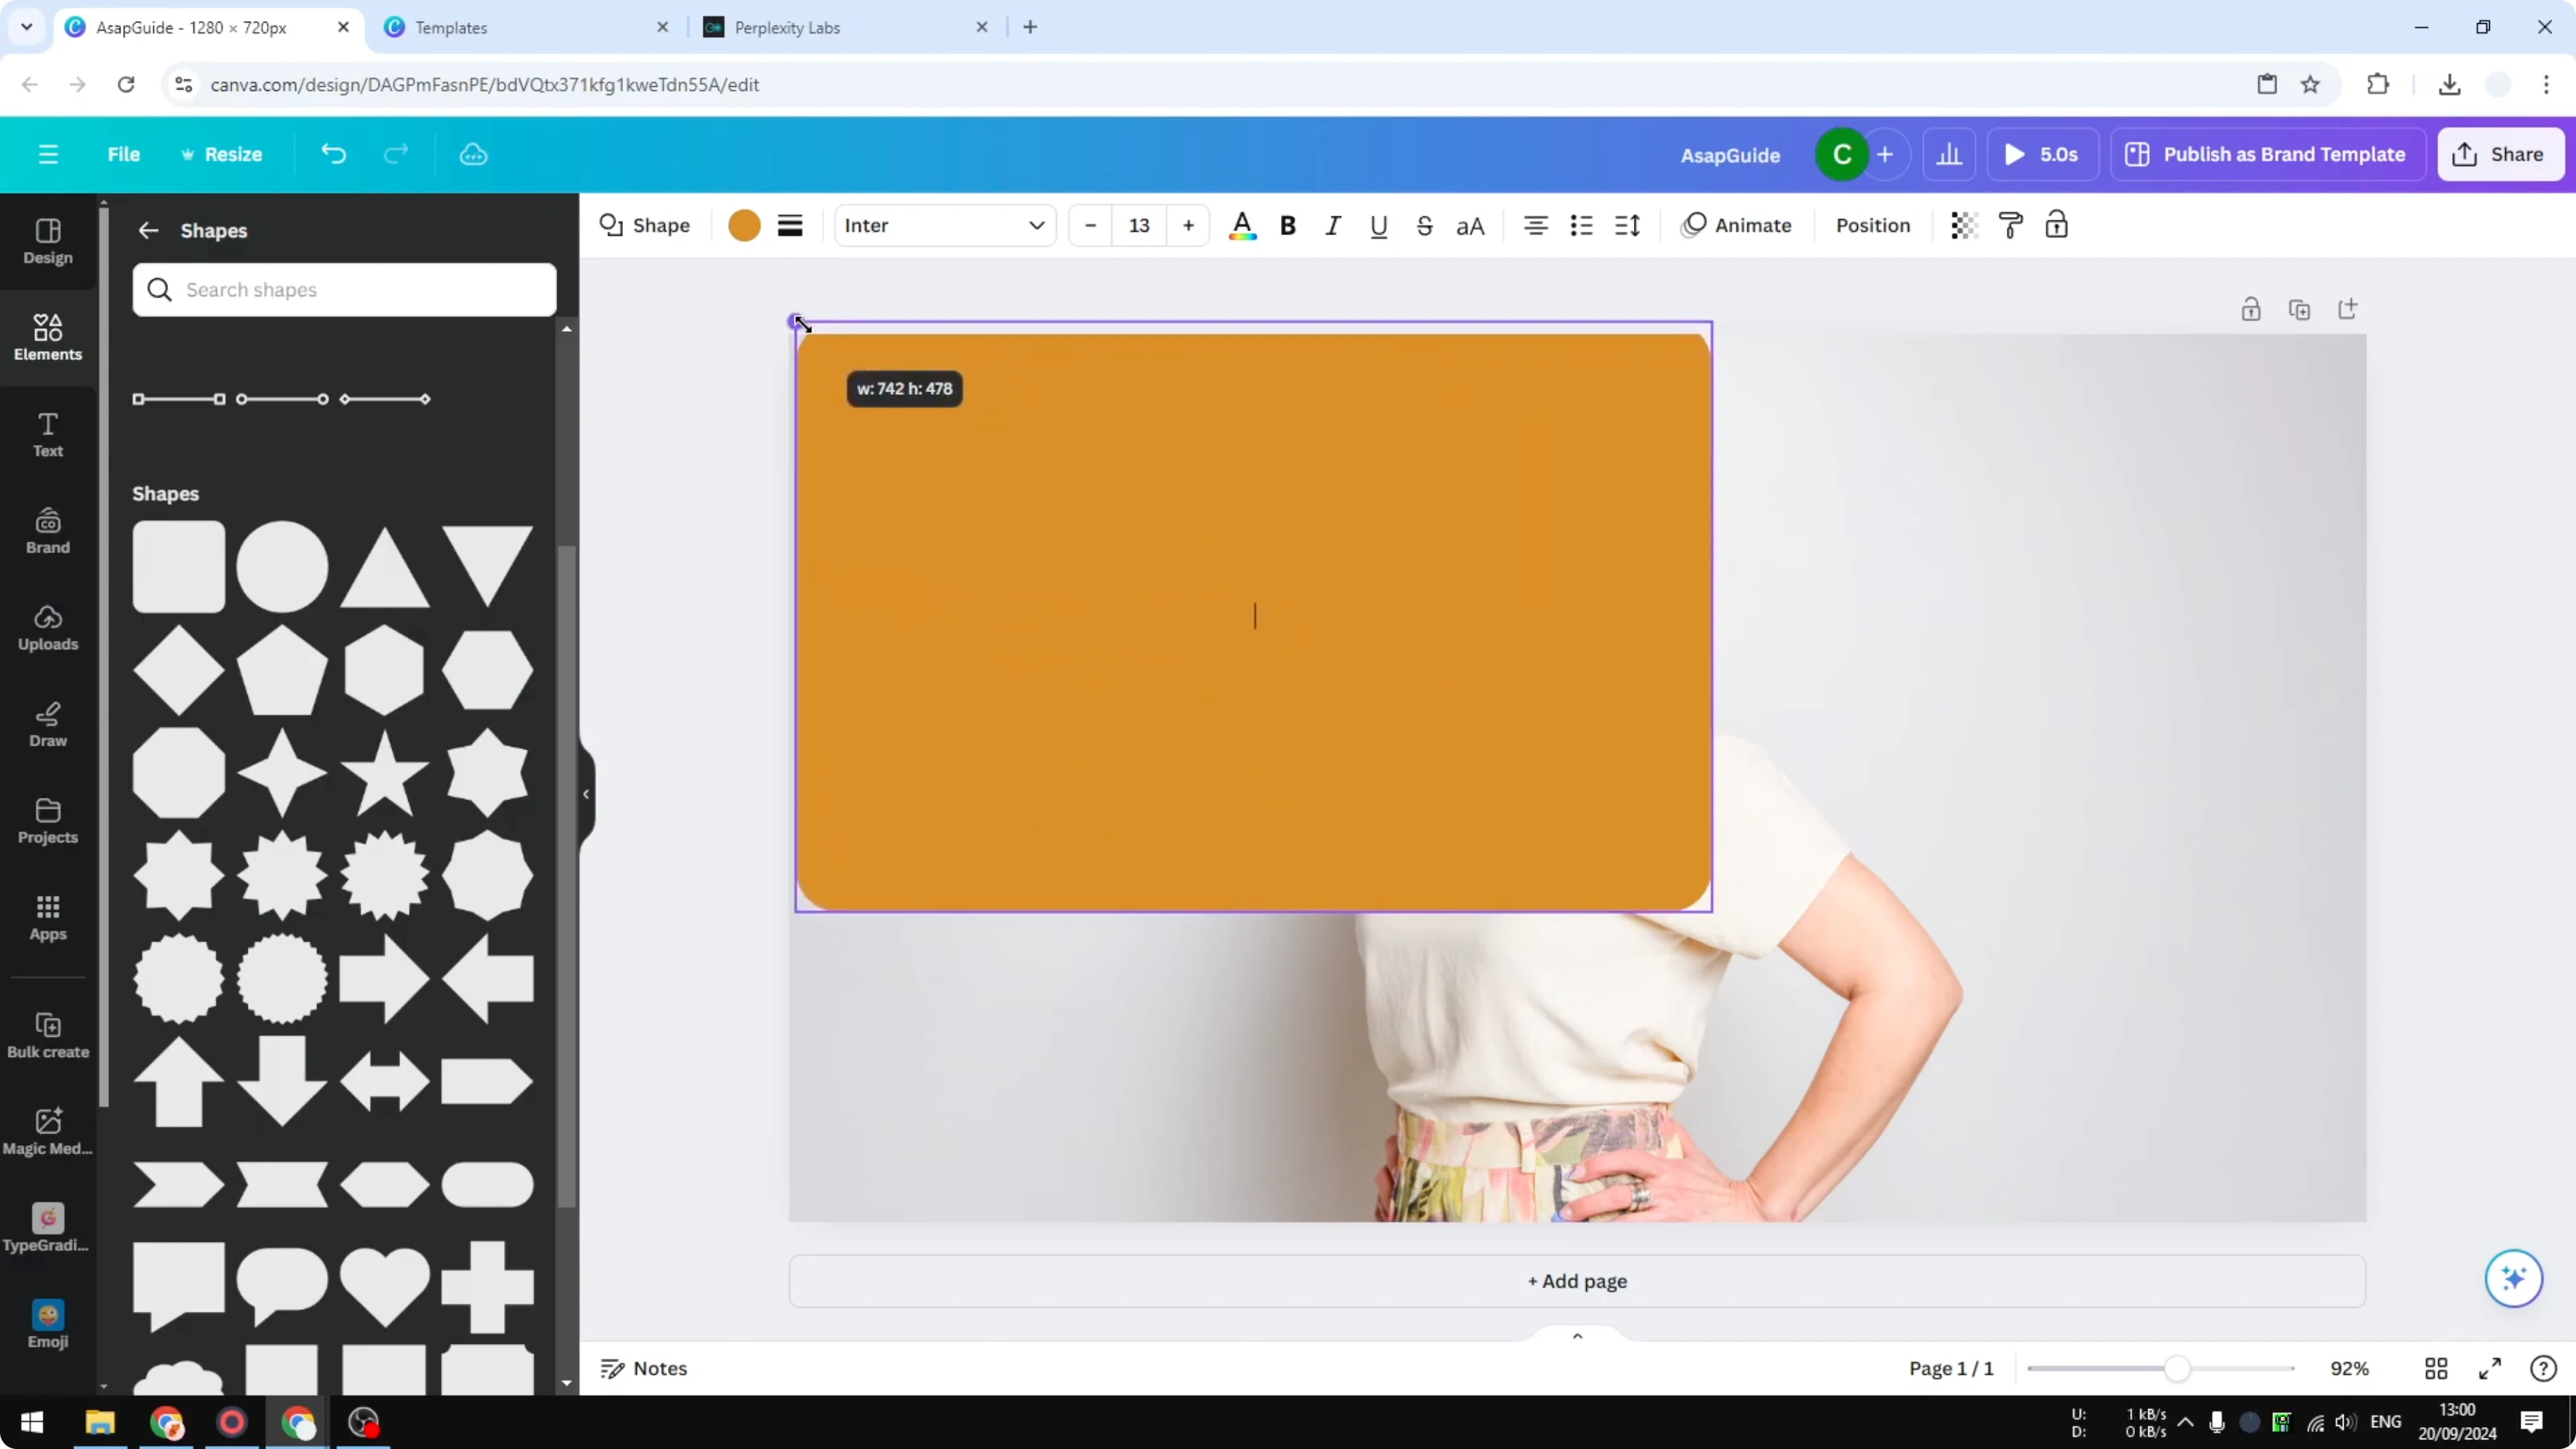
Remove the corner rounding so every inch of the picture is covered.
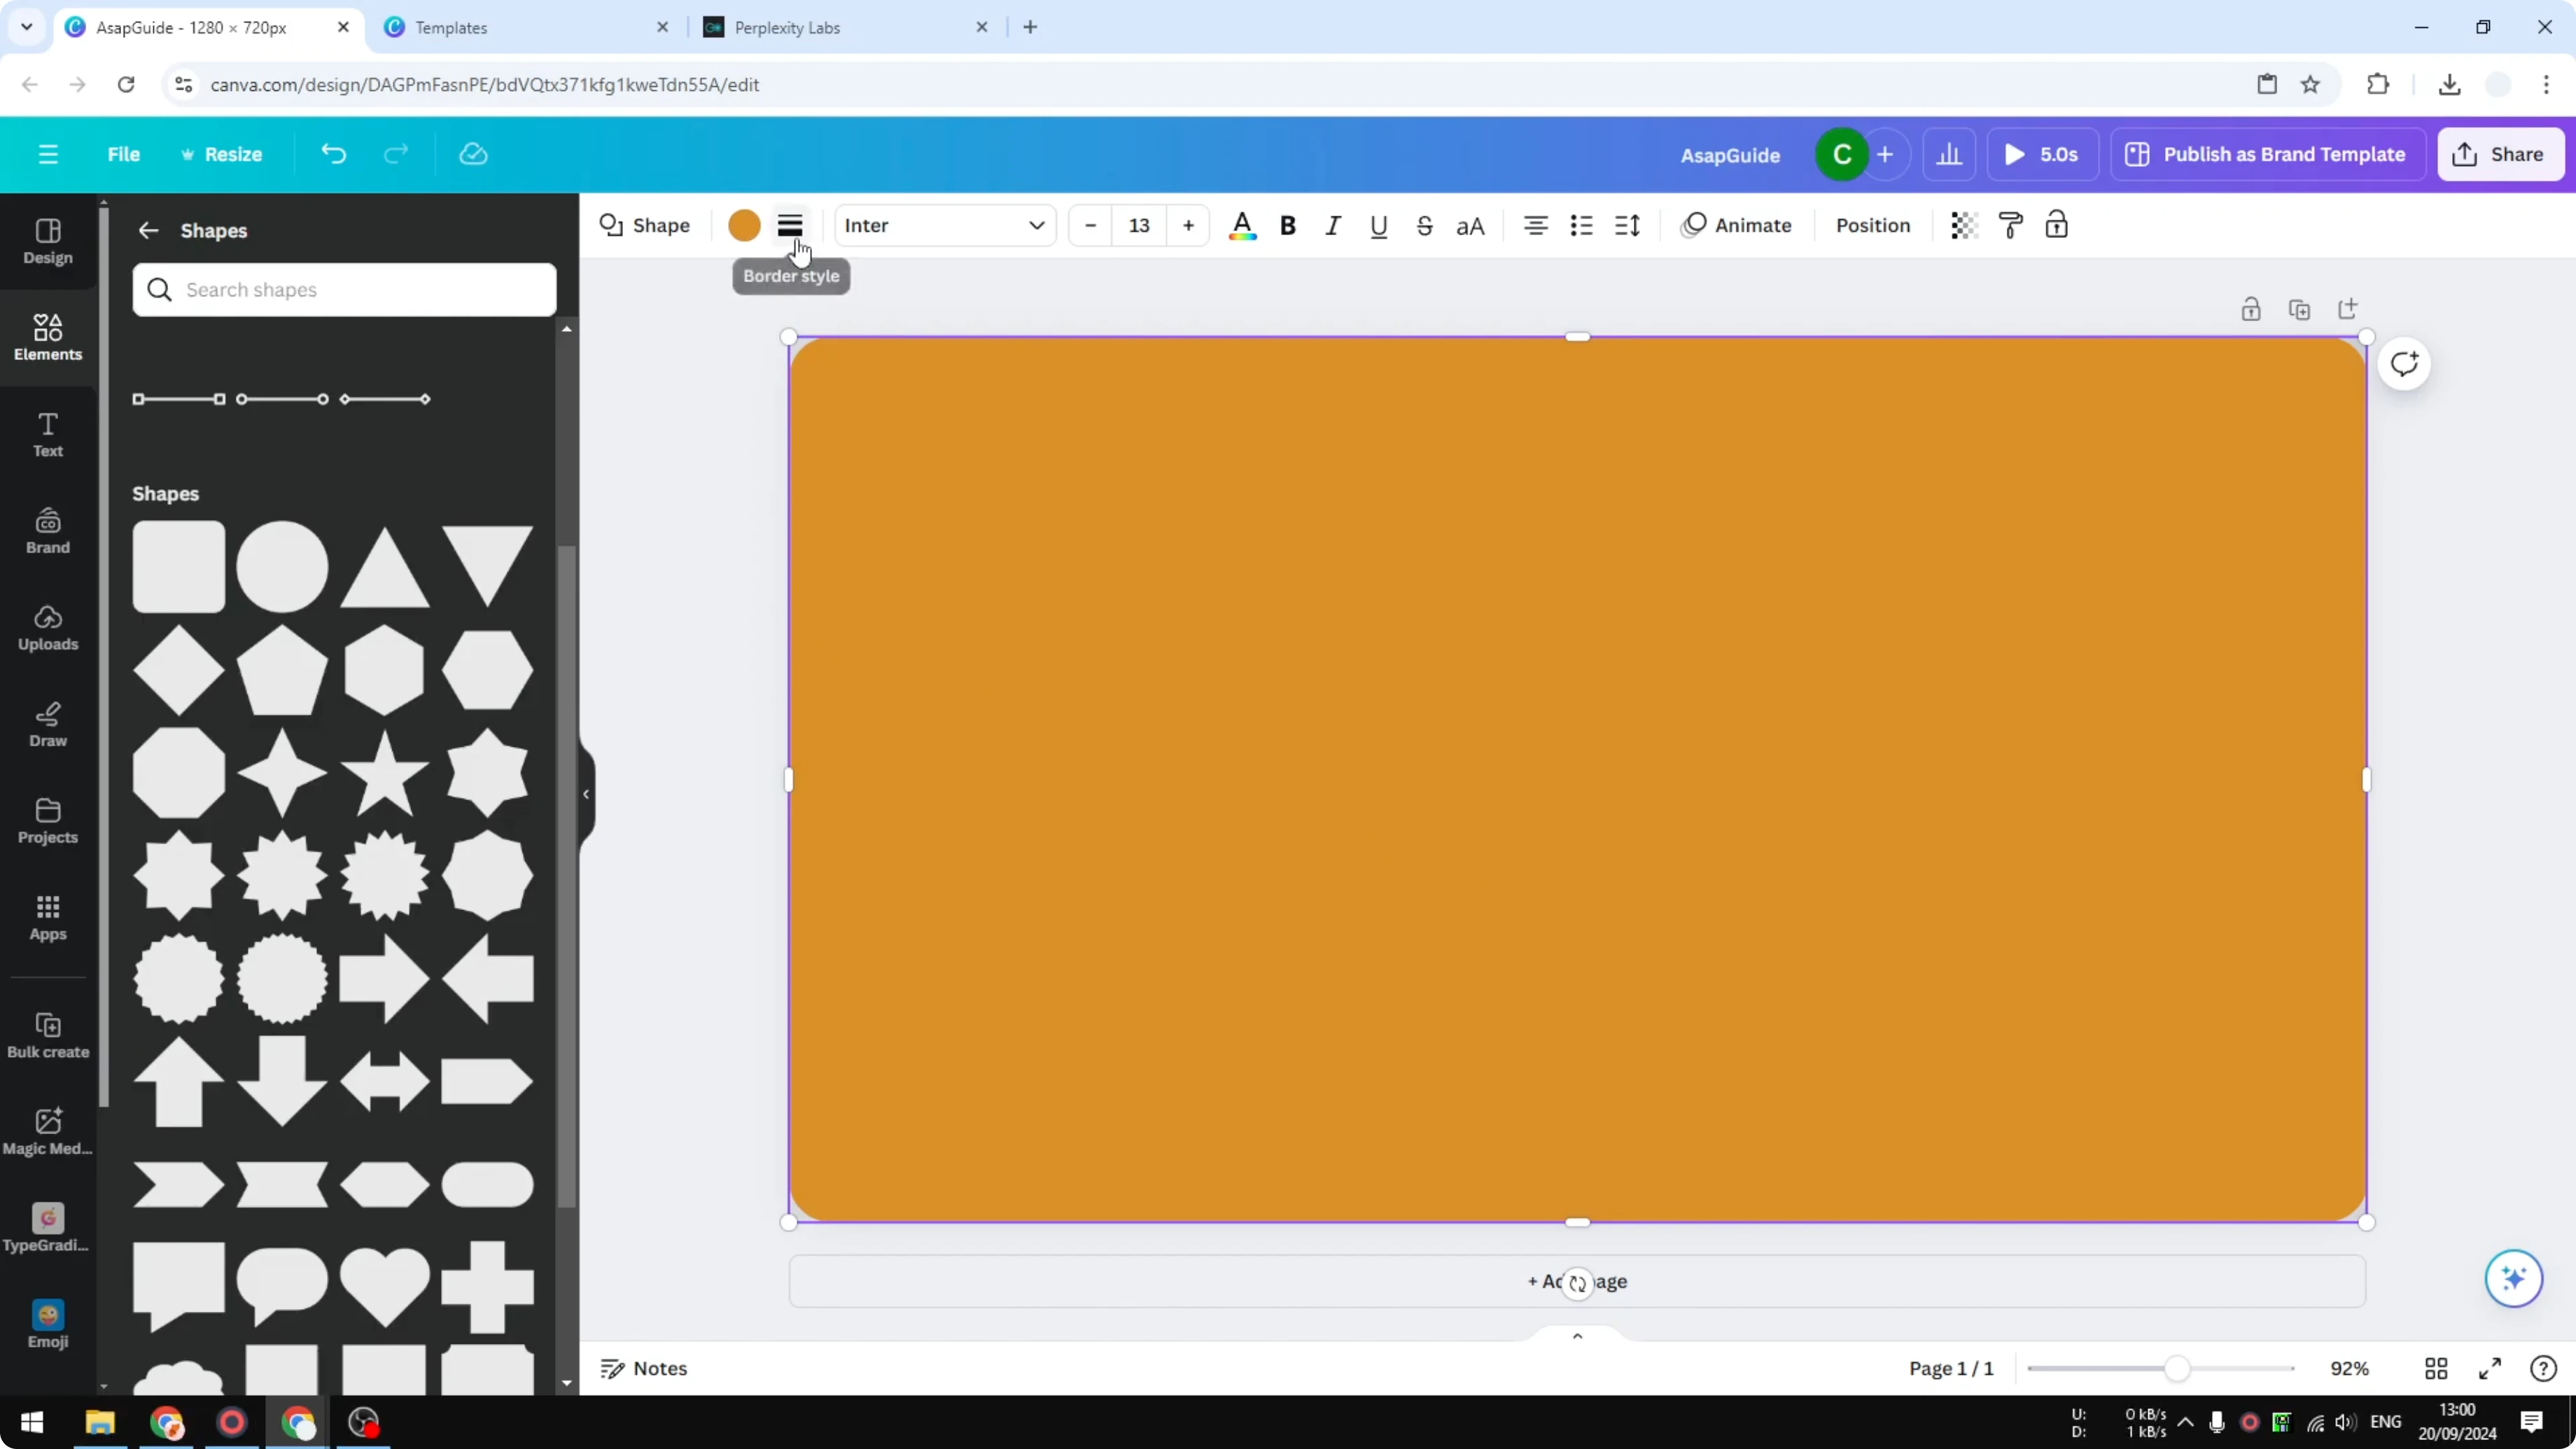
Set the gradient
Click the shape and open the Color panel.
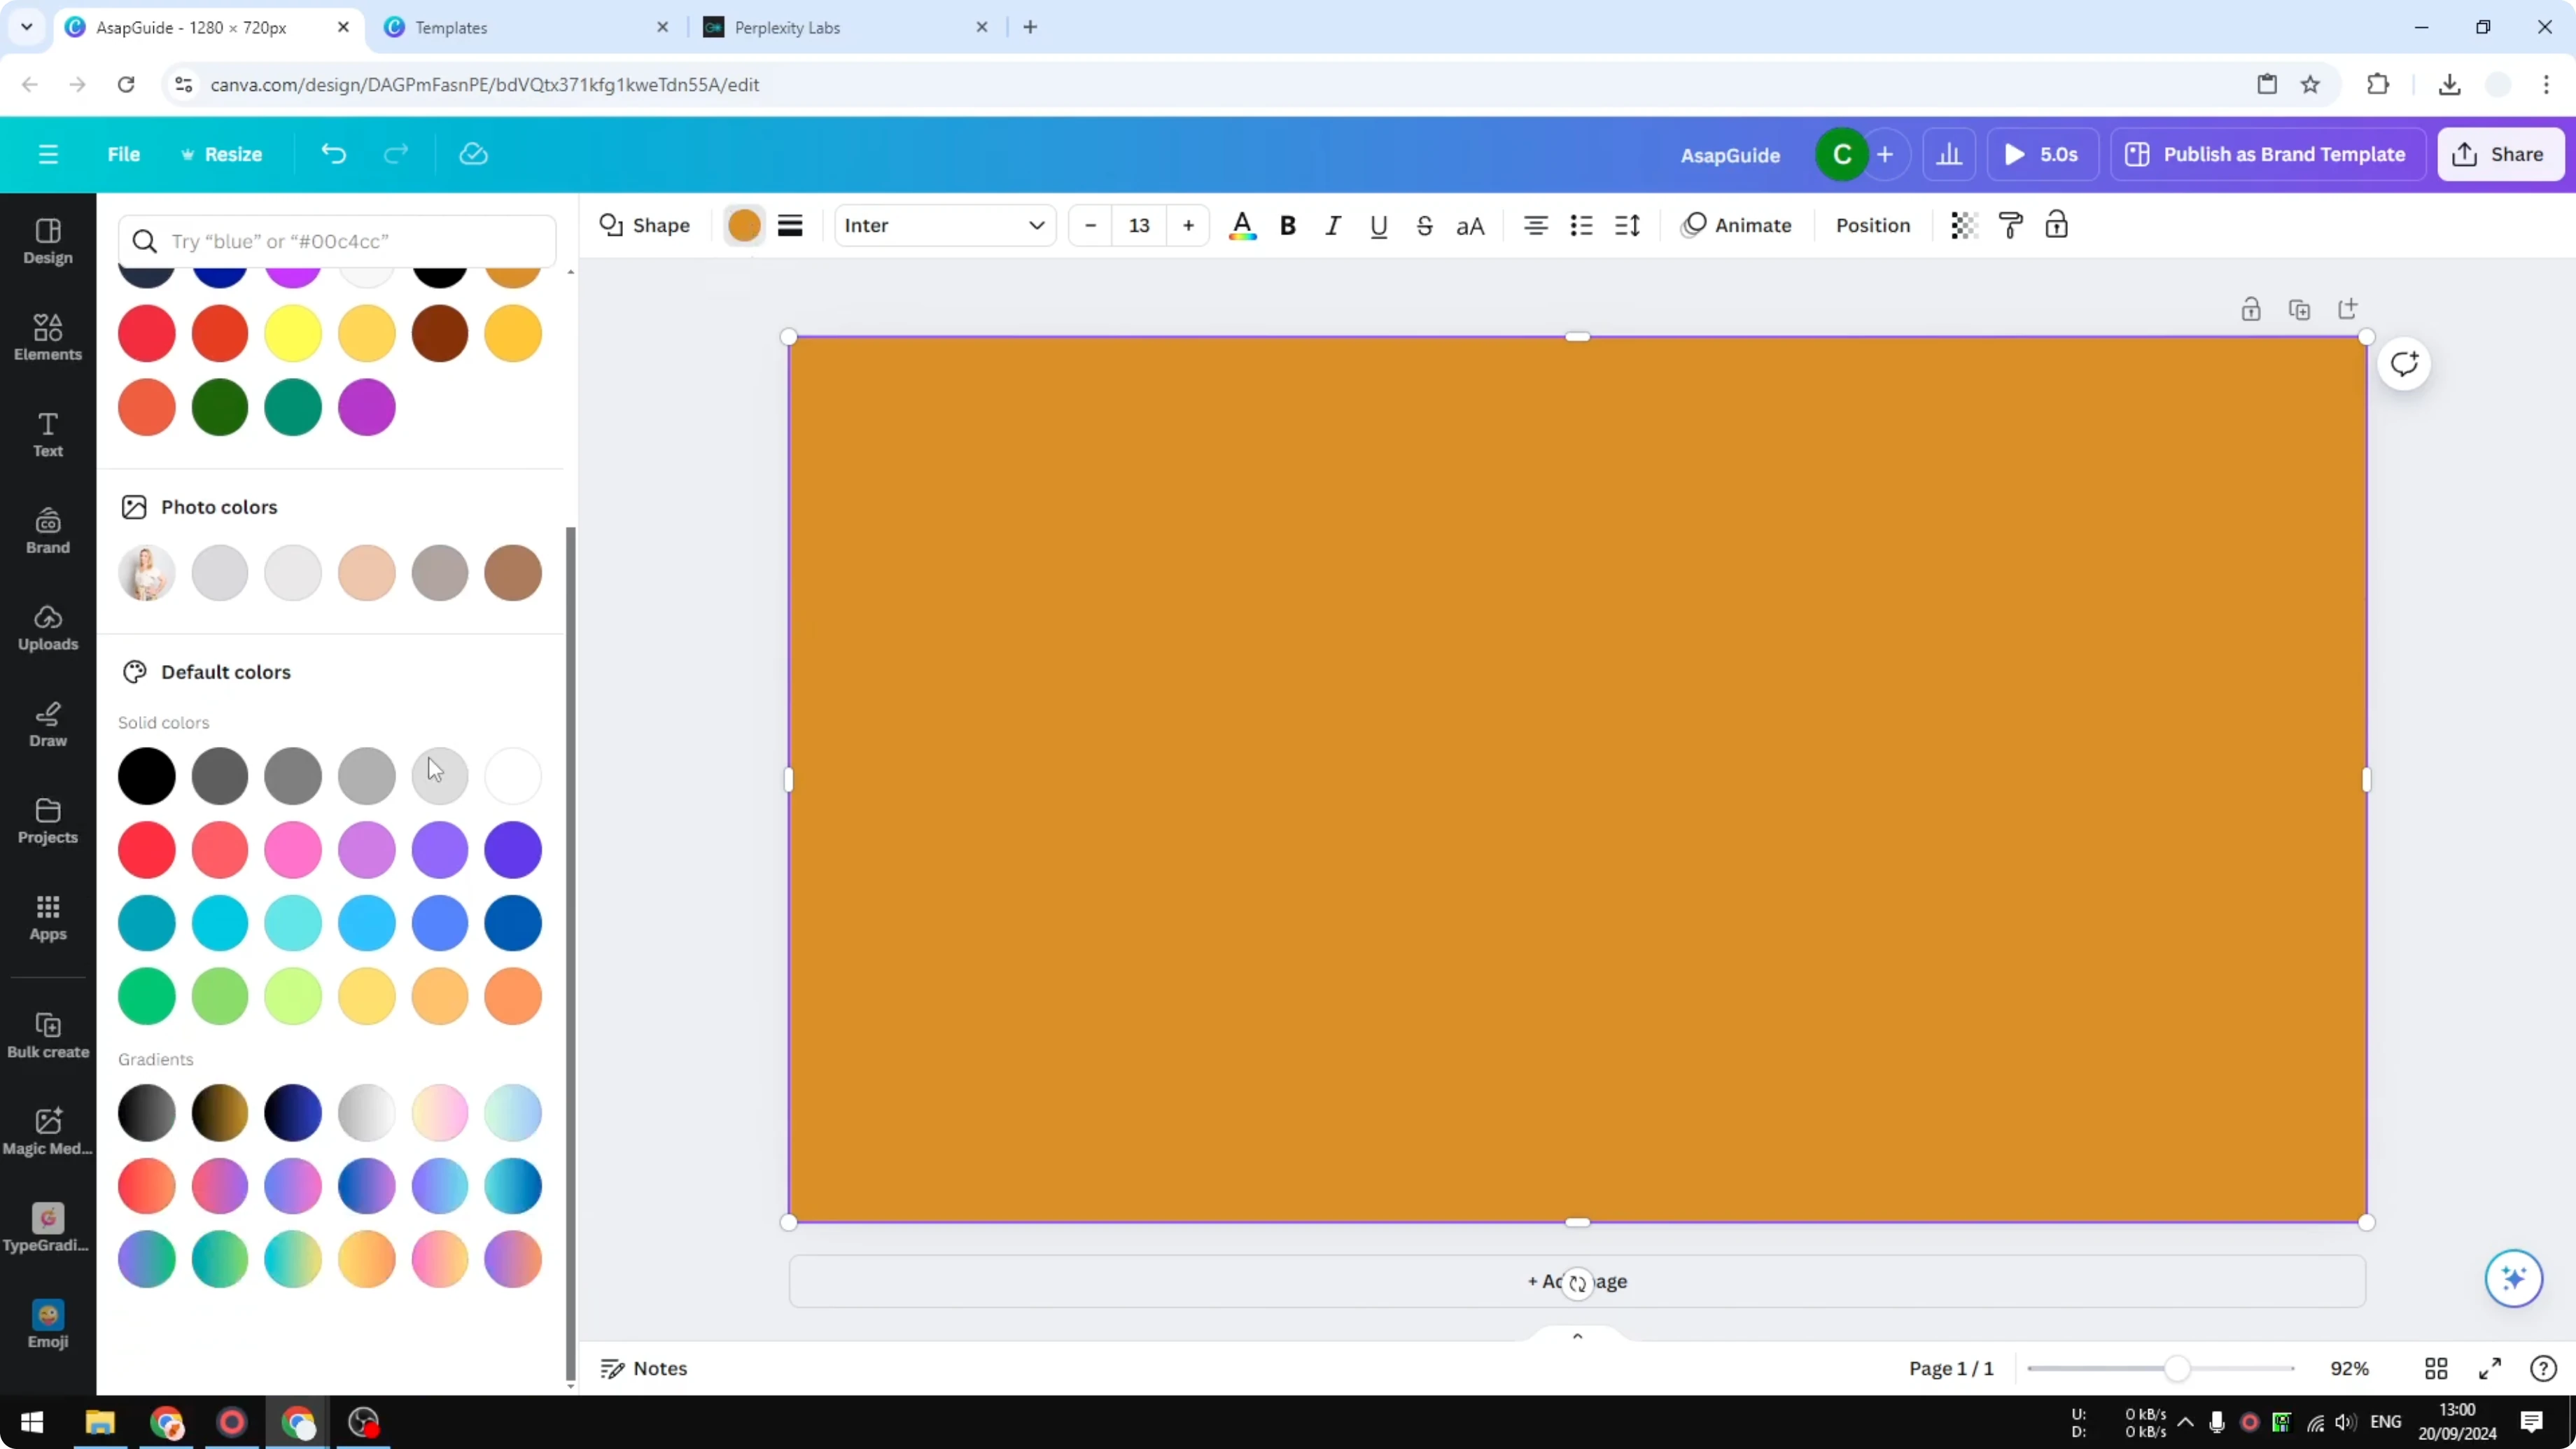
Pick a gradient preset from the bottom, or add your own gradient.
If you cannot modify the gradient immediately, click on an empty area, reopen the Color panel, and the gradient stops will appear. This quick click-away and back action reveals the gradient controls if they glitch.
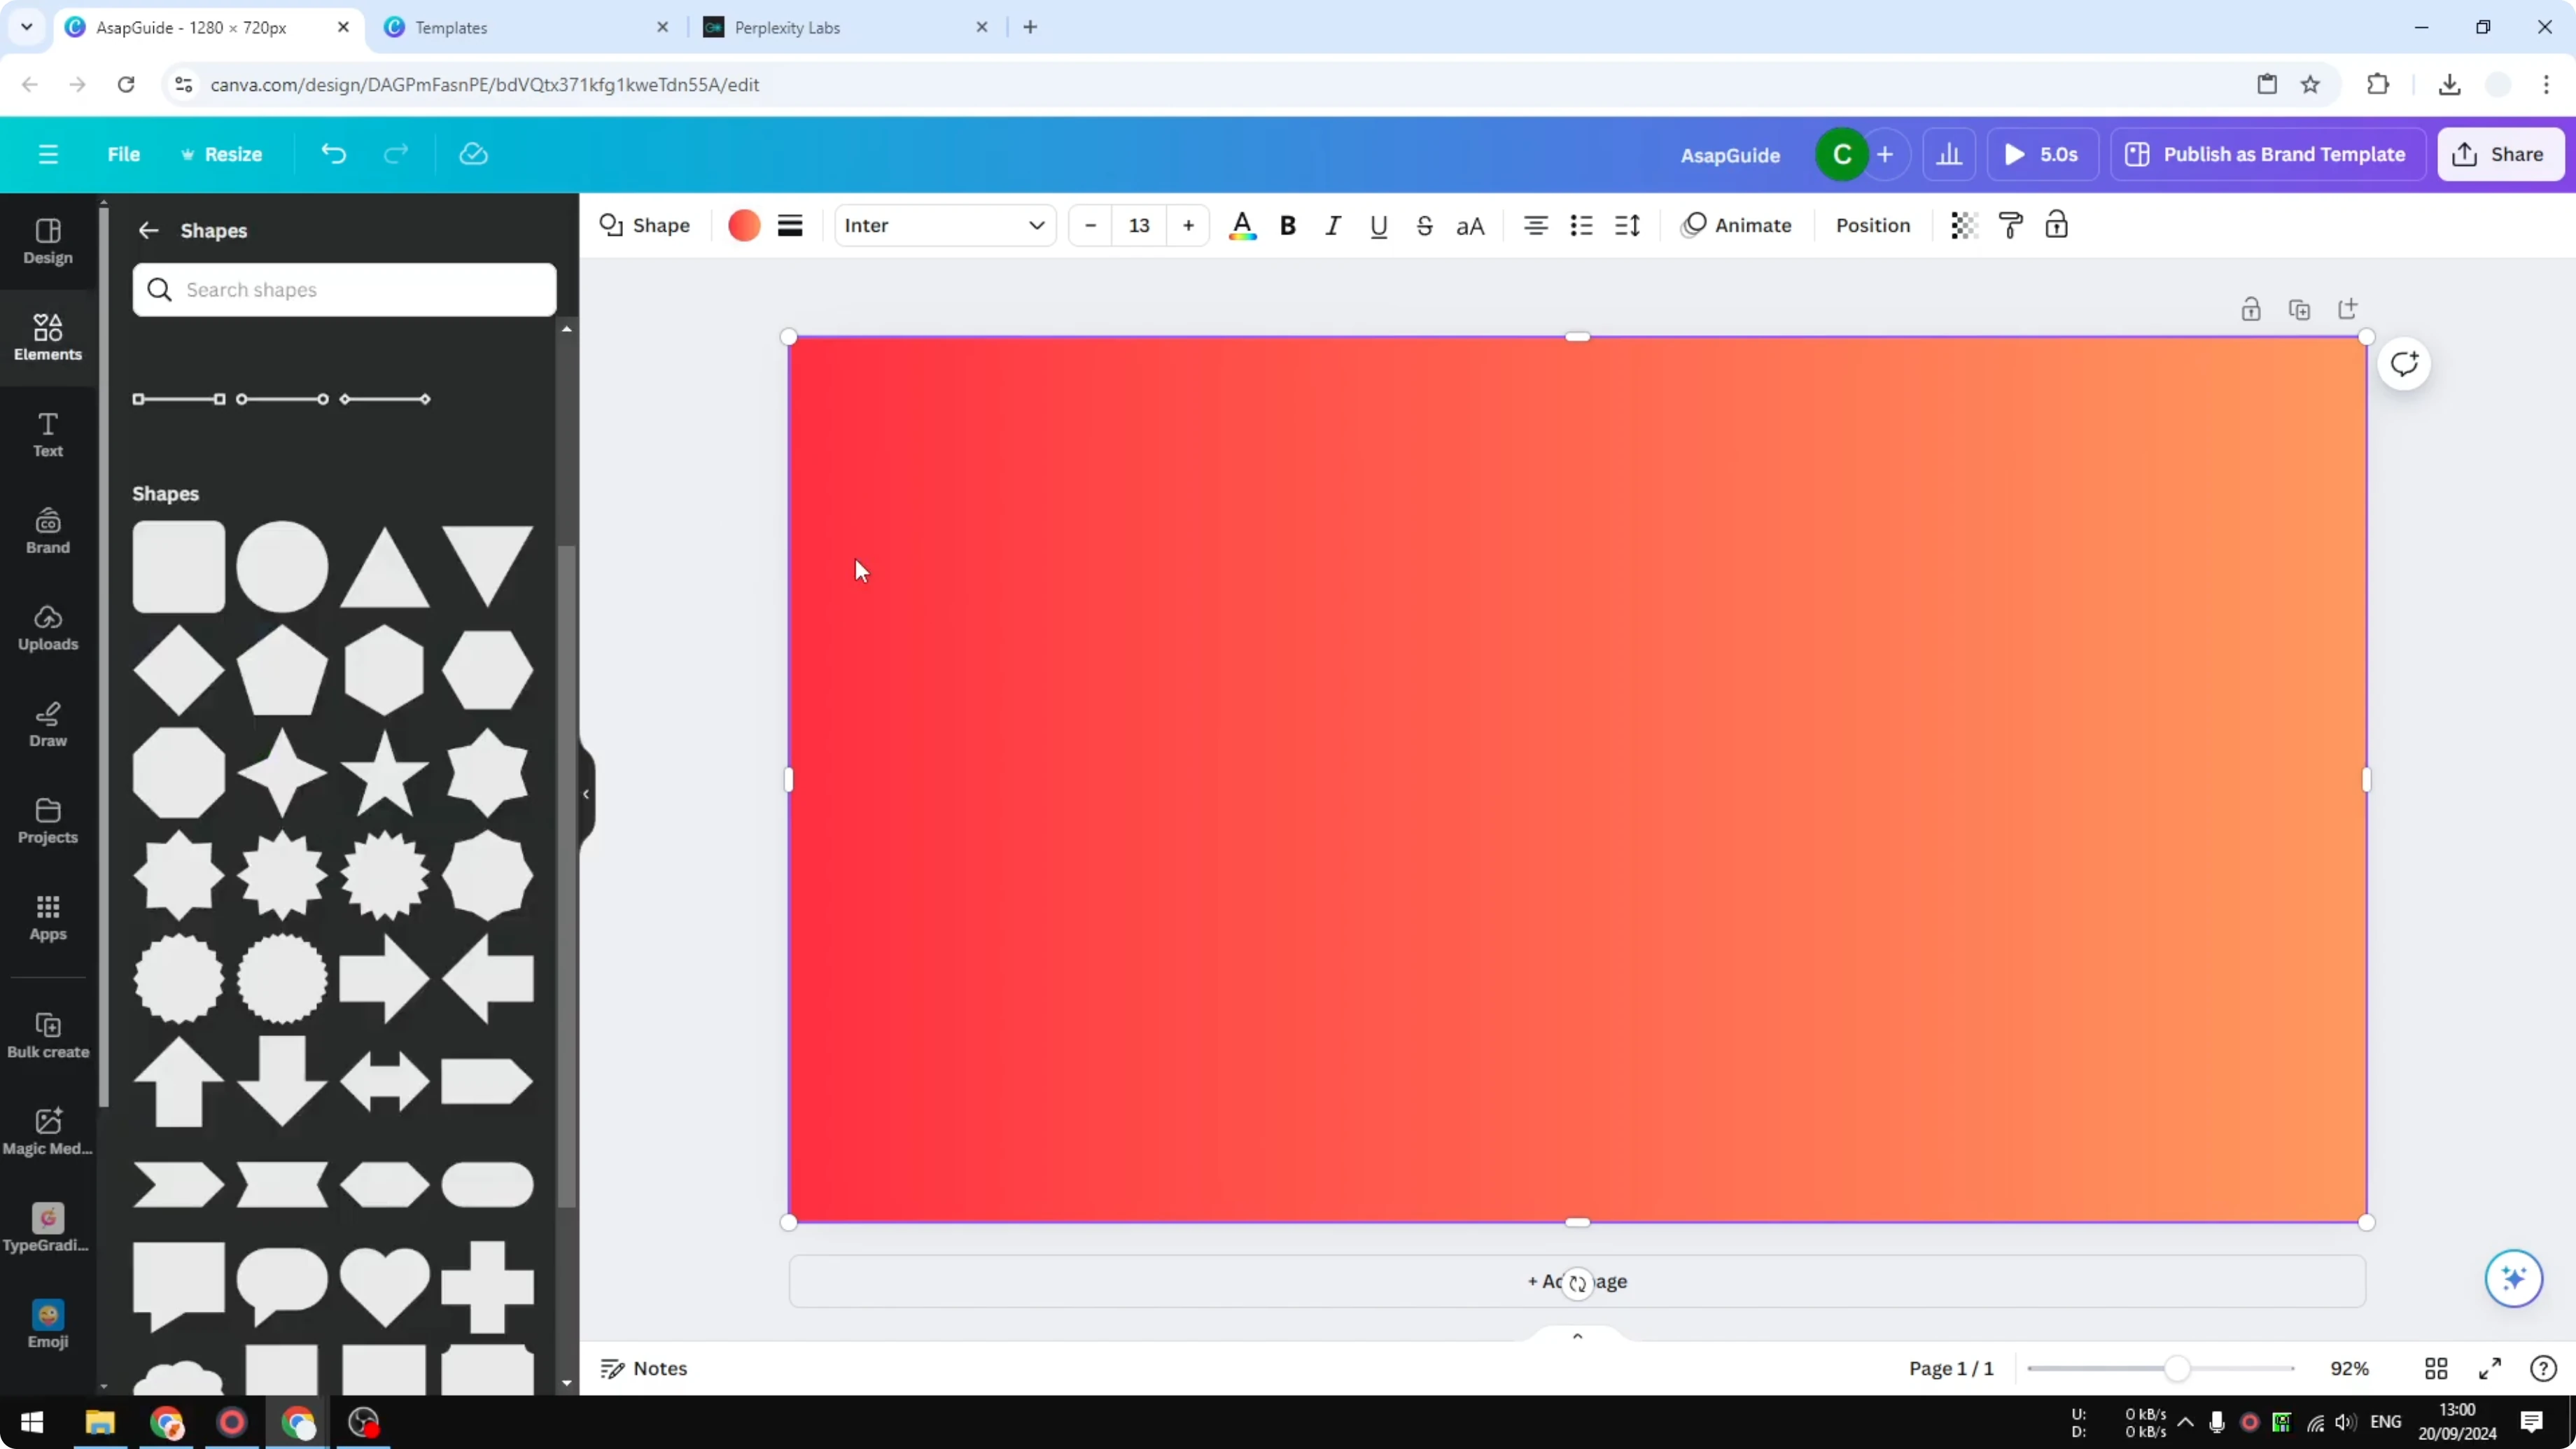
Choose the gradient angle you prefer before changing transparency.
For stylized titles and display text, you can also try a playful balloon text effect in Canva.
Add the transparent middle
Add another color stop to the gradient.
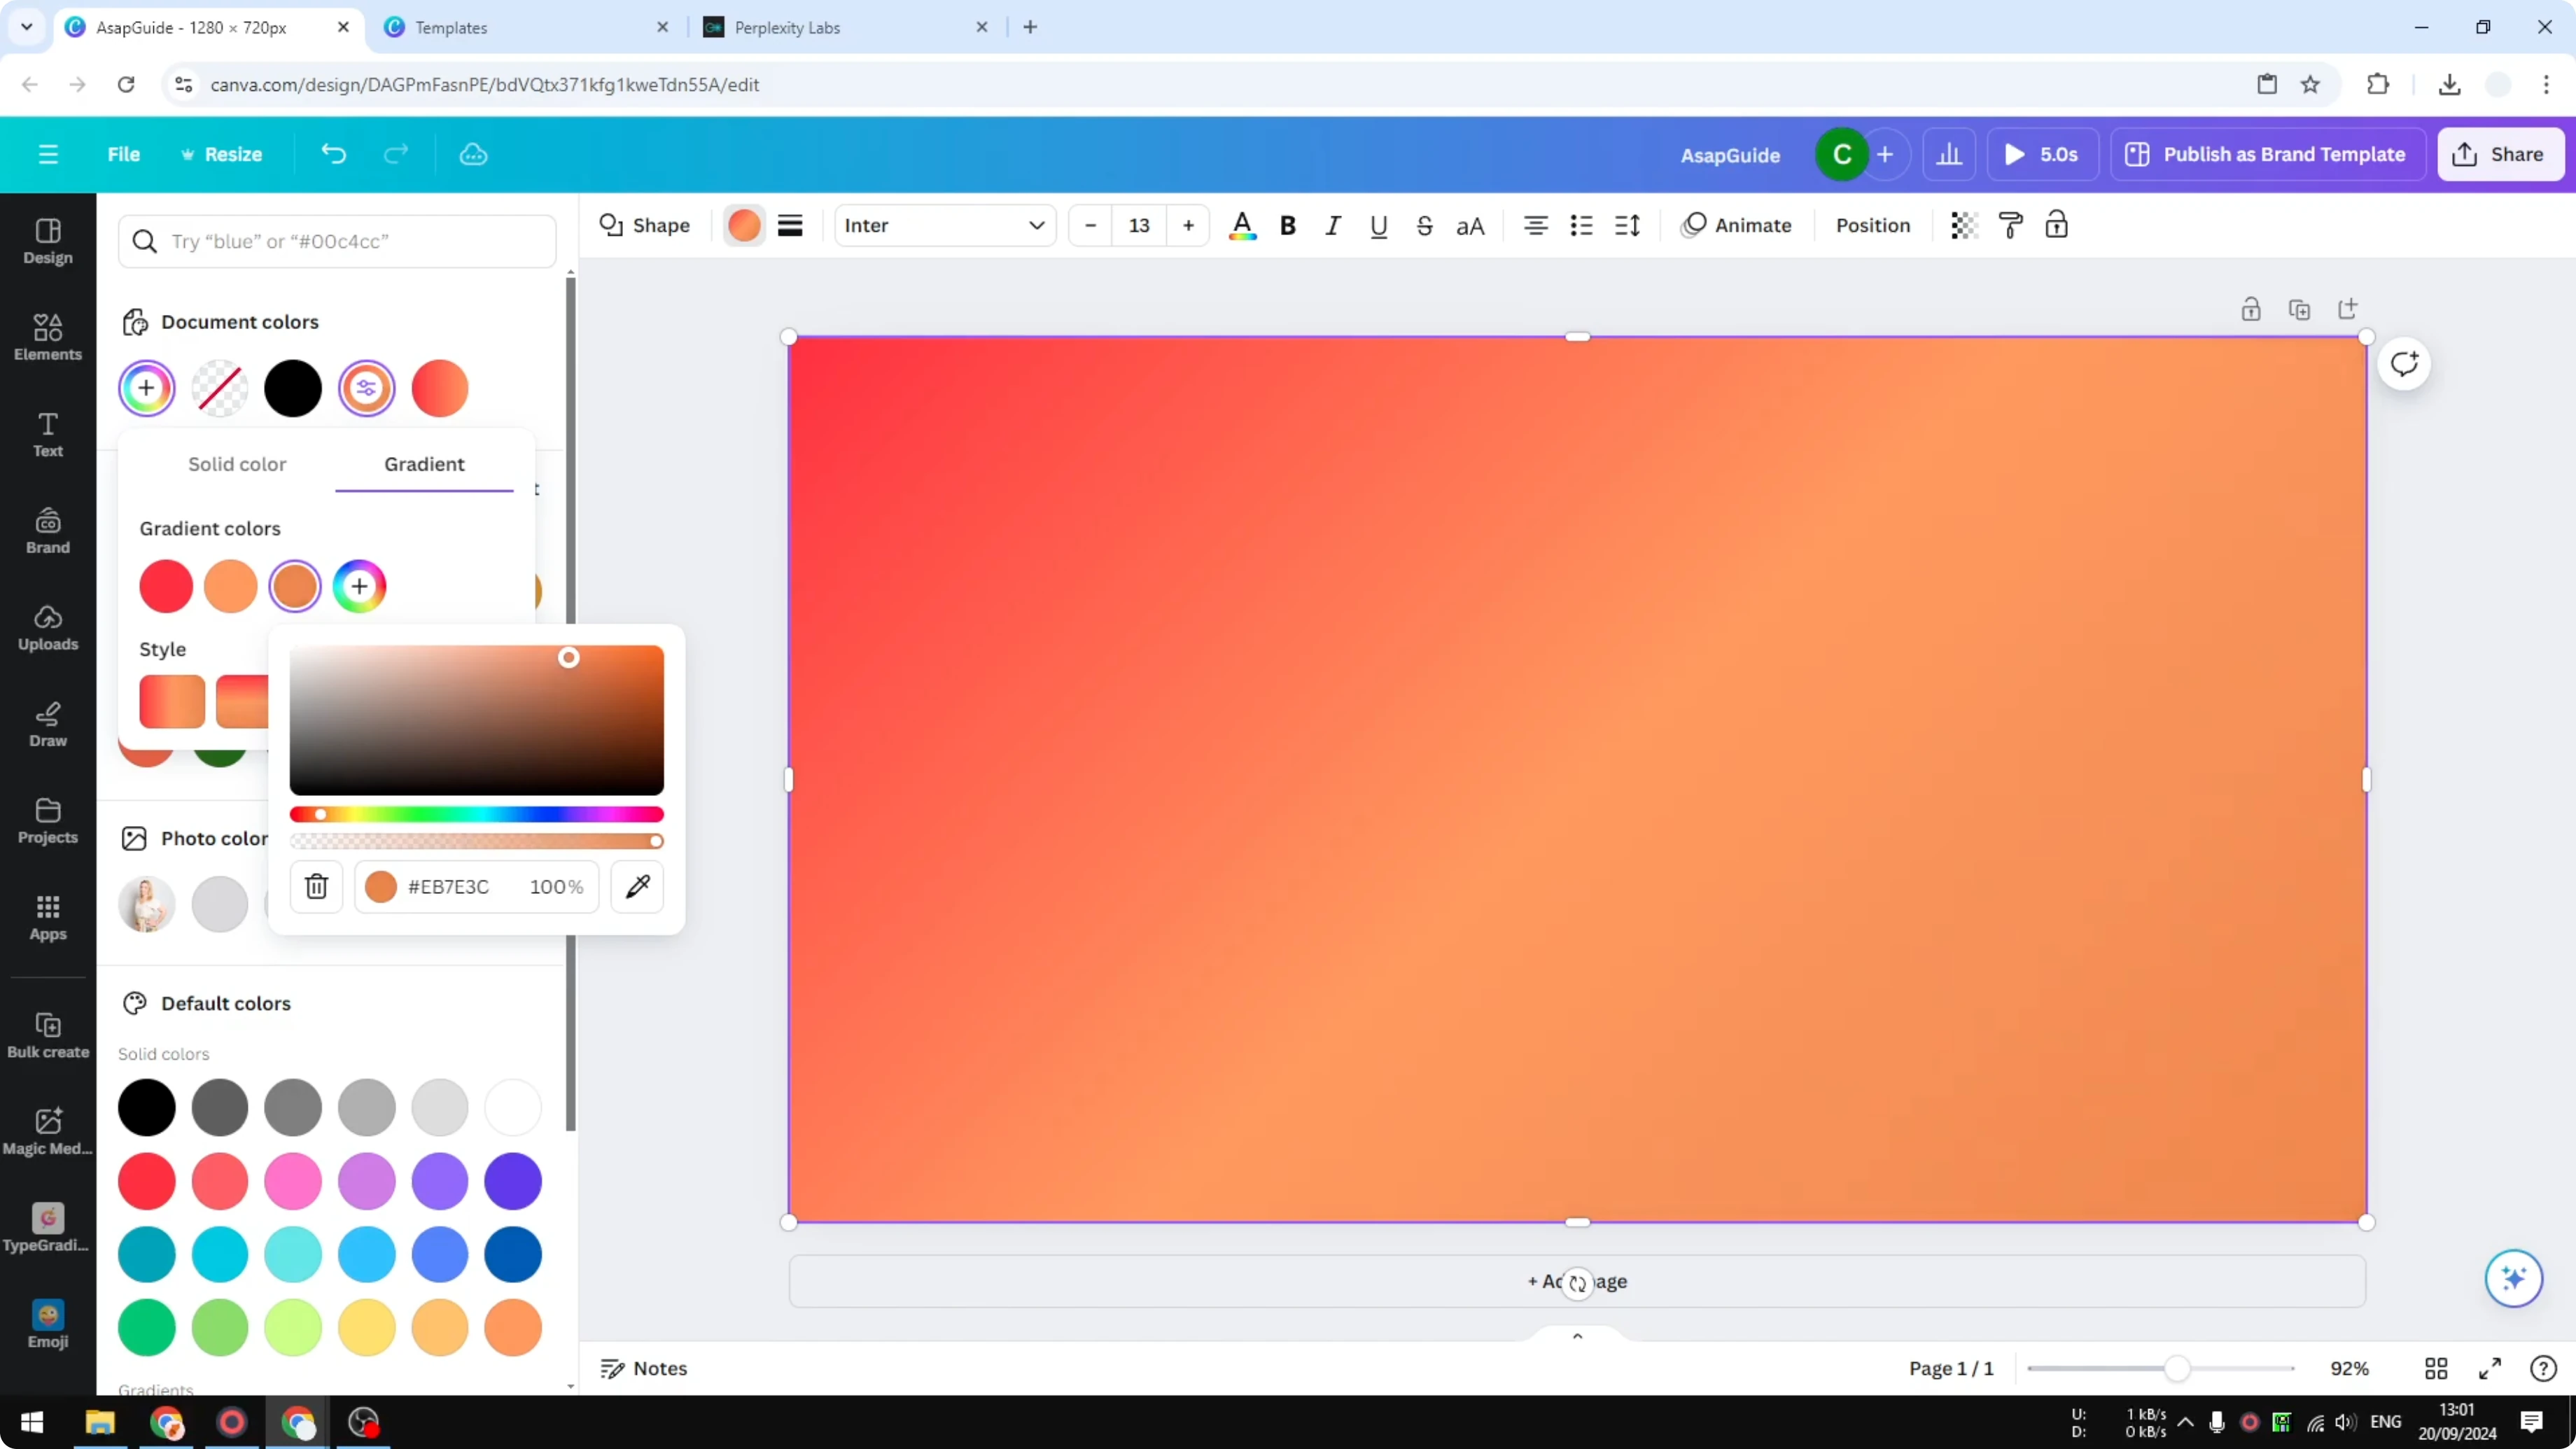
Choose a darker color for this new stop, such as a darker orange.
Place this new color stop in the middle of the gradient.
Click the middle stop and adjust the transparency slider down to 0 percent.
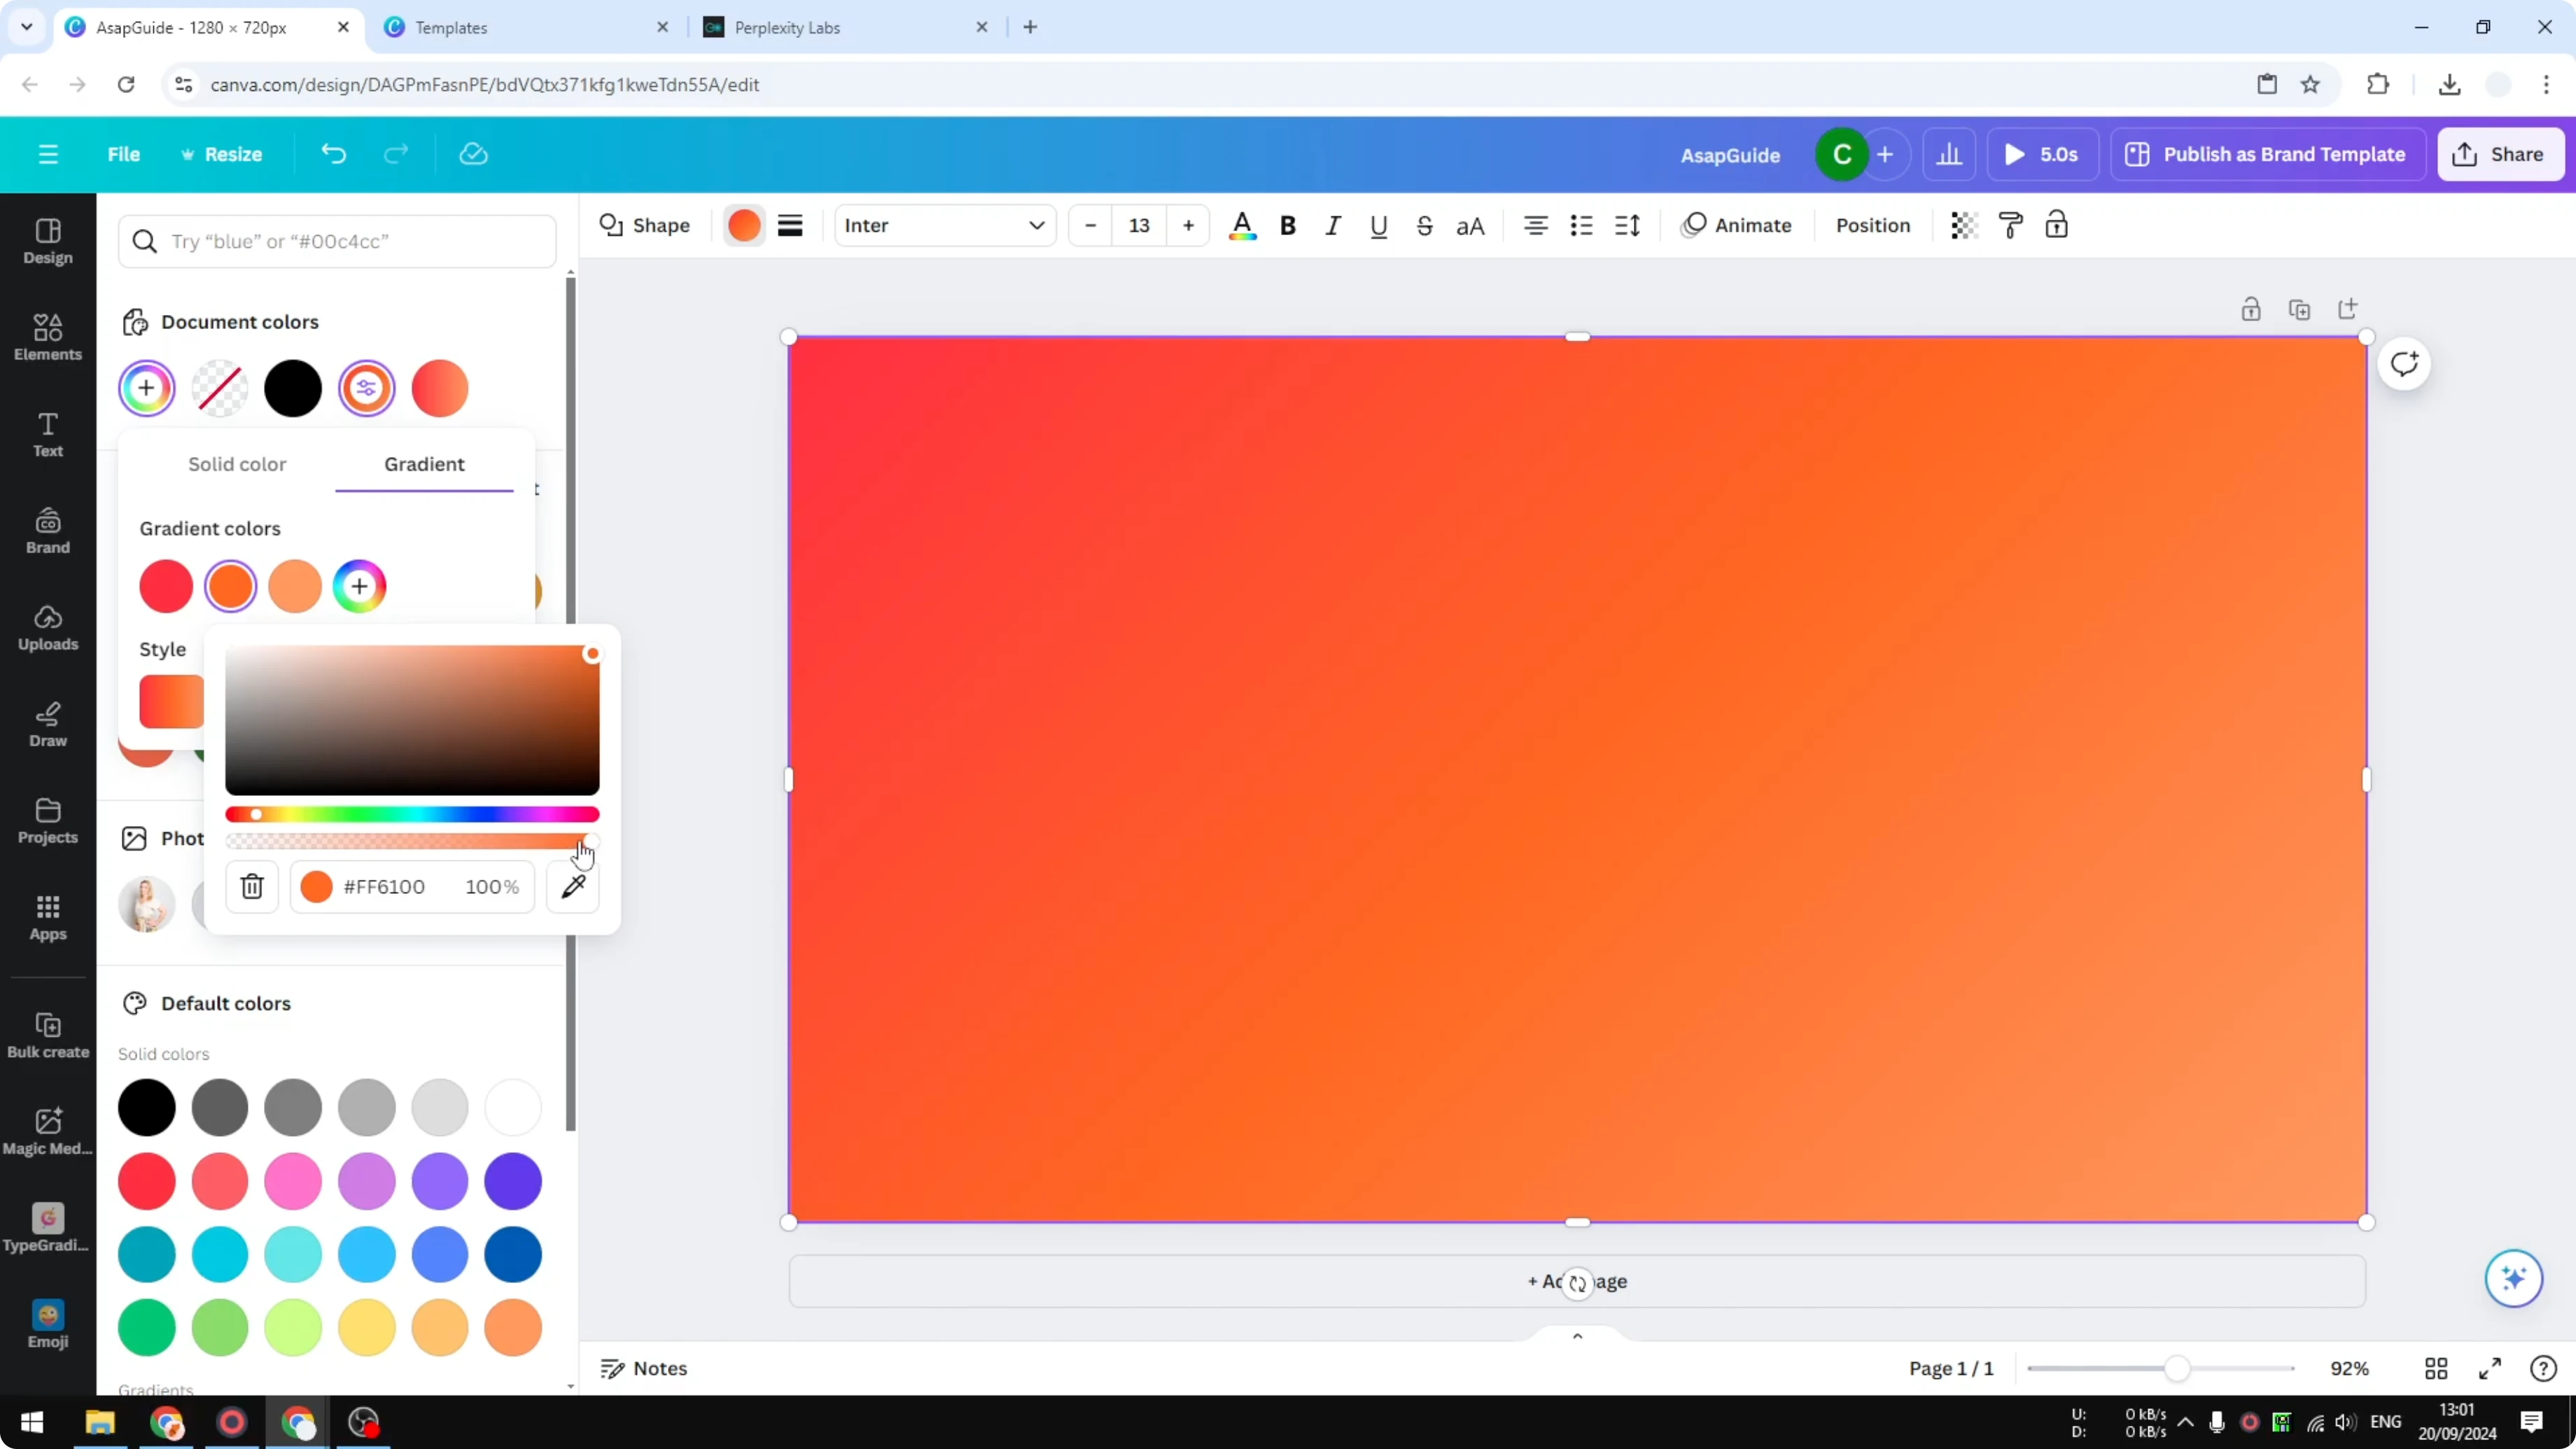
You now have a transparent center with visible edges.
Why the middle color matters
You might think the middle color does not matter if it is transparent. Even with 0 percent transparency, the middle color still affects the adjacent colors. That is why selecting an appropriate middle color is important.
Test different colors for the middle stop and see which one works best with your picture. I prefer a darker color in the middle because it blends better at the edges. Adjust until the transition looks clean.
Final thoughts
That is basically it. This is how you can apply a simple transparent gradient effect in Canva, and a little testing will help you find what works best for your photo. For a soft background look to pair with gradients, see this bokeh effect guide.
Recent Posts
How to Visualize Yourself as a Pixelized Character with AI?
How to Visualize Yourself as a Pixelized Character with AI?
How to Revive Faded Memories and Enhance Image Clarity with AI?
How to Revive Faded Memories and Enhance Image Clarity with AI?
How to Visualize Yourself as an Animal Crossing Character with AI?
How to Visualize Yourself as an Animal Crossing Character with AI?