How to Create a Bokeh Effect in Canva
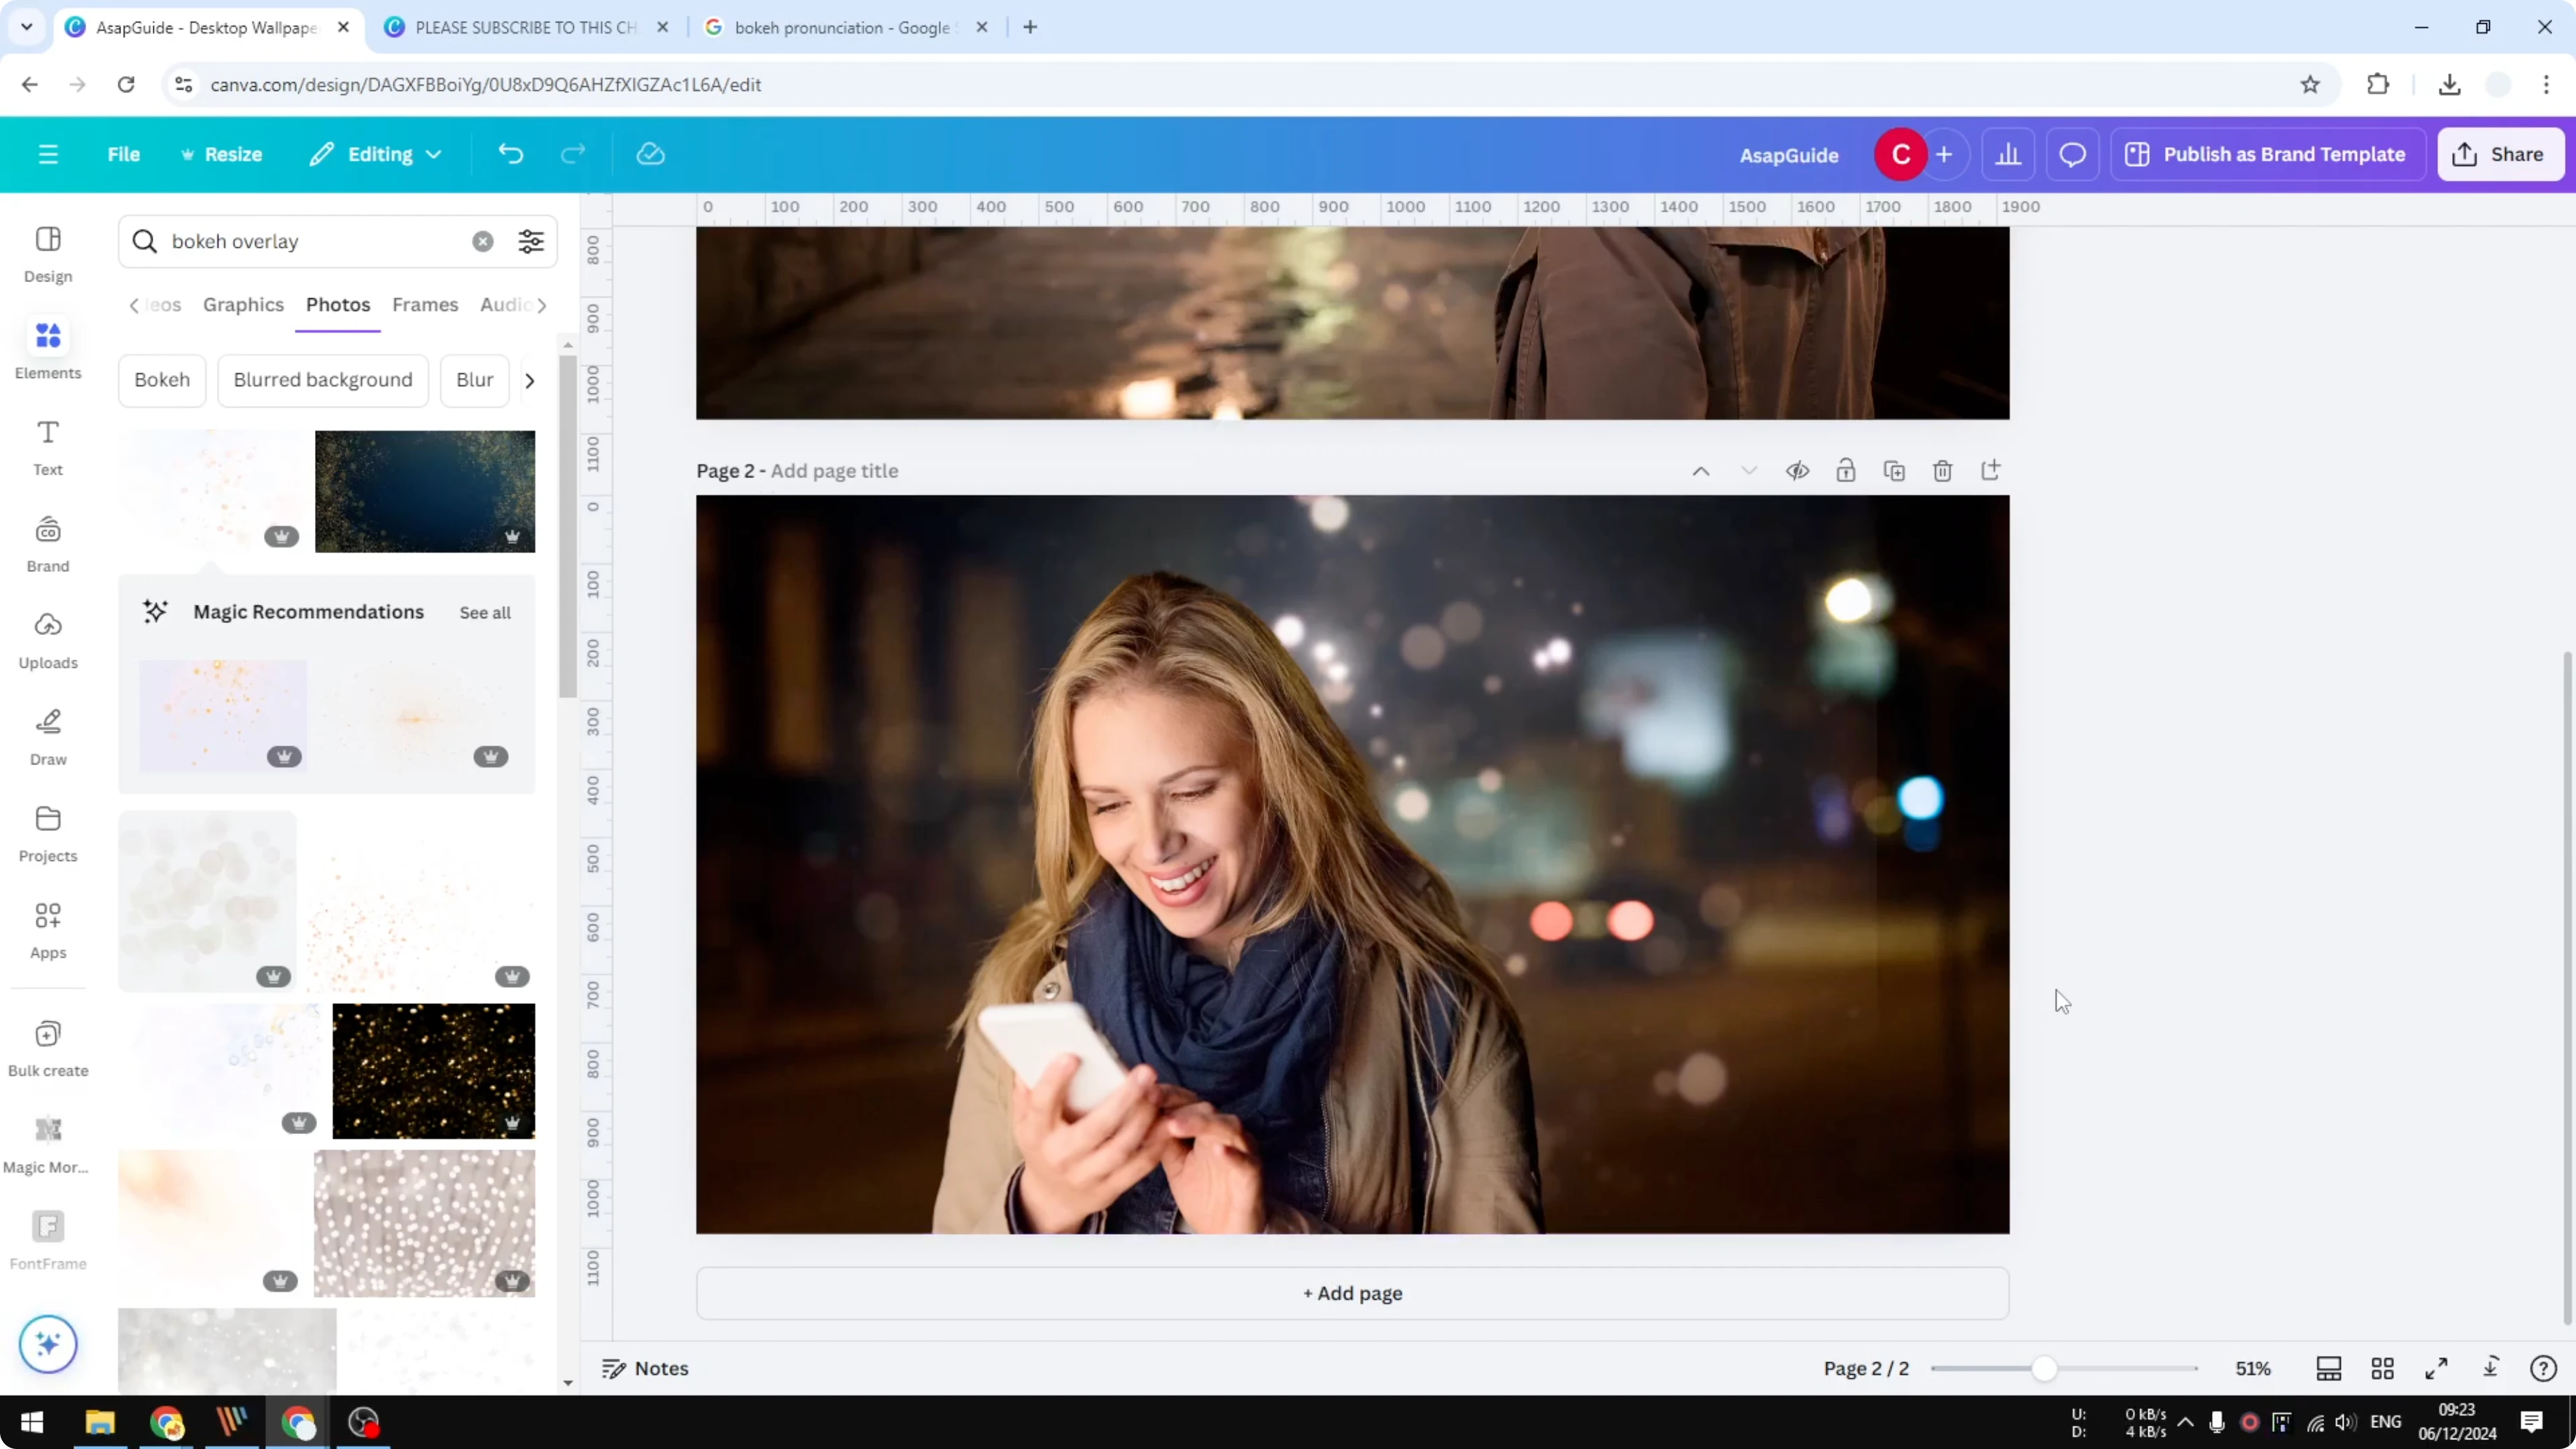
You can create a bokeh effect in Canva that looks like it belongs in the original photo. In my example, the bokeh is a separate element, not part of the picture itself. I can remove the overlay to reveal the actual photo, and I think the shot looks better with the effect.
You can apply this to pretty much any photo.
For a playful animation trick, see stop motion.
Create a Bokeh Effect in Canva
Set up
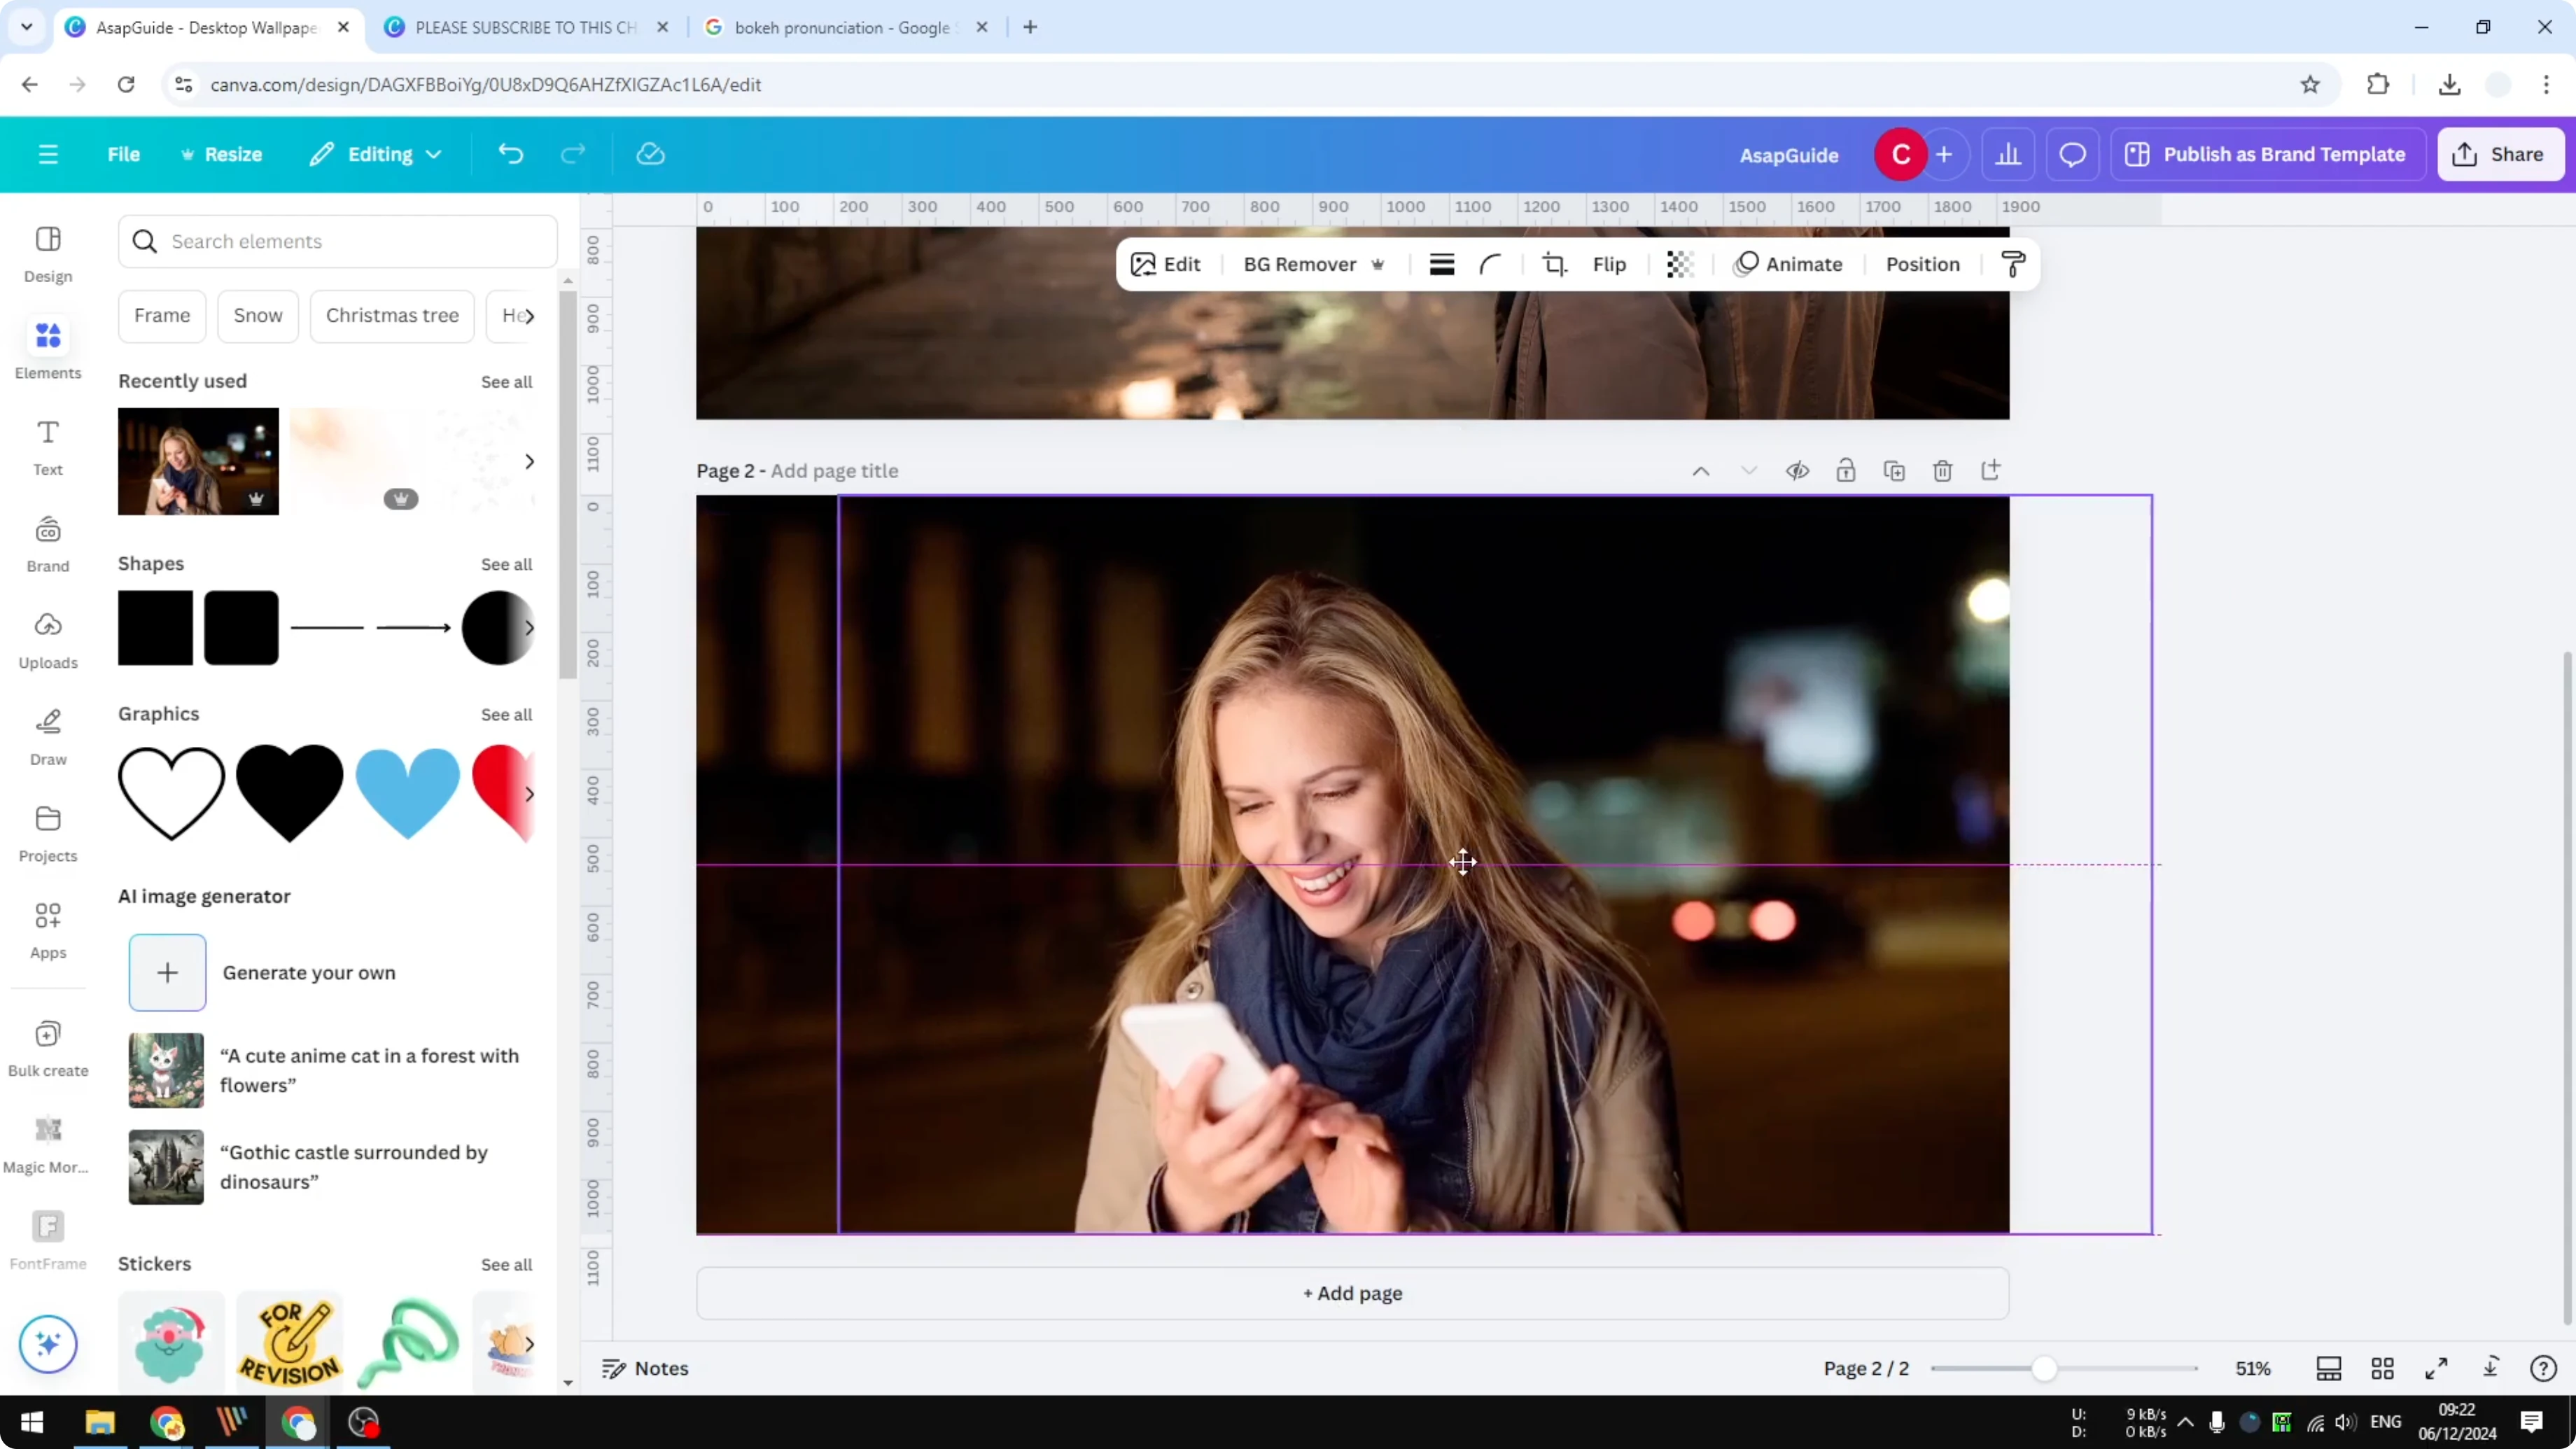
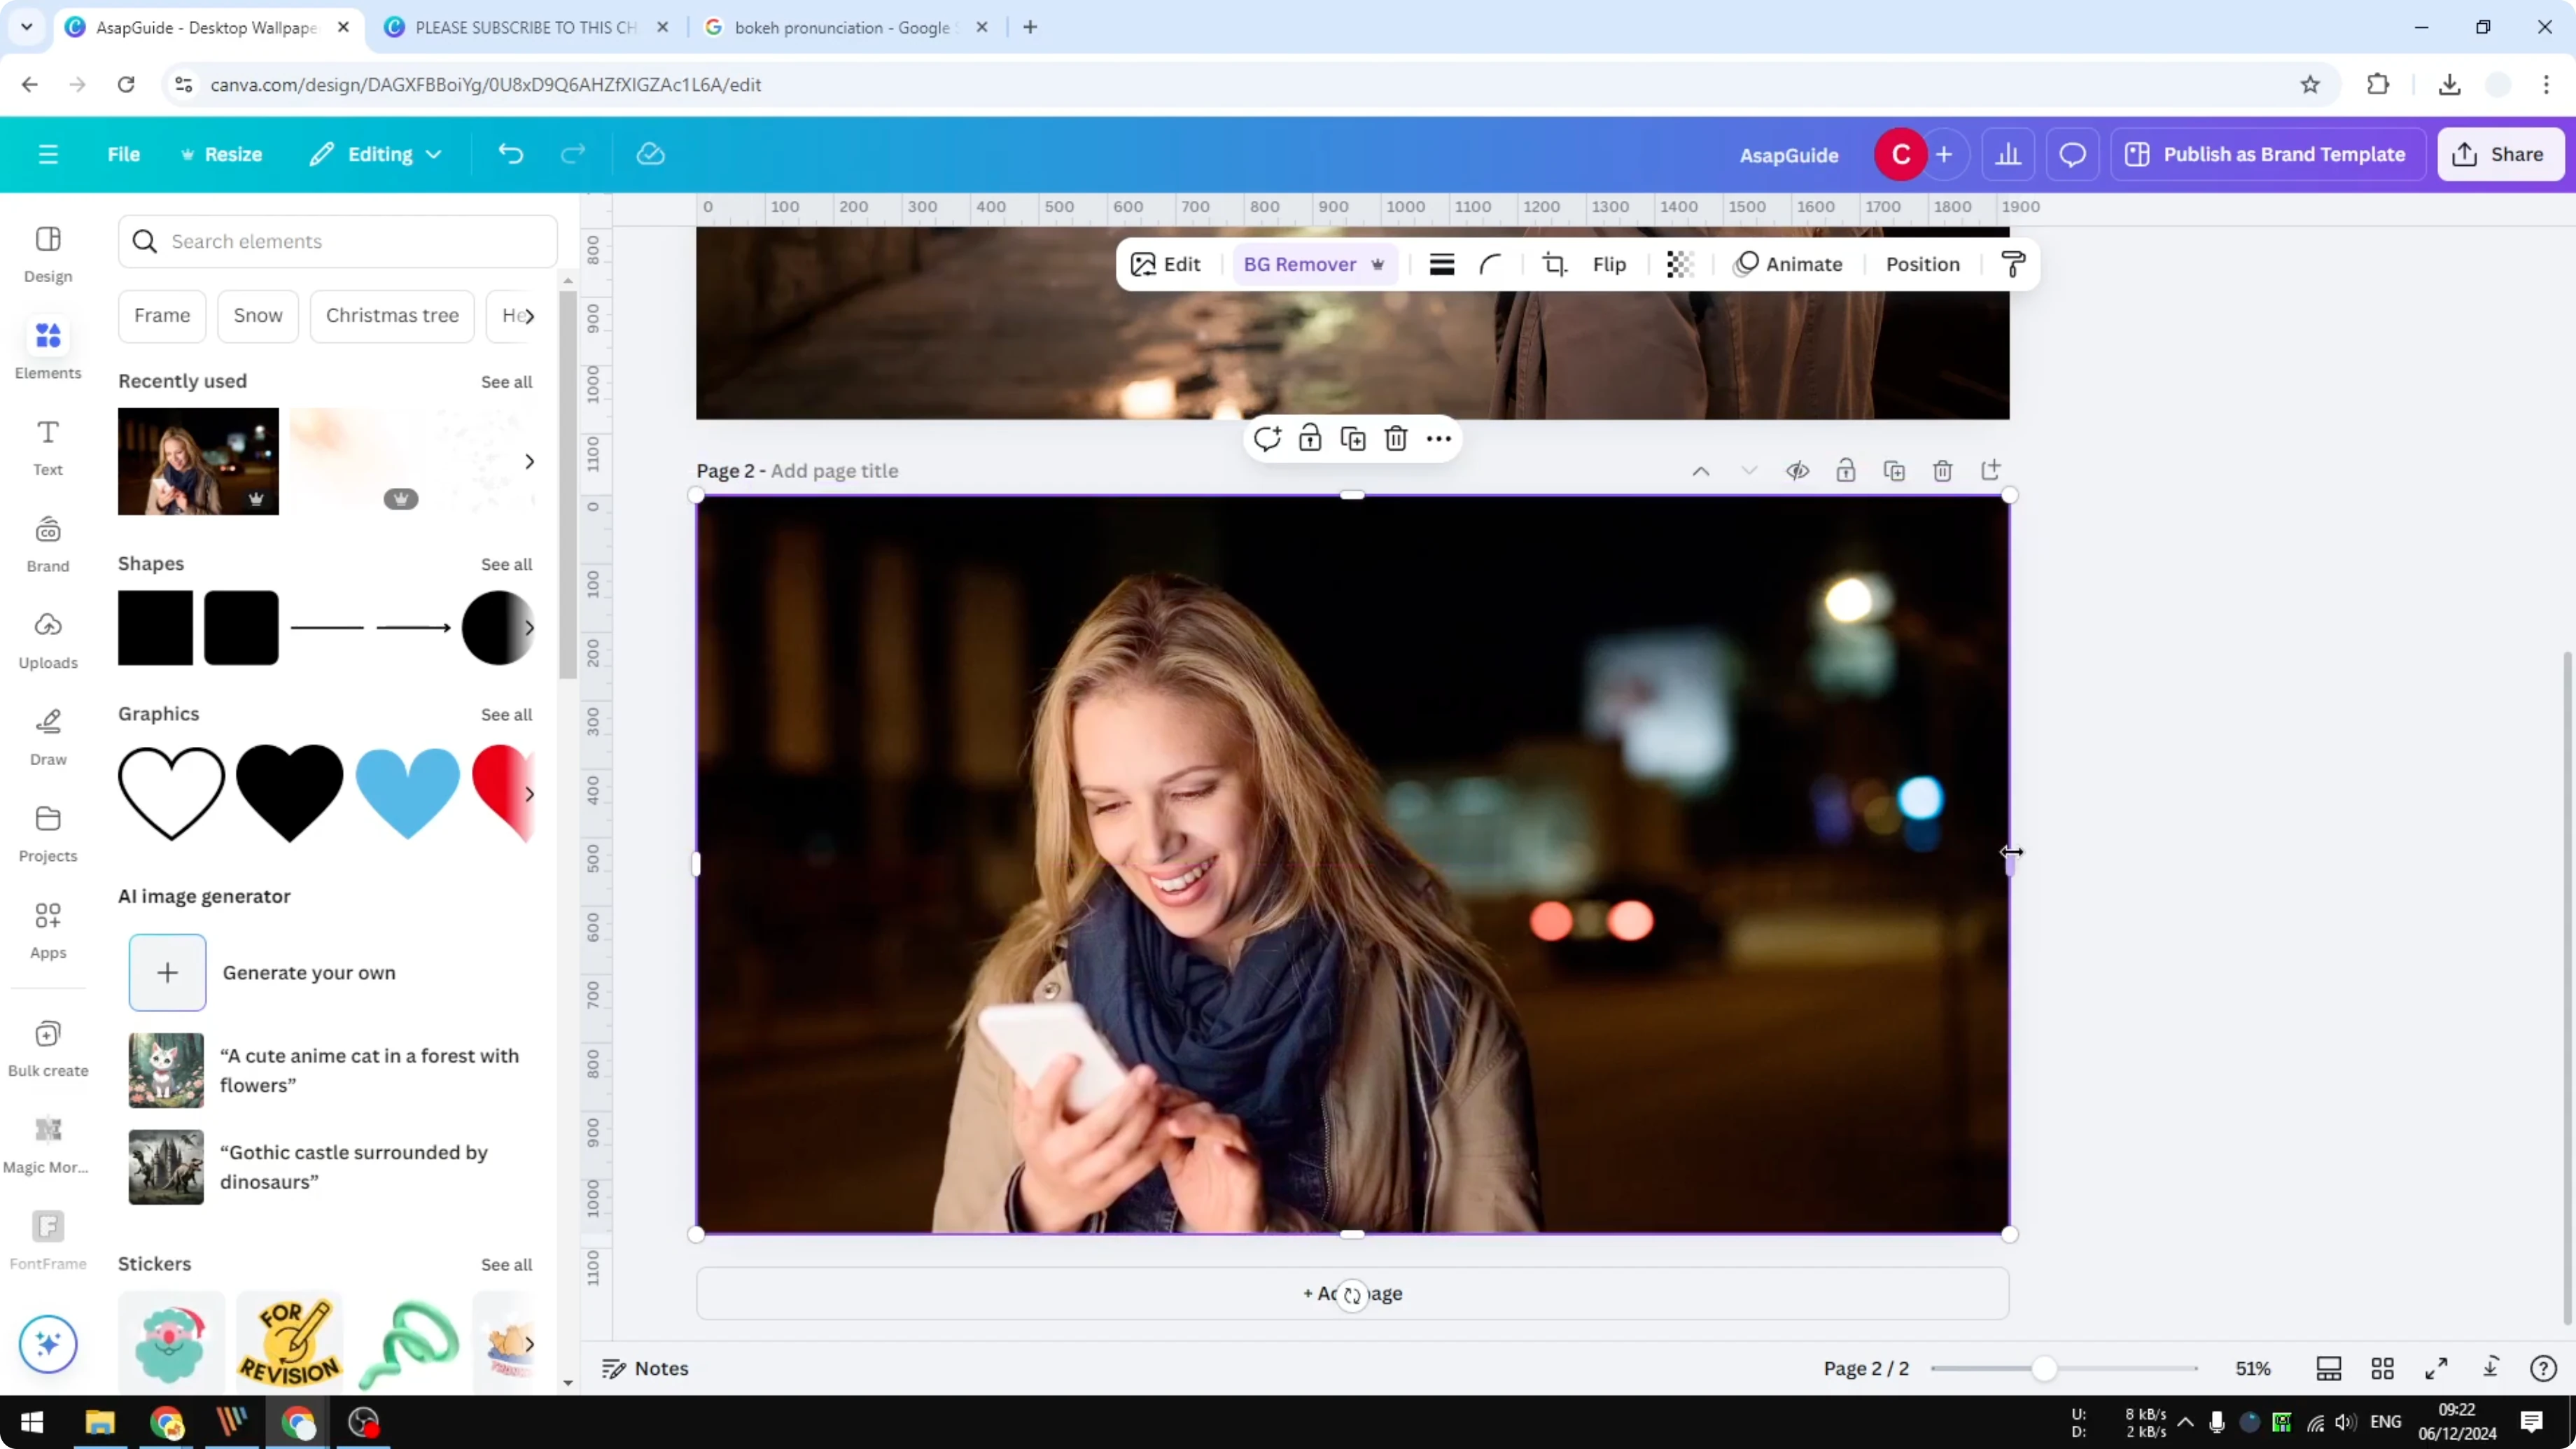
Add a new page.
Insert your photo as the reference; you can use any photo.

Make it bigger and adjust the size.

Duplicate and remove the background
Right click the photo and click Duplicate.
Select the duplicated picture and click Background Remover.
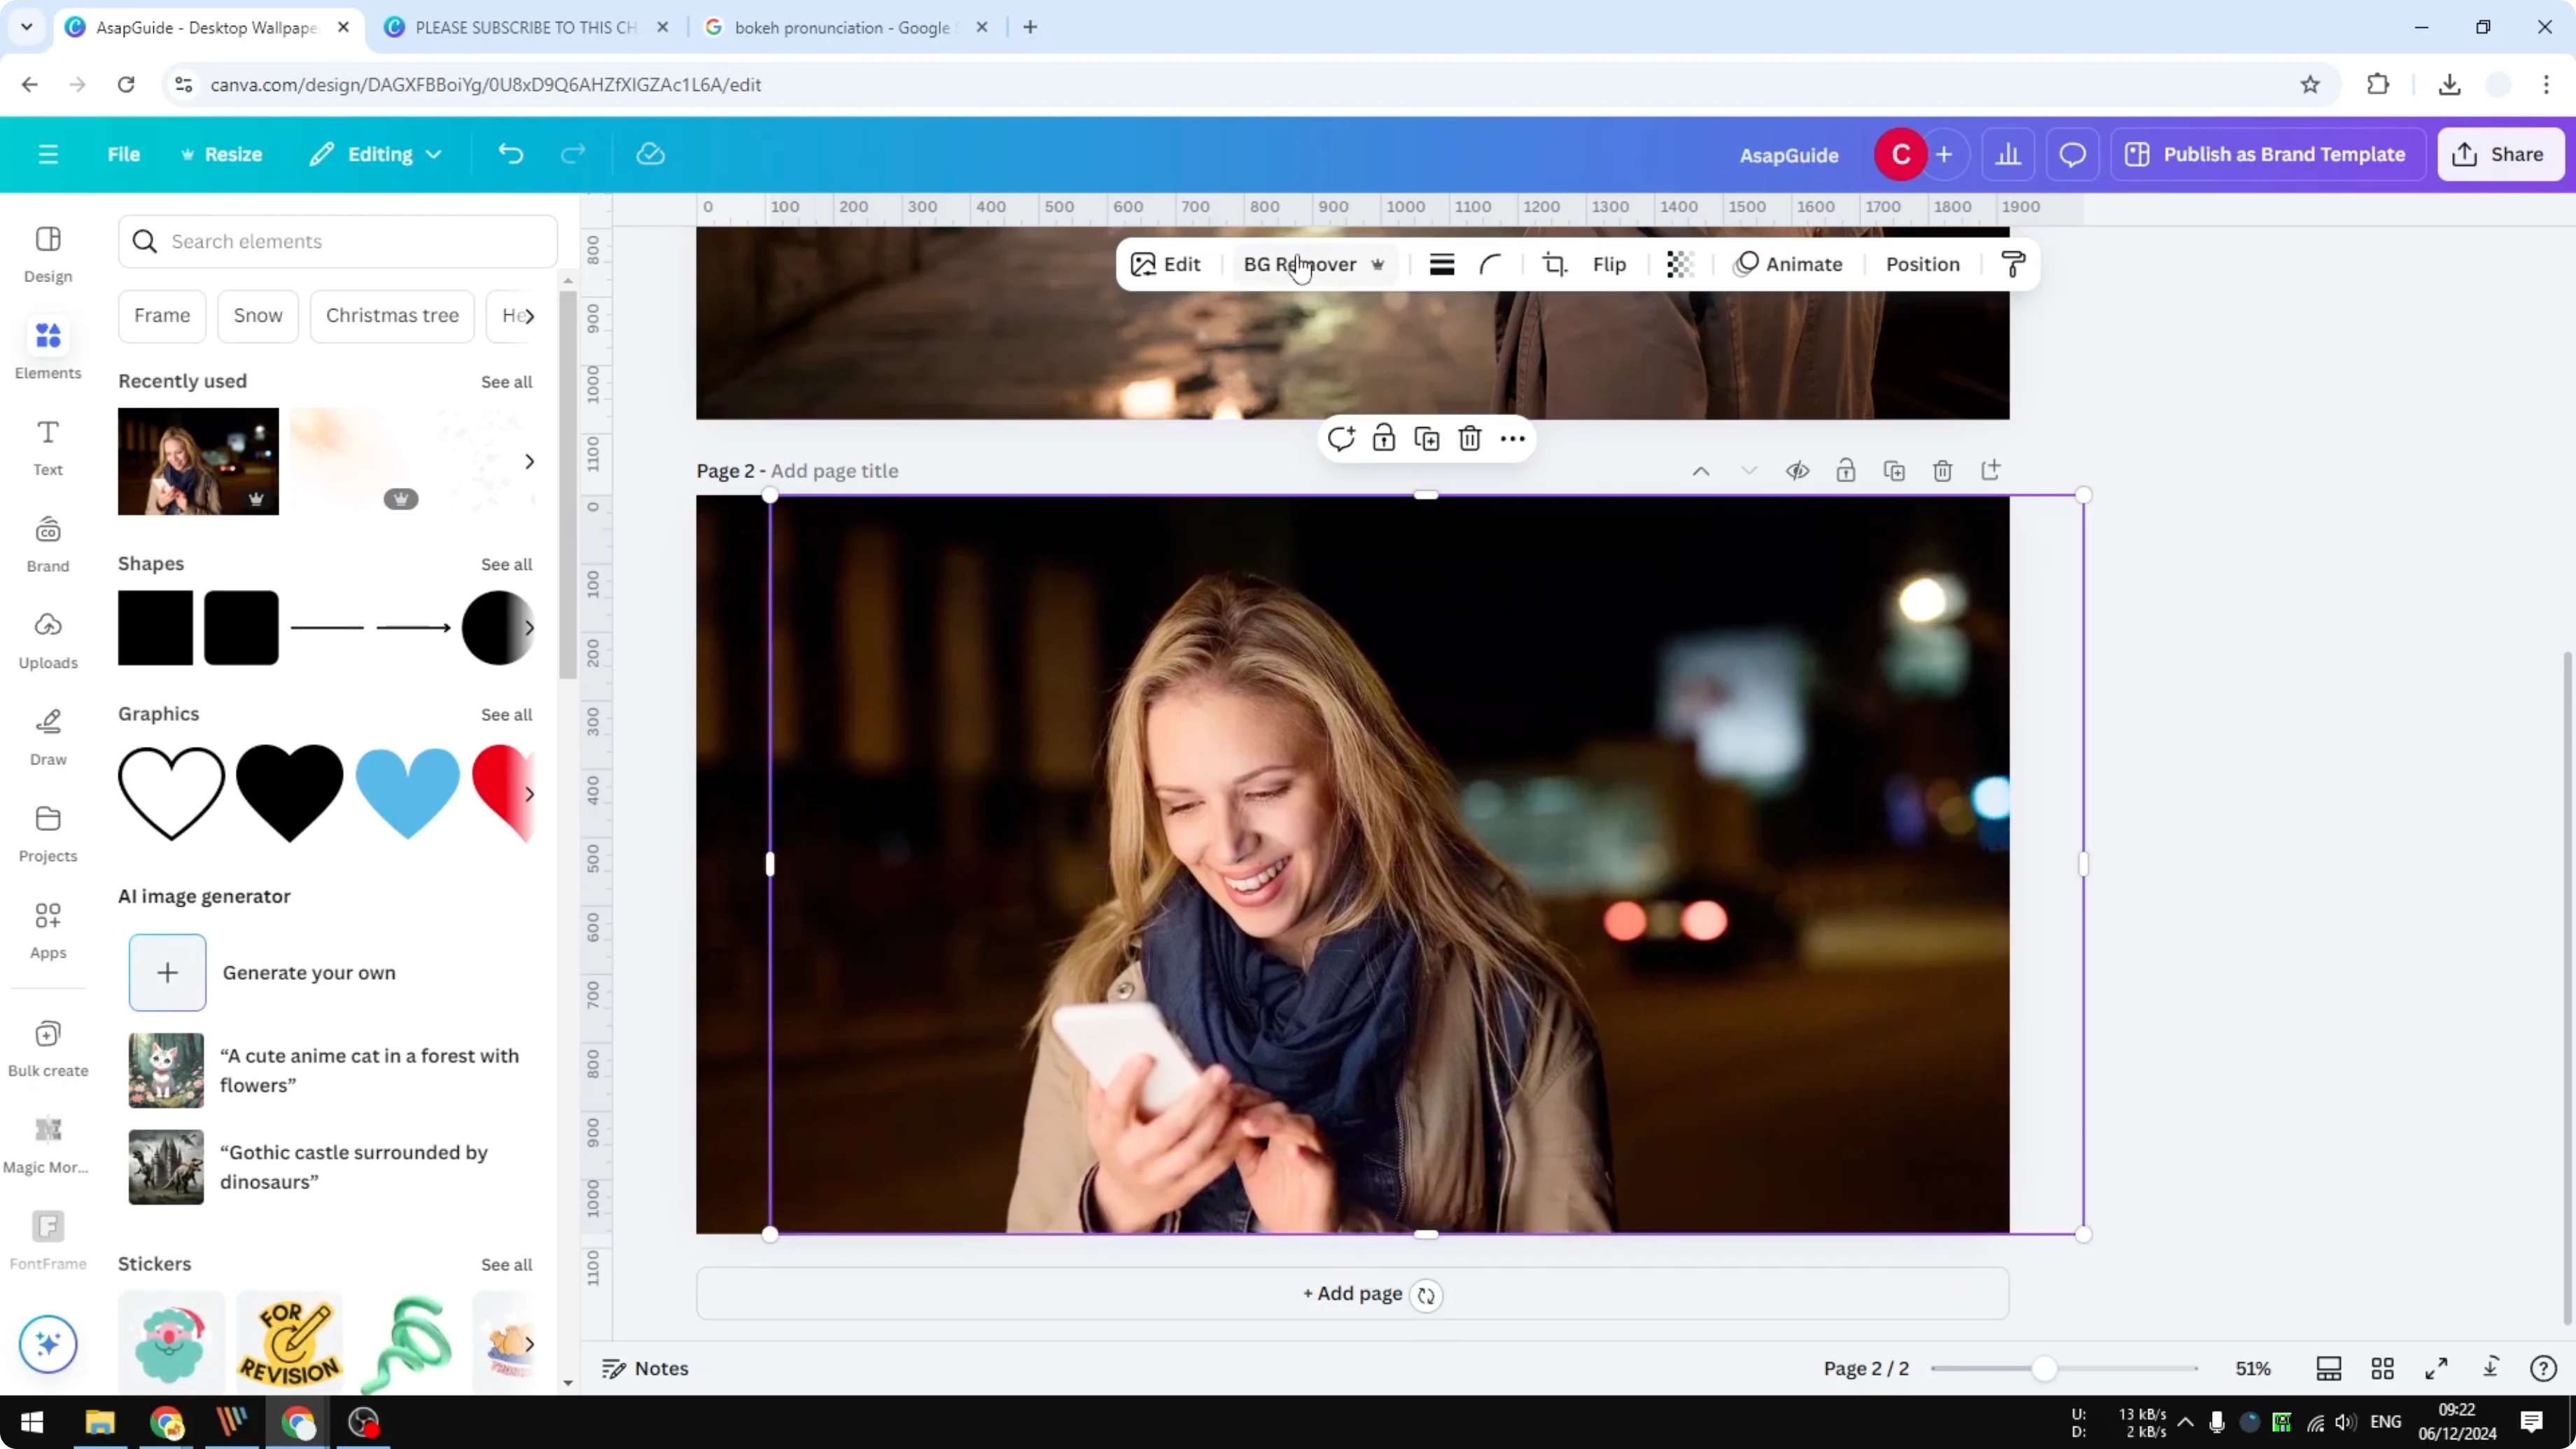
The subject remains and the background is gone, which is what we want.
Reduce the size of the cutout a bit so it will not block content around it.
For a simple text overlay trick that pairs well here, see transparent overlay.
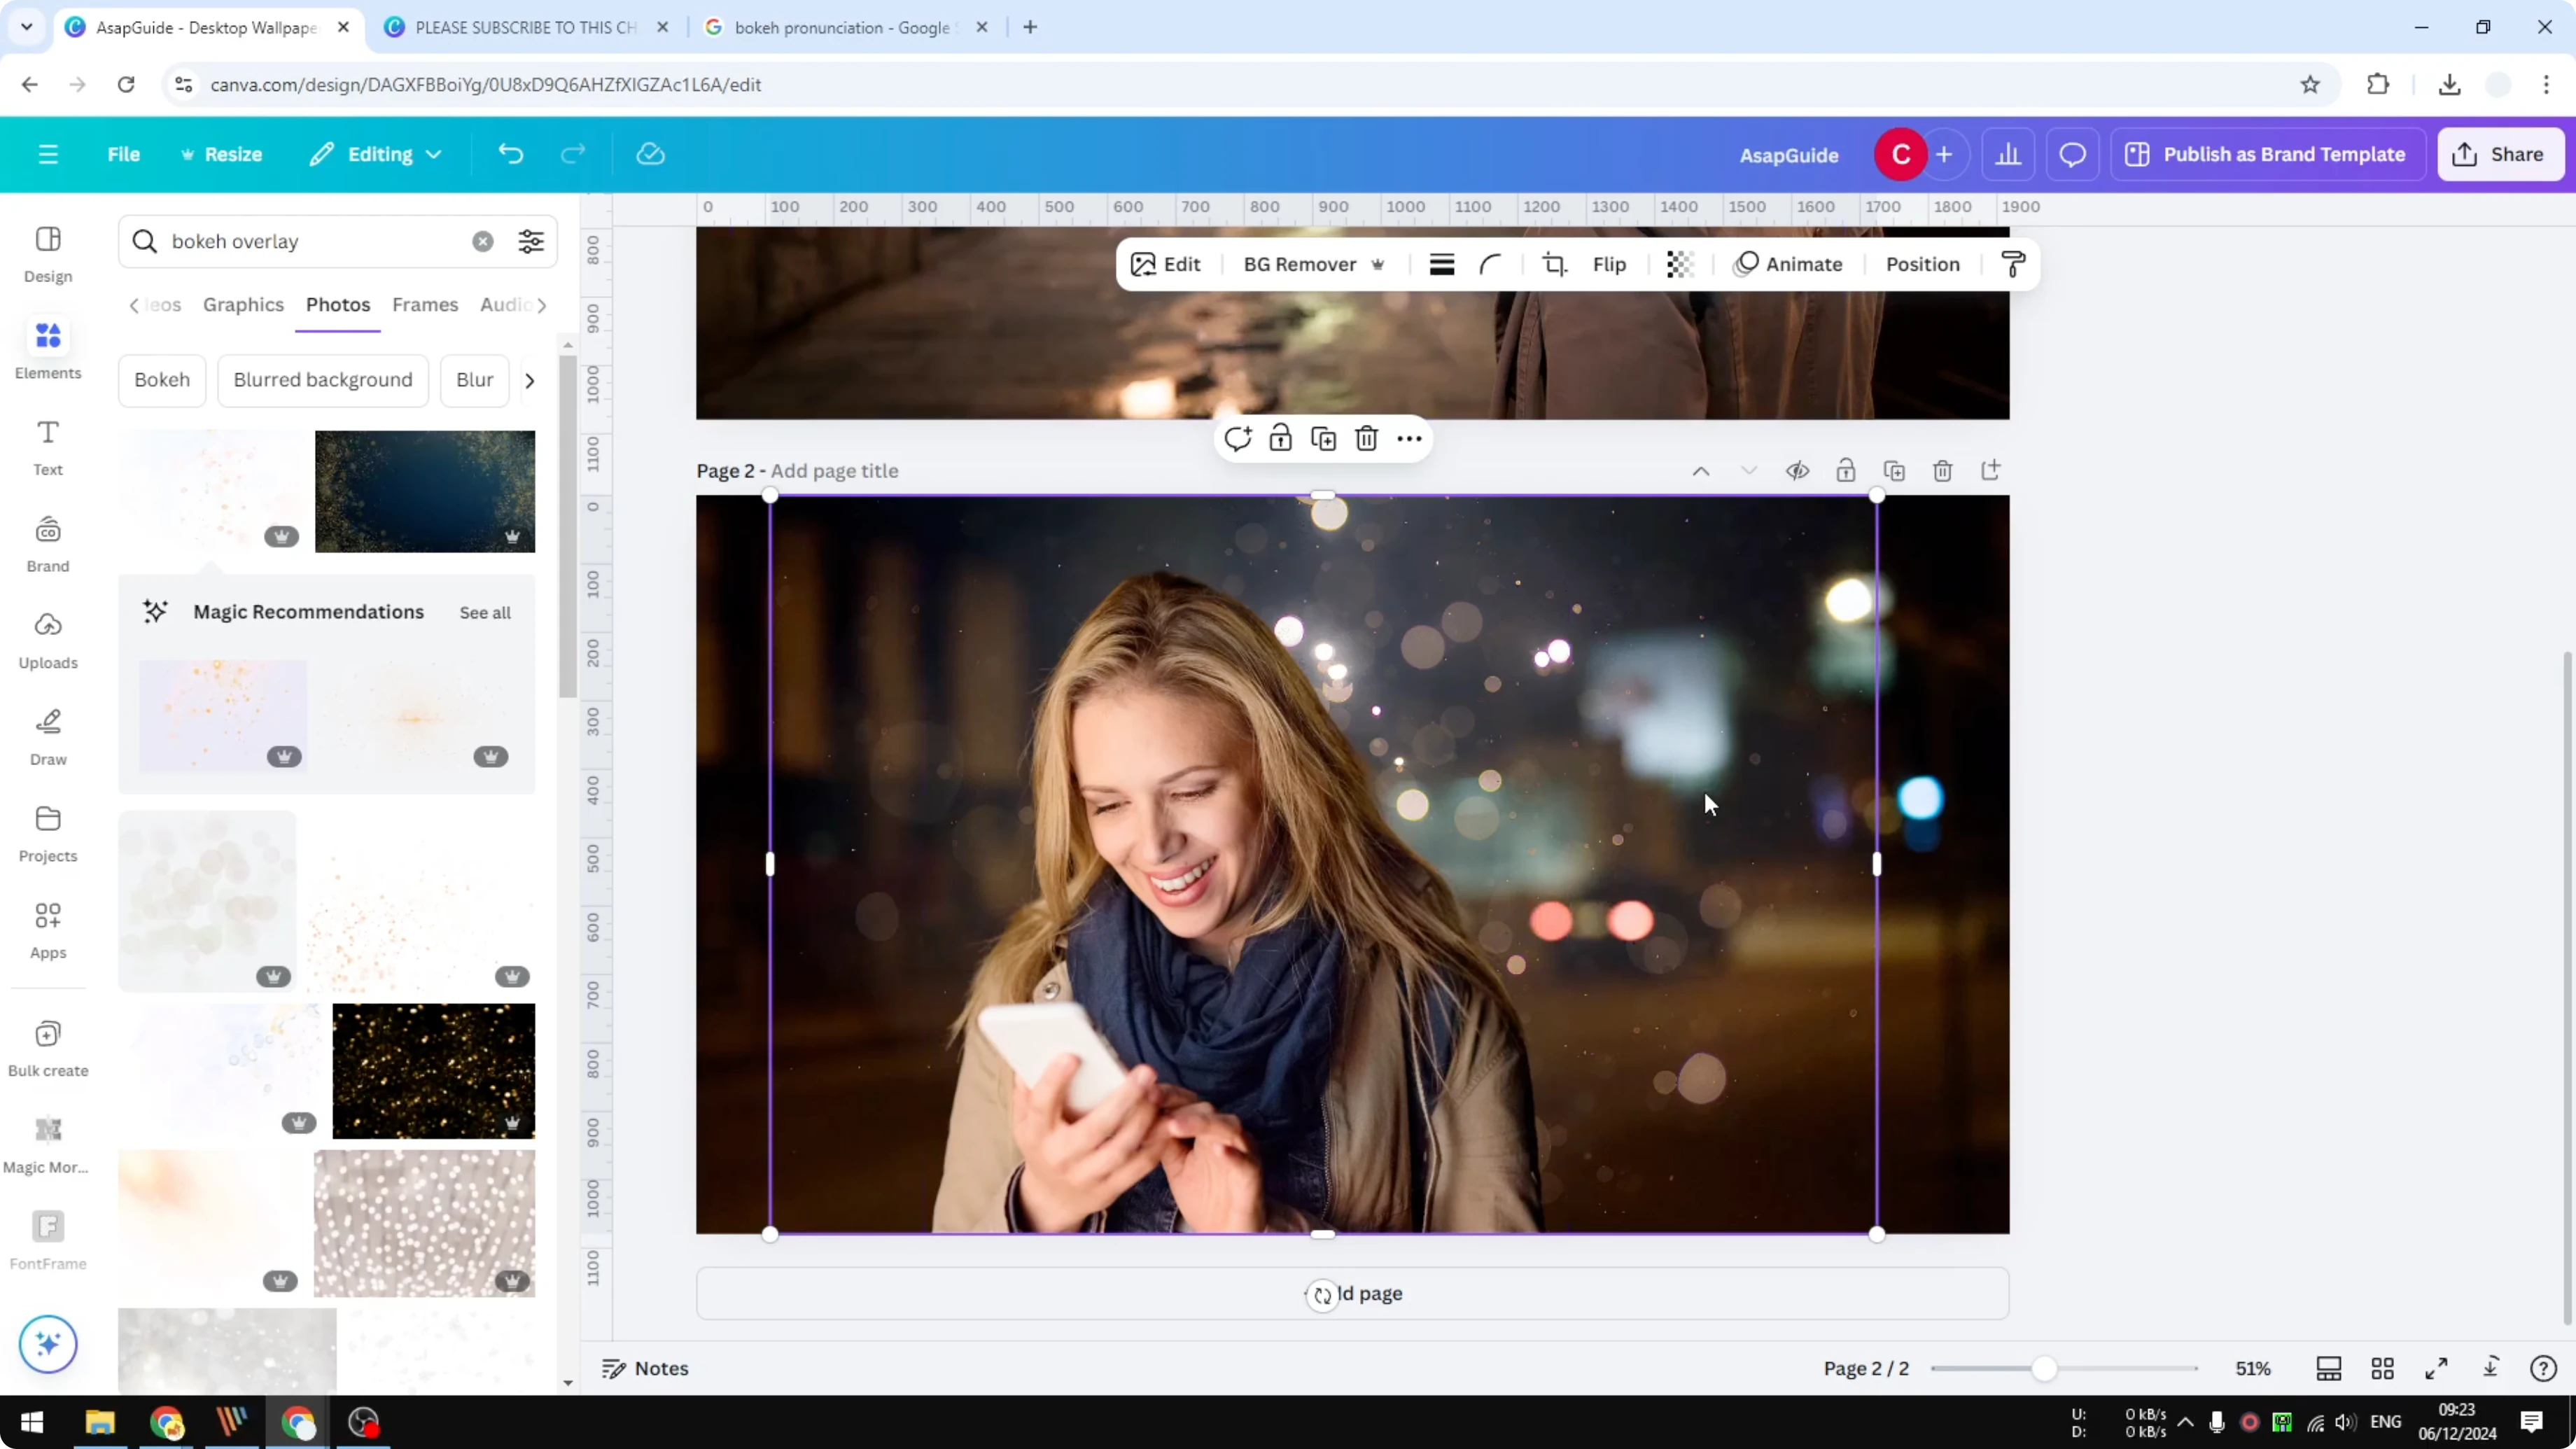
Add the bokeh overlay
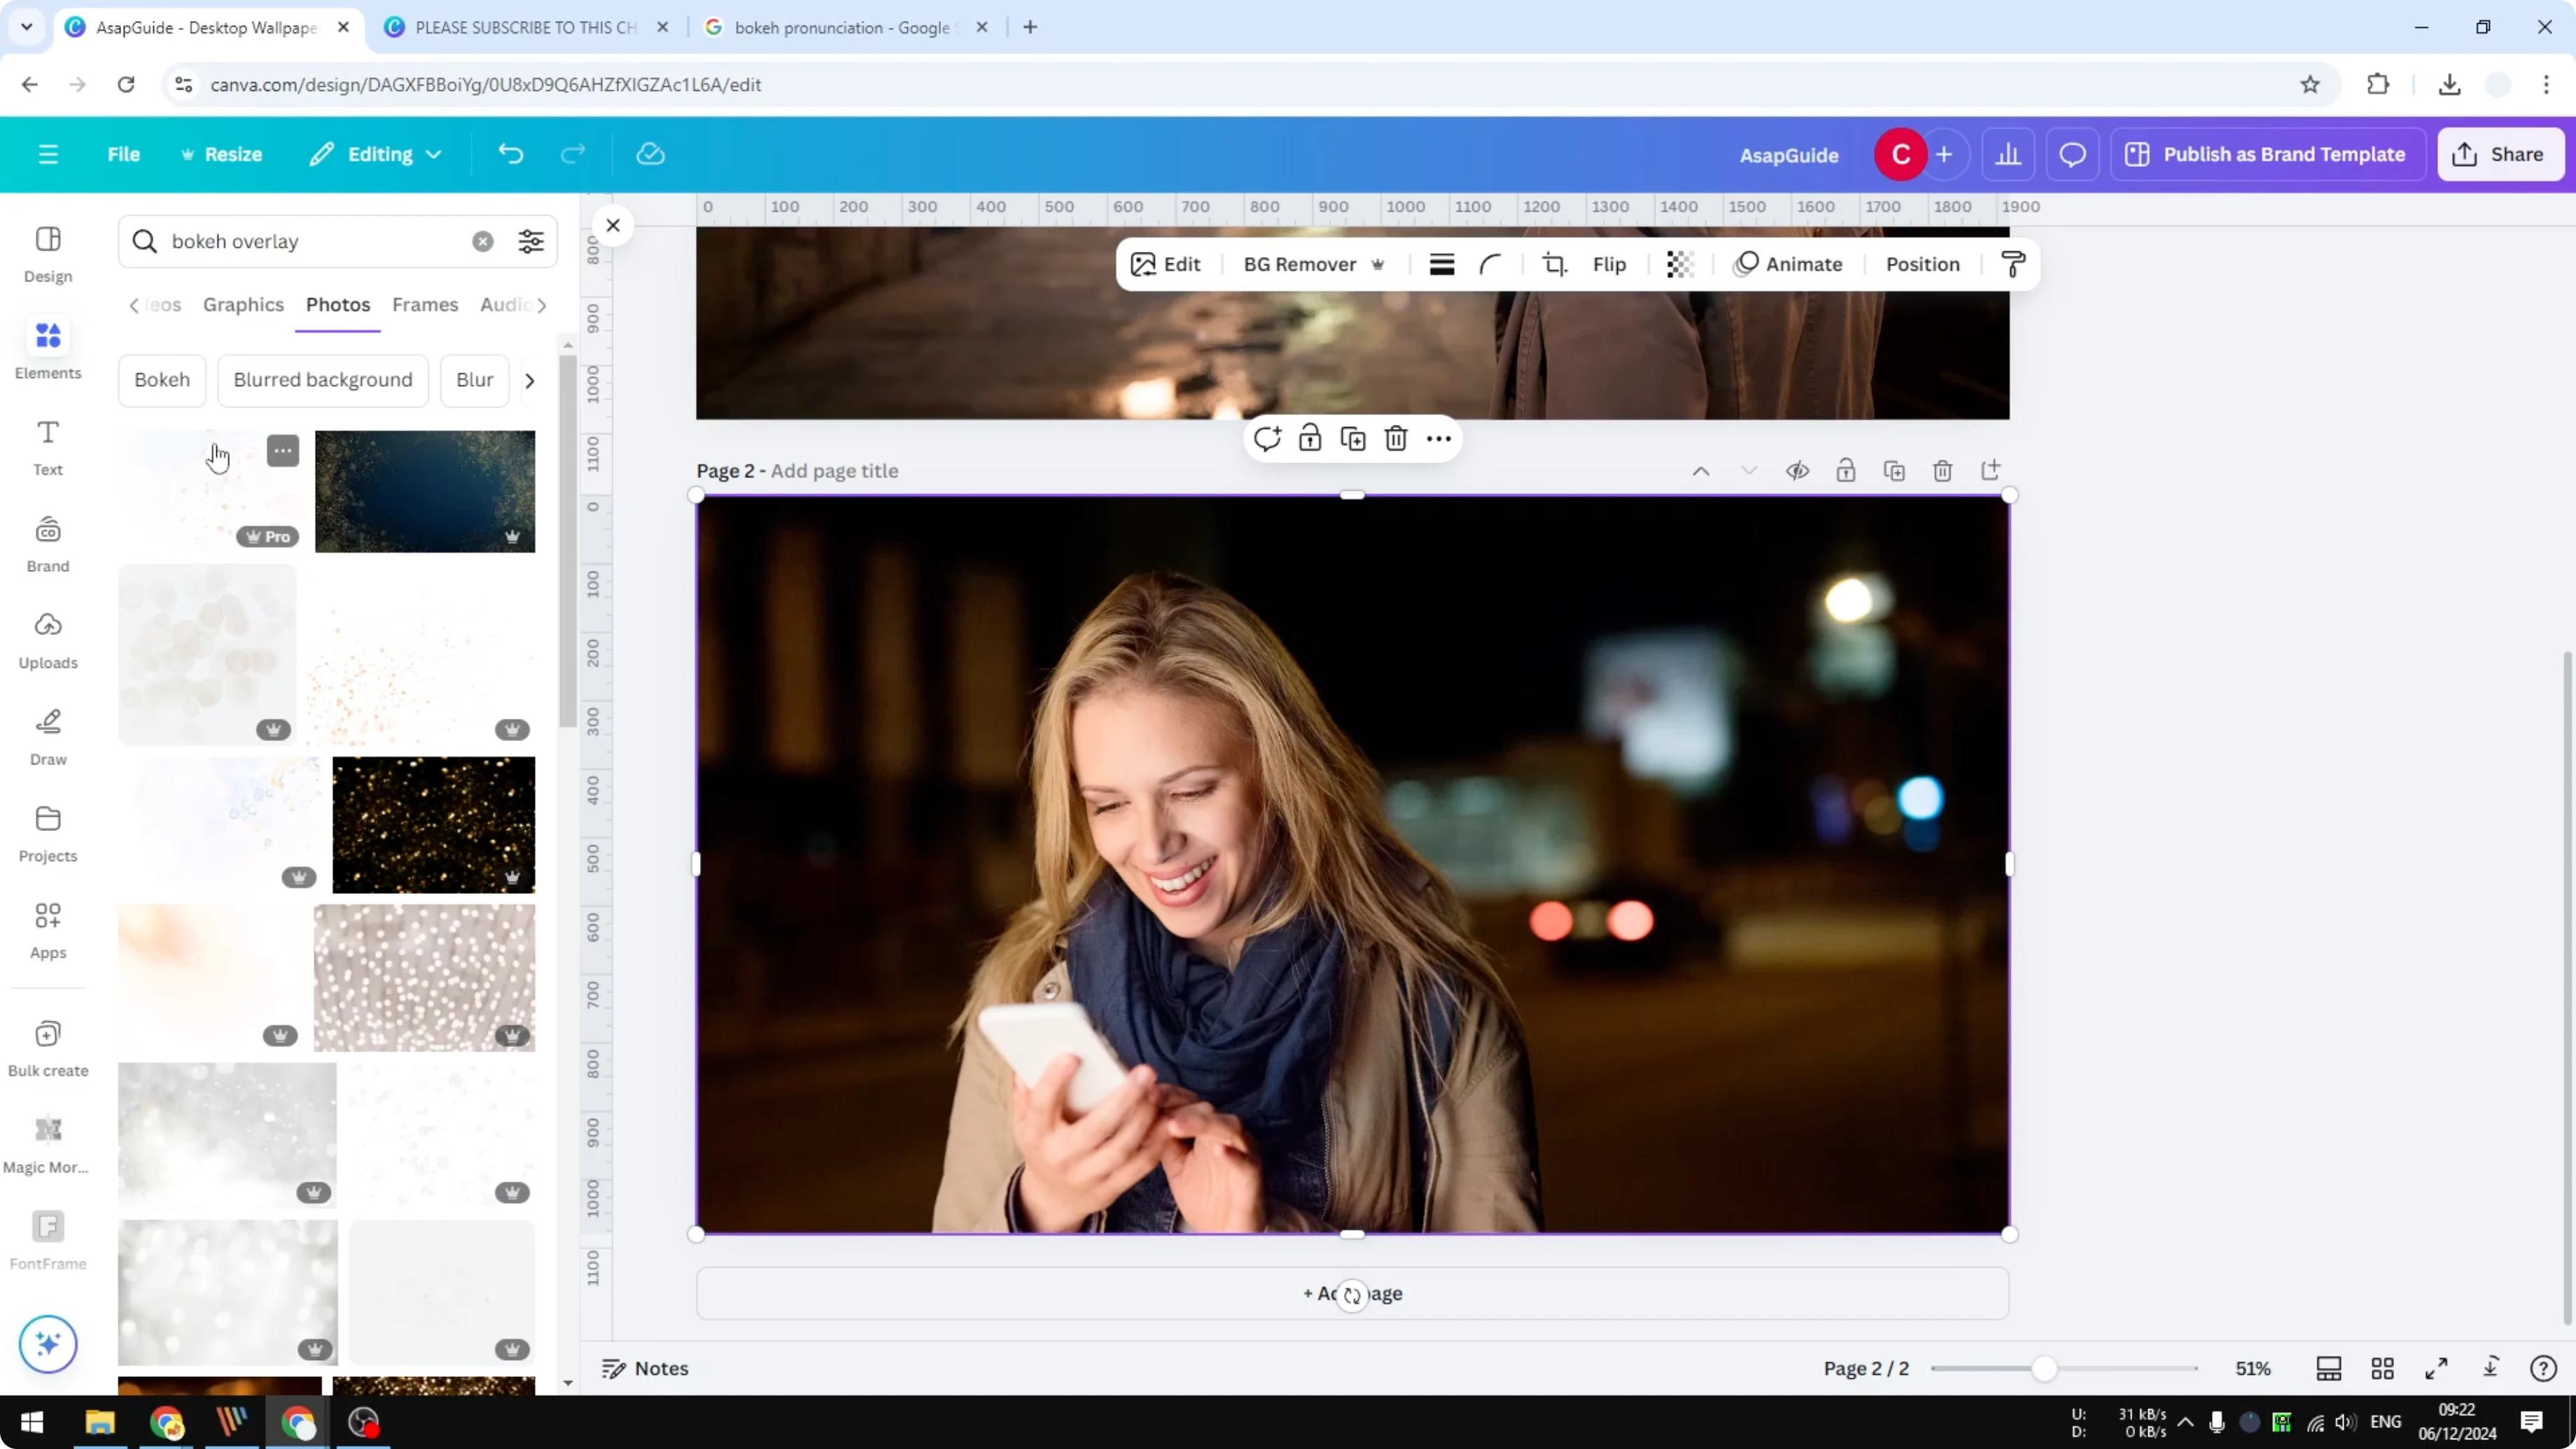
Go to Elements and search for bokeh overlay.
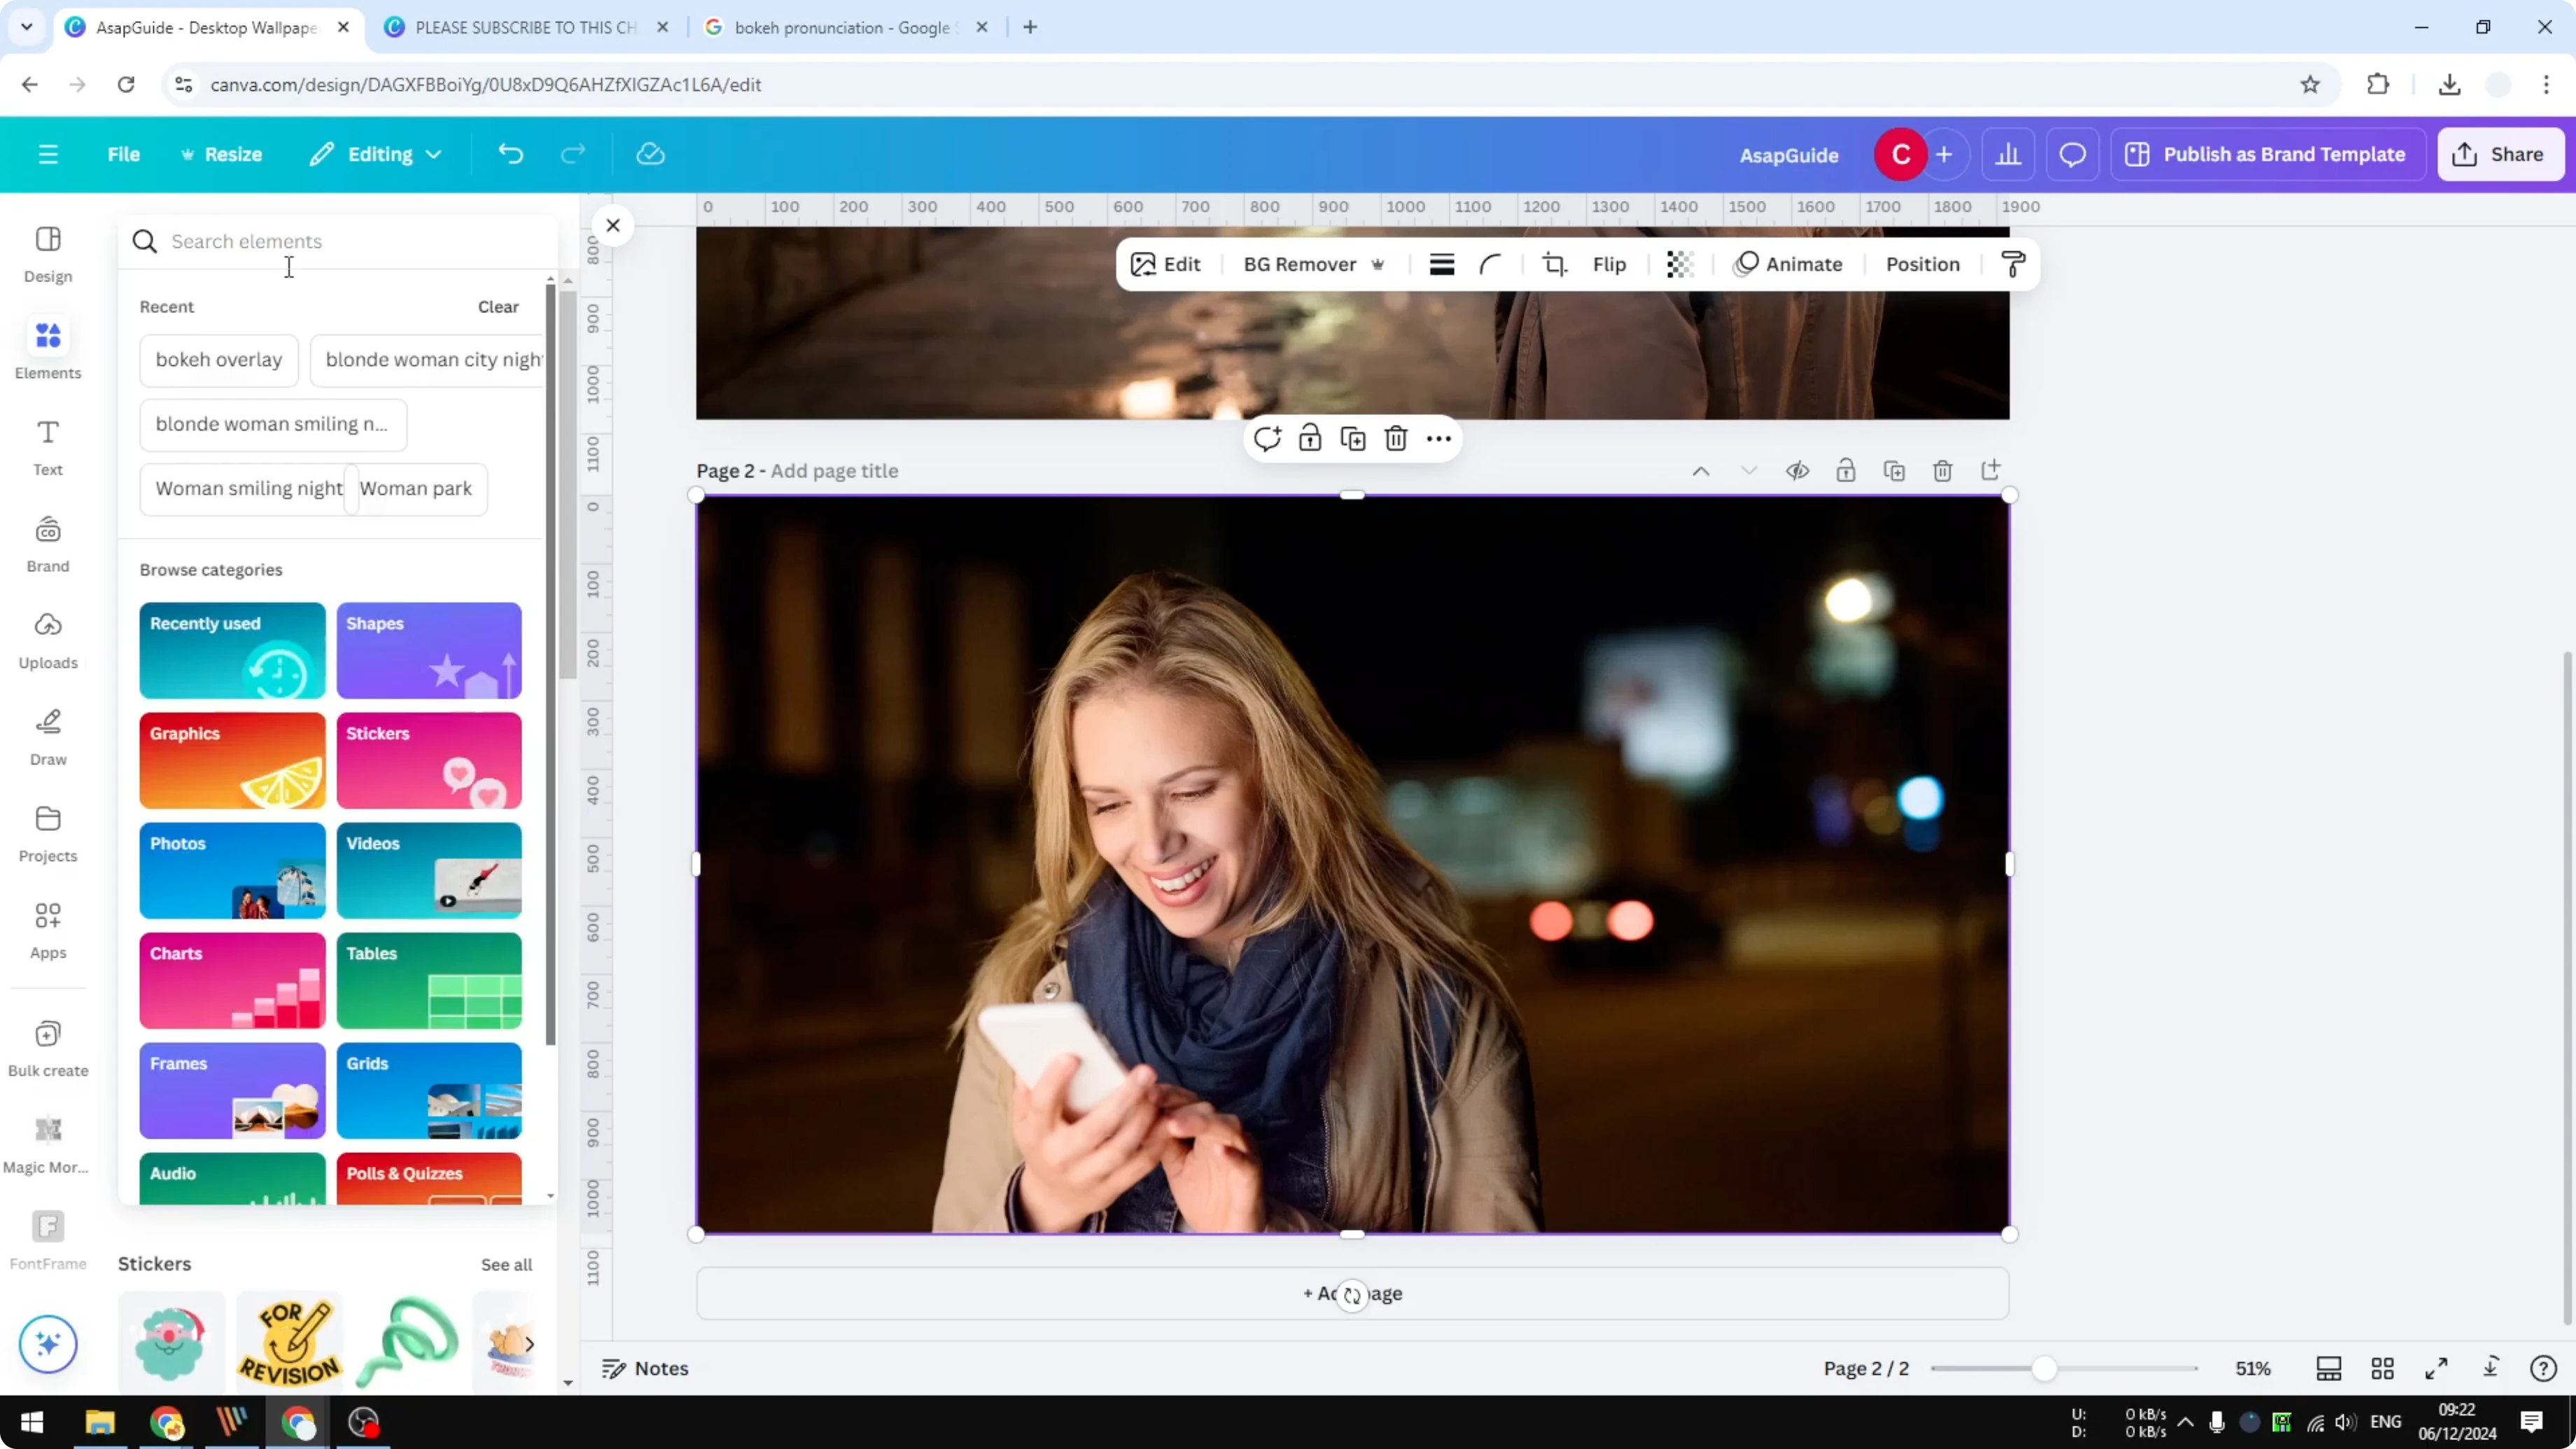
You can pick Graphics or Photos and choose the style you like; I am using Photos.
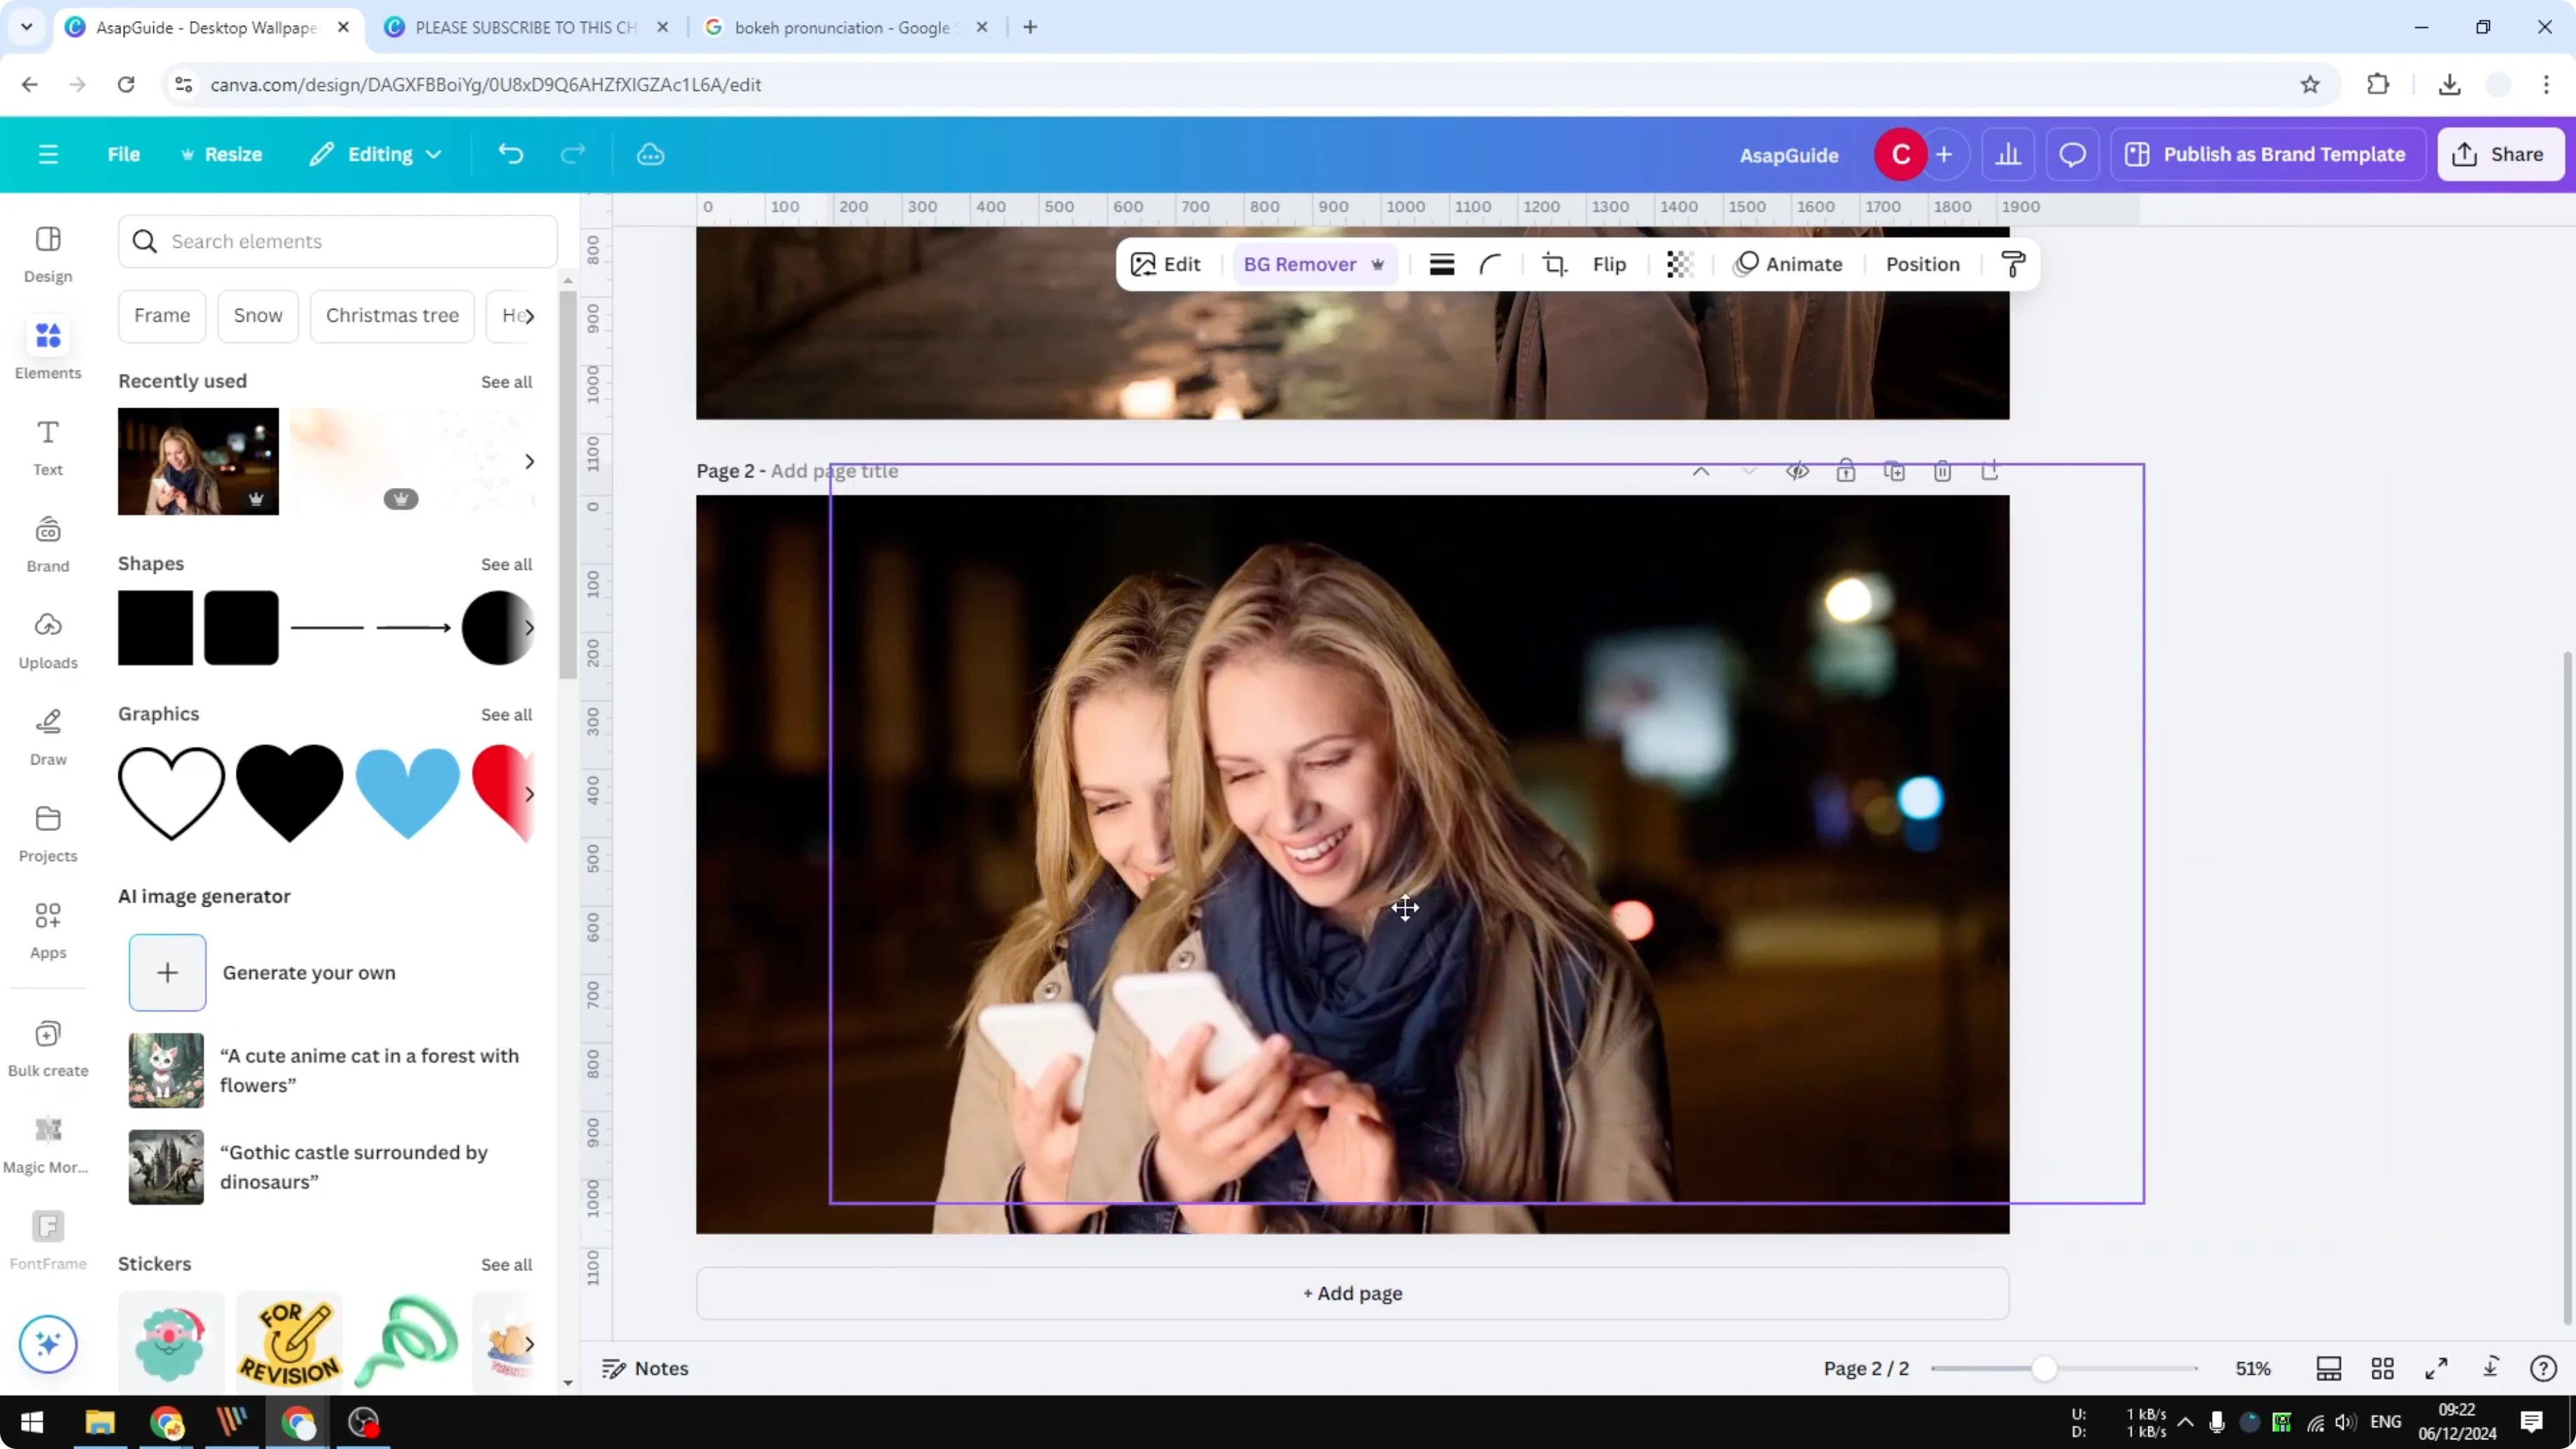
Click an overlay to add it, and it may block the subject, which we will fix next.
Send it behind the subject
Right click the overlay, click Layer, then click Send backward.
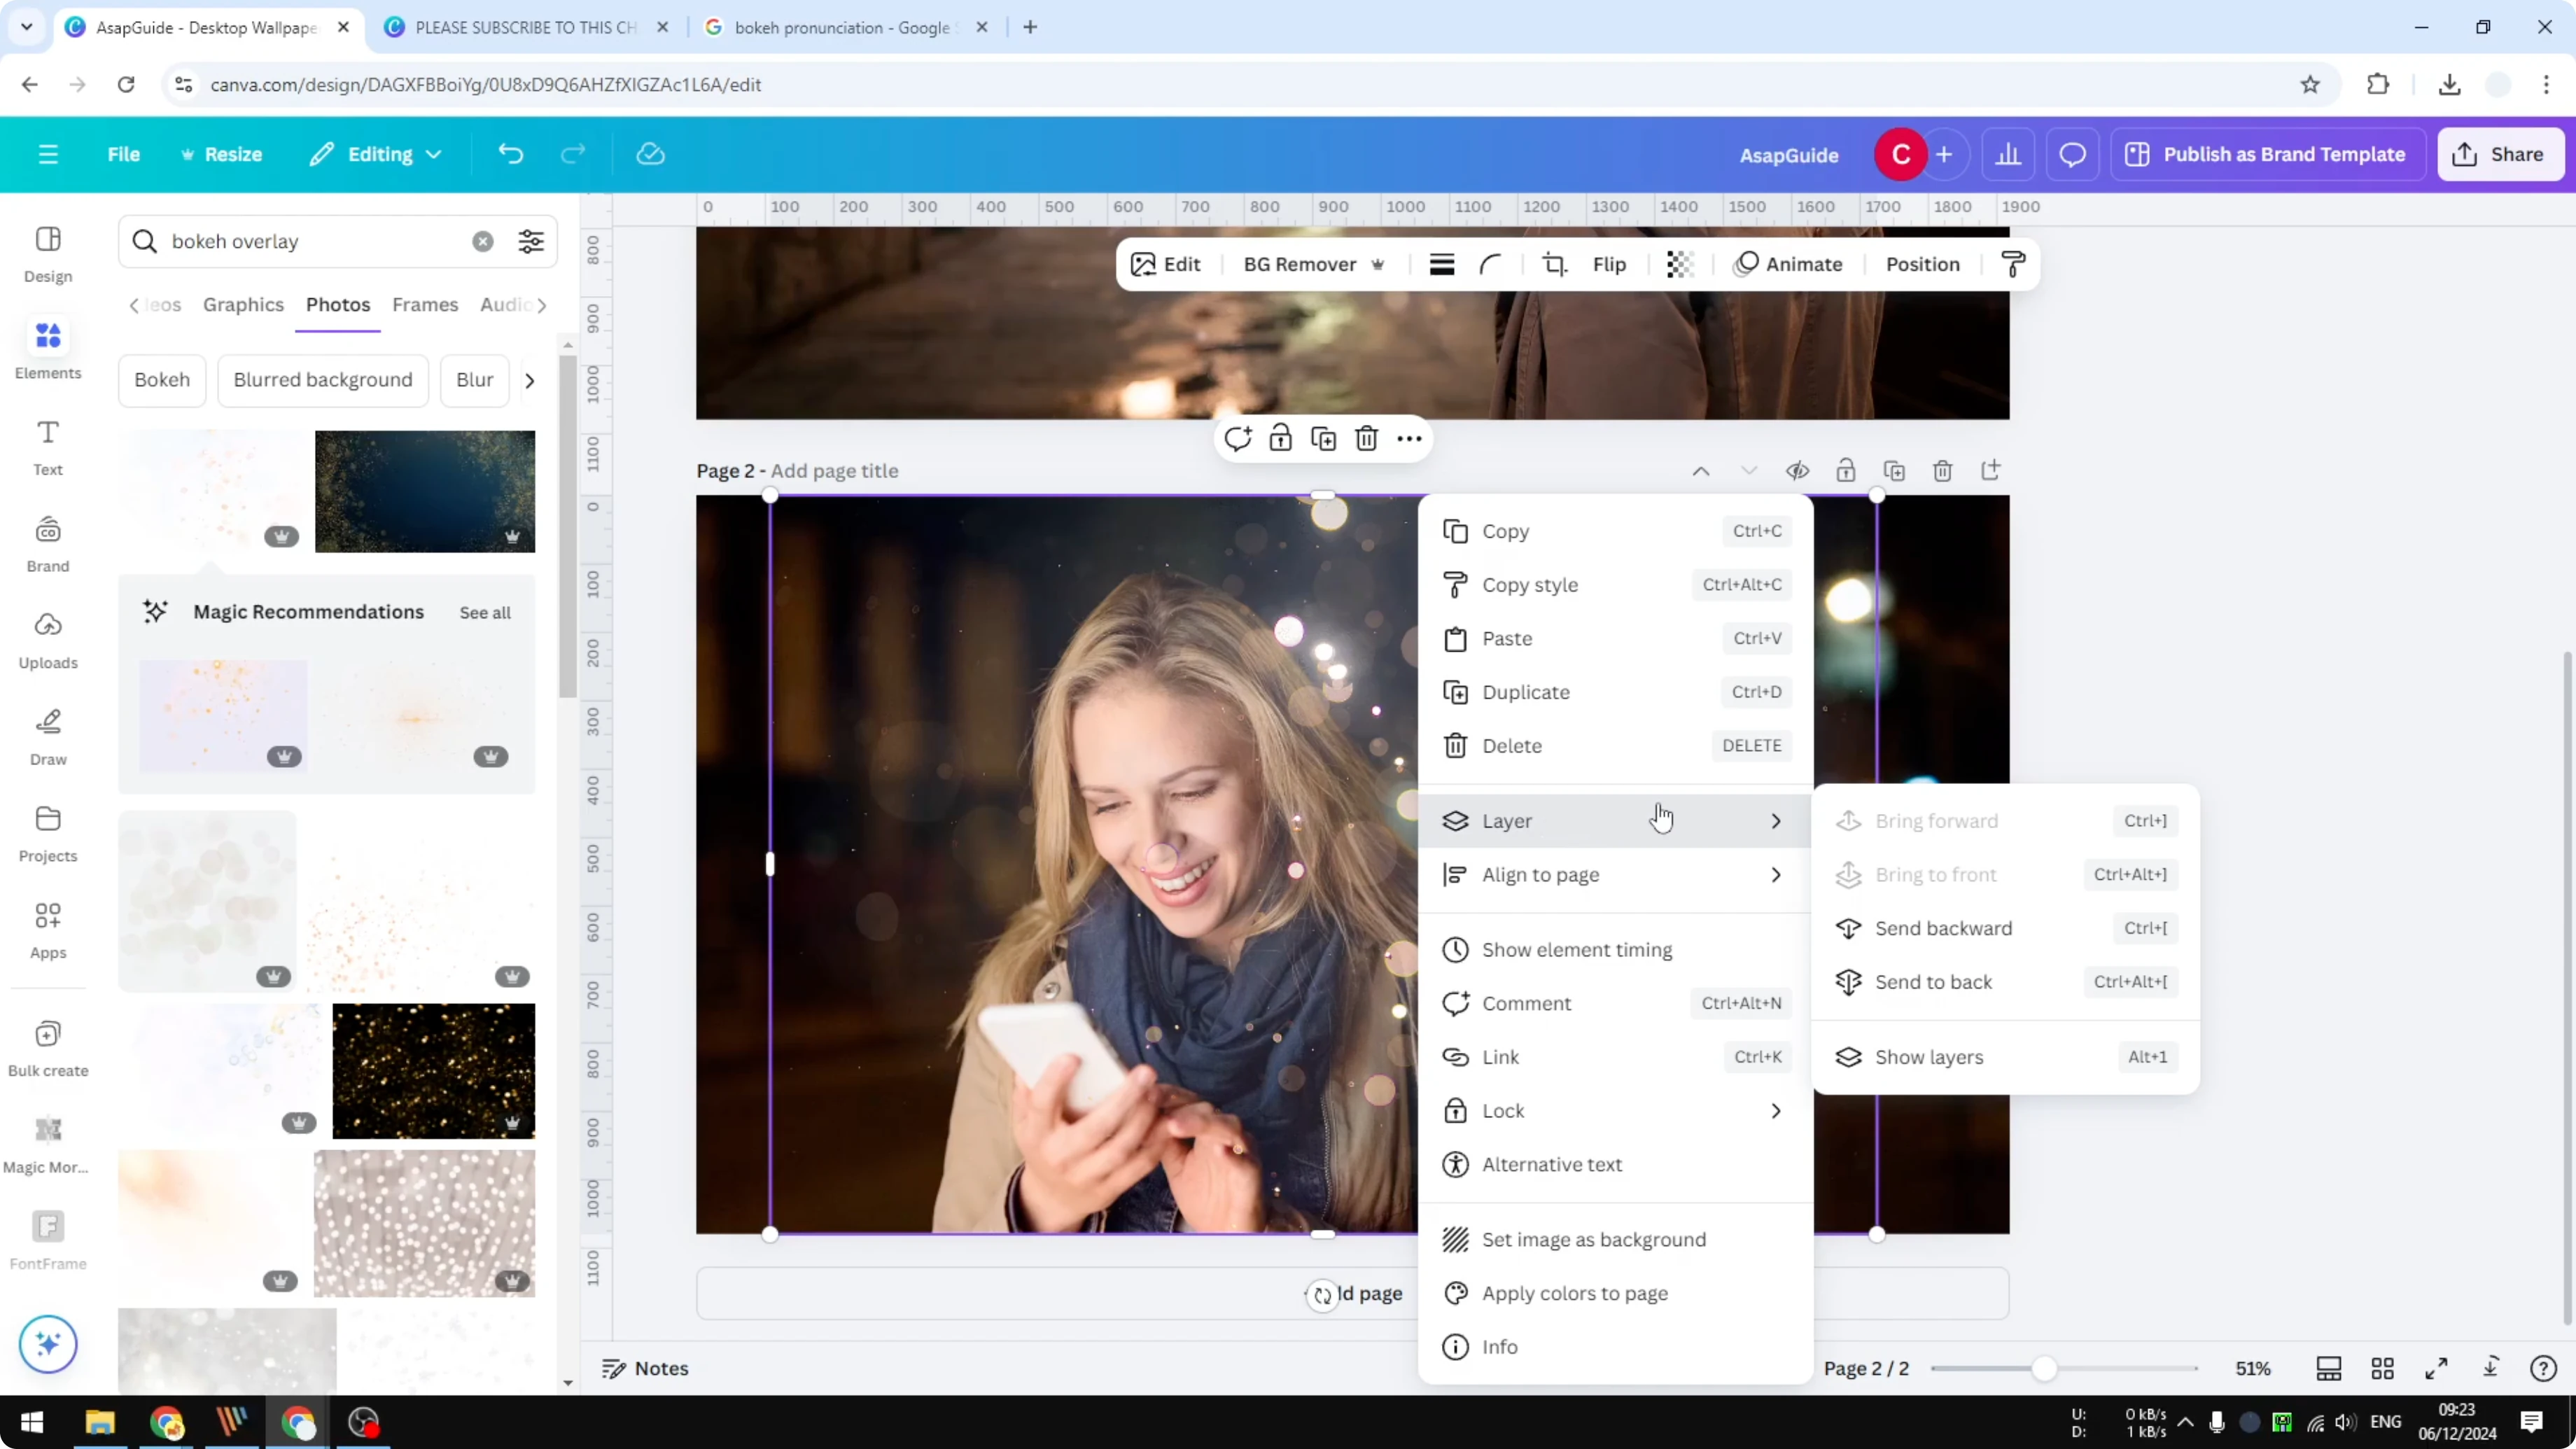
This sends the overlay one layer behind the subject.
Soften the bokeh
Select the overlay and click Edit.
Click Blur, choose Whole image, and increase the intensity by about 20%.
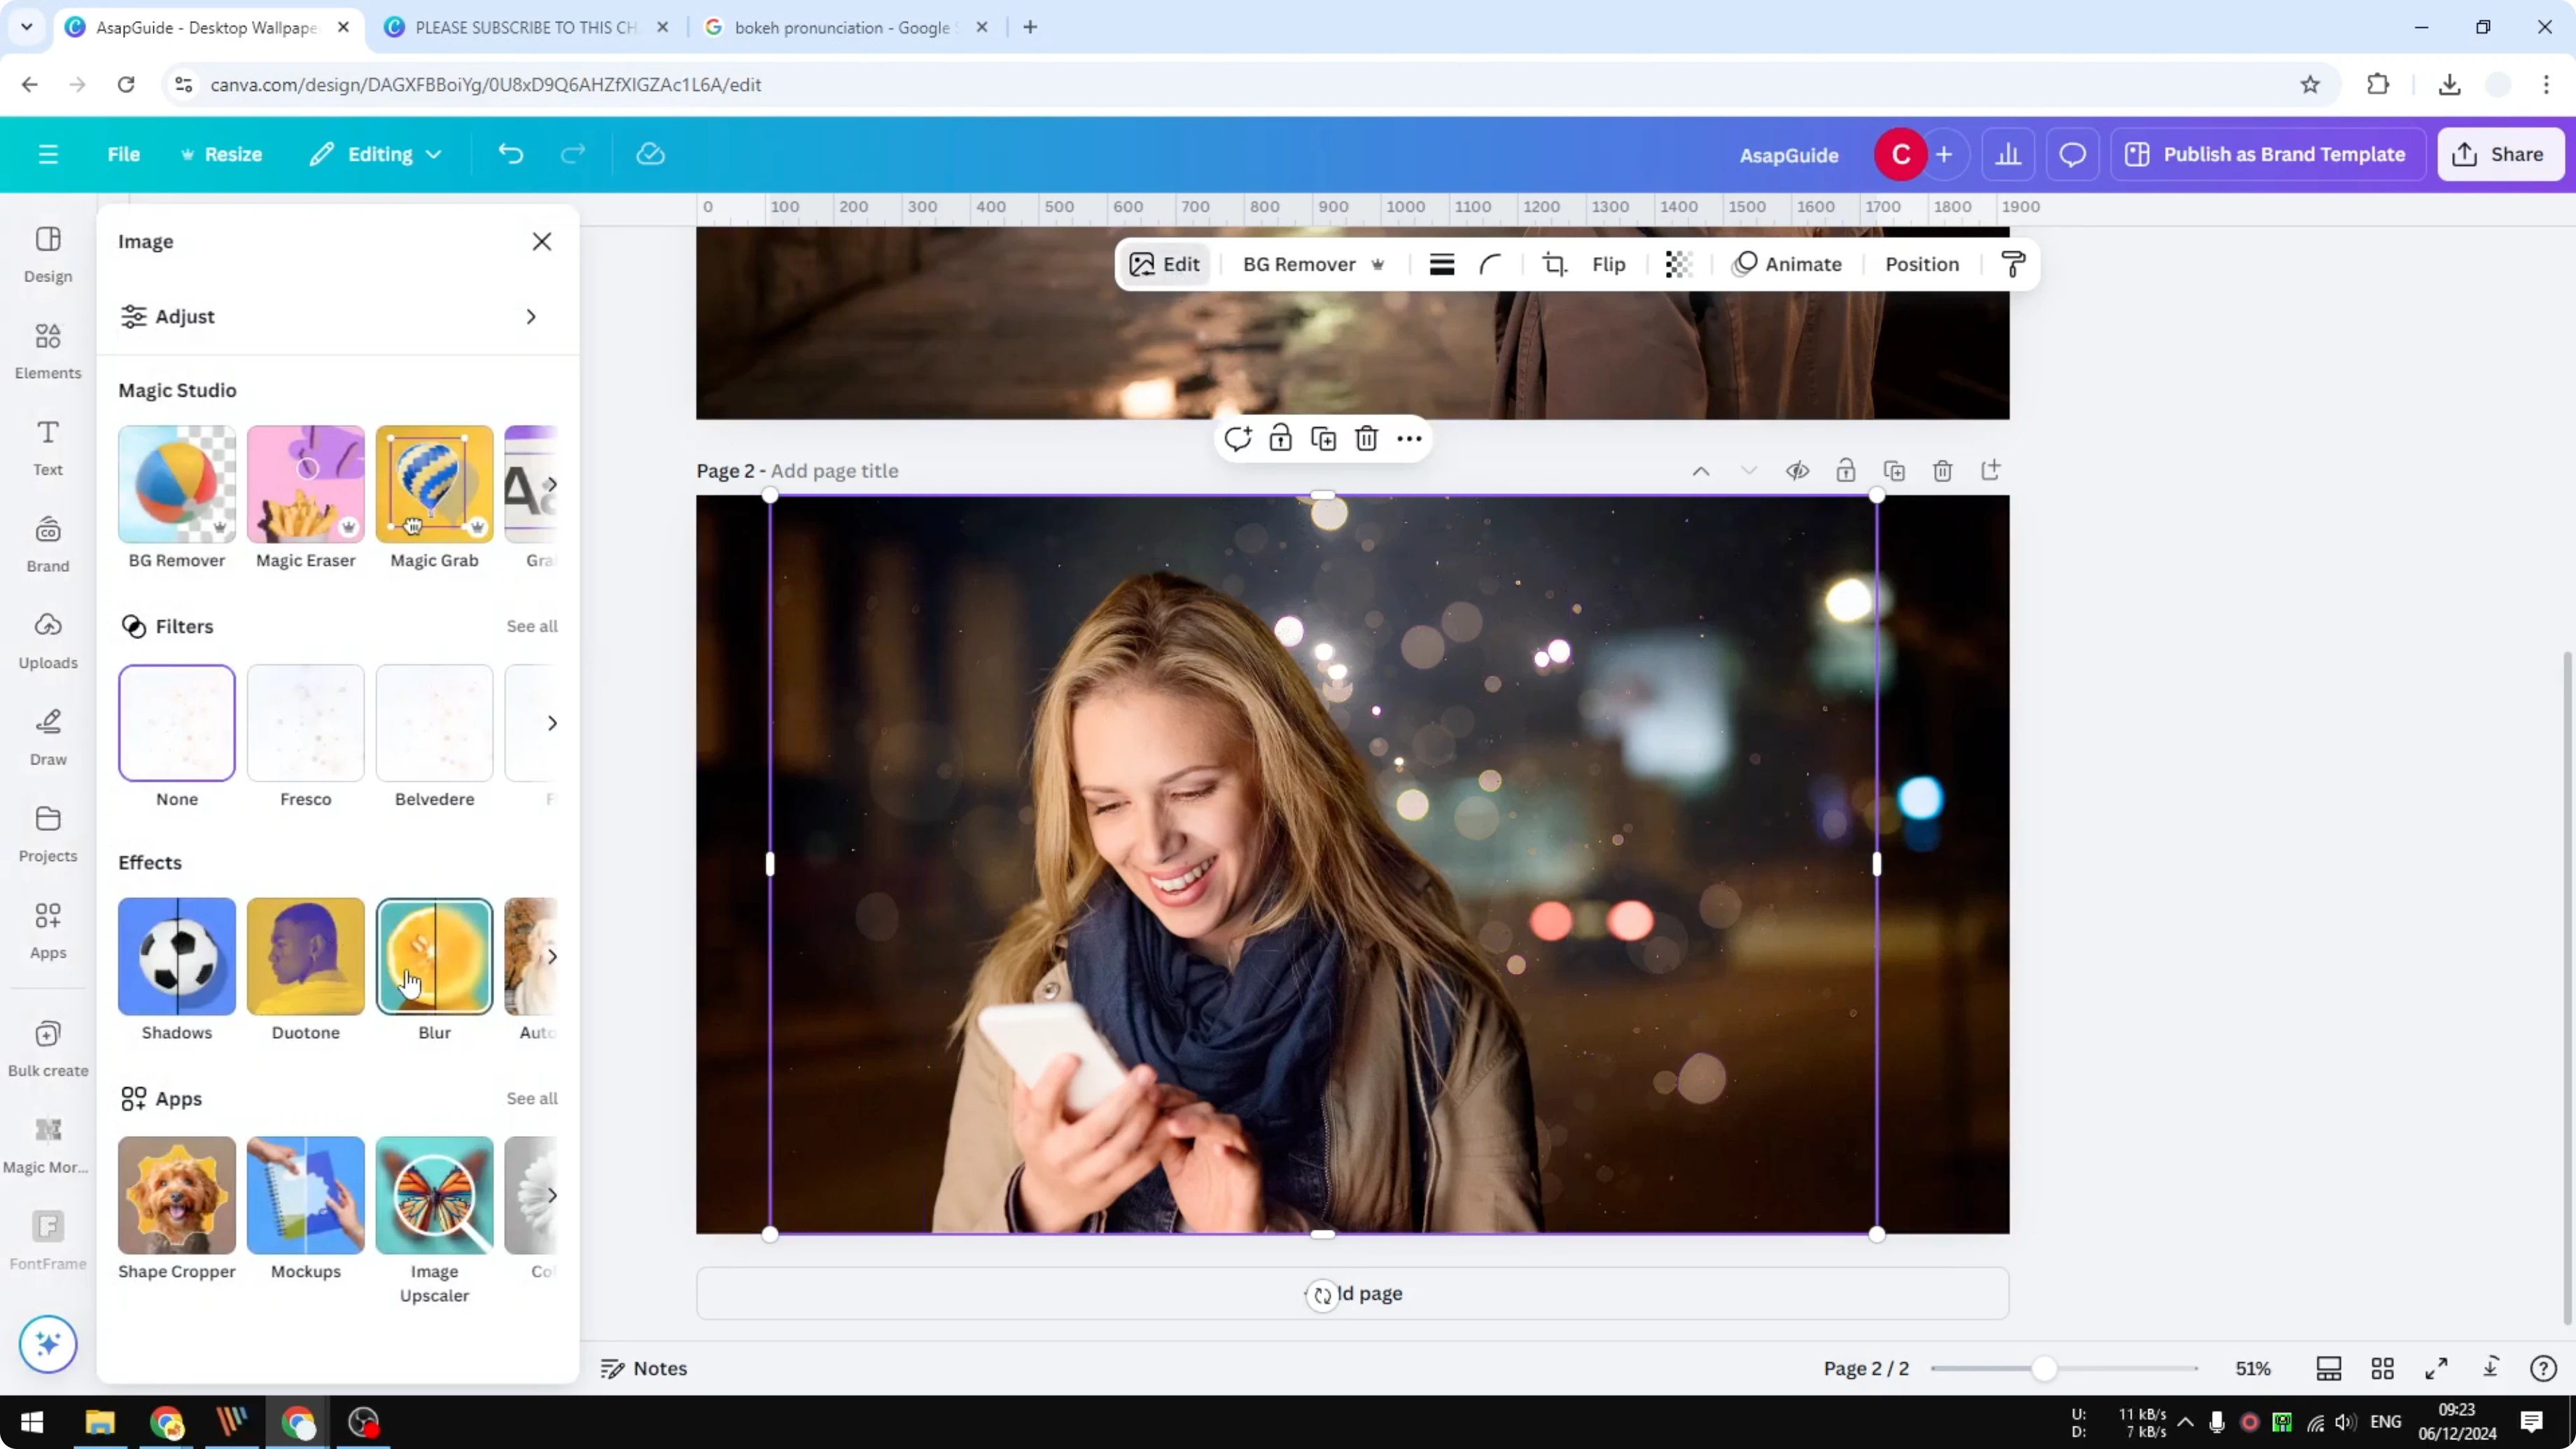
Go back to the canvas and check the result.
Final Thoughts
This method keeps the subject sharp and places the bokeh behind it as a separate layer. You can tweak the blur amount, try different overlays, and reuse the steps on any photo. For typography work that complements this effect, see justified text.
Recent Posts
How to Visualize Yourself as a Pixelized Character with AI?
How to Visualize Yourself as a Pixelized Character with AI?

How to Revive Faded Memories and Enhance Image Clarity with AI?
How to Revive Faded Memories and Enhance Image Clarity with AI?

How to Visualize Yourself as an Animal Crossing Character with AI?
How to Visualize Yourself as an Animal Crossing Character with AI?