How to Create a Slow Motion Effect in Canva Video
Creating a smooth slow motion effect in Canva Video starts with the footage you record. If you want high quality and smooth motion, record at a high frame rate. Recording at 24 fps or 30 fps will not look smooth when slowed down.
I recommend recording at more than 100 fps for the best result. 60 fps could work, but it will not be as good as 100 fps or higher. With that in mind, here is how to slow your clip in Canva Video.
If you enjoy timing-based visuals, you may also like building a handmade look with stop motion animation in Canva.
Frame rate for Create a Slow Motion Effect in Canva Video
High frame rate footage gives you more frames to stretch when you slow it down. That is what keeps motion smooth.
Low frame rate footage will look choppy if you try to slow it heavily. Aim for 100 fps or higher for the cleanest result.
Create a Slow Motion Effect in Canva Video with Playback Speed
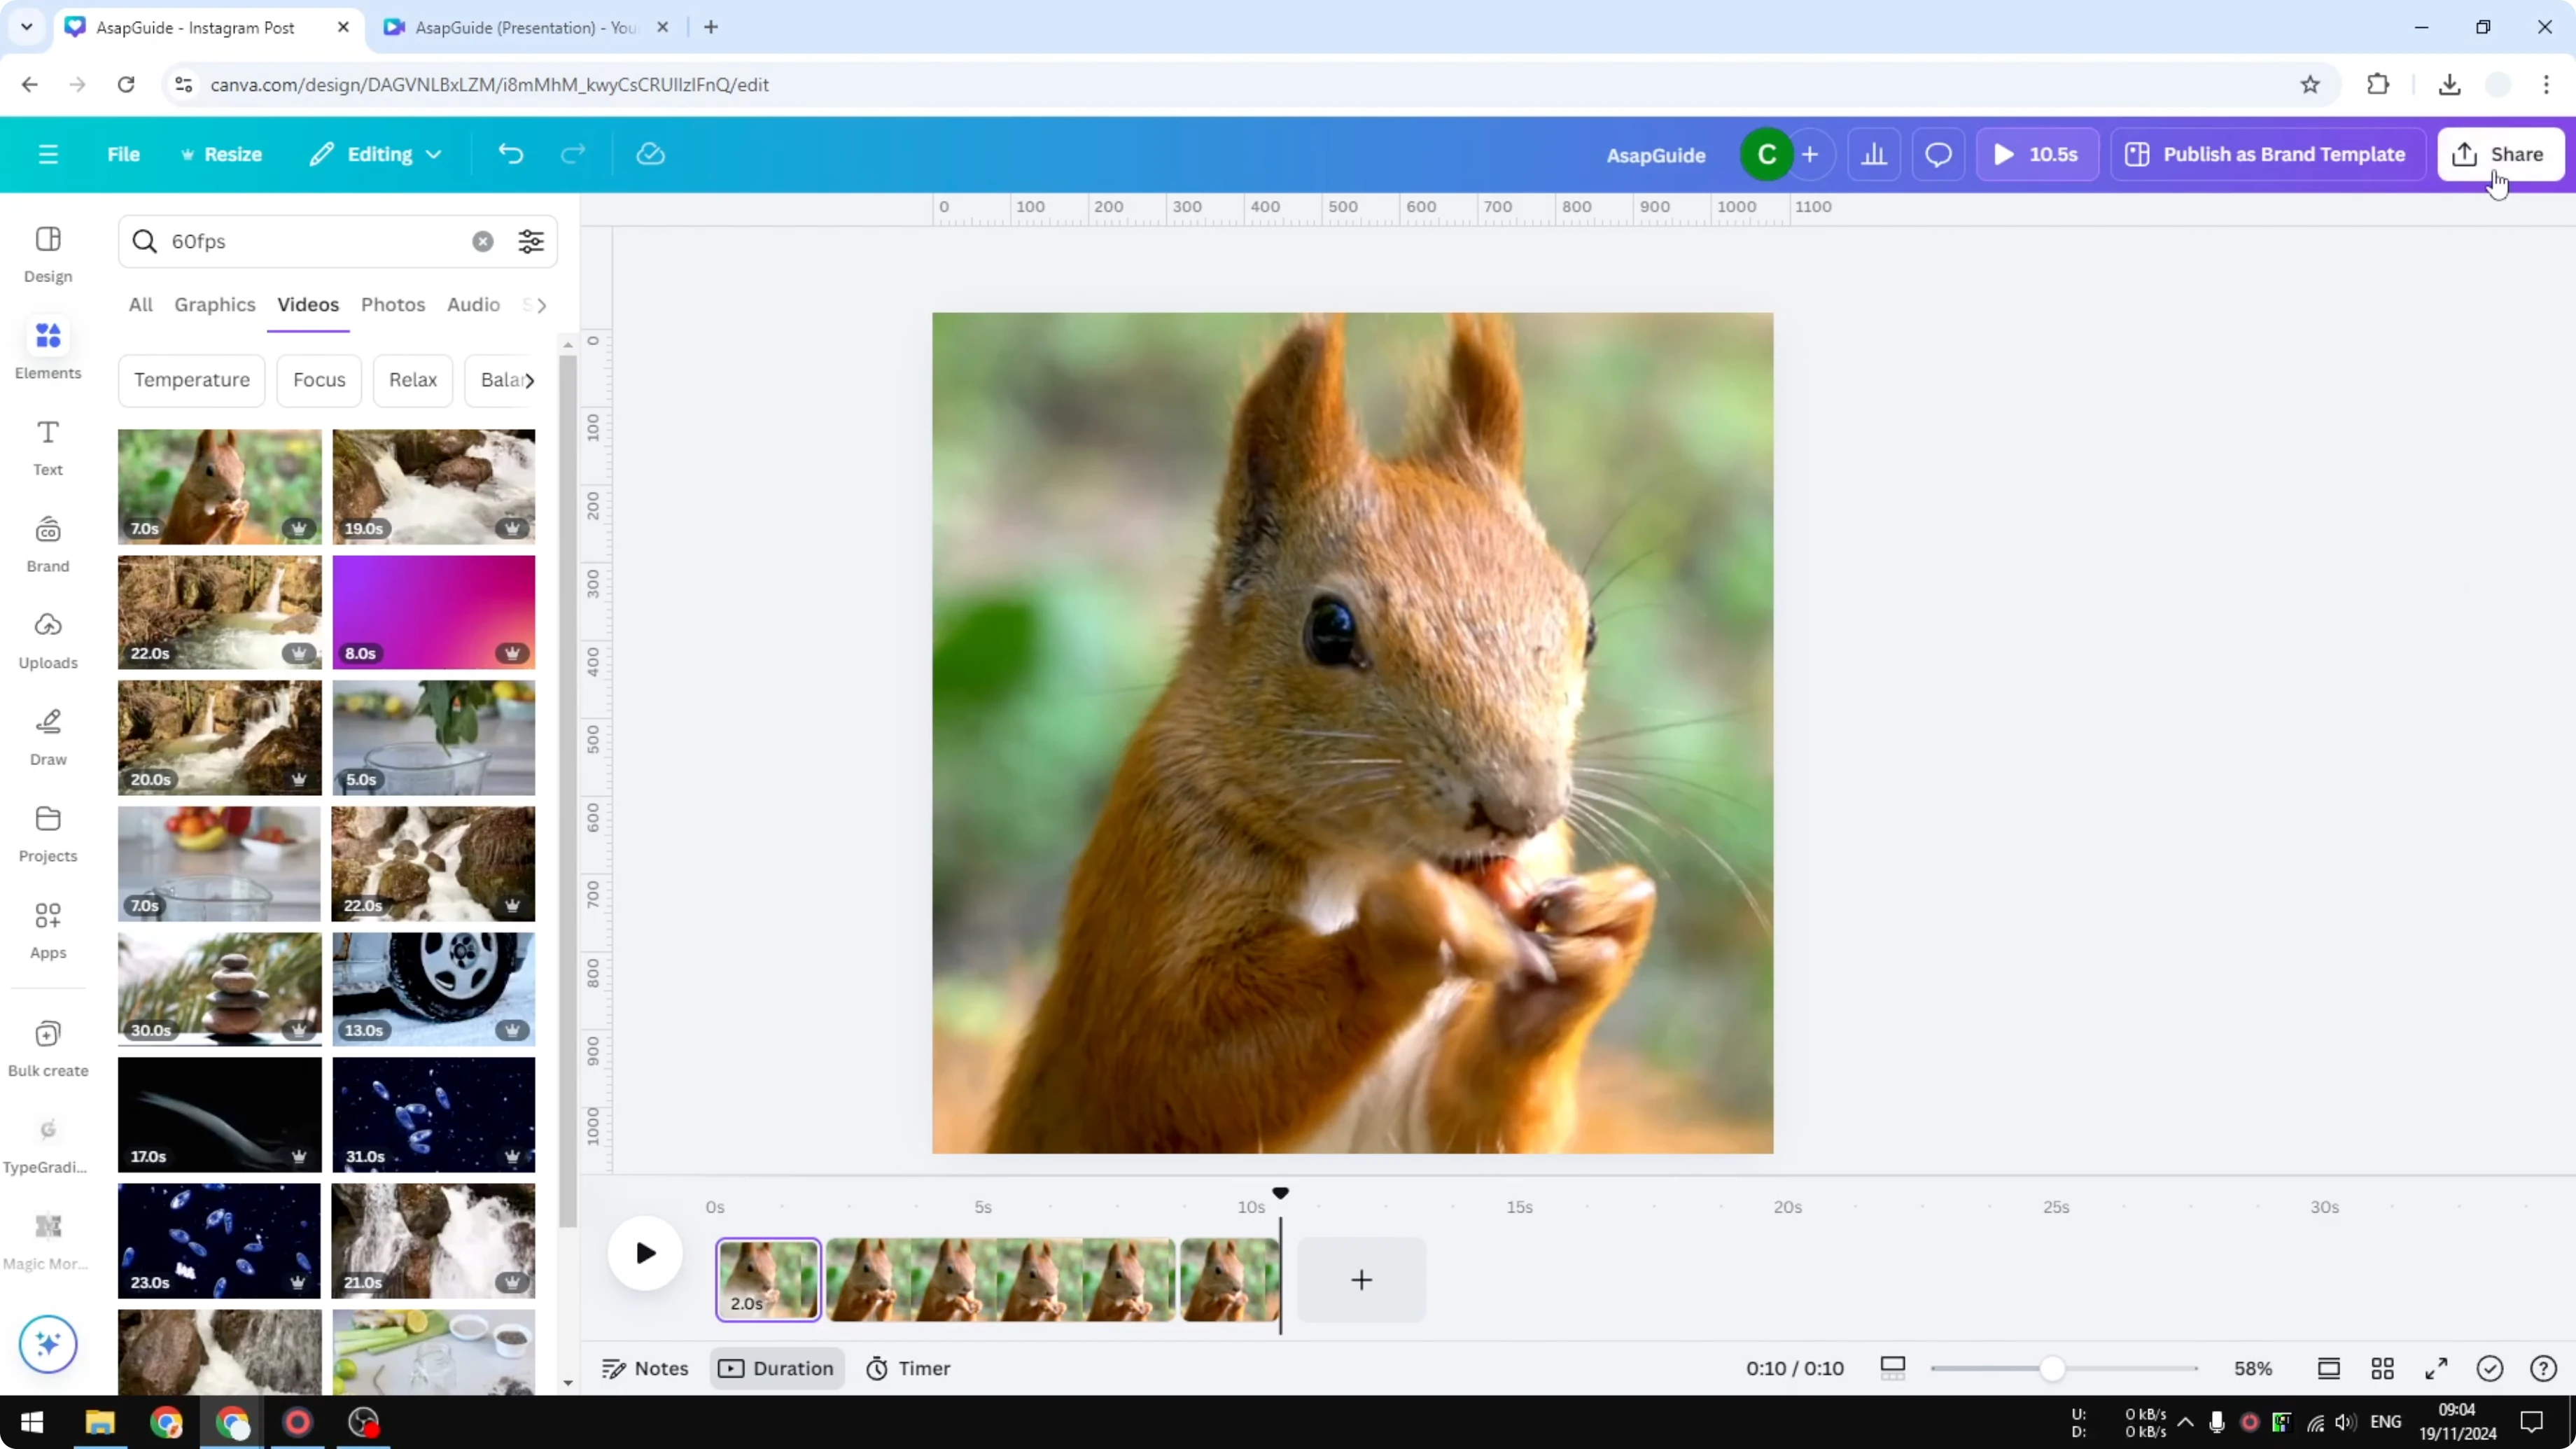
Upload your footage
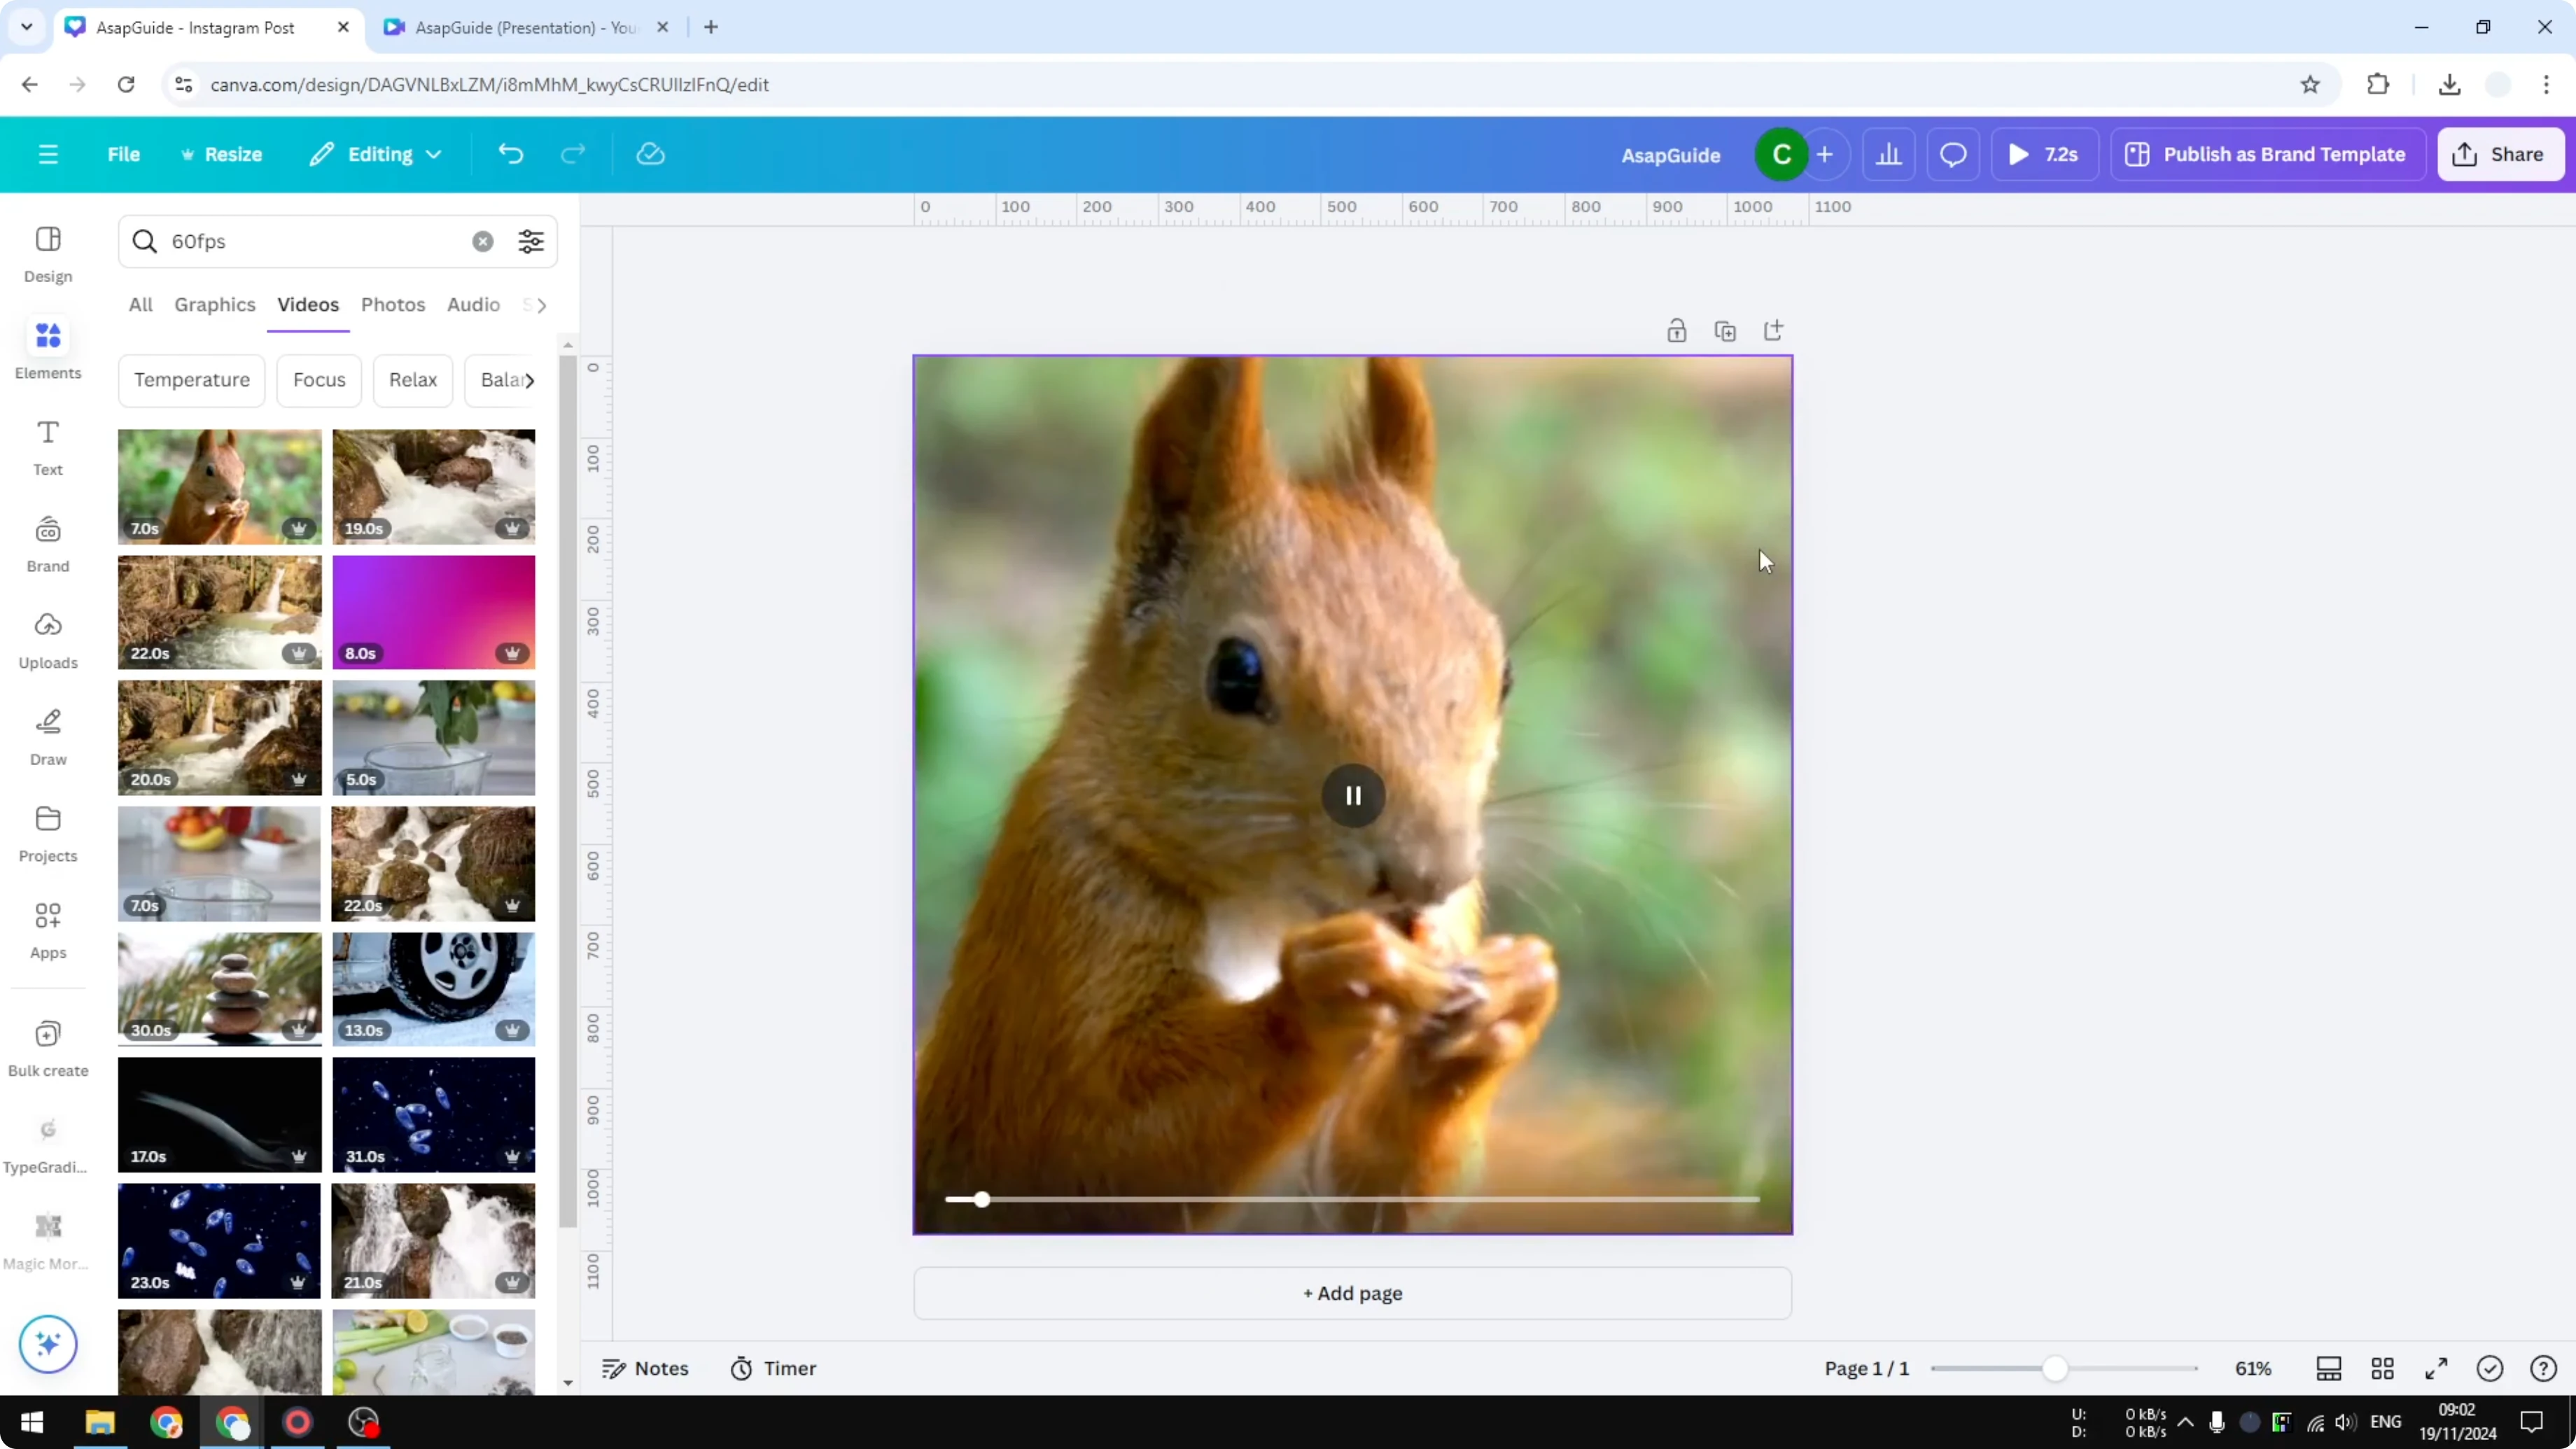
Upload the video to your Canva library, or use an existing video from the Canva library. I am using a clip of a squirrel eating a peanut.
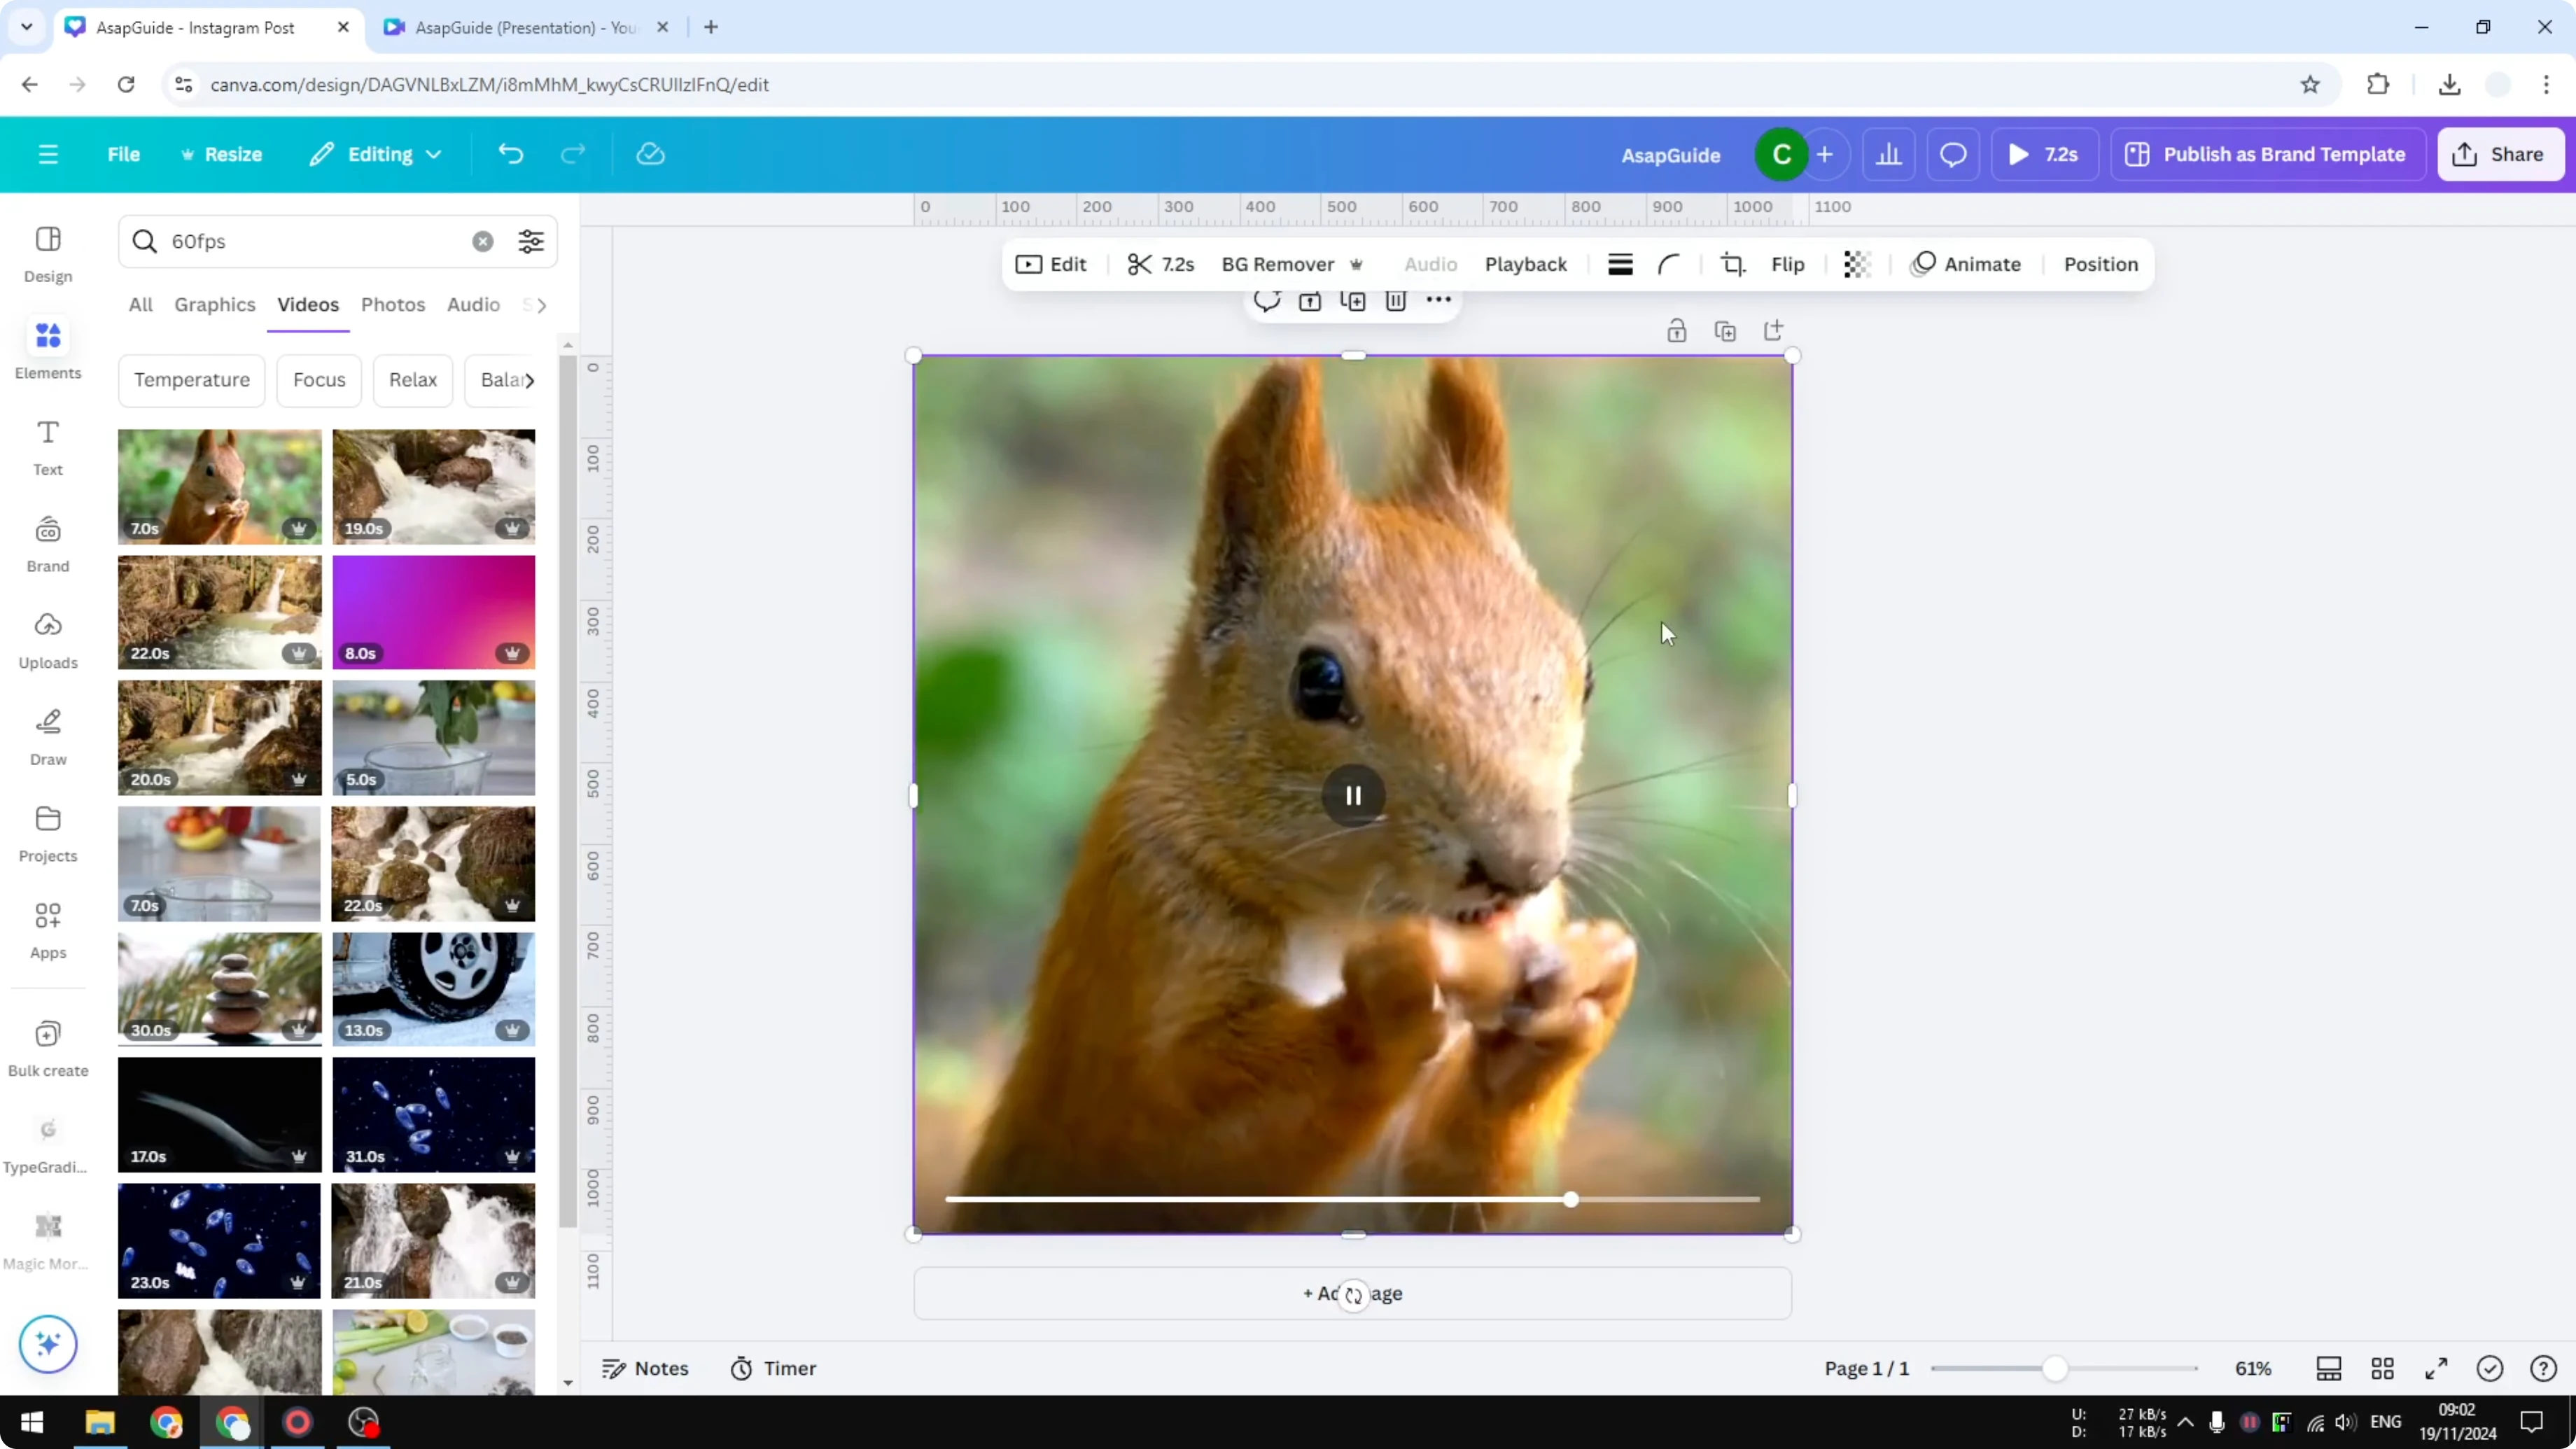
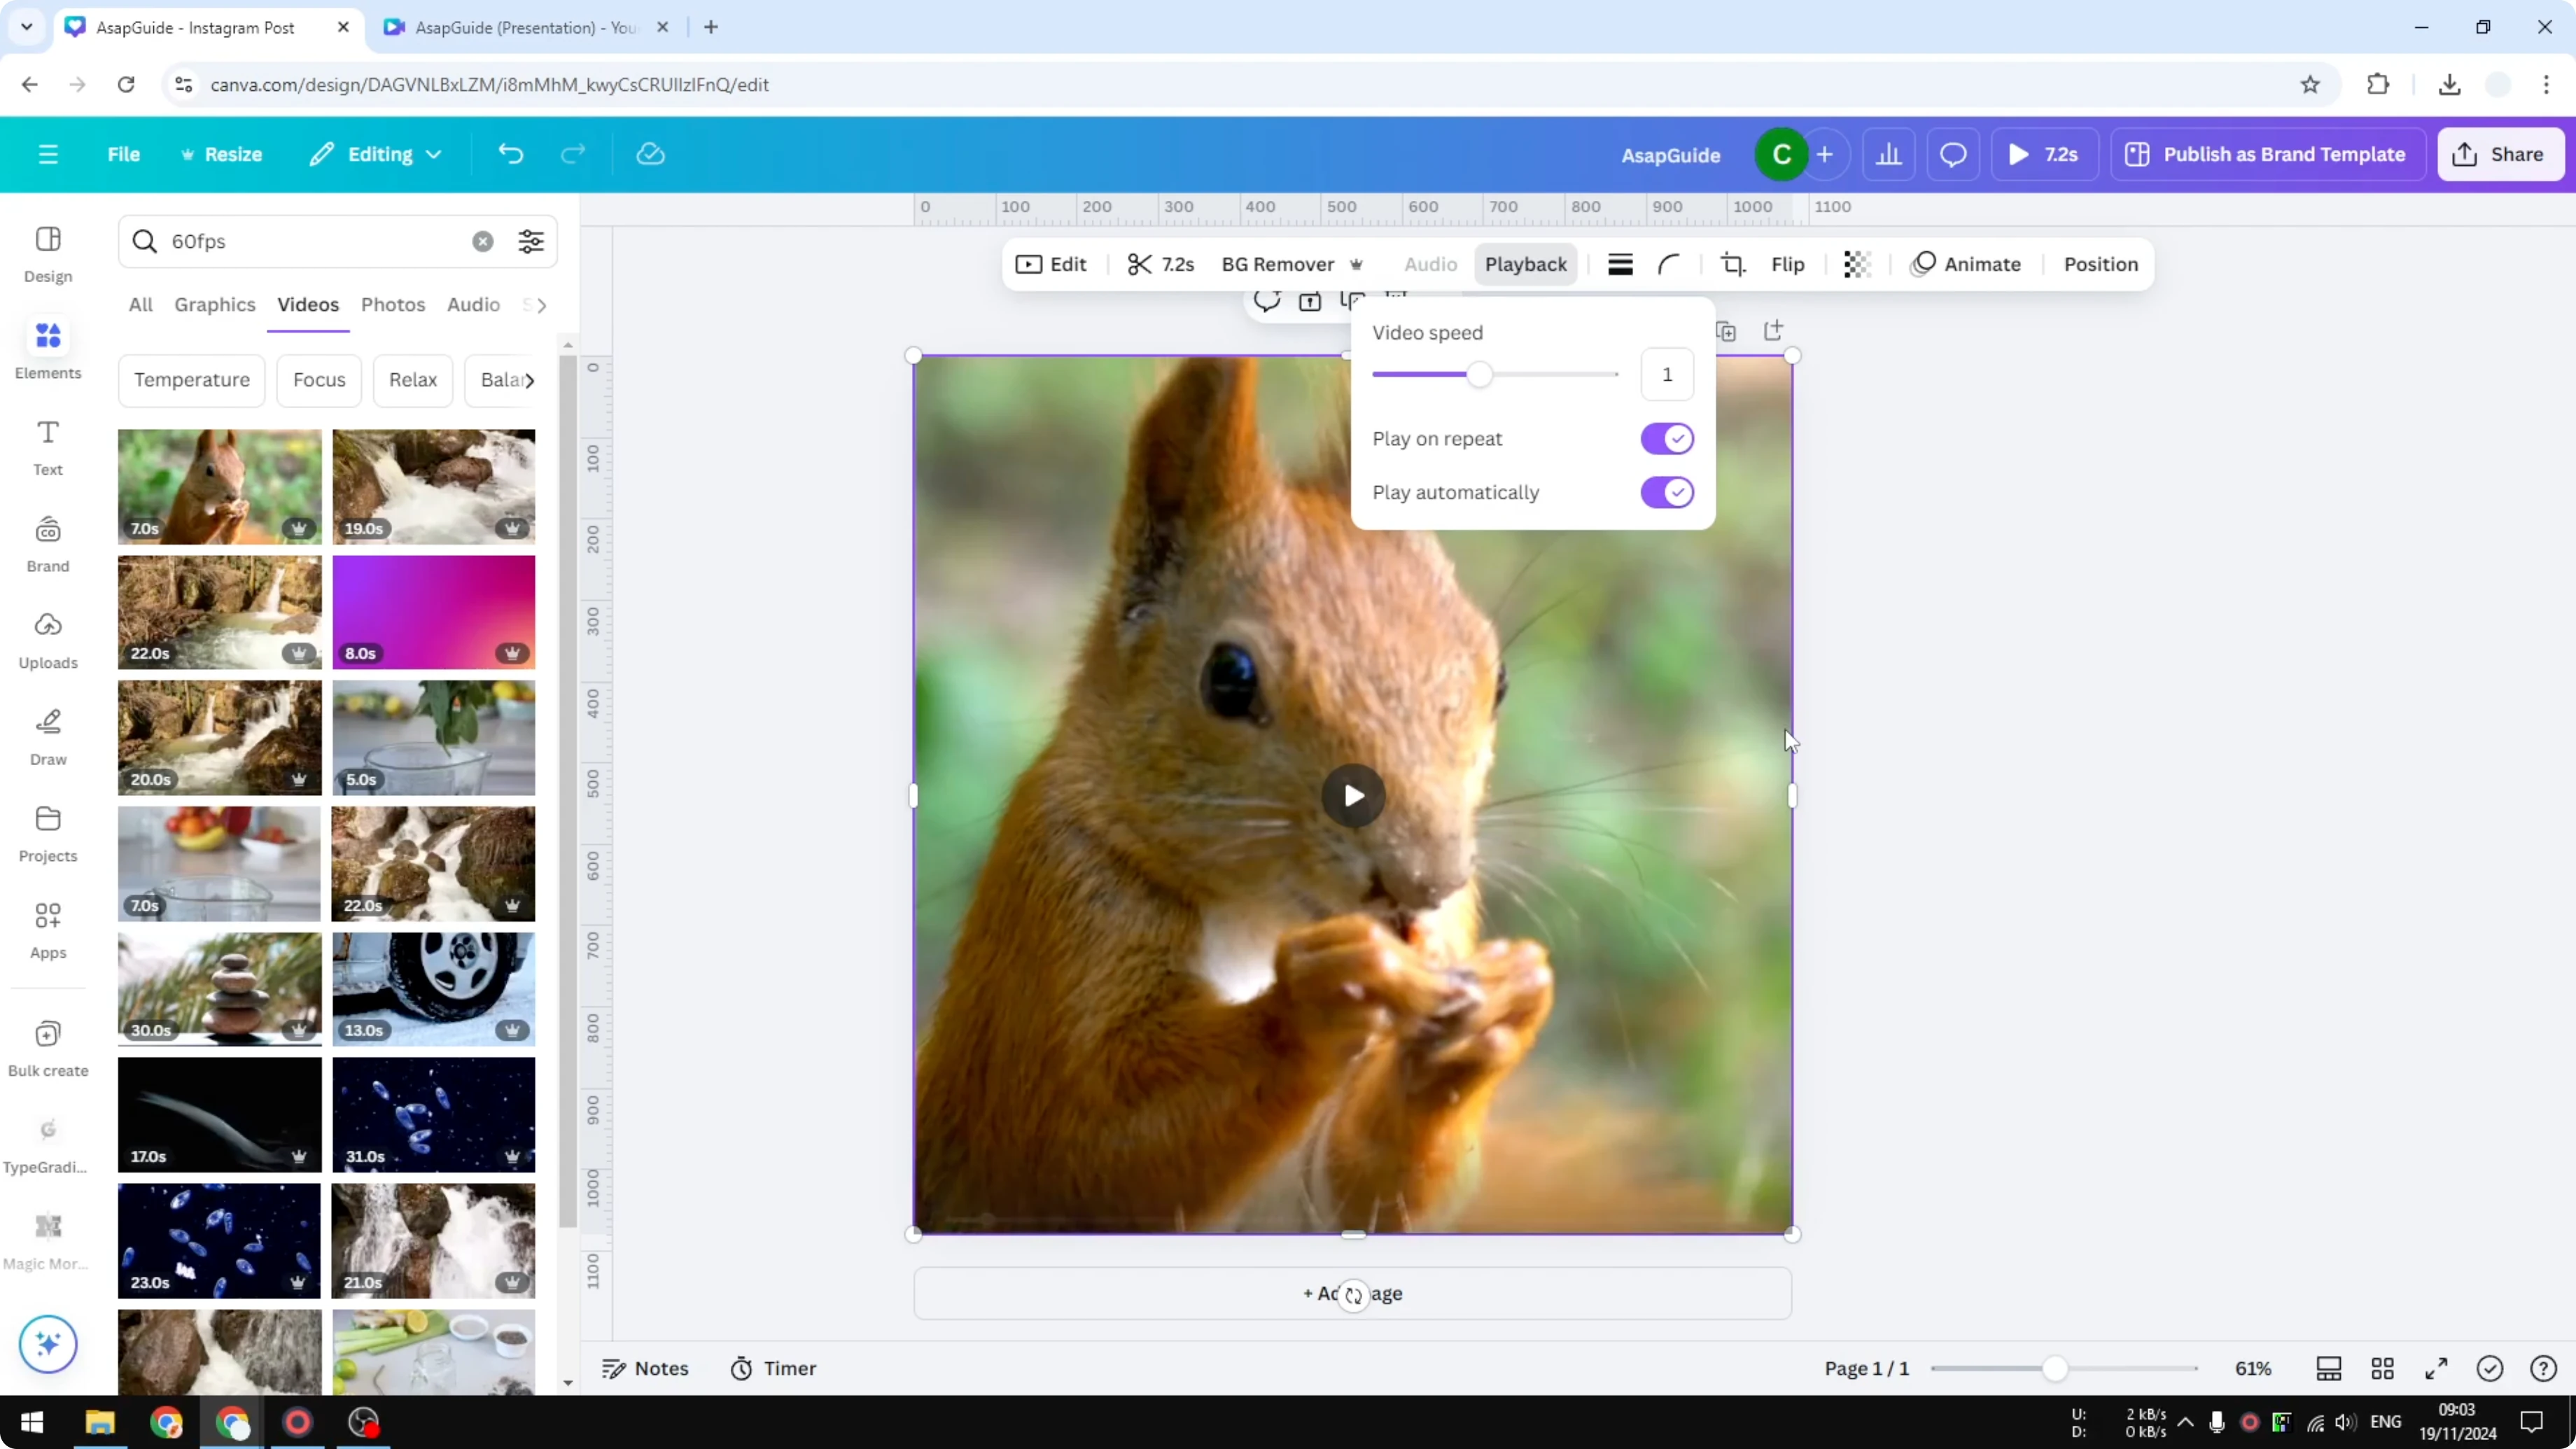
Click the video on the canvas to select it.
Set the speed
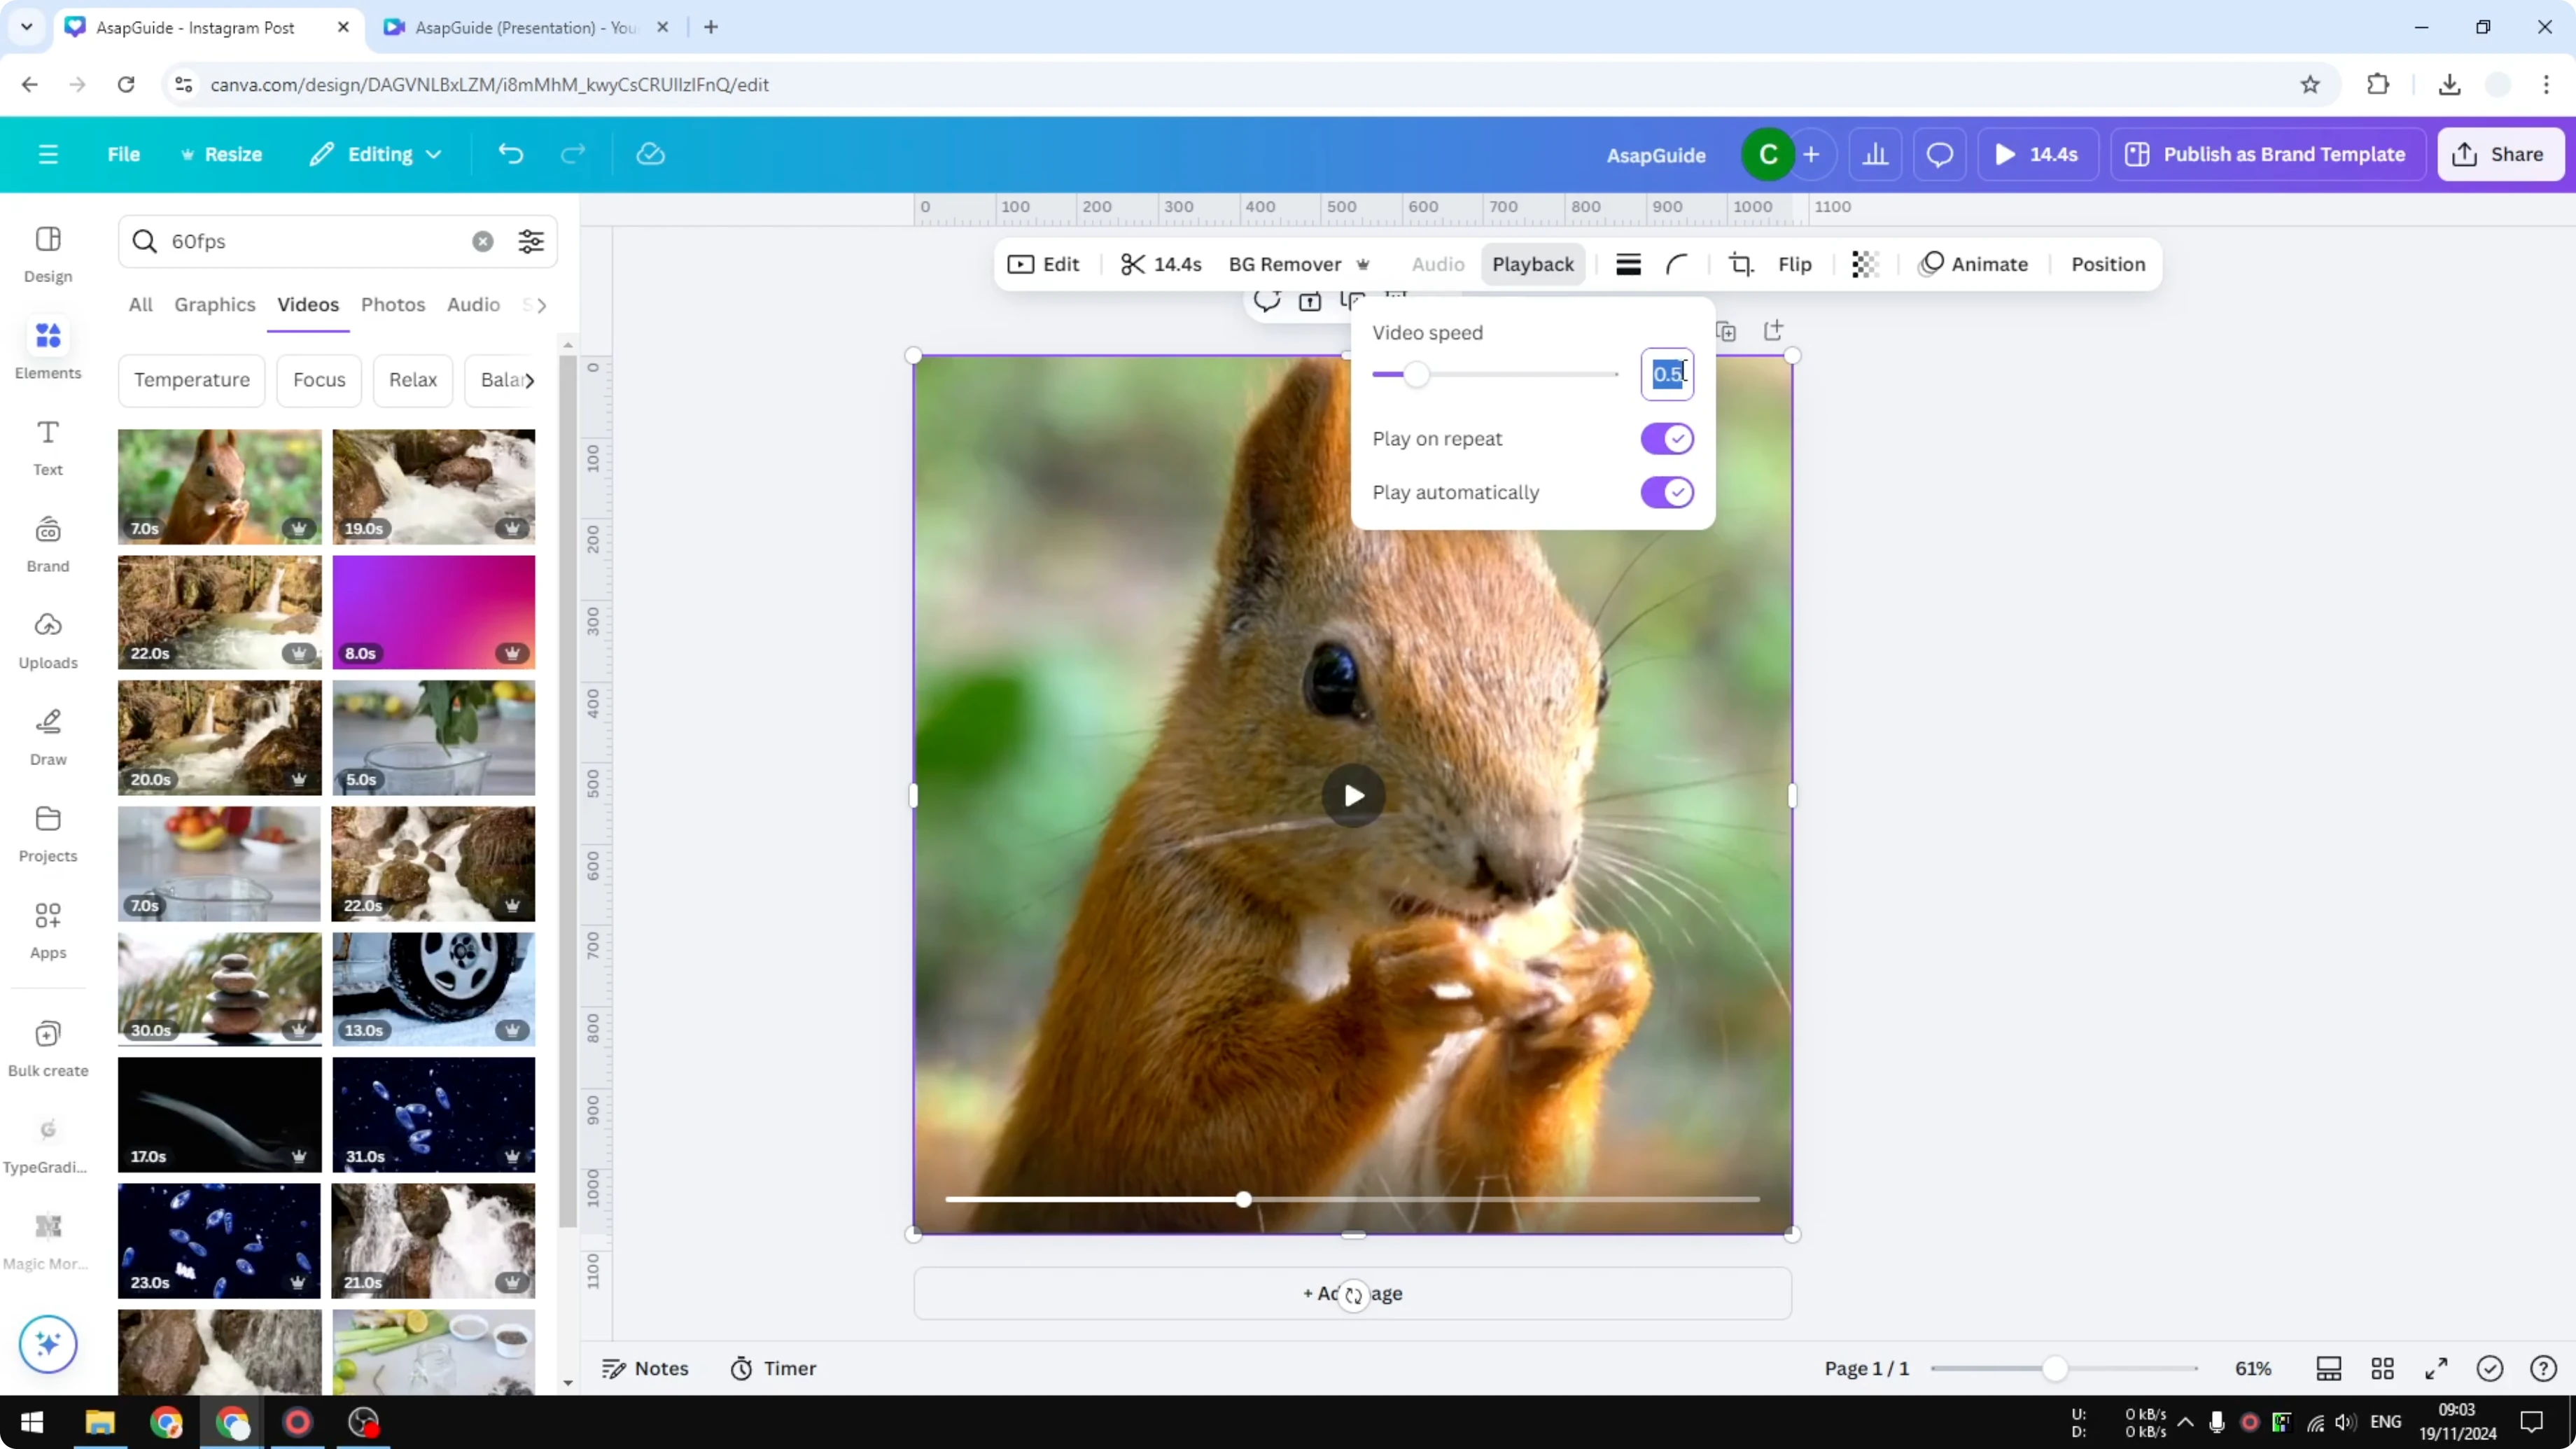
Click Playback. Reduce the speed to a number smaller than 1.

Set the speed to 0.25 if you want the video to be four times slower than before. The change is reflected in the duration, for example from 7 seconds to 28 seconds.

Set the speed to 0.5 if you want the video to be twice slower. That same 7-second clip becomes 14 seconds.
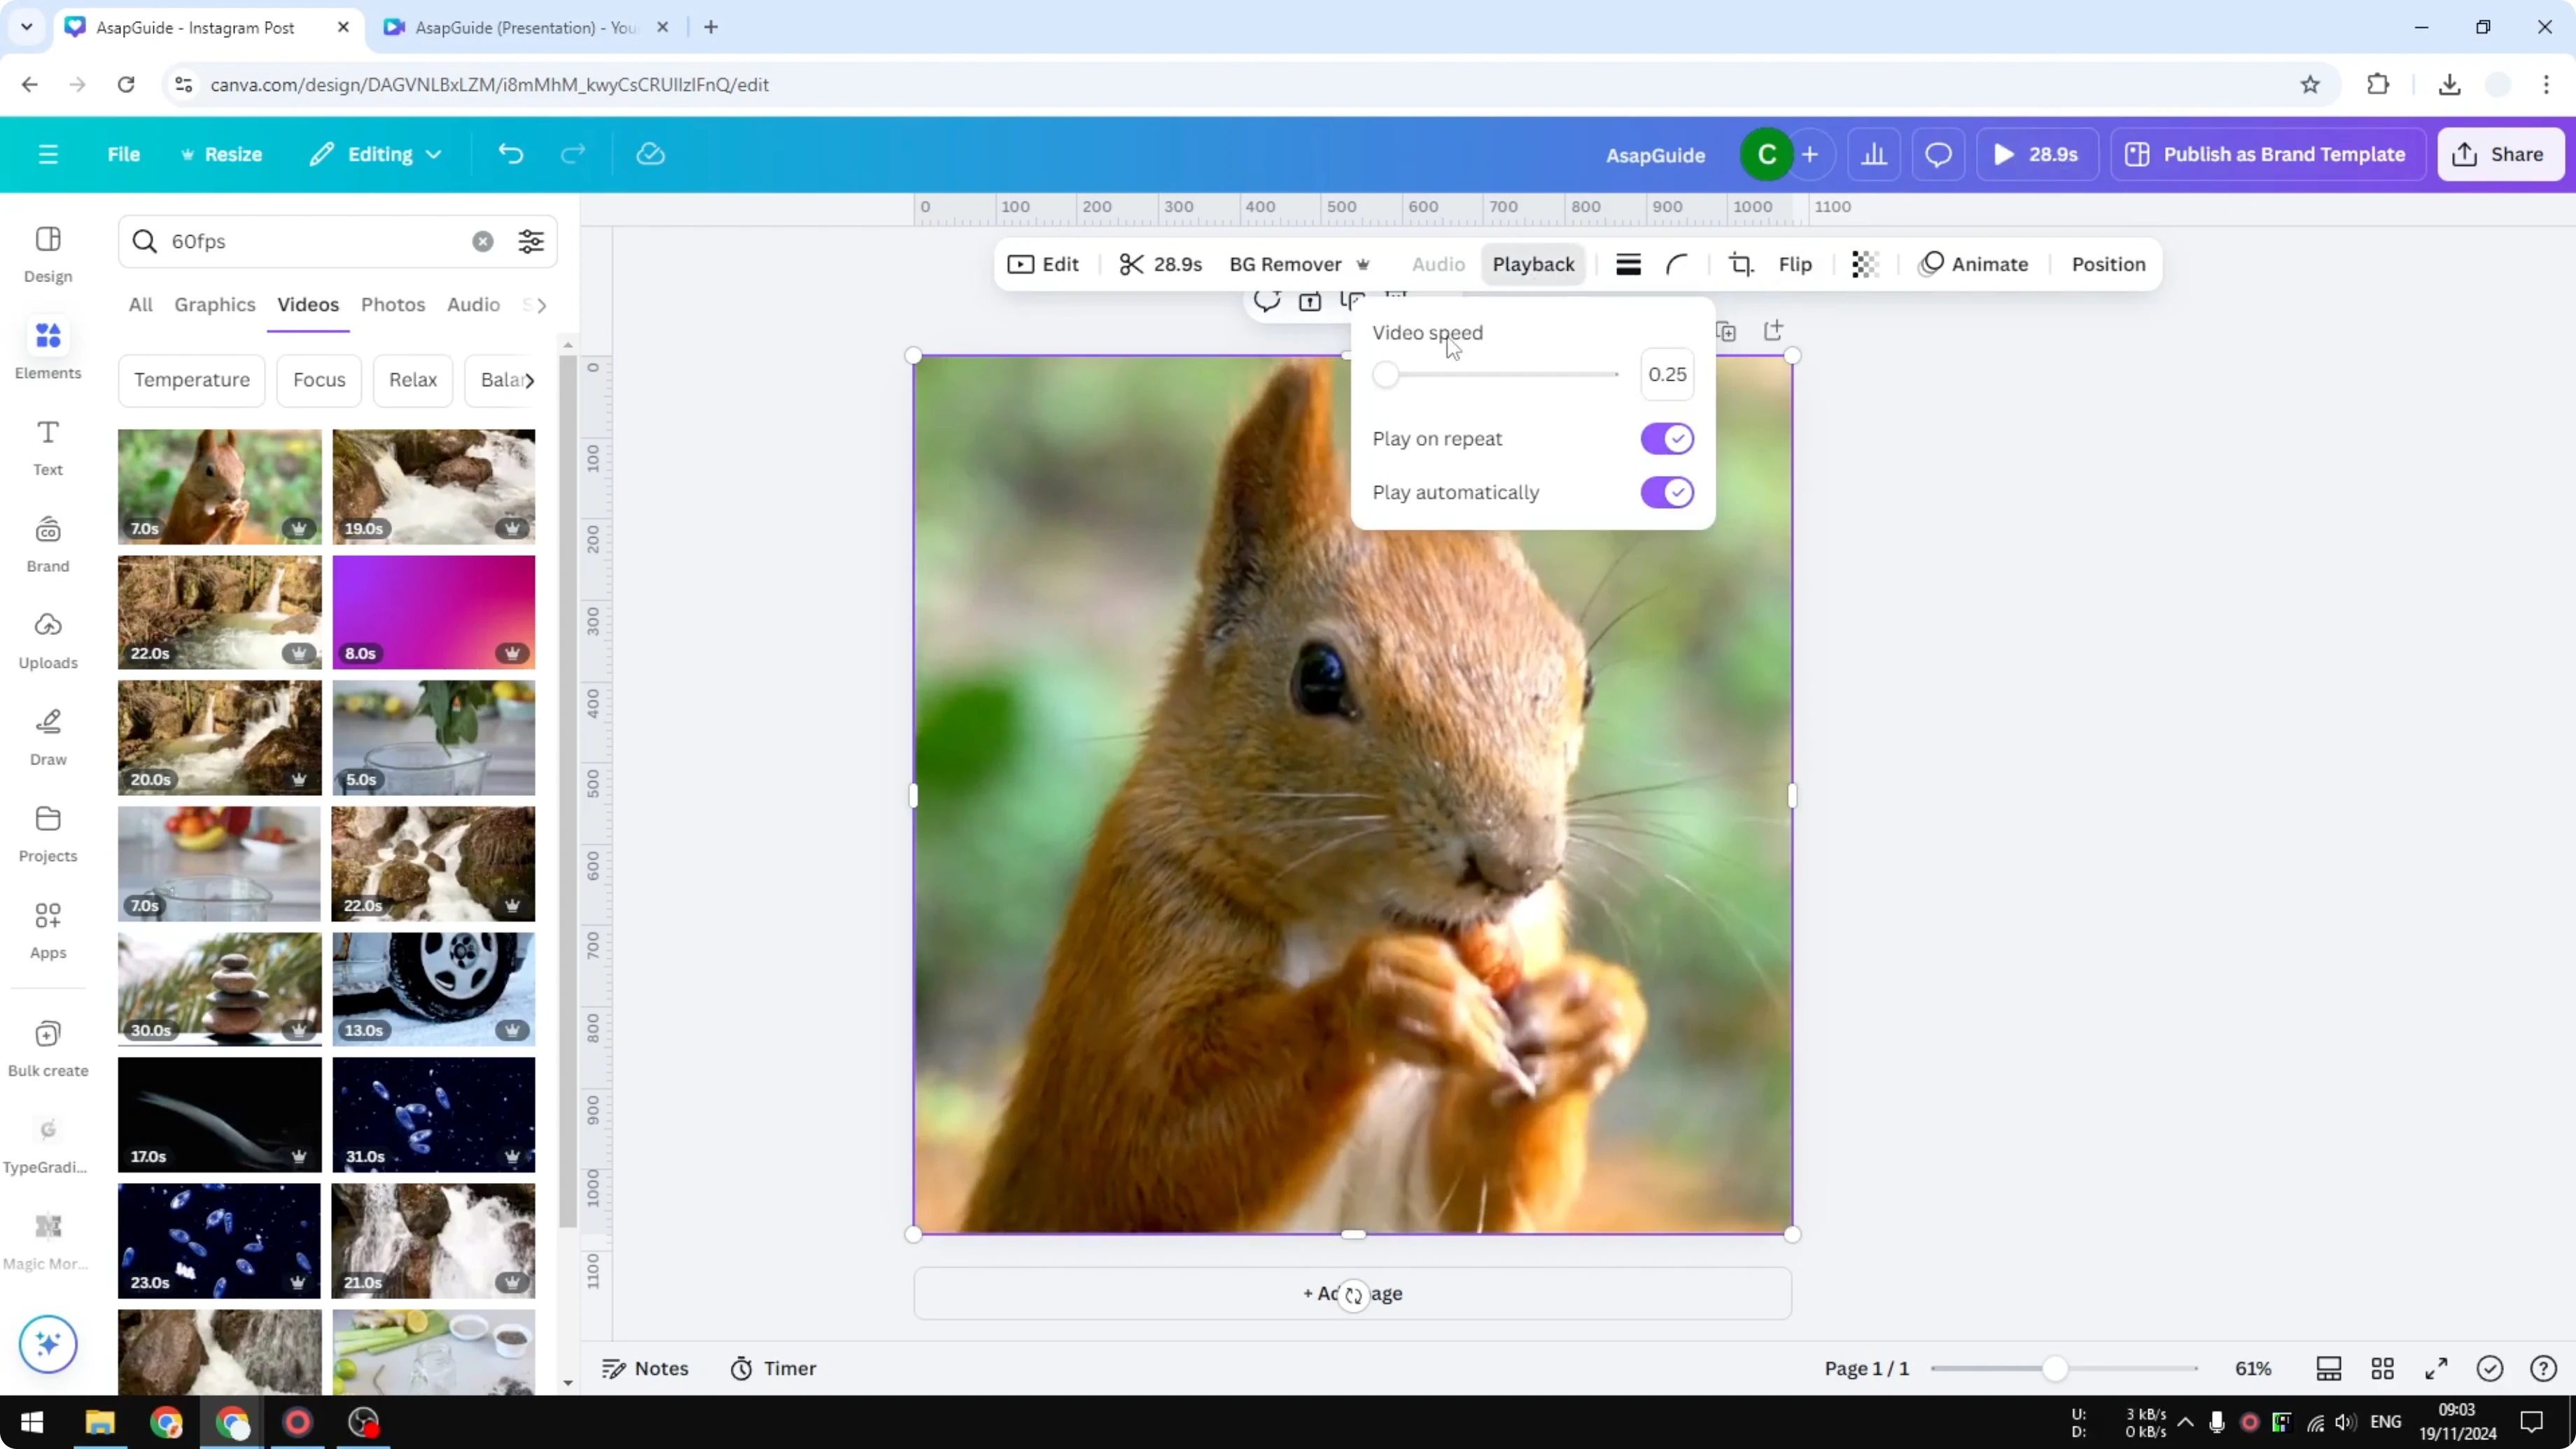
If you want a specific value like 0.6, enter the number manually and press Enter. It will be applied to the selected video.
For a complementary visual touch, consider soft background highlights with this guide to a bokeh effect in Canva.
Create a Slow Motion Effect in Canva Video on a specific section
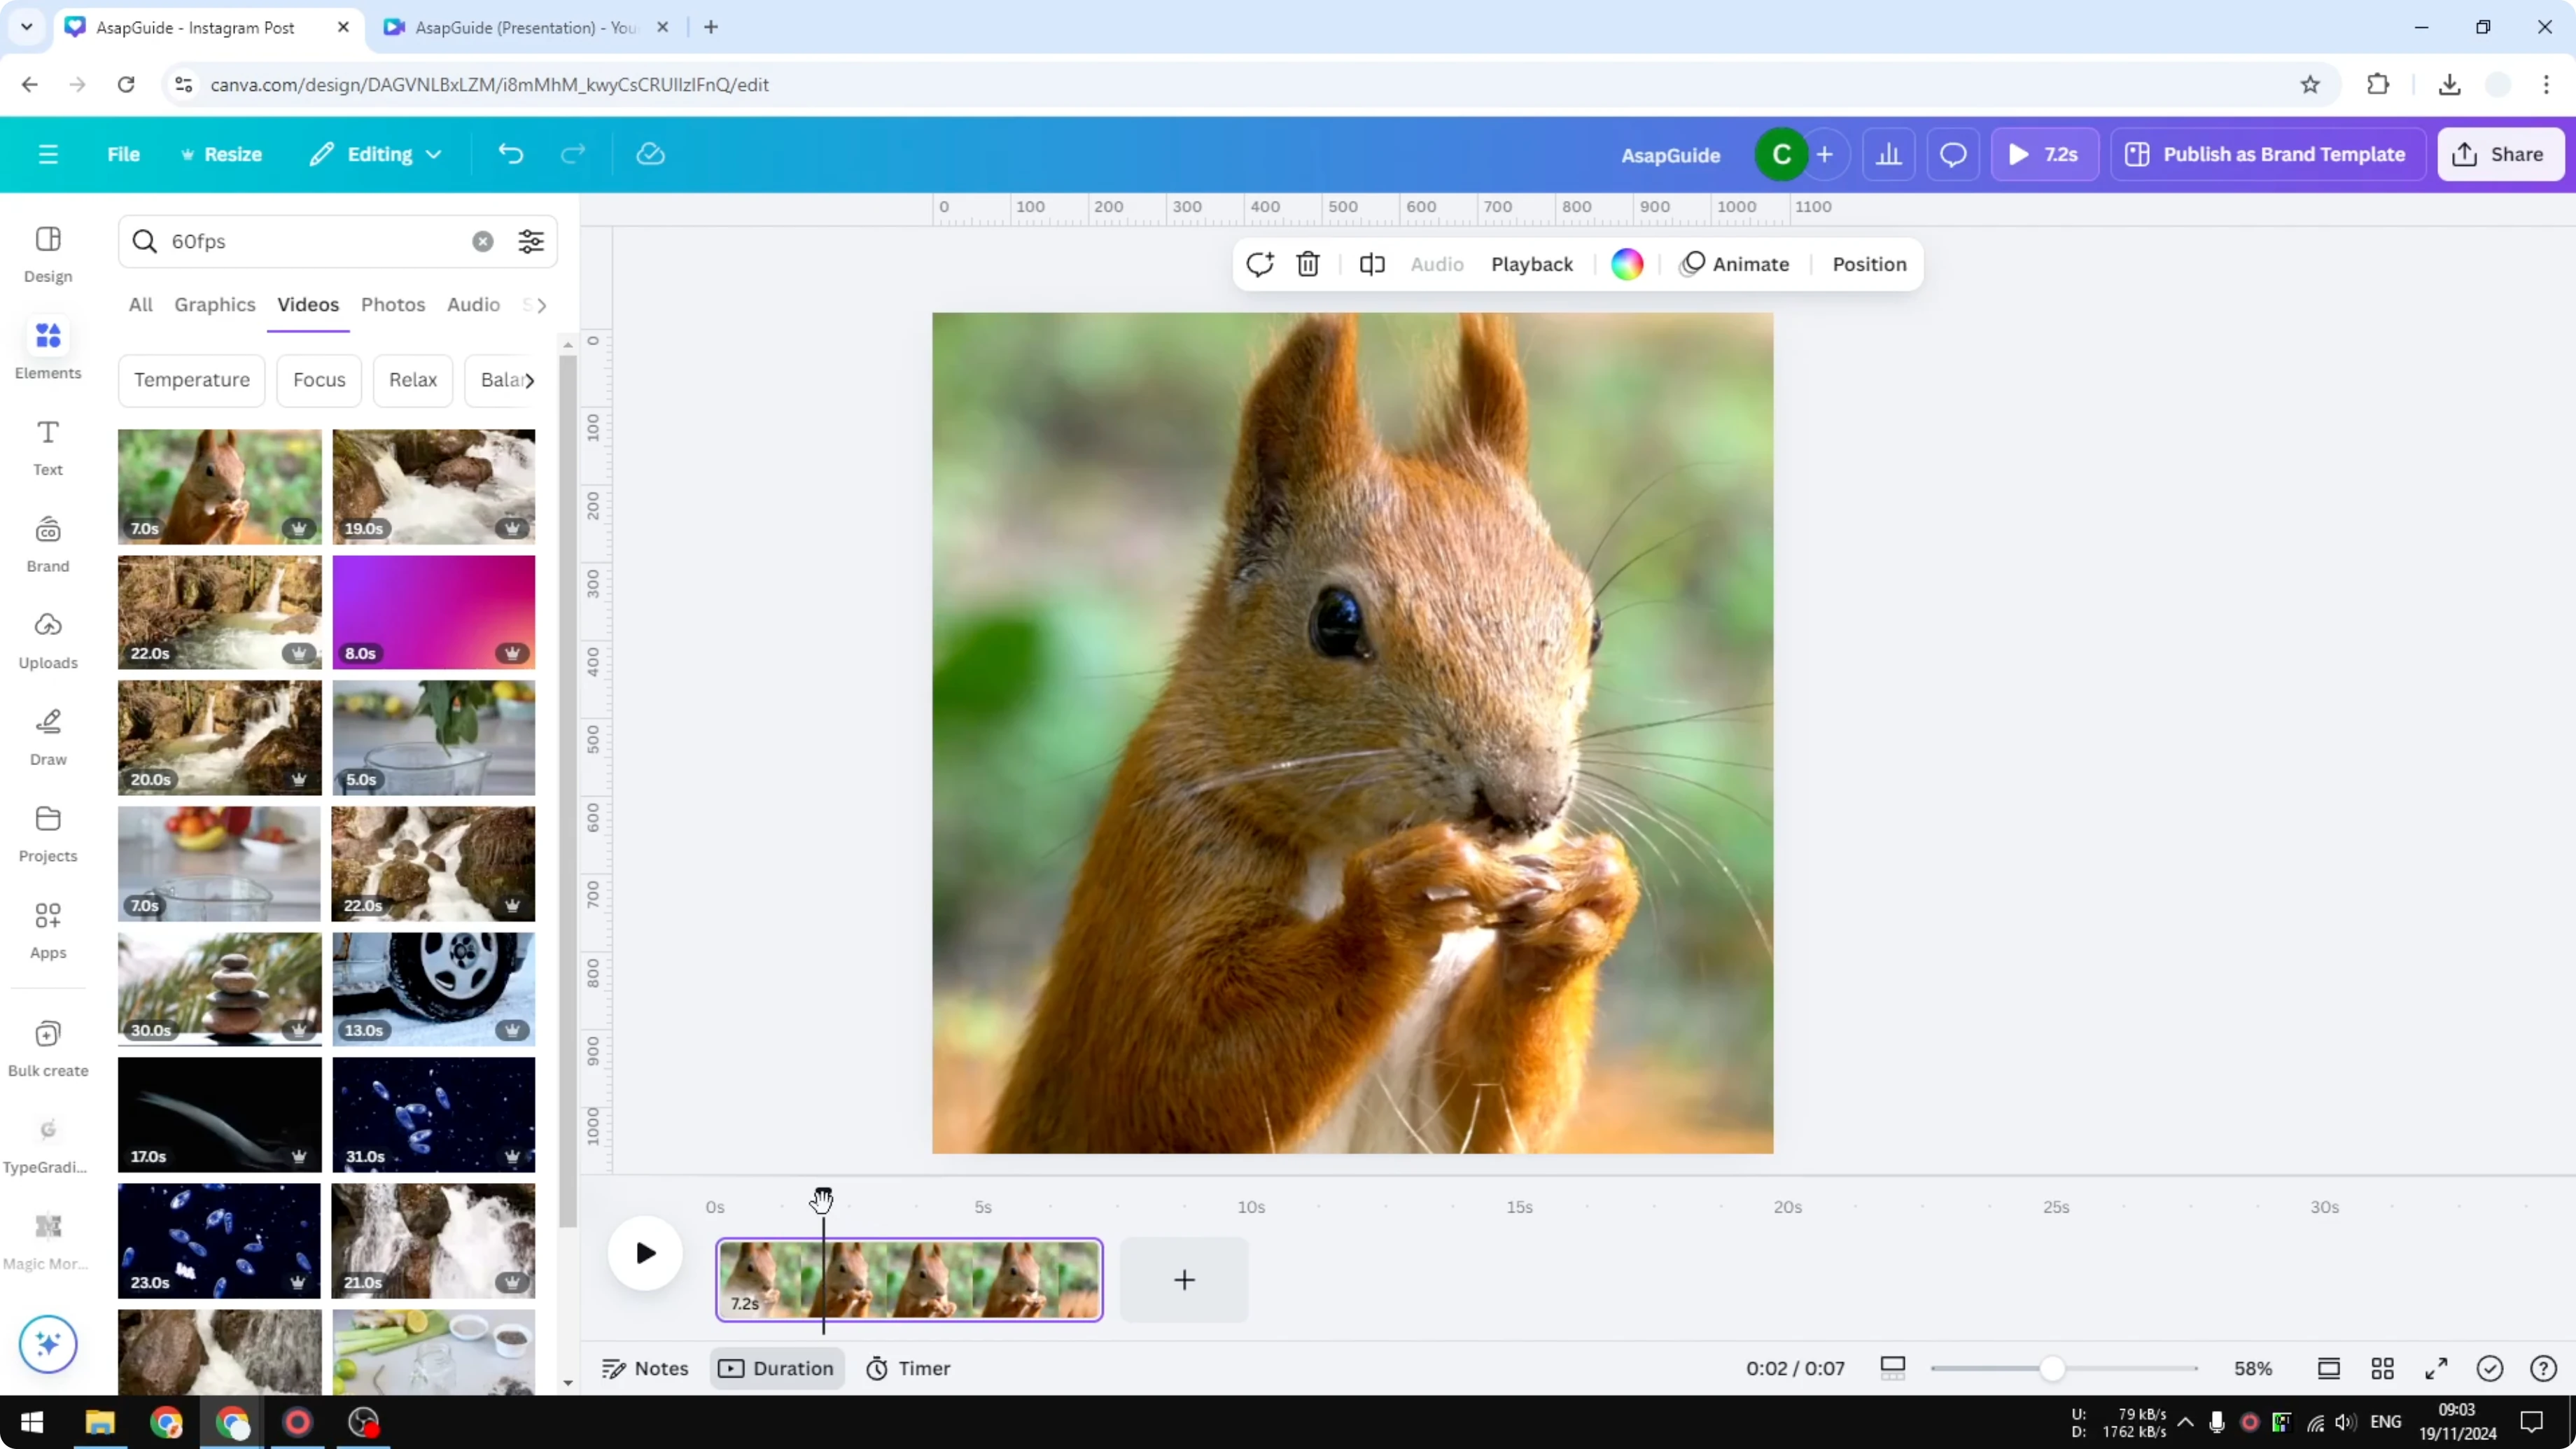
Split the clip
Open the thumbnail view and open Duration. Decide where you want the slow motion to start and end.
Place the playhead at the start point, right-click, and choose Split page. Move the playhead to the end point and Split page again.
Slow the middle part
Select the middle section. Click Playback and reduce the speed, for example to 0.5.
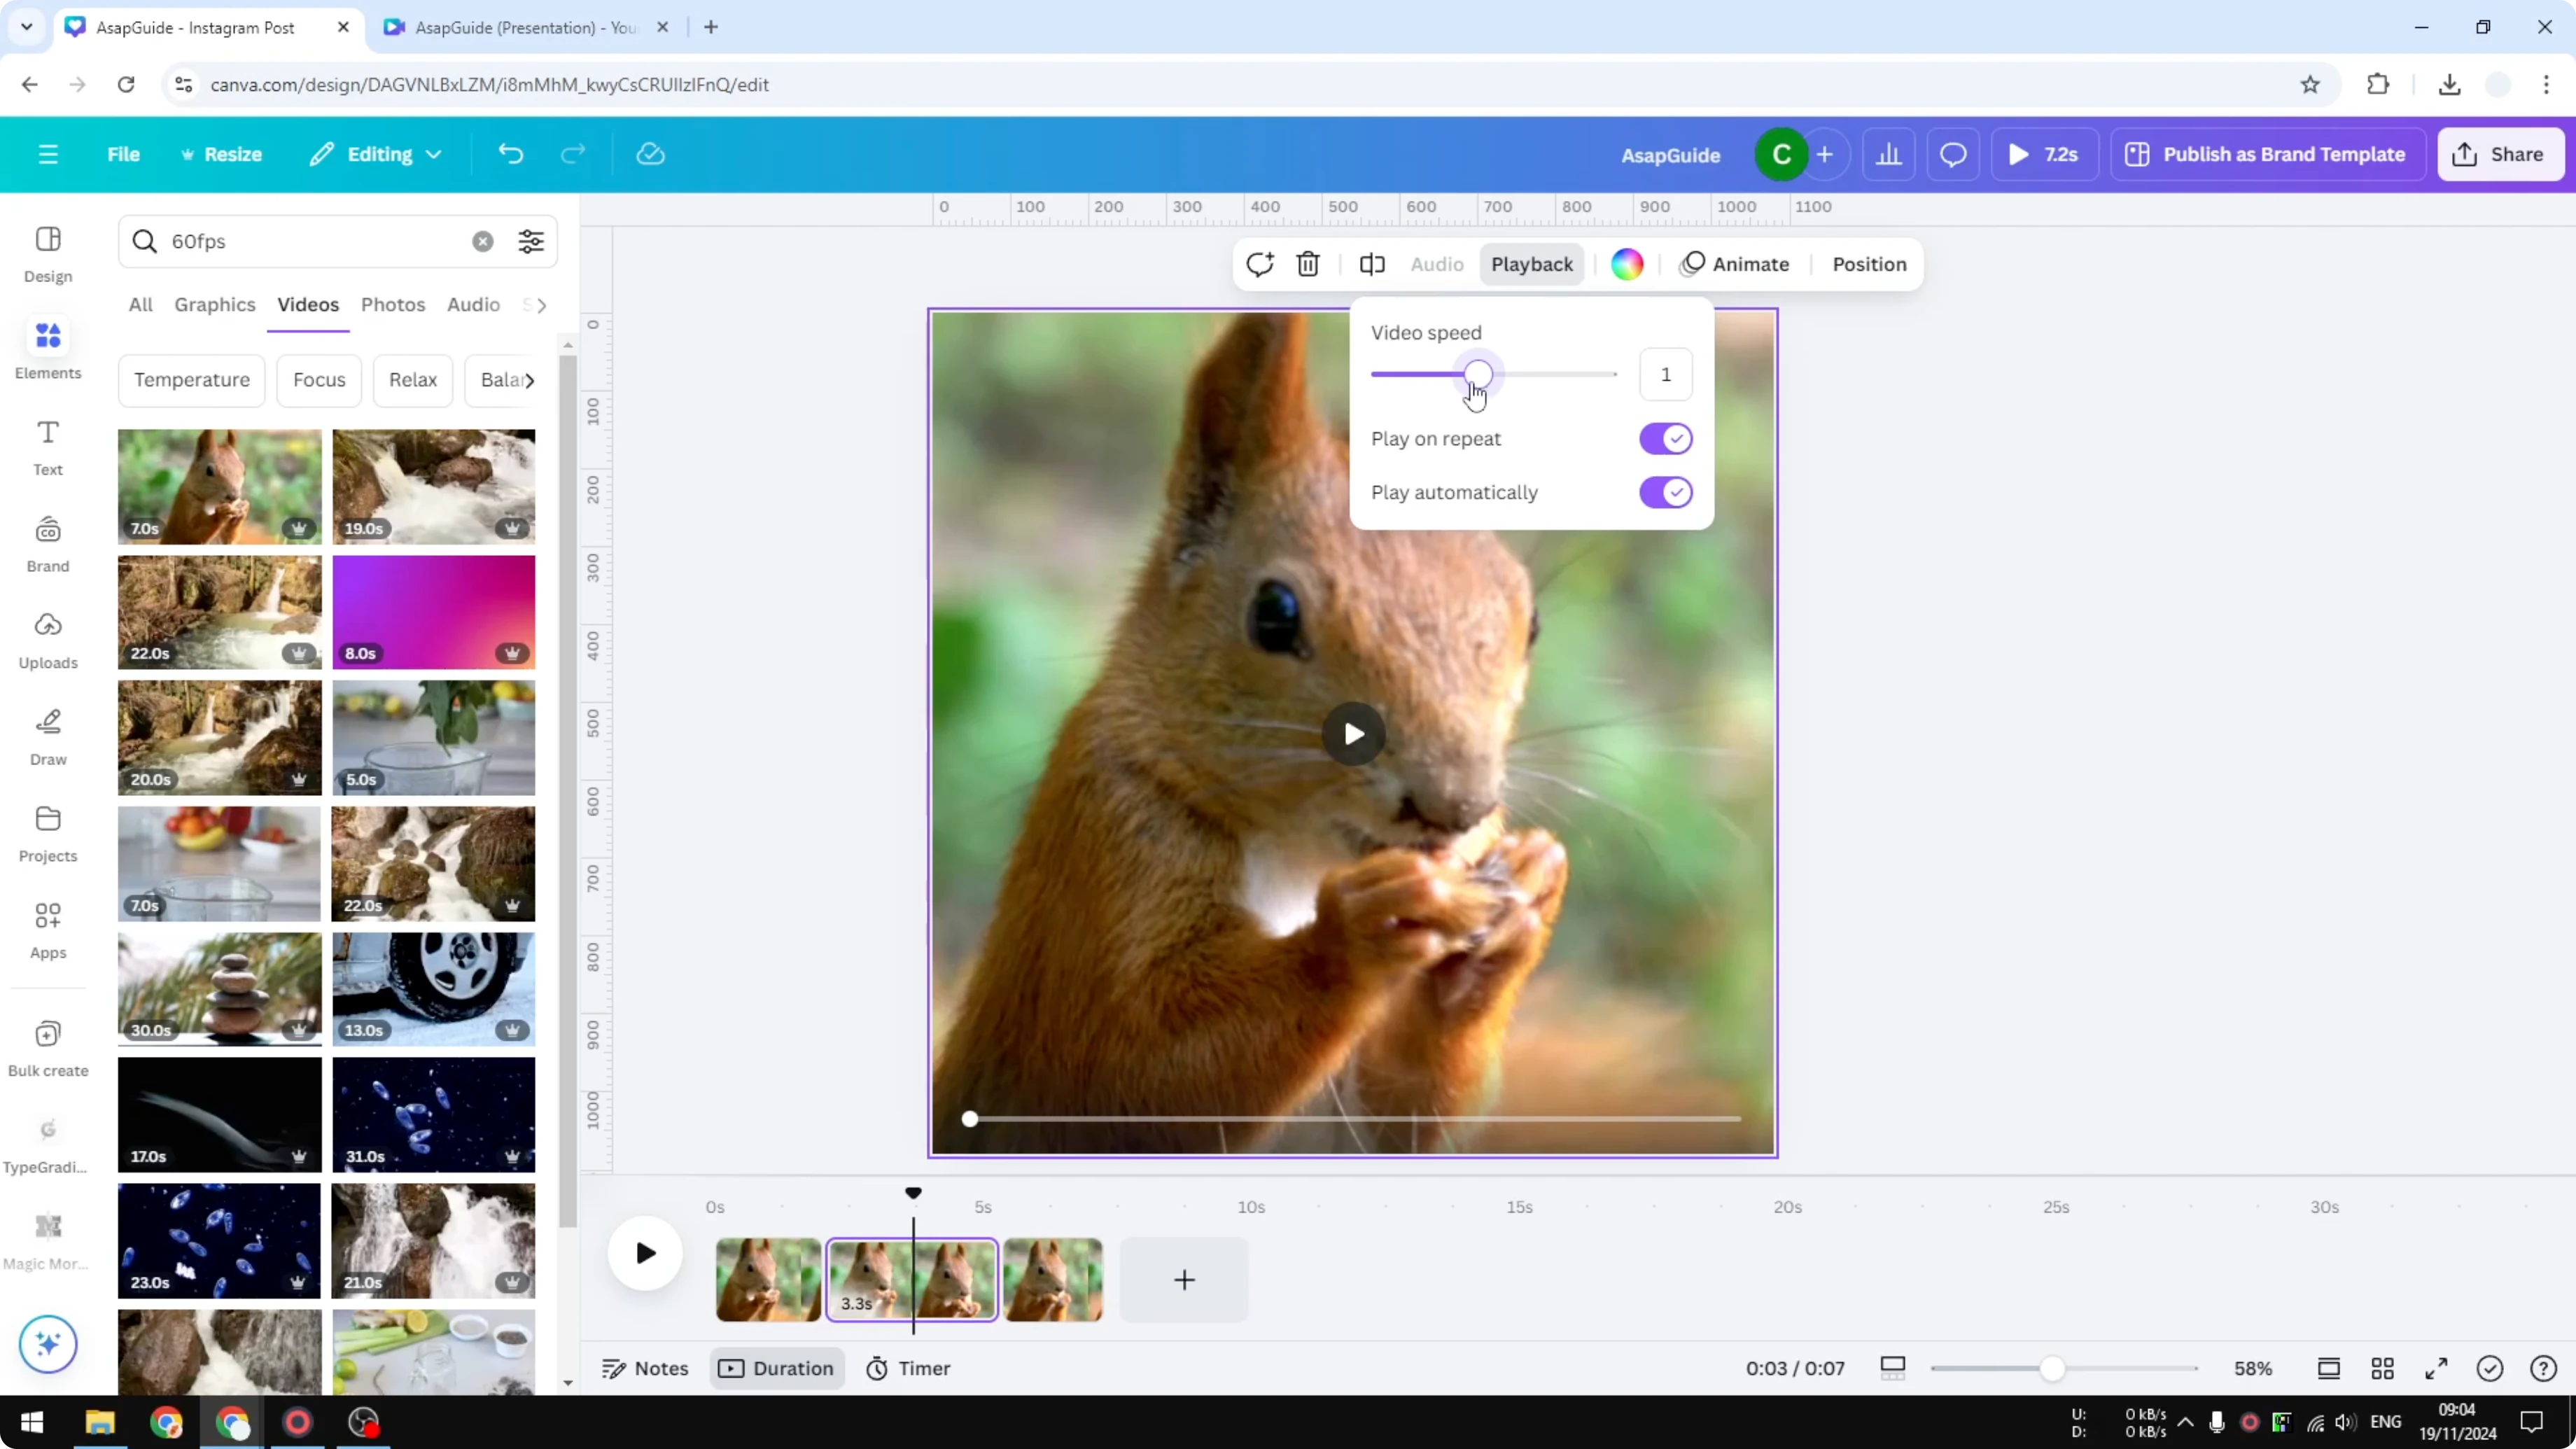
The video becomes longer, which is exactly what we want. This middle section is now slower than the beginning and the end.
For stylized motion, you can also bend and warp footage with this tutorial on the distortion effect in Canva.
Export from Create a Slow Motion Effect in Canva Video
When you are done, click Share. Click Download and export the video.
Choose your preferred format and quality, then save the file.
Final thoughts on Create a Slow Motion Effect in Canva Video
Smooth slow motion in Canva starts with high frame rate footage. Use Playback speed to slow the entire clip, or split the clip to slow only a section.
Watch the duration to confirm the slow factor you set. Export when you are happy with the timing.
Recent Posts
How to Visualize Yourself as a Pixelized Character with AI?
How to Visualize Yourself as a Pixelized Character with AI?

How to Revive Faded Memories and Enhance Image Clarity with AI?
How to Revive Faded Memories and Enhance Image Clarity with AI?

How to Visualize Yourself as an Animal Crossing Character with AI?
How to Visualize Yourself as an Animal Crossing Character with AI?