How to Create a Distortion Effect in Canva
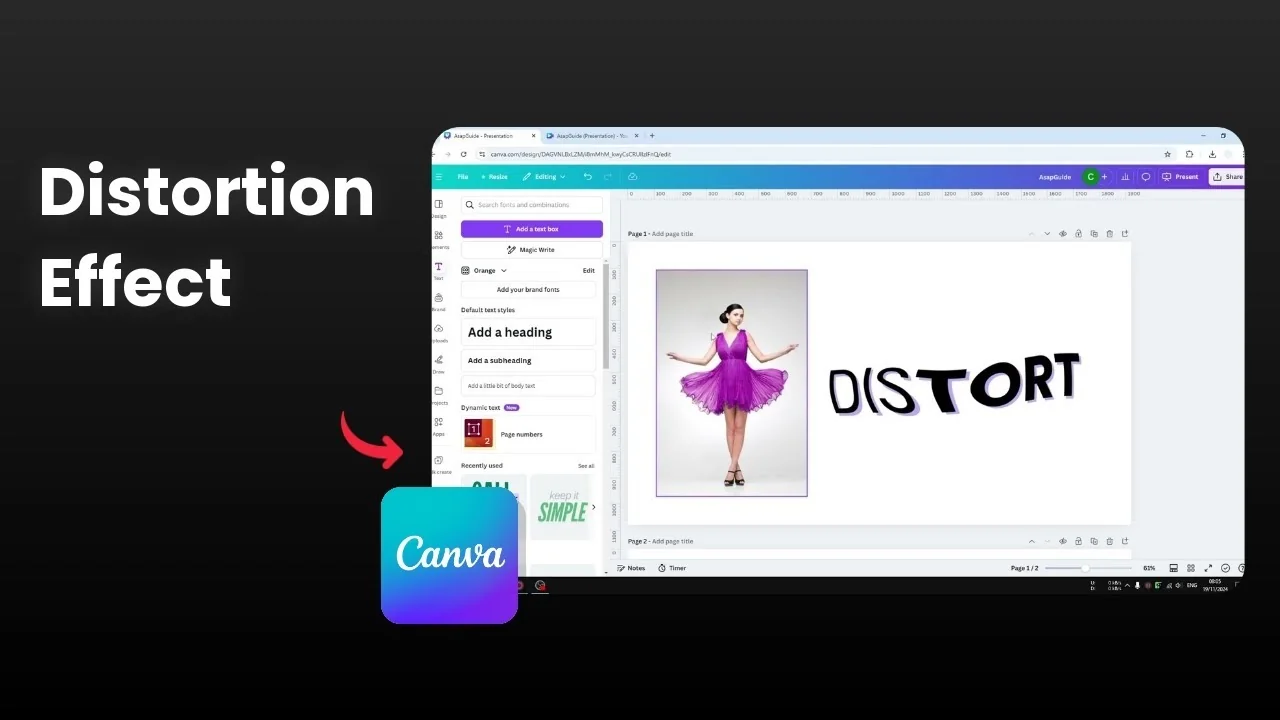
I'm going to show you how to create a simple distortion effect in Canva. It makes the picture look wavy, and an example is text that looks distorted. If you want this style, it's pretty easy.
Create a Distortion Effect in Canva
Liquify for images
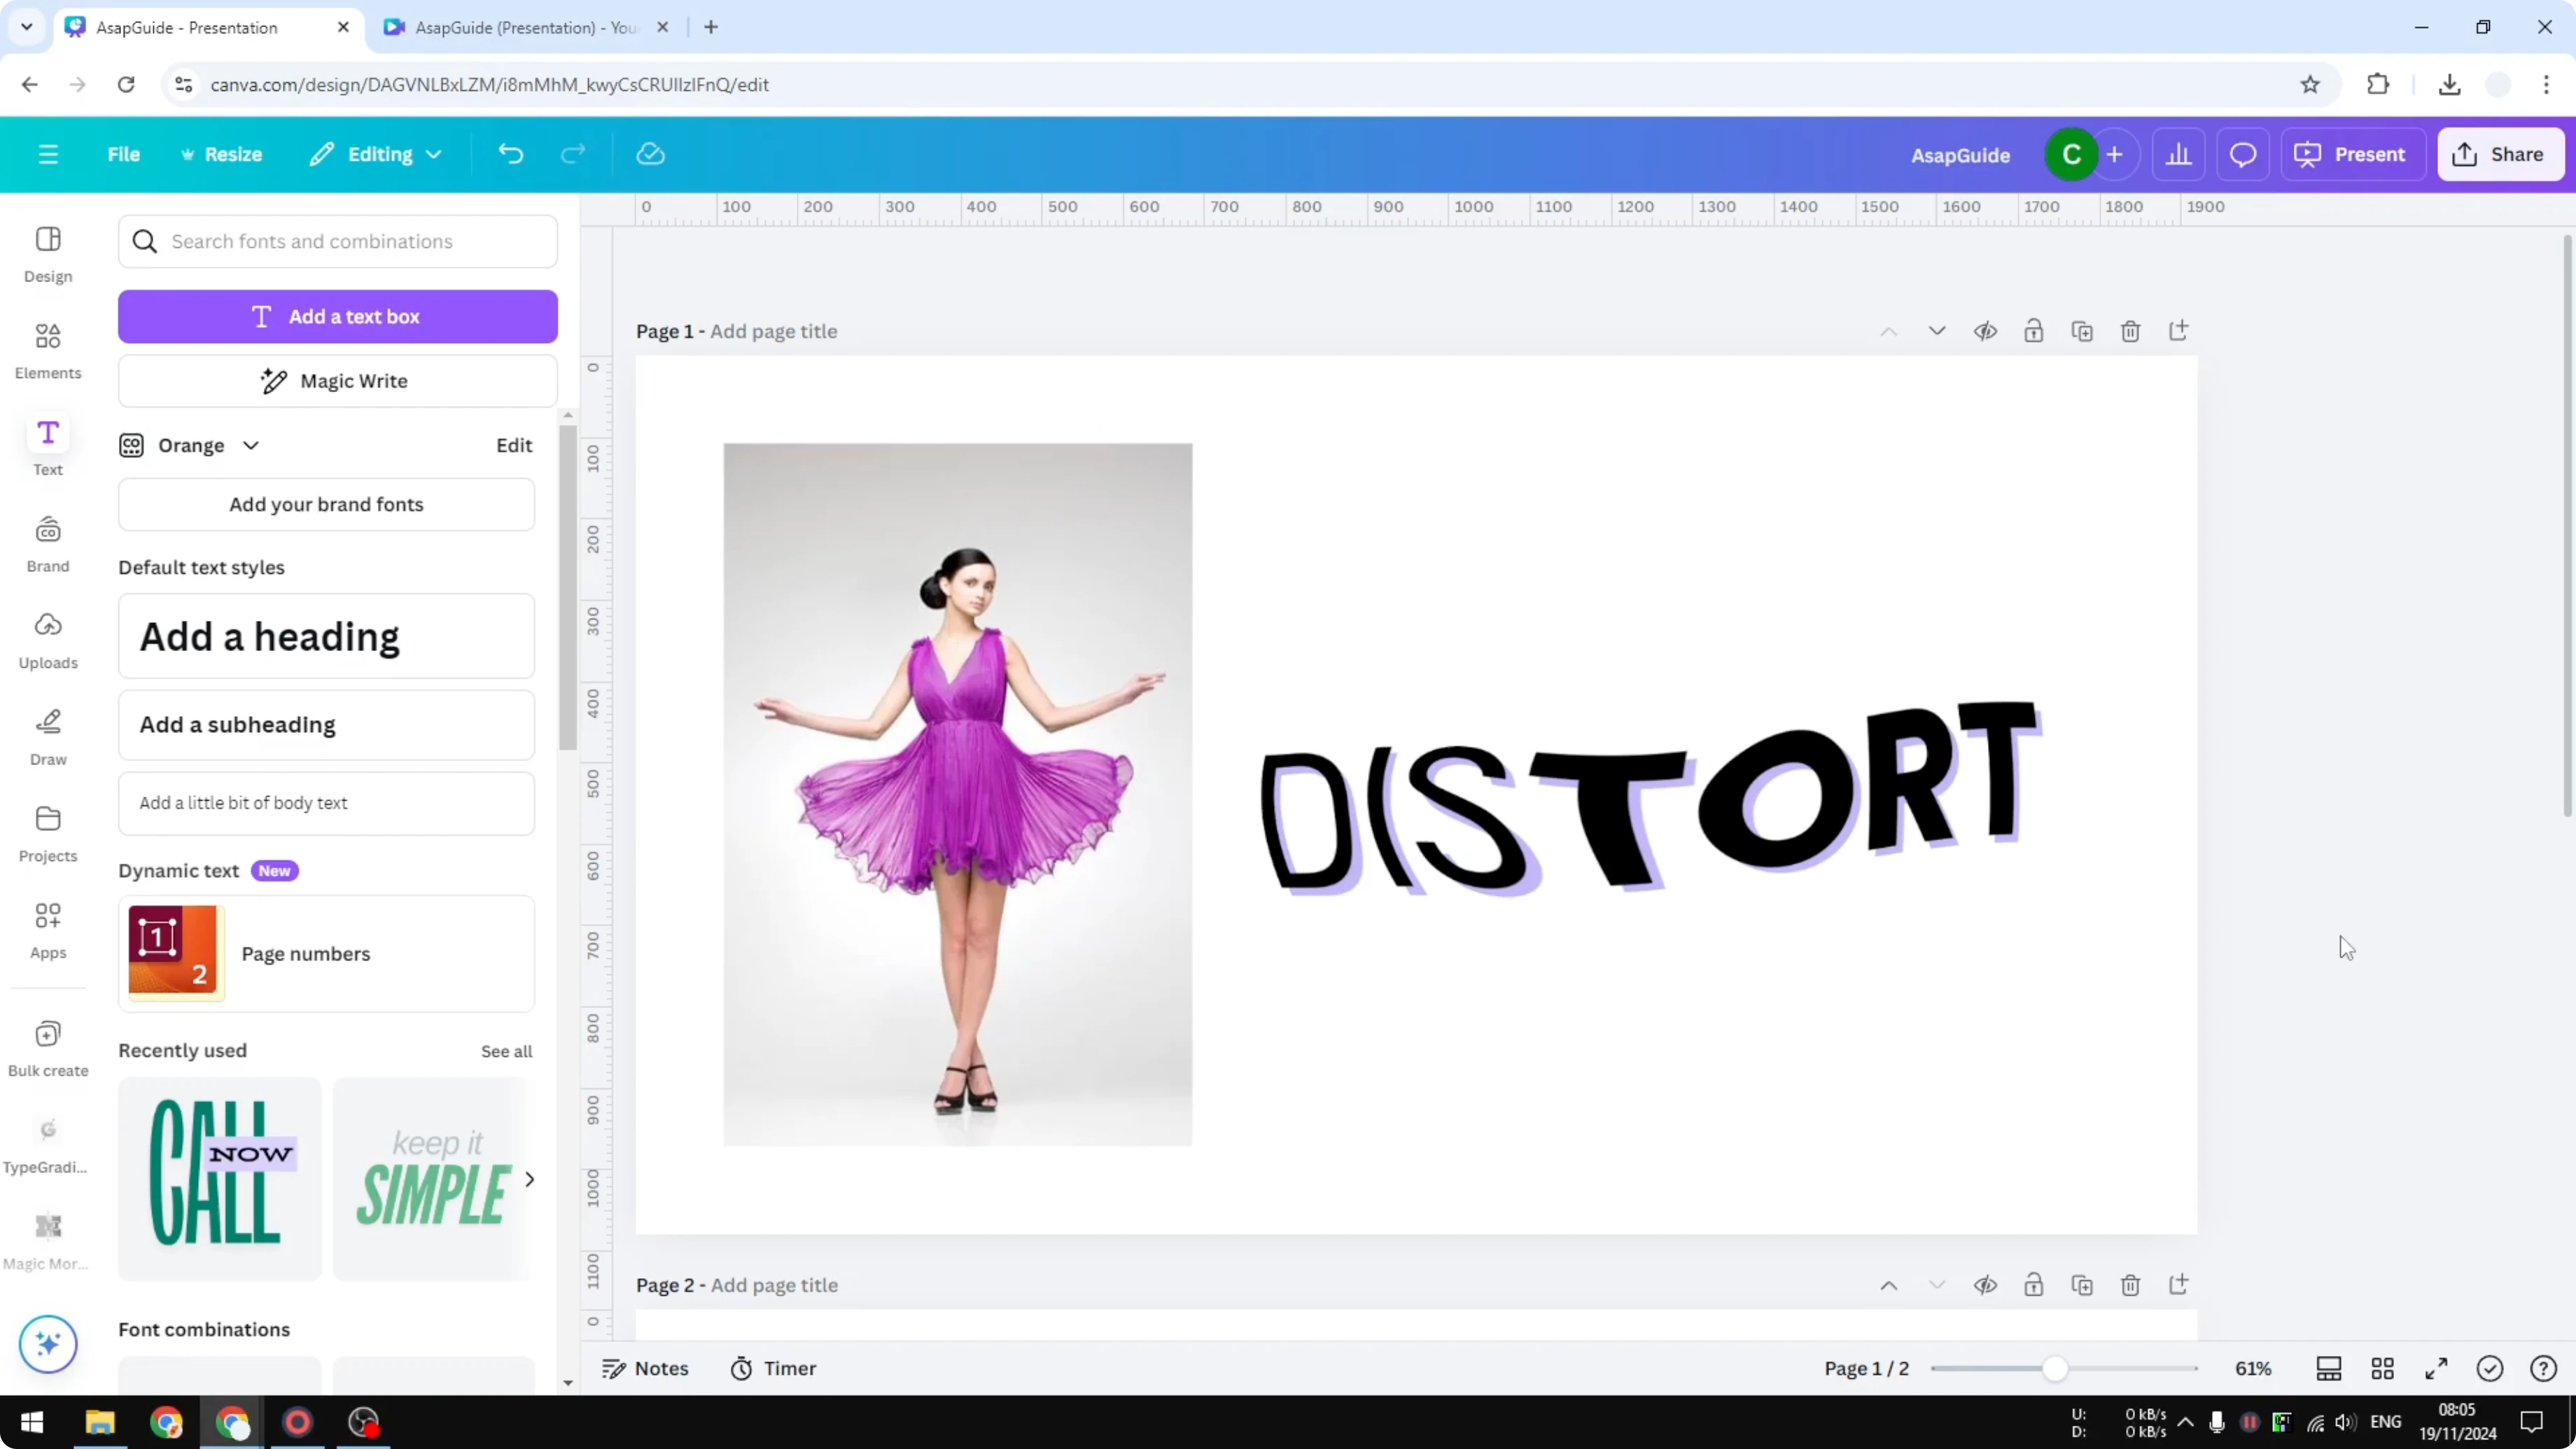
Select the image you want to distort.
Click Edit.
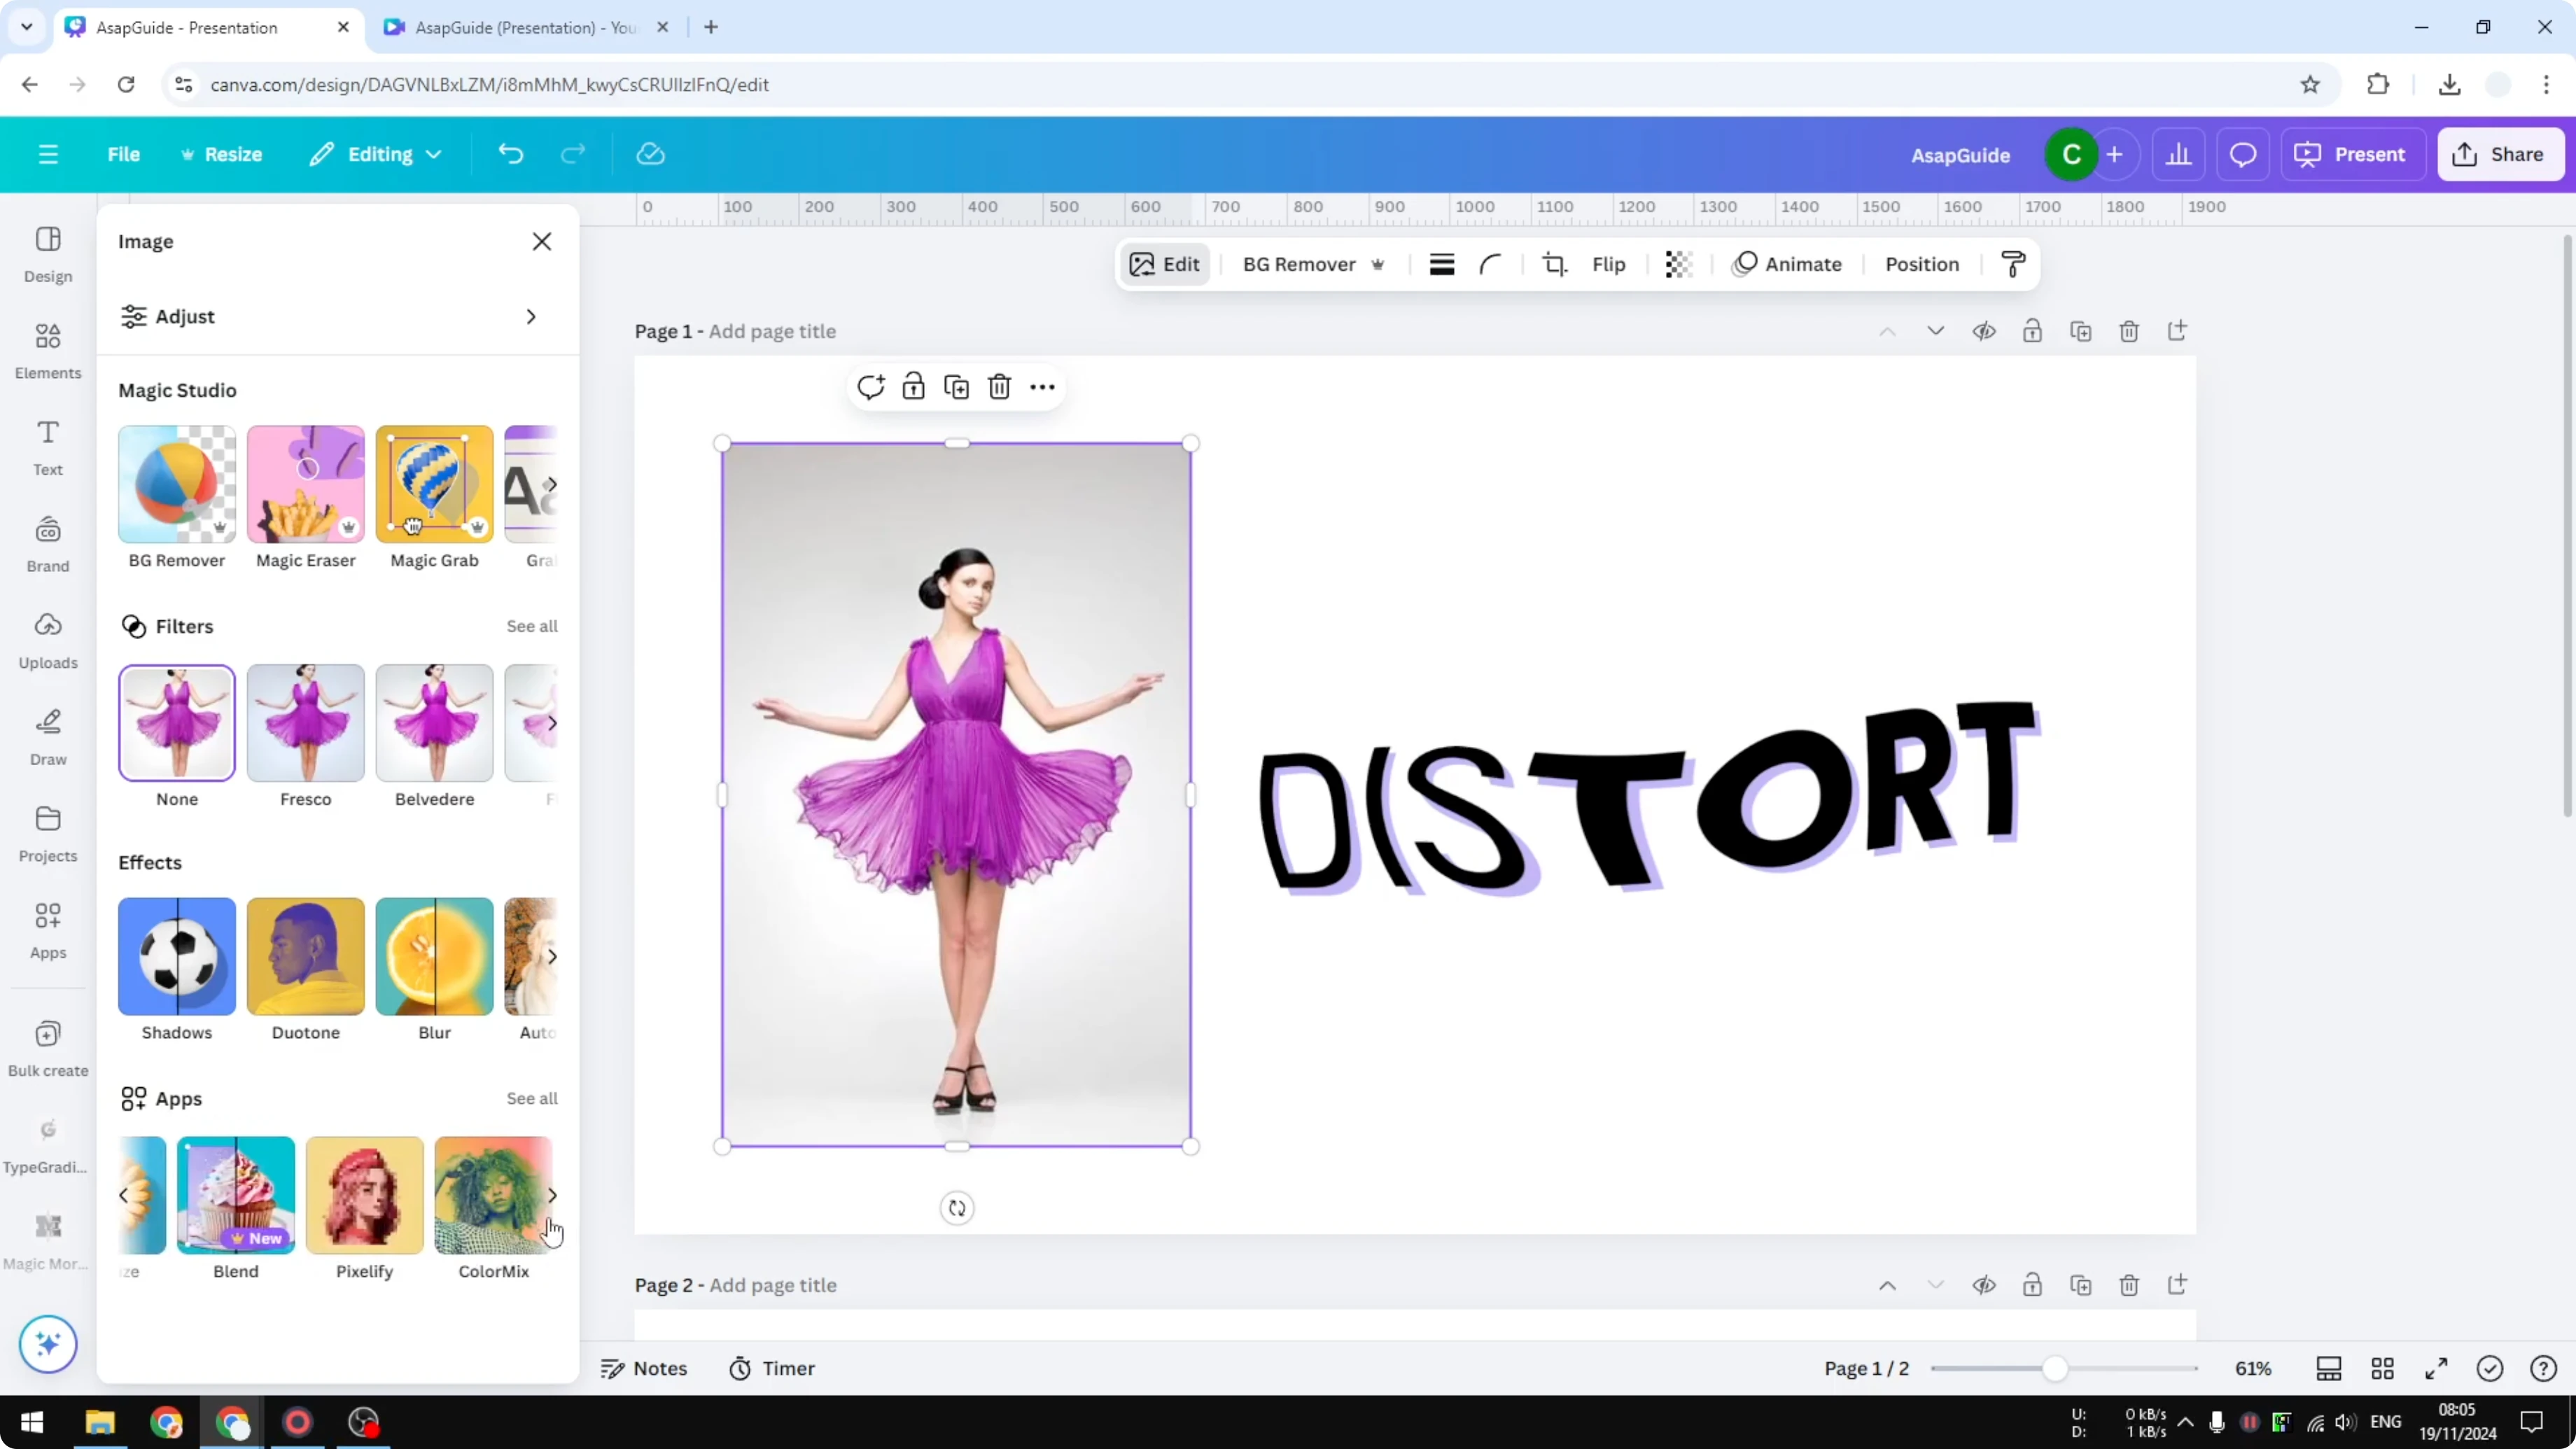
Navigate to the Apps section at the bottom.
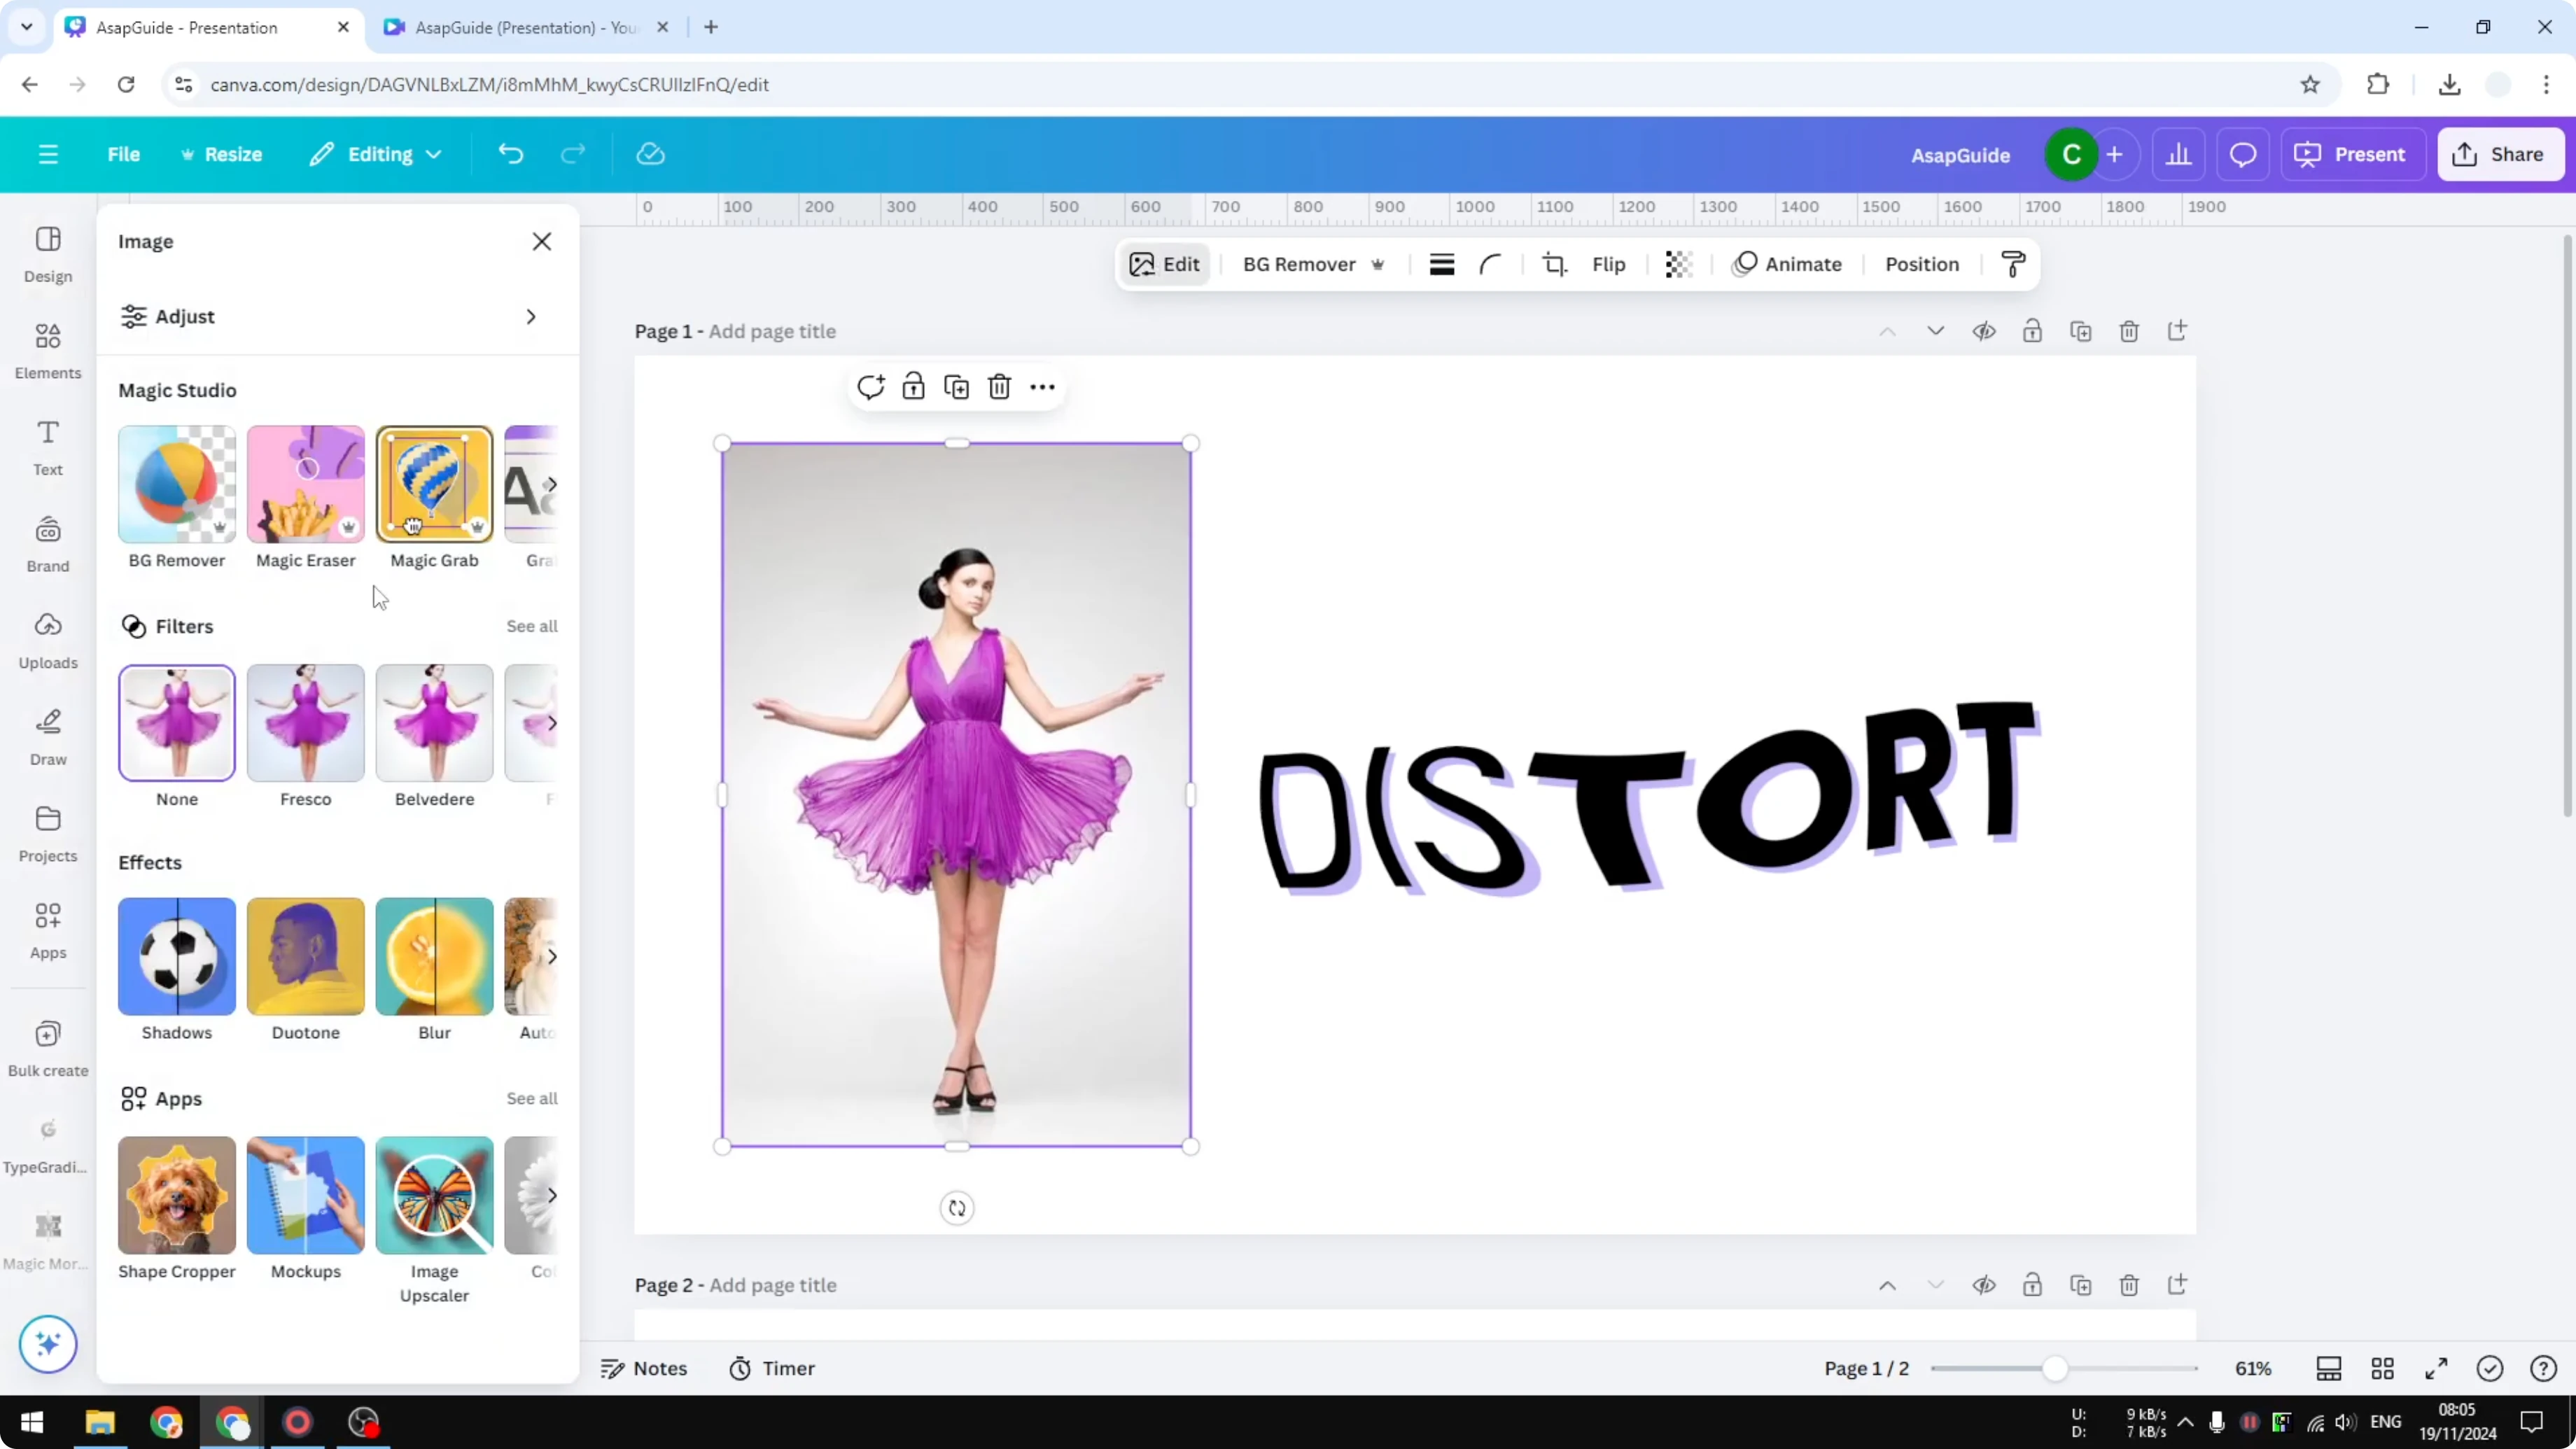
Scroll to the right until you find Liquify, then click it.
If prompted, click Open at the bottom.
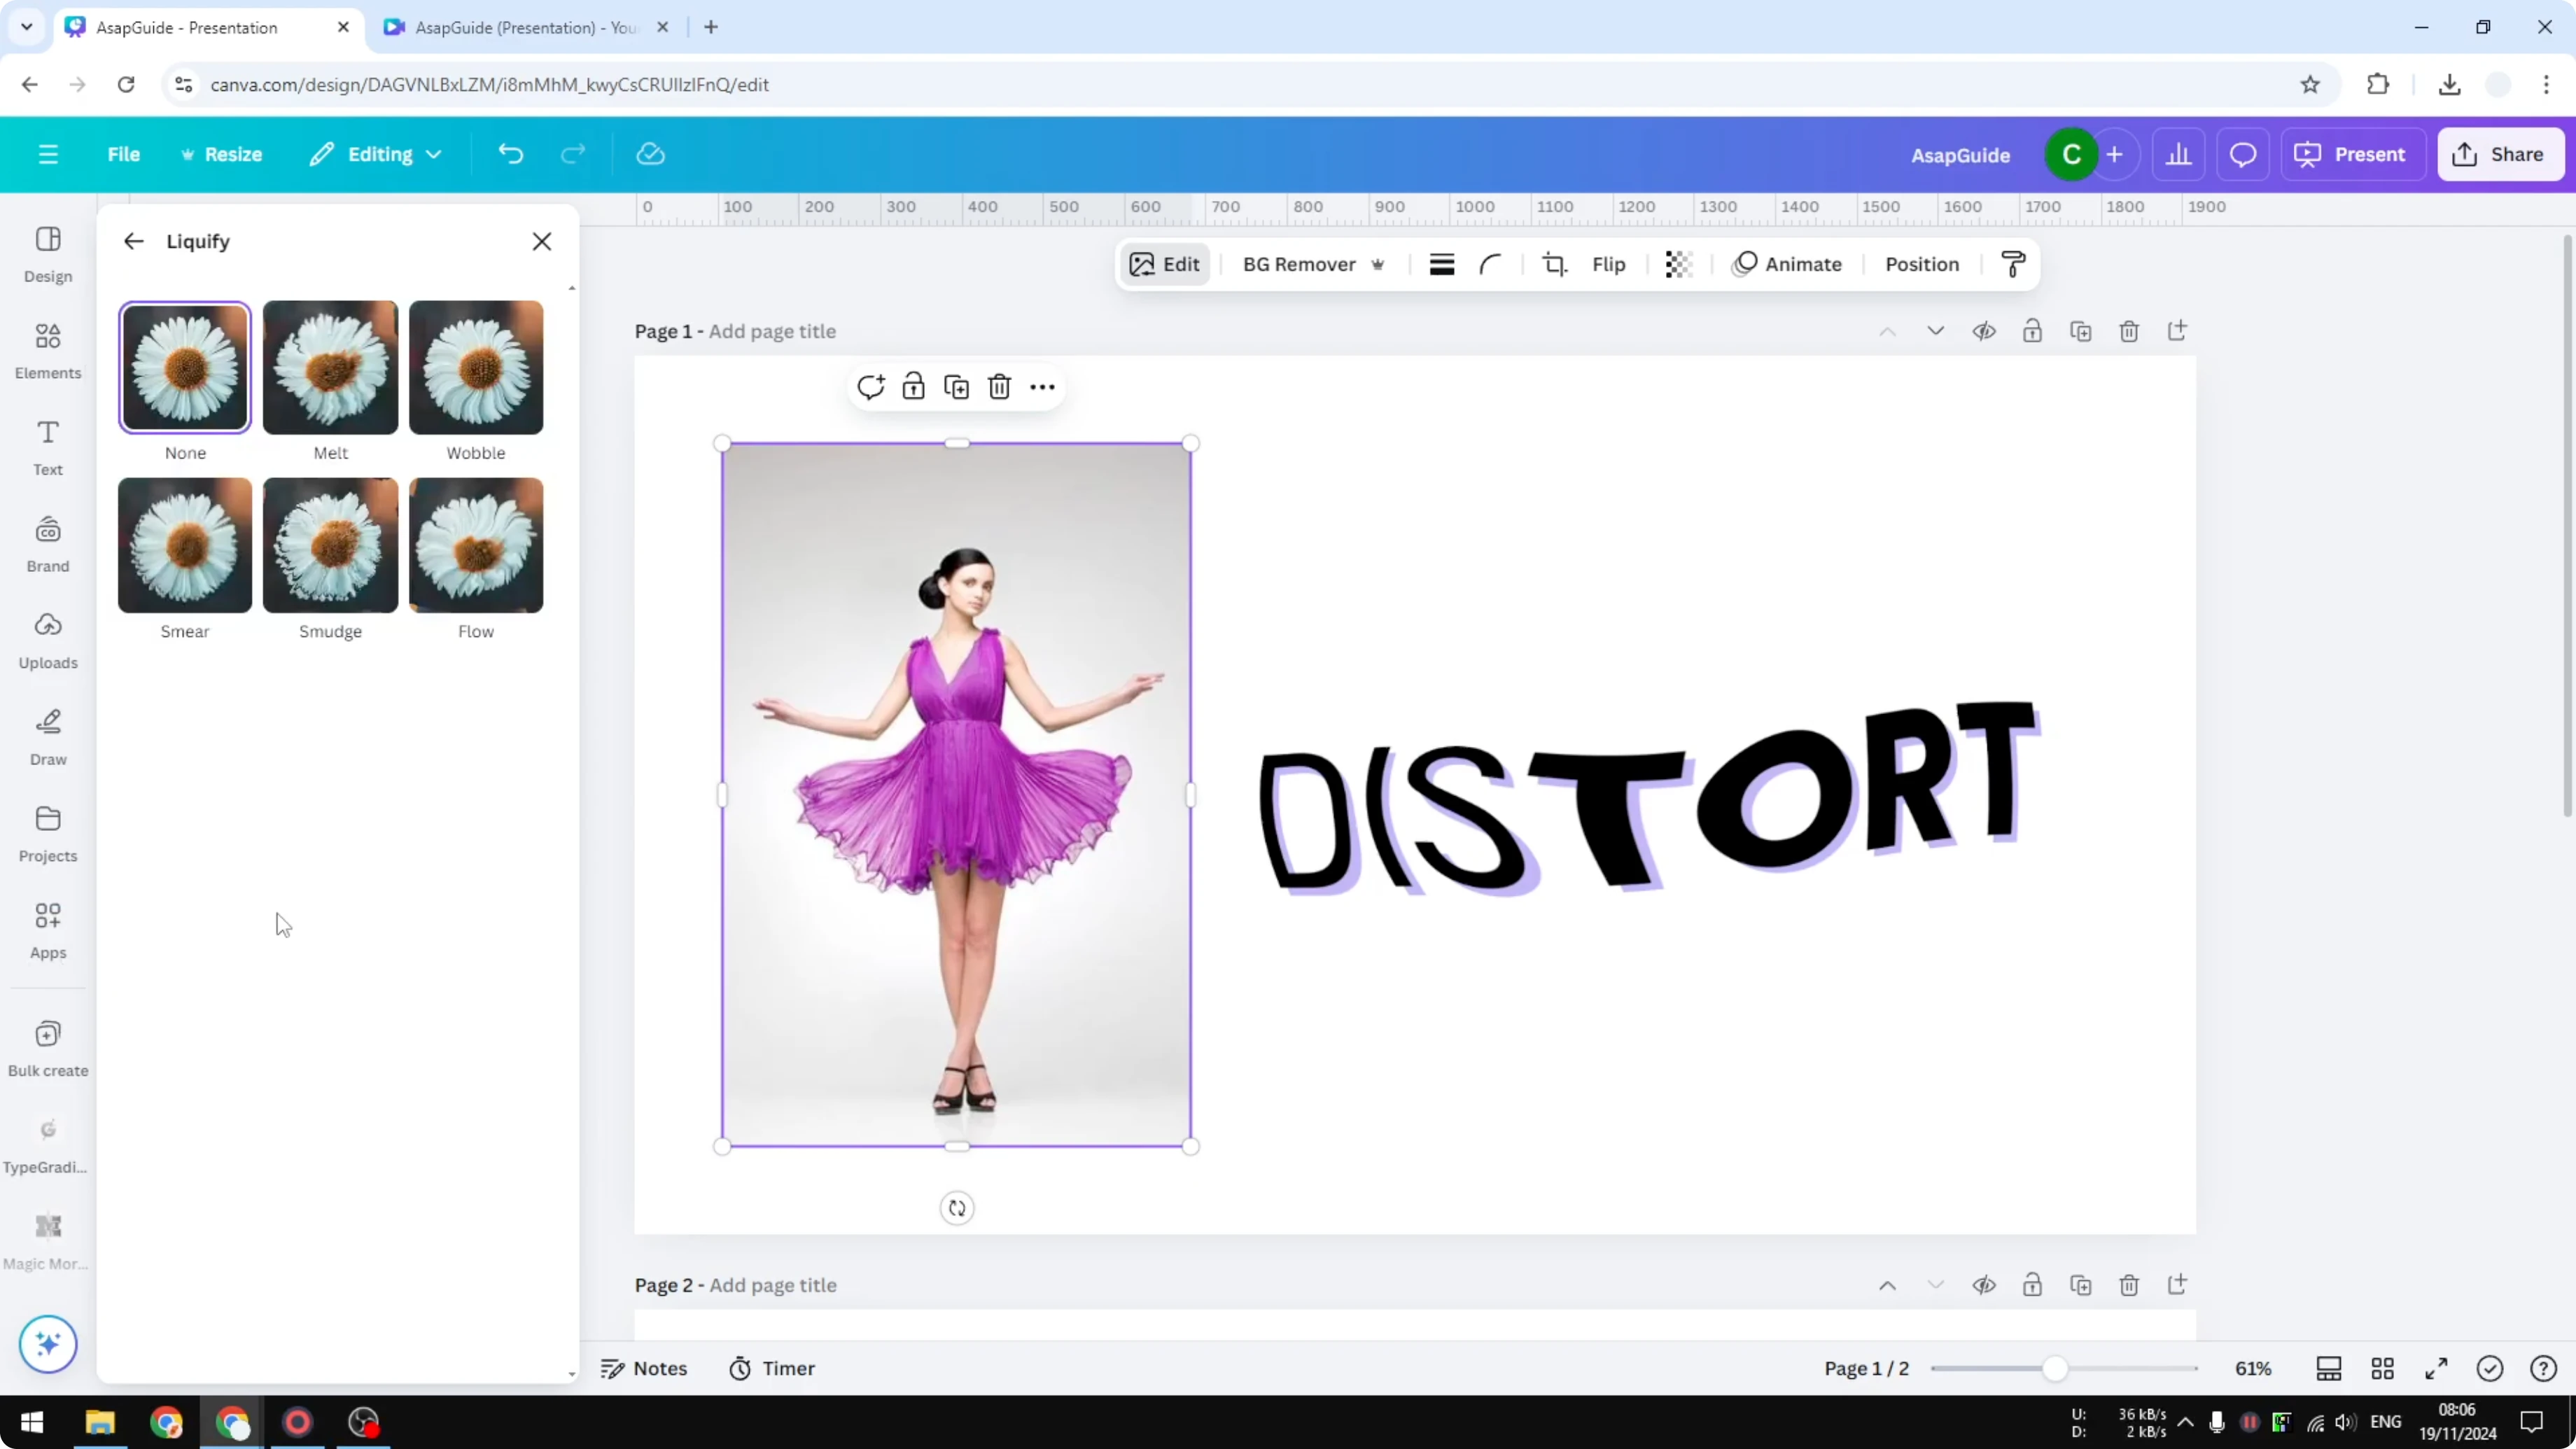
You will see a menu with five presets.

Adjust the parameters to customize the effect.
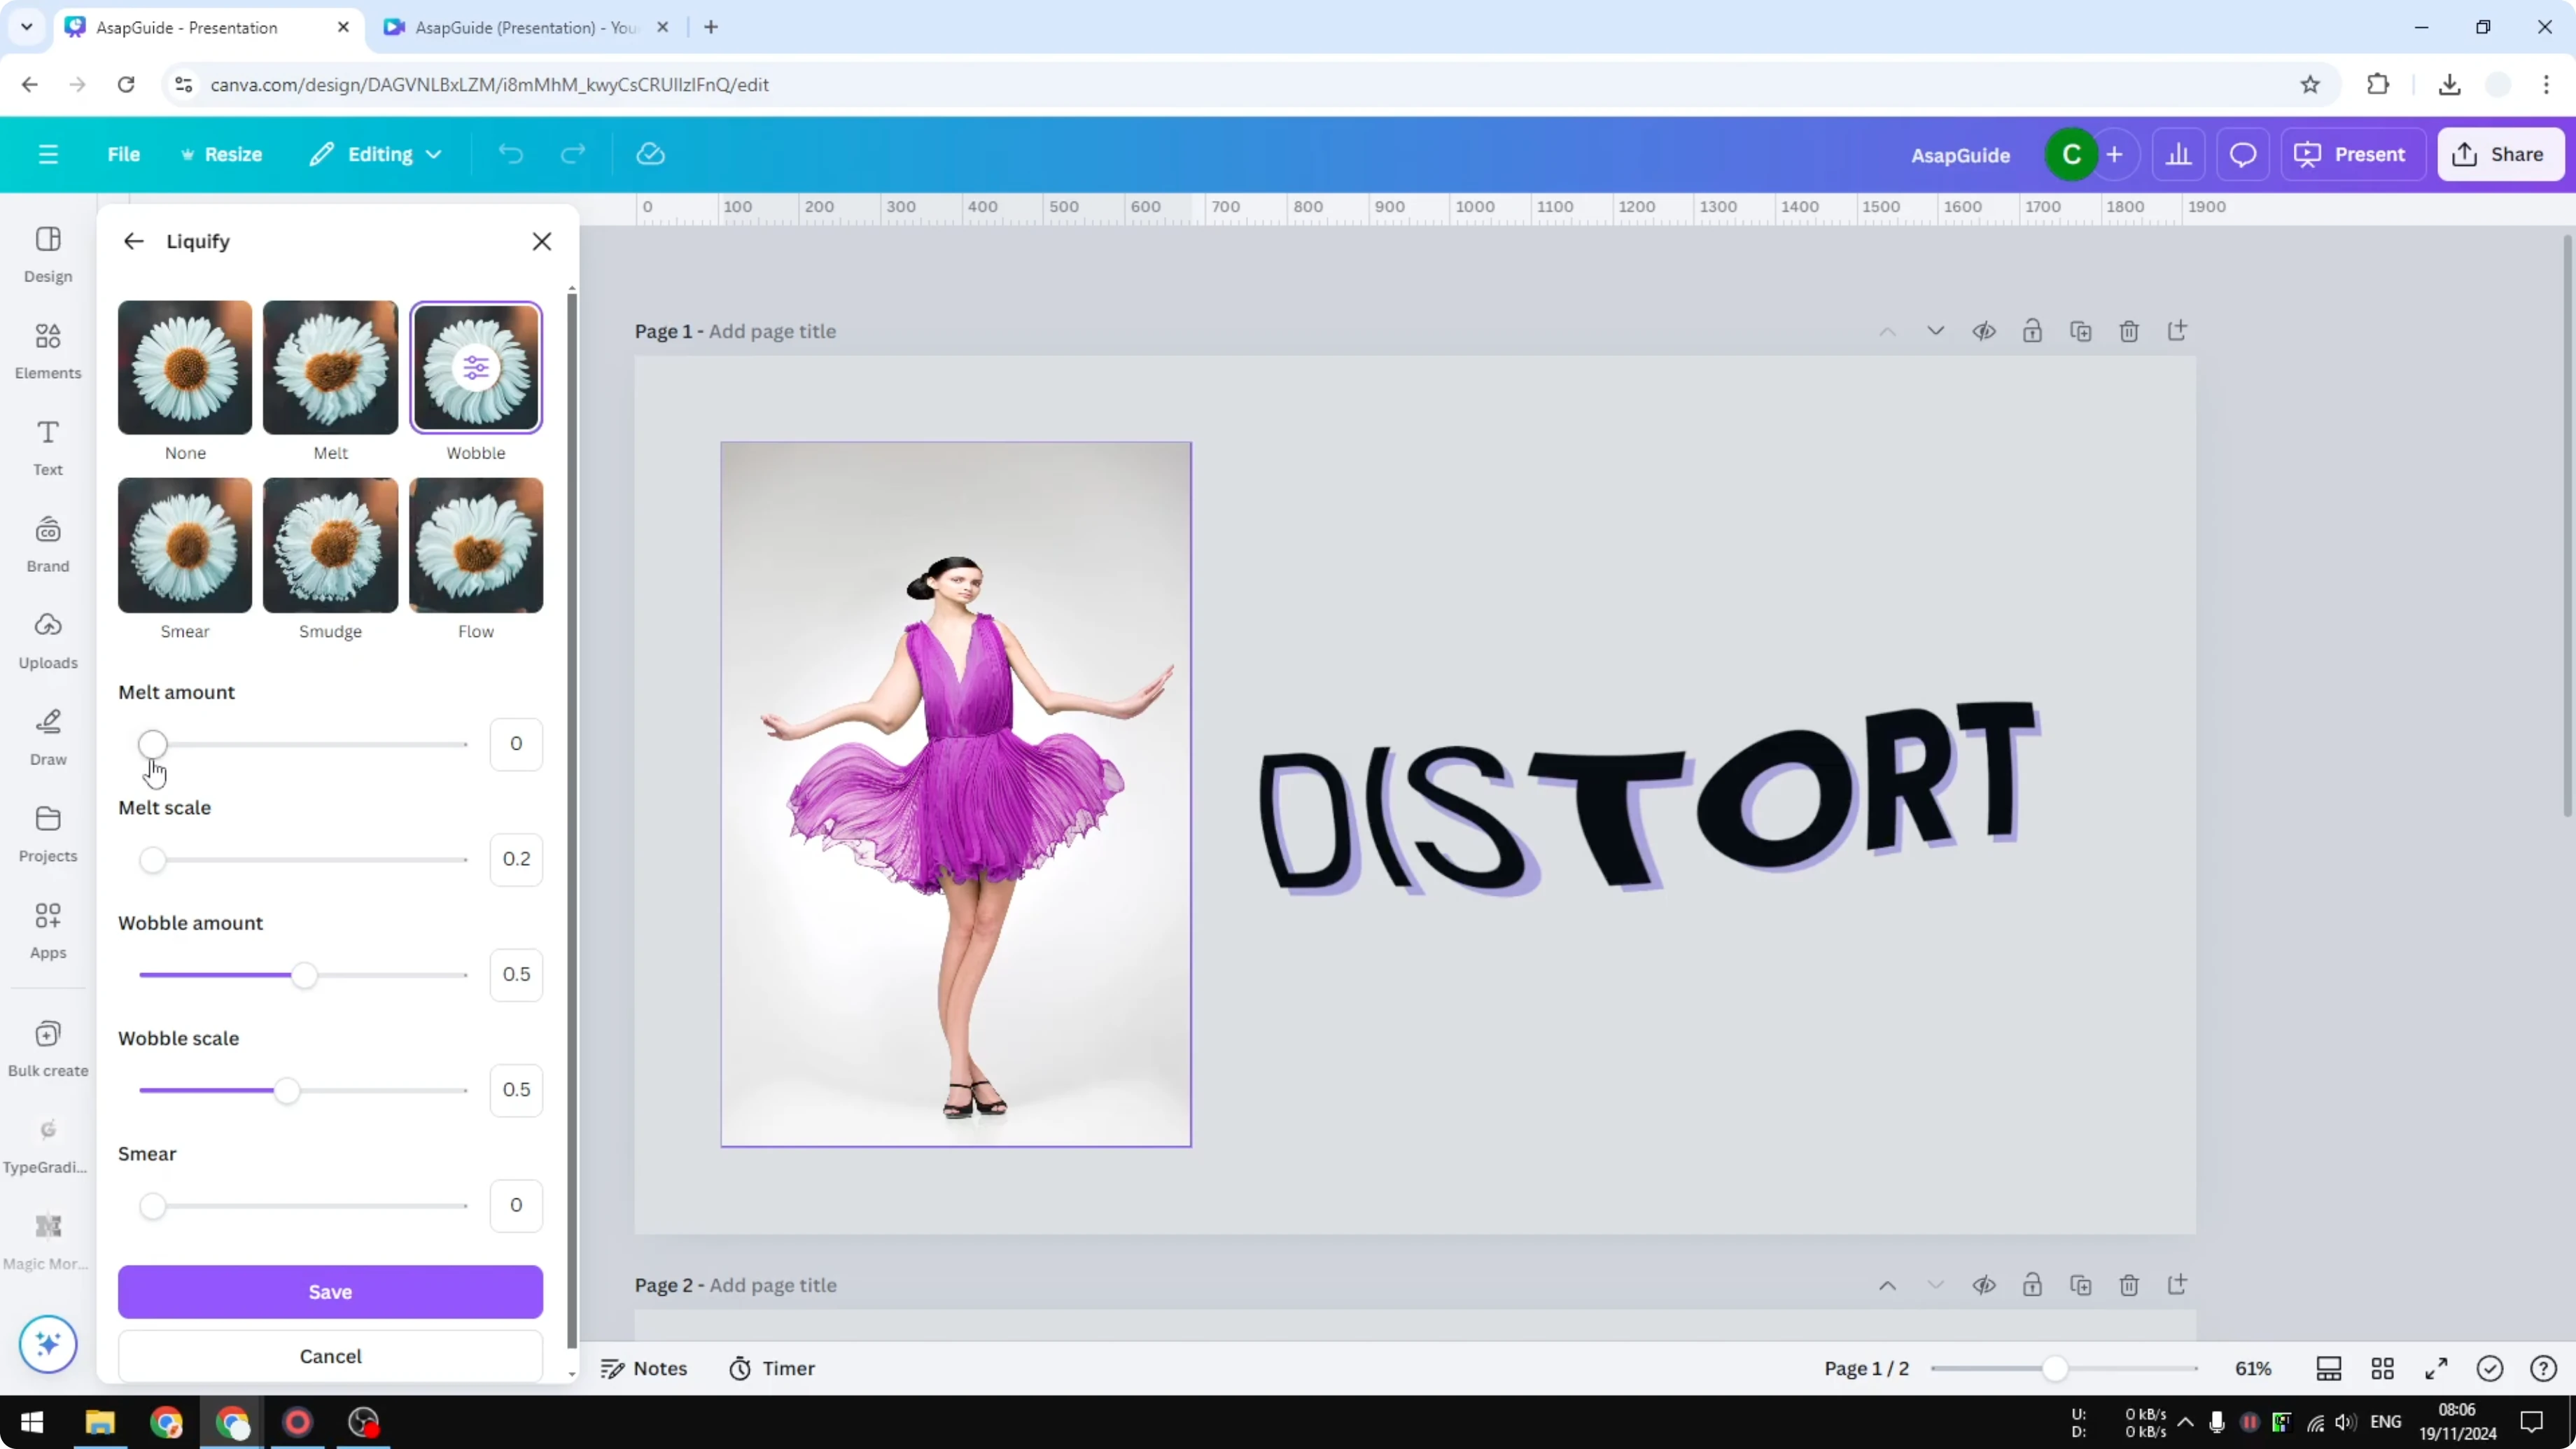
Click Save to apply it to the image.
If you want a soft, complementary background for this look, try a bokeh effect in Canva.
Convert text to image
Liquify is available for images. To distort a text box, convert the text into an image first. This text look is actually an image that shows text.
If you want another stylized text approach after this, check out a glitch text effect.
Add a new page.
Add your text and make sure the background is empty.
Click Share and then Download.
Change the file type to PNG.
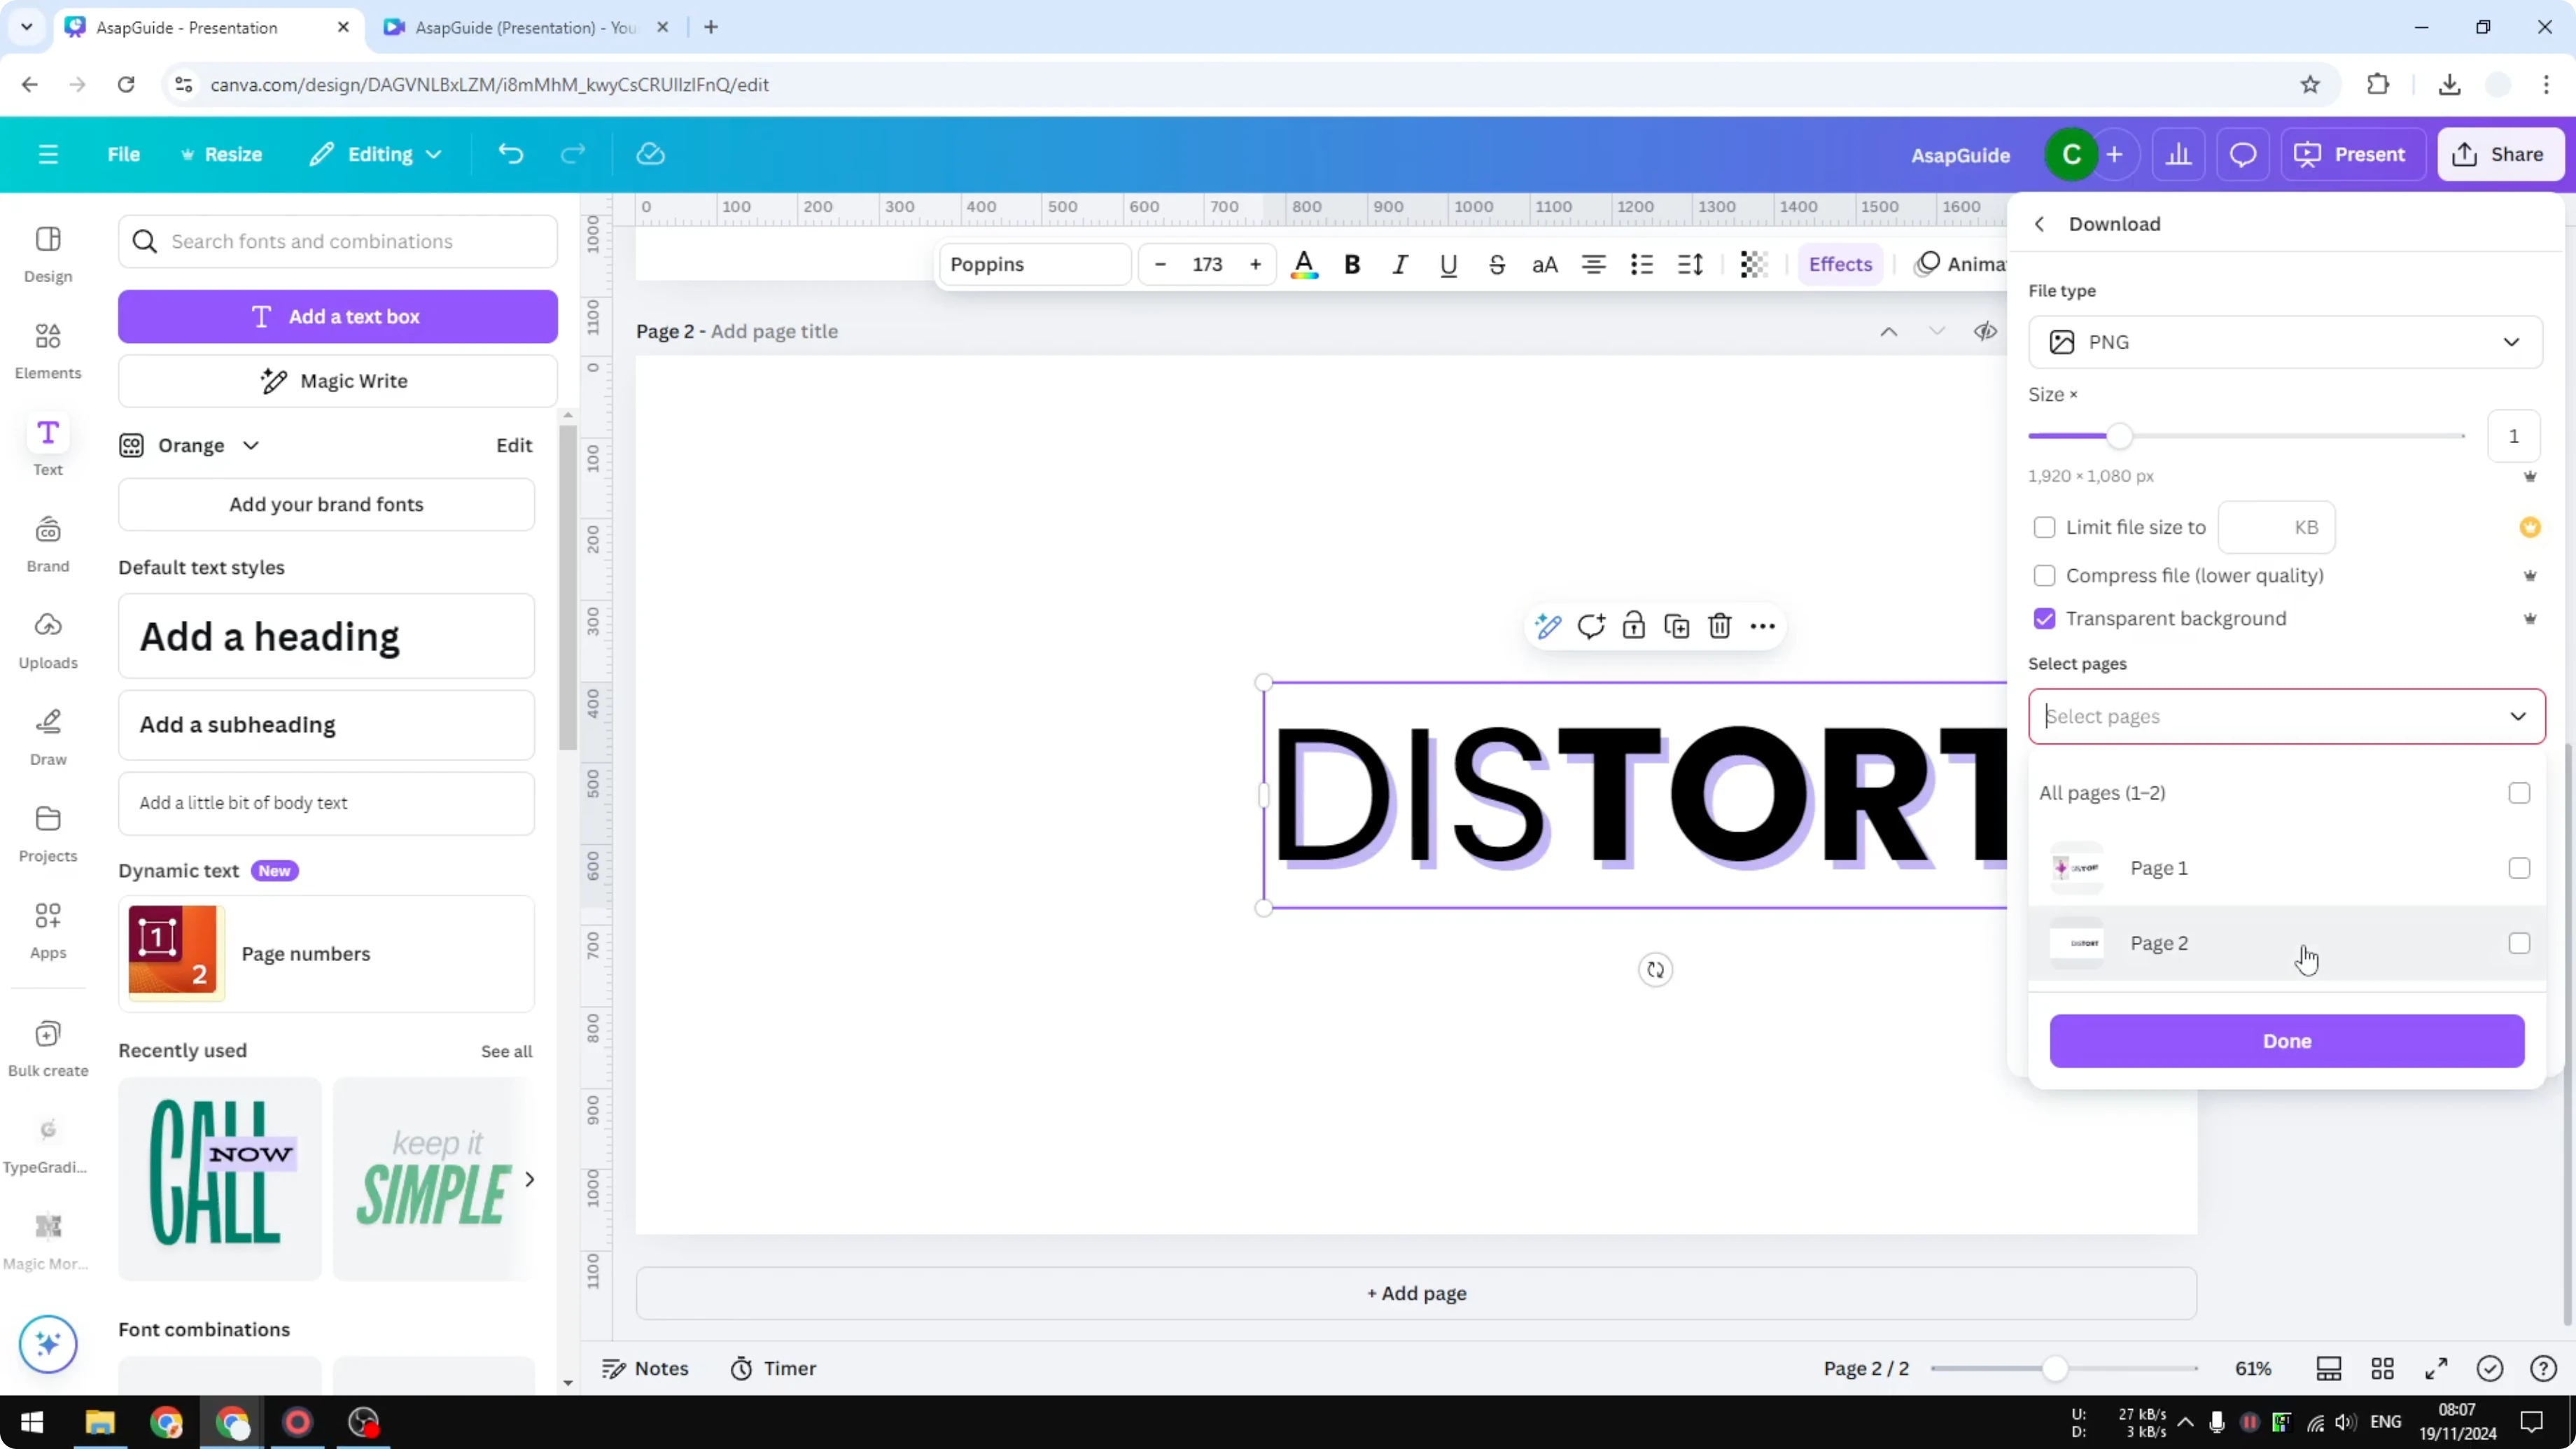
Enable Transparent background.
Select only the page you want to download.
Click Download and wait for the file.
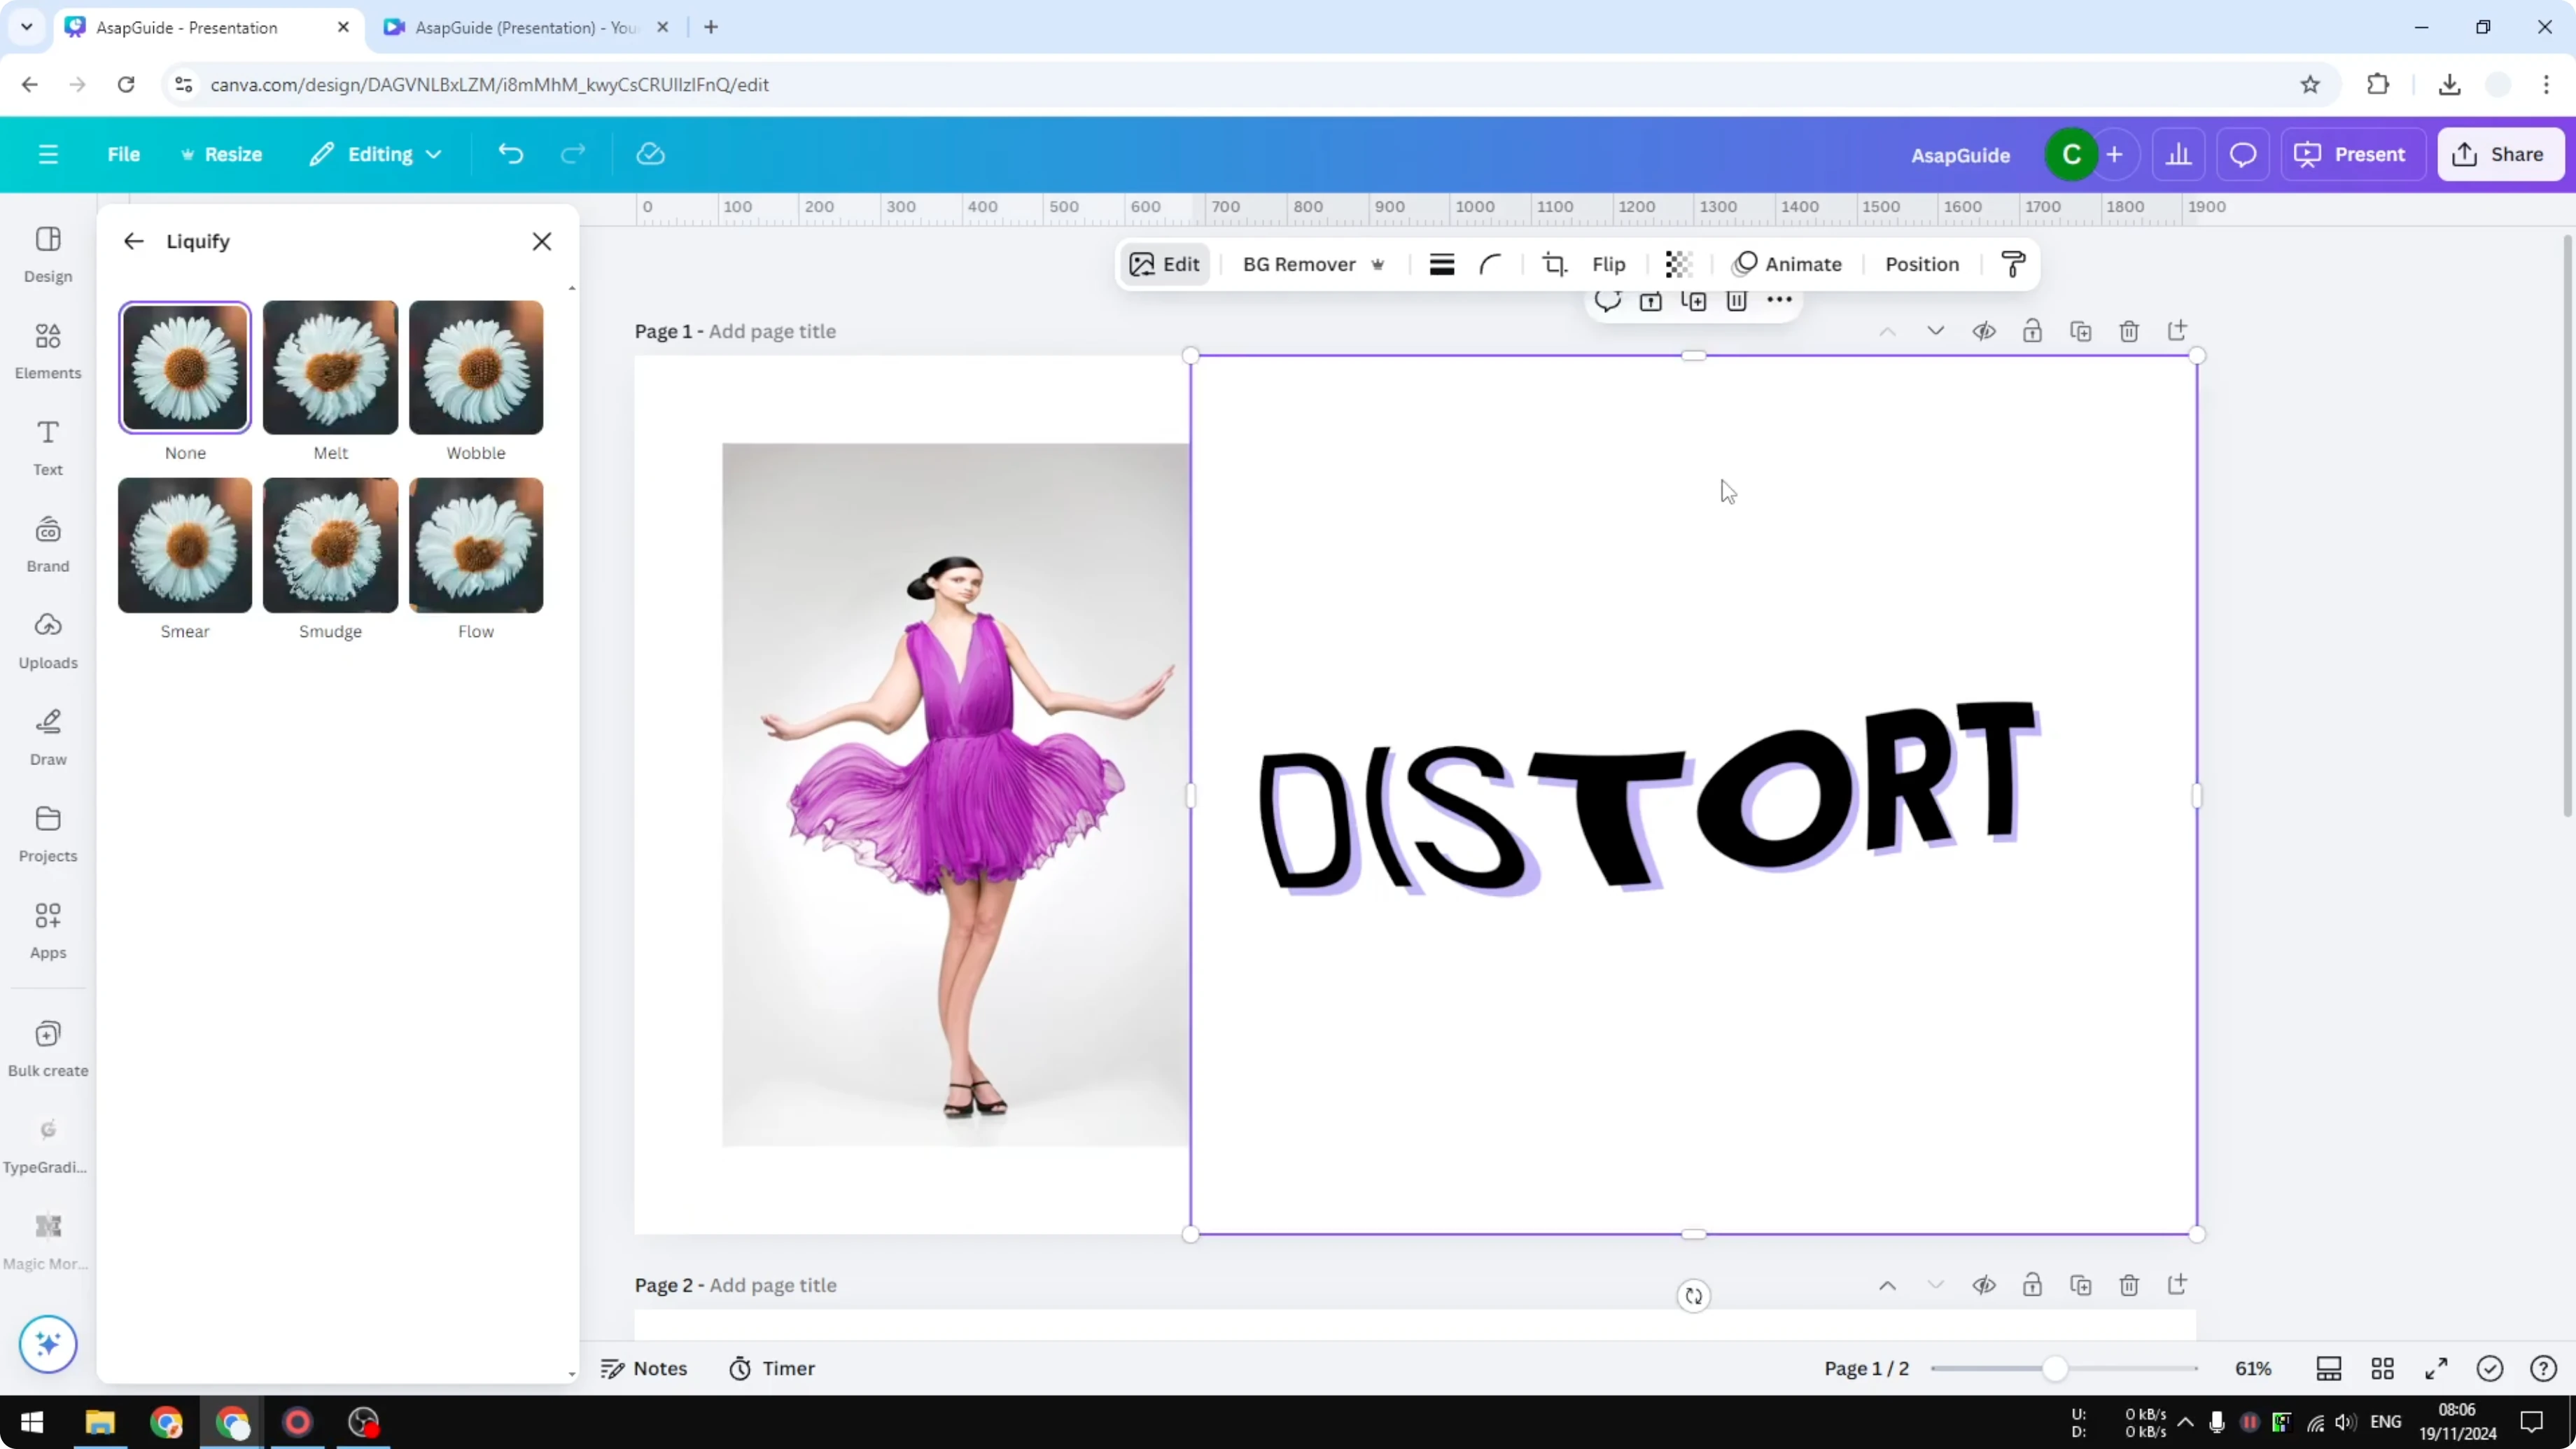
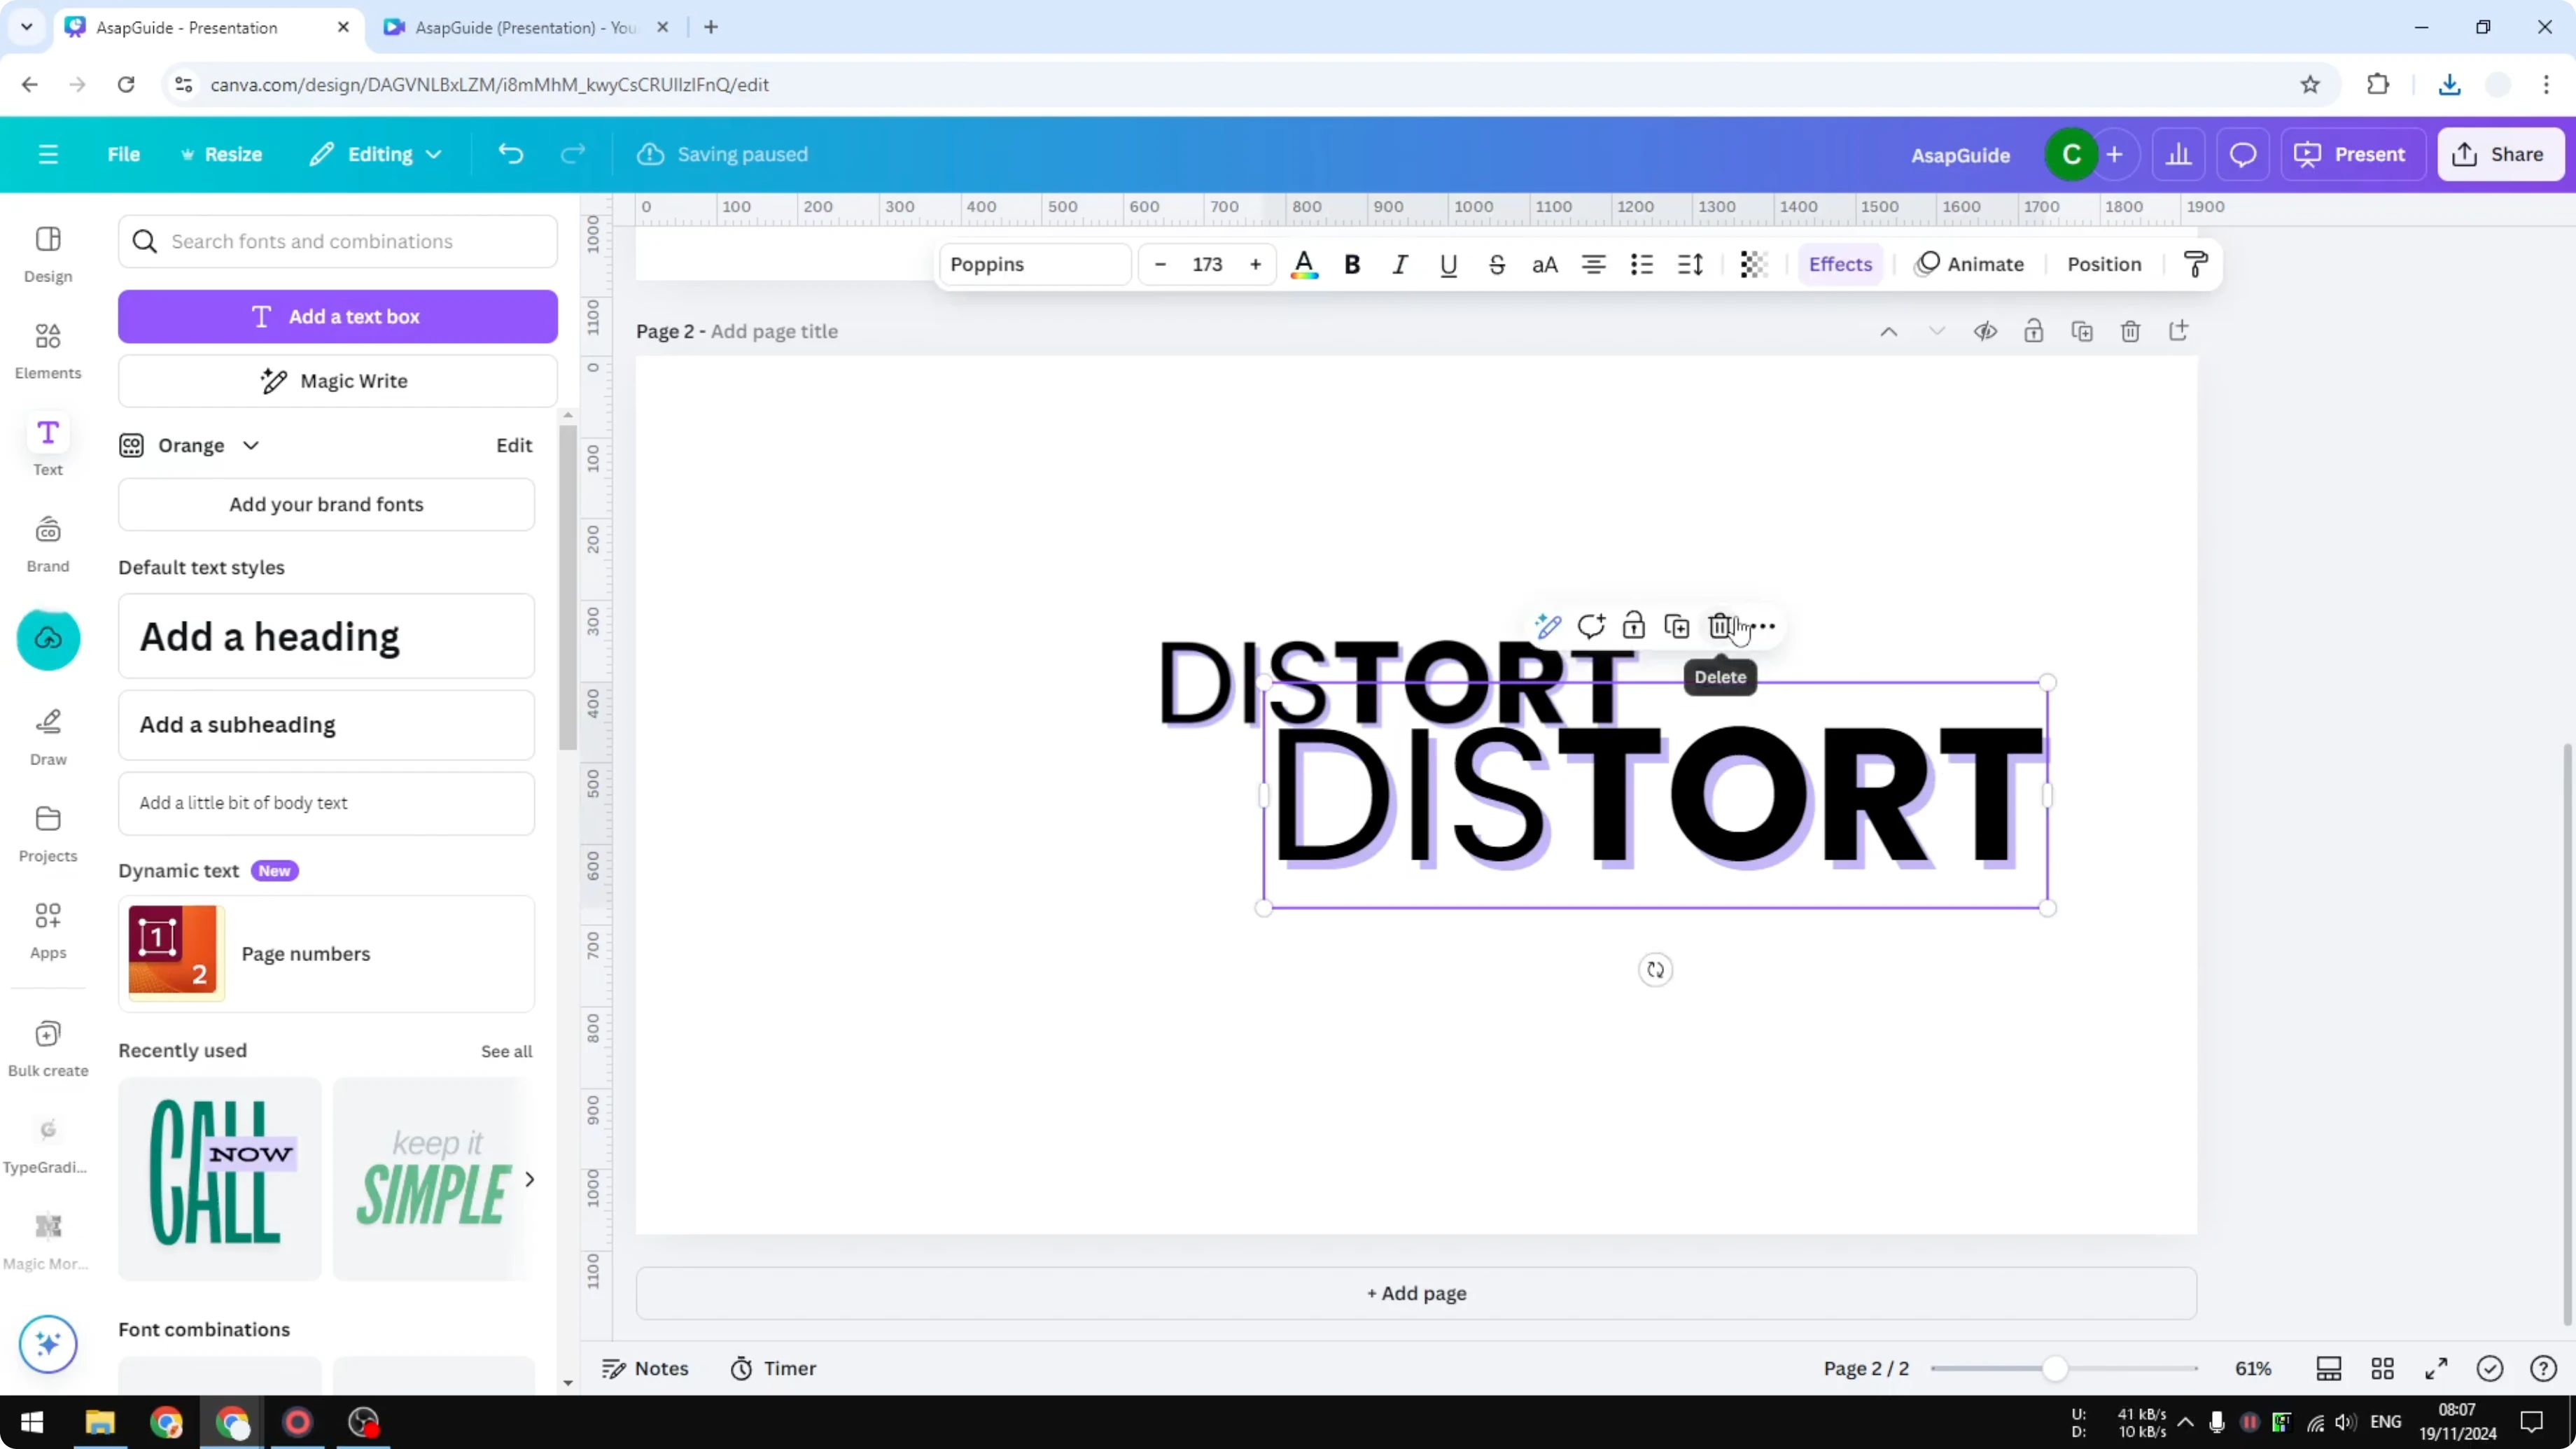
Upload the PNG back into the document.

Remove the original text box and resize the uploaded image as needed.
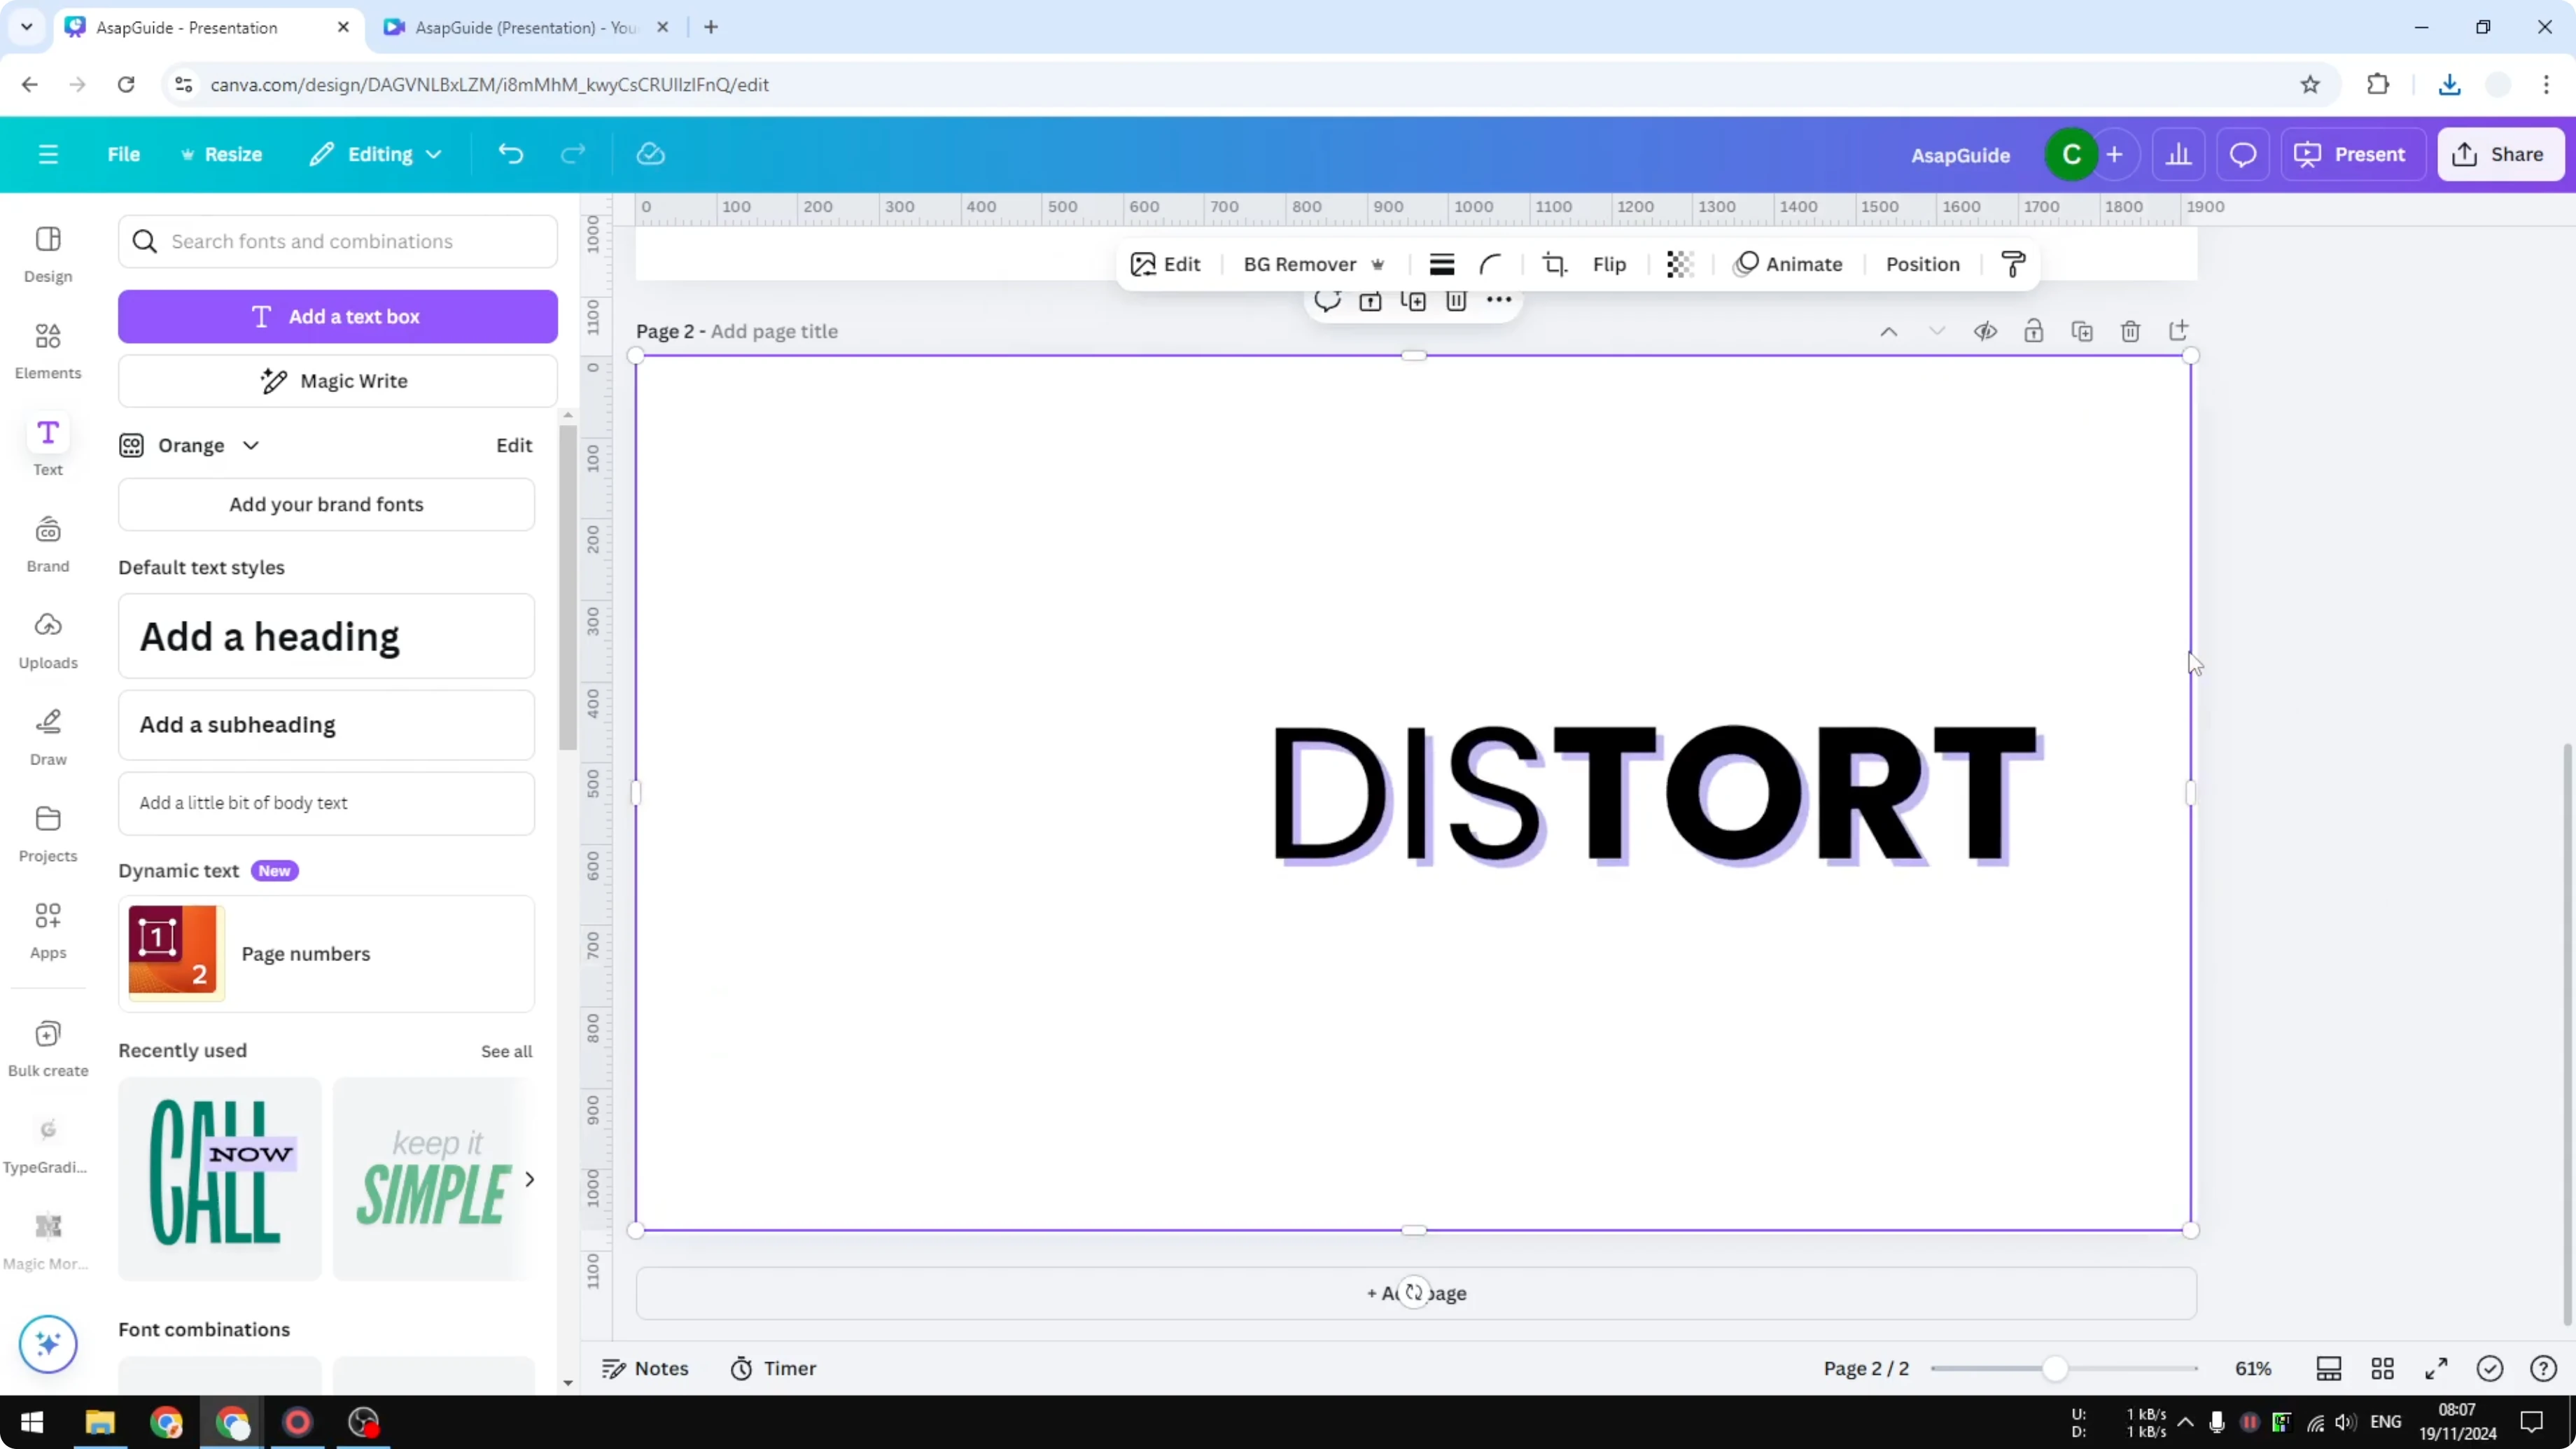
Apply Liquify to text
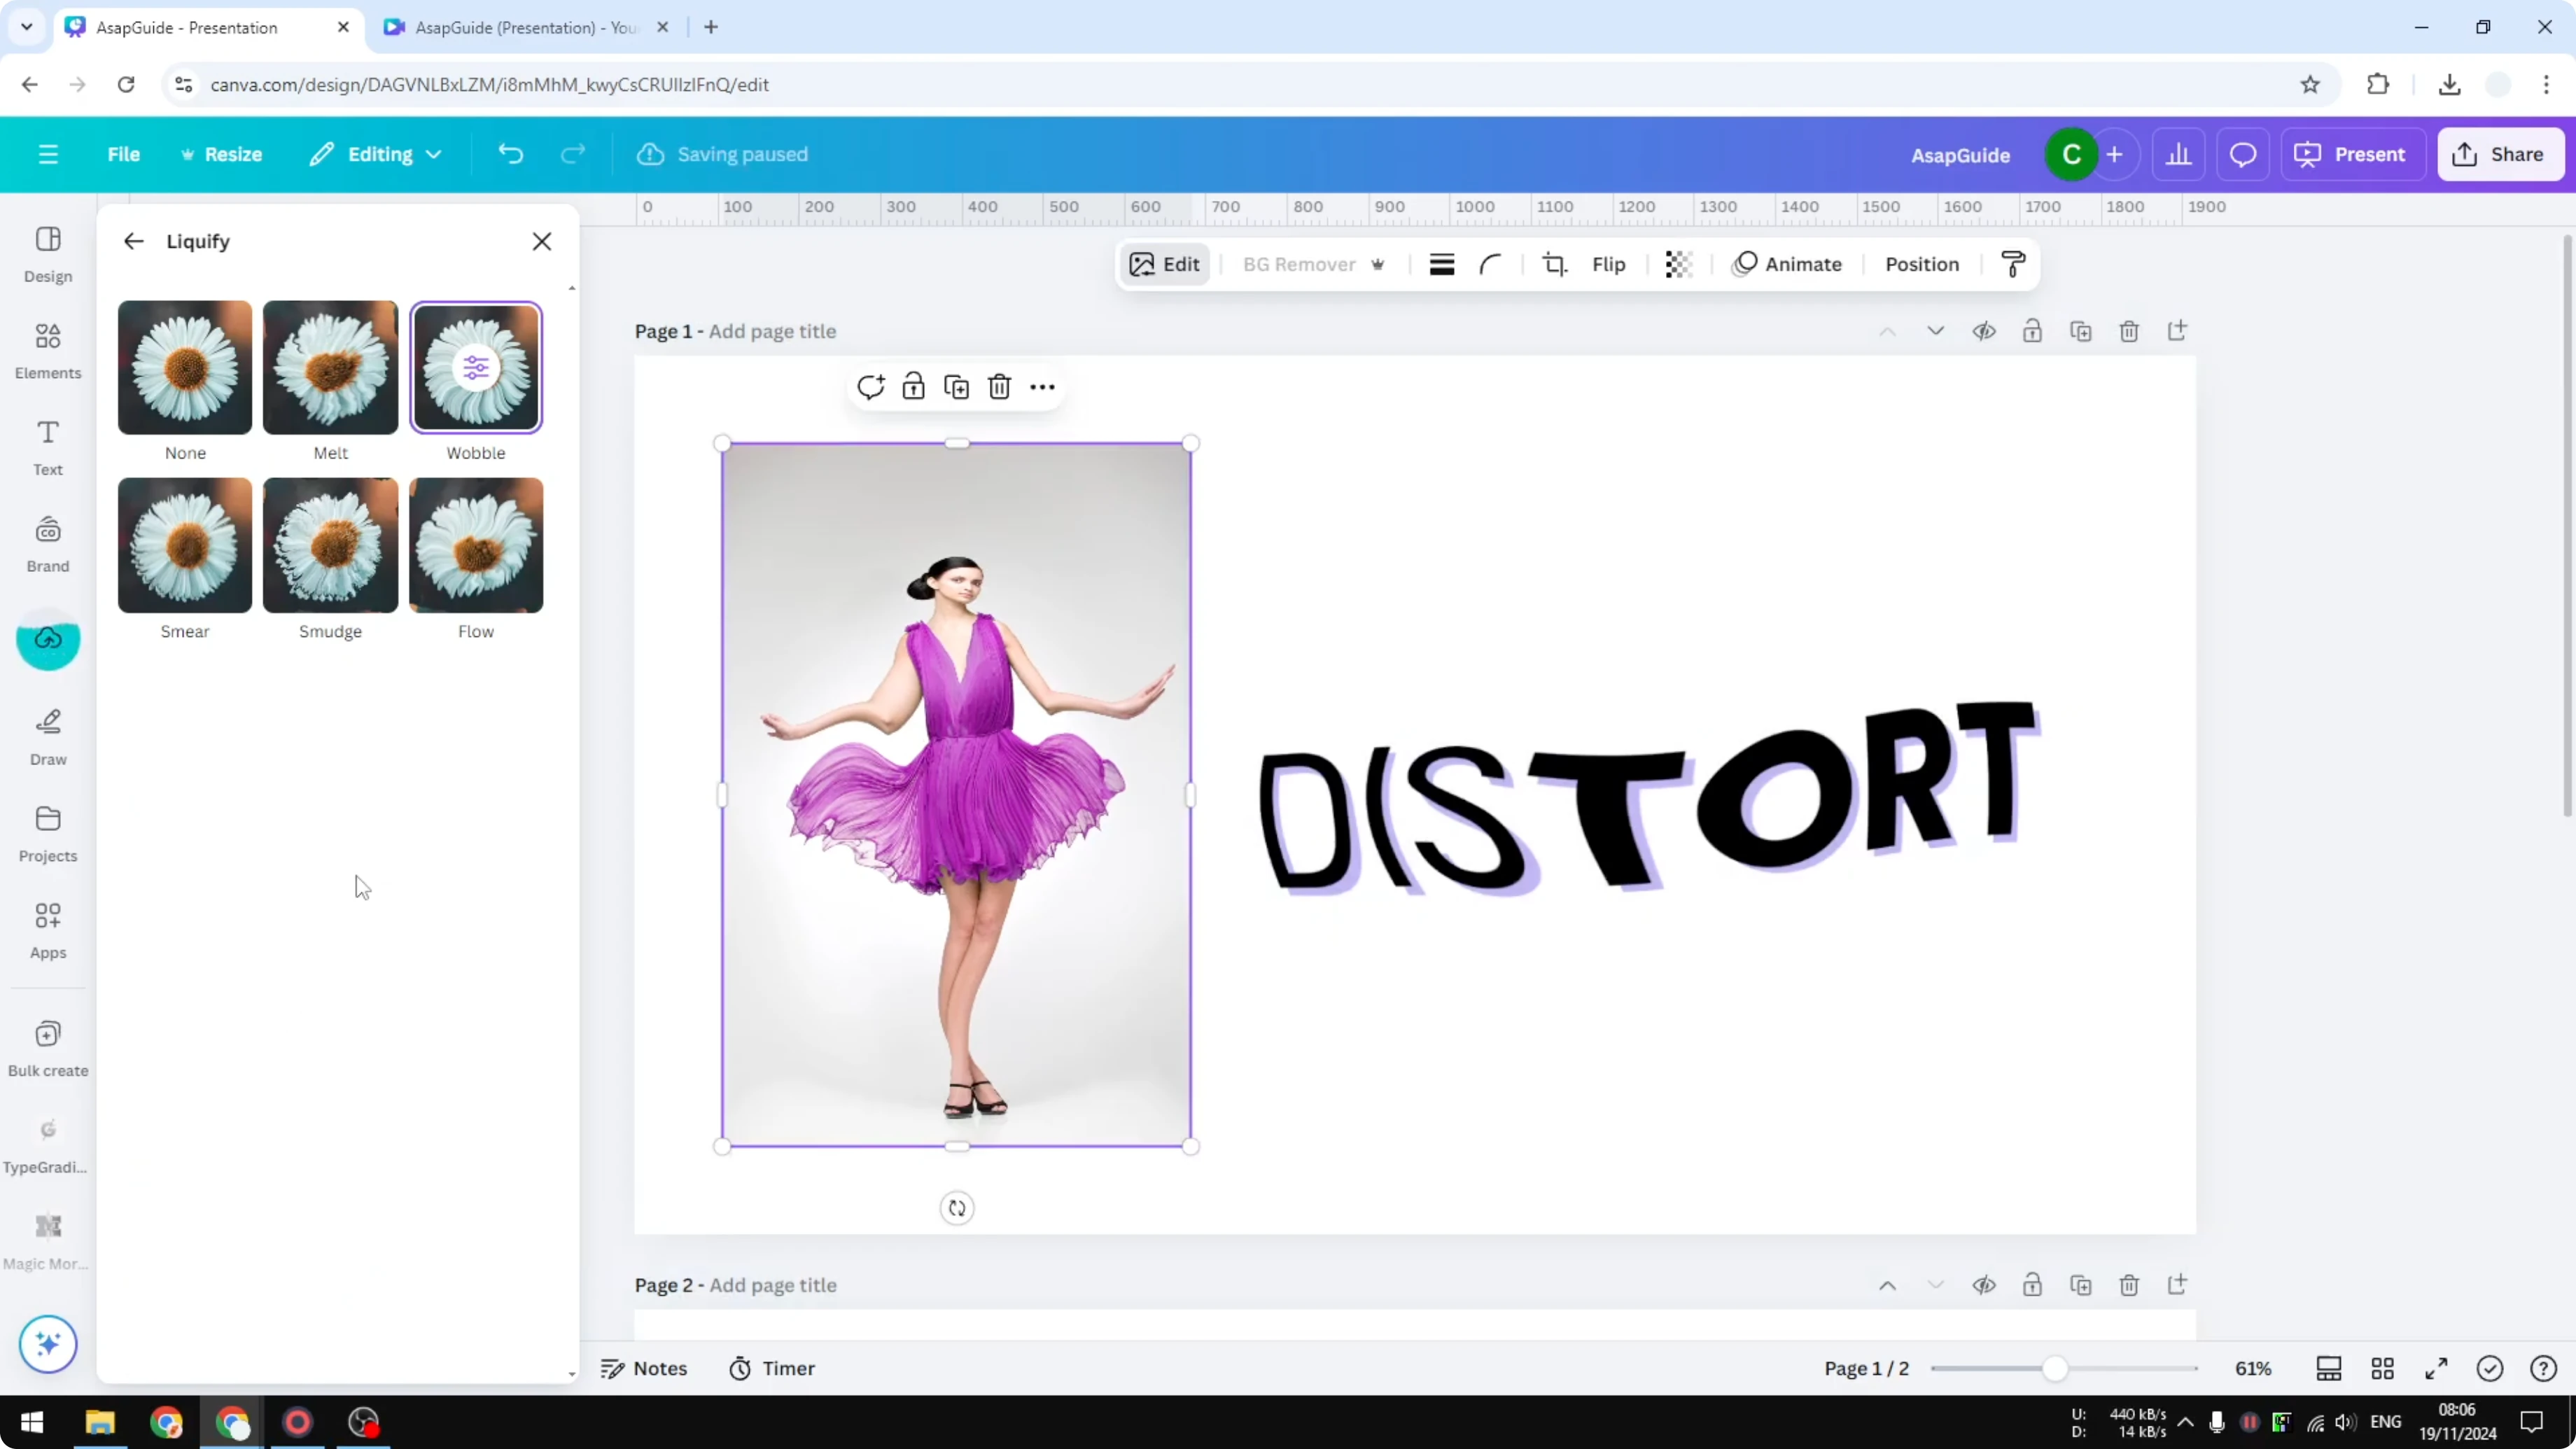
Select the uploaded text image, open Edit, go to Apps, and click Liquify.
Apply a wobbly or distortion preset you like.
Adjust the values to refine the look.
Click Save.
This creates the effect and saves the new image to your Canva account. For a softer treatment on type, you can also try a faded text effect.
Final thoughts
Liquify gives you quick, customizable distortion with presets and adjustable parameters. For text, convert it to a PNG with a transparent background, upload it, and apply Liquify the same way. It’s a simple workflow that produces a clean wavy style.
Recent Posts
How to Visualize Yourself as a Pixelized Character with AI?
How to Visualize Yourself as a Pixelized Character with AI?

How to Revive Faded Memories and Enhance Image Clarity with AI?
How to Revive Faded Memories and Enhance Image Clarity with AI?

How to Visualize Yourself as an Animal Crossing Character with AI?
How to Visualize Yourself as an Animal Crossing Character with AI?