How to Create a Simple Before and After Image in Canva
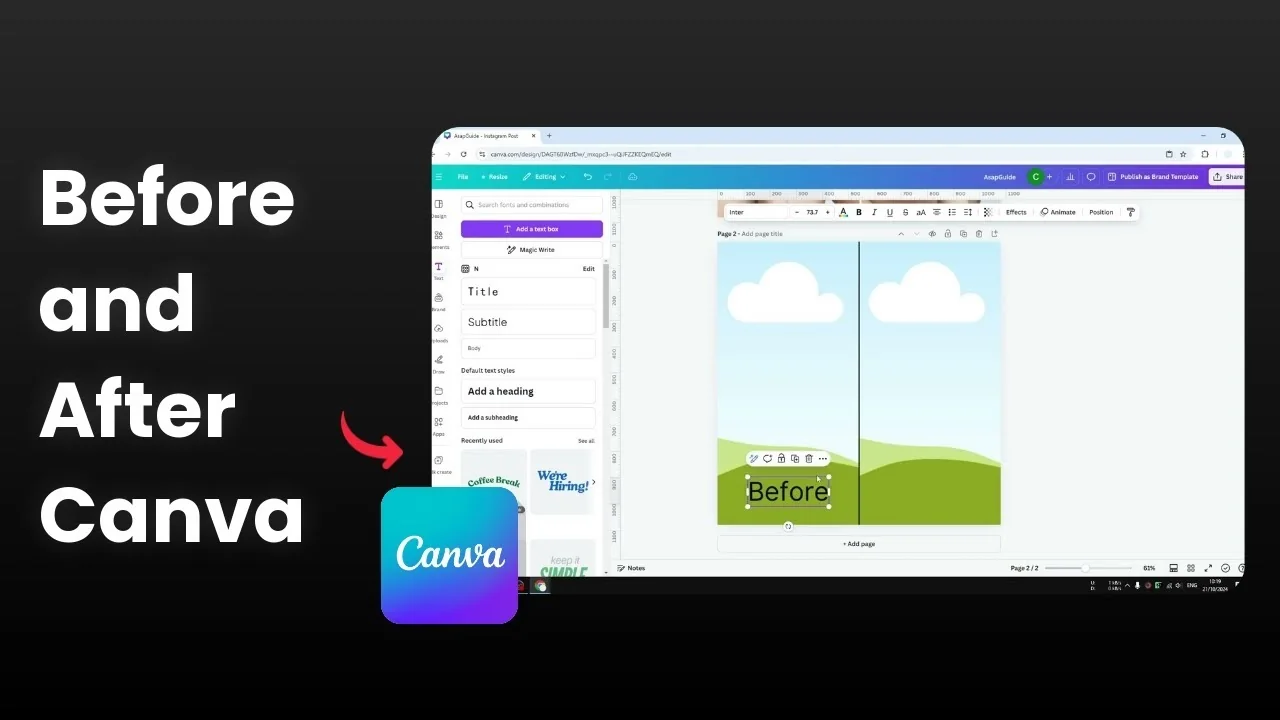
You will learn how to create a simple before and after image in Canva. There will be two images, one on the left and the other on the right, showing the same subject in different conditions. This is useful to show a before or after after doing something or adding something into the picture.
It is very easy. I recommend using a template in Canva. Search the design option for before after to find nice looking templates, then swap the photos with your own.
This approach is simple and faster, and the result looks pretty. These designs are created by people who are pro at creating good designs. If you want to design your own template, here is how.
Read More: Create Simple Before After Image Canva
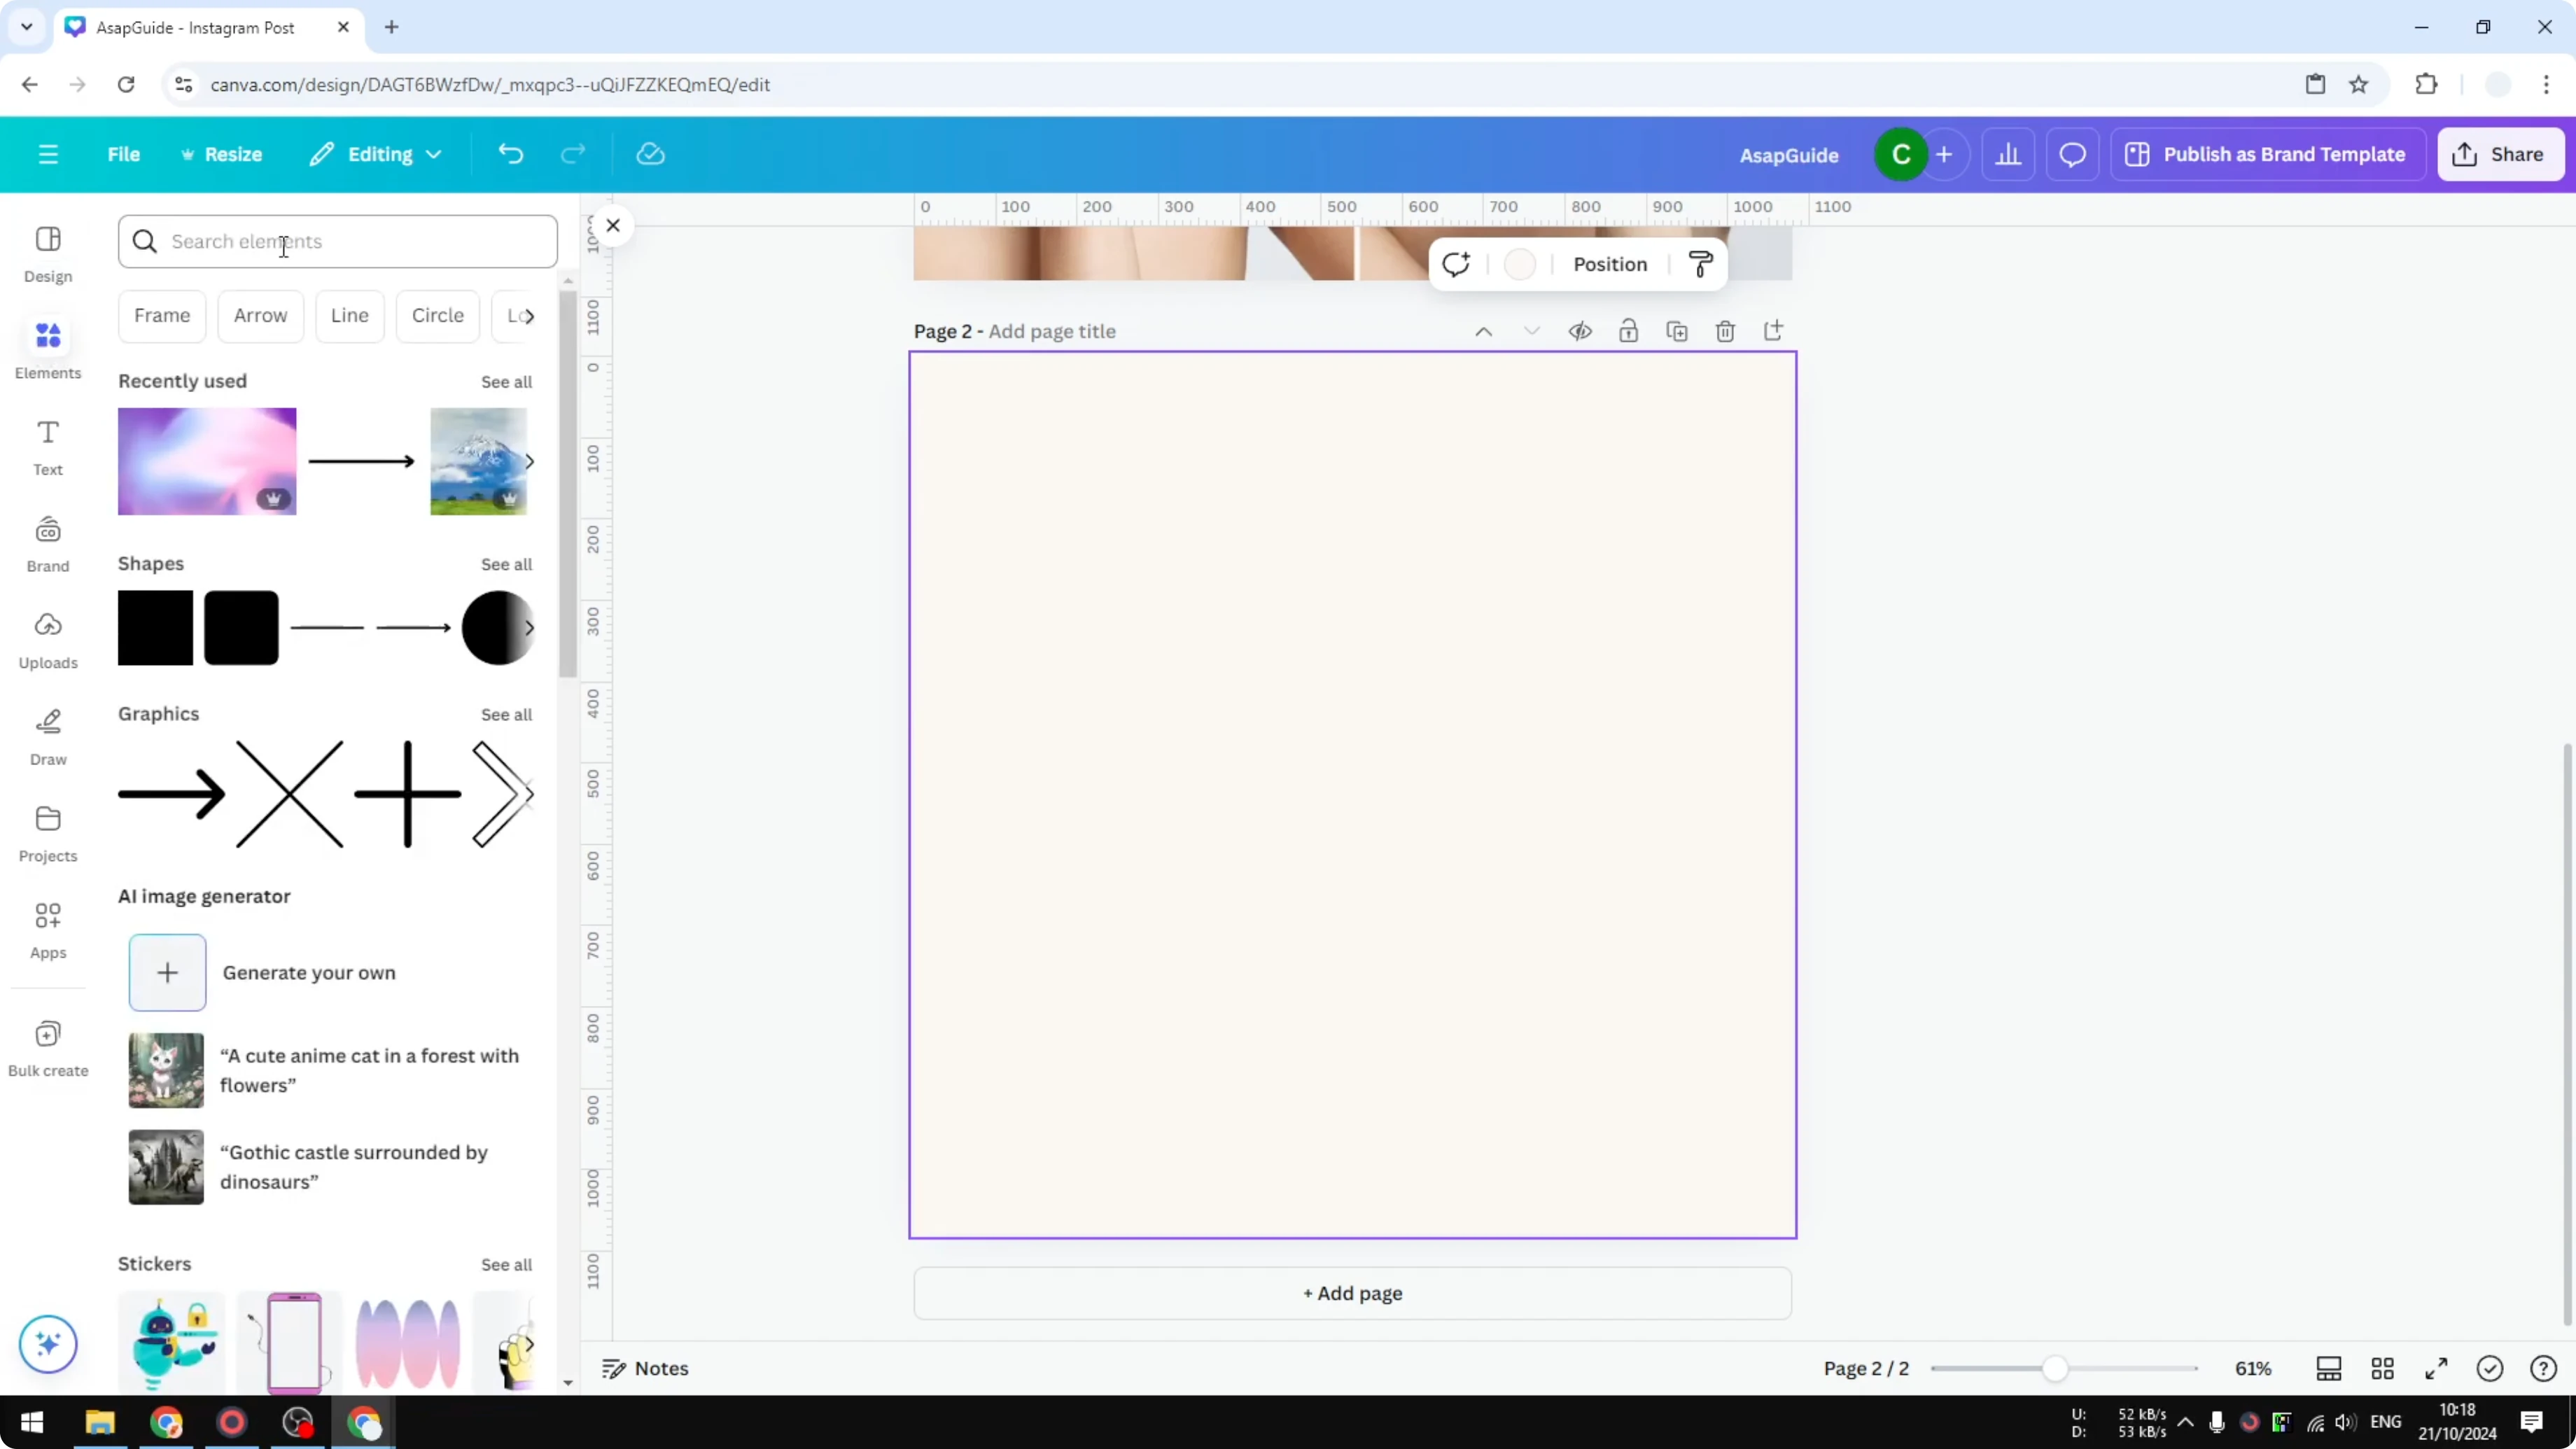
Design your own layout
I am going to emulate a very simple layout that you can create quickly. Add a new page. Keep the canvas clean and ready.
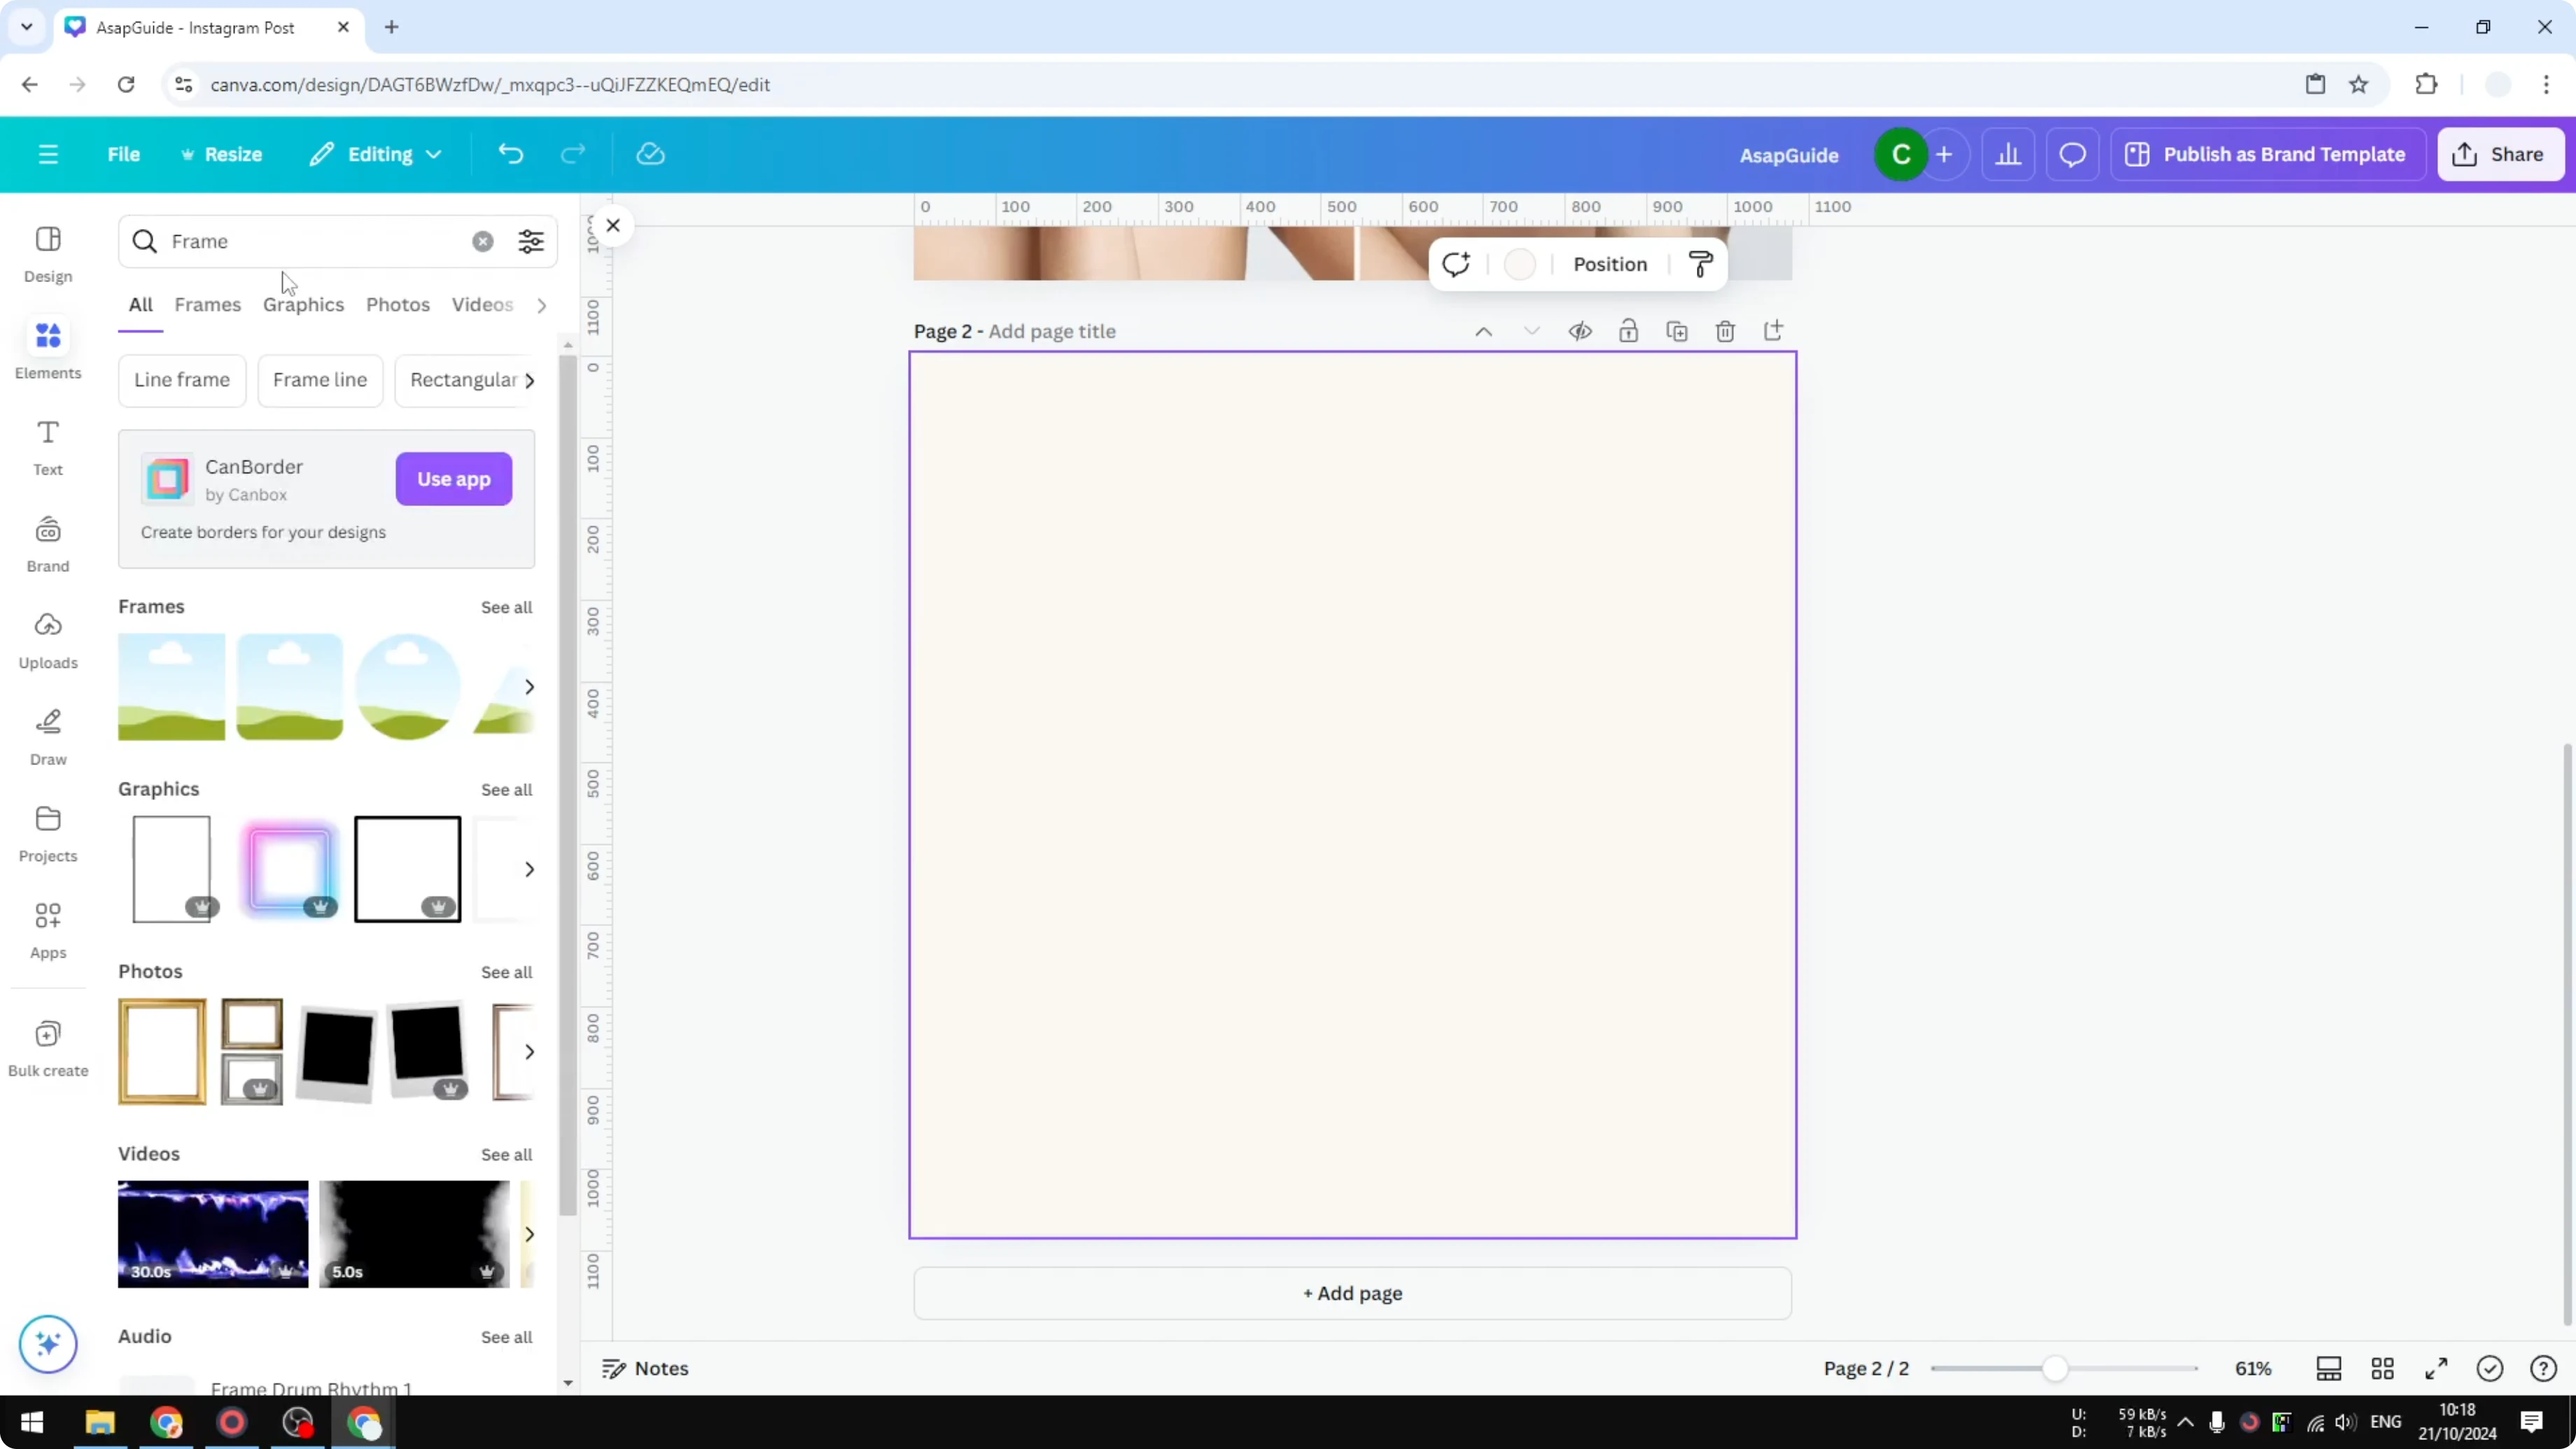
Frames and divider
Add Elements, then search for Frame. In the Frames section, select a frame type that is appropriate for your design, and place it on the left so it occupies about half of the canvas.
Leave a small gap in the middle if you like. Duplicate the frame so you have two, side by side. Align them neatly so the spacing looks even.

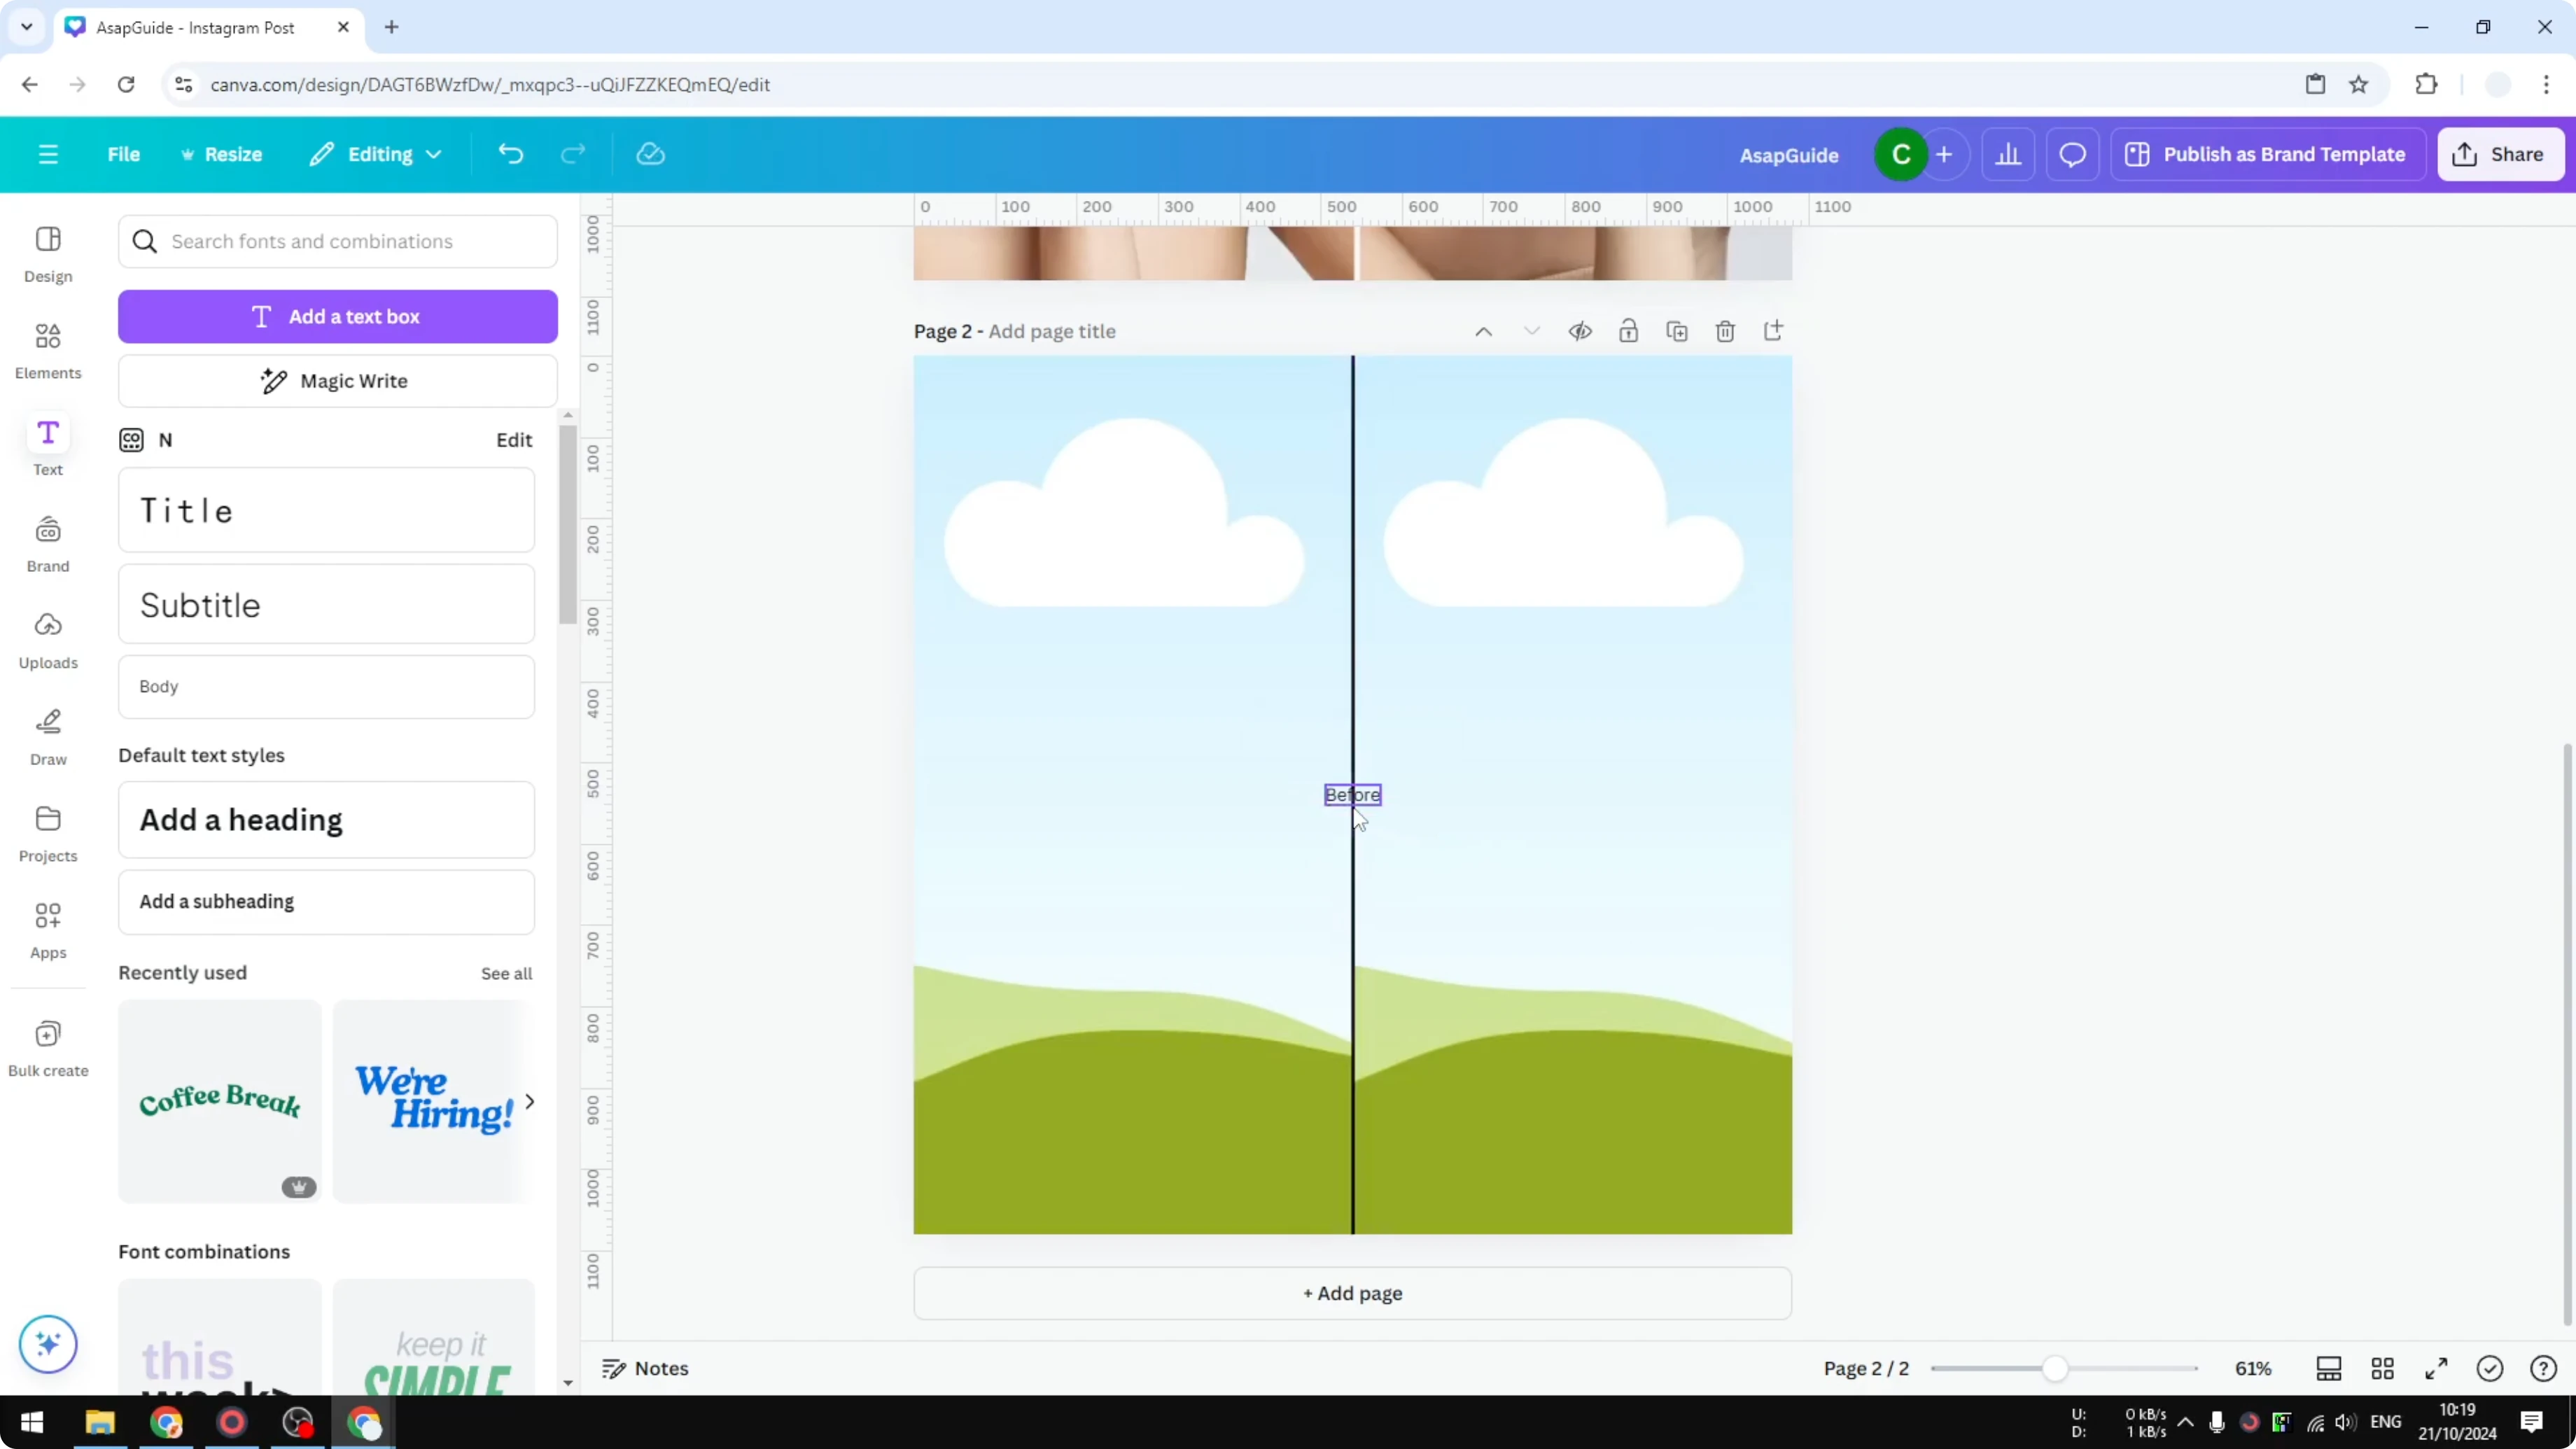
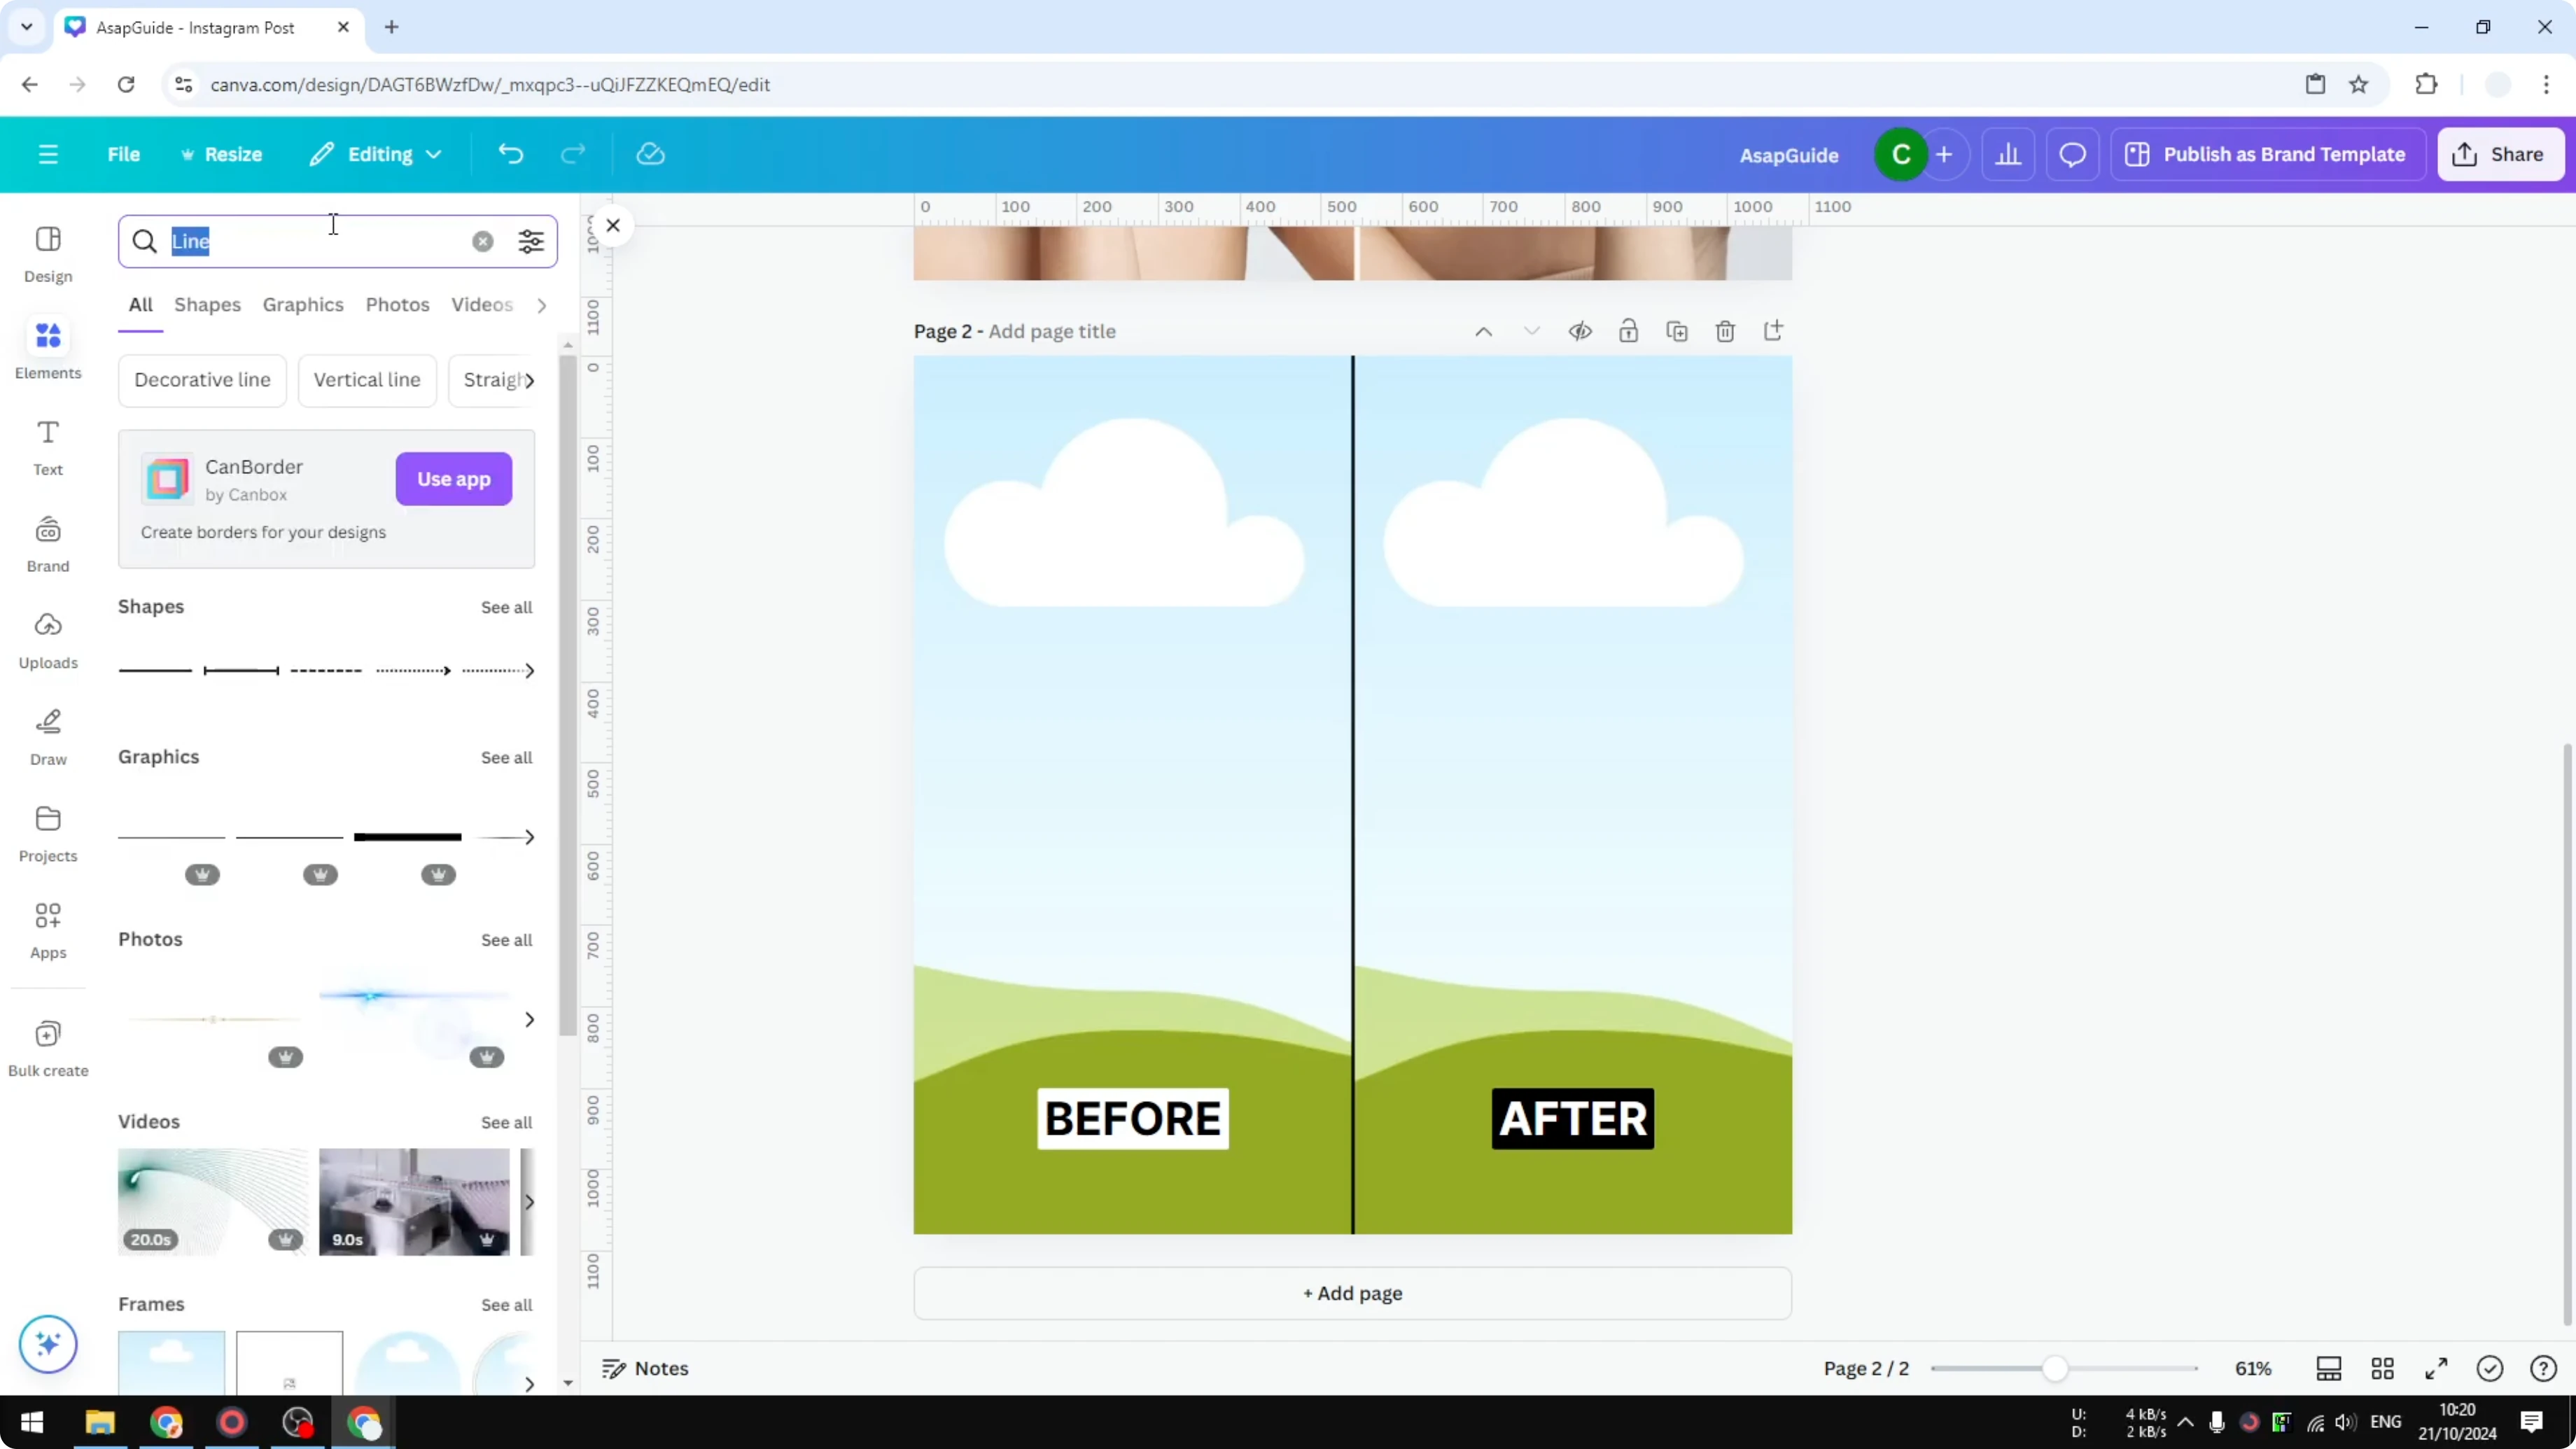
Add a simple vertical line from Shapes. Rotate it to 90 degrees. Place it exactly in the middle and make it longer so it extends past the frames.

If you need a refresher on working with frames, see how to add and work with image frames. Frames make it easy to drop photos in and keep everything aligned. This keeps the structure consistent as you swap images.
Add labels
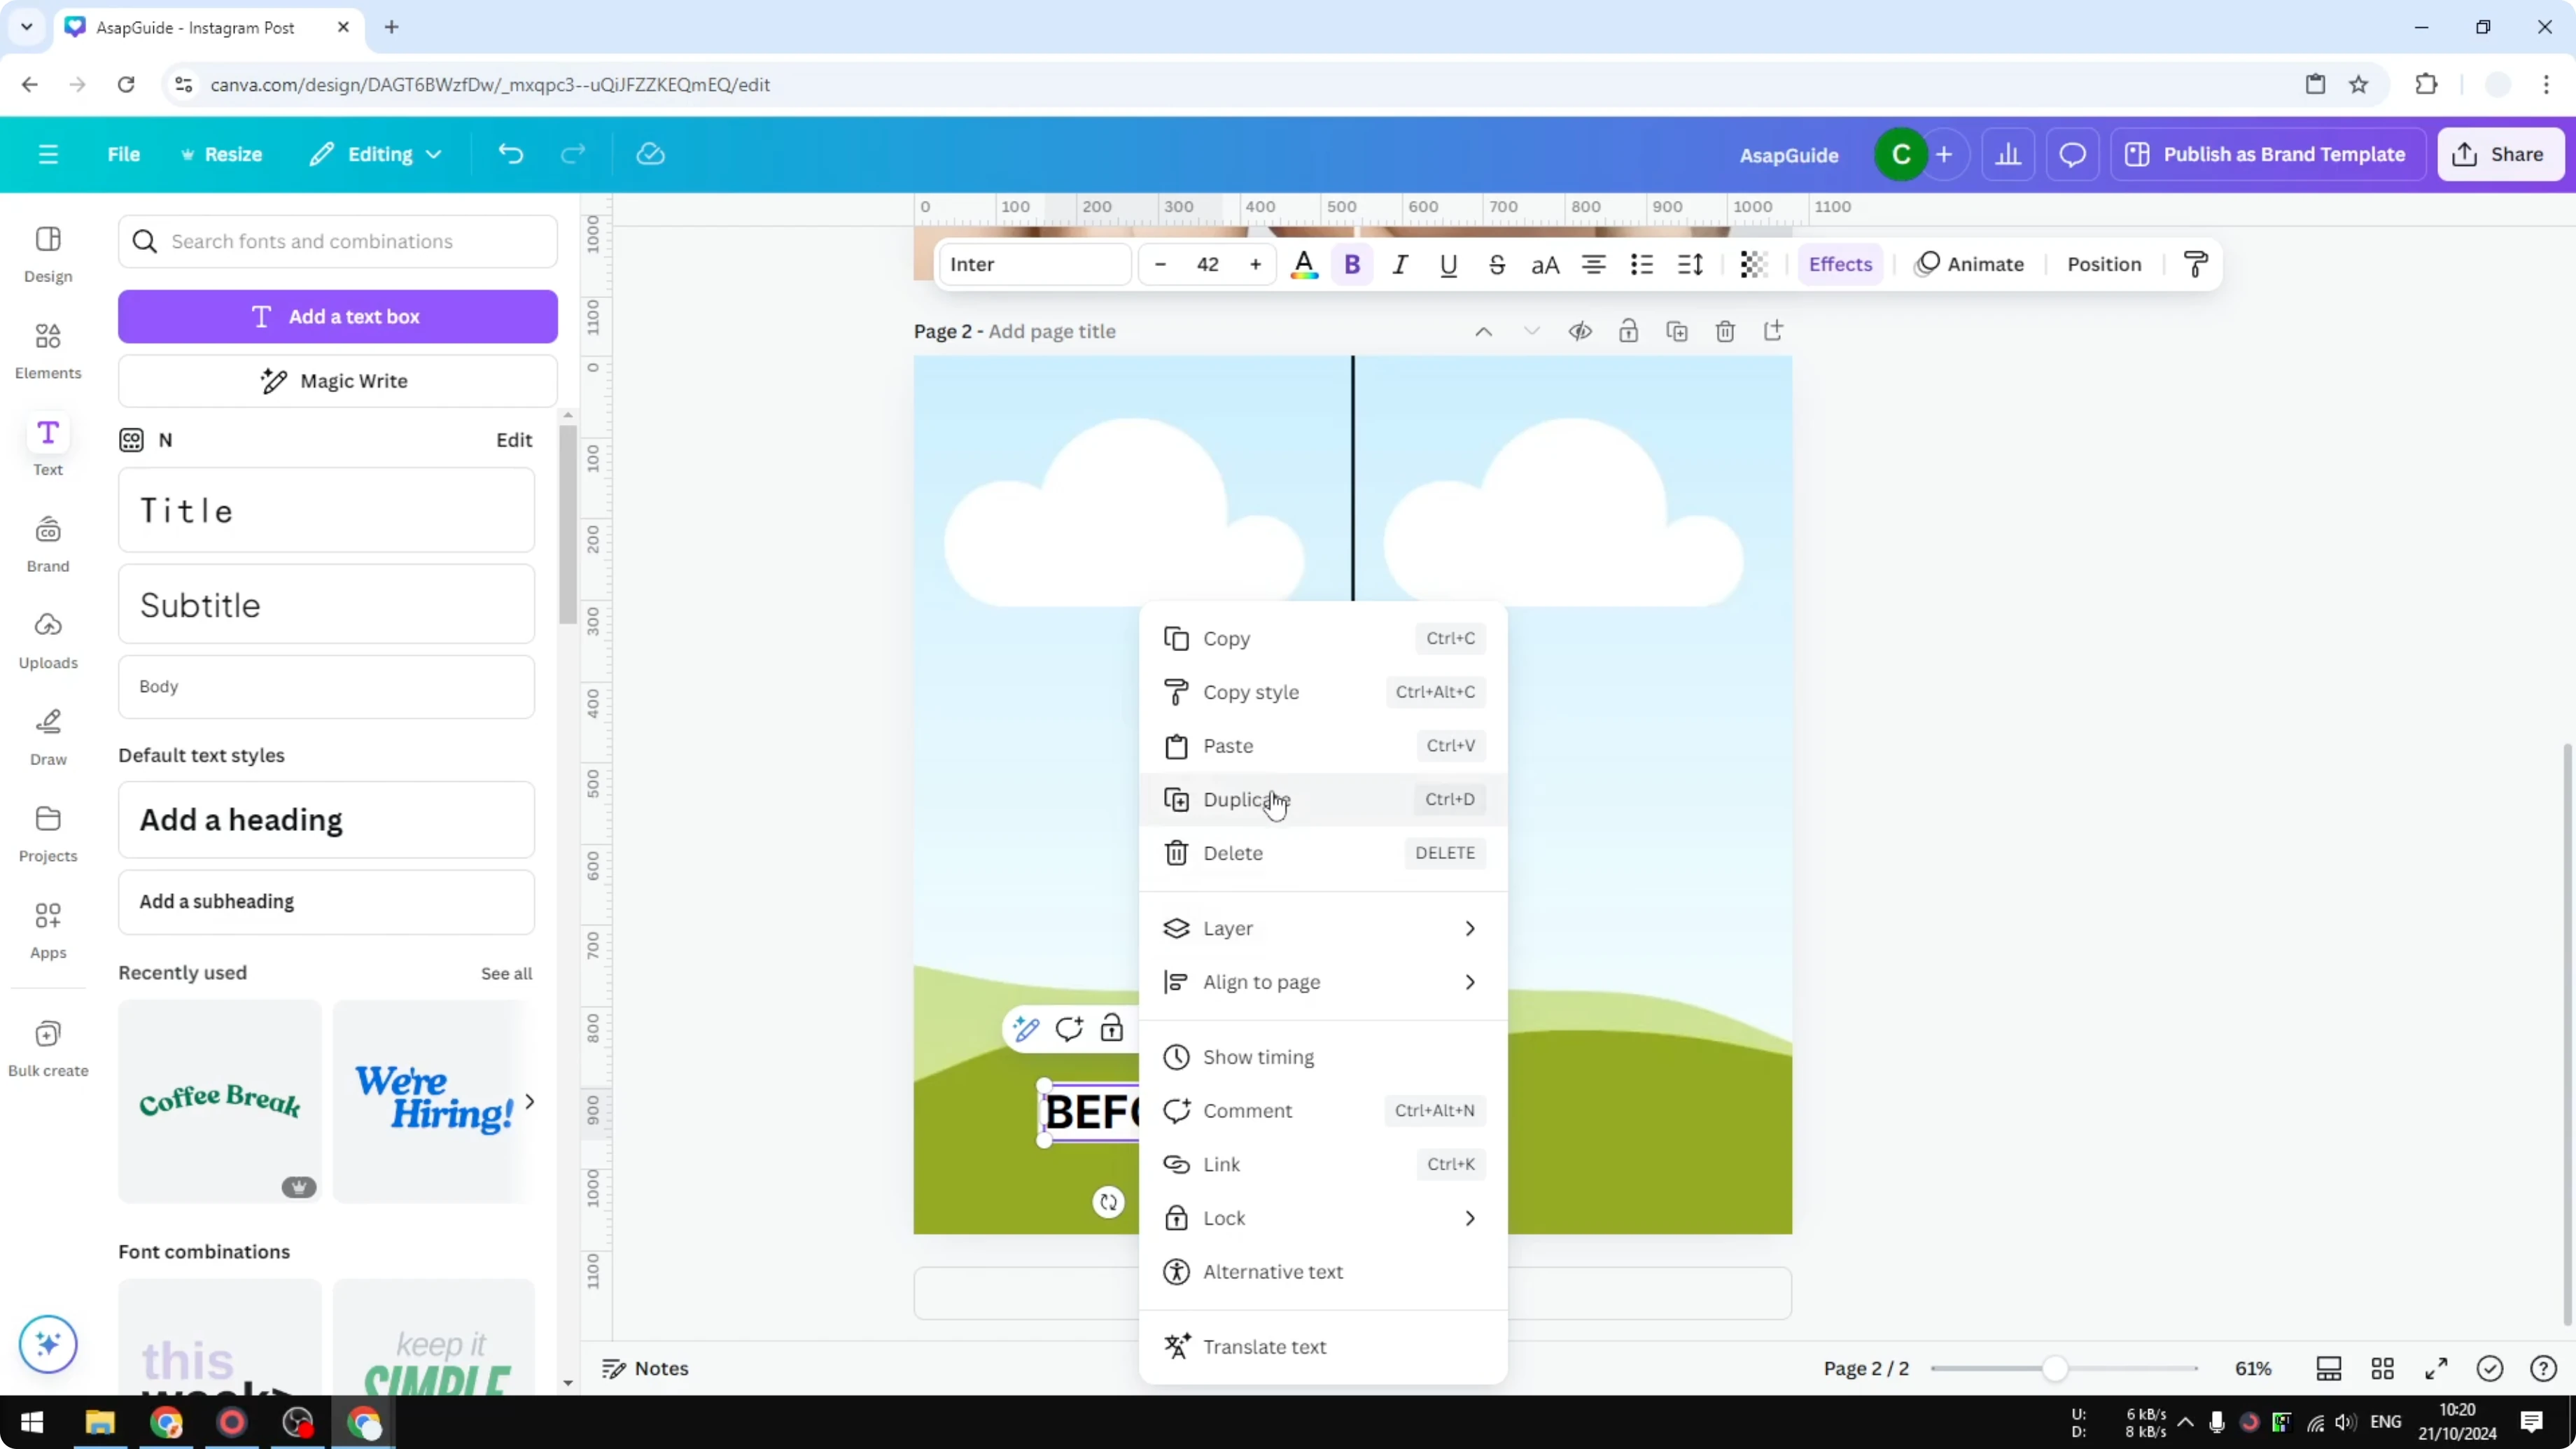
Add a text label for the left side. Type Before, make it bigger, then apply Effects to give it a simple background with white color. Make it bold, then adjust the size until it sits nicely.
Duplicate the text for the right side and place it carefully so it is centered. Change the text to After, set the text color to white, and change the background to black for strong contrast. This creates a clear visual separation.
Read More: Brighten Image Canva
Populate the photos
Populate the frames with your photos. I want to add a picture of apples, so I go to Photos and drop in an image of rotten apples for one side. That is a quick way to show a transformation.
You can swap in your own images at any time. Keep the subject consistent for both sides to make the change obvious. The contrast between the two states is what tells the story.
Final thoughts
Creating a before and after in Canva is quick. Templates are the fastest path, and designing your own layout is also very straightforward. Use frames, a clear divider, and simple labels to make the comparison stand out.
Recent Posts
How to Visualize Yourself as a Pixelized Character with AI?
How to Visualize Yourself as a Pixelized Character with AI?

How to Revive Faded Memories and Enhance Image Clarity with AI?
How to Revive Faded Memories and Enhance Image Clarity with AI?

How to Visualize Yourself as an Animal Crossing Character with AI?
How to Visualize Yourself as an Animal Crossing Character with AI?