How to Create a Plastic Overlay Effect in Canva
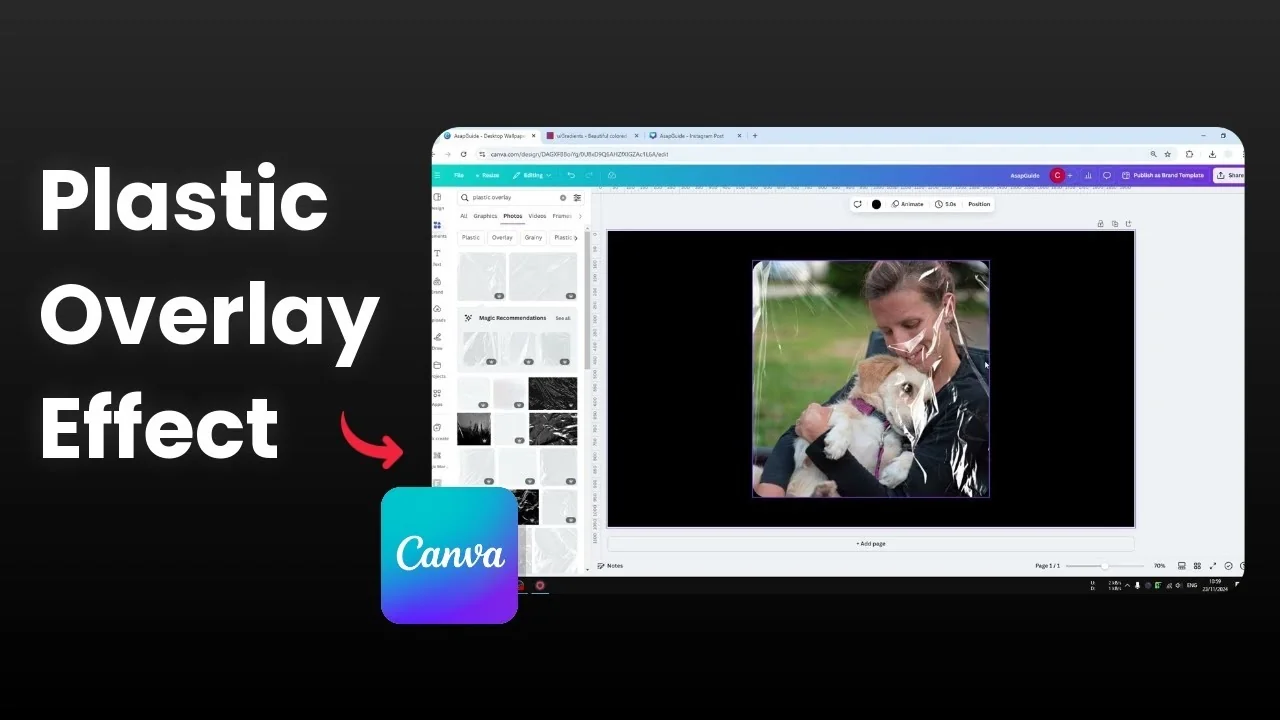
I’m going to show you how to easily insert a plastic overlay effect in Canva. I have a picture and I want a plastic overlay on top of it.
If you want to blend text with overlays too, check this quick guide on overlay text.
Create a Plastic Overlay Effect in Canva
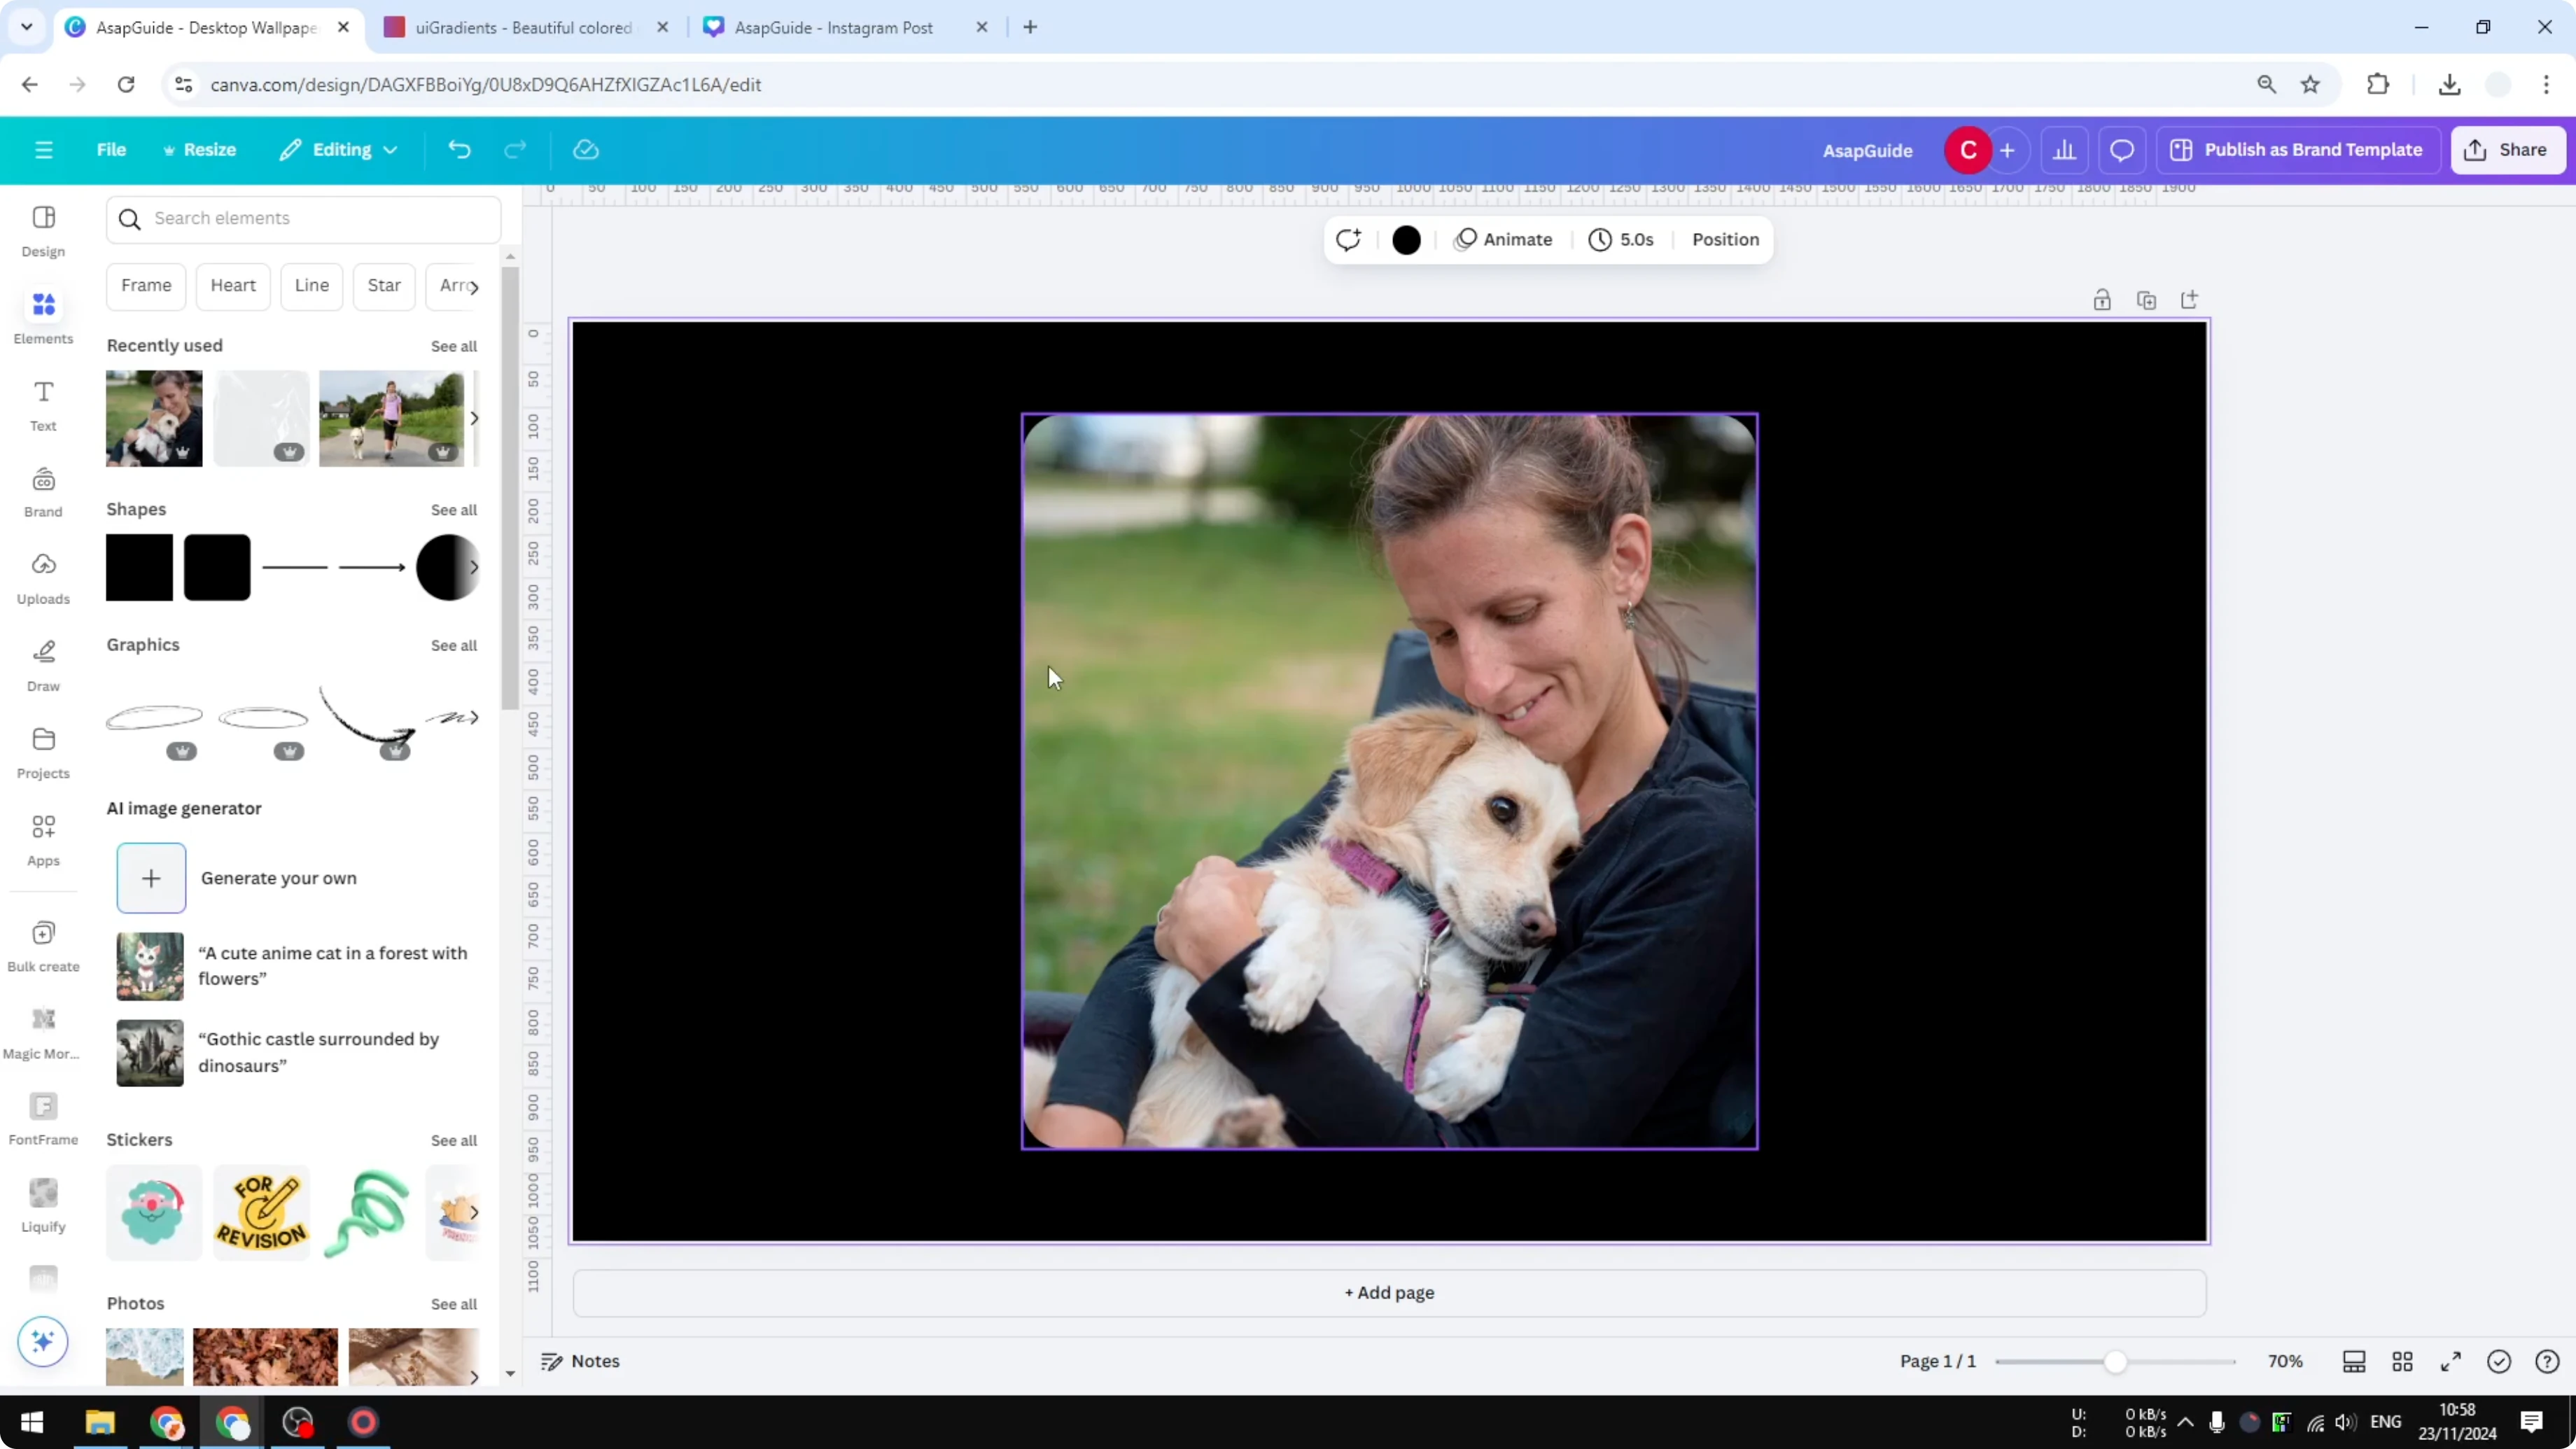
Add your image
Insert your picture onto the canvas. Make sure it’s sized and positioned the way you want before adding the overlay.
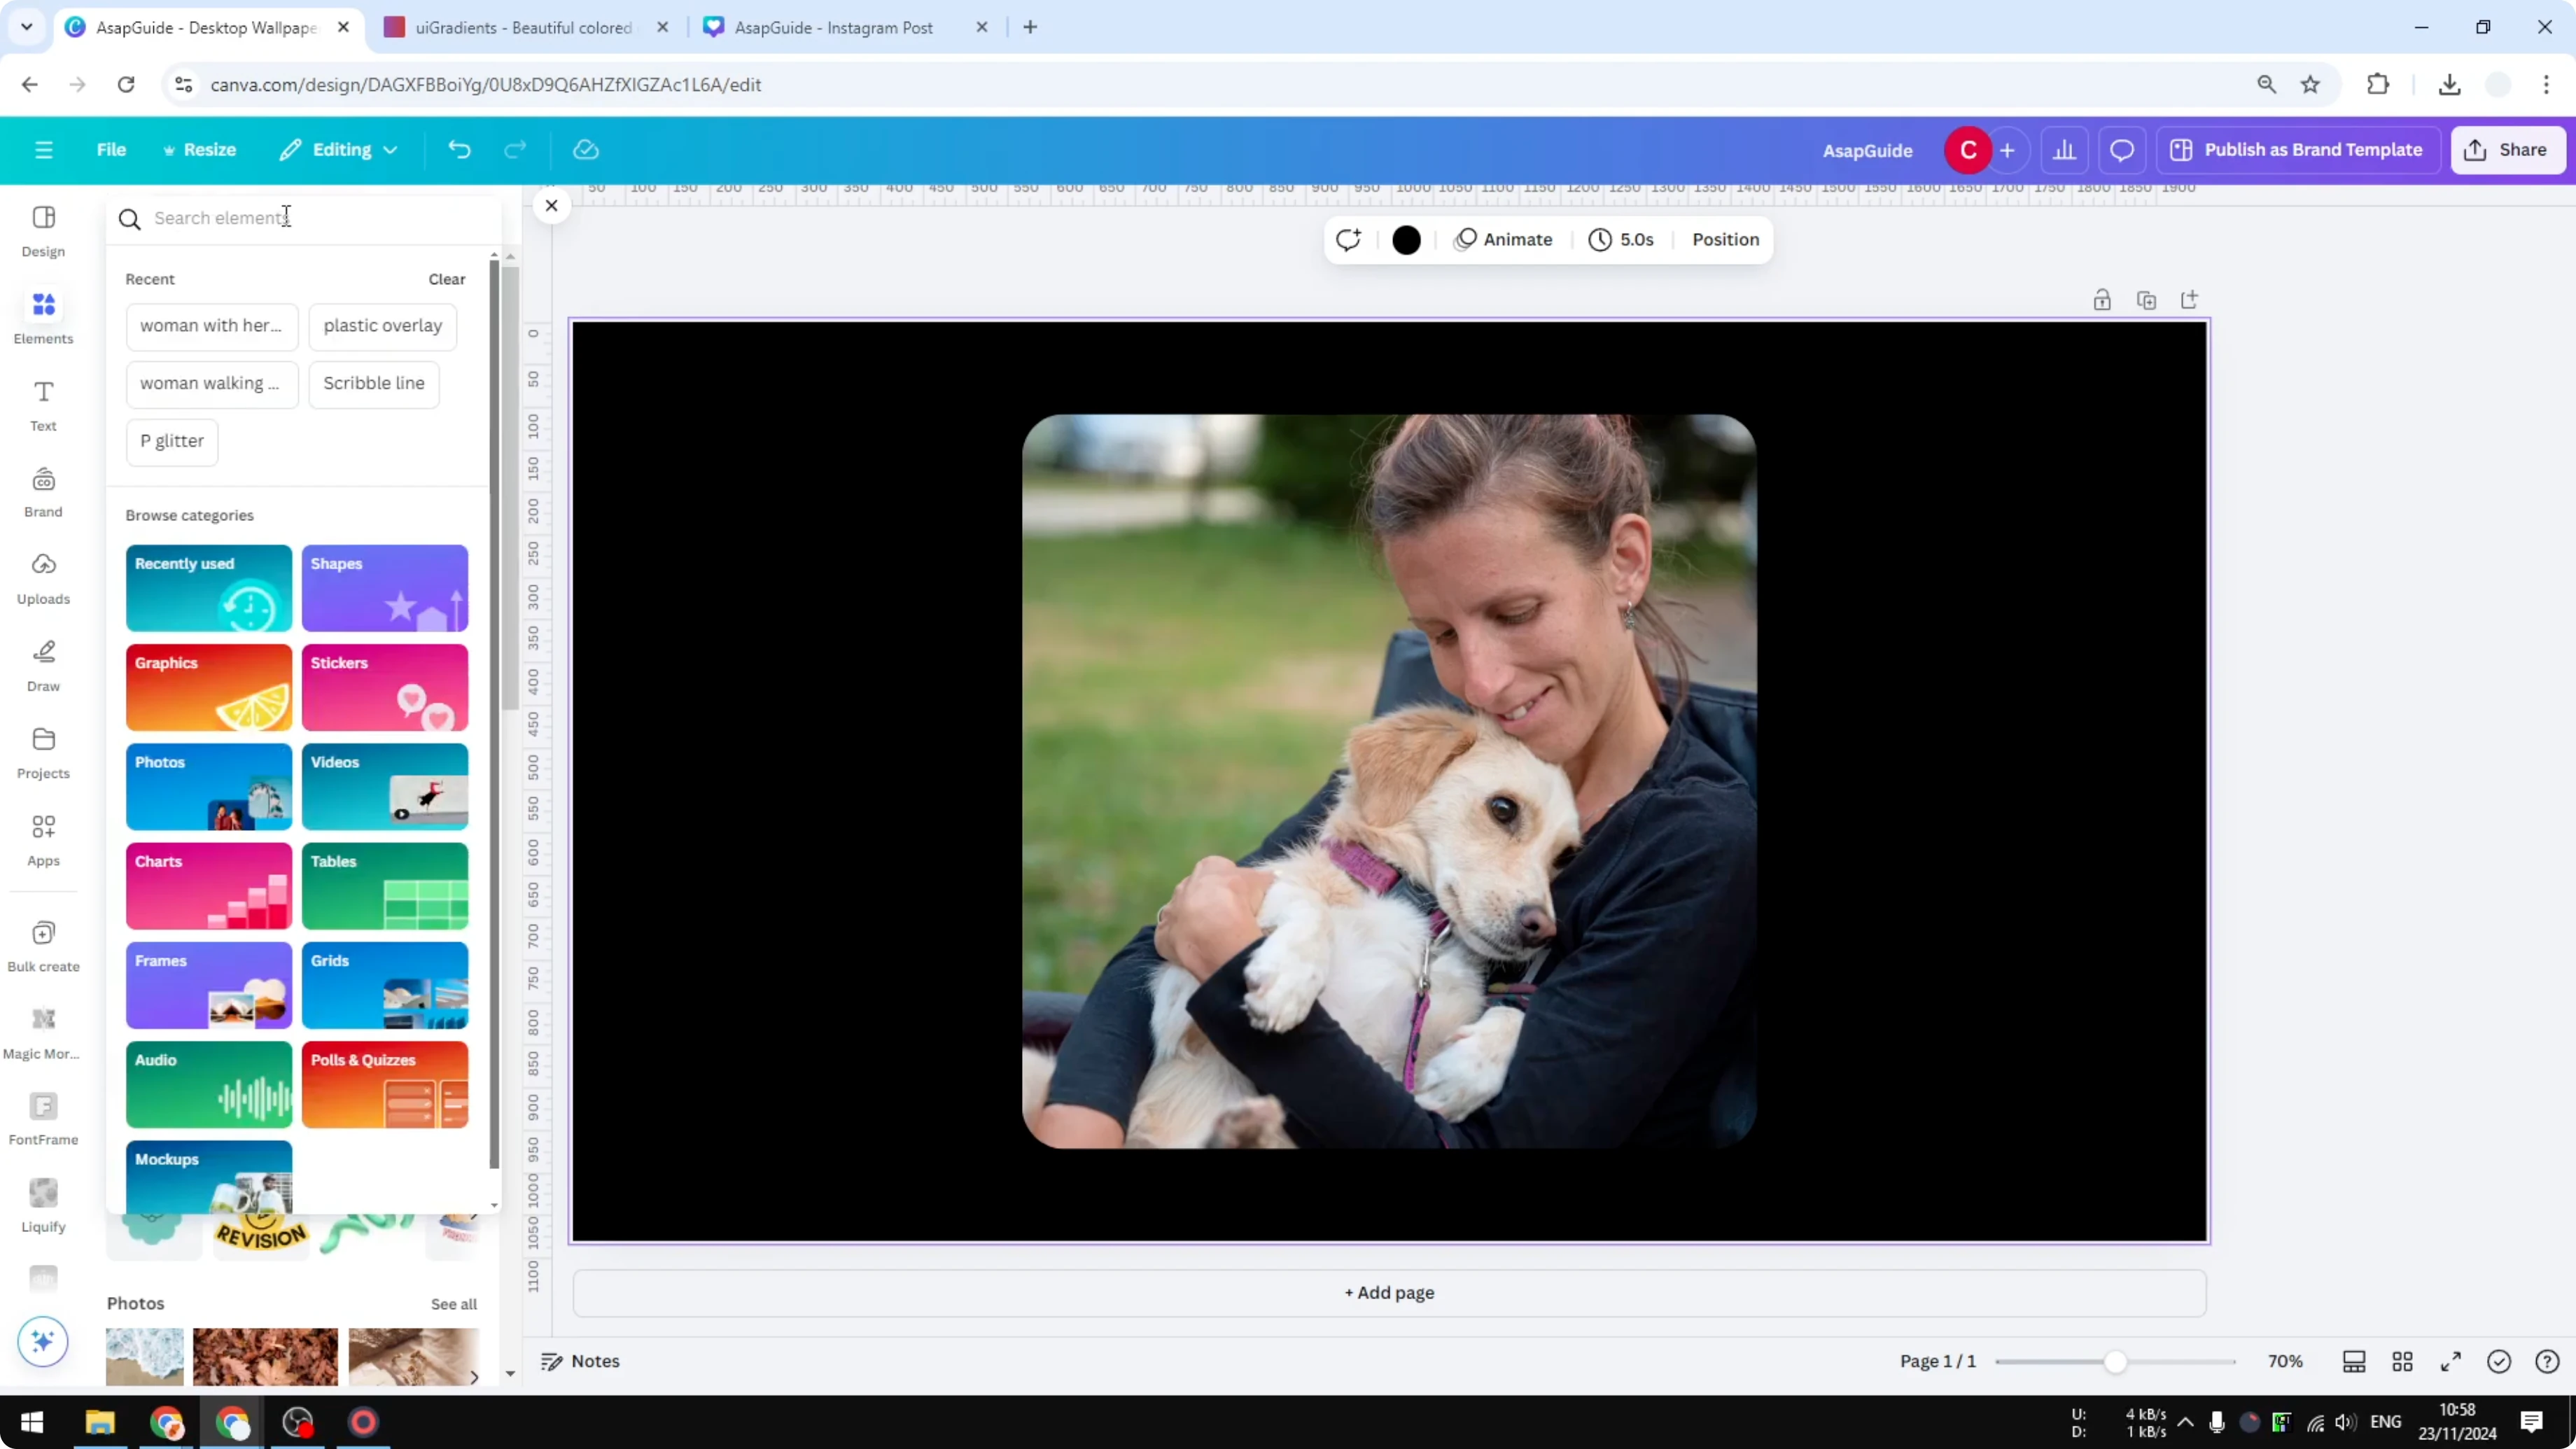
Find the plastic overlay
Click Elements. In the search bar, type "plastic overlay" to find the assets.
Graphics vs Photos
You can pick from Graphics or Photos. They look similar, and it’s up to you, but I go with Photos for slightly higher quality.
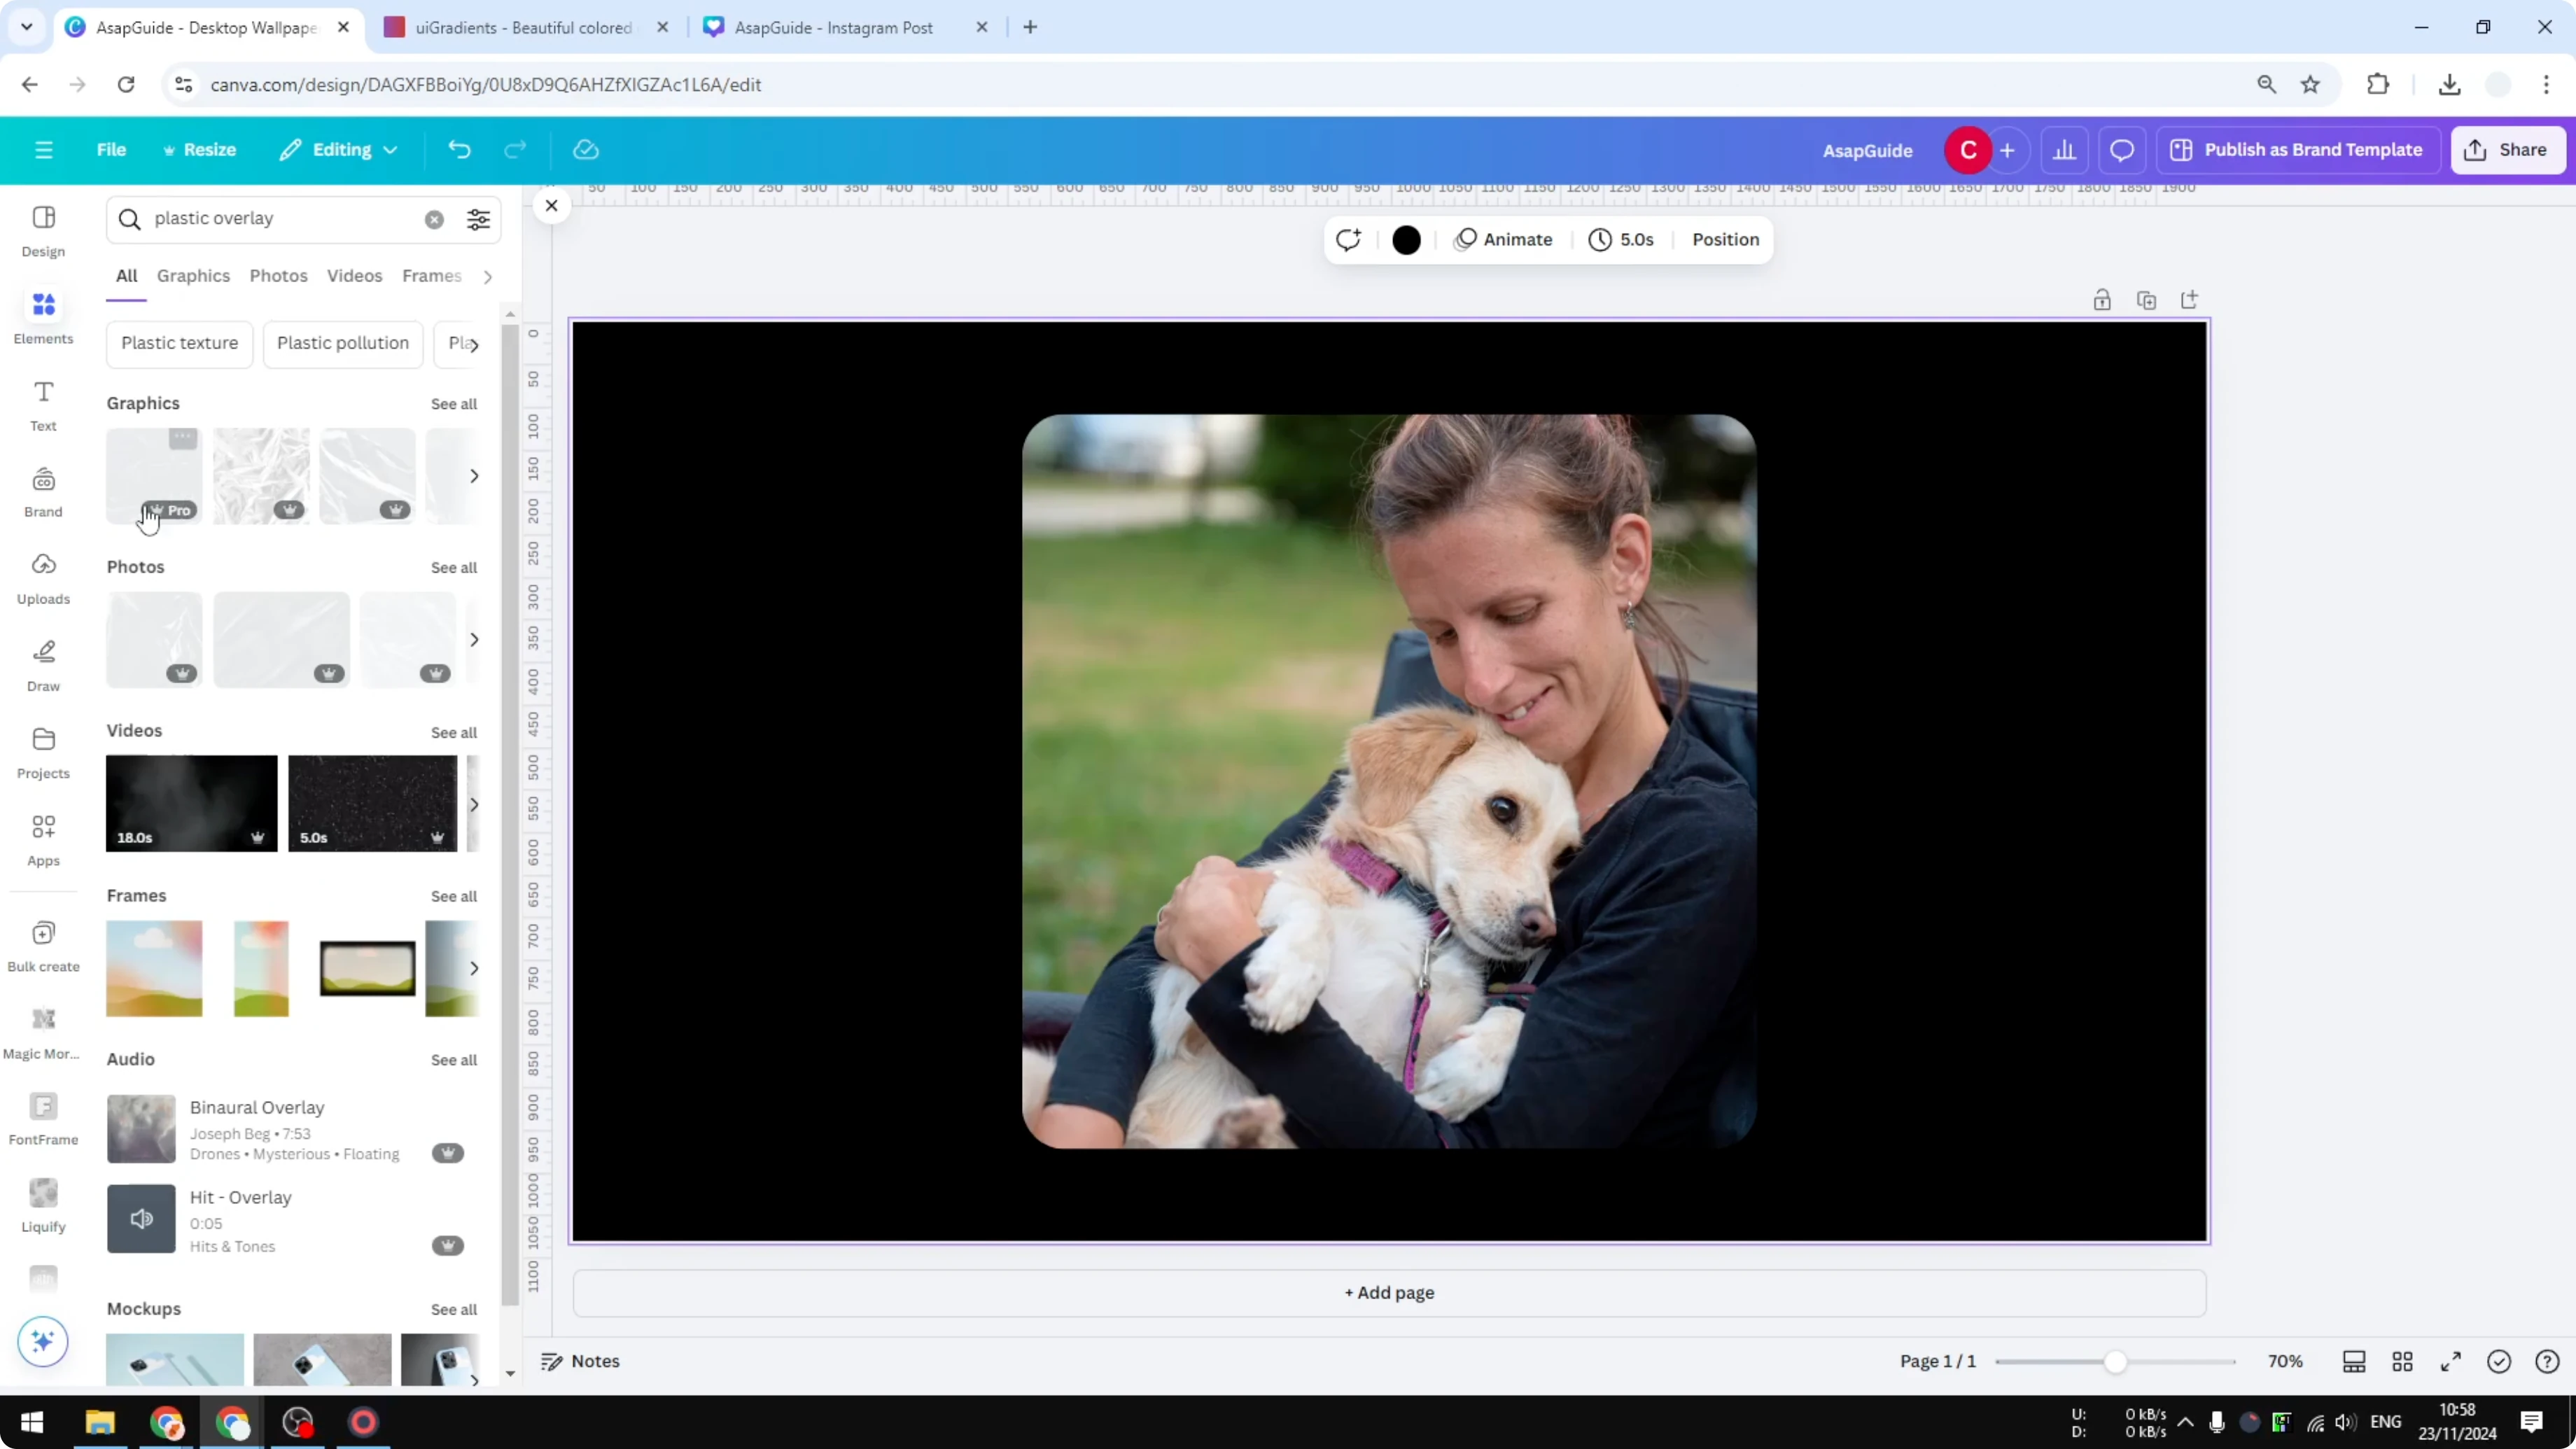
Make sure the overlay is transparent. It’s important that you can still see the image below.

If you want a soft, dreamy highlight on top of this look, try adding a subtle bokeh effect.
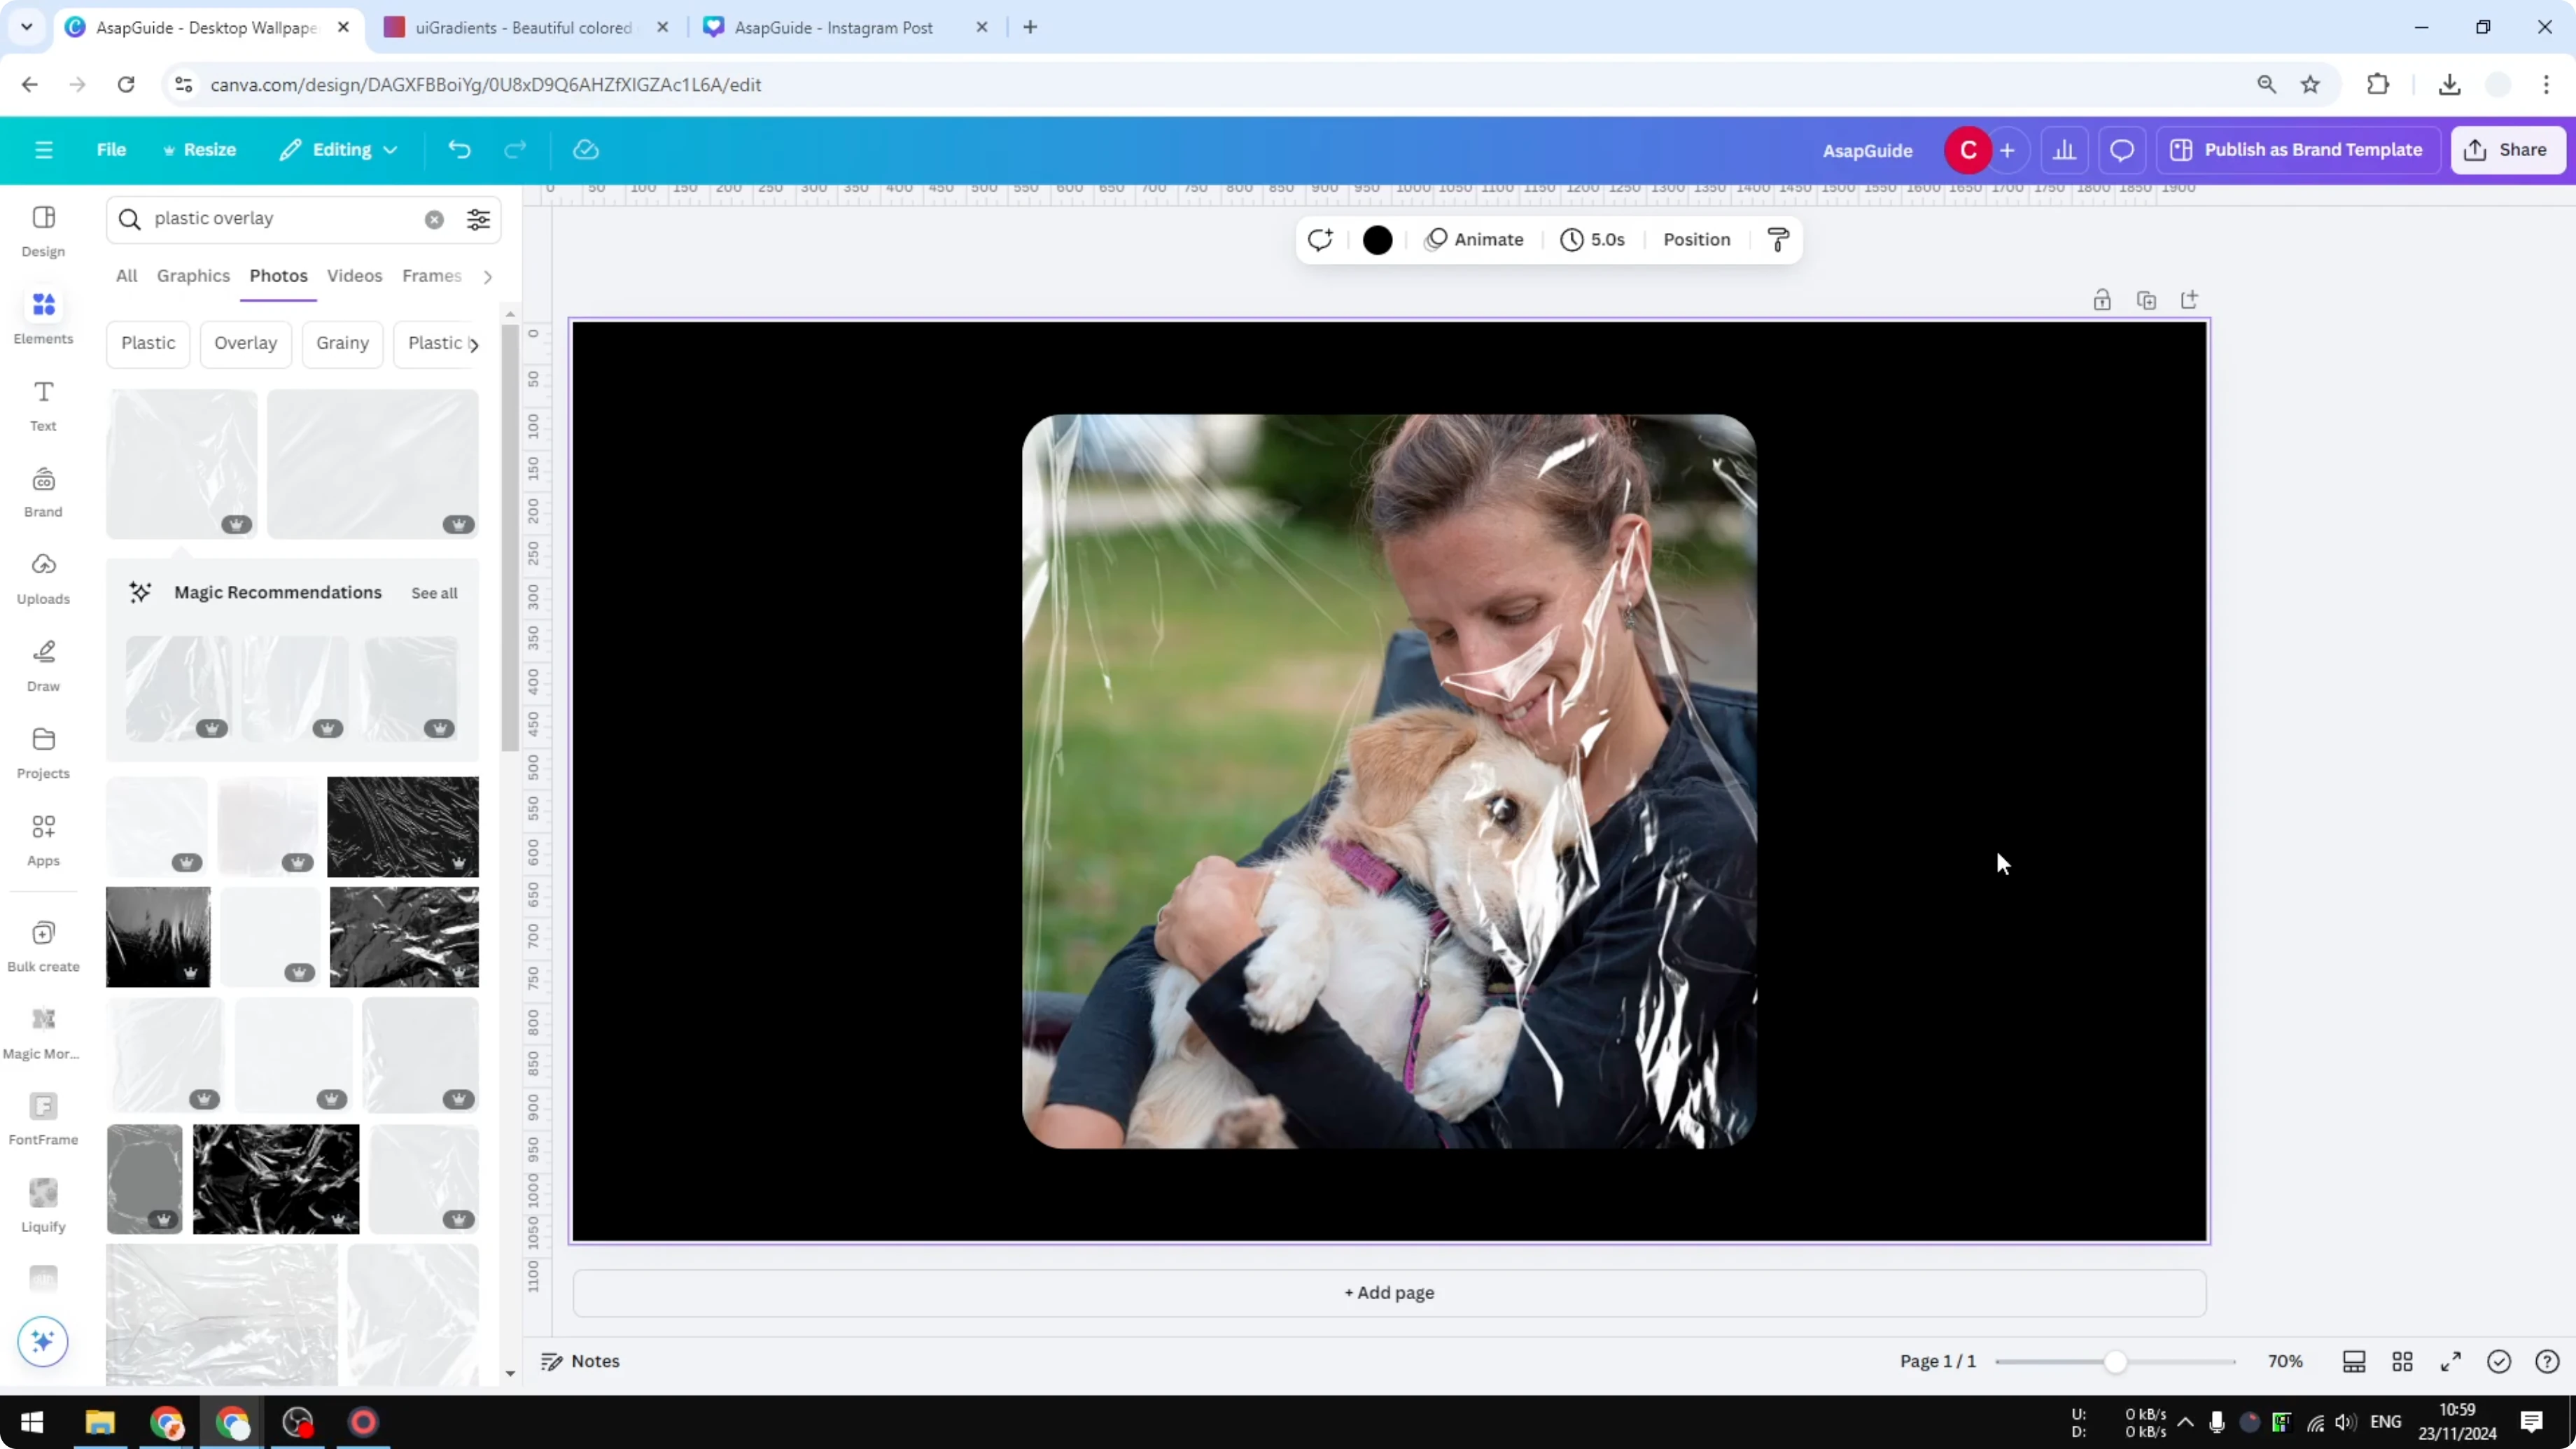
Place and align
Choose an overlay and place it over your image. Put it in the middle or align it with your composition.

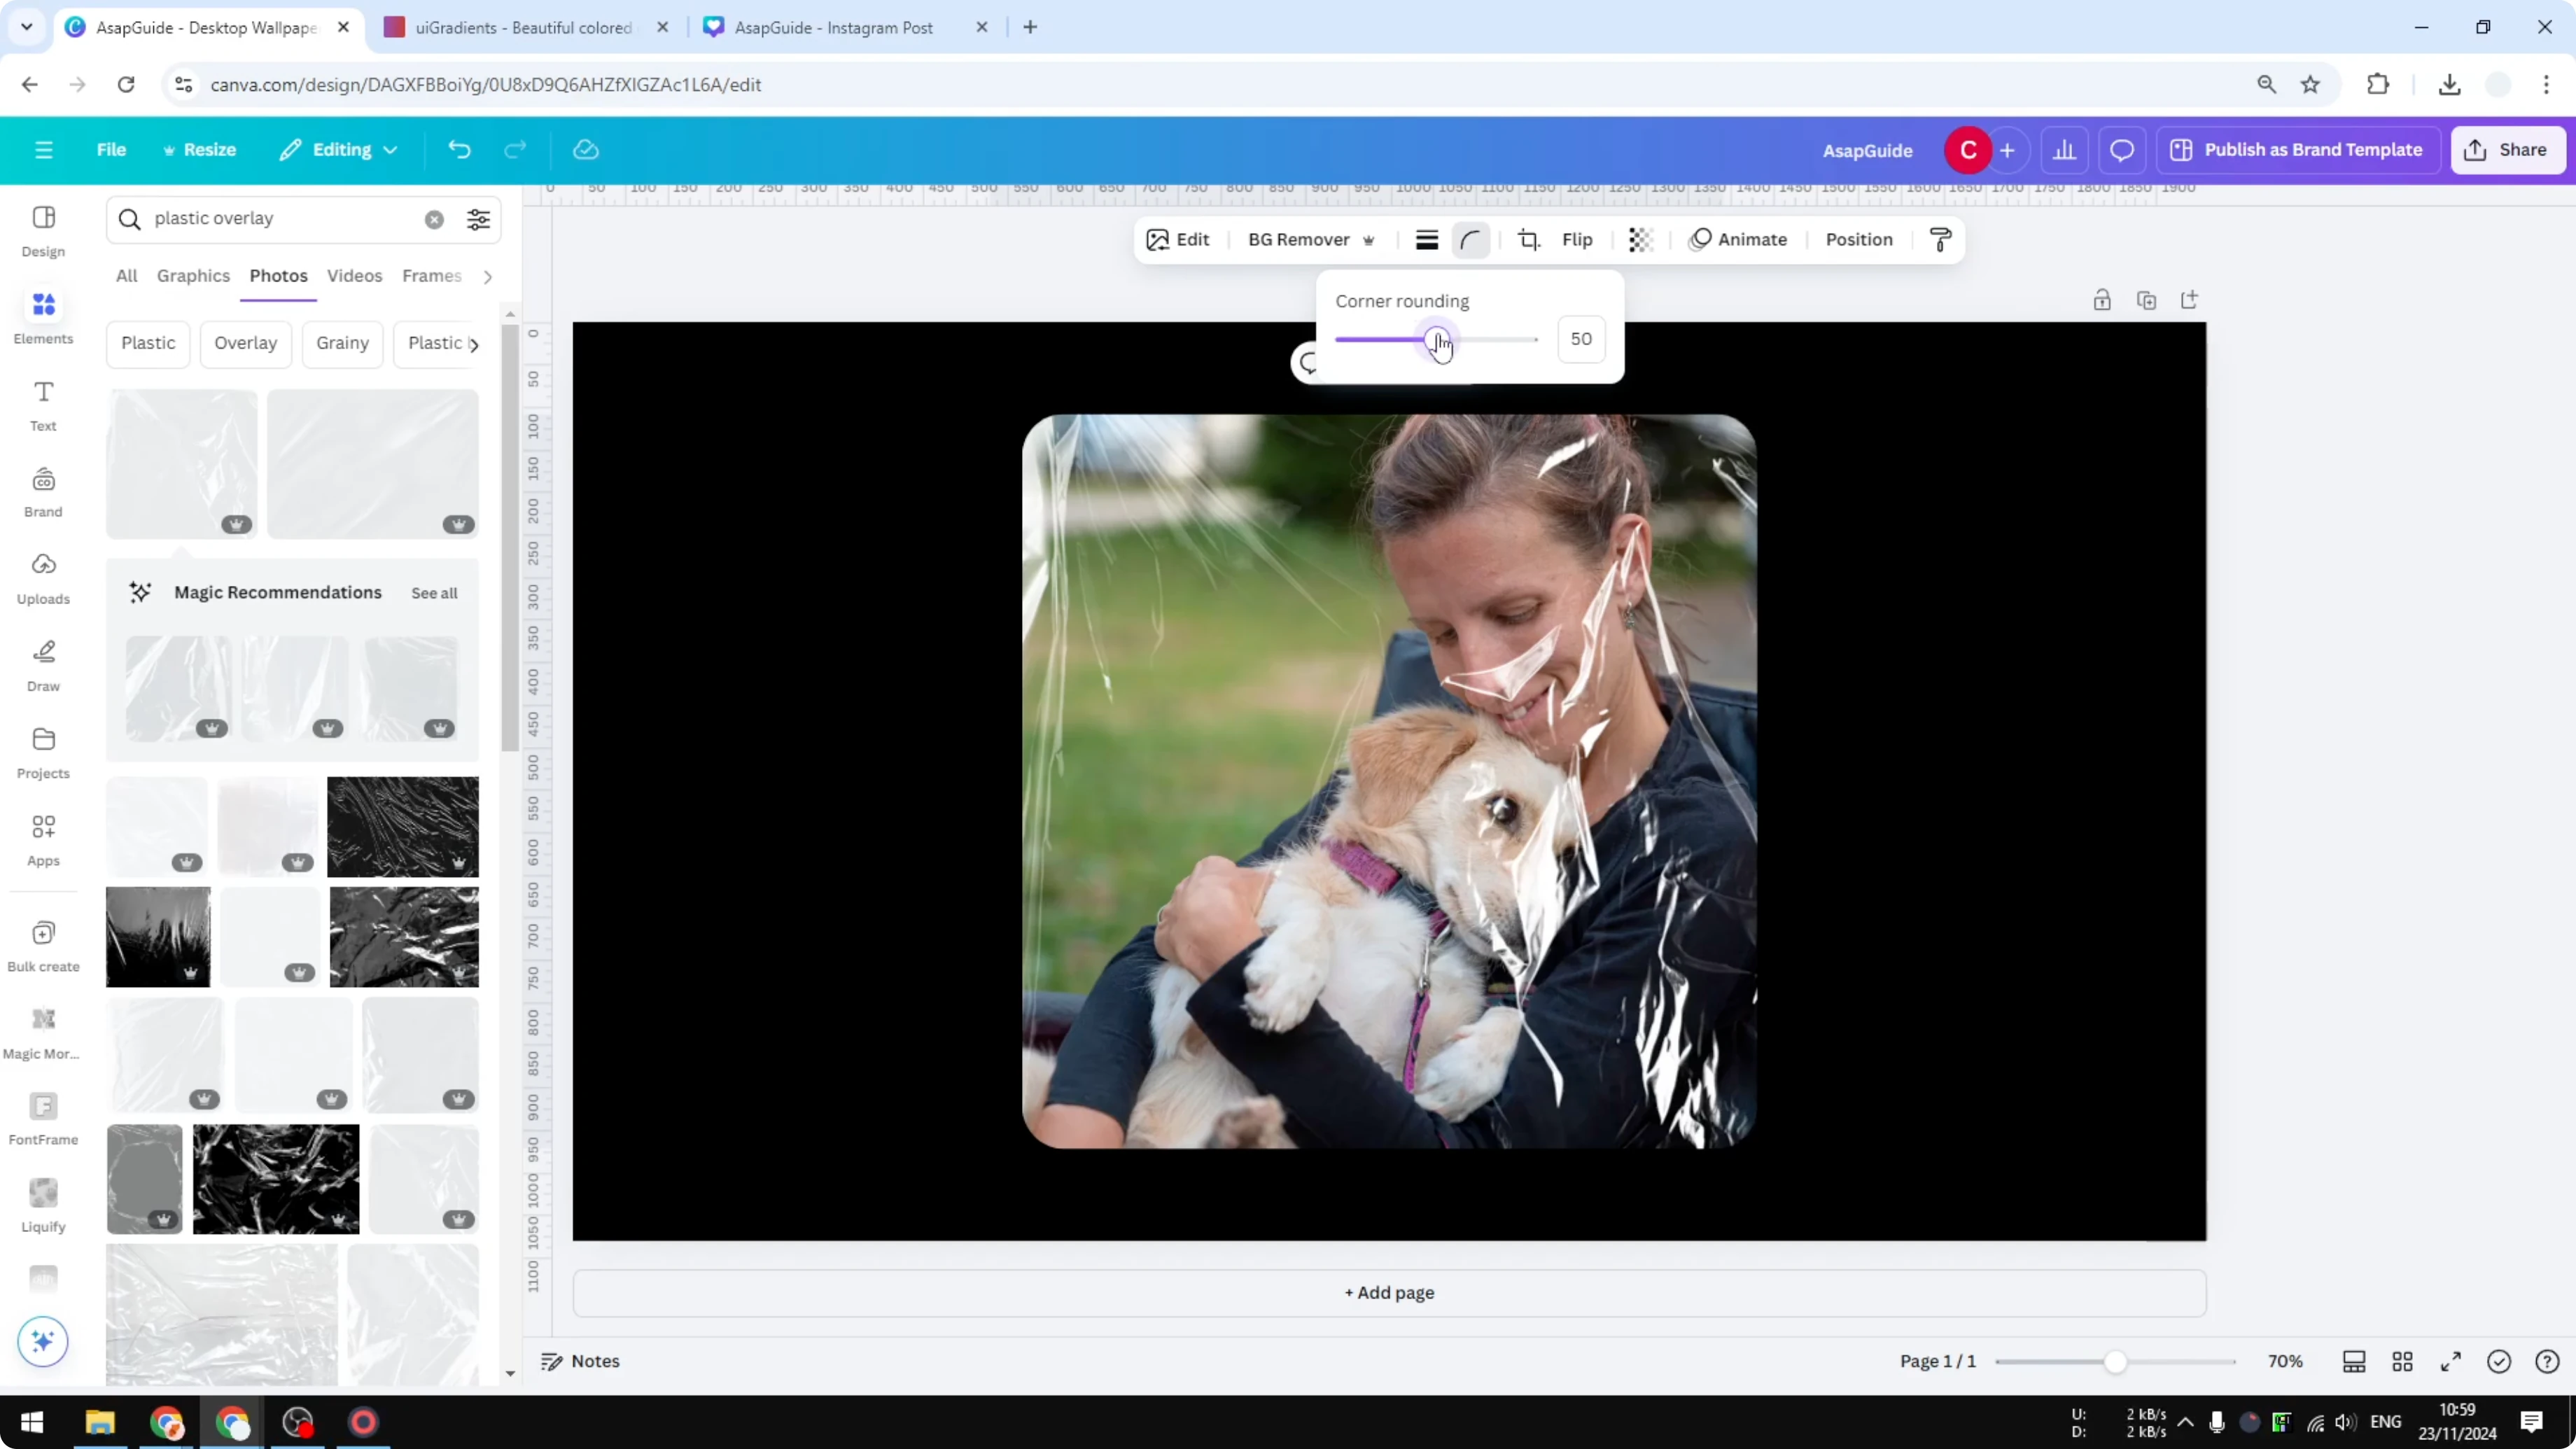
Match the rounded corners
The overlay is square, but my original image has rounded corners. I want to apply that to the plastic overlay too.

Use the corner rounding control on the overlay and adjust it to match your image. I set it to 50 to get the same rounding.
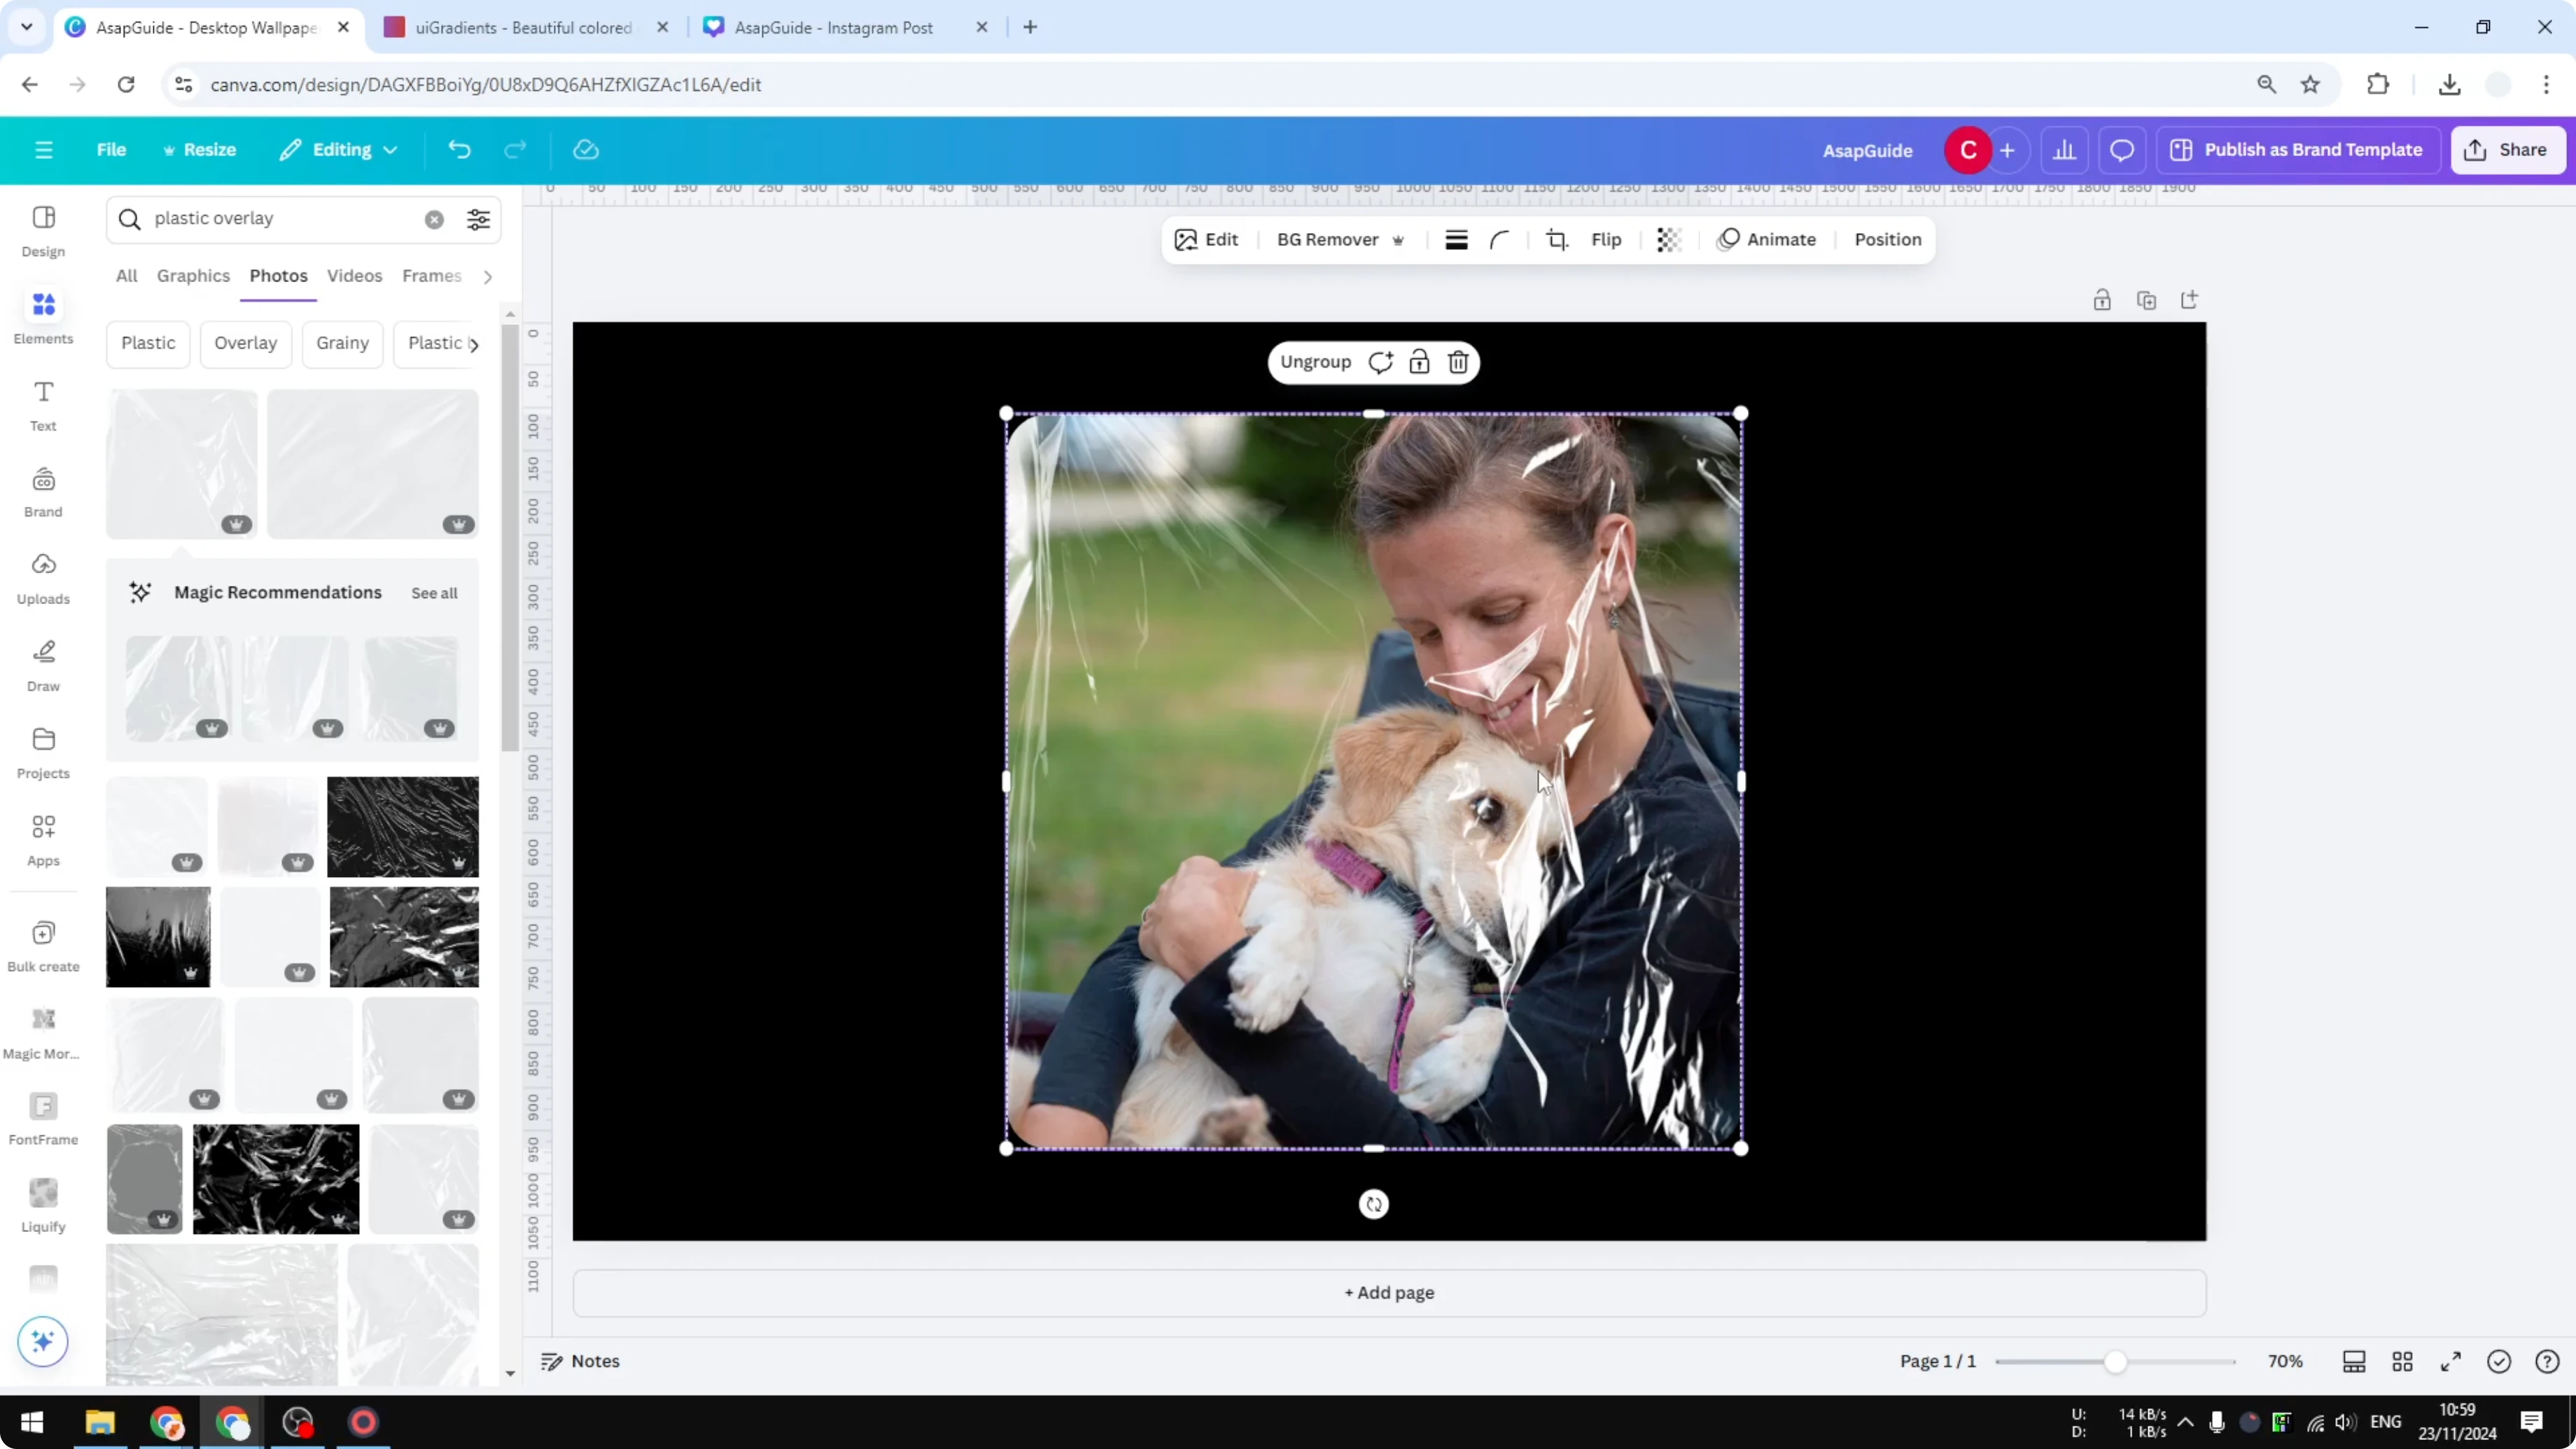
Group the elements
Select the photo and the plastic overlay. Group them so they become one element.
Every time I move the plastic overlay, the photo follows, and the other way around is also true. This keeps the effect locked and easy to reposition.
Final thoughts
That’s basically how you can insert a plastic overlay in Canva. Add it, ensure transparency, match the rounded corners, then group for easy movement.
For another playful style, try this quick tutorial on grass text.
Recent Posts
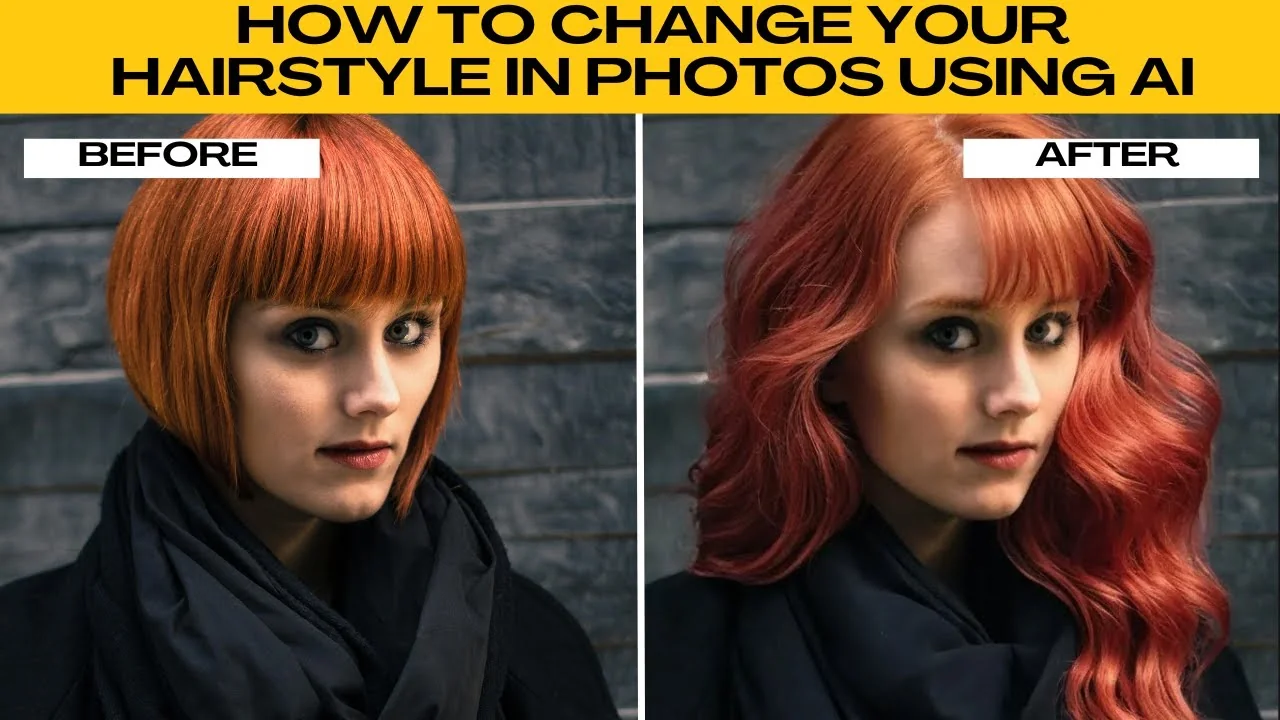
How to Visualize Different Hairstyles and Hair Colors with AI?
How to Visualize Different Hairstyles and Hair Colors with AI?

How to Transform Daytime Photos into Realistic Night Scenes with AI?
How to Transform Daytime Photos into Realistic Night Scenes with AI?
How to Visualize Yourself as the Opposite Gender with AI?
How to Visualize Yourself as the Opposite Gender with AI?