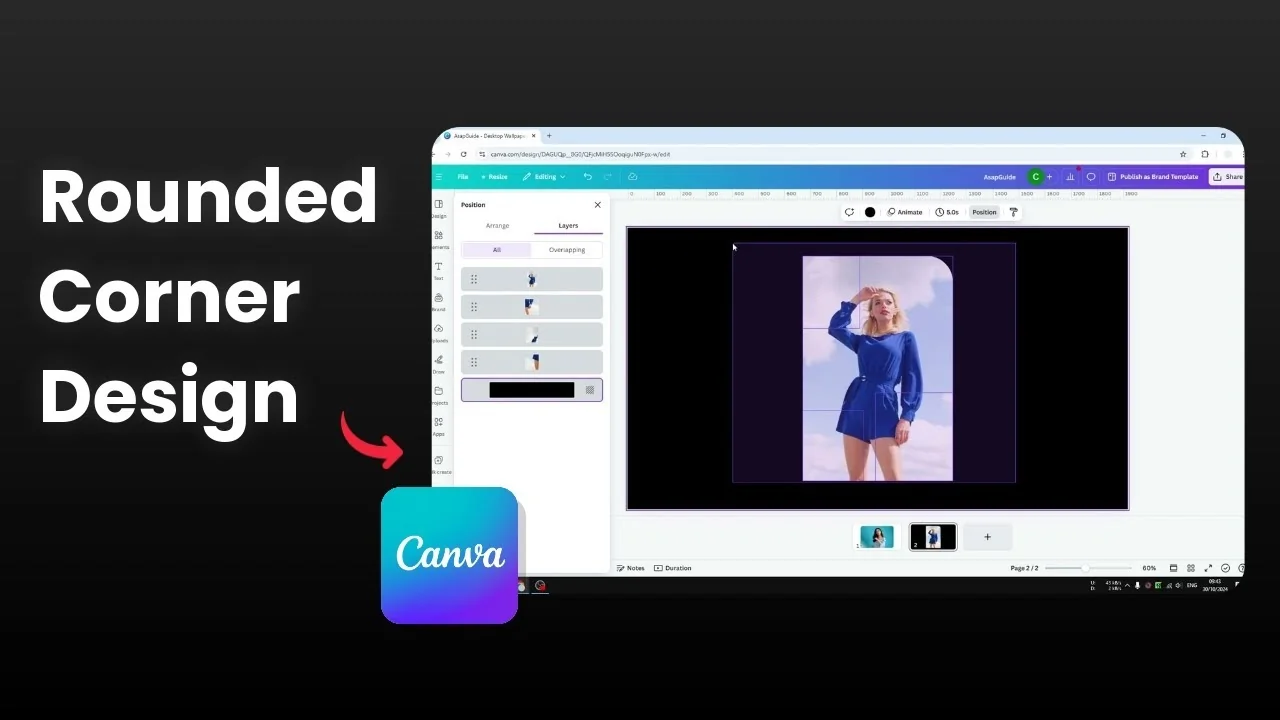
How to Create One Round Corner in Canva
I’m going to show you how you can create one, two, or three rounded edges of a photo in Canva. I have a photo with multiple rounded corners and one sharp edge, and you might be thinking how to get this design. In Canva, when you want to create round edges for just one, two, or three corners of a photo, it is not possible with the default Corner rounding control.
If I want to create round edges on a photo, I can click on Corner rounding and it will apply to the whole image, which is very unfortunate. There is a little secret to achieve this exact result in your Canva document. Let me show you how to do it step by step.
If you like quick styling tricks like this, you might also enjoy creating a playful balloon text effect in Canva.
Create One Round Corner in Canva
Create One Round Corner in Canva - why it seems impossible
Corner rounding in Canva is an all-or-nothing control on an image. It does not let you select individual corners. To create one, two, or three rounded corners, you need to work with duplicates and layers.
Create One Round Corner in Canva - the little secret
Open your Canva document with the photo you want to edit. You can apply a round corner to just one, or maybe two or three corners, by stacking duplicates and arranging them with layers. This gives you the control the single Corner rounding slider does not provide.
For detailed layer control while annotating designs, making a custom arrow in Canva also benefits from the same Position tools.
Create One Round Corner in Canva - step-by-step
Duplicate the photo
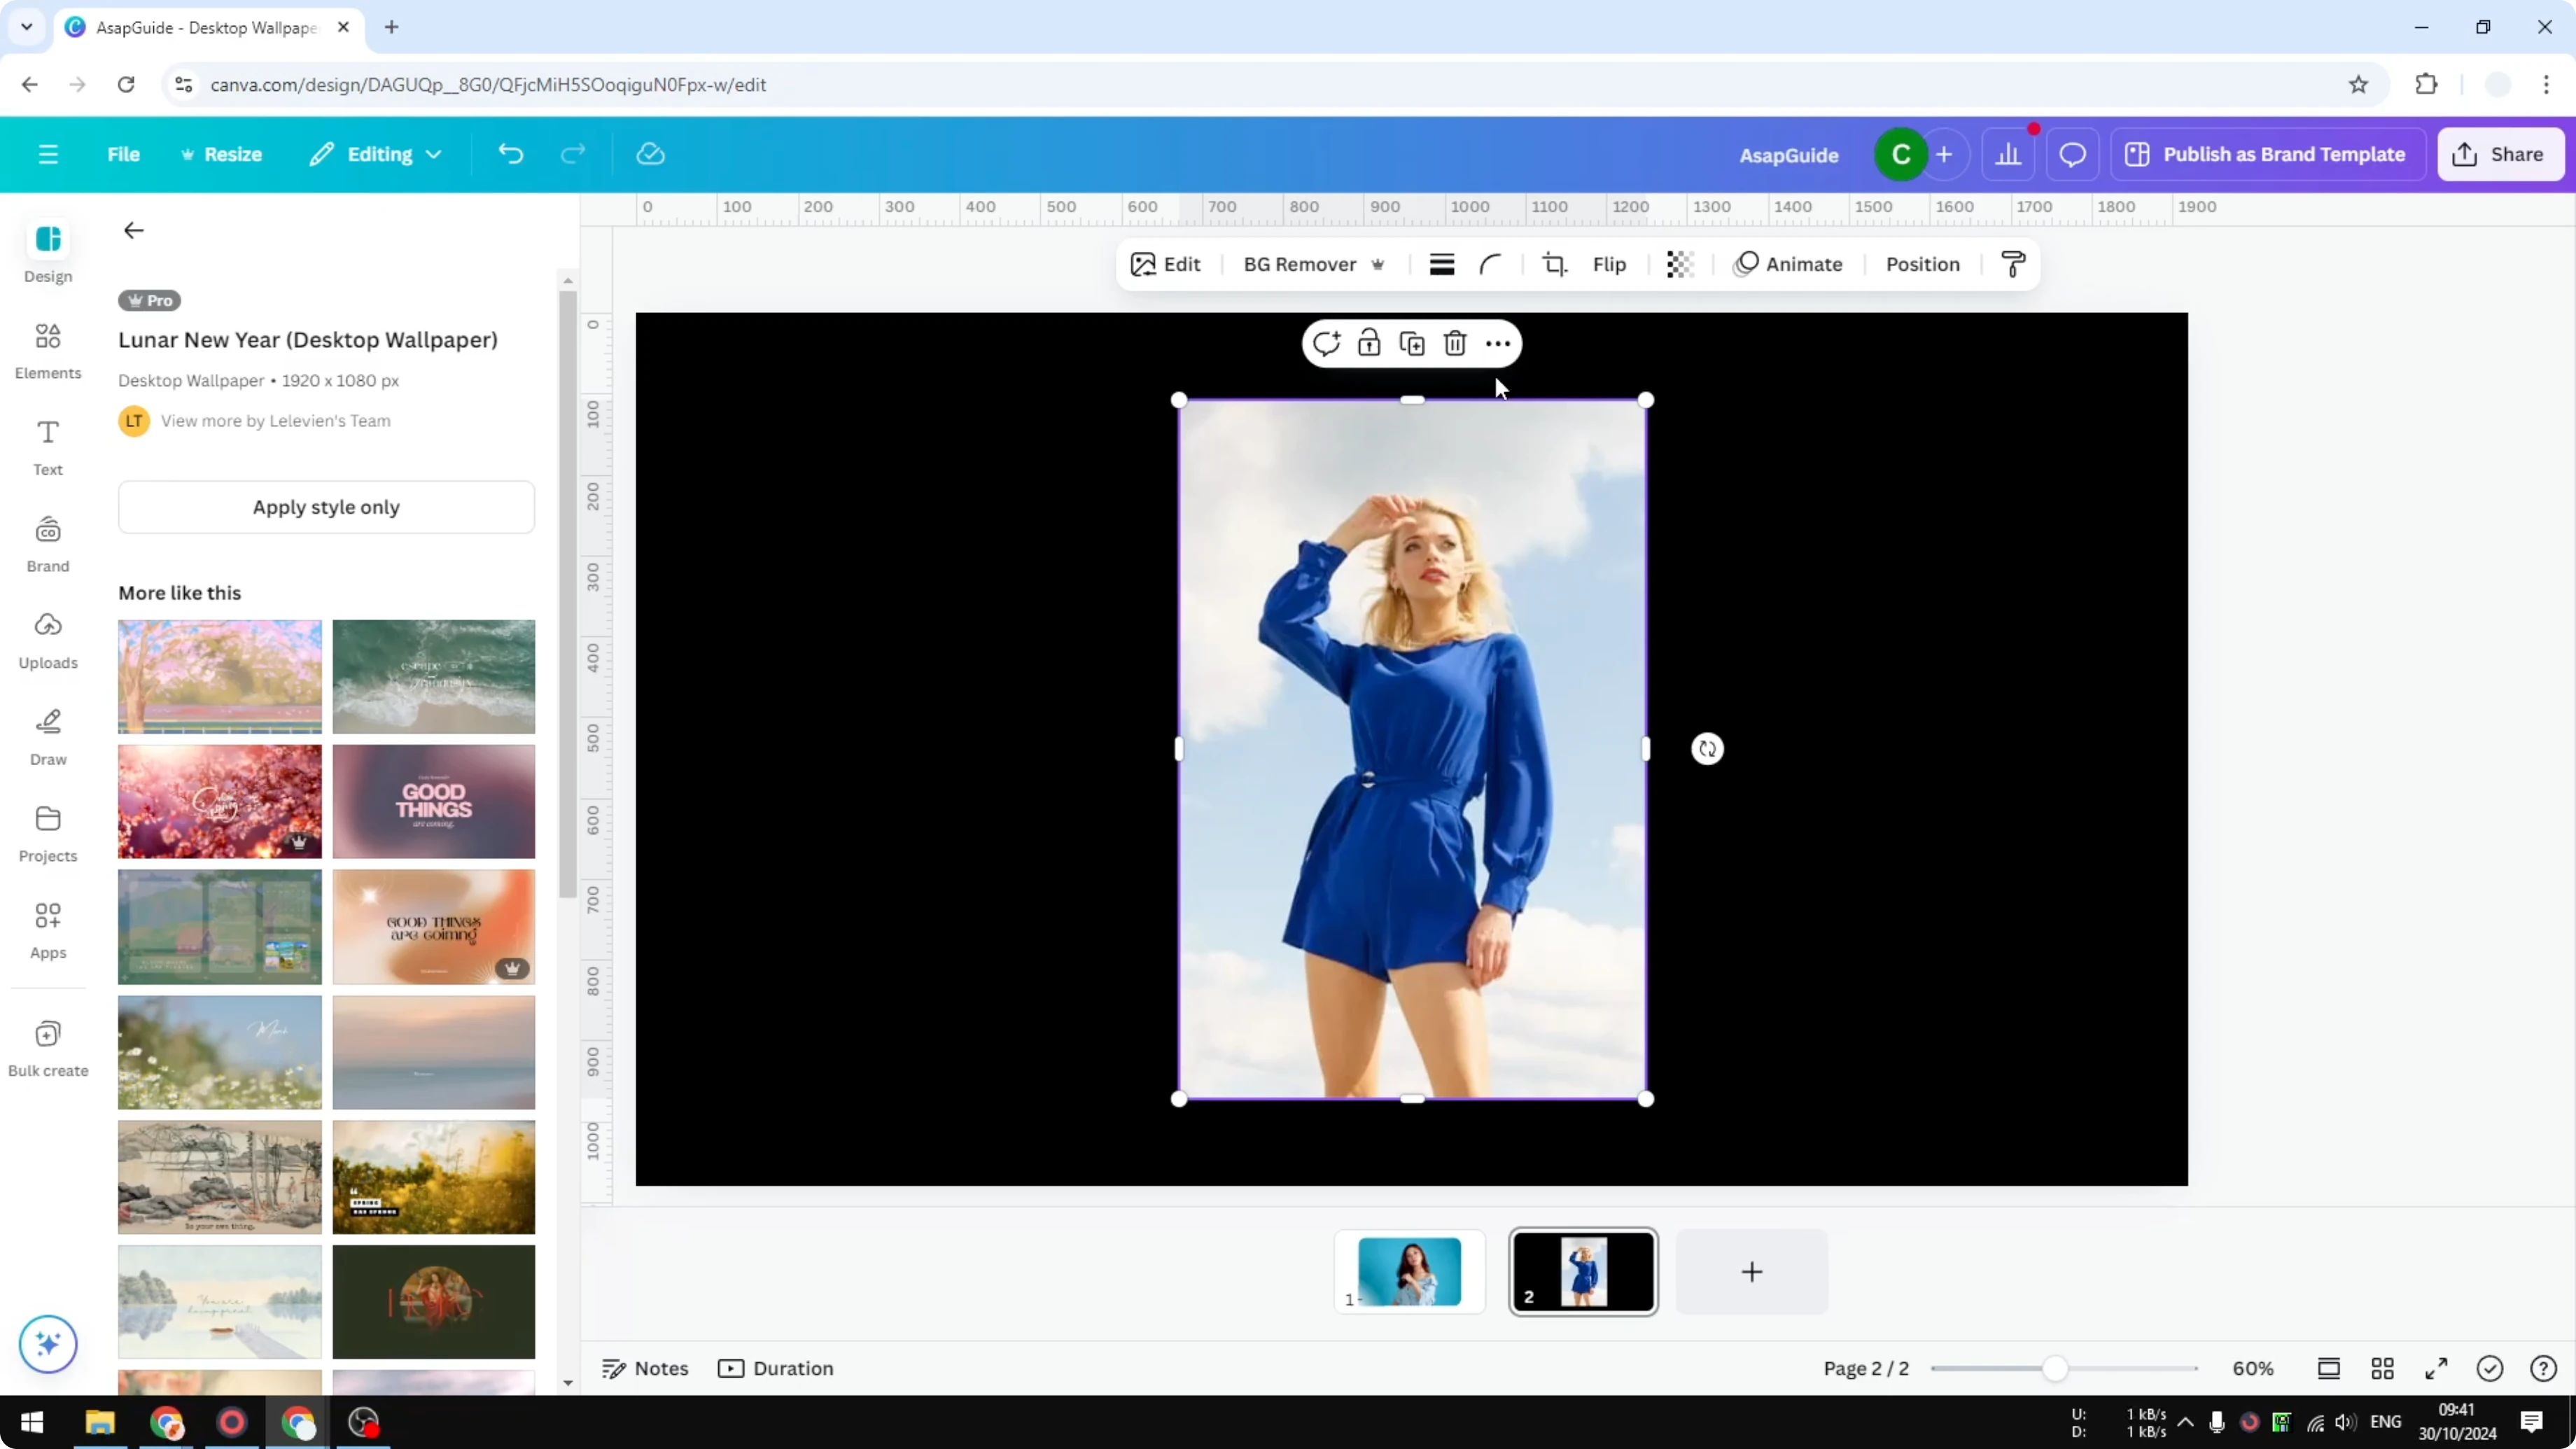
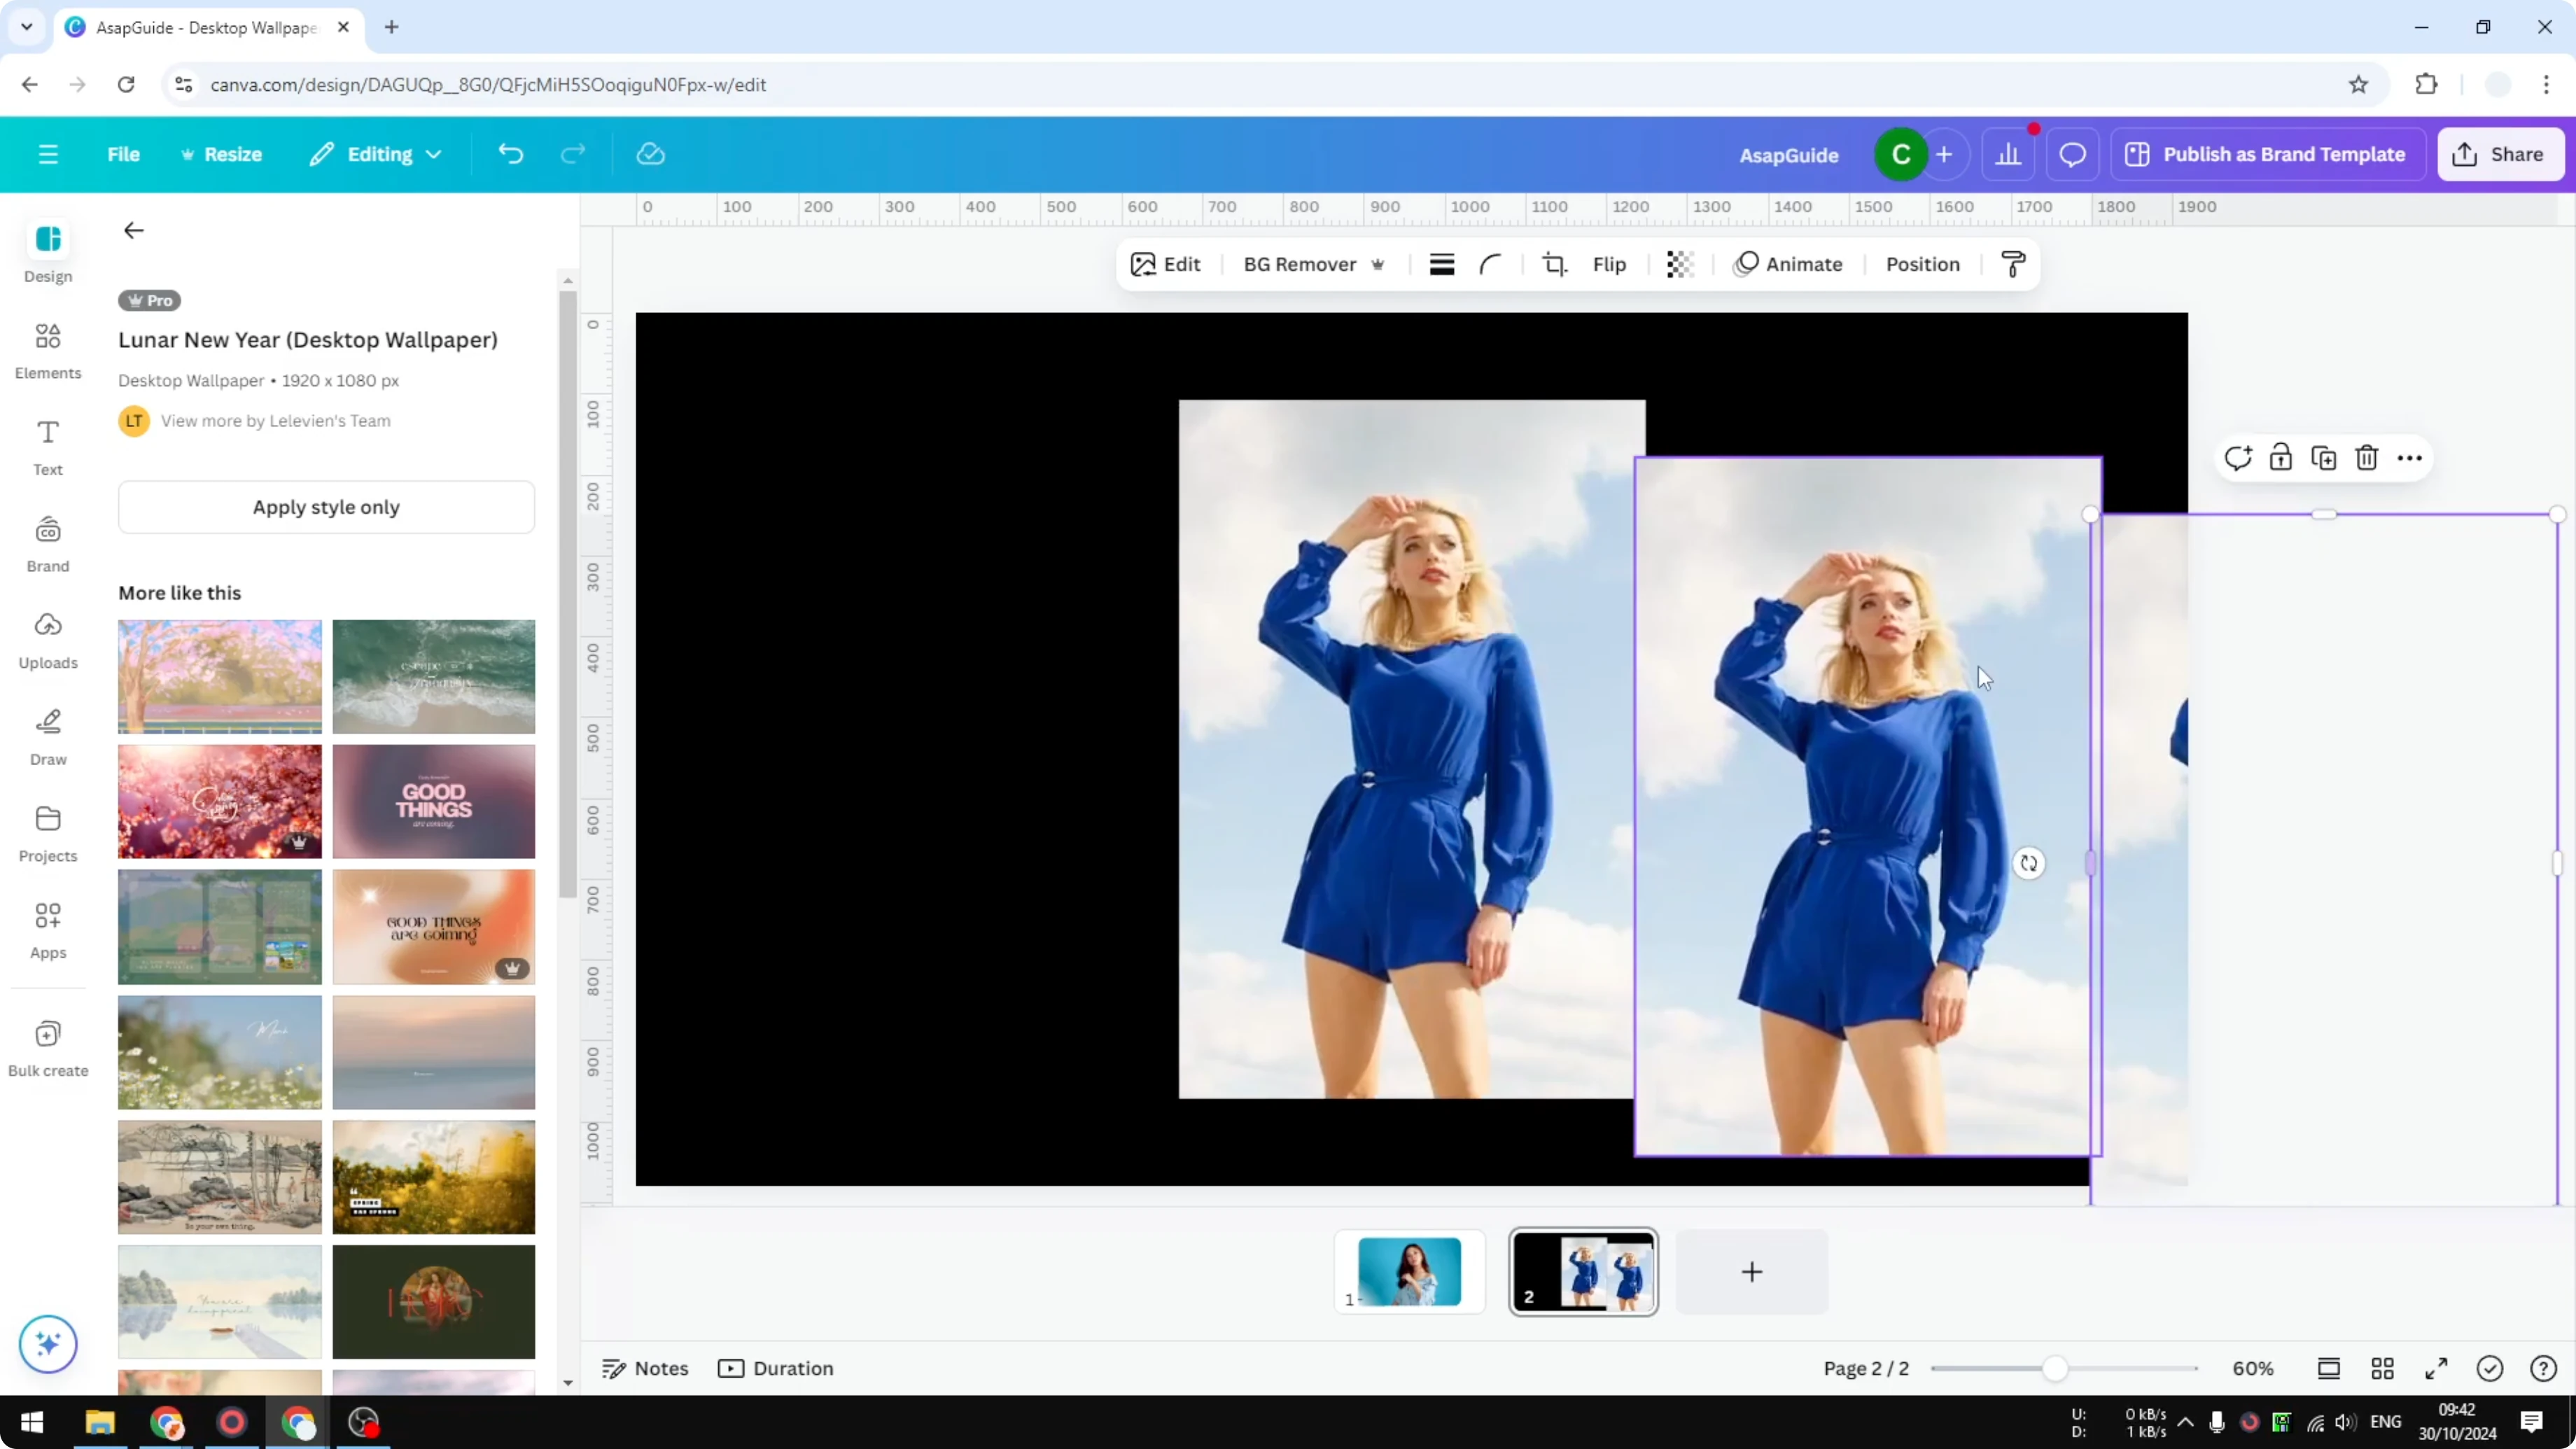
First, duplicate the photo. Duplicate it three times so you have three duplicates. Now there are three duplicates plus your original.
Manage layers
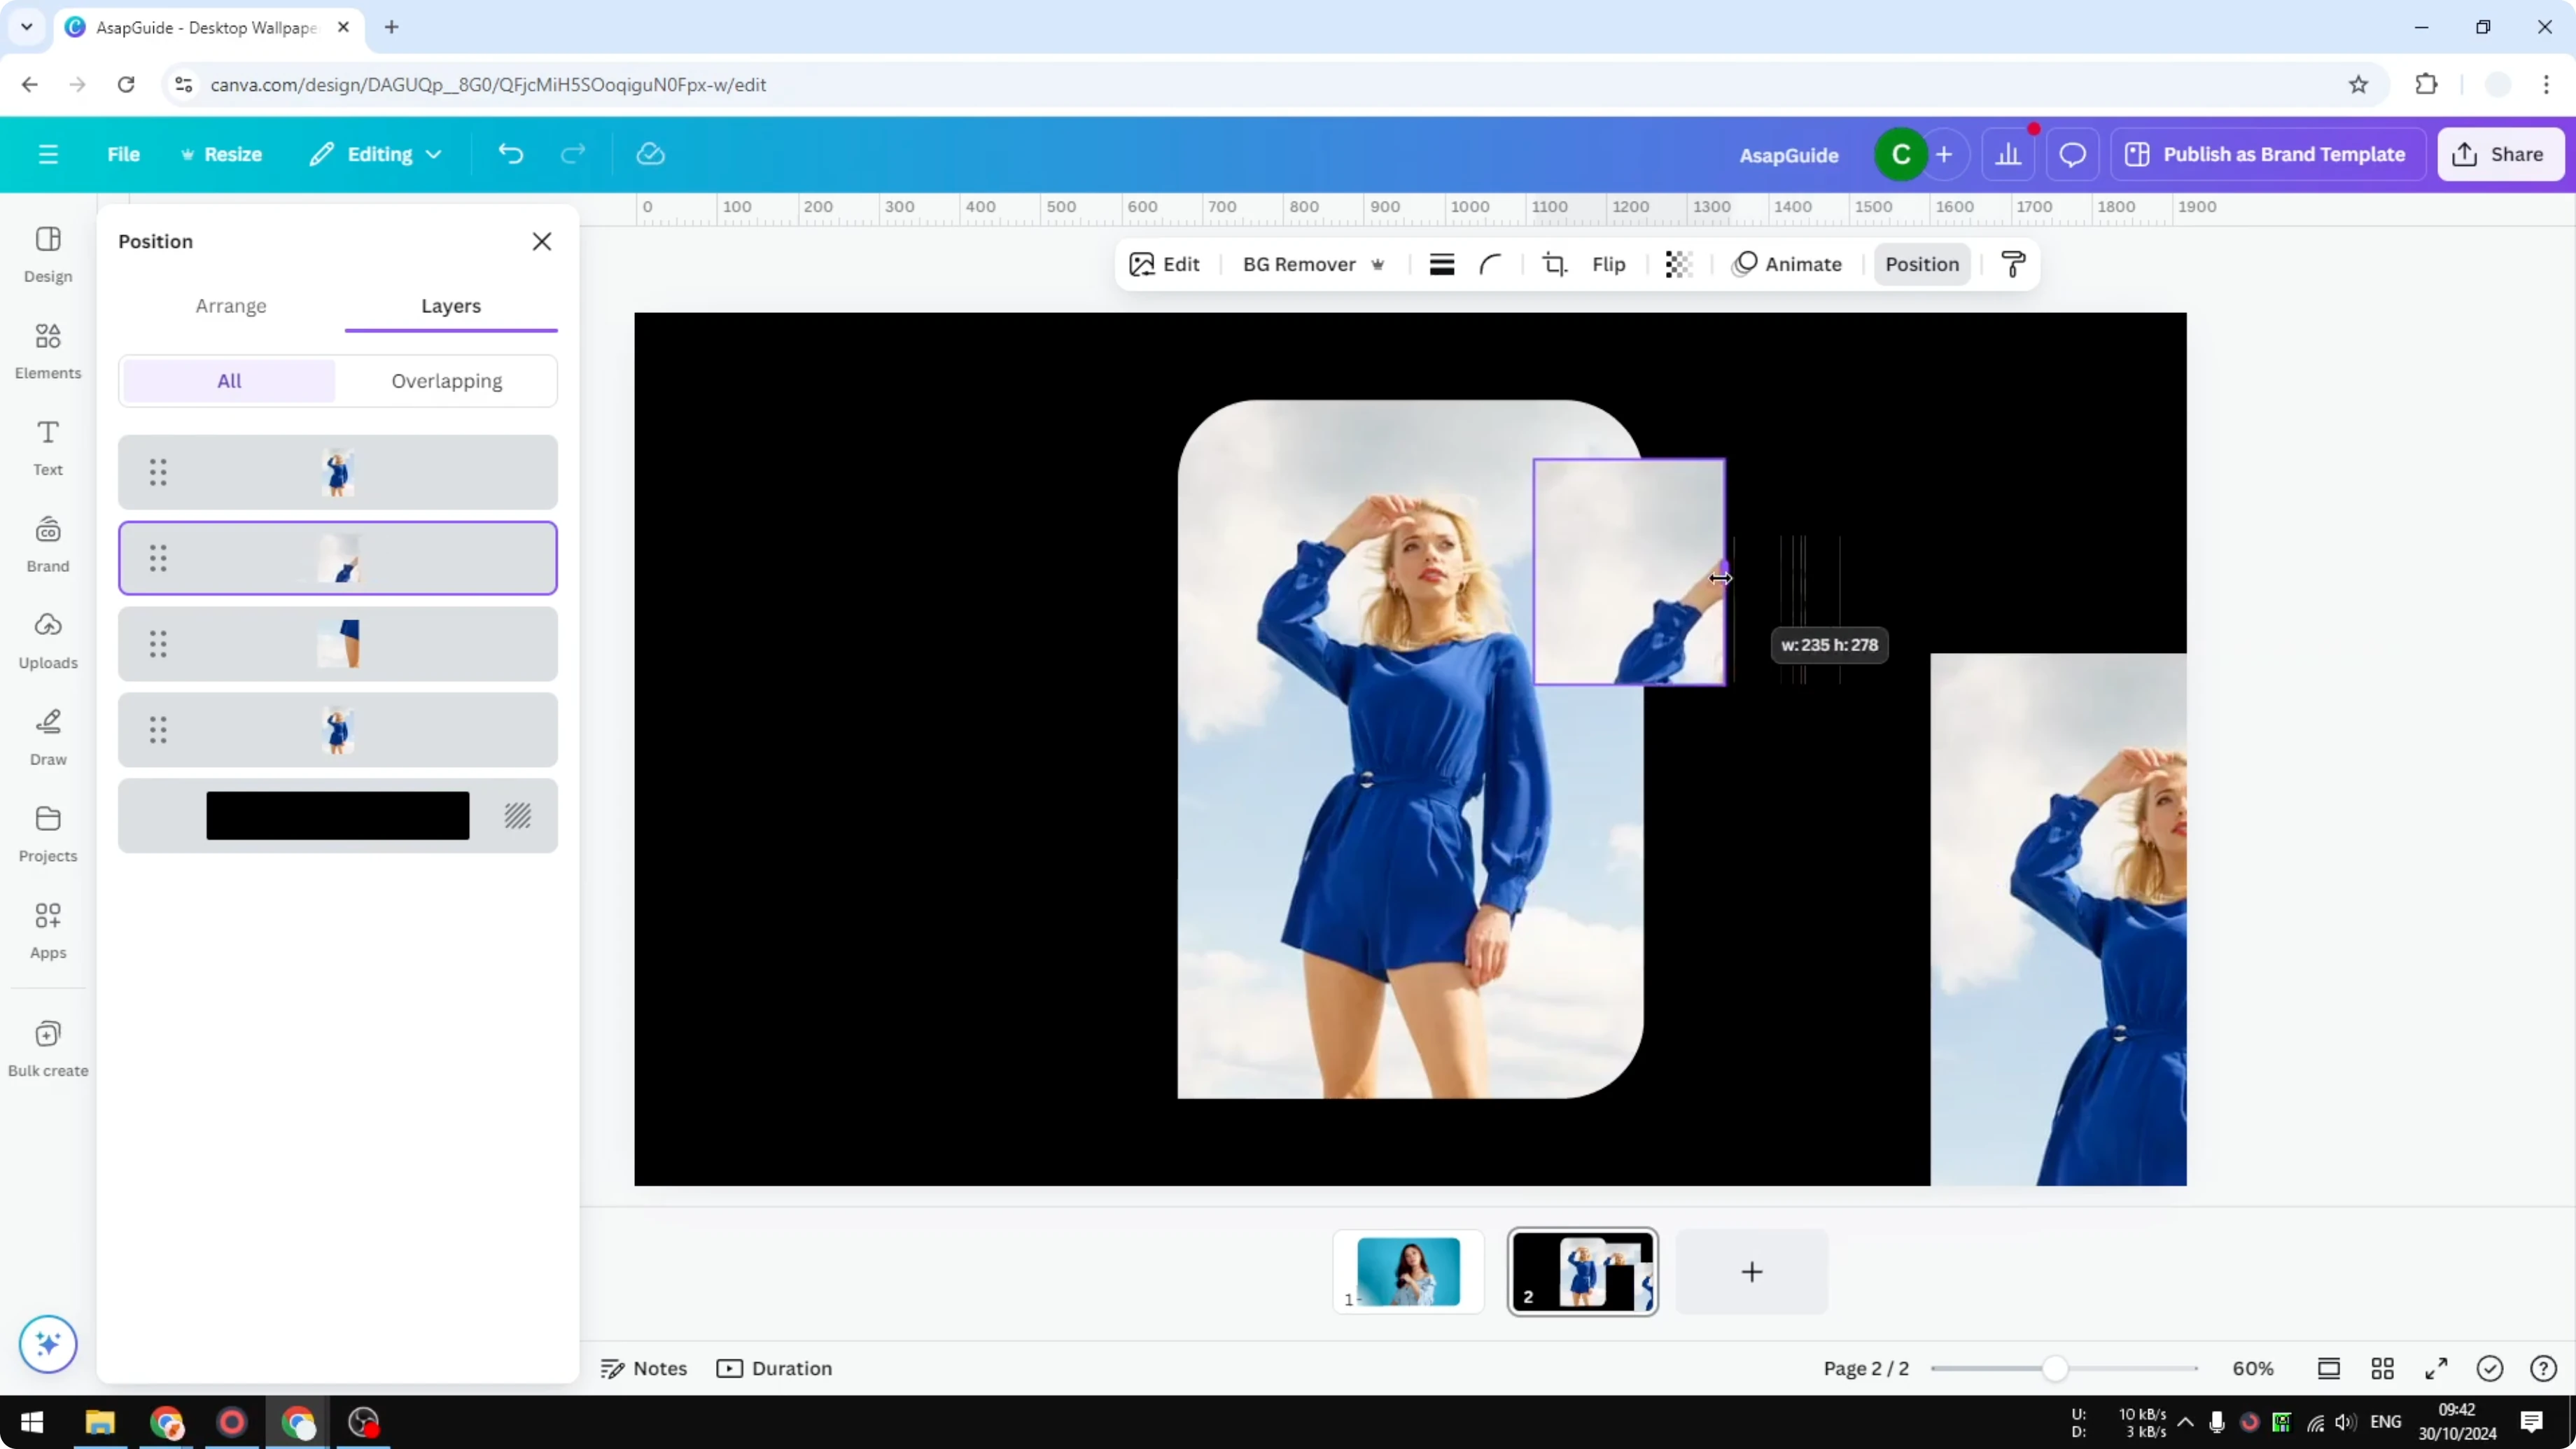
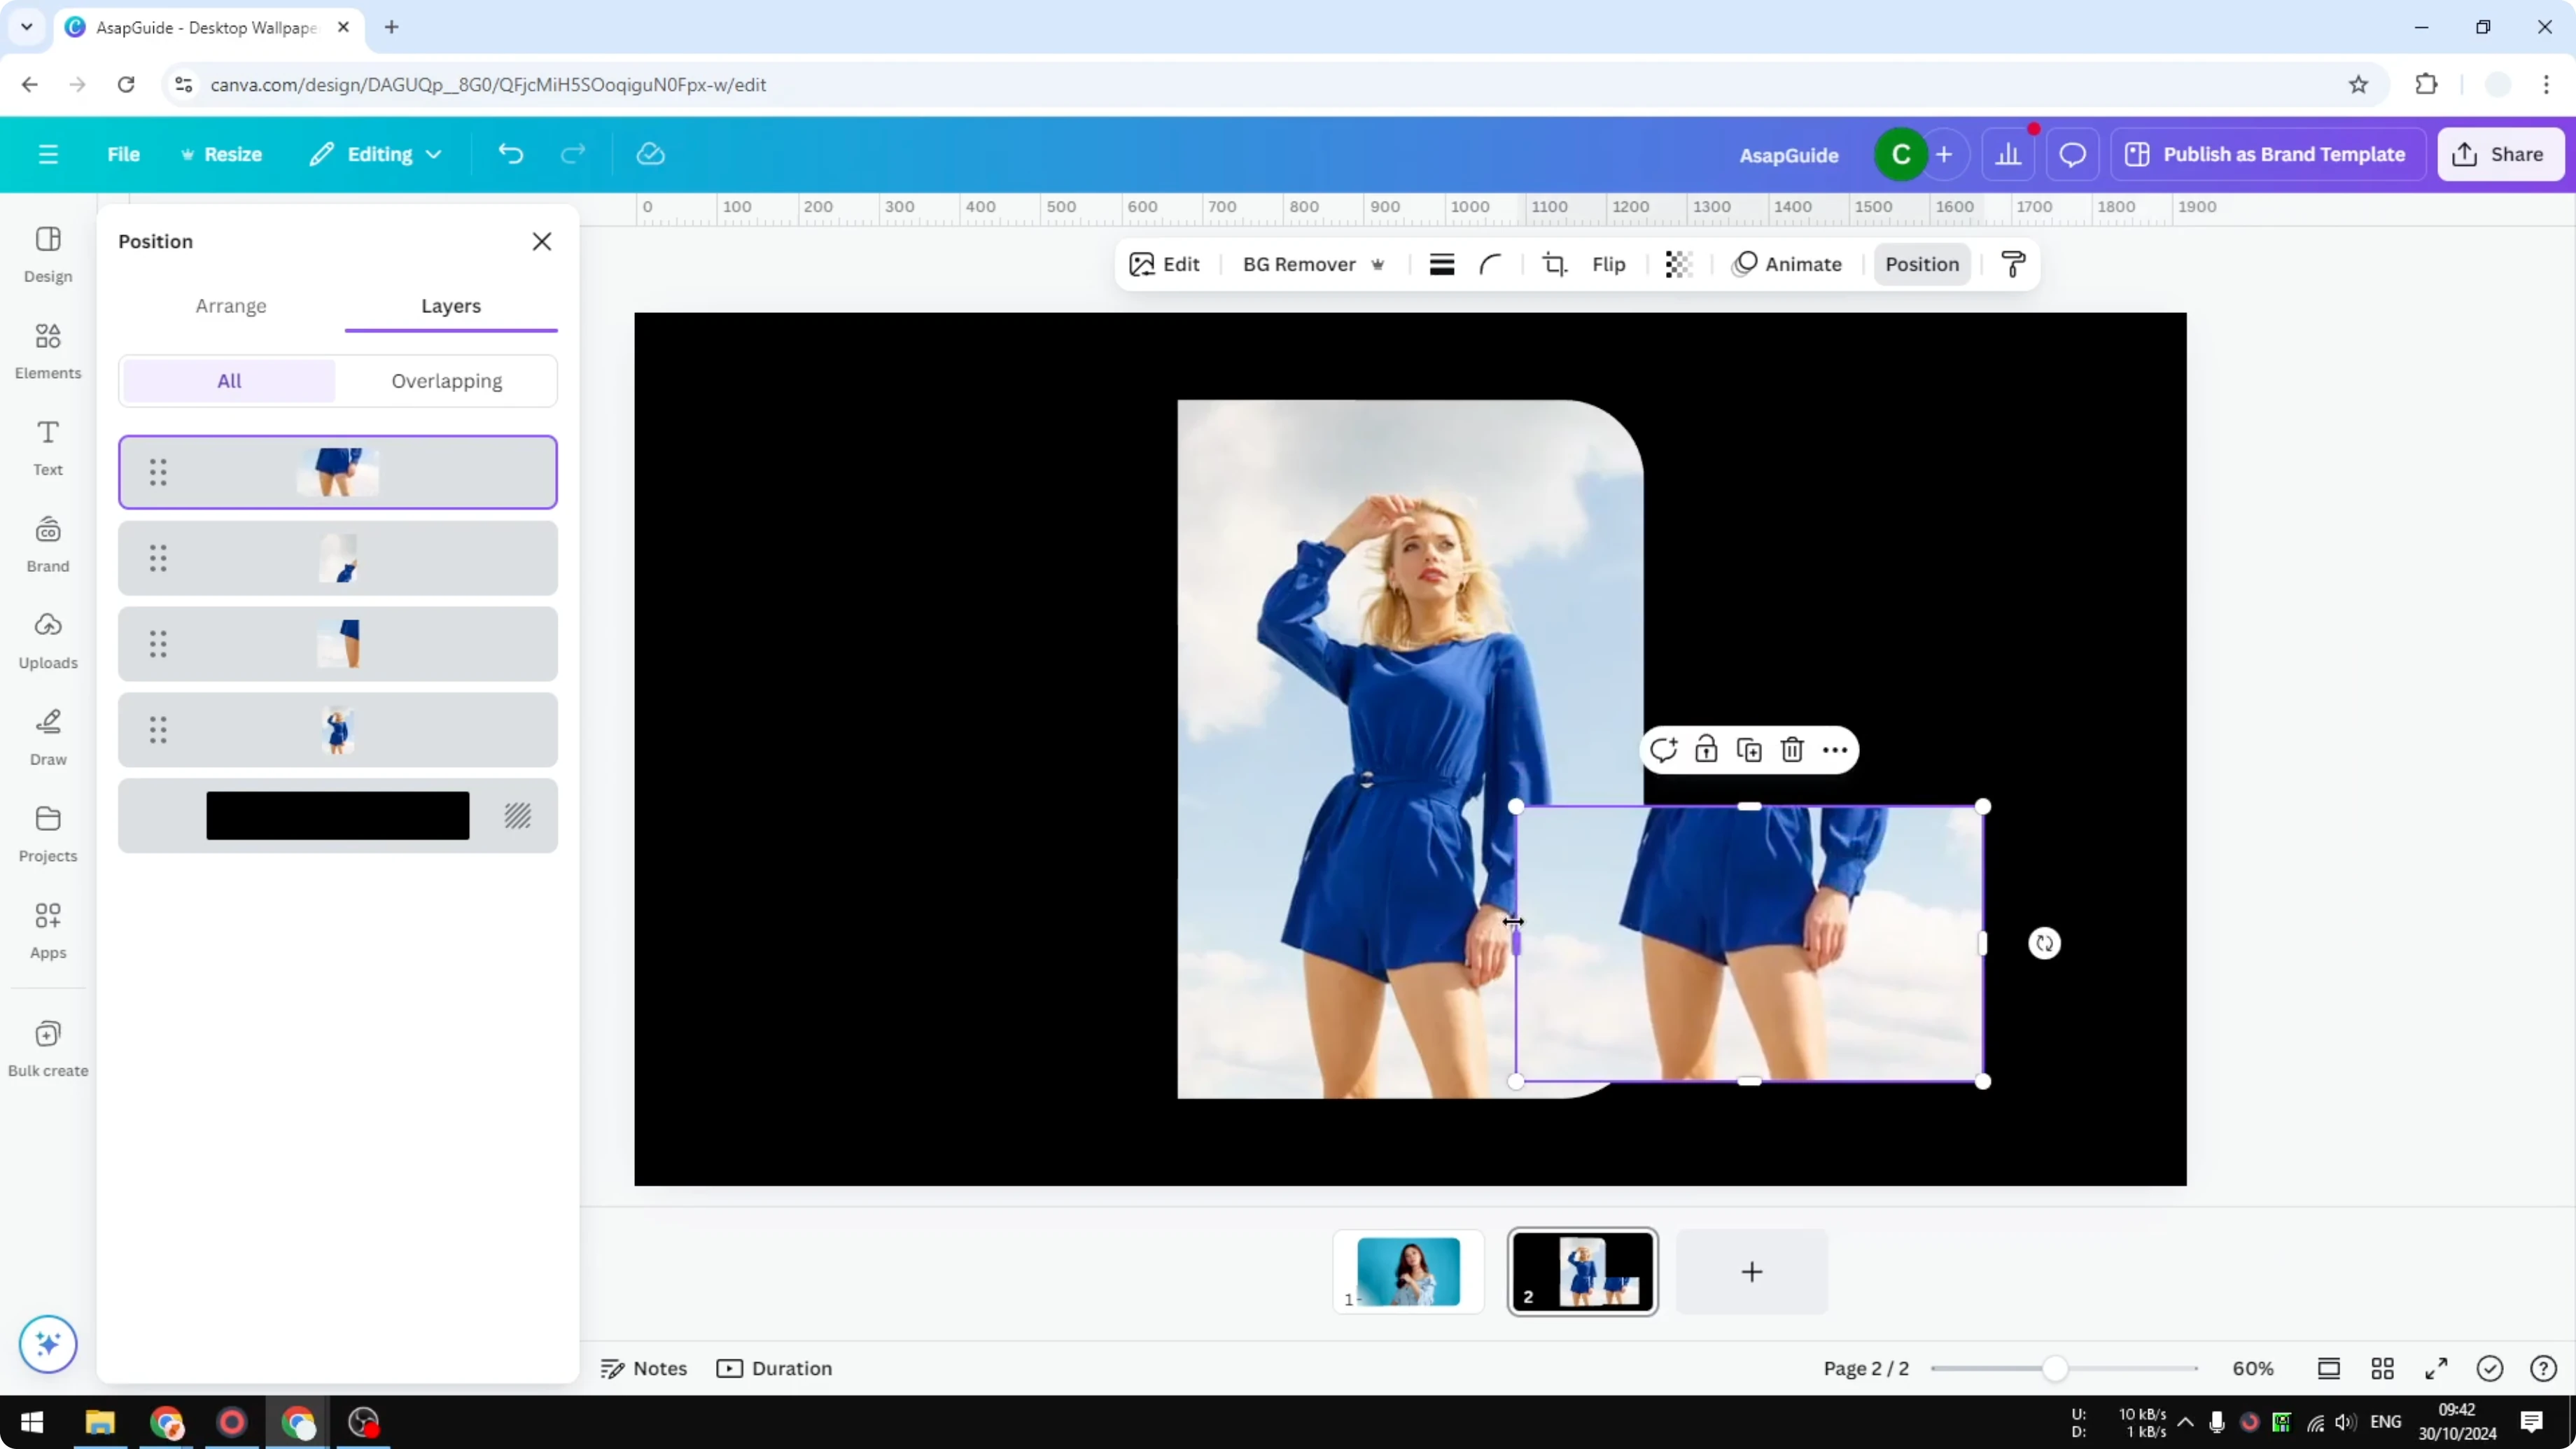
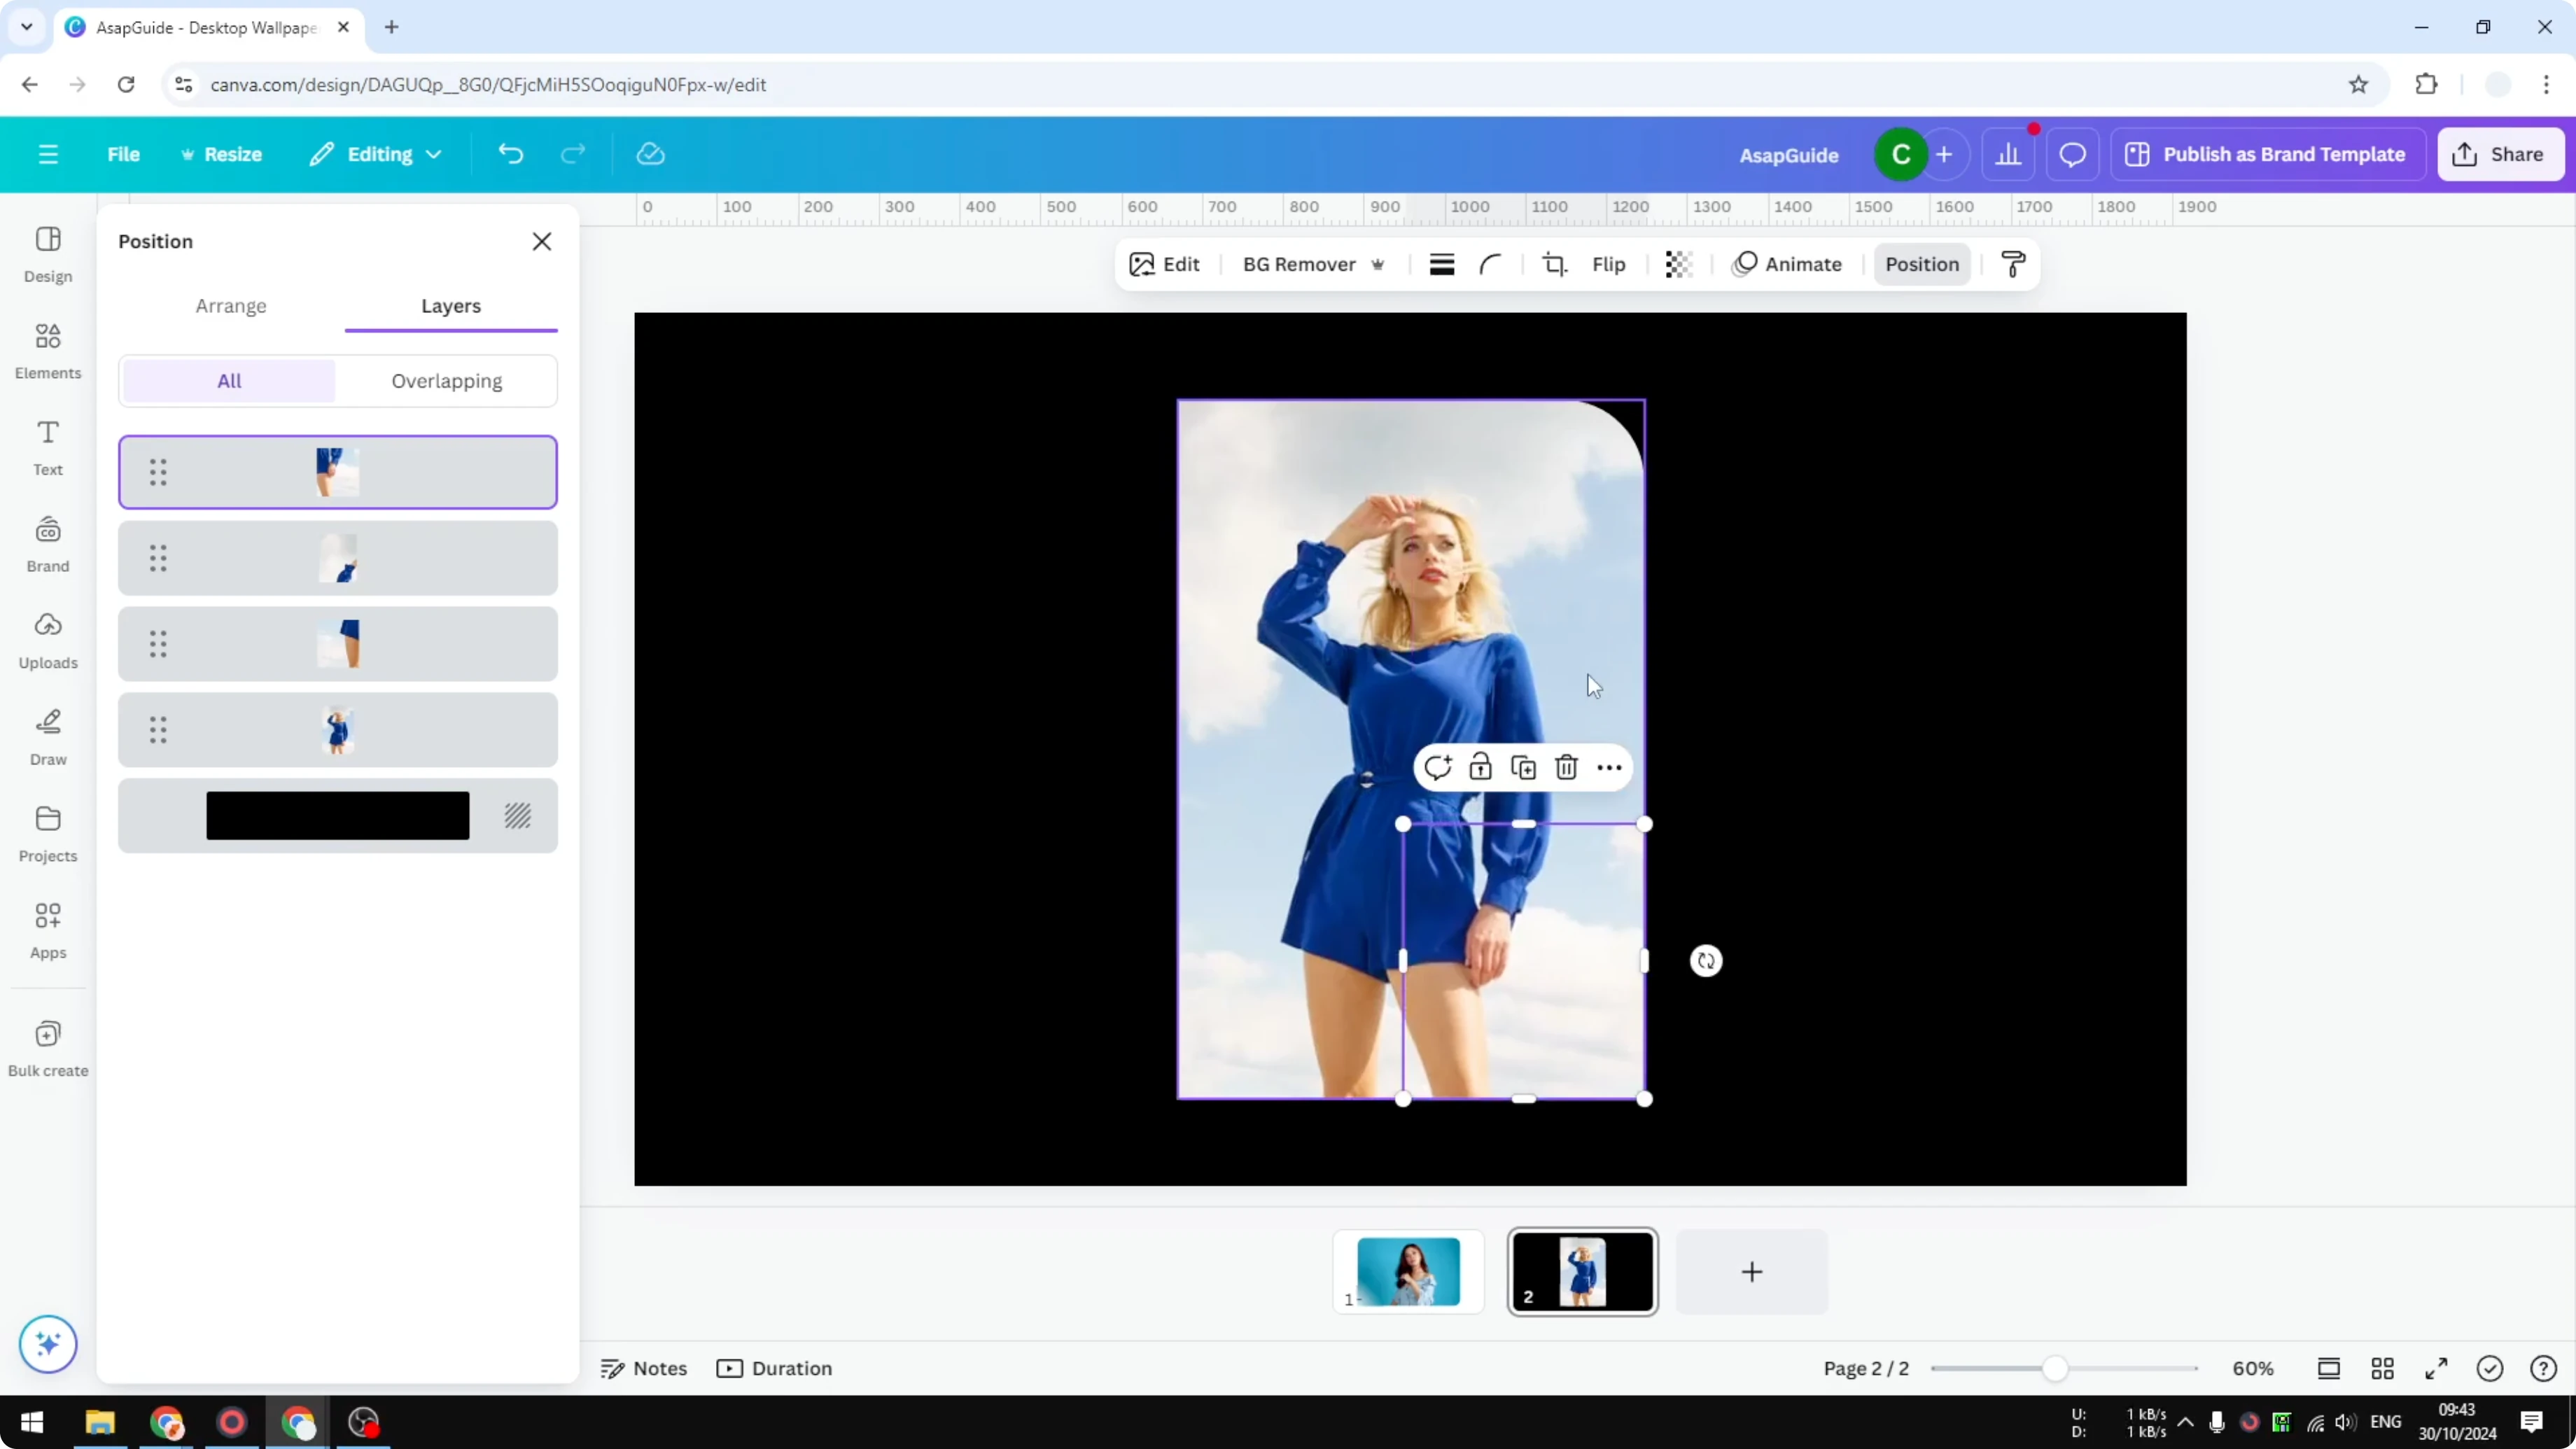
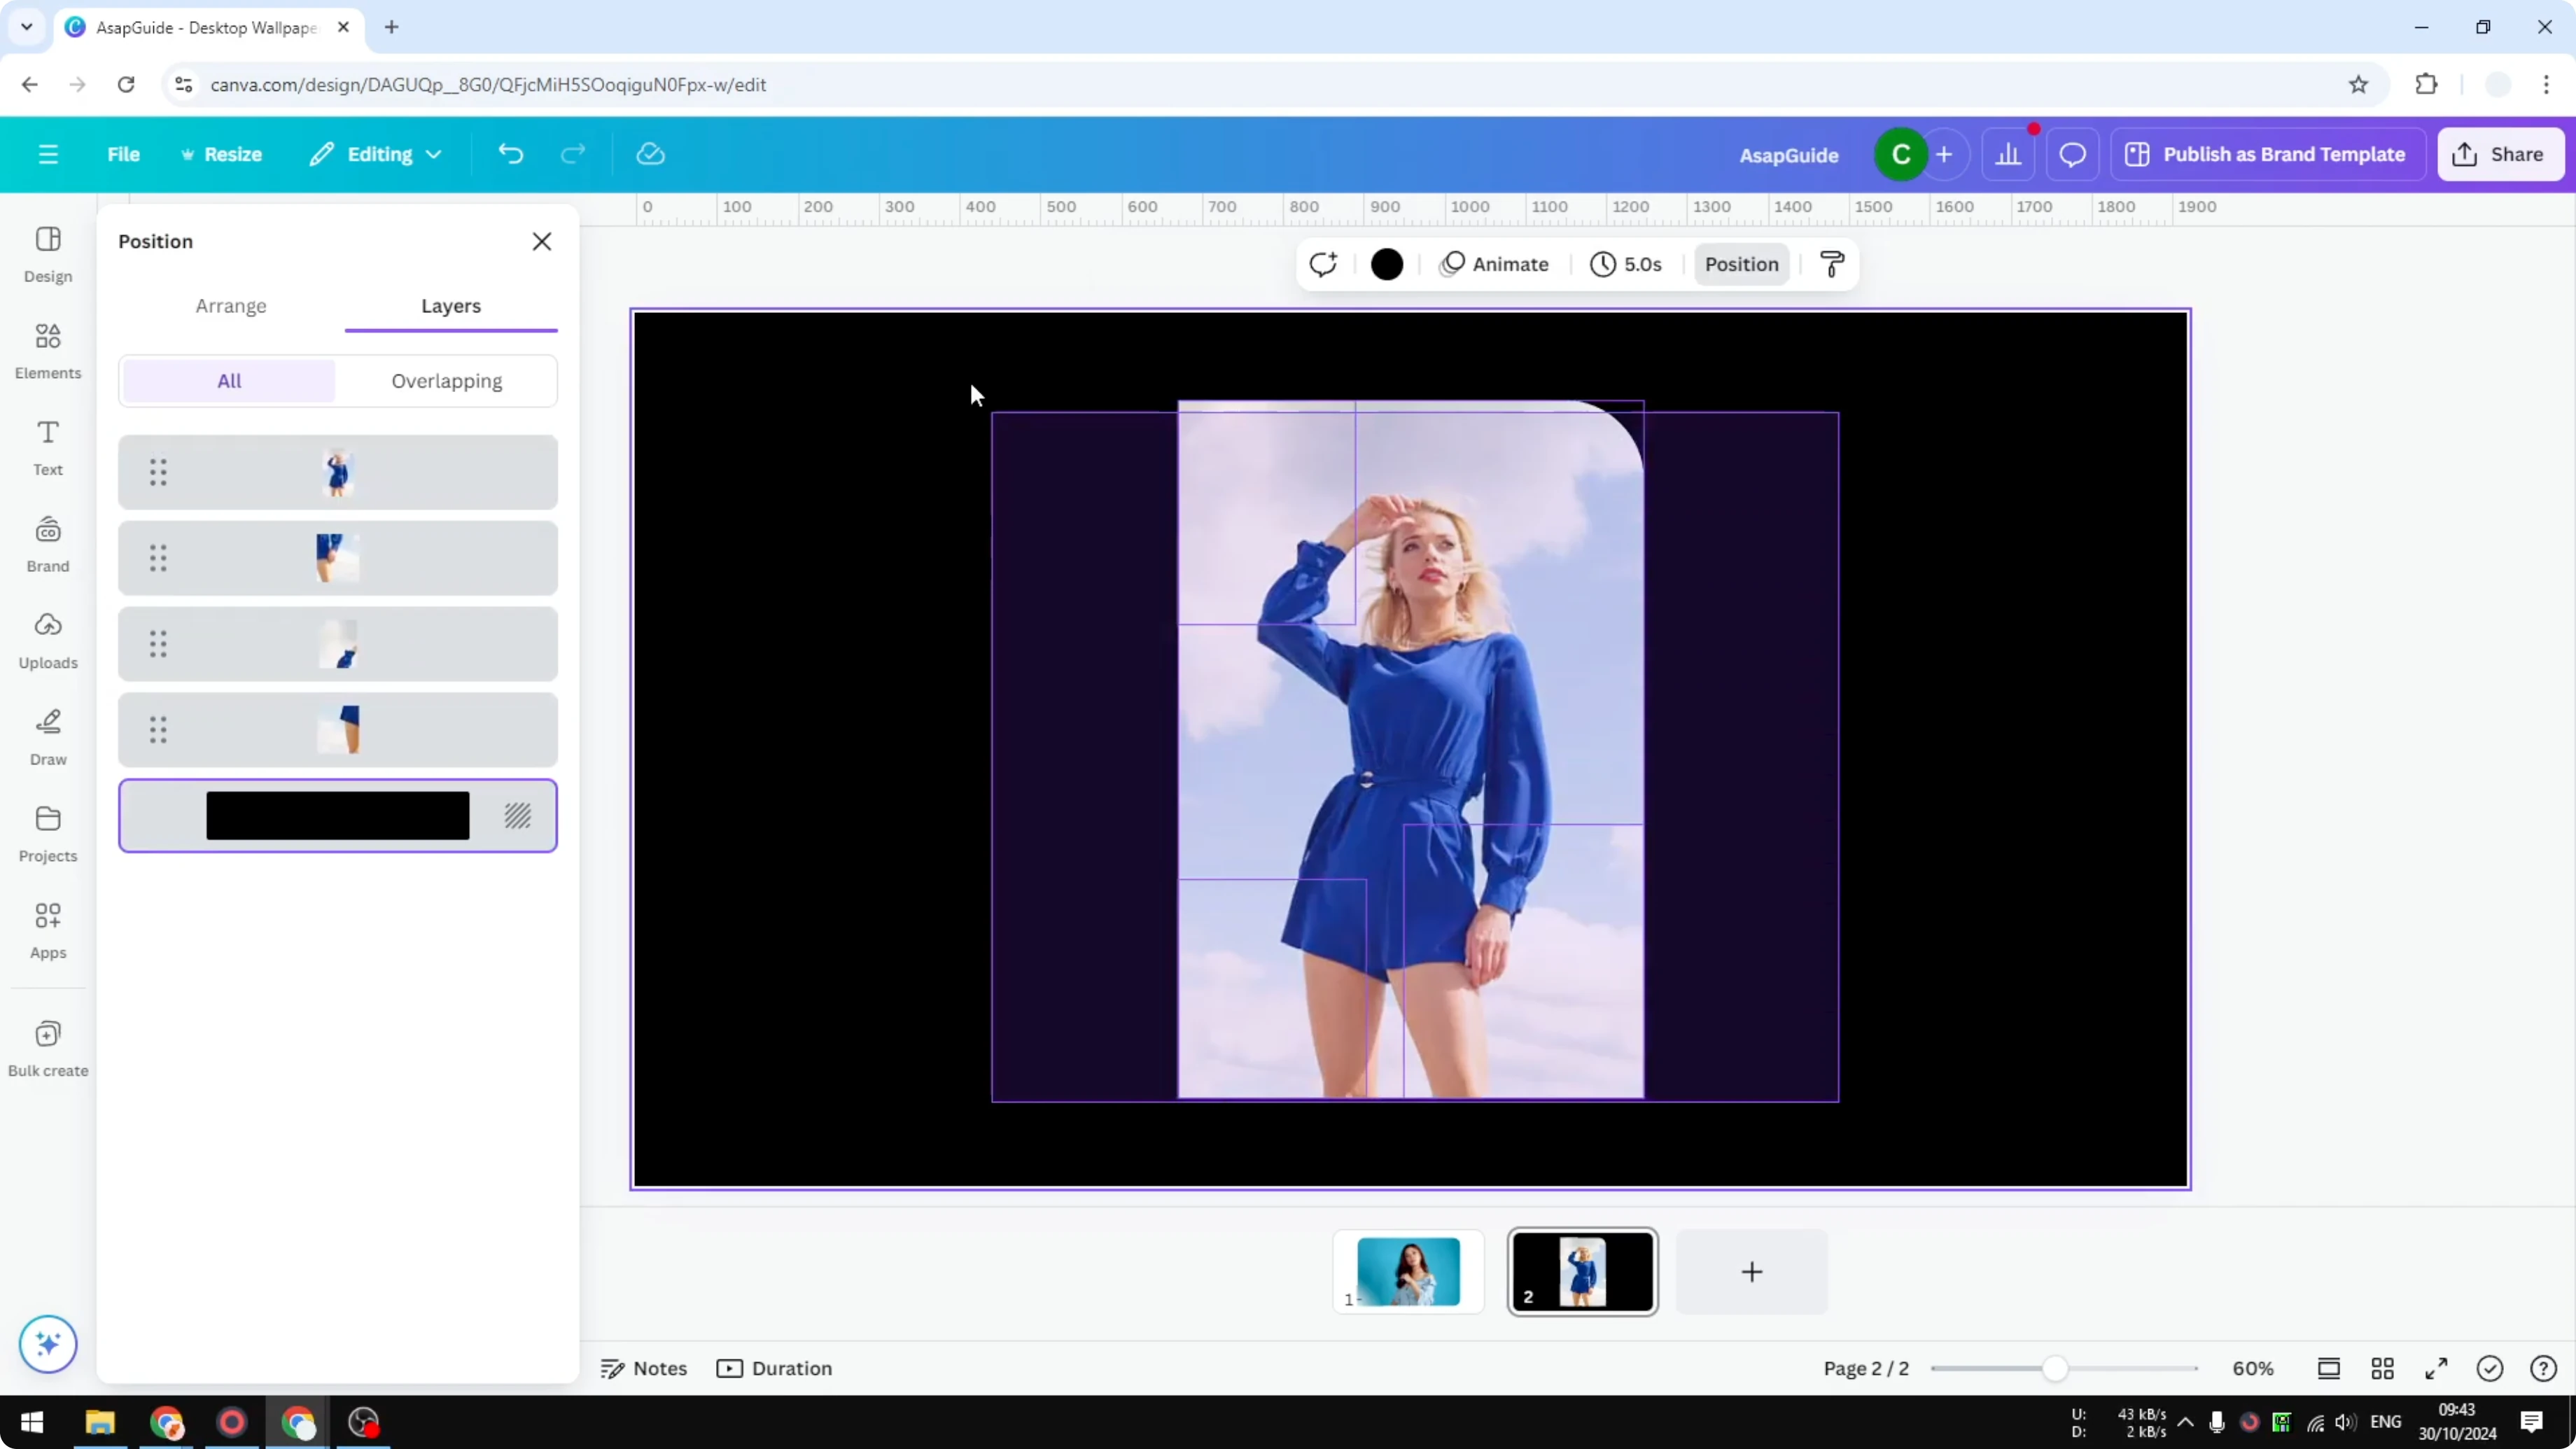
Select Position to see the layers of this design. This helps you place each piece exactly where you want it. Keep track of which copy is the main image.

Place and crop corner pieces
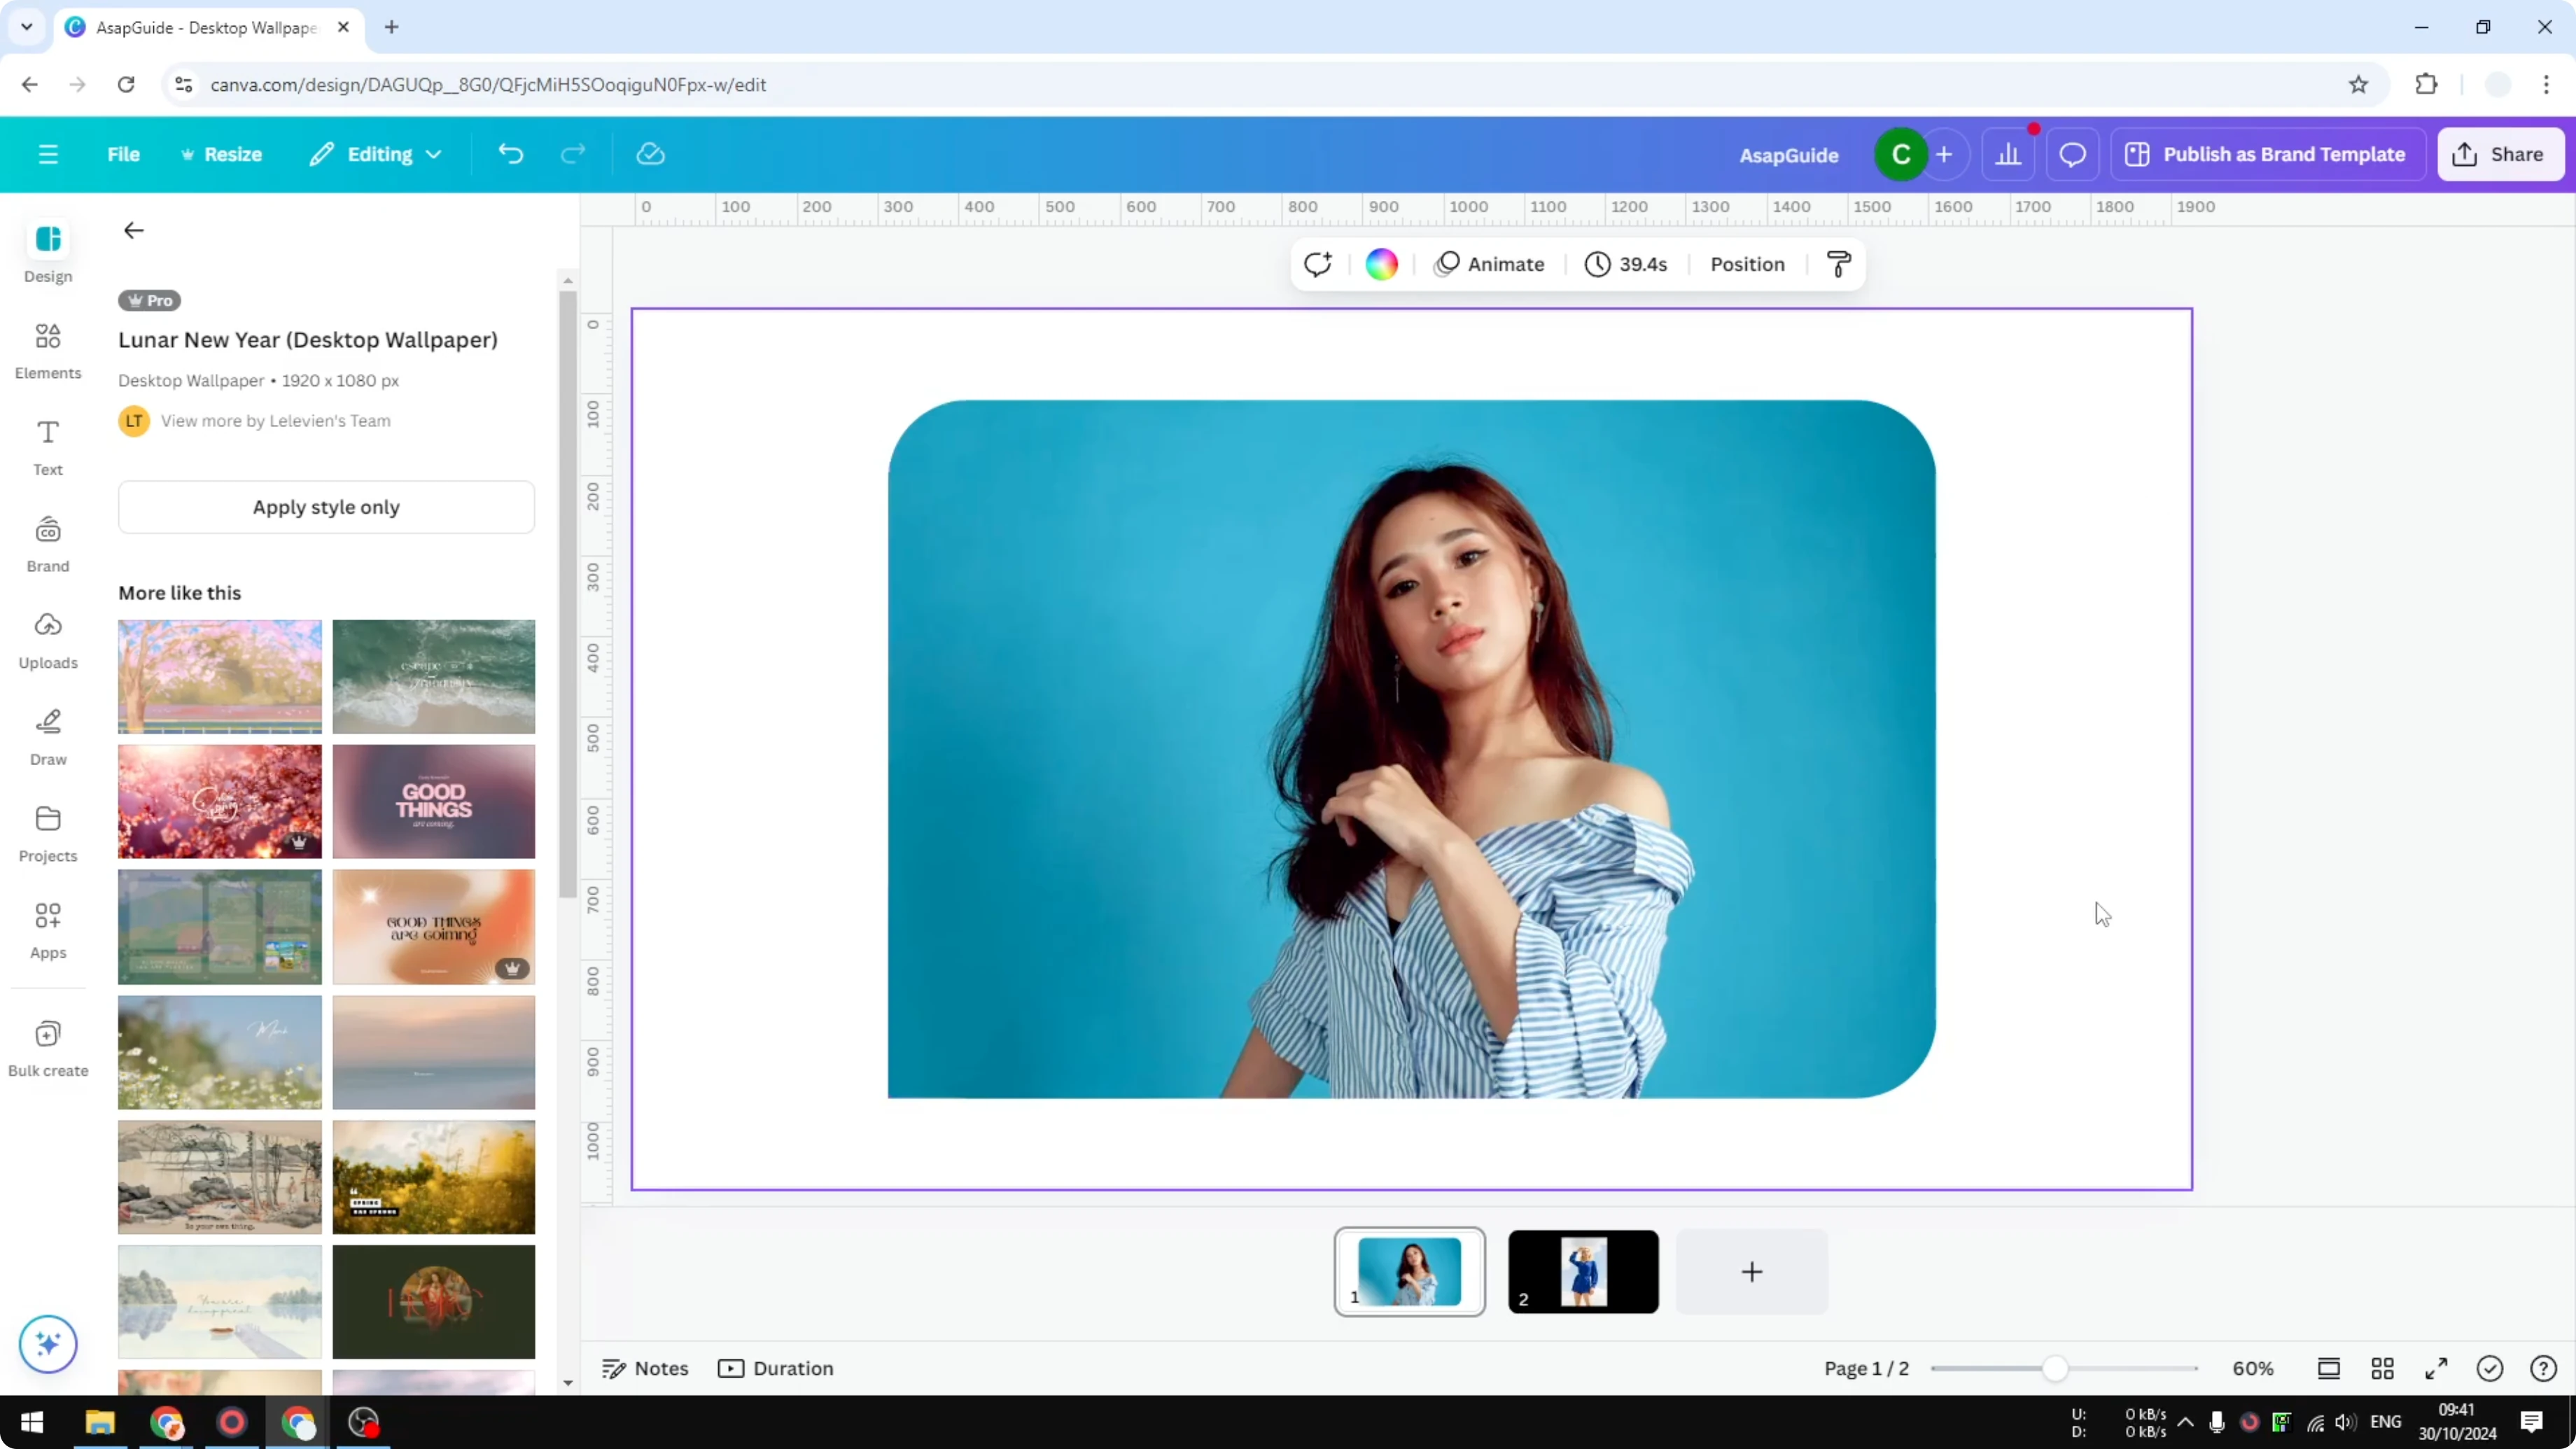
This is the original photo, and I’m going to apply corner rounding to all of it, but I only want a round corner on the top right of this photo. Take one duplicate and place it at the top right corner. Reduce it to a very small size and position it there, and the exact size does not really matter.
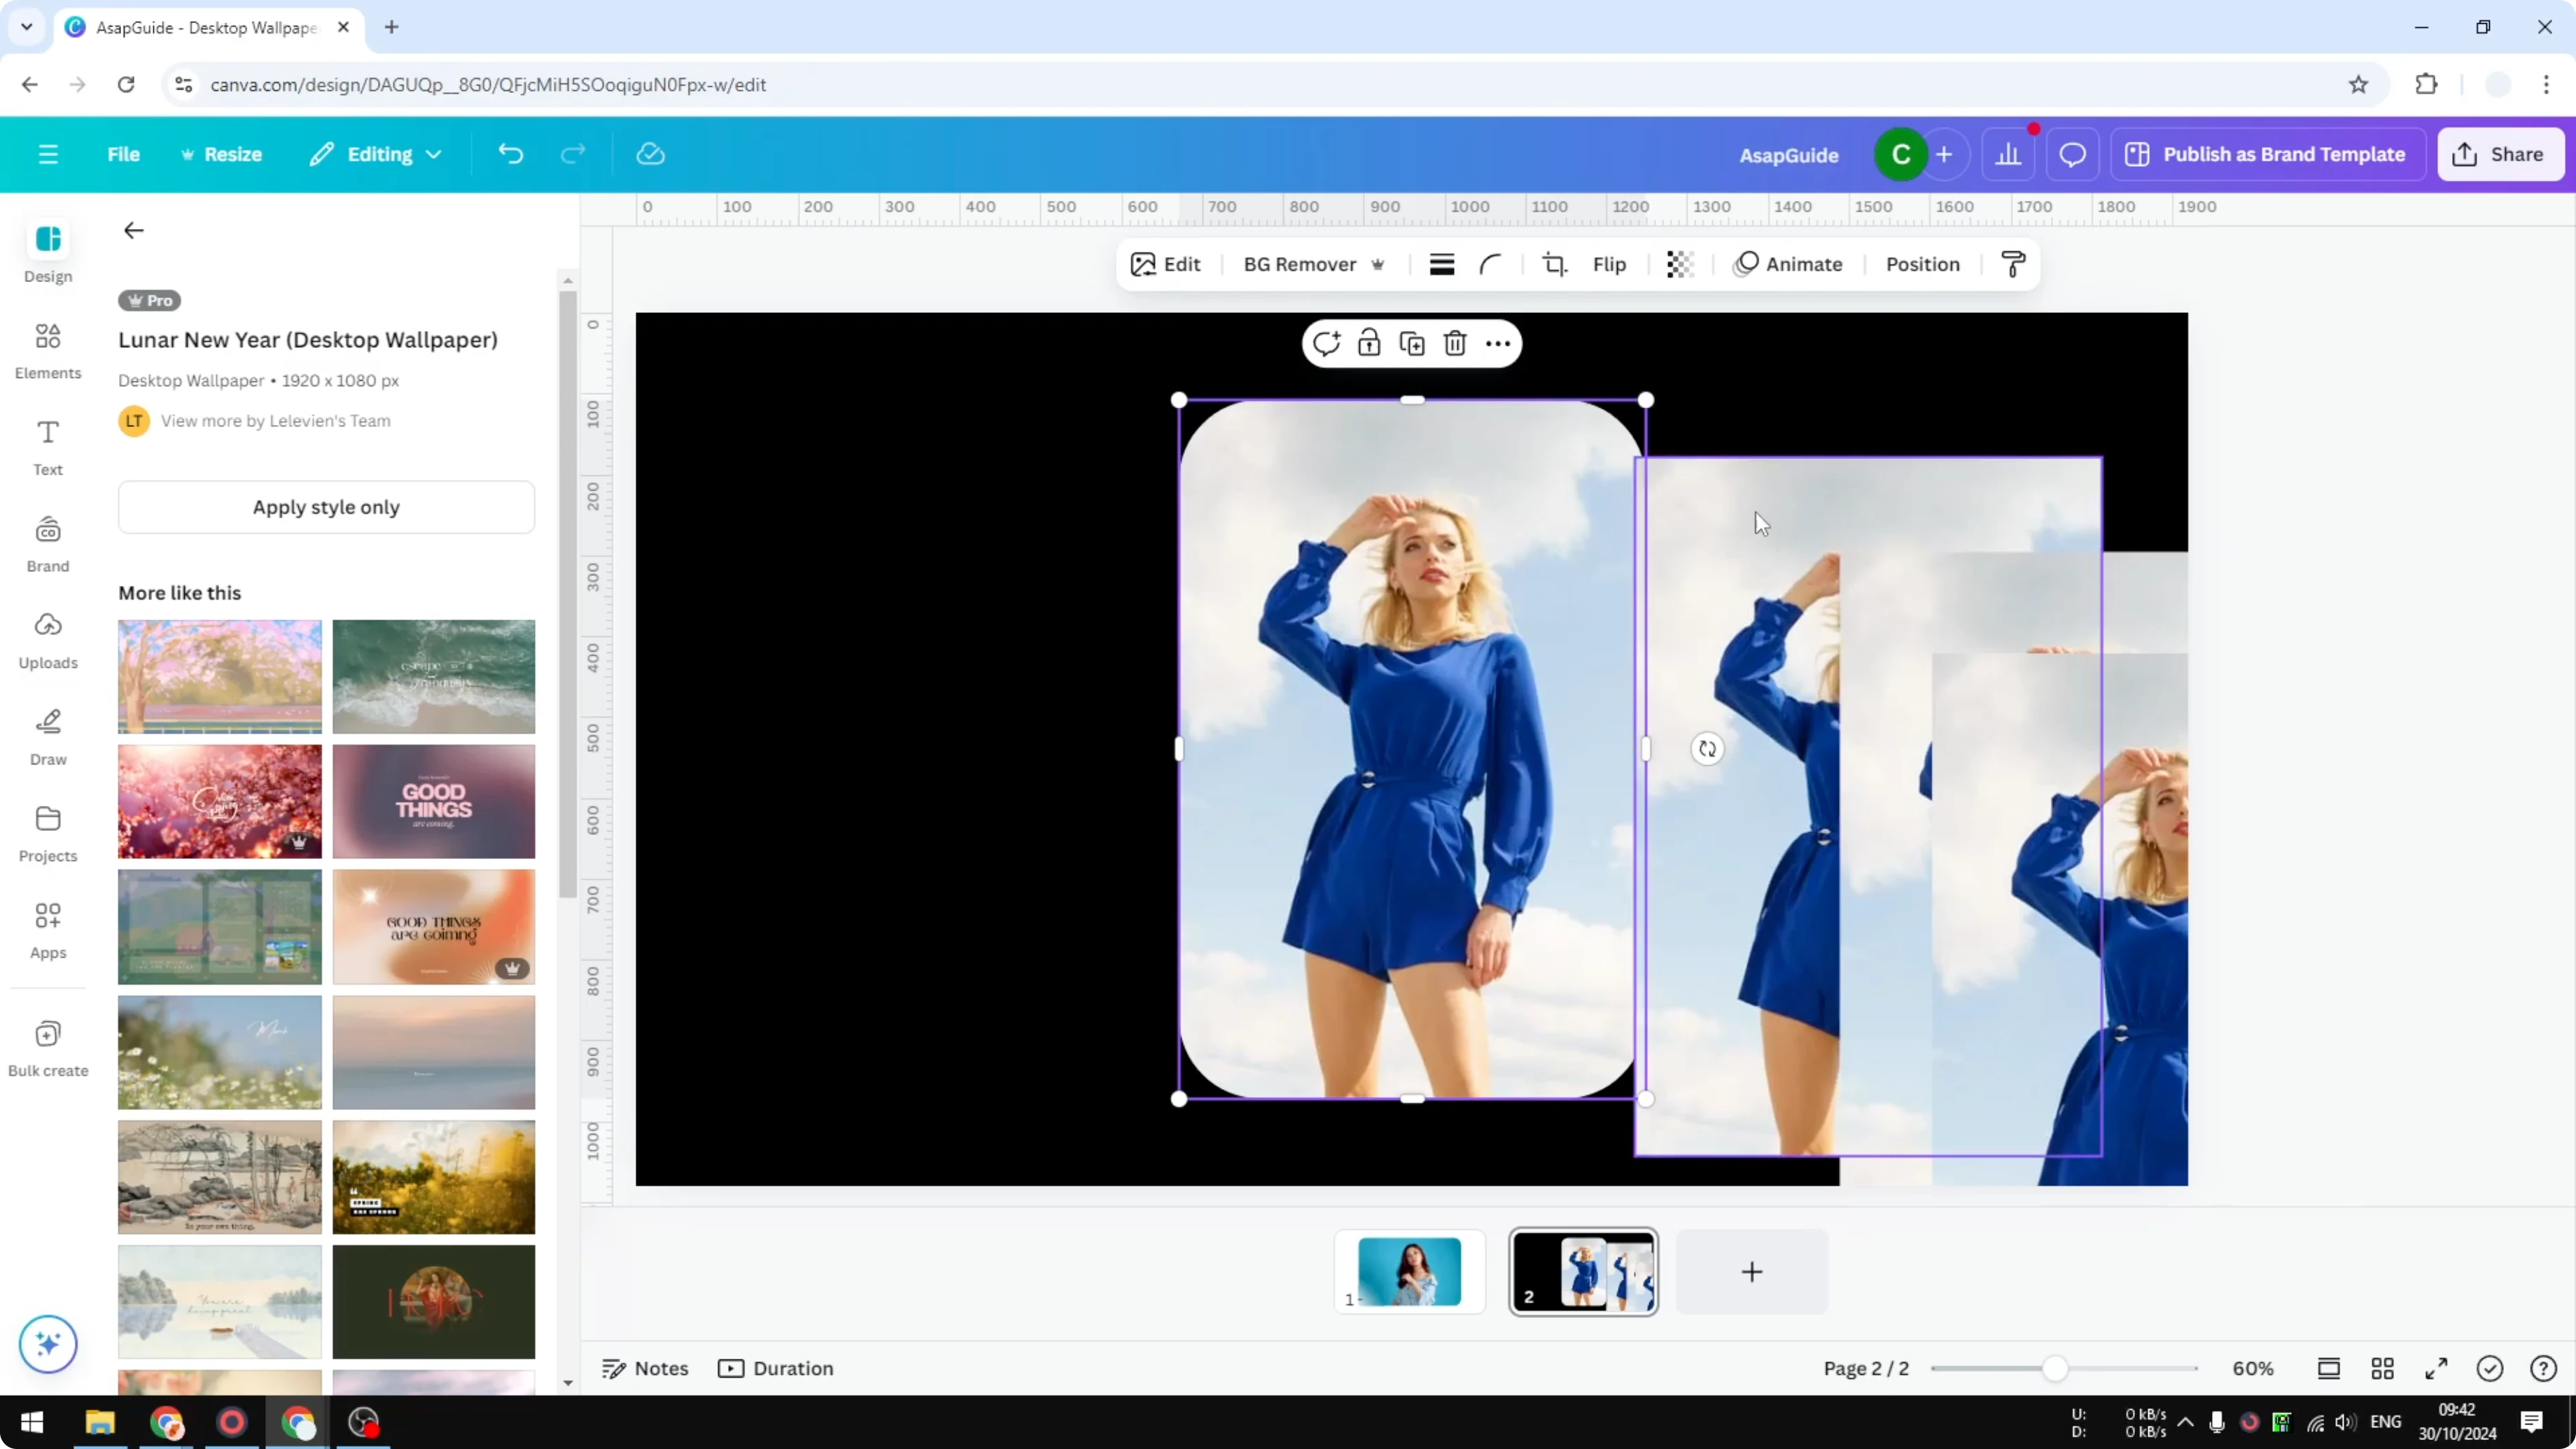
Do the same for another duplicate for the top left corner. Crop it to that size and position it precisely.
Lastly, take the third duplicate and put it on the bottom right corner of the photo. Align it so the edges meet cleanly.
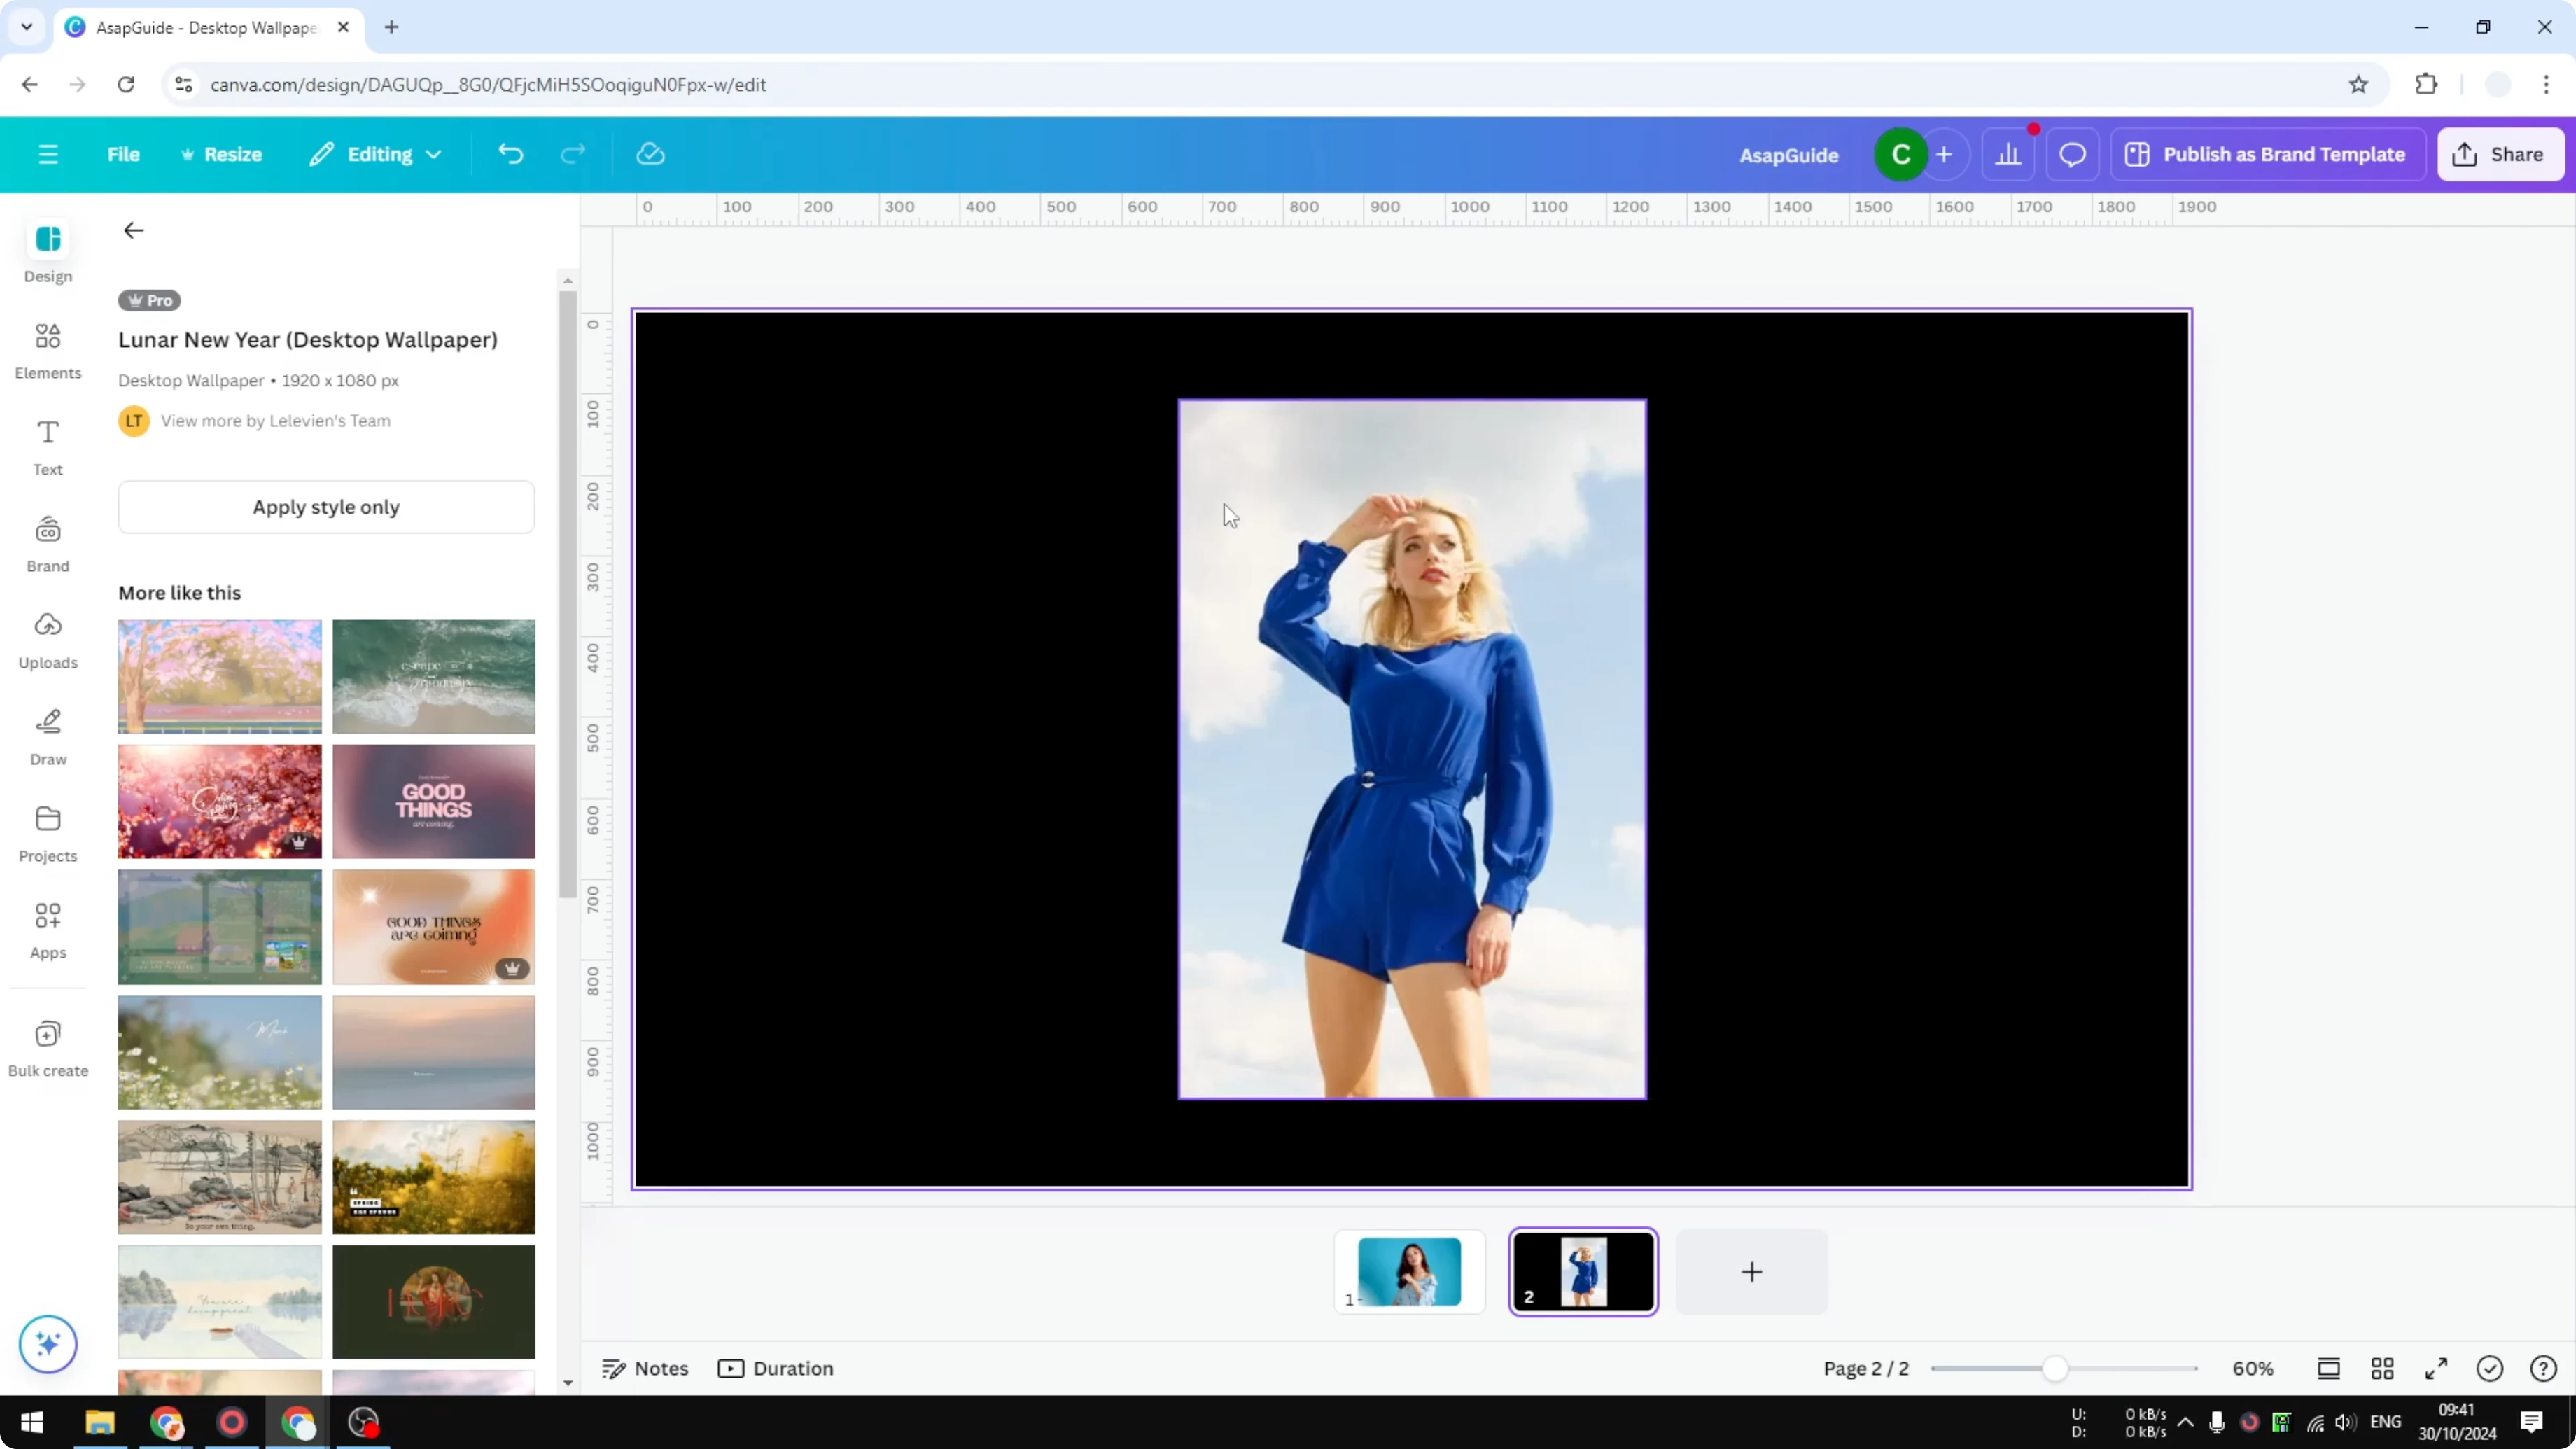
Bring the main image on top
Usually I put the main image at the very top. This keeps the layout tidy and makes adjustments easier. Check the alignment so the corners look intentional and clean.
Group for easy editing
I recommend grouping all of them together. You will get a more organized result, and when you click or edit the photo, everything else will be included. That’s exactly how you can create a simple rounded edge on a photo, or multiple edges, in Canva.
To add subtle depth around your image after setting the corners, try a soft bokeh effect background in Canva.
Final thoughts on Create One Round Corner in Canva
Corner rounding in Canva applies to the entire image, but with duplicates, careful cropping, and layer management, you can shape just one, two, or three corners. Place small corner pieces, manage layers in Position, bring the main photo to the top, and group everything for clean editing. This simple workflow gives you precise corner styling without any extra tools.
Recent Posts
How to Visualize Yourself as a Pixelized Character with AI?
How to Visualize Yourself as a Pixelized Character with AI?

How to Revive Faded Memories and Enhance Image Clarity with AI?
How to Revive Faded Memories and Enhance Image Clarity with AI?

How to Visualize Yourself as an Animal Crossing Character with AI?
How to Visualize Yourself as an Animal Crossing Character with AI?