How to Create Lined Pages in Canva
Here is how to create lined pages in Canva. This type of page contains multiple lines and is usually used for journaling. Every line acts as a guide so your writing looks organized, tidy, and pretty.
It is a lot better than a simple blank page. Here is a simple way to build it in Canva.
If you want to add a creative touch to other designs too, check out how to do creating a bokeh effect in Canva for backgrounds and photos.
Steps to Create Lined Pages in Canva
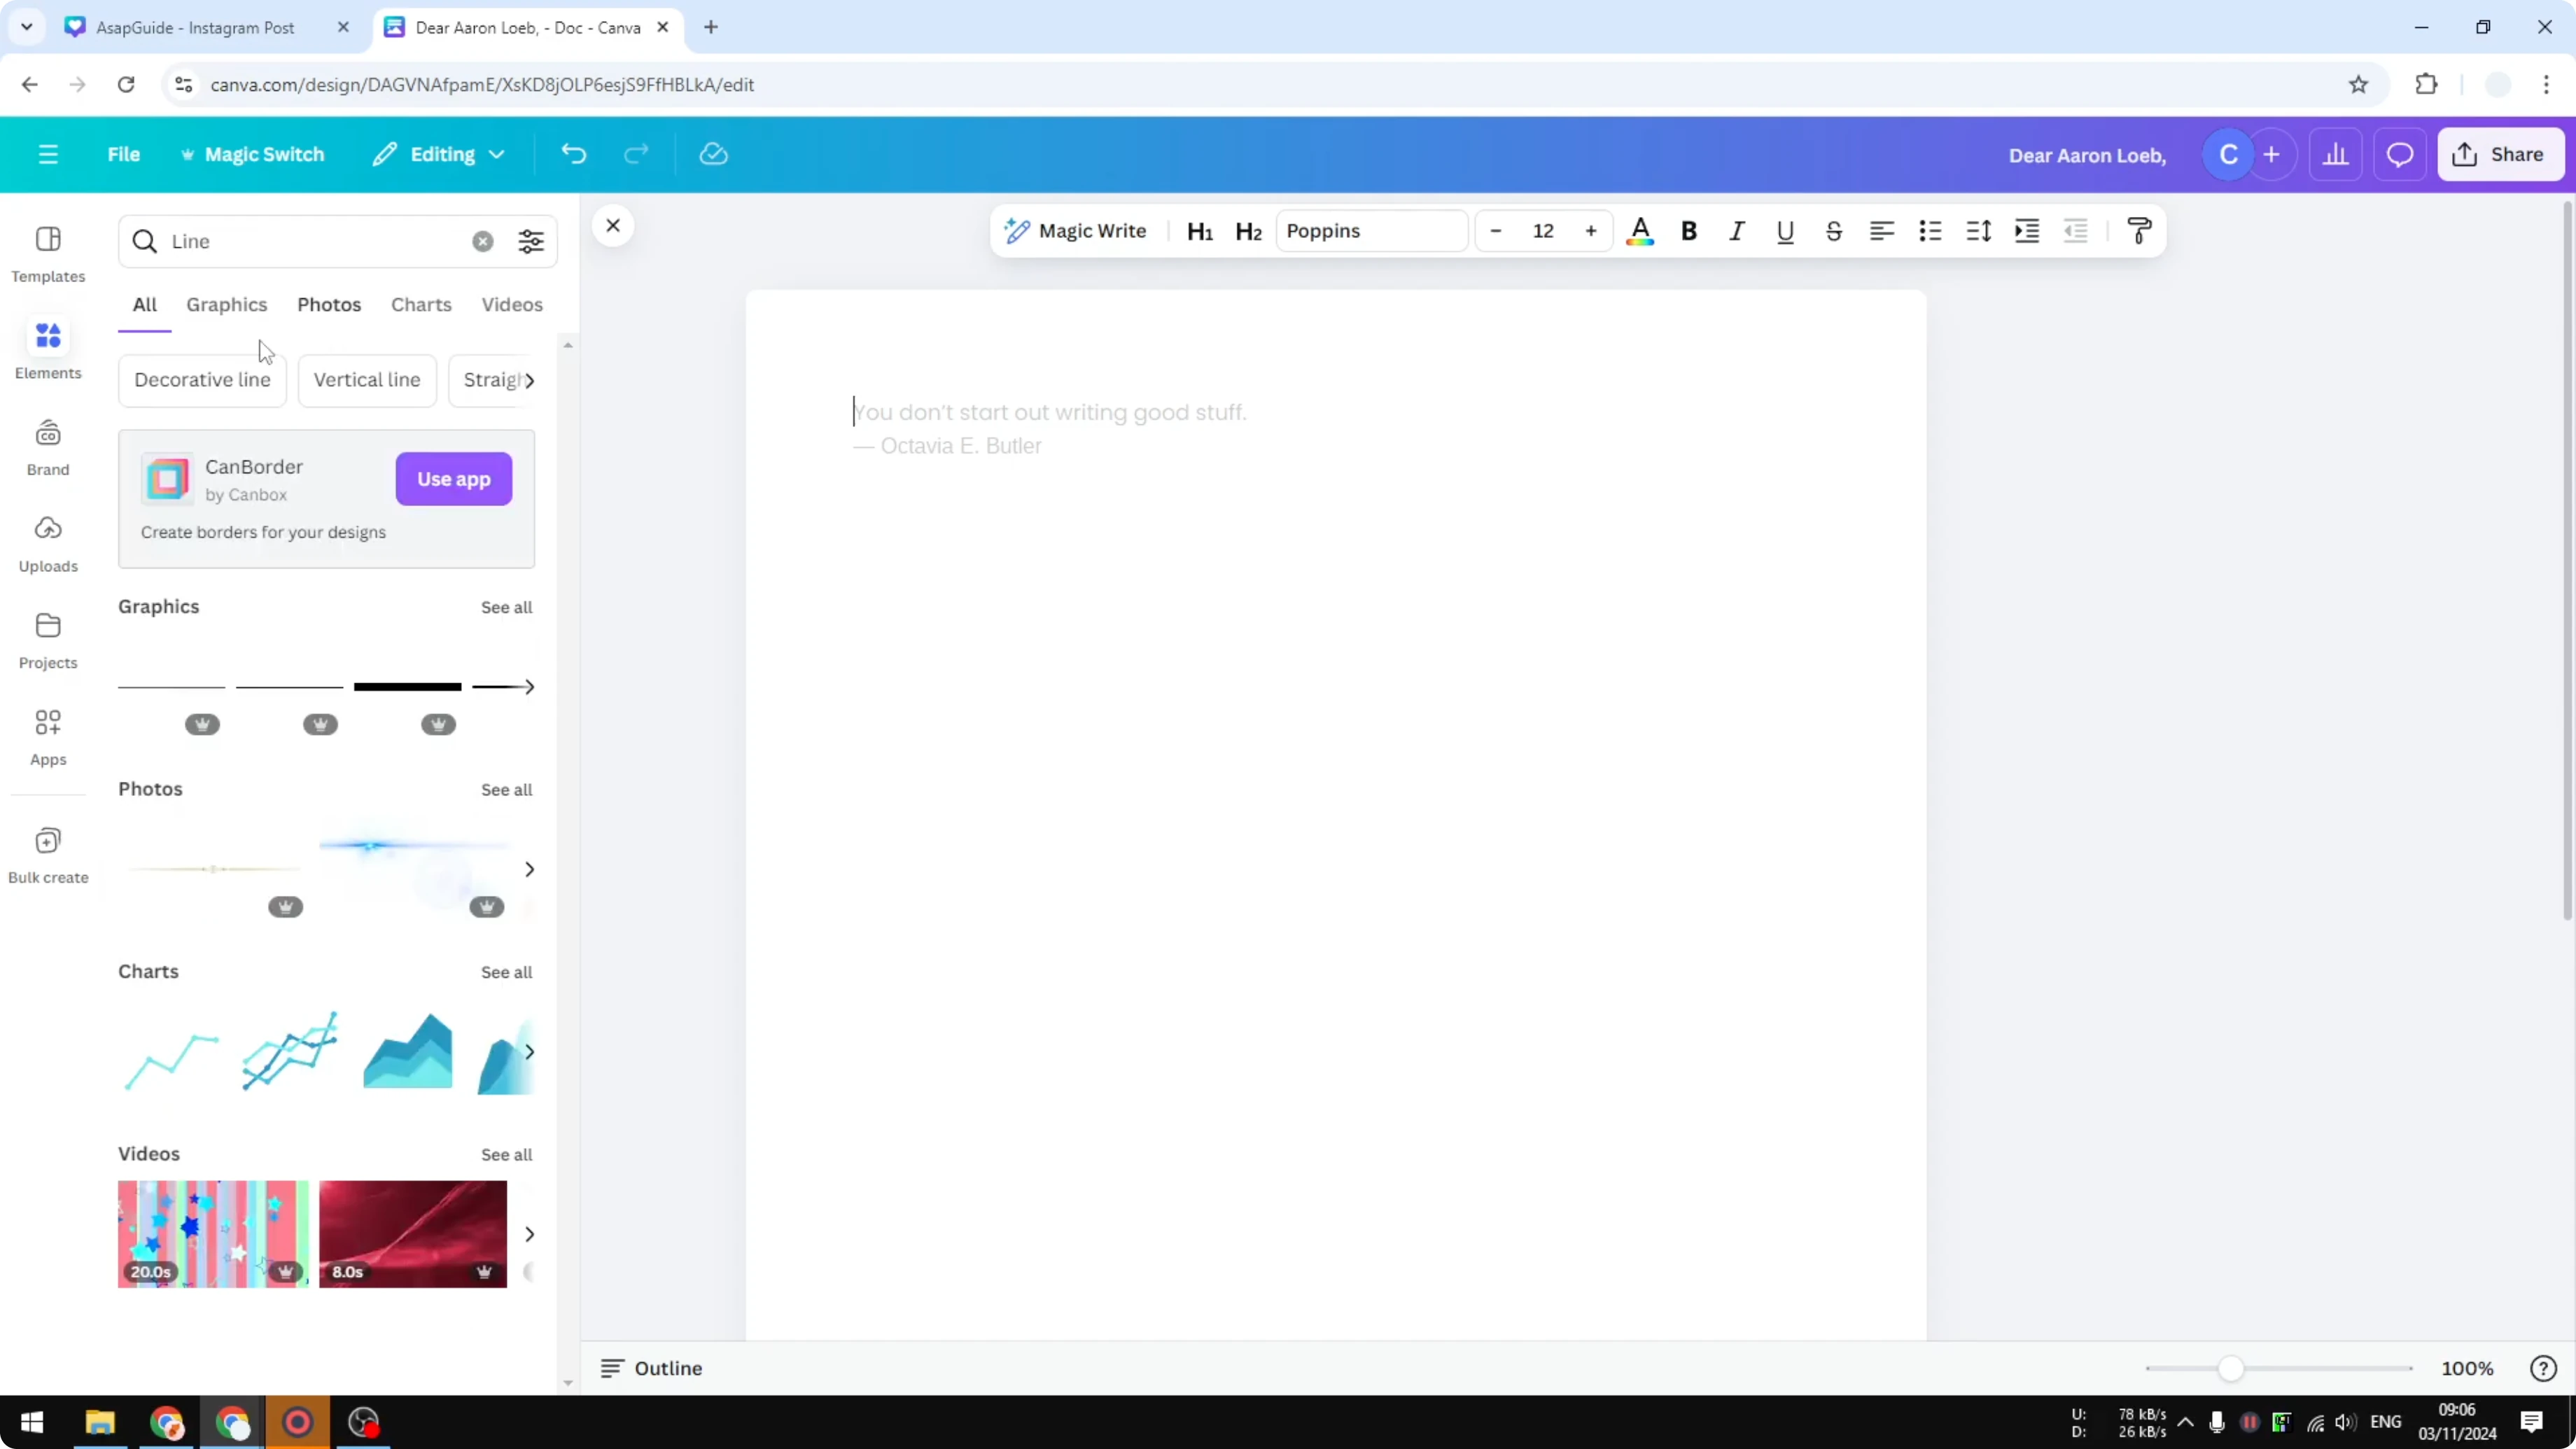
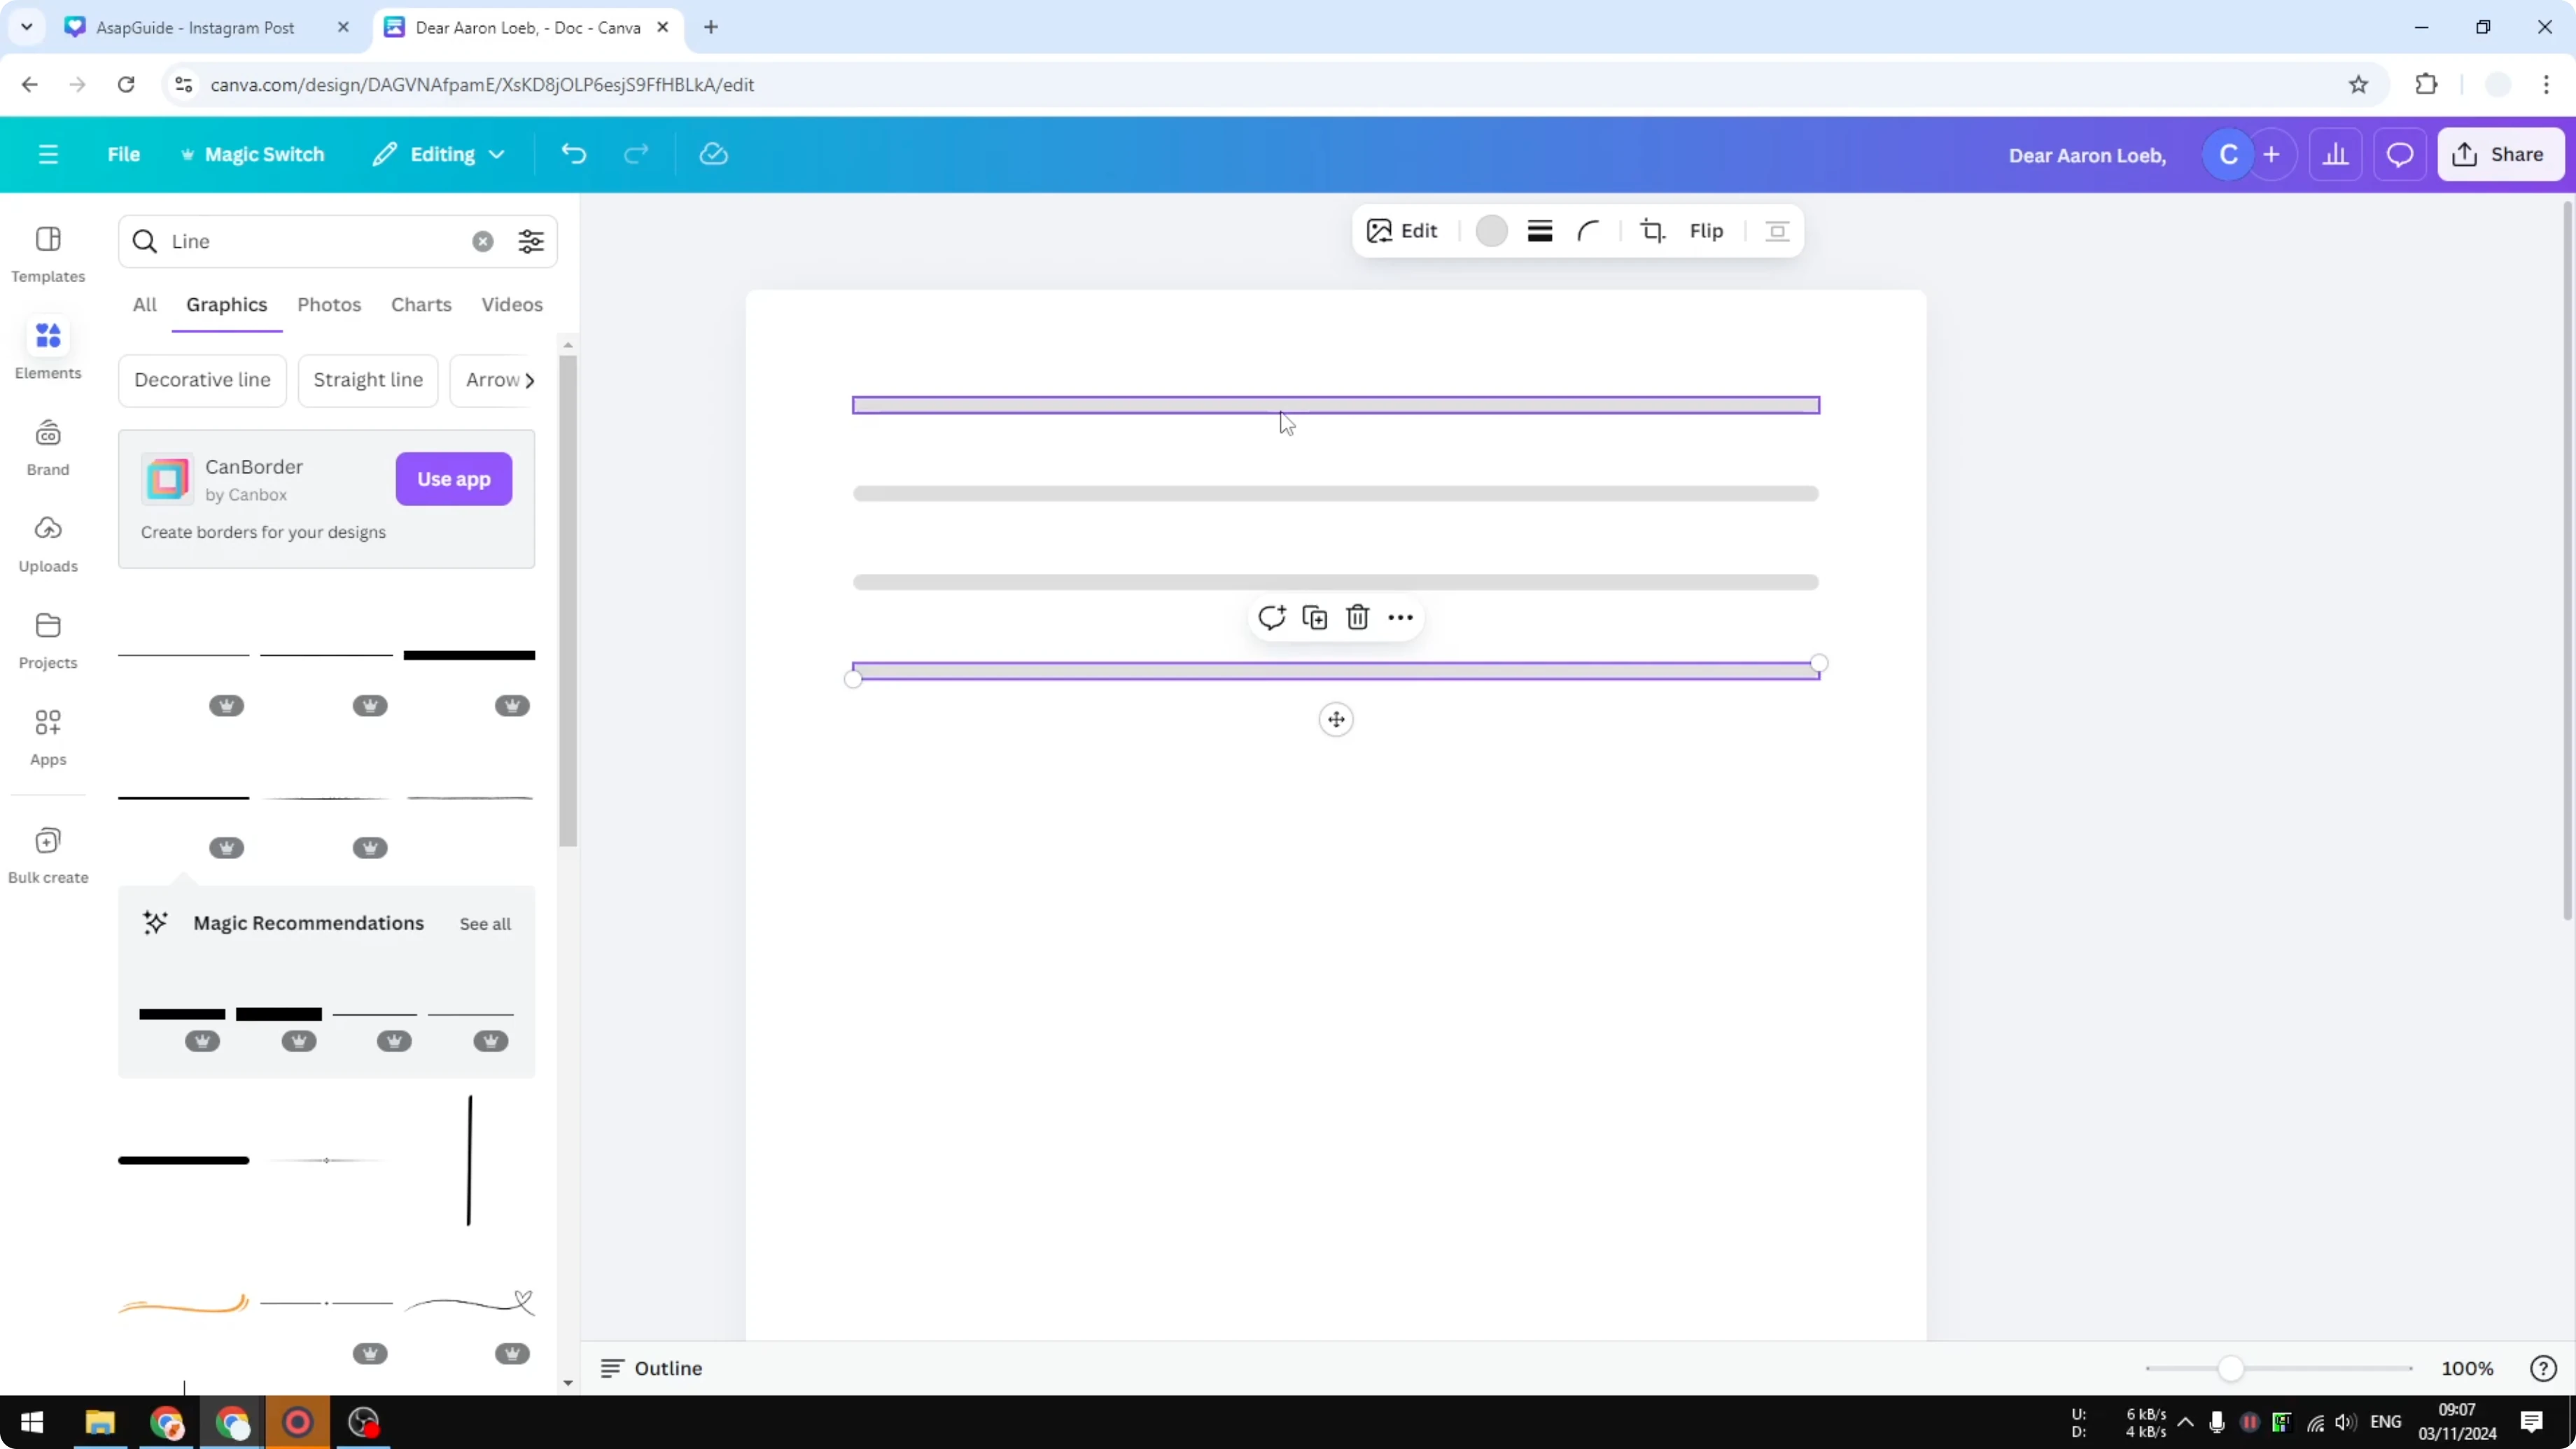
Open Elements and add a line
Go to the Elements section and search for line. I recommend going to the Graphics section, then insert a horizontal line into the document.
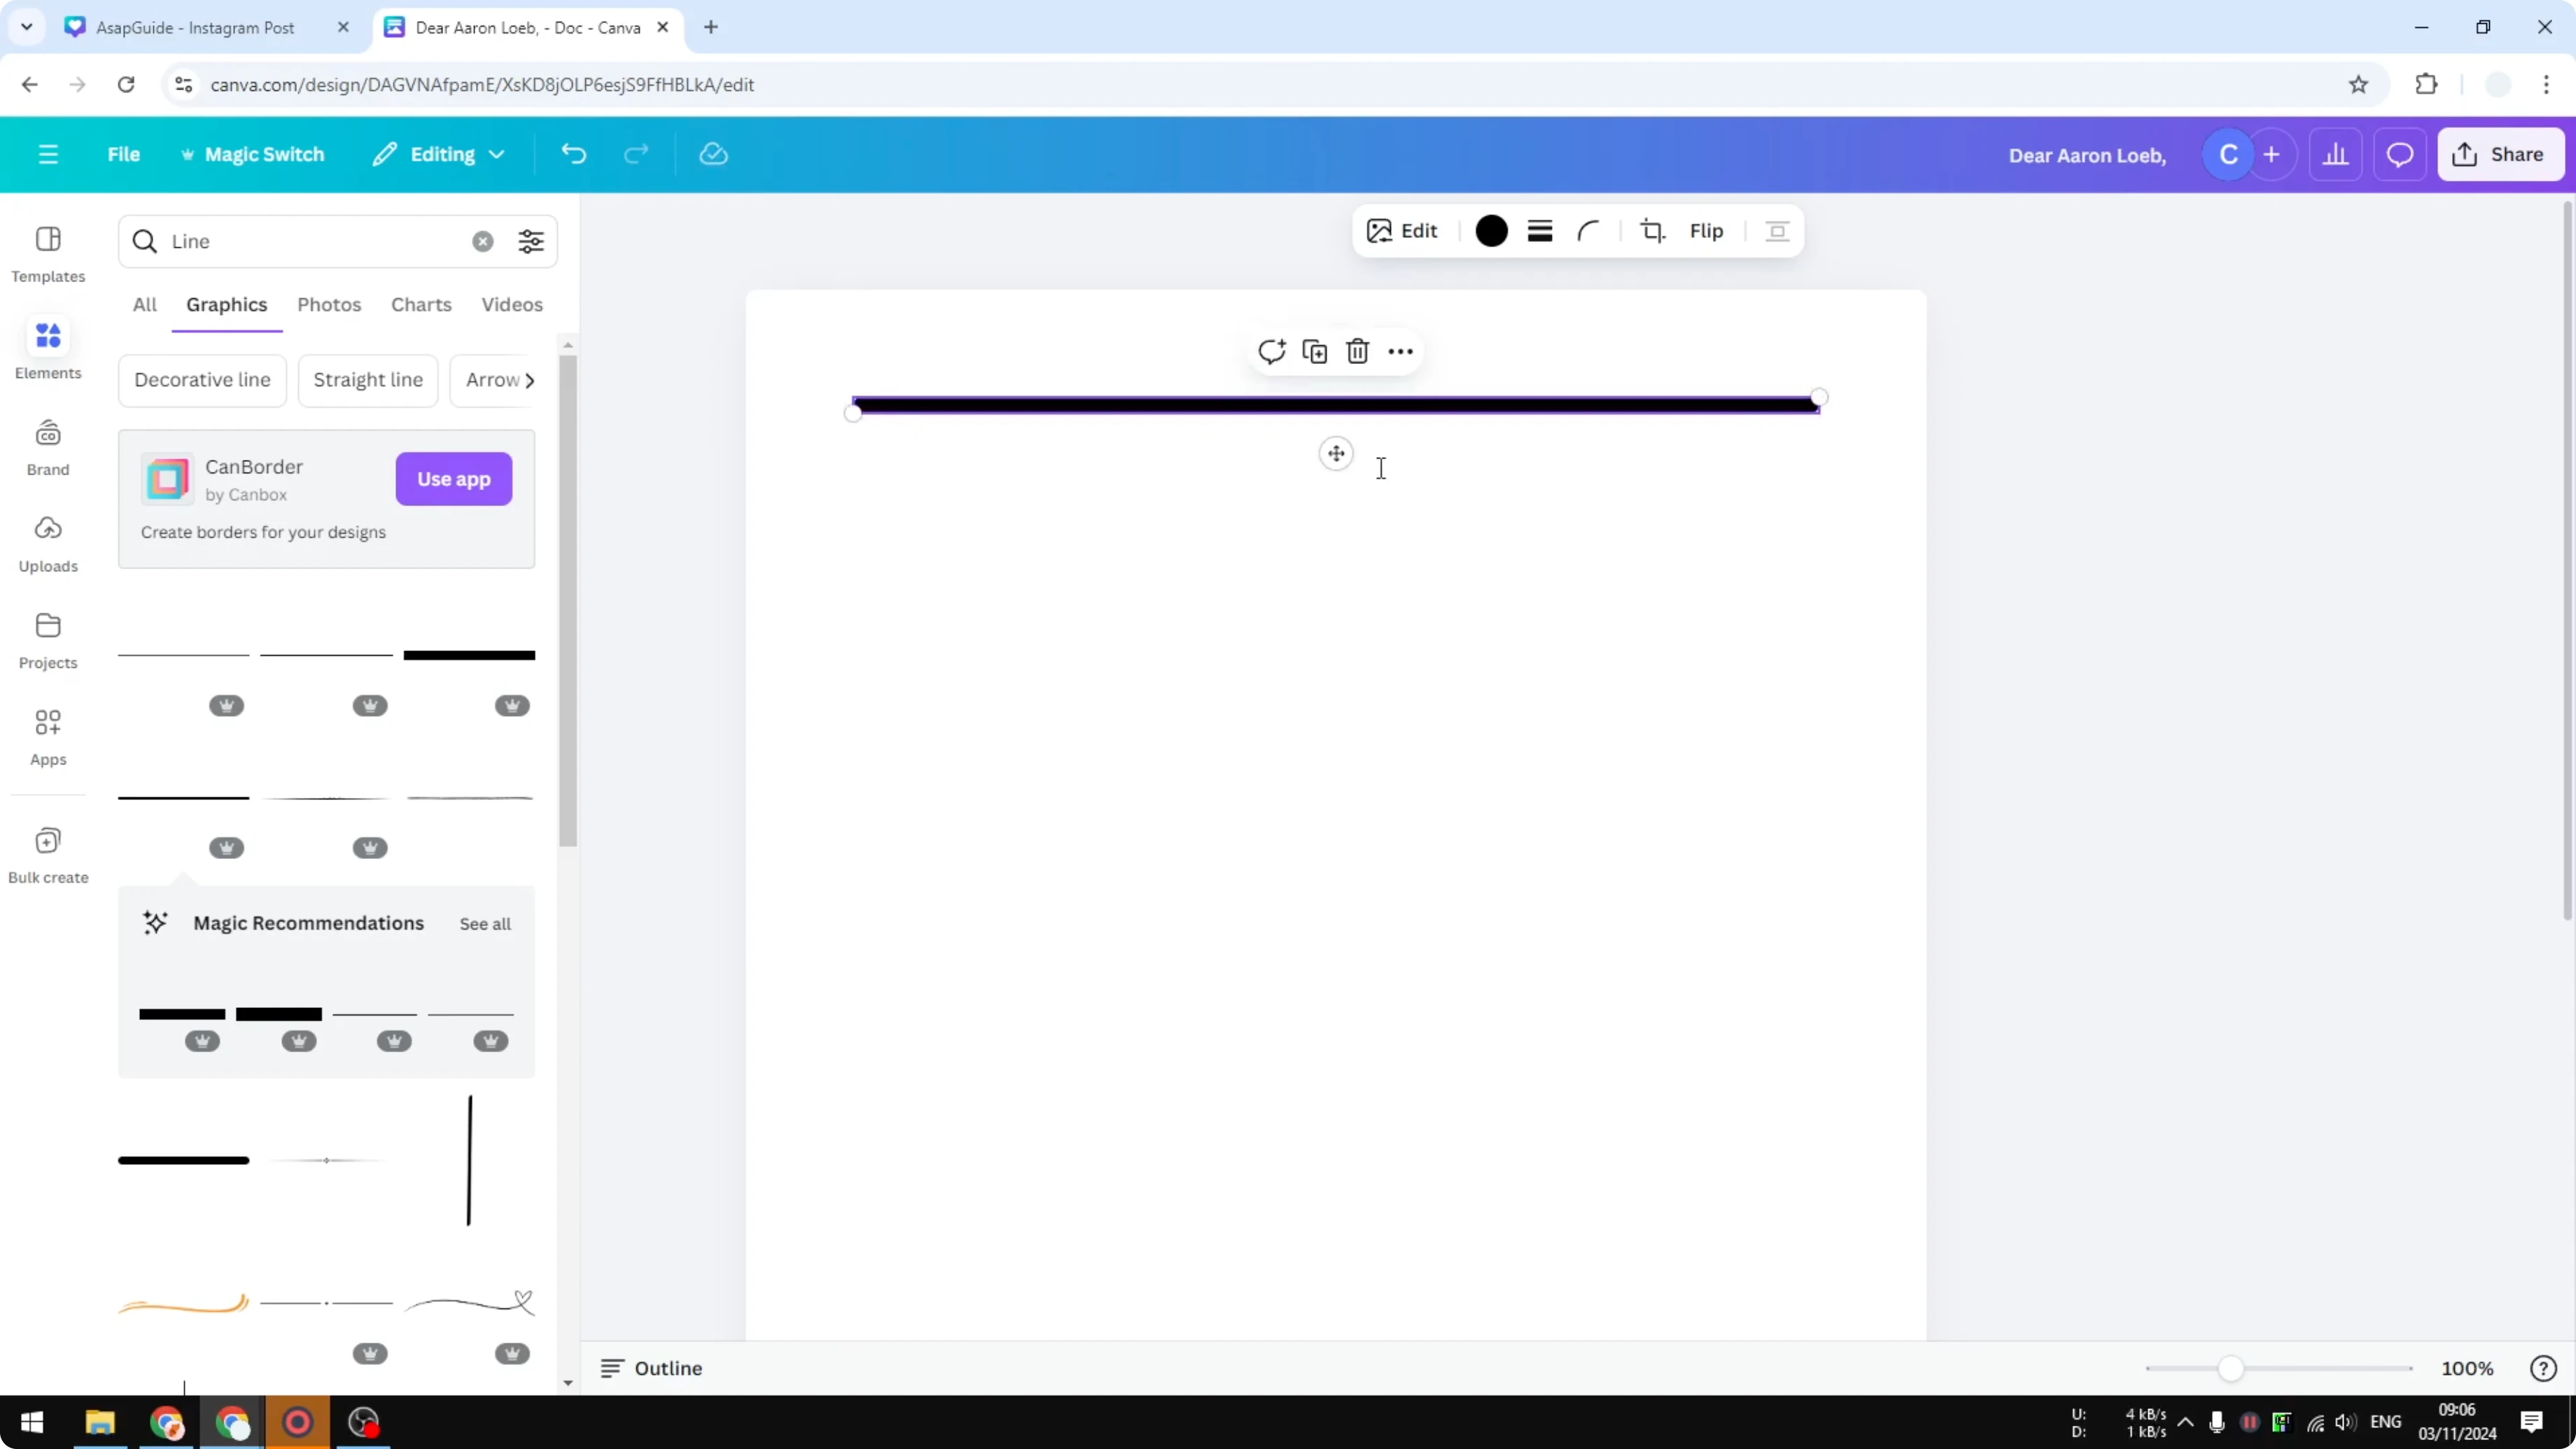
Style the first line
Make the line wider and bigger so it spans the page. Change the color, and gray is usually good enough for a subtle guide.
If you are adding simple annotations to your layouts, you can also make a custom arrow in Canva to point out sections on your lined pages.
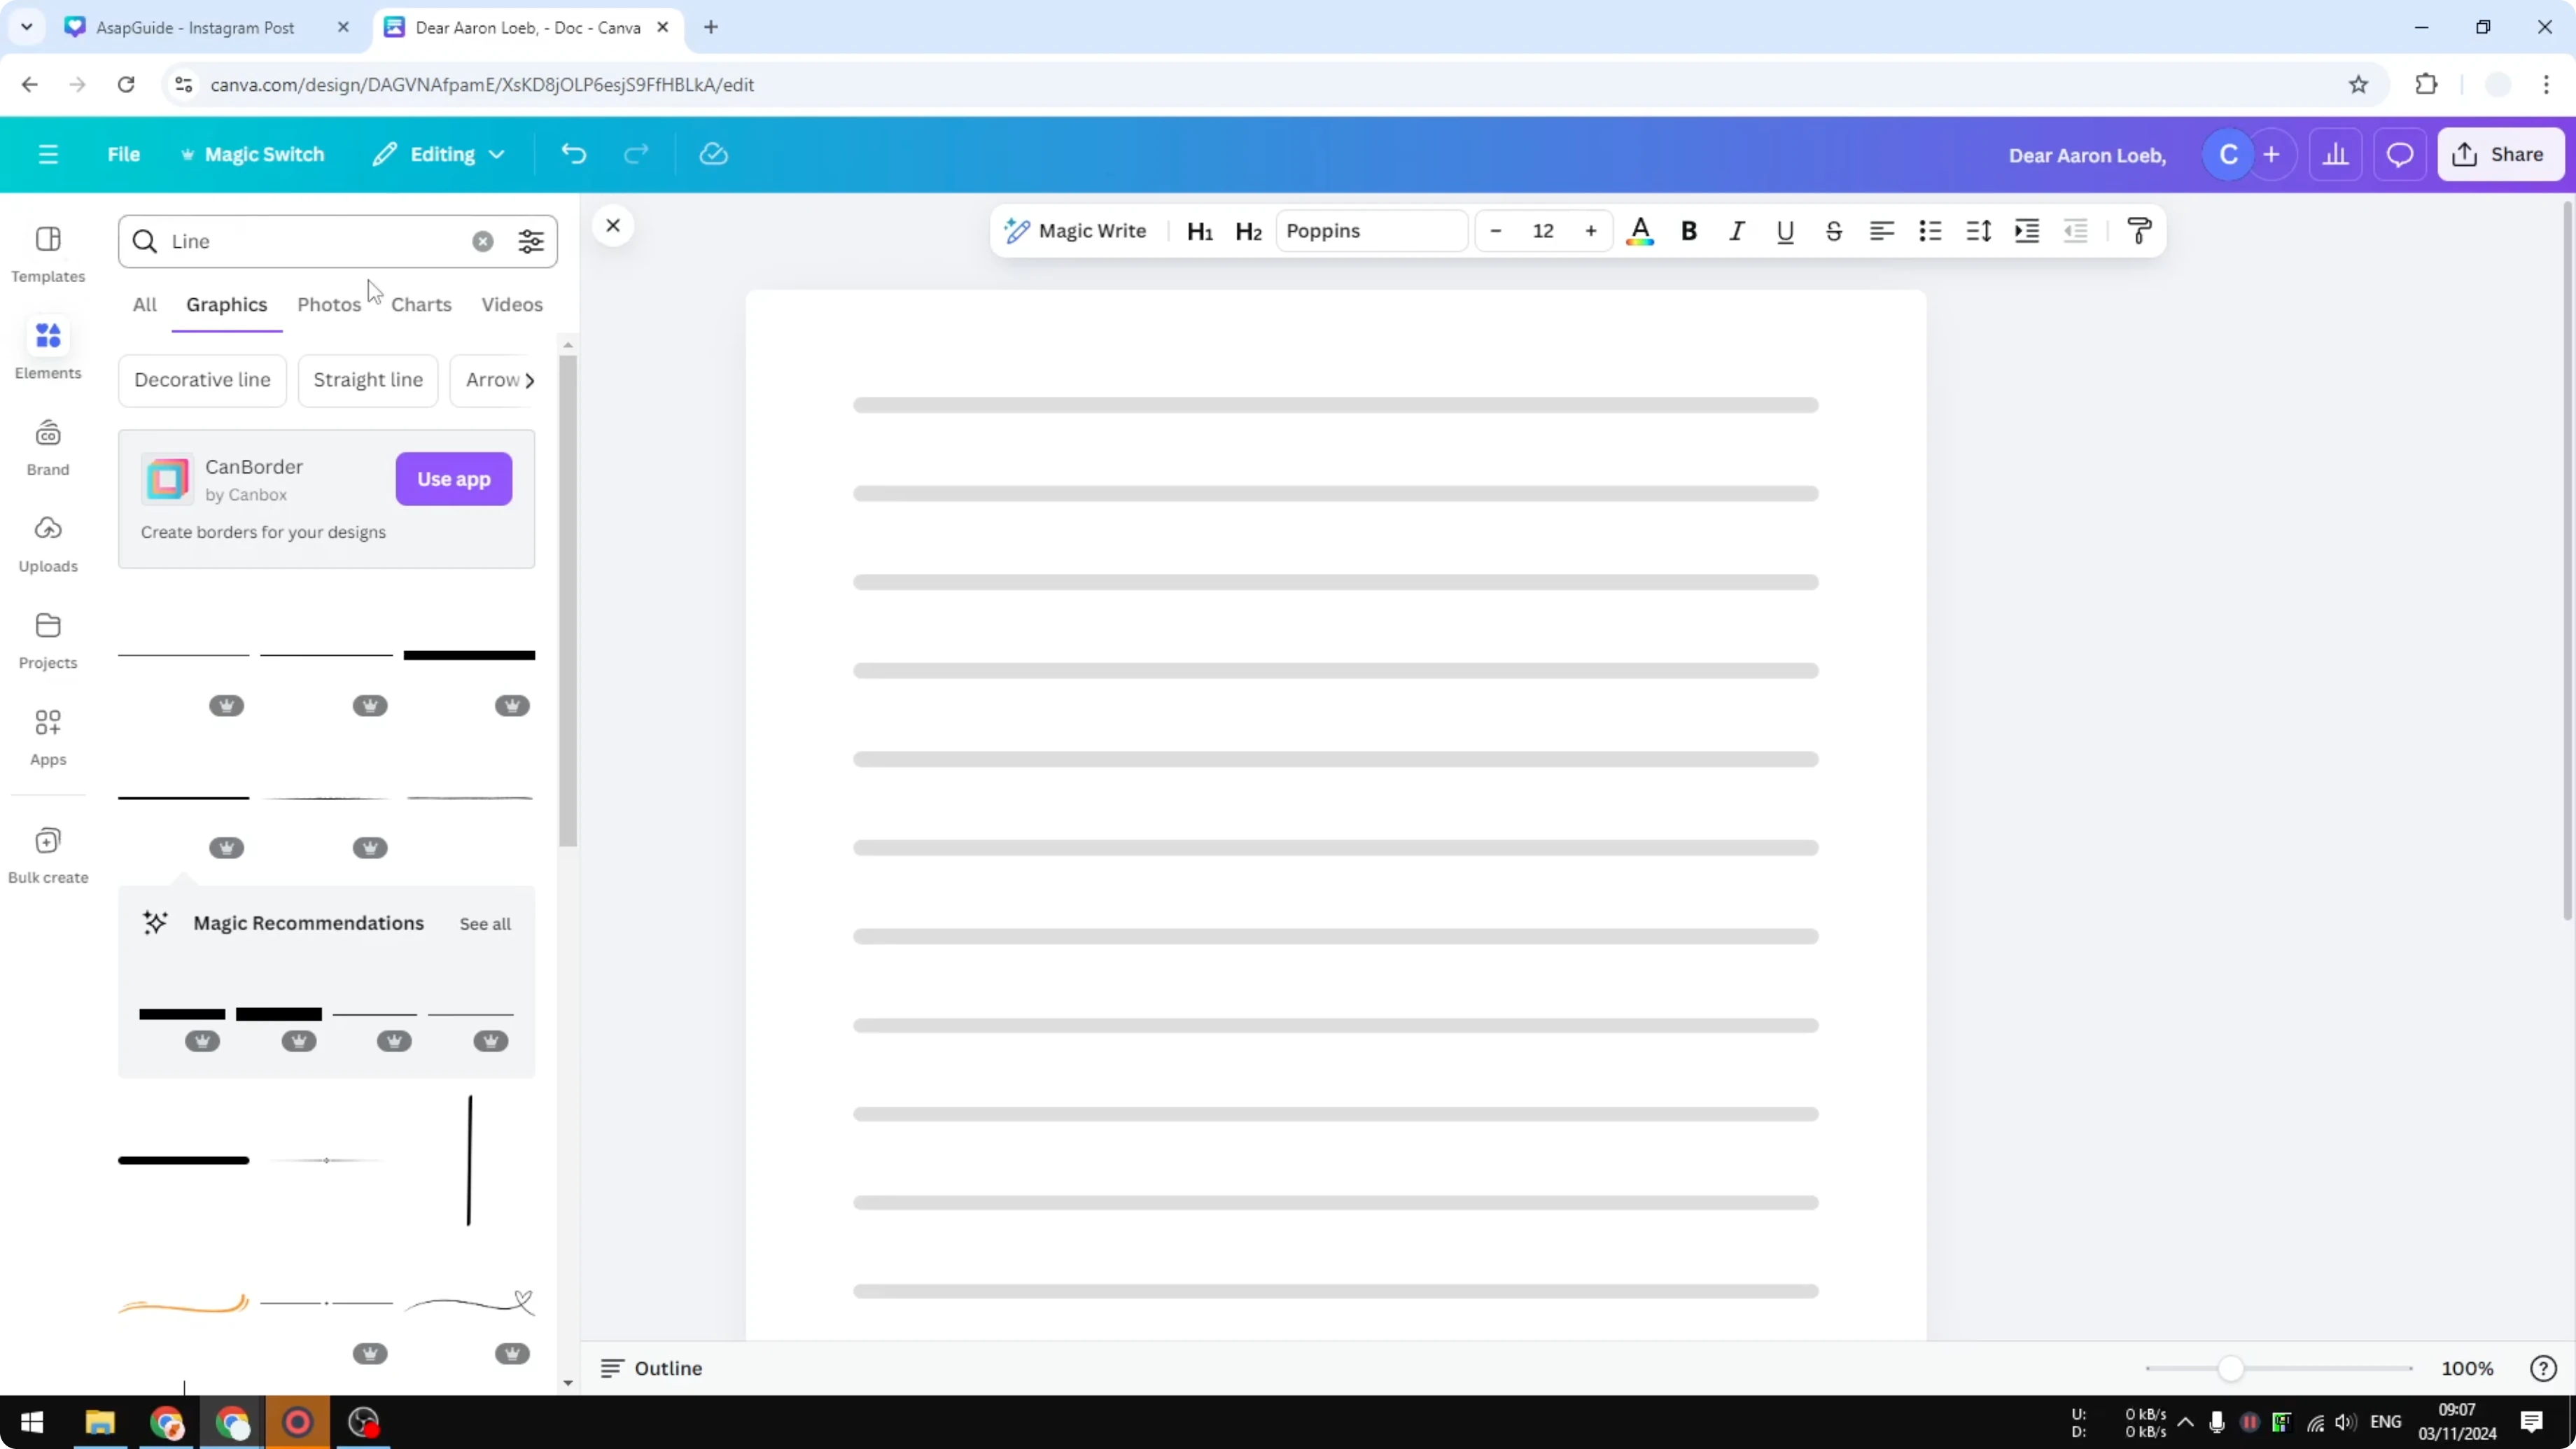
Duplicate across the page
You can click Duplicate, but I prefer a normal copy and paste. Add another line below it, add another line, and add another line again.
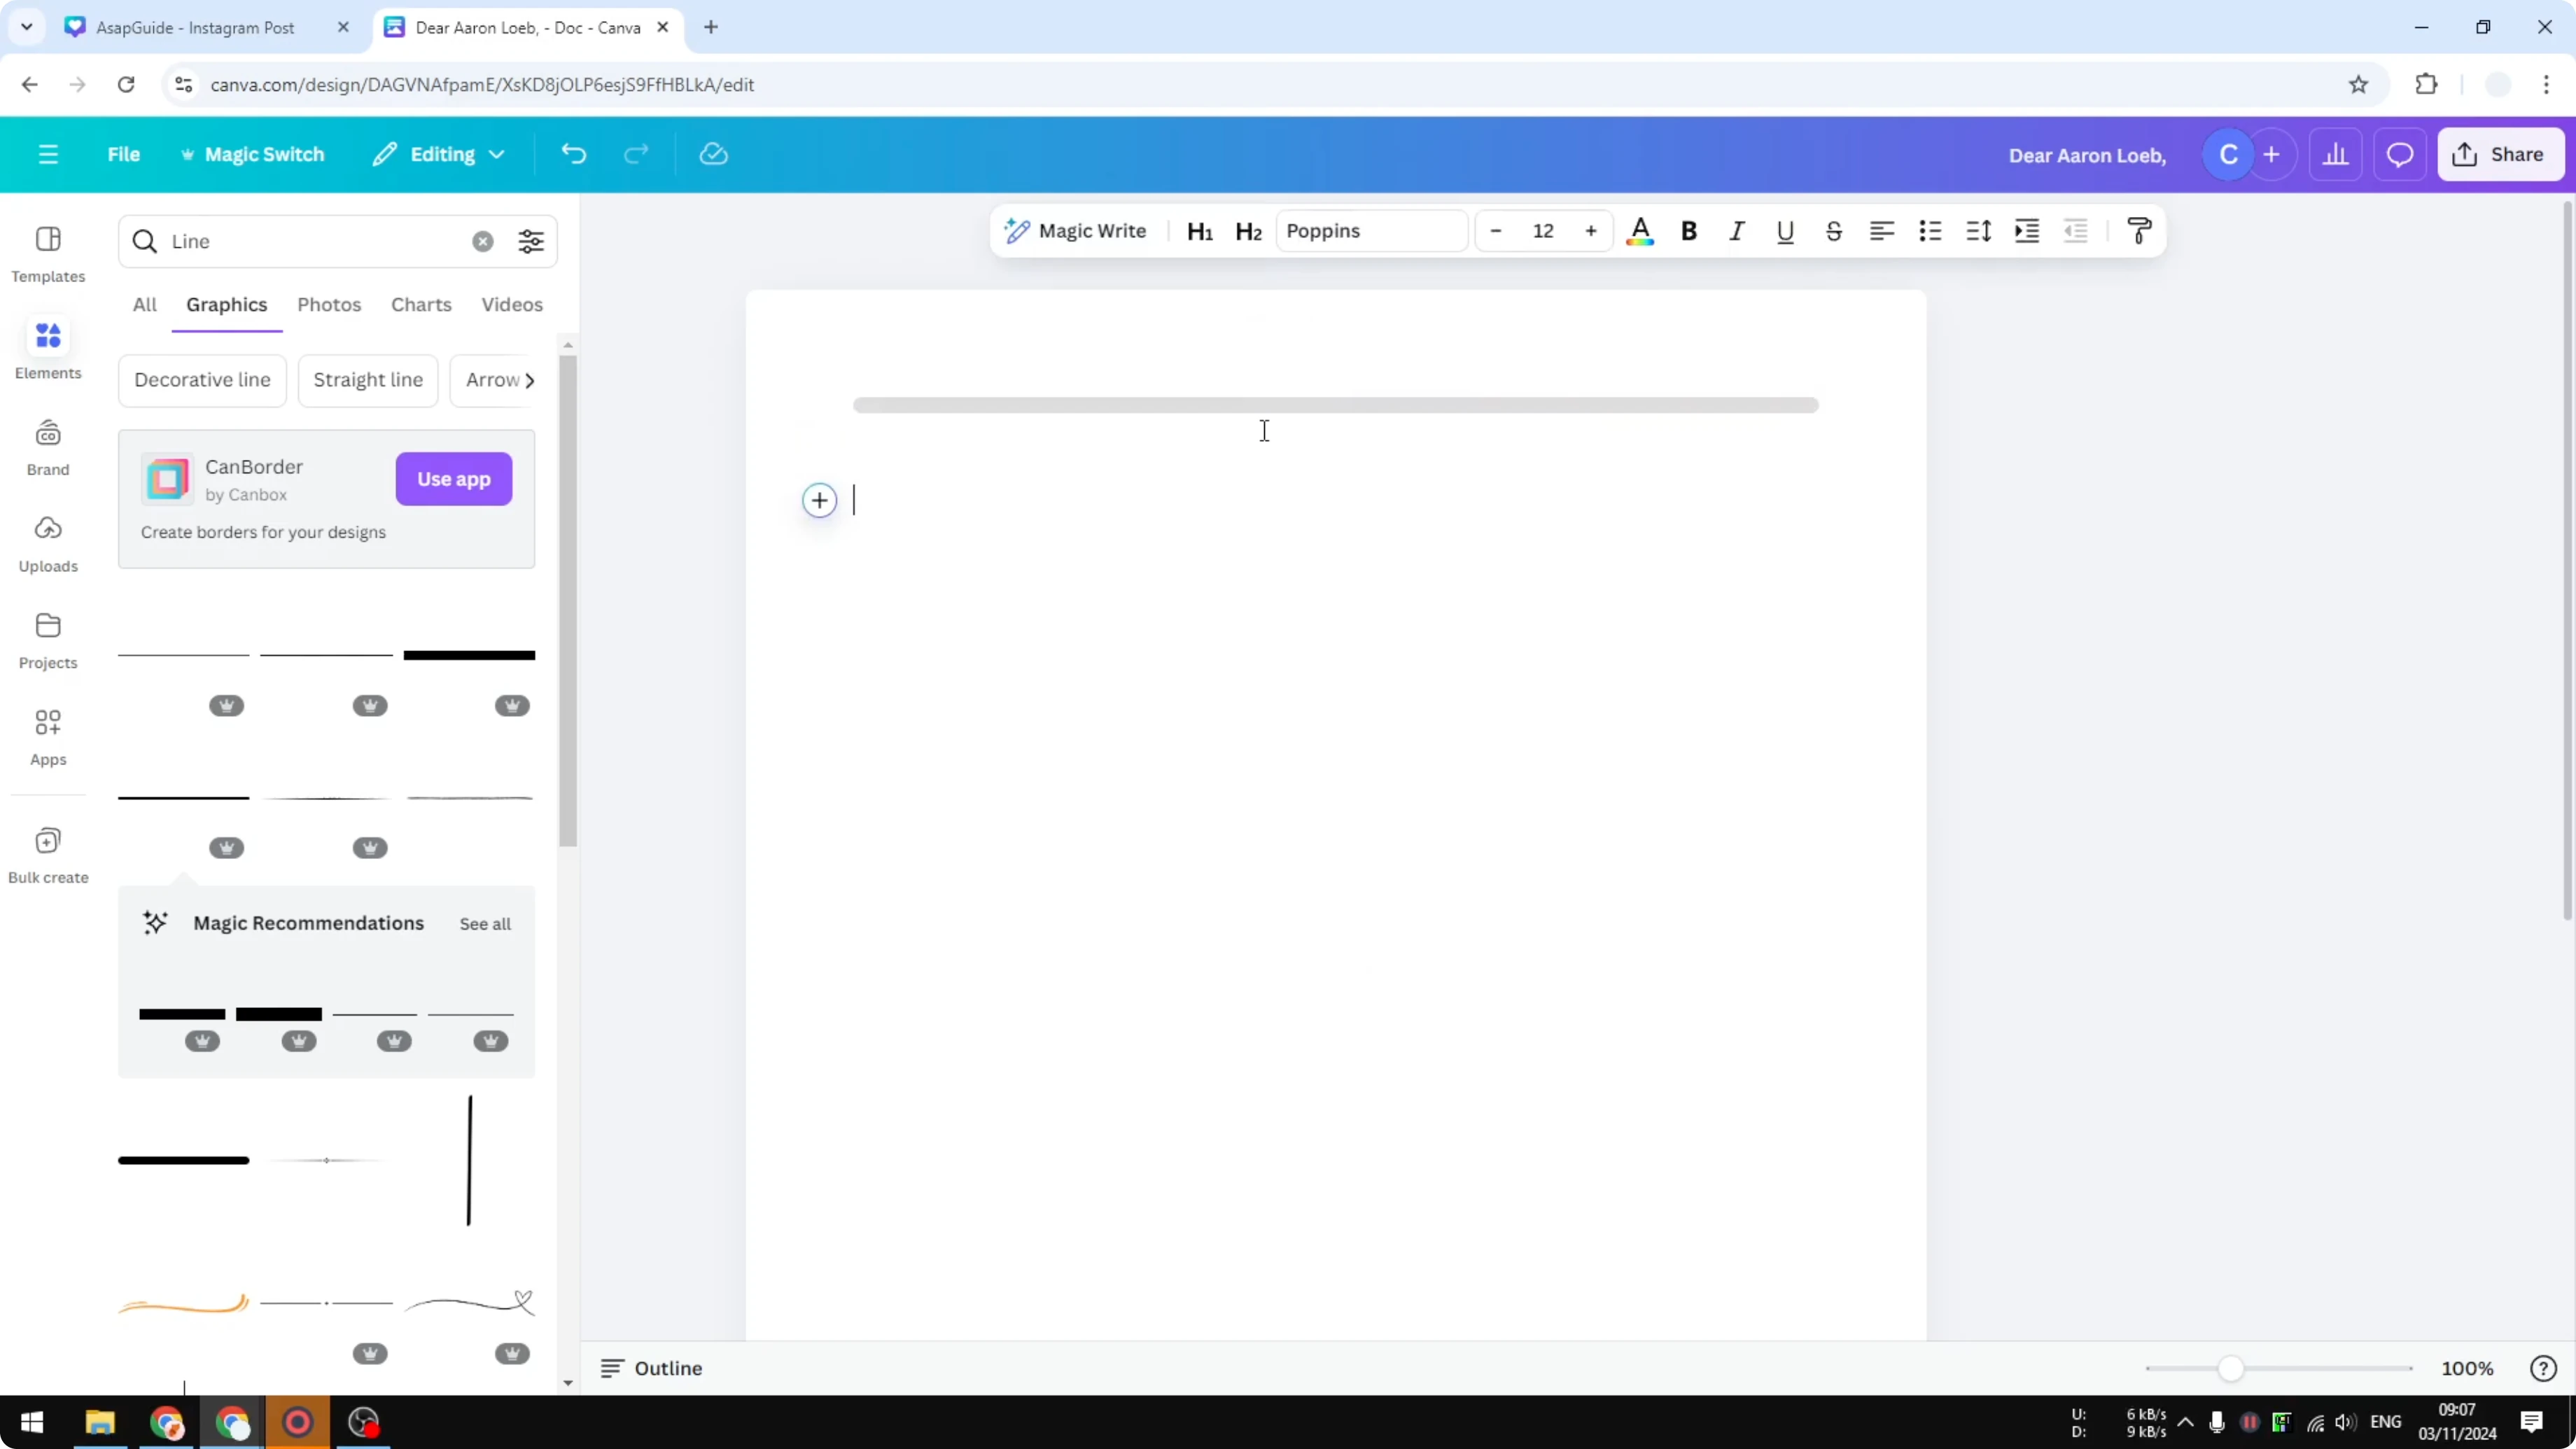
You can select all the items, press copy, and then paste to repeat blocks of lines. This makes the process a lot faster.
Windows: Ctrl + C  and  Ctrl + V
Mac: Command + C  and  Command + V

Recap
Go to Elements and search for lines. Insert a horizontal line, make it bigger and wider, change the color to gray, then copy and paste the line multiple times until you fill the page.
If you want to experiment with creative text or cover effects on other pages, try applying a distortion effect in Canva for stylized titles.
Final thoughts on Create Lined Pages in Canva
That is exactly how to create a lined page template in Canva for neat handwriting and journaling. Once you have one page set up, duplicate the page to build a full notebook. Keep the line color subtle so your writing stands out.
Recent Posts
How to Visualize Yourself as a Pixelized Character with AI?
How to Visualize Yourself as a Pixelized Character with AI?

How to Revive Faded Memories and Enhance Image Clarity with AI?
How to Revive Faded Memories and Enhance Image Clarity with AI?

How to Visualize Yourself as an Animal Crossing Character with AI?
How to Visualize Yourself as an Animal Crossing Character with AI?