How to Create a Bubble Map in Canva

A bubble map in Canva is quick to build, and I will show you two methods. You can start from a ready-made template or design one from scratch. Both approaches let you customize colors, arrows, and labels for your own use case.
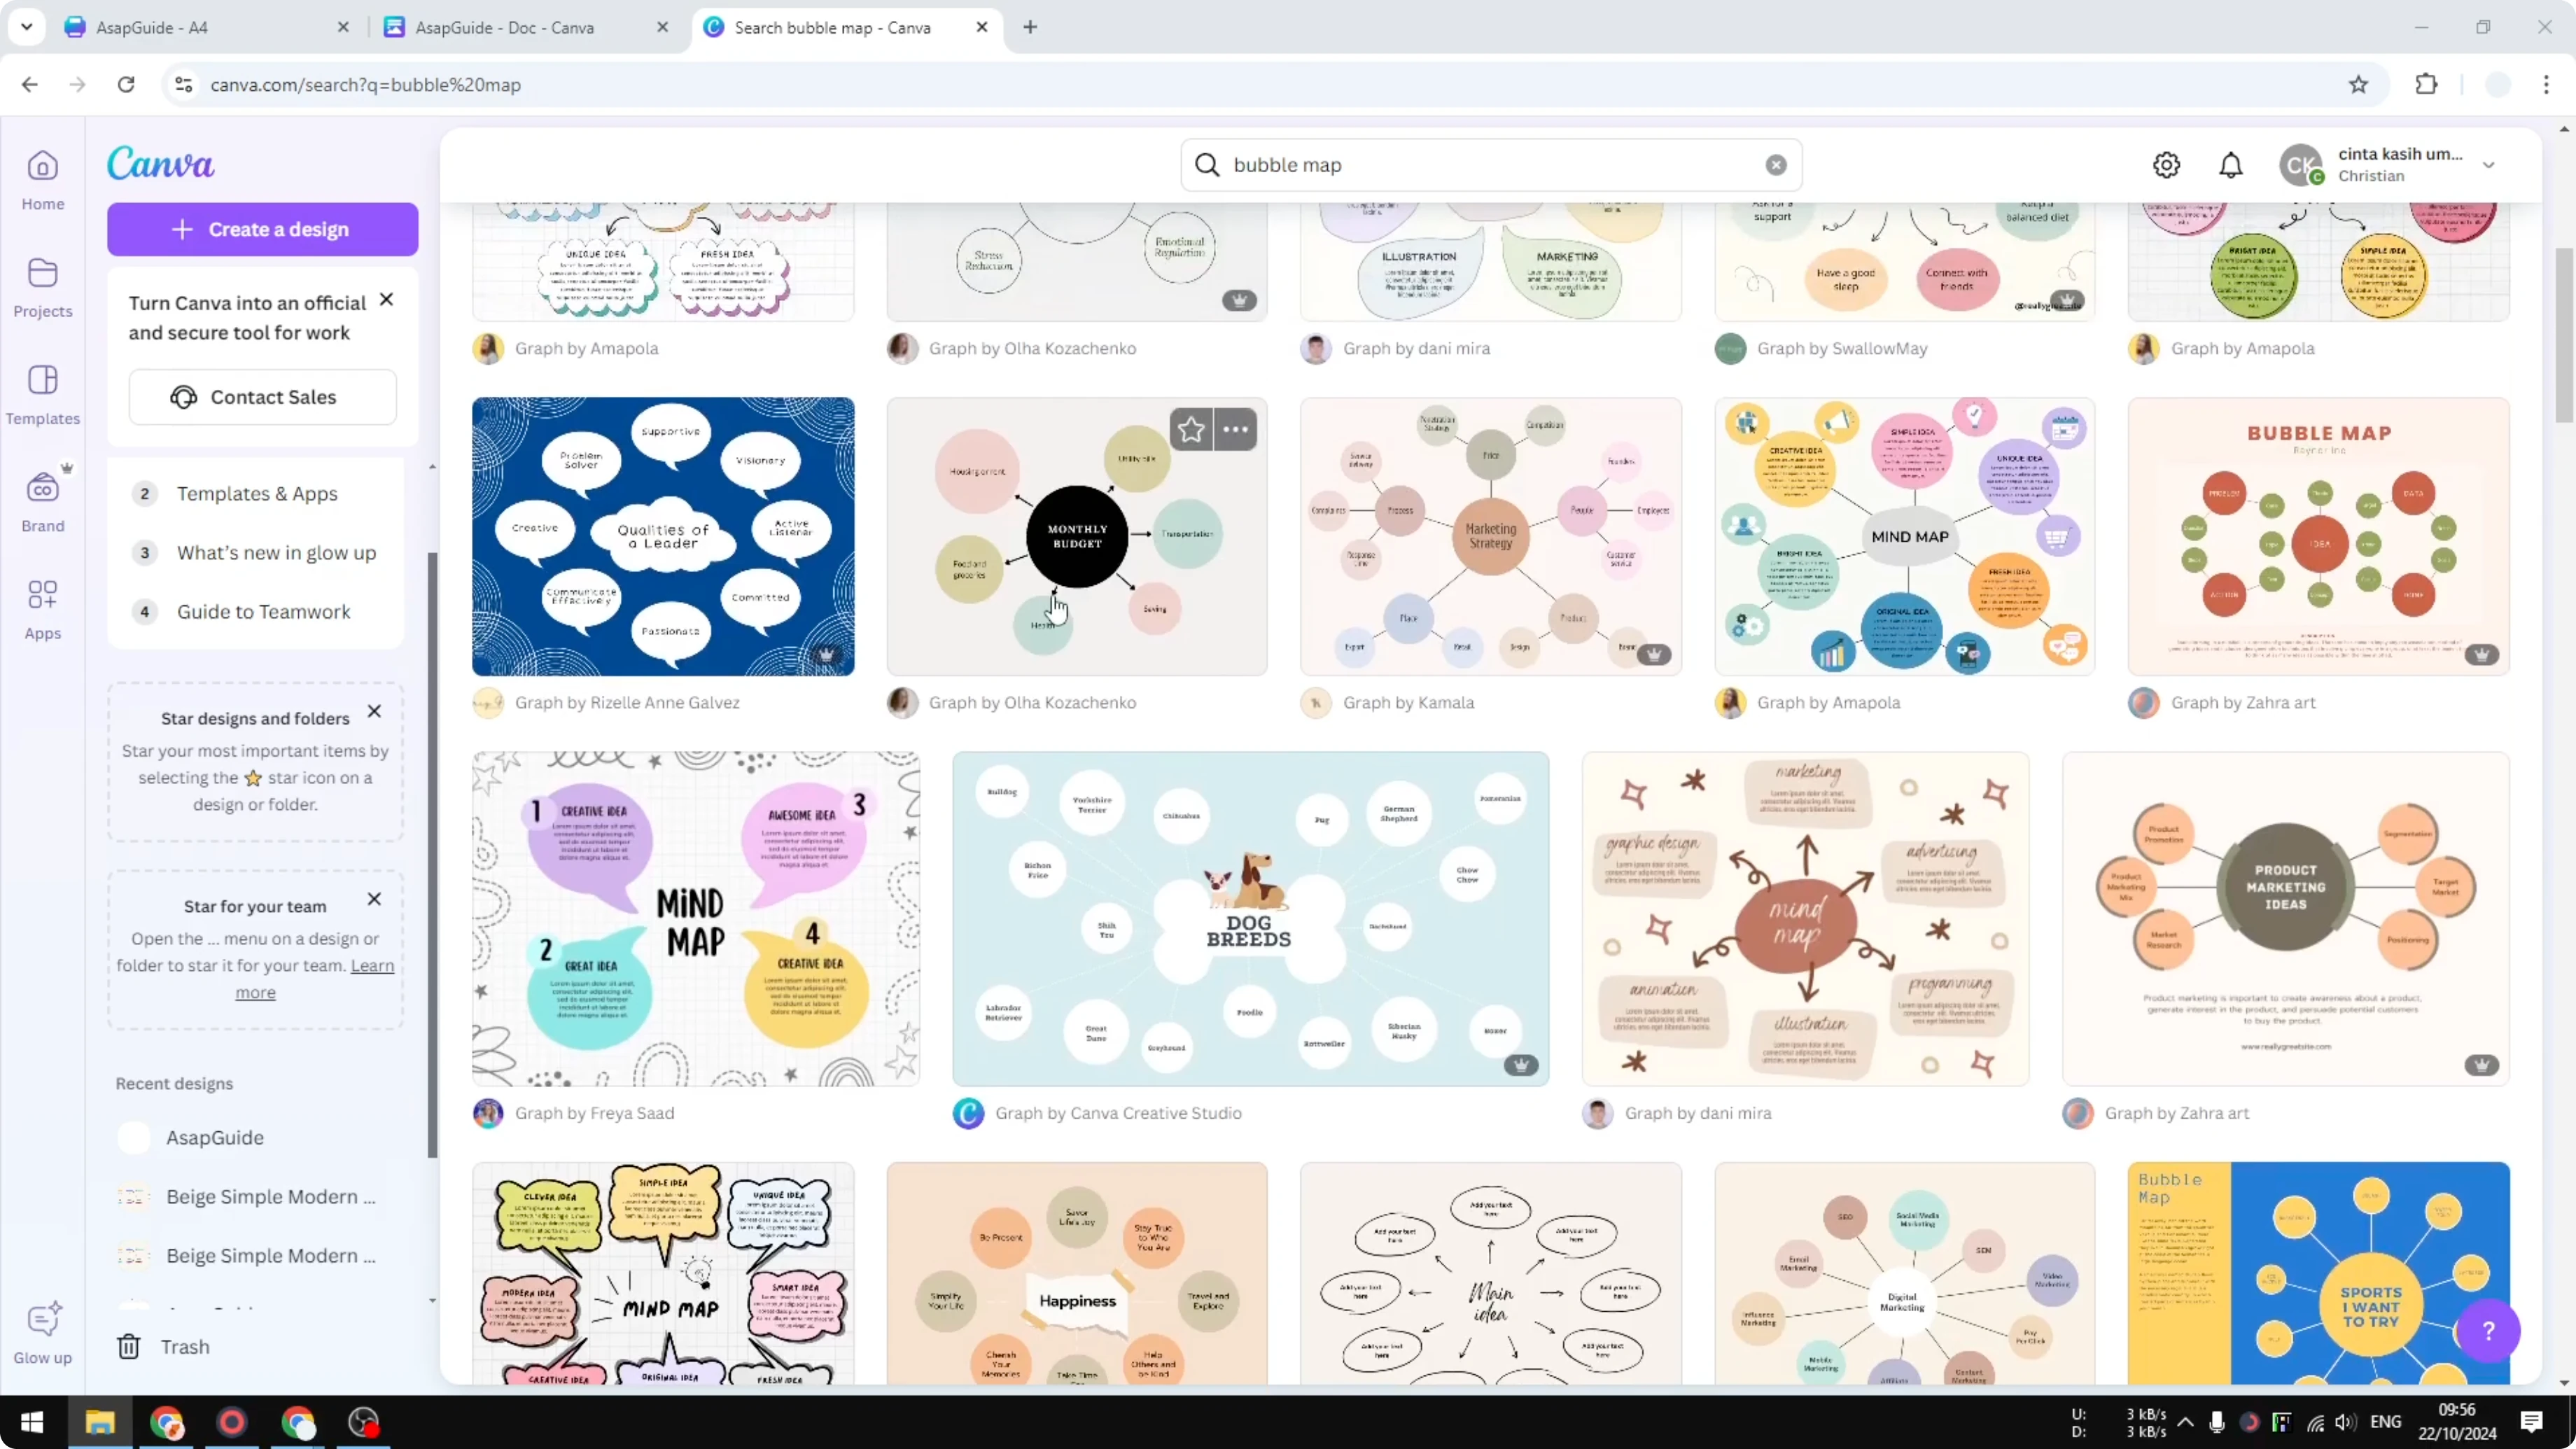
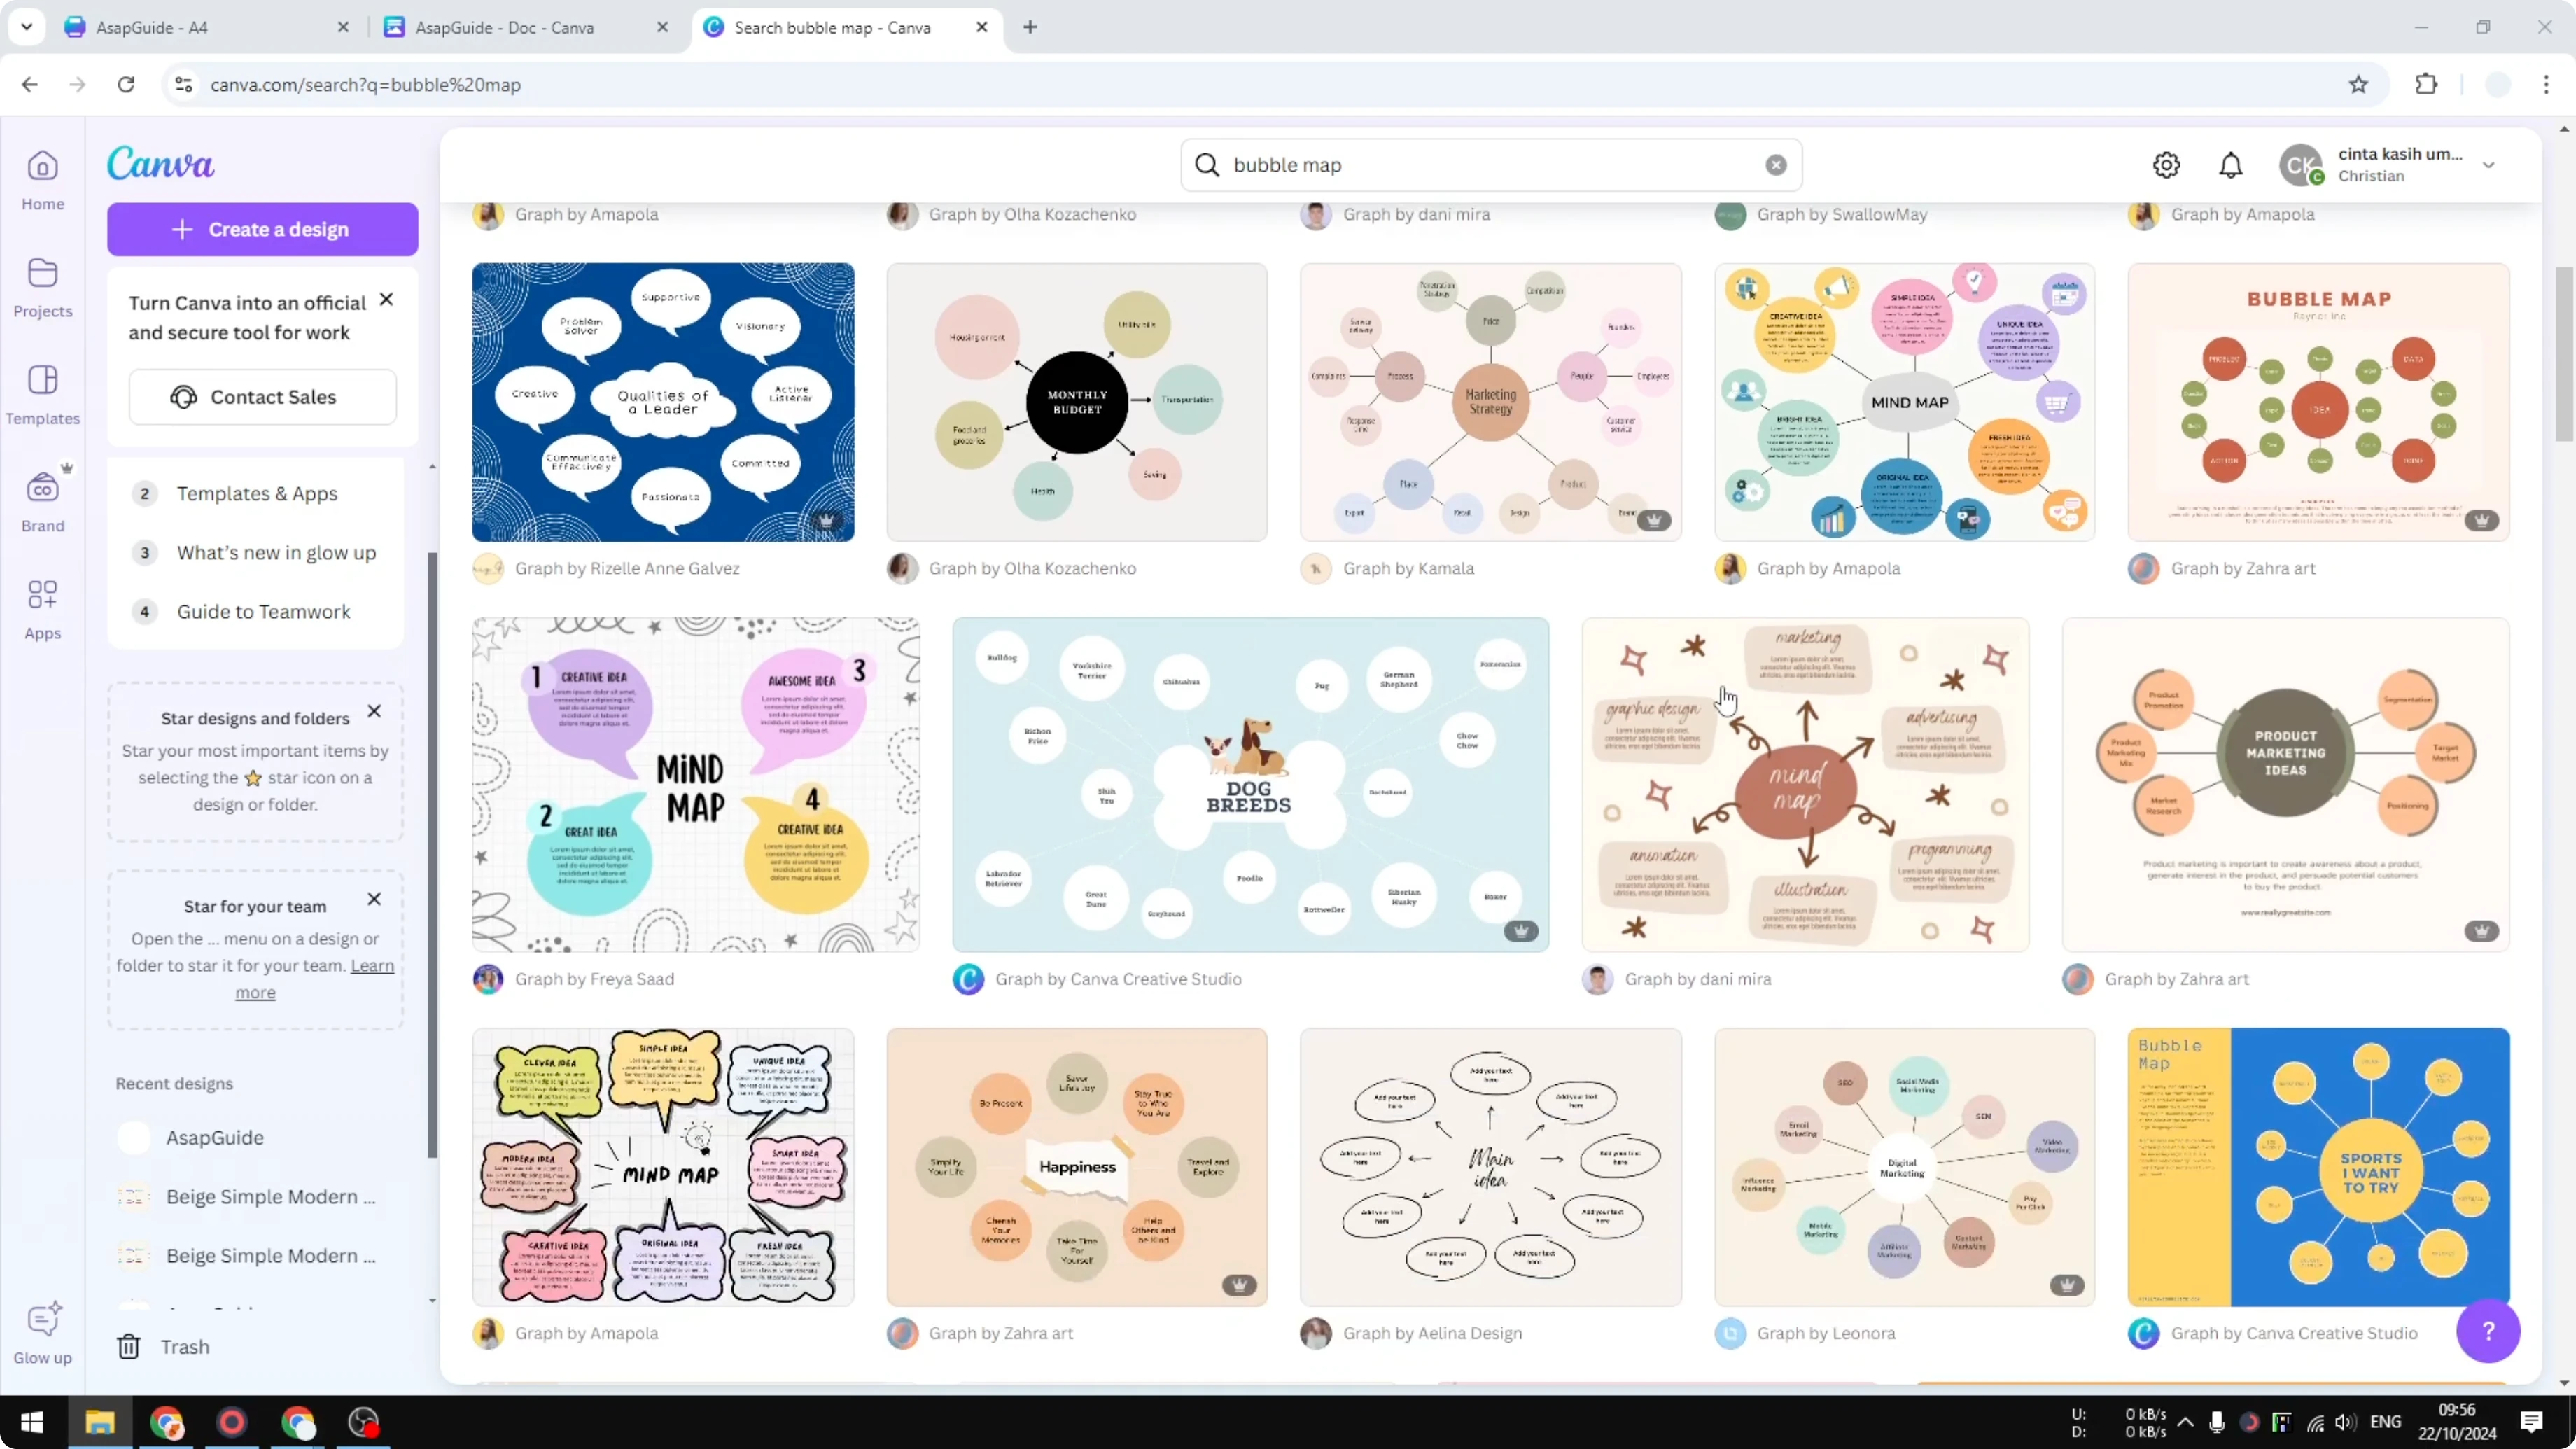
Templates for Create a Bubble Map in Canva
Go to your Canva dashboard and search for bubble maps. Pick a design you like and click Customize this template. Some templates are free and others are paid, and the free options are usually good enough.
A typical template is just a big circle, a few smaller circles, and arrows connecting them. It is very simple, and you can still change colors, fonts, and layout for your needs. If you want playful titles on your map, try a balloon text effect for the headings.
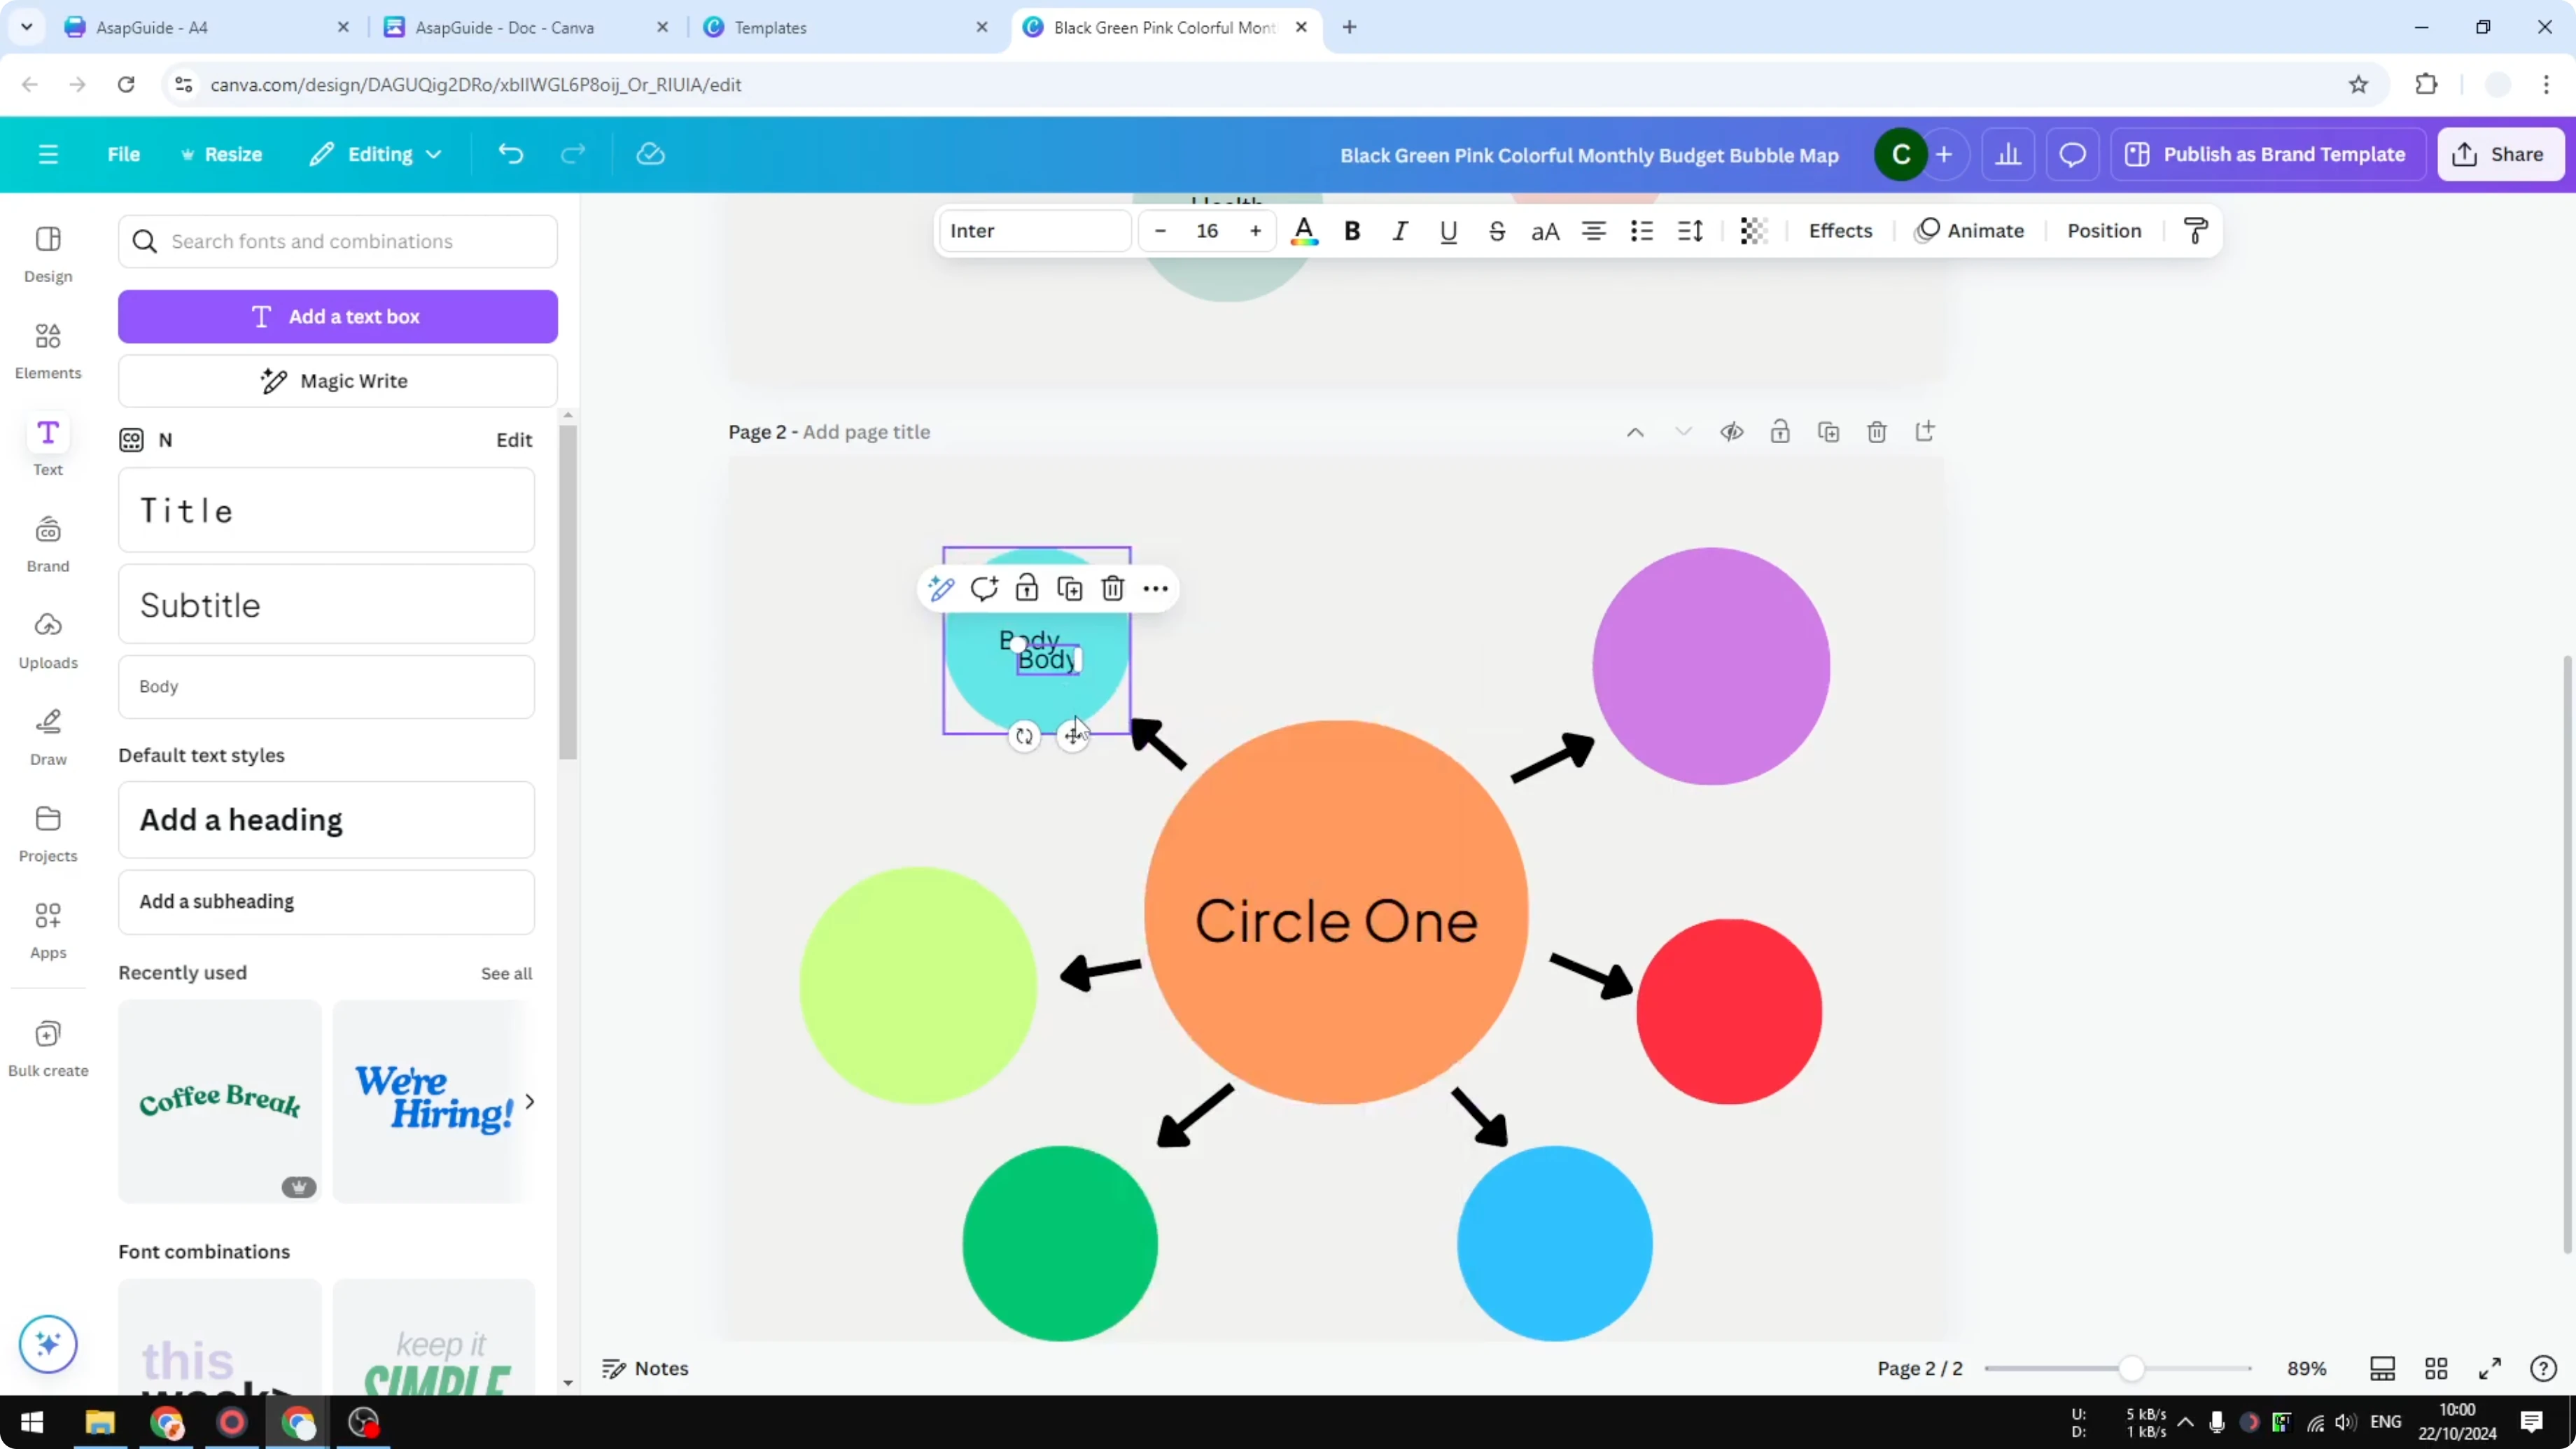
Manual build for Create a Bubble Map in Canva
Main circle
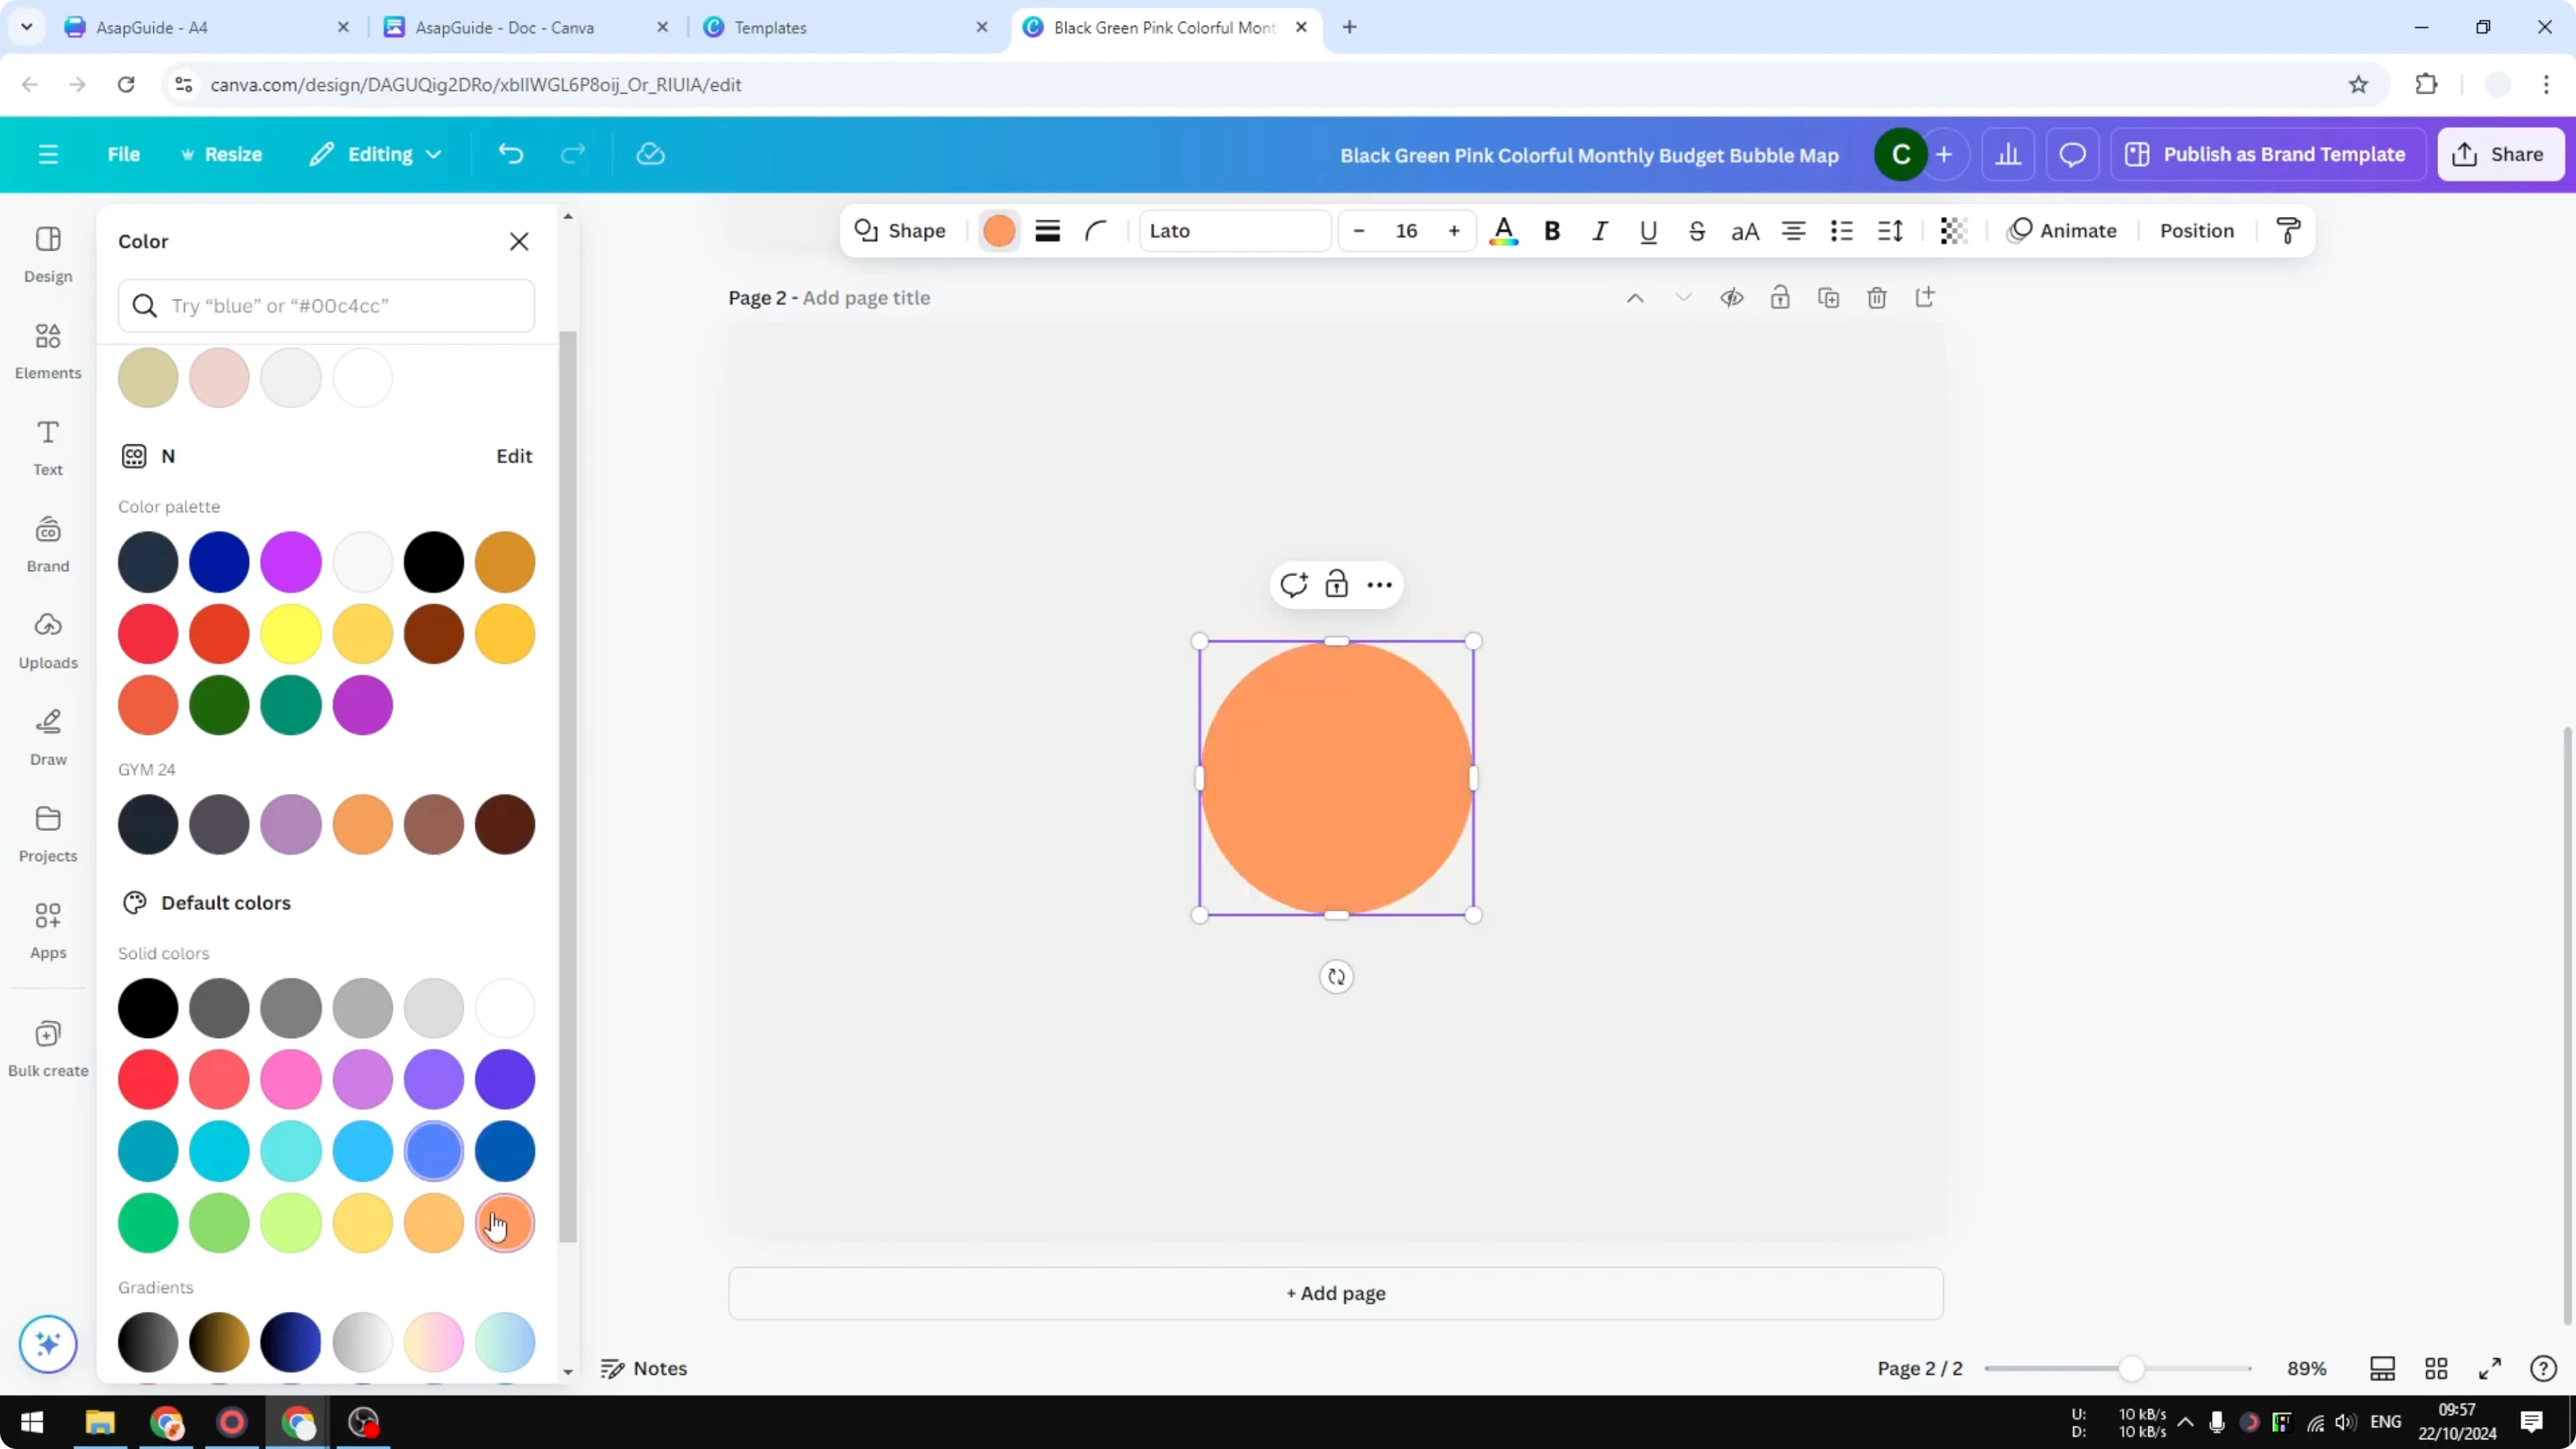
Add a new page. Go to Elements, click Shapes, then See all. Insert a large circle in the middle and change its color.
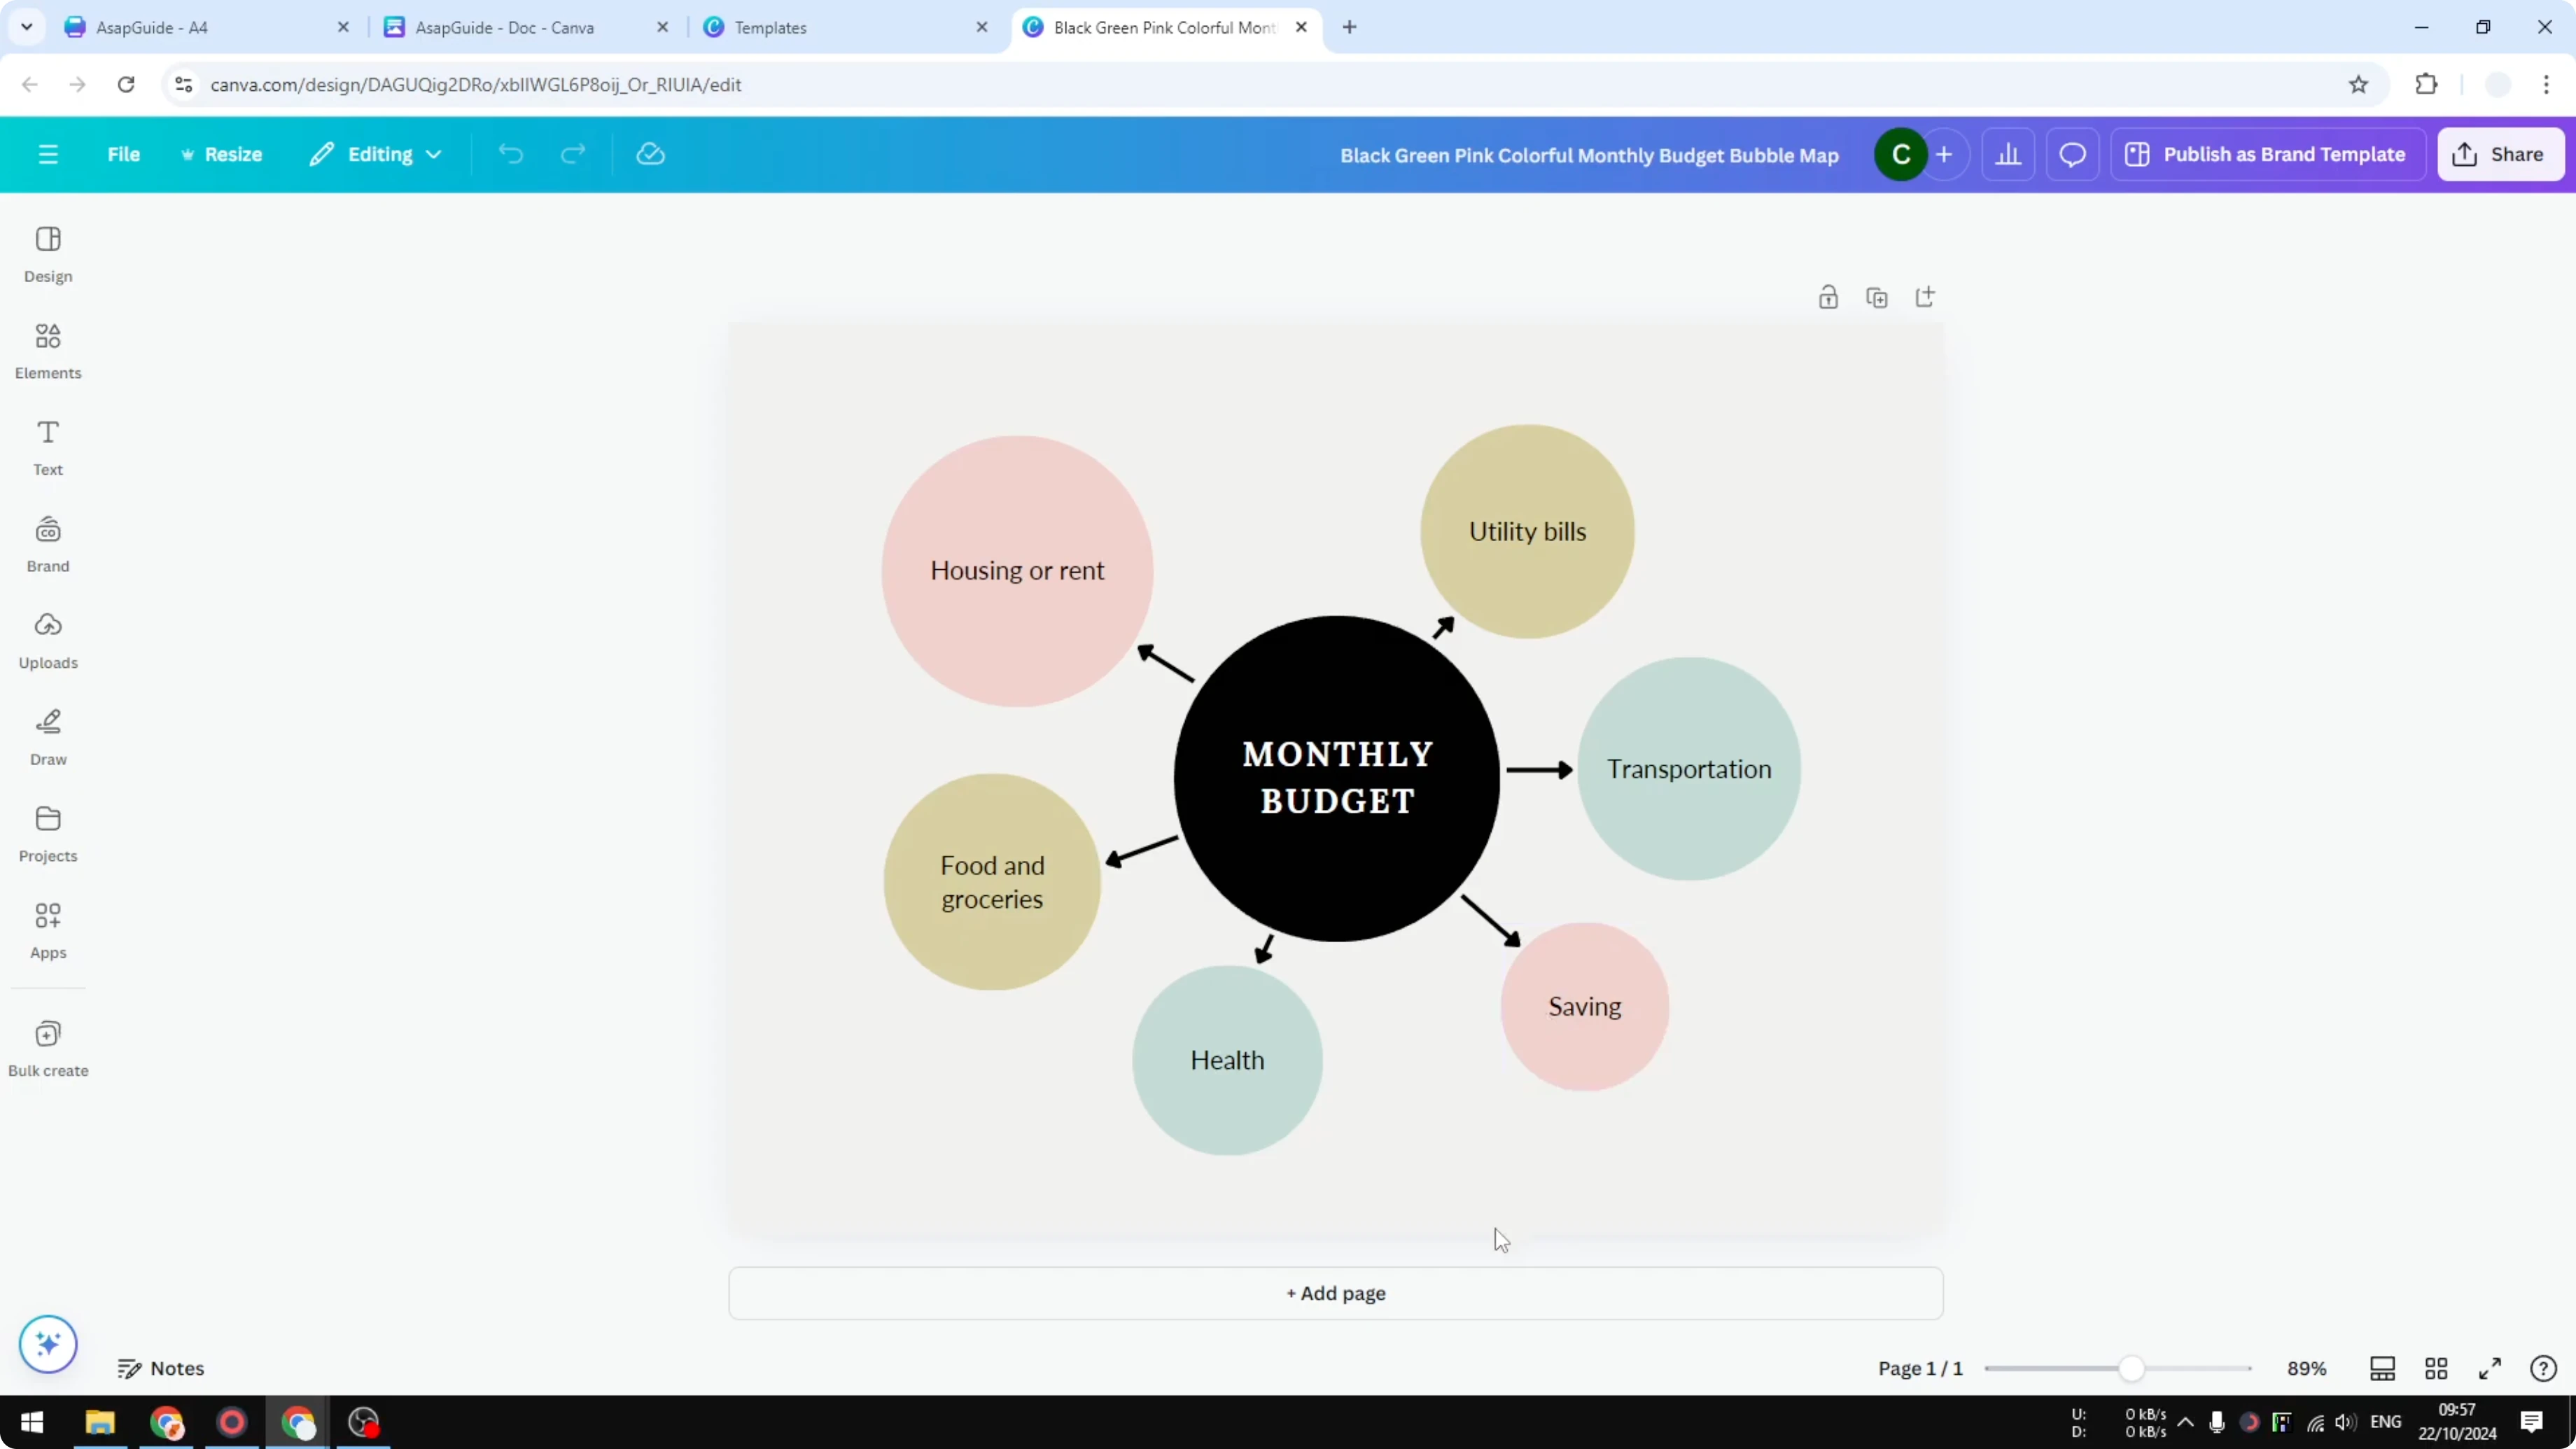
Add smaller circles
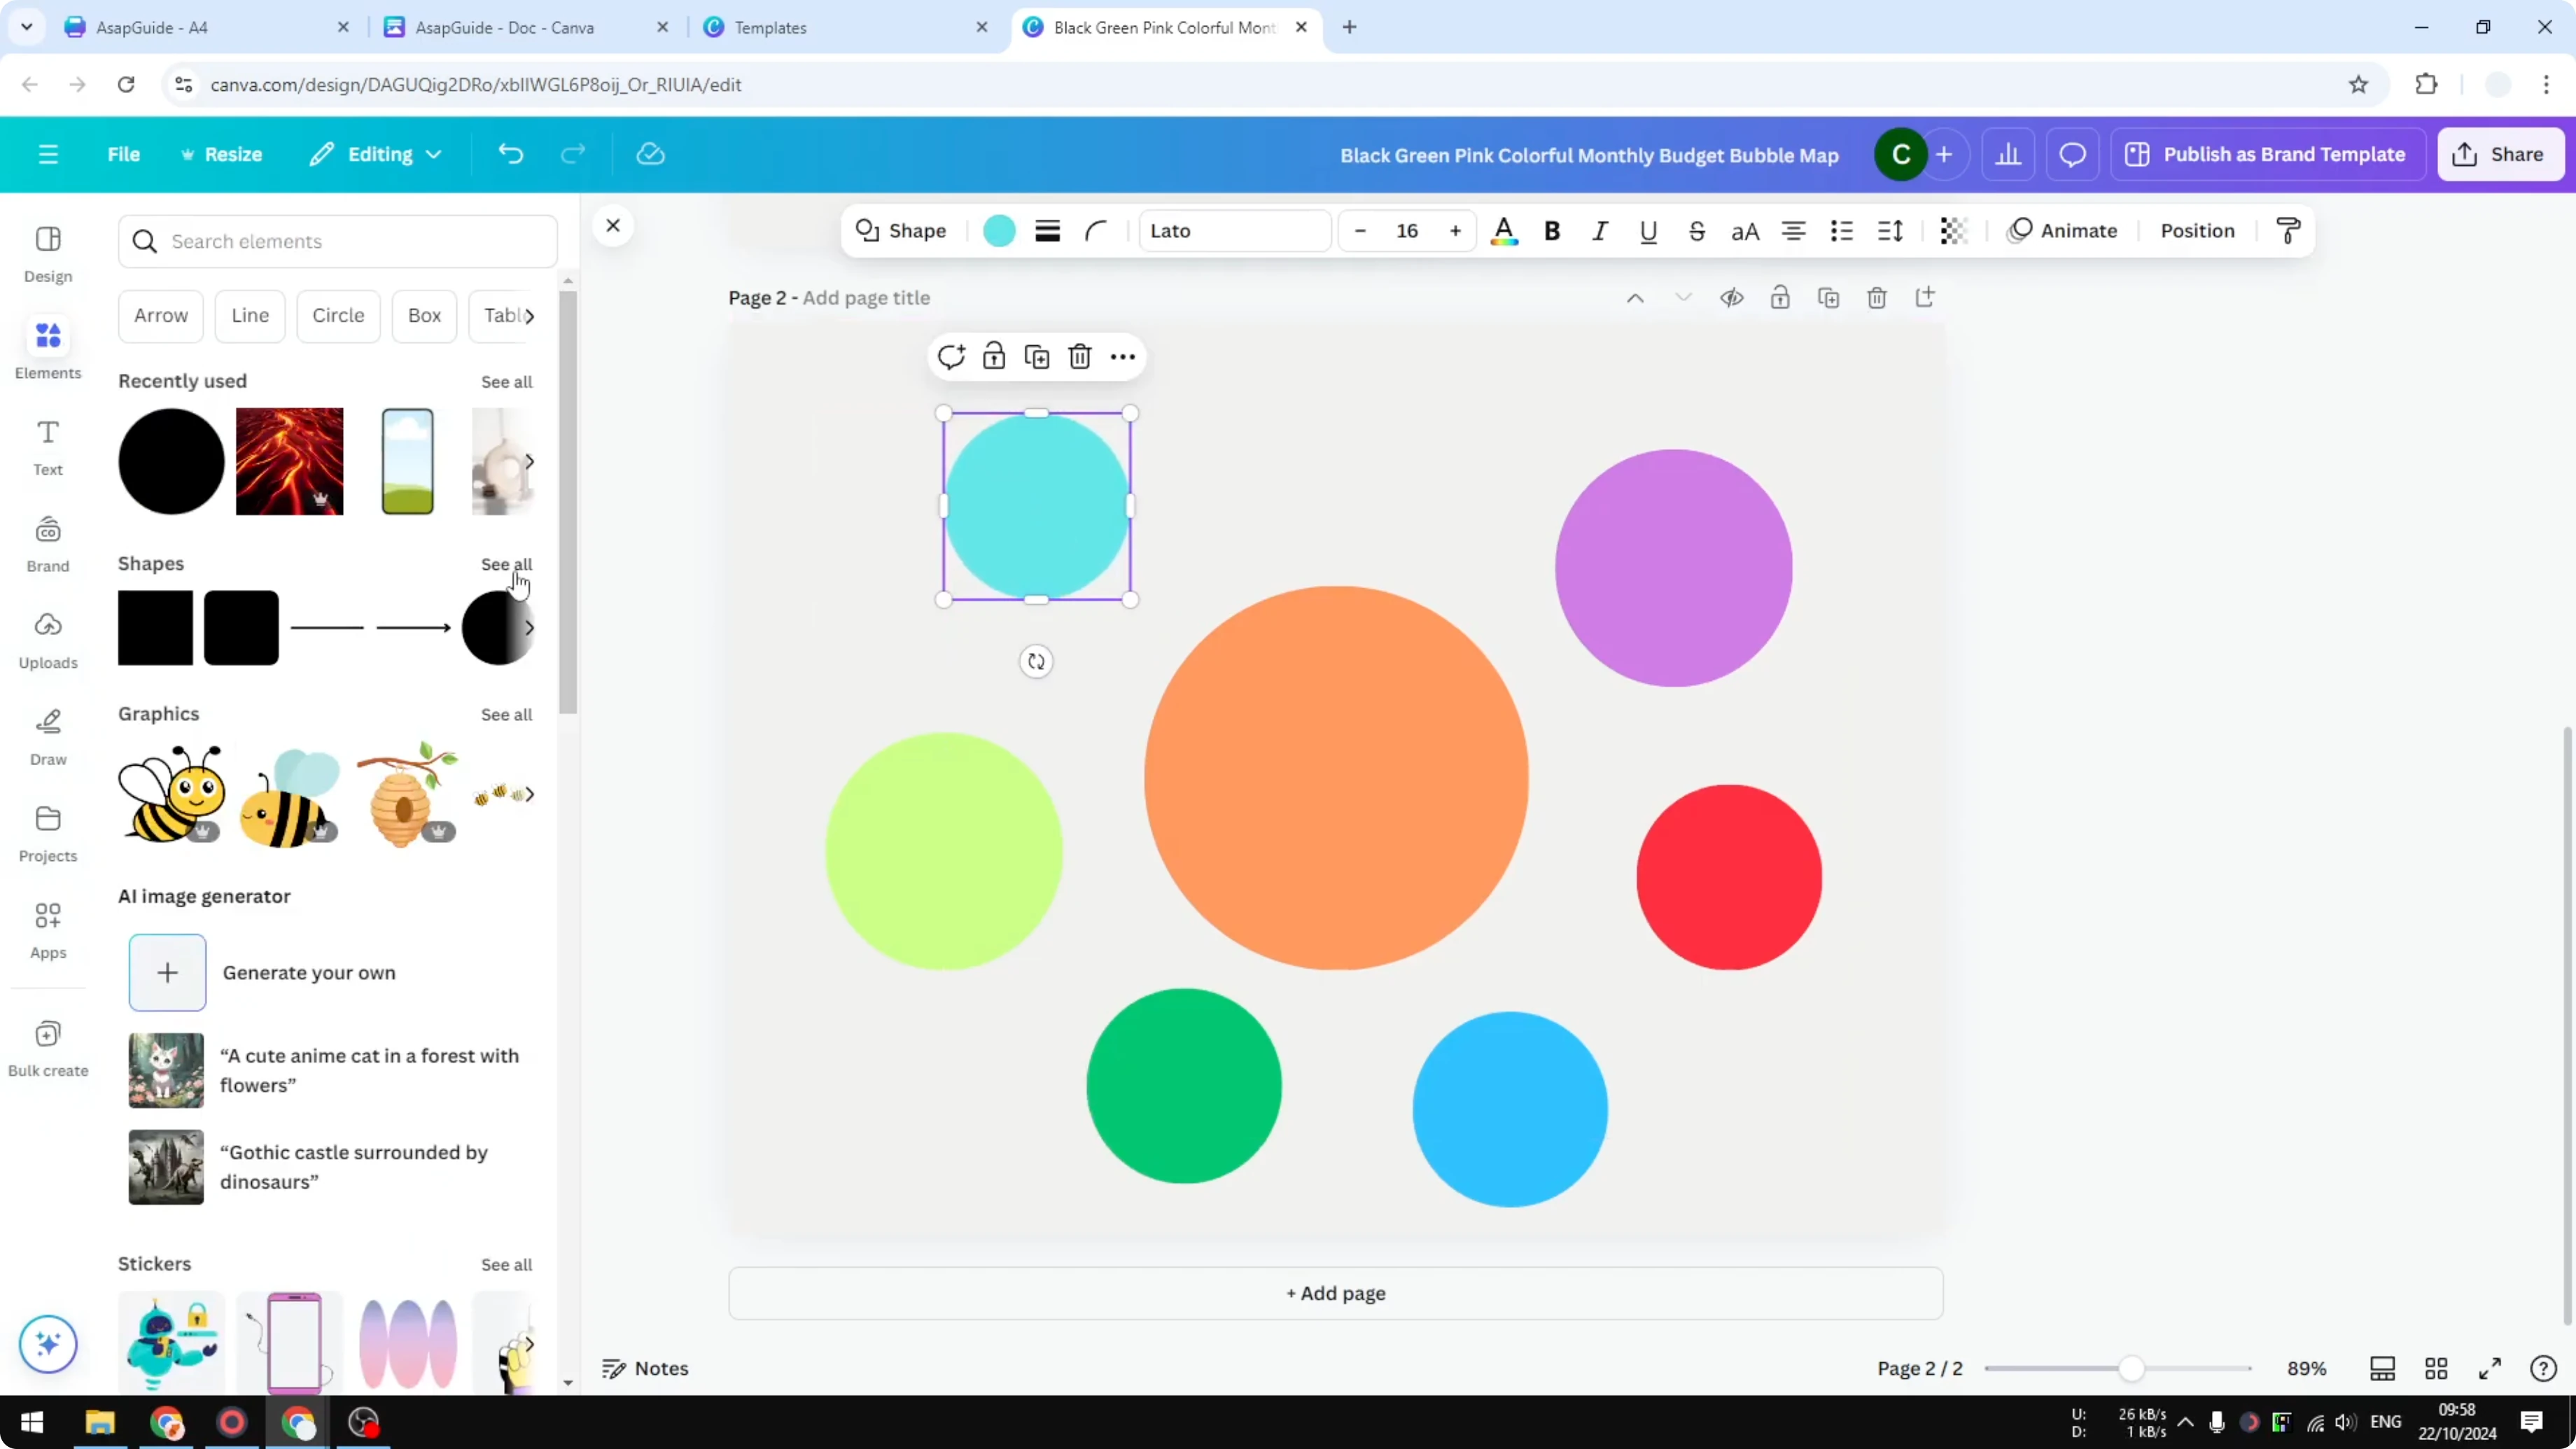
Go to Elements again, choose Shapes, and select Circle. Make these circles smaller than the one in the middle and place them around it. If you need to resize, drag from a corner handle, not the side handles, or it will stretch into an oval.
Duplicate the small circle as many times as you need and arrange the positions. Some designs keep all circles the same size and symmetrical. Others are more arbitrary, and the sizes do not have to match.
Change colors for variety if you like. You can go with orange, green, dark green, purple, red, and any accent that fits your theme. Adjust spacing so the layout feels balanced.
Add arrows
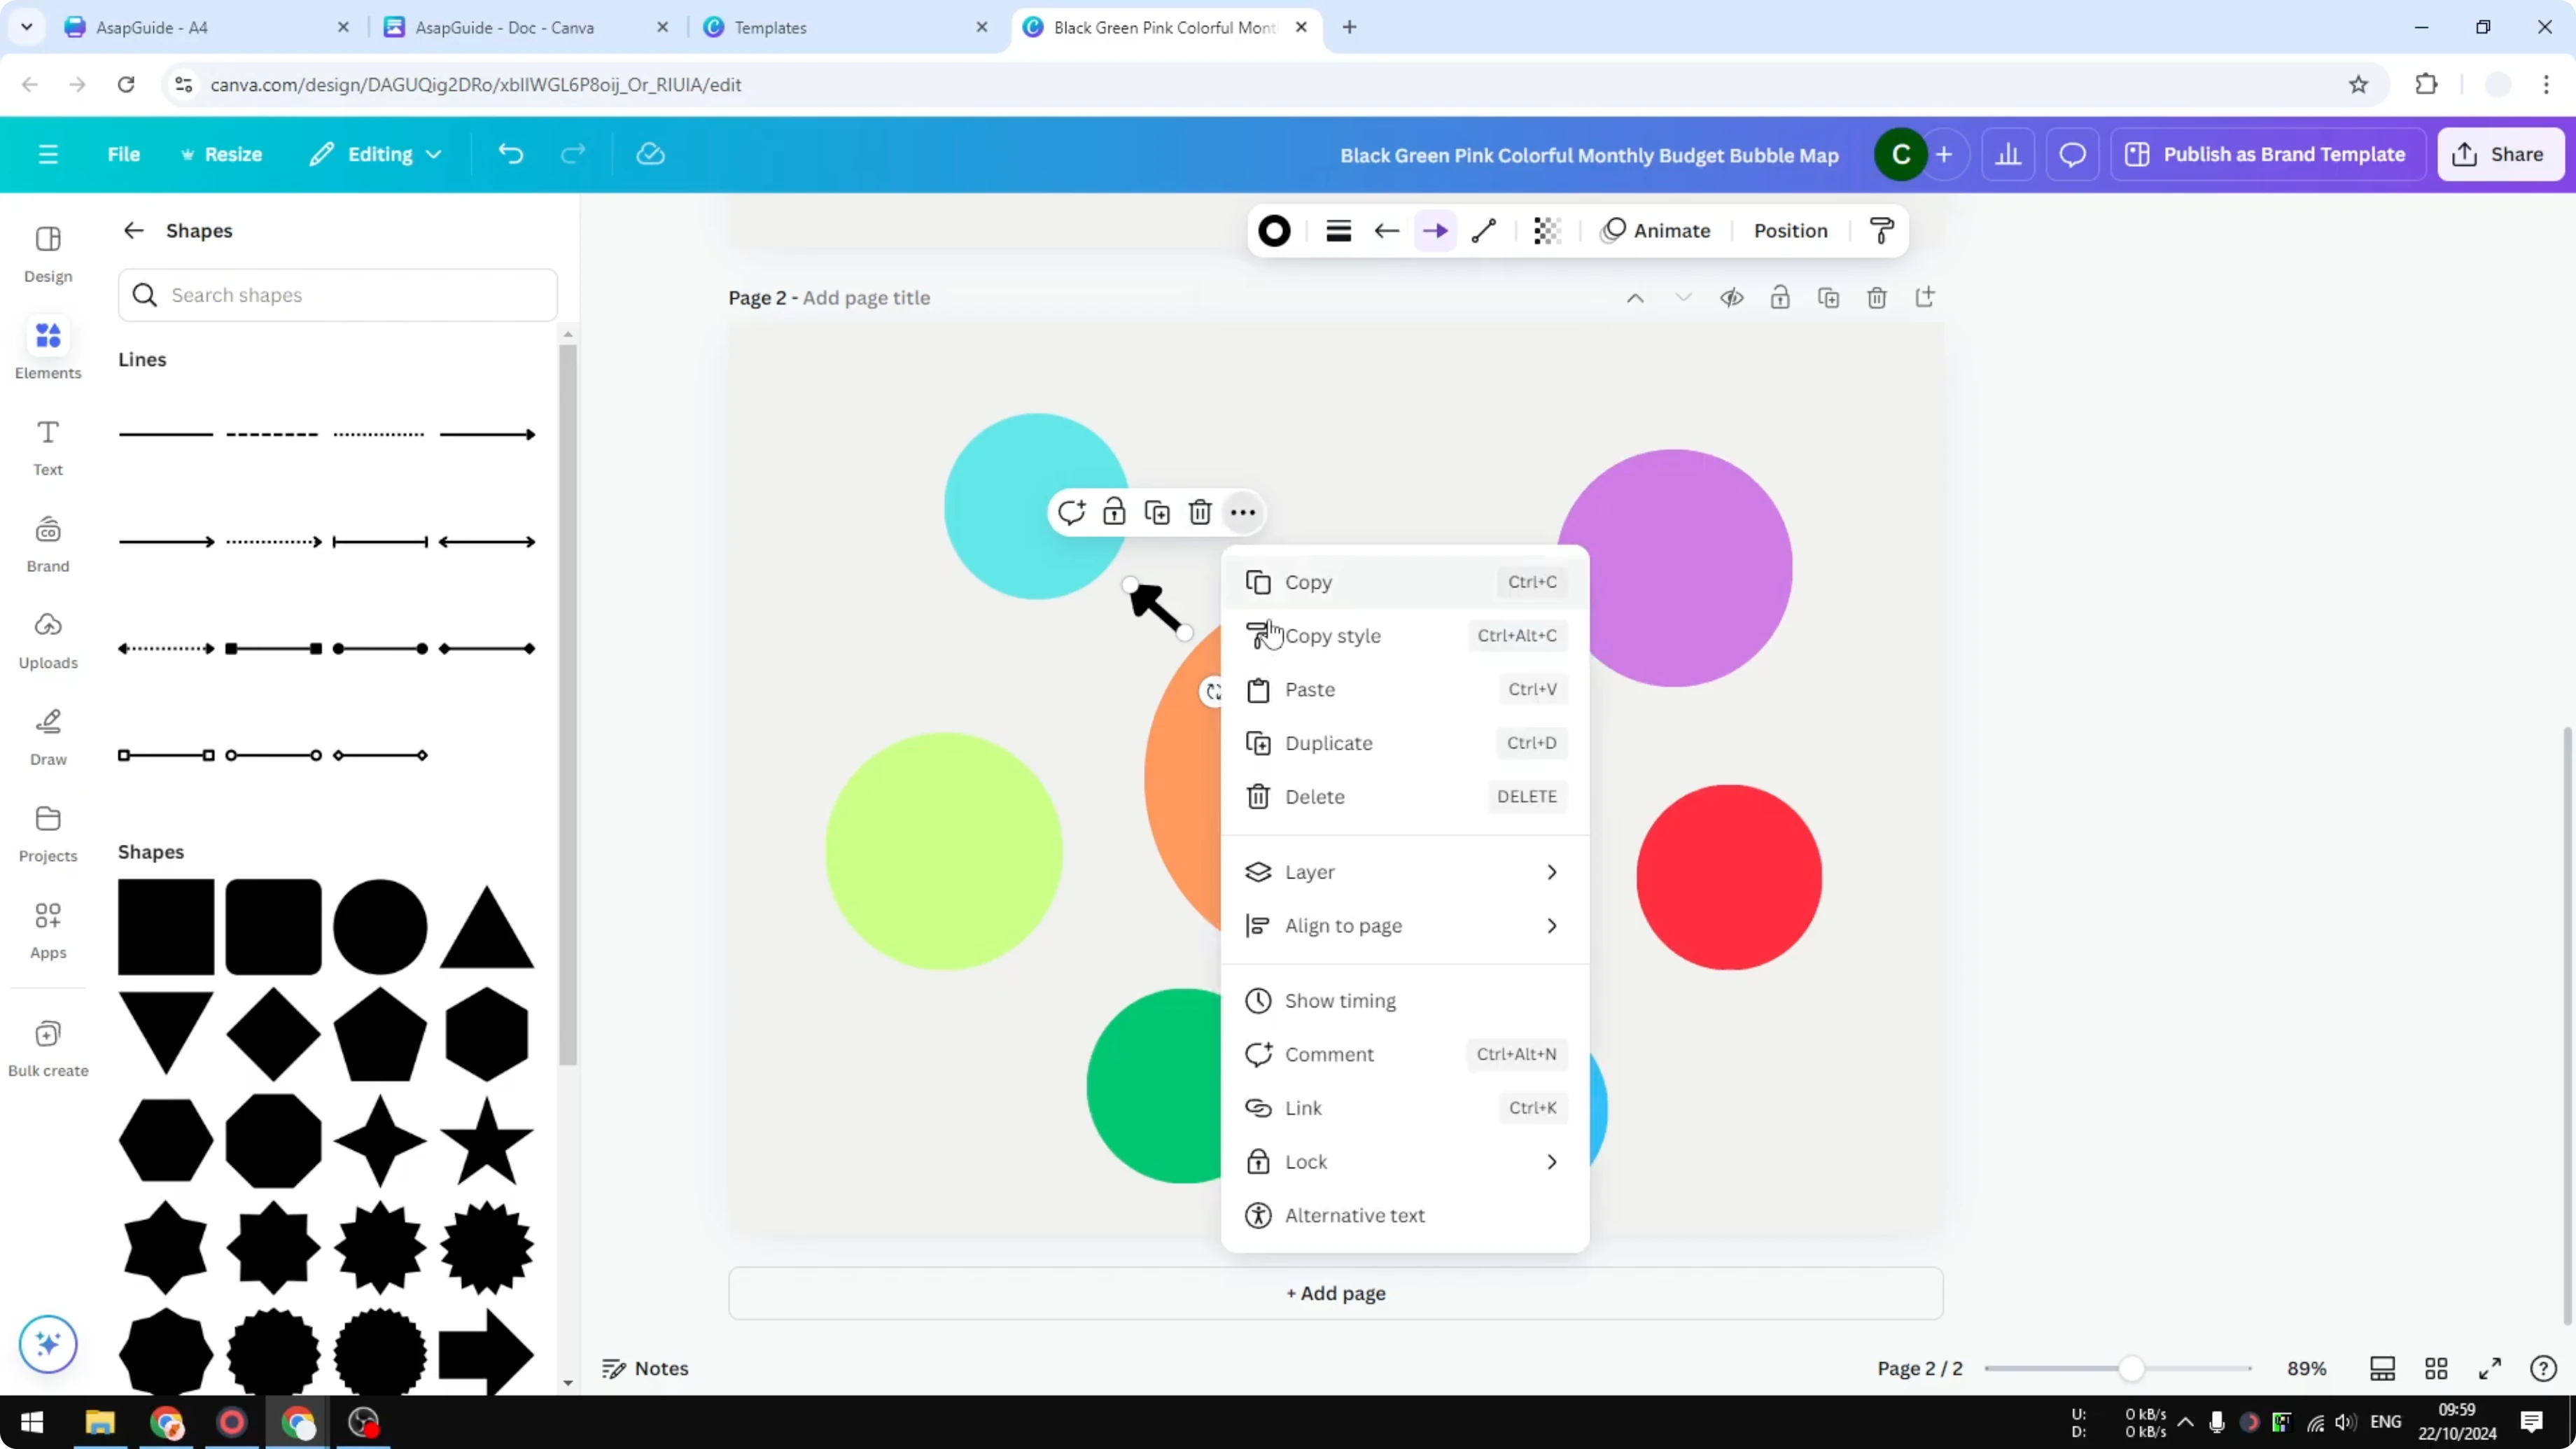
Go to Elements, open Shapes, and pick an Arrow. Place one end near the main circle and the other near a smaller circle. Increase the line weight if you want a thicker look.
You can change the line start and line end styles. Duplicate the arrow and position copies to point to other circles. You do not have to connect every circle, and a bit of space between lines helps keep things clear.
If you want stylized pointers with unique heads or bends, see how to create custom arrows and swap them in.
Add text
Go to Text and add a heading for the main circle. Add smaller labels to each outer circle. Copy and paste to speed things up using shortcuts like Ctrl + C and Ctrl + V.
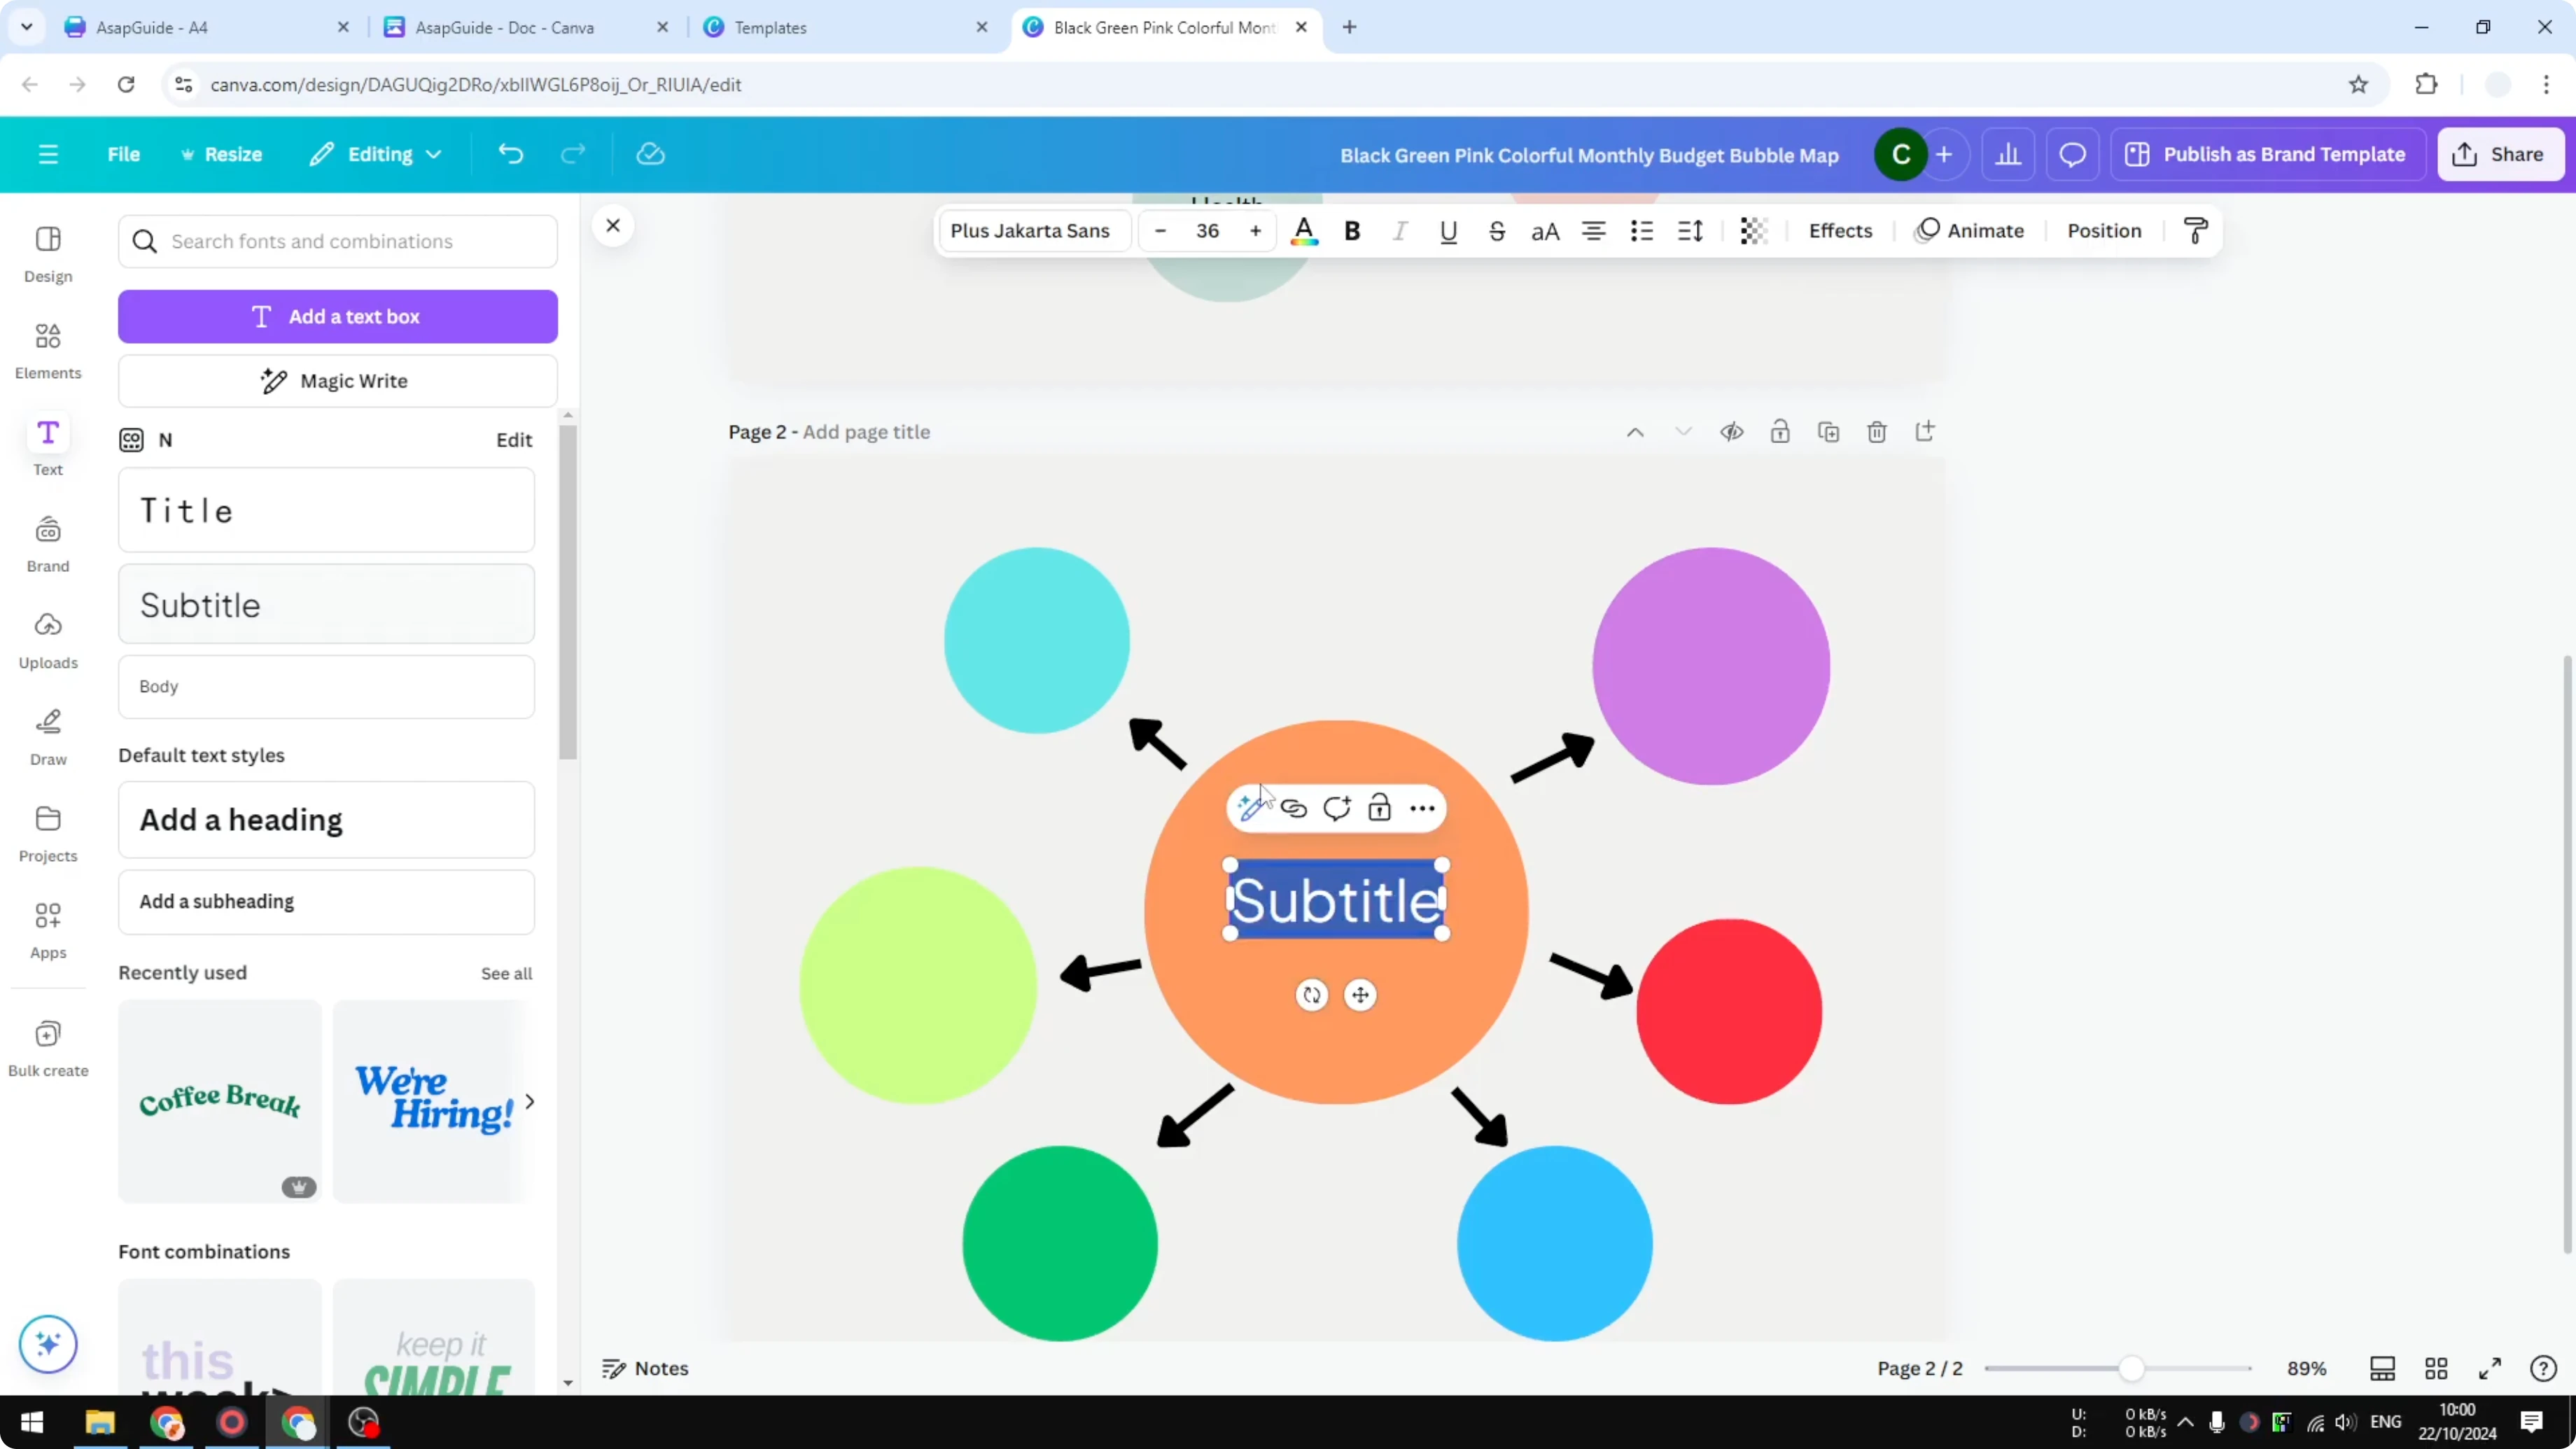
Place each label near its circle and adjust font size for readability. Keep headings larger on the main circle and slightly smaller on the outer ones. Make sure text color contrasts well with the circle colors.
You can add a soft background to make the circles pop by applying a subtle blur of lights, and this guide shows how to add a bokeh effect behind your map.
Final thoughts
A bubble map in Canva can be built from a template or from scratch with just circles, arrows, and labels. Use corner handles for perfect circles, duplicate shapes to speed up layout, and tweak colors and line weights for clarity. With a few minutes of arranging and labeling, your bubble map is ready to share or present.
Recent Posts
How to Visualize Yourself as a Pixelized Character with AI?
How to Visualize Yourself as a Pixelized Character with AI?

How to Revive Faded Memories and Enhance Image Clarity with AI?
How to Revive Faded Memories and Enhance Image Clarity with AI?

How to Visualize Yourself as an Animal Crossing Character with AI?
How to Visualize Yourself as an Animal Crossing Character with AI?