How to Use Canva Video Timeline
I am going to show you basic techniques of the video timeline feature in Canva. This is helpful for creating a video or a presentation slide. By default you will not see the video timeline, so I will show you how to open it and use basic functions to make your workflow easier.
I am using a presentation slide document, so the layout looks a bit different, but that does not matter. You will see the same timeline controls and options. The steps below work for both videos and animated slides.
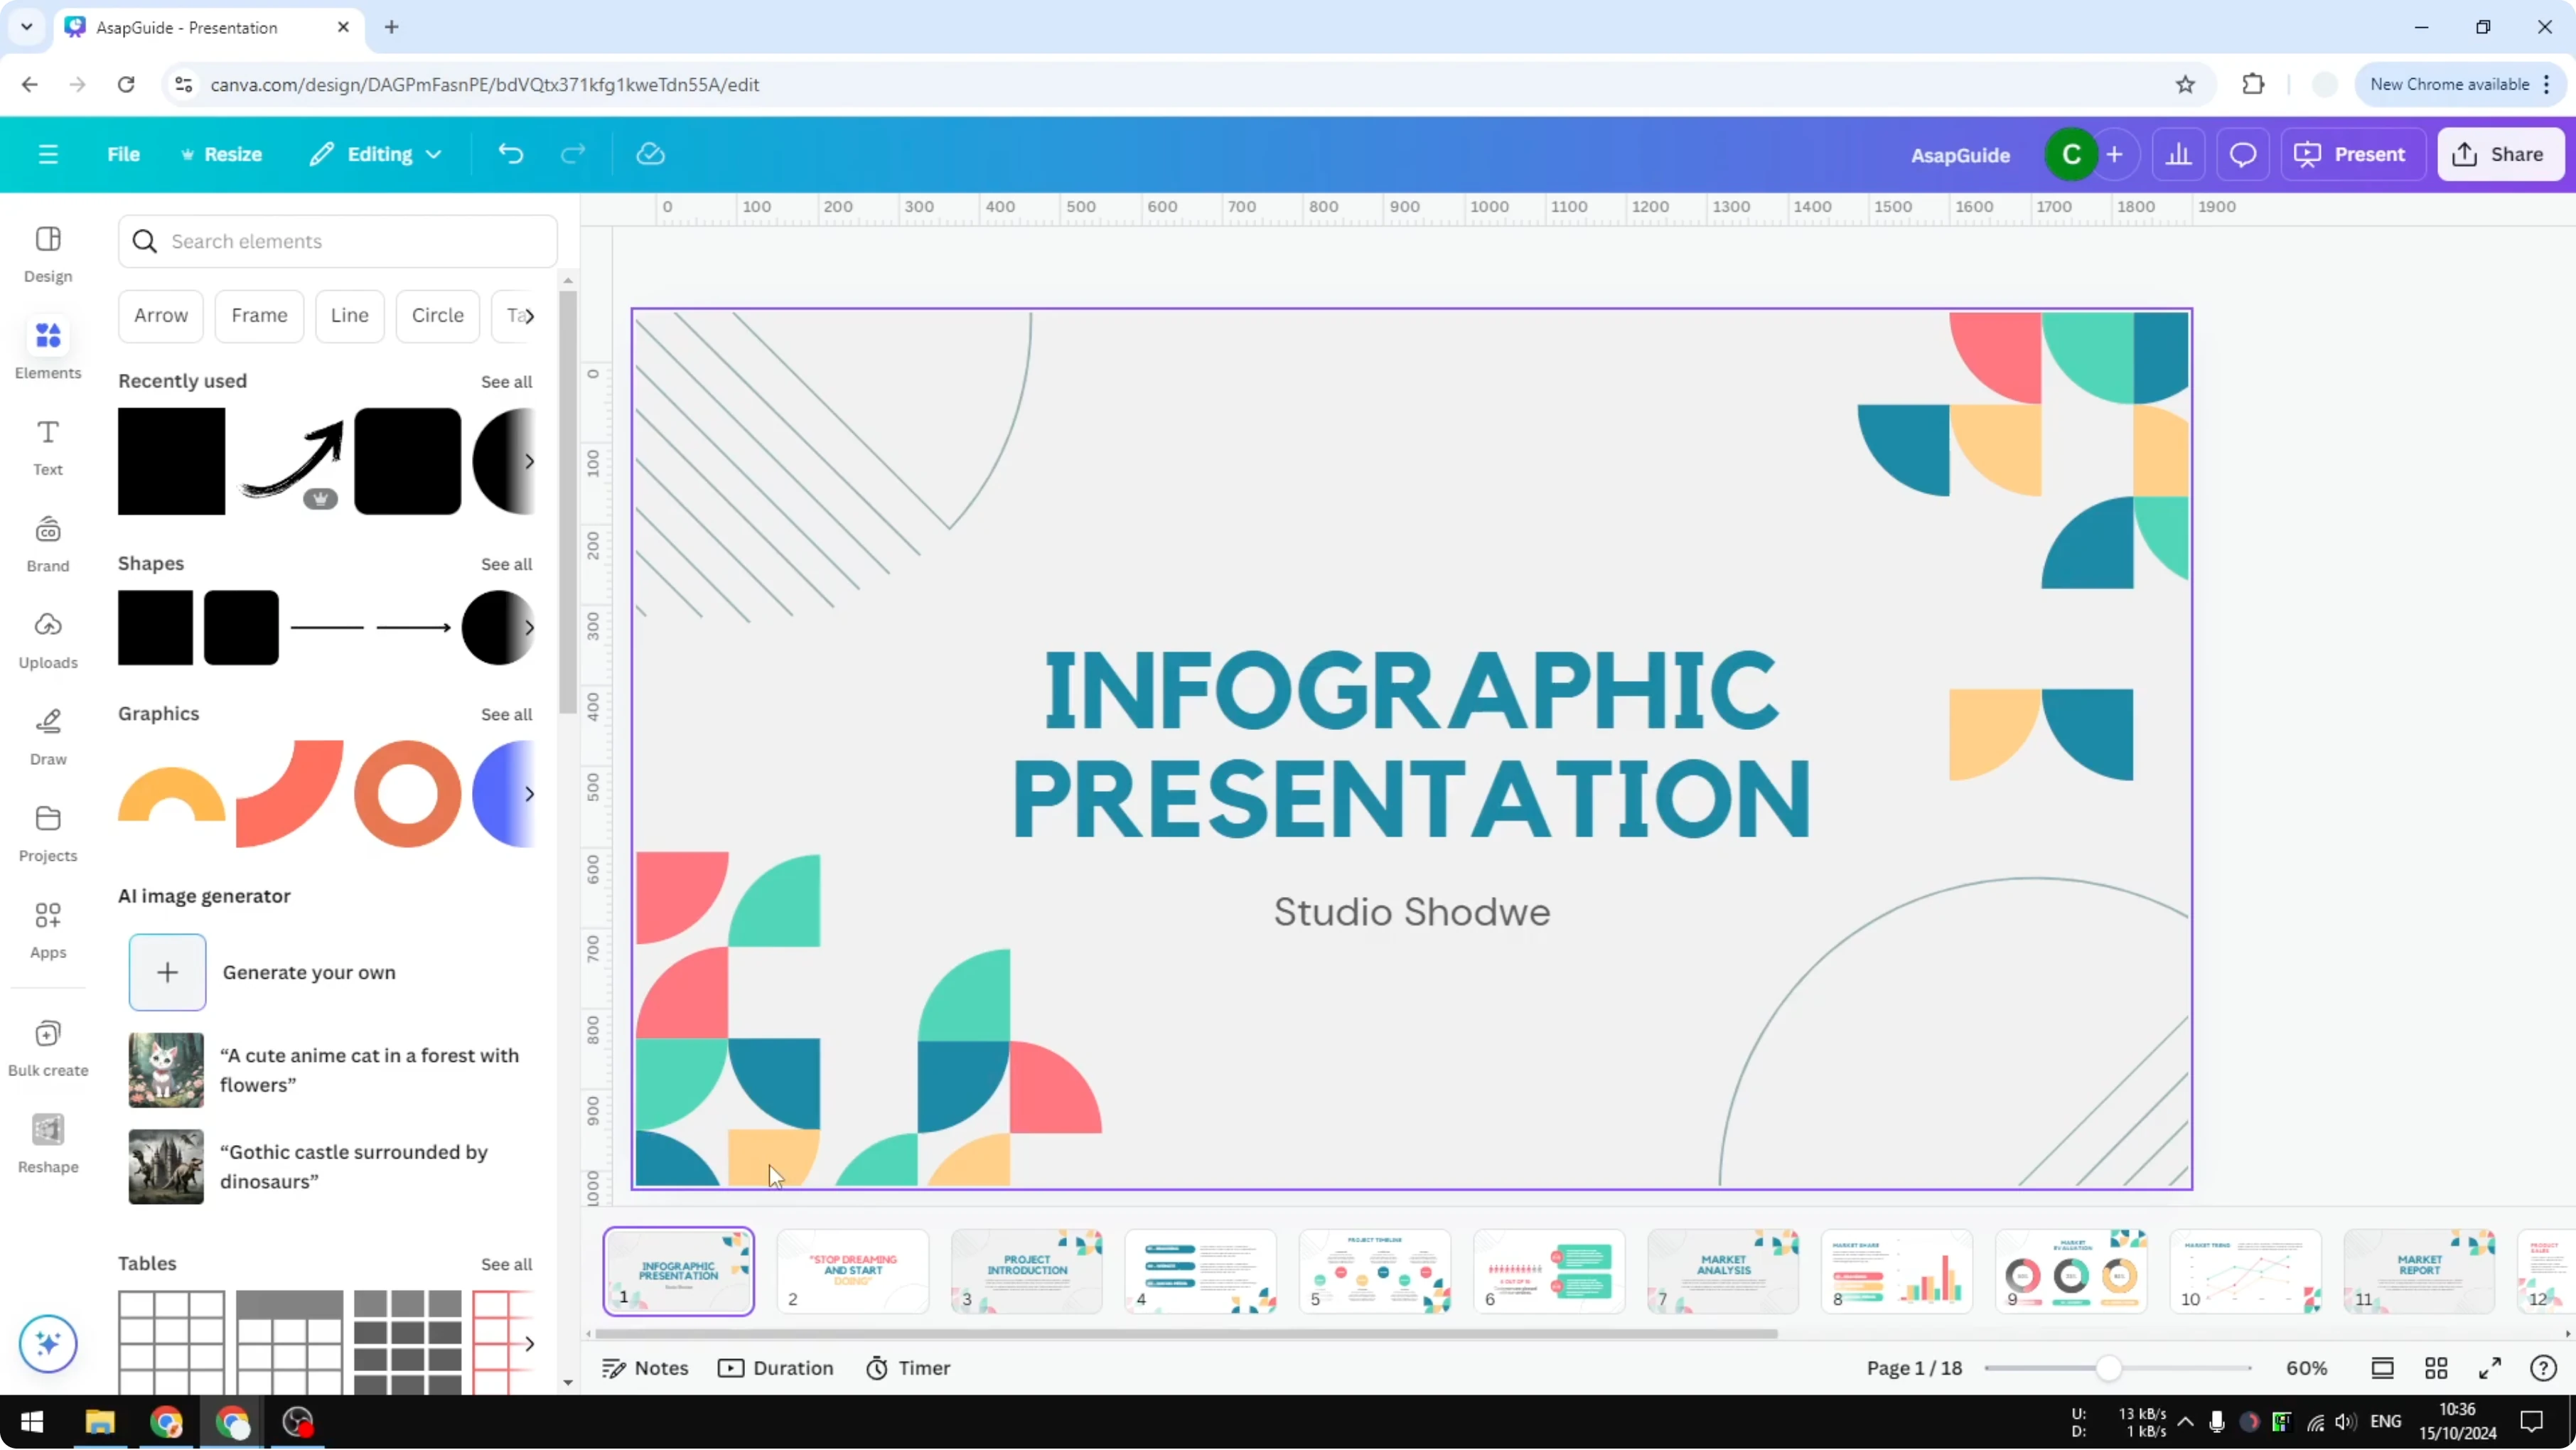
Open Use Canva Video Timeline
Click Thumbnail View.

You will see thumbnails of your pages in a panel.
Enable Duration to display the length of each segment or page.
Preview controls in Use Canva Video Timeline
You can use the Play button to preview the entire video or animation. If a page has transitions or animations, they will play during preview. This helps you check timing across pages.

To enhance movement between pages, see how to add transitions in Canva.
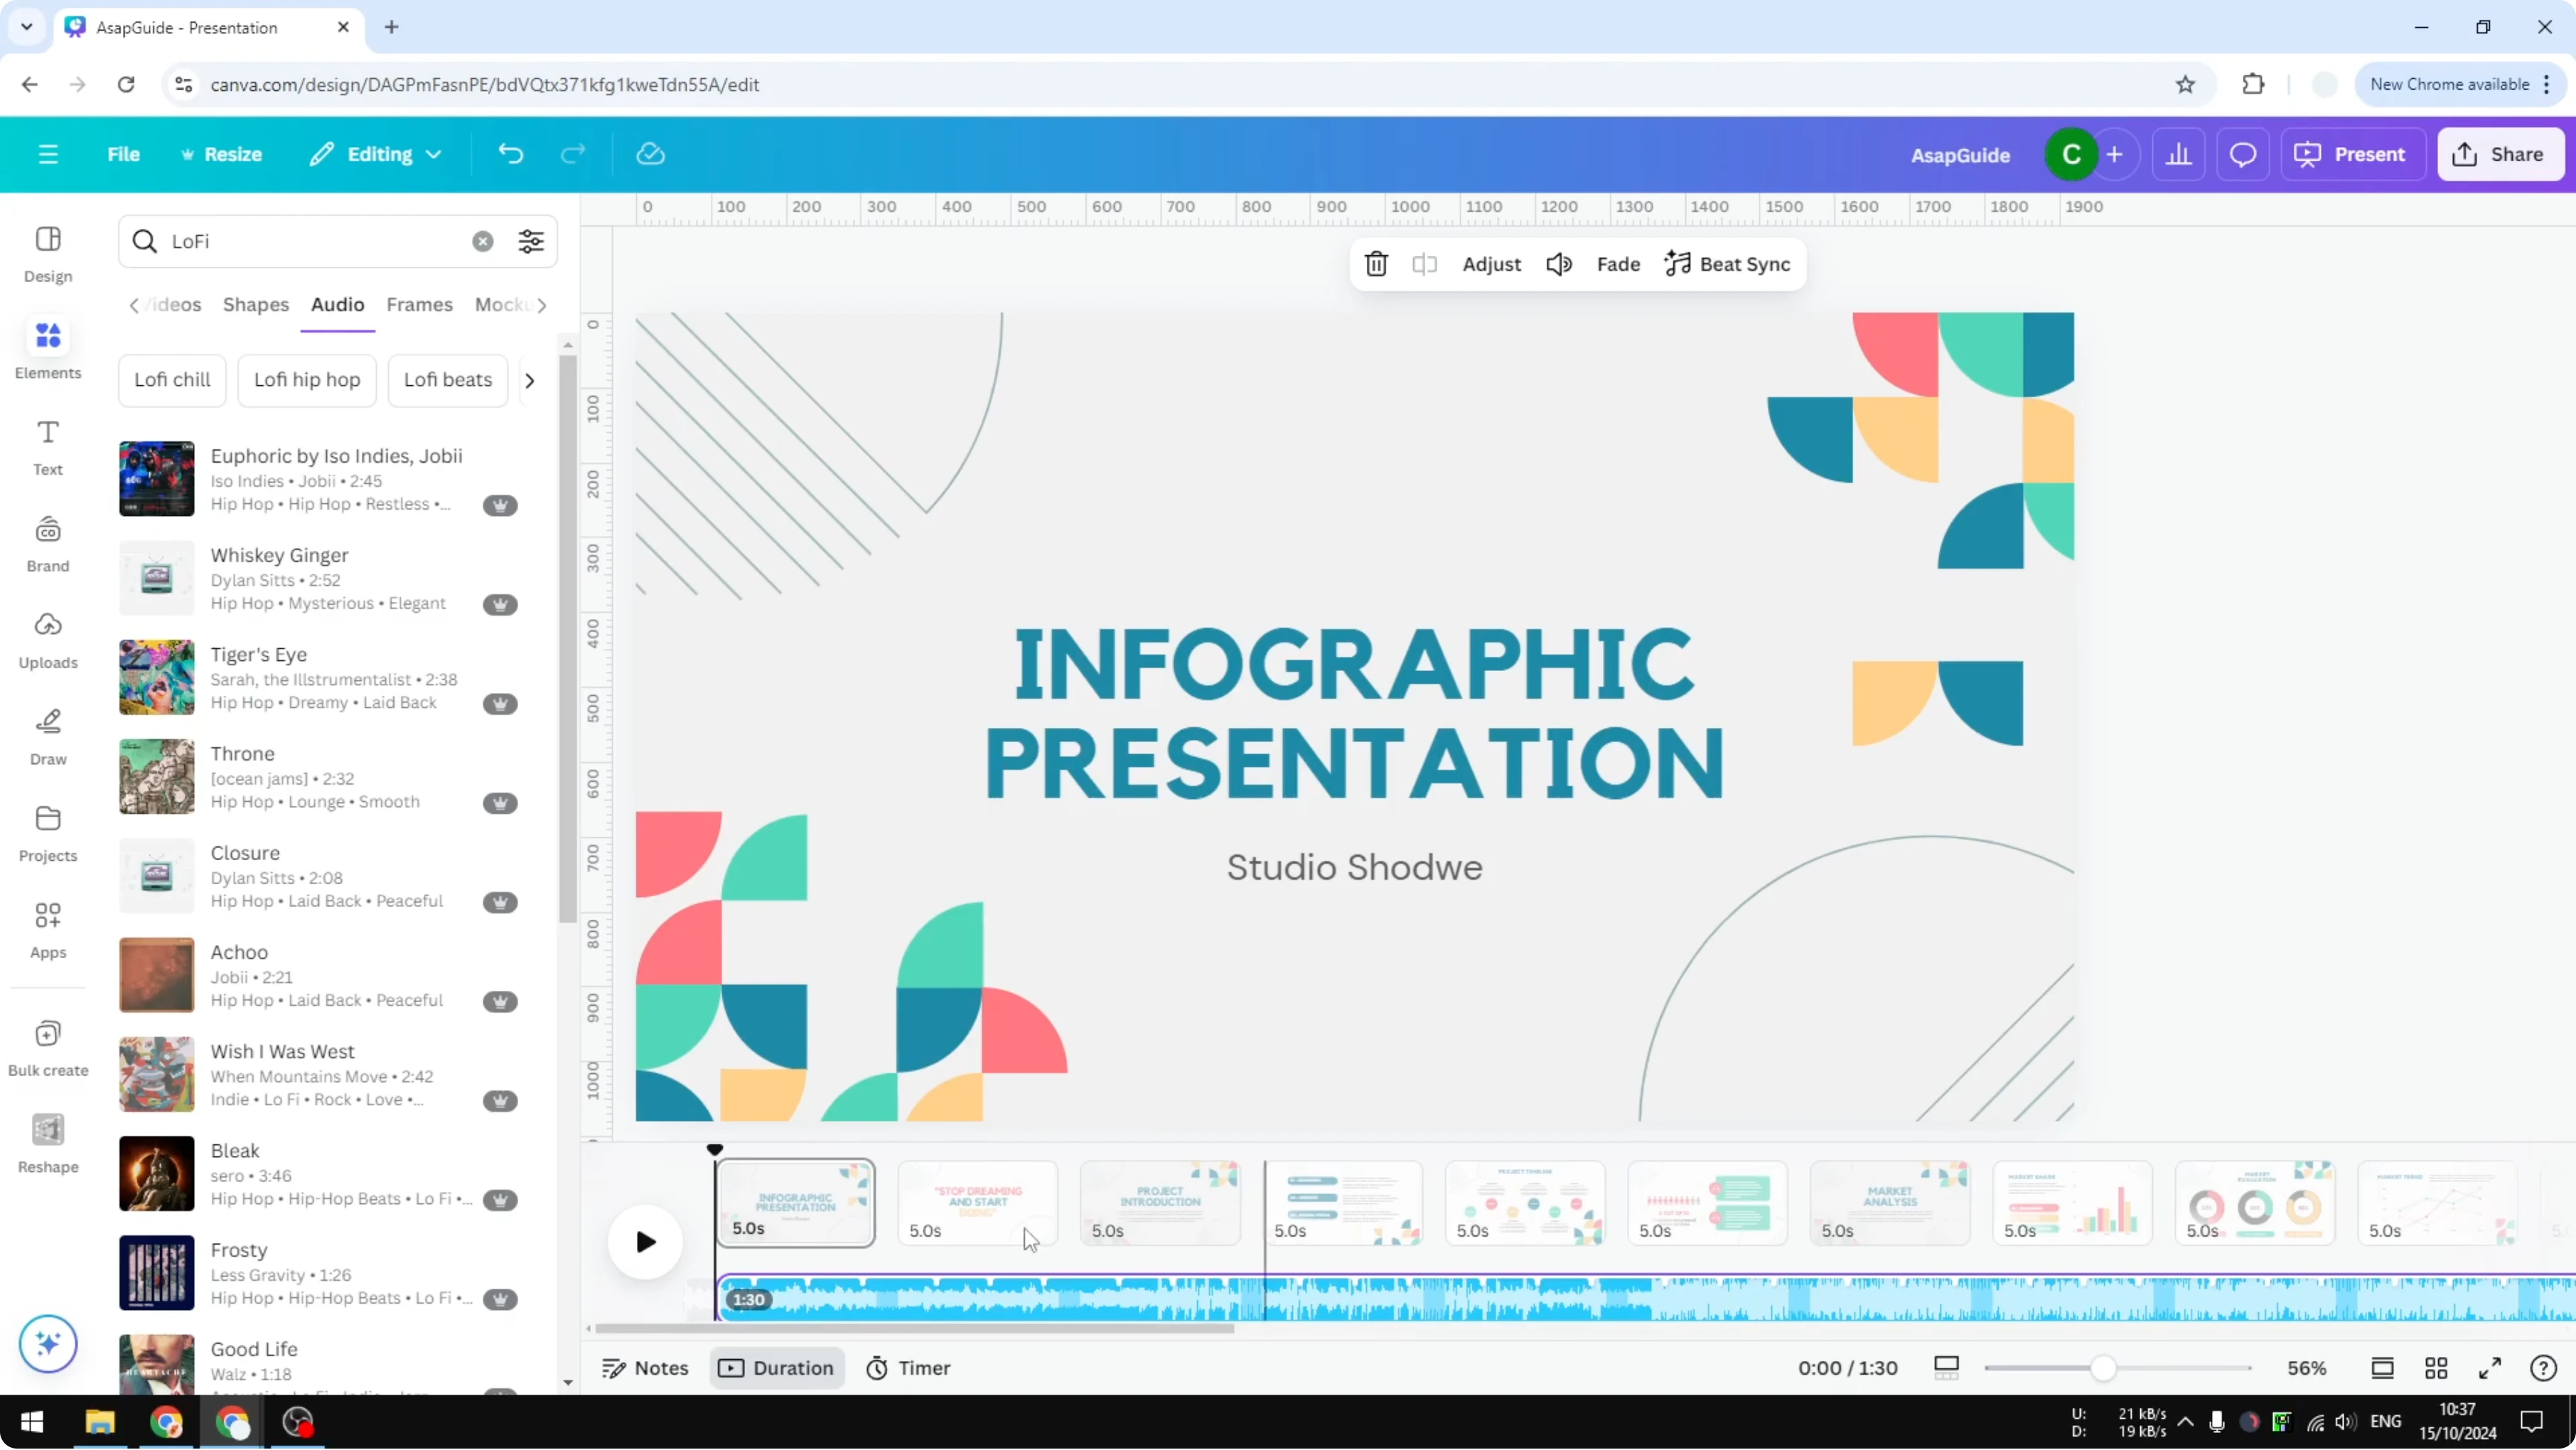
Add background music in Use Canva Video Timeline
Audio is an important element in a video. I add background music by visiting the Elements section and searching for music, then navigating to the Audio section and selecting a track. Drag it to the timeline to add it to your project.

Click Play to preview the music with your pages. This gives you a quick feel for pacing and volume. You can change tracks at any time.
Trim and split audio in Use Canva Video Timeline
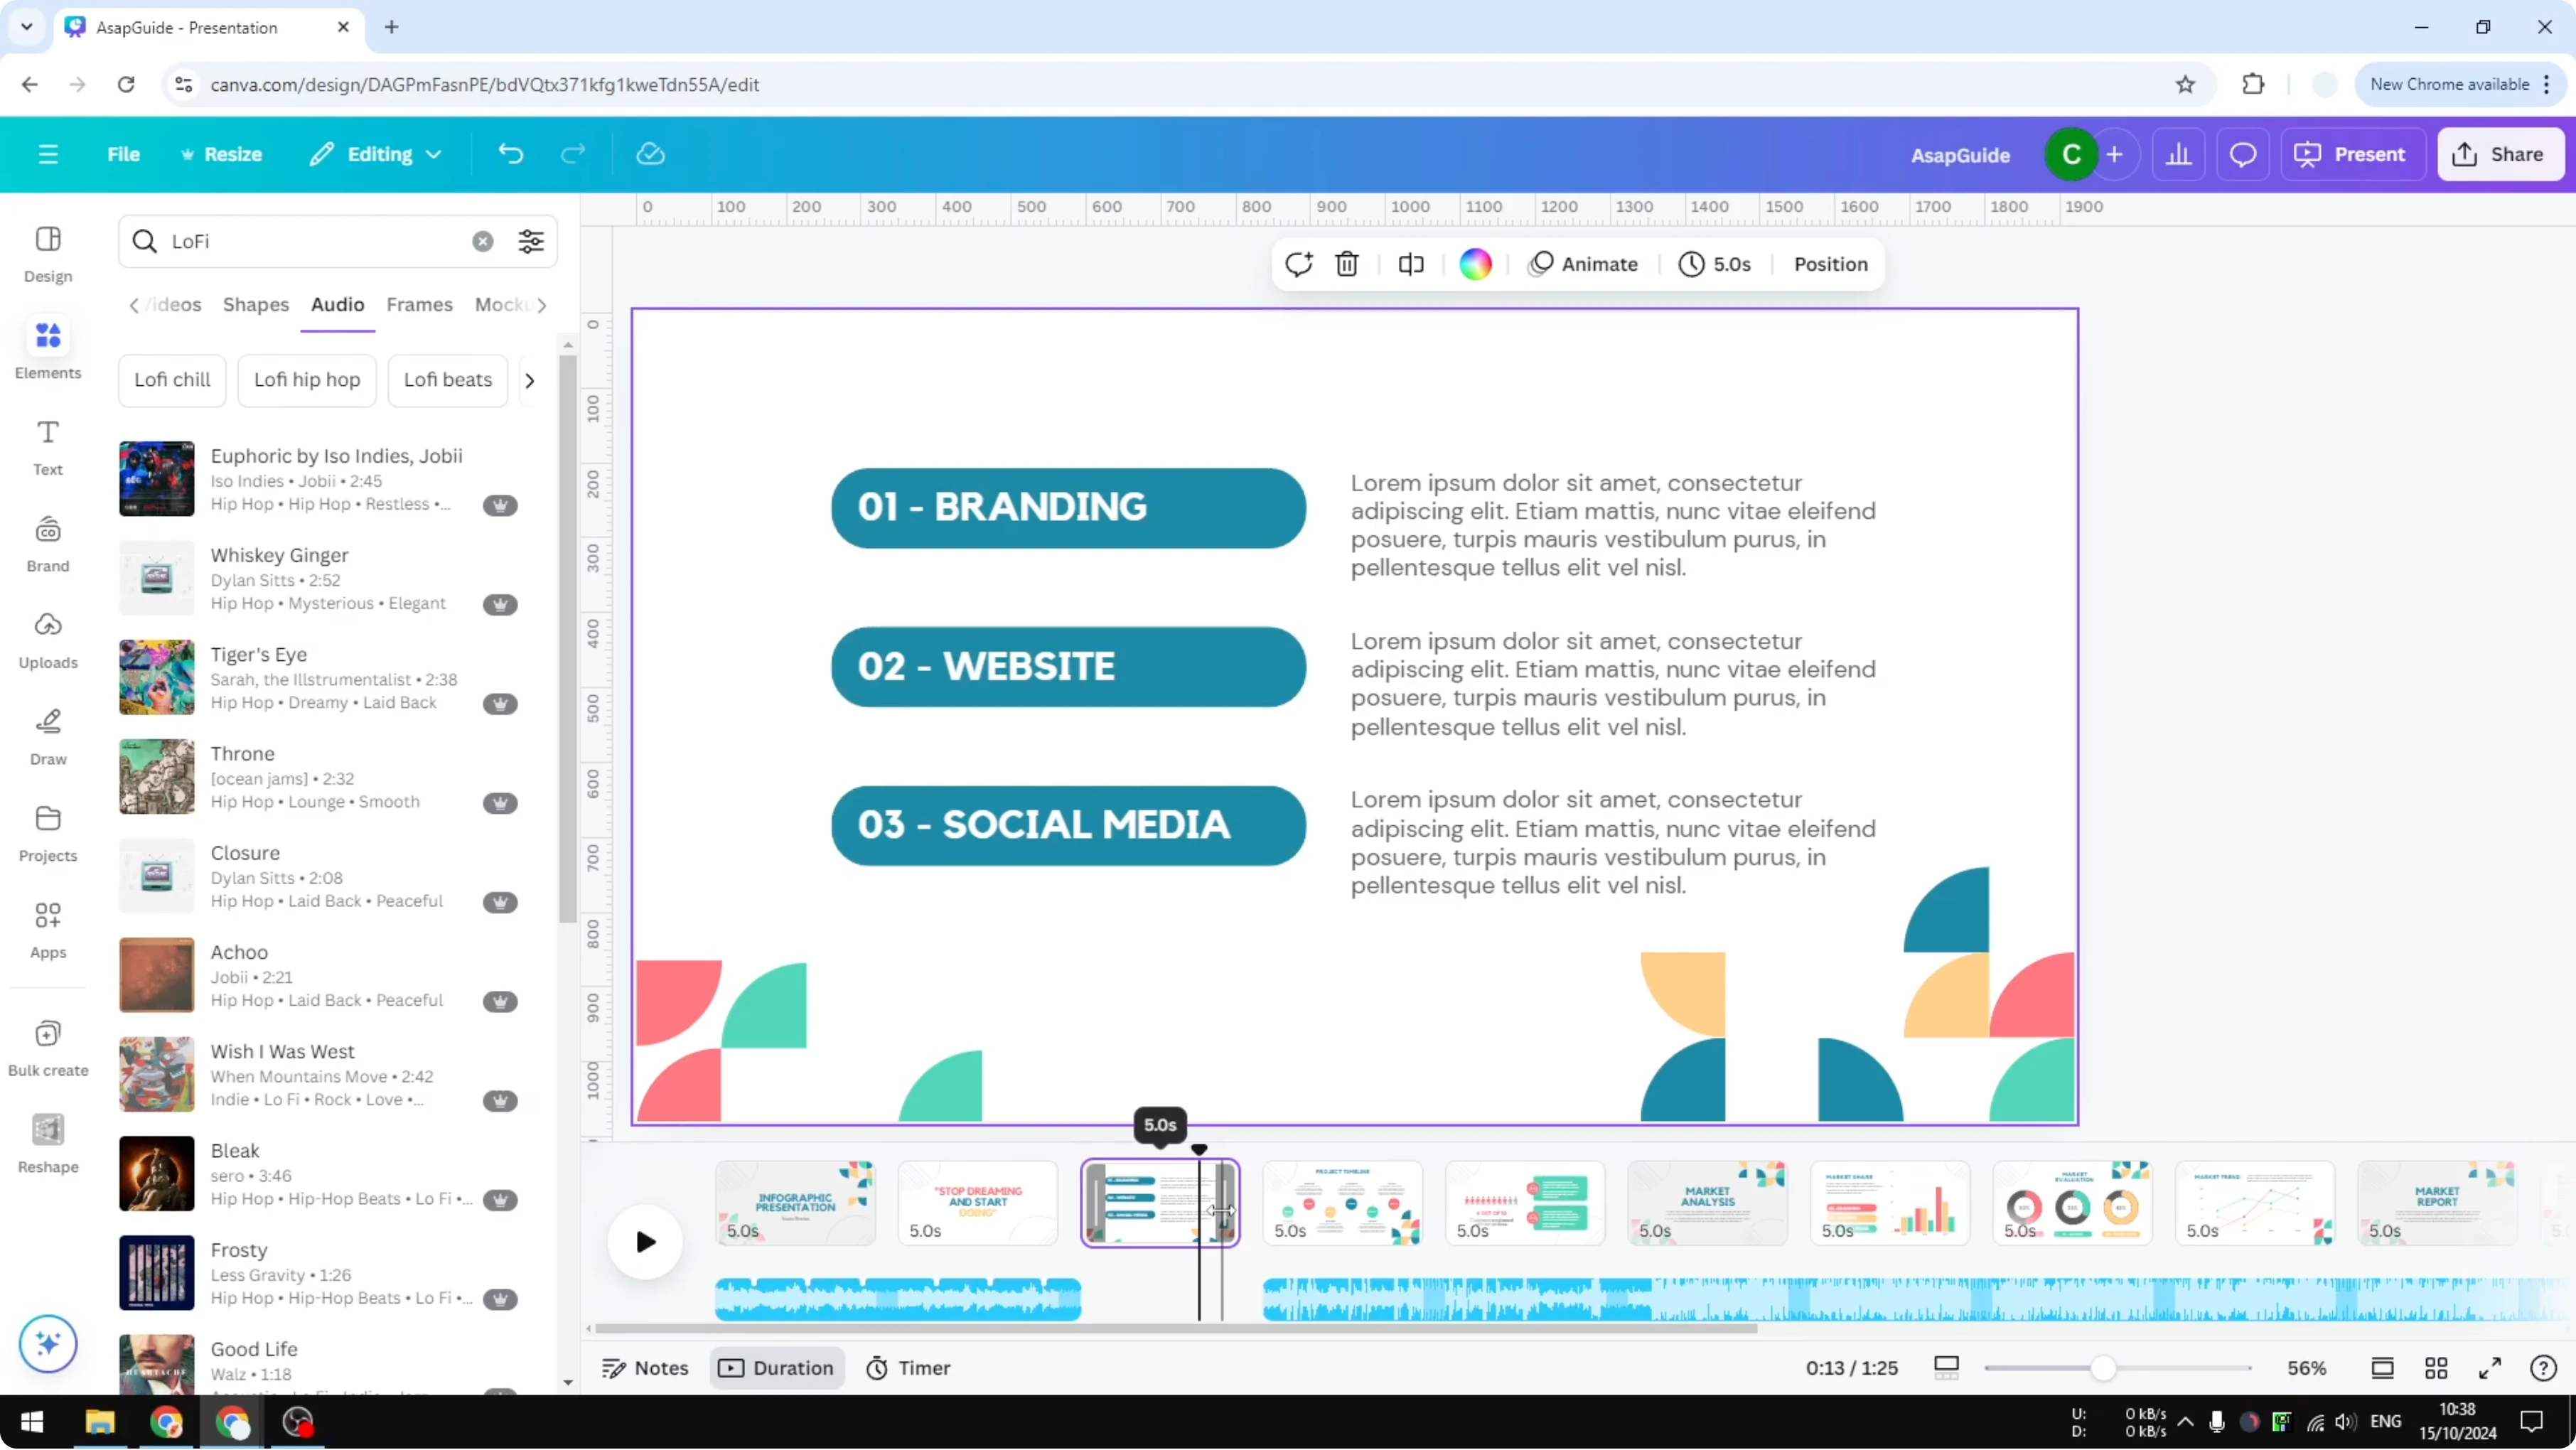
Place the playhead where you want to cut the audio.
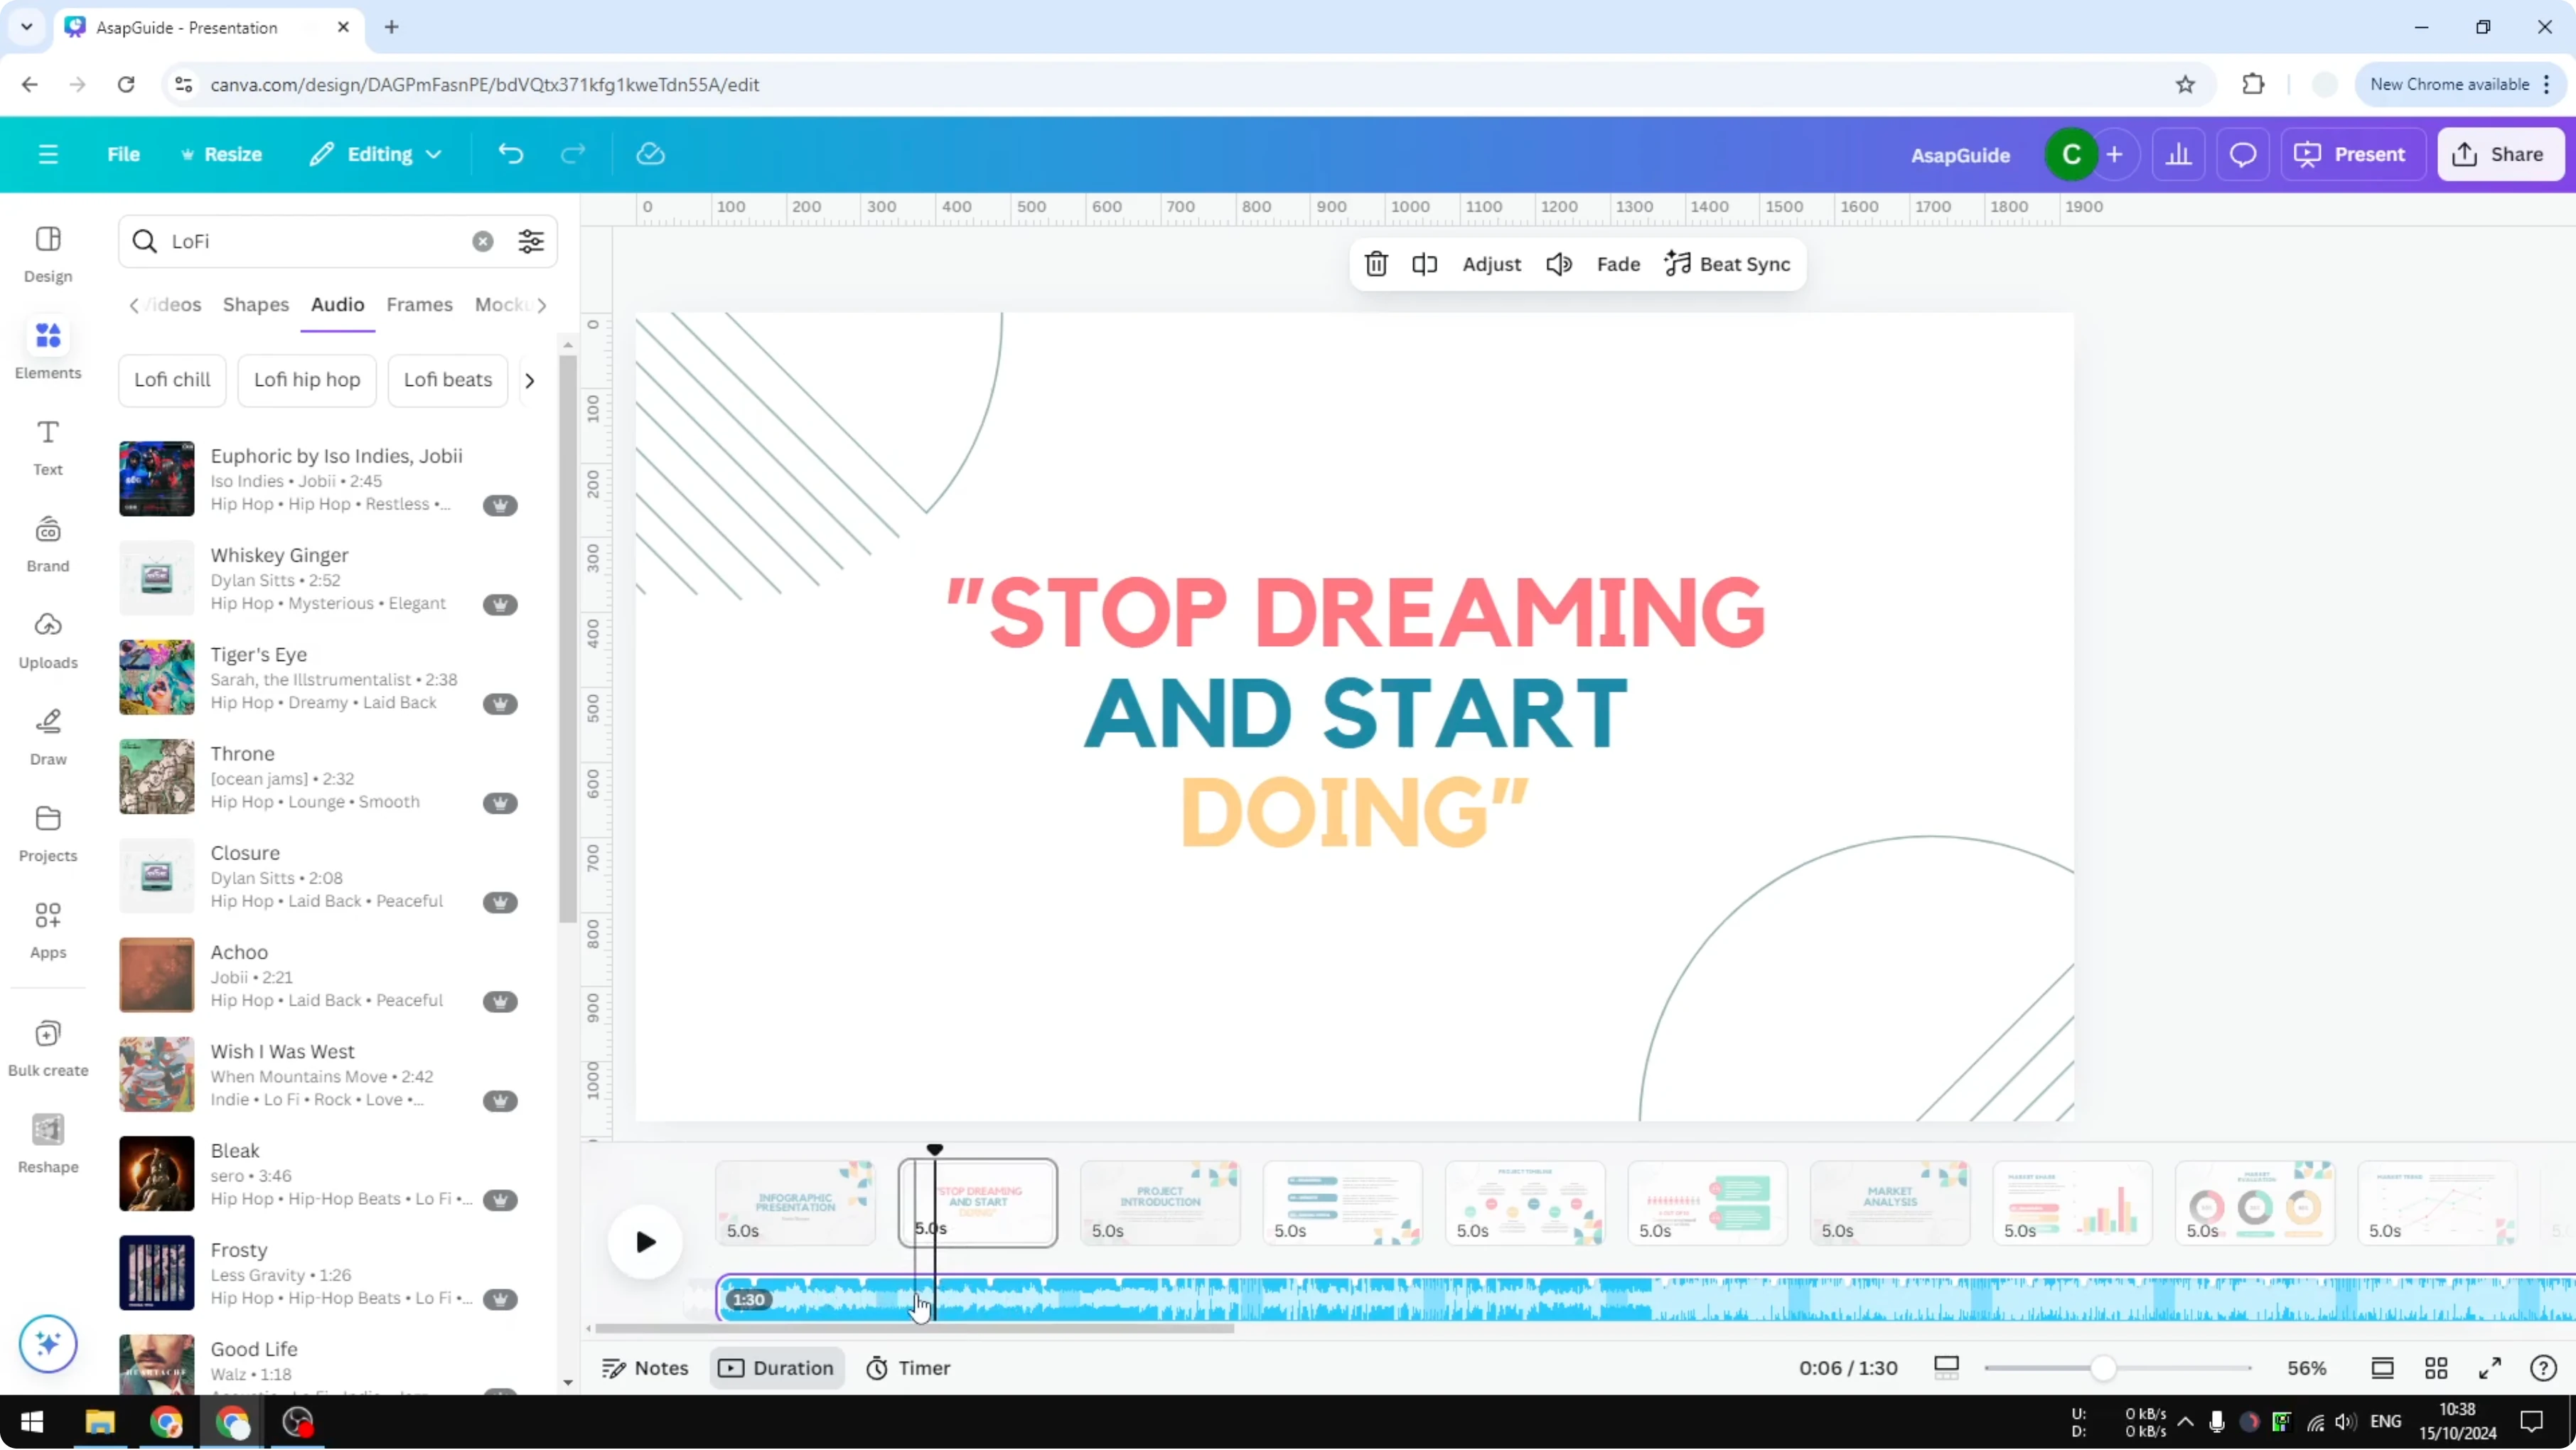
Right click and choose Split audio.

Repeat to isolate a section and delete it.
Adjust the volume to balance with visuals. Add a fade to smooth the start or end of the track. You can also delete the entire track if you want to start over.
Manage pages and duration in Use Canva Video Timeline
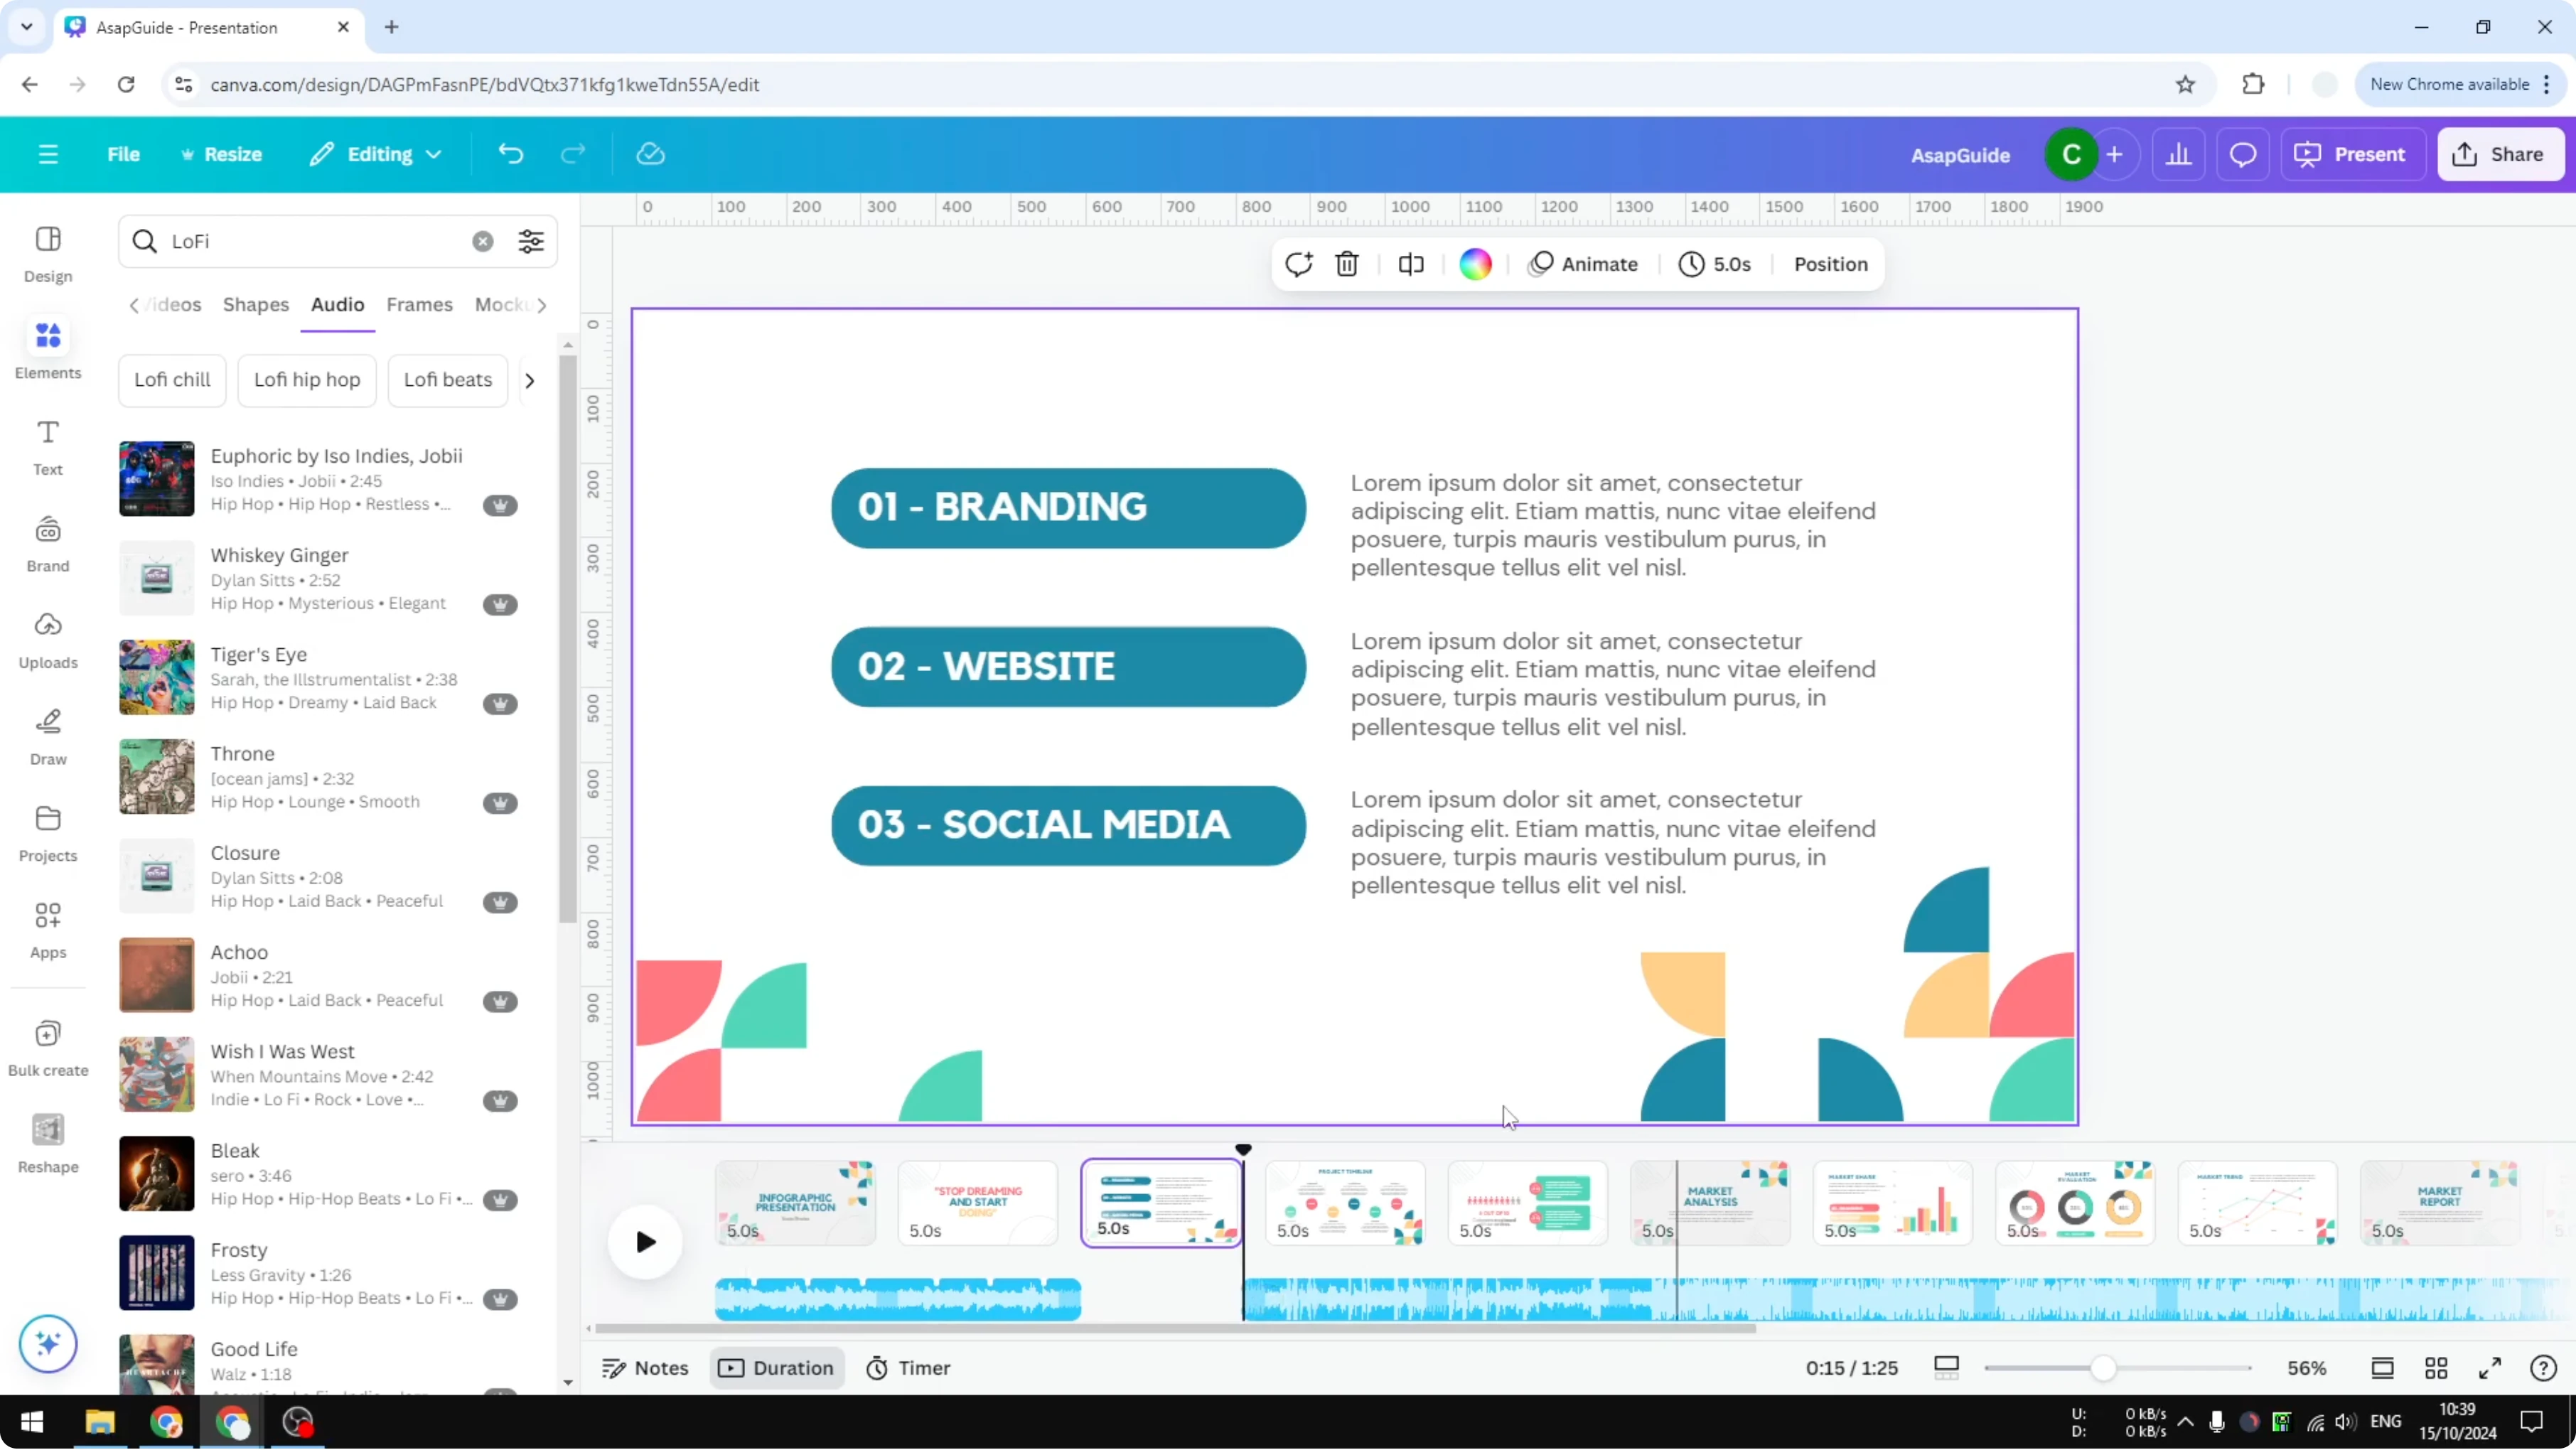
You can delete a segment or page by right clicking it and choosing Delete page. This removes the selected page from the timeline. Use this to clean up extra slides or duplicate clips.
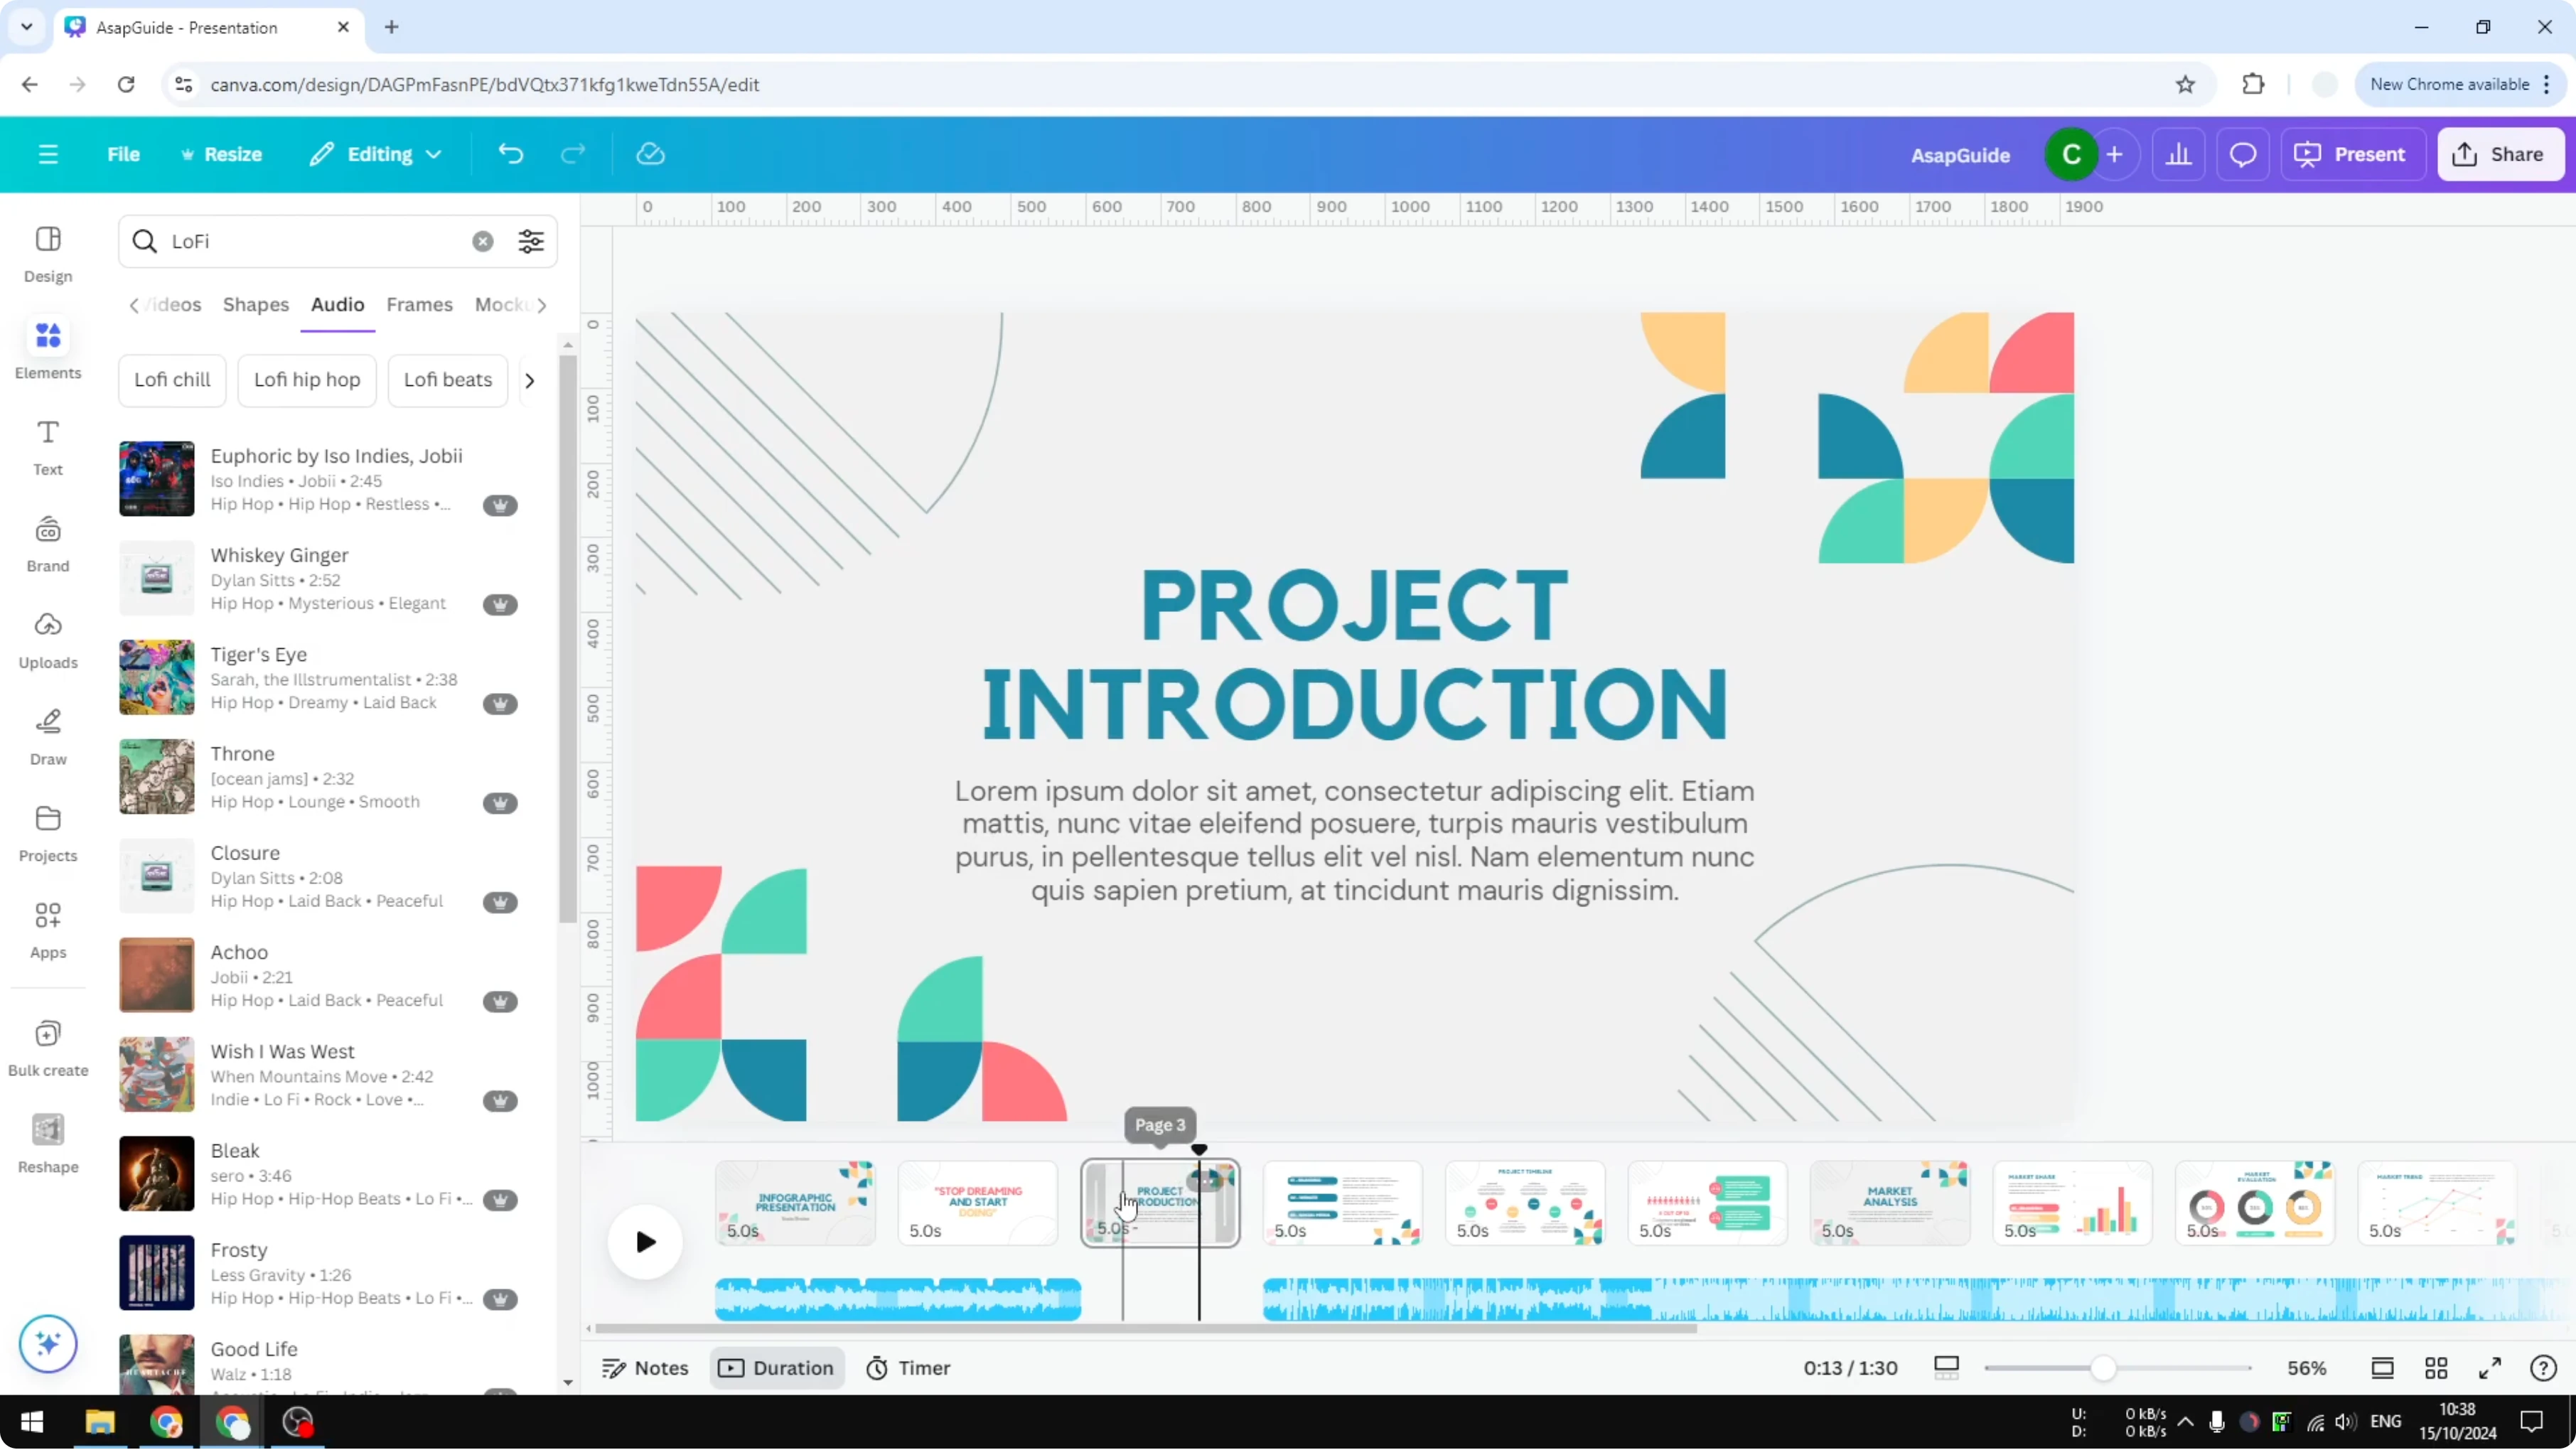
To make a page longer or shorter, hover at the edge of the page in the timeline. Drag left or right to set the duration you want. The default is 5 seconds, but you can extend or reduce it.
Read More: Add Filter Video Canva
Preview and export from Use Canva Video Timeline
When you are done, preview the full creation to confirm timing and audio cuts. Share the document or export it as an MP4 file. This gives you a ready to share video.
If you want a brand mark on the final video, see how to add a watermark to your Canva video.
Final thoughts
The video timeline lets you see page durations, add and manage audio, and adjust timing in a few clicks. Use the split tool for precise audio edits, and drag page edges to fine tune durations. Preview often, then export to MP4 when you are happy with the result.
Recent Posts
How to Visualize Yourself as a Pixelized Character with AI?
How to Visualize Yourself as a Pixelized Character with AI?

How to Revive Faded Memories and Enhance Image Clarity with AI?
How to Revive Faded Memories and Enhance Image Clarity with AI?

How to Visualize Yourself as an Animal Crossing Character with AI?
How to Visualize Yourself as an Animal Crossing Character with AI?