How to Blur a Video in Canva
I’m going to show you how you can blur a video in Canva. The short answer is that Canva does not have a proper blur effect for video. There are workarounds, but they are imperfect.
Blur a Video in Canva: What You Can and Can’t Do
The general consensus is to add a shape, place it on top of the video, and blur the shape. It looks like a transparent object over the image, not a true blur applied to the video. Right now you cannot create a proper blur effect on video in Canva.
There is another solution that is not elegant at all. It makes the whole video look blurry by degrading its quality through repeated compression. If you are interested, here is how you can do it.
If you are exploring other limitations too, such as how to remove text, you will see similar caveats in Canva’s video tools.
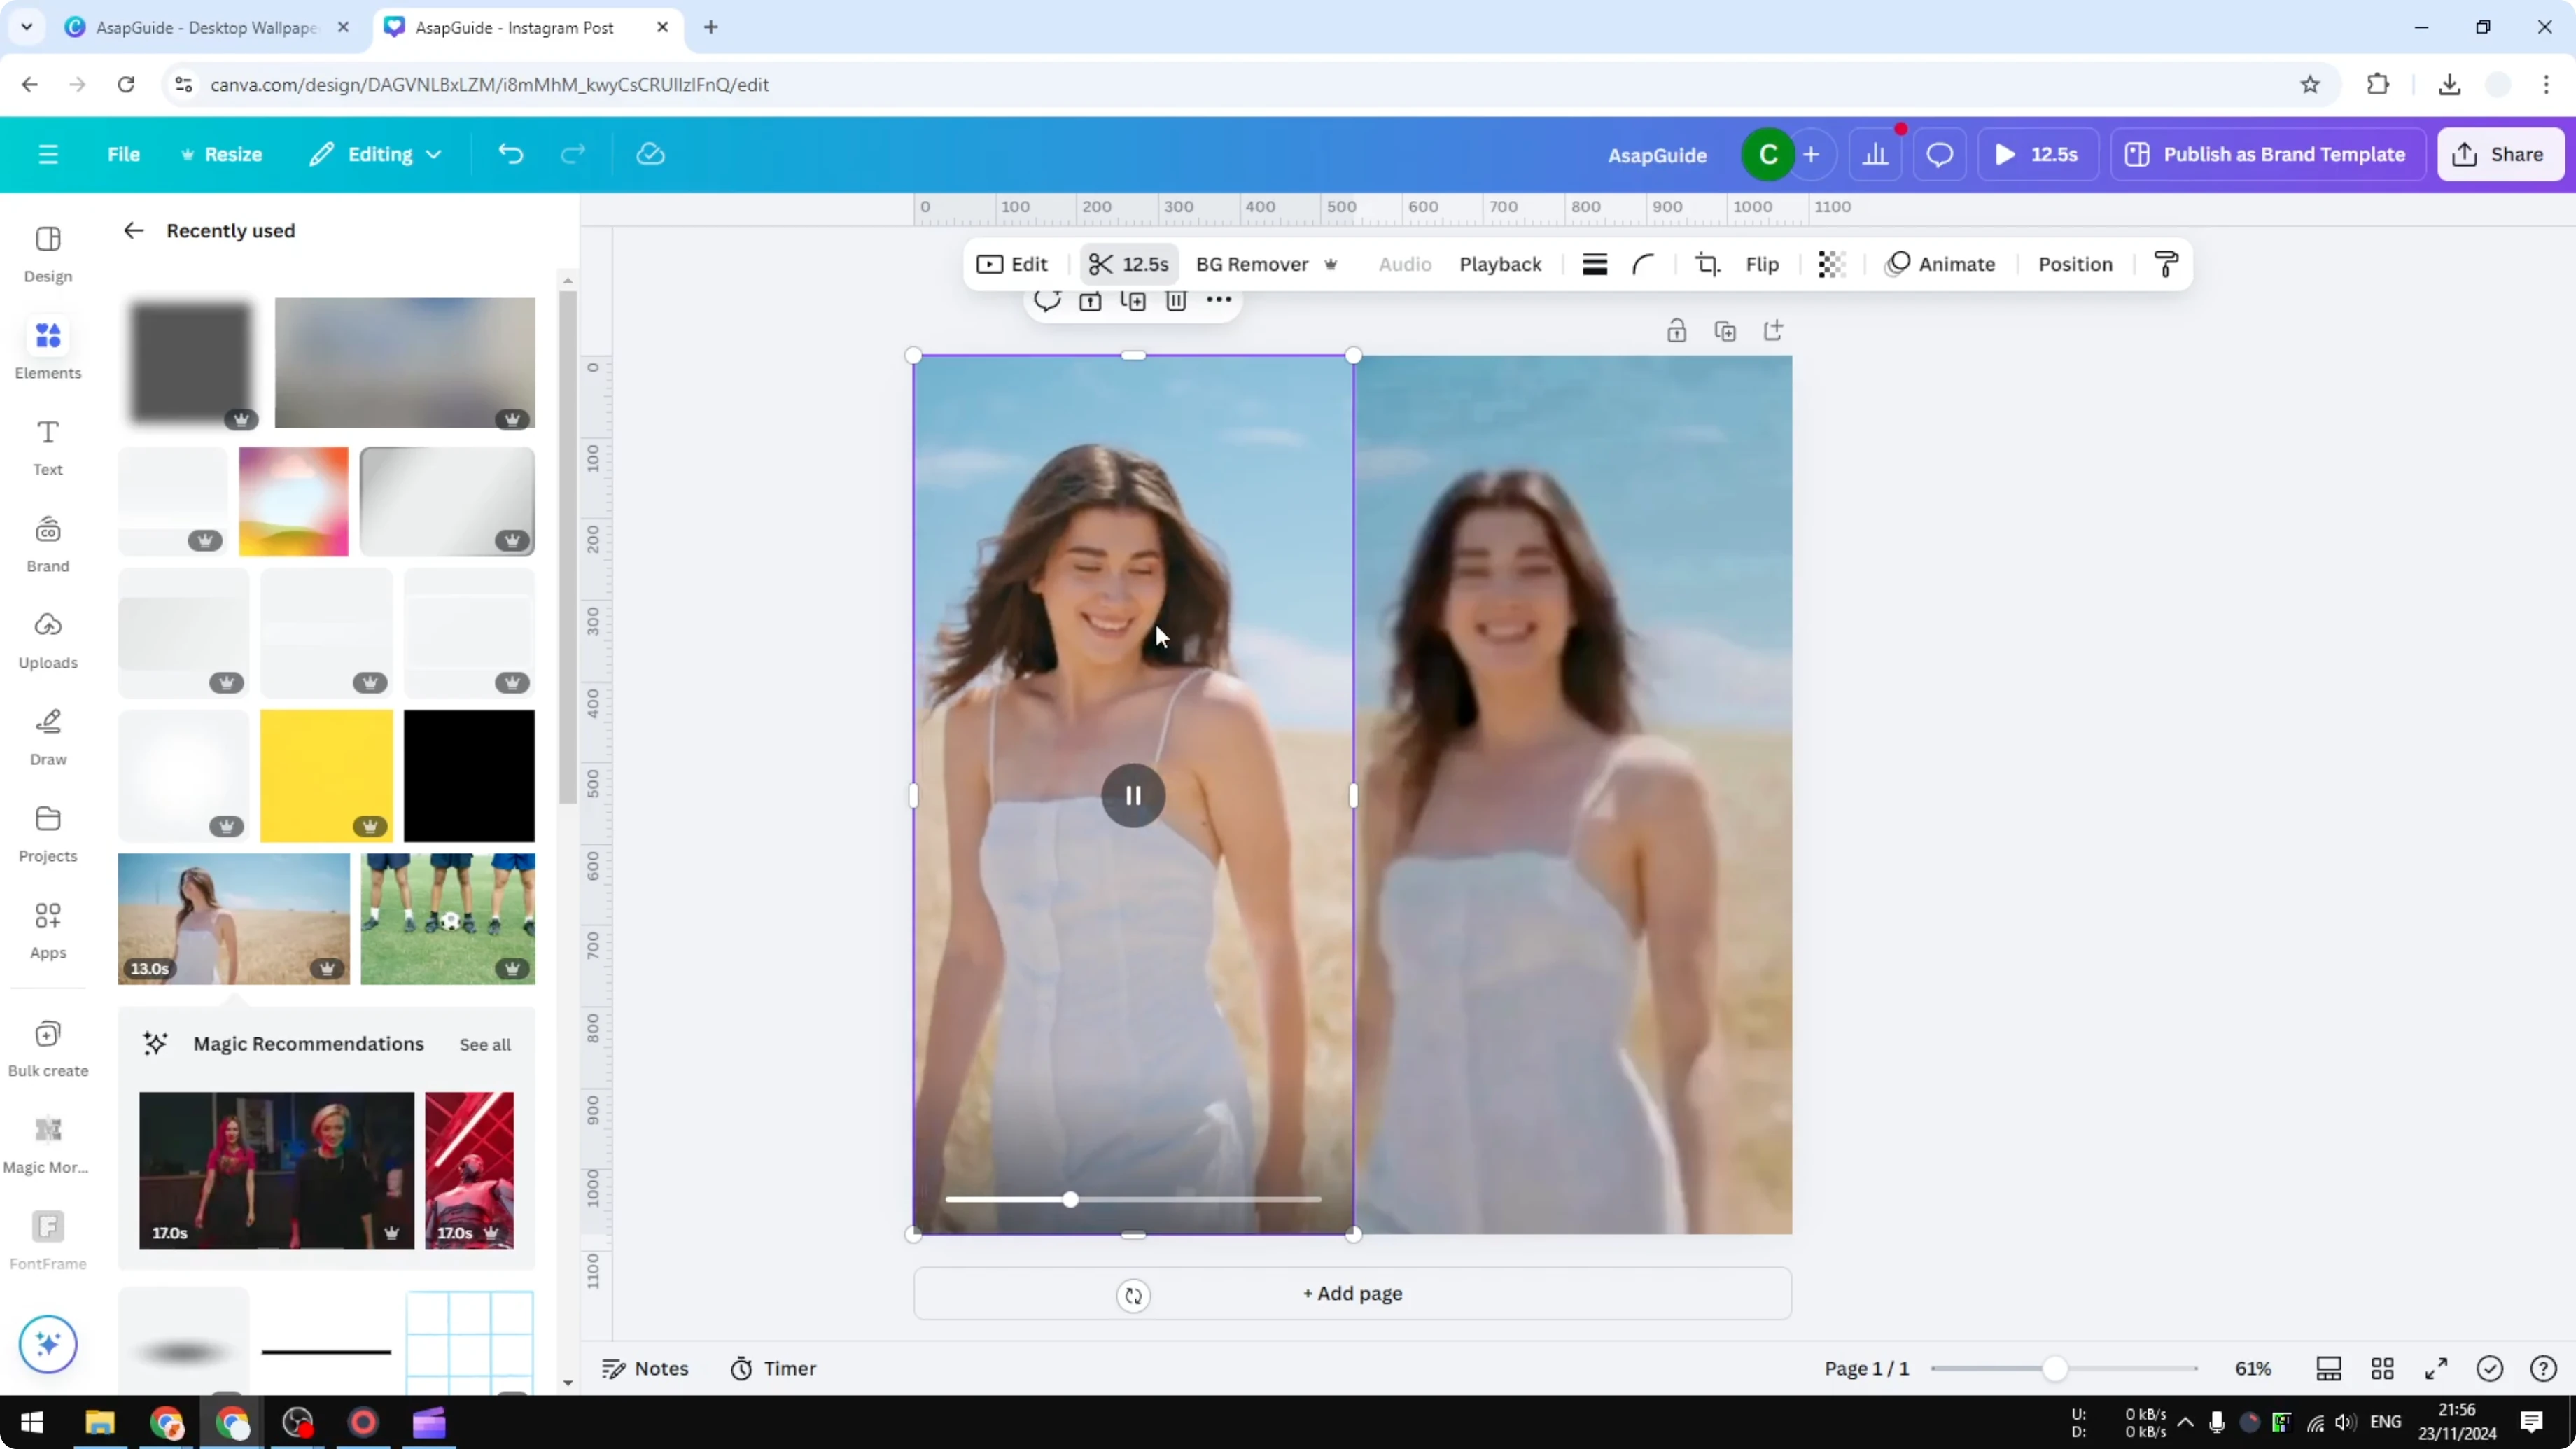
Blur a Video in Canva: Full-Frame Pixelation Method
The idea is to download the video at a much smaller dimension, upload it back to Canva, enlarge it to the original document size, and repeat. Each cycle reduces quality and makes the video look blurry or pixelated. This applies to the entire video, not a specific portion.
Steps to Blur a Video in Canva
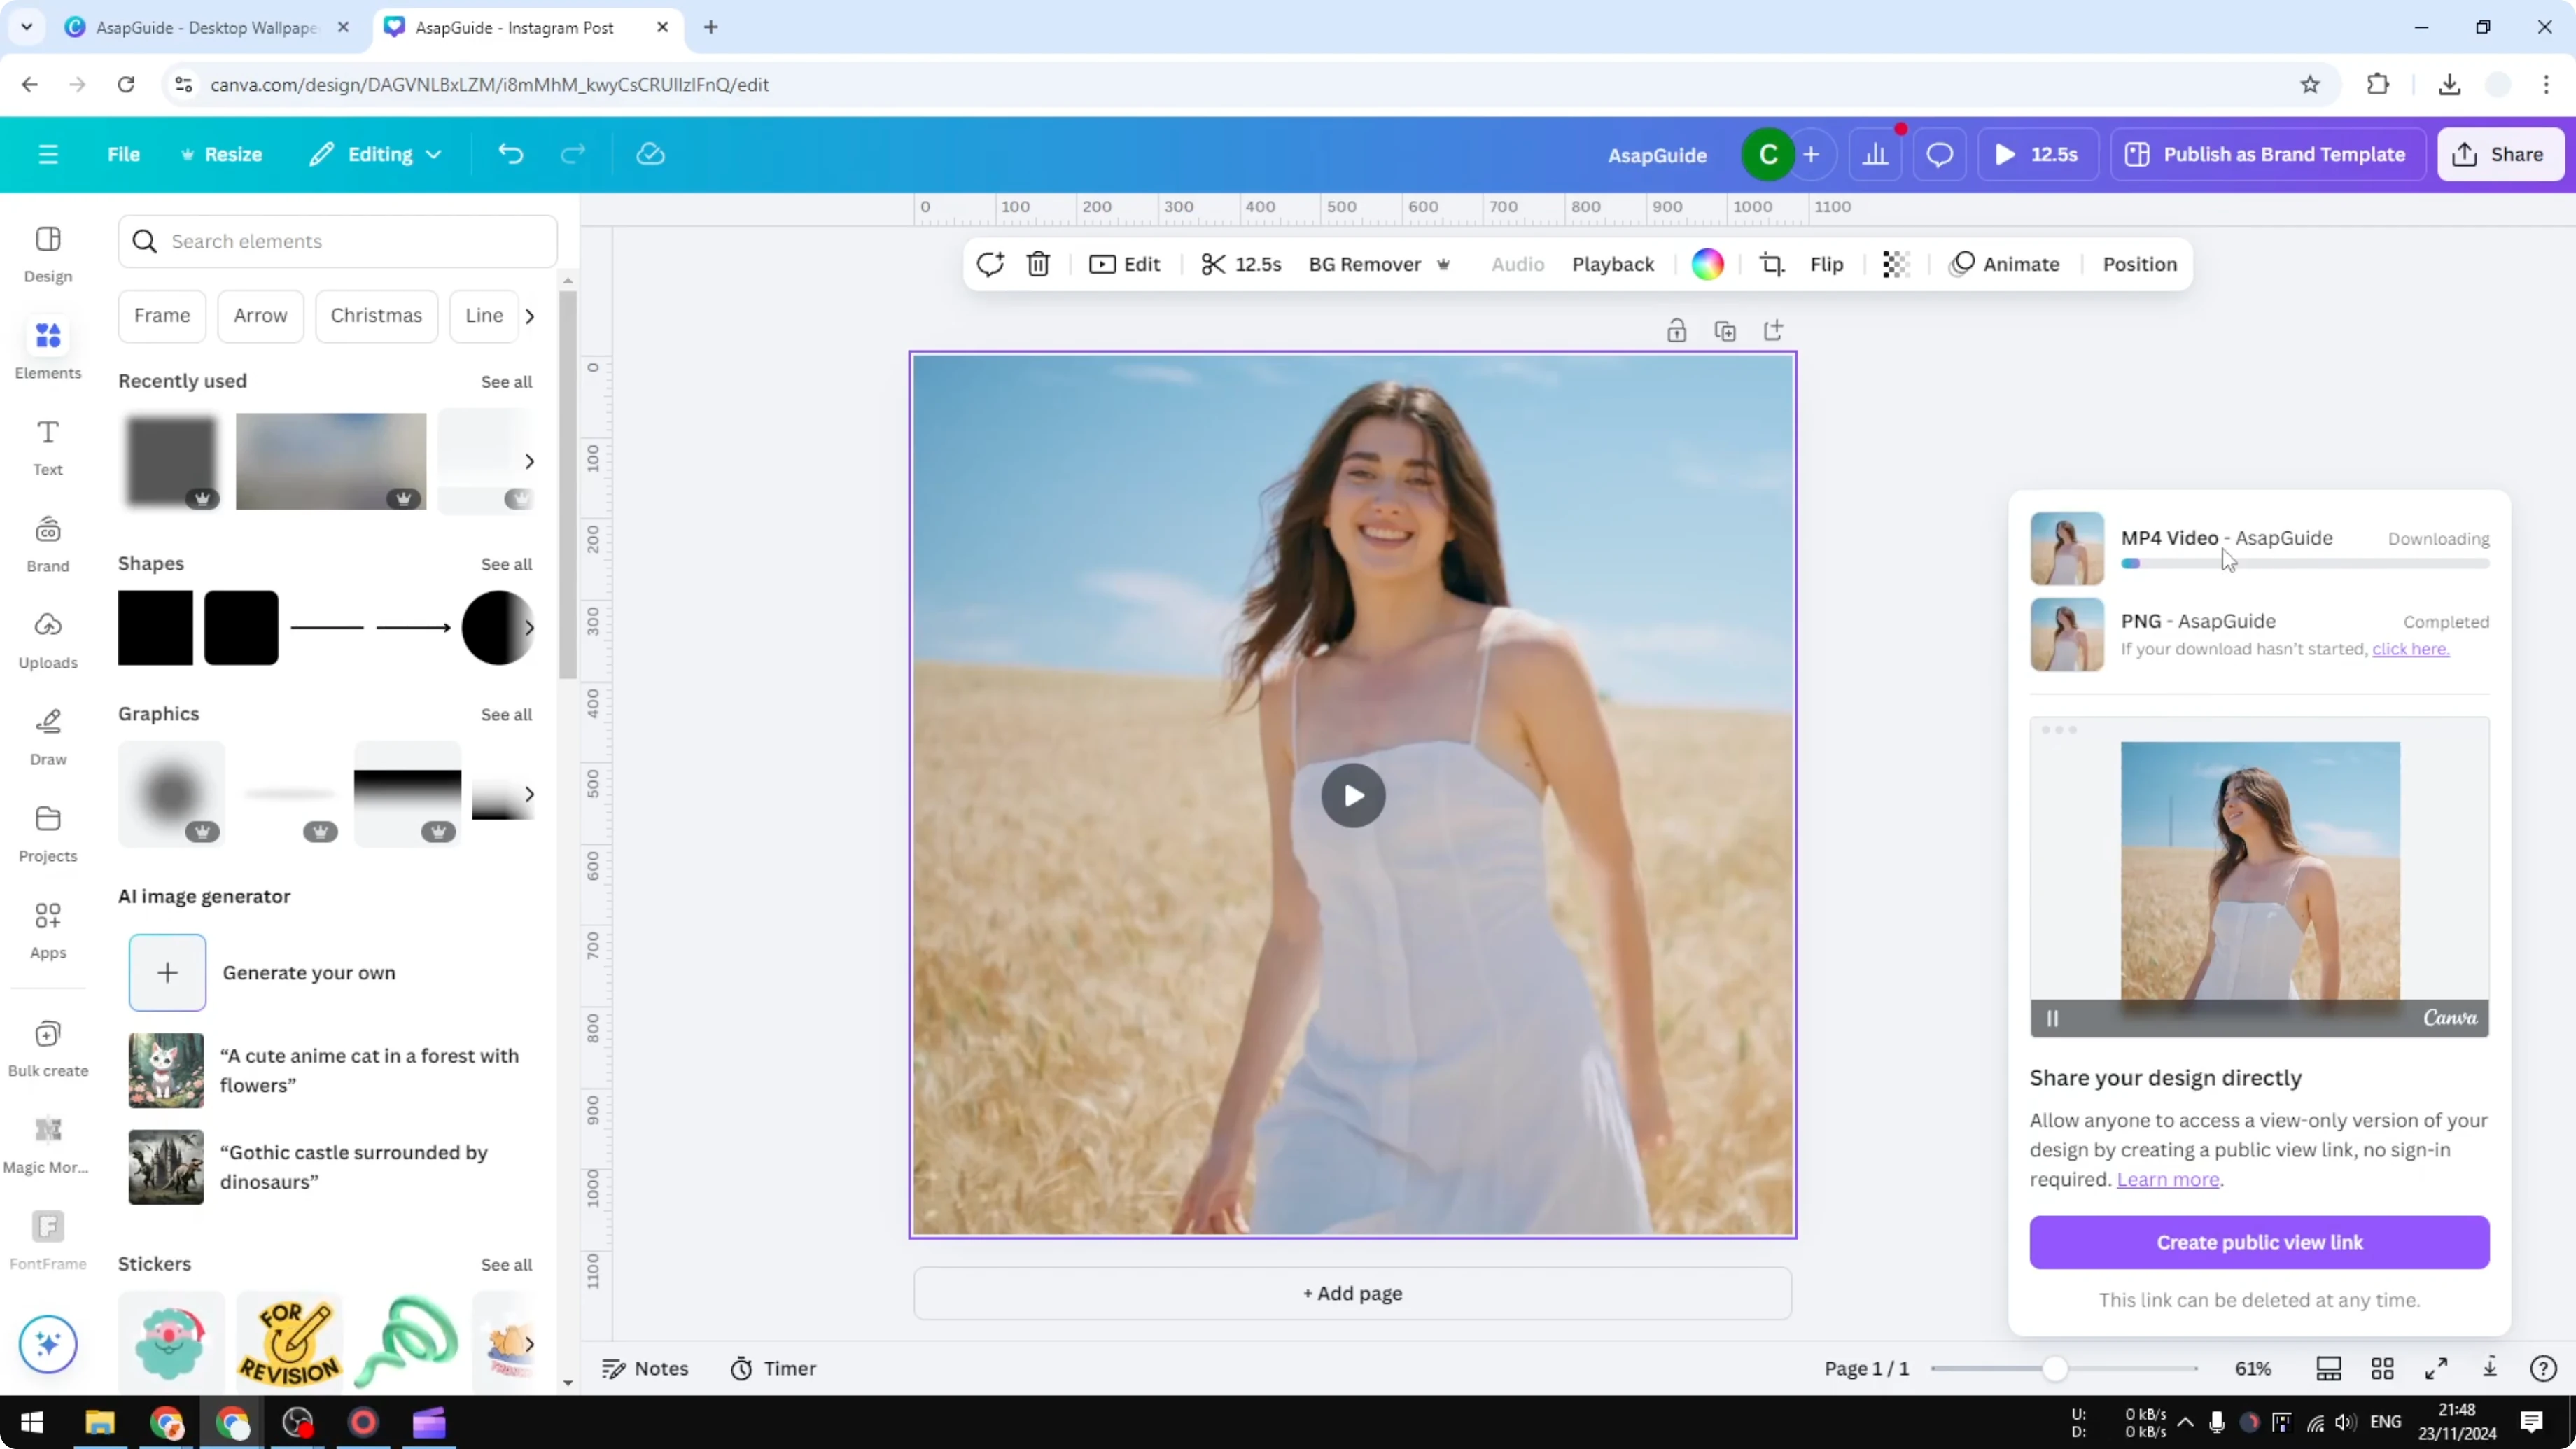
Click Share.
Click Download.
Select MP4.
Reduce the quality to minimum.
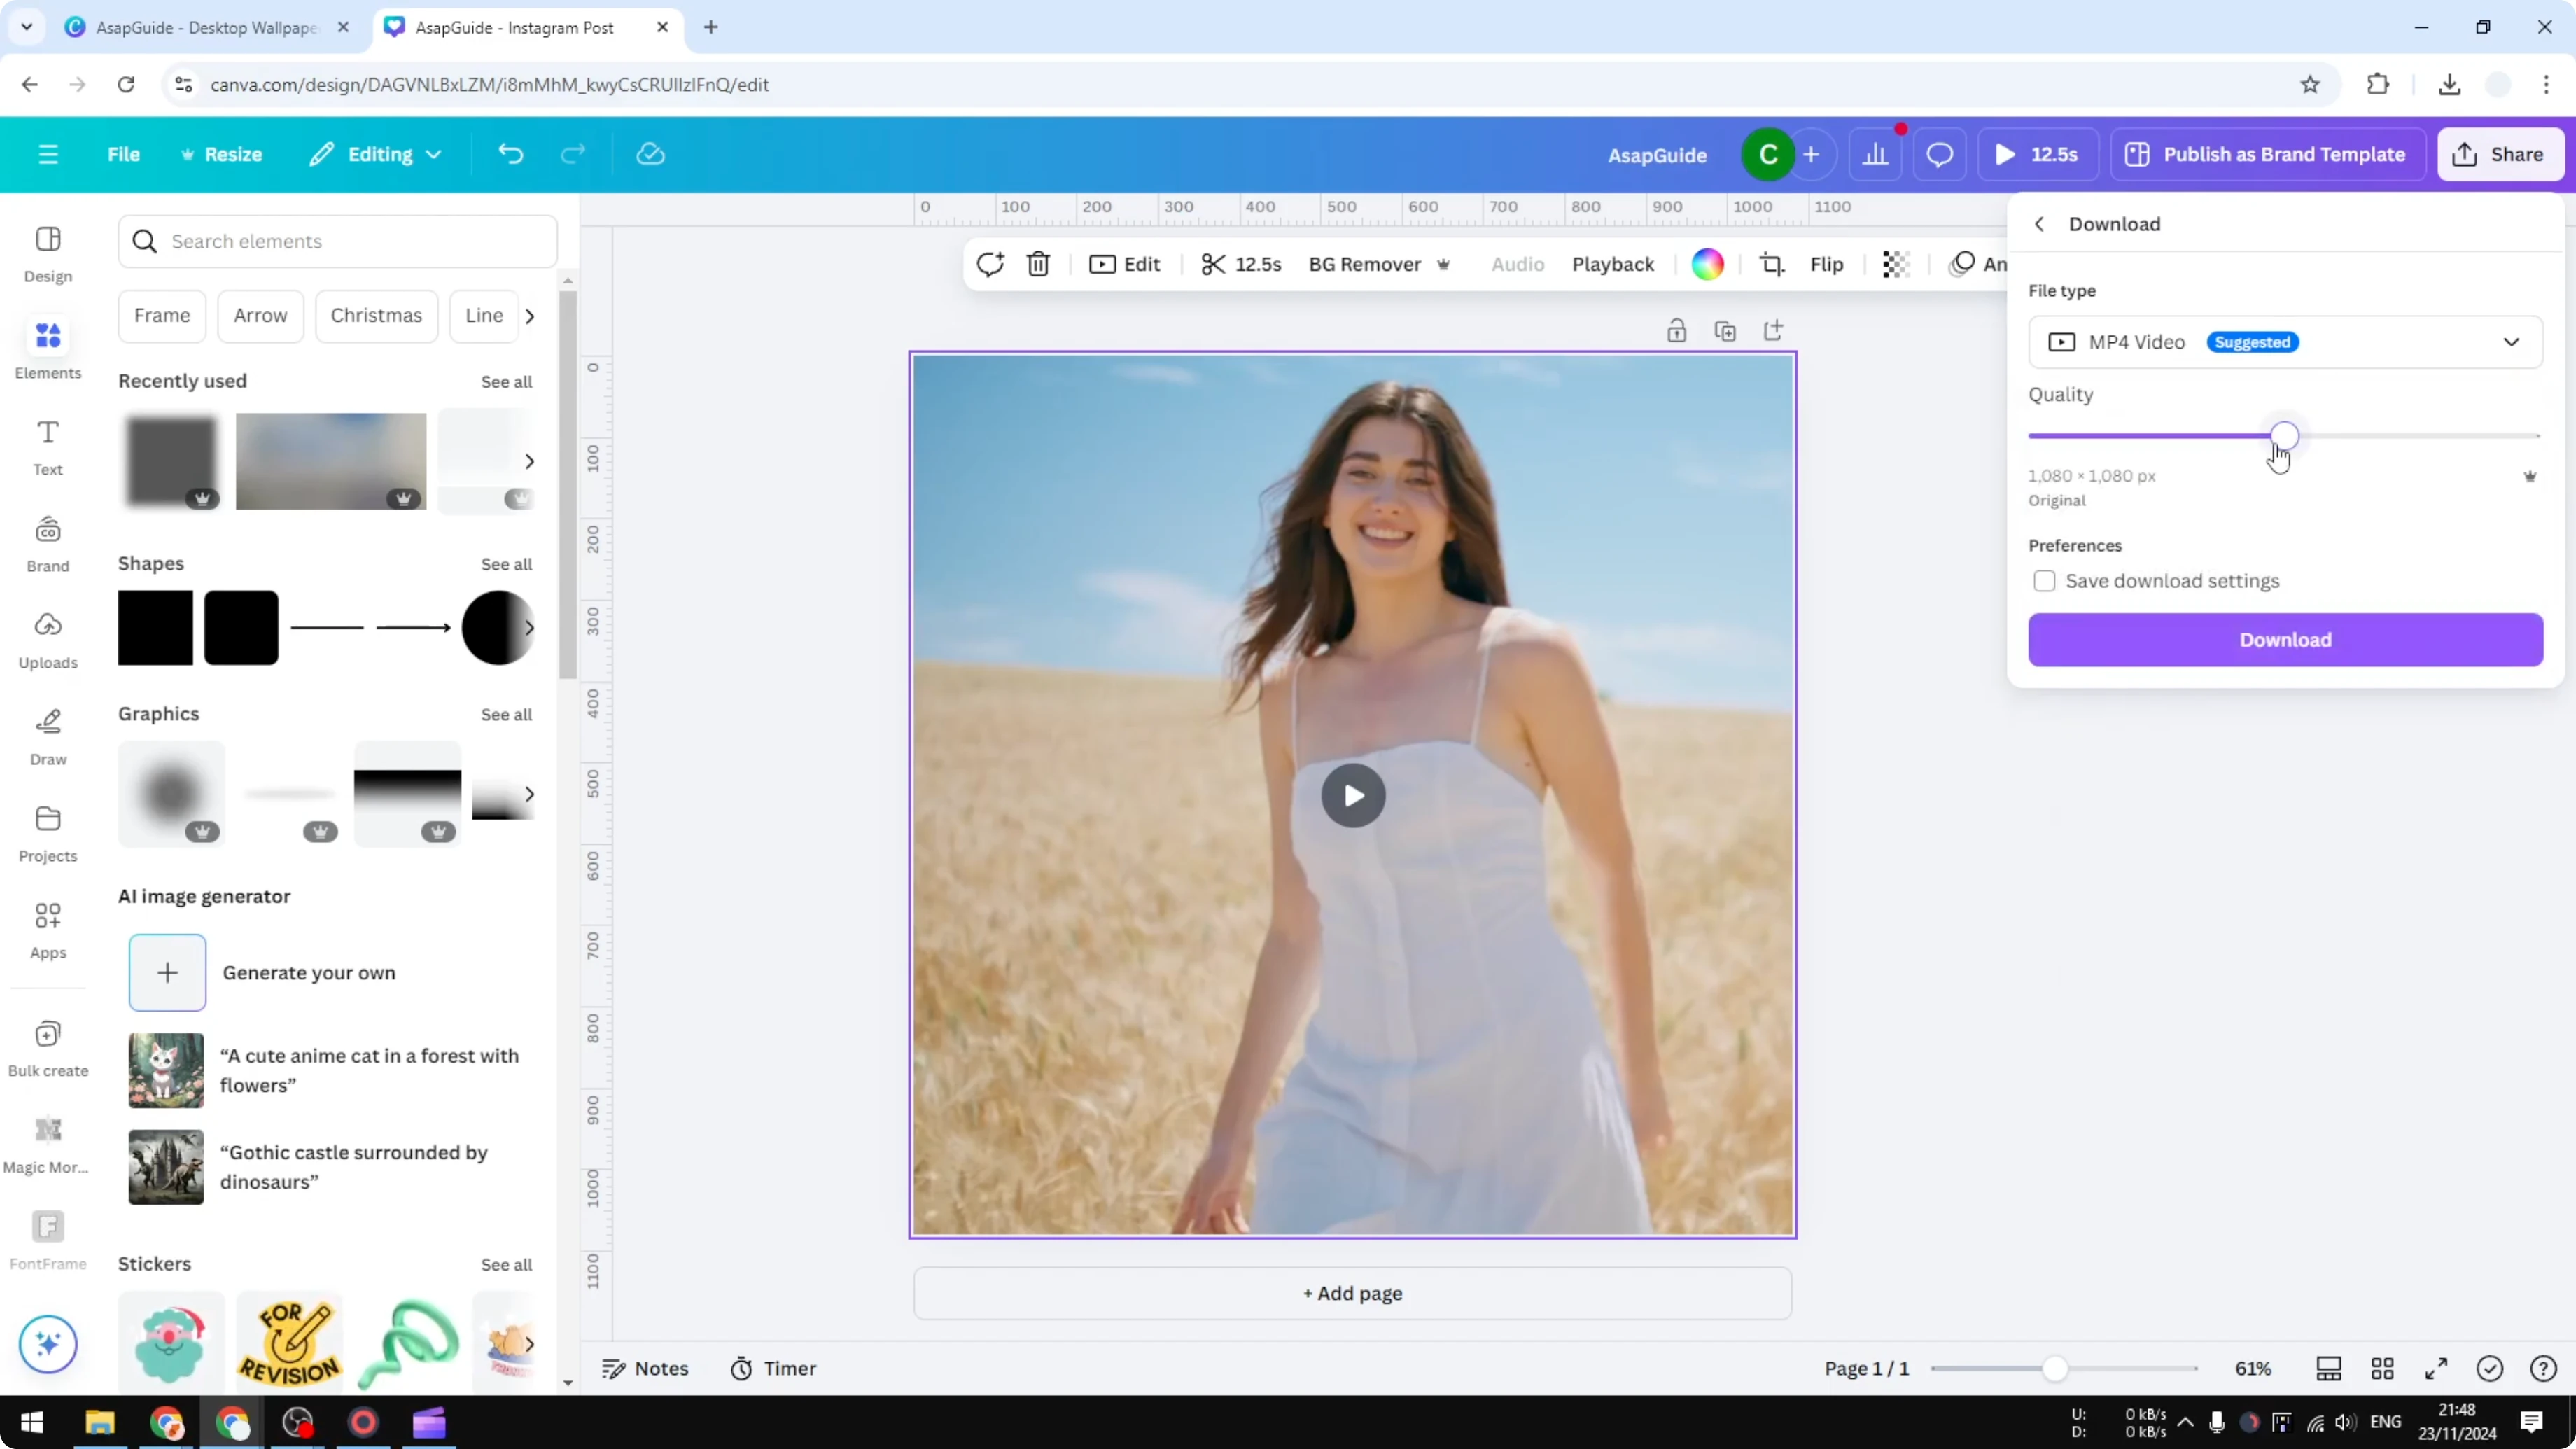
Click Download.
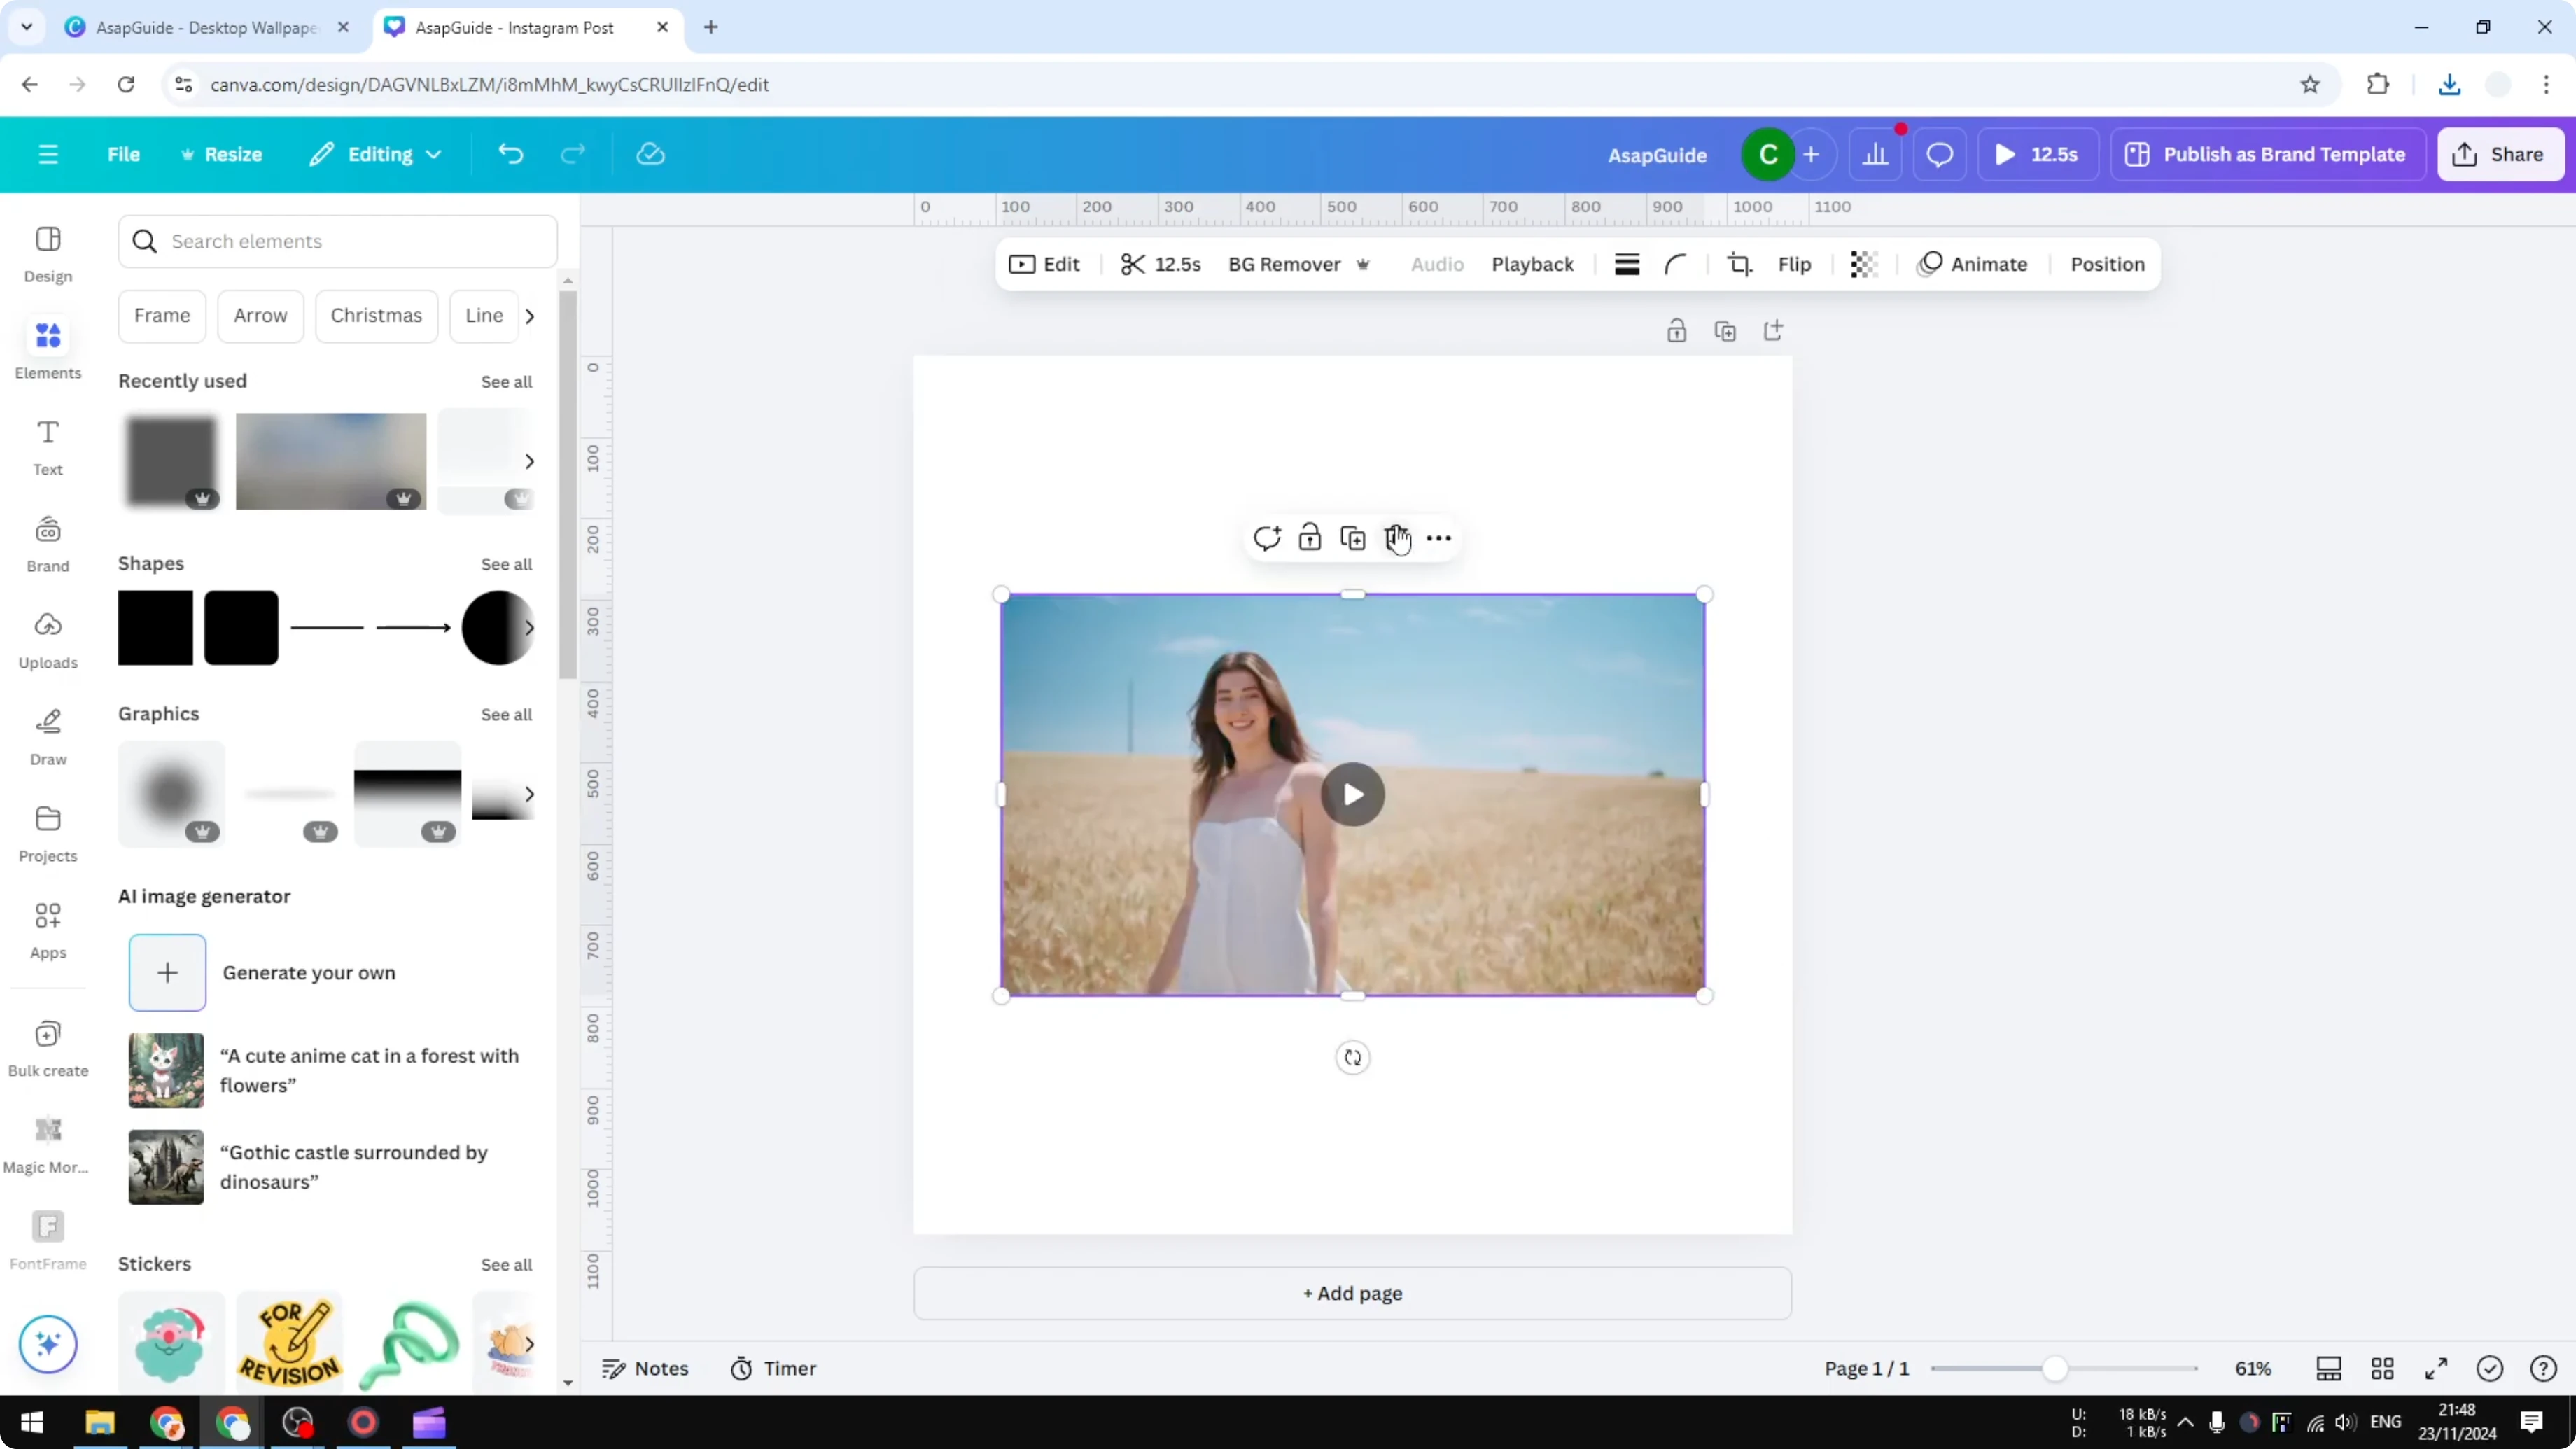
Remove the original video from your design.
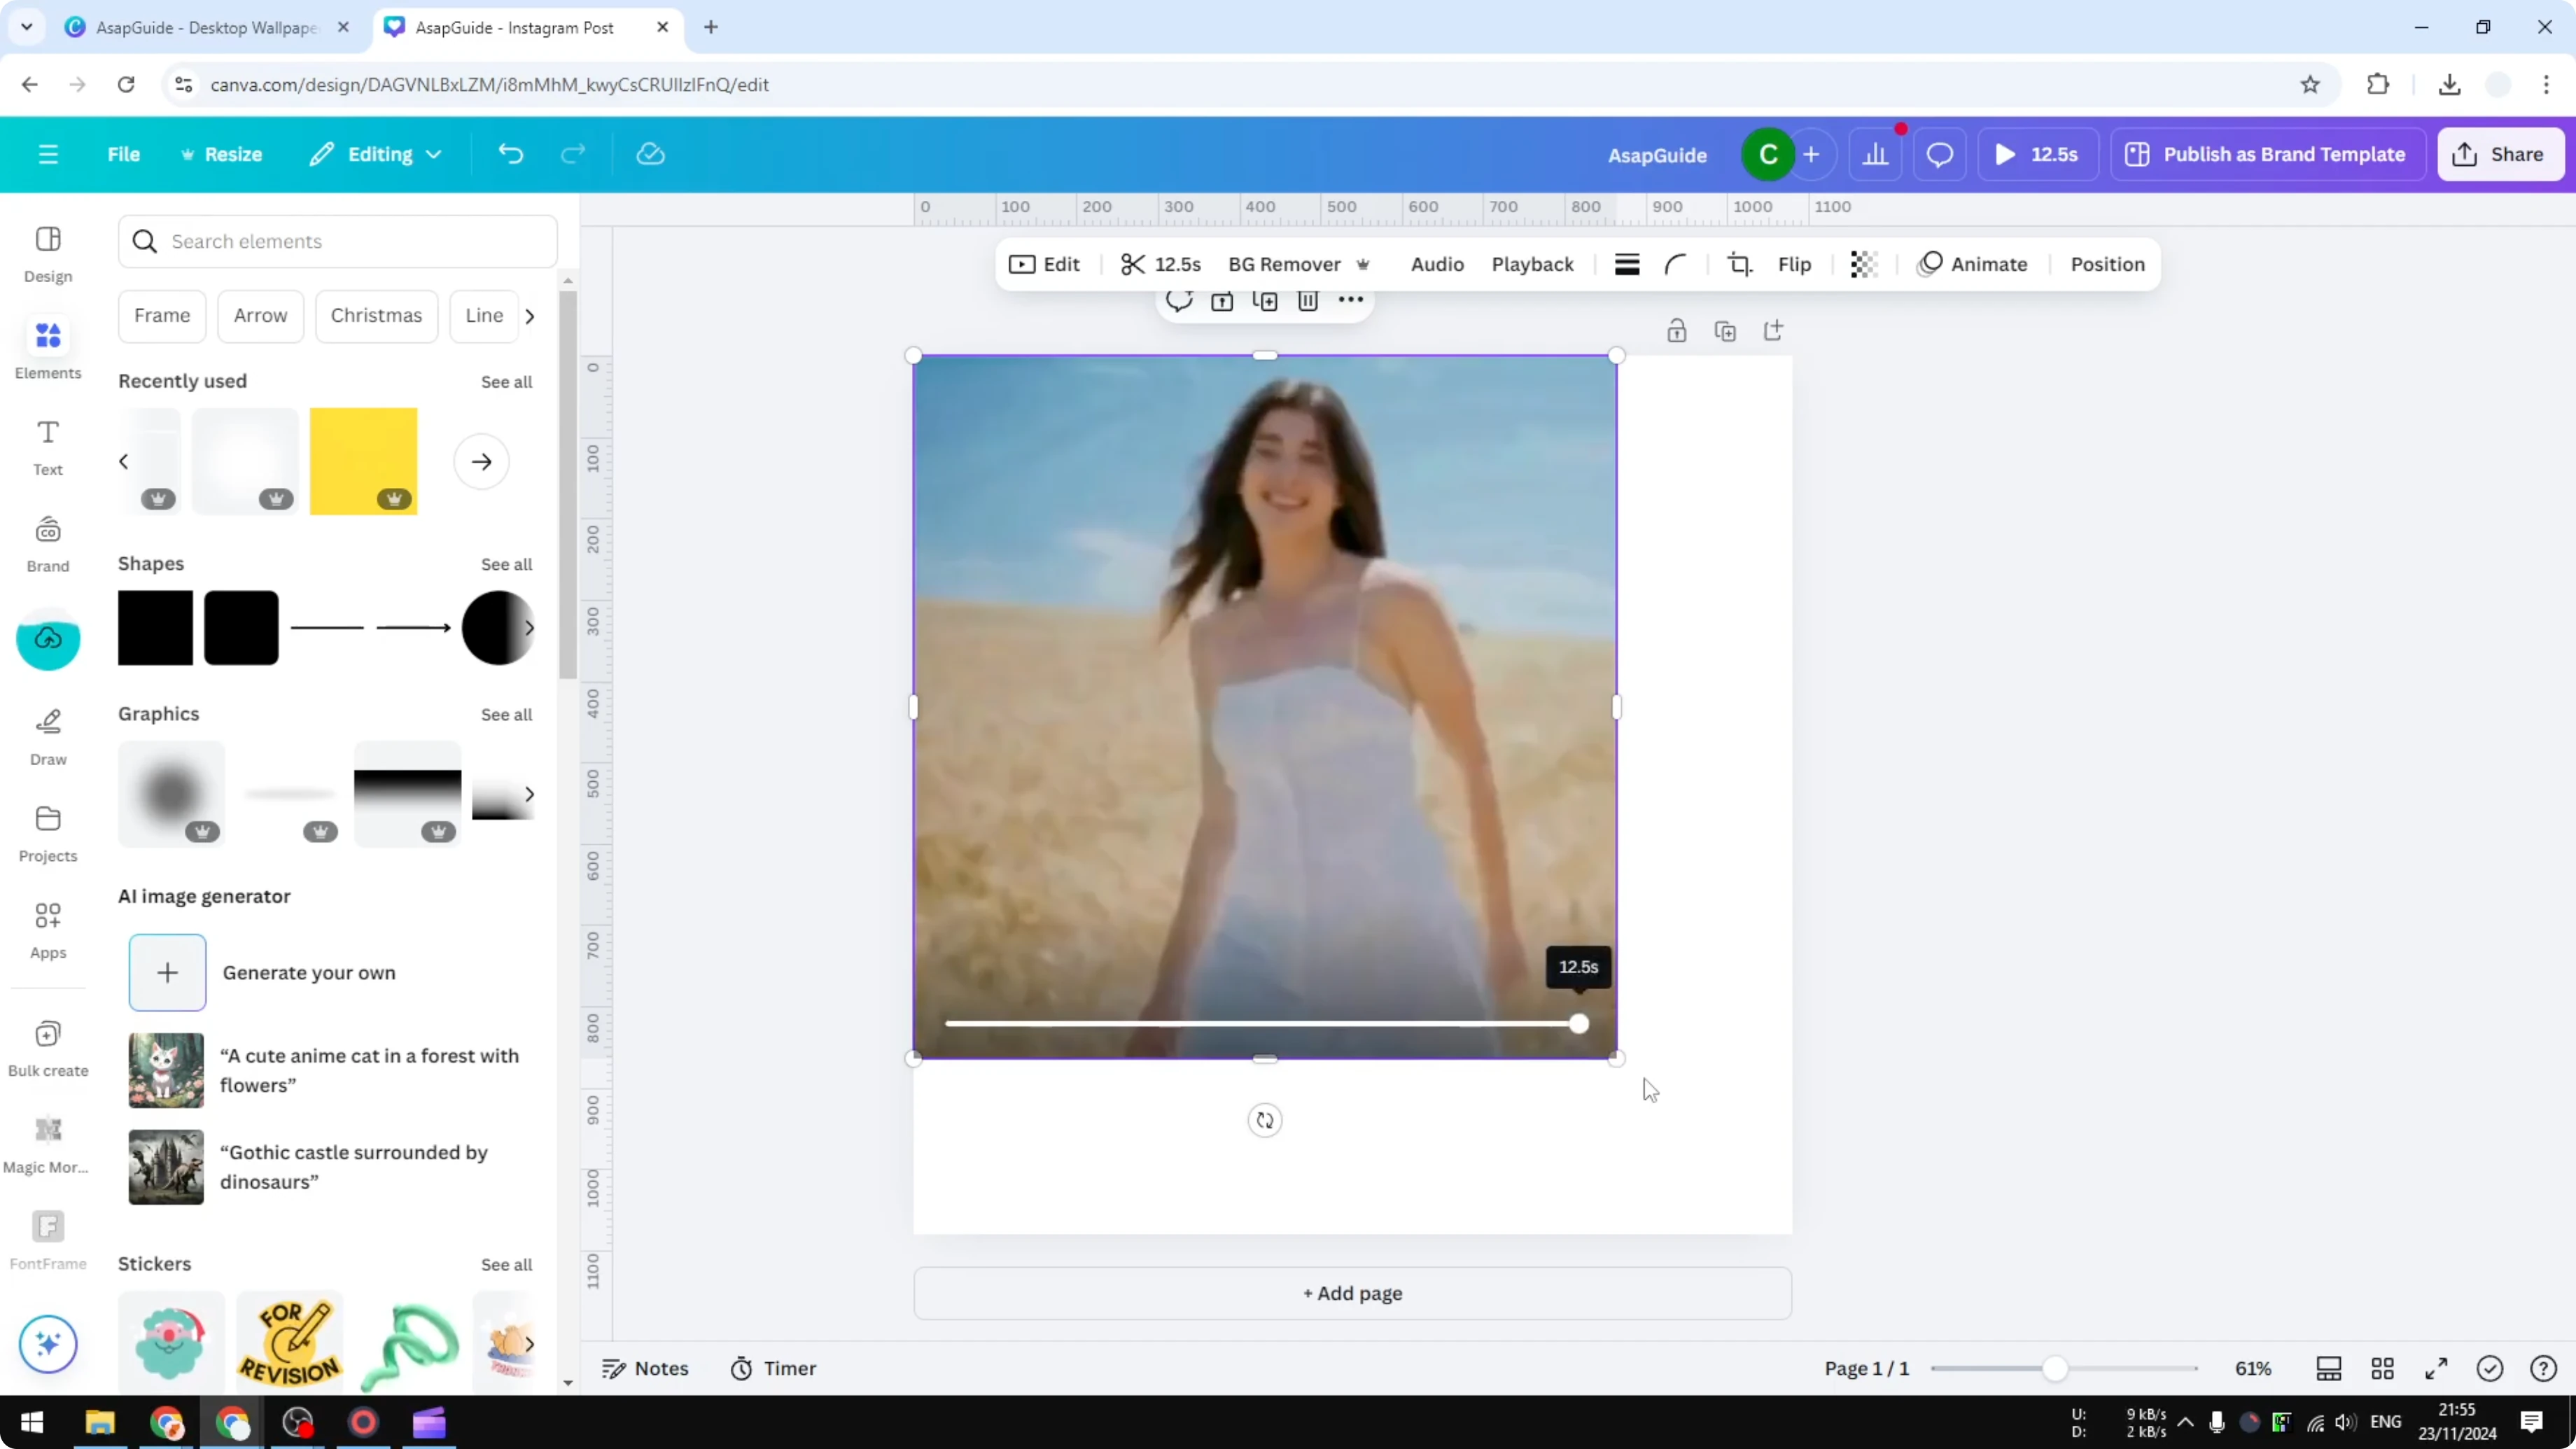
Upload the low-resolution file back to Canva.
Place it on the canvas and enlarge it to match the original document size.
Click Share.
Click Download.
Leave MP4 selected.
Reduce the quality to minimum again.
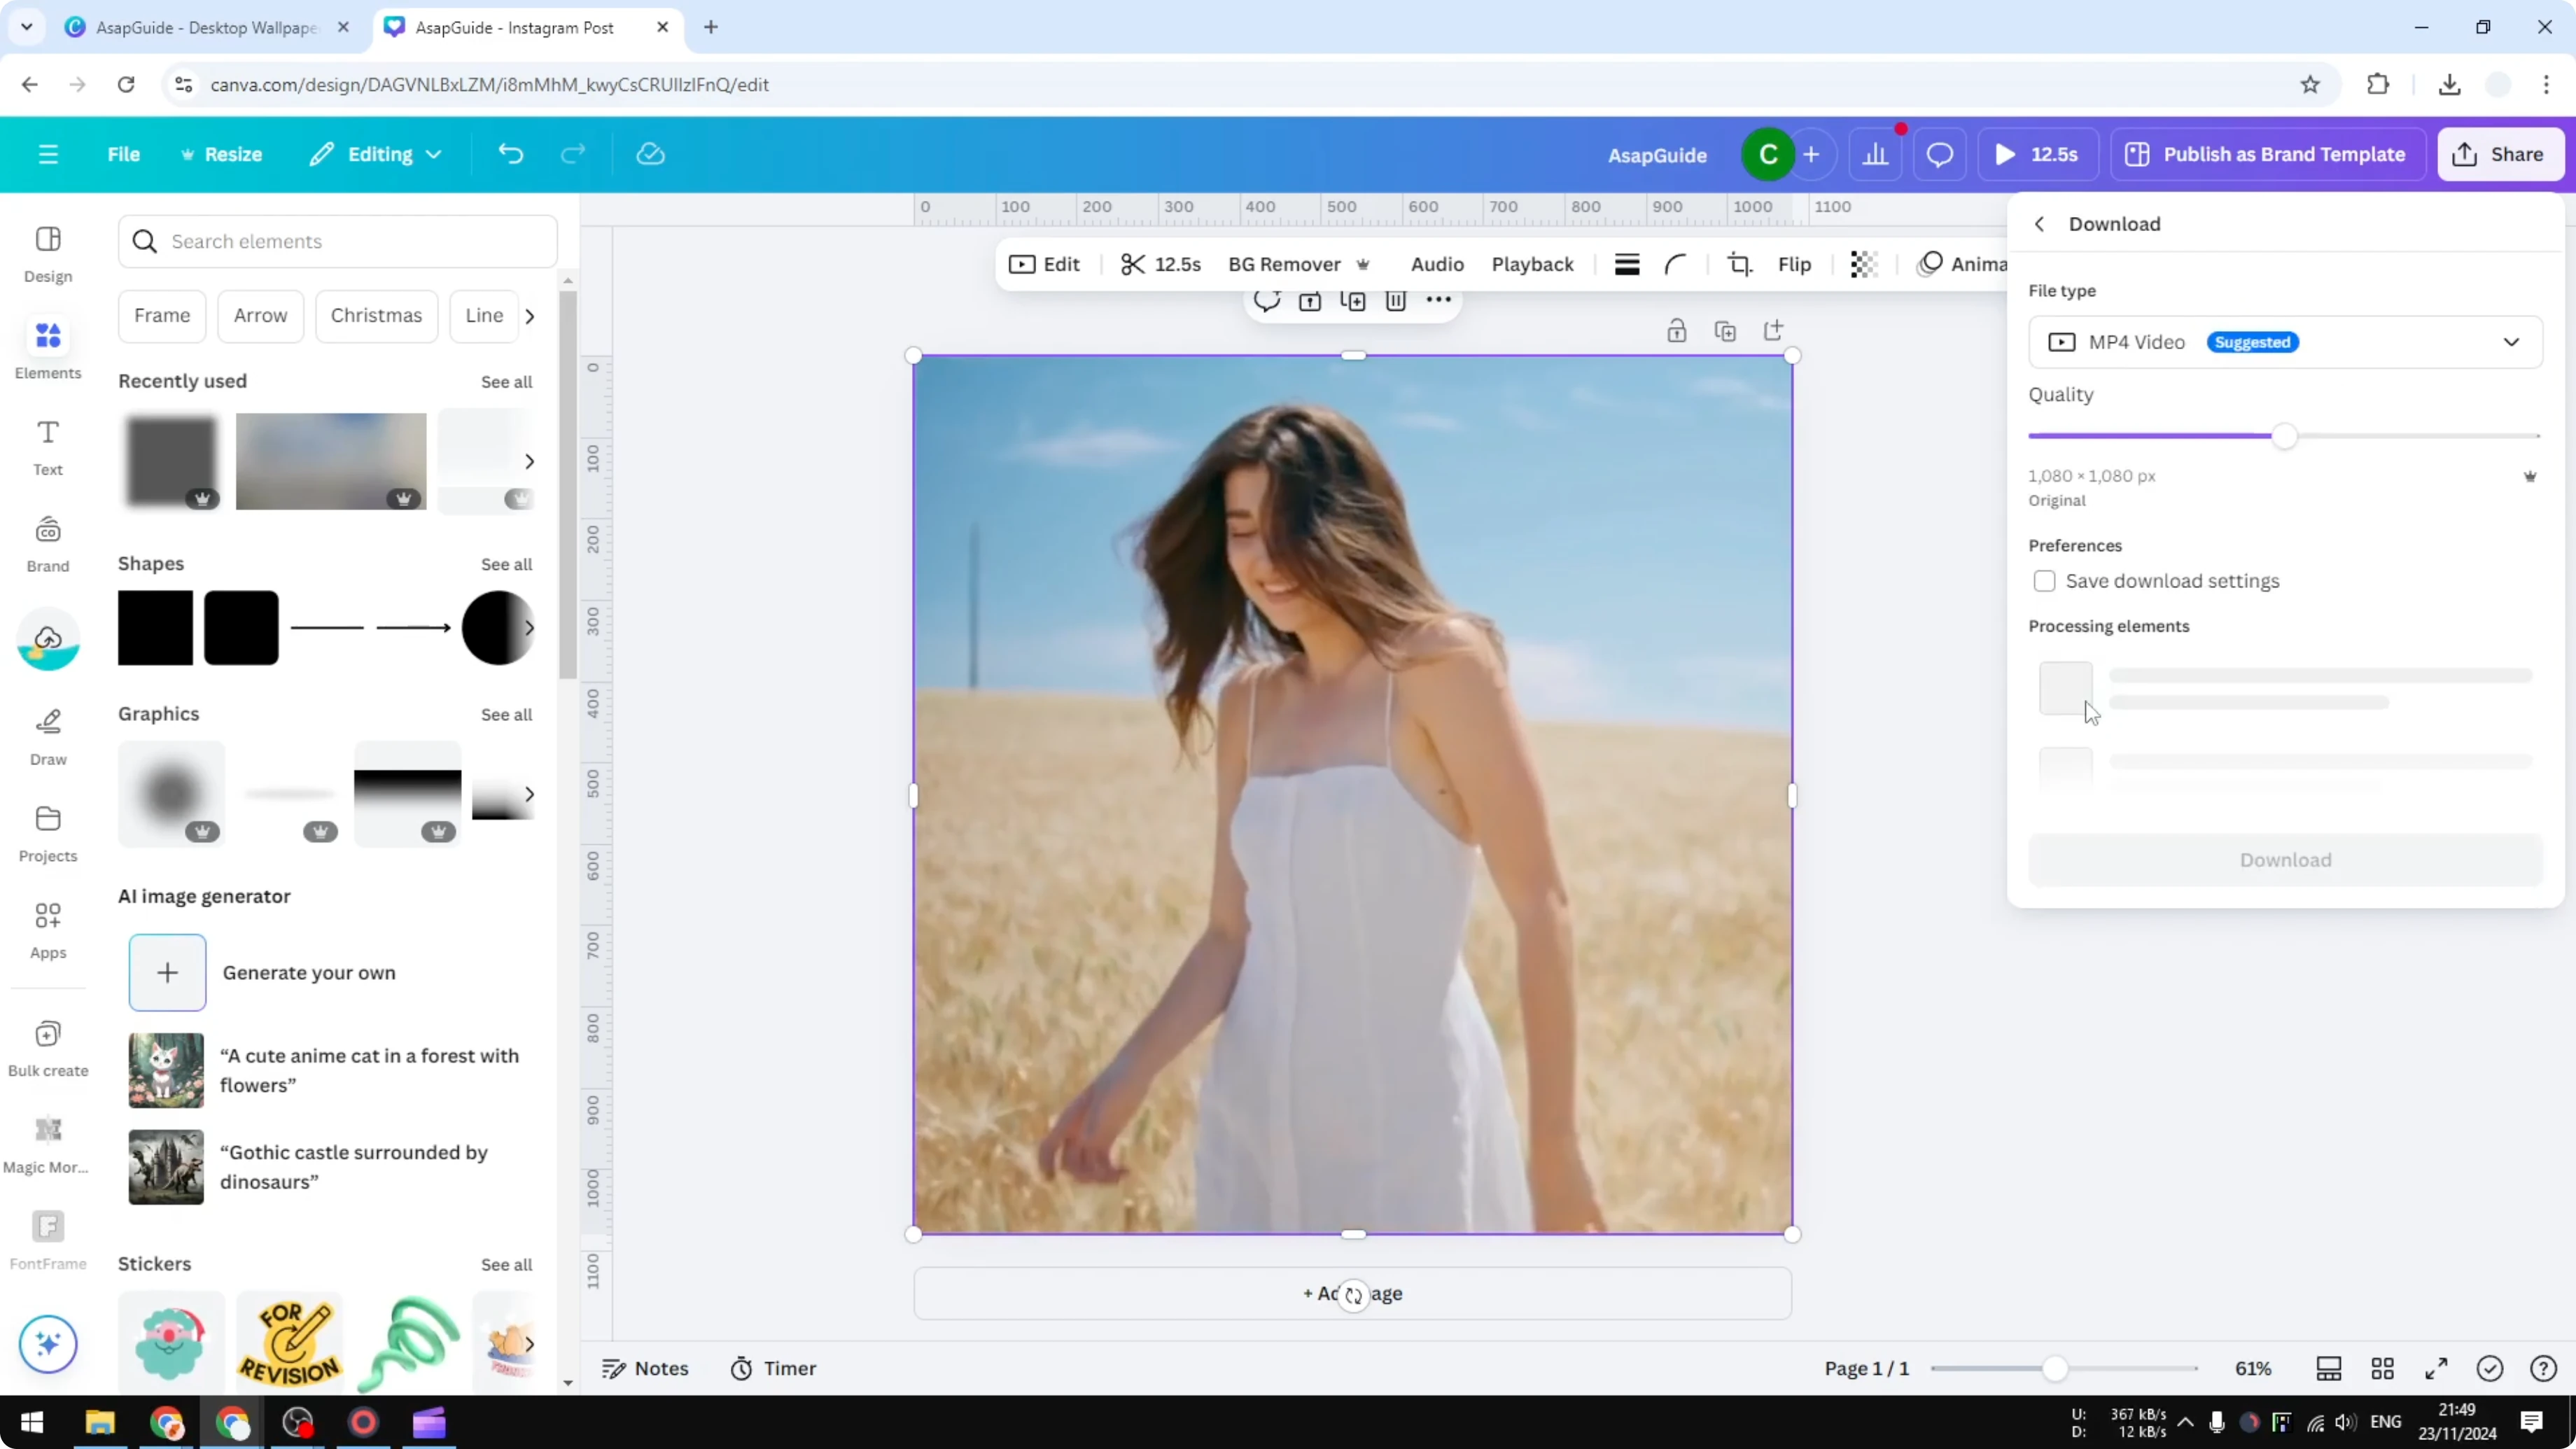
Open the download settings and save them, so you do not have to repeat this selection next time.
Click Download.
Remove the video on the canvas and replace it with the new lower-resolution file.
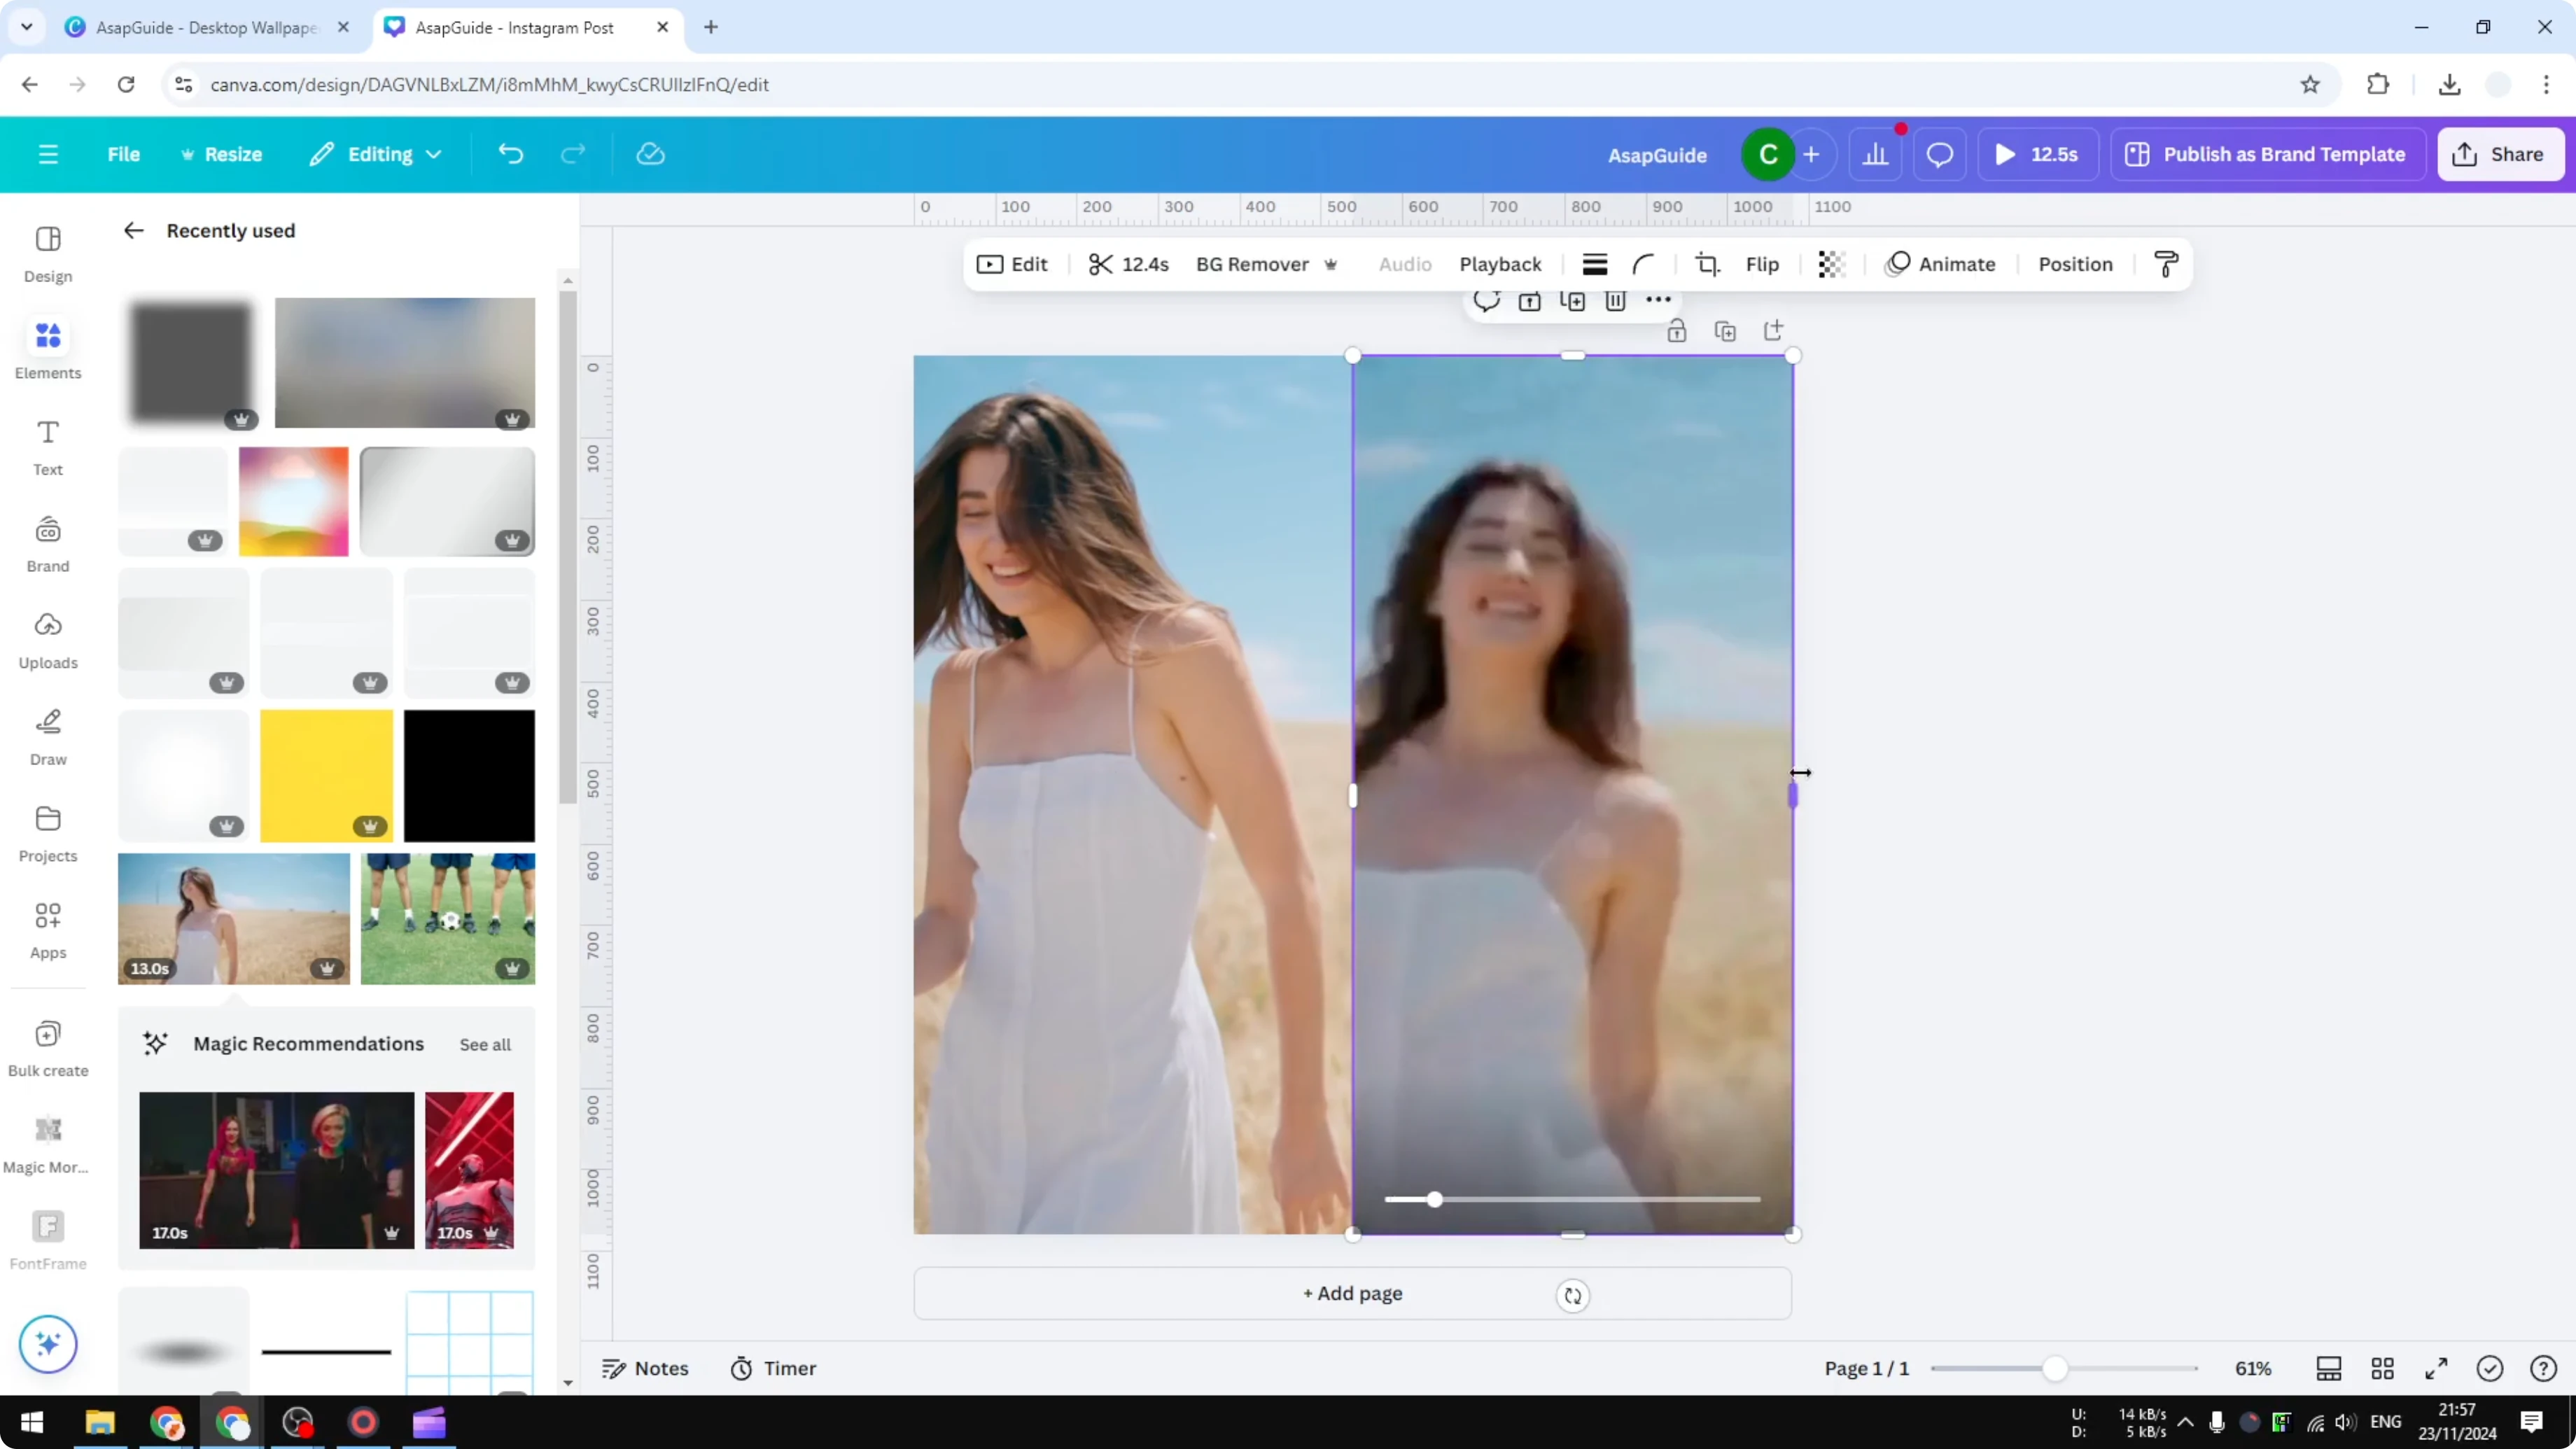
Repeat this download - upload - enlarge - download loop until the image looks very blurry.
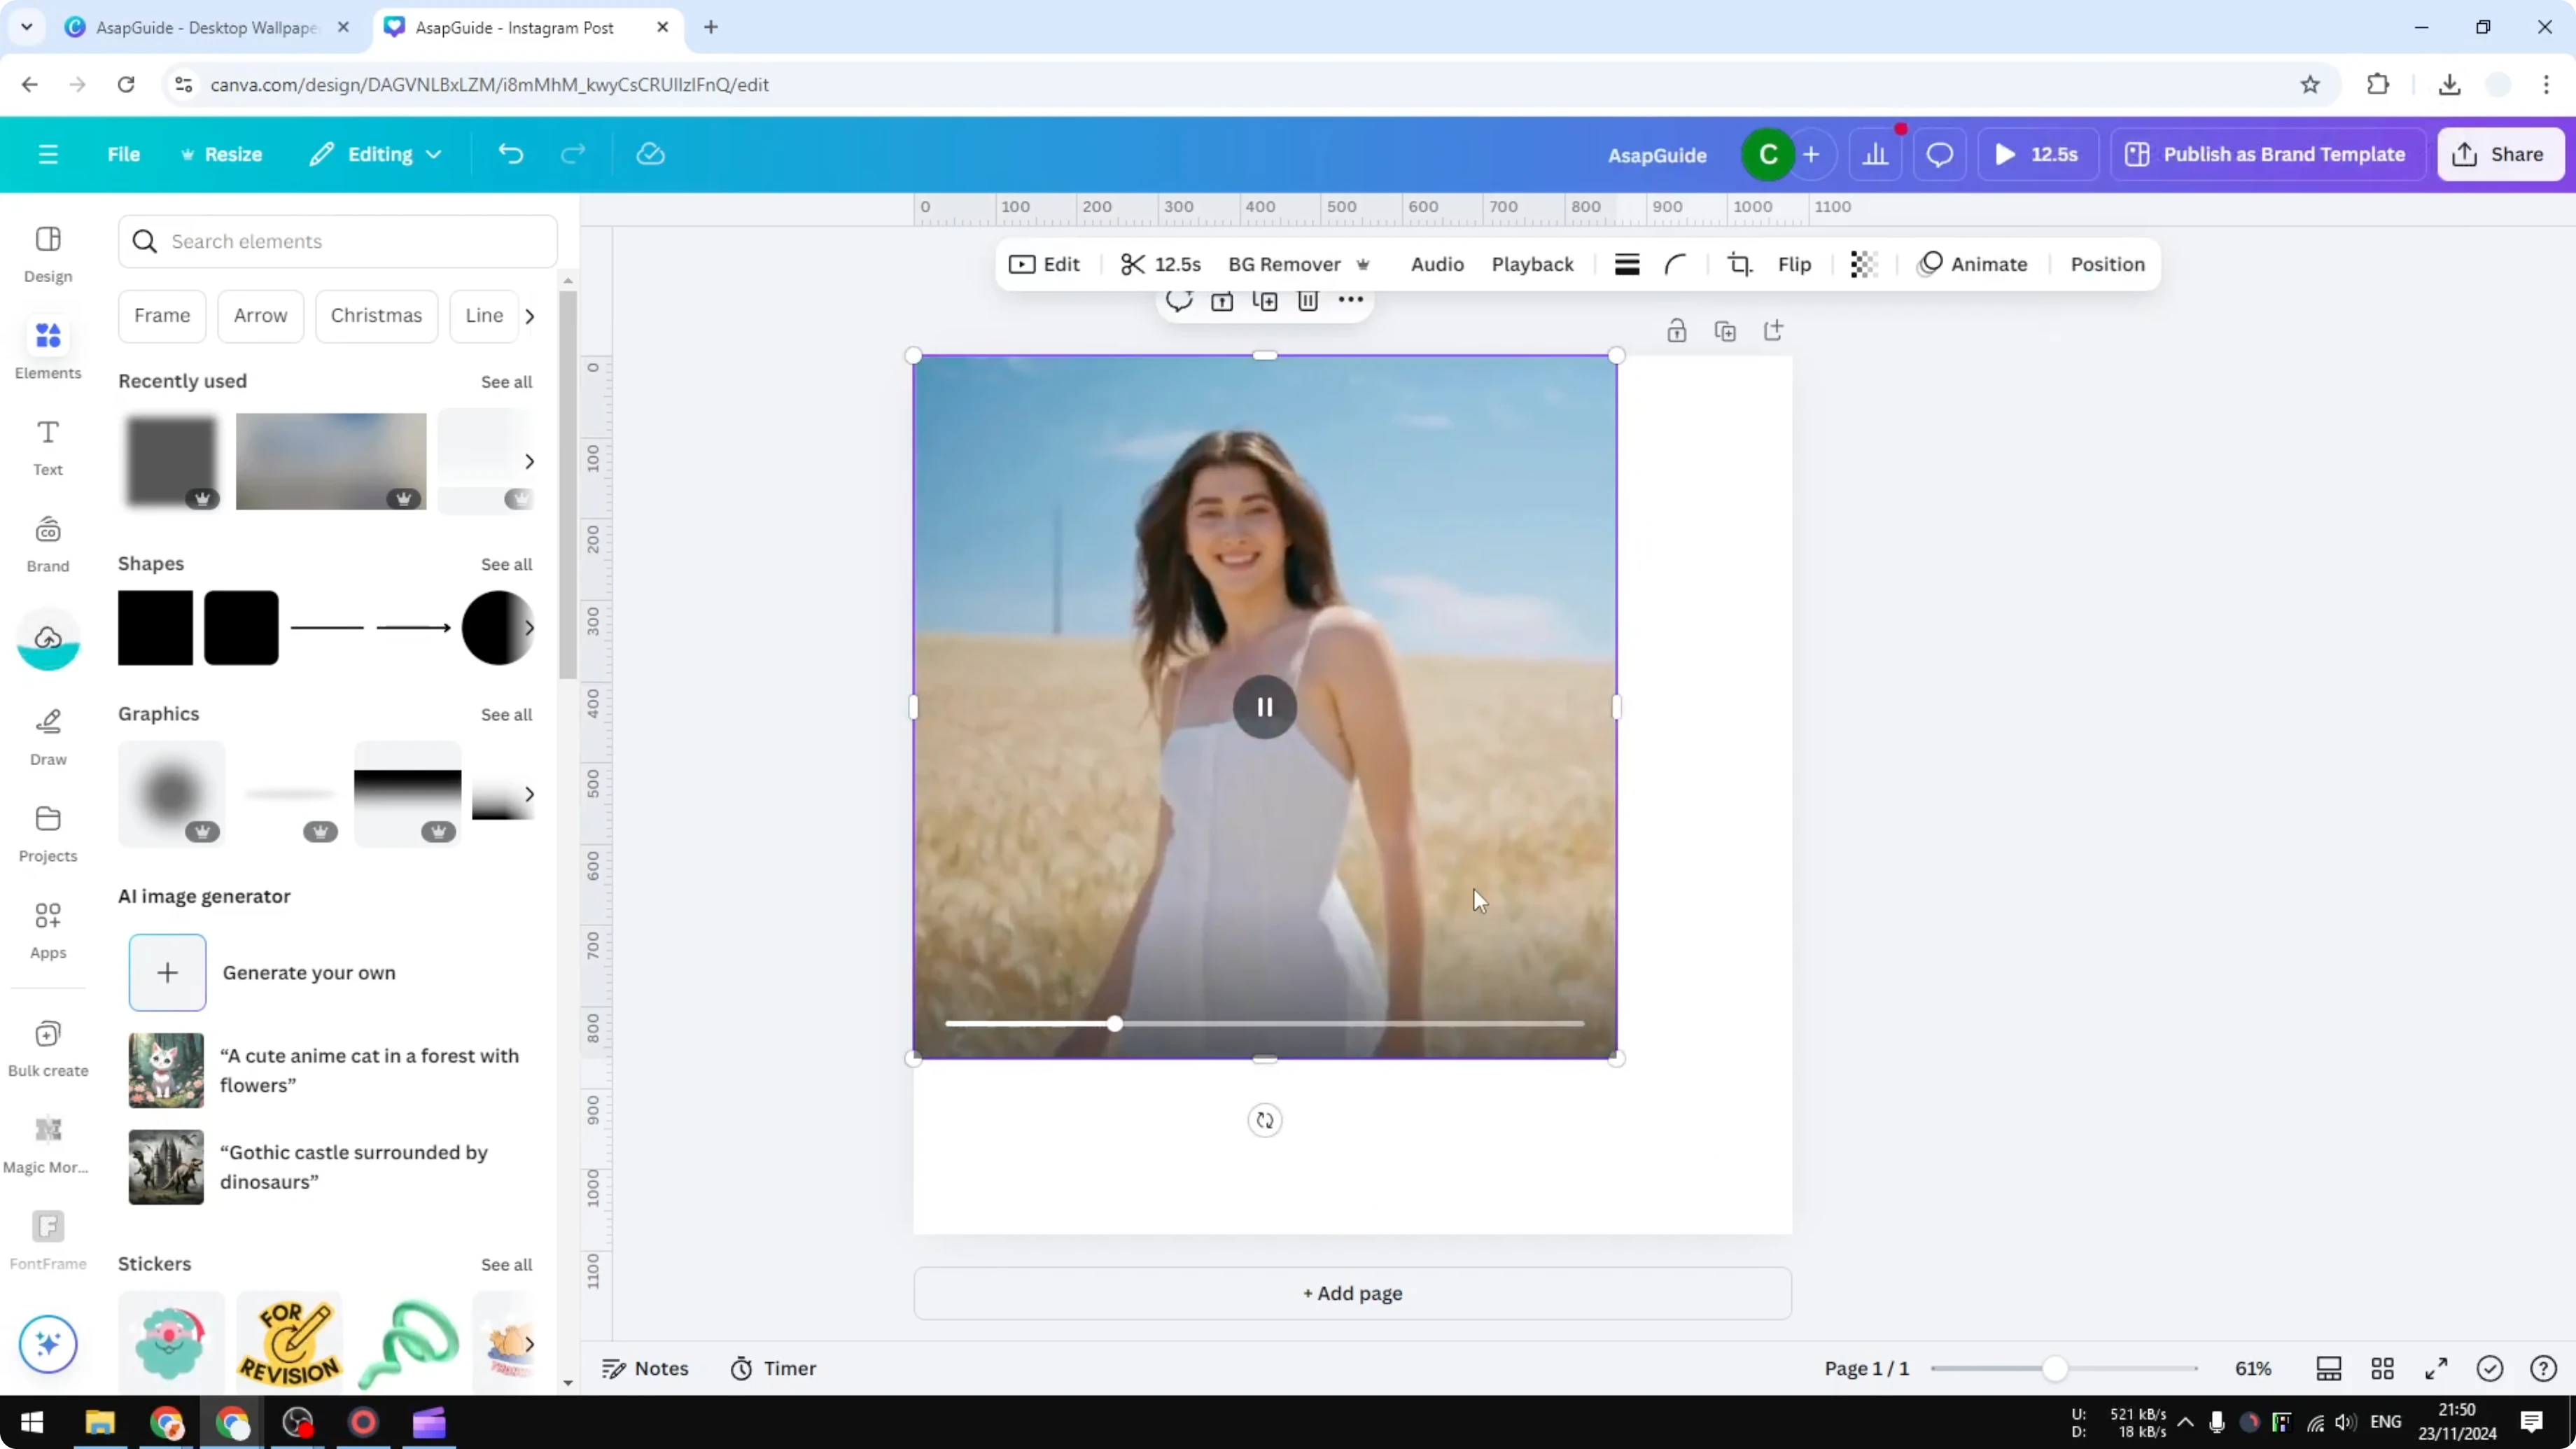
You will probably have to repeat this over and over until the picture looks really blurry.
It can feel exhausting, but the quality goes down quickly.
What You Get With This Method
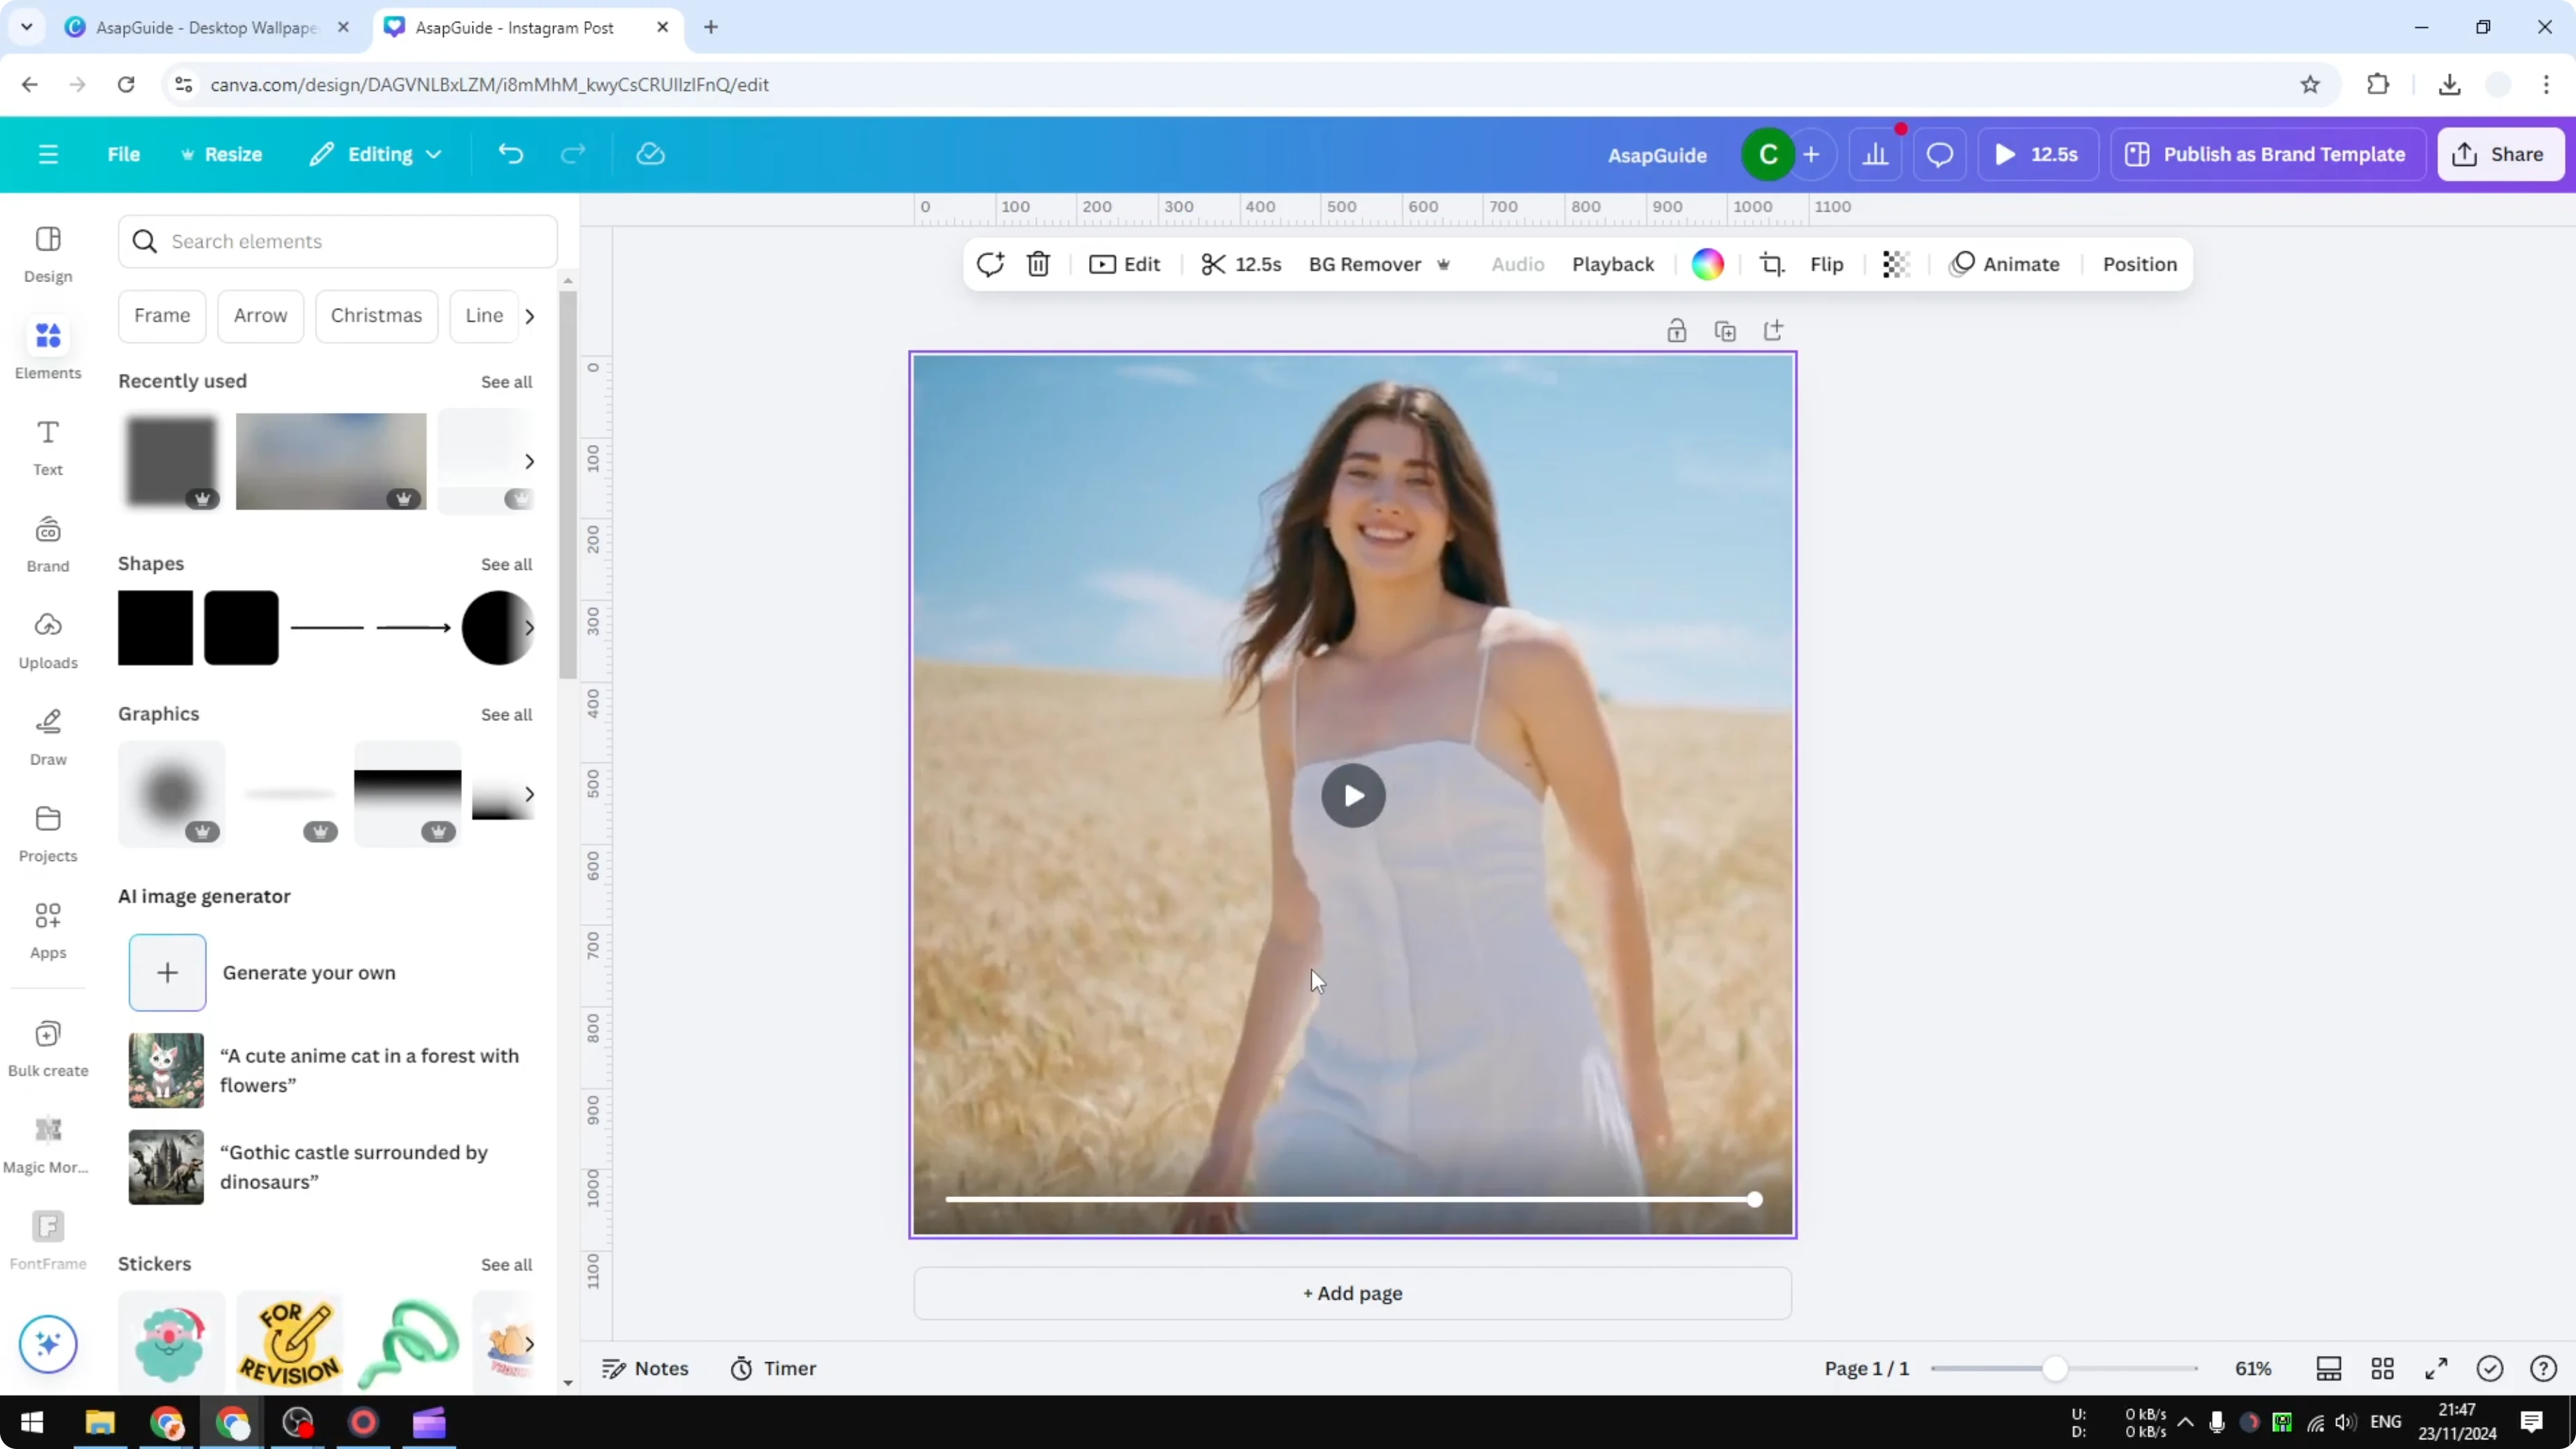
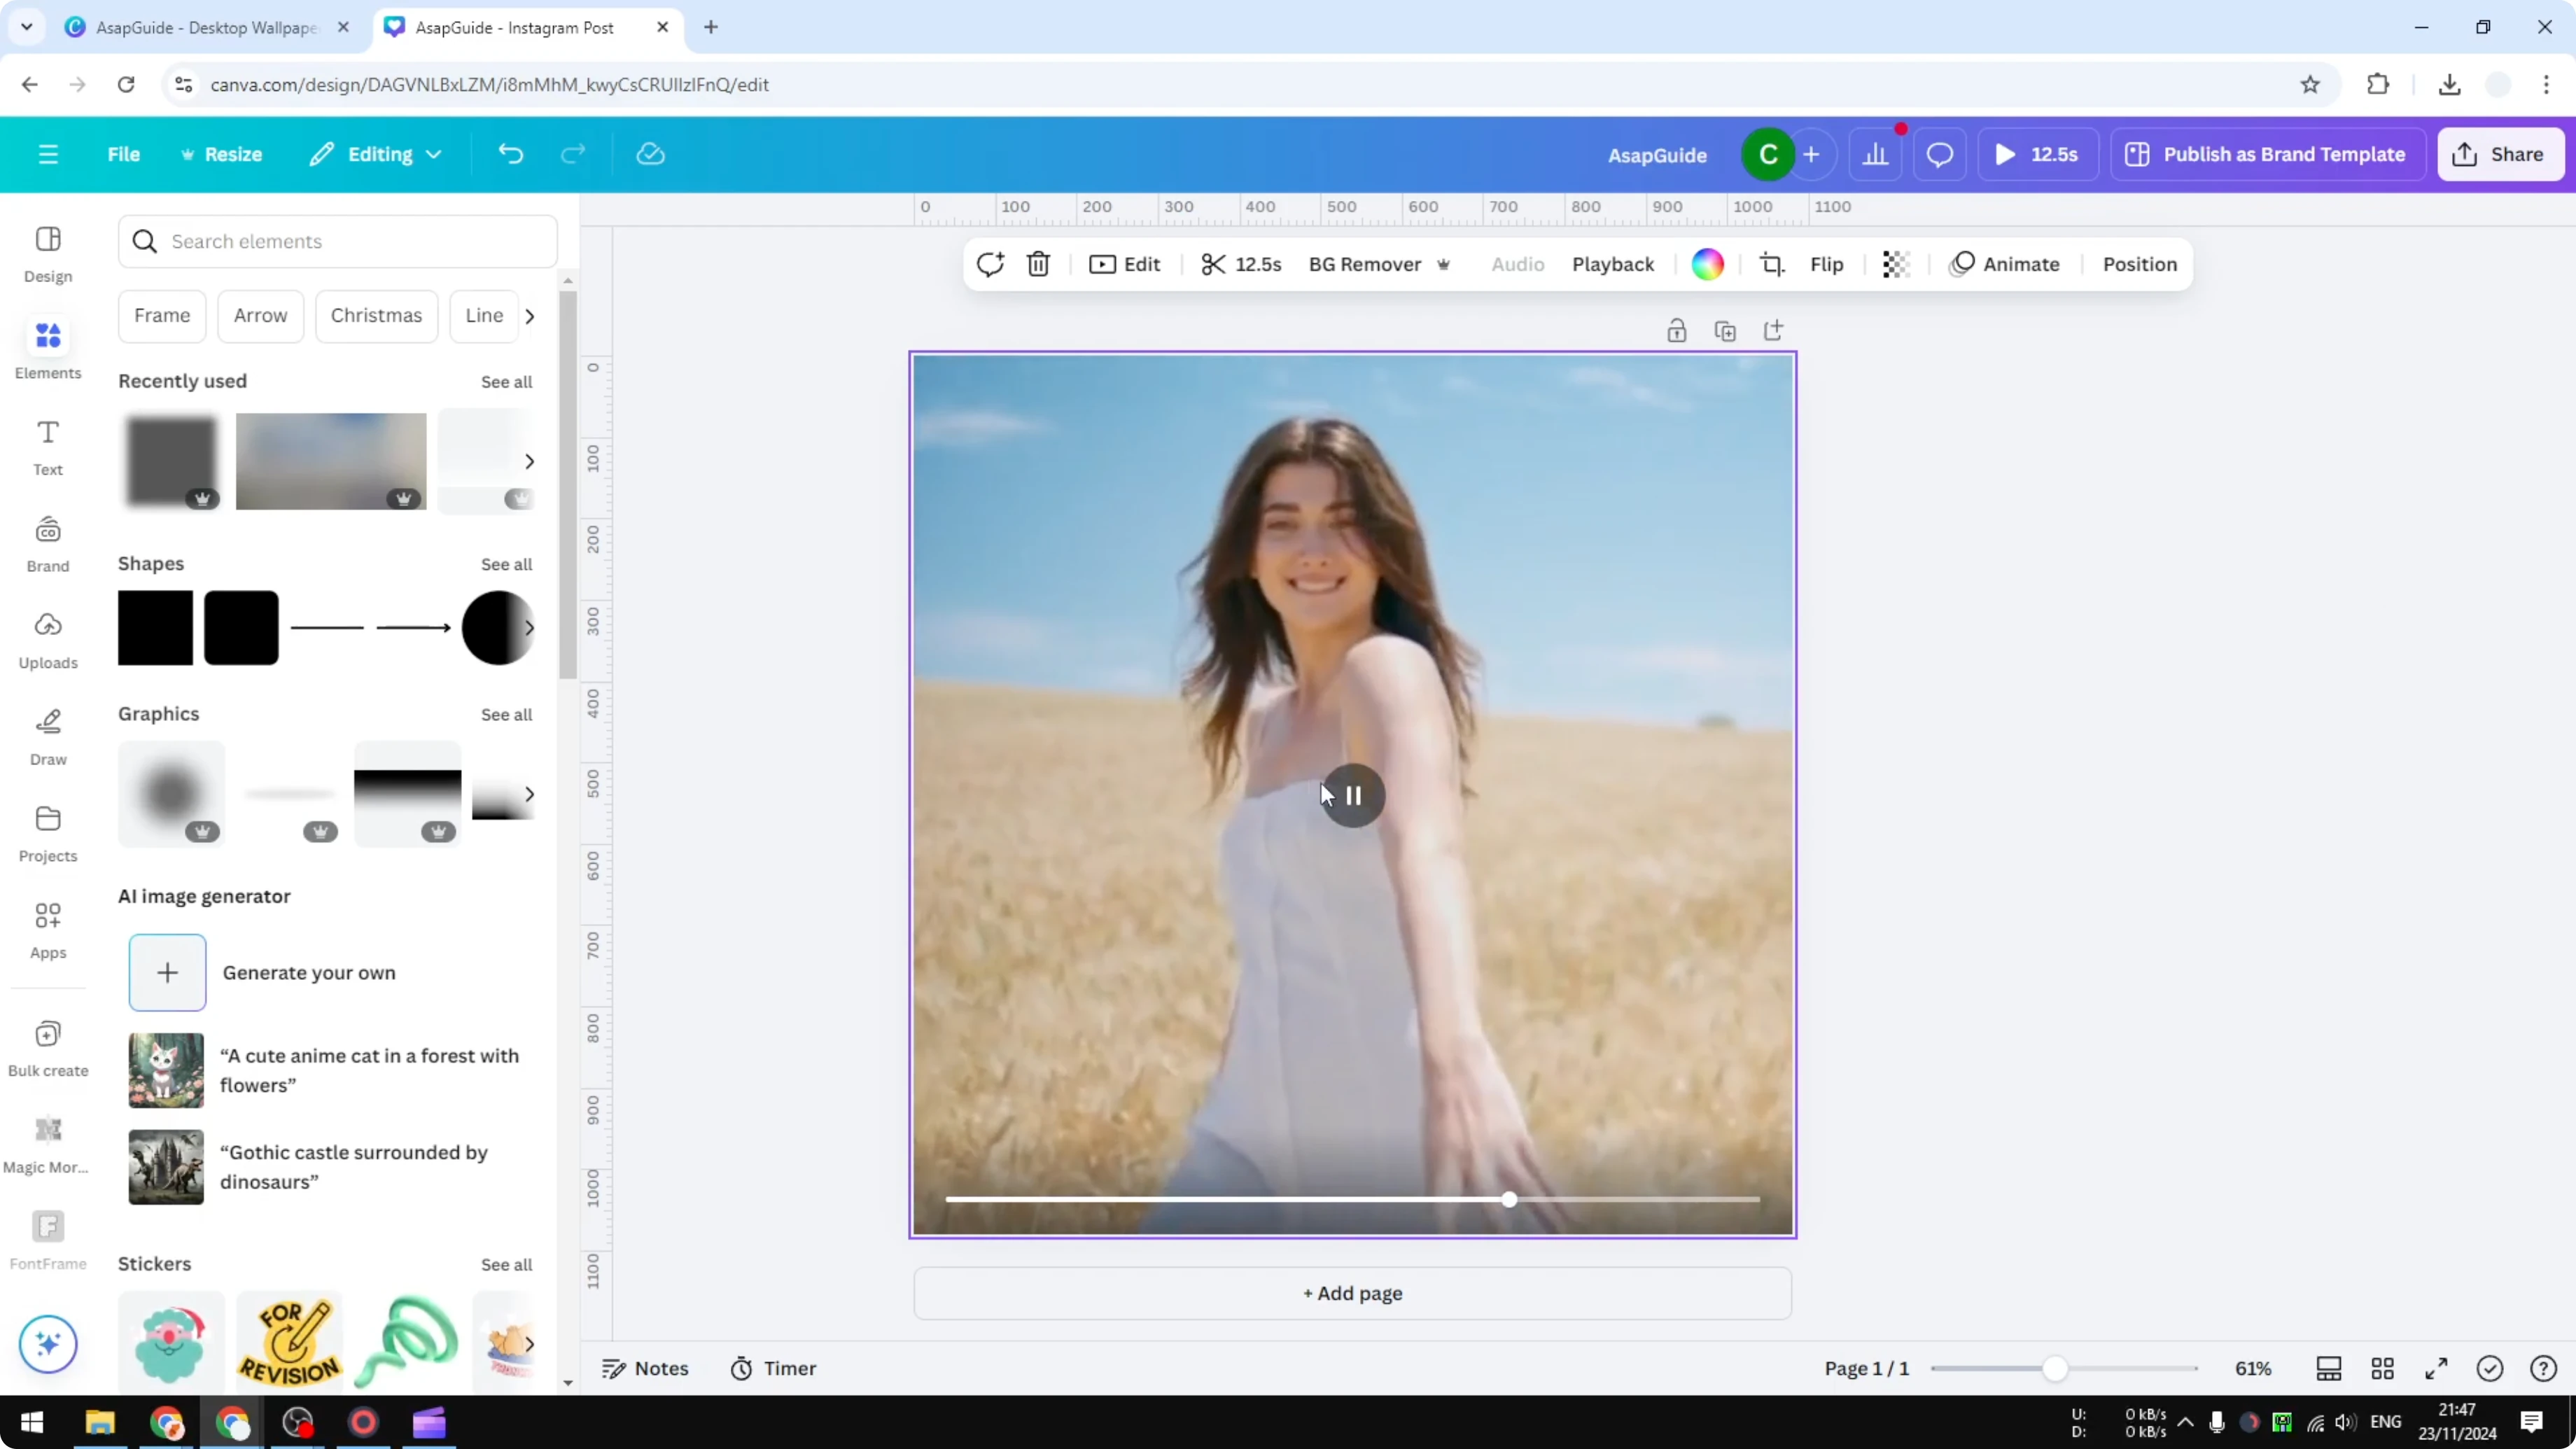
After about 10 generations of reuploading and downloading at low resolution, the difference is clear. The original looks sharp and you can see faces and details, while the compressed version is not clear and details are lost. It took me less than 5 minutes to run 10 cycles.
If you need to isolate and blur only a specific region instead of the full frame, see blur part.
Blur a Video in Canva: Notes and Limits
This is not a proper blur effect and you cannot target a specific area with it. It affects the entire video from edge to edge by reducing overall quality. There is no dedicated blur-on-video feature in Canva yet.
While you are editing, you can also add video transitions to clean up cuts or add style between clips.
Final Thoughts
Canva does not offer a true video blur. The shape overlay trick can soften a spot, but it is not a real blur, and the repeated compression method creates a full-frame pixelated look. If you are okay with going back and forth a few times, it can get you a blurry result fast for the whole video.
Recent Posts
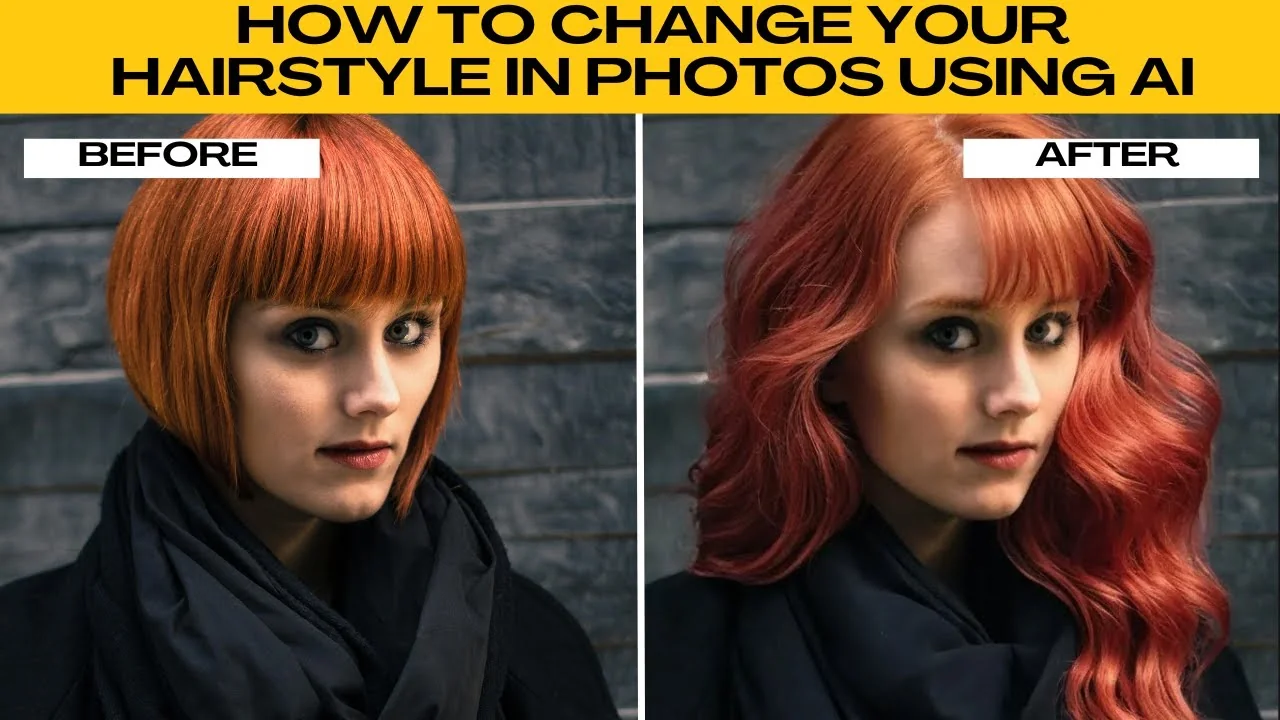
How to Visualize Different Hairstyles and Hair Colors with AI?
How to Visualize Different Hairstyles and Hair Colors with AI?

How to Transform Daytime Photos into Realistic Night Scenes with AI?
How to Transform Daytime Photos into Realistic Night Scenes with AI?
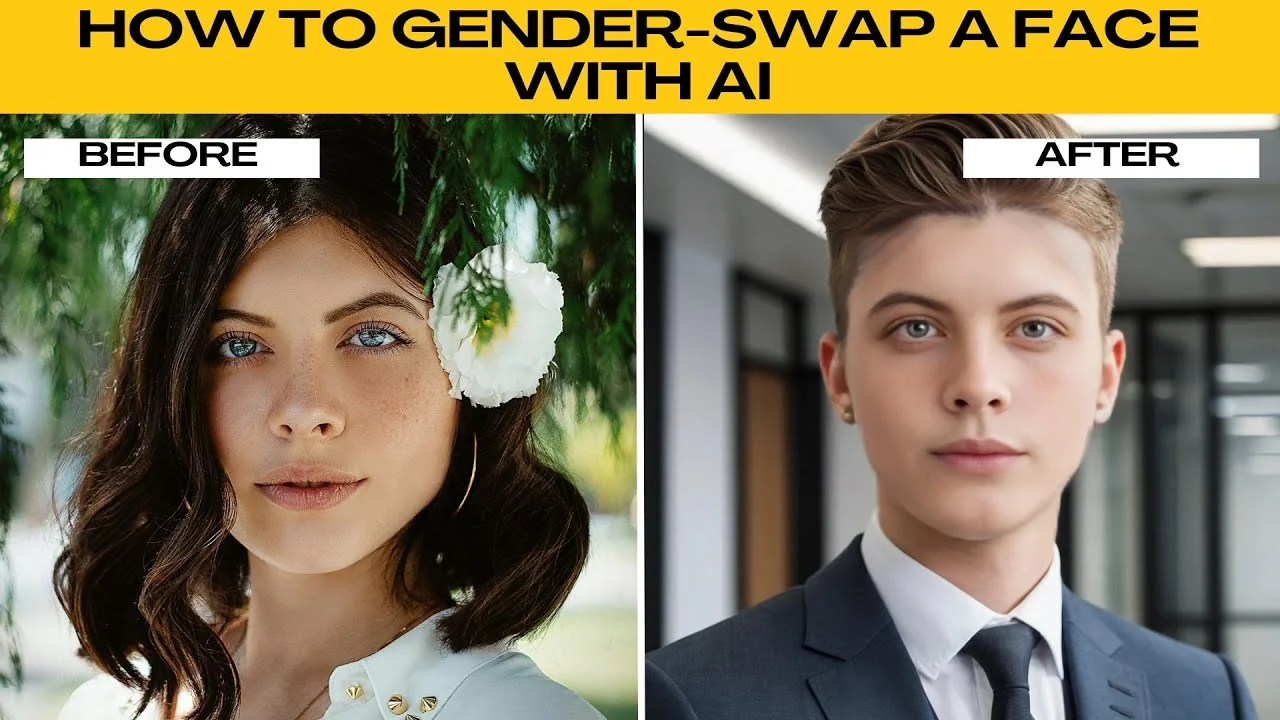
How to Visualize Yourself as the Opposite Gender with AI?
How to Visualize Yourself as the Opposite Gender with AI?