How to Adjust Video Transparency in Canva
Adjusting video transparency in Canva is straightforward. It works the same way as adjusting transparency for any other element on your canvas.
Adjust Video Transparency in Canva
Basic steps
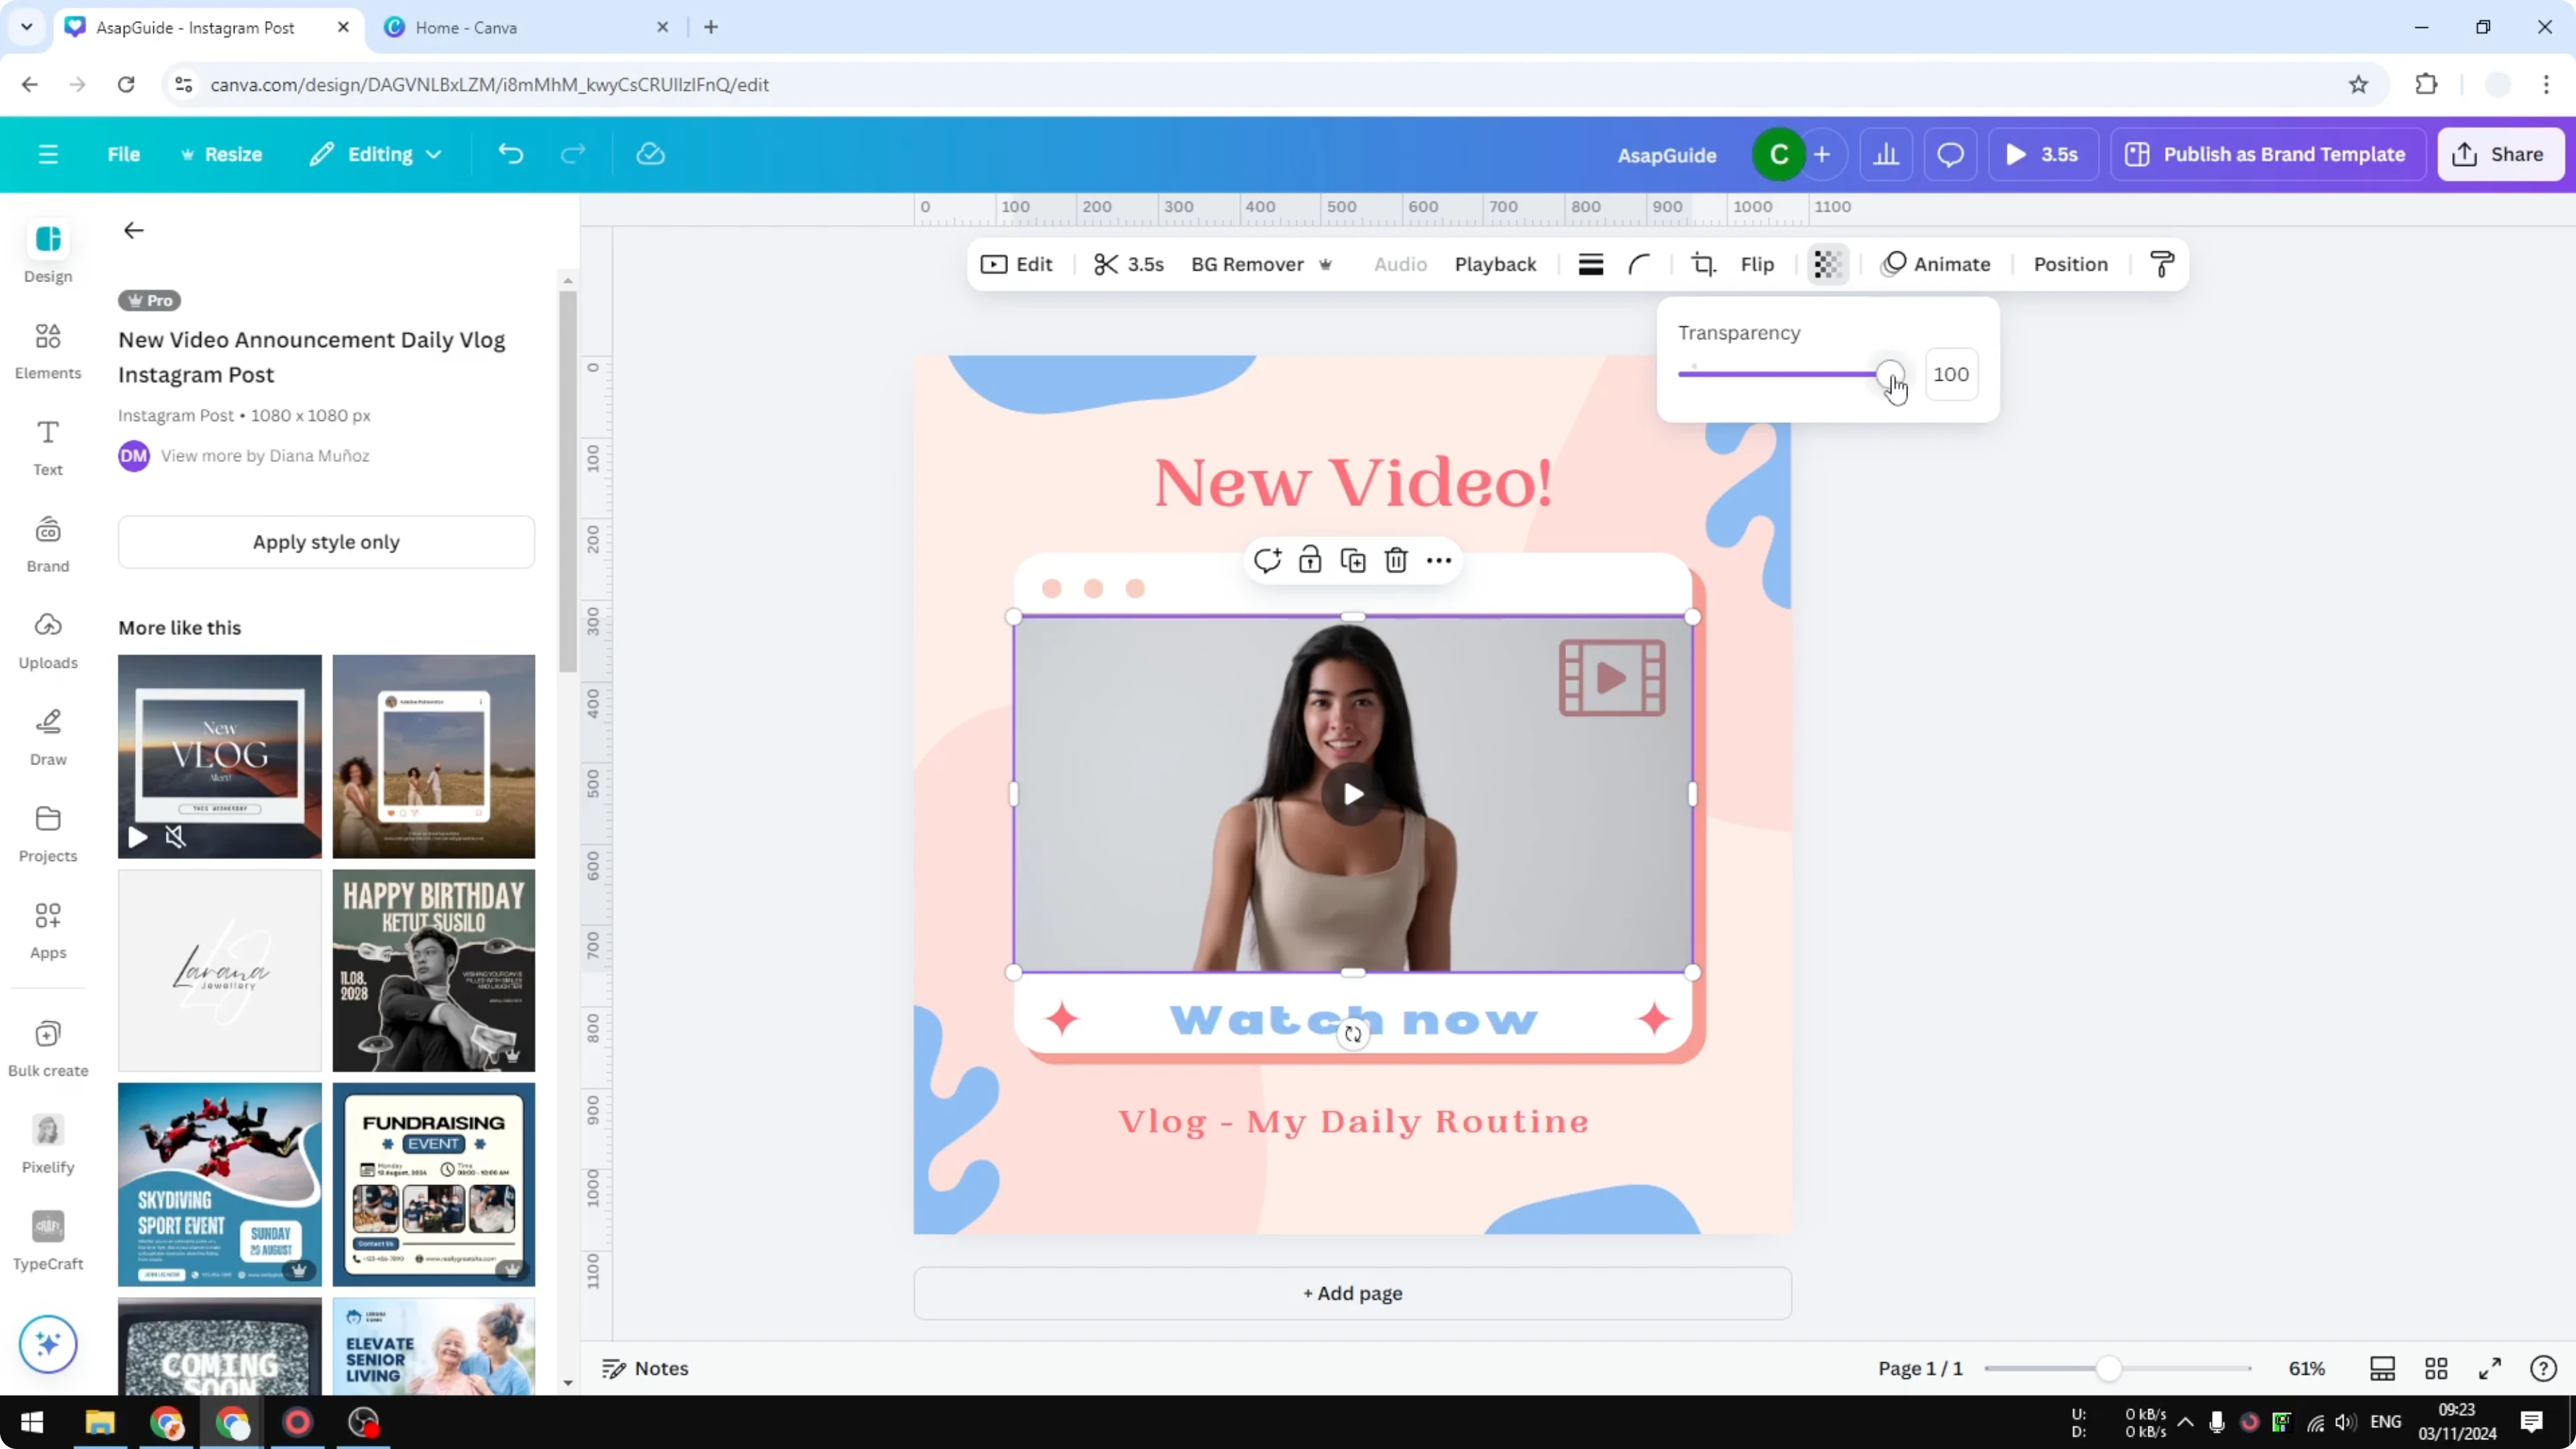
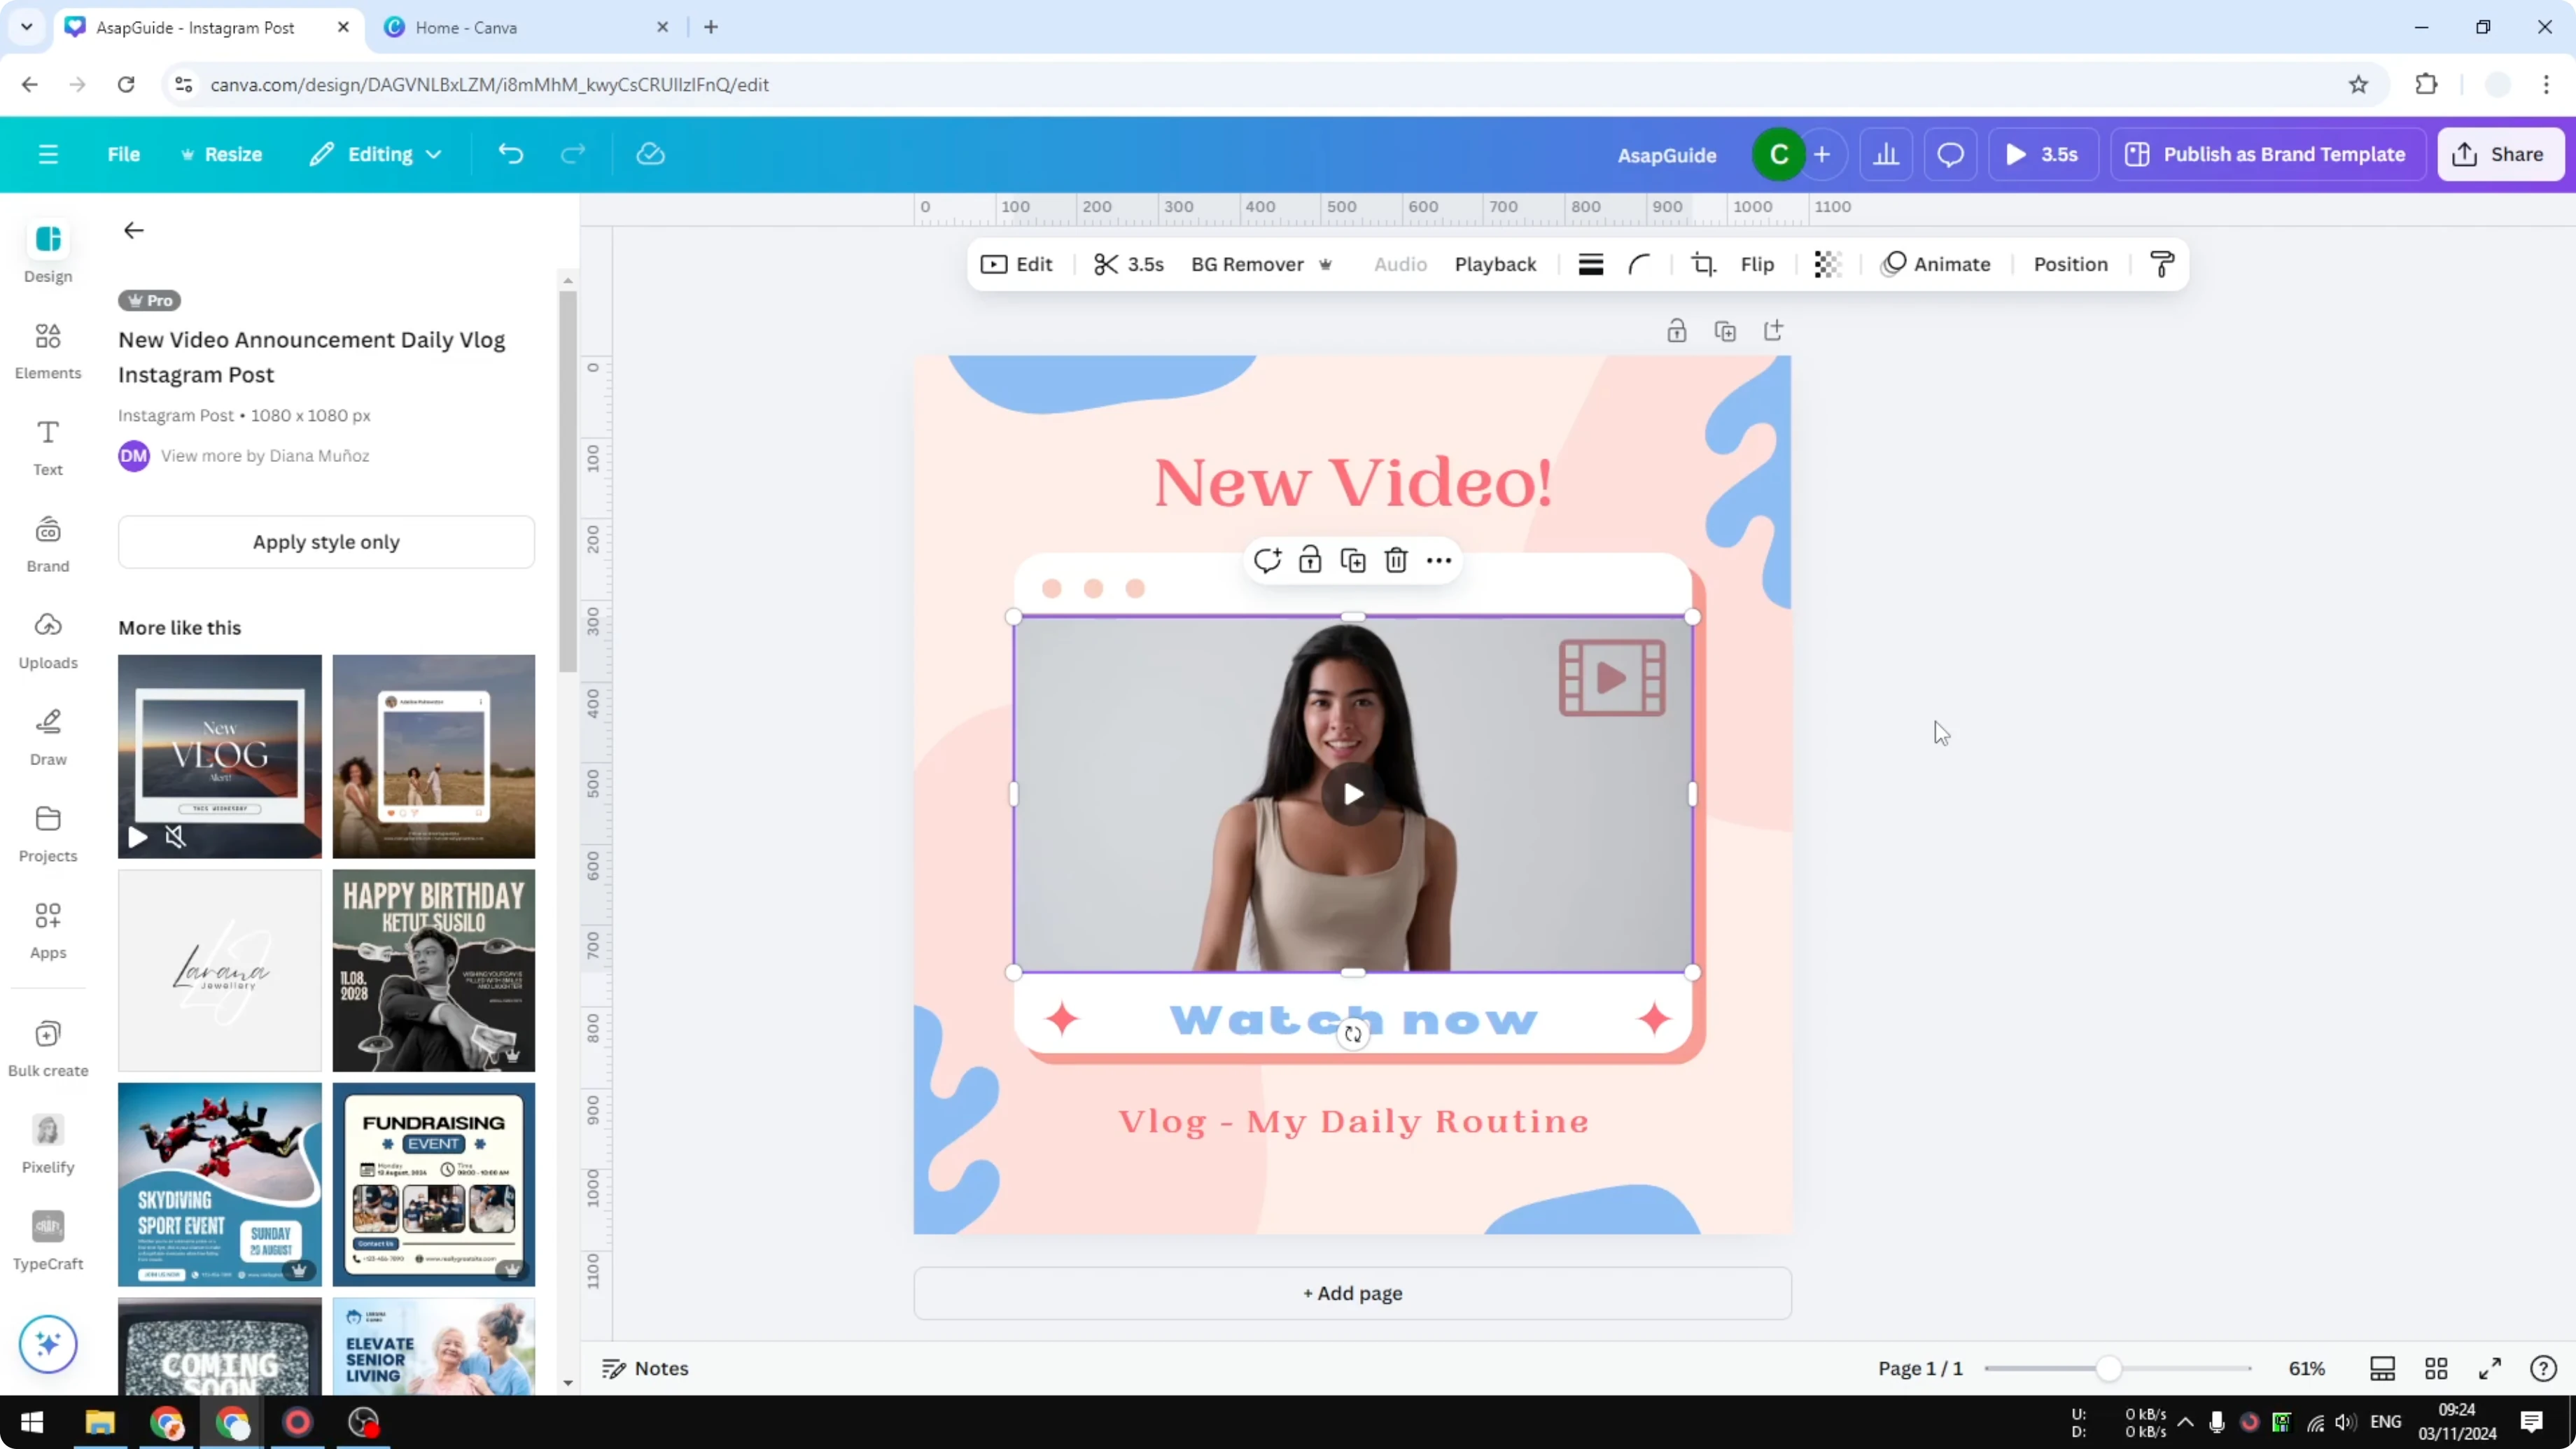
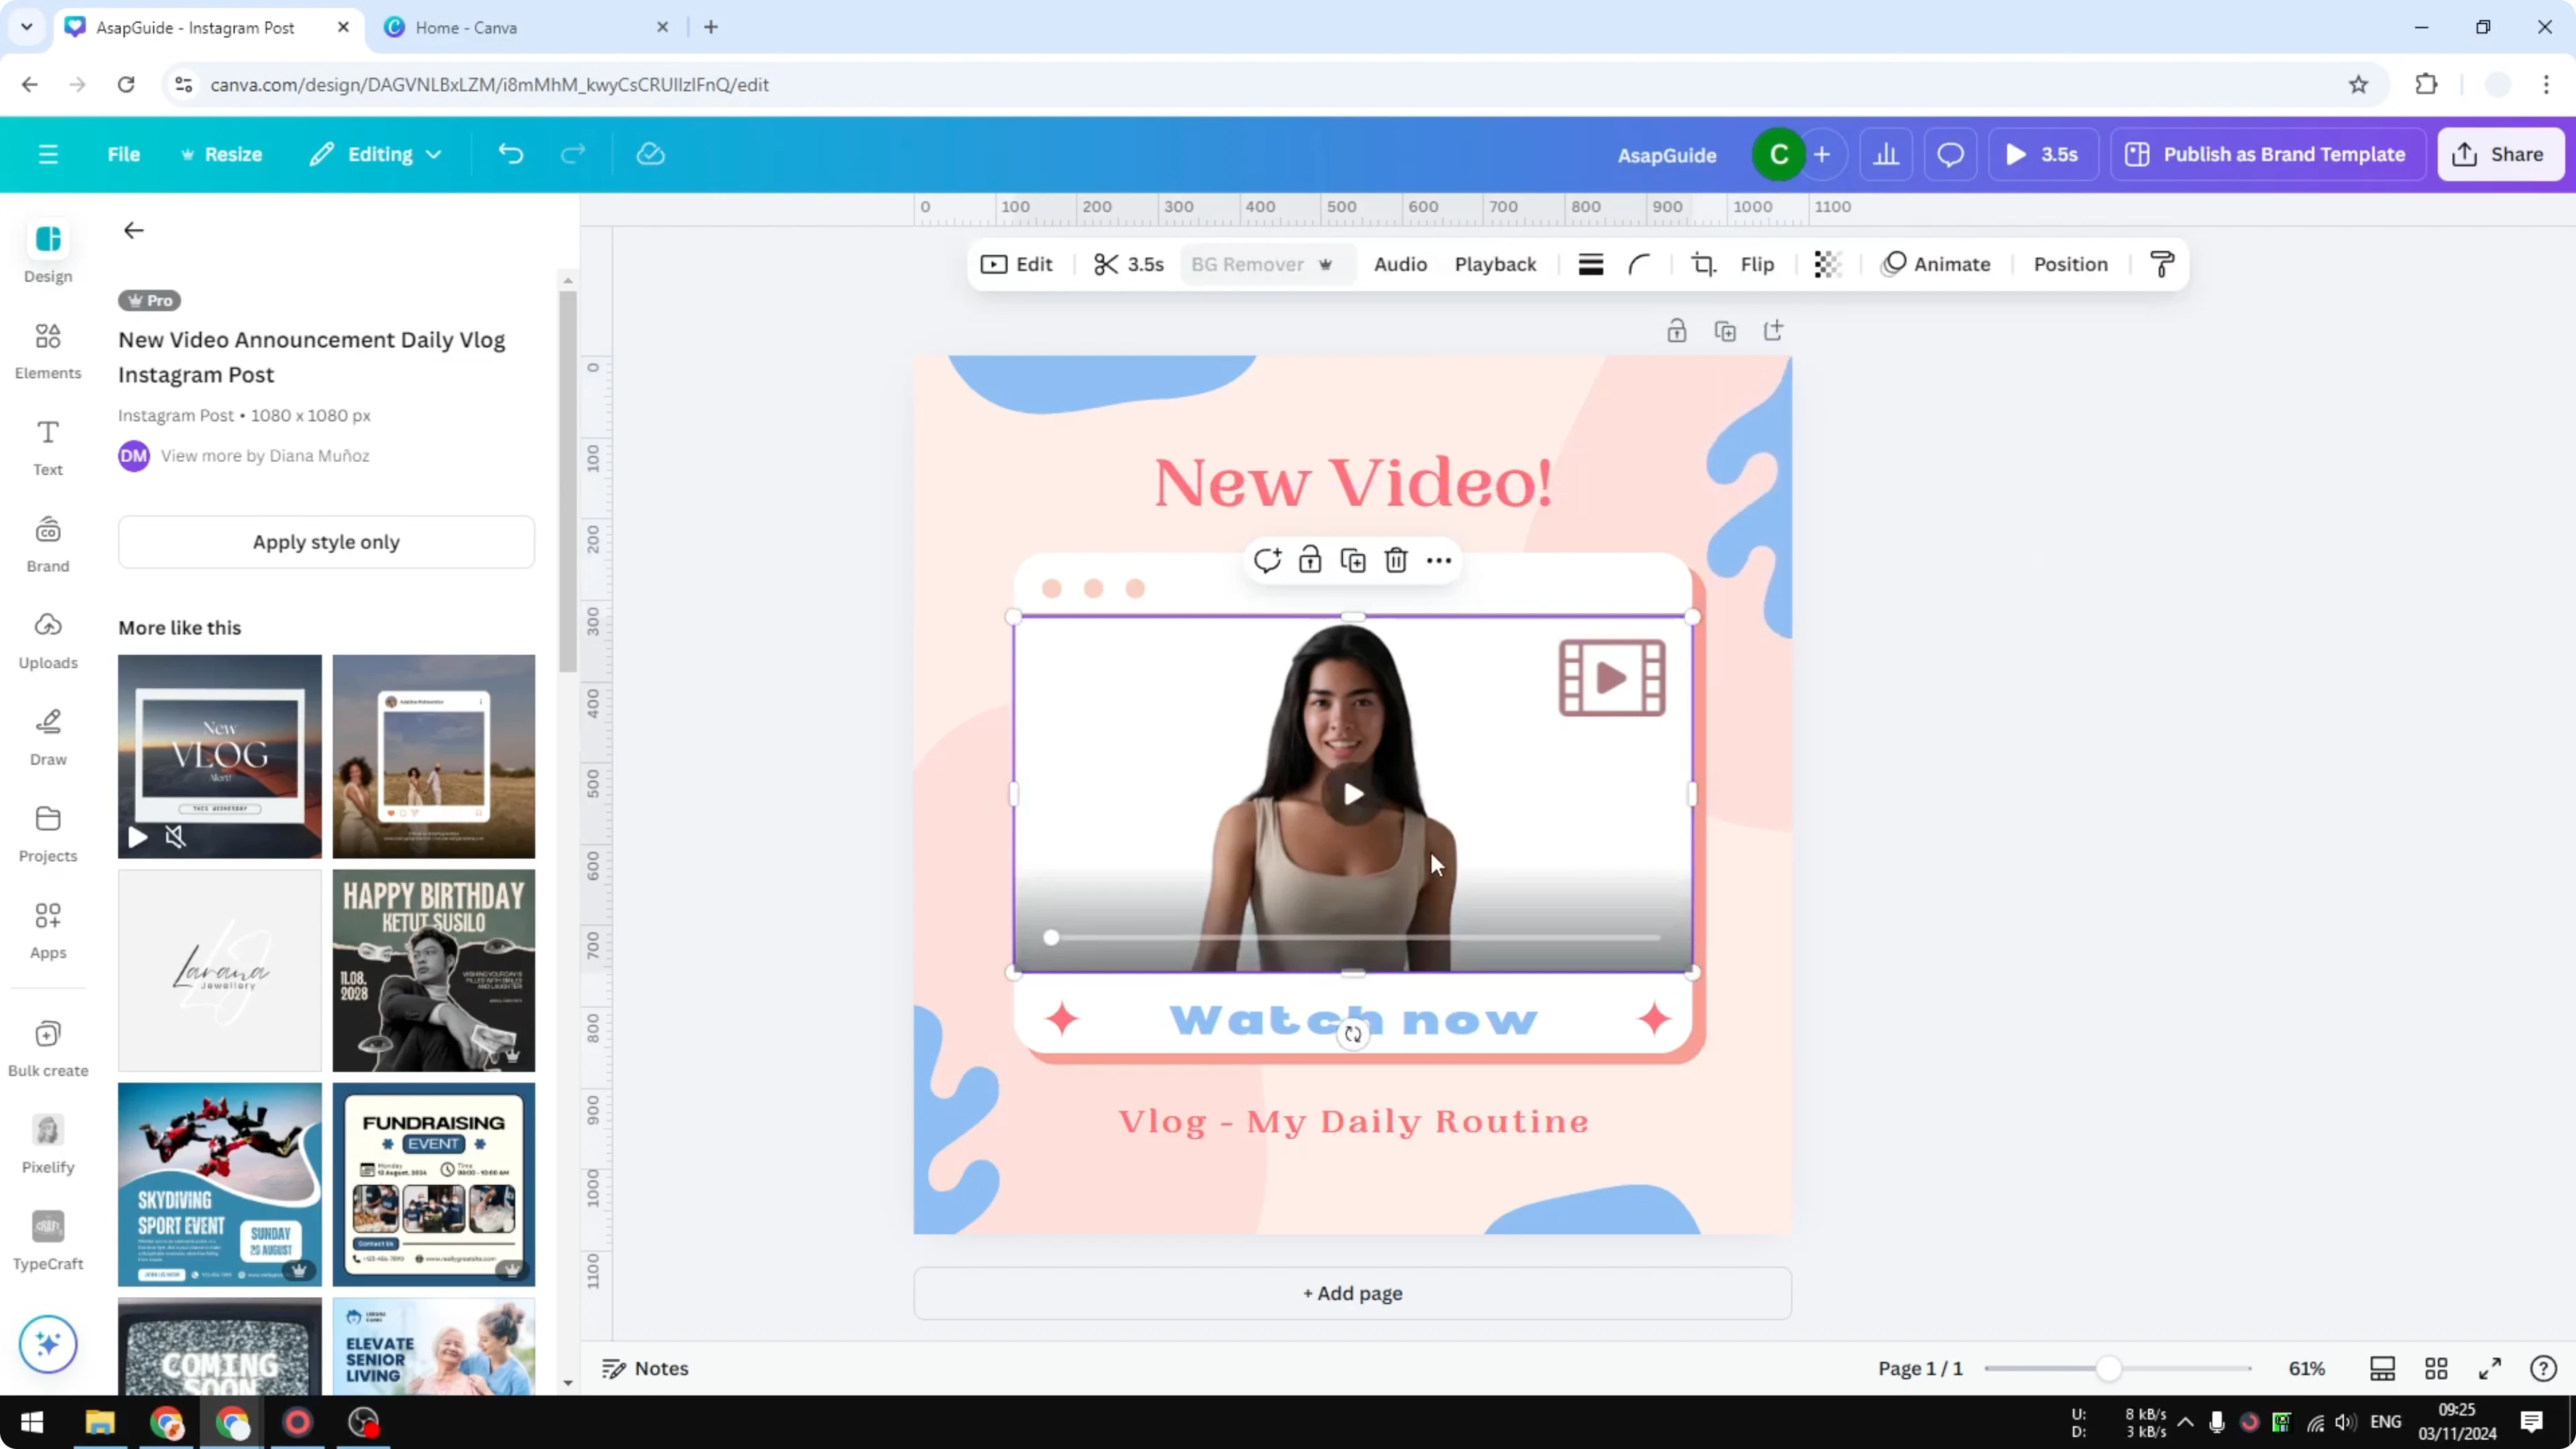
Click the video on your canvas.

In the top toolbar, open Transparency.

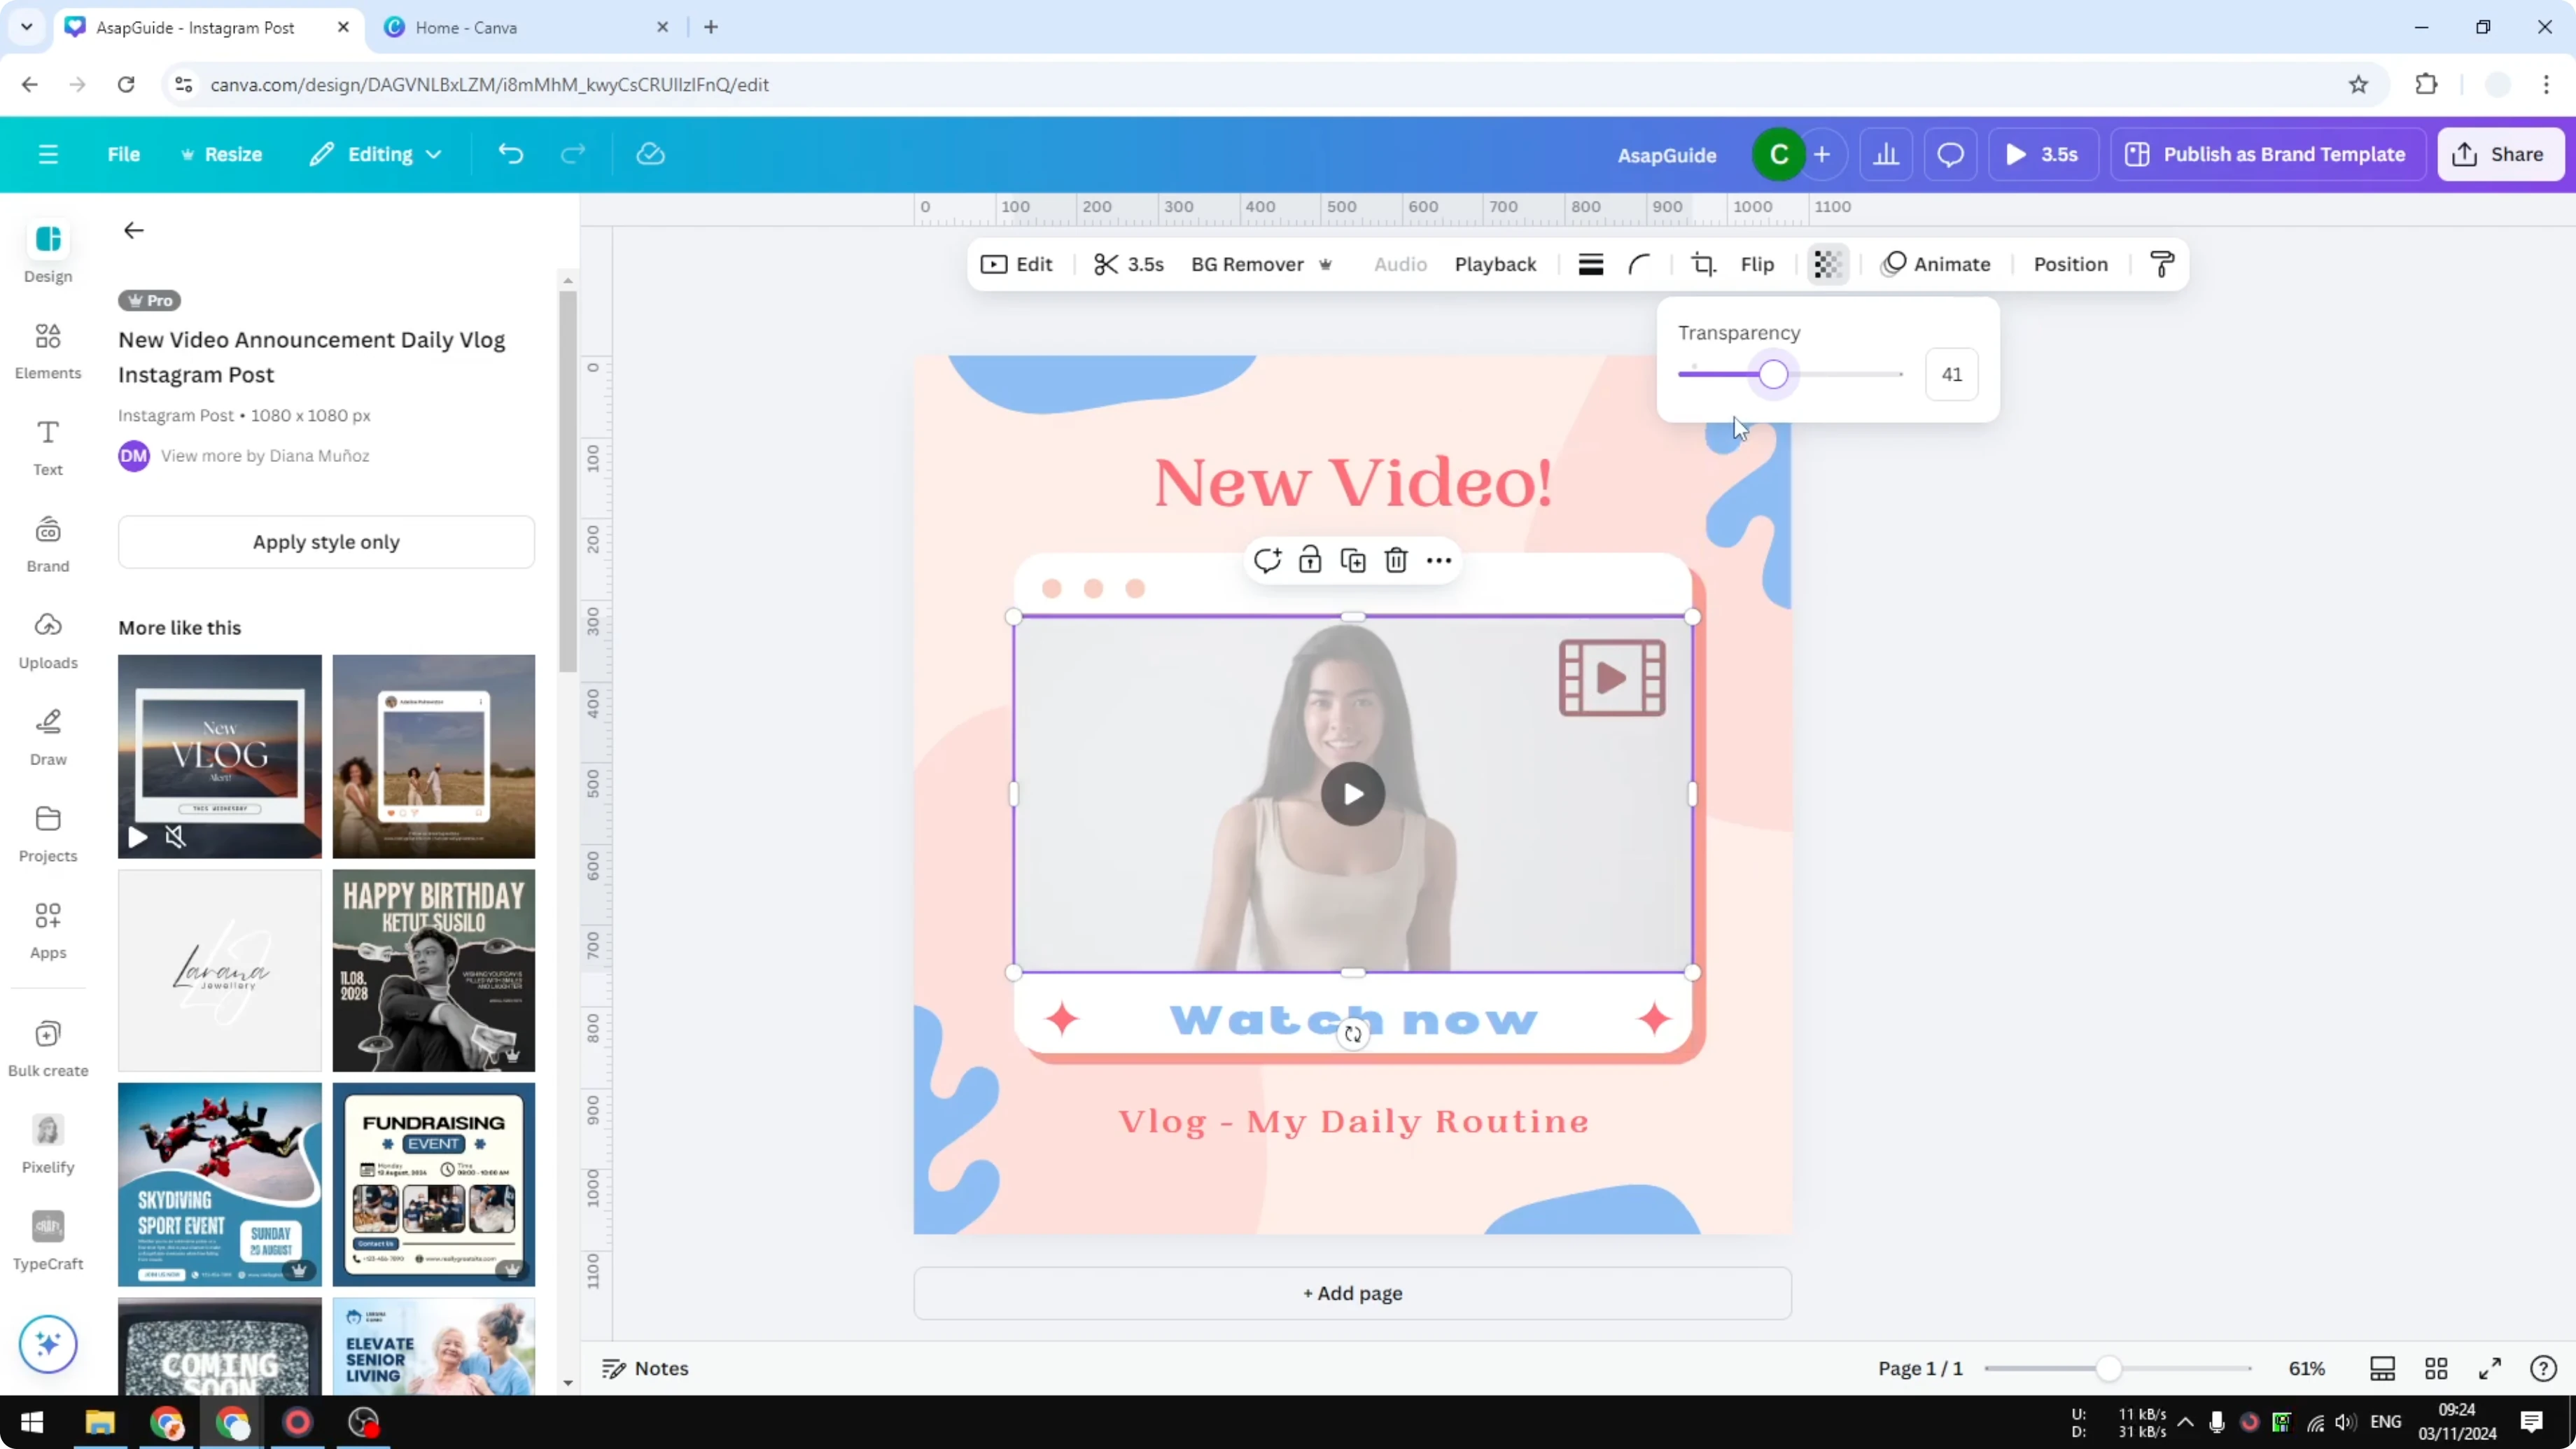
Adjust the value from 100 to 0 to control how visible the video is, with 0 making it fully transparent.
If you have an image behind the video, that image becomes visible as you reduce the video’s transparency. This is a quick way to blend your clip with a background or overlay.
For extra styling after you set transparency, you can also add a filter to a video in Canva.
Make the background transparent but keep the subject
If you want the background fully transparent while keeping the subject intact, use Background Remover for video.
Select the video.
Click Background Remover to automatically remove the background.
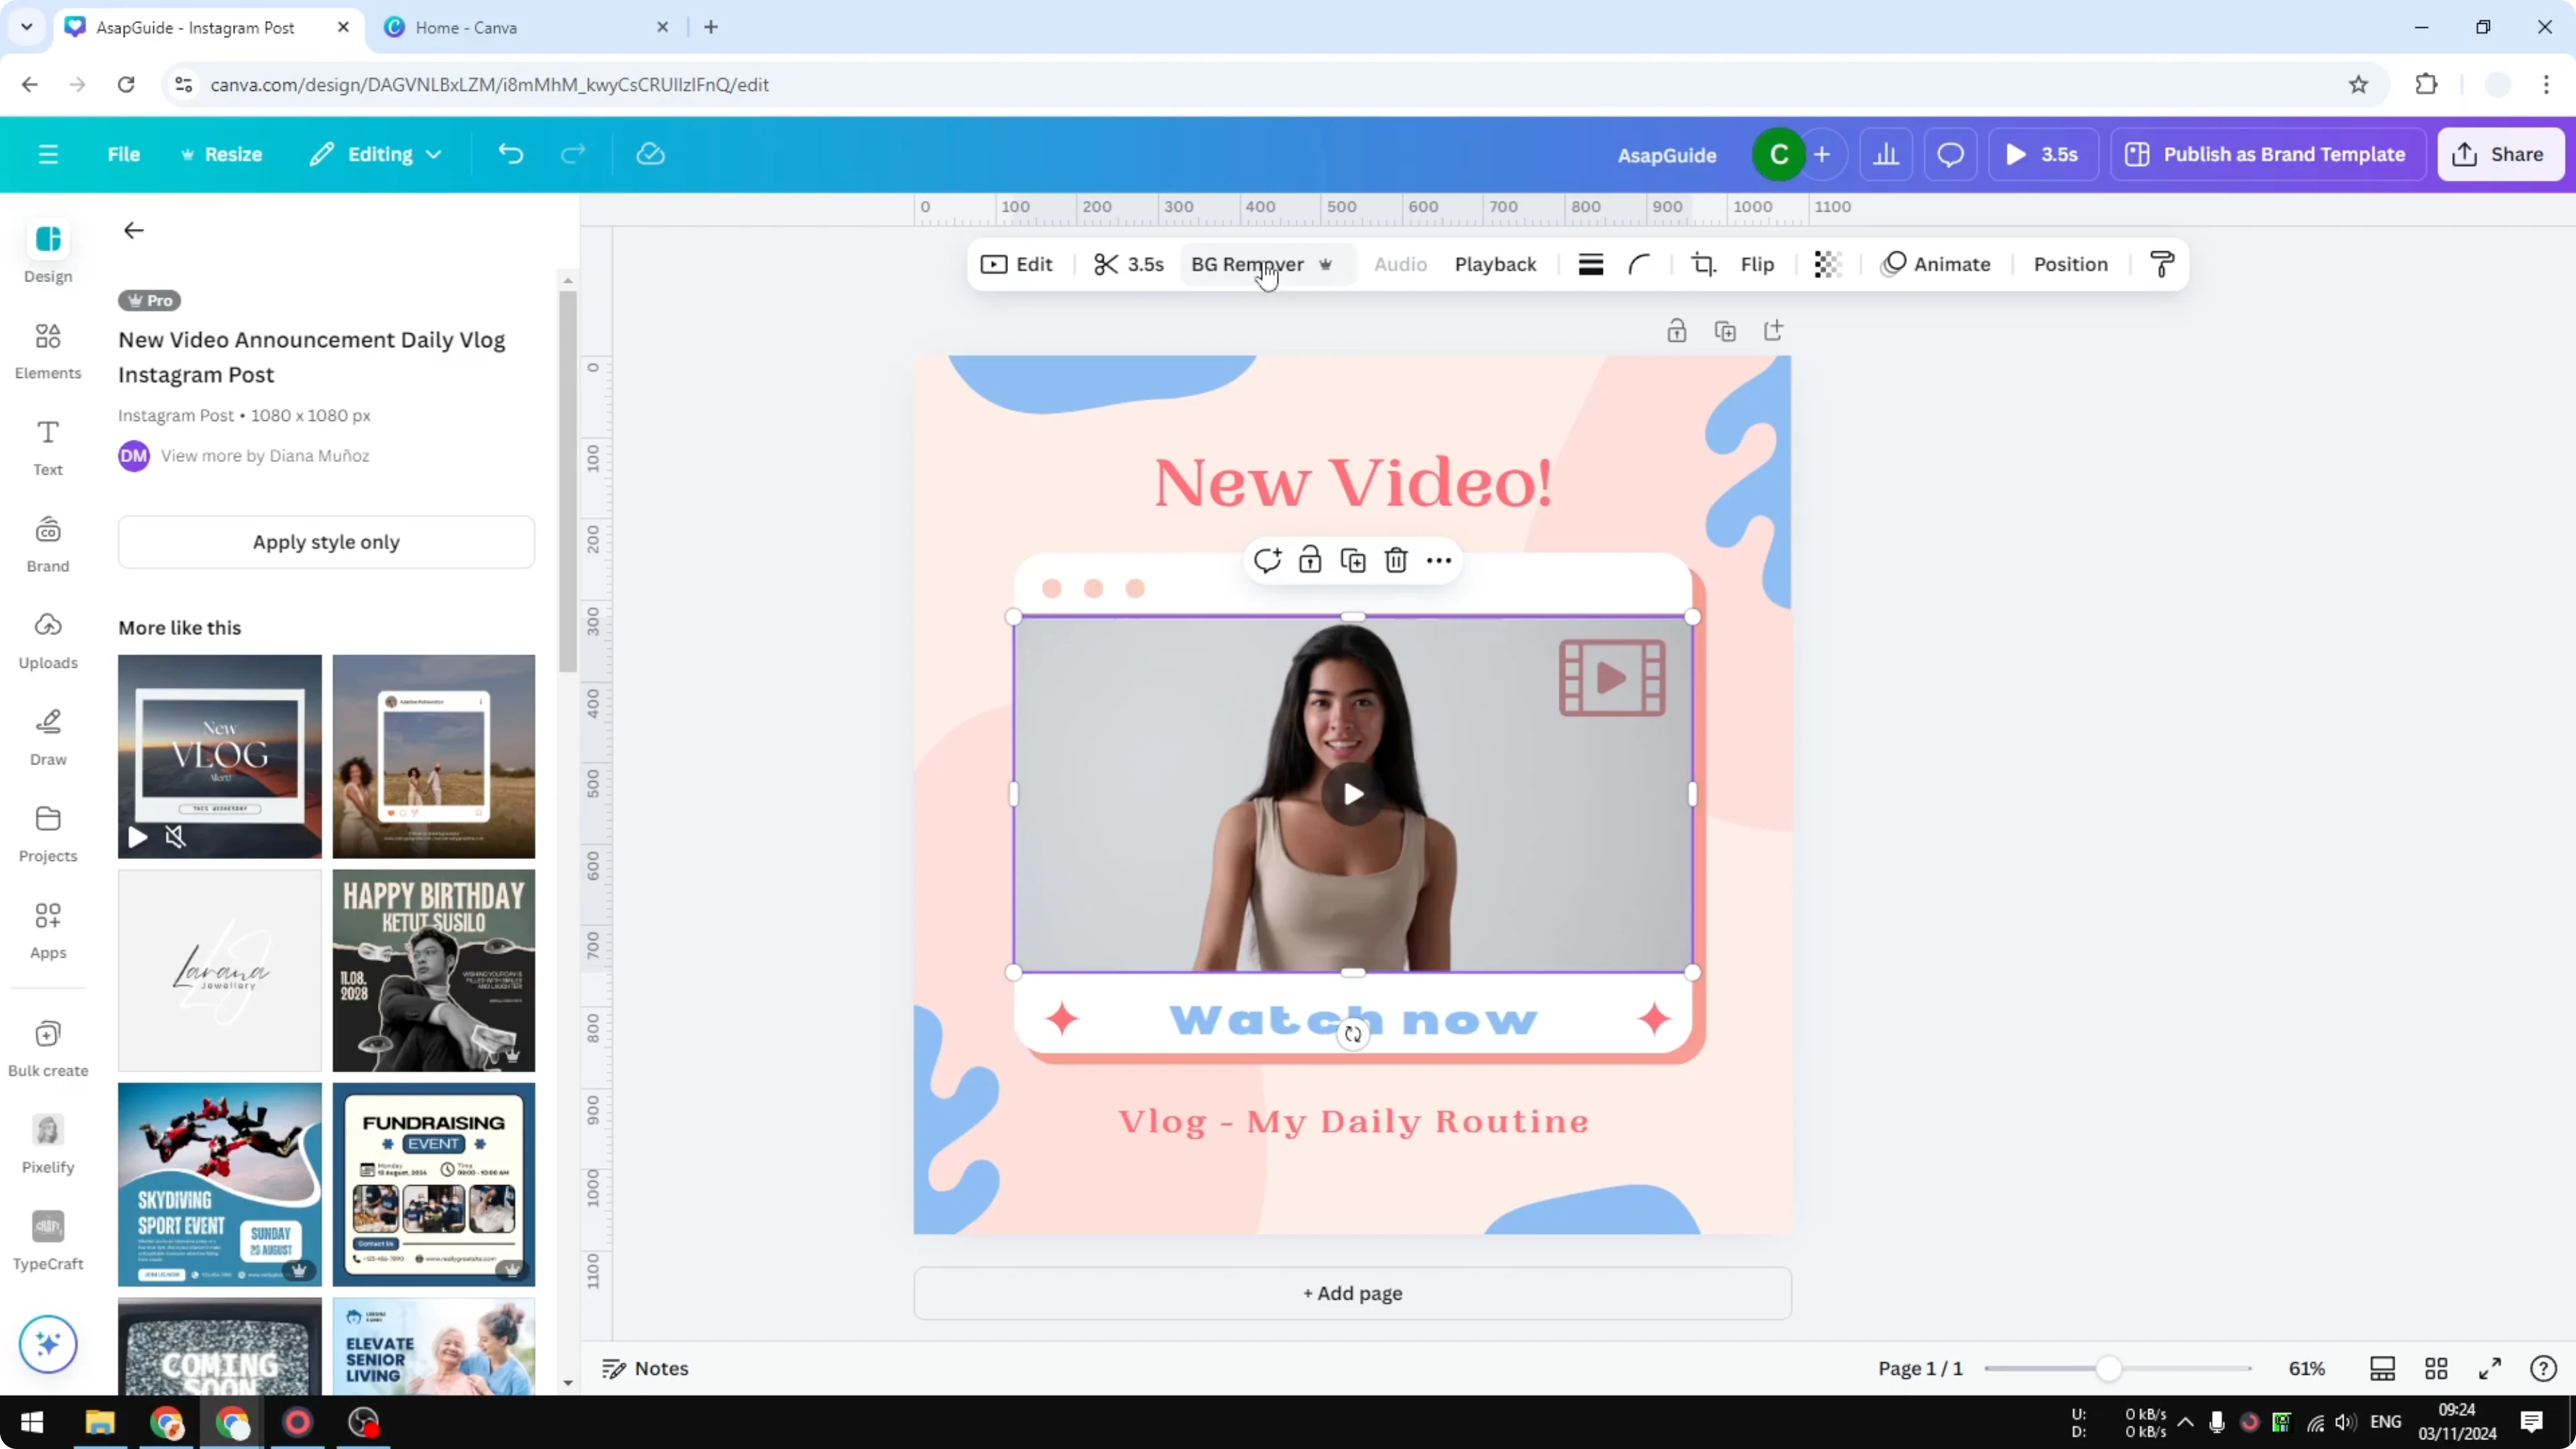
Once processed, the background area is empty. You can place other elements or images behind the subject and they will appear behind it.

Place elements behind the subject
Add any element or image you like to the canvas.
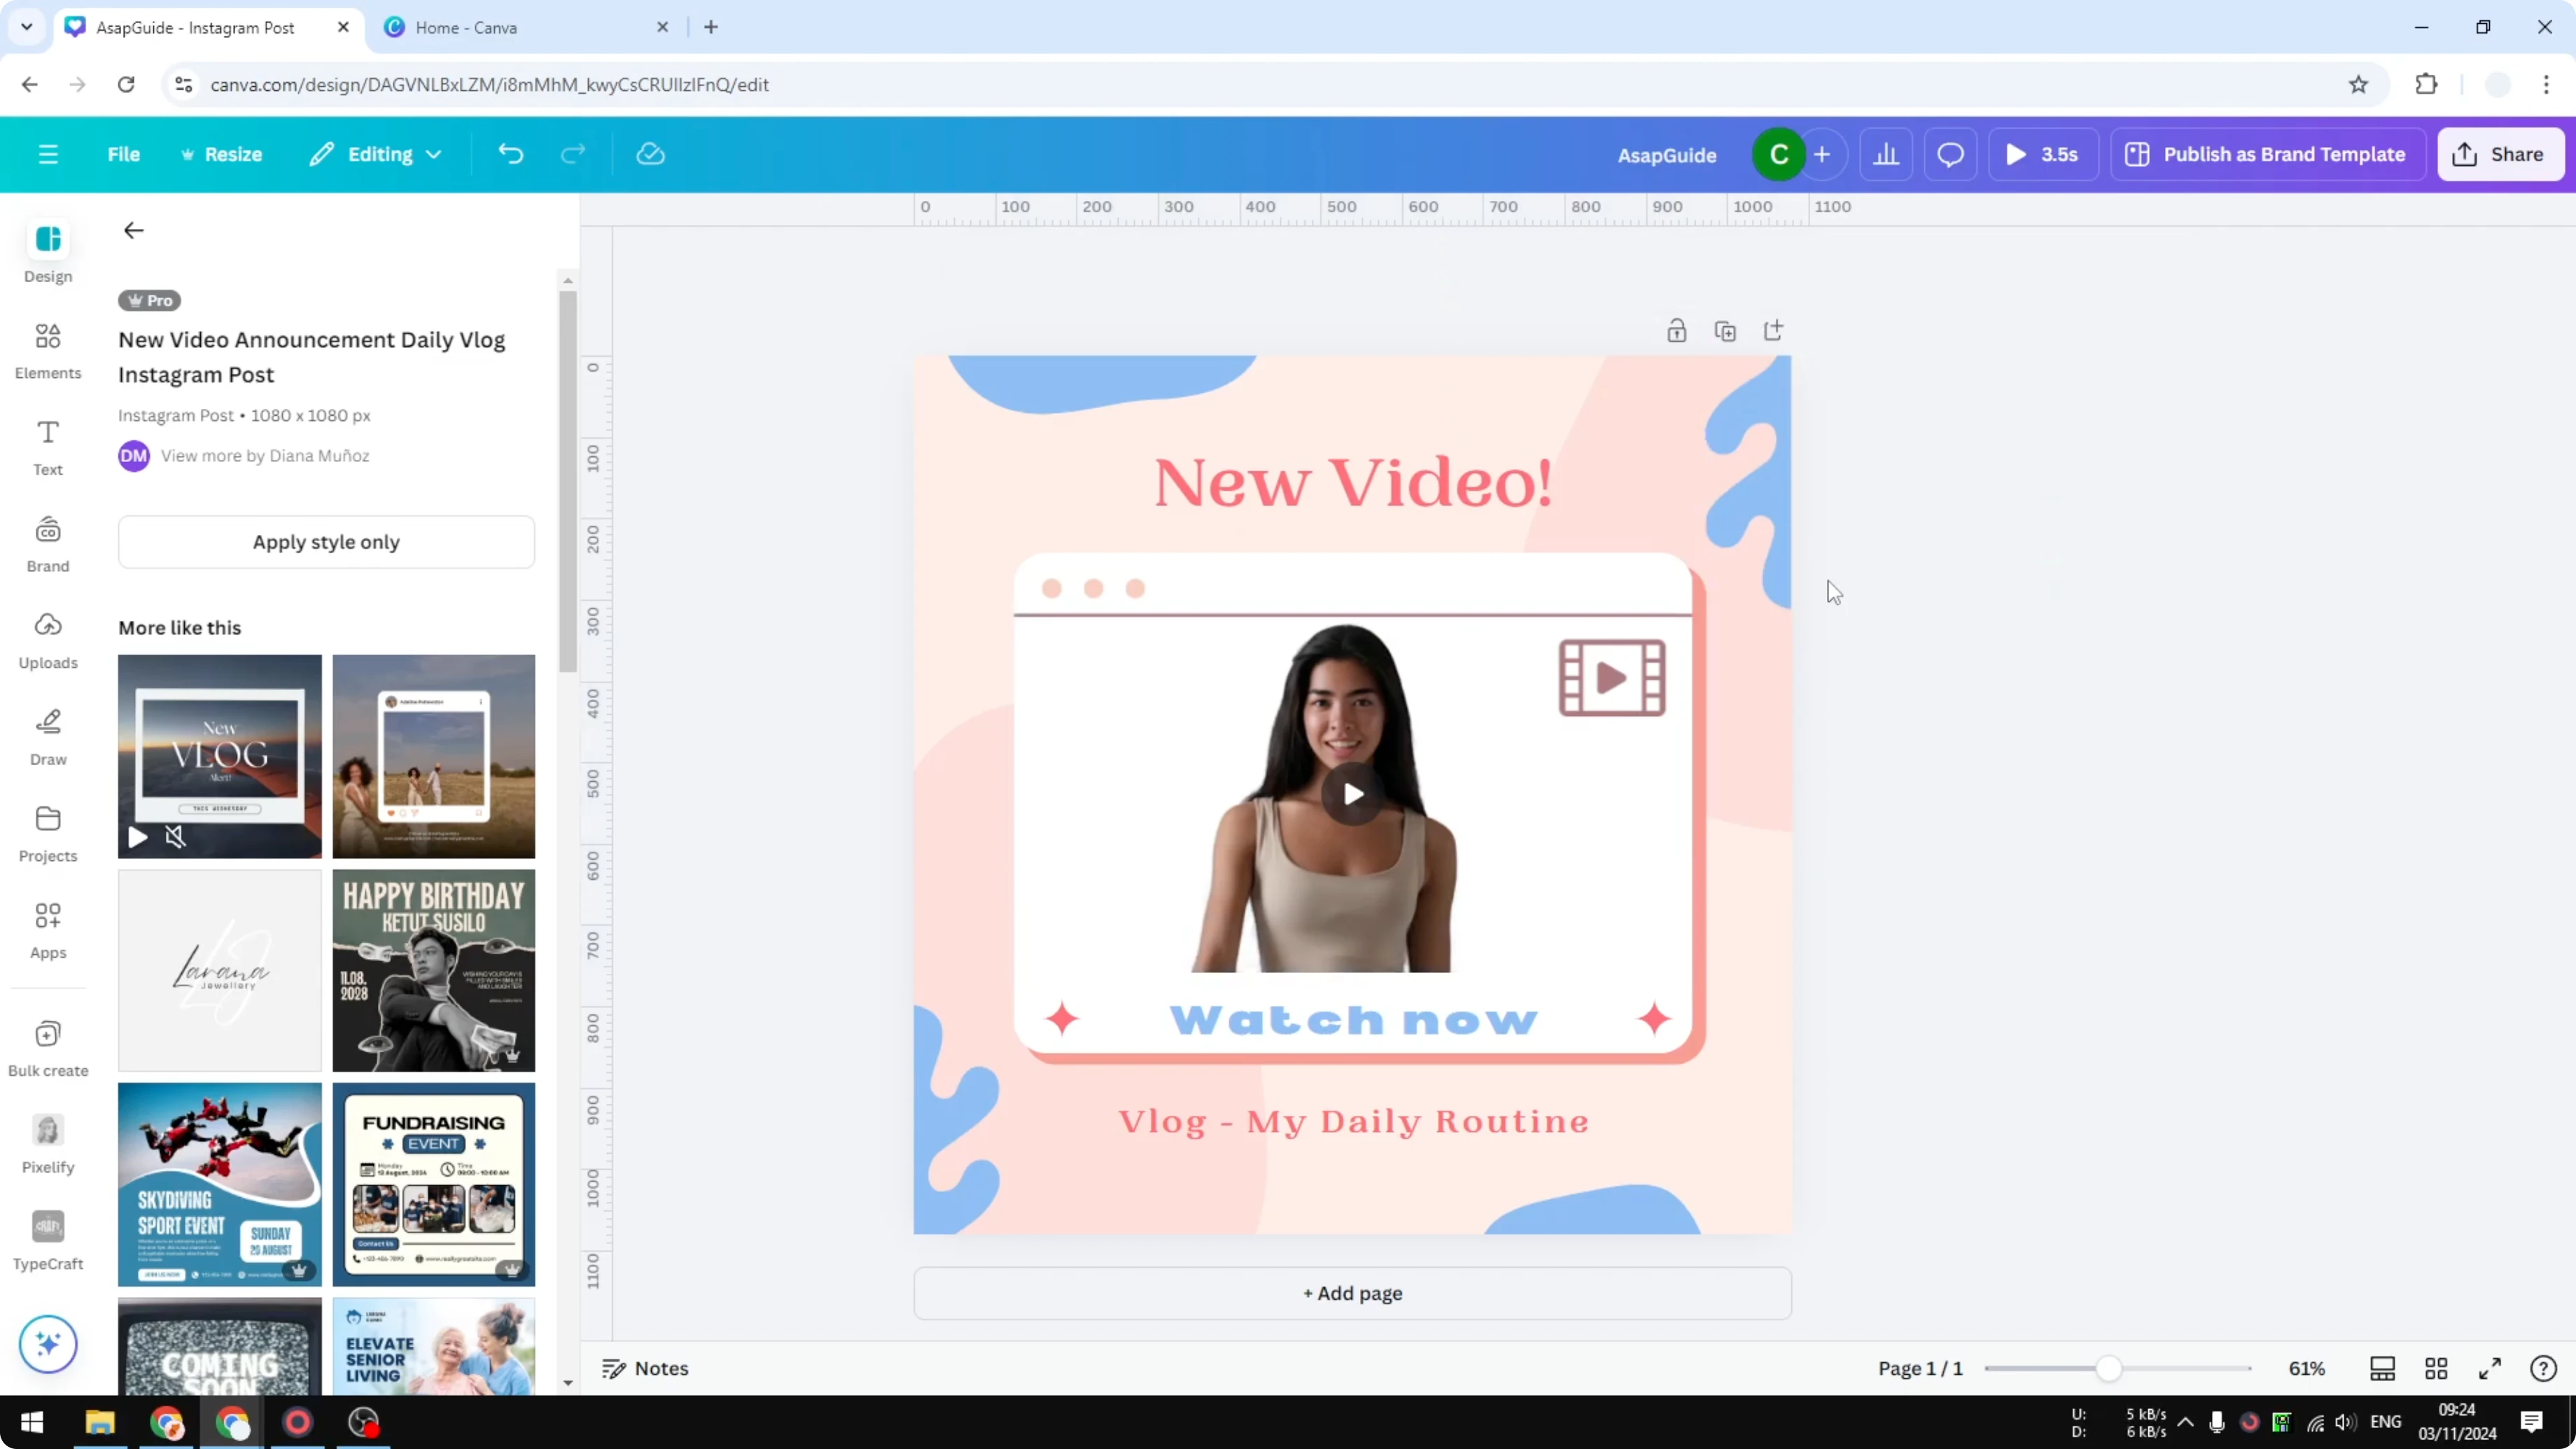
Position it where you want the background to appear, then right click and choose Send to back, or use your keyboard shortcut.
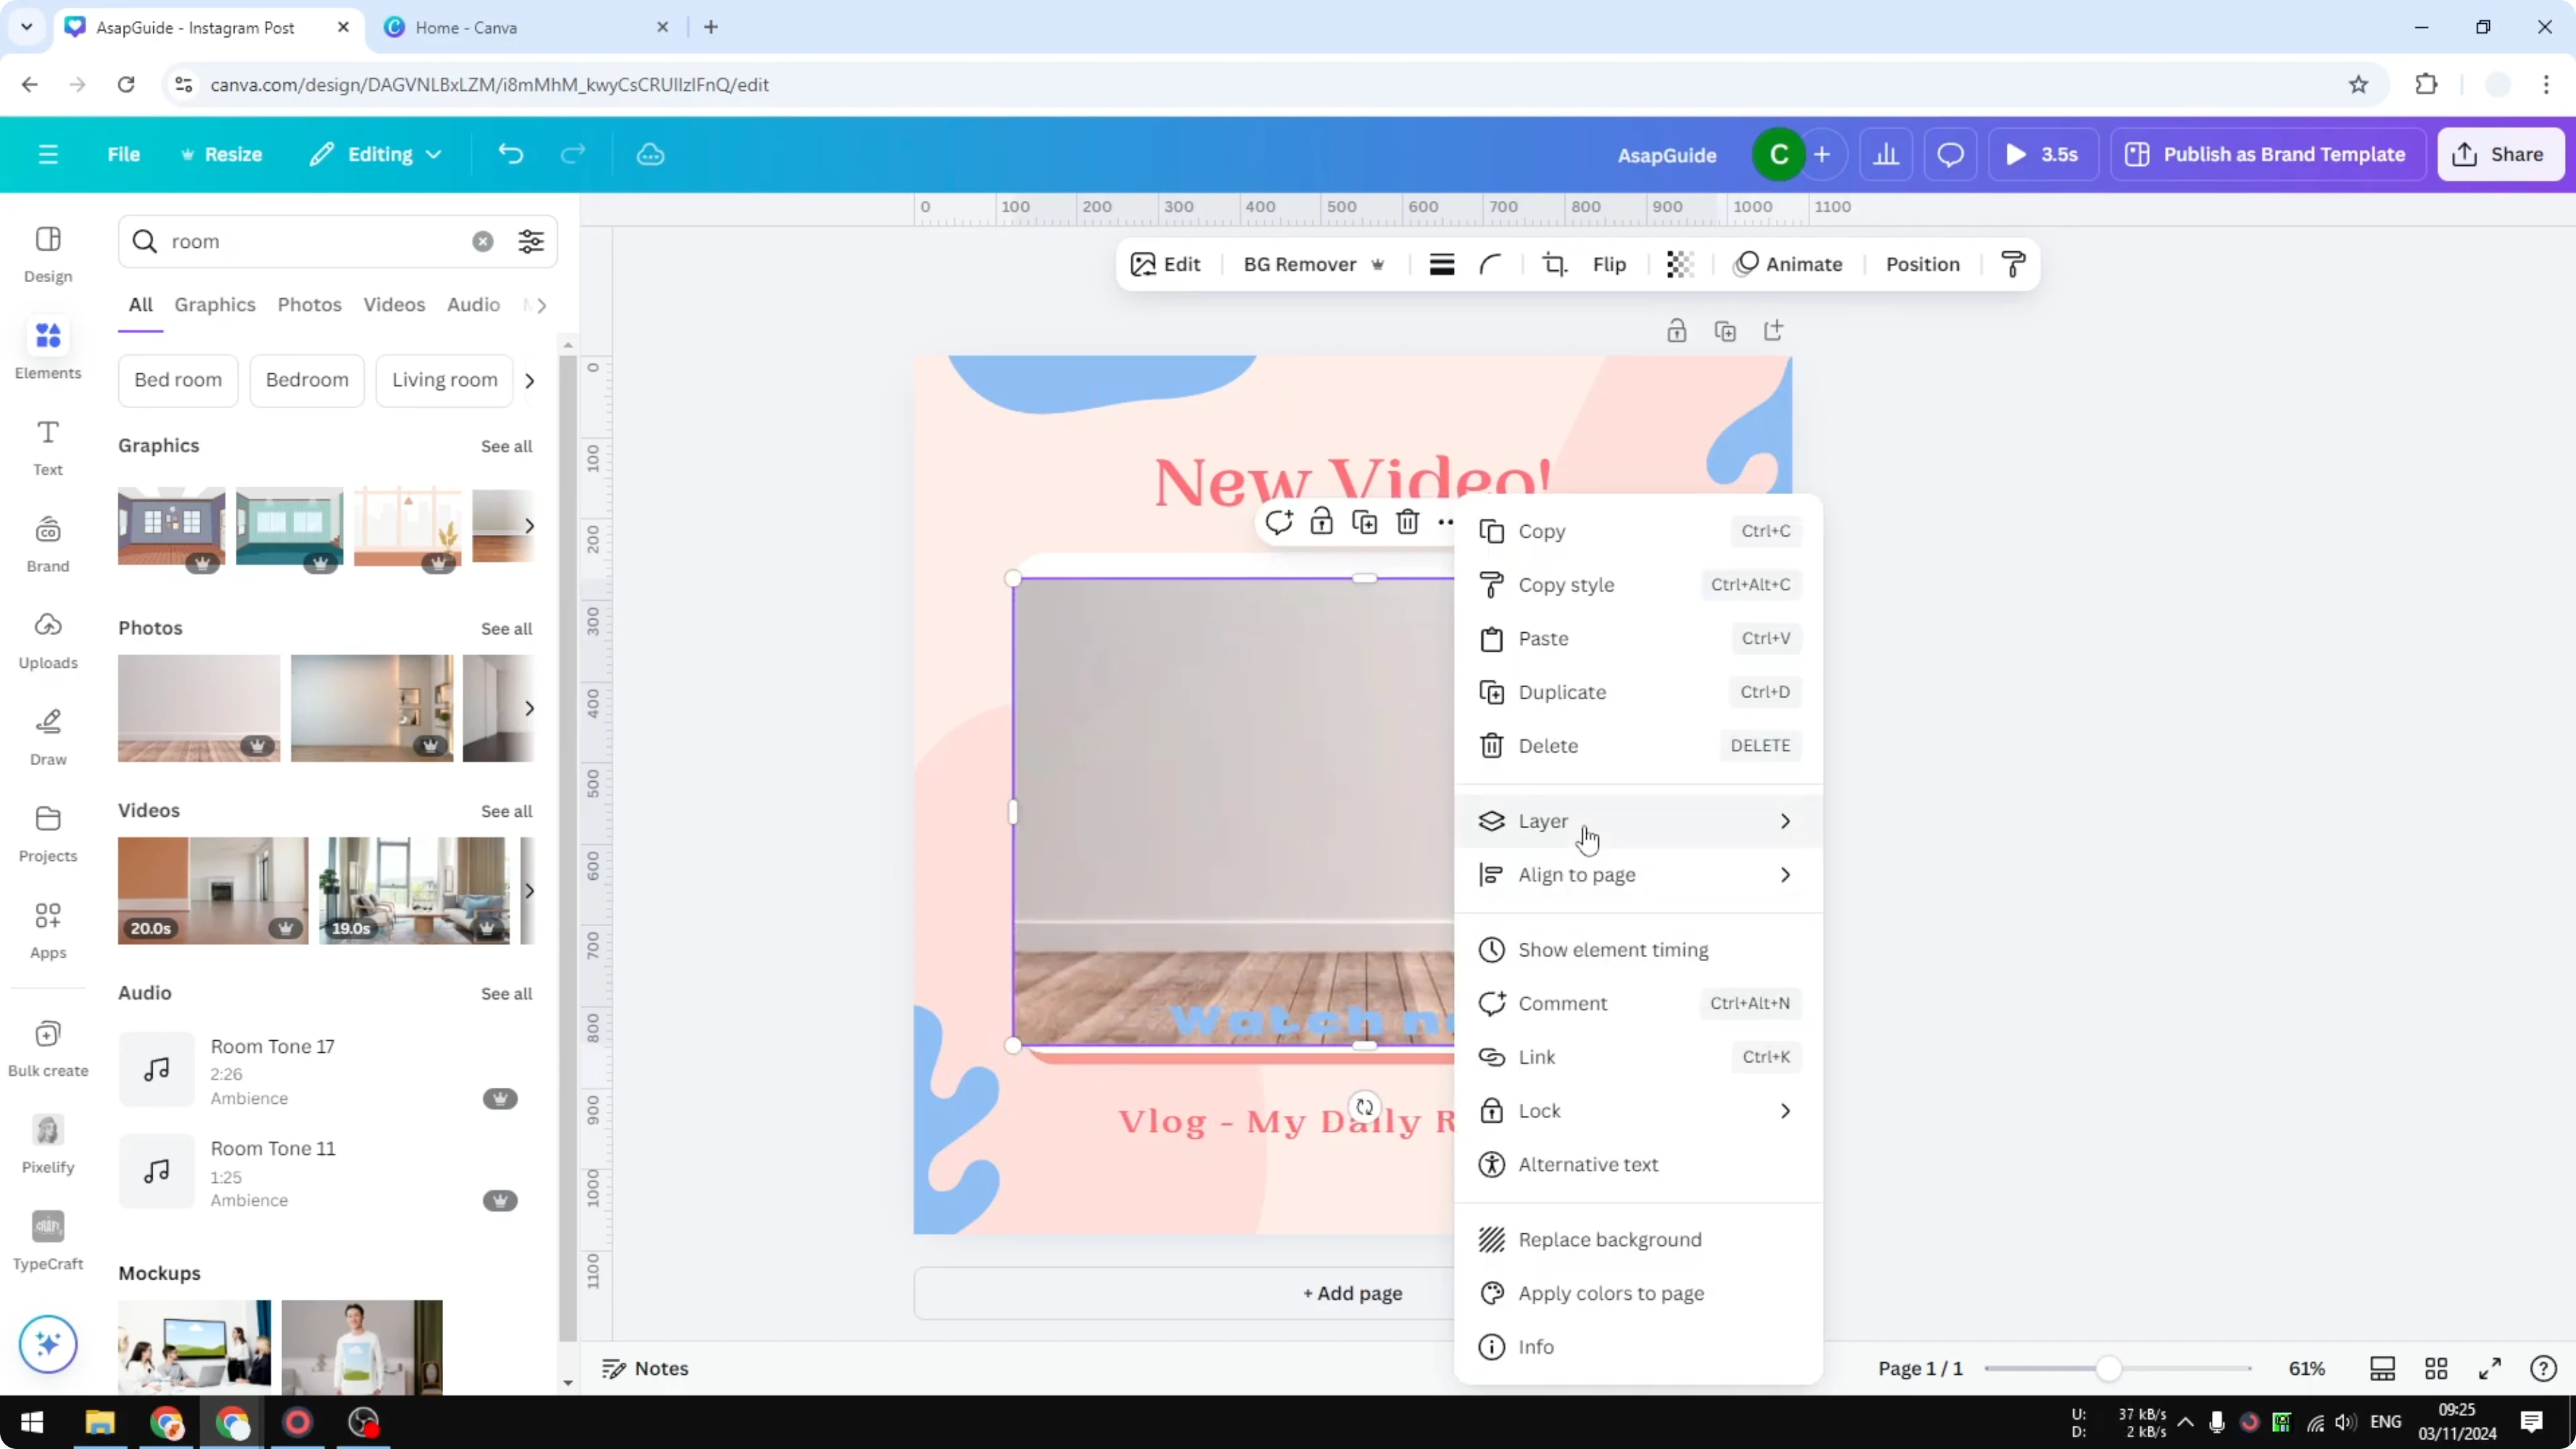
This lets you switch the gray background for a room photo, a color, or any other design you prefer.
When you start arranging multiple clips, you can also apply transitions between clips in Canva to polish the sequence.
Final Thoughts
Adjusting transparency gives you precise control over how your video blends with other elements. Background Remover lets you keep the subject while changing out the background for a cleaner, more flexible look.
If you need to brand your final edit, you can add a watermark to your Canva video before exporting.
Recent Posts
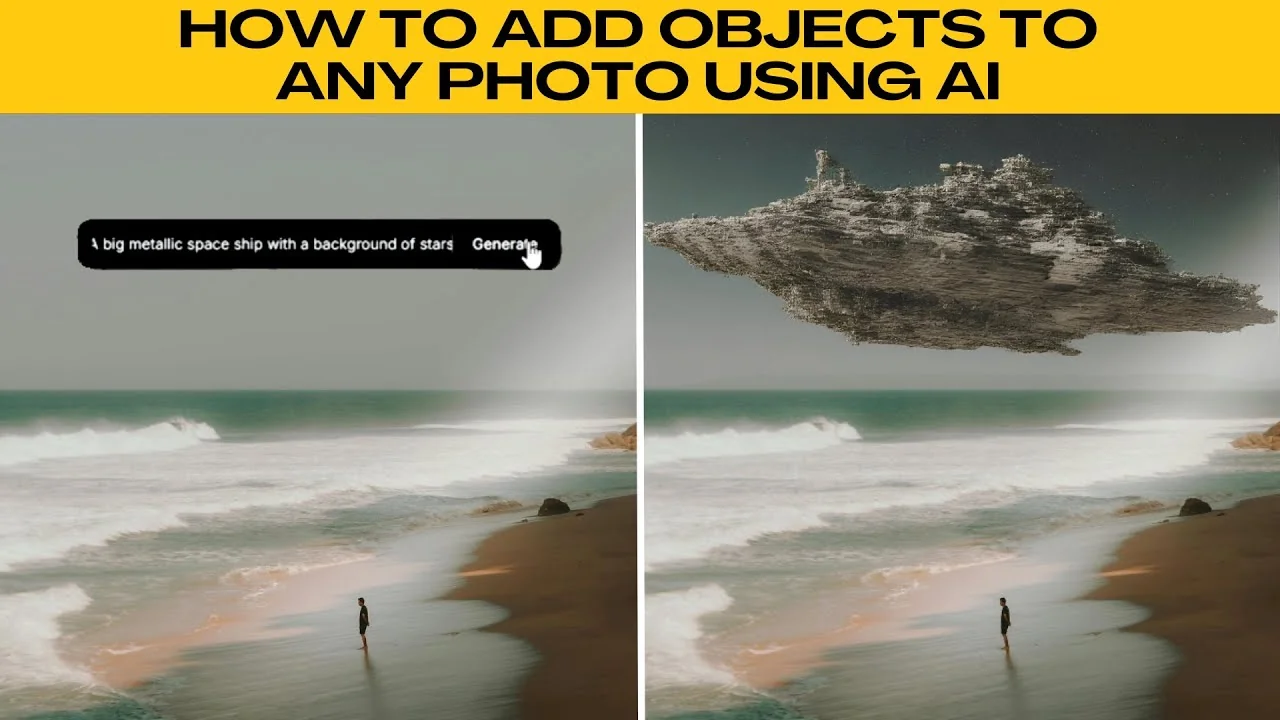
How to Seamlessly Add Objects to Any Photo with AI?
How to Seamlessly Add Objects to Any Photo with AI?
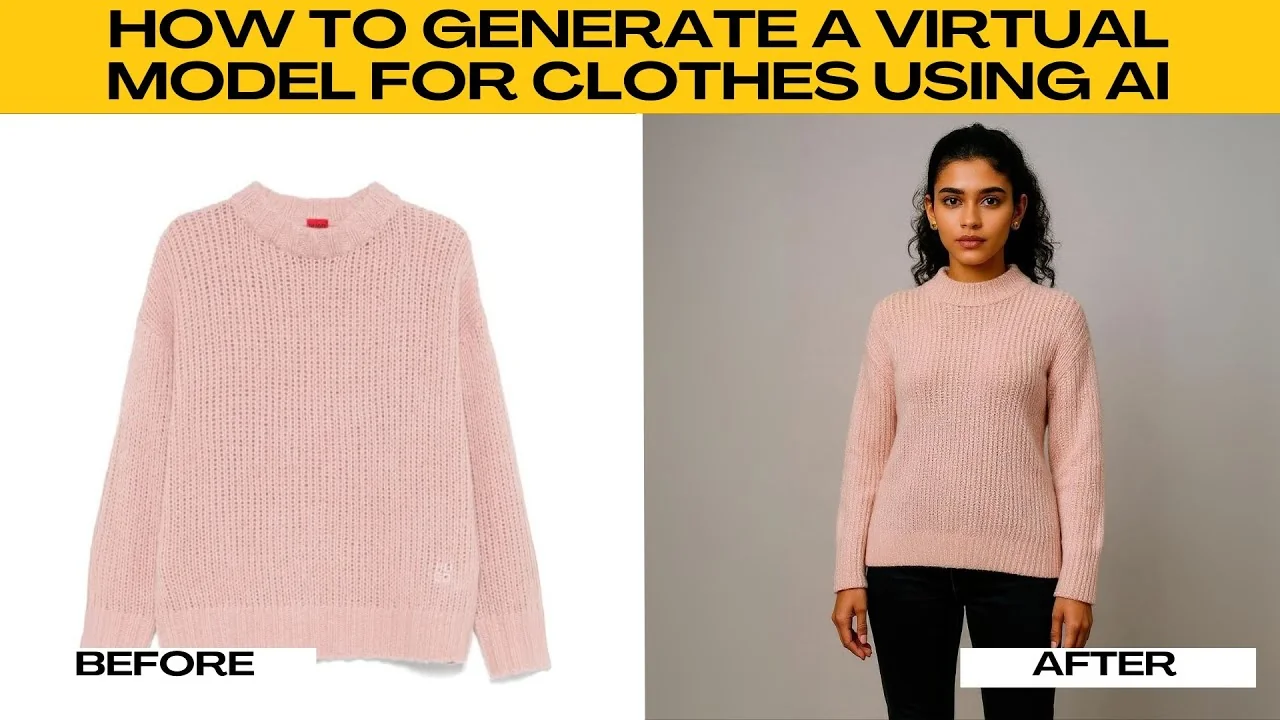
How to Showcase Outfits Digitally by Generating a Virtual Model with AI?
How to Showcase Outfits Digitally by Generating a Virtual Model with AI?
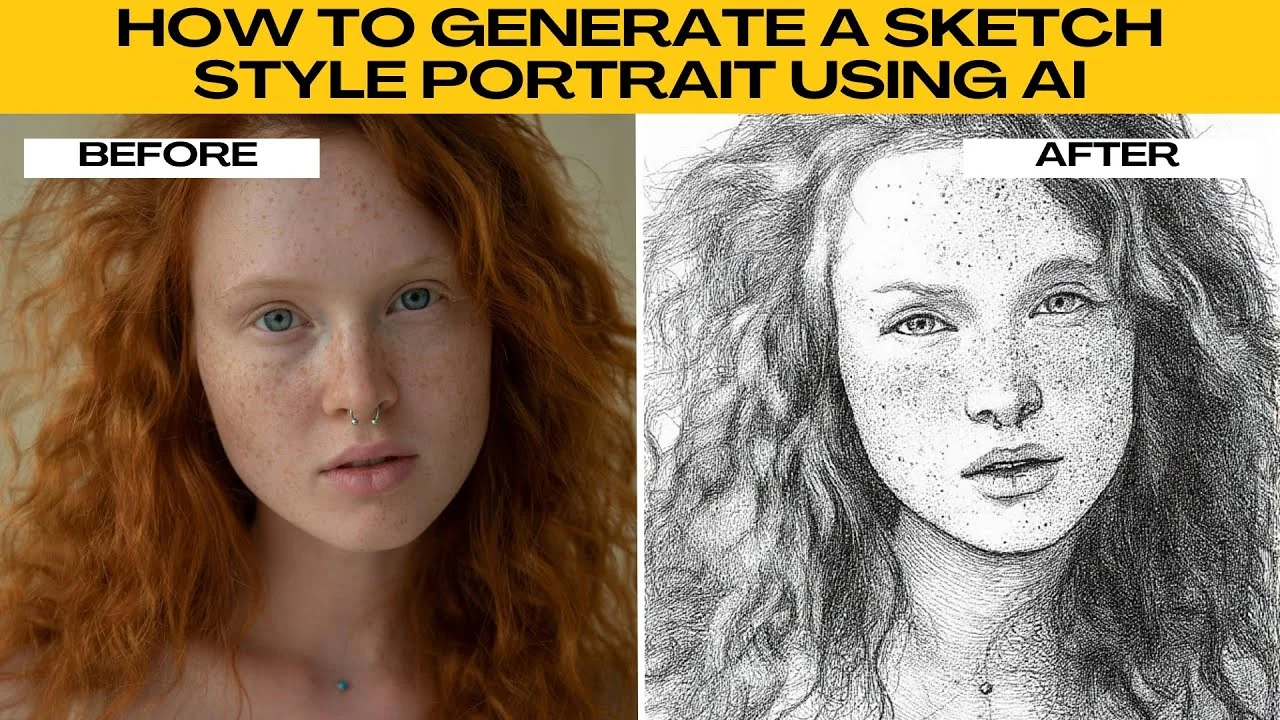
How to Transform Your Photos into Artistic Sketch Portraits with AI?
How to Transform Your Photos into Artistic Sketch Portraits with AI?