How to Adjust Color of Canva Images
I’m going to show you how to adjust the color of a photo in Canva. I have a photo of a woman sniffing a rose and I want to adjust the color or the style. There are multiple ways to do that in Canva and I’m not using a third party tool because Canva has everything covered.
Click the photo. Click Edit. Click Adjust.
Adjust Color of Canva Images
Auto Adjust
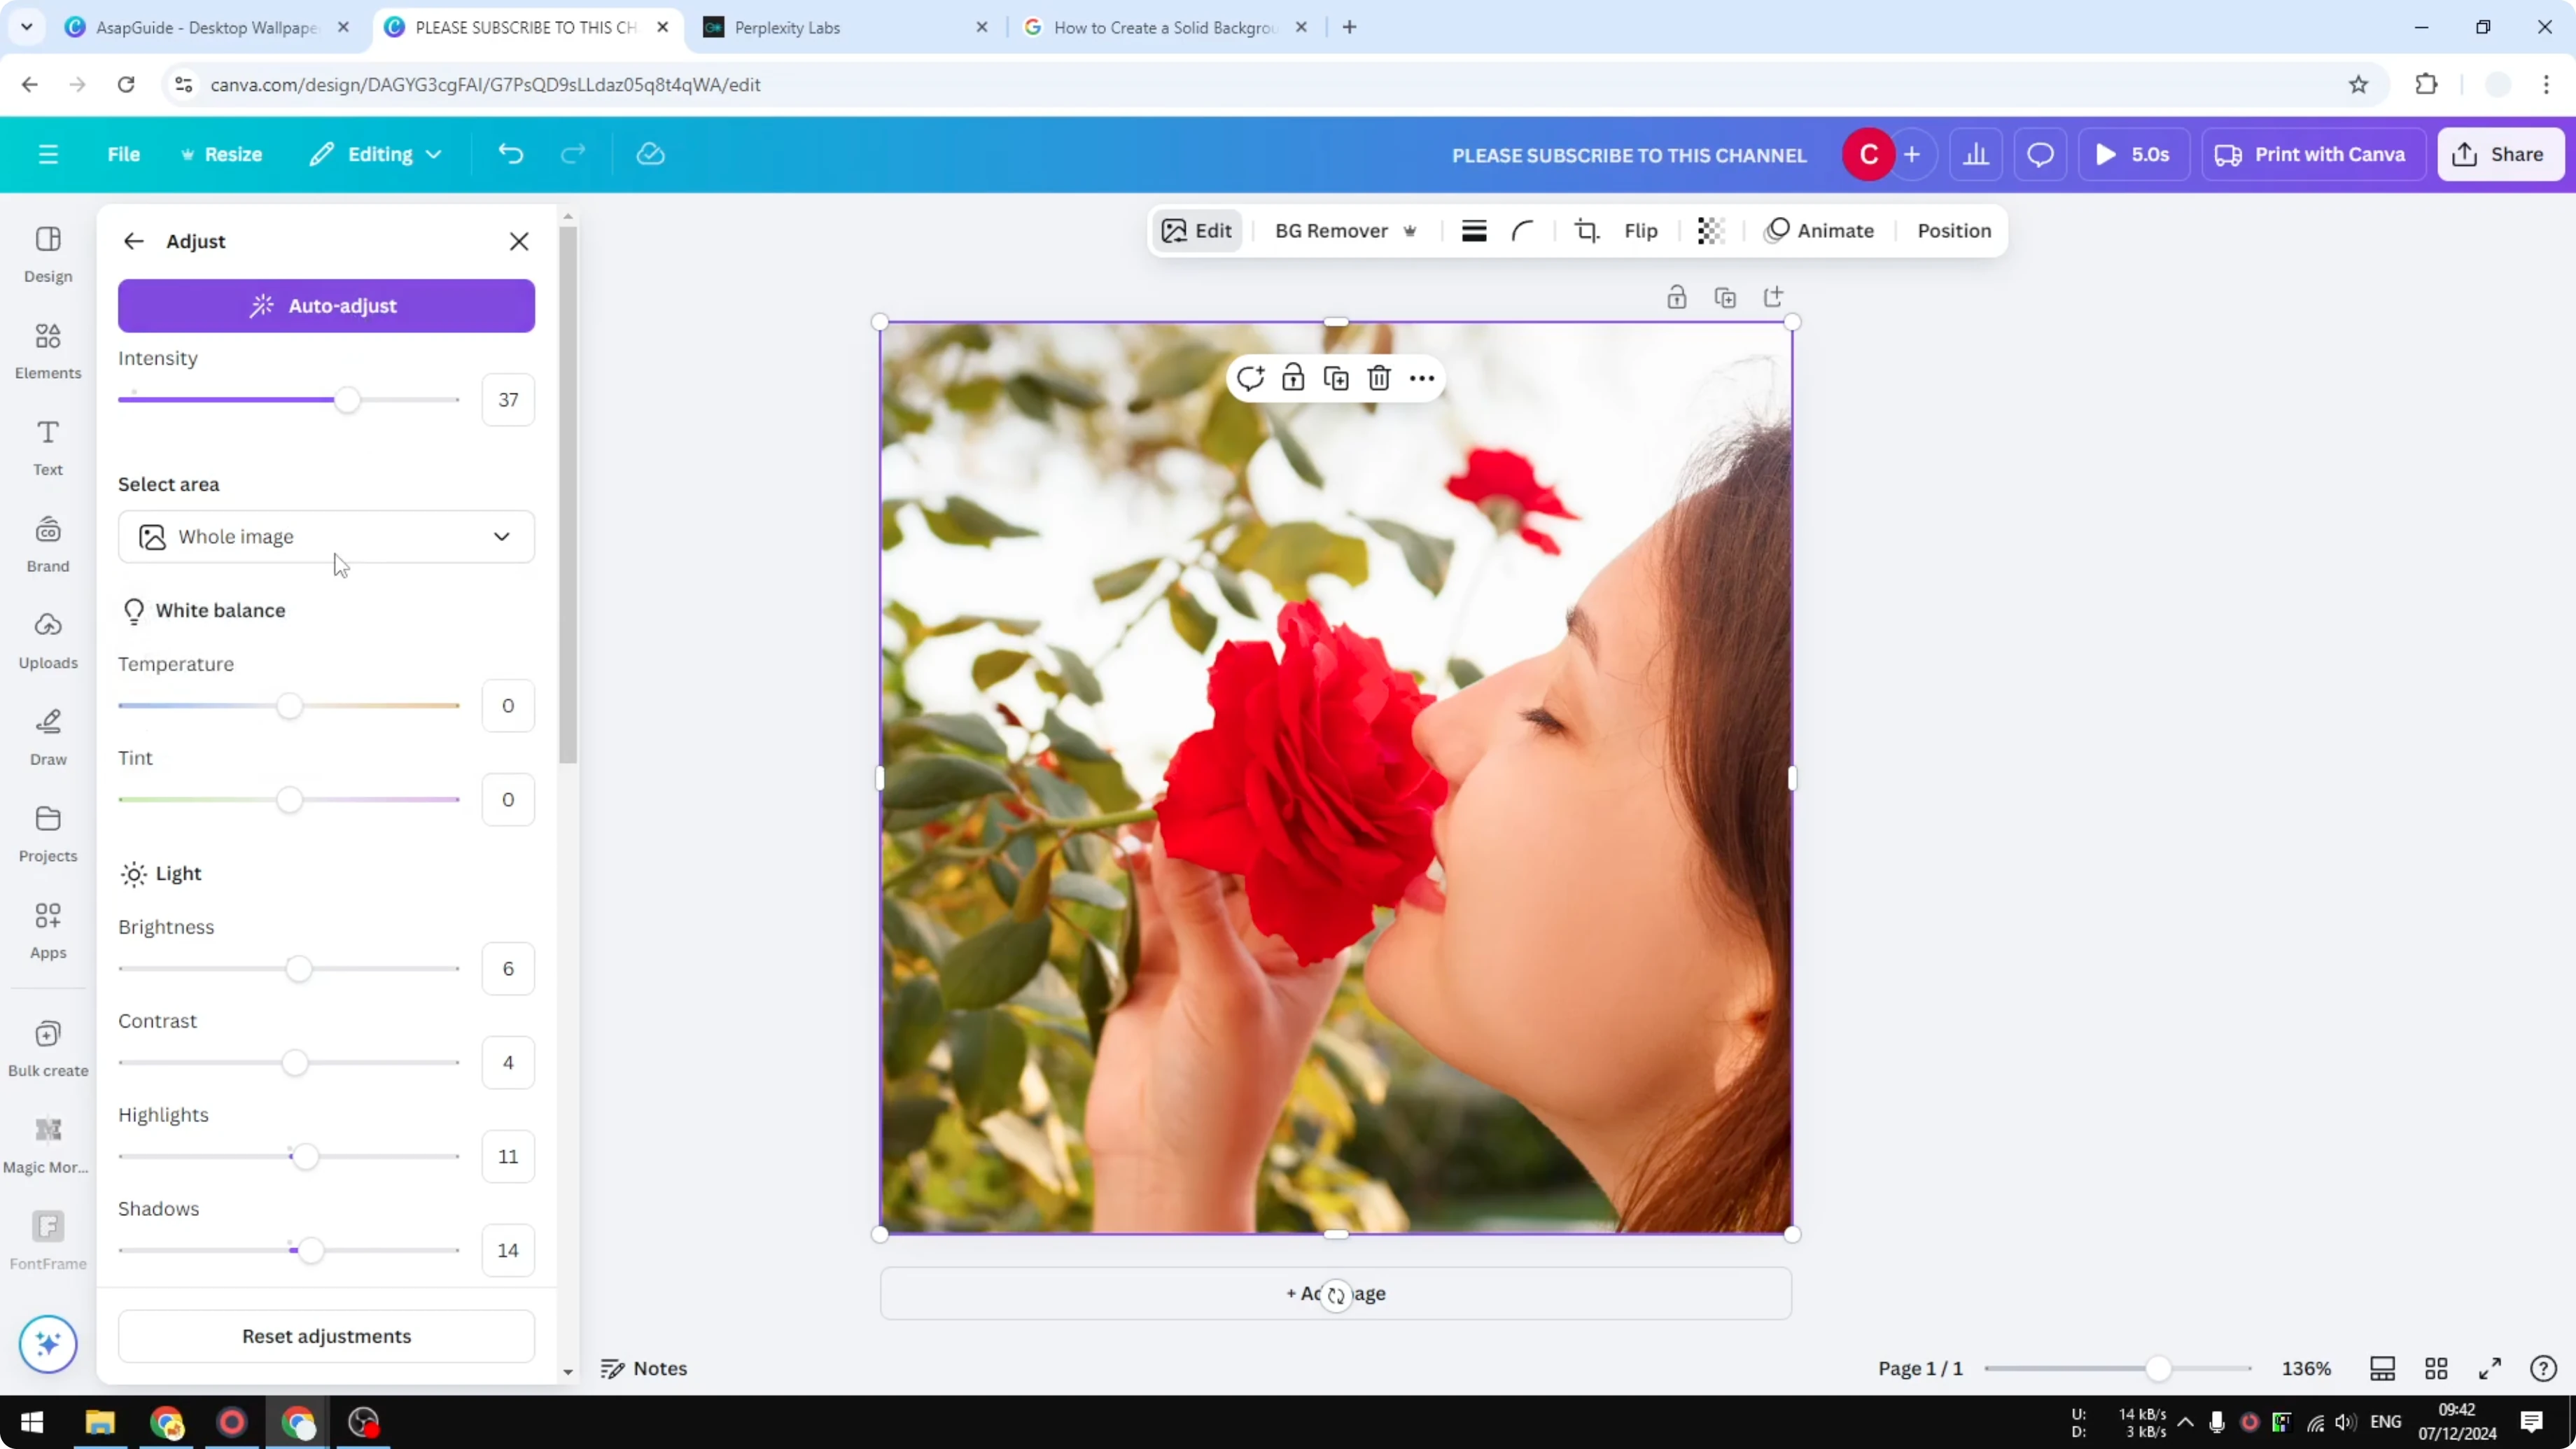
Auto Adjust is very helpful because it uses AI to decide the best style for the photo. You can drag the intensity to make it stronger or softer. You can also choose to apply it to the whole image, just the foreground, or just the background.
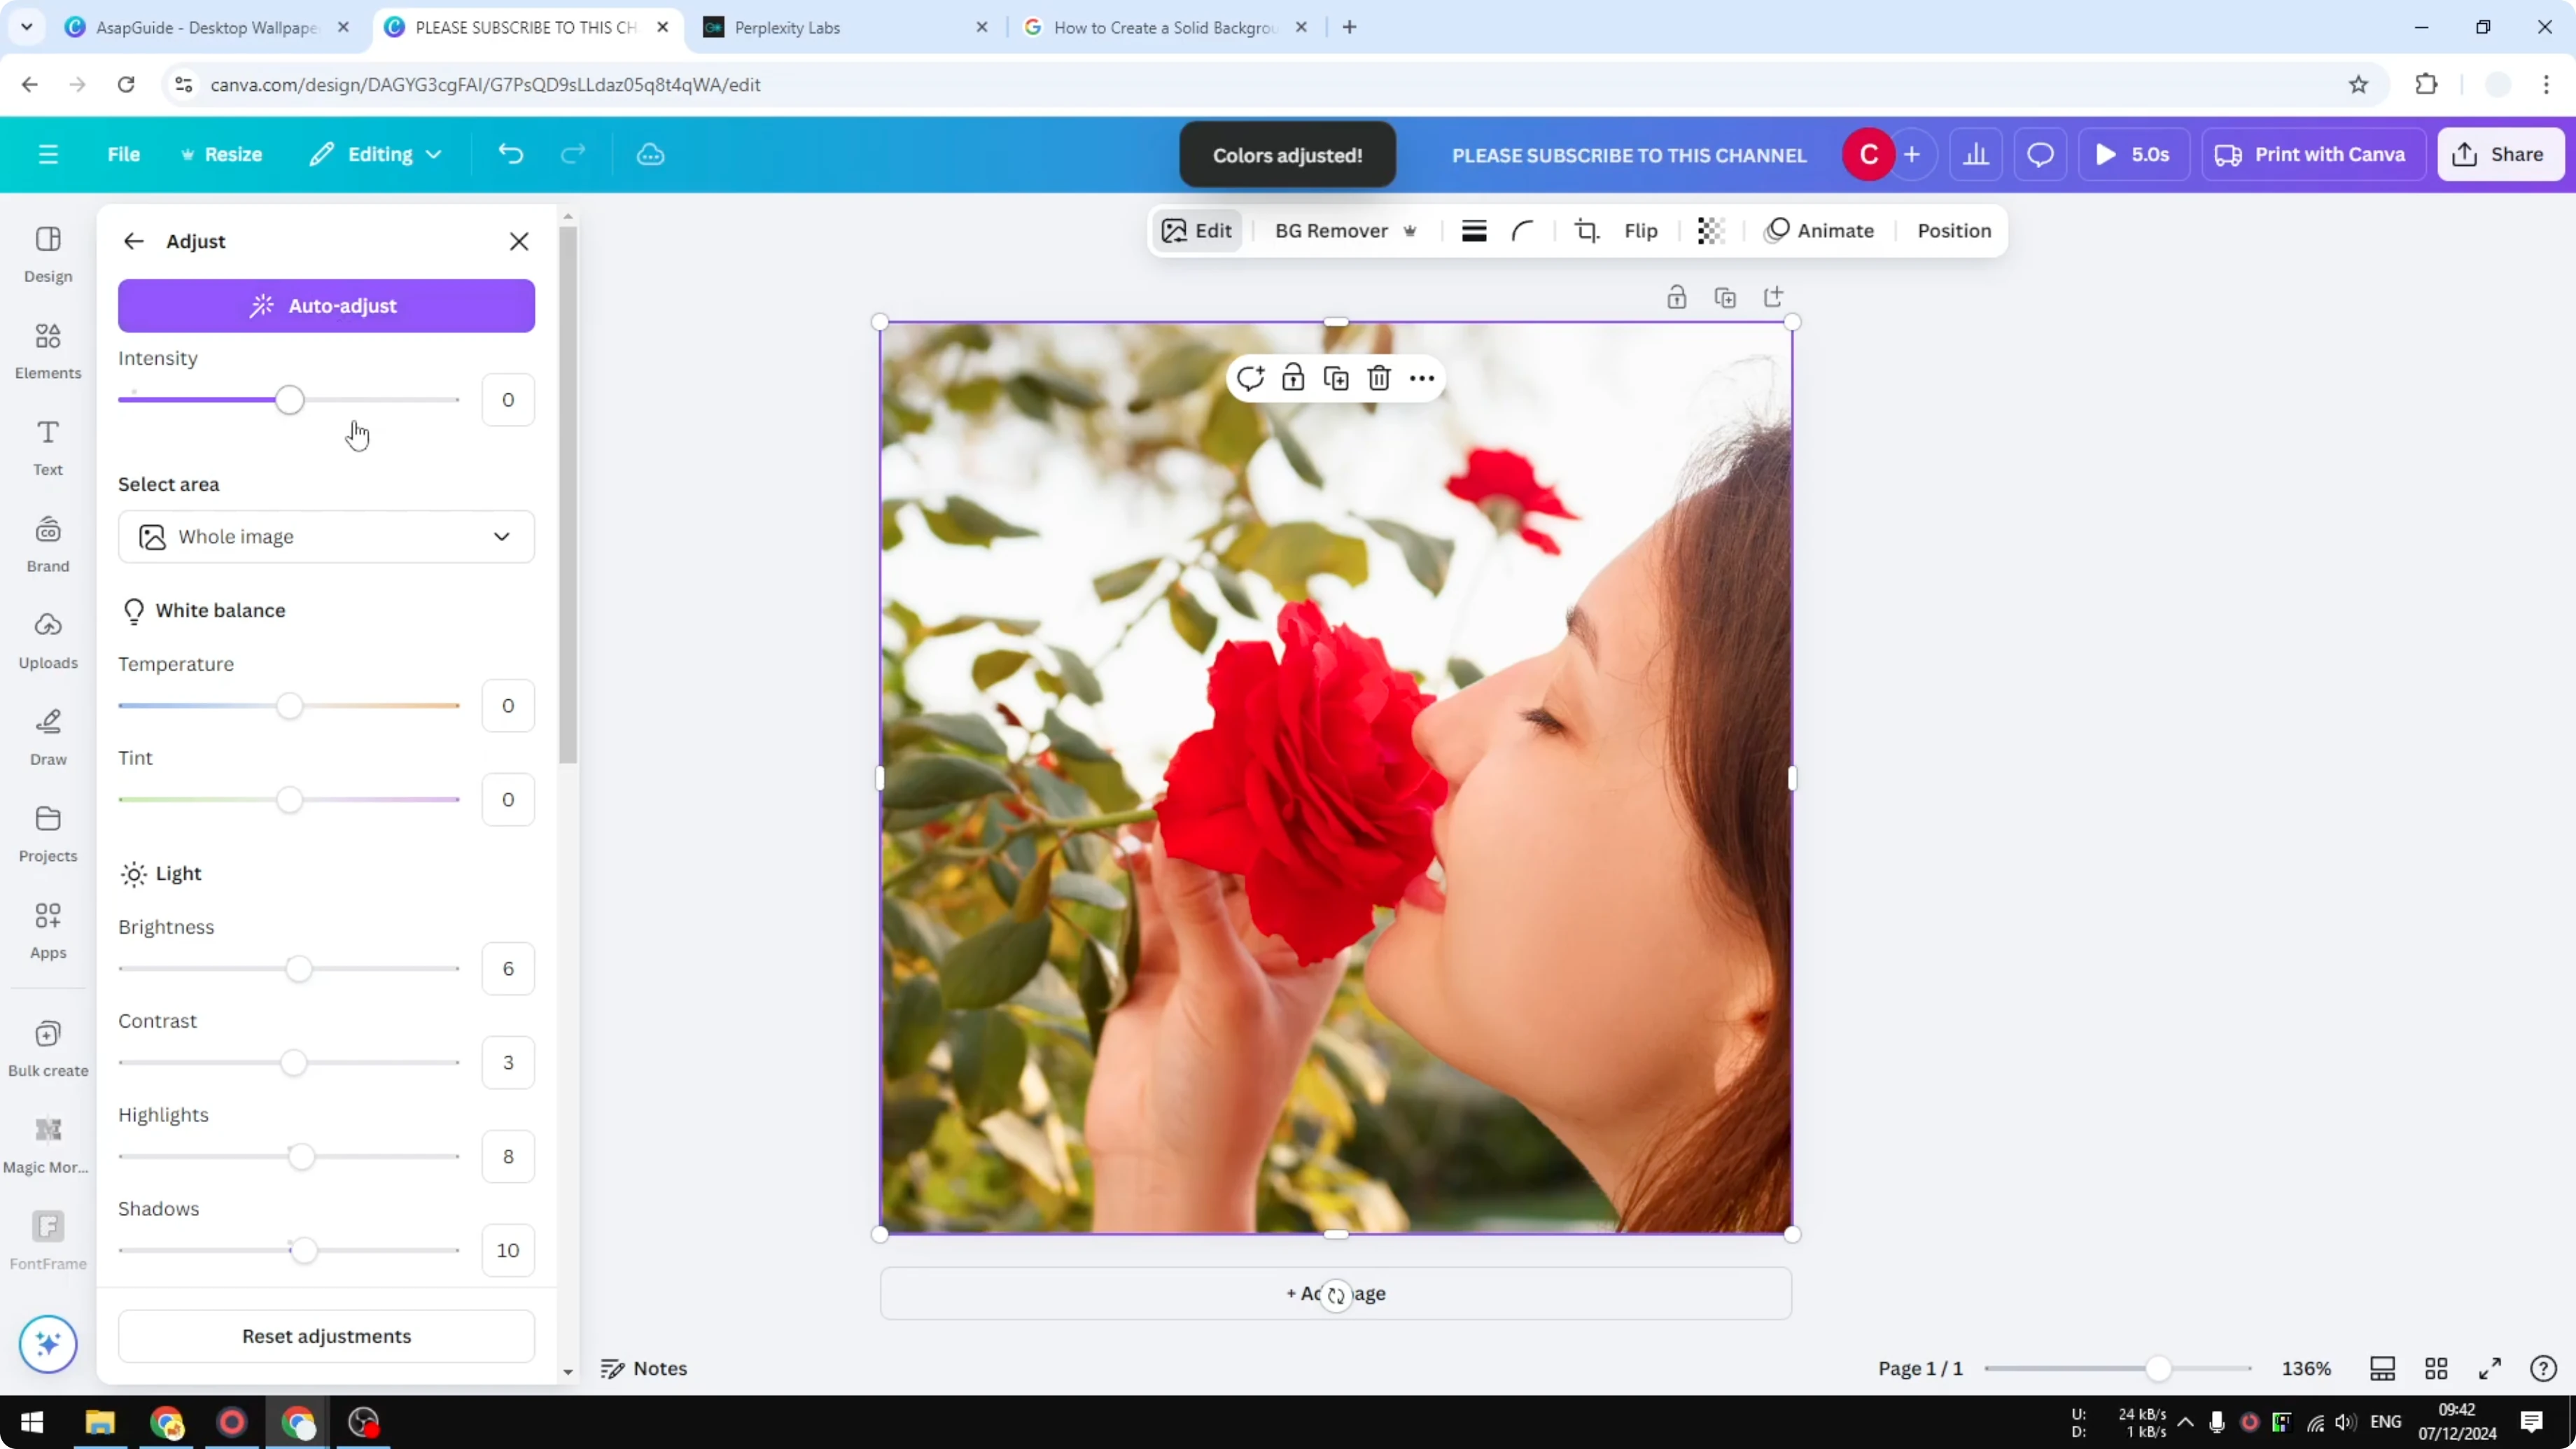
Reset the setting if needed. Select Background, Foreground, or Whole image. Click Auto Adjust to apply it to the selected part only.
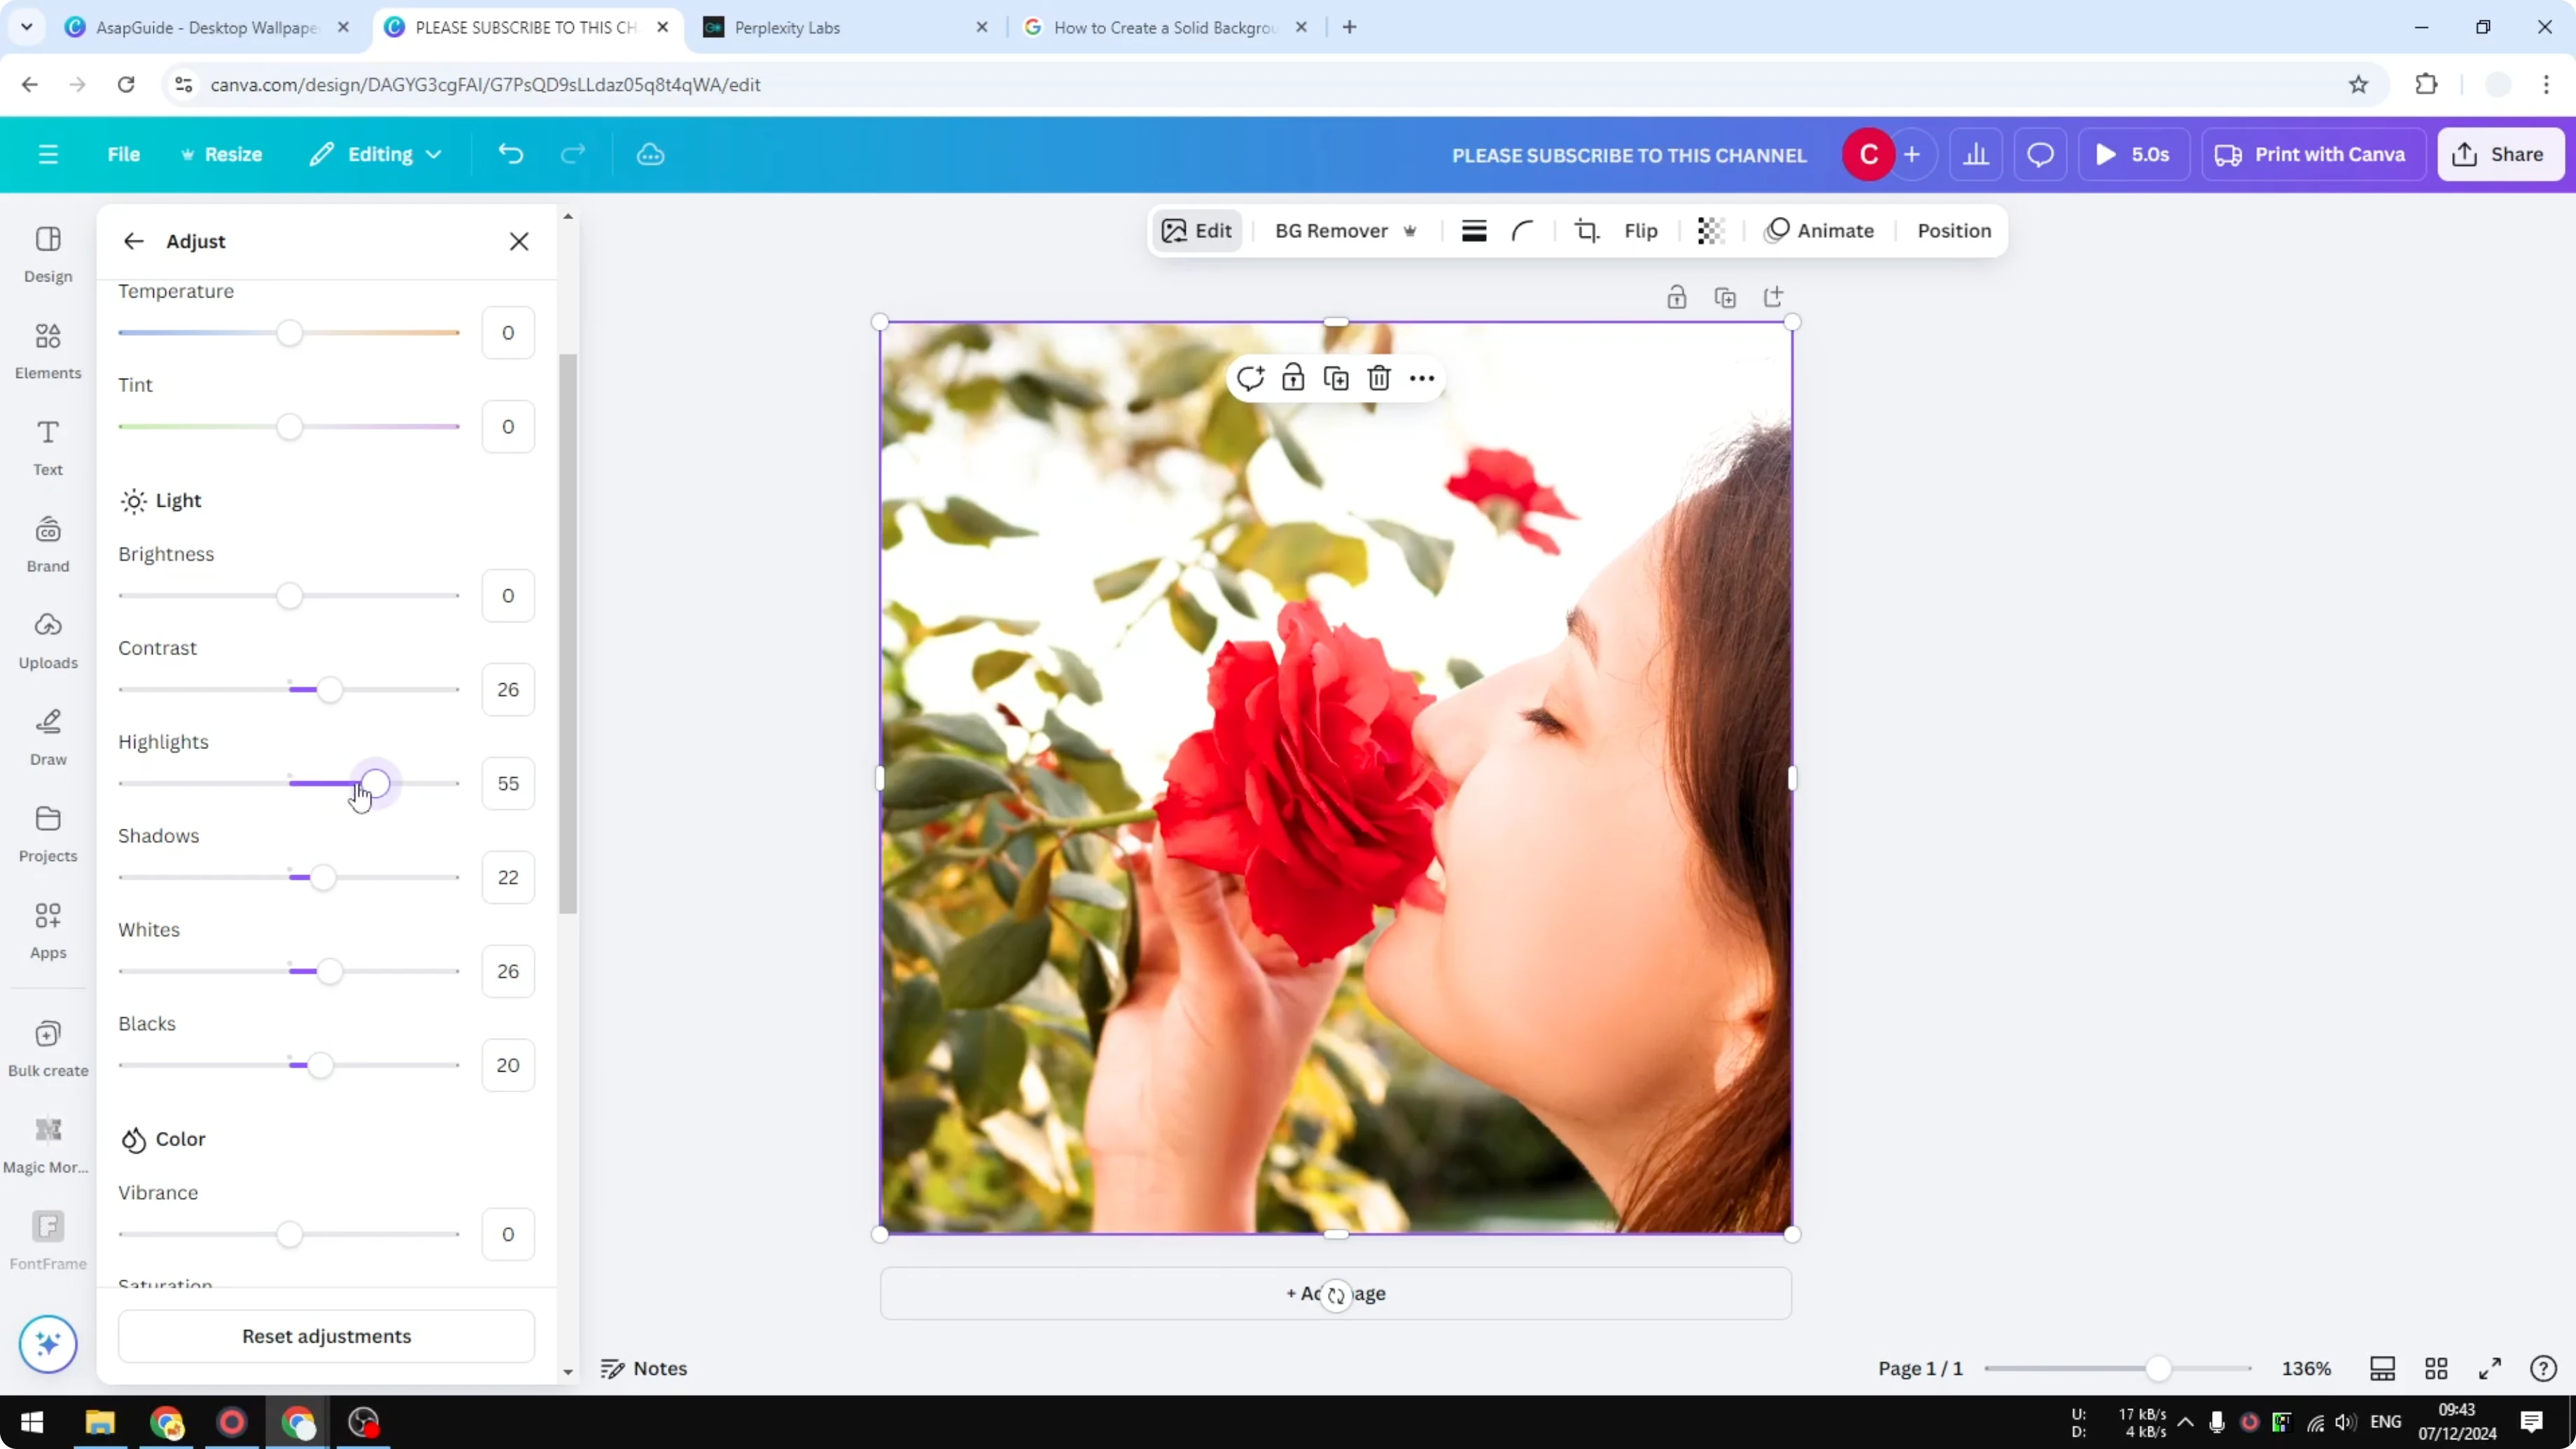
Core sliders
Temperature makes the color warmer or colder. It affects the orange or bluish tone of the photo. Drag it left or right to taste.

Brightness and Contrast don’t change the color, they change the character of the photo. Brightness makes the image lighter or darker. Contrast makes everything look more separated.
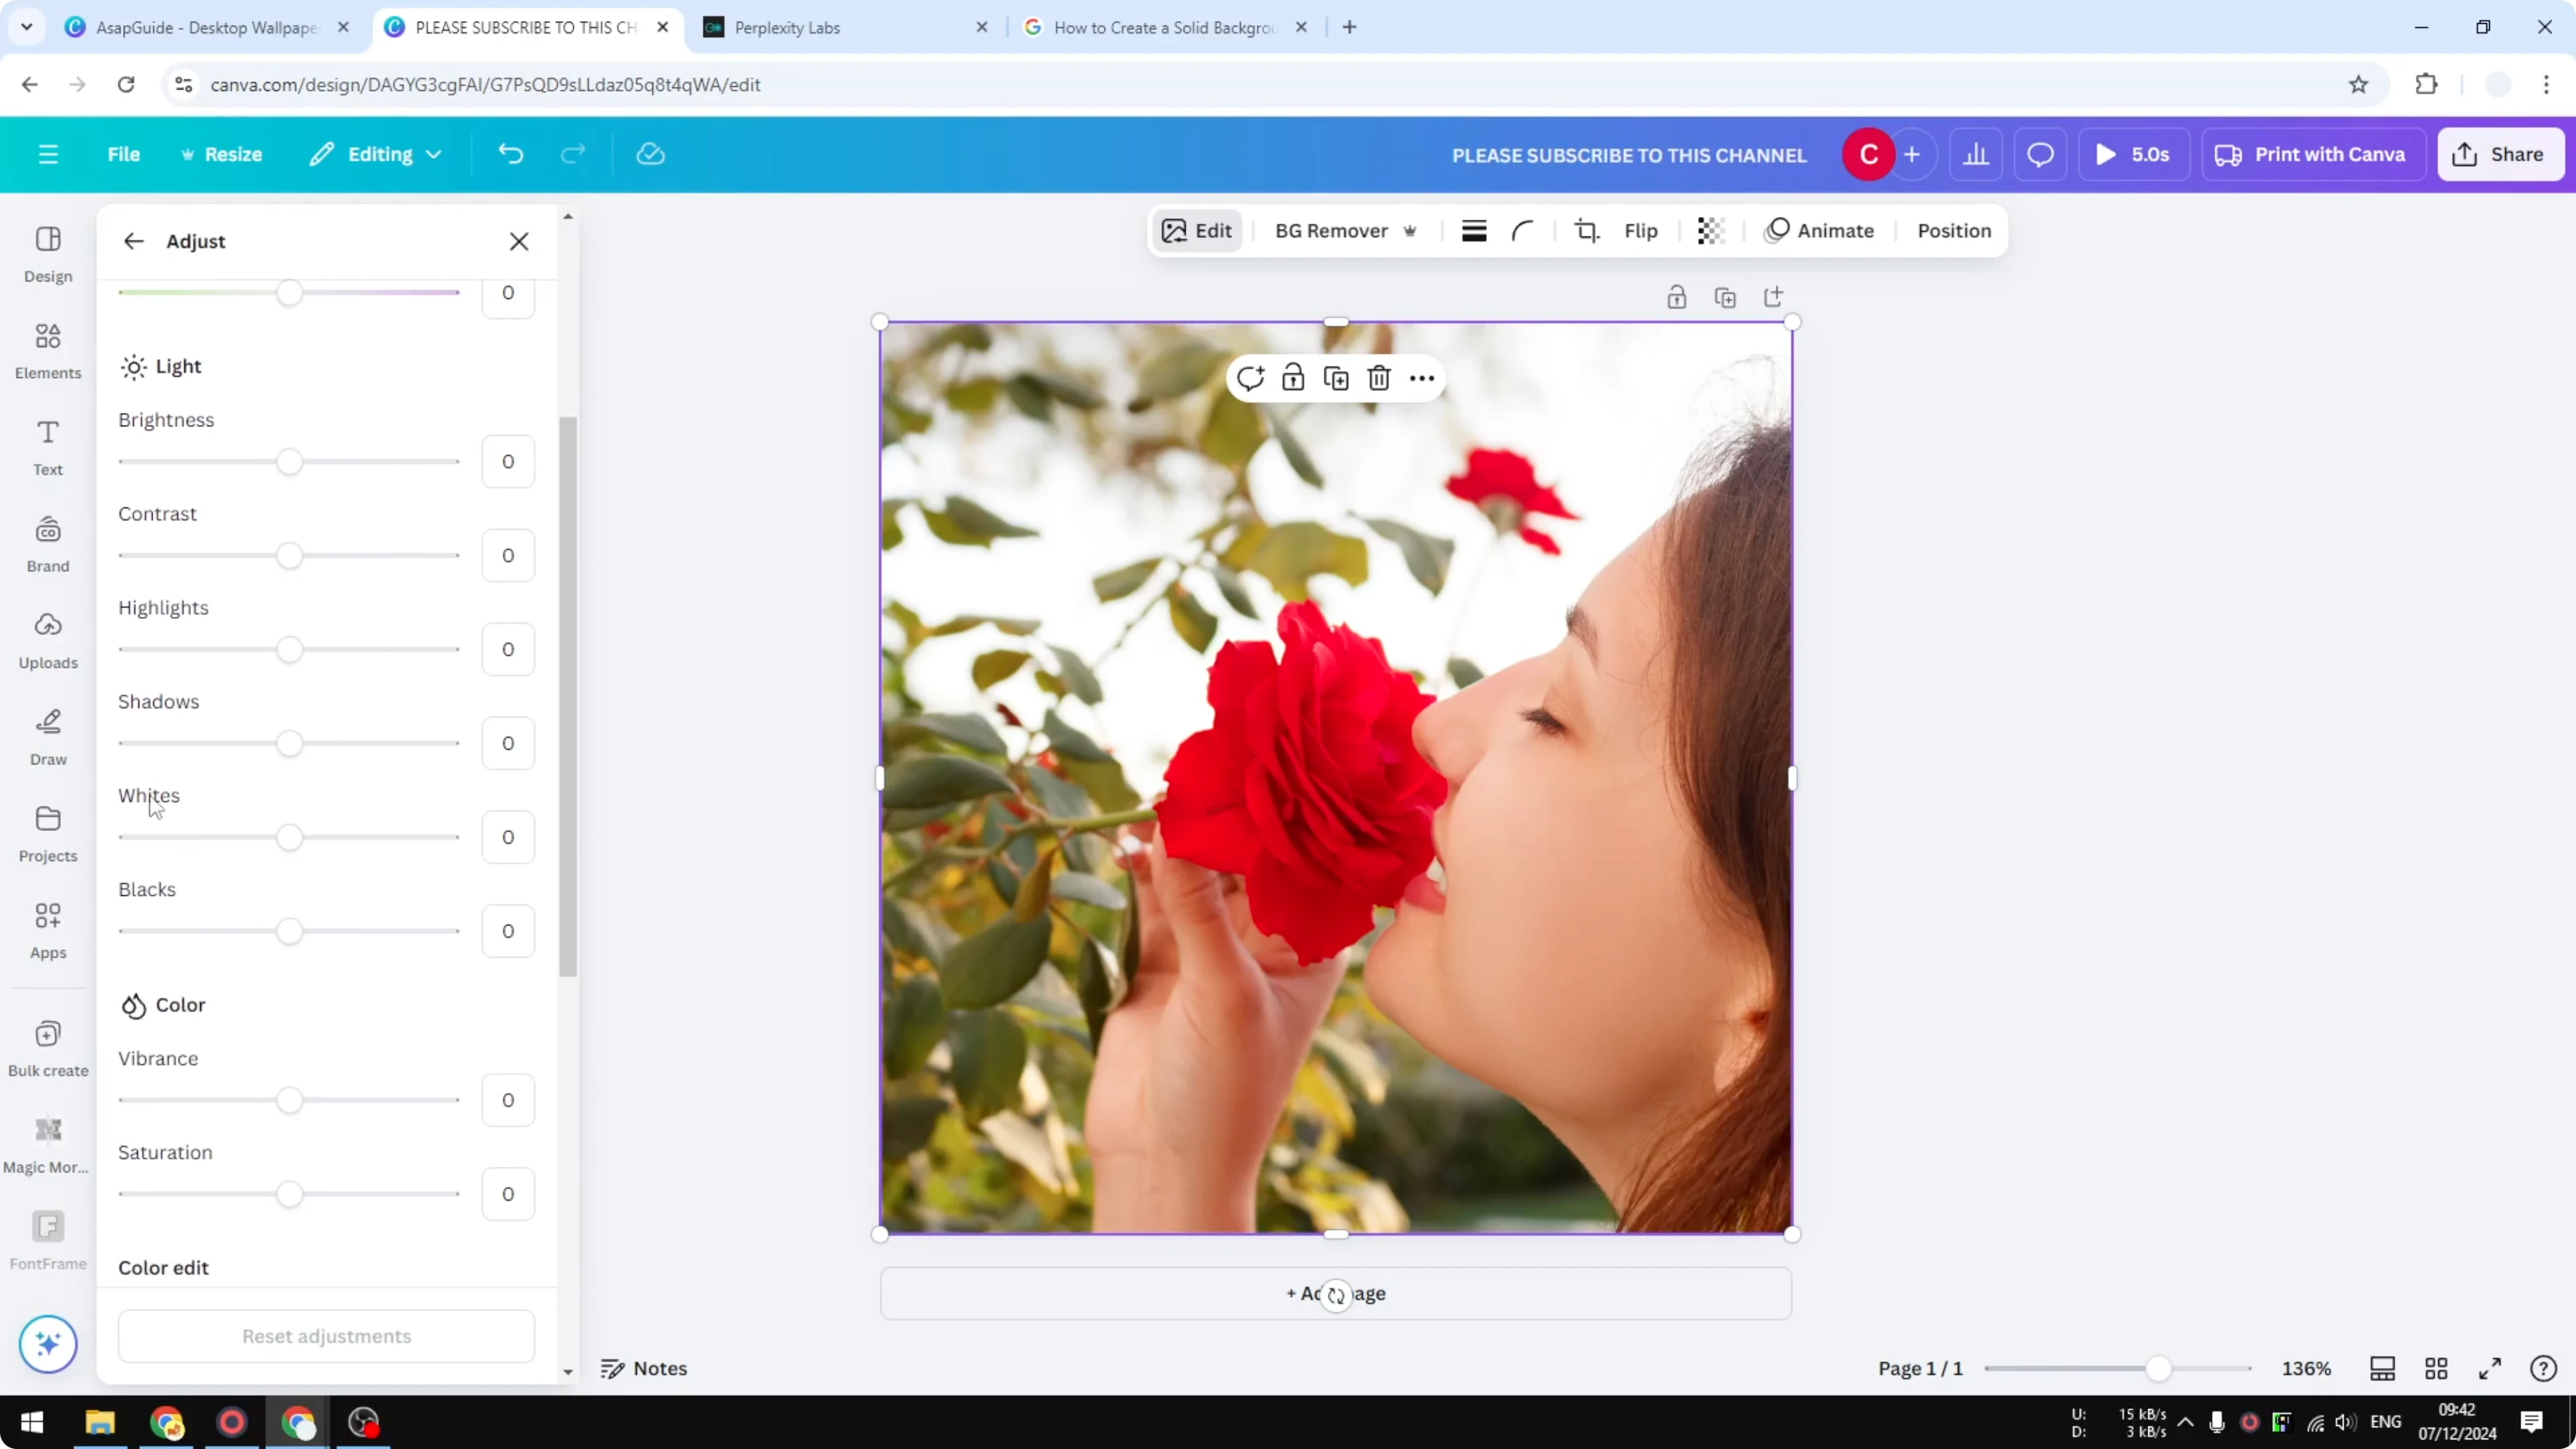
Highlights focus on the bright areas. Shadows focus on the soft dark areas. Whites and Blacks target areas that are exactly white or black, similar to Highlights and Shadows.
Click Reset if you want to go back to the start. Then adjust only what you need. Keep it simple if you’re unsure.
Vibrance and Saturation

Vibrance and Saturation will significantly change the color. Drag Vibrance to the right to make colors pop more without overblowing skin tones. Drag Saturation to make the overall color stronger or weaker.
If the image starts to look too strong, reduce Saturation a bit. If it looks flat, increase Vibrance first. Fine tune both until it feels right.
As discussed in Change Color Image Canva, these two sliders are the quickest way to control overall color.
Color edit
Color edit detects prominent colors in the picture. Click any detected color to adjust it manually for that color range. You can change Saturation, Brightness, and Hue for that specific color.
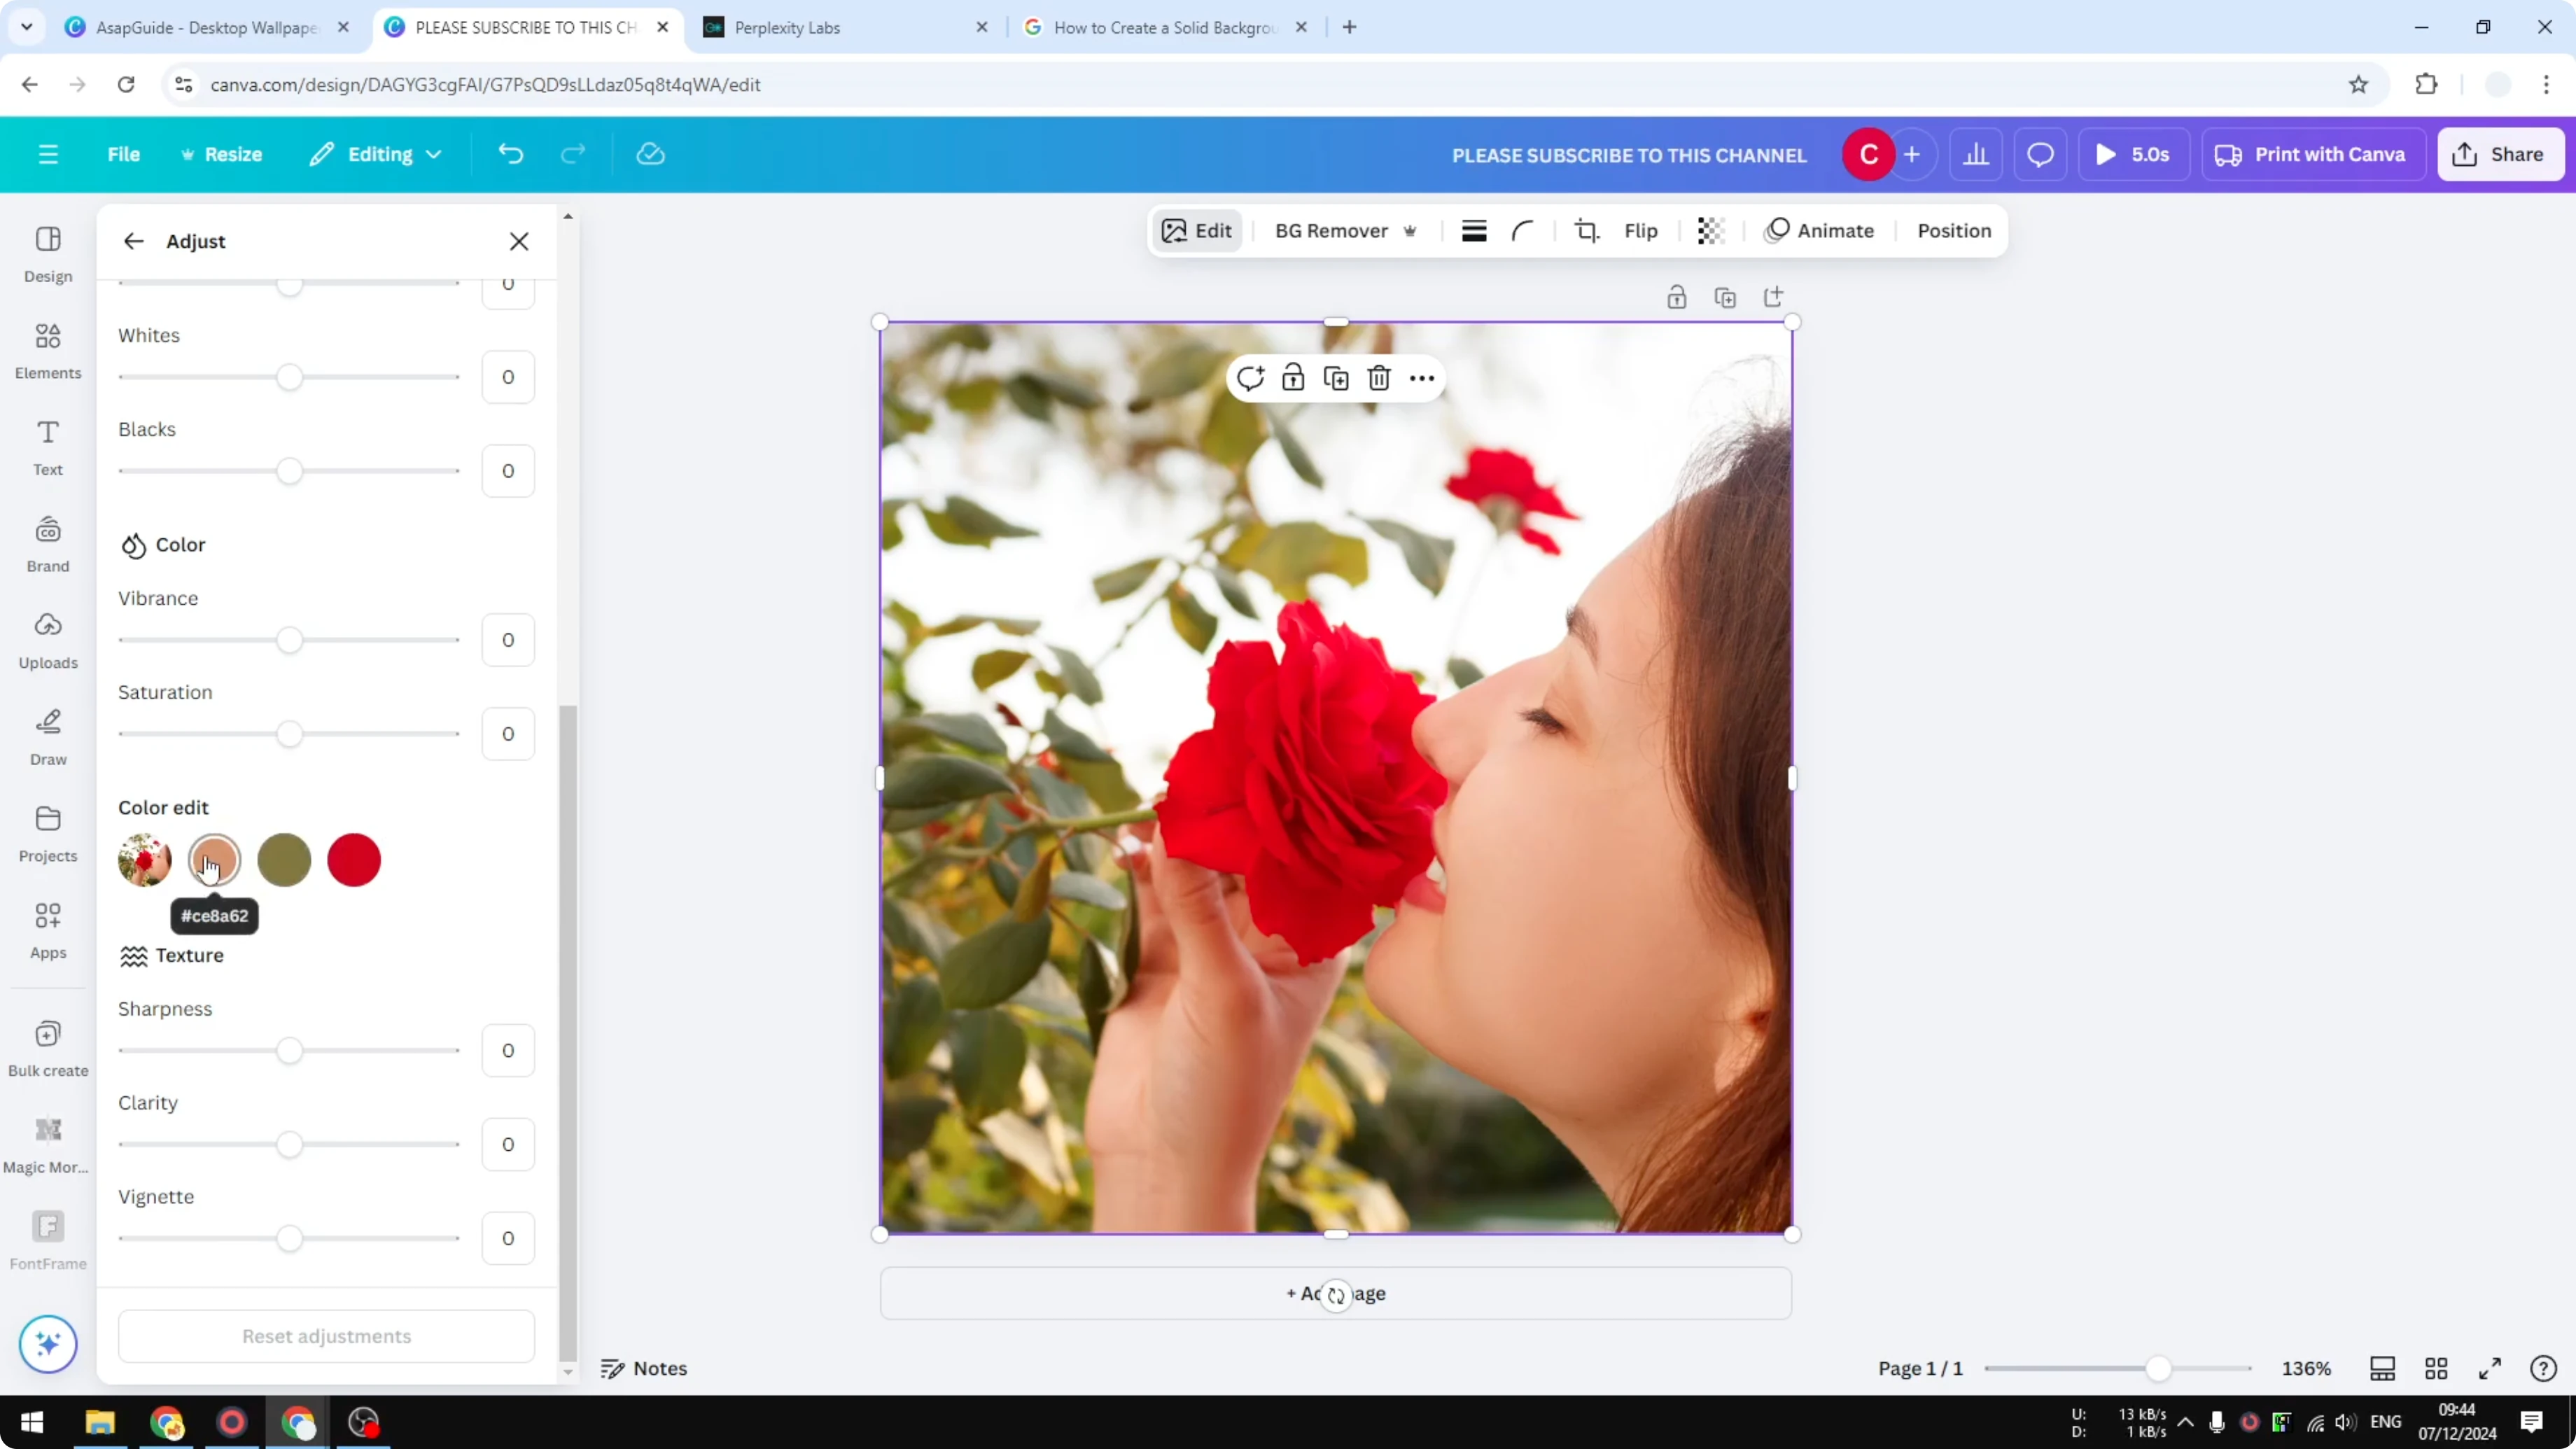
For example, I want the flower to feel more prominent. I click the green color and reduce its Saturation. The background becomes closer to black and white, so the red flower stands out more.
Hue changes the color into something else. If you want to shift a color, move Hue until you find the look you want. I usually keep Hue subtle for natural results.
Texture and vignette
Sharpness and Clarity don’t affect the color. They change the texture and perceived detail. Use them lightly to avoid harsh edges.
Fade adds darker areas around the edges of the photo. It can add mood by focusing attention toward the center. Keep it gentle for portraits.
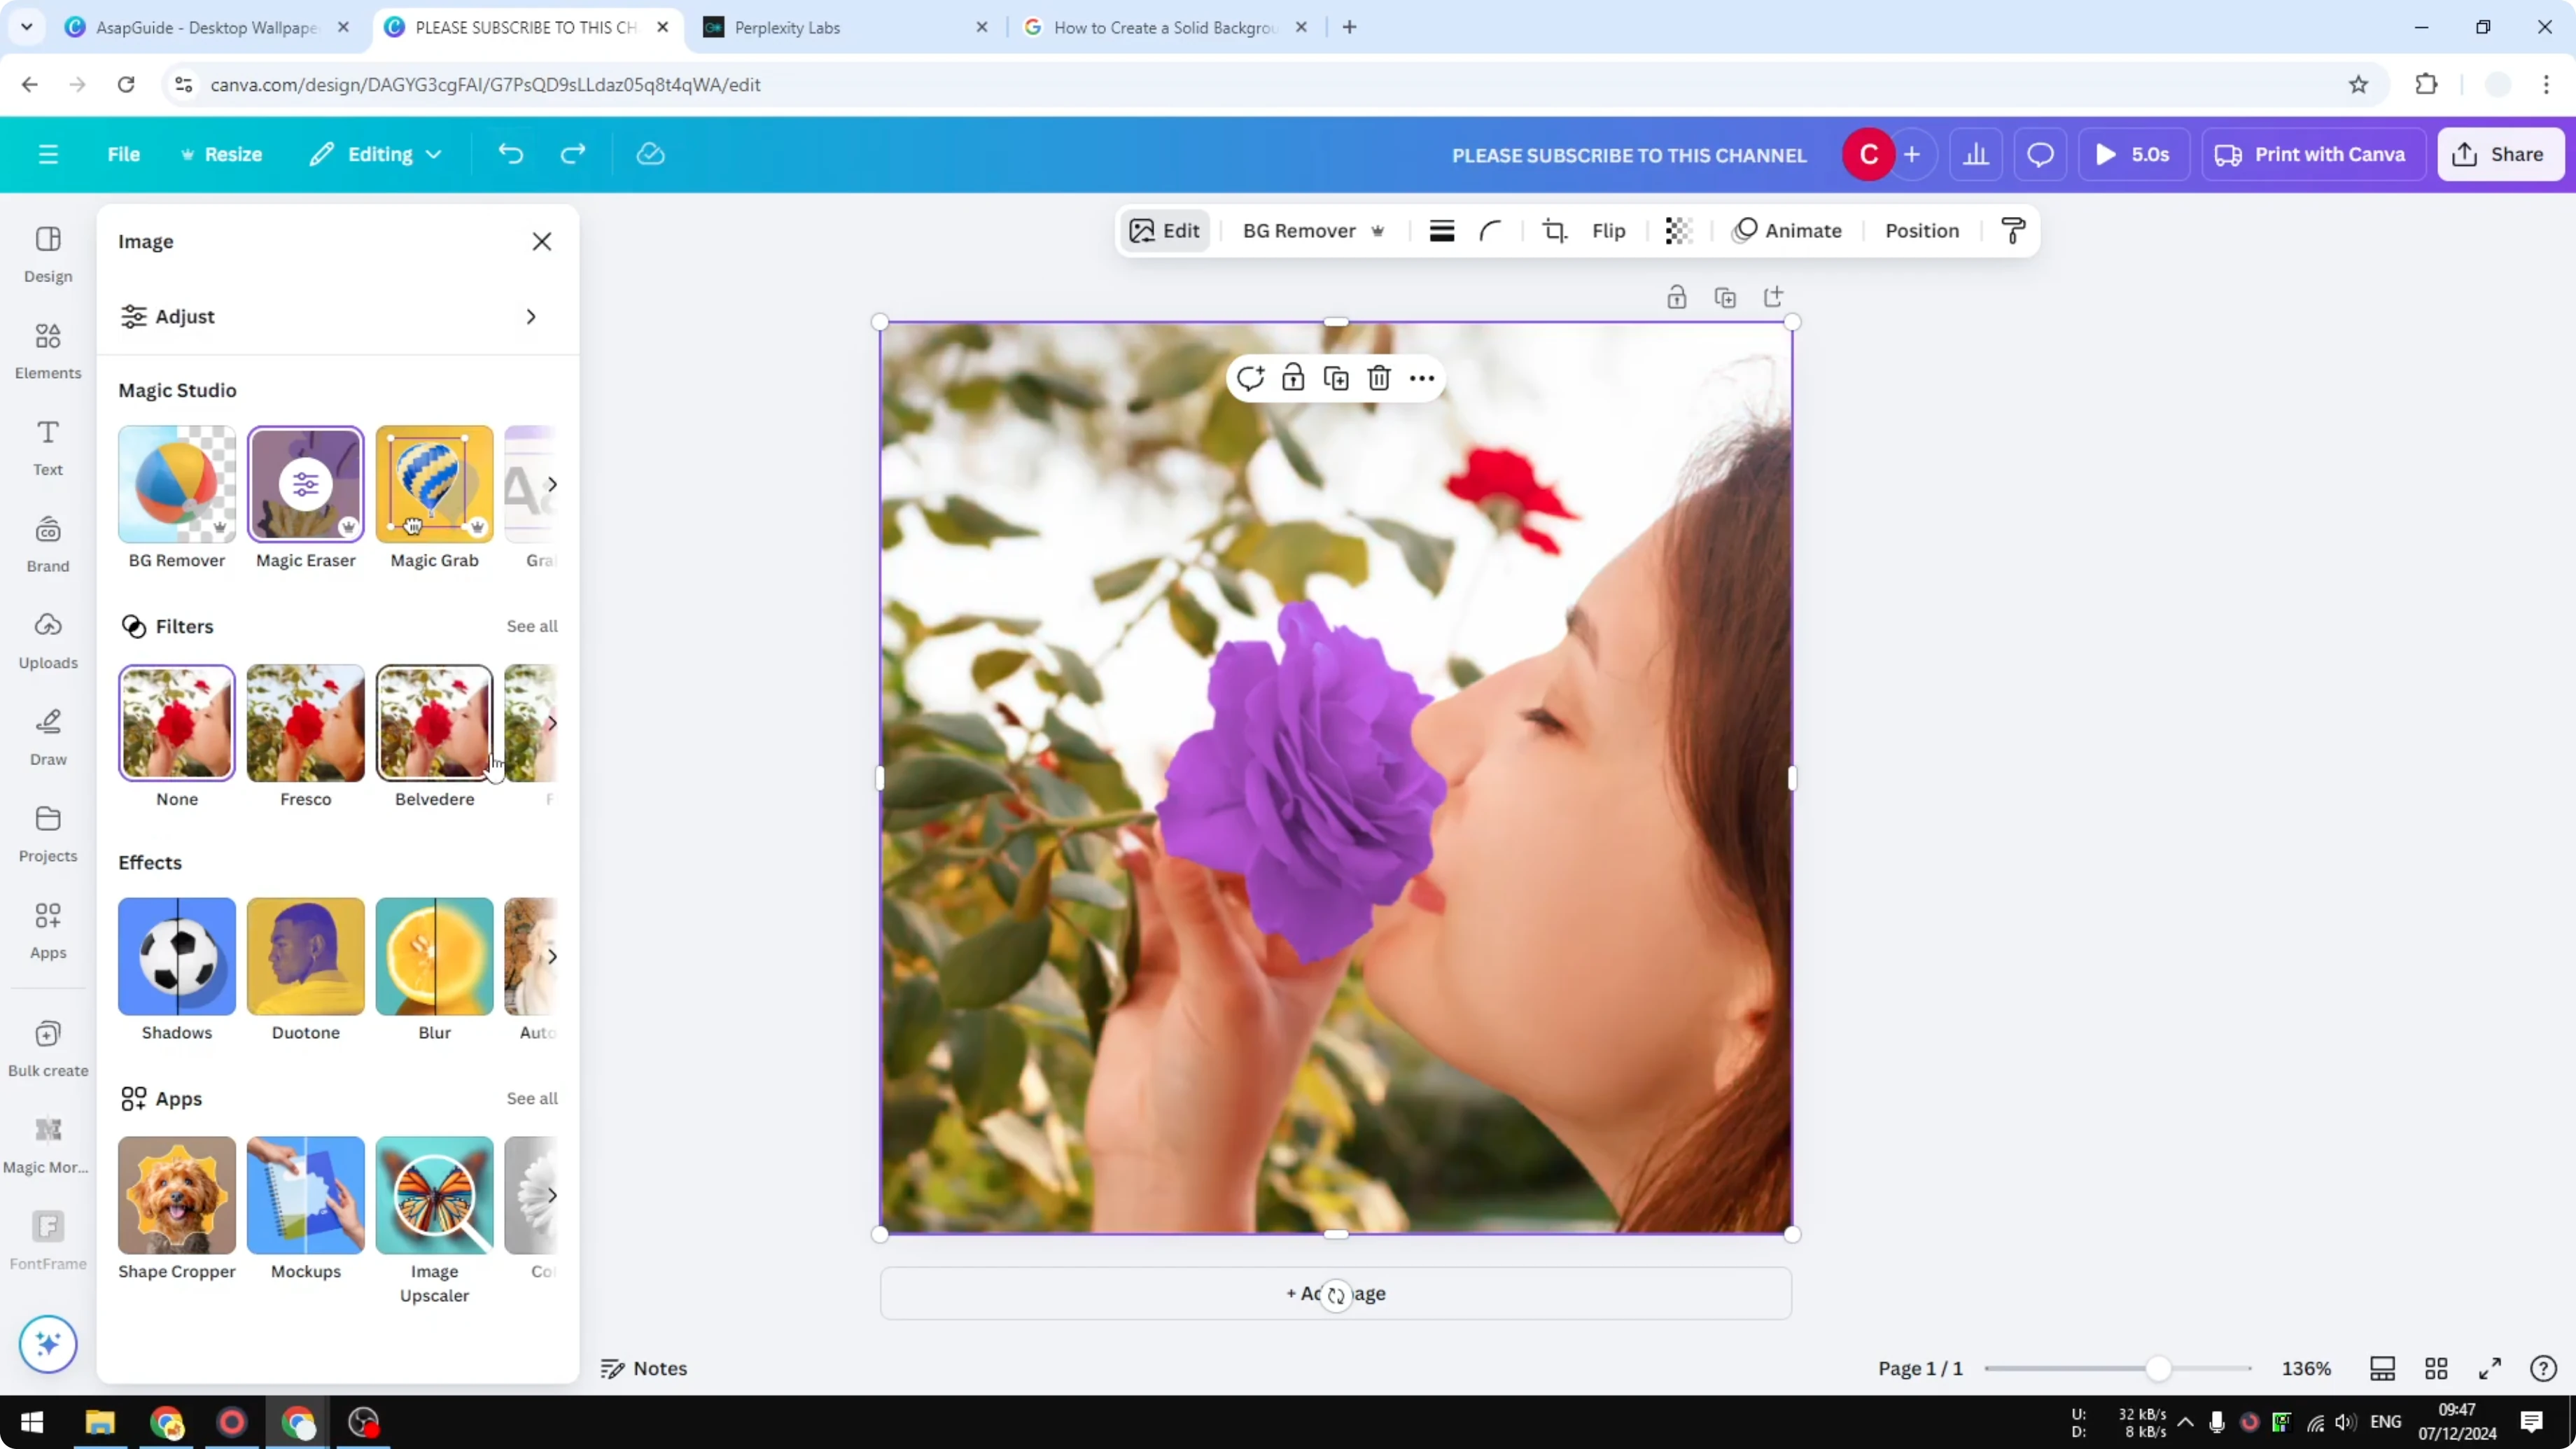
Adjust Color of Canva Images by isolating an object
You can isolate an object from the photo and adjust only that object. This is great when you want to push one subject and keep the rest calm. I’ll do that for the rose.

Click the object you want to change. Click Edit. Click Magic Wrap.
Select the flower and click Wrap. AI will separate the rose from the rest of the picture. Now you can adjust this object only.
Adjust the color of the isolated rose. You can keep it black and white or change it to another color. I changed the red to blue or purple to show how far you can go.
If you want print quality after editing, see How To Create 300 Dpi Images Using Canva. It helps you keep your edited image sharp for print. Do that before exporting.
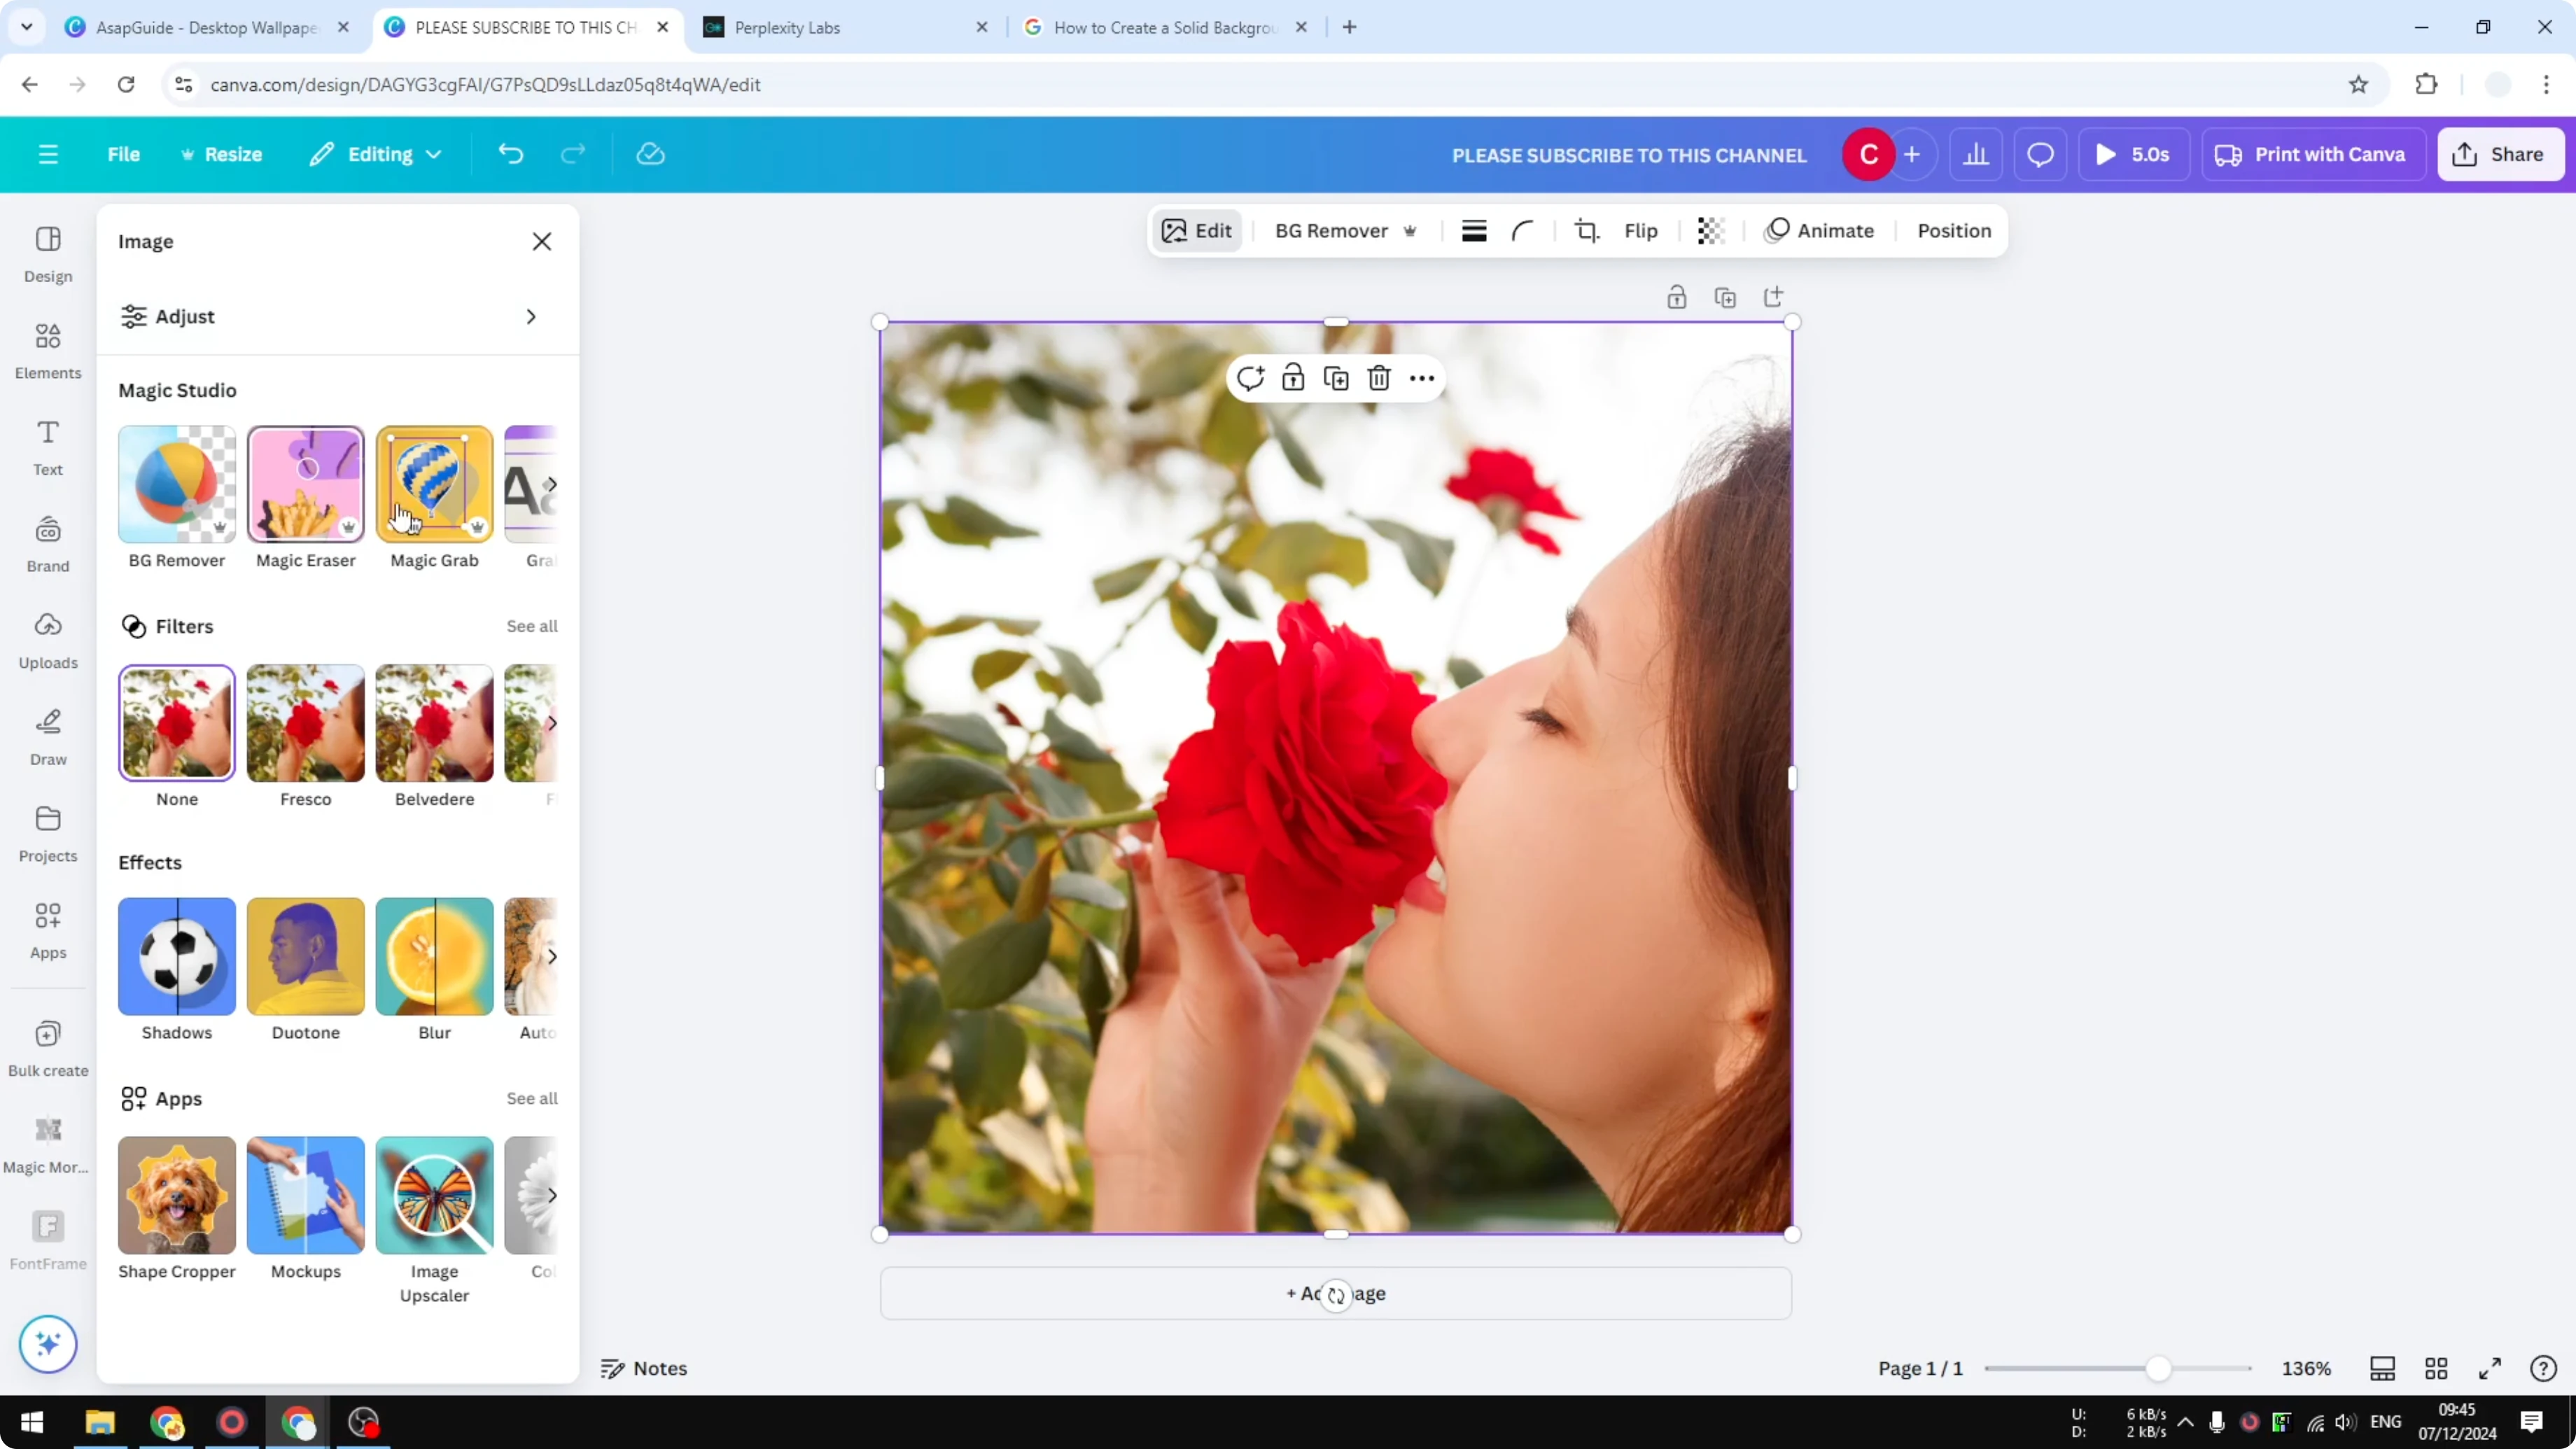
Adjust Color of Canva Images with filters and duon
Filters are just pre-made adjustments. Click a filter to quickly change the overall look. It’s simple if you want speed.
Duon is different from filters. Duon applies two colors to the whole picture. Click Custom, then set the light areas to one color and the shadow areas to another color.
For example, set whites to white and shadows to red. You will only see two colors across the picture. I don’t use it when I want to maintain all the original colors.
If you are working inside a video project and need audio control, you can also learn fades in How To Fade Out Audio In Canva. It pairs well with color edits for a cohesive video feel. Keep your visuals and audio consistent.
Final thoughts
Canva’s Adjust panel covers everything I need for color and style. Start with Auto Adjust, refine with Temperature, Highlights, and Shadows, then finish with Vibrance, Saturation, and Color edit. If you need more control, isolate an object with Magic Wrap and color it exactly the way you want.
Recent Posts
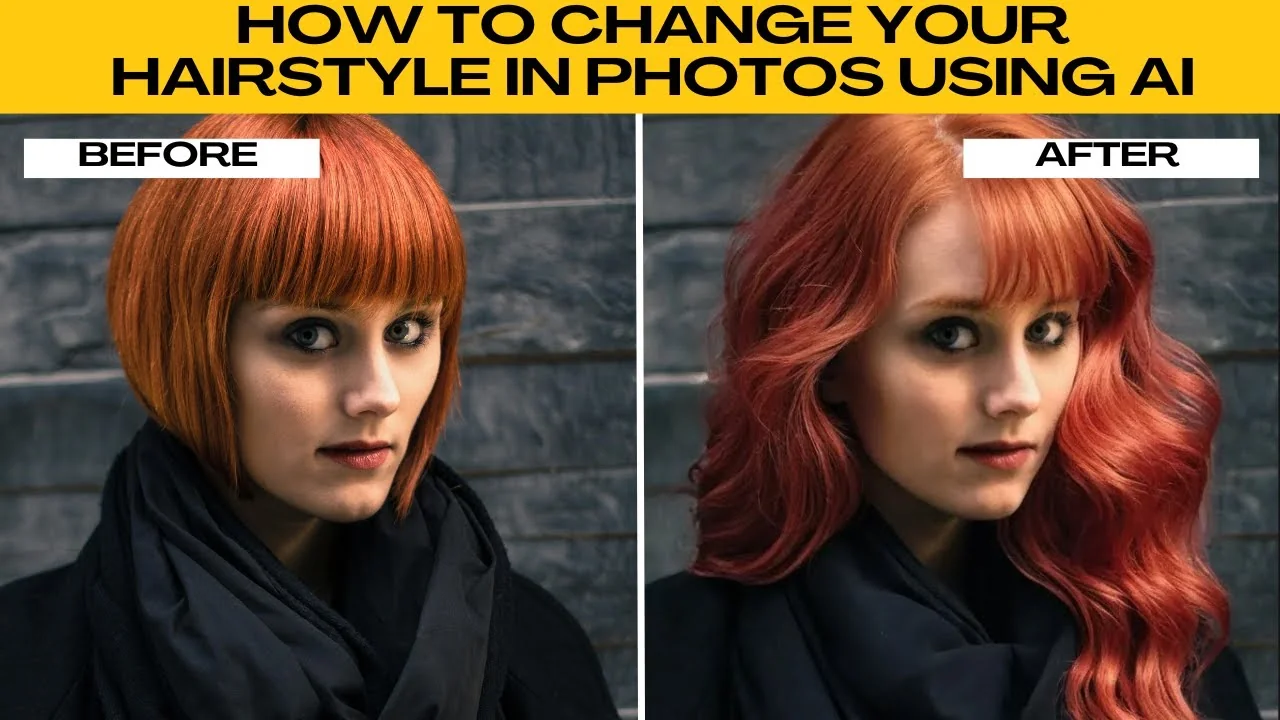
How to Visualize Different Hairstyles and Hair Colors with AI?
How to Visualize Different Hairstyles and Hair Colors with AI?

How to Transform Daytime Photos into Realistic Night Scenes with AI?
How to Transform Daytime Photos into Realistic Night Scenes with AI?
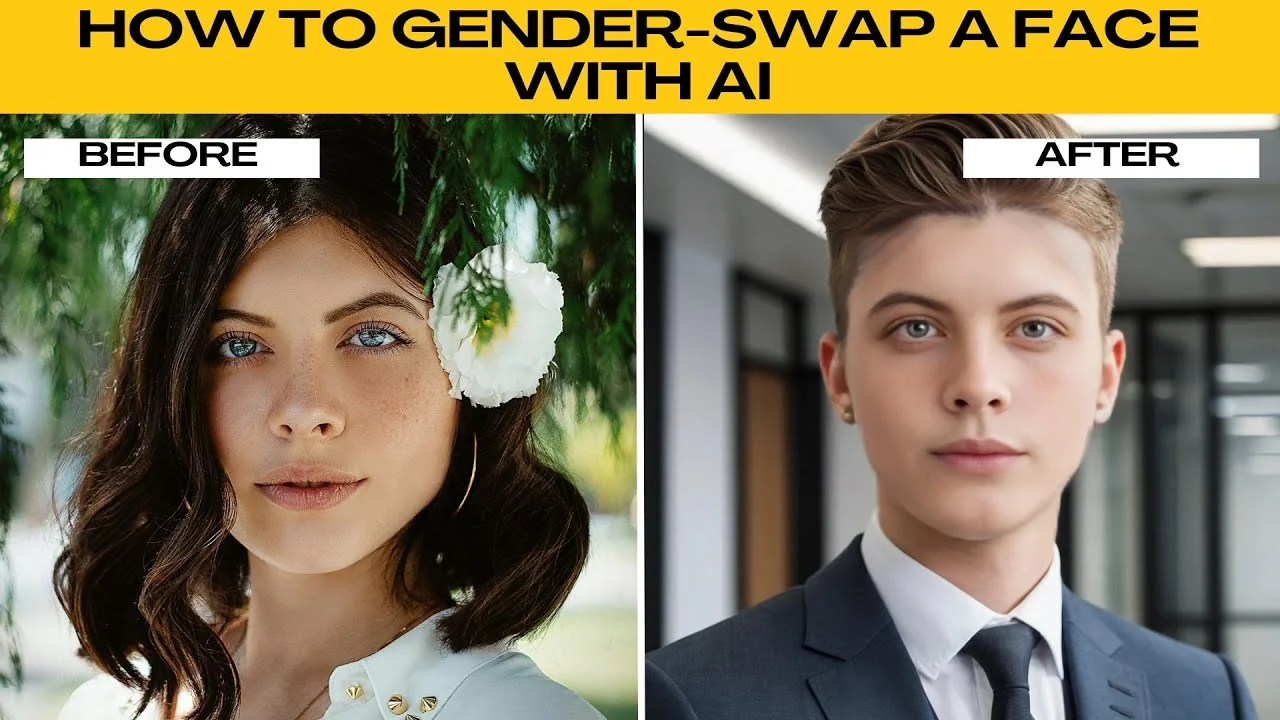
How to Visualize Yourself as the Opposite Gender with AI?
How to Visualize Yourself as the Opposite Gender with AI?