How to Add Your Voiceover to Canva Presentation
Recording your Canva presentation lets you explain it with your own voice. You can even show your face if you want the camera on. Record it once, share it later, and rewatch it anytime without redoing the live presentation.
Here is how I add my voice to a Canva presentation and capture the talk as a video. If you also want a subtle soundtrack, you can add background music to your presentation. That pairs well with a clean voiceover.
Prepare the Canva presentation
Make sure your presentation is ready before you start.
If you want a smoother flow between slides, set up transitions first and add transitions in Canva. Doing this ahead of time keeps the recording focused on your talk.
Open Present and record
Open the Present menu in Canva.
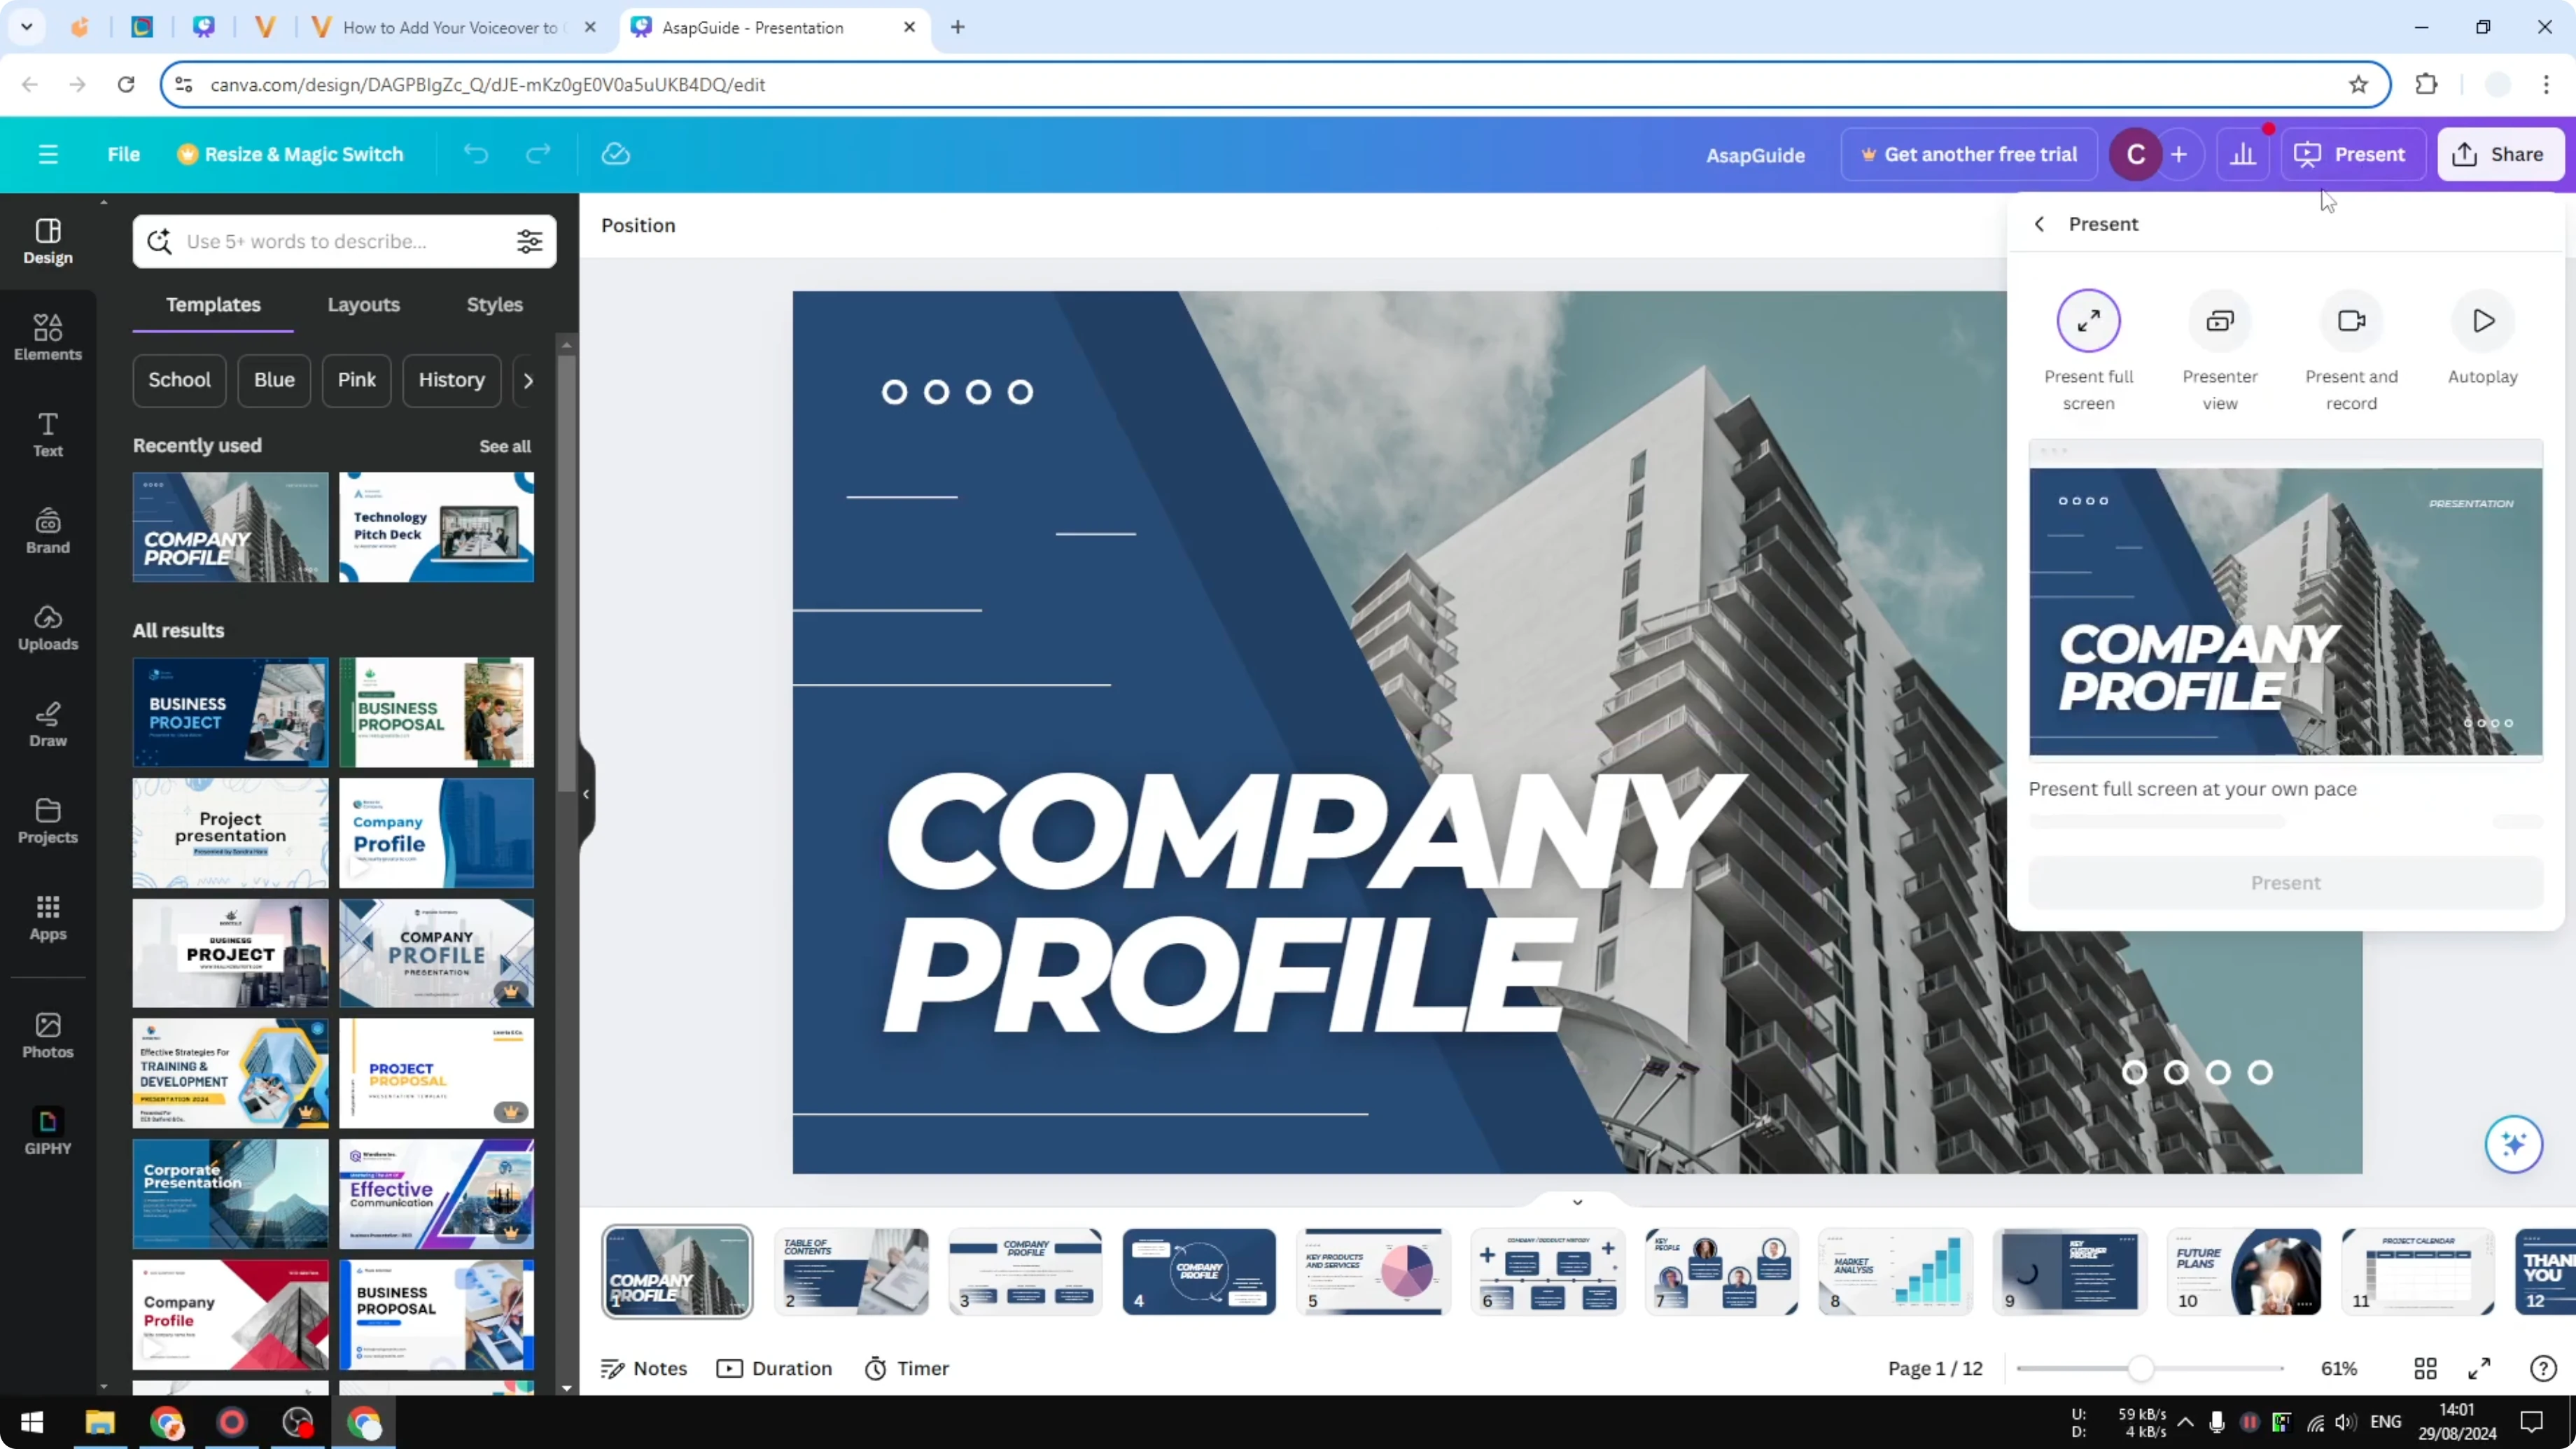
Click Present and record.
Click Next, then click Go to recording.
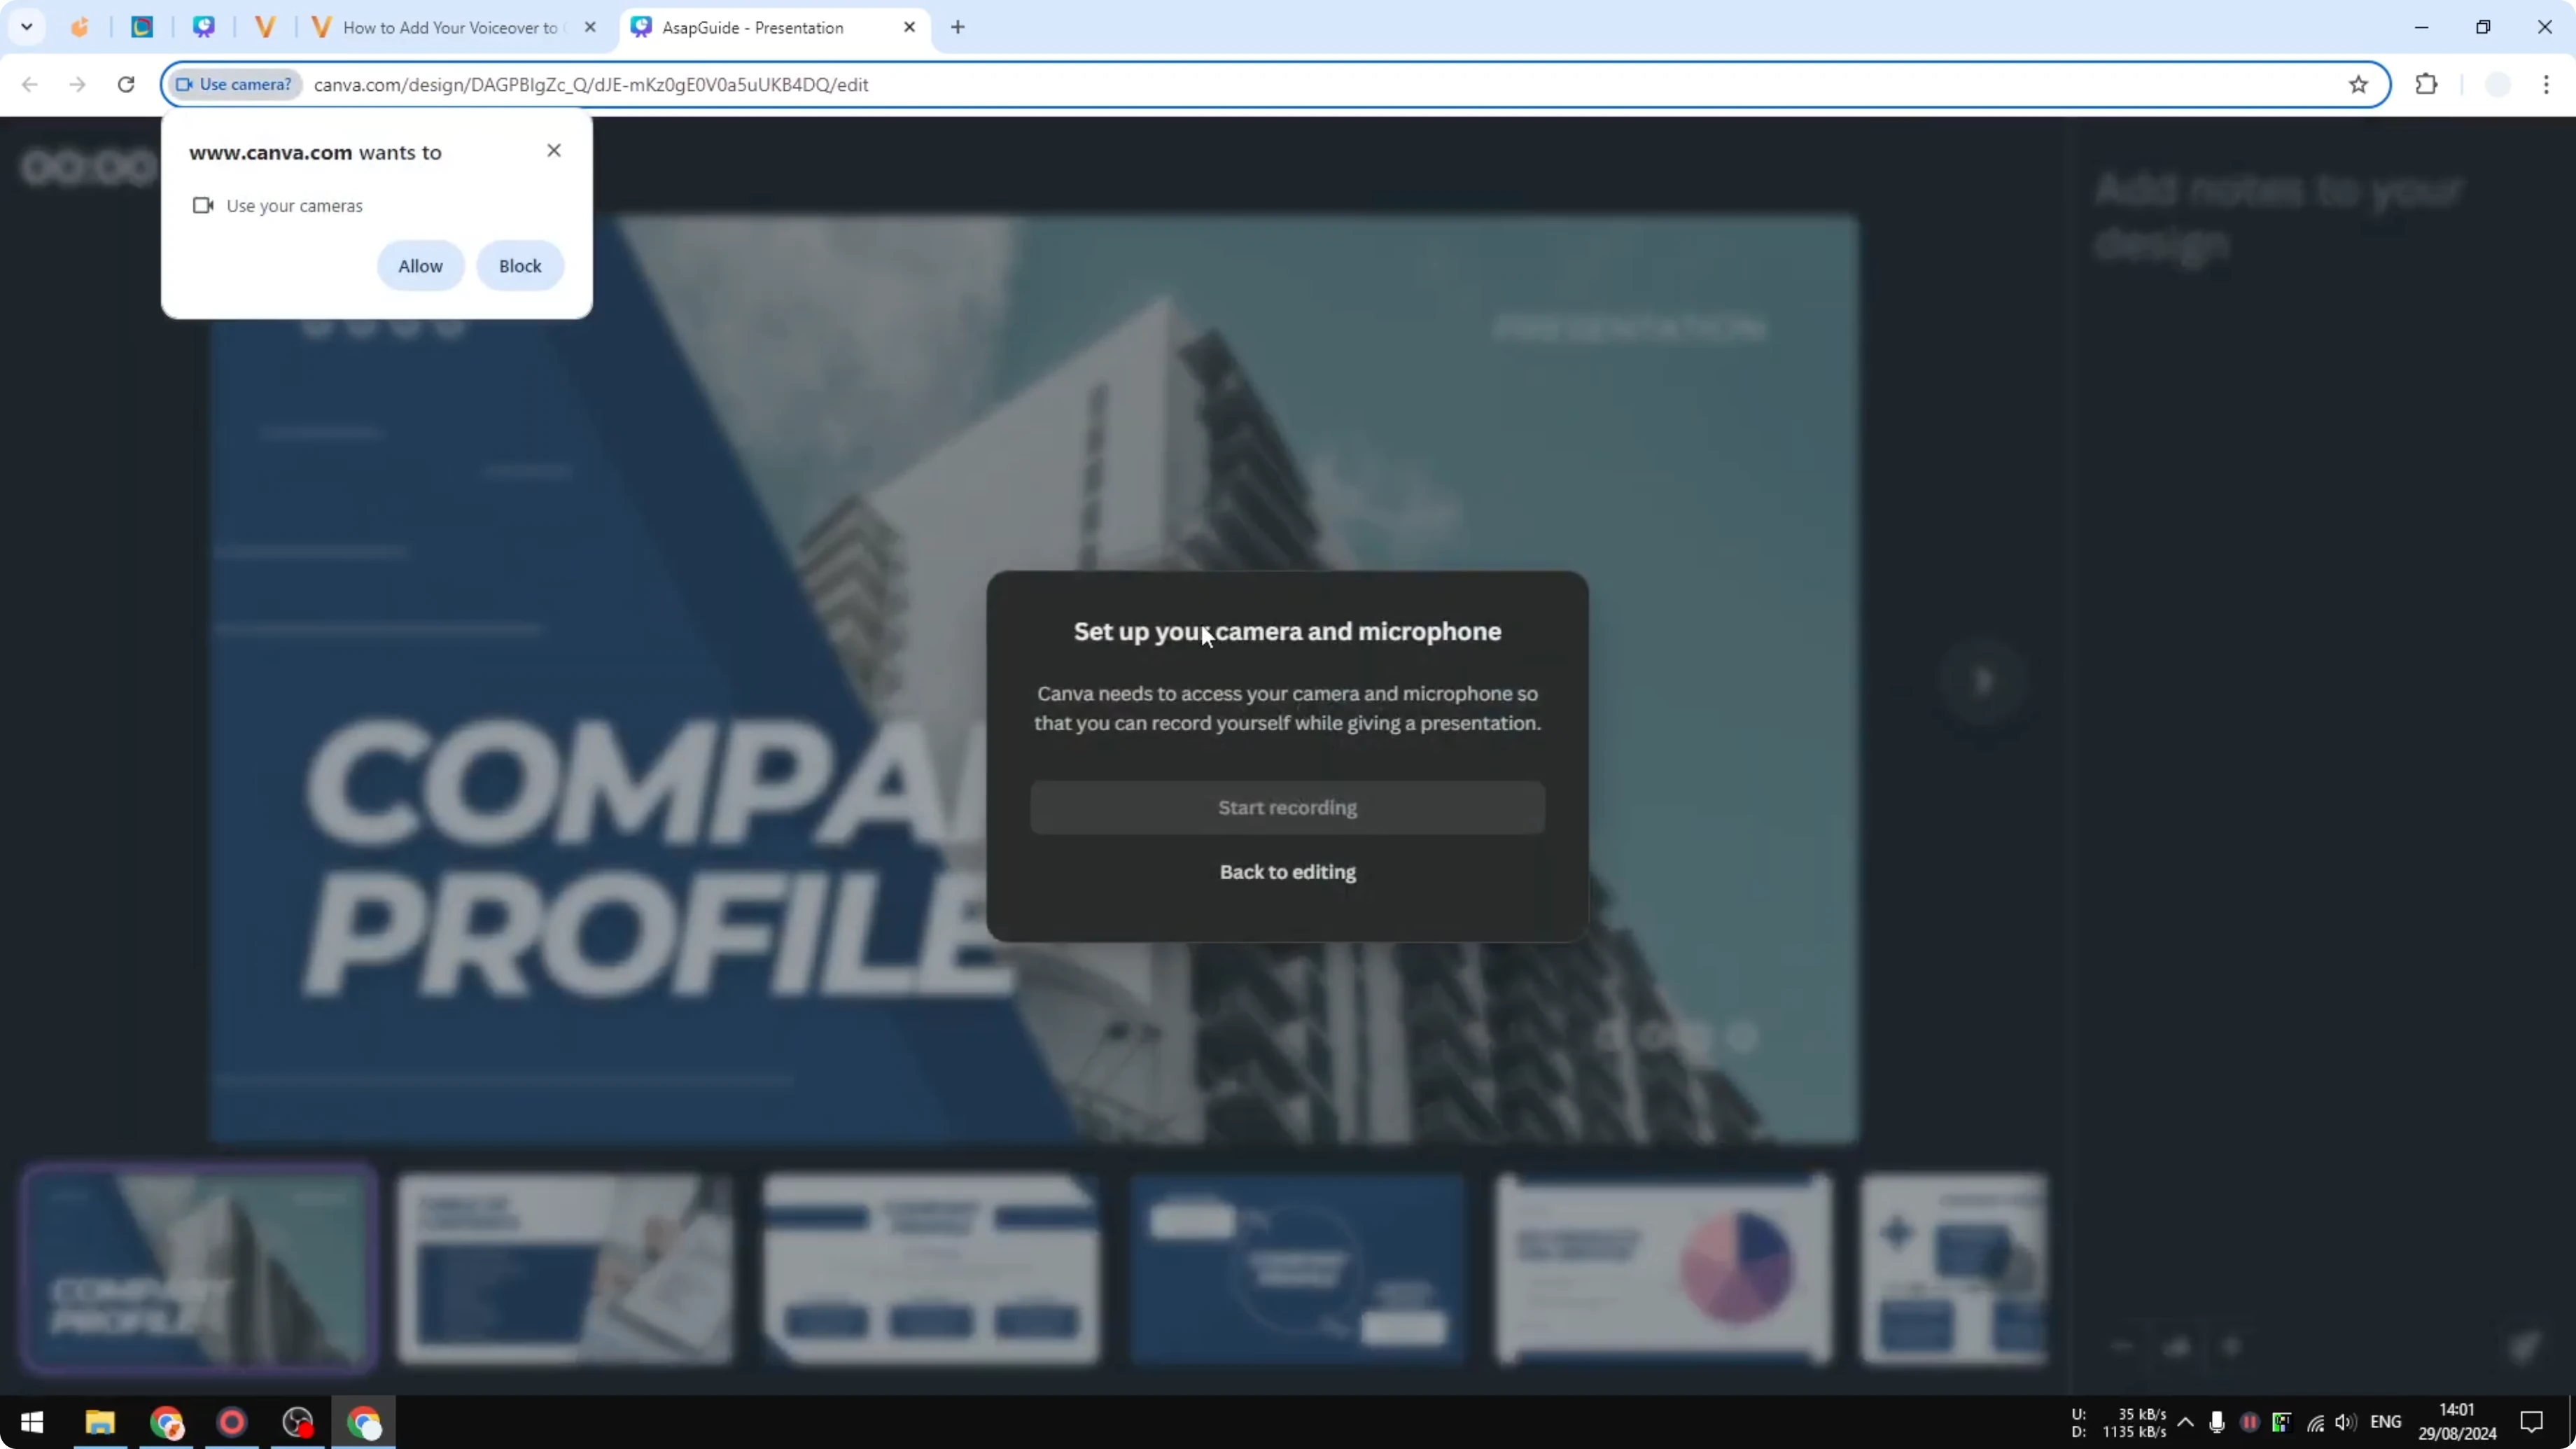
Allow mic and camera
If this is your first time, Canva will ask for permission to access your microphone and webcam.
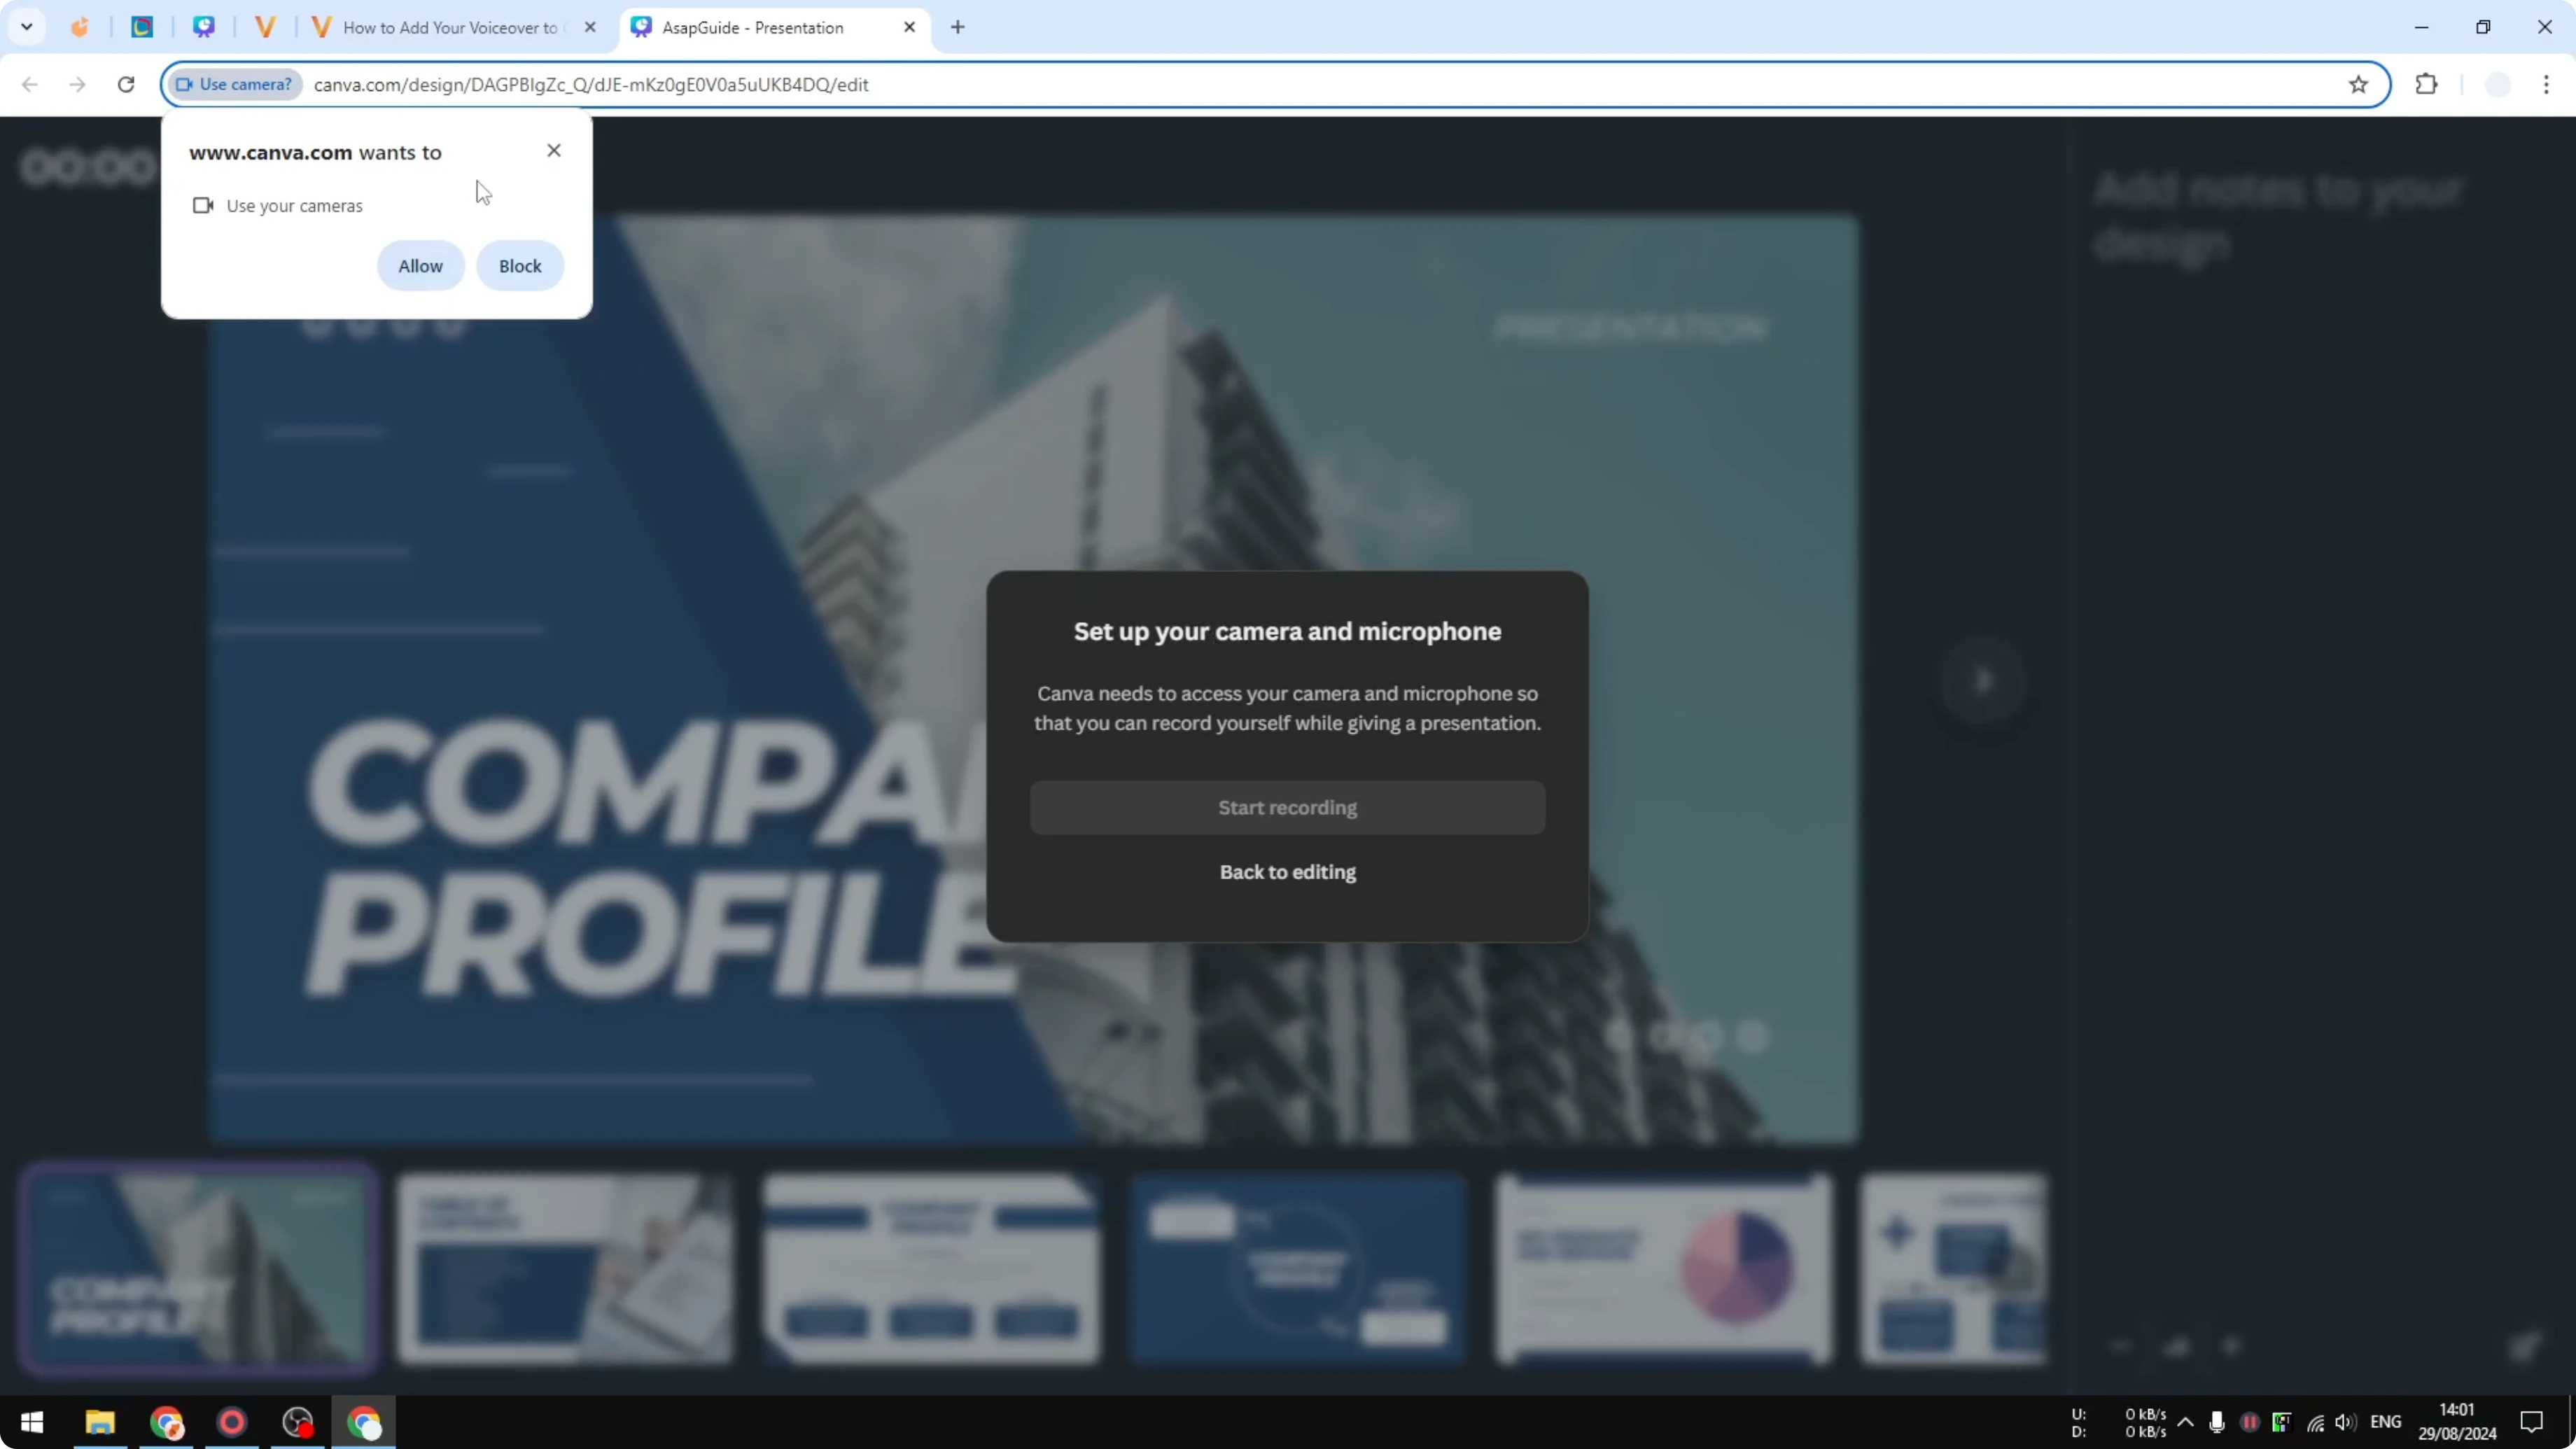
Click Allow for the camera prompt and click Allow for the microphone prompt. If you do not have a camera connected, that is fine because the voice is what matters.

Choose your mic
Select the microphone you want to use from the list.
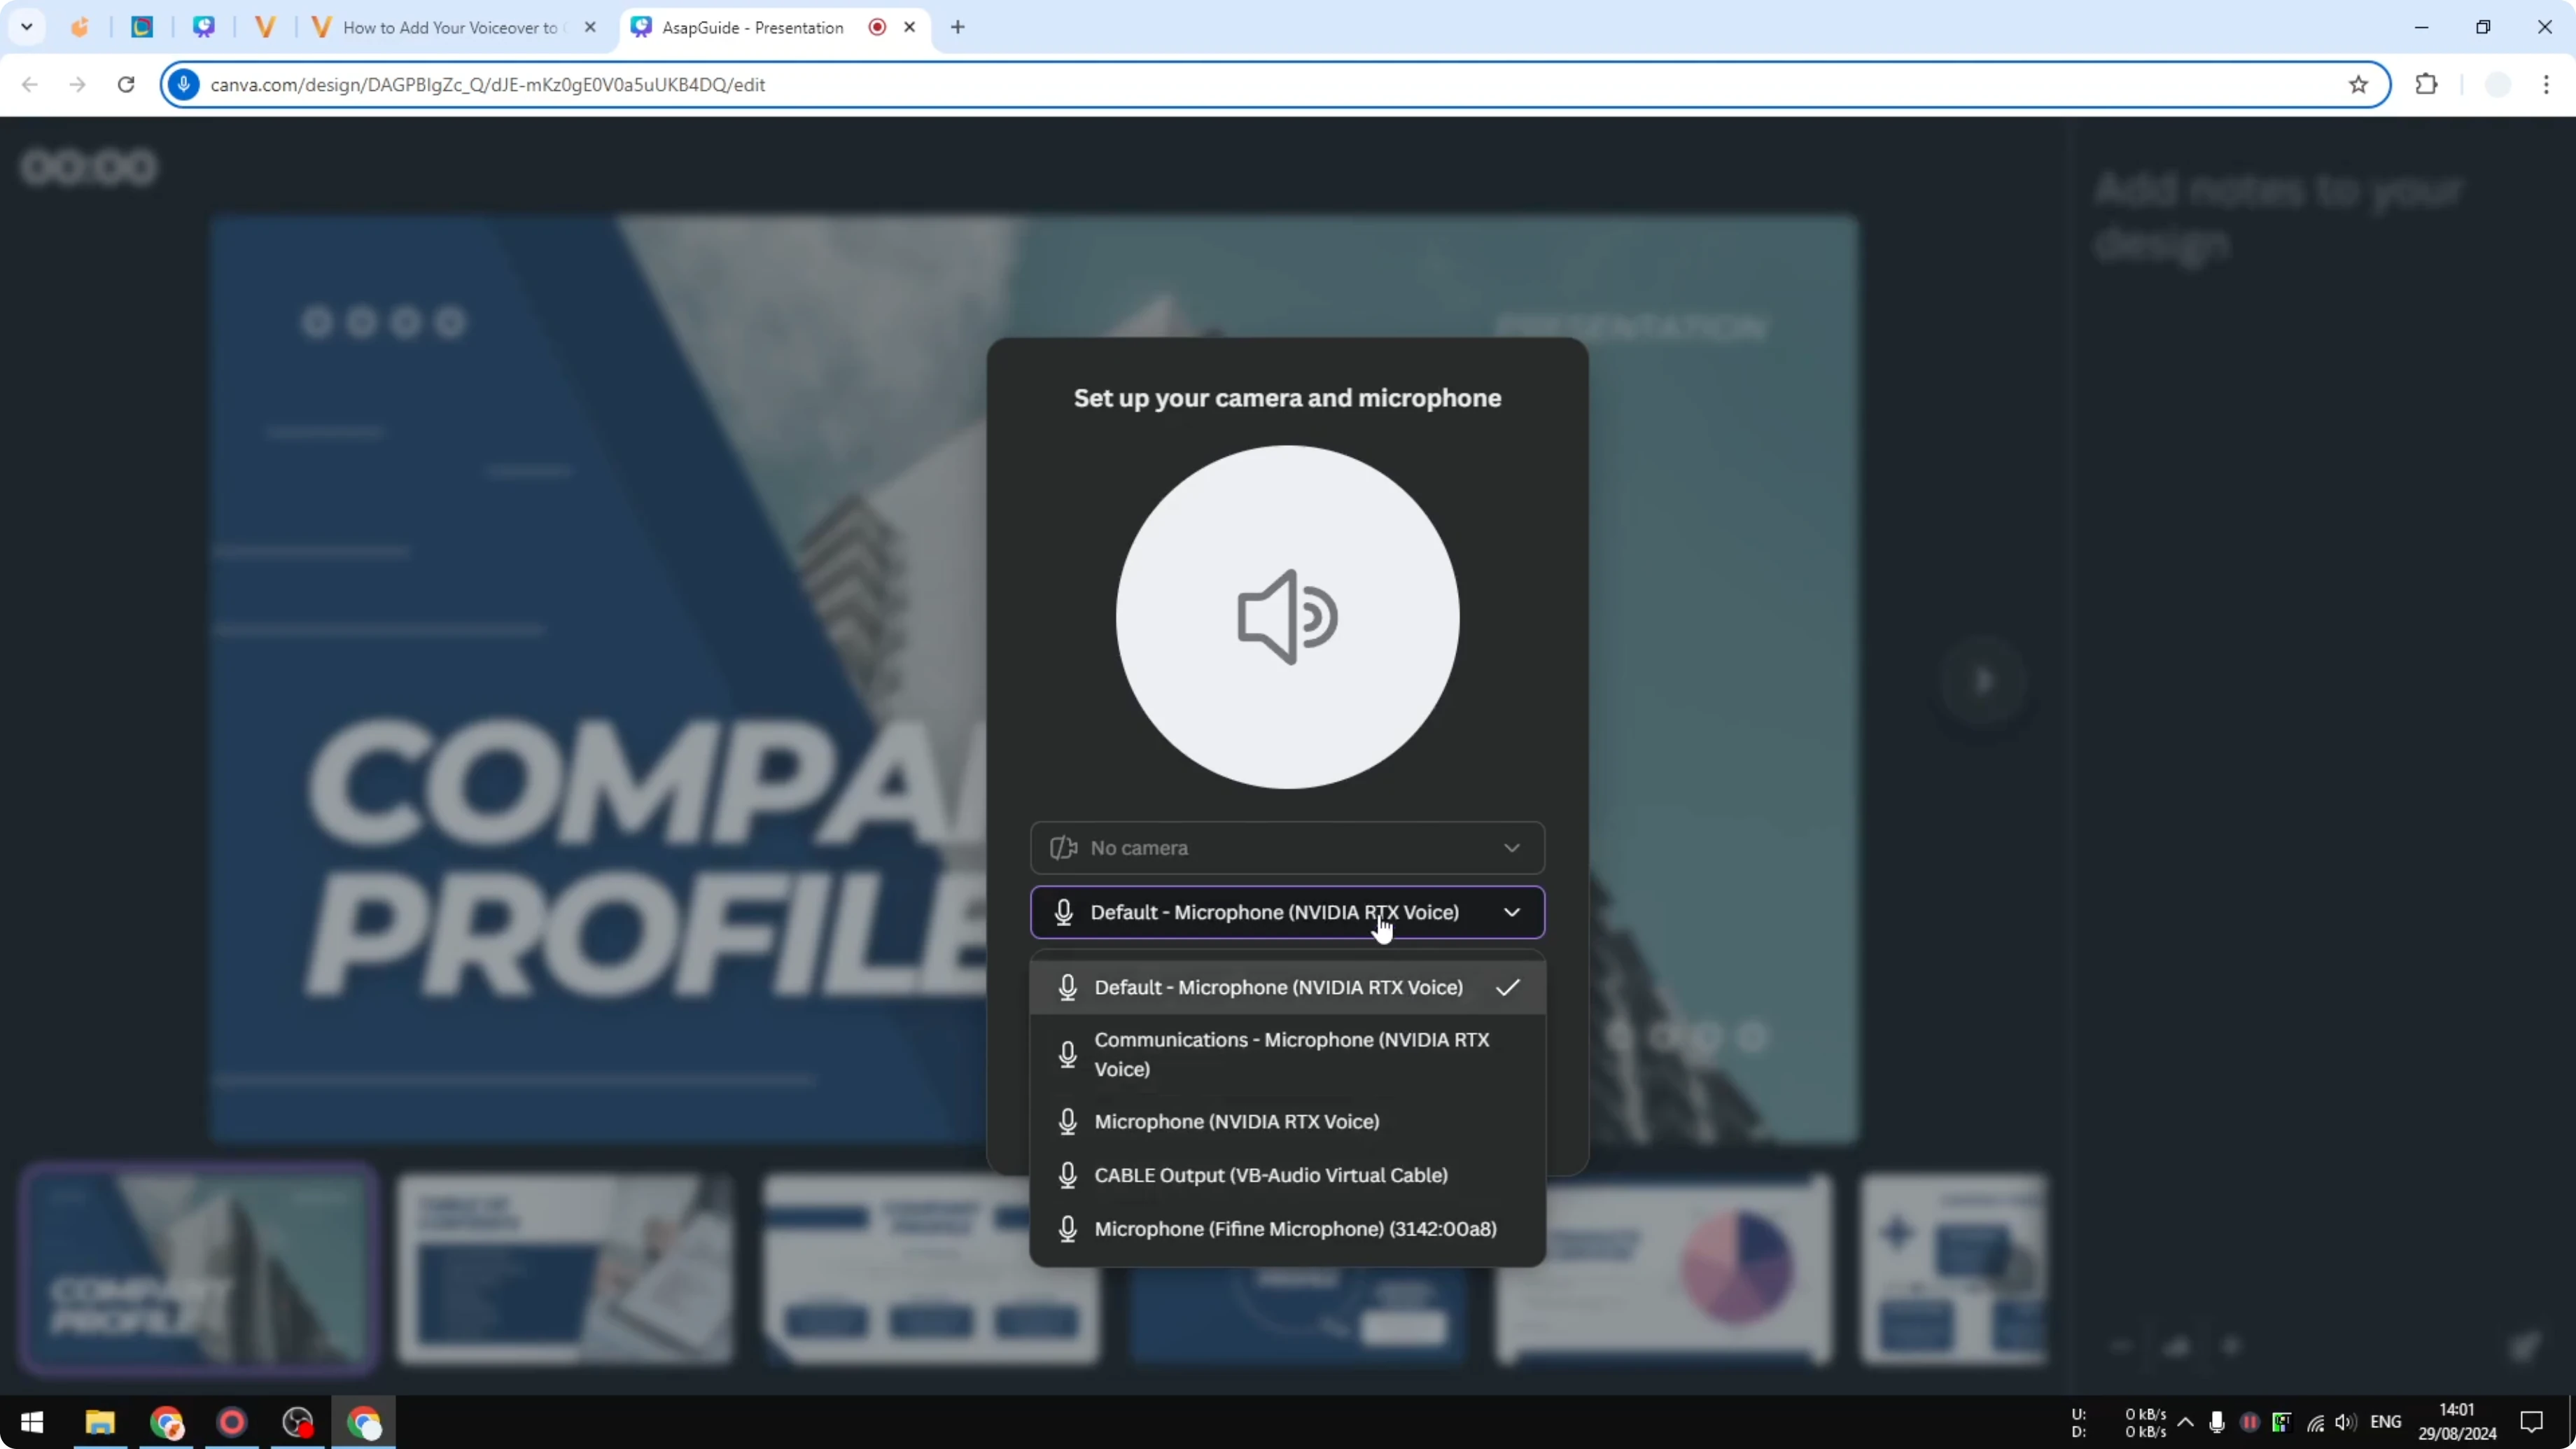
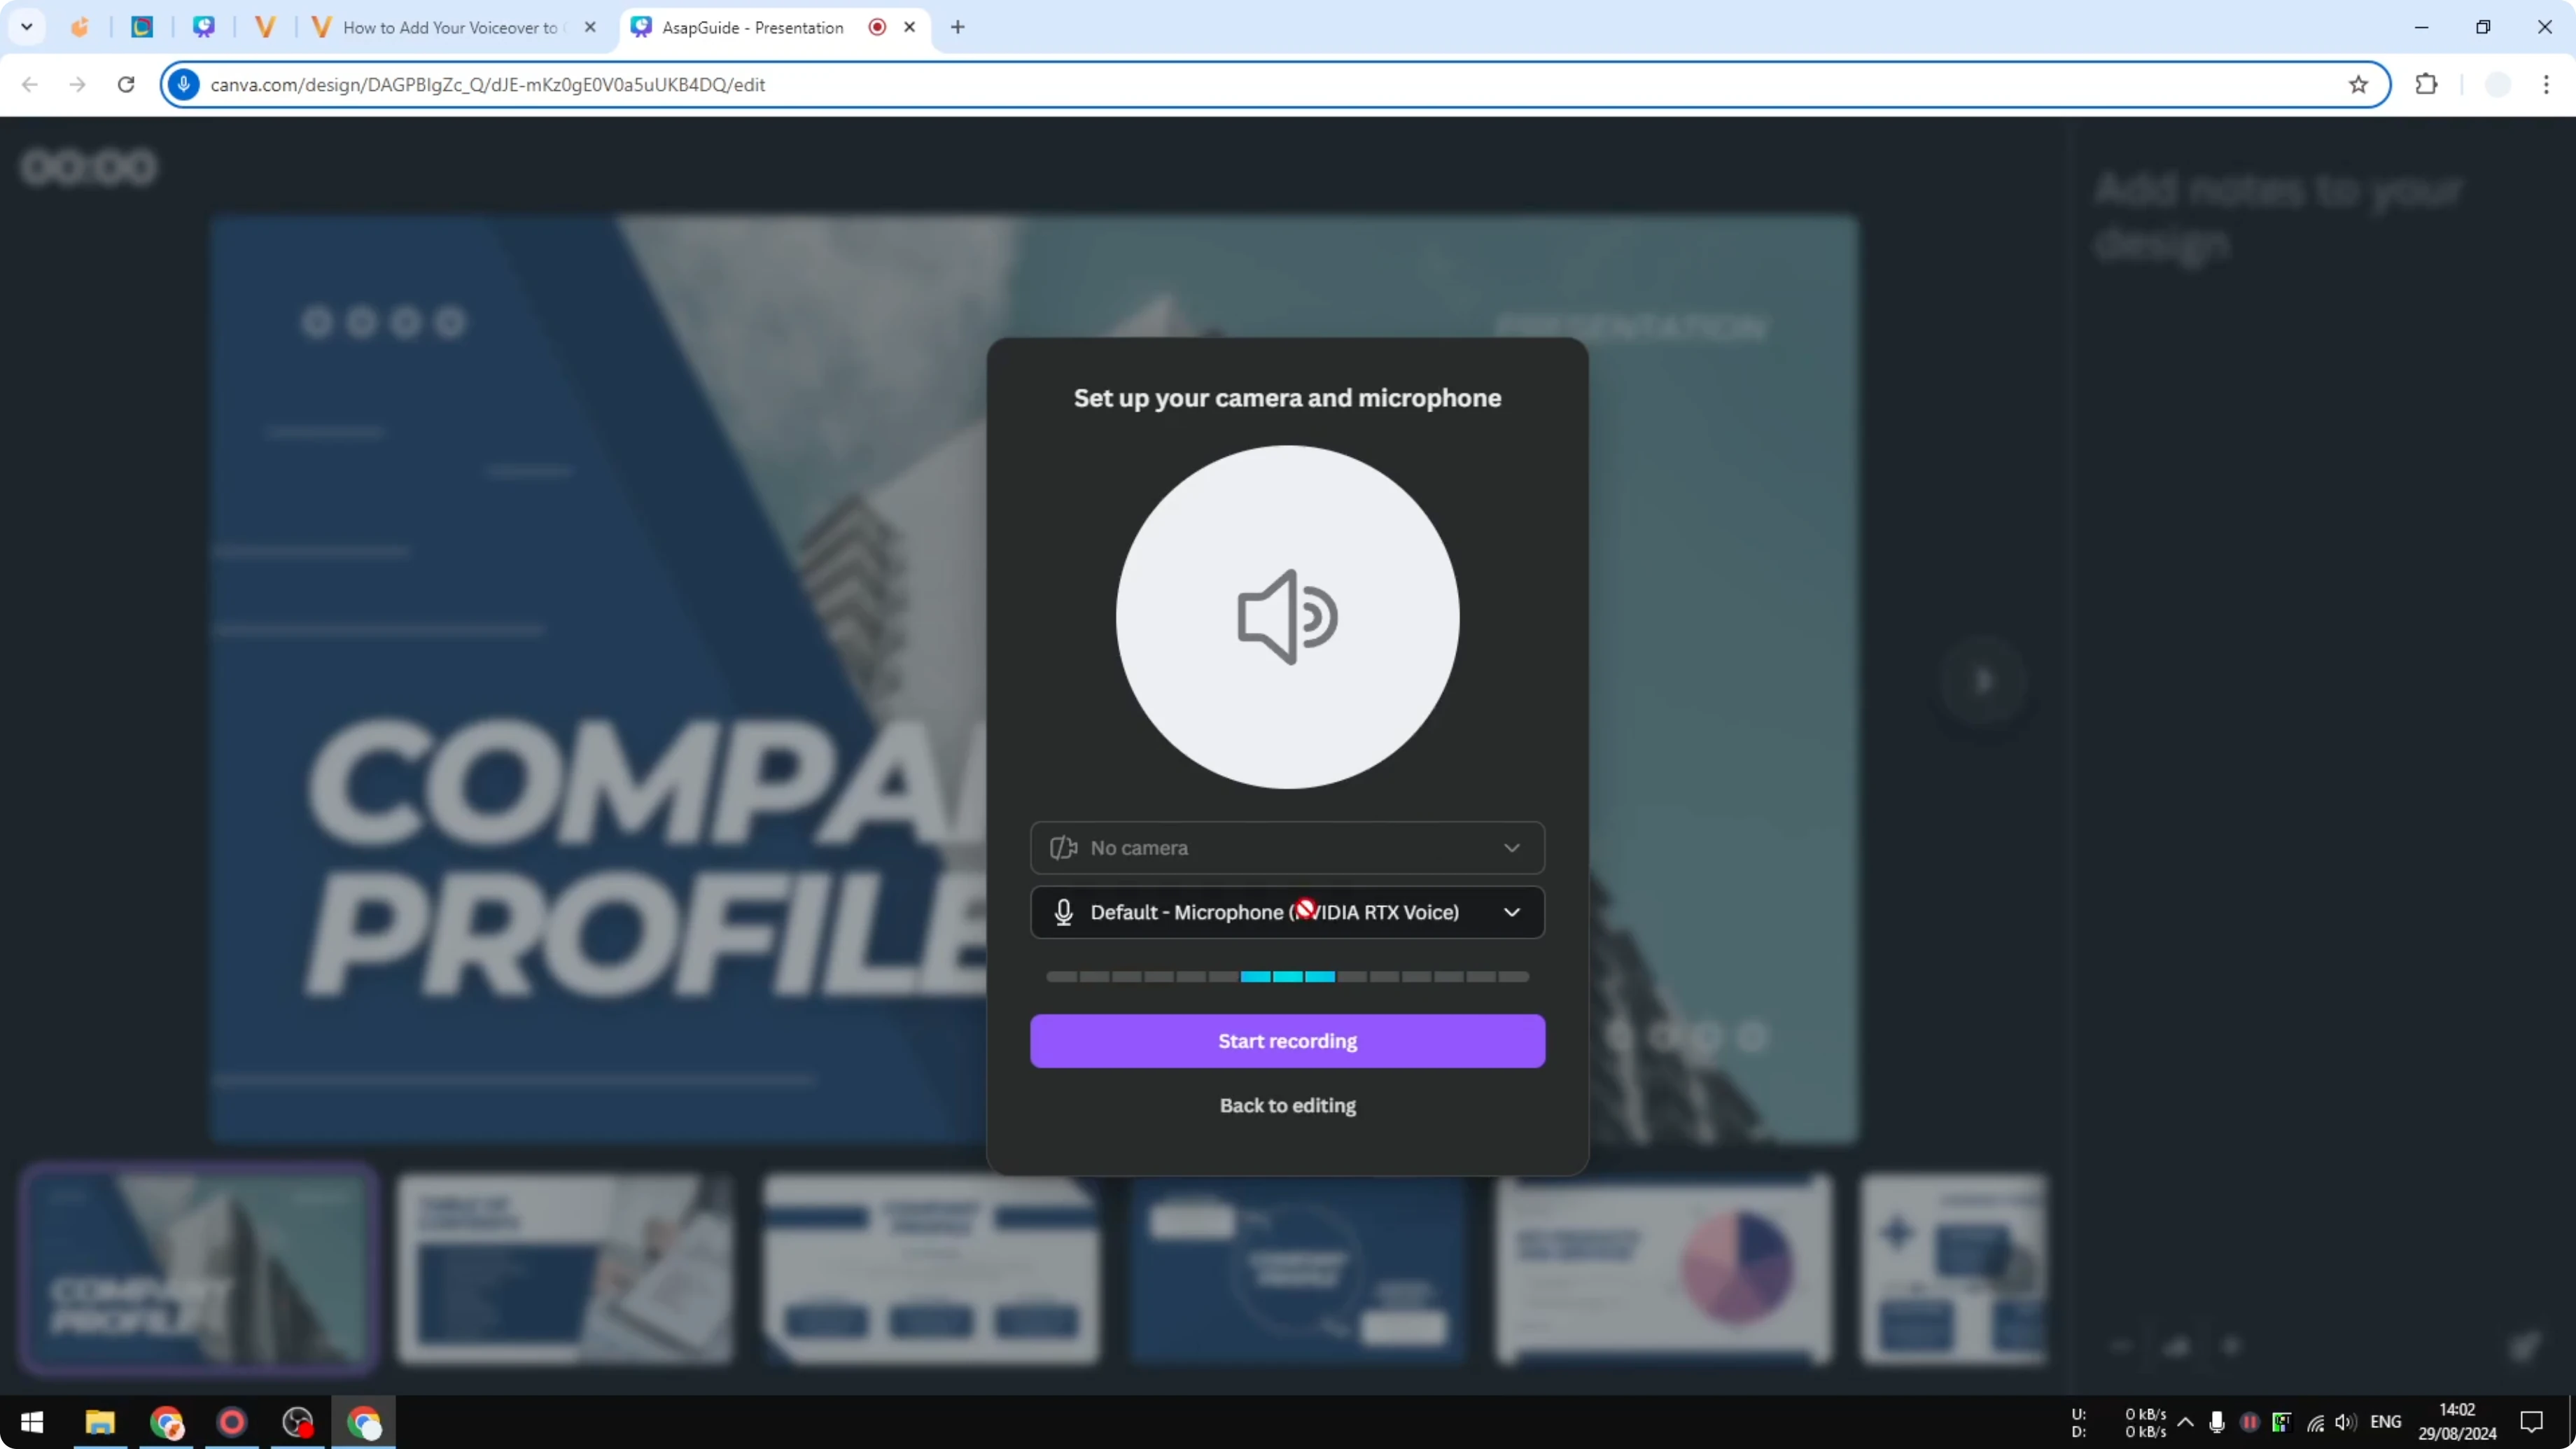
Watch the level bar on the screen. If the bar moves as you speak, it is picking up your voice.
Record the voiceover
Click Start recording and wait for the countdown.
Speak and move from one slide to another as you present. You can test a few things to make sure everything is working properly.
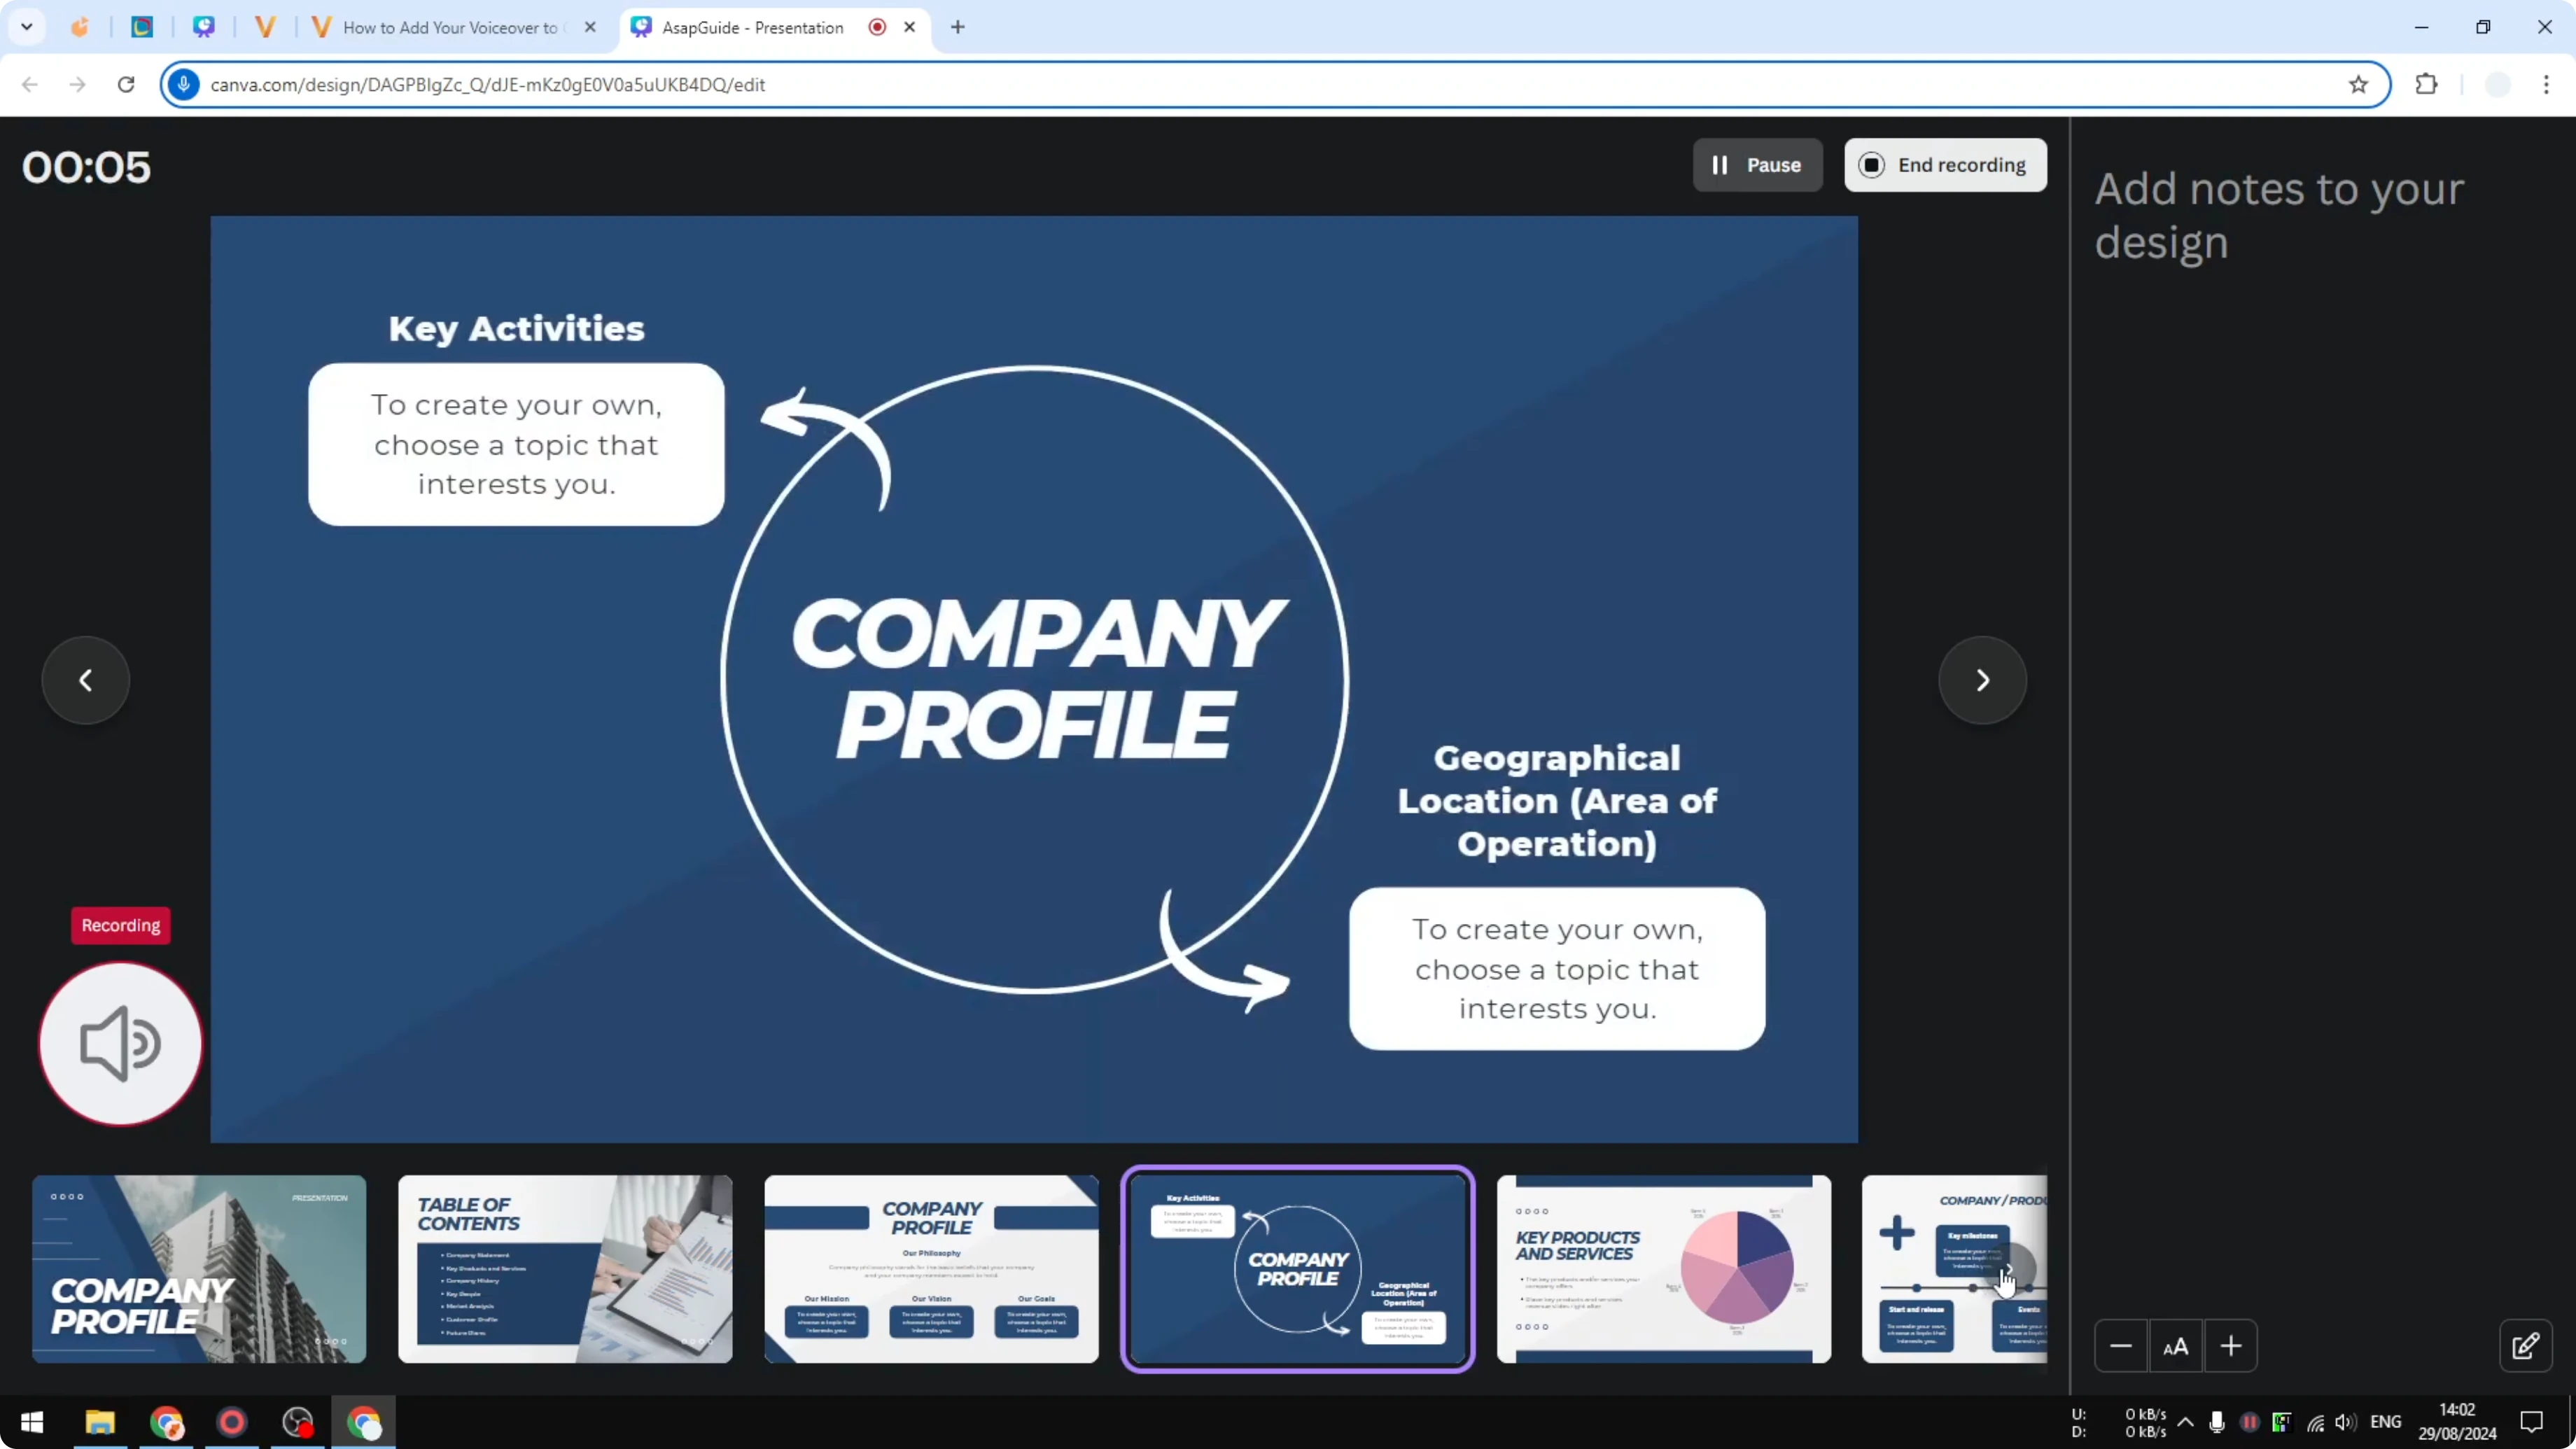
Finish and share the Canva presentation
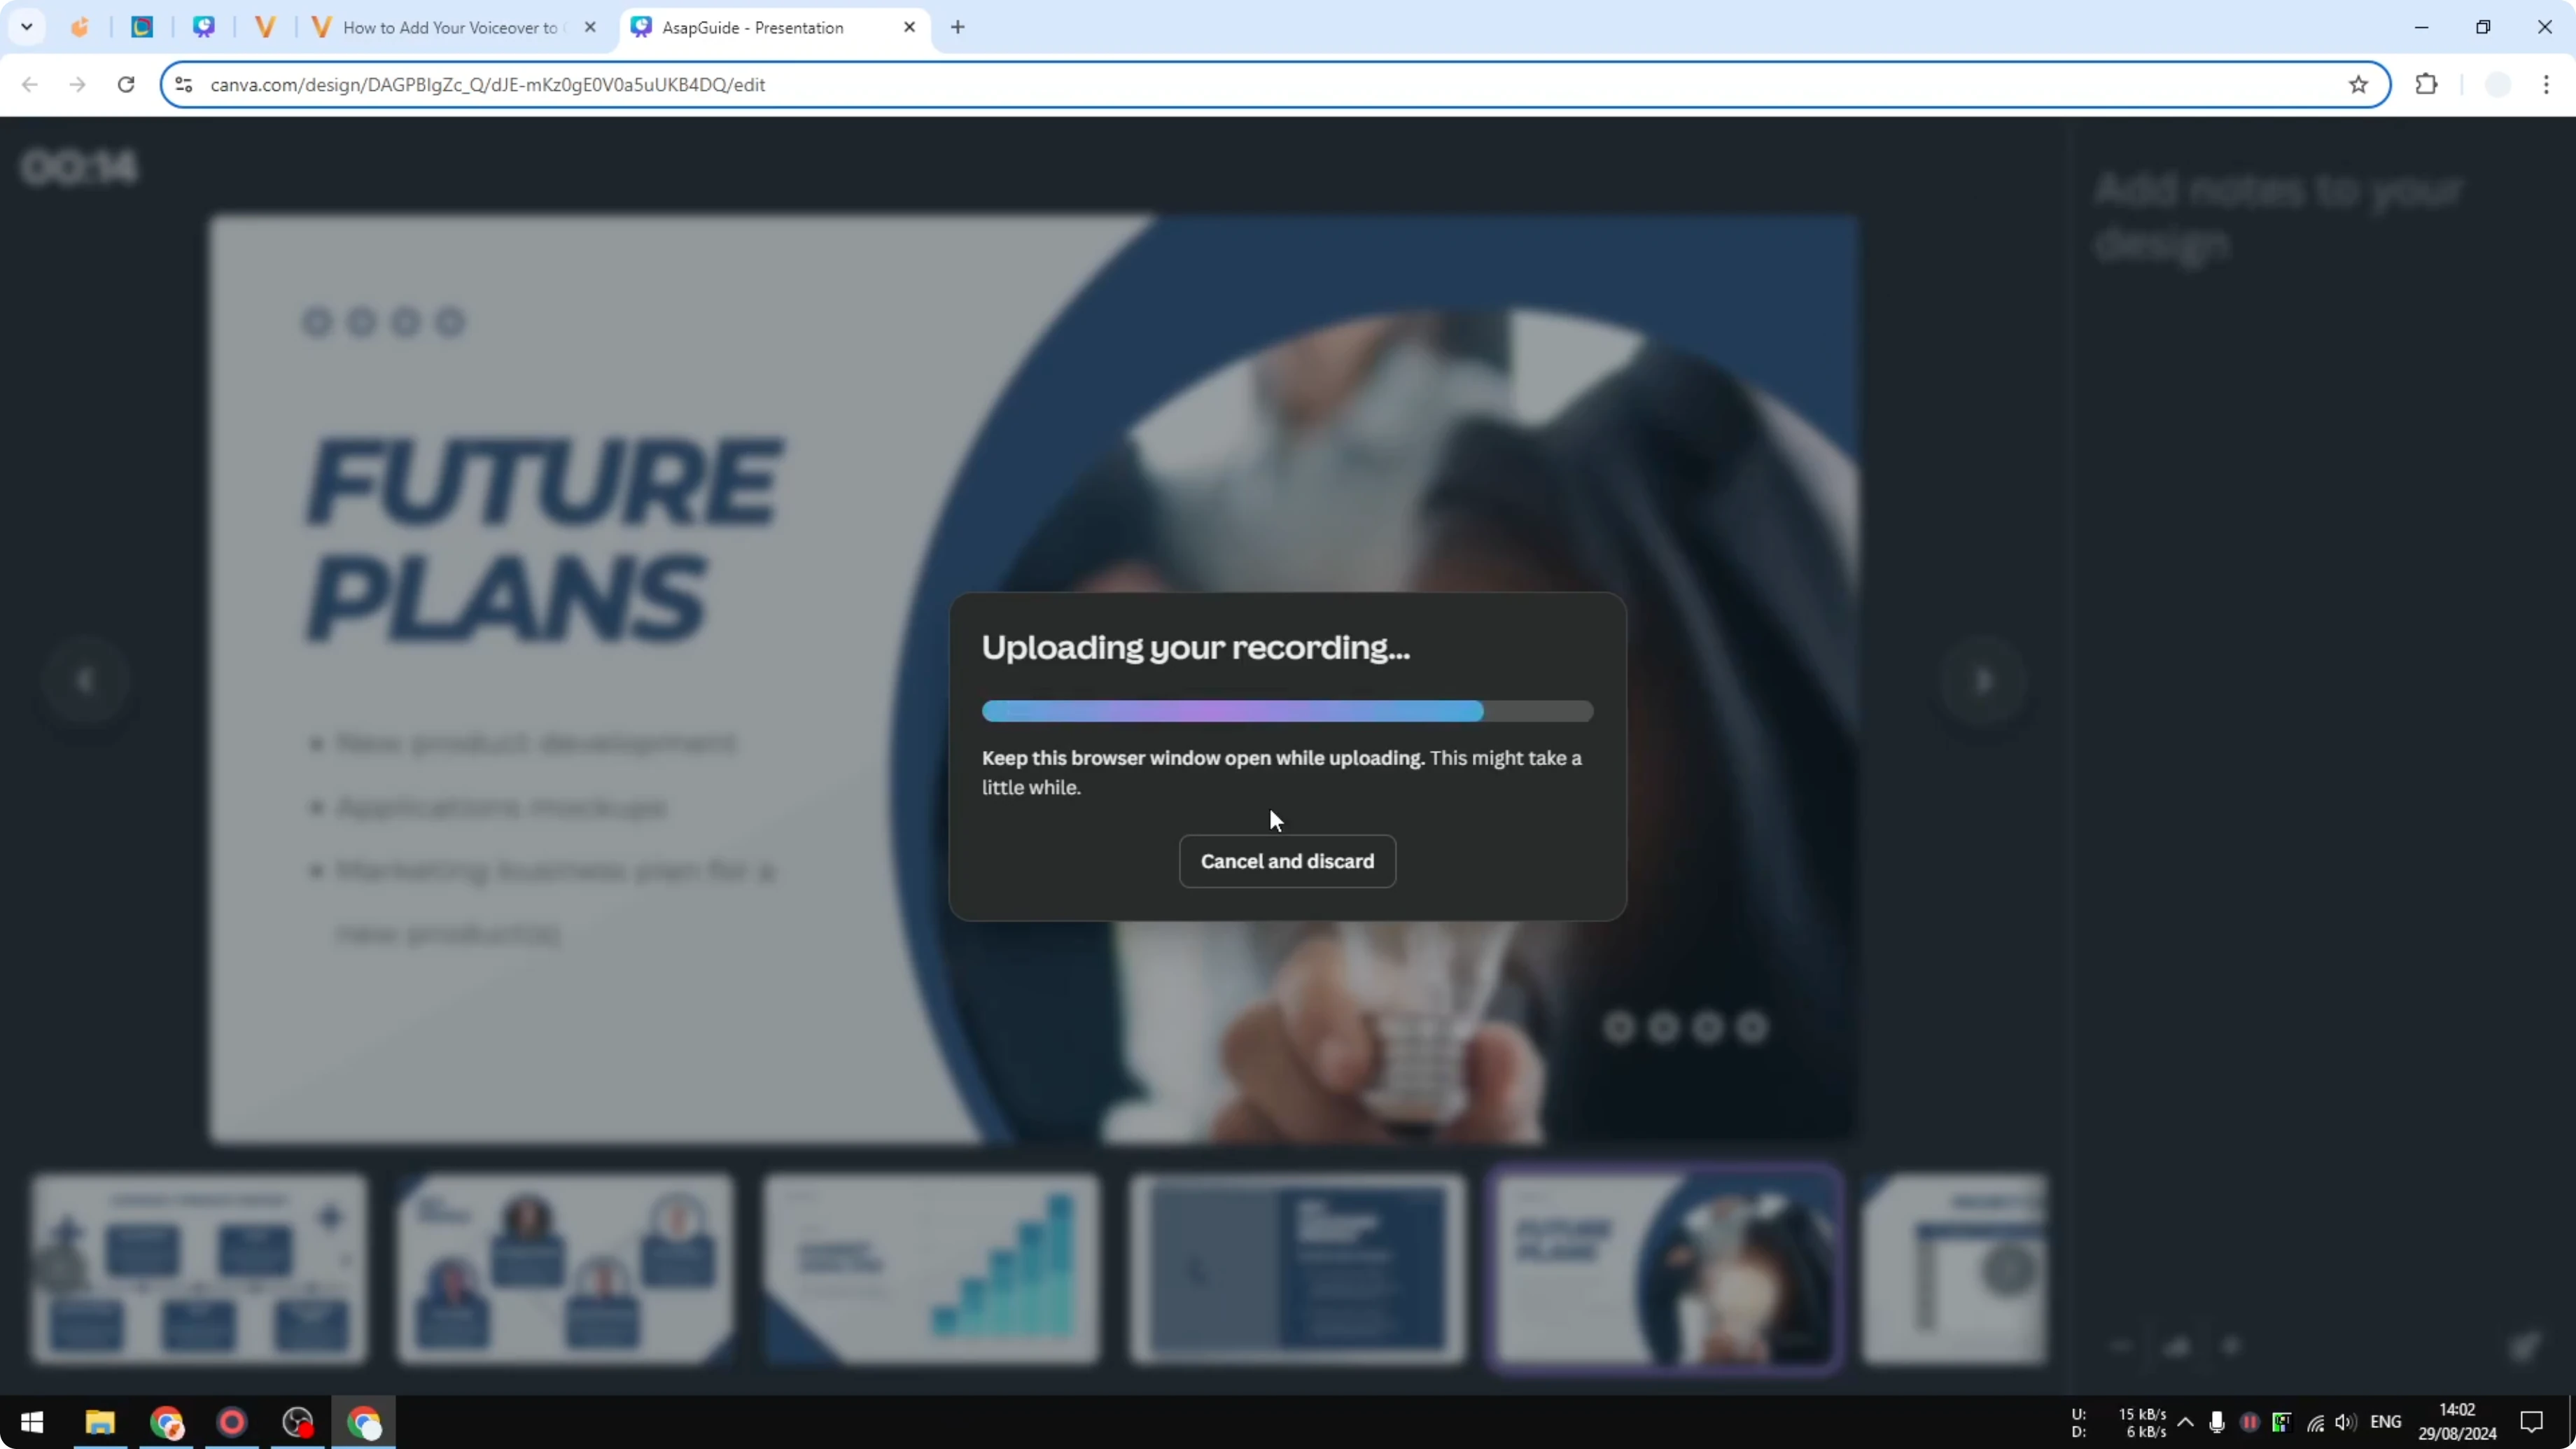
Click End recording when you are done.
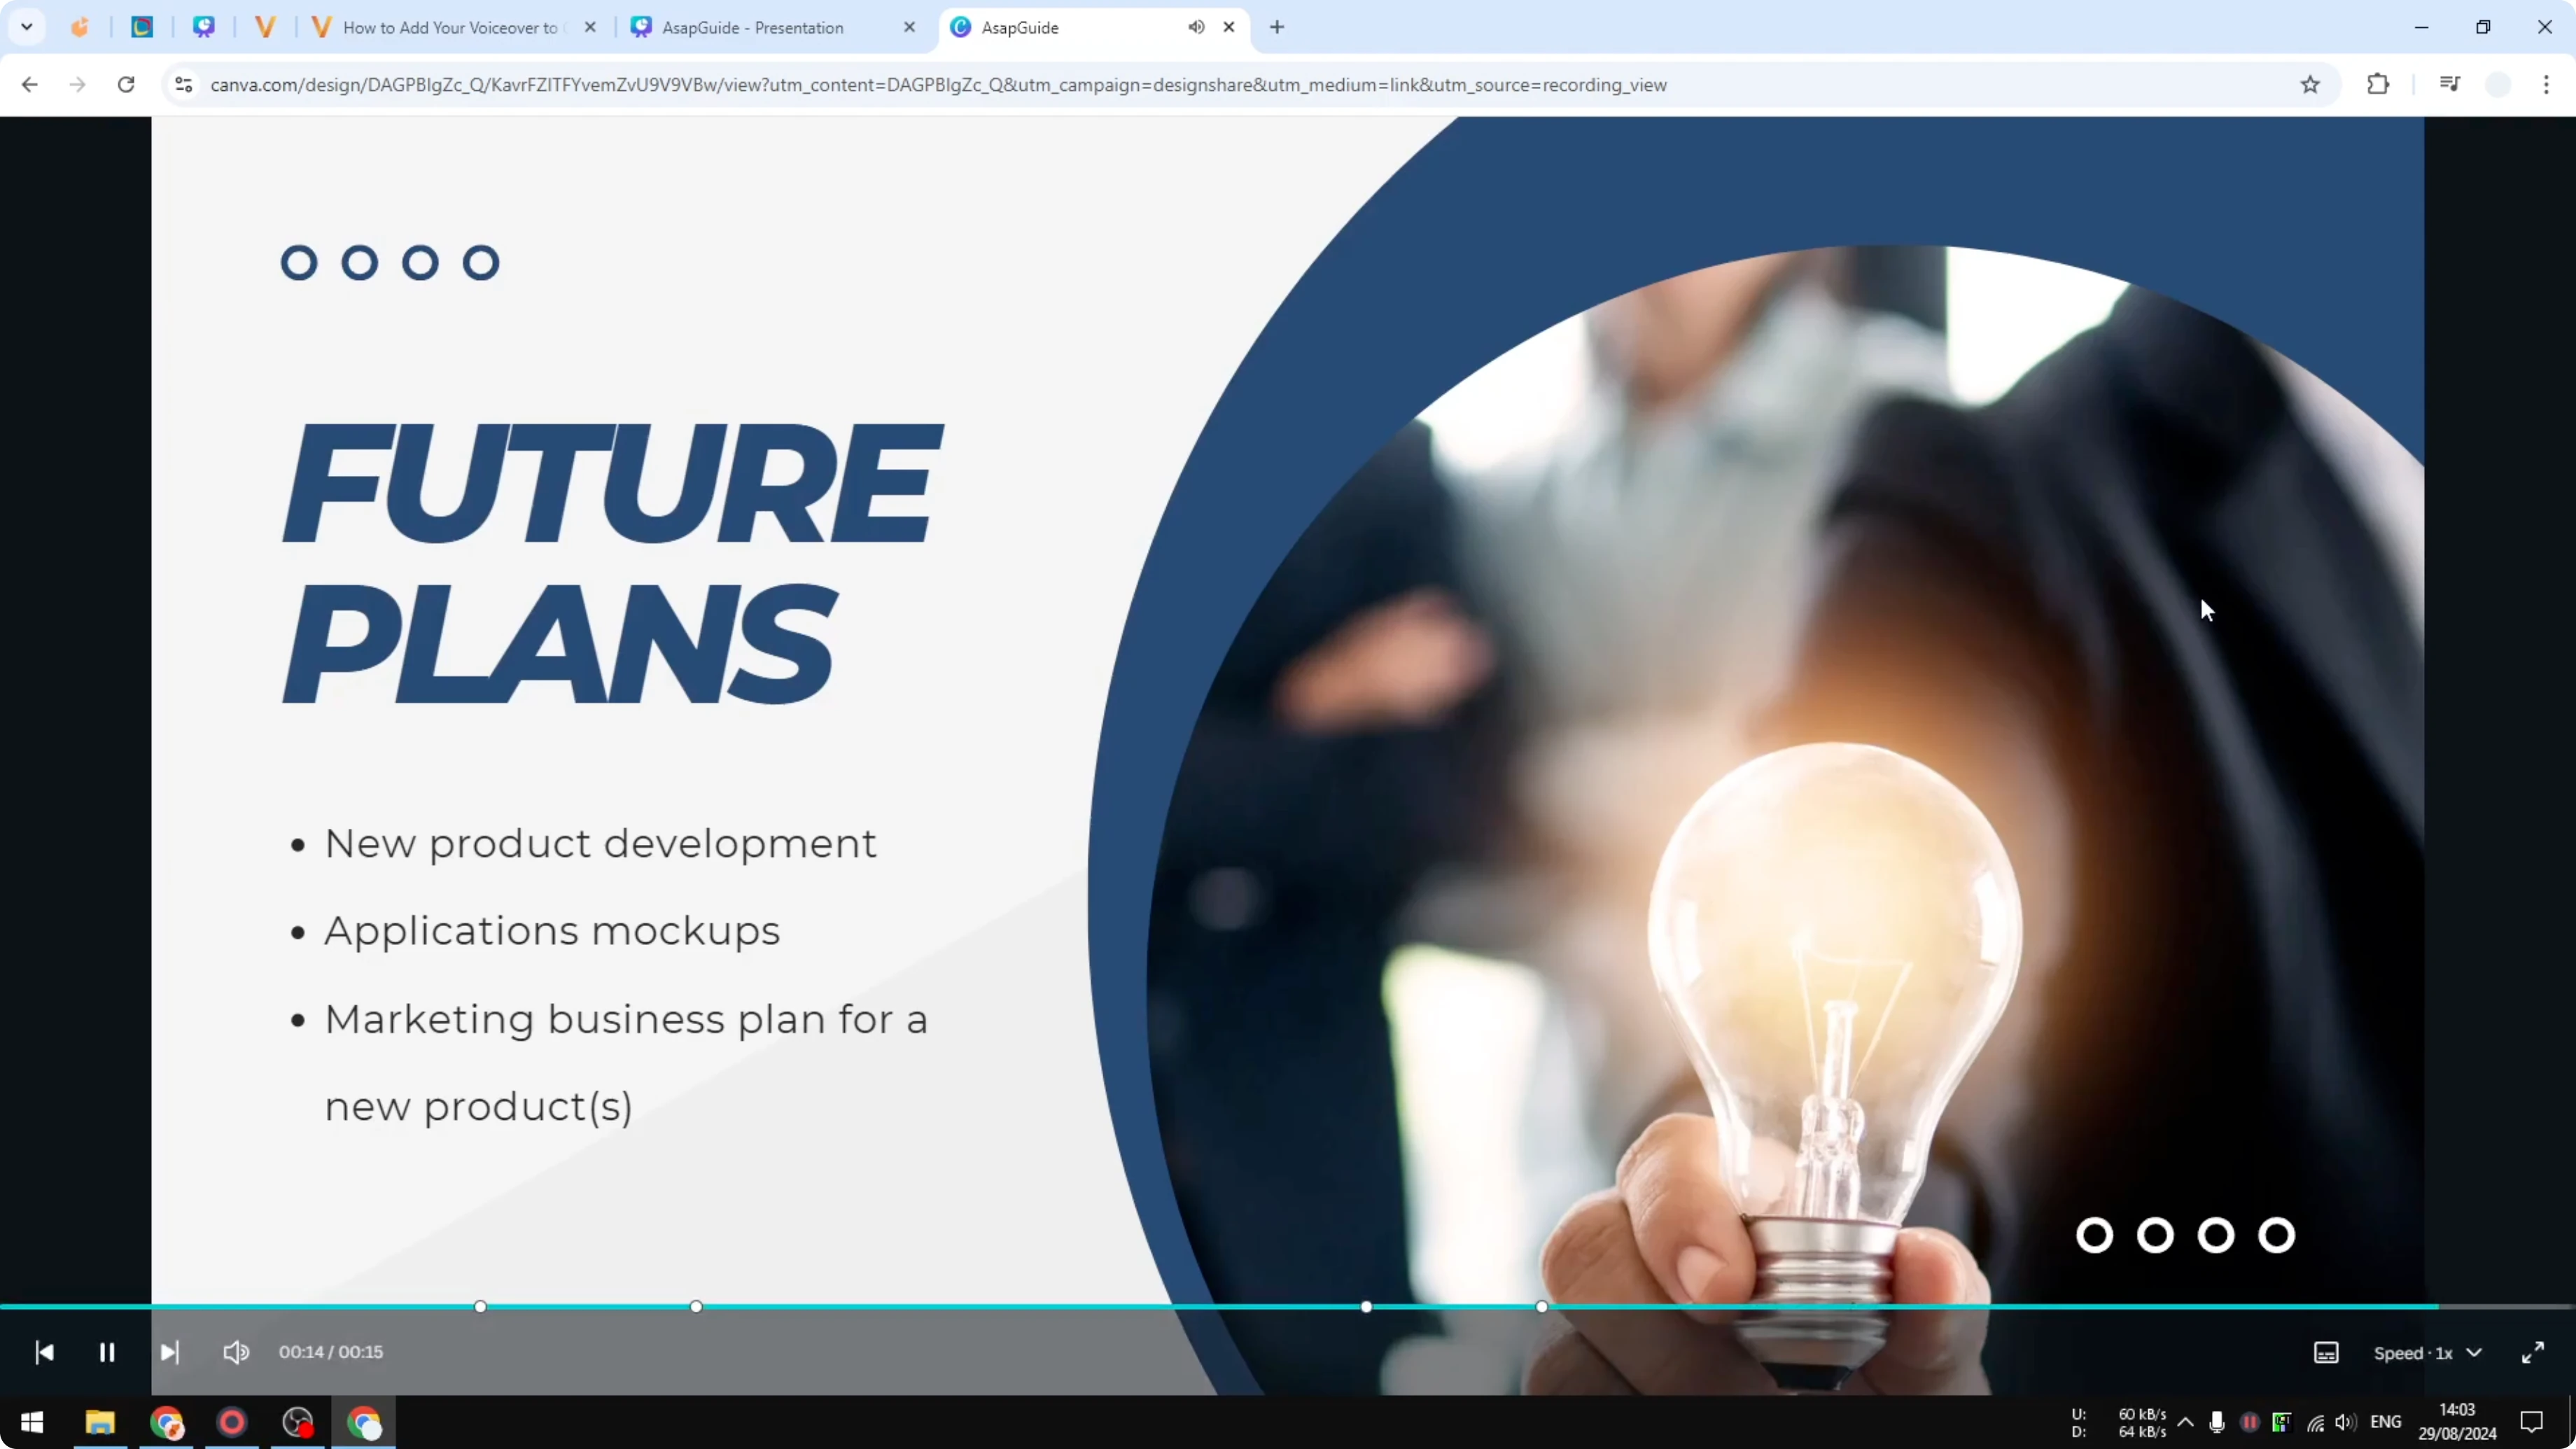
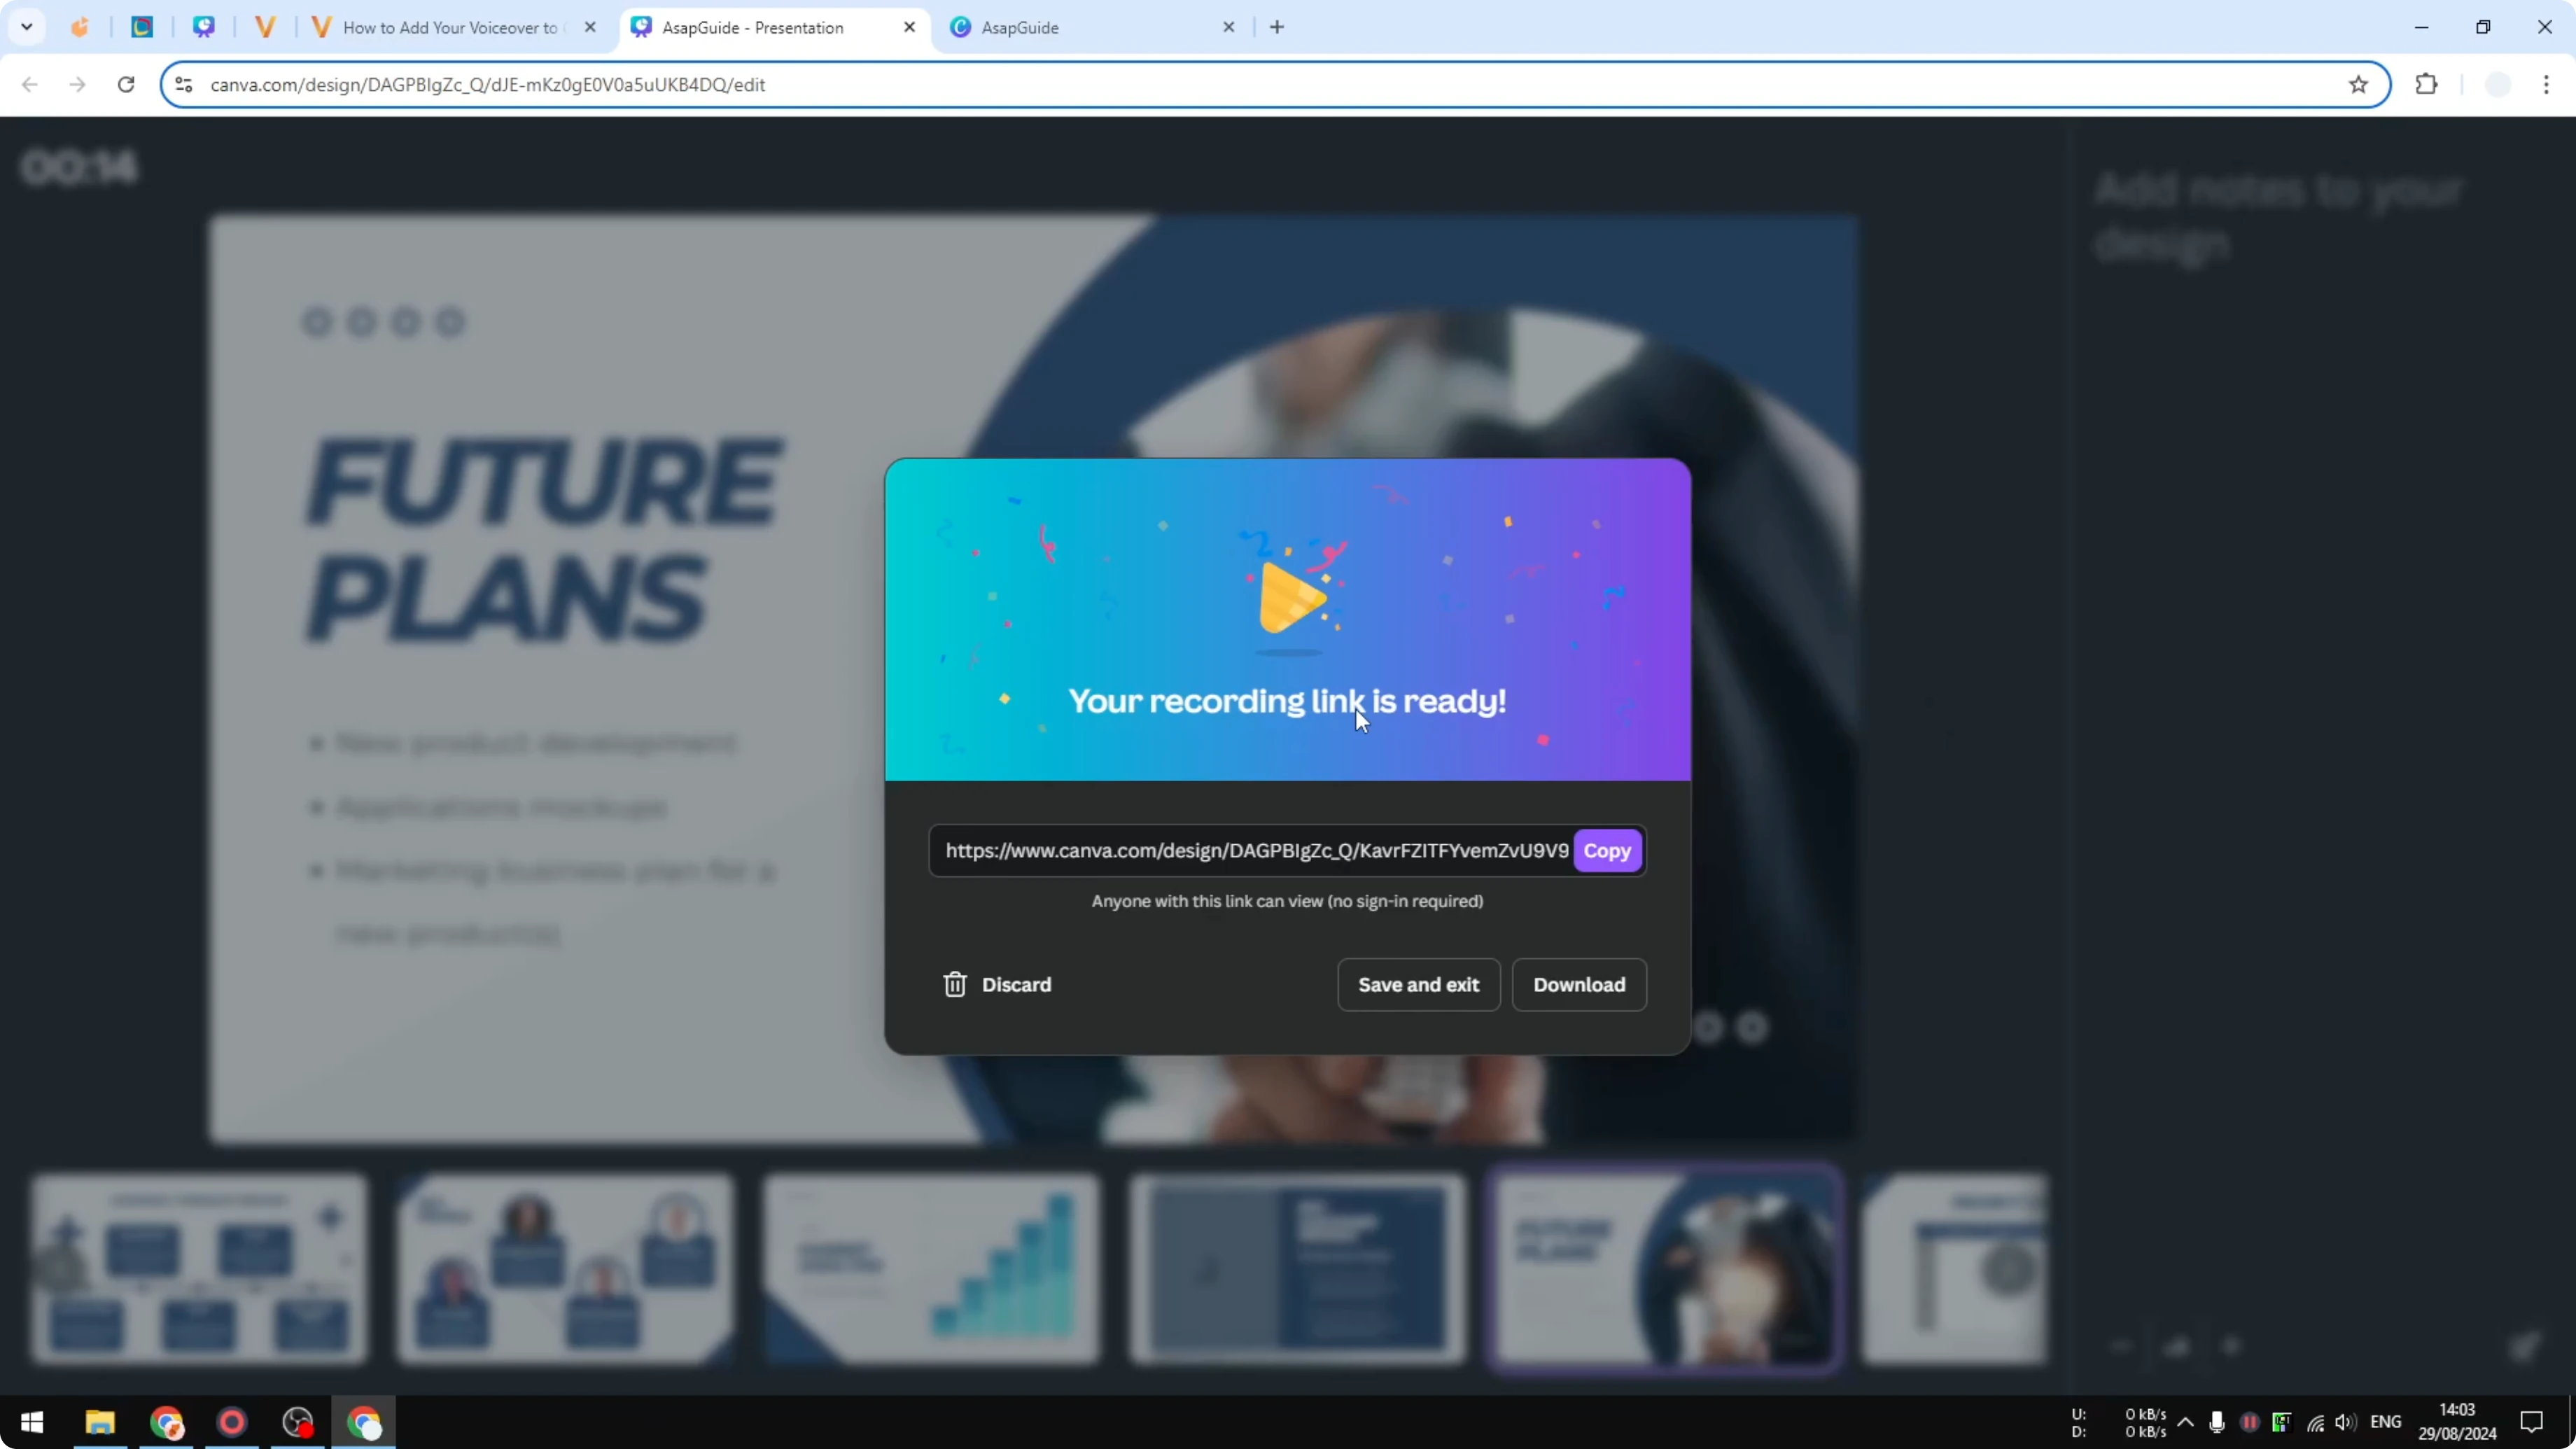
Canva will render the video so you can watch it, share it with colleagues, or download the video. Copy the URL and open it in a new tab to preview how it looks and sounds.
Enhance the Canva presentation
You can also embed a video clip inside your deck if you want to show a demo or a talking head segment. Learn how to embed a video in your Canva presentation and combine it with your voiceover.
These small enhancements help your recorded presentation feel complete. Your voice stays in focus while the visuals do the supporting work.
Final thoughts
Recording your Canva presentation with your own voice lets you explain each slide once and share it anytime. Allow the mic, pick the right input, watch for the countdown, and end the session to render and share. Click Present and record, speak through your slides, and you are set.
Recent Posts
How to Visualize Yourself as a Pixelized Character with AI?
How to Visualize Yourself as a Pixelized Character with AI?

How to Revive Faded Memories and Enhance Image Clarity with AI?
How to Revive Faded Memories and Enhance Image Clarity with AI?

How to Visualize Yourself as an Animal Crossing Character with AI?
How to Visualize Yourself as an Animal Crossing Character with AI?