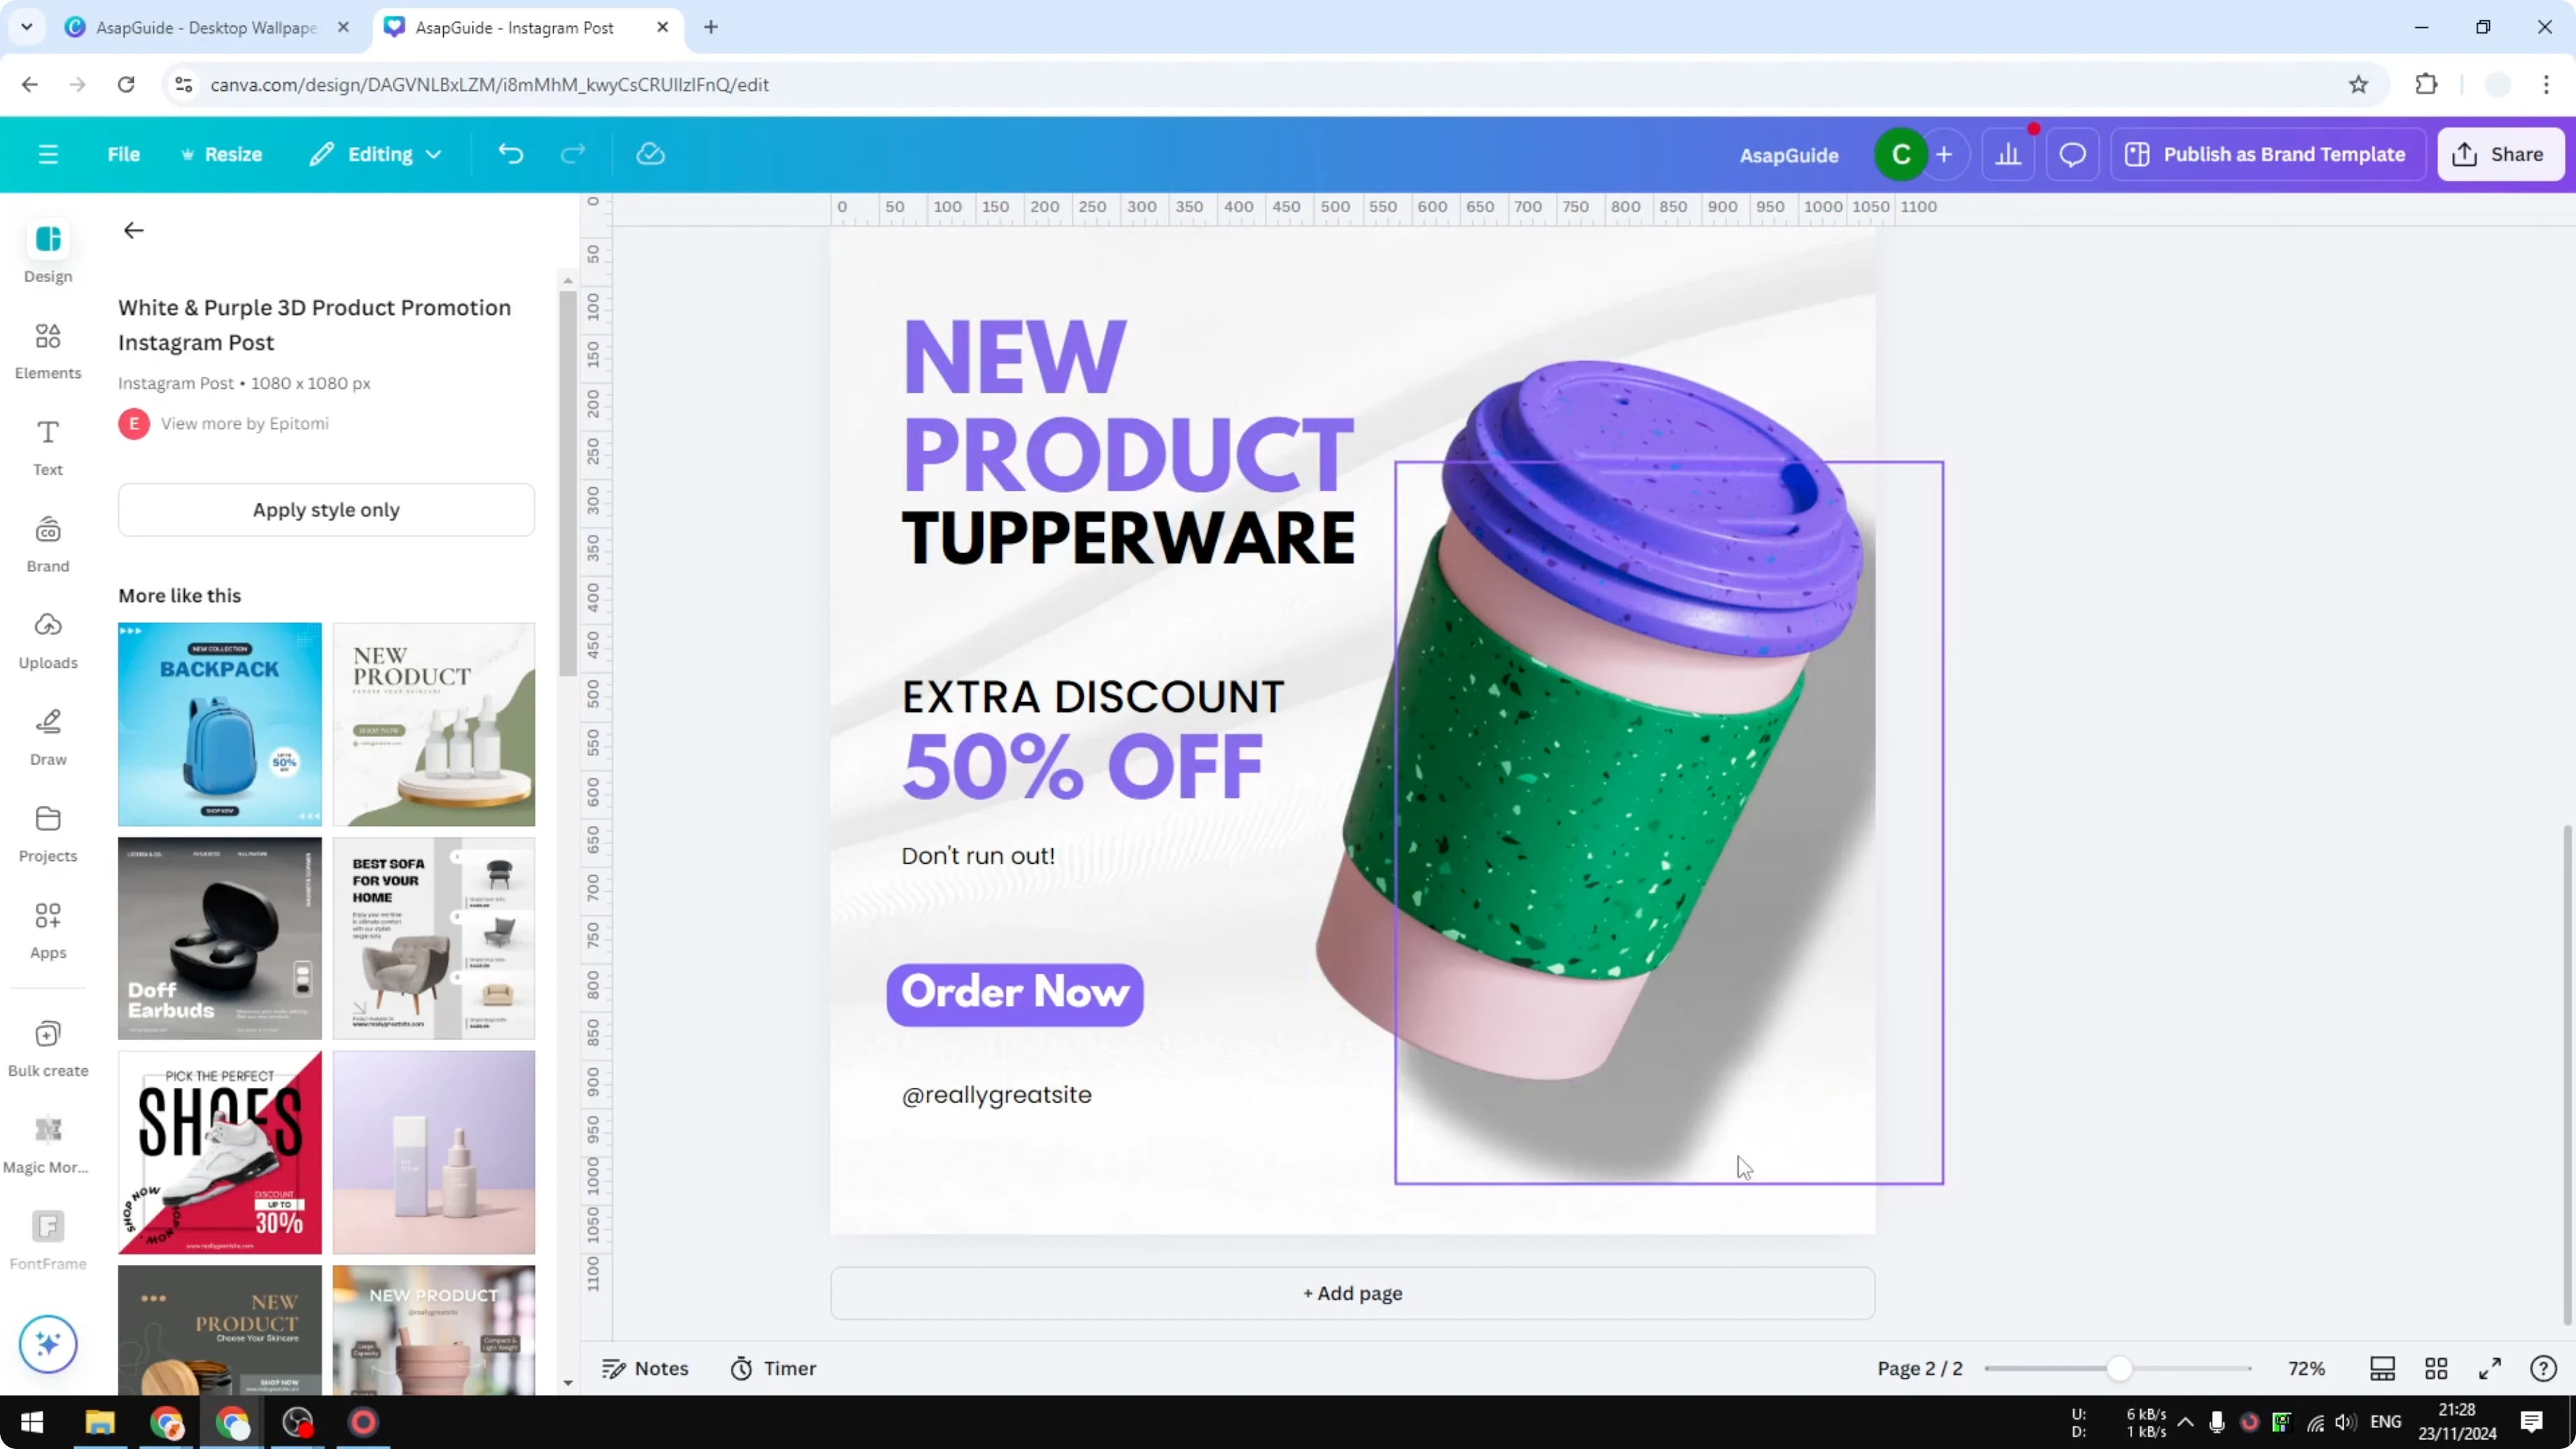
How to Add Shadow to Product Images in Canva

I’m going to show you how to create a realistic shadow for a product image in Canva. I have a design where the photo originally had no shadow. I added one to make the product more prominent and catch attention.
I’ll walk through three shadow styles you can apply to product photos. Each one is quick and gives you control over direction, softness, and intensity. Pick the approach that matches your object and background.
Add Shadow to Product Images in Canva
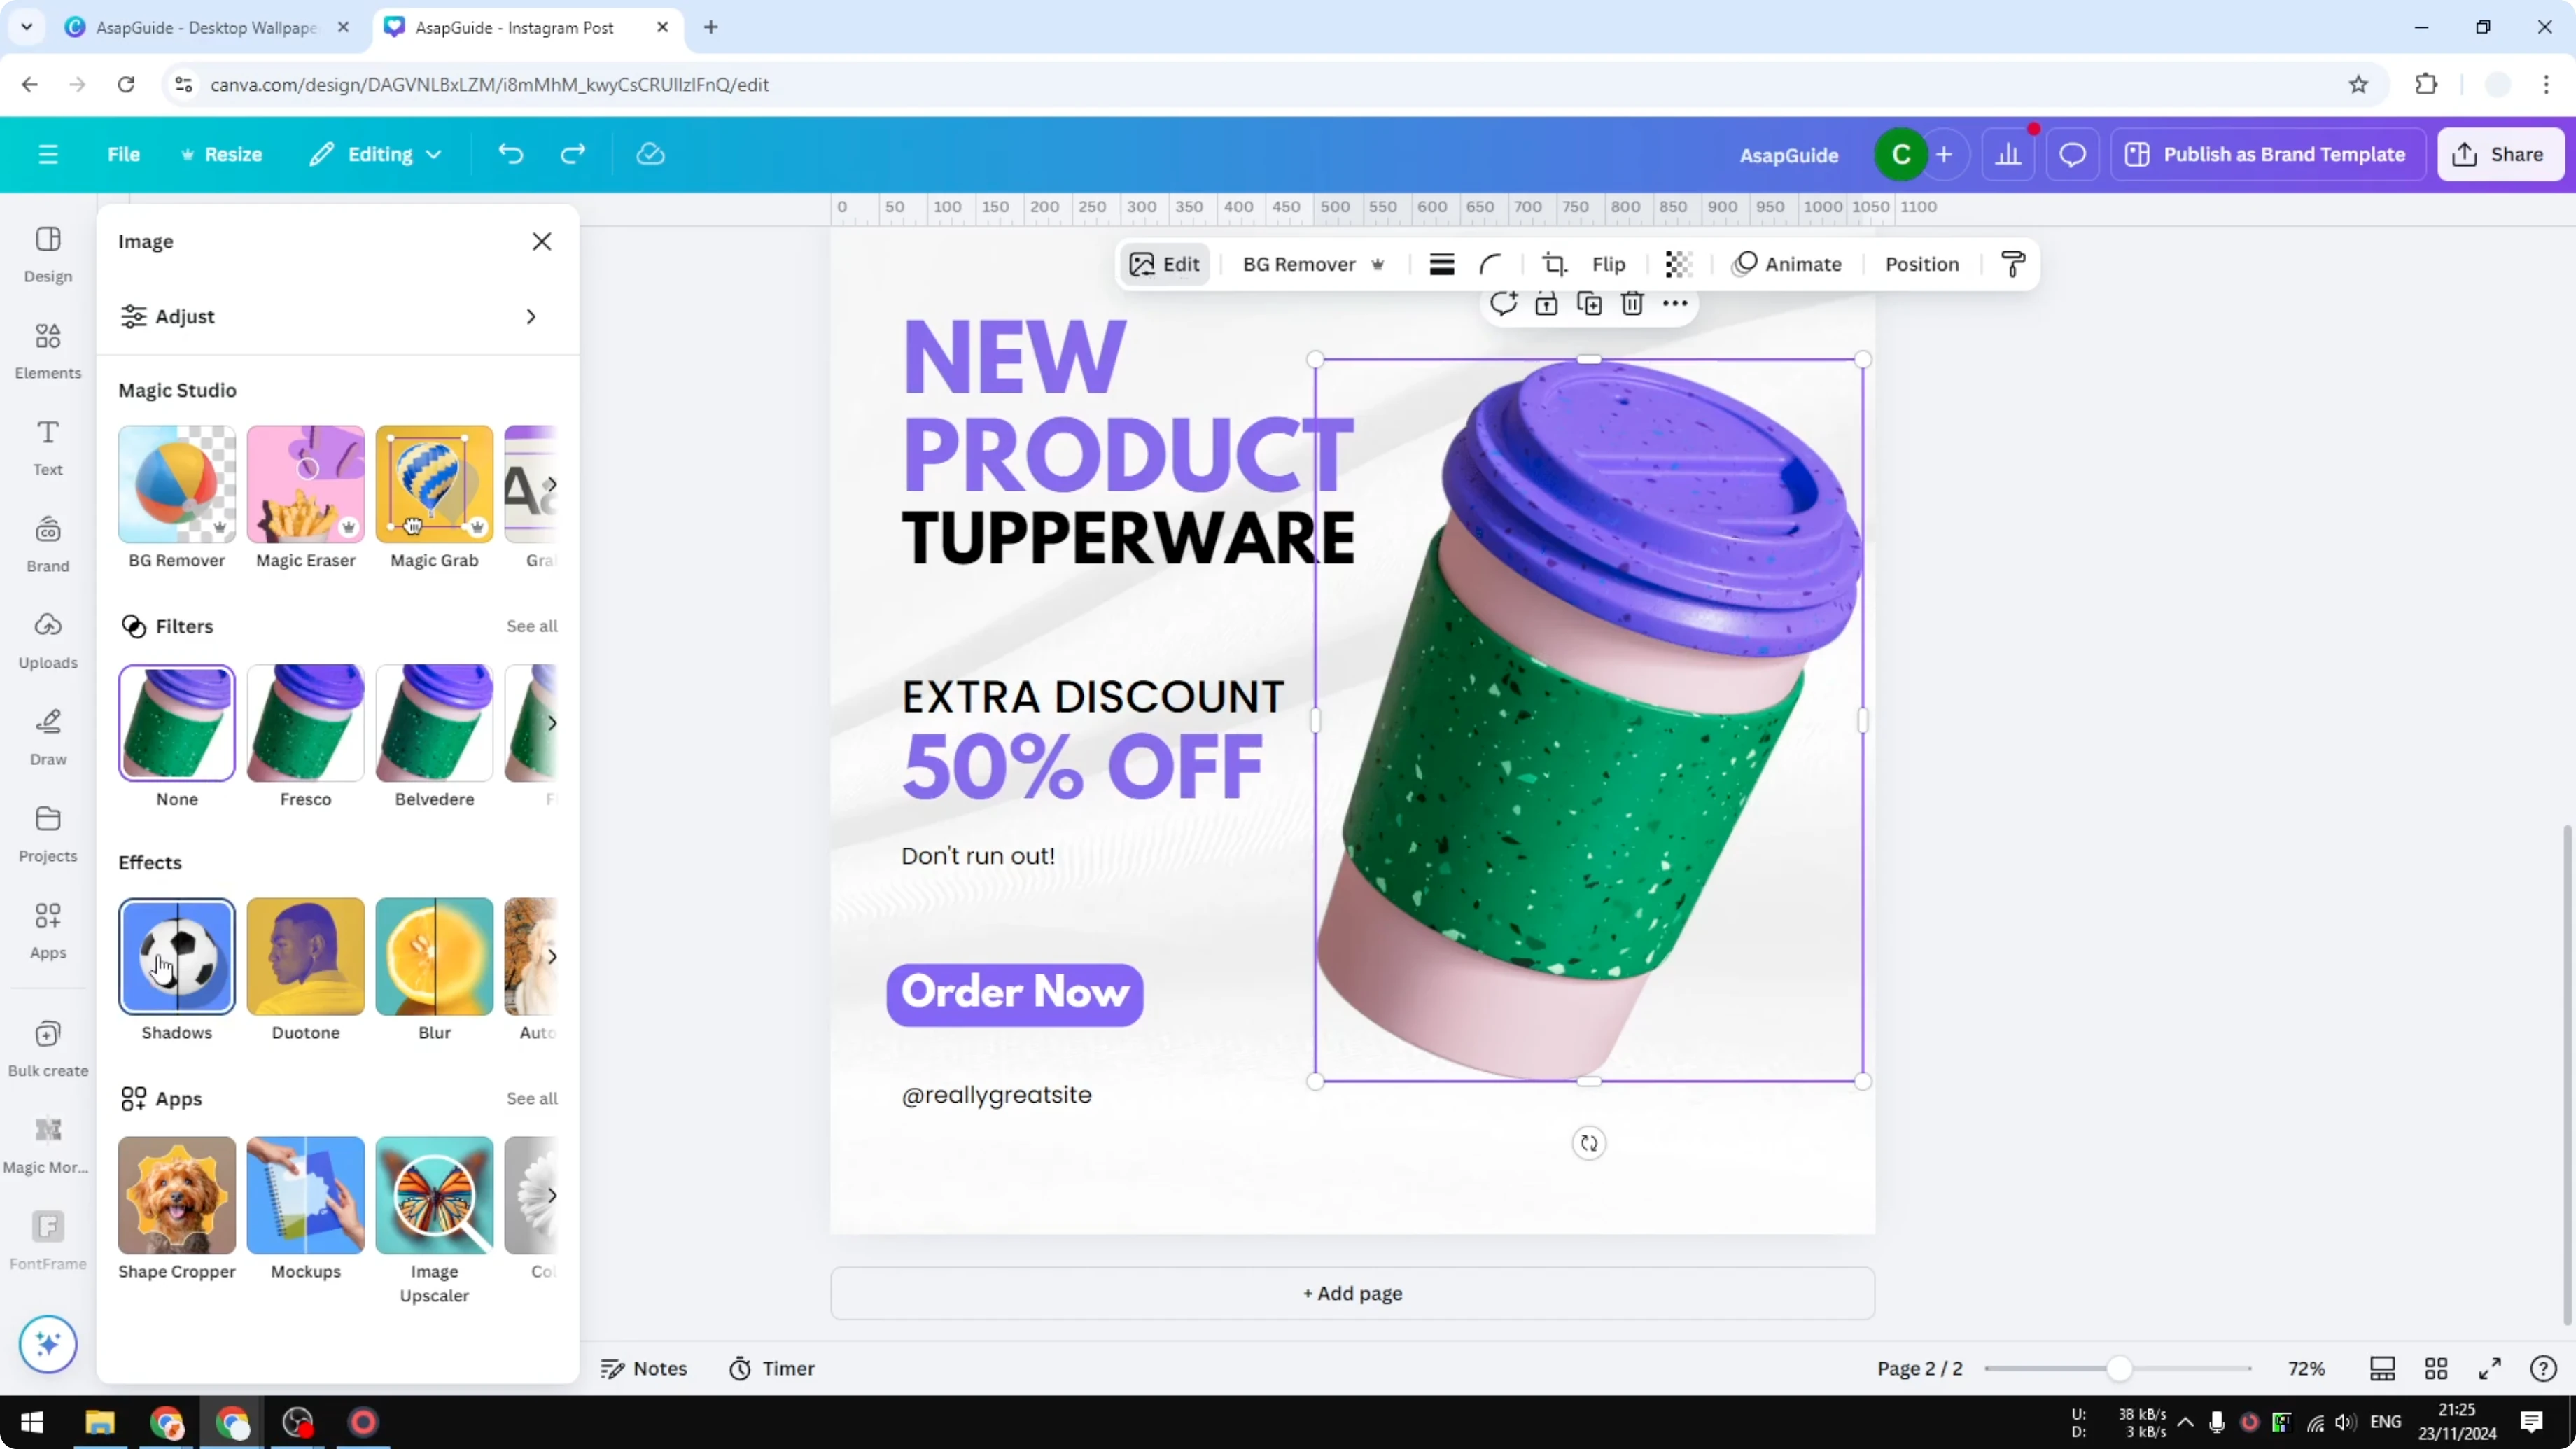
Backdrop shadow
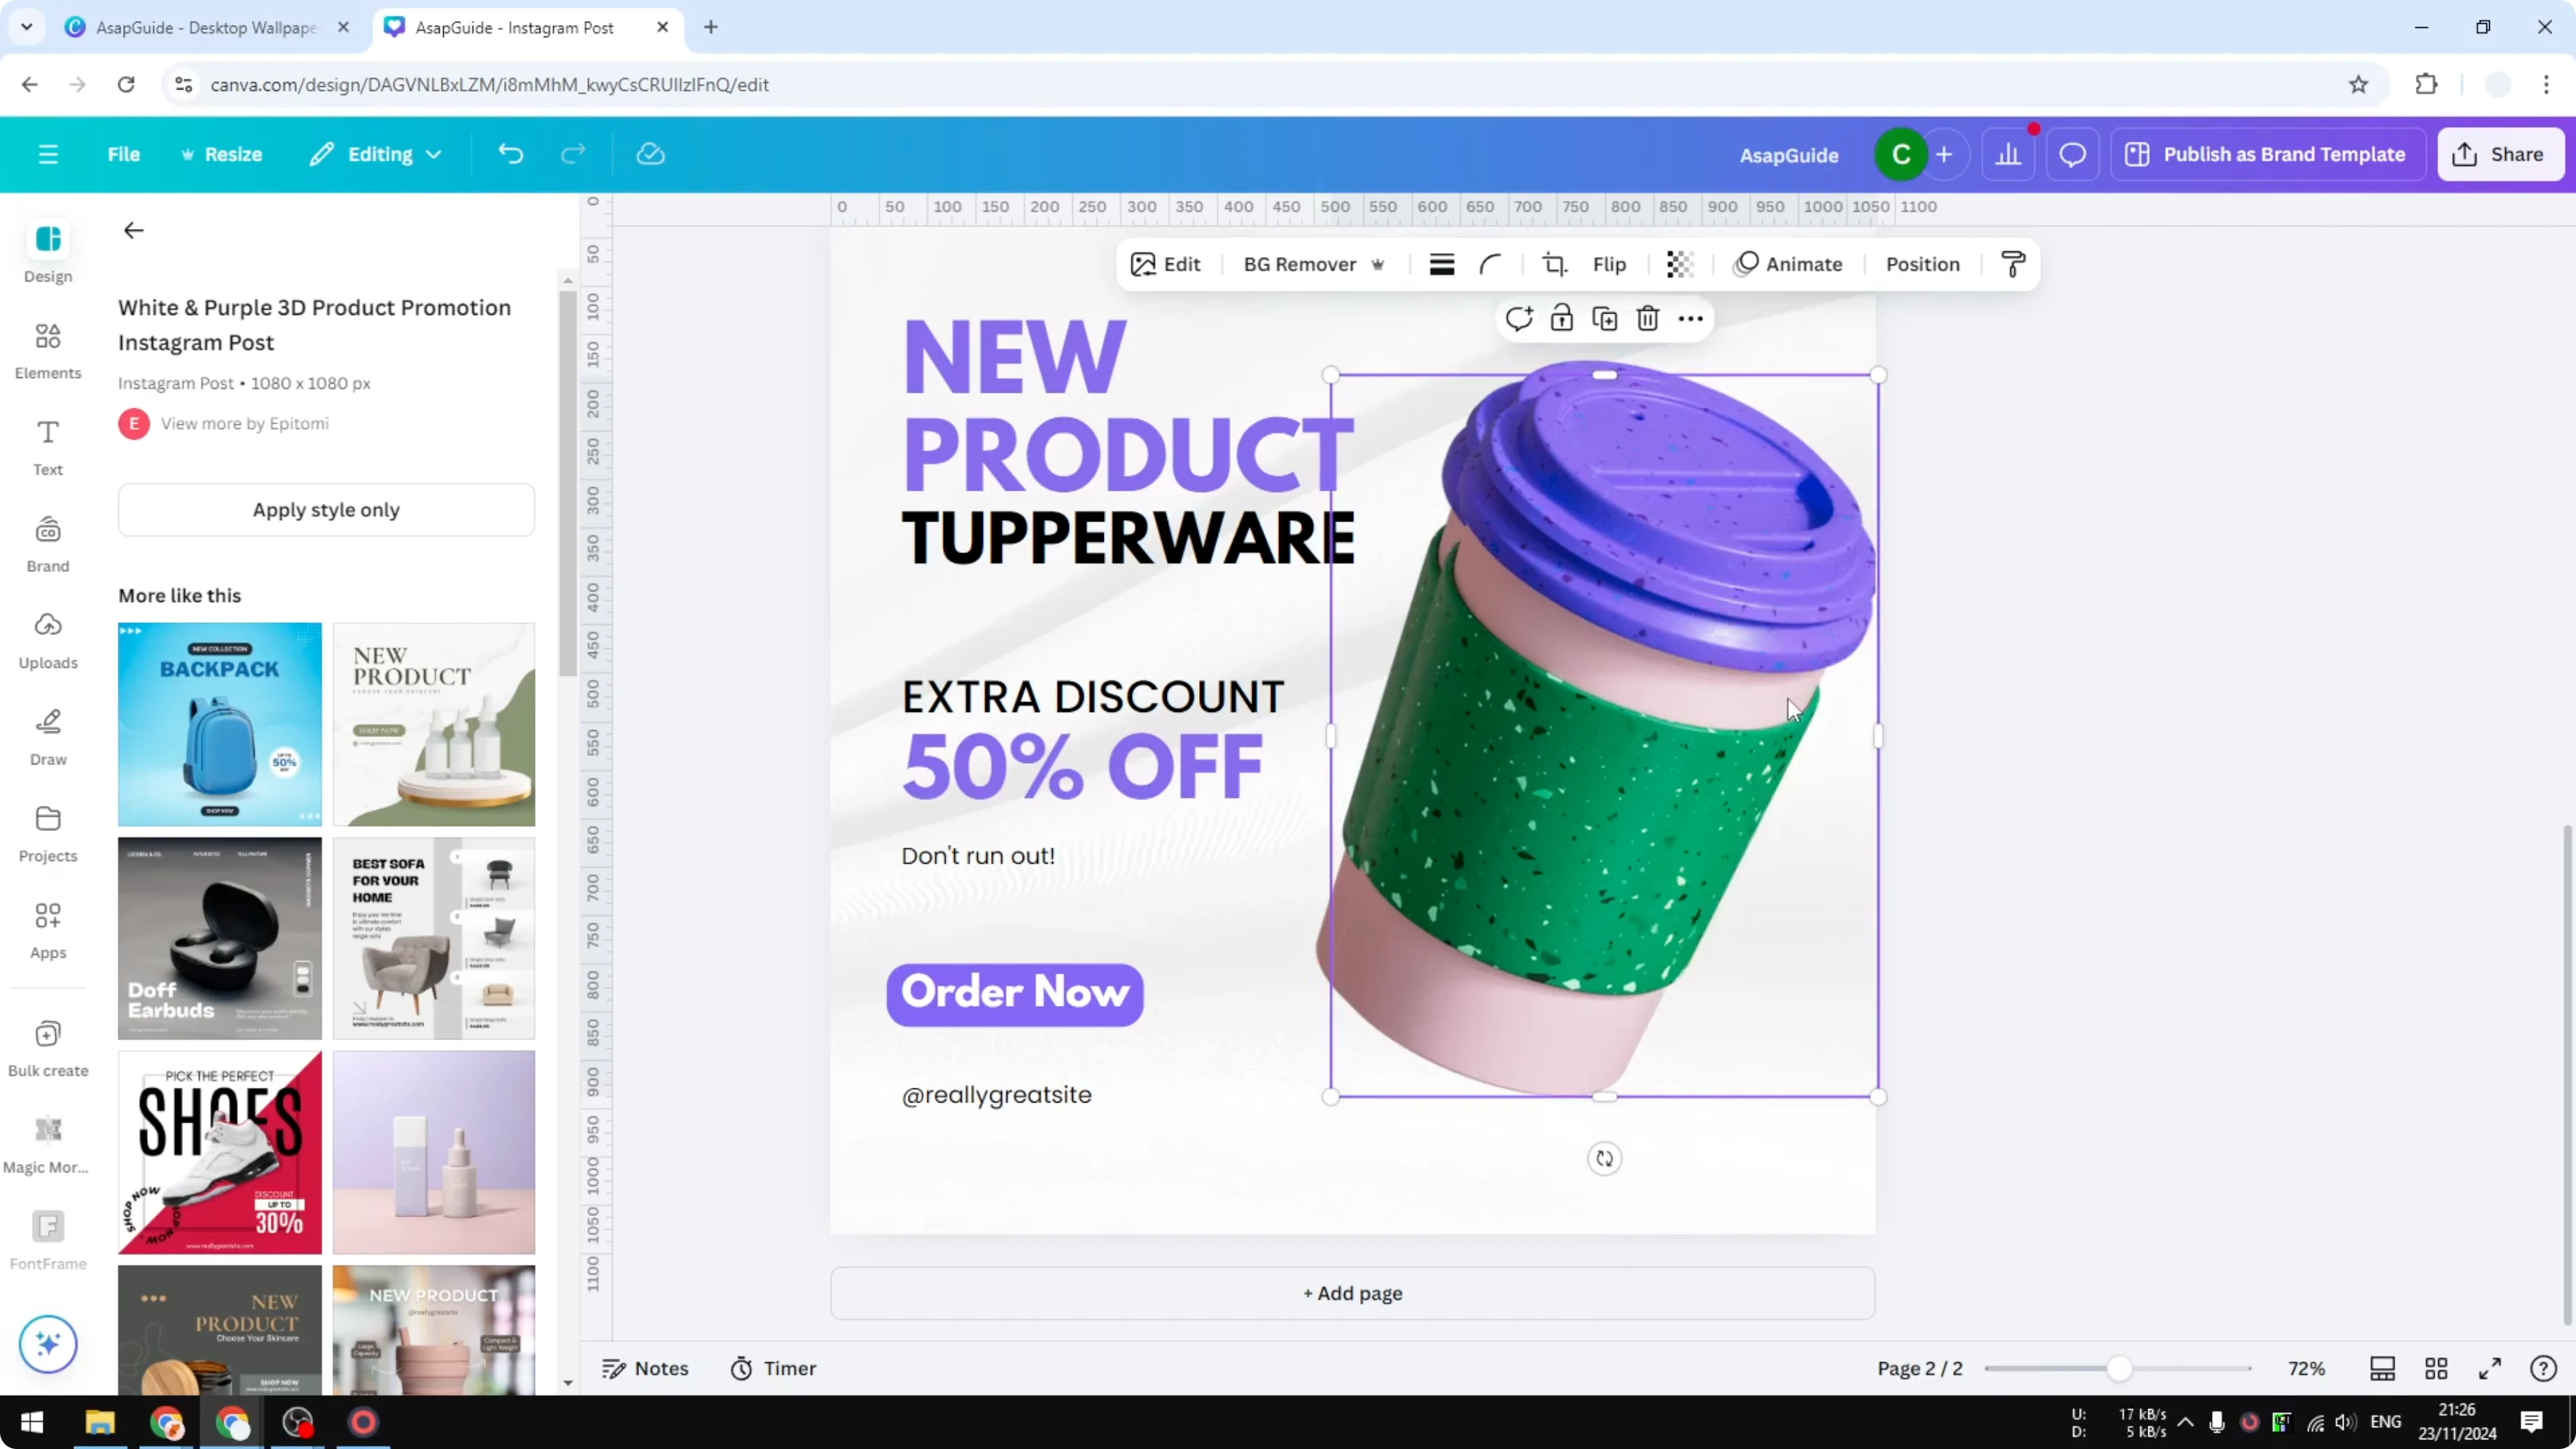
Select your product photo, click Edit, open Shadows, and choose Backdrop. I think Backdrop is the most realistic option for physical products compared to Curve or Page Tilt. It adds instant depth with minimal setup.
Adjust the Blur slider until the edge softness looks natural. Canva may make the image slightly smaller when a shadow is applied, so resize the image afterward if needed. Change the Shadow Direction if your layout requires it.
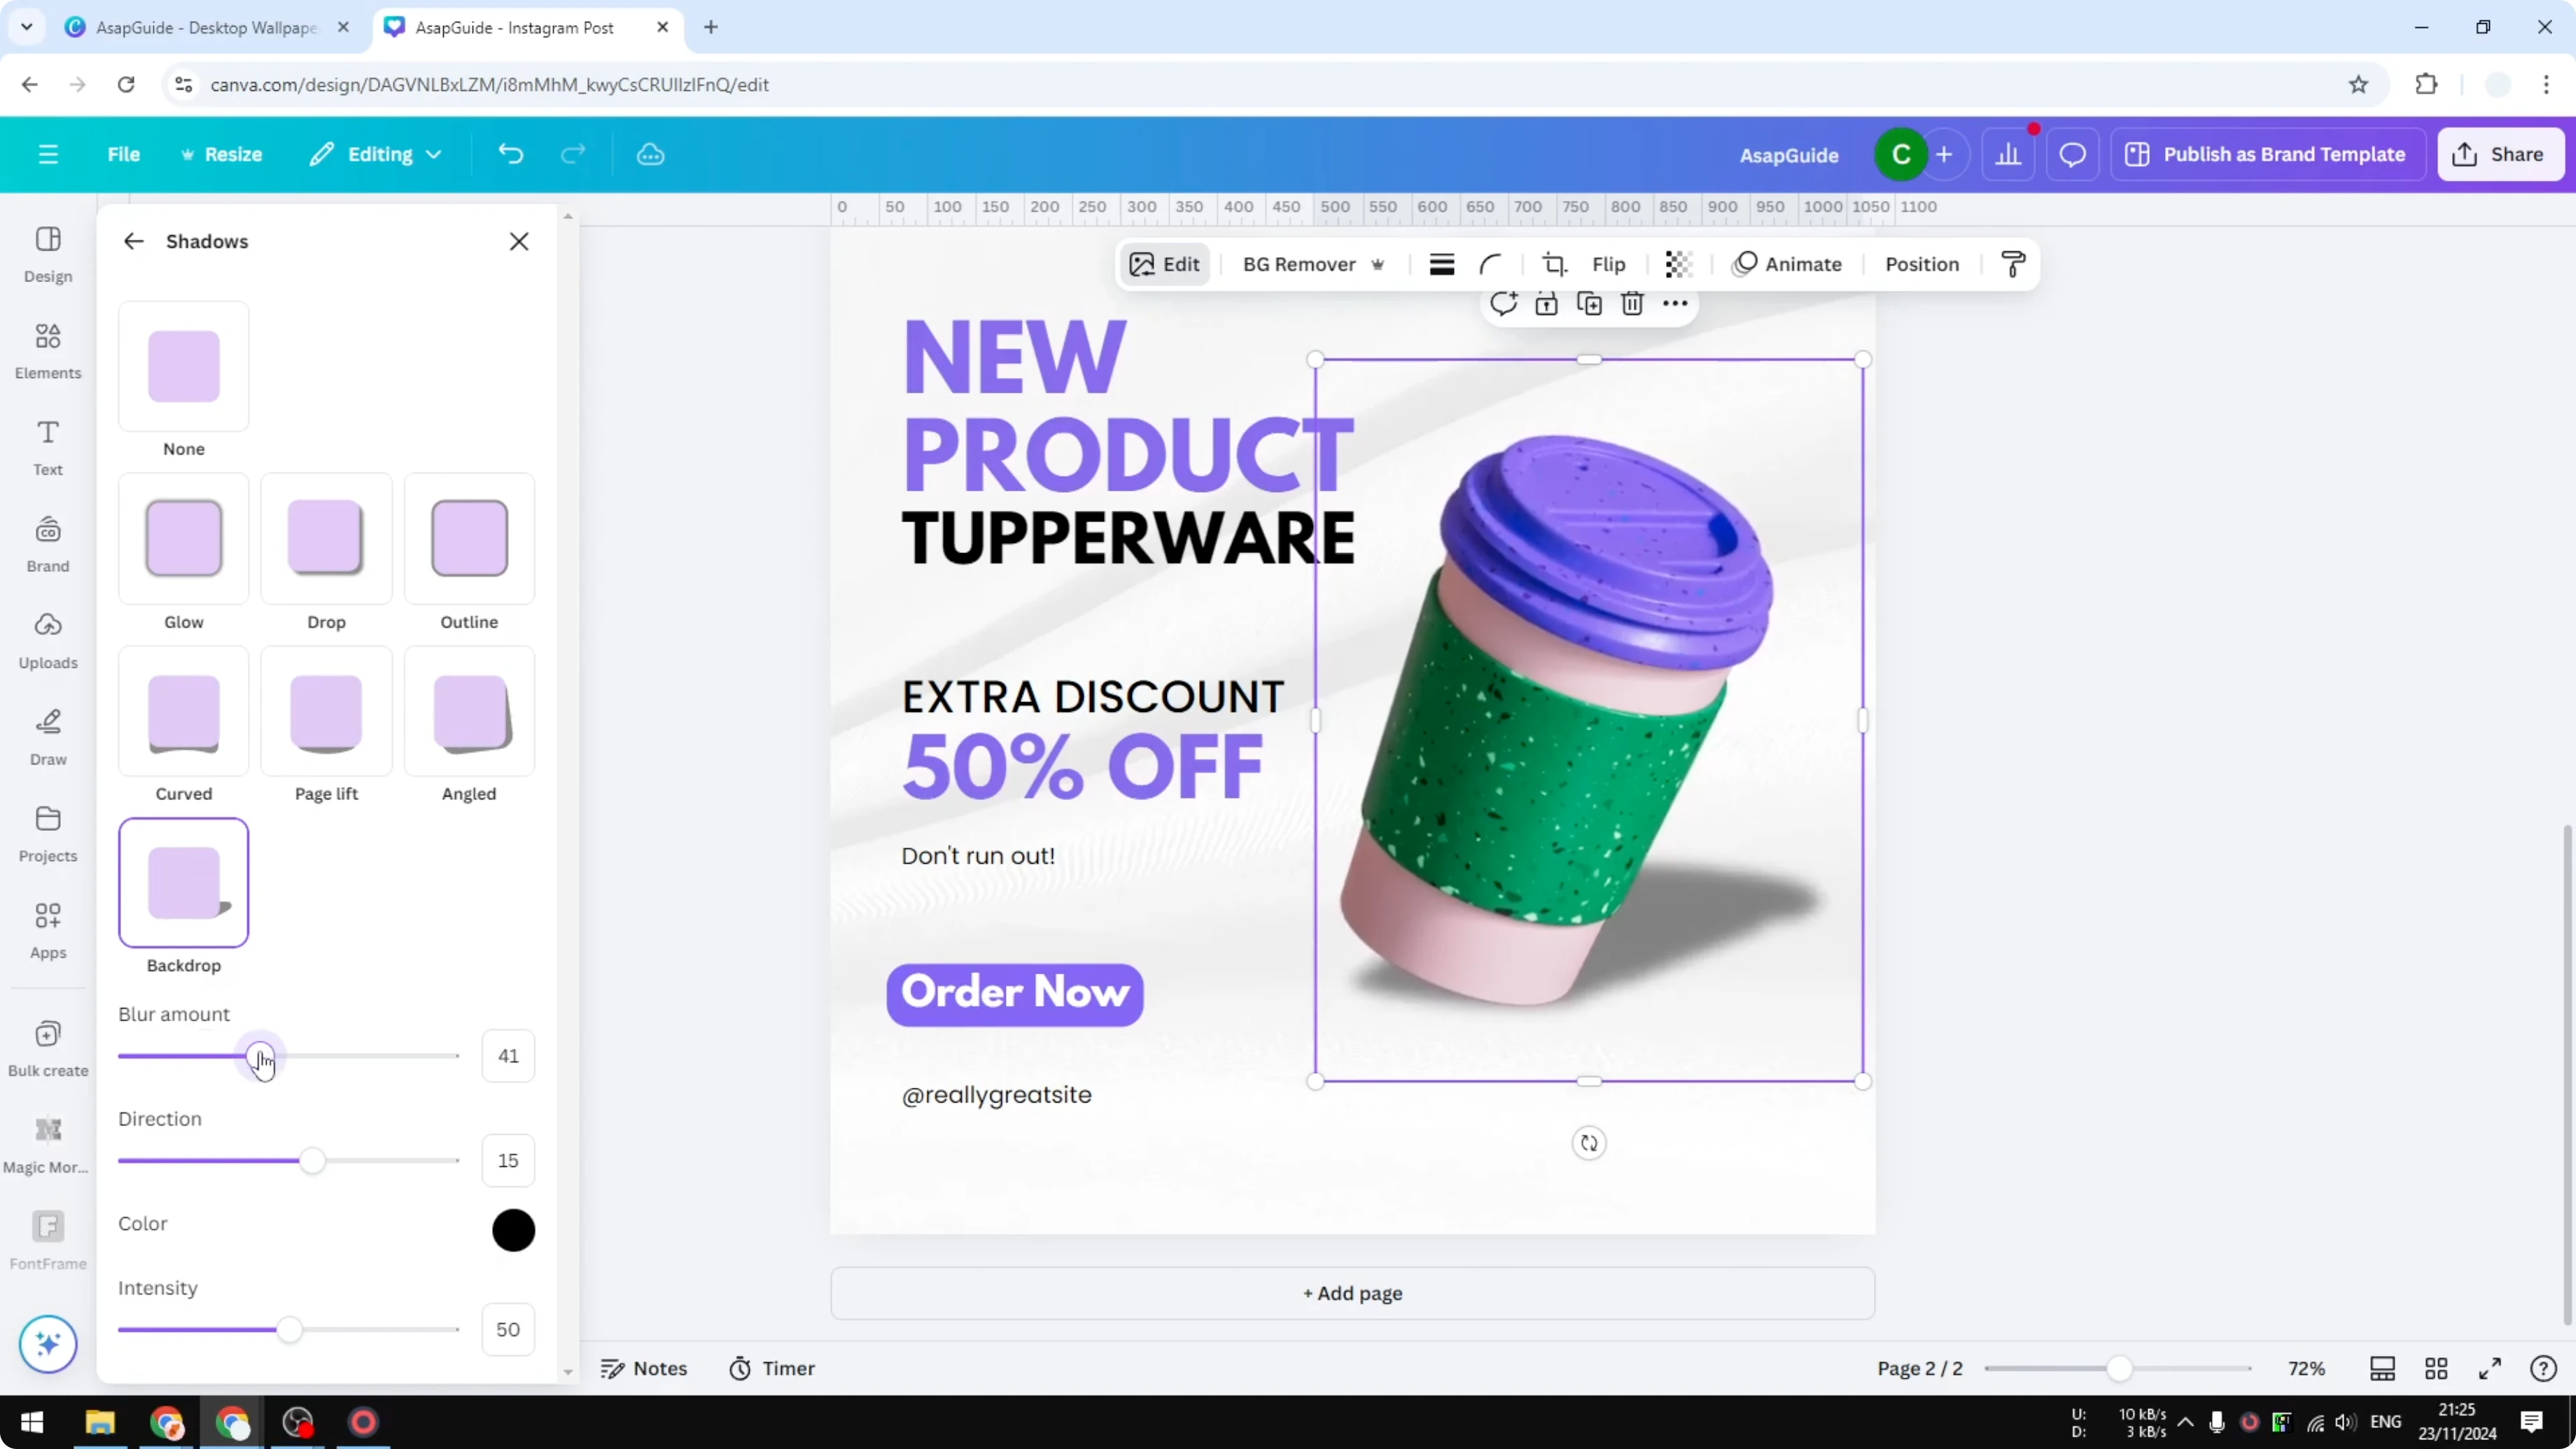
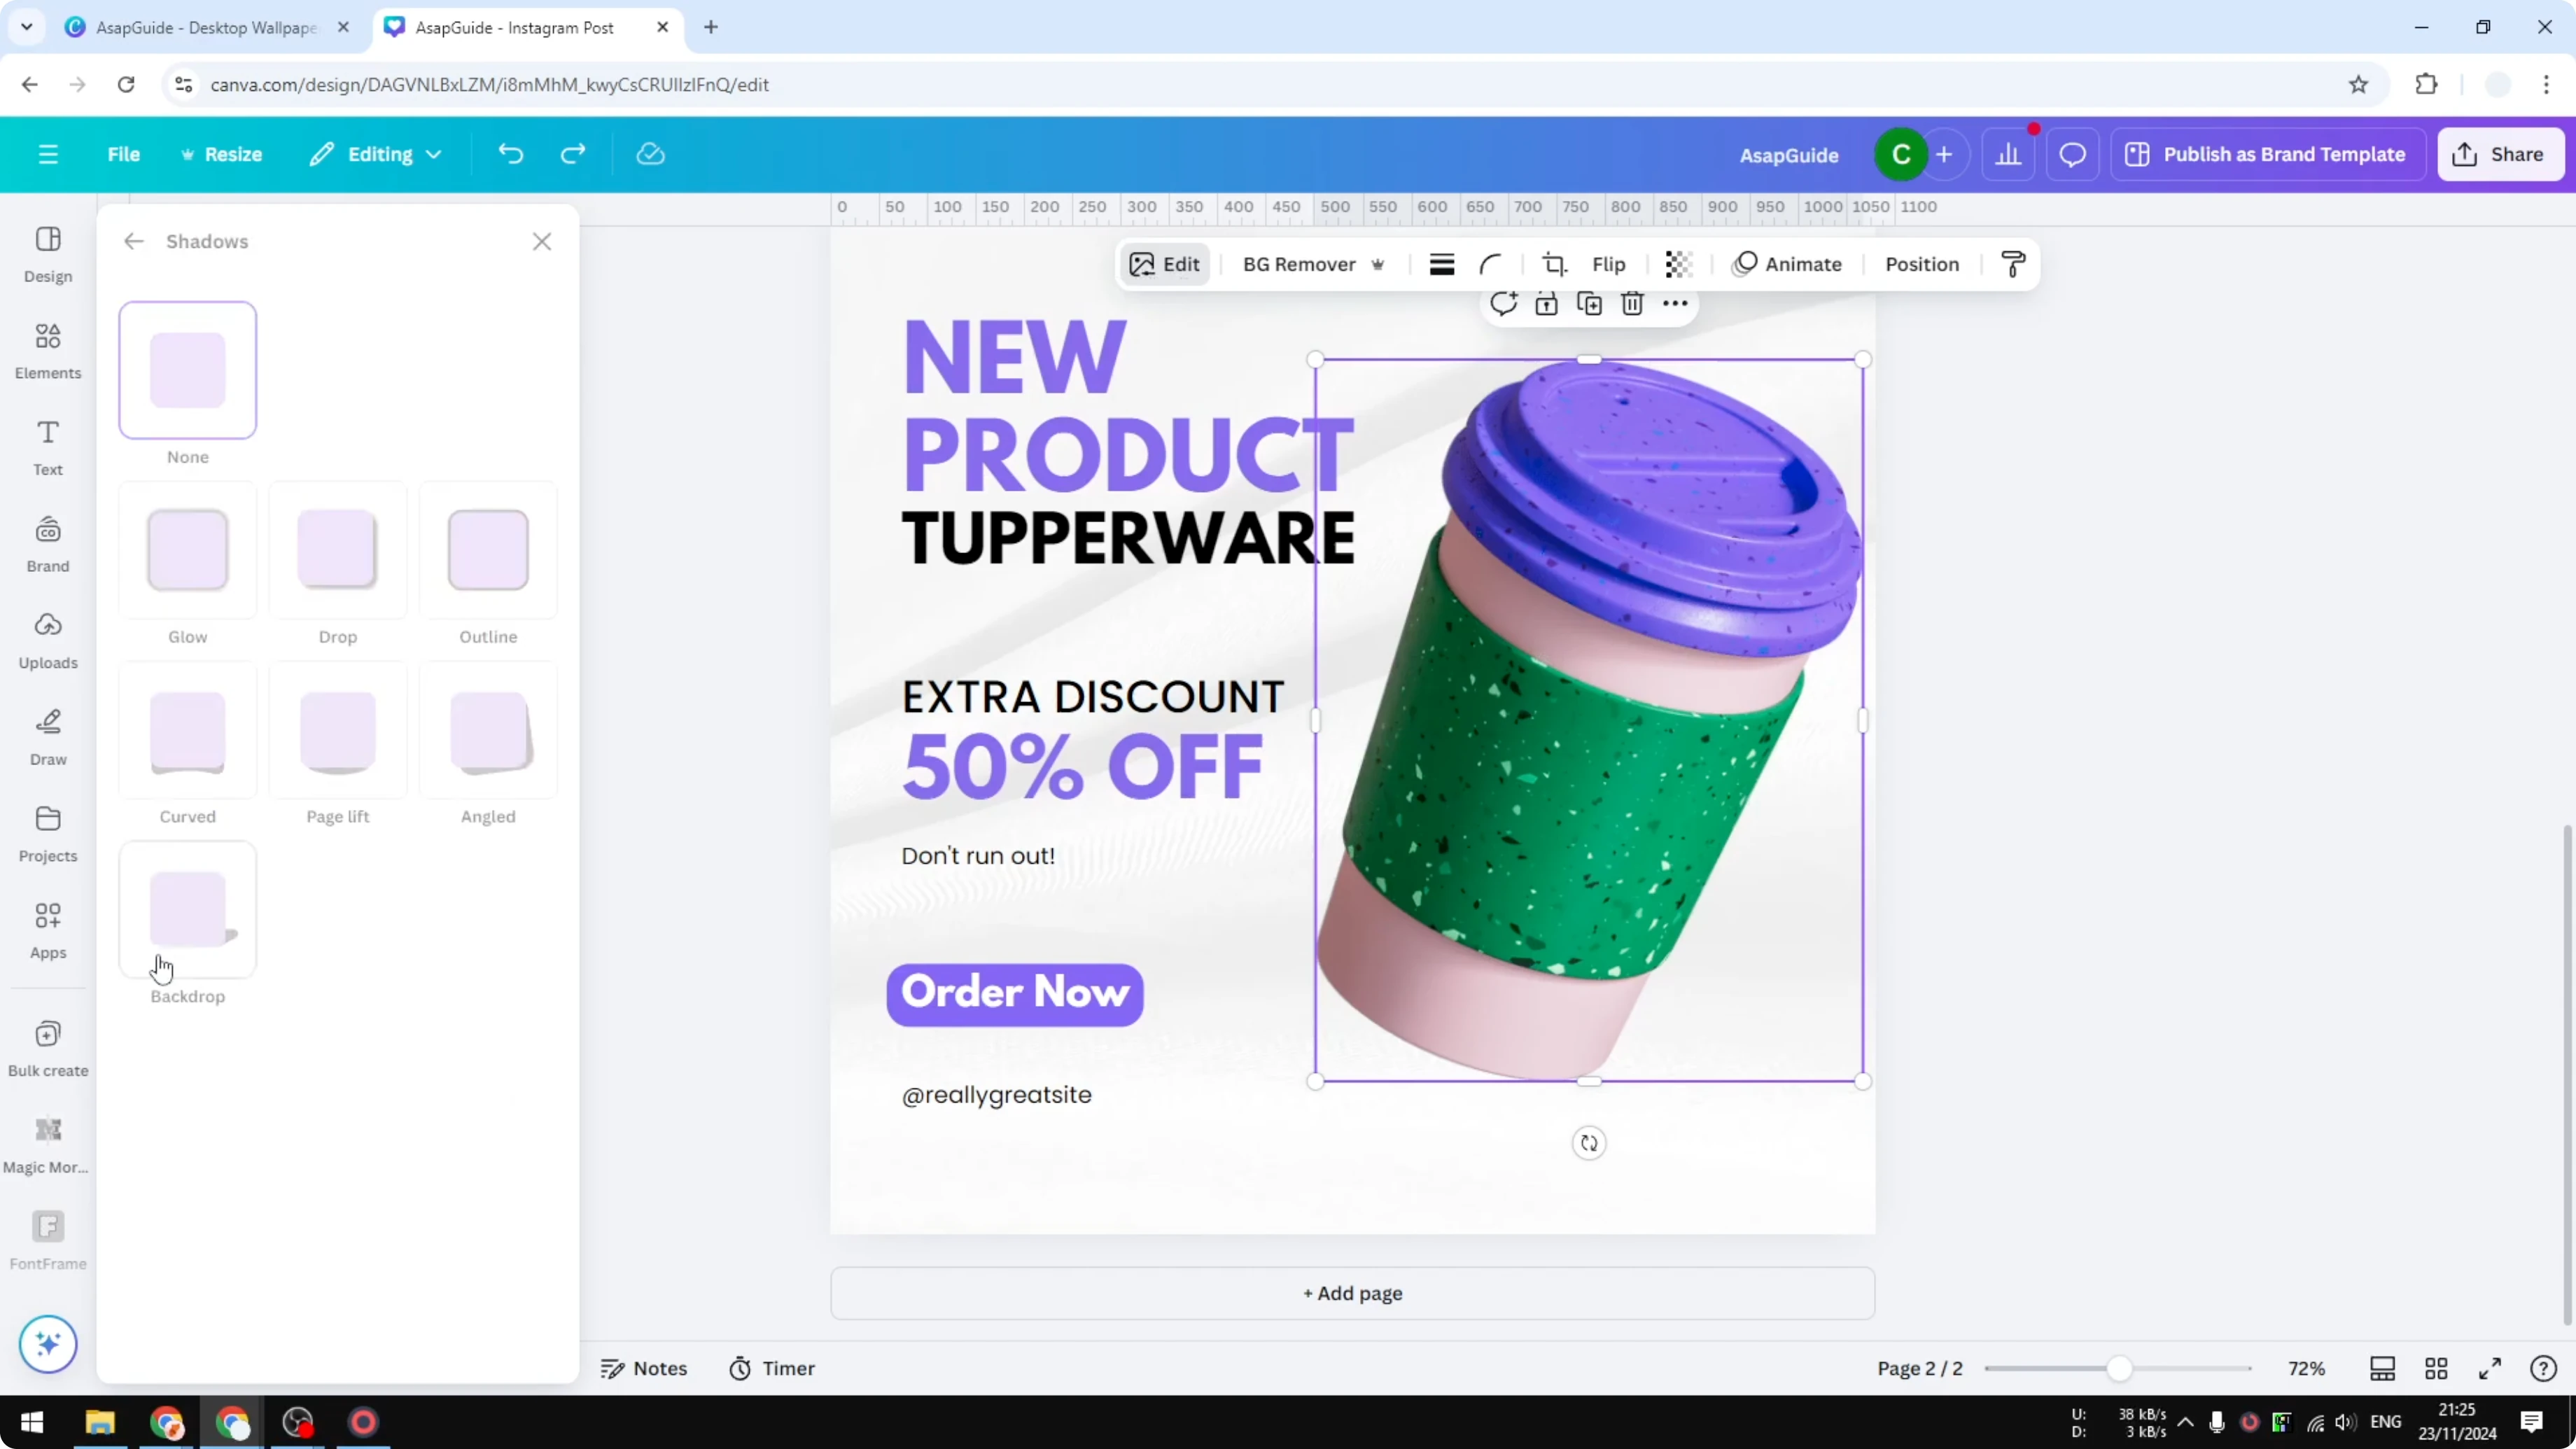
Set Intensity to control how dark the shadow appears, and I like a moderate setting around 40. You can change the color, but dark gray or black keeps it natural. Use a colored shadow only when the design intentionally calls for it.

If you’re styling titles or labels around your product mockups, see background text to build contrast behind headlines.
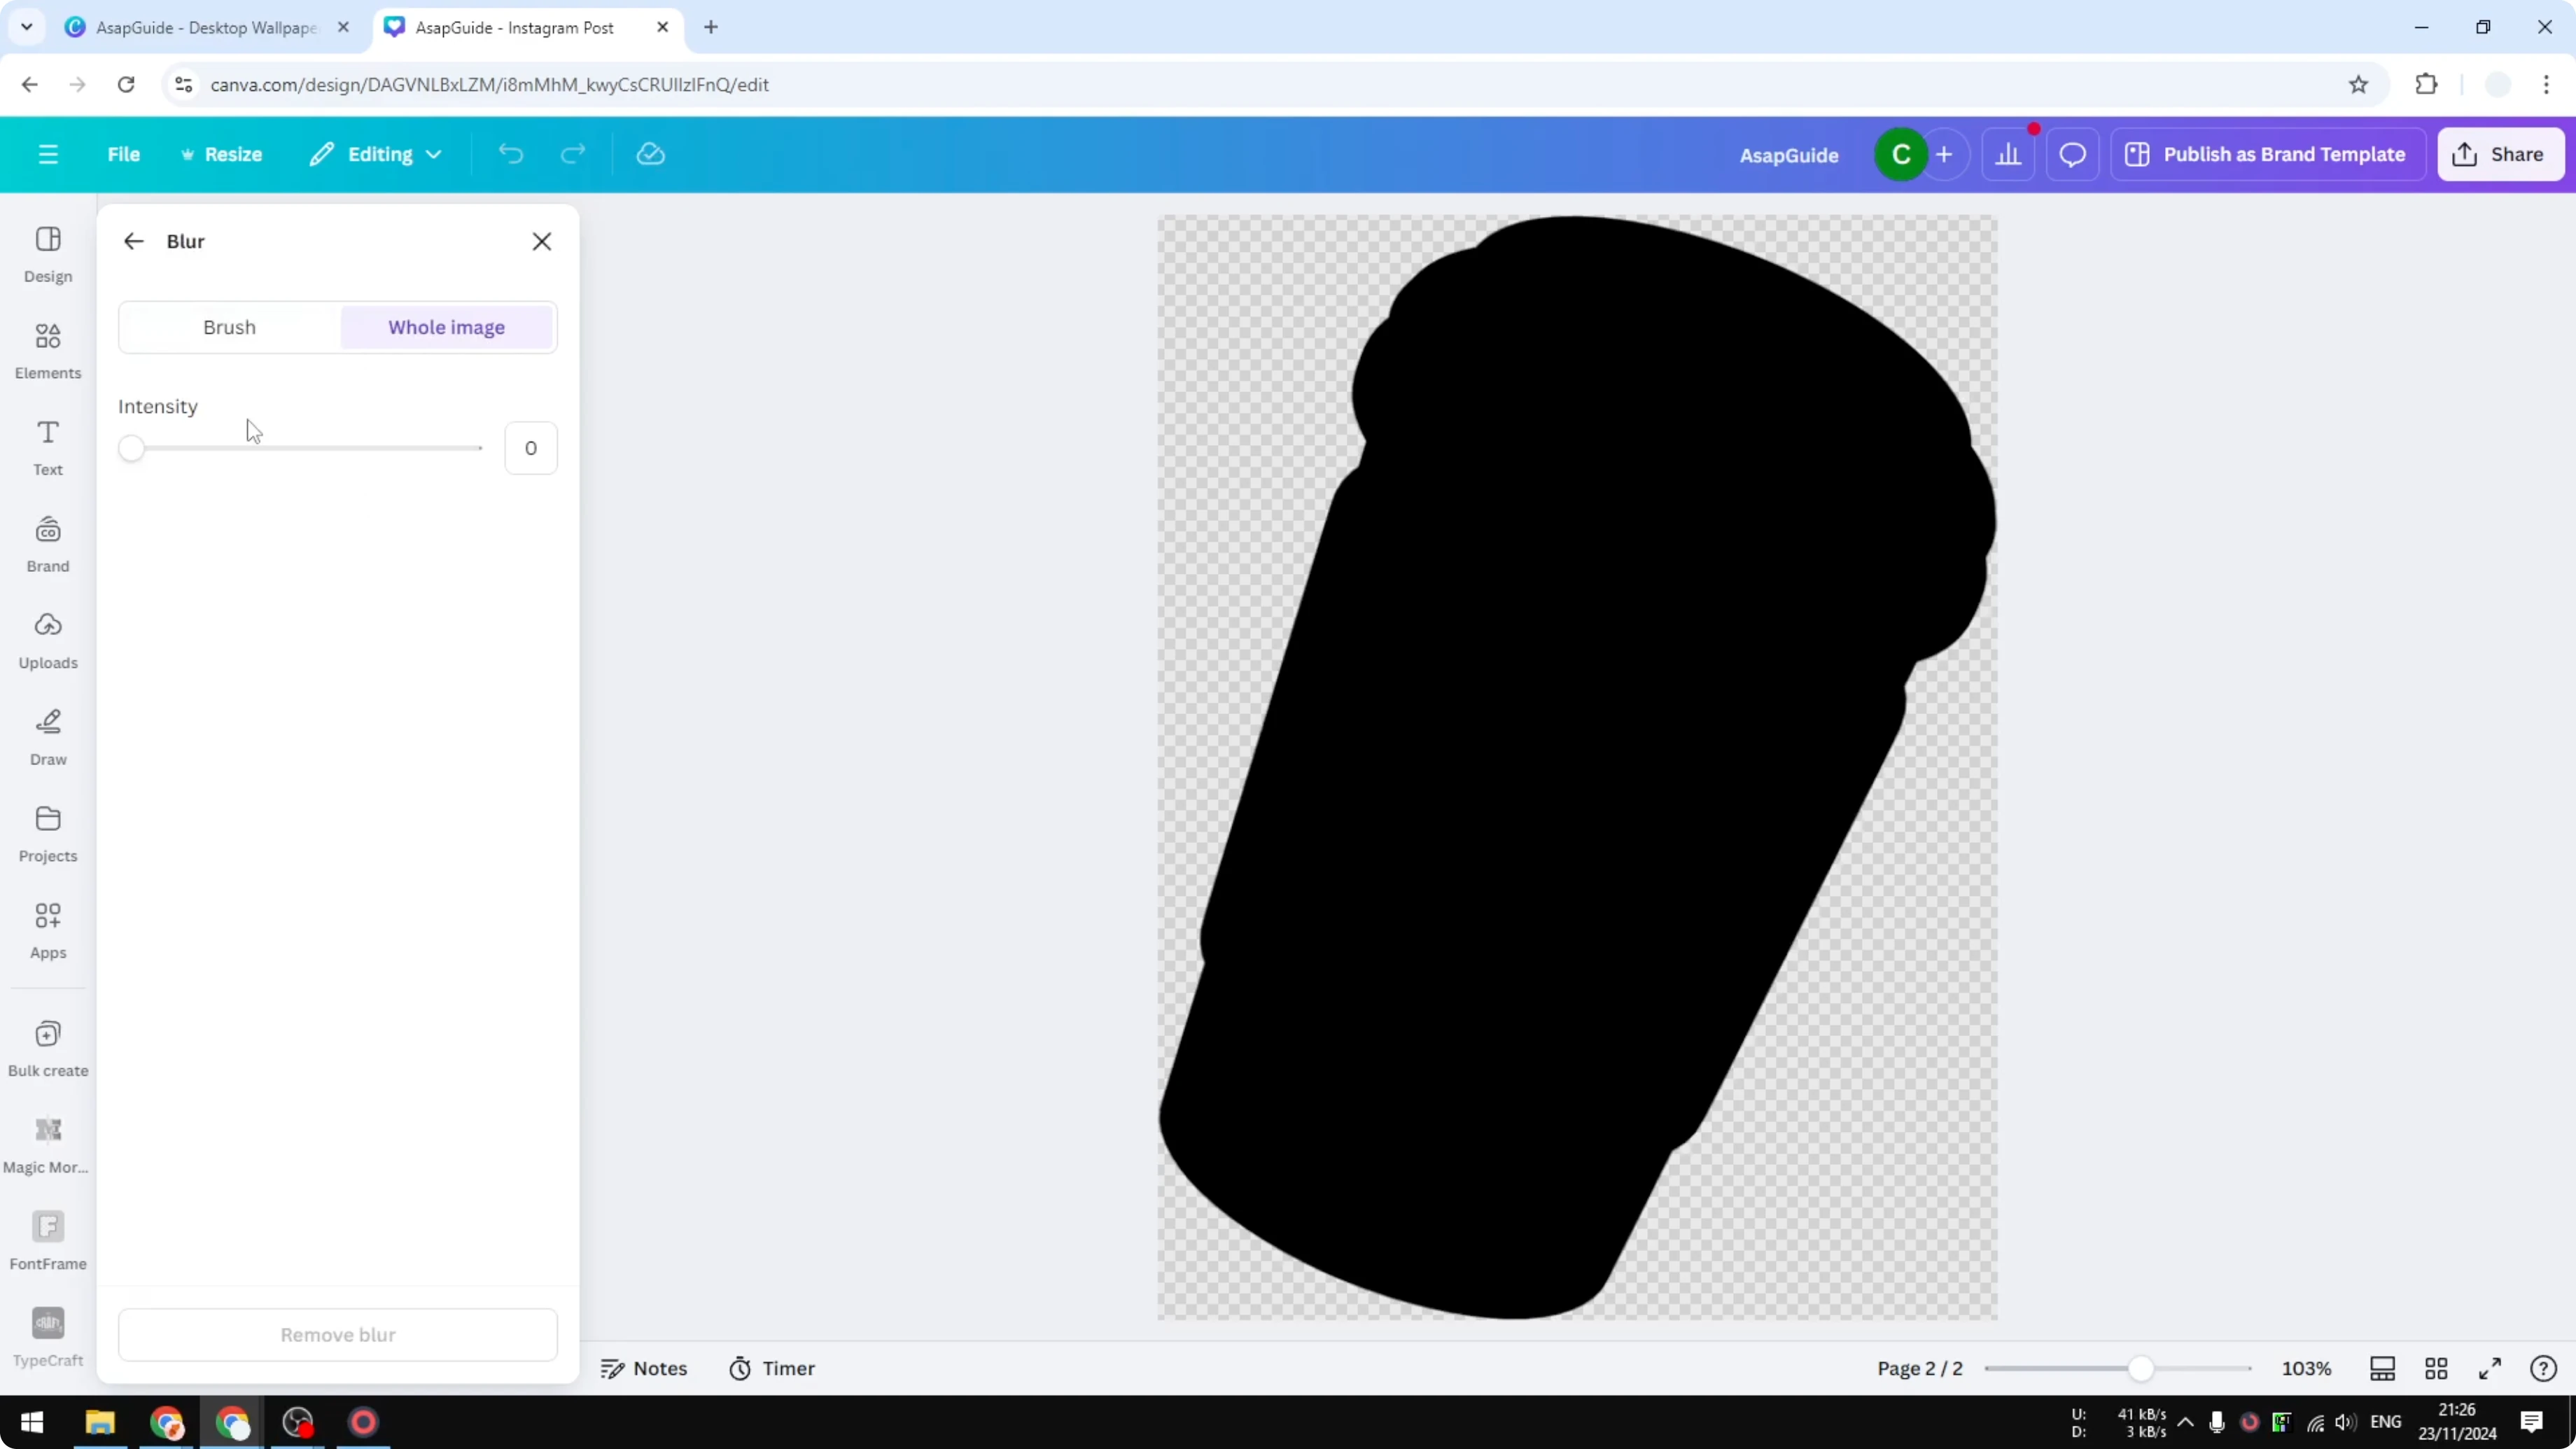
Duplicate and blur
Duplicate the product image so you have two copies. Open Edit on the duplicate, choose Duotone, click Custom, and set both Highlights and Shadows to pure black. This turns the duplicate into a solid black shape you can blur.
Open Blur, select the whole image, and increase Blur to around 70 to 80; I usually land near 75. Reduce the Transparency of this blurred black layer to around 30 to 40. This gives you a soft, subtle base.
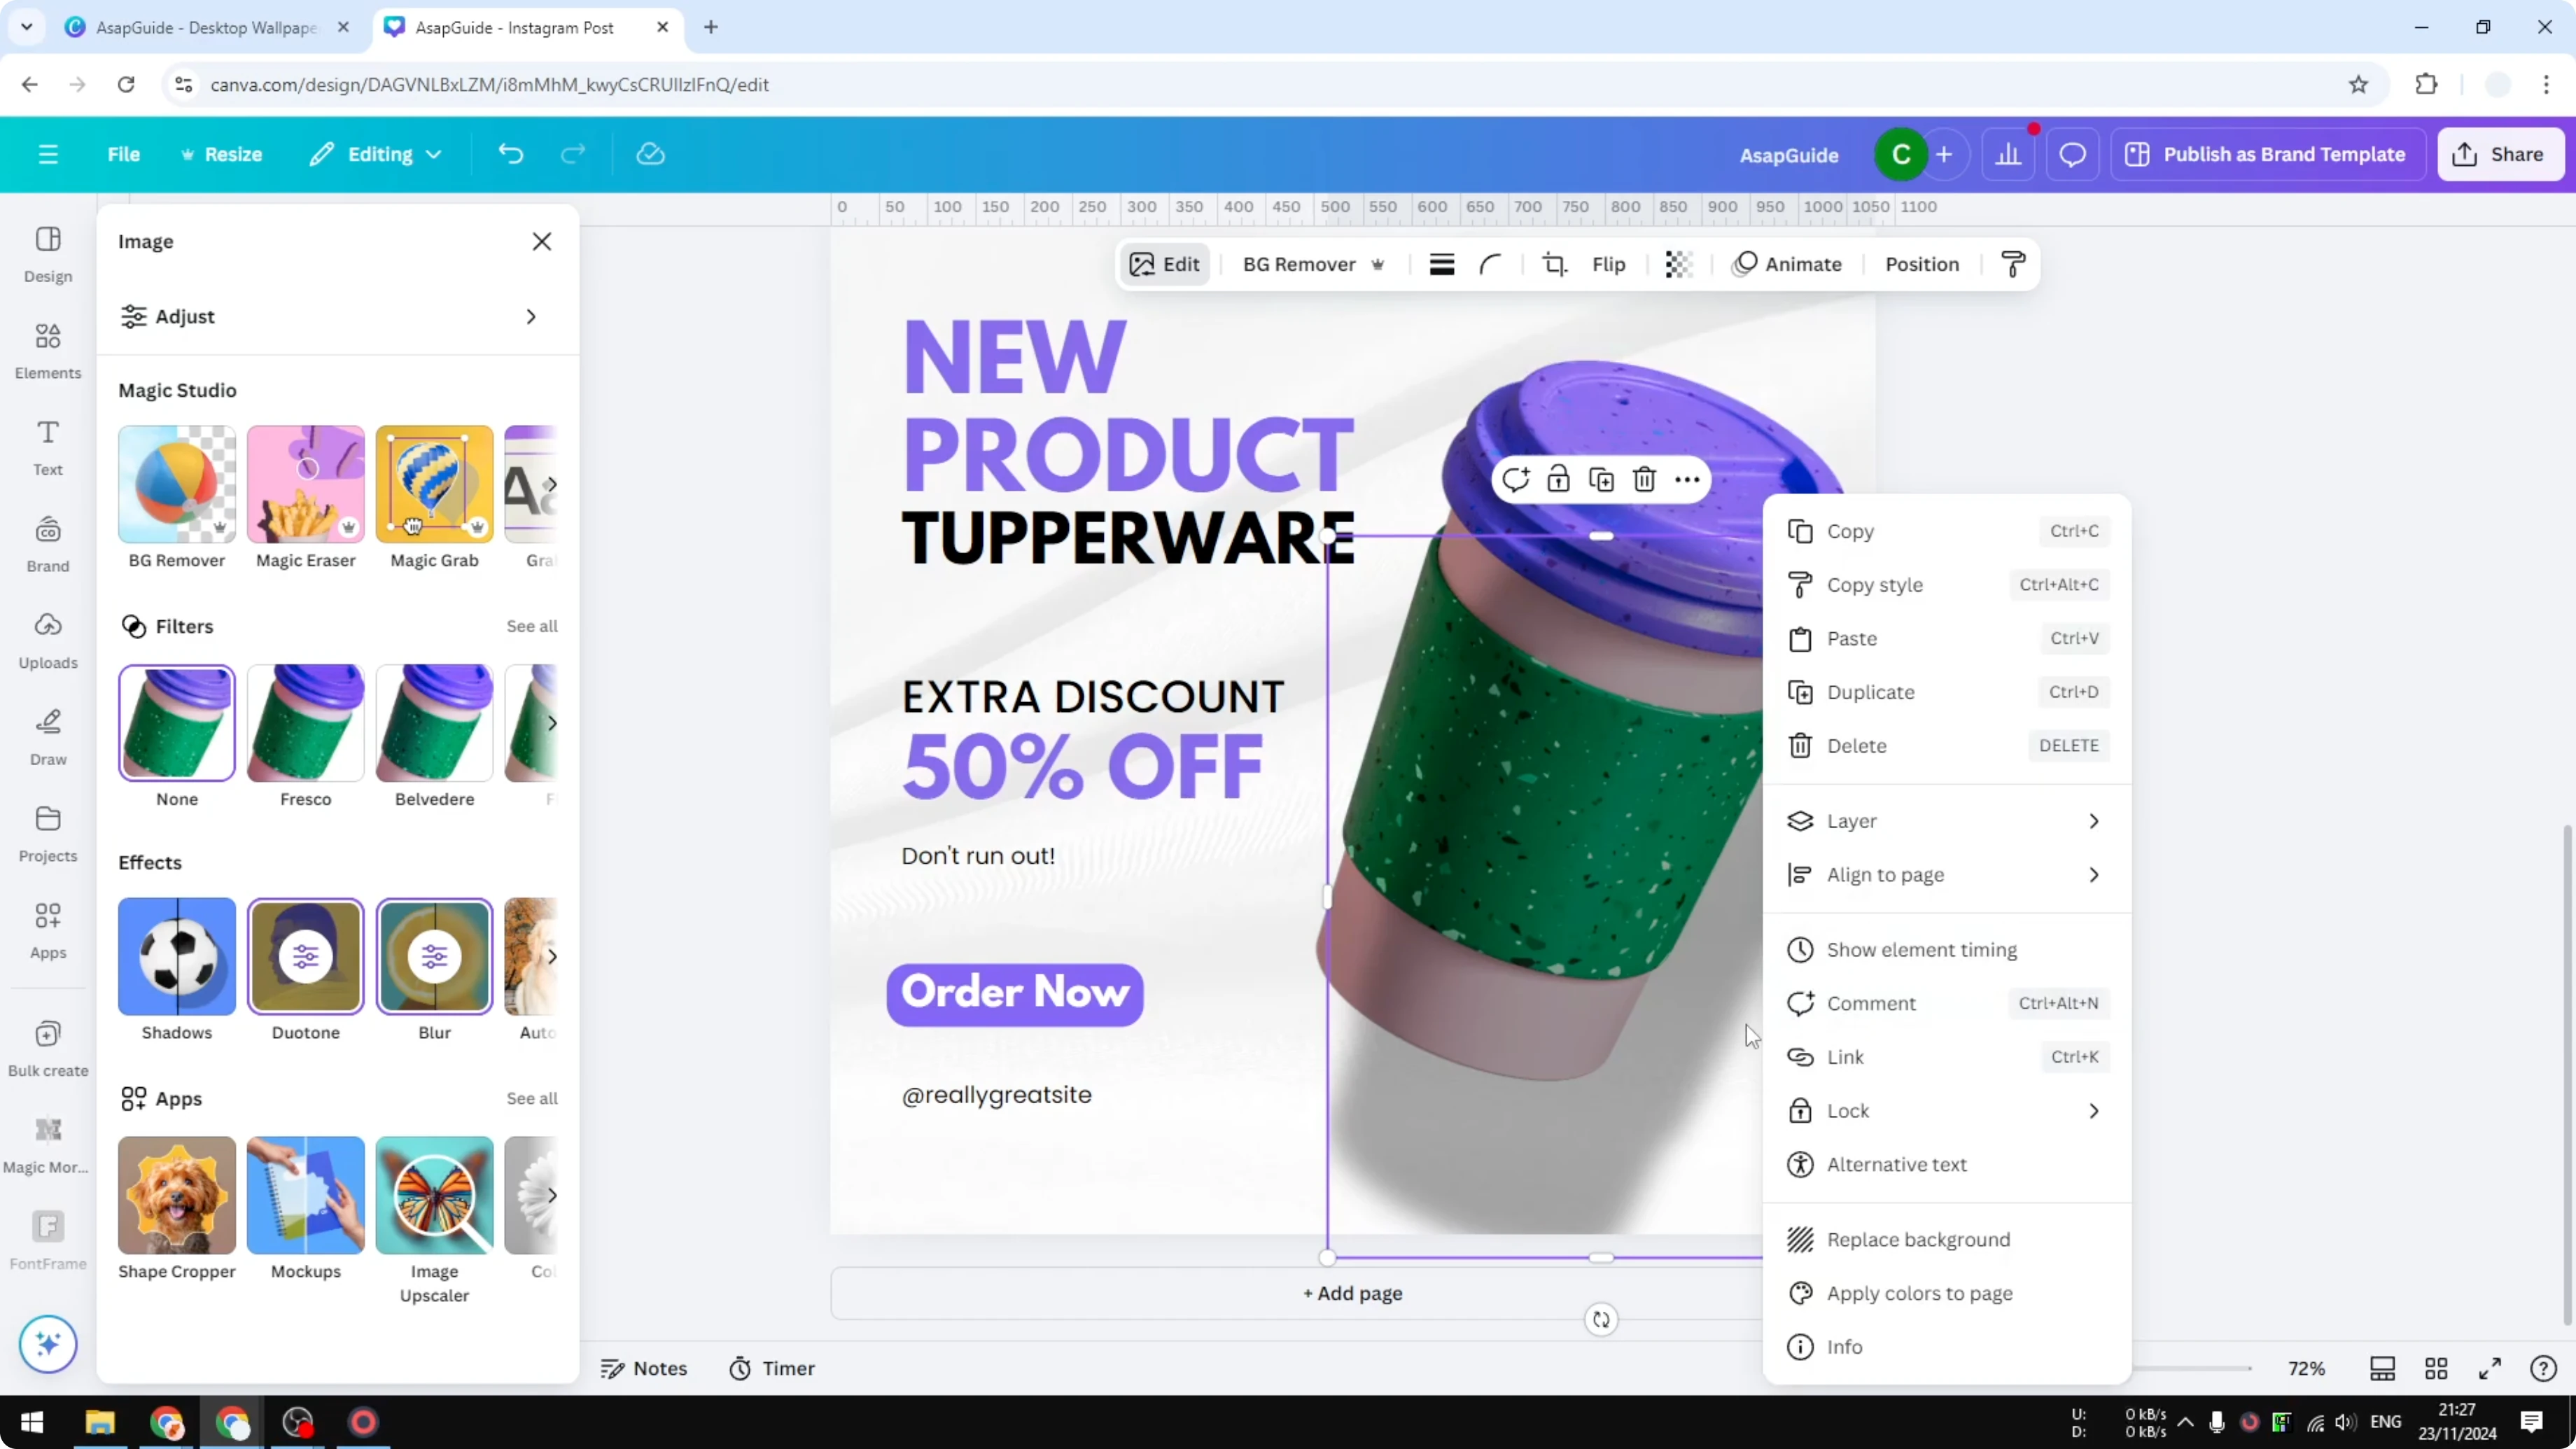
Right click the black layer, open Layer, and choose Send backward; do it again if needed so it sits behind the original image. Position the blurred layer so the shadow peeks out where the light would naturally fall. Watch for any harsh, straight lines at the edges and, if needed, extend or reposition the shadow so it doesn’t create a sharp border.
If you’re adding small labels or price tags near the product, you can frame them with a simple text box border for clarity.
Overlay graphics
Remove any previous shadow if you want to start fresh. Open Elements, search for “oval shadow,” and switch to Graphics. Pick a shadow graphic and place it under your cup or bottle.
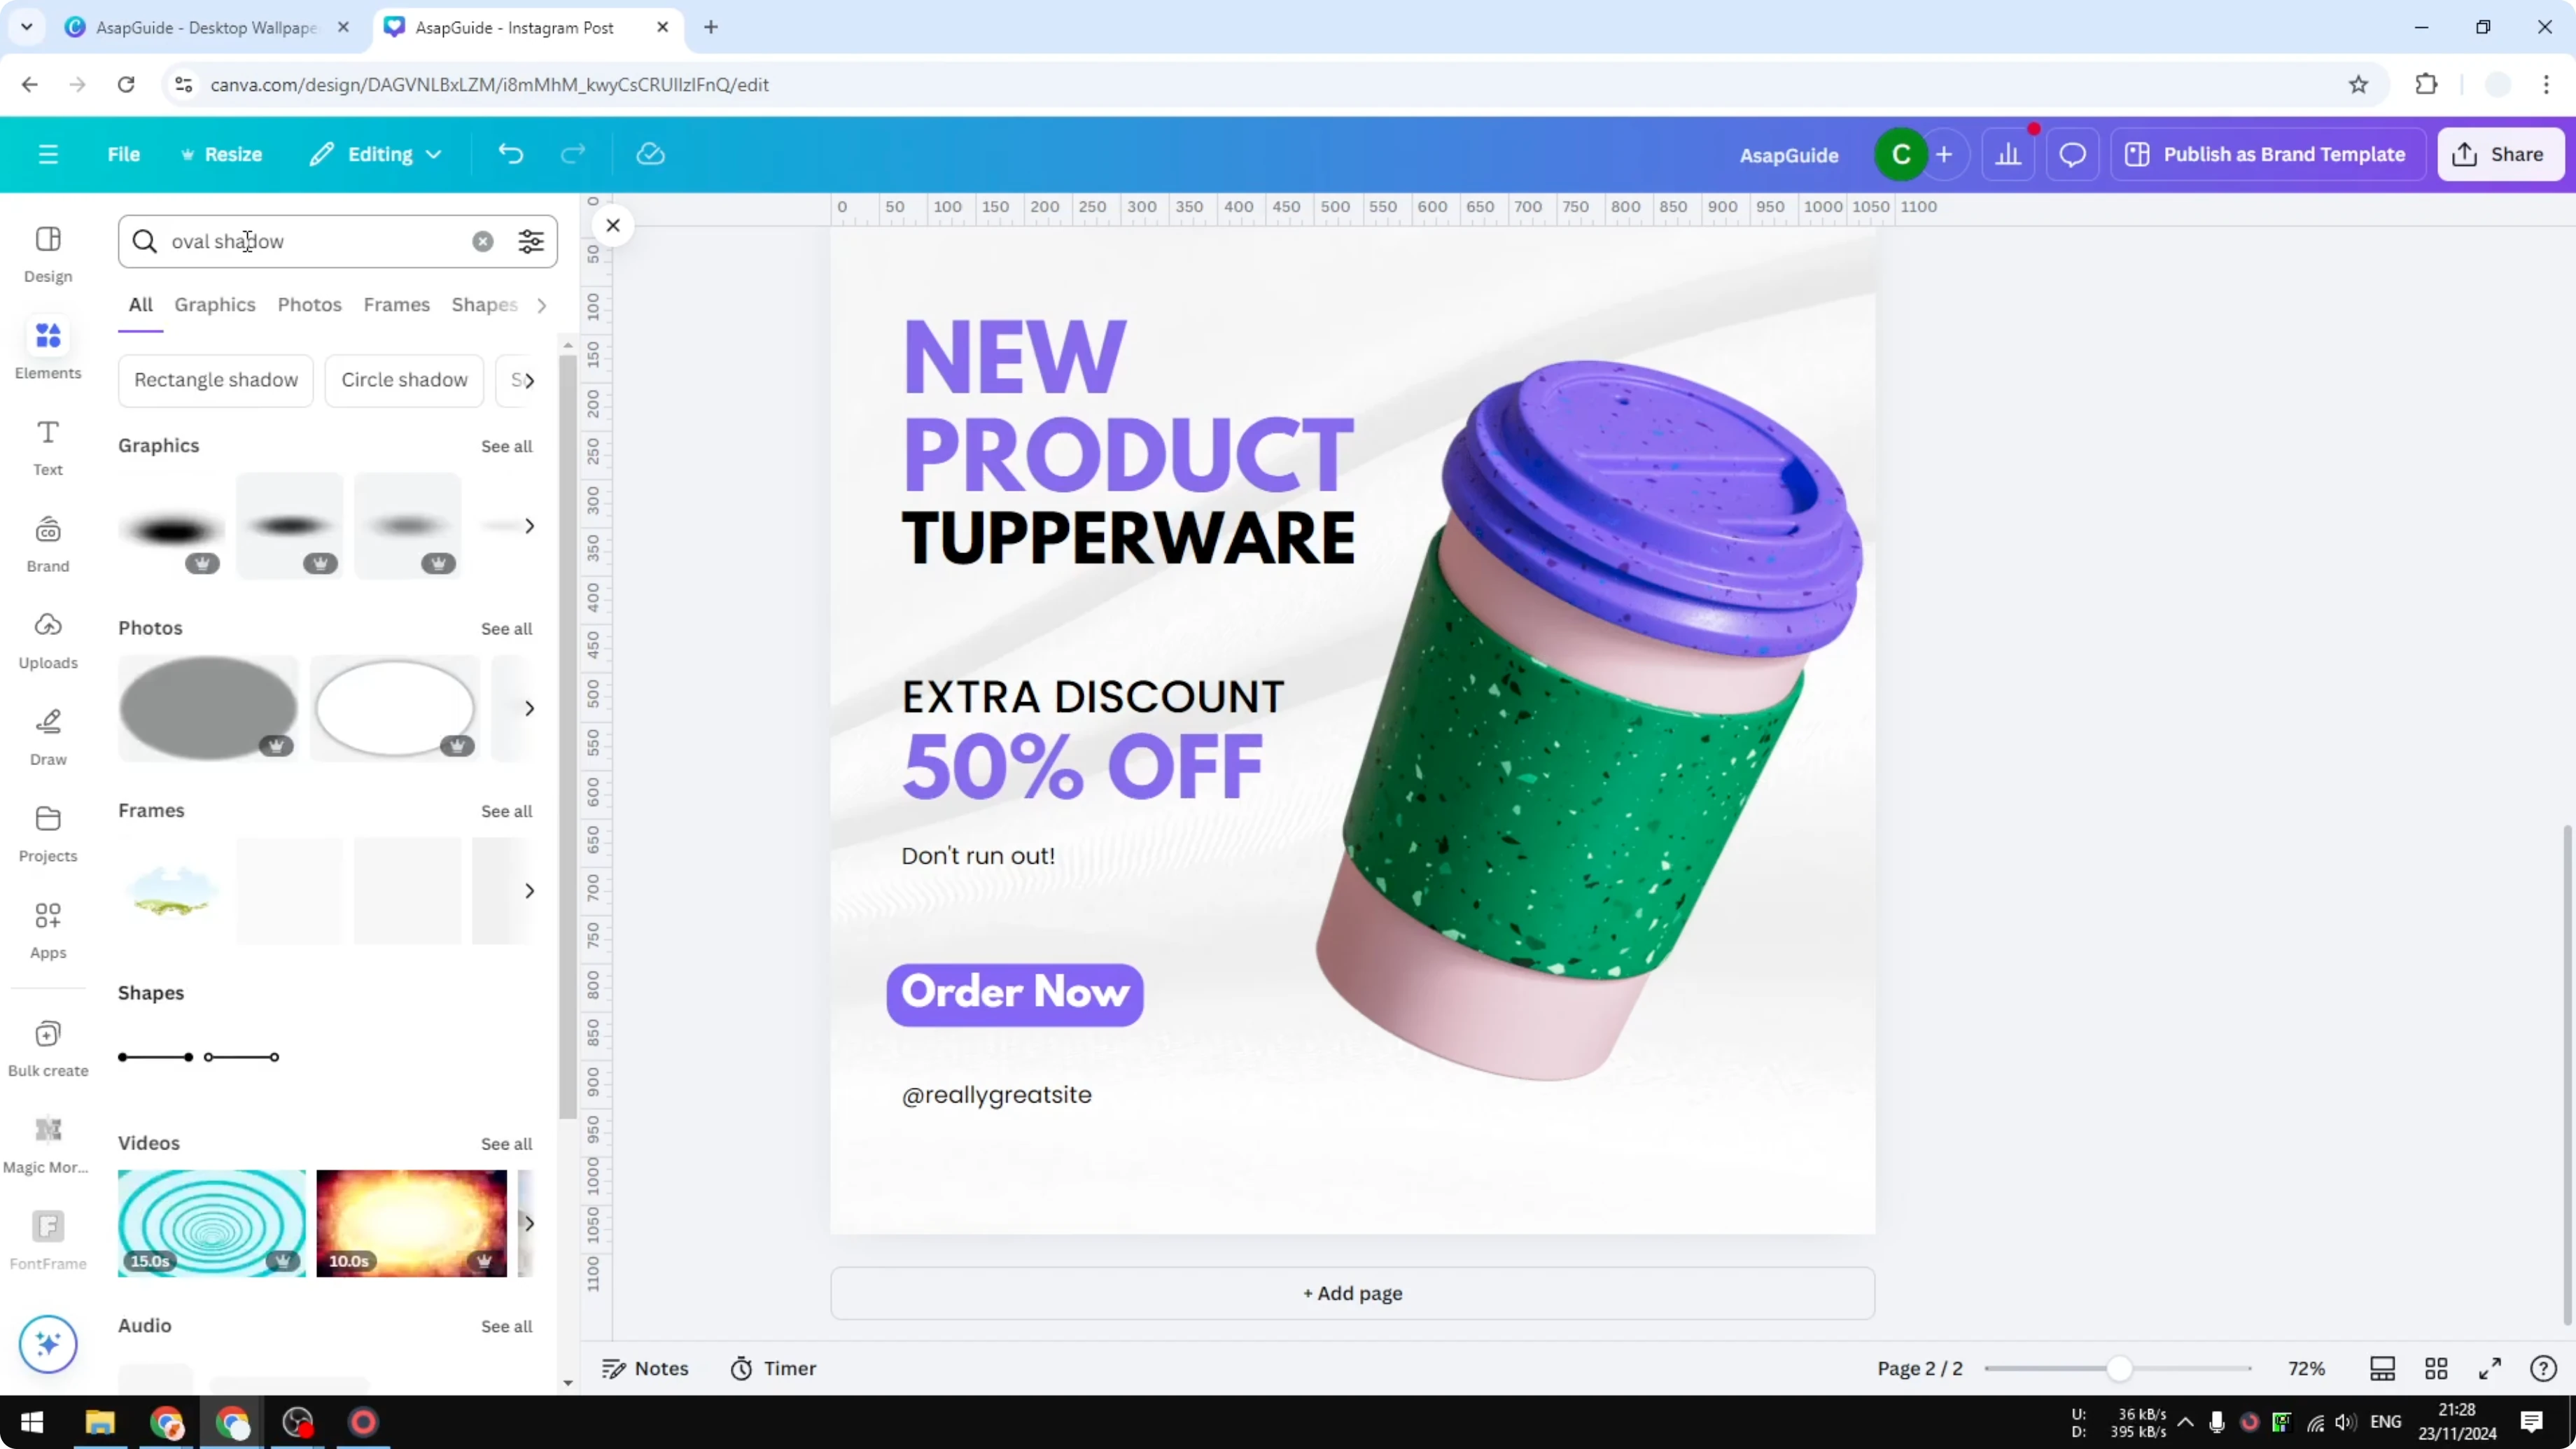
Right click the graphic, open Layer, and choose Send backward so it sits under the product. Resize and rotate it slightly until the softness and spread feel right. This method is quick and works well when you find a graphic that matches your scene.
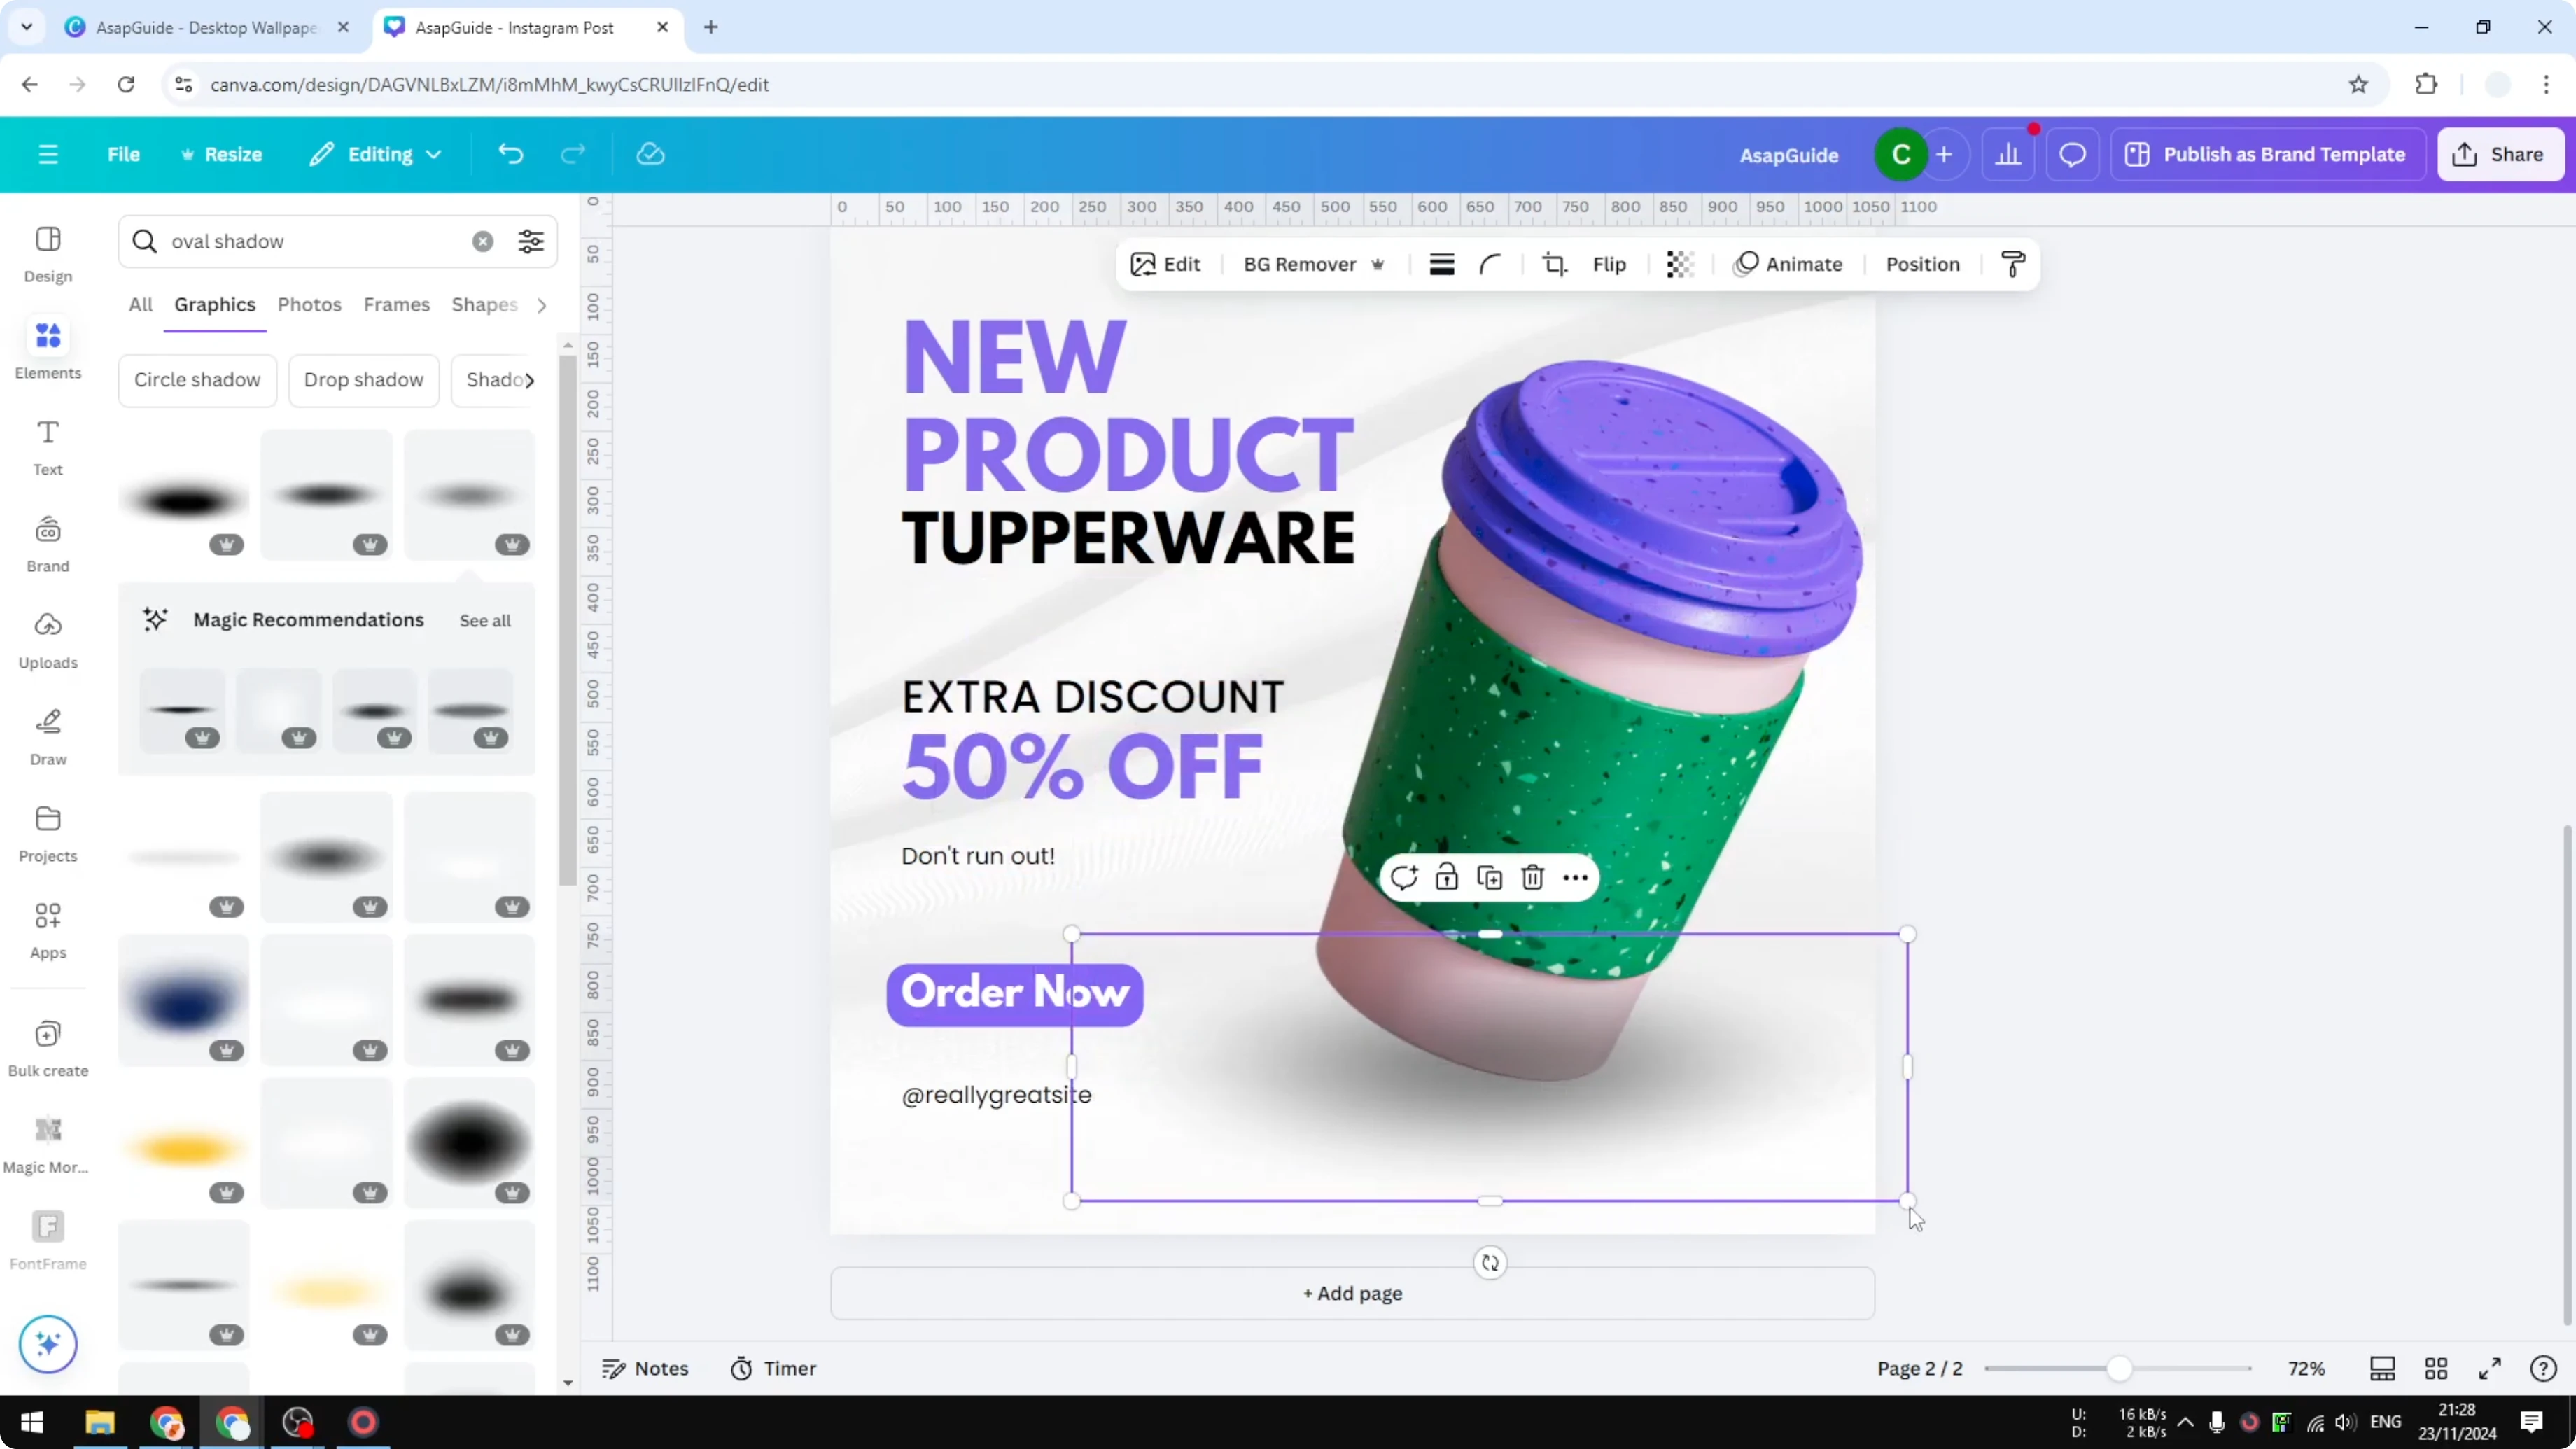
Match the shadow shape to your object for the most natural result. A circular base pairs well with an oval or circular shadow. For boxy products, pick a rectangle or a tapered shadow graphic that fits the footprint.
If you need to cite sources or add context on a page, it helps to include short references using footnotes in Canva.
Final thoughts
These three options cover most product shots in Canva: Backdrop for fast realism, a duplicated blurred layer for custom control, and a shadow graphic for speed. Adjust blur, direction, and intensity until the shadow looks like it belongs in the scene. Keep an eye on edges, resize thoughtfully, and match the shadow shape to the object for the best result.
Recent Posts
How to Visualize Different Hairstyles and Hair Colors with AI?
How to Visualize Different Hairstyles and Hair Colors with AI?

How to Transform Daytime Photos into Realistic Night Scenes with AI?
How to Transform Daytime Photos into Realistic Night Scenes with AI?

How to Visualize Yourself as the Opposite Gender with AI?
How to Visualize Yourself as the Opposite Gender with AI?