How to Add Realistic Shadow in Canva

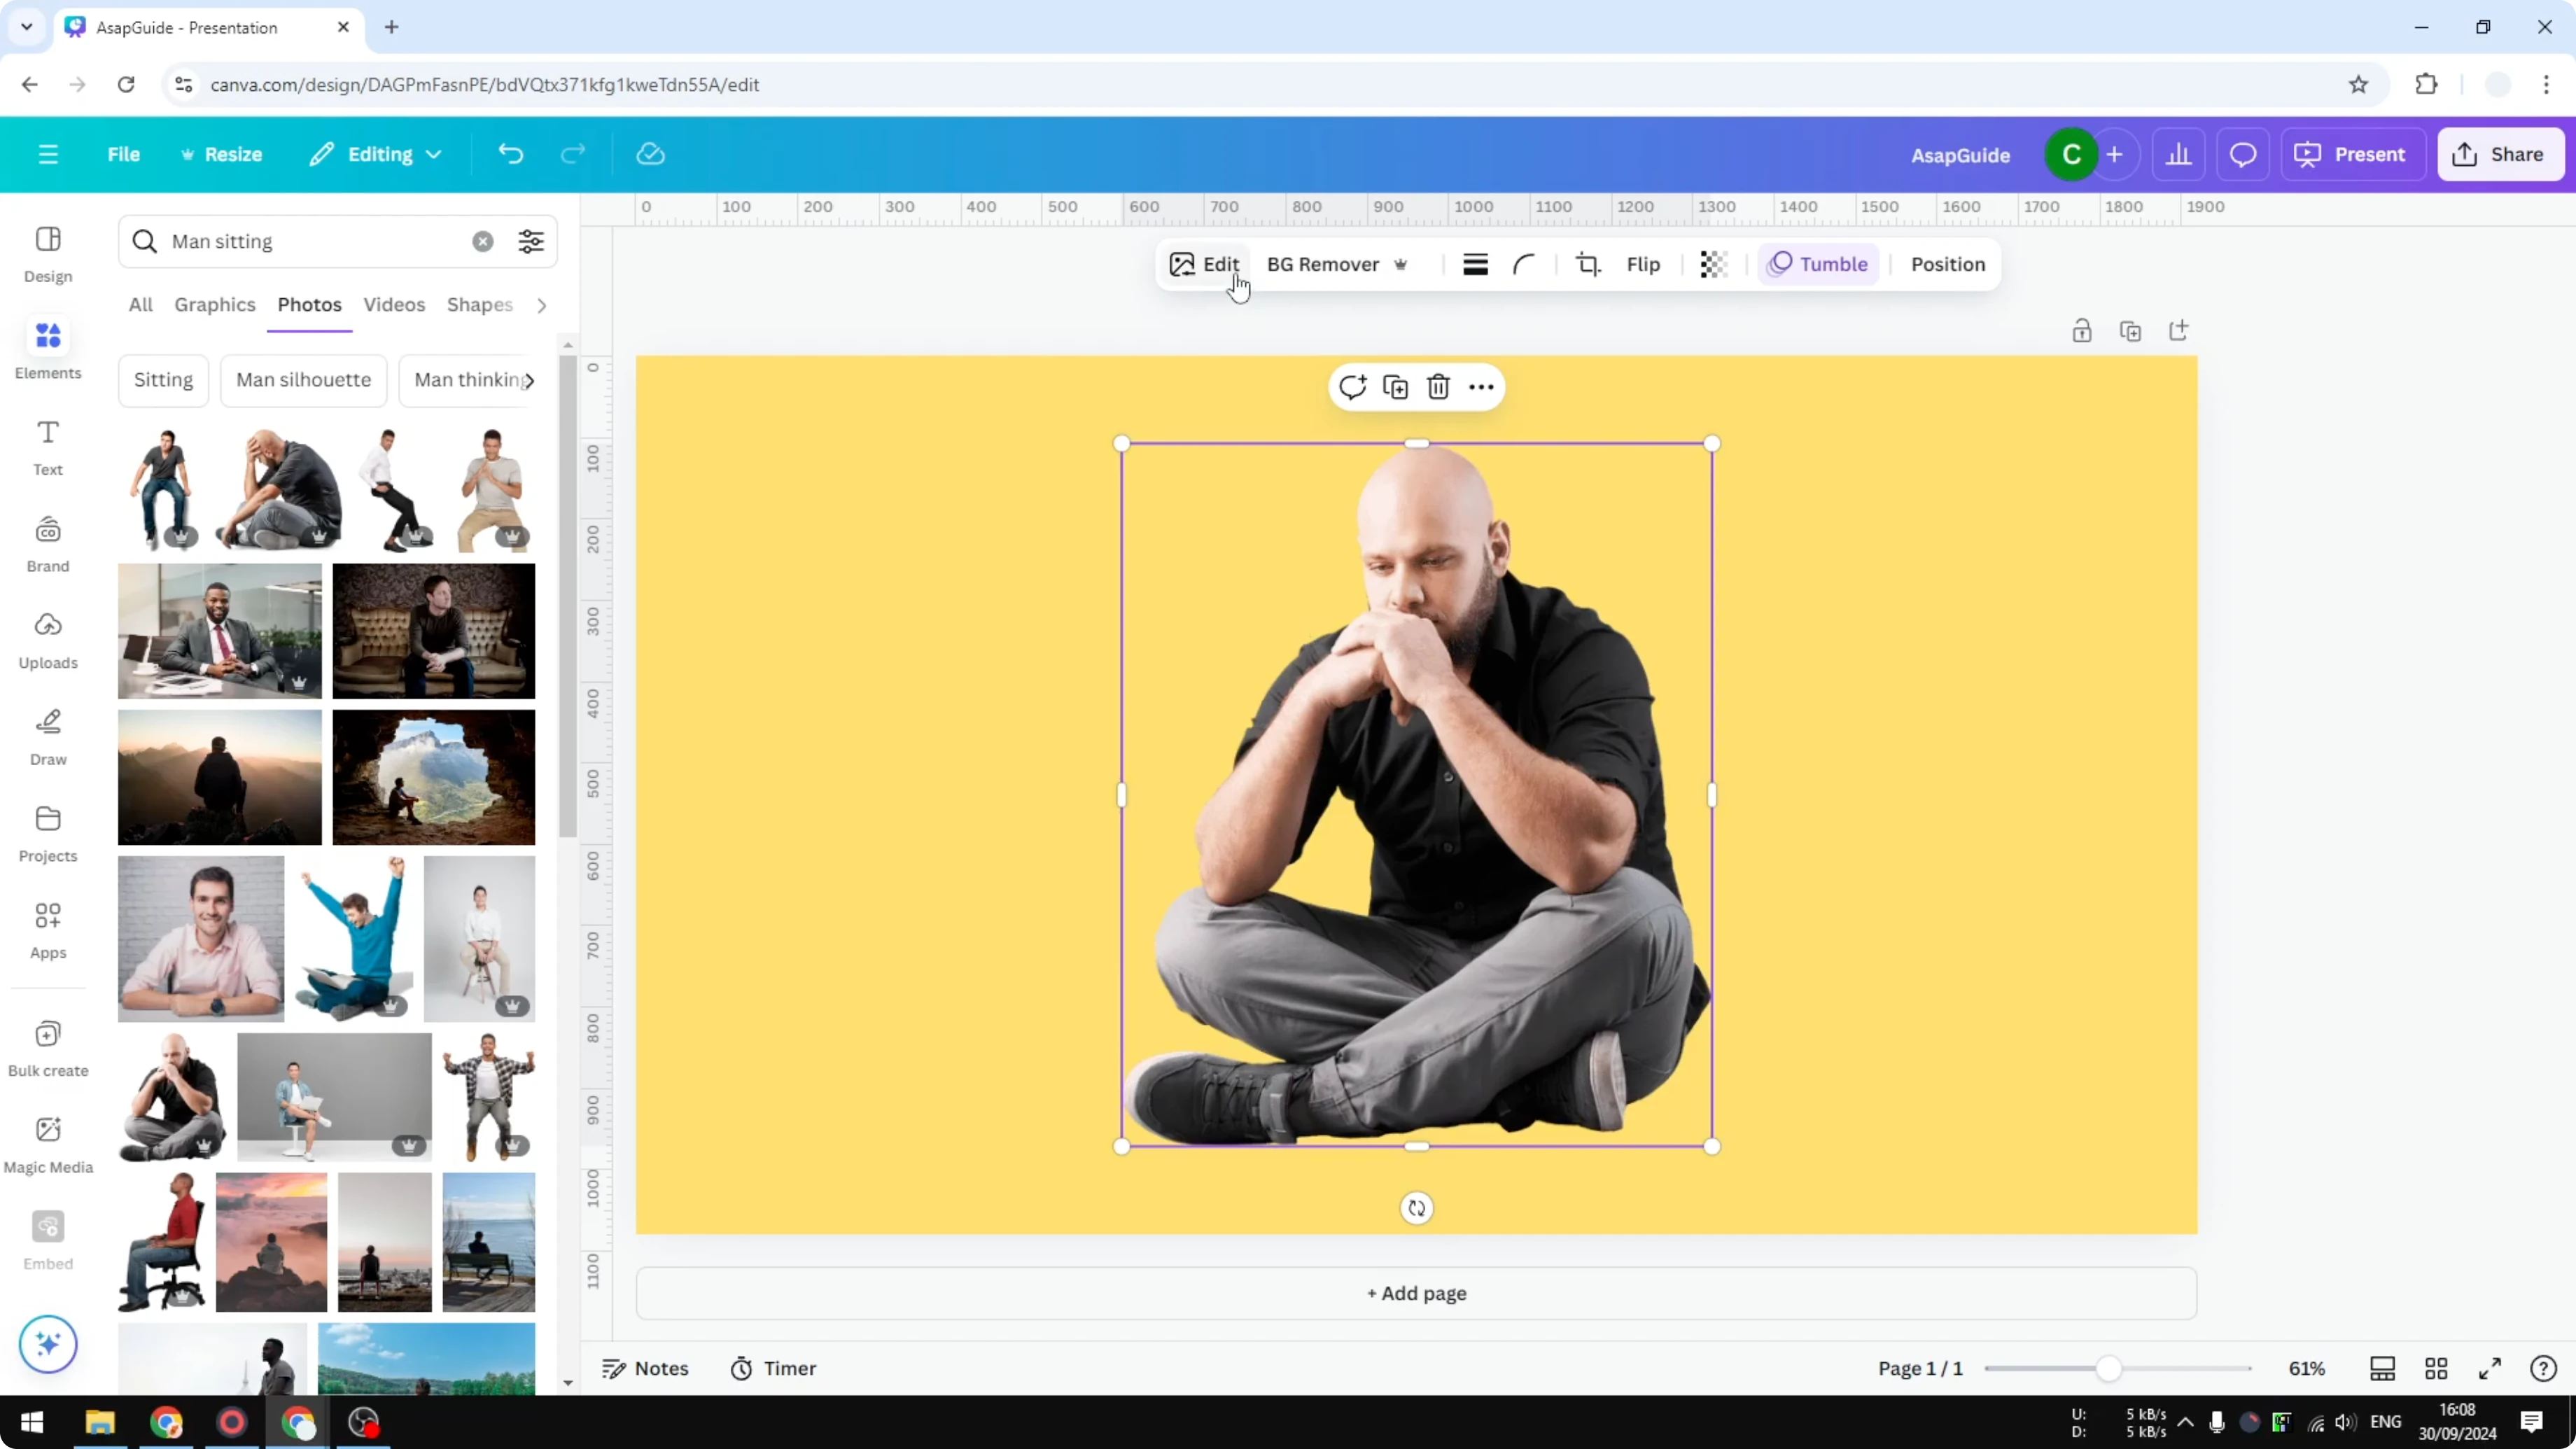
I will show you how to create a realistic shadow for a photo or an object in Canva. I start with a transparent picture of a man sitting and pondering, which makes shadow work easier. If you have a regular photo and want a strong shadow, you can try AI, but I do not rely on it.
Transparent pictures are easier because the background will not interfere with the shadow. If you are editing a product shot, you might also want tips specific to product images, so check out this guide on adding shadows to product images. I will share two practical methods that I actually use.
Add Realistic Shadow in Canva: AI option
You can ask Canva’s Magic Edit to add a shadow to a subject. This can work, but I find the results inconsistent.
Click Edit on your photo.
Open Magic Edit.
Describe the request, for example: add a shadow behind the person.
You will get some ideas that AI comes up with. It is not perfect, and it is hit or miss. This is why I personally do not use this method.
Add Realistic Shadow in Canva: Manual backdrop shadow
This method uses Canva’s built in shadow effects. It gives you control and usually looks more natural.
Select the picture.
Open Edit.
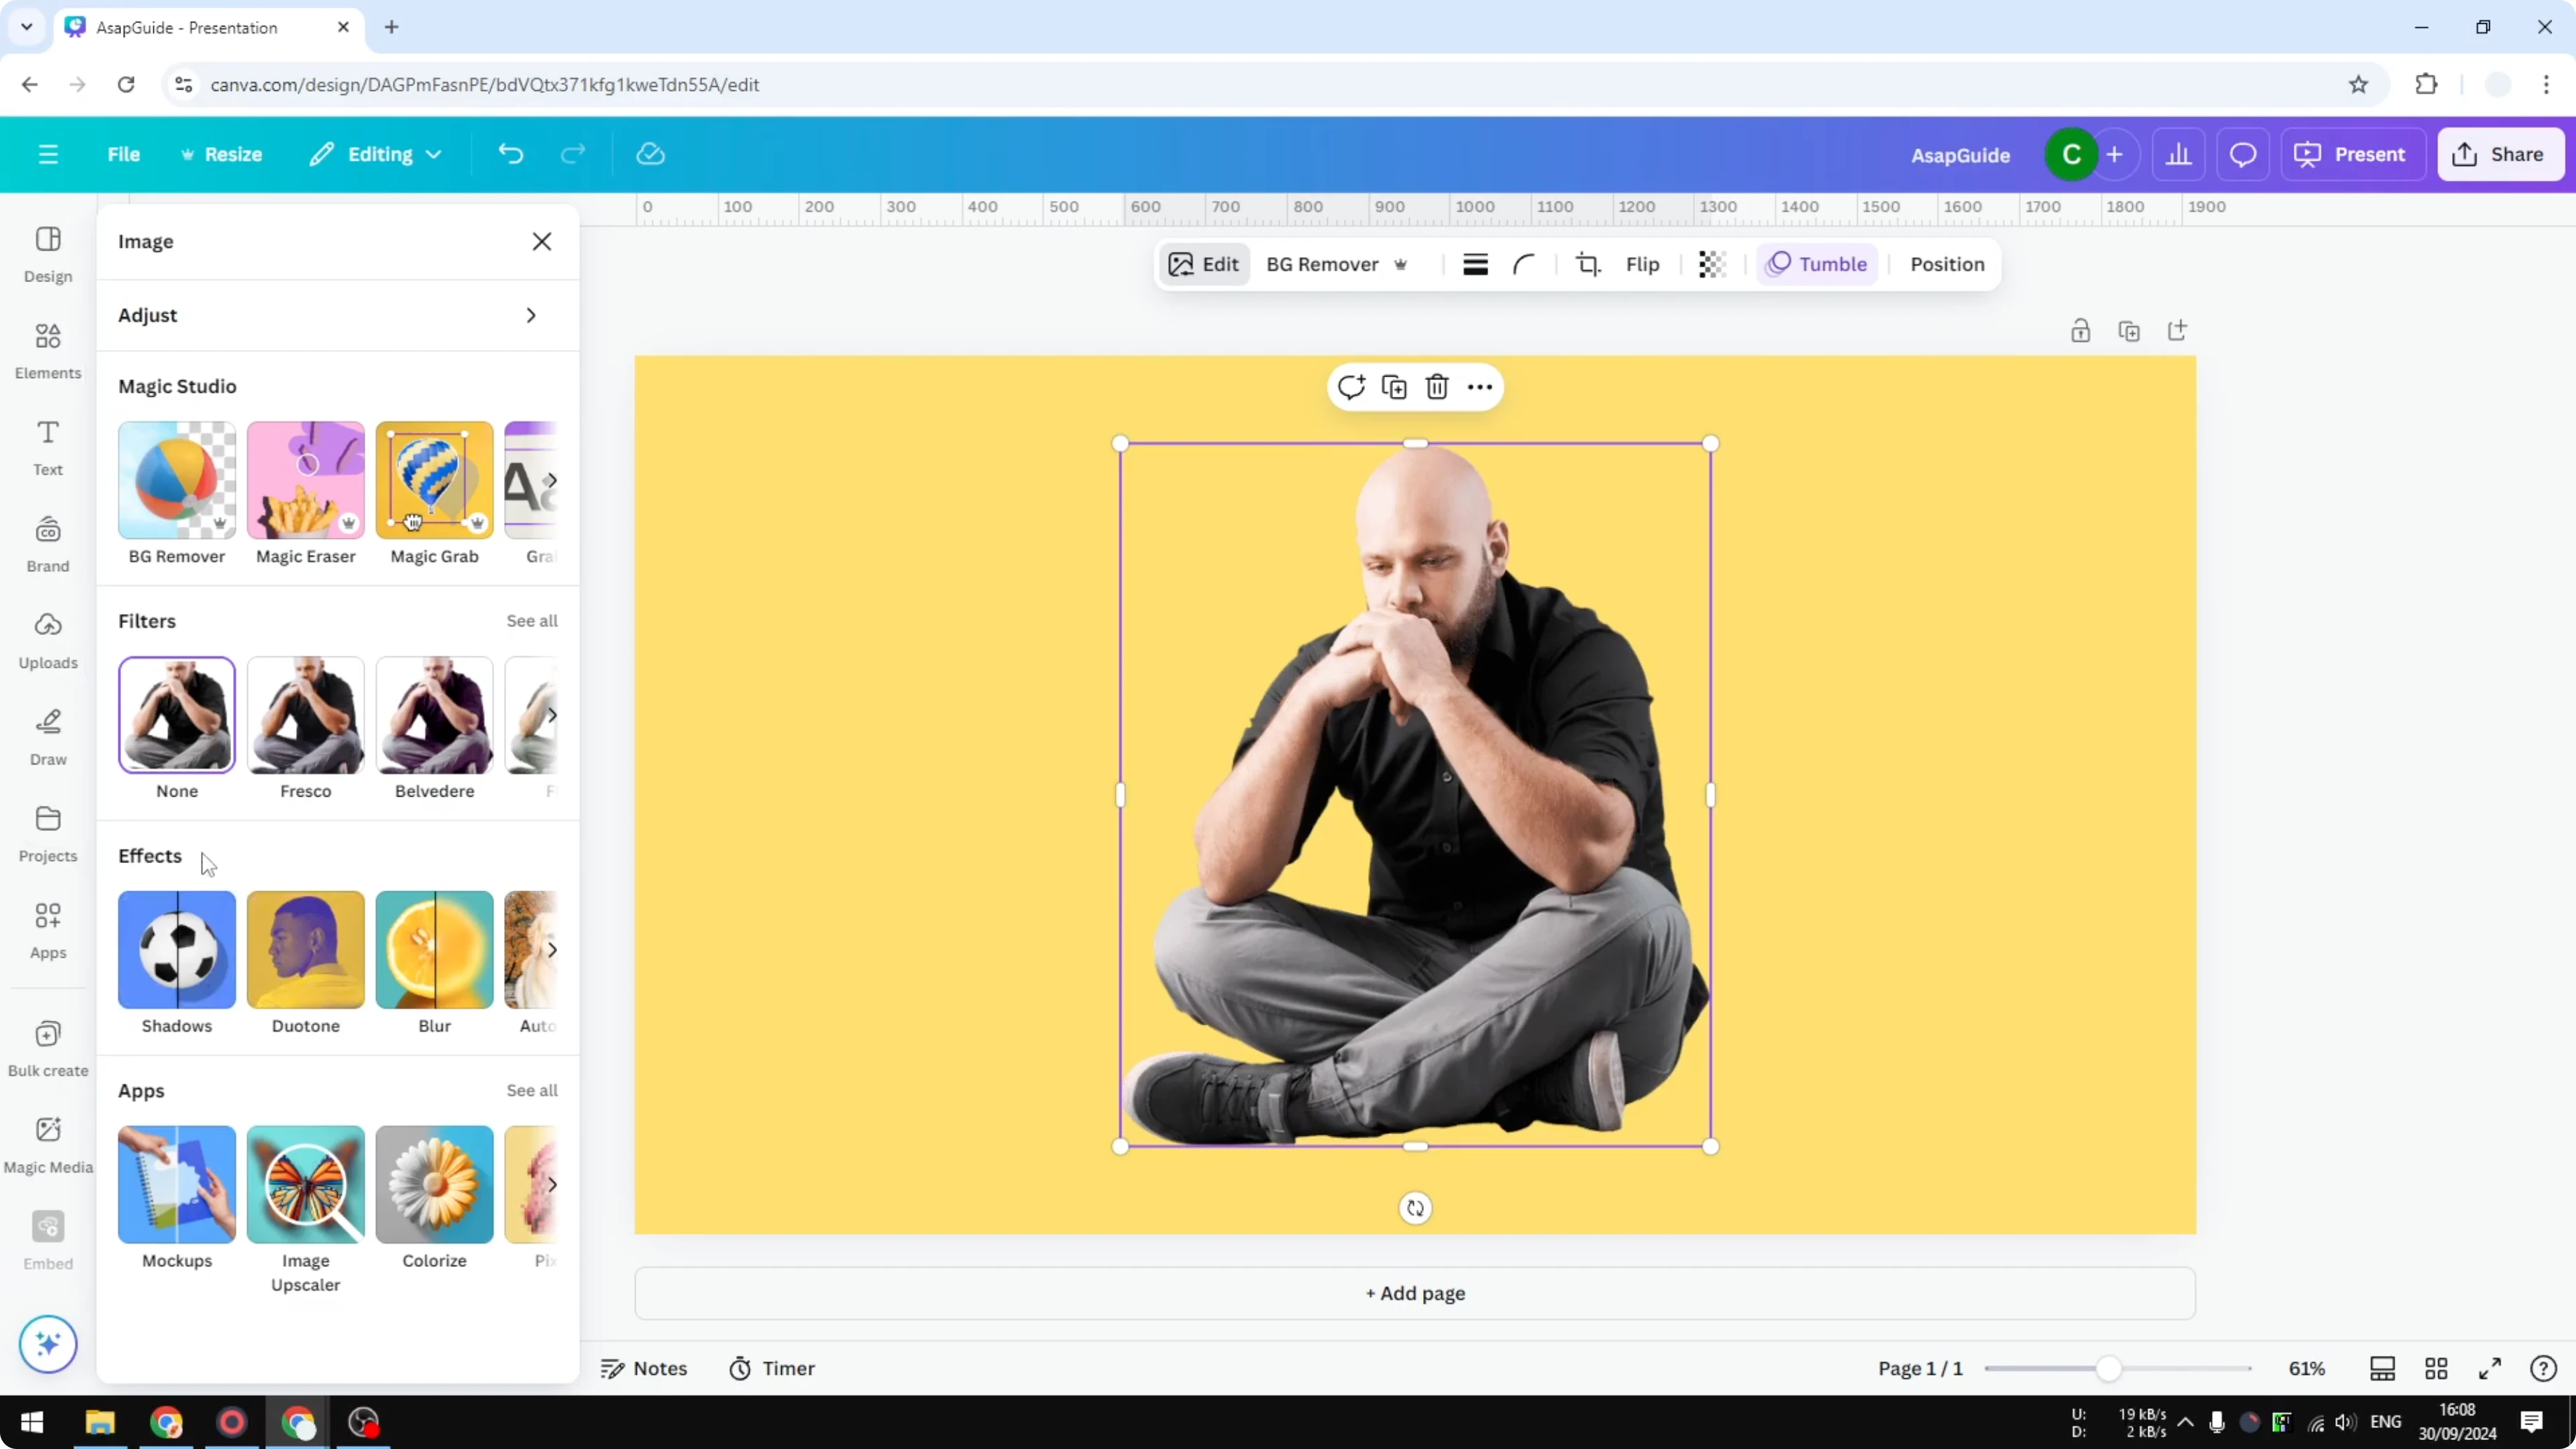
Scroll to Effects.
Open Shadow.
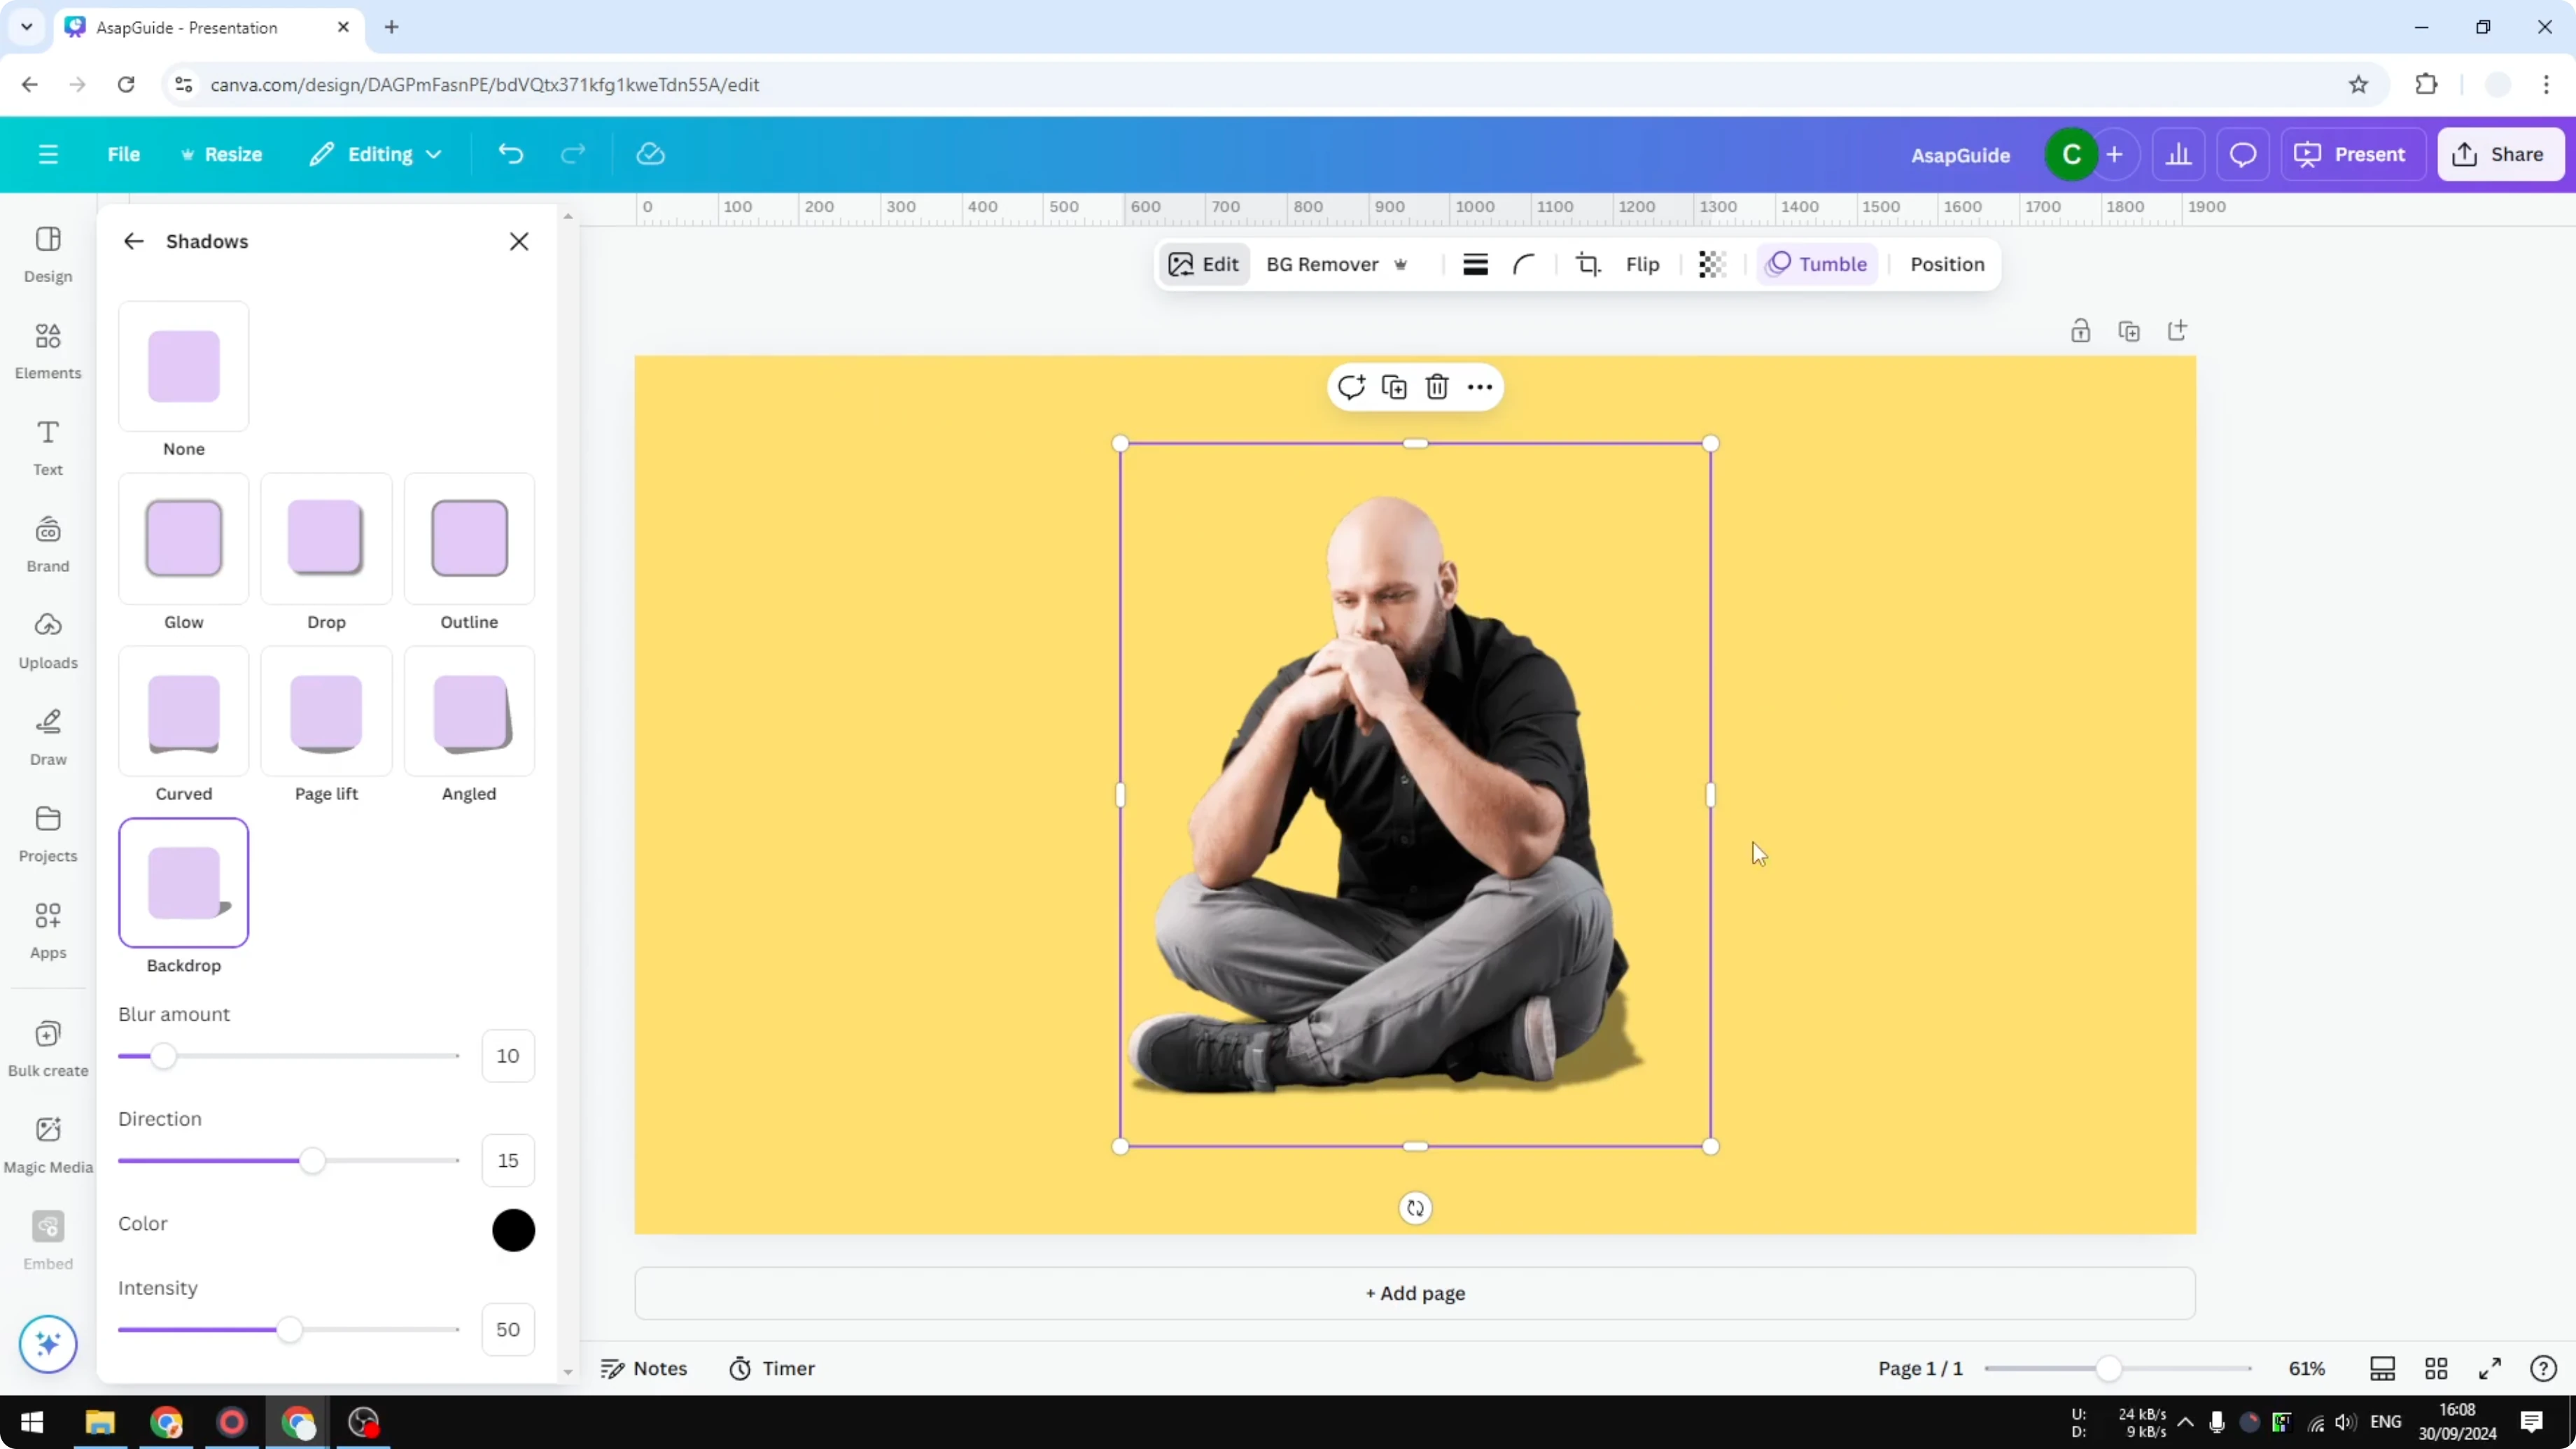
Choose Backdrop.
Add Realistic Shadow in Canva: light and placement
Shadow is working in relation with lighting. If the light is coming from the left and slightly from the top, you will see a shiny area on the left of the subject. That means the shadow should fall to the right.
Do not put the shadow in the same direction as the lighting. Proper placement is very important for realism. Get the direction right before adjusting anything else.
Add Realistic Shadow in Canva: direction, intensity, blur
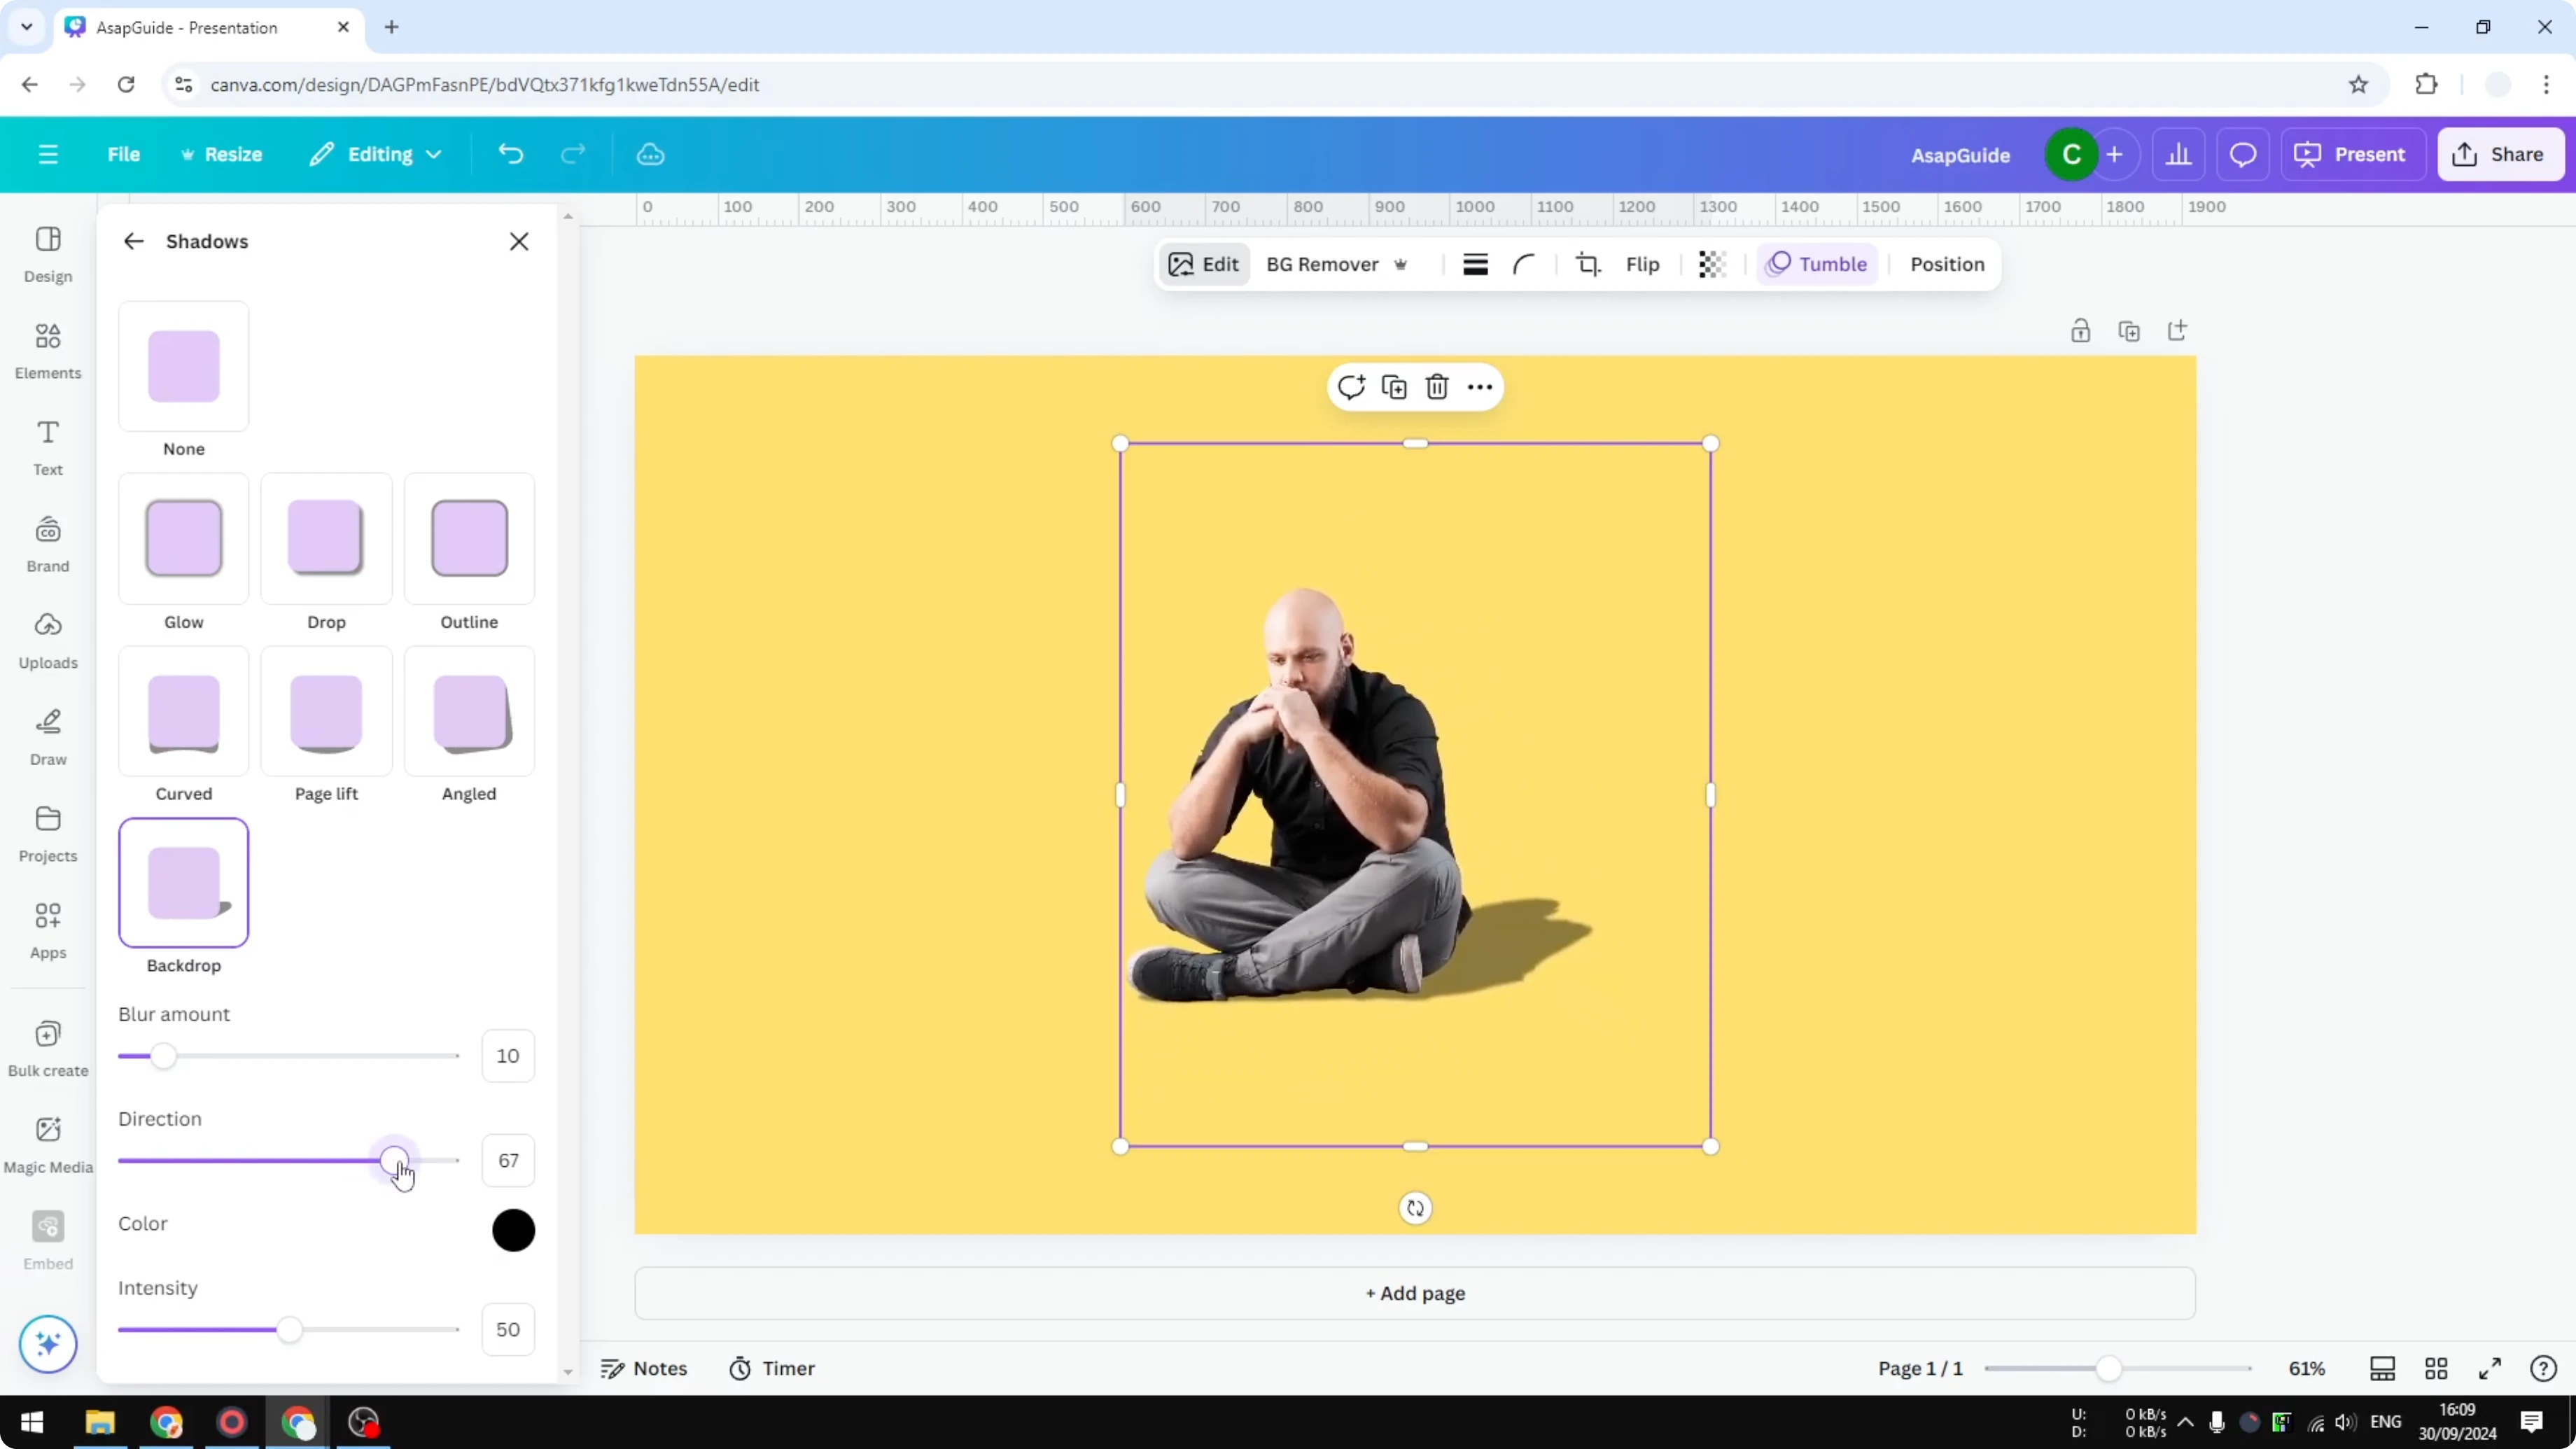
Set the Direction to the right side in this example.
Adjust Intensity to control how black the shadow is.
Increase Blur slightly to soften the edges, but do not overdo it.
You may notice the image shrinking a bit during the effect. That is fine, because you can resize the picture afterward. At this point you have a simple shadow that already looks good.
Read More: Add Accent Marks Canva
Add Realistic Shadow in Canva: duplicate and blur
This method is a bit less realistic but useful when the background is a flat vertical surface like a wall.
Remove any existing shadow effect if applied.
Resize and place the subject where you want it.
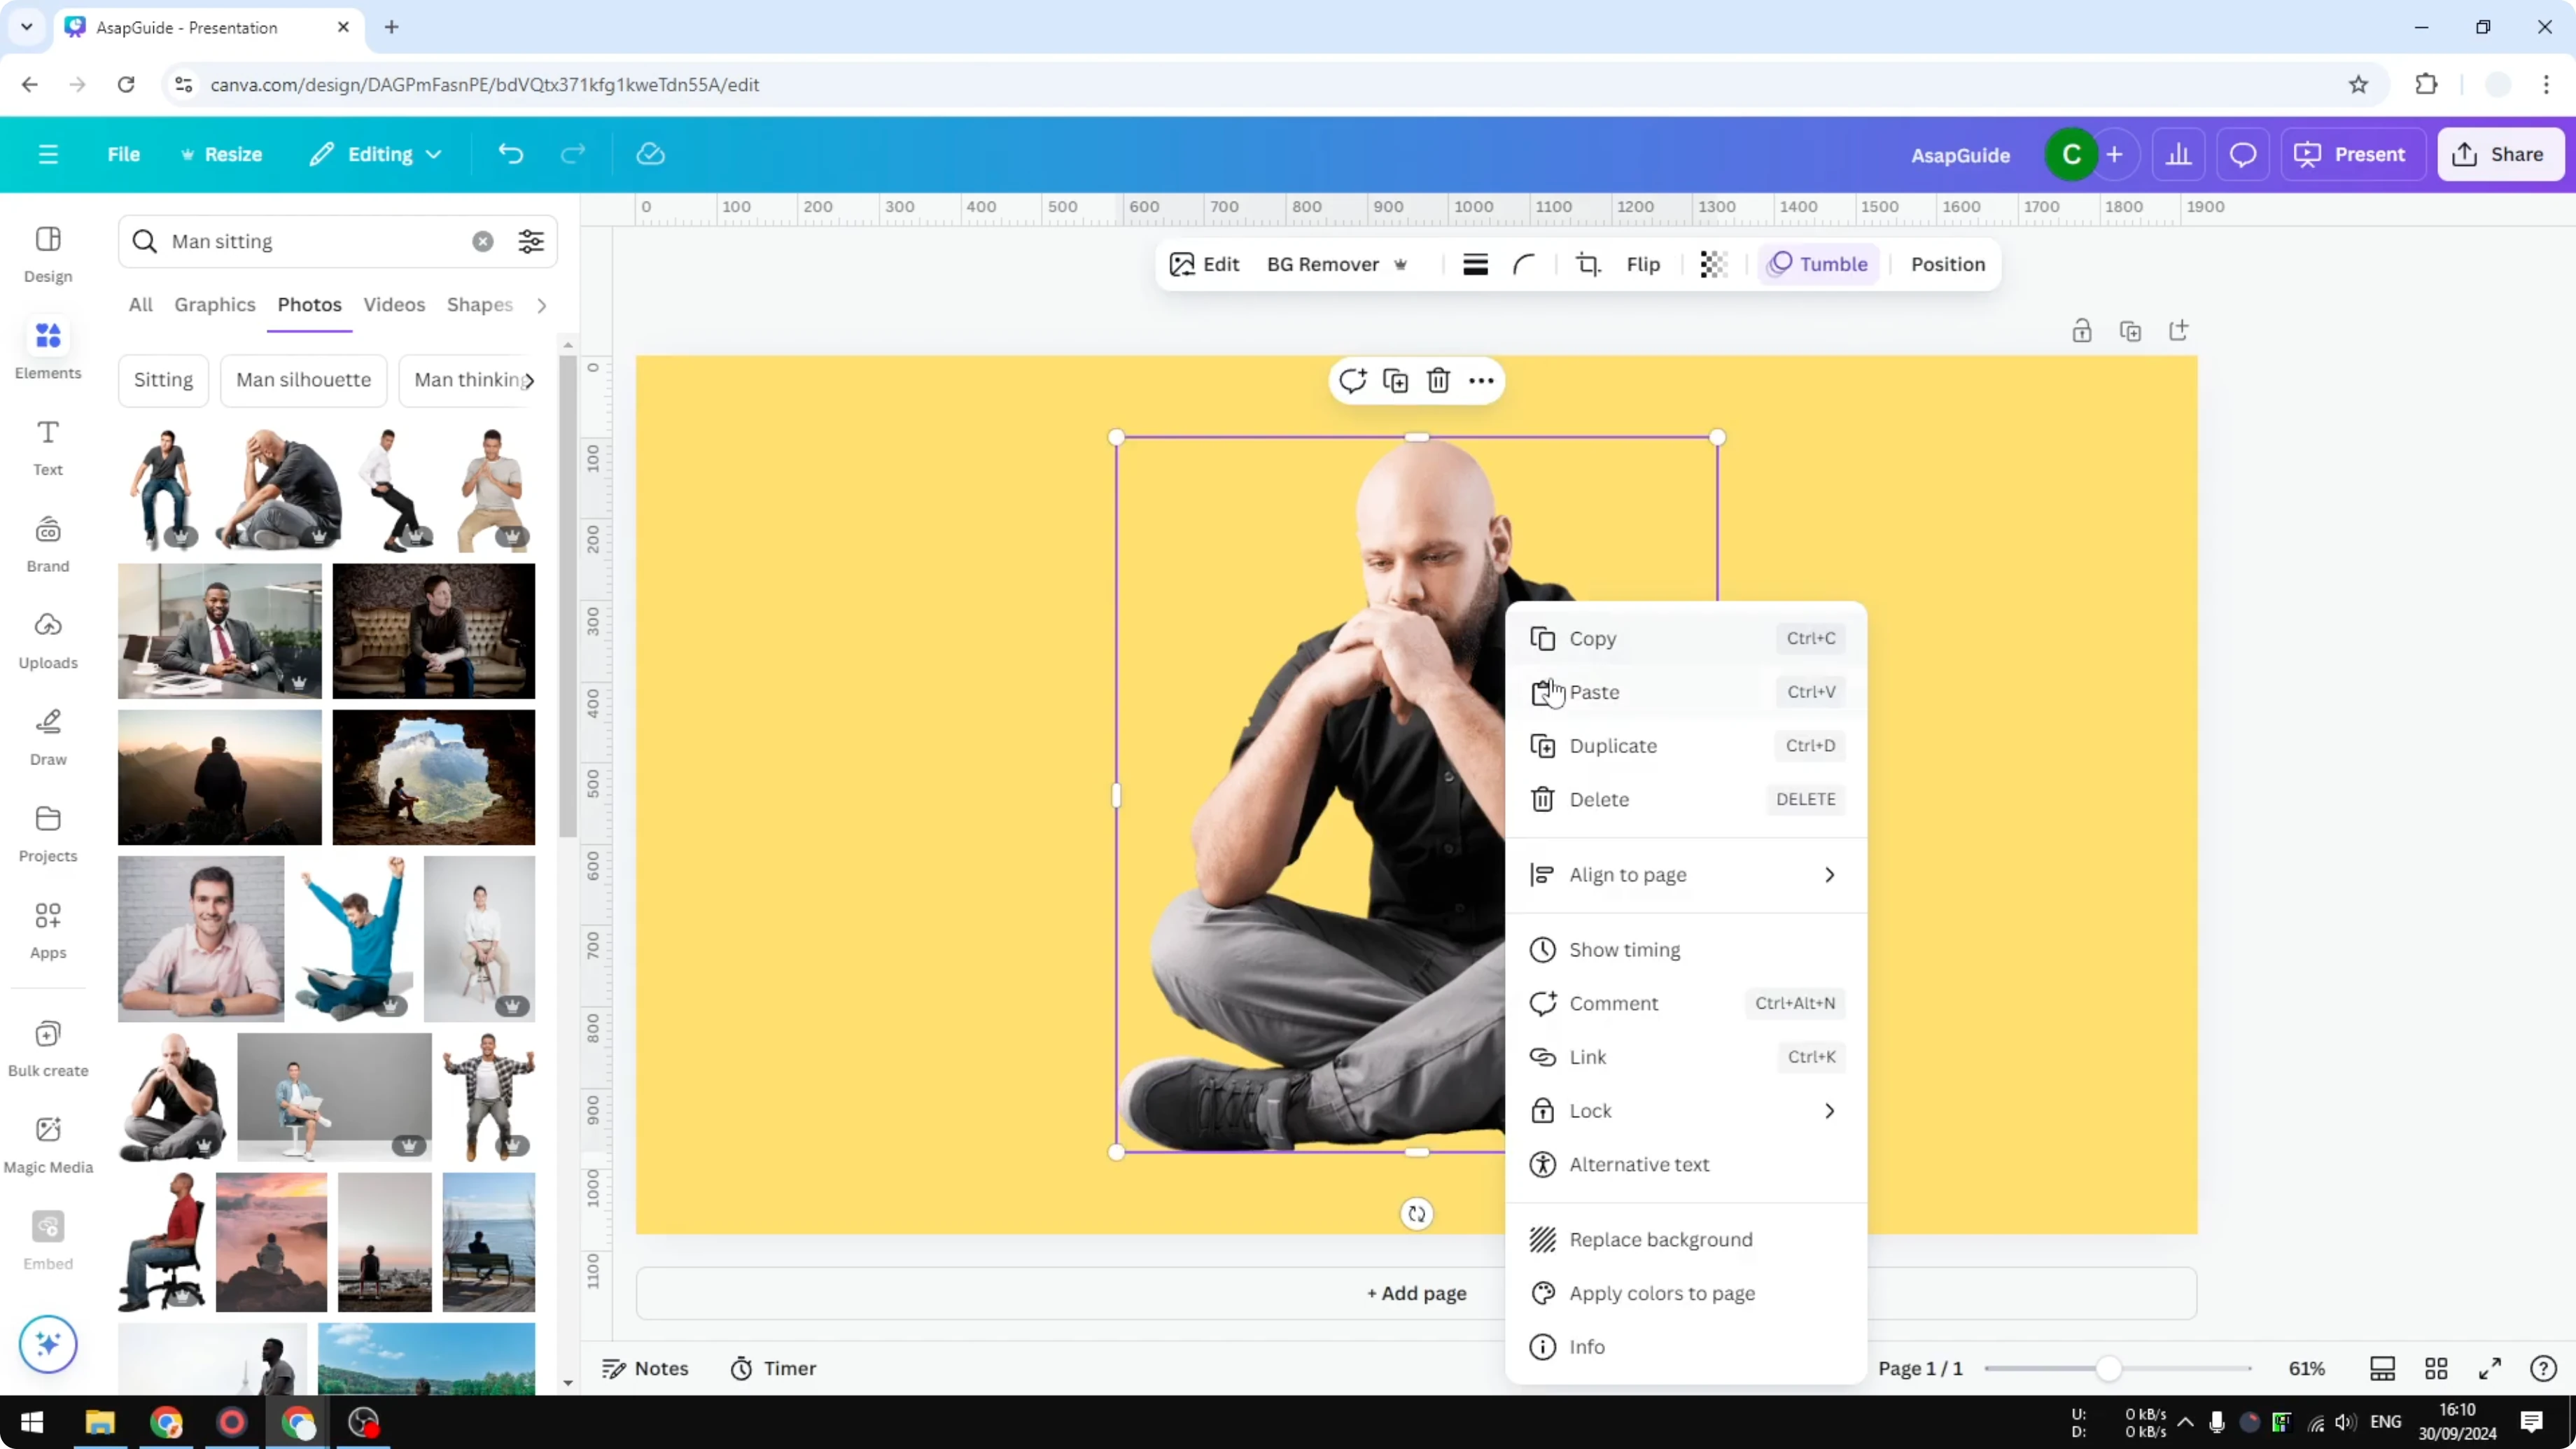
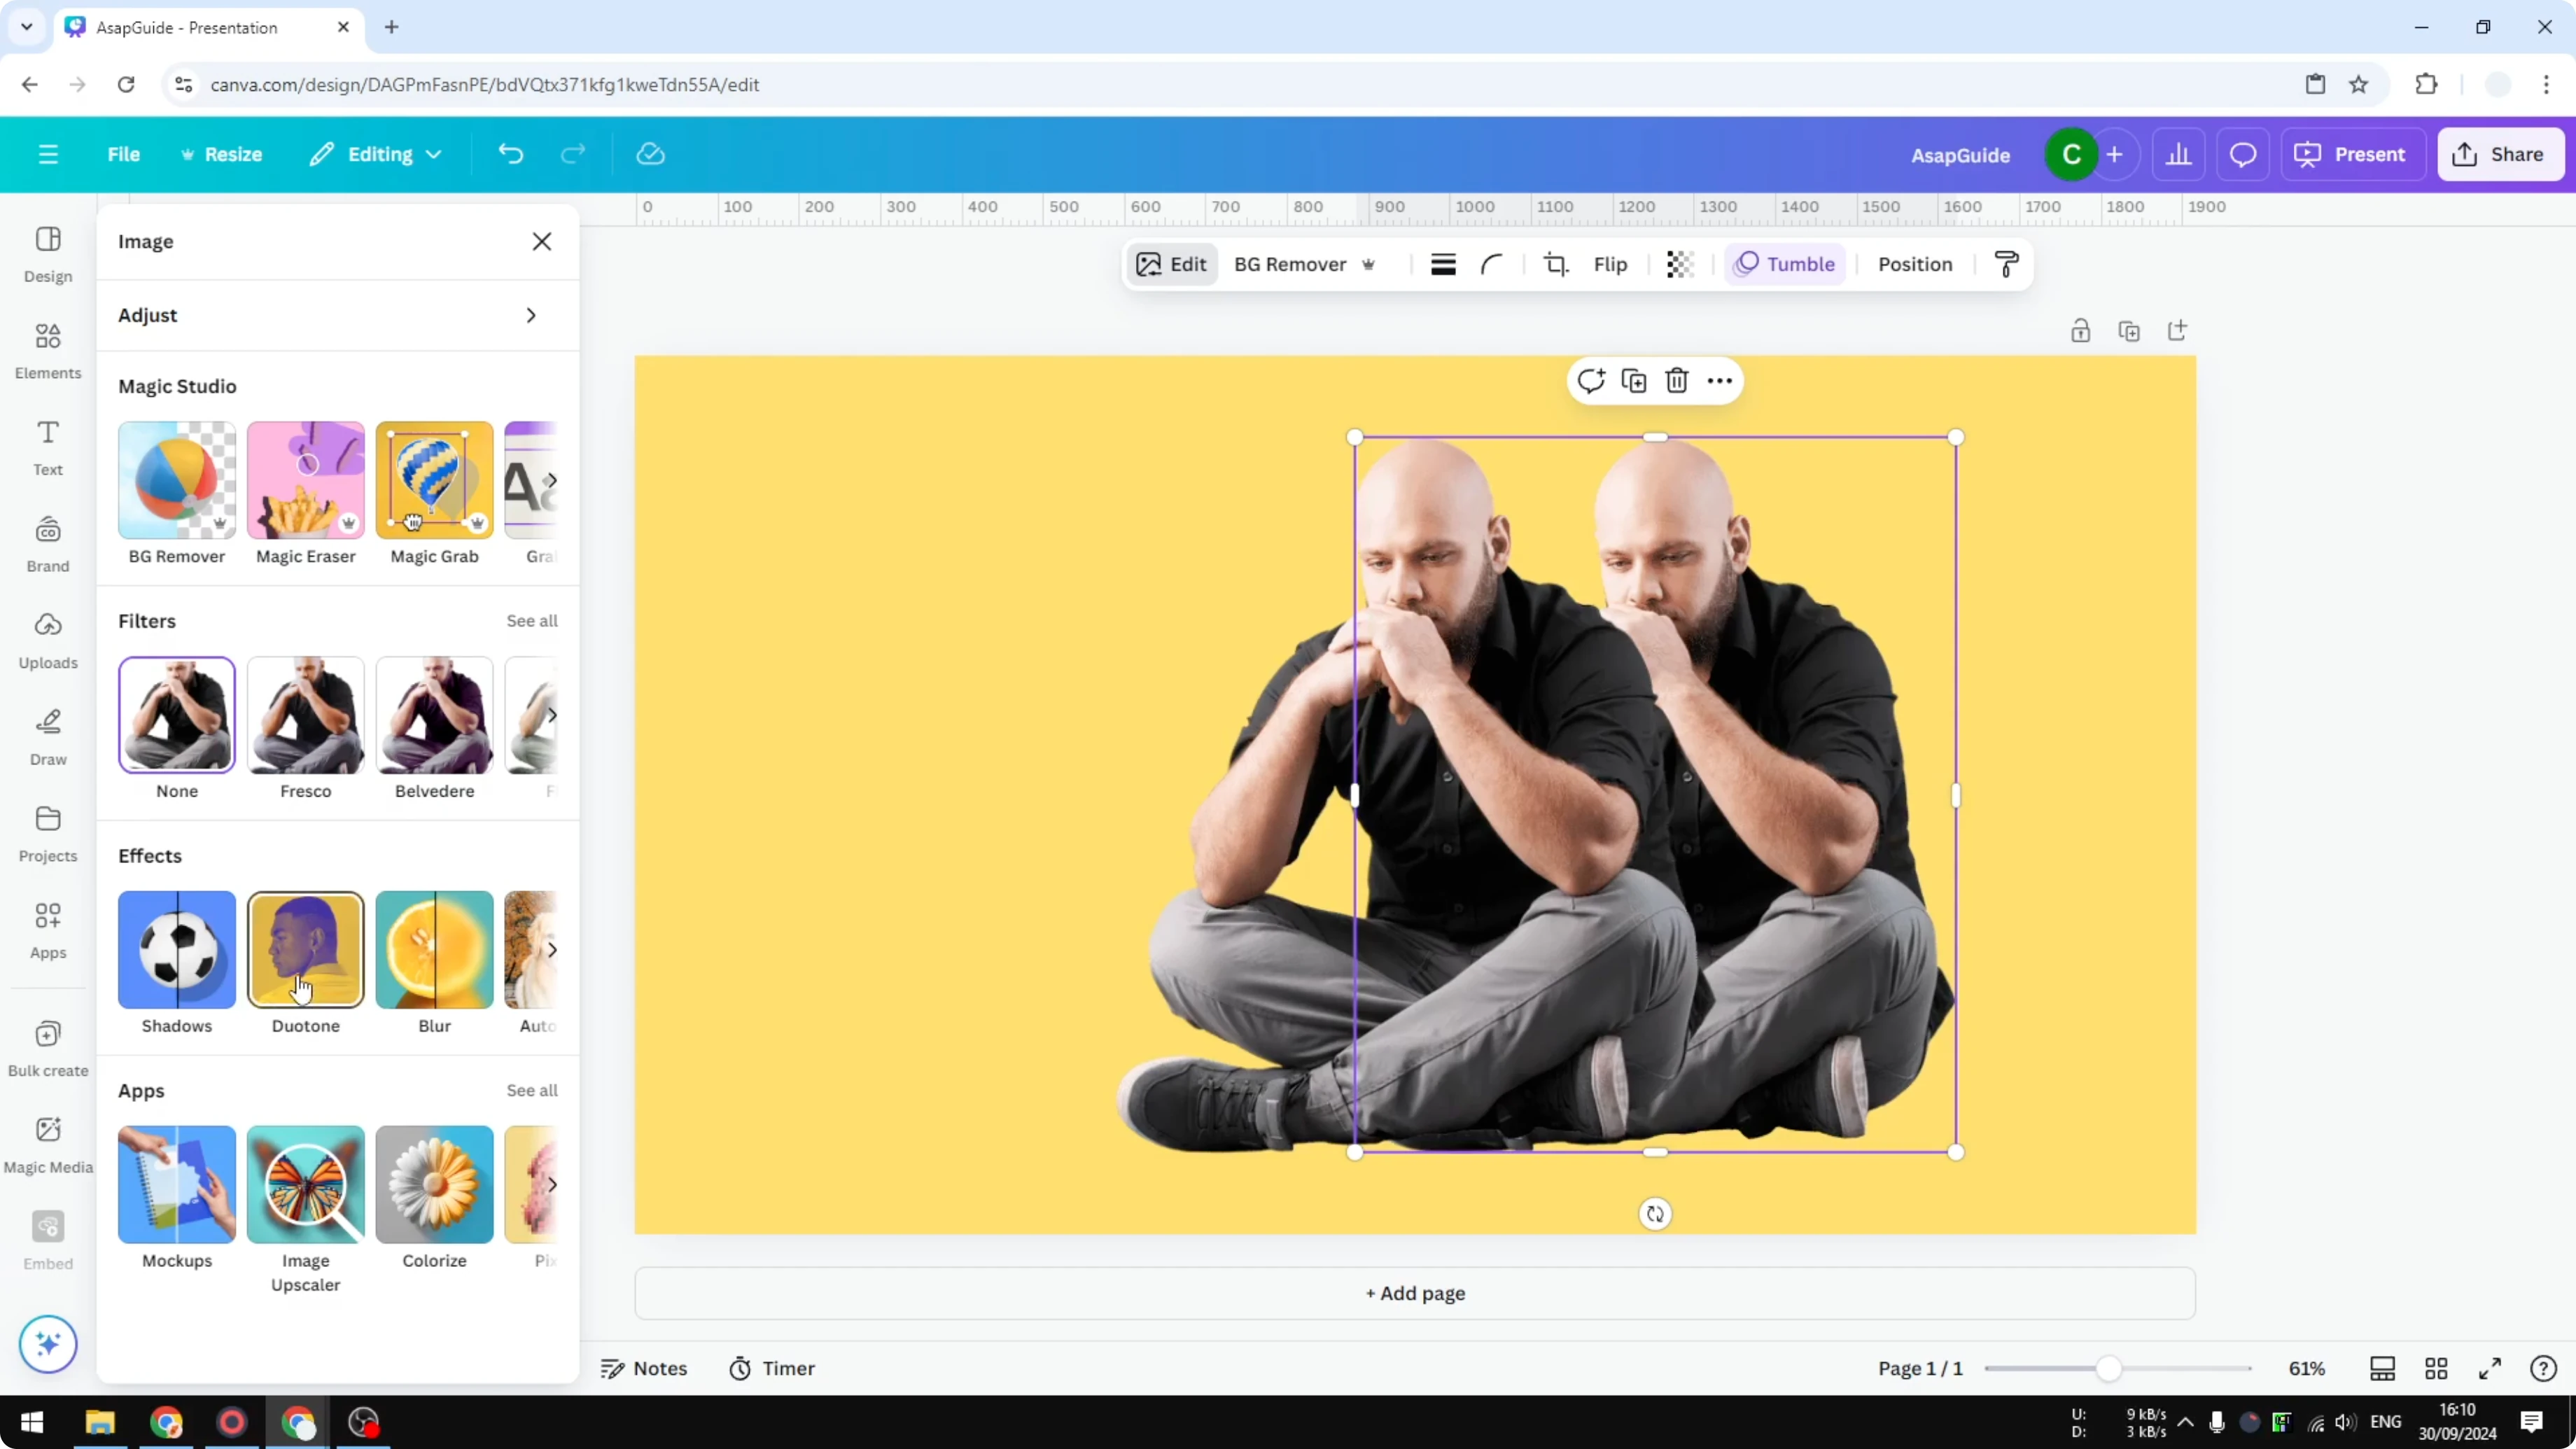
Right click the subject and click Copy, then right click and Paste to create a duplicate.
Send the duplicate to the back.
Open Edit with the back layer selected.
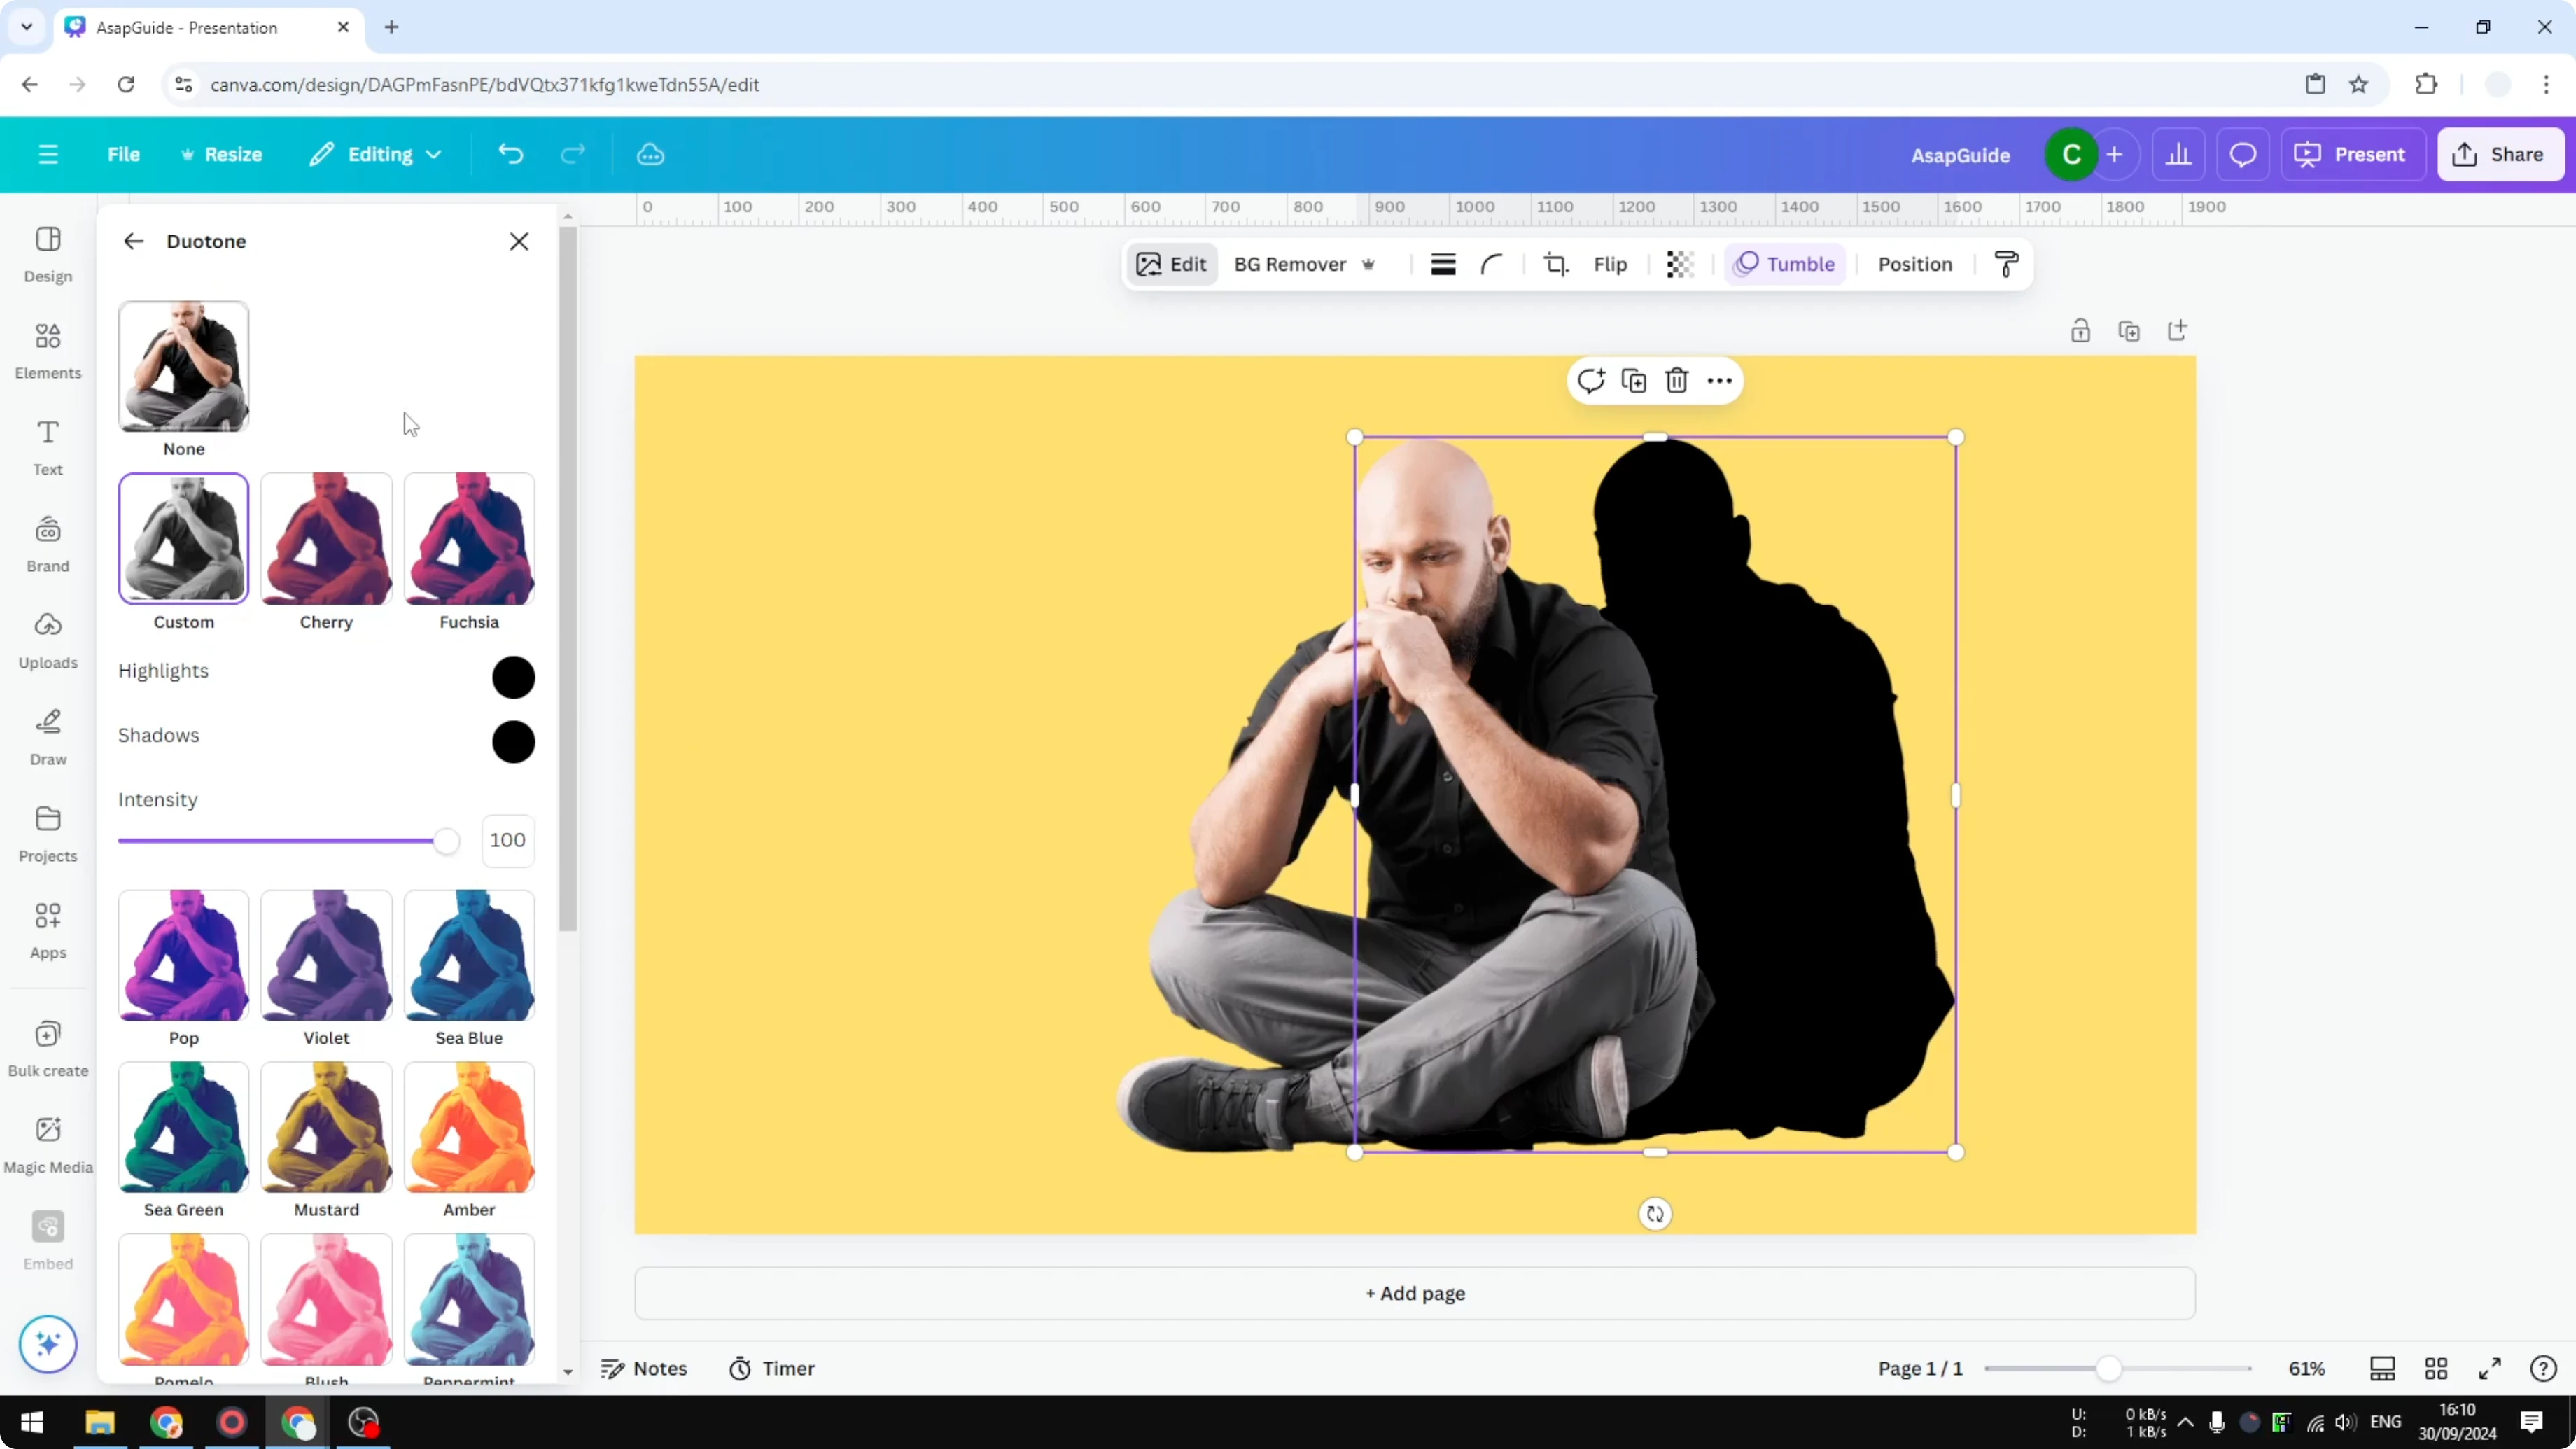
Go to Effects and choose Duotone.
Open Custom and set Highlights to black and Shadows to black.
Set the Intensity to 100.
Reduce the layer’s Transparency to around 50 to 60 percent.
Open Blur, choose Whole image, and set the Intensity to around 20 percent.
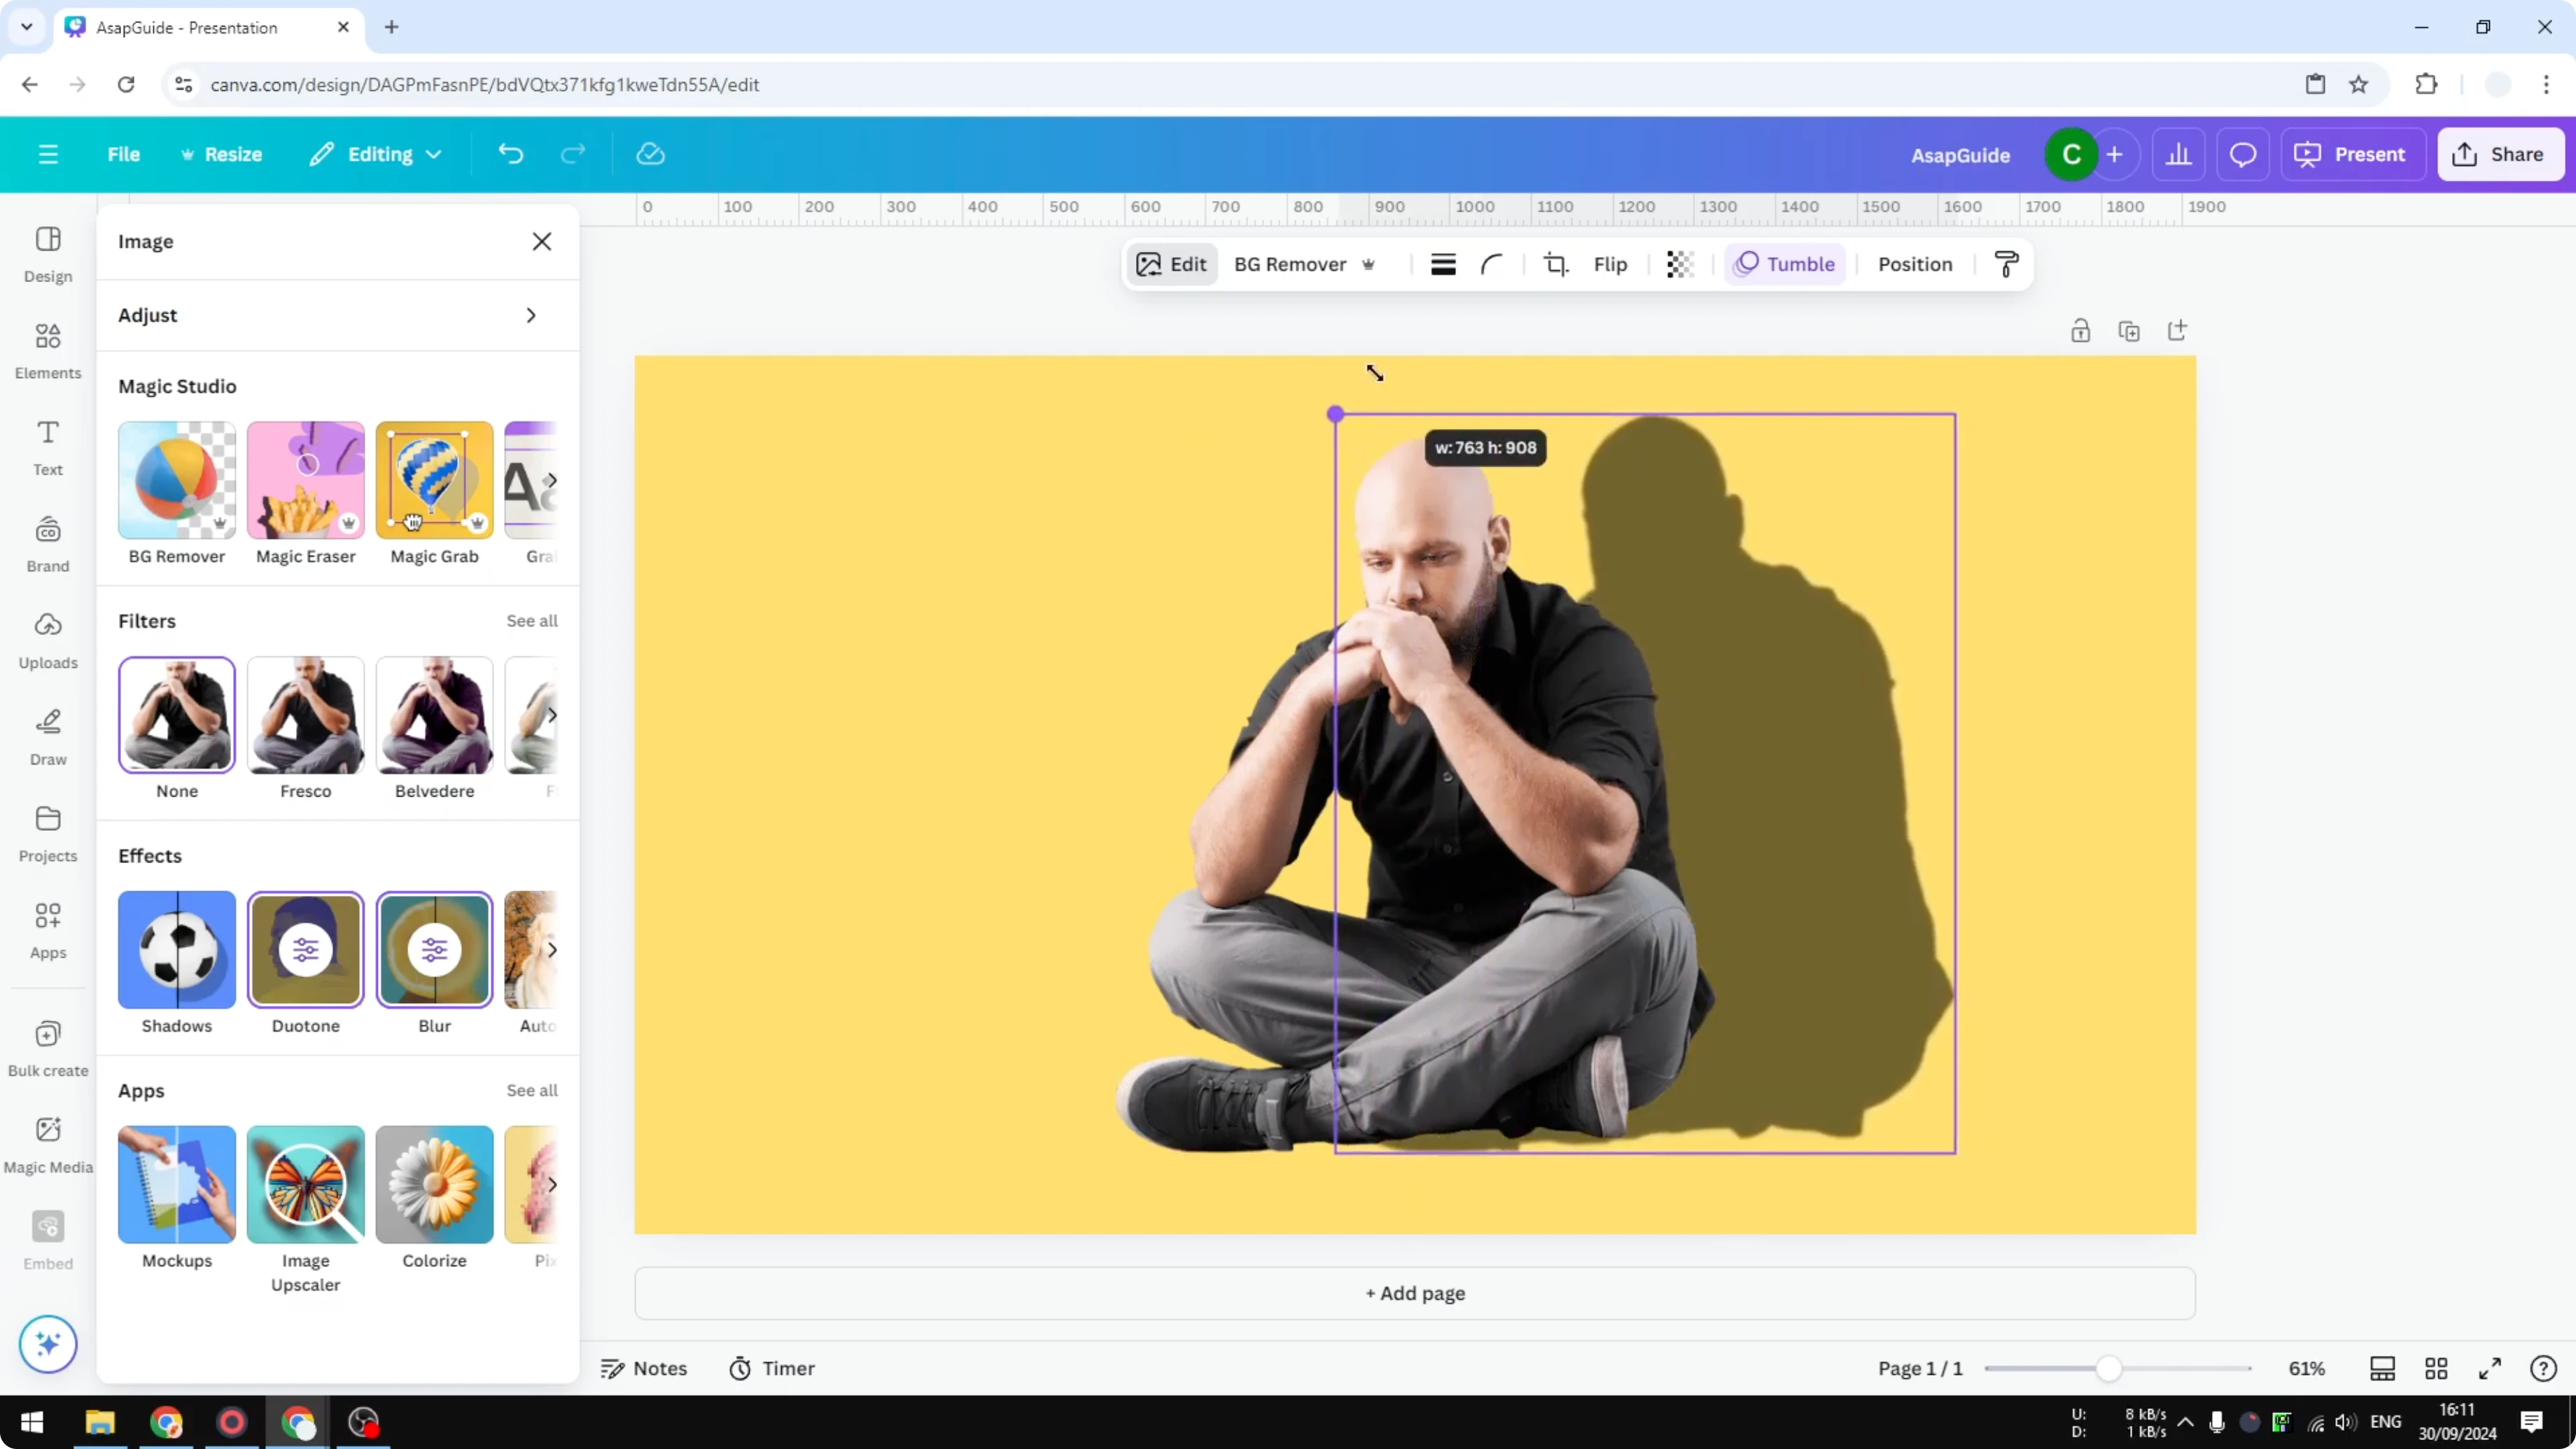
Position the shadow layer based on the light direction, placing it on the correct side of the subject.
The shadow can be a bit smaller or a bit bigger than the subject. I often make it slightly bigger for a wall shadow, and it looks great. This works best with a vertical background that supports a defined cast shadow.
If you are creating a video in Canva and need a natural narration to pair with your visuals, see this helpful guide on adding AI voice: AI voice in Canva.
Add Realistic Shadow in Canva: final thoughts
AI can add a shadow, but it is inconsistent. The Backdrop shadow with careful control of direction, intensity, and blur gives the most reliable result. The duplicate plus Duotone and Blur method is handy for wall style shadows on flat backgrounds.
Recent Posts
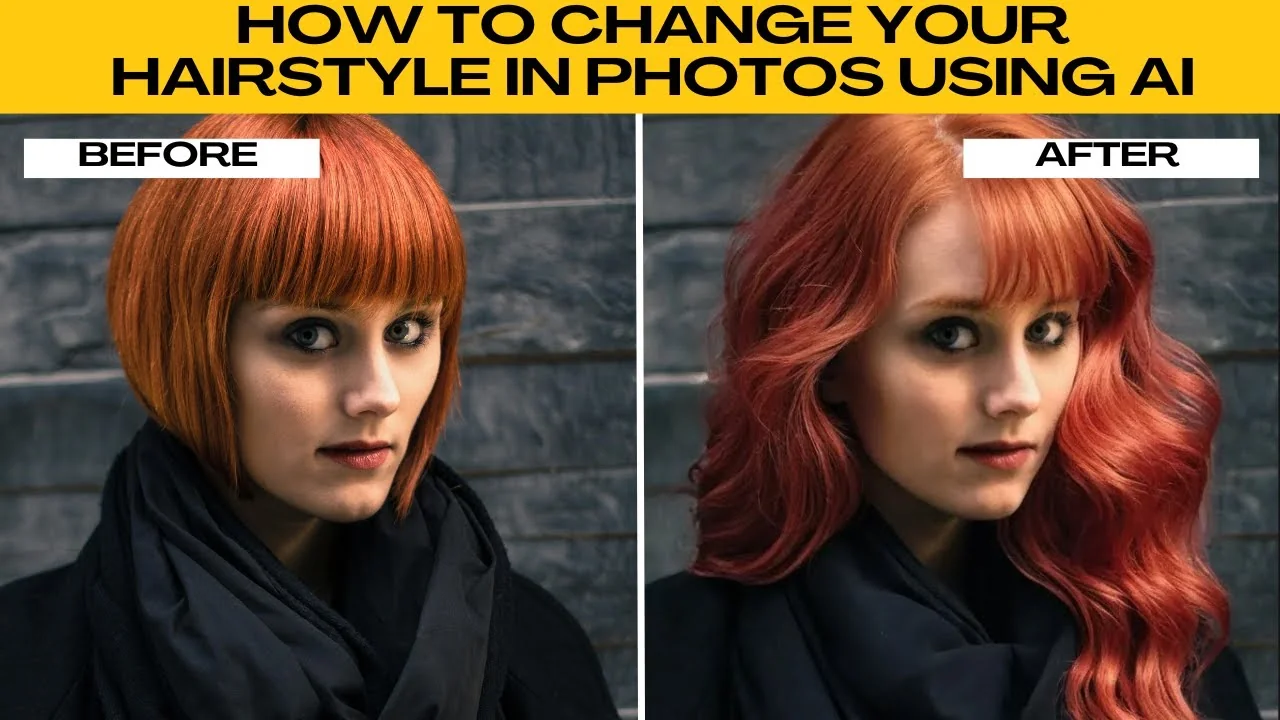
How to Visualize Different Hairstyles and Hair Colors with AI?
How to Visualize Different Hairstyles and Hair Colors with AI?

How to Transform Daytime Photos into Realistic Night Scenes with AI?
How to Transform Daytime Photos into Realistic Night Scenes with AI?
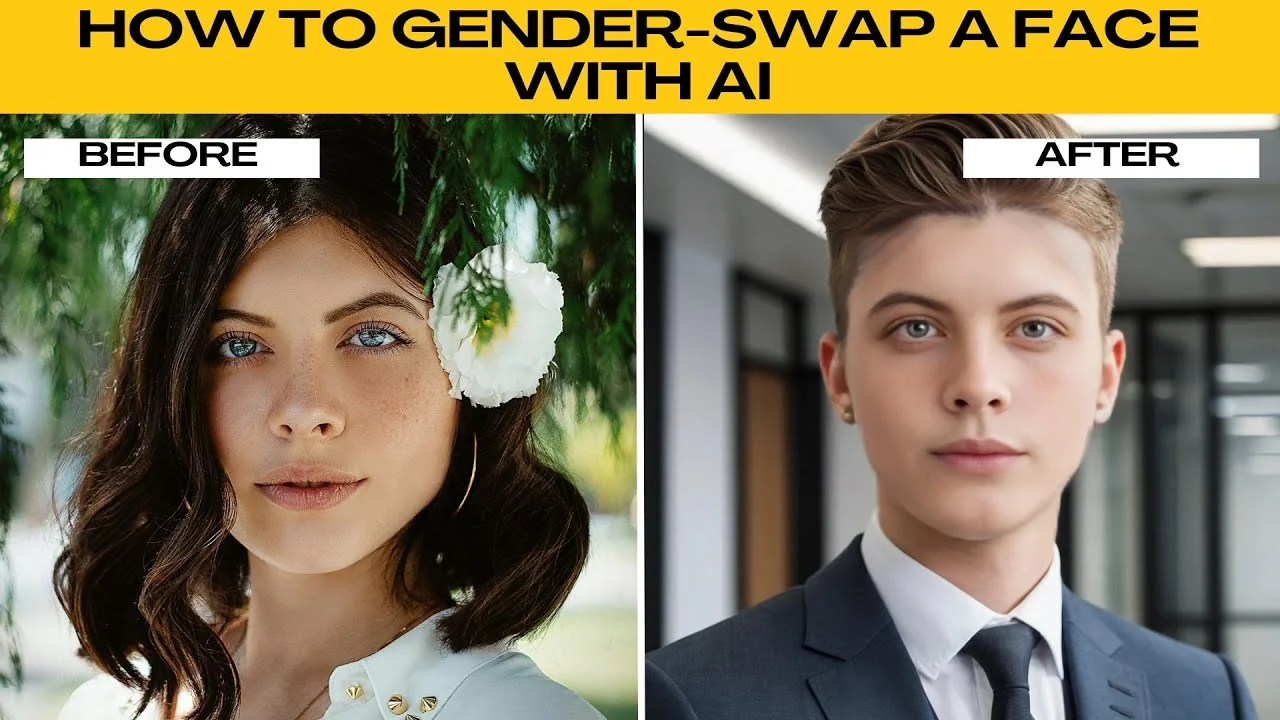
How to Visualize Yourself as the Opposite Gender with AI?
How to Visualize Yourself as the Opposite Gender with AI?